Life too short to spend time fighting with 2nd rate track links. Good call!
I do not glue the track to the base.I site the tank on the base where you want it and mark the base. I drill 4 sets of small holes in the base to correspond to the inside of the track right behind a road wheel. I run fishing line up through the base, over the road wheel arm behind the road wheel and back down through the hole in the base and tie it off. The string is hidden by the road wheel. With 4 strings, the tank will never come off the base unless you cut the string. If you cut the string the tank comes off the base unharmed and both the tank and the base can be used for something else.
4 Likes
Spray paint the links while still on the sprue, usually flat black.
Then randomly dab on some gun metal, brown mud, and a pinch of rust and a pinch of silver for the ground contact points.
Assemble the plastic track links using model glue. Divide the track run into 2-3 sections (like link and length tracks) and fit them to the otherwise finished model. The model glue on the links should not have fully set up yet so you can position the tracks, add proper sag and link them together. I don’t usually glue the tracks to the road wheels at all unless some additional support is needed.
I finish with a final paint touch up, washes over the entire track, pigments and caked mud if desired, weathering and some old silver on the higher track to ground contact points. Then a final spray of Matte Clear to kill any glue shine.
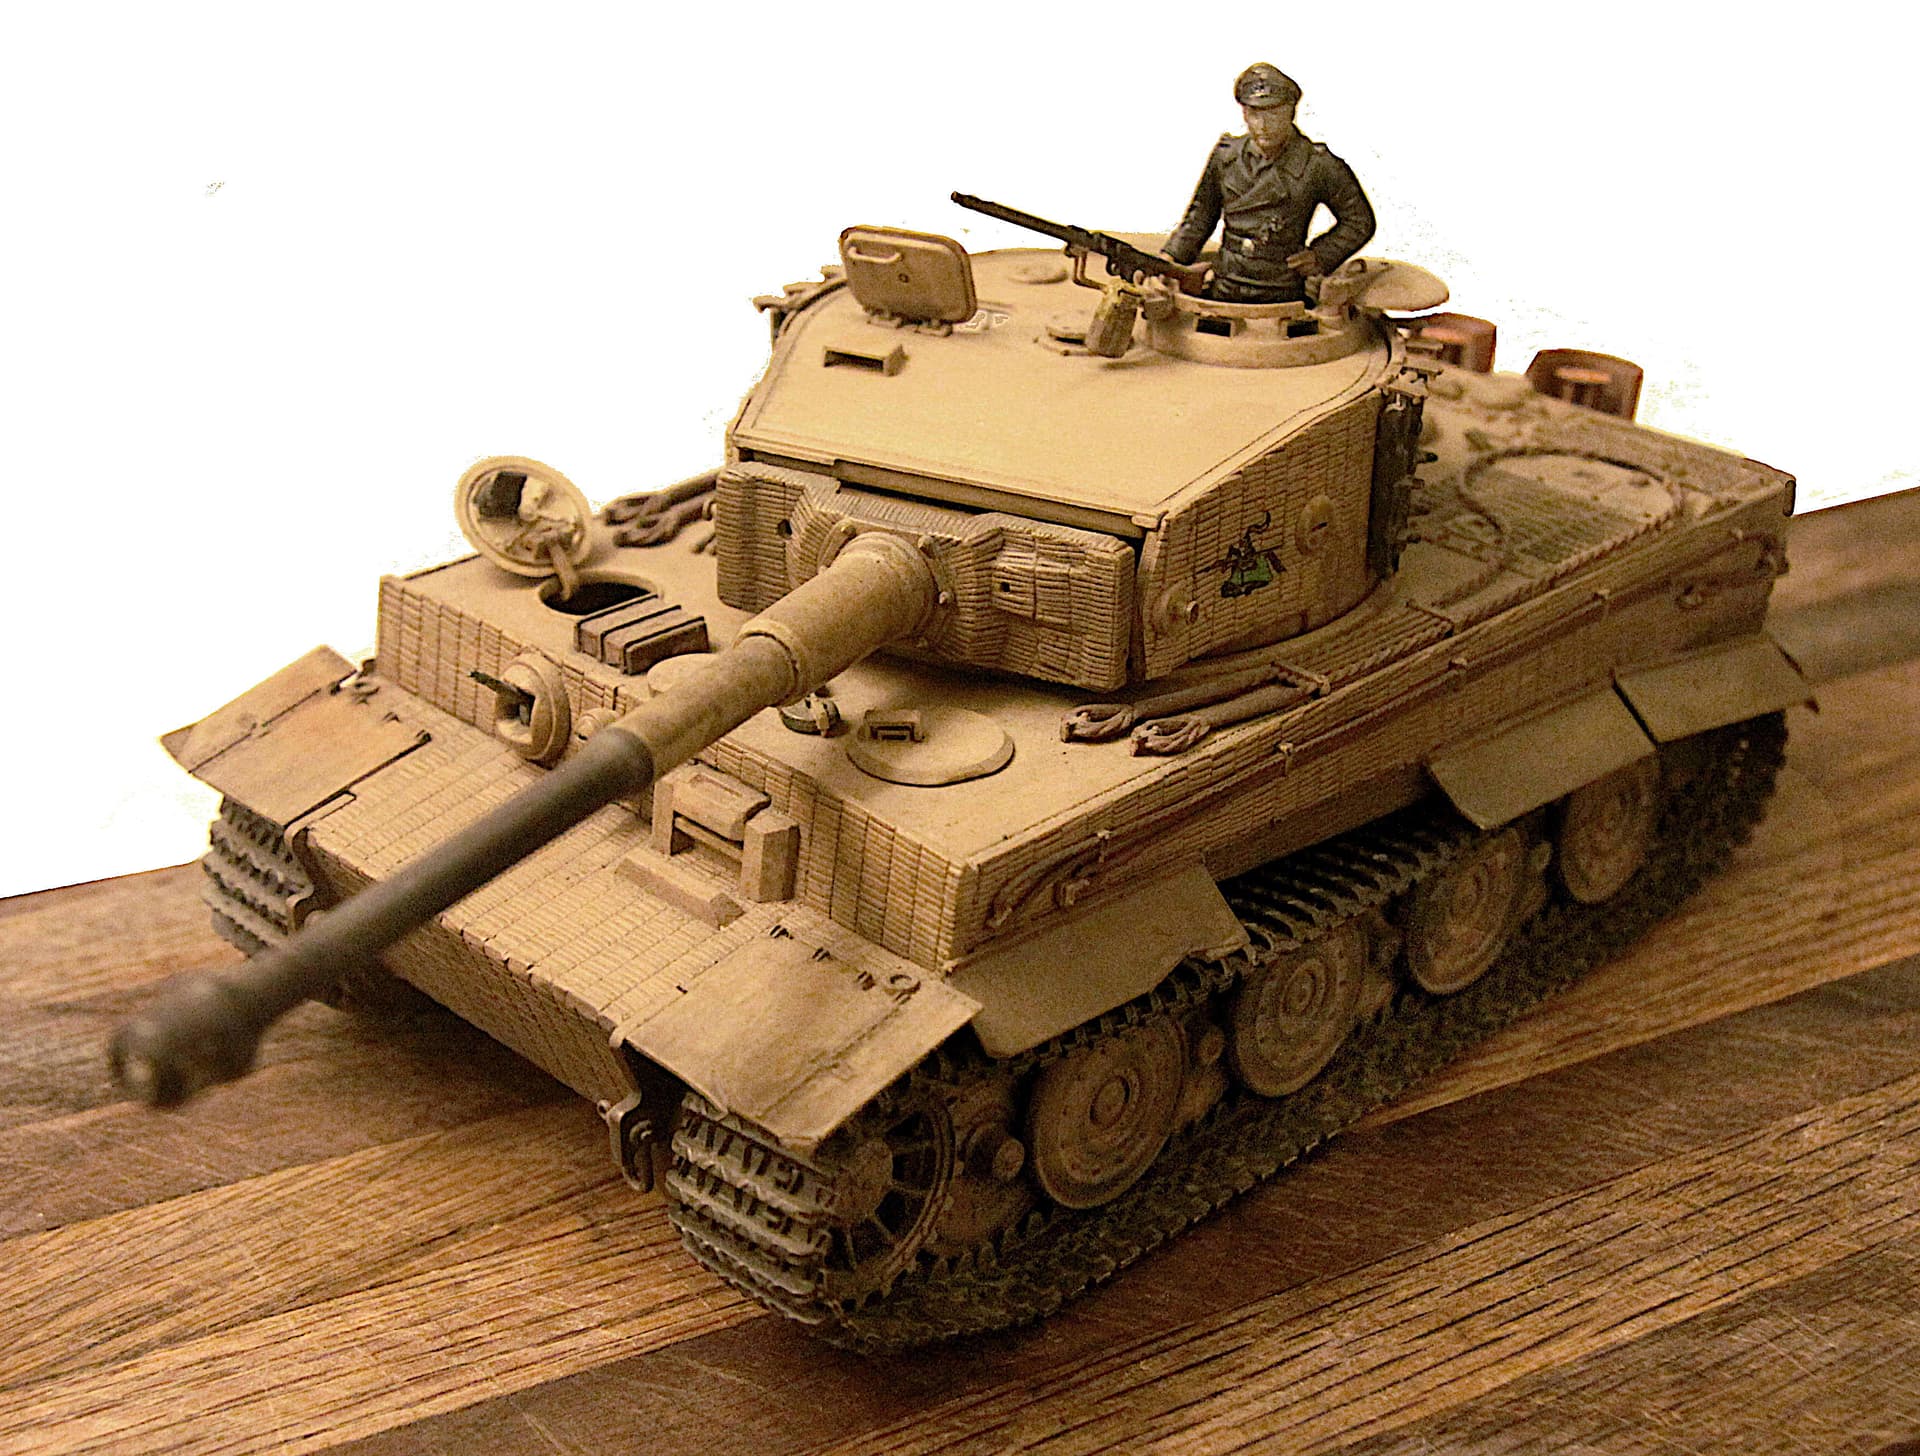
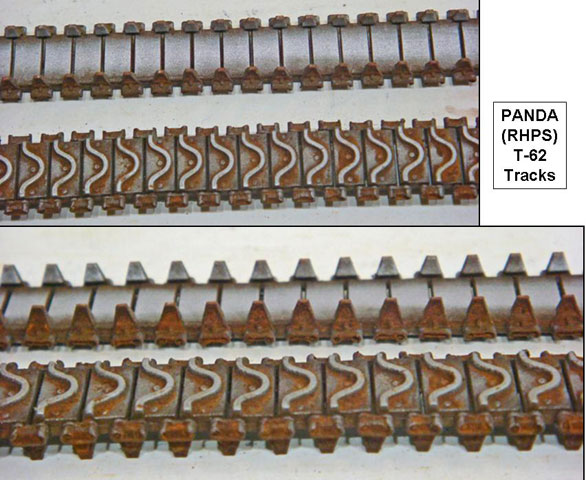
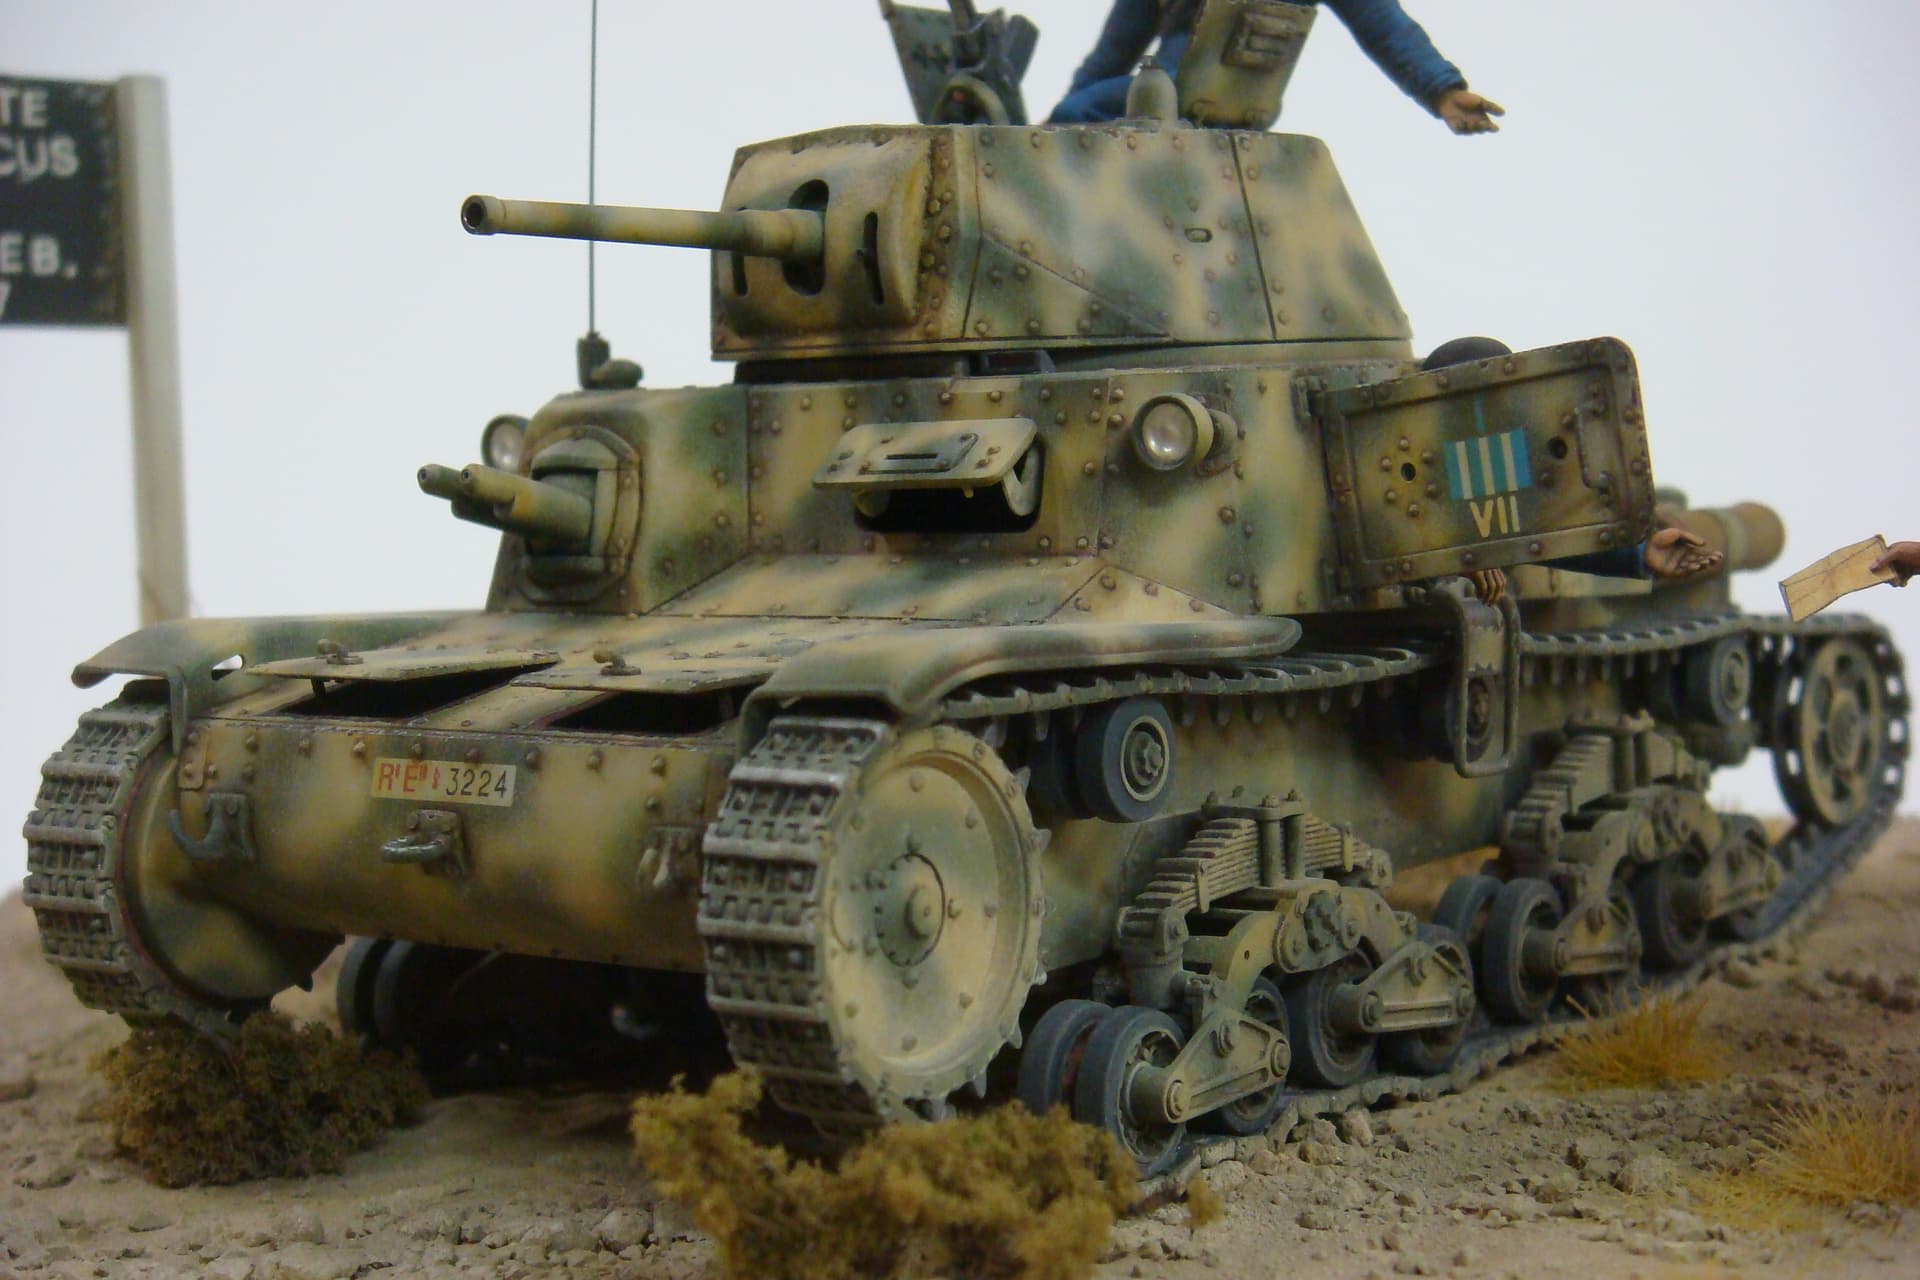
I think this was the old Italeri Tiger I kit but with after market individual plastic track links added.
IMHO ~ Since Friul has “graduated” from clip together to drill and pin together track links I no longer bother with them. Not when I can get individual link plastic tracks that look as good as the above I just don’t see the point.
And then there is the expense.
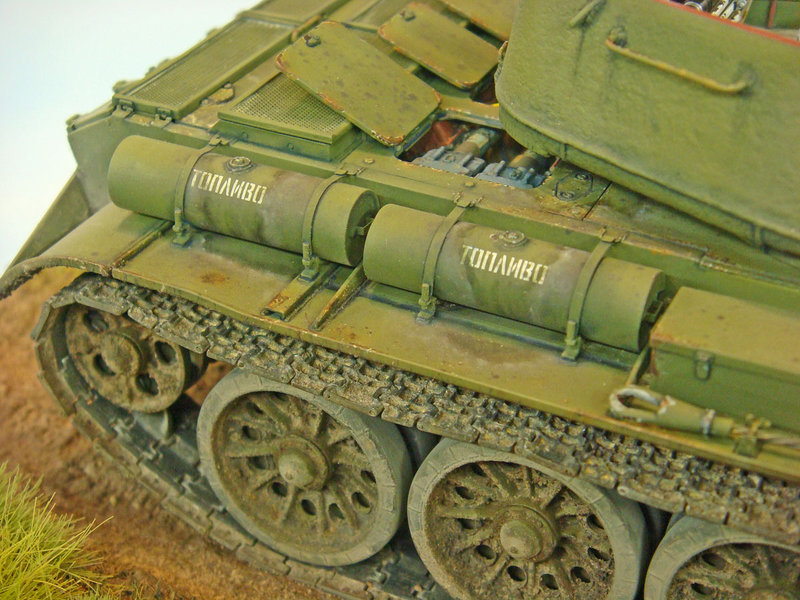
On the previous site there was a member who sprayed random lines of colour on the tracks while off of the model and the result was stunning in its effectiveness.
Friules are tough. Prime and paint. I have had no problem with chipping. You will be fine.
1 Like
Fruils are easy, probably the easiest to work with after assembly. They are expensive however.
Assemble track but don’t close the track and use track burnishing agent of choice. Add additional paint, washes, drybrush & weathering effects as desired.
I’ve never had any luck with burnishing agents. Admittedly the only one I ever uses was Blacken it. back in the day when it was about the only thing available. I prime with Tamiya grey or white and paint with Tamiya dark iron. Weathering is done with a dark brown wash and and some dusting with the AB and pigments. Final step is to lightly sand the contact points to expose the bare metal.
Your mileage may differ.
Darren ~ What did you mean by “individual lines of color”?
In my experience, individual track links come in two varieties with distinct properties, metal and styrene.
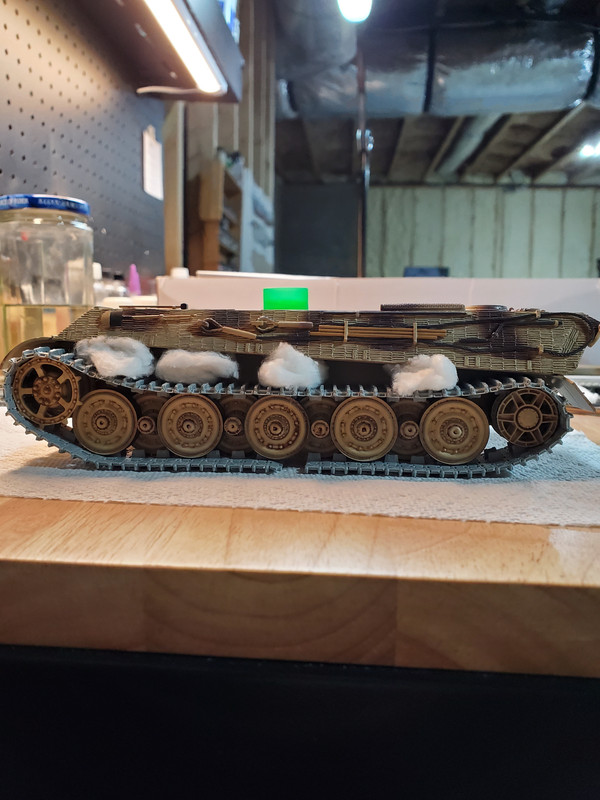
For individual link or link and length styrene track, I build up the entire run, wait about 30 minutes for the glue to grab, then wrap them around the running gear, using pieces of folded paper towel to force the tracks to drape the way I want. The track ends always meet at the sprocket and remain unglued. After a couple days, I pull the tracks off, using the break at the sprocket to remove the sprocket itself. In this way, I can paint the entire track run as a single assembly.
If you use this method, always mount both track runs at the same time. If you mount the runs on different days, you can end up with a pigeon toed tank. Also, make sure all your road wheels sit flat on the ground or conform to any planned terrain before everything dries. If you do not do this, you will end up with road wheels that hover in the air. Model judges will ding you for that.
For metal tracks, I assemble the entire run, making sure I have enough links to close the run including whatever draping effects I want. I do not join the first and last links, allowing the whole run to lay flat for painting.
After a bath to remove mold and skin oils, both metal and syrene tracks receive an airbrushed coat of some dark earth color, usually burnt umber. With the base color down, I now spray random earth tones on the tracks to create streaks, squiggles and craziness. Now I drybrush dark ghost grey onto all points that make ground contact, followed by a bare metal color. With primary painting done, I seal my work with a gloss acrylic clear coat. Next come the oils, starting with a very restrained wash of black to make the details pop, followed by random spots and streaks of rust. Oil paints take a long time to dry so I give the tracks a week, then seal them with a matte clear coat. That tends to kill the really fun textural variations on the track, so I finish off with a very small amount of pigment to bring back some of the texture variations.
As I return to modeling, I am trying to figure out how I can avoid that final clear coat because it ruins the fun textures that develop during painting. Since I am switching to acrylics for base painting, my hope is to skip the gloss sealing step, thus negating the need to flatted out the tones after the oil paints.
I have tried a couple different products for rusting metal tracks. These acids chemically attack the metal links, pitting their surface and depositing real rust. If done well, they produce really fun colors and textures. Unfortunately, they are also extremely toxic and hard to control so I stopped using them.
With metal tracks, I take great care to get the base coat between the links, let all paint coats cure for a few days, and avoid excessive handling. This allows the paint to snug down tight and resist chipping. If any paint chips off or an unpainted surface shows up, I go in with some earth tones and touch up the problem areas. I also skip the drybrushing step. Instead, after the oil paint step but before the sealing step, I take fine grit sand paper to contact surfaces to reveal the underlying metal. The effect looks very realistic because it mirrors exactly what happens to real tracks. After sanding, give the tracks a bath to remove fine grain particles. Make sure acrylic paints fully cure before exposing them to a bath.
I do not put foe mud on tracks because, in my opinion, it hides all the wonderful textural detail of the model. I avoid heavy use of pigments for the same reason.
Having written all that, my way is just one of many possibilities and you must do what is right for you. If you find methods such as mine excessively complicated and prefer a simple procedure for painting tracks, do that! If you like mud and pigments, use them! Military models reflect history but also serve as a canvas for artistic expression. Indulge your creativity, experiment, and carve your own path as an artist and historian. 
As I return to modeling, I am most looking forward to experimenting with all the wonderful paints and mediums now available.
Doug
7 Likes
@Damraska excellent post and explanation! Nothing looks as silly as a pigeon towed tank unless it’s a fan footed tank!
Look forward to seeing more posts and details. Happy modeling
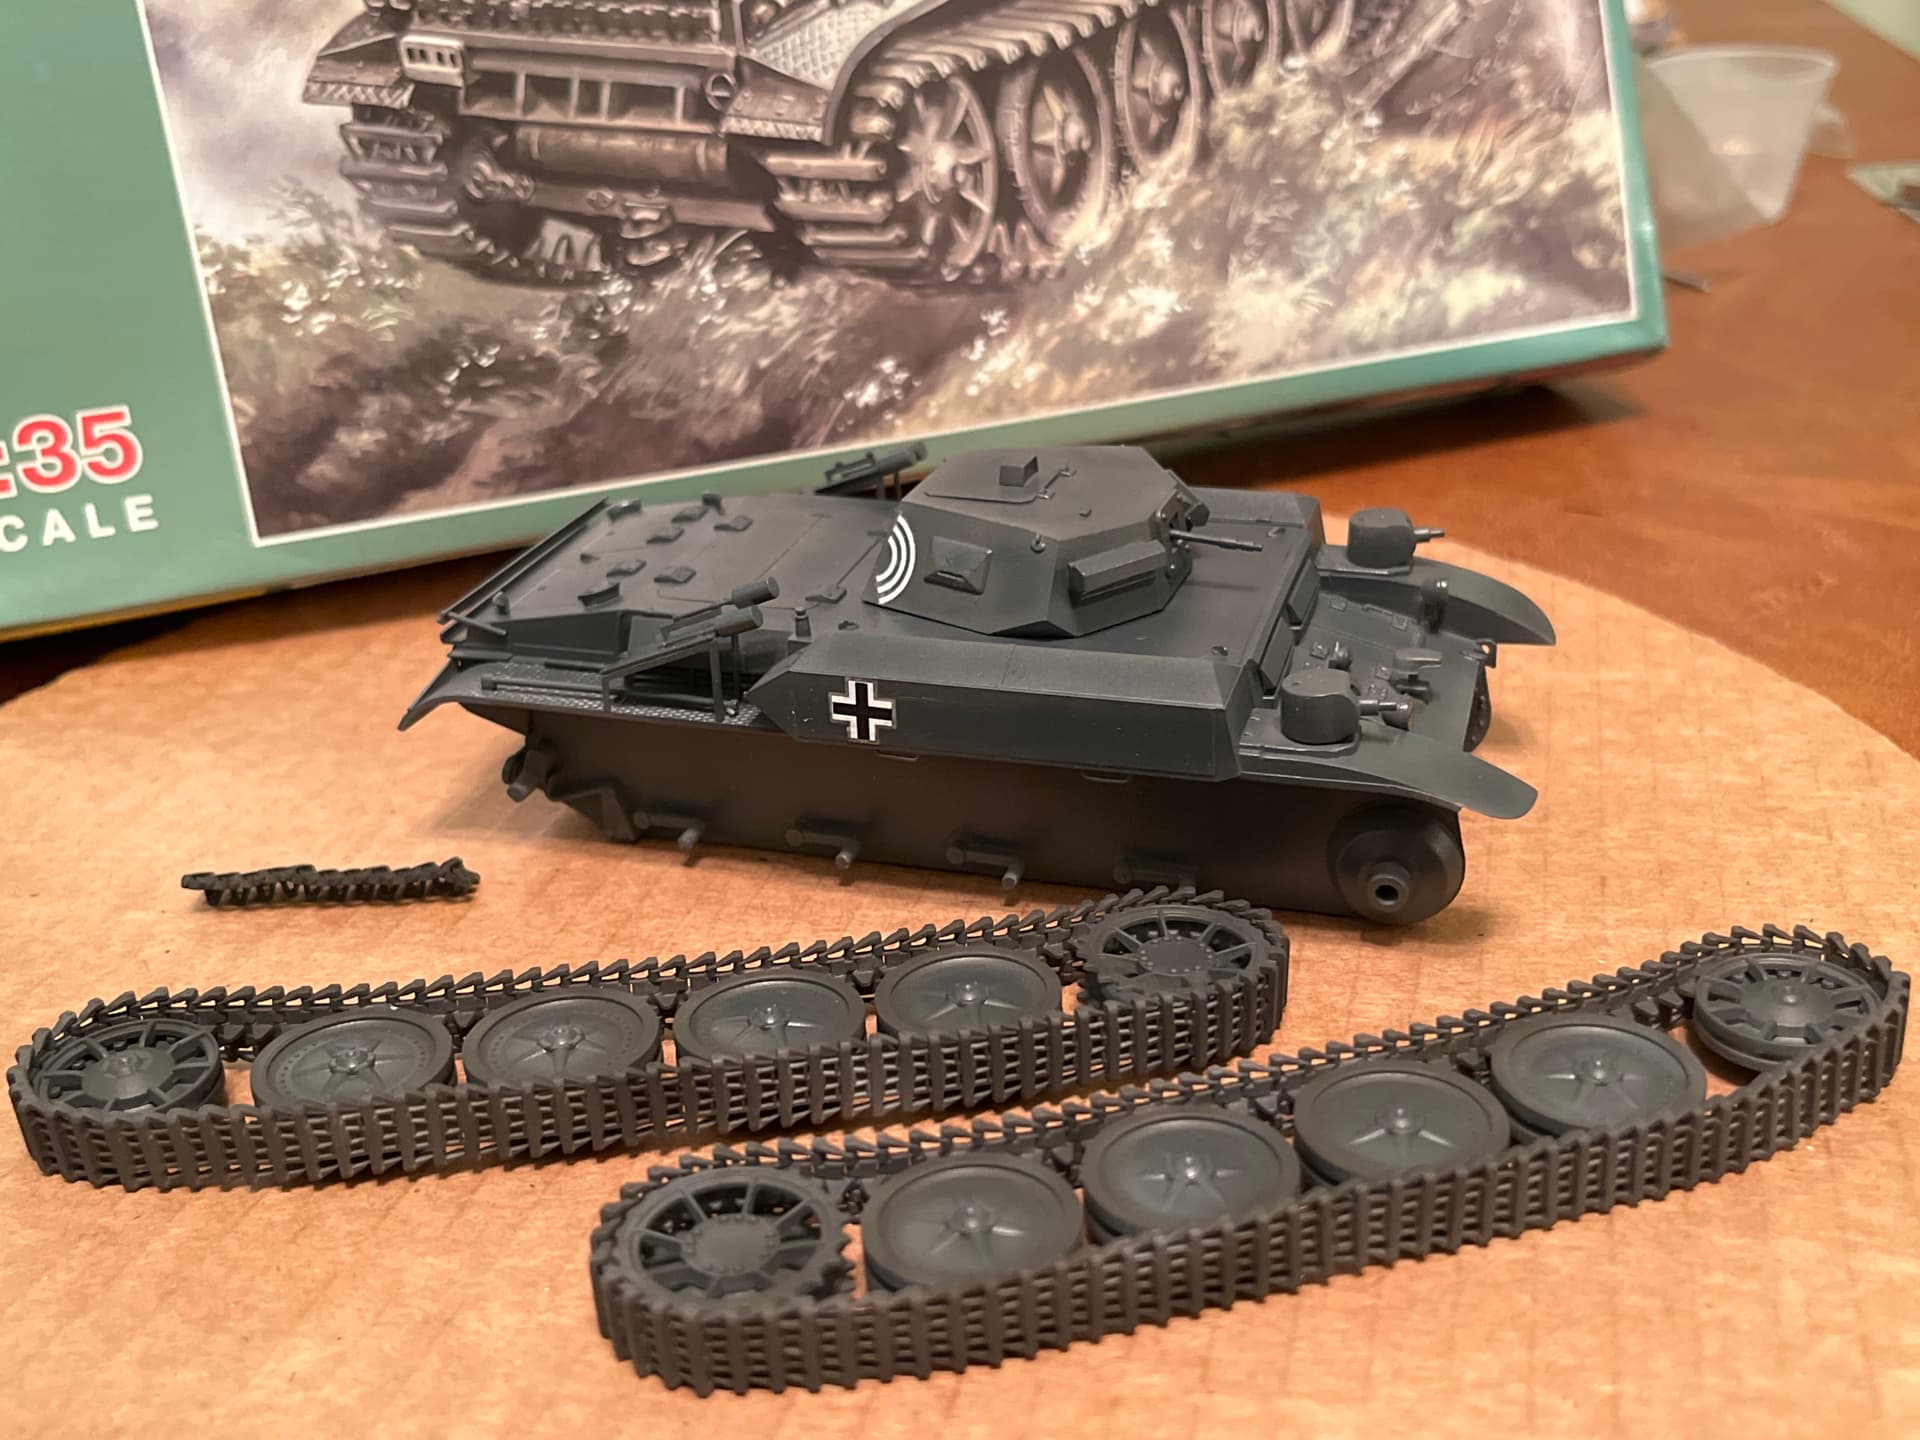
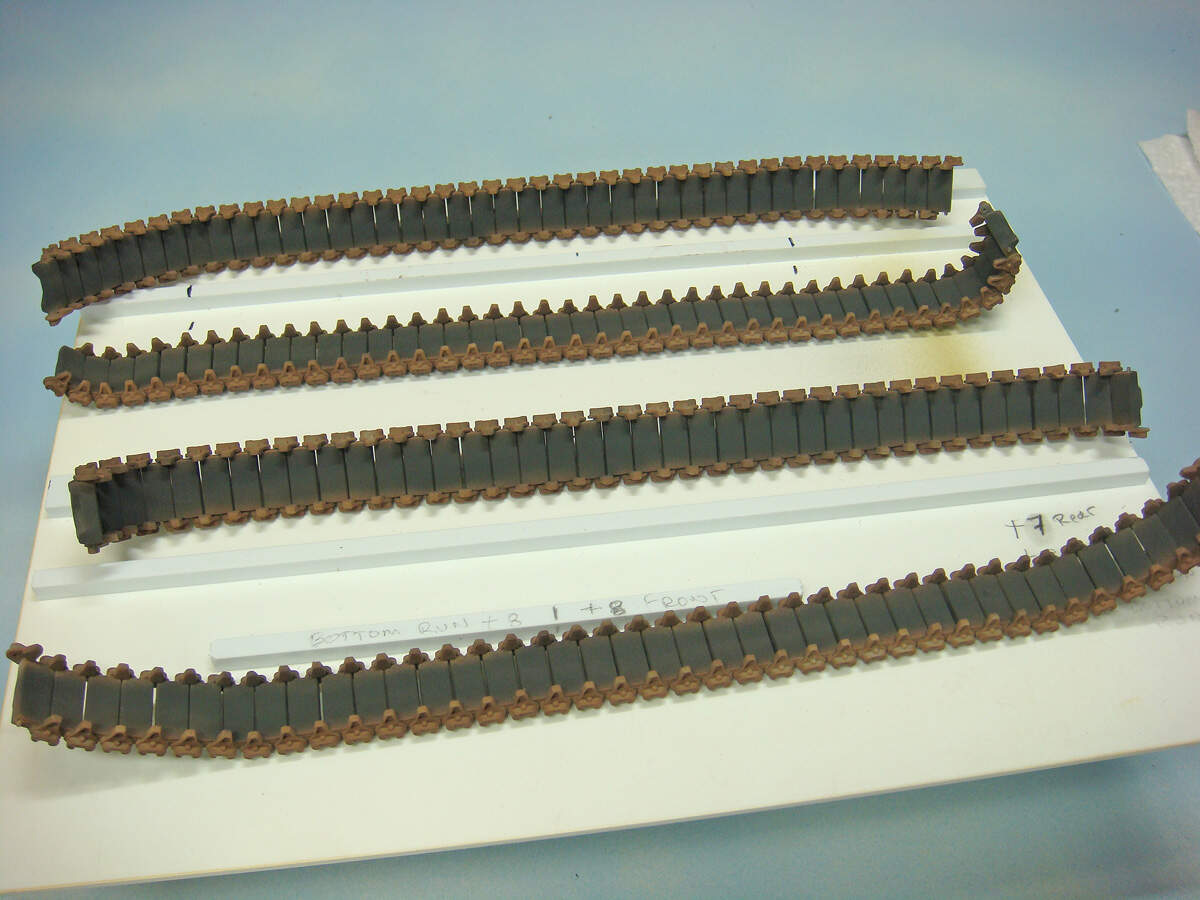
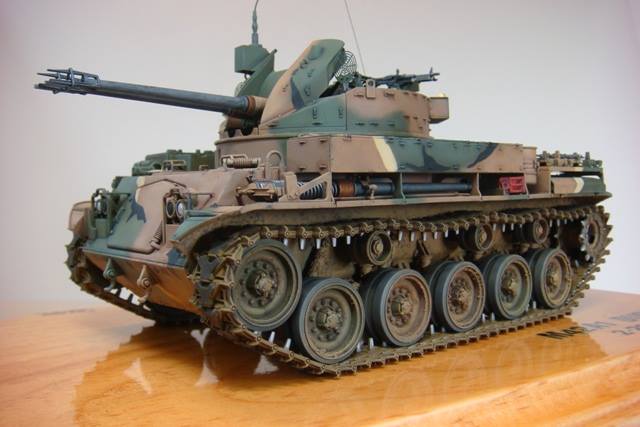
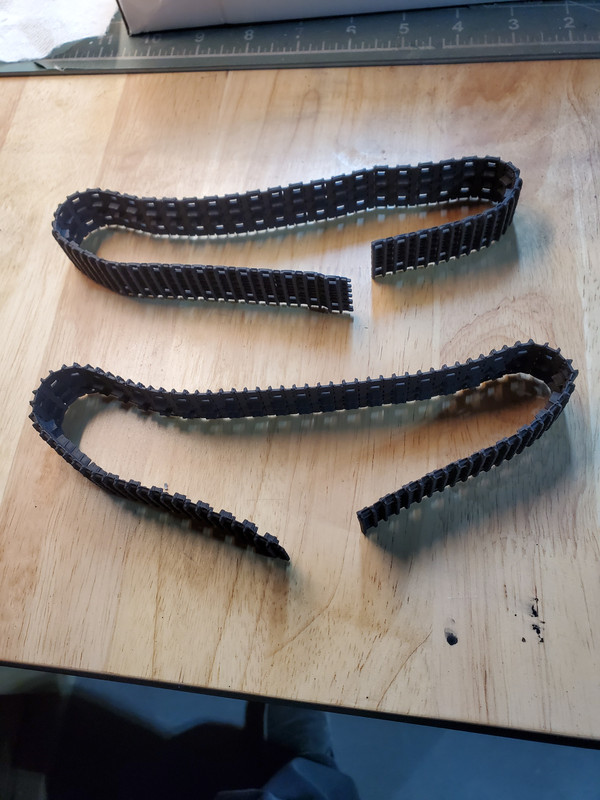
I’m very new to individual link plastic. Have used Fruils a couple times before. This is my second set of plastic and first decent result. The spare section is actually leftover Fruil. I’m trying a little different approach on this one - seems to be working out. I fitted the track over the model then removed track and wheels as a subassembly for painting. So far this is a primer of dark gull grey acrylic, schwartzgrau misted on the wheel centers, then a light coat of black/nato brown mix.
**Side question: For those using oils for washes, **
What color combos do you use for a dry dusty appearance?
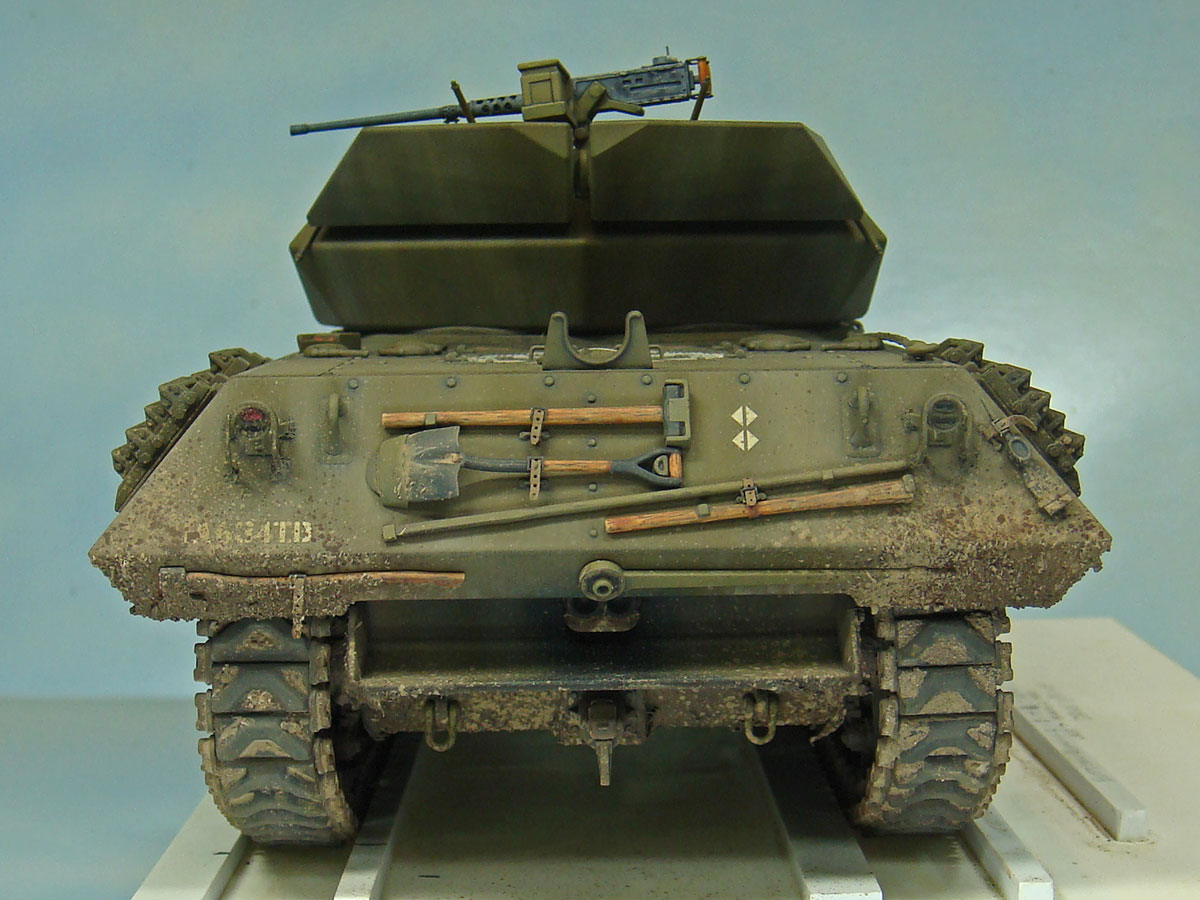
I know the decals are silvered, no matter how many coats of micro sol and micro set I put on. I even tried to remove them with no luck! They’re just gonna have to be that way.
1 Like
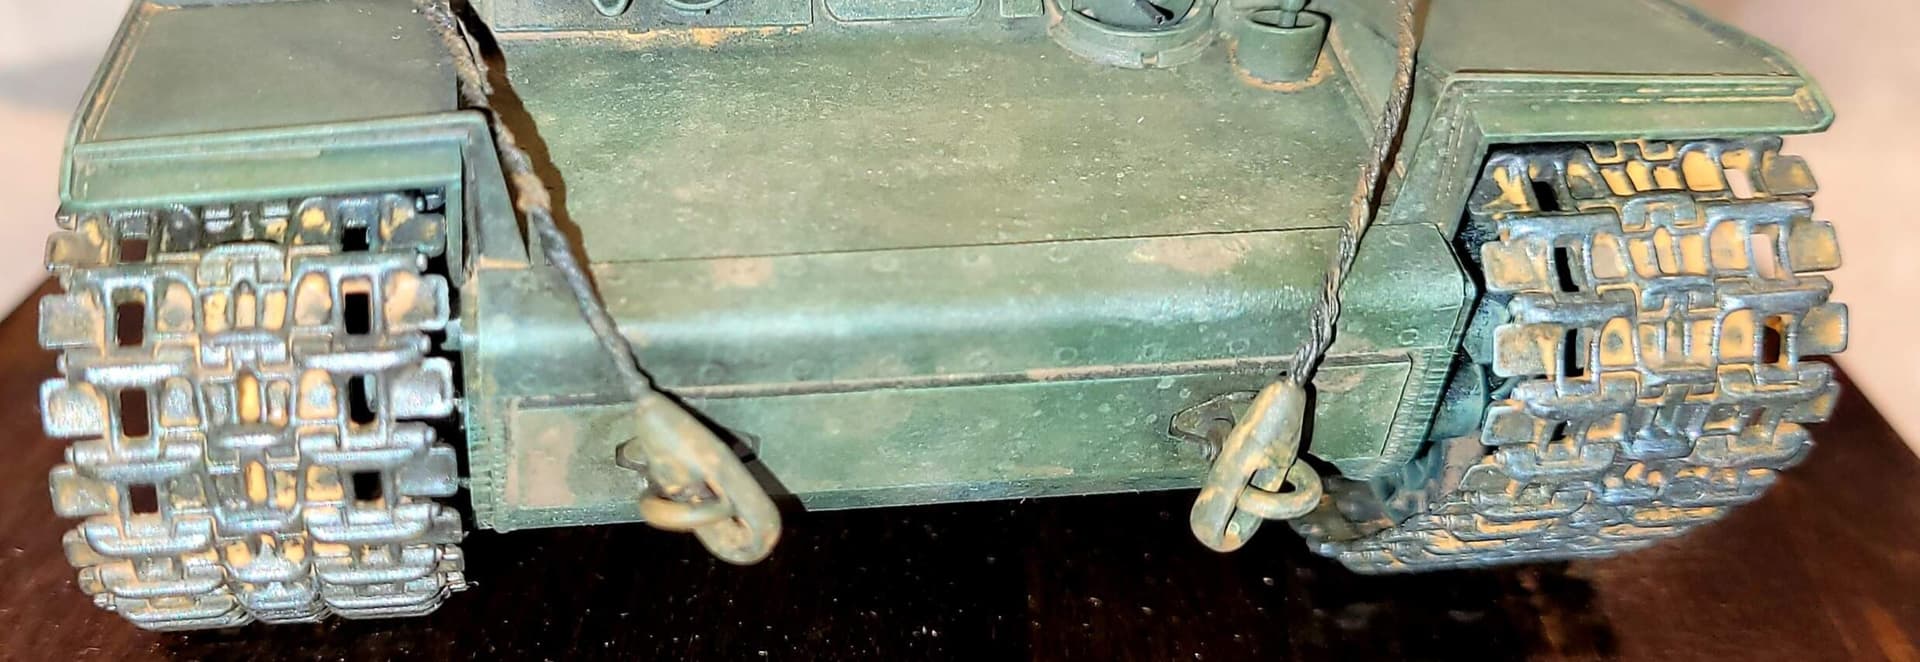
Weathering plastic tracks, couple of randomly applied light pen washes using whatever dirt colored paints are at hand. Used wash/pen washes of Floquil Military Colors enamel dirt, orange rust, rust and dust using lighter fluid to thin. Followed with drybrushed pewter oil paint.
In my experience, often silvered decal film can be hidden. One way is to cut out the sticky part of Post It Note and use to mask a straight edge along the decal film then carefully drybrushed over the silvered film edge. Tamiya paintings tape can work as well. The lightly drybrushed touch up will mostly blend and disappear under the weathering that follows.
3 Likes
Airbrush. Washes. Metal highlights can be done with airbrushing, dry-brushing or with one of the buffing metallic canuba wax products (silver and other colors of “Rub-n-Buff” are the classic products that have been available in craft stores for nearly 50 years, but now MIG offers similar products). Selective application of pigment fixer followed by pigments to match the 3D texture weathering effects on the model and base ground work.
Metal link-to-link tracks can also be buffed after painting and weathering to bring out the worn metal highlights. Completed full lenghts of metal link-to-link track can be soaked in blackening solutions, but this usually needs following up with other, more conventional, finishing techniques and materials.
Straight sewing pins and a piece of corrugated or foam core cardboard can be used to hold the lengths of track while airbrushing and doing other finishing tasks.
4 Likes
Did you apply the decals to a gloss surface or a matt surface?
Ken
Hey Ken,
Yes I always use a gloss prior to decals. Honestly I’m Over this kit, it has fought me the whole way.
I always paint mine off the vehicle,in all cases,indies,metal,or one piece,I usually prime amd paint.
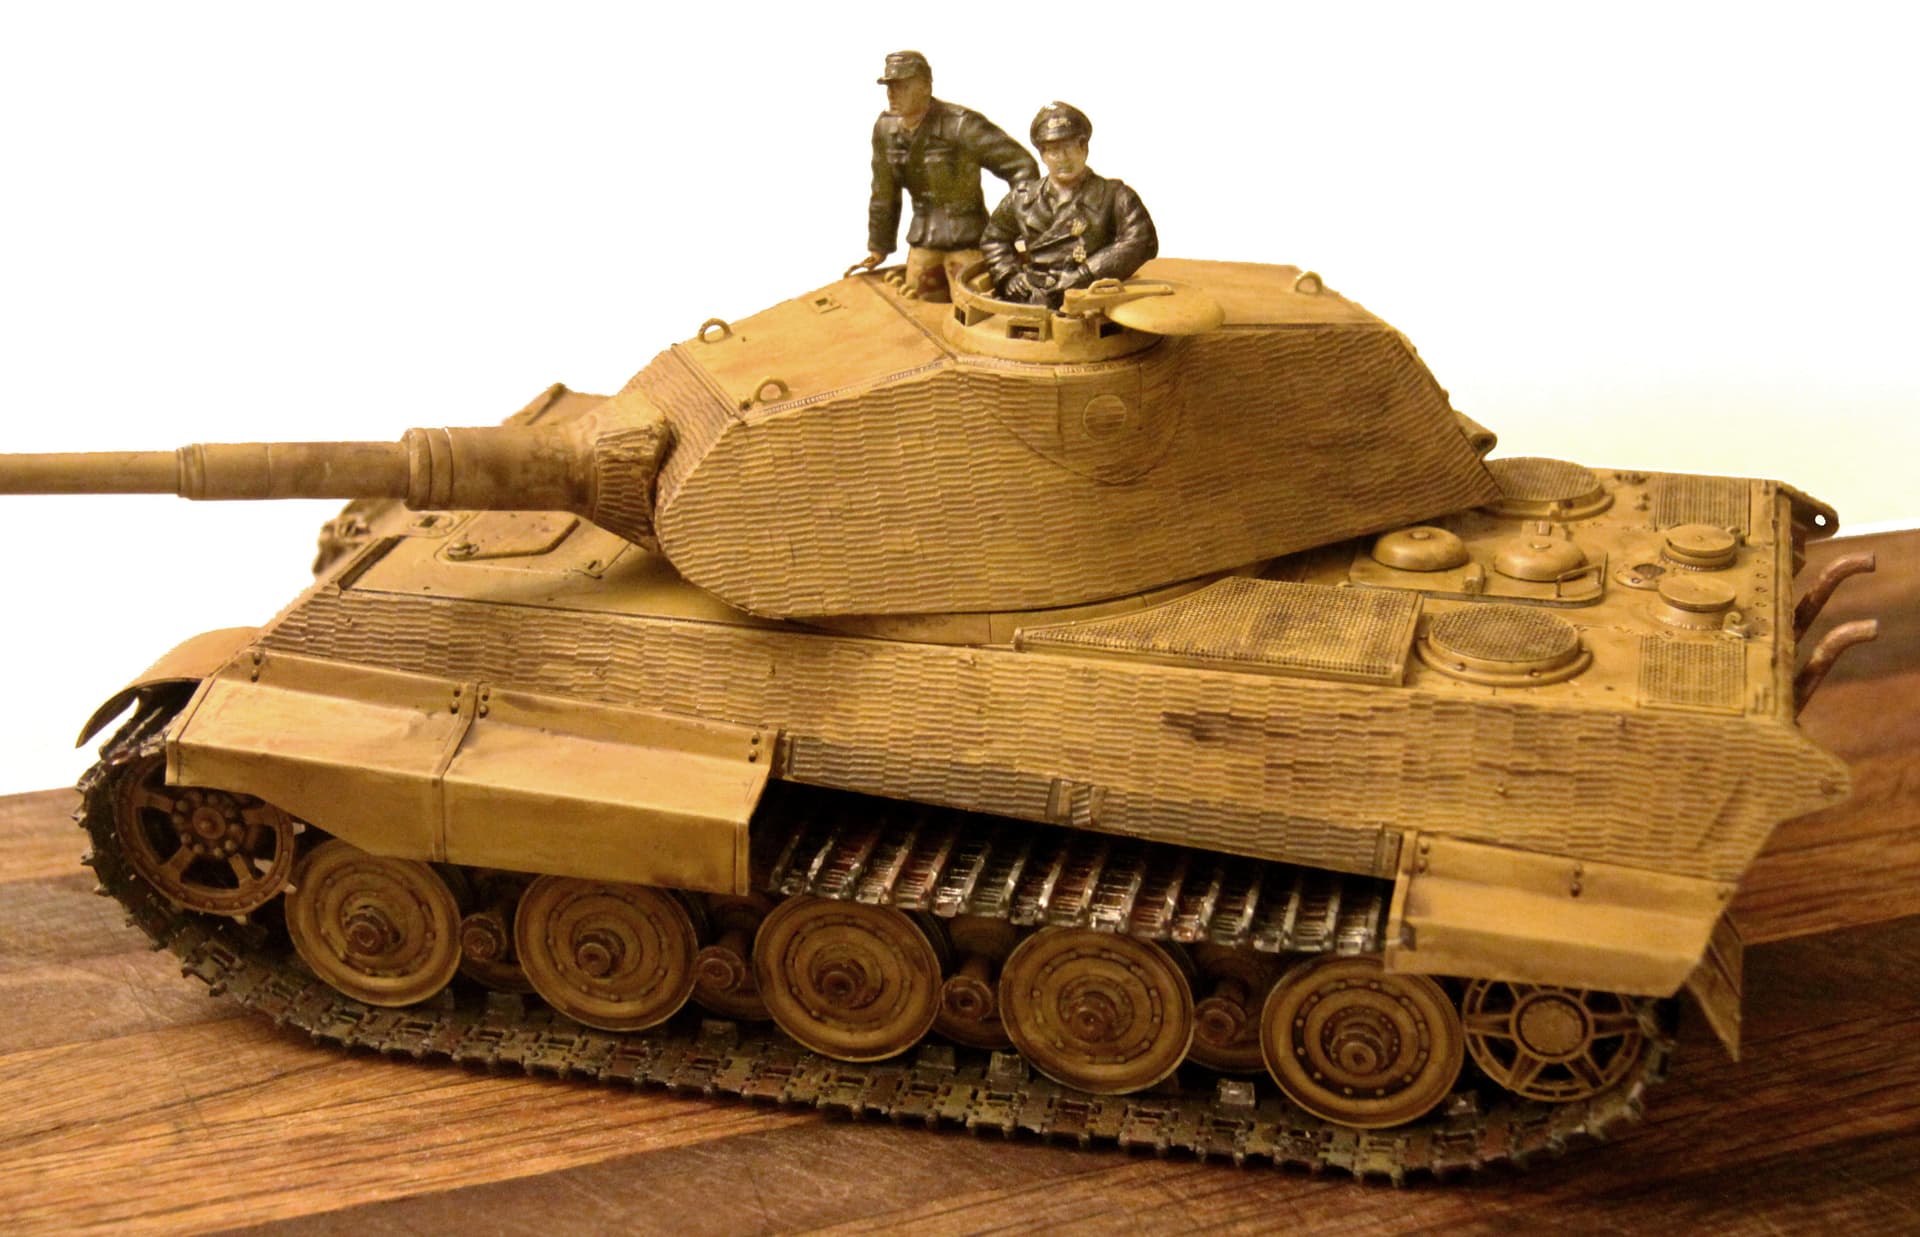
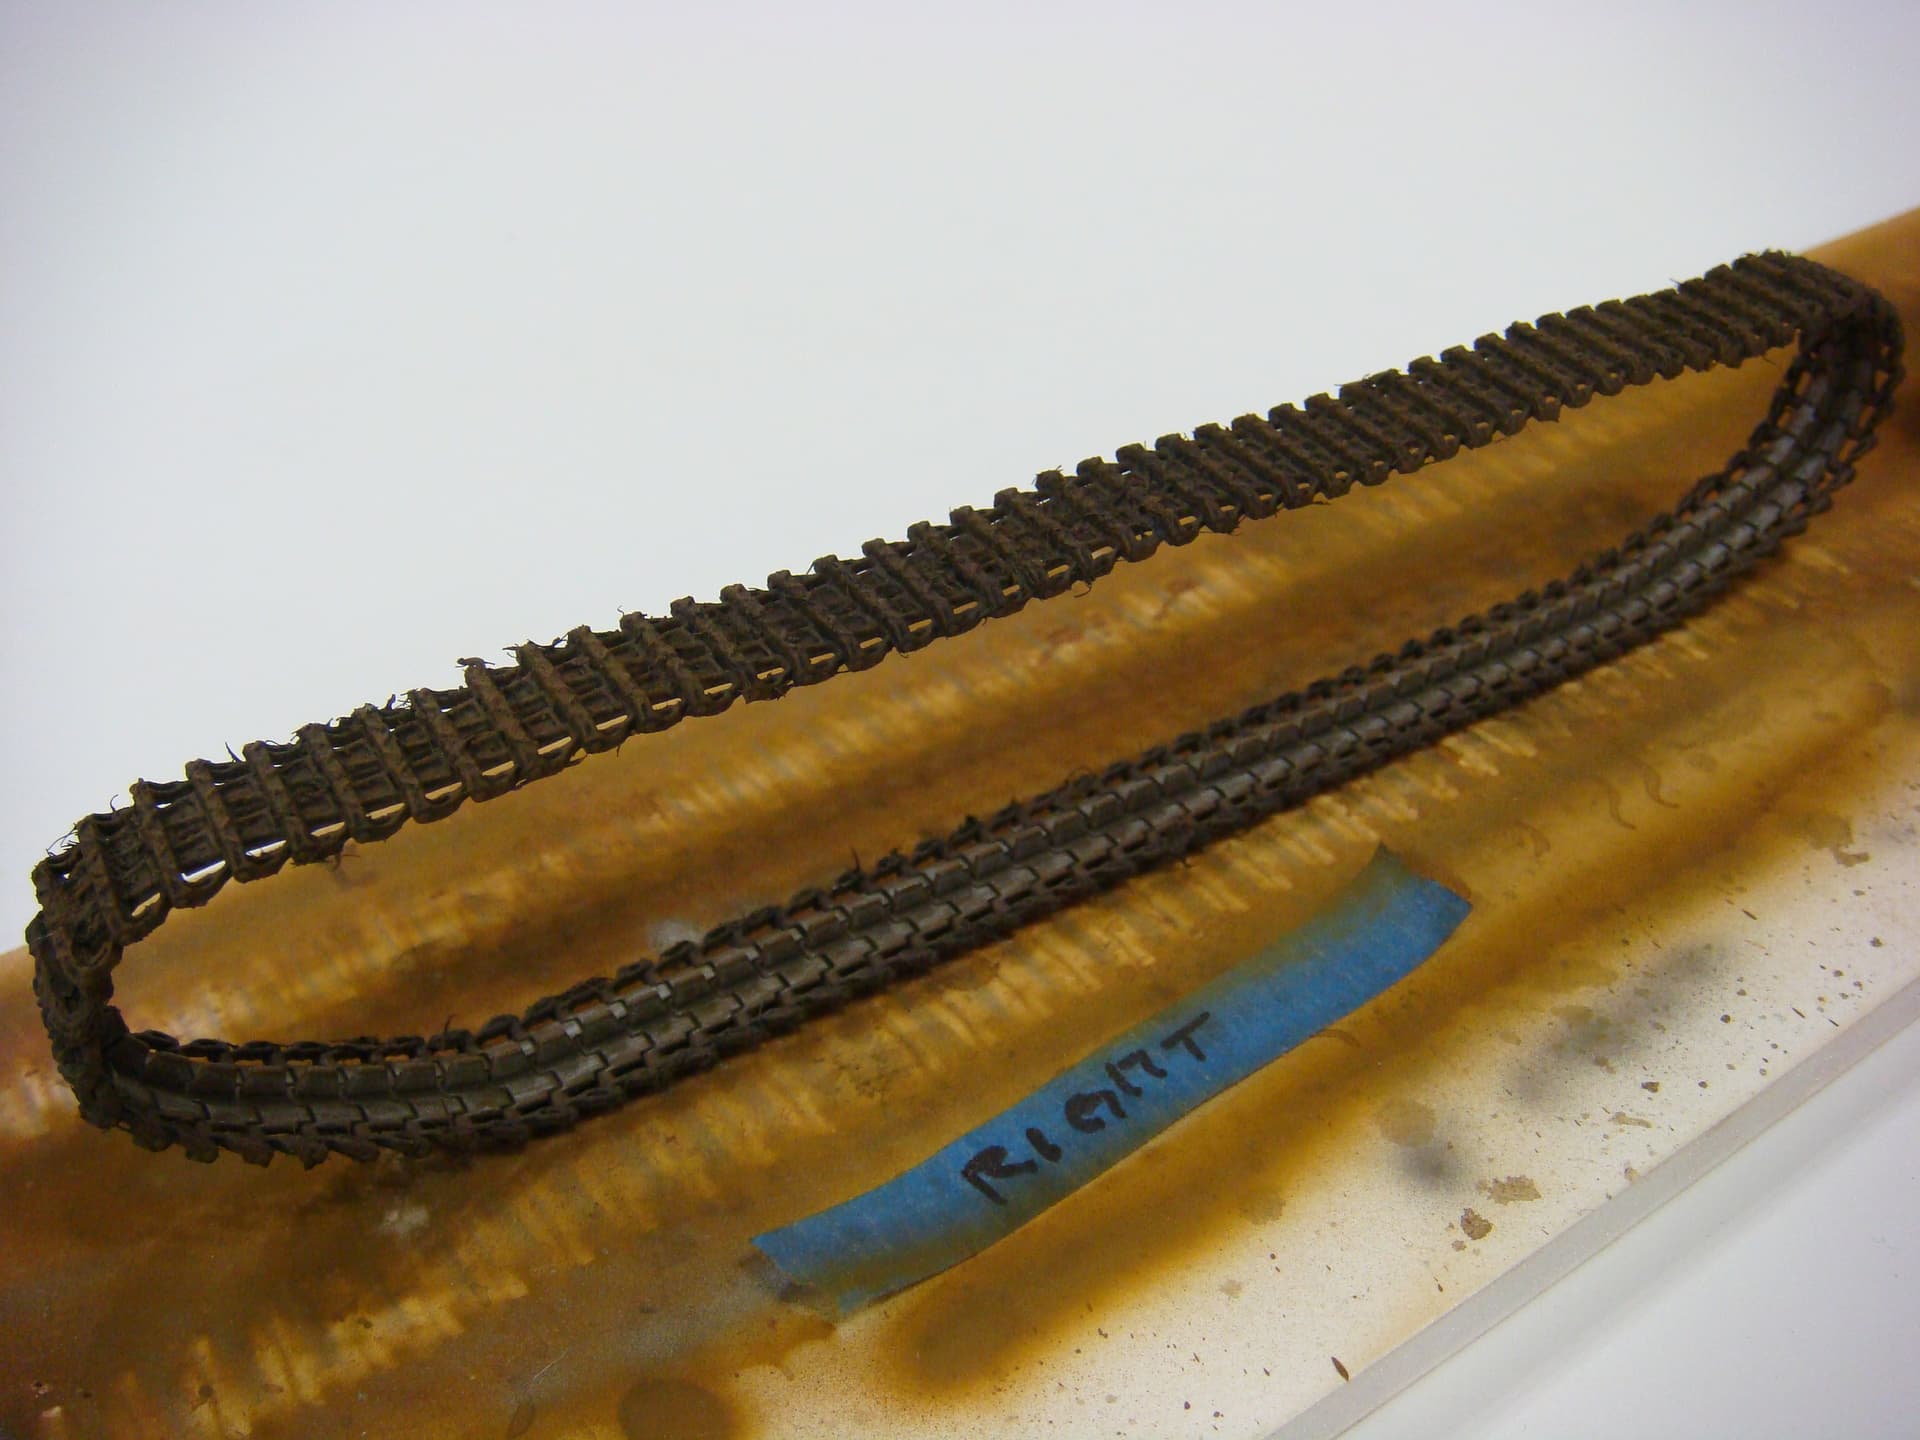
Heres my Magic Tracks for a King Tiger.
1 Like
Yea, I think we’ve all been there once or twice! I find that firecrackers can be sweet revenge!
Ken
Suggestion with individual plastic track links:
Overspray with flat black as a base coat while links are still on the sprue. Then hit here here and there with rust and sand colors brushed on.
Then assemble your tracks and do final weathering touches once they are mounted on the vehicle.
(Just one man’s method ~ Examples posted above.)
1 Like
At 62, I’m feeling like the young pup around here! ![]()
![]()
![]()
1 Like
There is more truth in that statement than I care to admit.
1 Like