This is my first kit after a pause of building any model almost for 10 years.
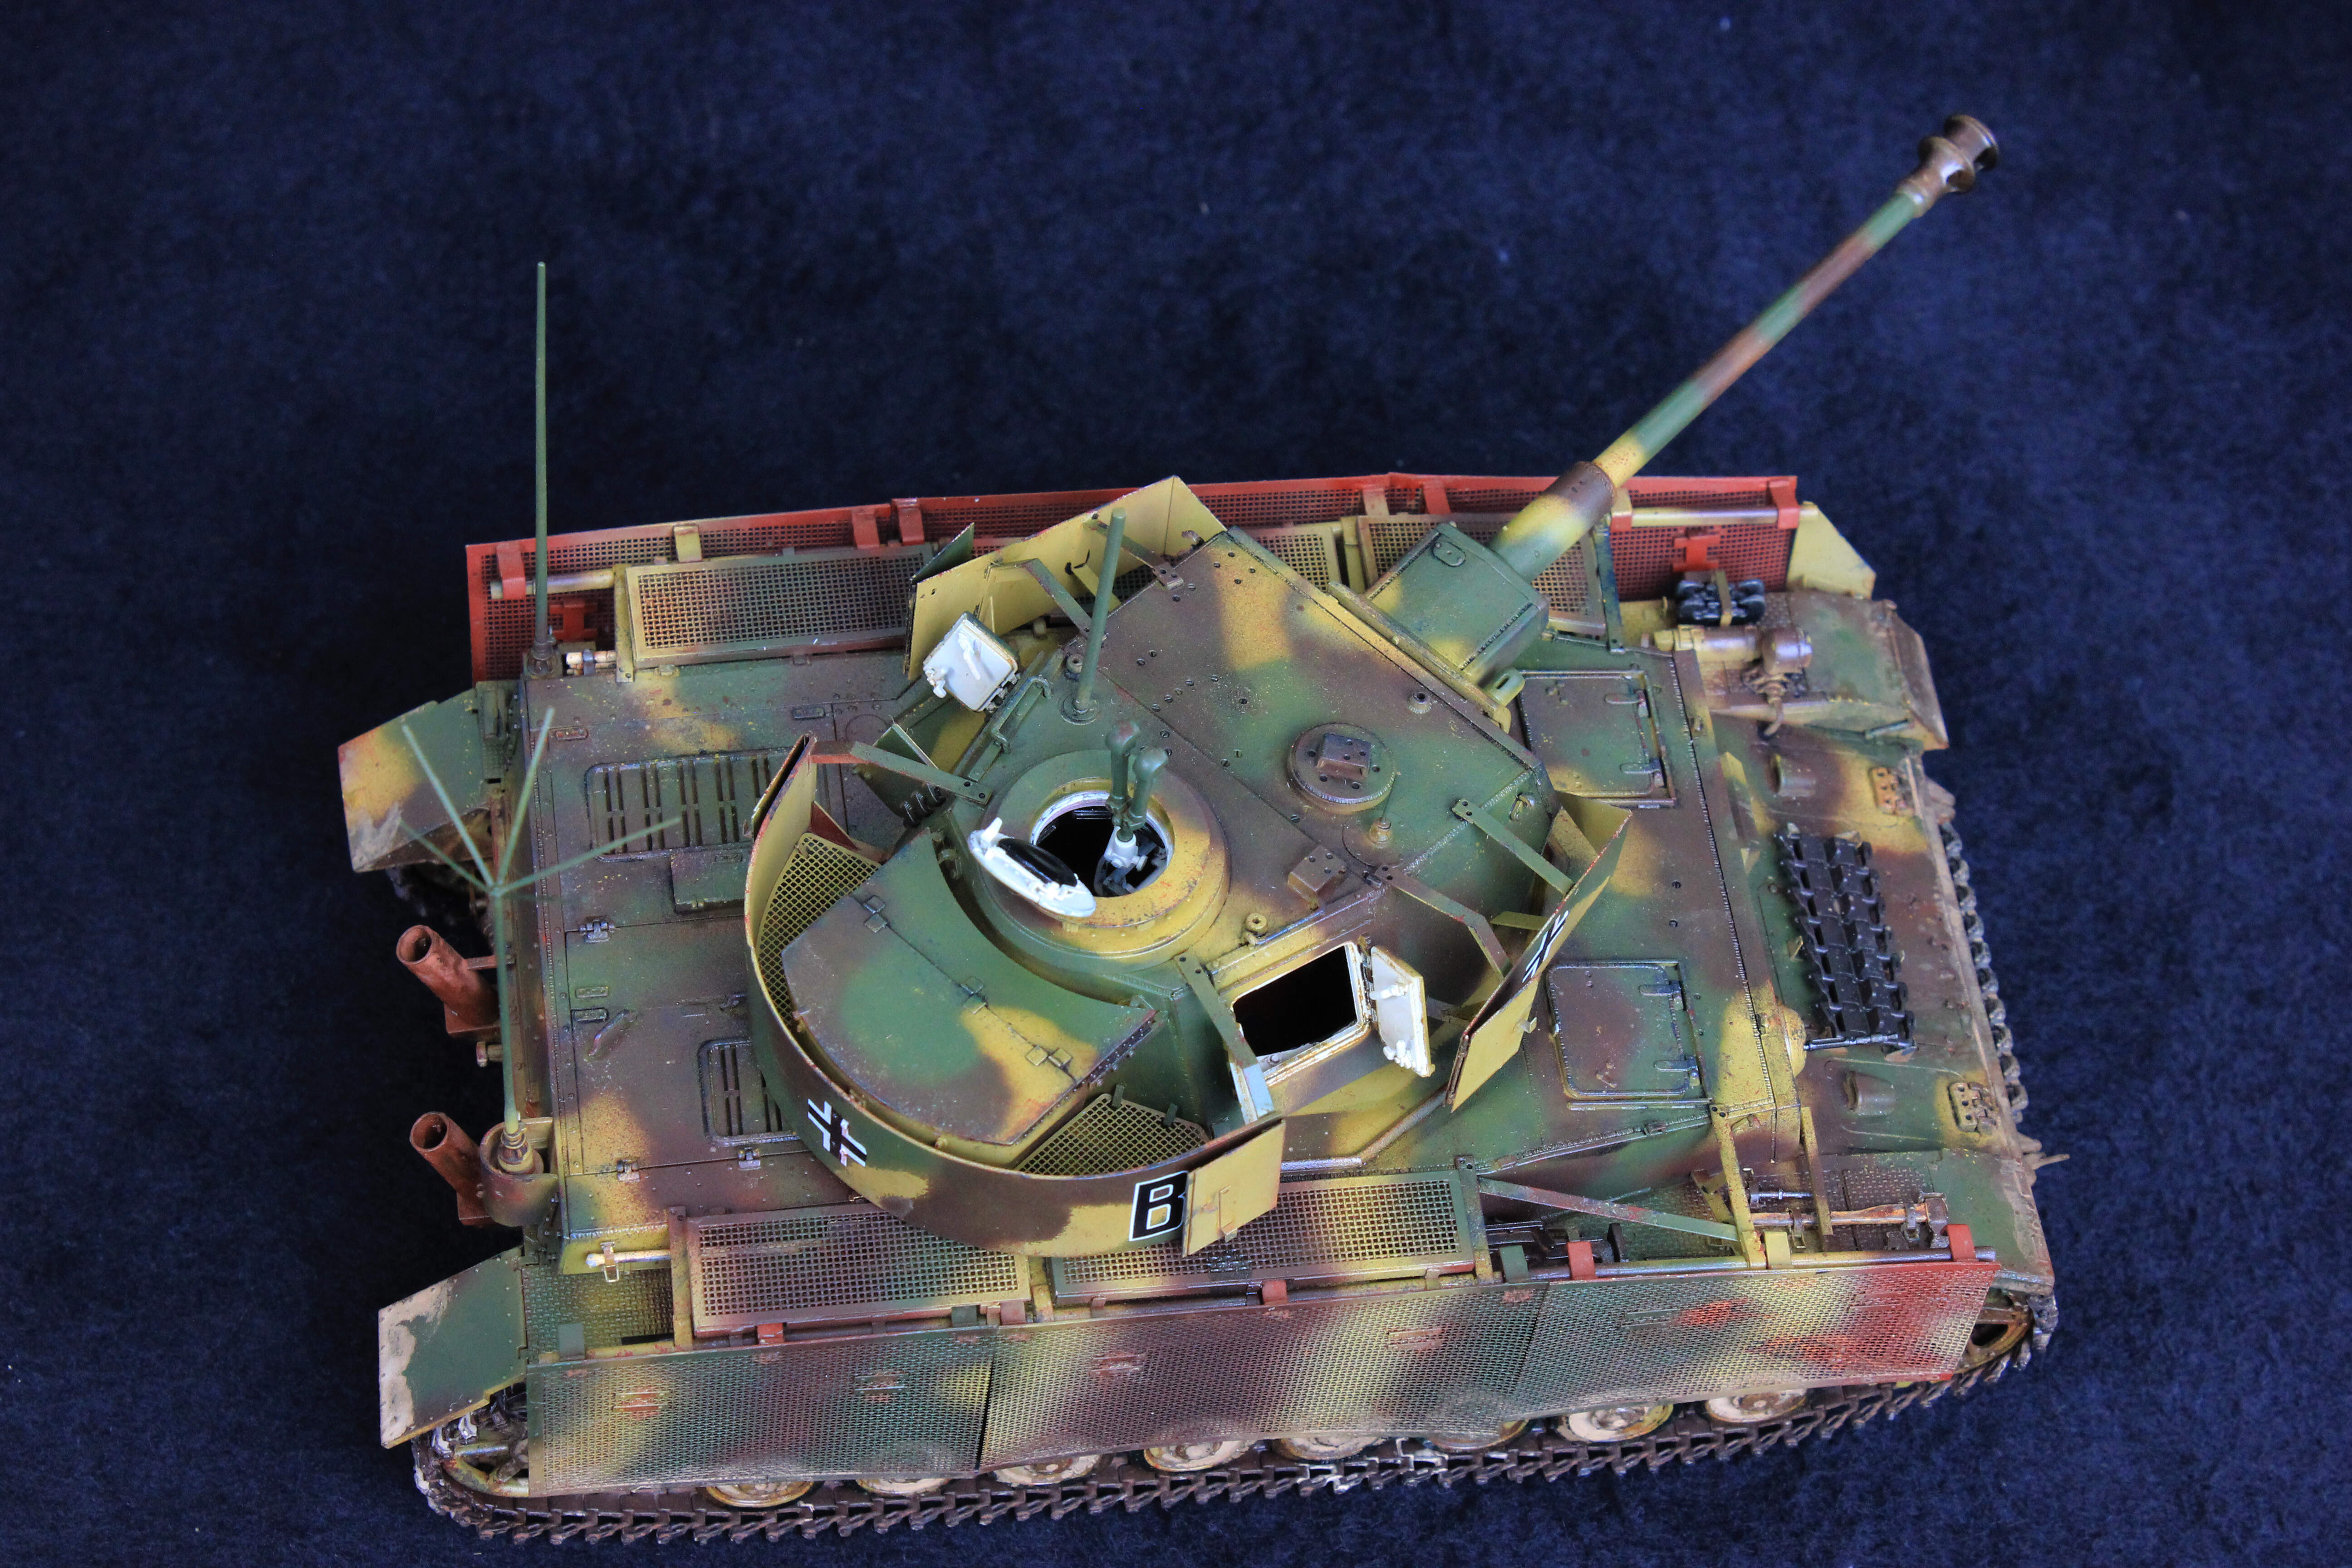
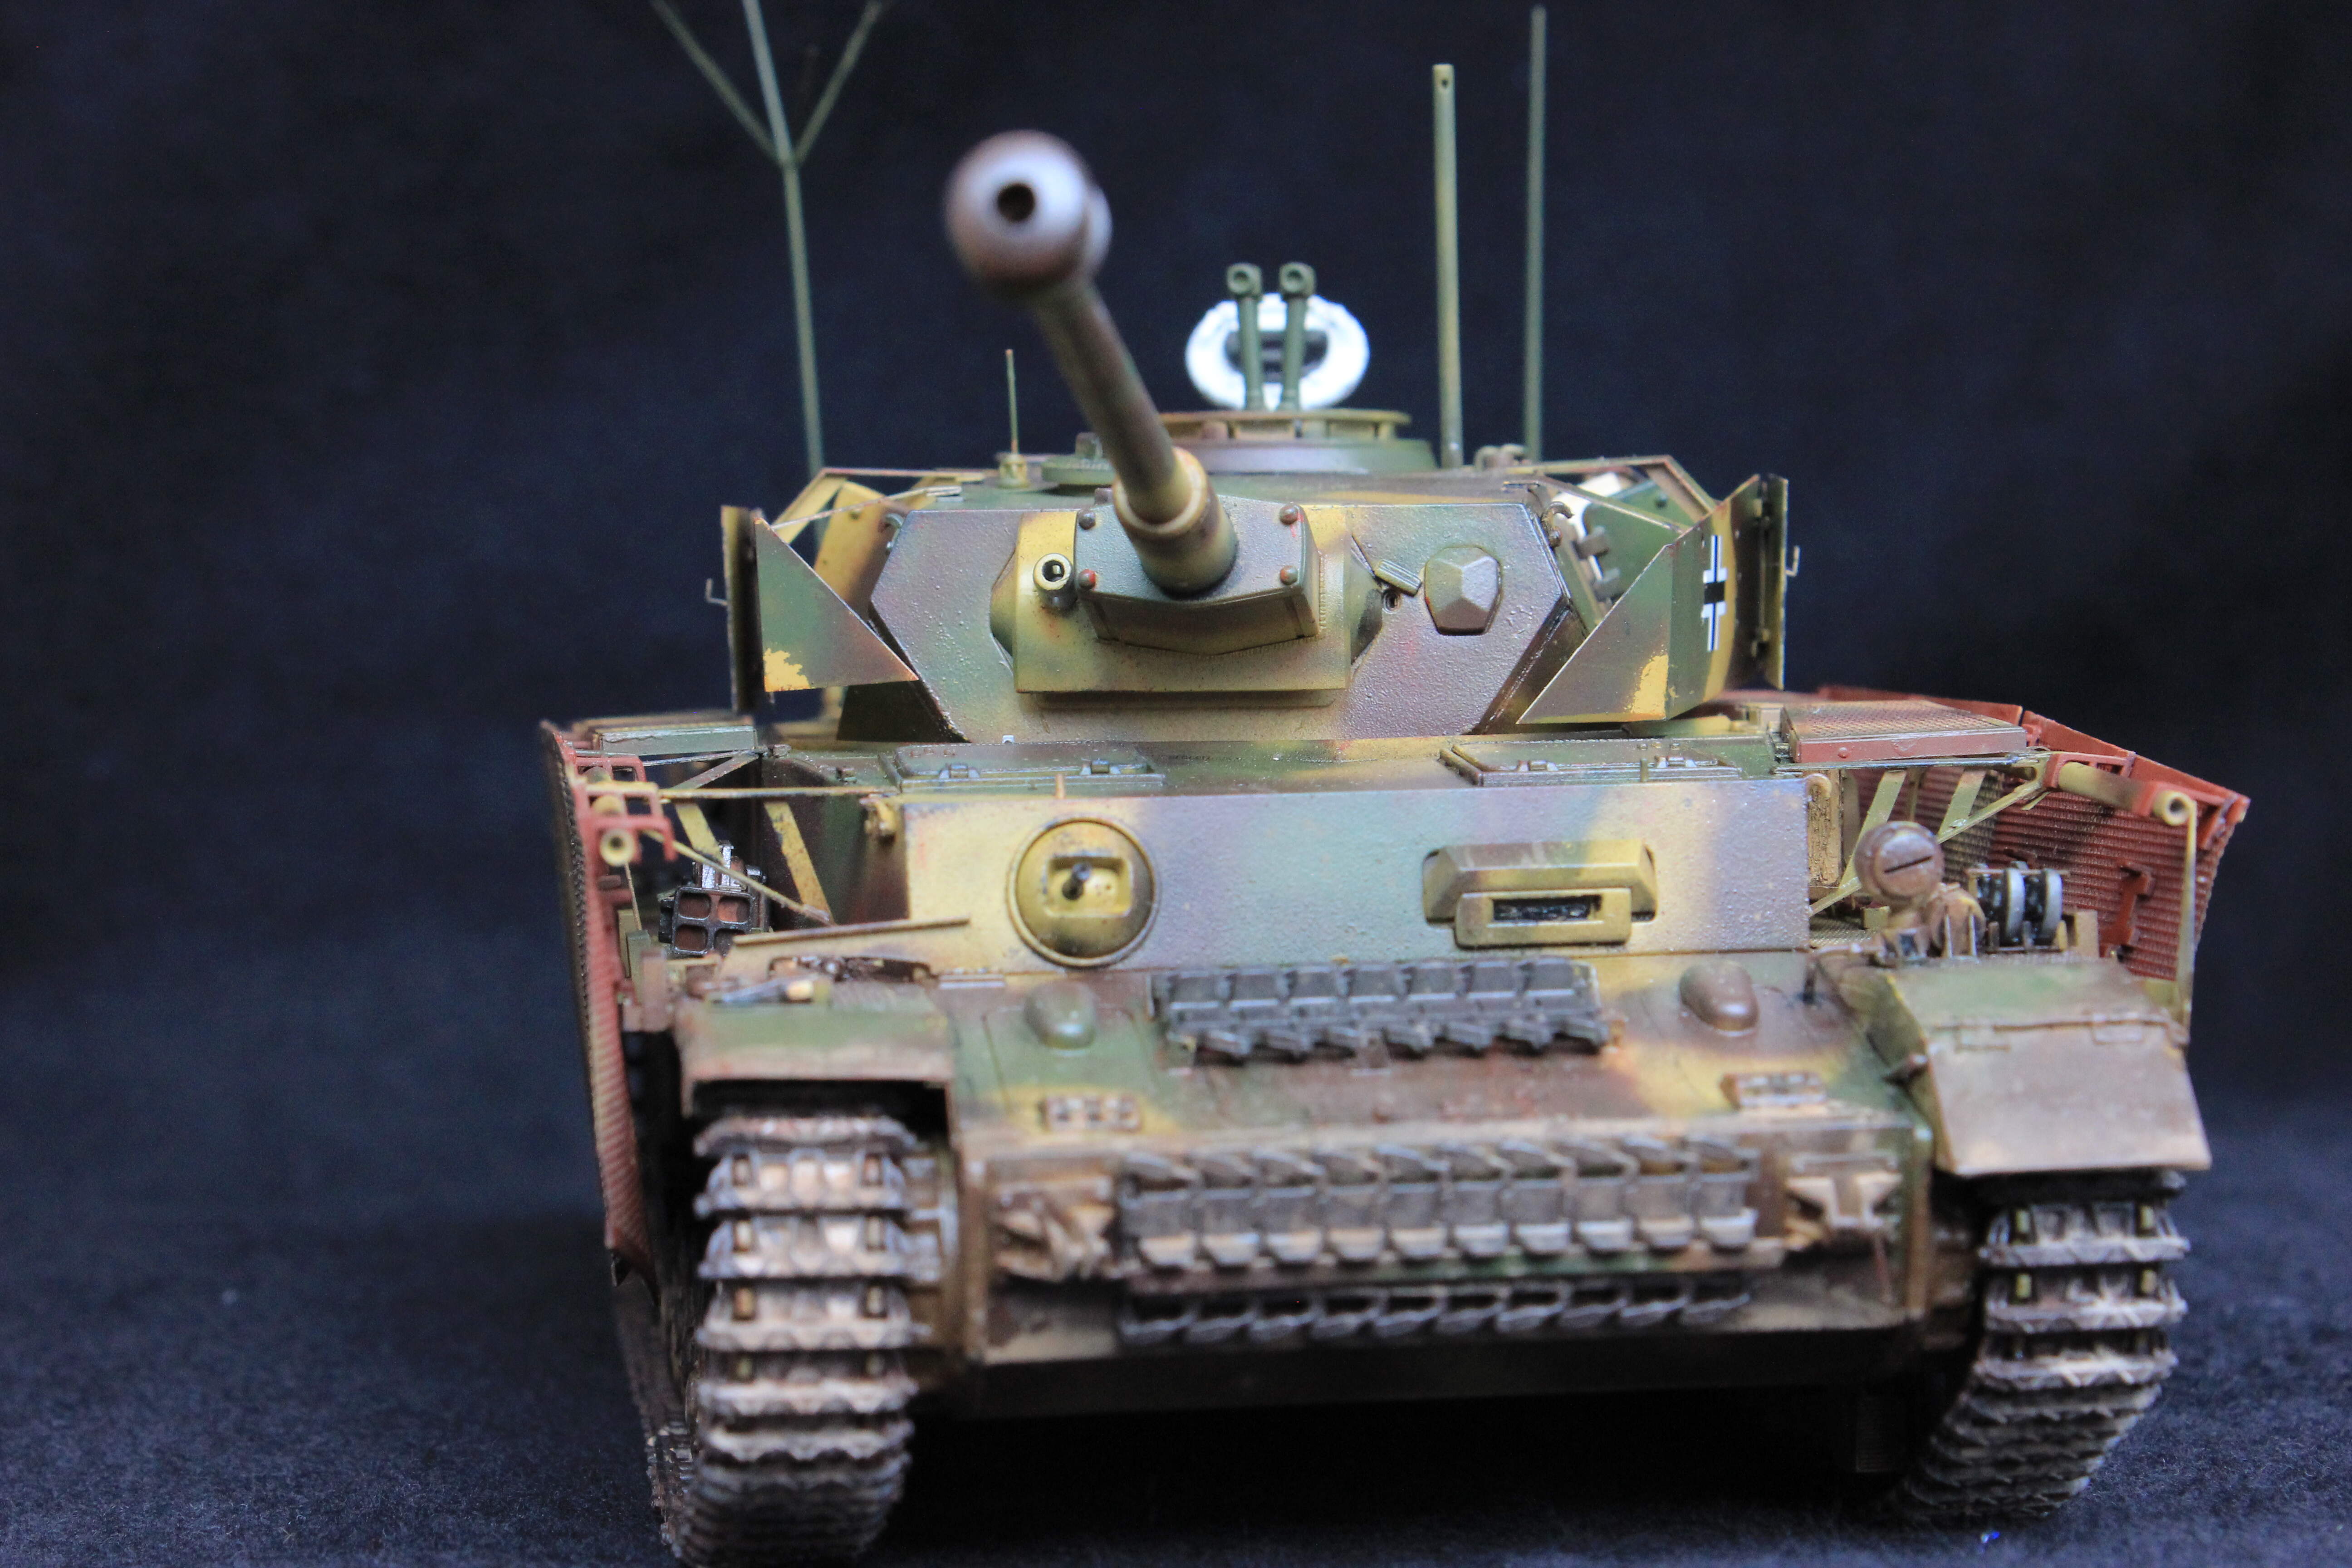
Panzerbeobachtungswagen IV, or Panzer IV Beob, is the artillery observation and command vehicle for WWII German Army after July, 1944. It is modified from Panzer IV Ausf J. Unlike its successor Panzer III Beob, the Panzer IV Beob is equipped with a fully functional 7.5cm main gun.
The kit I got is from Ryefield Model (5033). There are three options: Ausf J early version, Ausf J late version and Beob version.
The Beob version provided in the instruction are based on early version, but you can make later version Beob as well. The kit contain many spare parts which give you many options to choose.
I also use photo etch from Y-M-F, a small company in China making photo etches and resin diorama stuff. They are generally good, but some small errors and mistakes. The instruction is vague, which I believe is the common issue with those small companies.
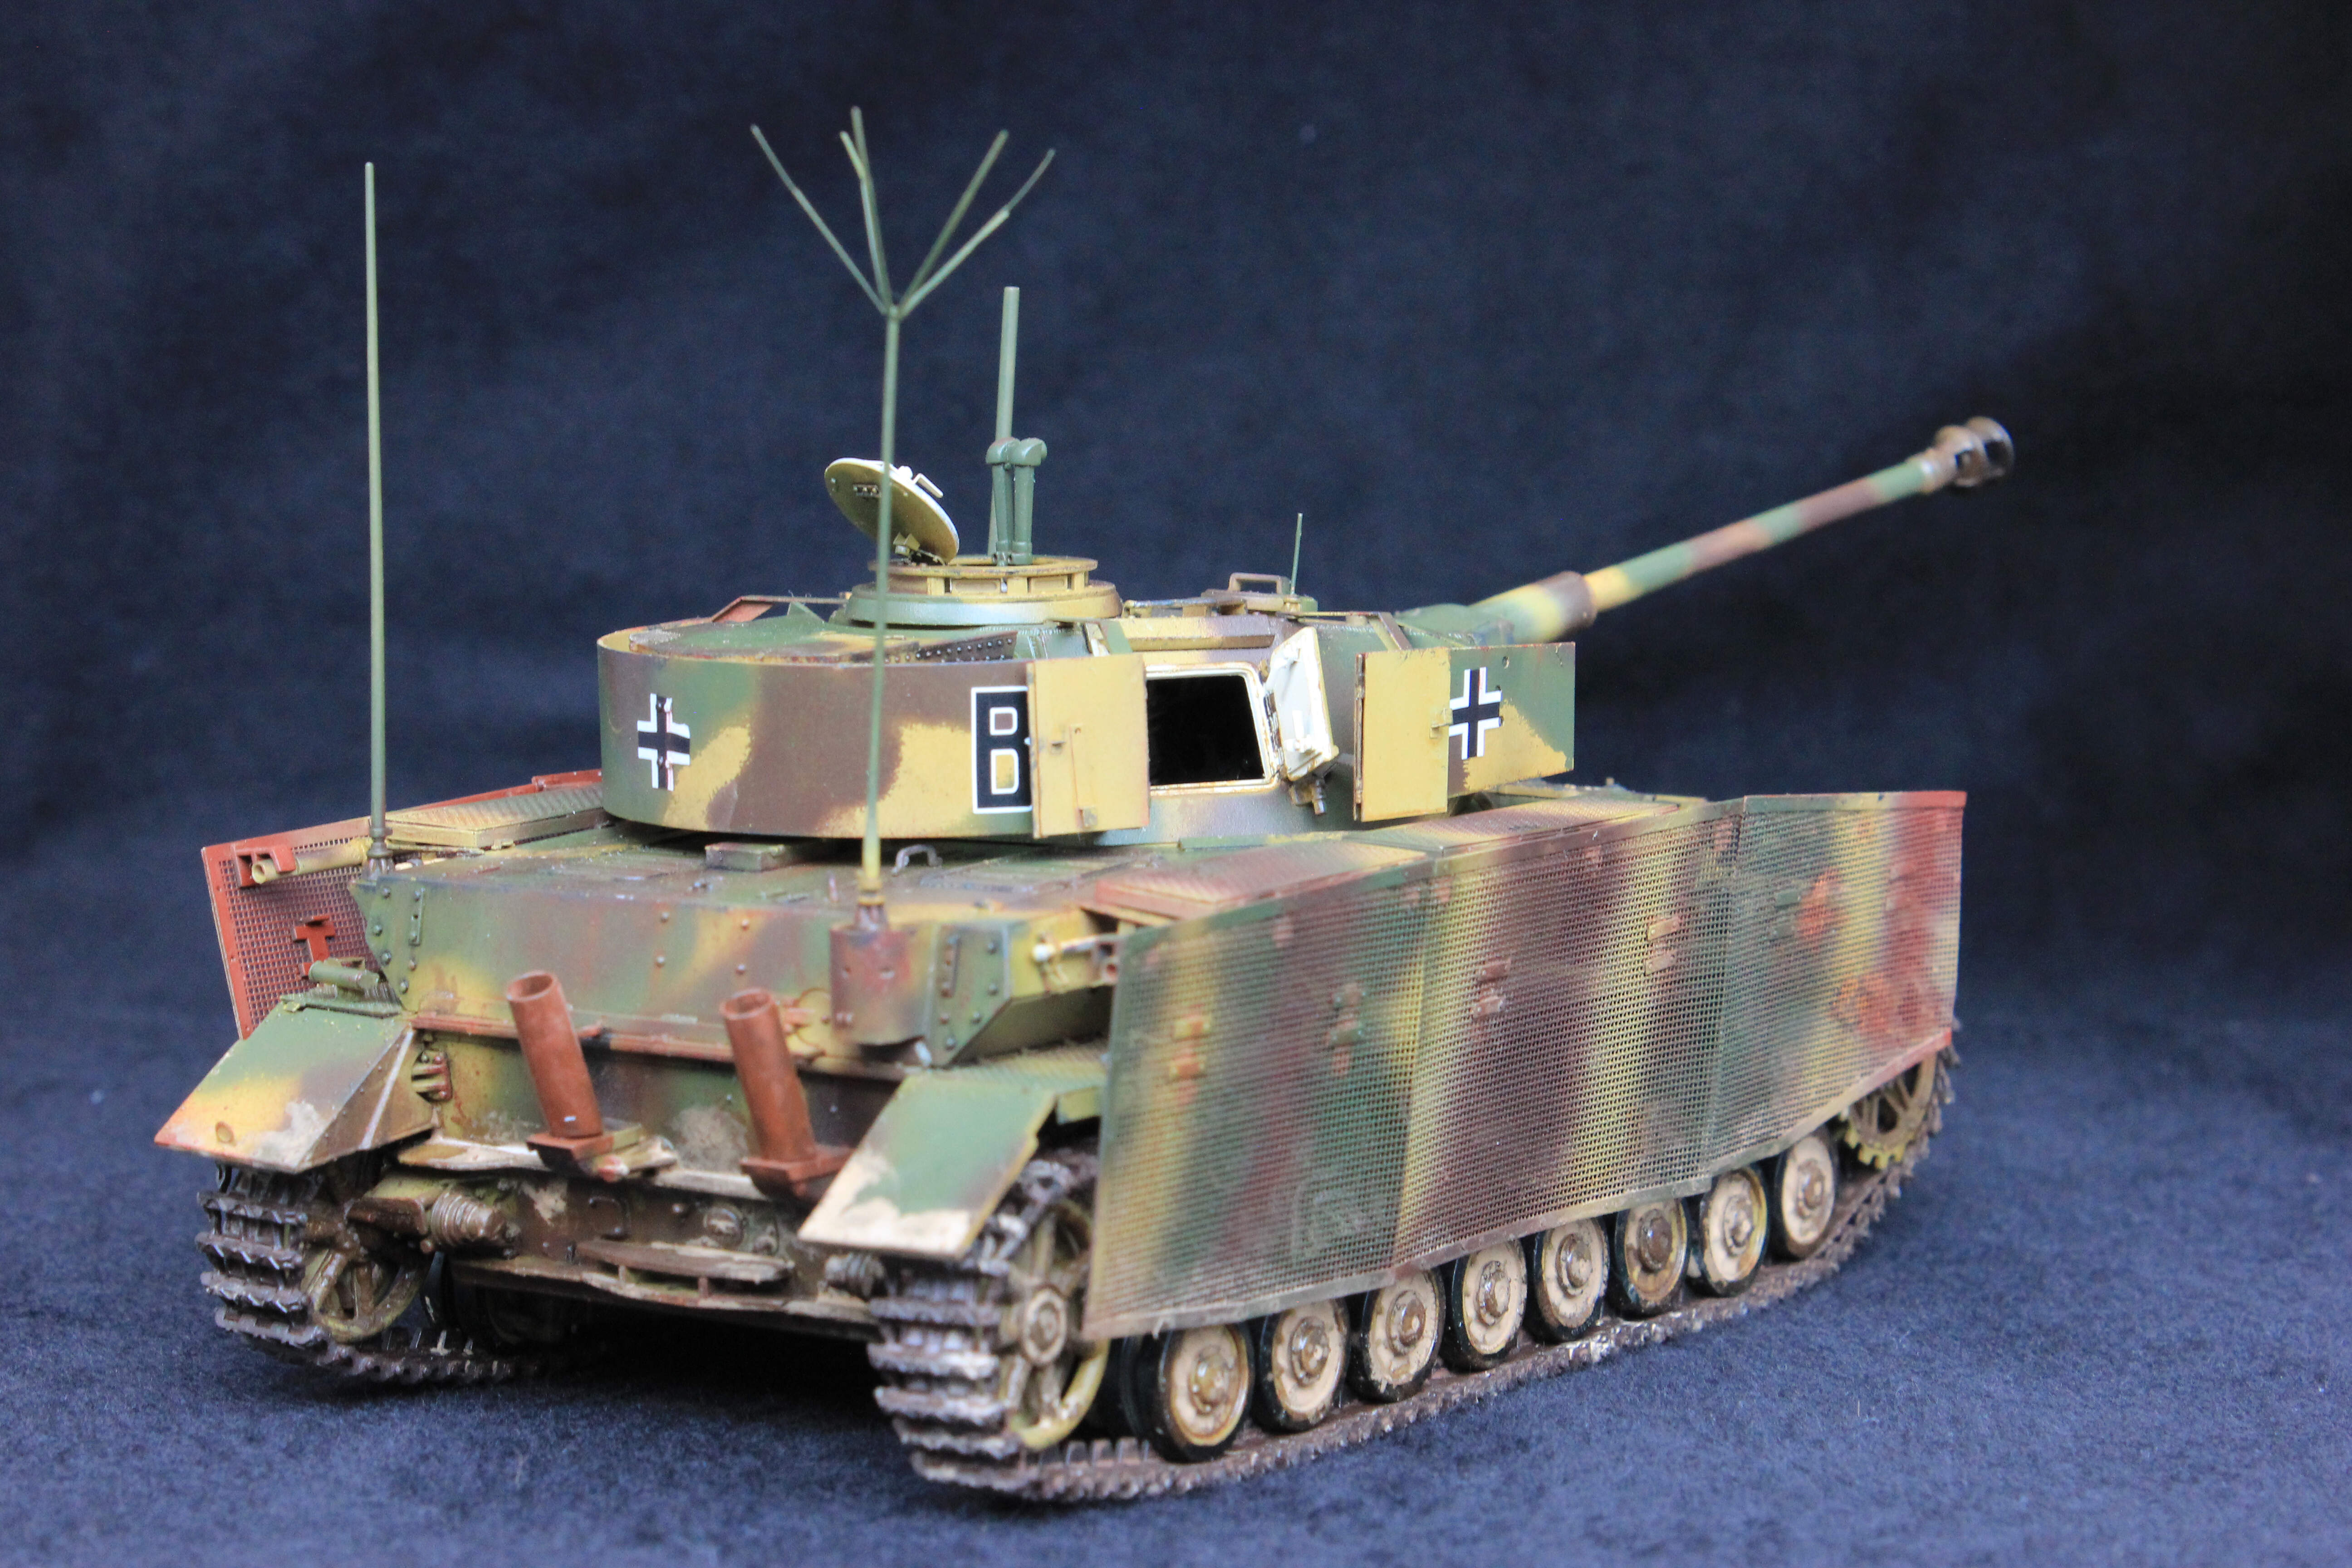
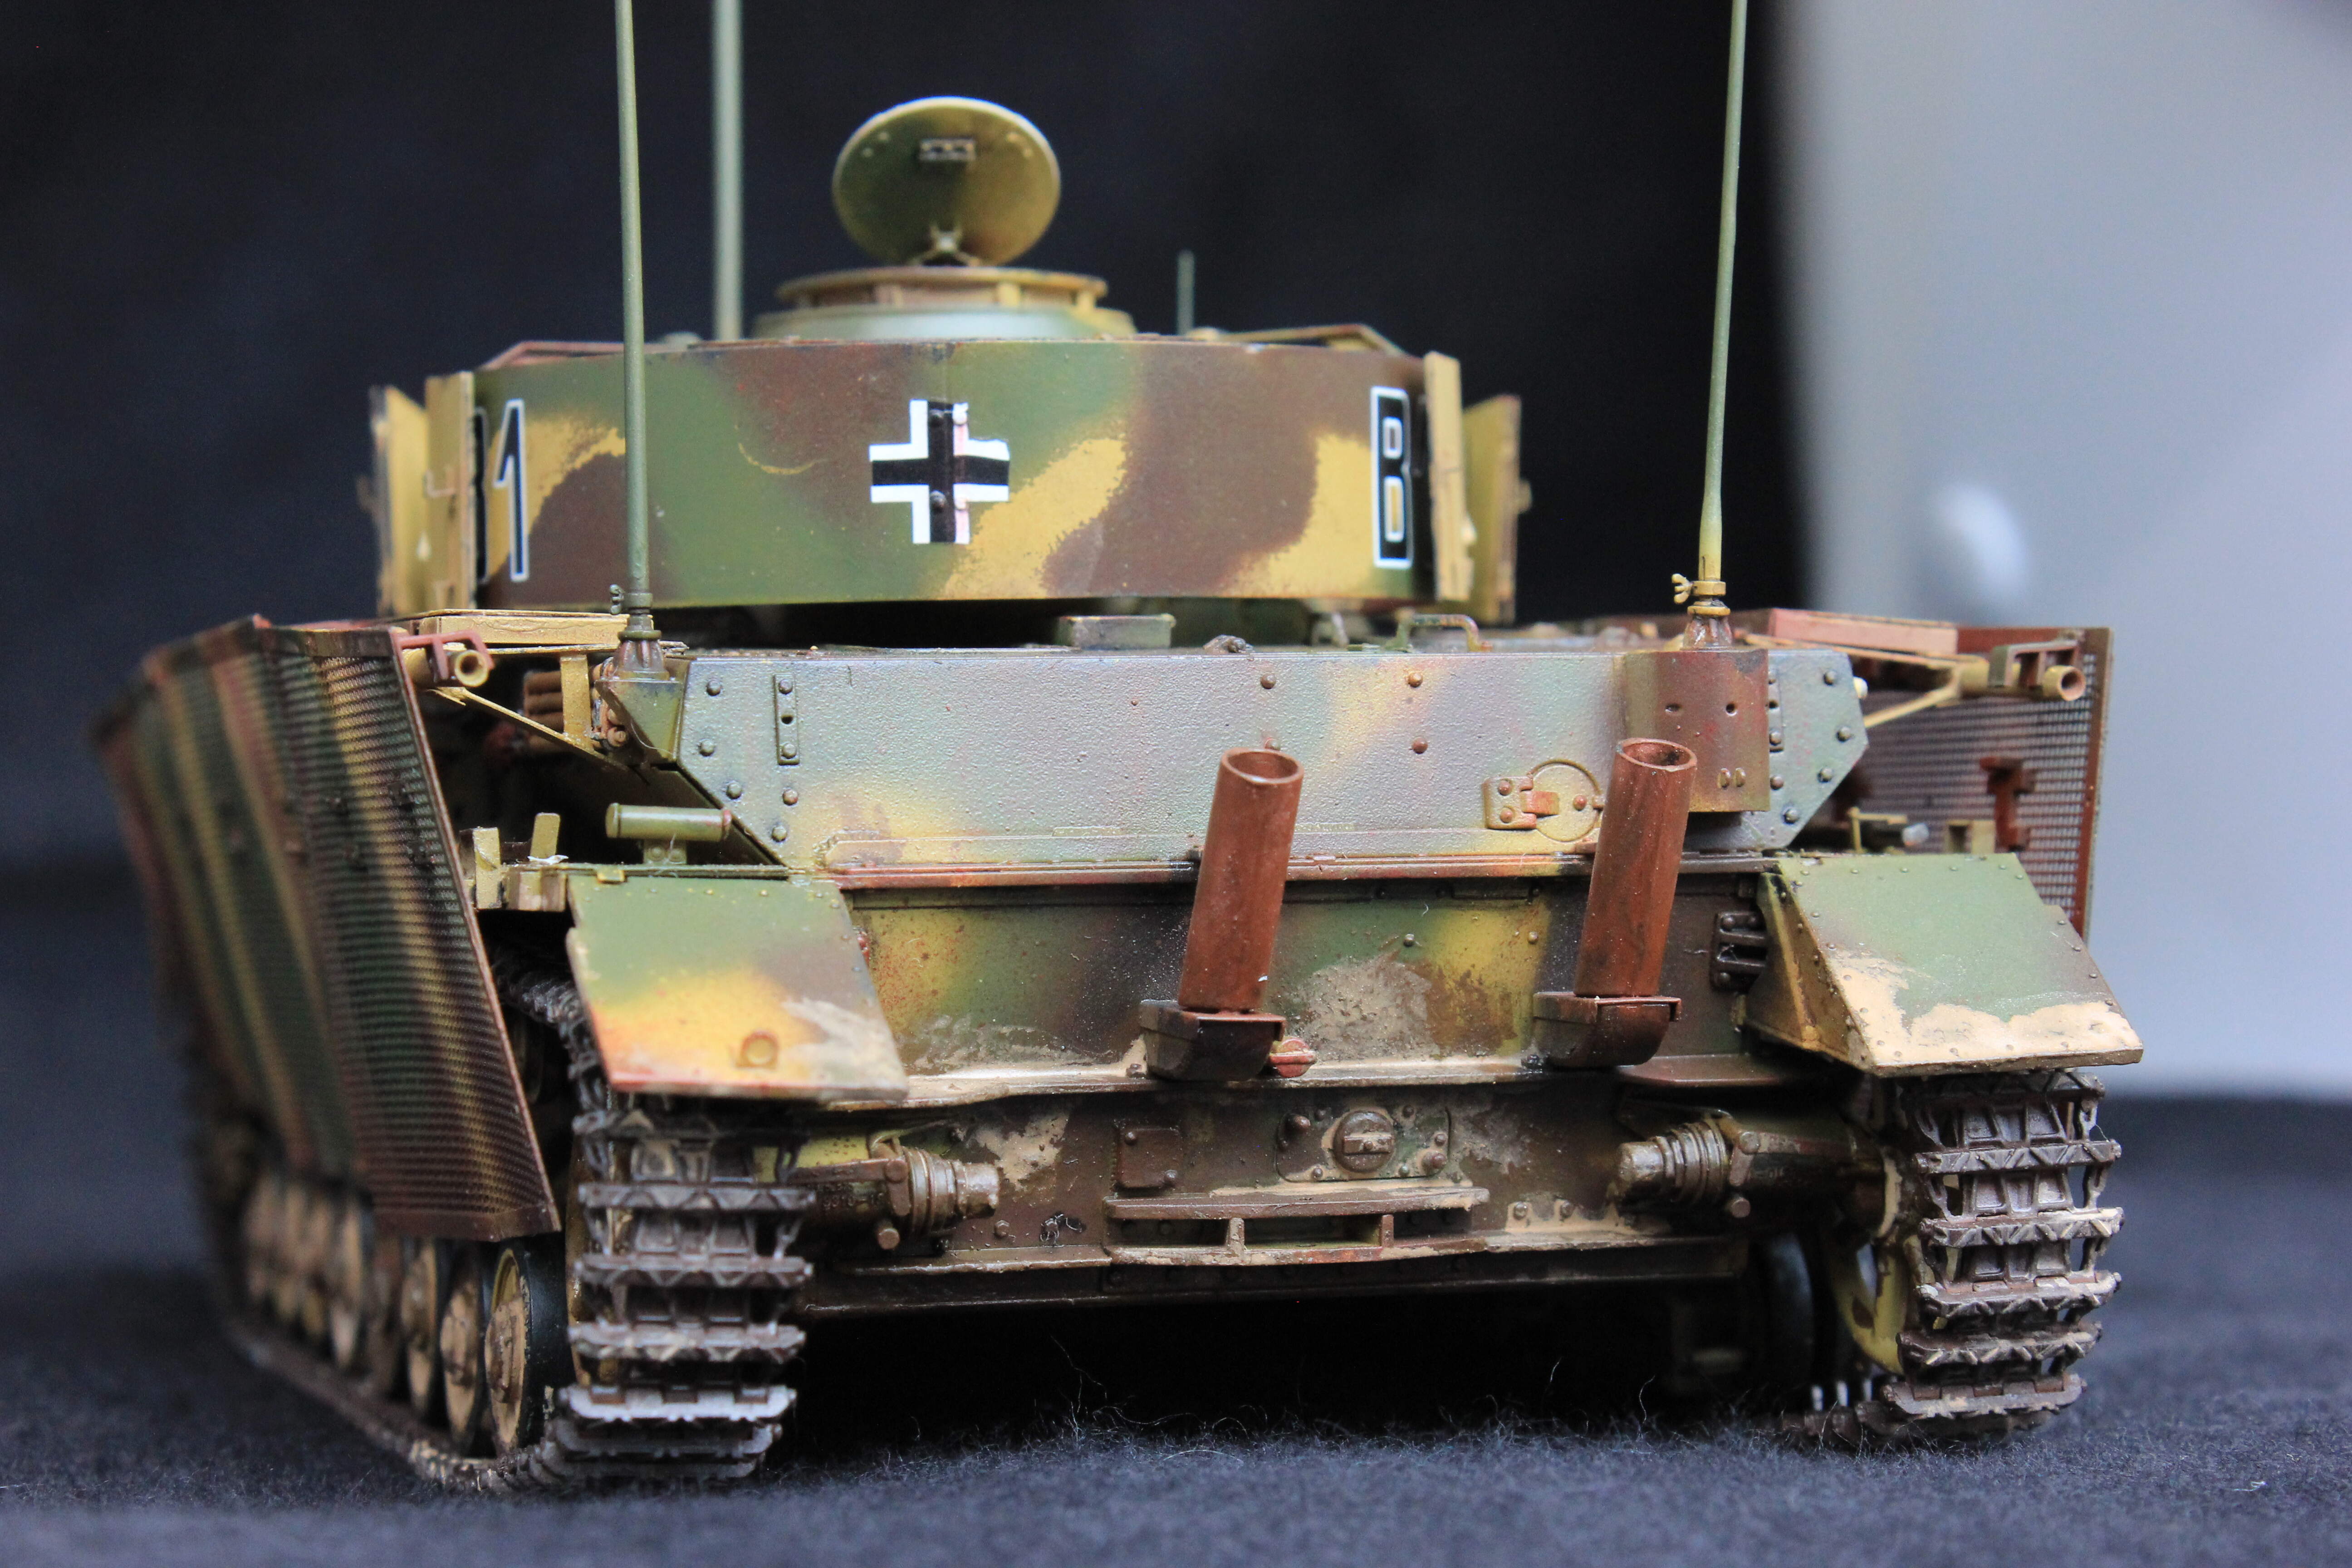
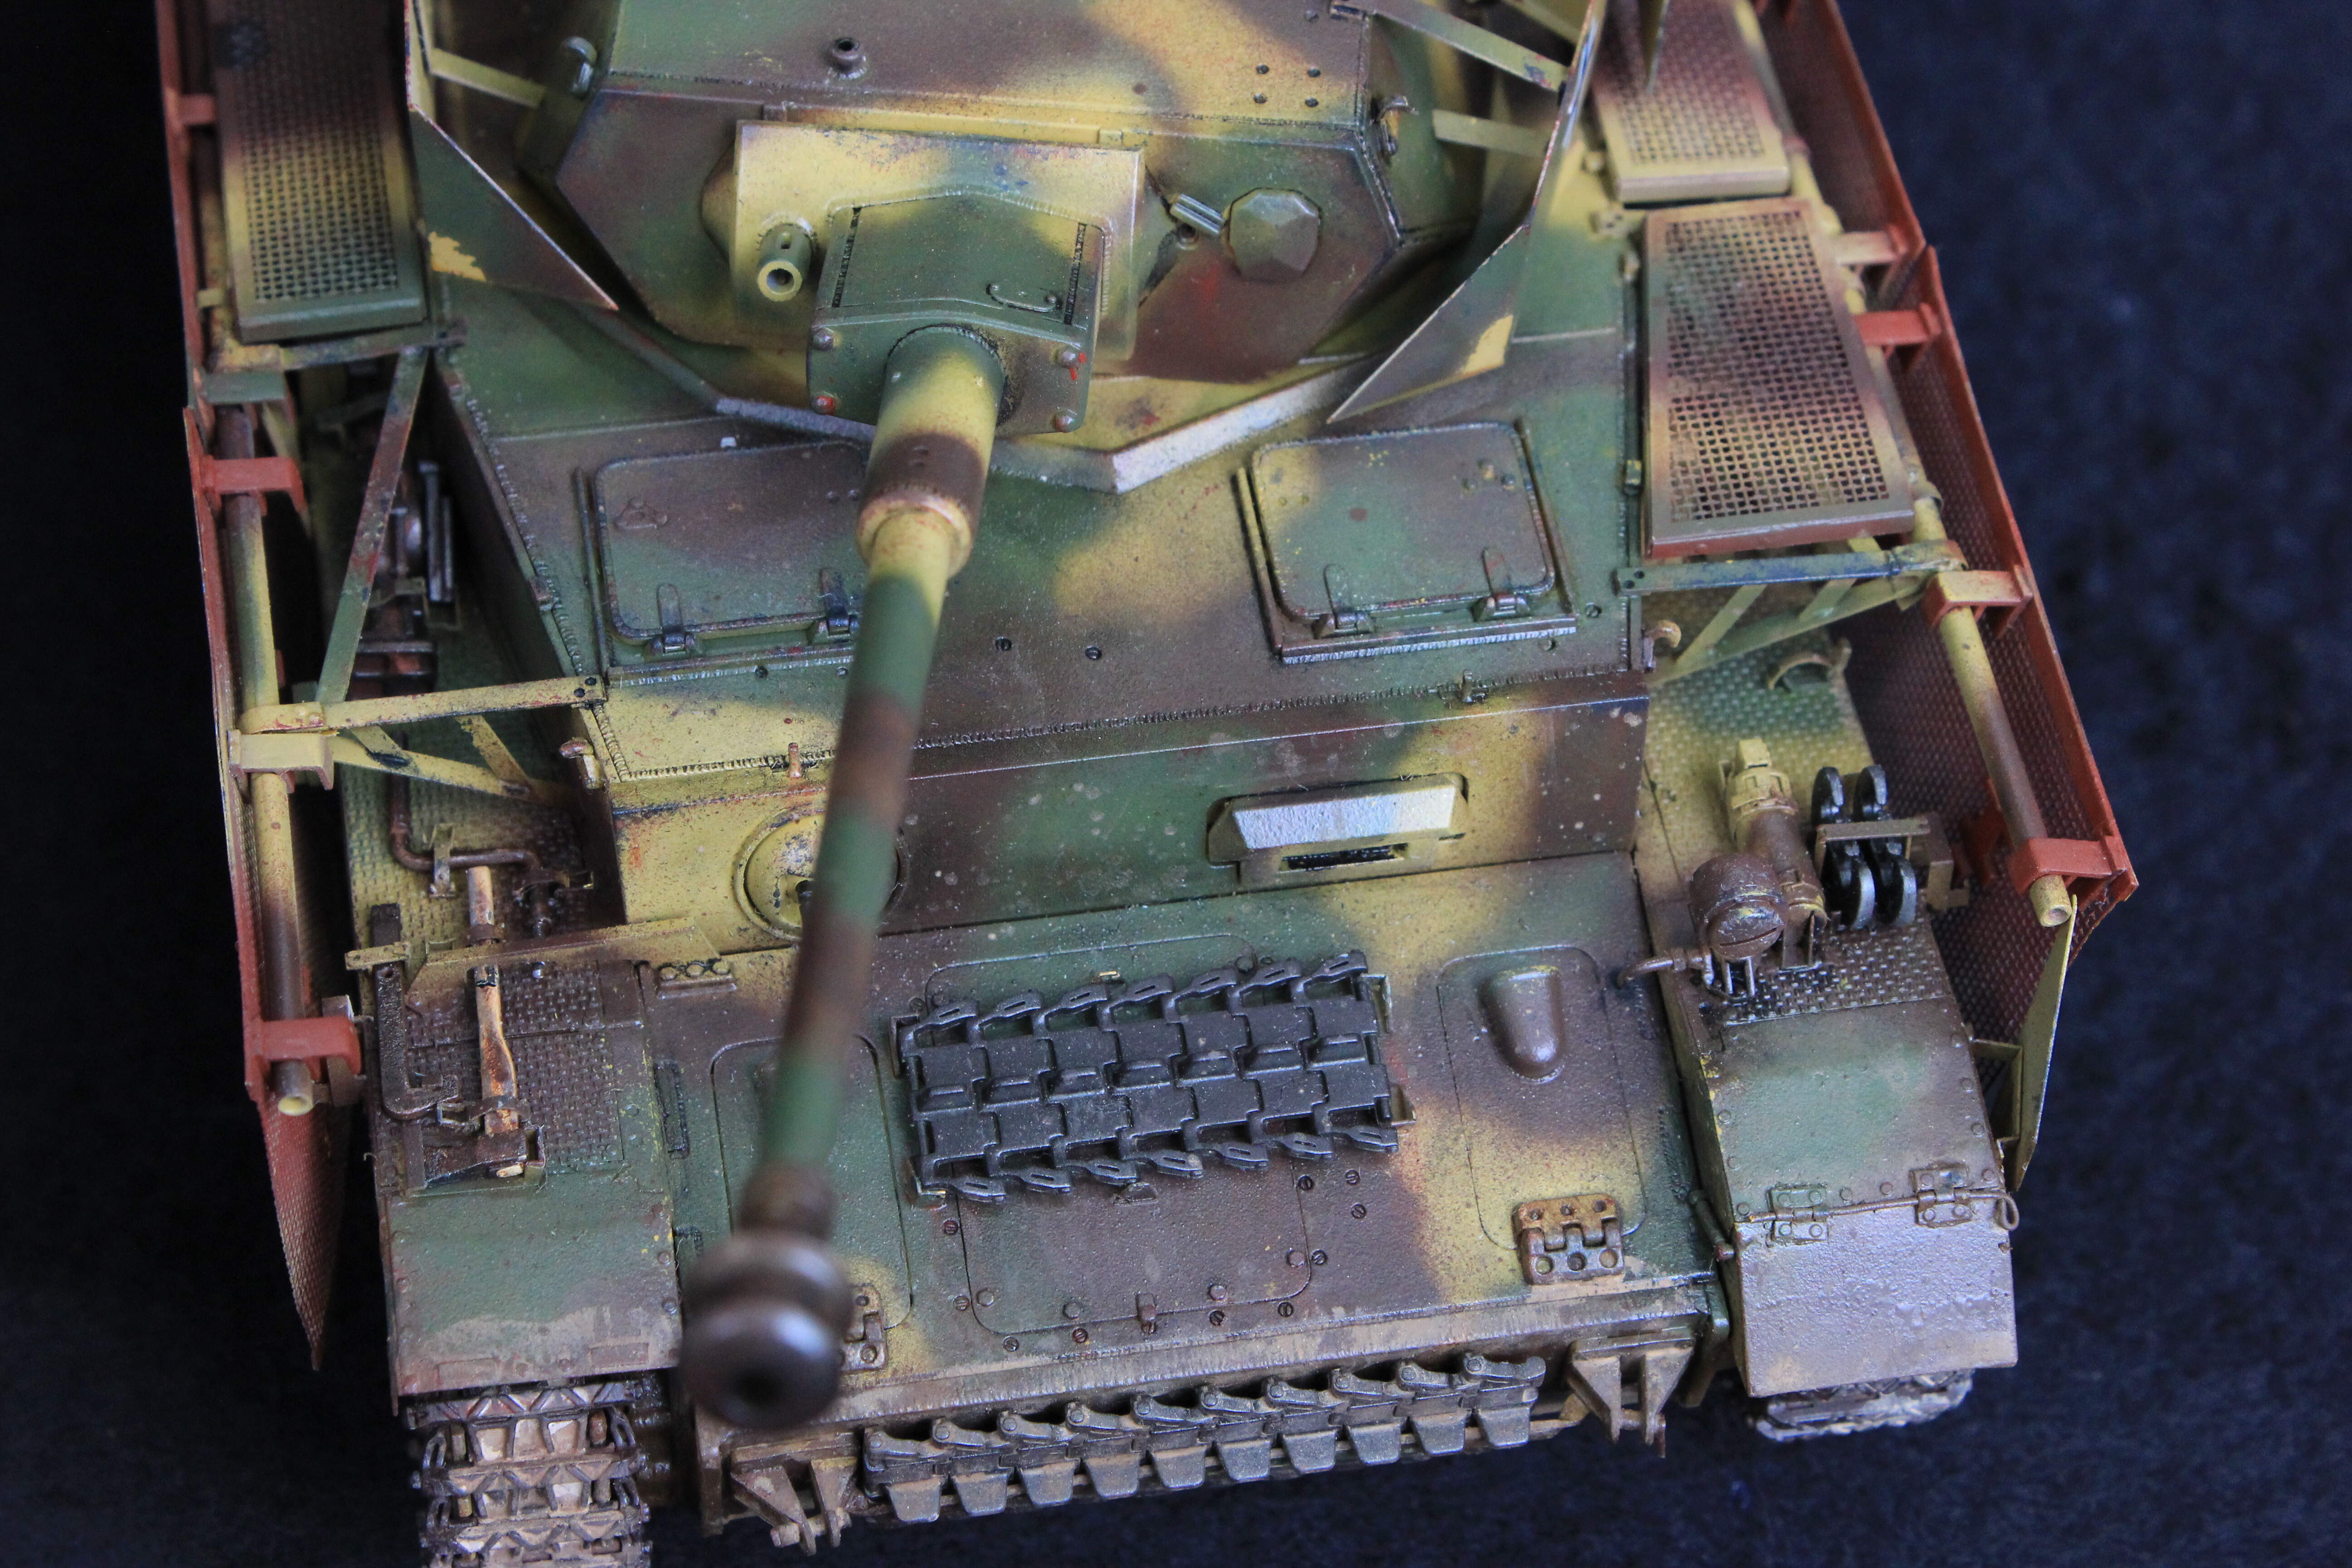
The painting scheme is directly from the instruction. I choose the one from 12 panzer division during the Battle of Bulge. The 3-color camouflage was painted in the factory before the tank was assembled. They suppose to have better durability. Plus this is a commander tank so the weather effects might not as strong as those front-line tanks.
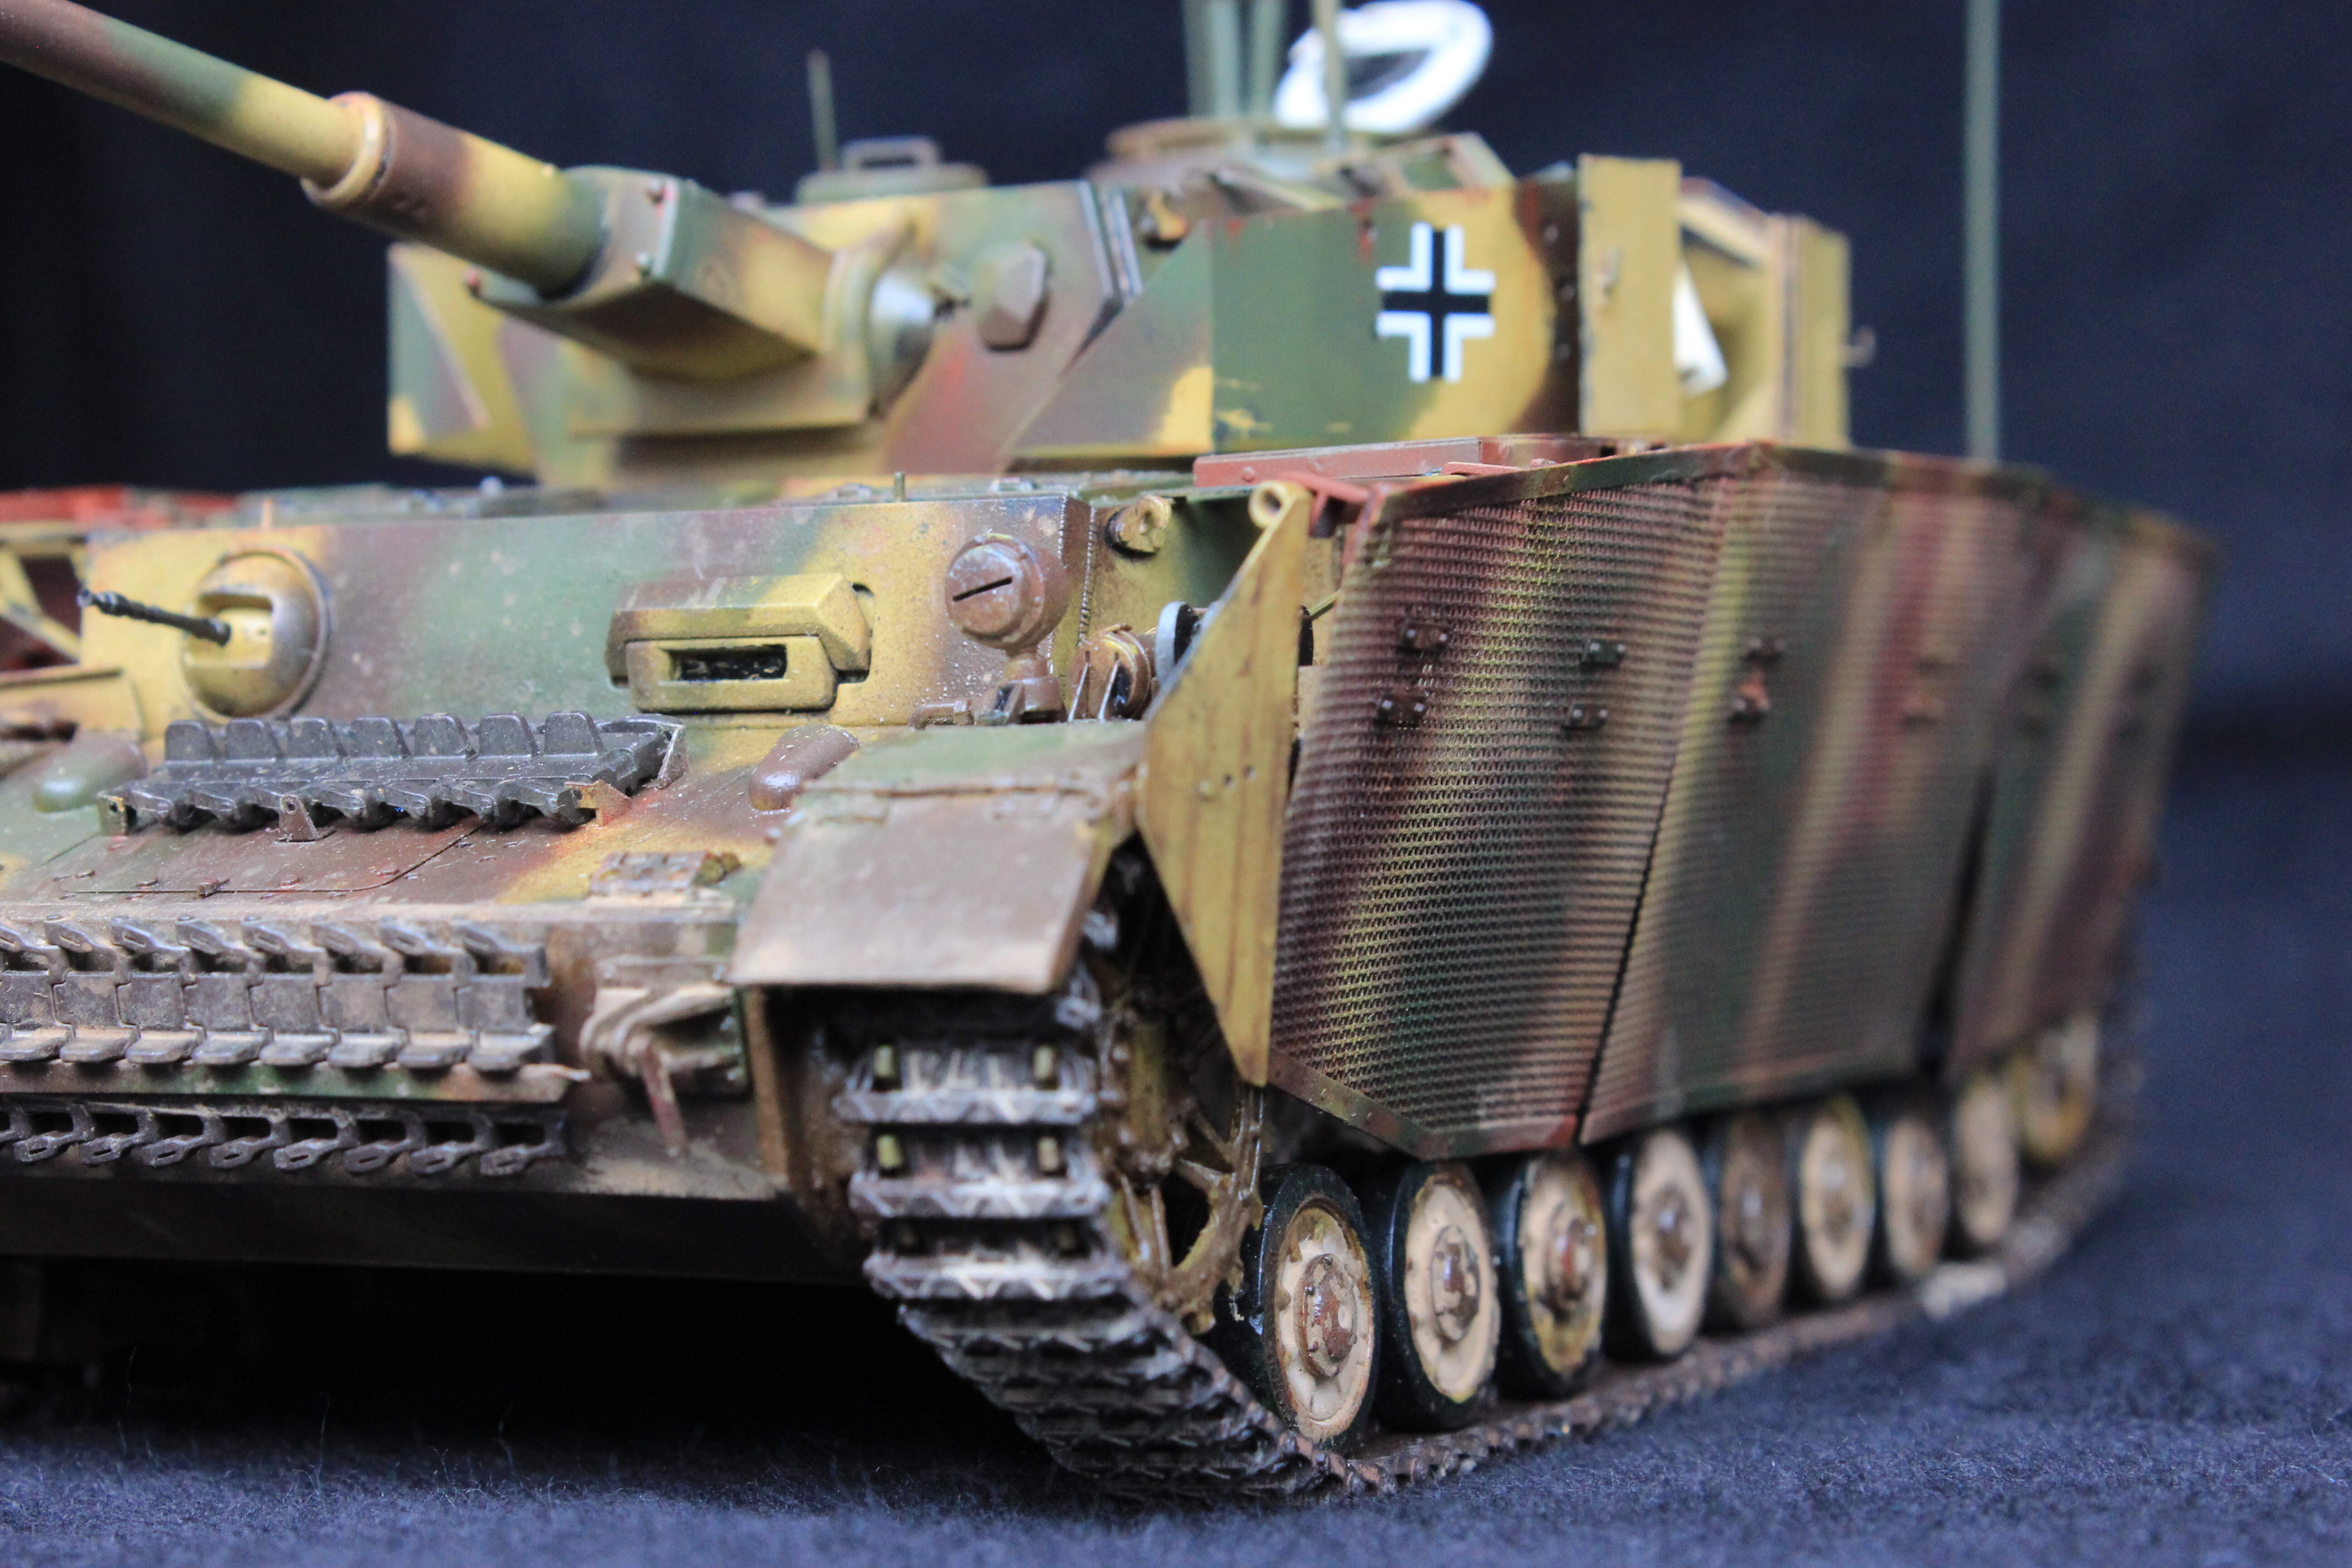
The instruction suggests not installing the side skirts (Schürzen) as well as their rack. But I found in many reference photos, the Beob is equipped with Schürze and screen on the top of the fenders. So I install them any way. But due to the fitment issue with aftermarket PE, one side fail. The angle is not correct.

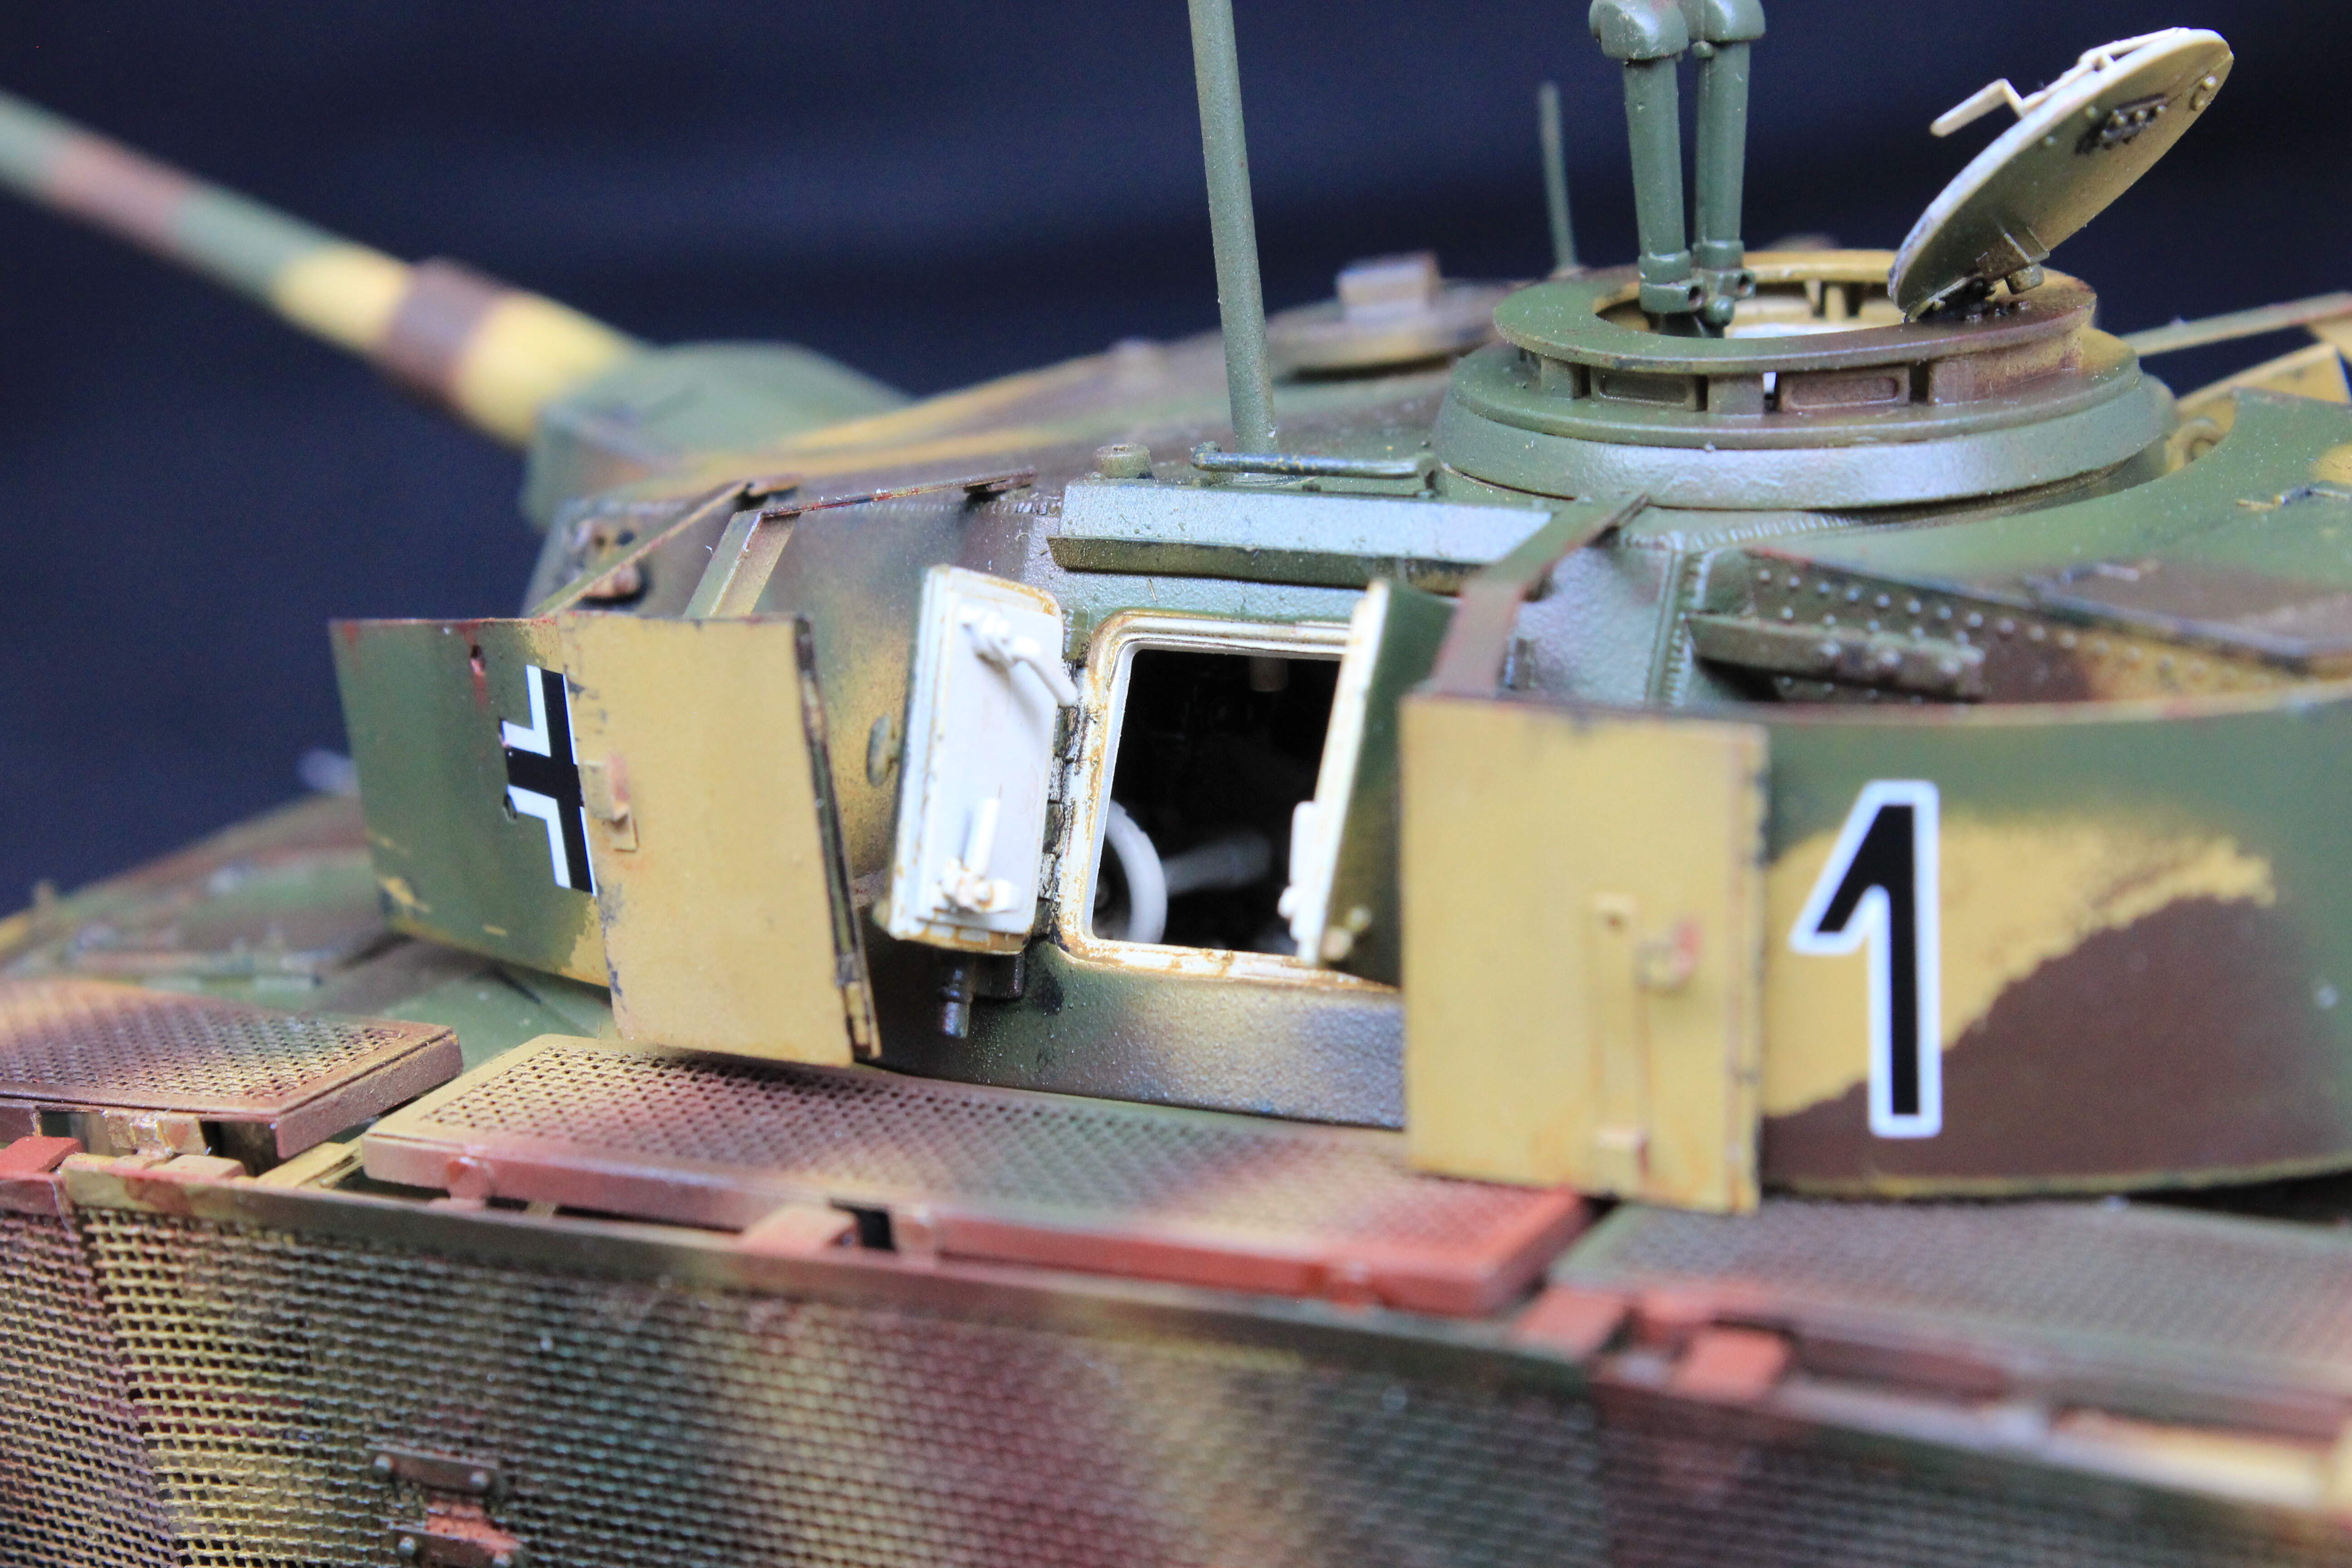
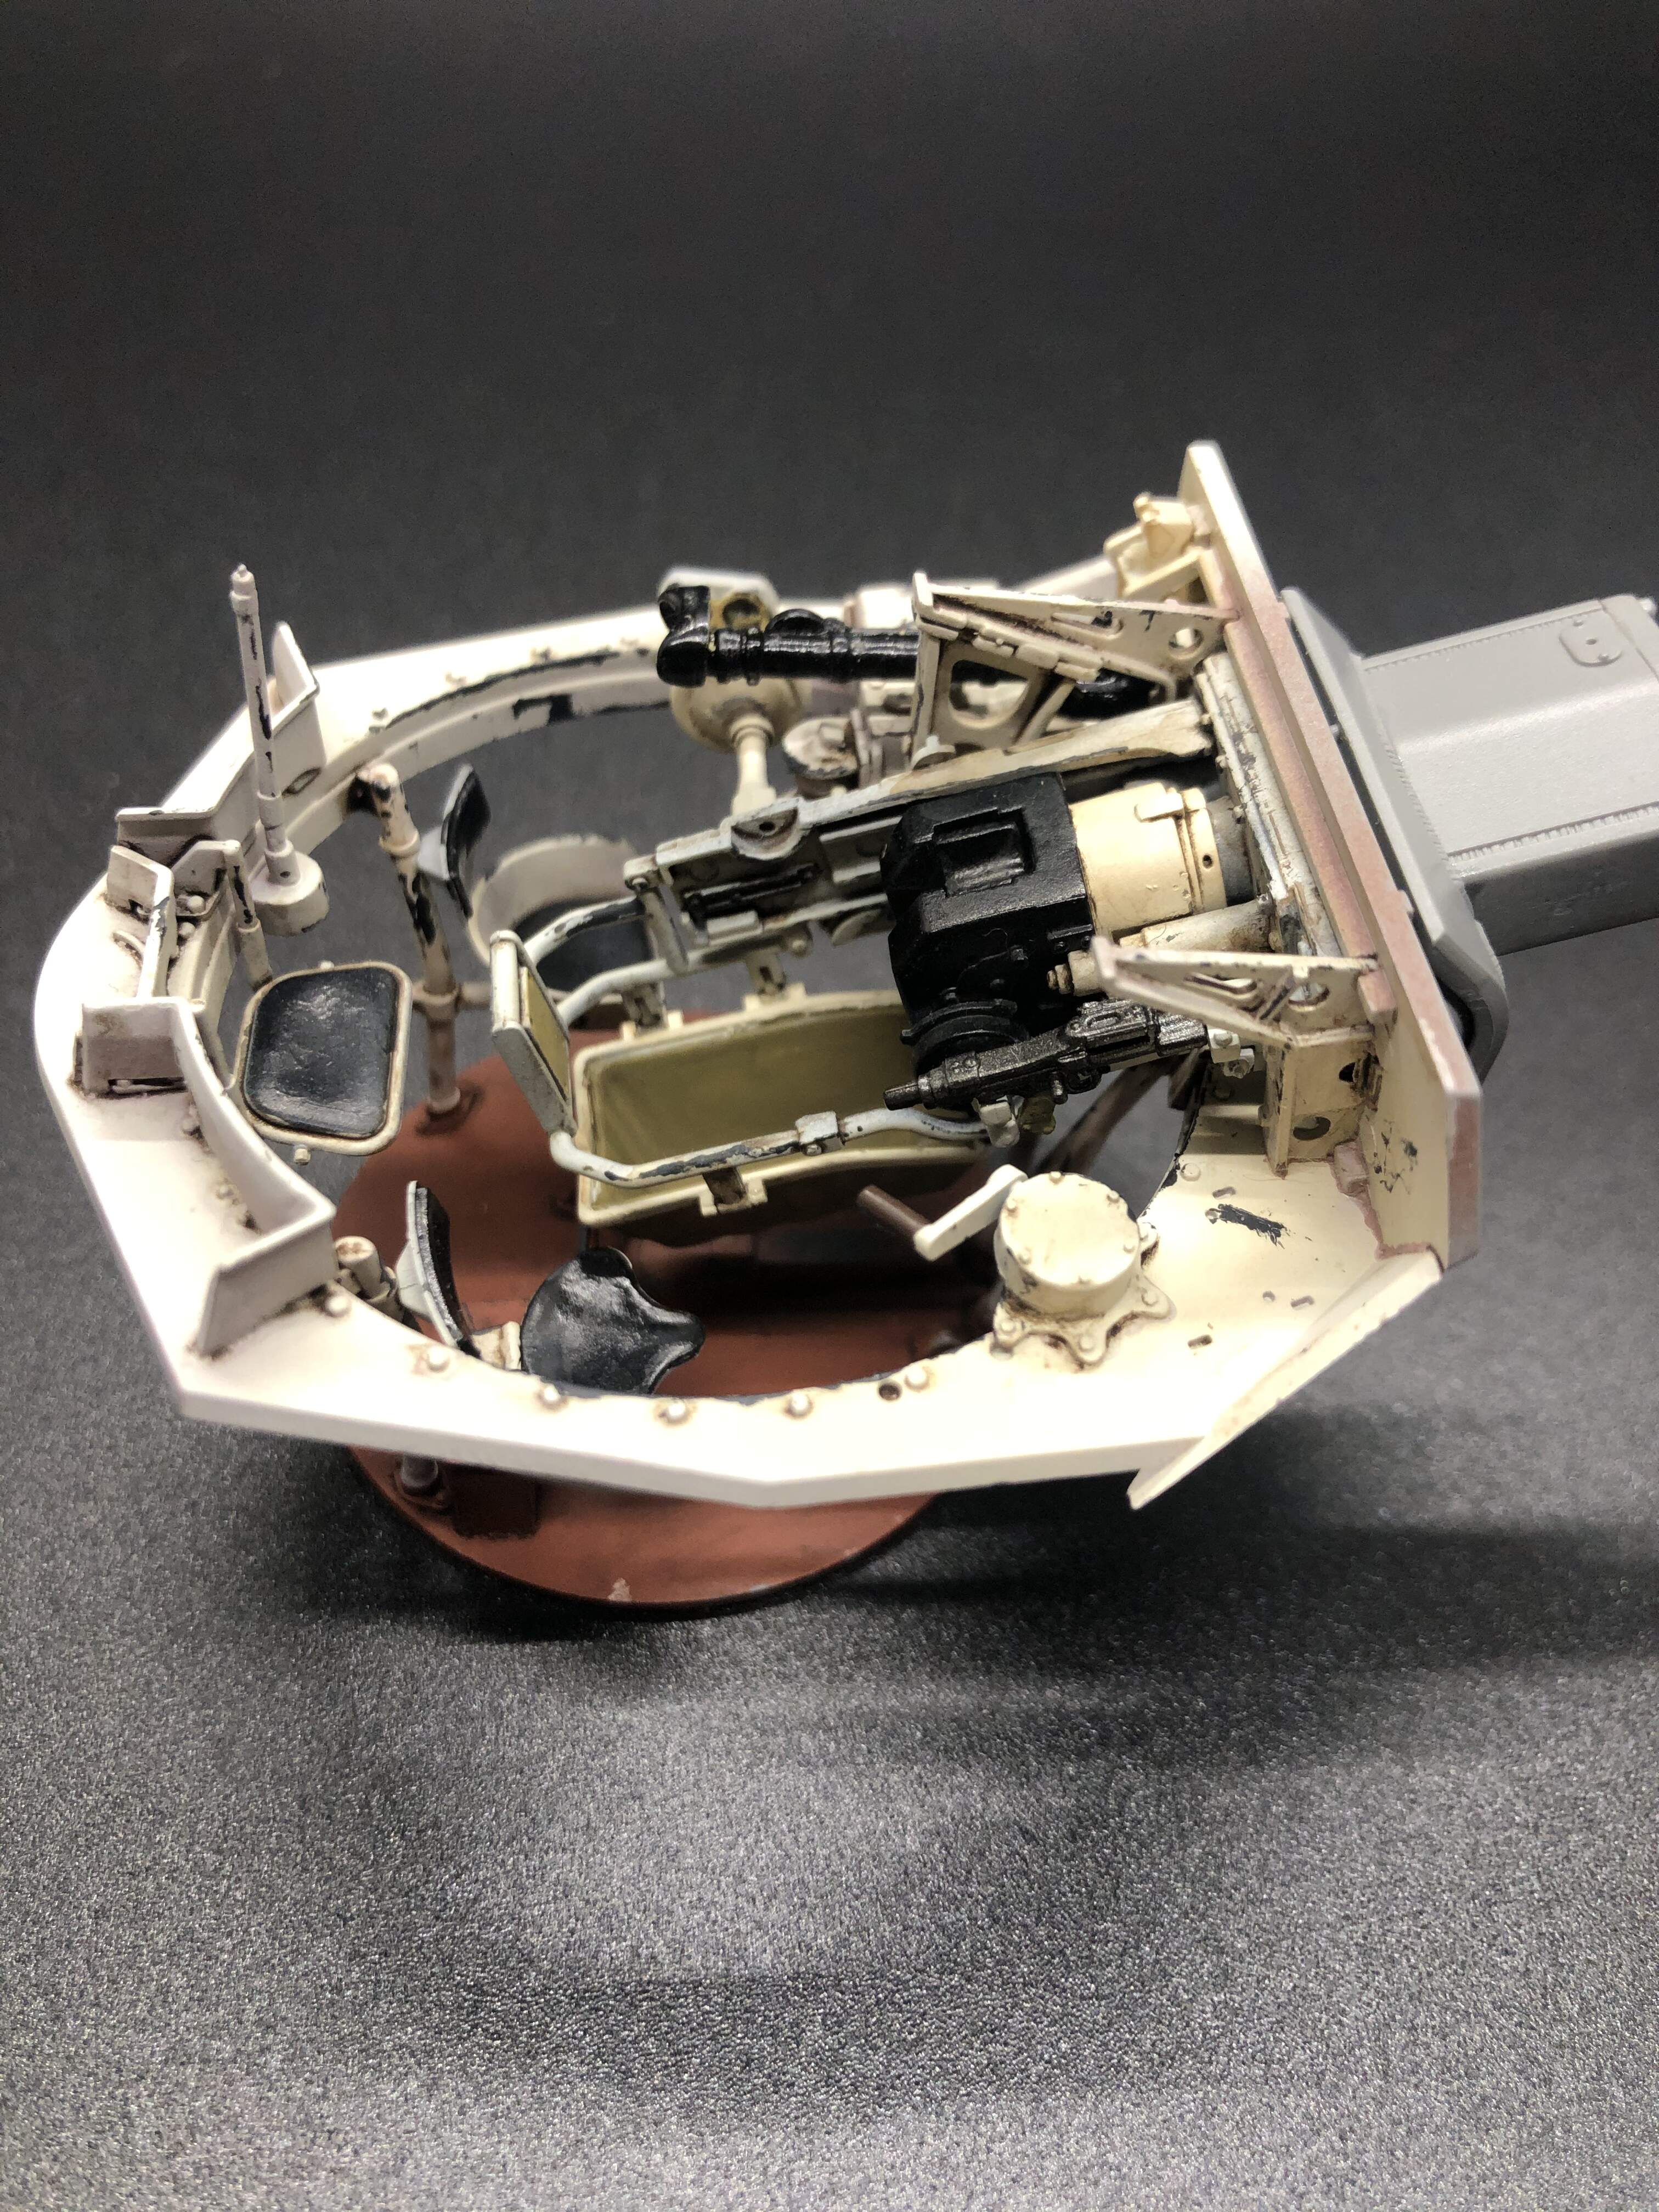
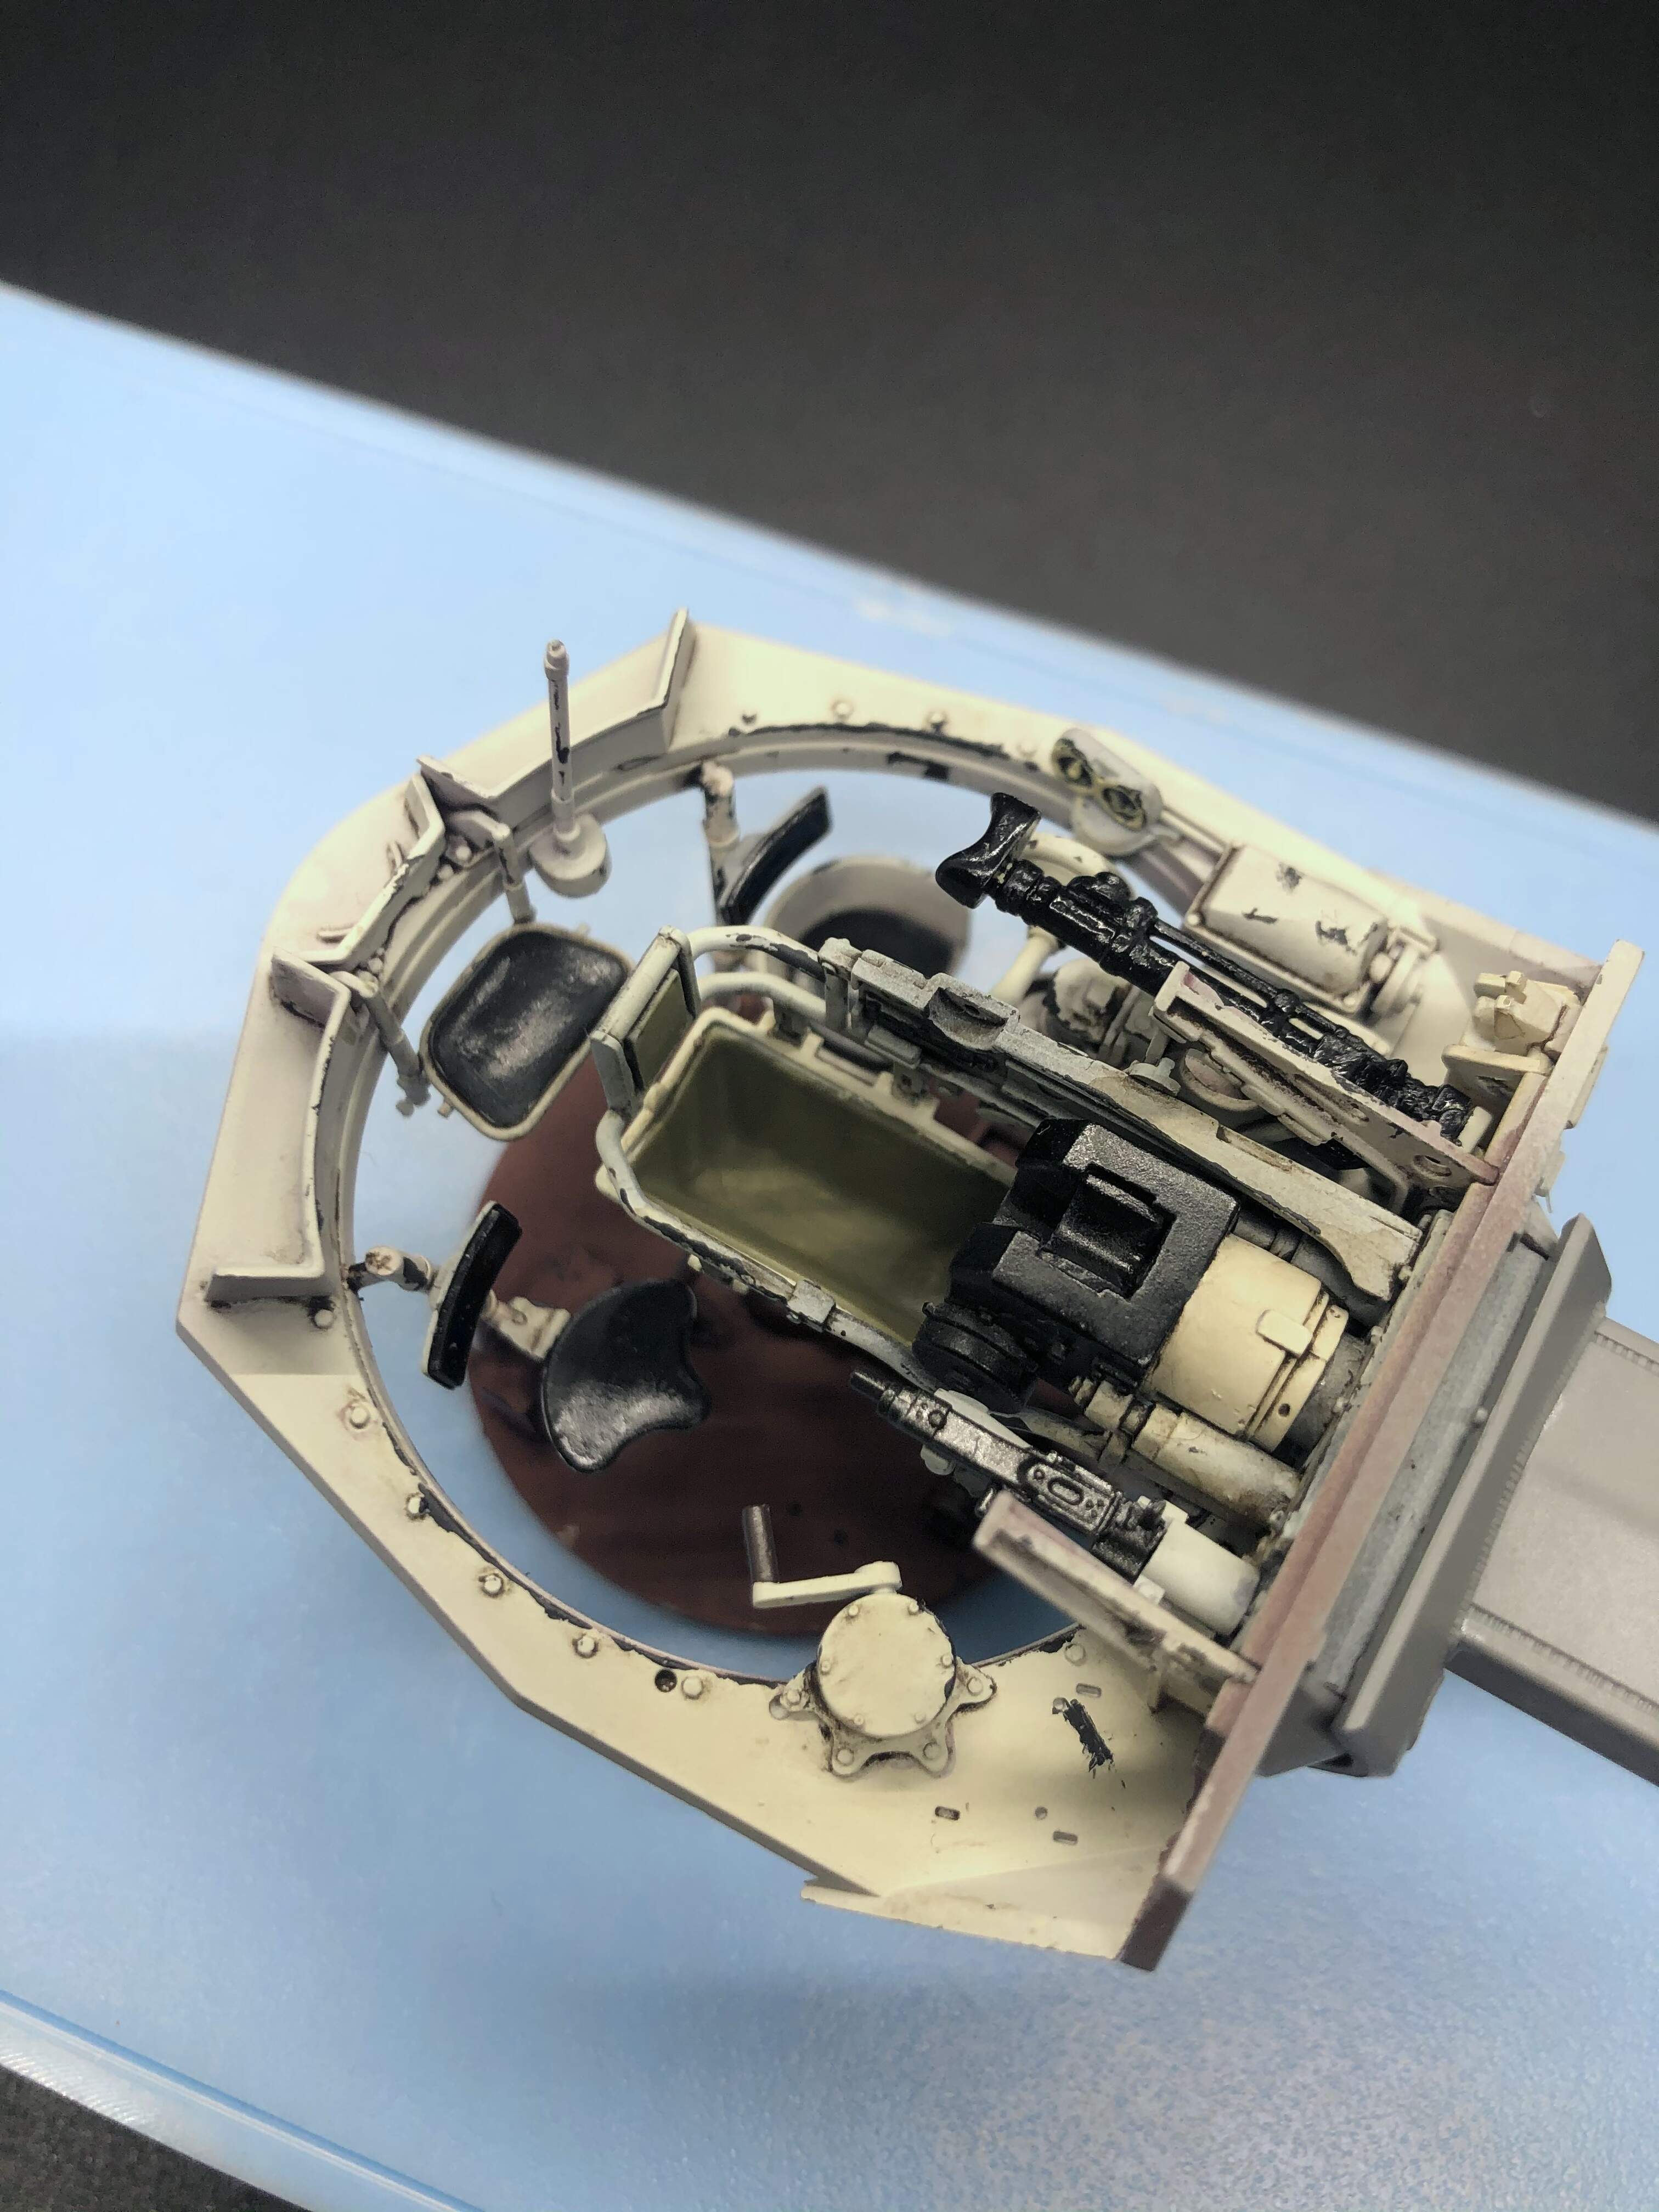
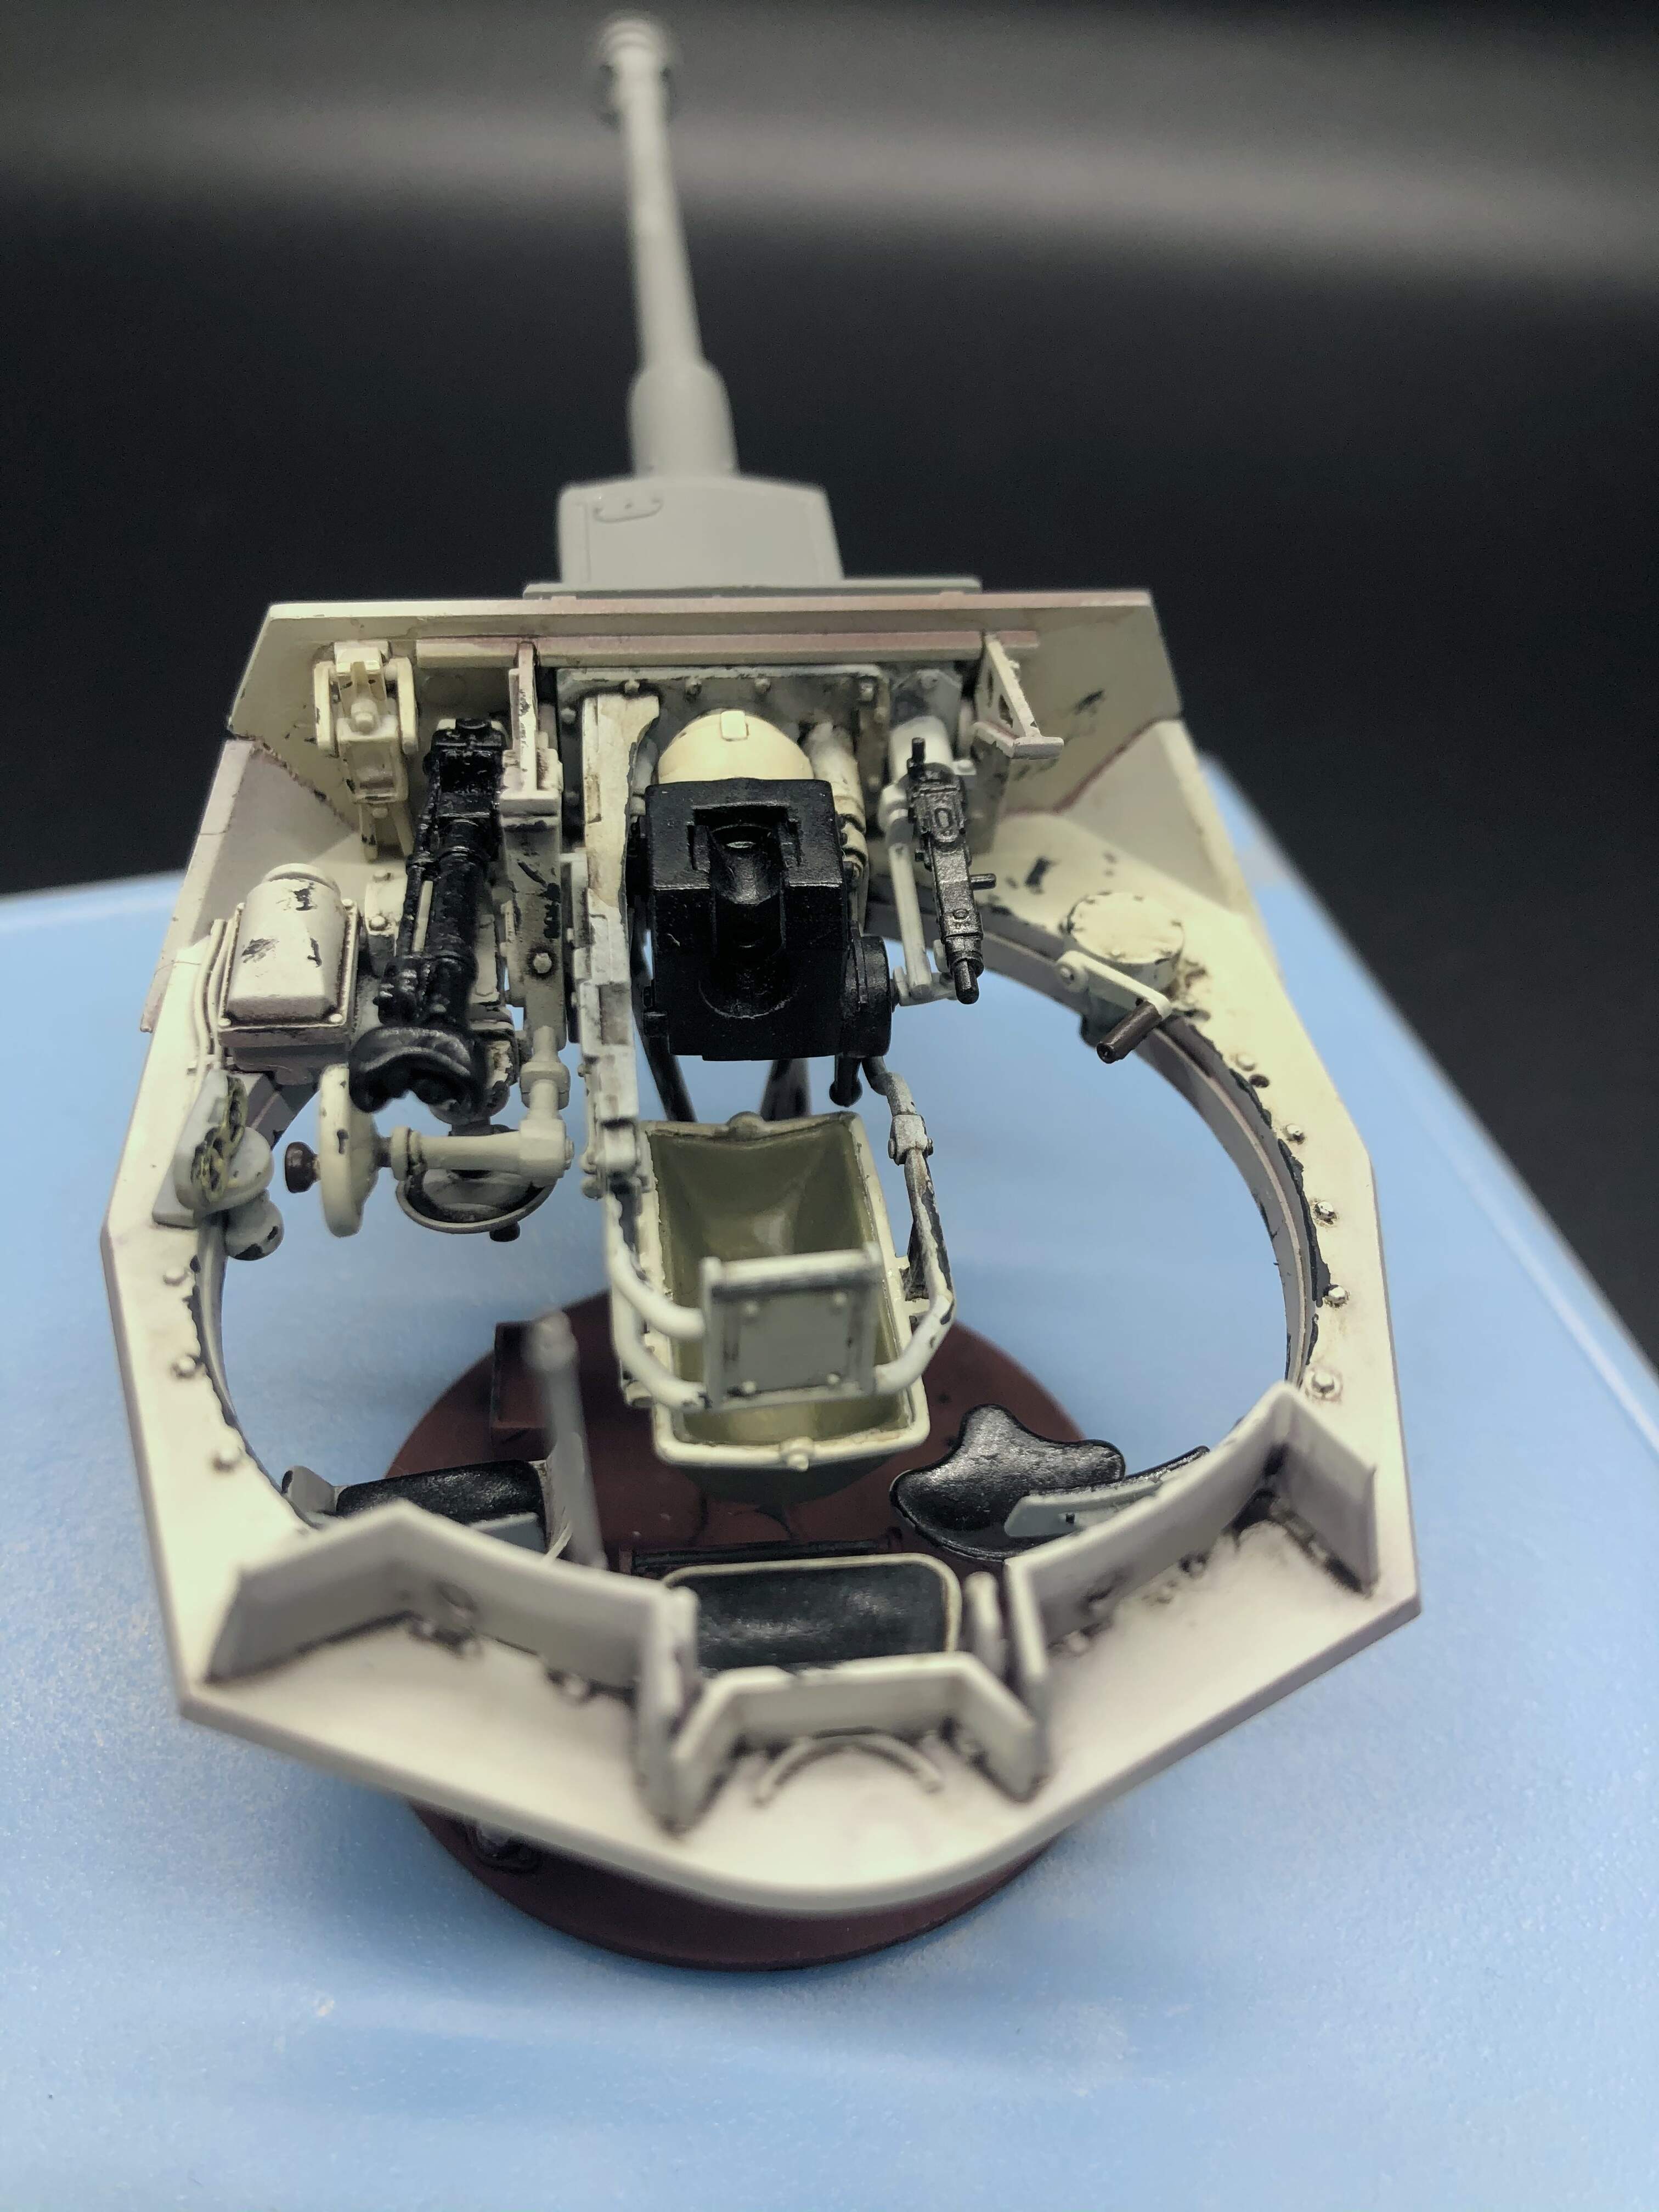
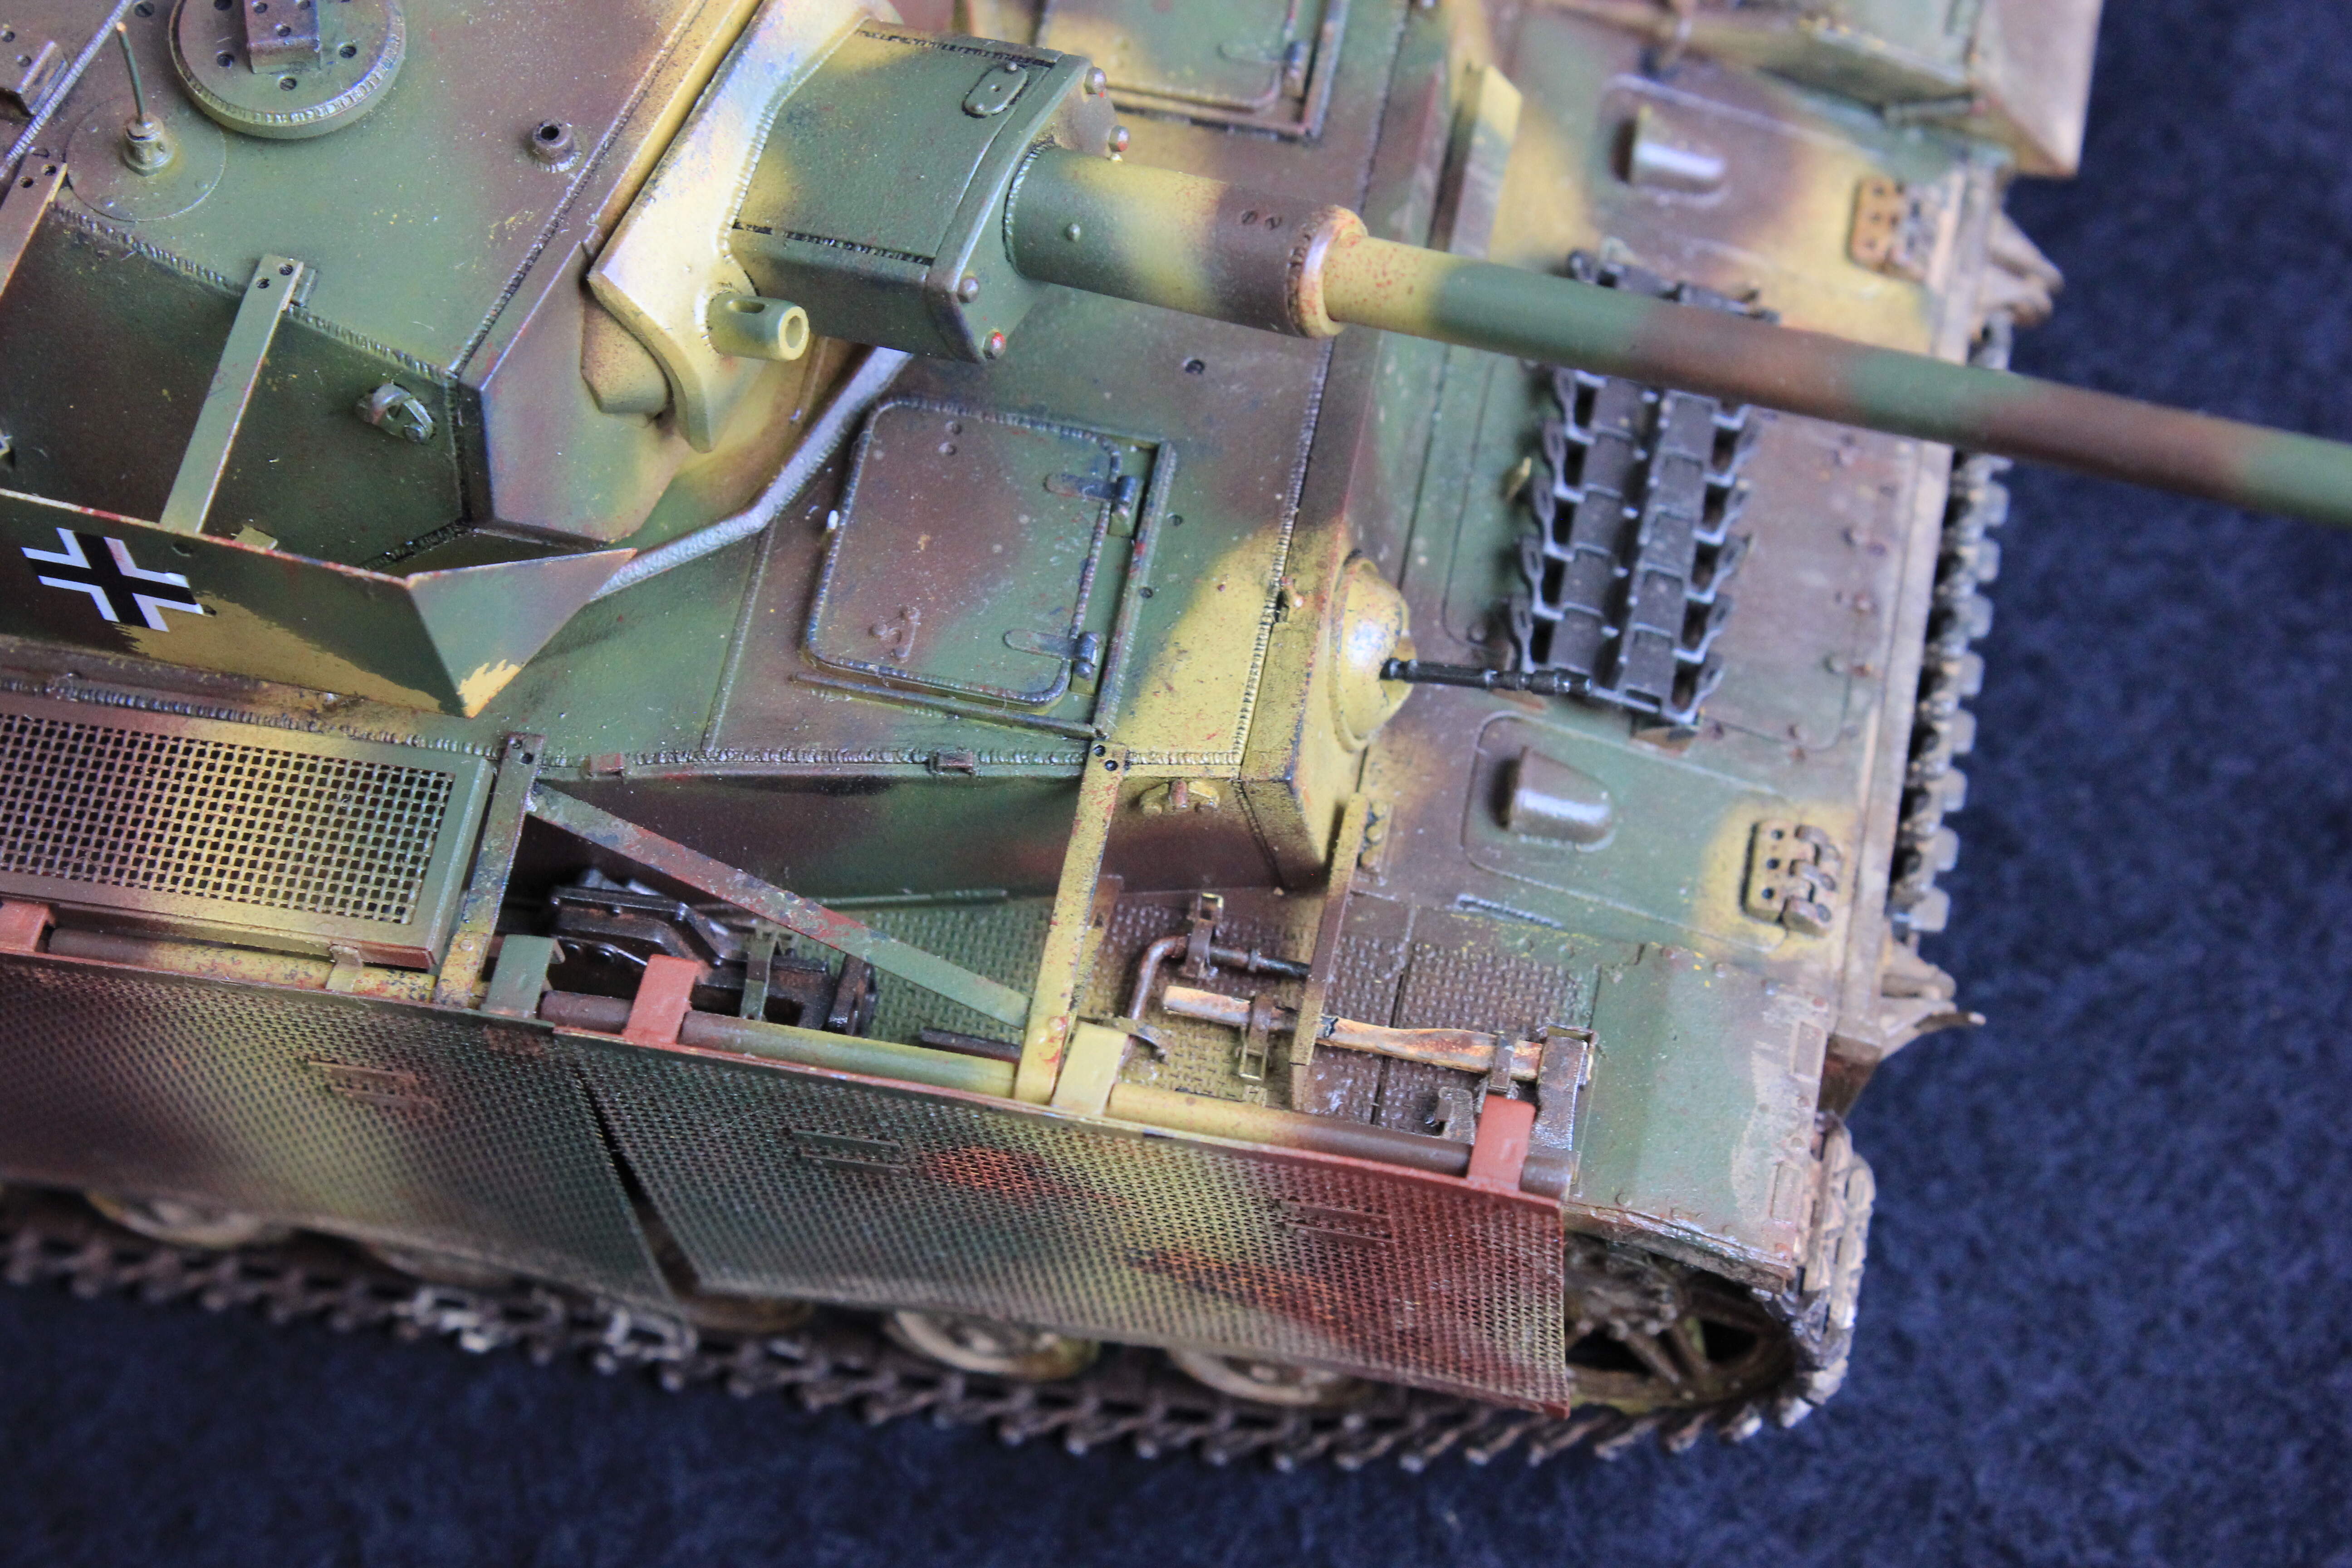
The kit contains parts for turret interior (partial), but only the main gun is illustrated in the instruction. By using Ryefield 5043 (full interior version), and some guessing, I am able to add many other parts such as turret basket, seats for commander, loader and gunner, turret dial indicator, scopes, etc.
The interior is fully Ausf J. The Beob should have some differences (i.e. use radio to replace coaxial machine gun), but I did not do that.
I also drill holes of turret hatches and embedded copper wires: make it movable, some extend.