The next chapter in my “Great 2023 War on WIP” will drag out into the open a trio of P-51 kits that I boxed up back in July 2009. Yes, 14 years hiding in the cupboard of doom! I had grand plans for a diorama with lots of ground work and vehicles and figures and PSP matting, and at the time had absolutely no idea how to do any of that  I’m sure that there is a thread on the old Aeroscale Forums with my progress reports, if I can find it I will link it here.
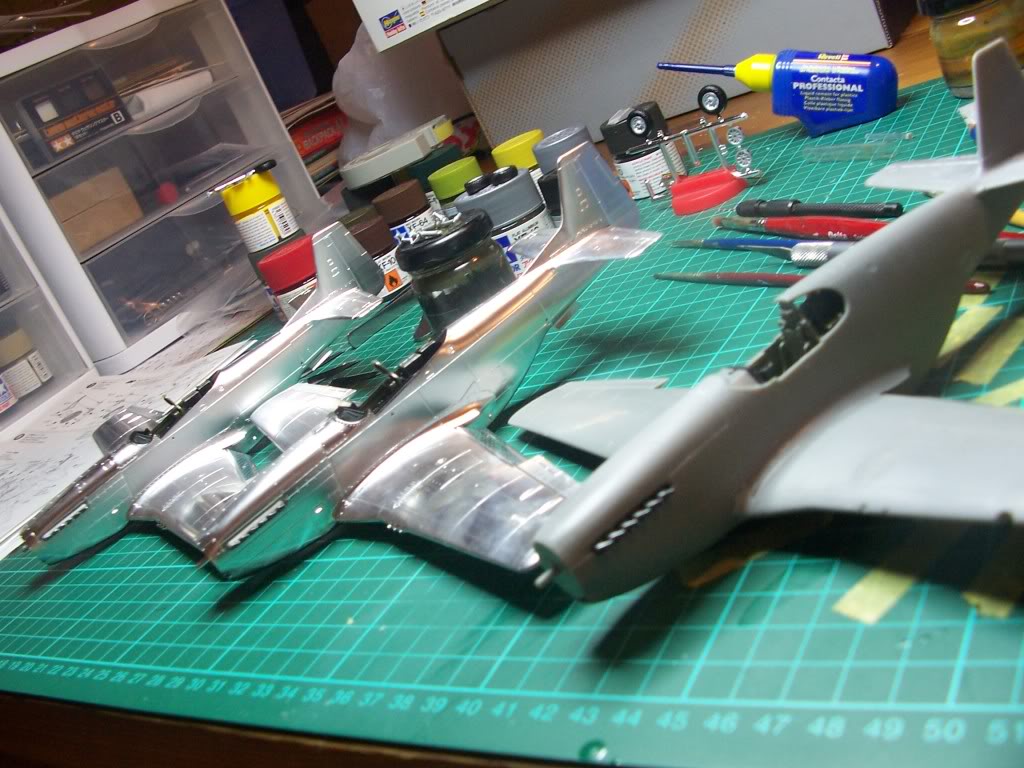
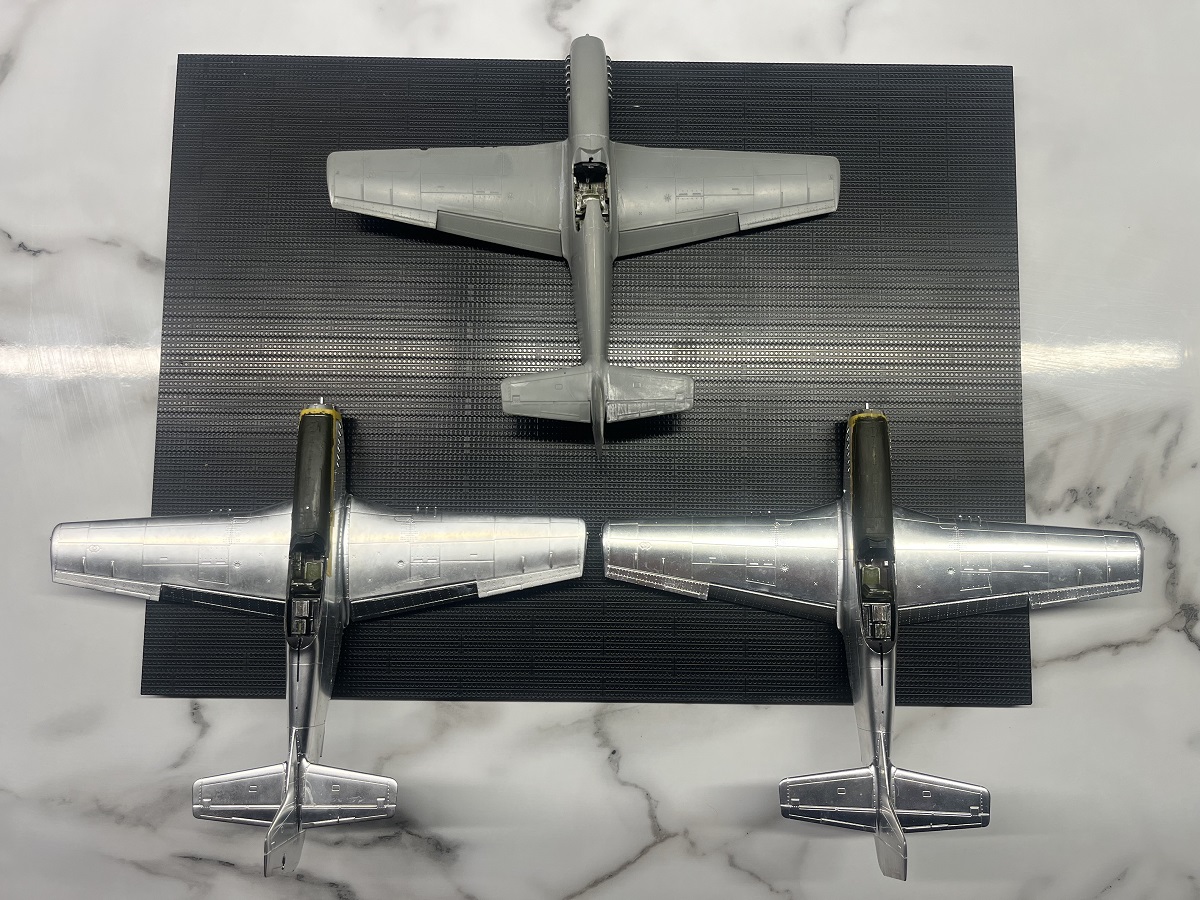
This photo was taken on July 11, 2009 just before I boxed the trio up.
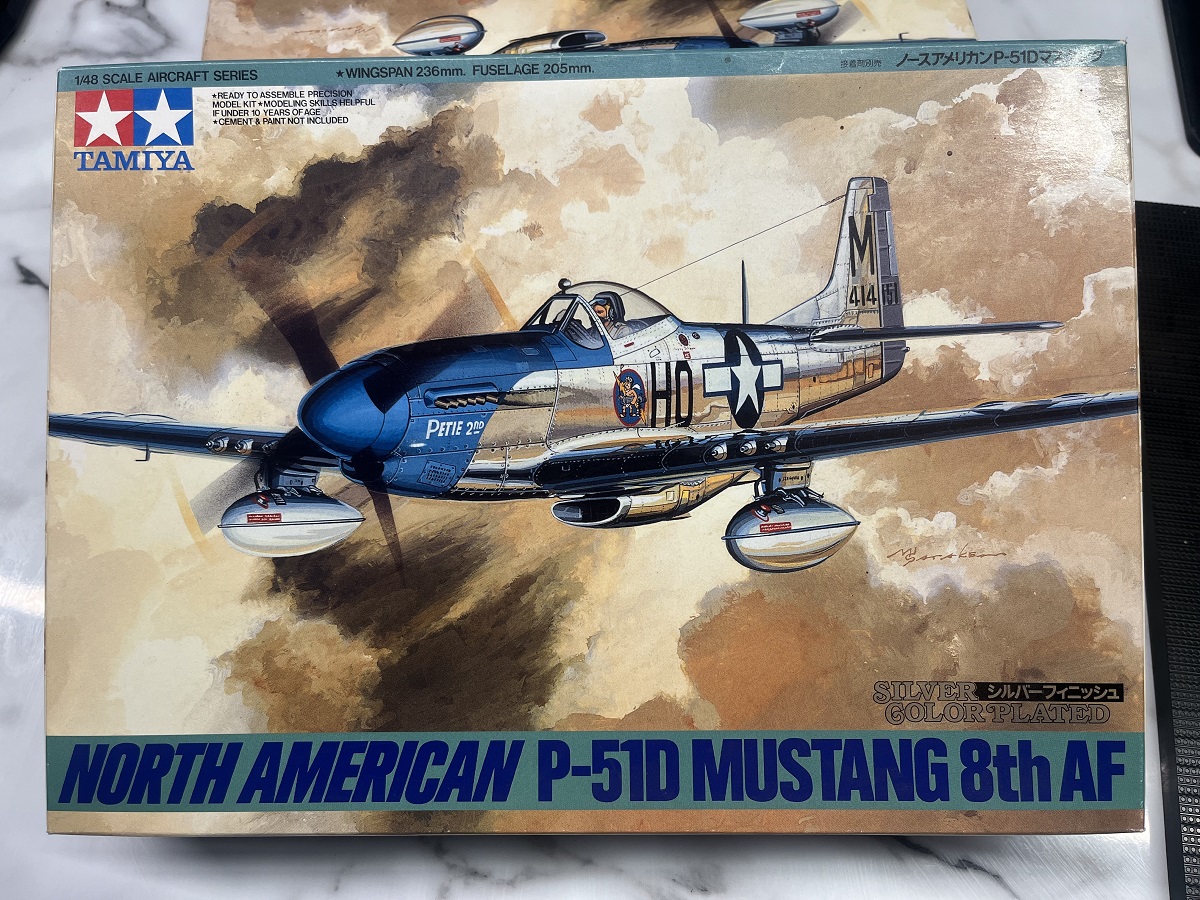
Now, before you say anything, my NMF skills were/are not that good!  The P-51D kits were a special edition “Silver Color Plated” release of the 8th AF boxing. Yes, I cheated
North American P-51D Mustang 8th AF, Tamiya 89534 (1998) (scalemates.com)
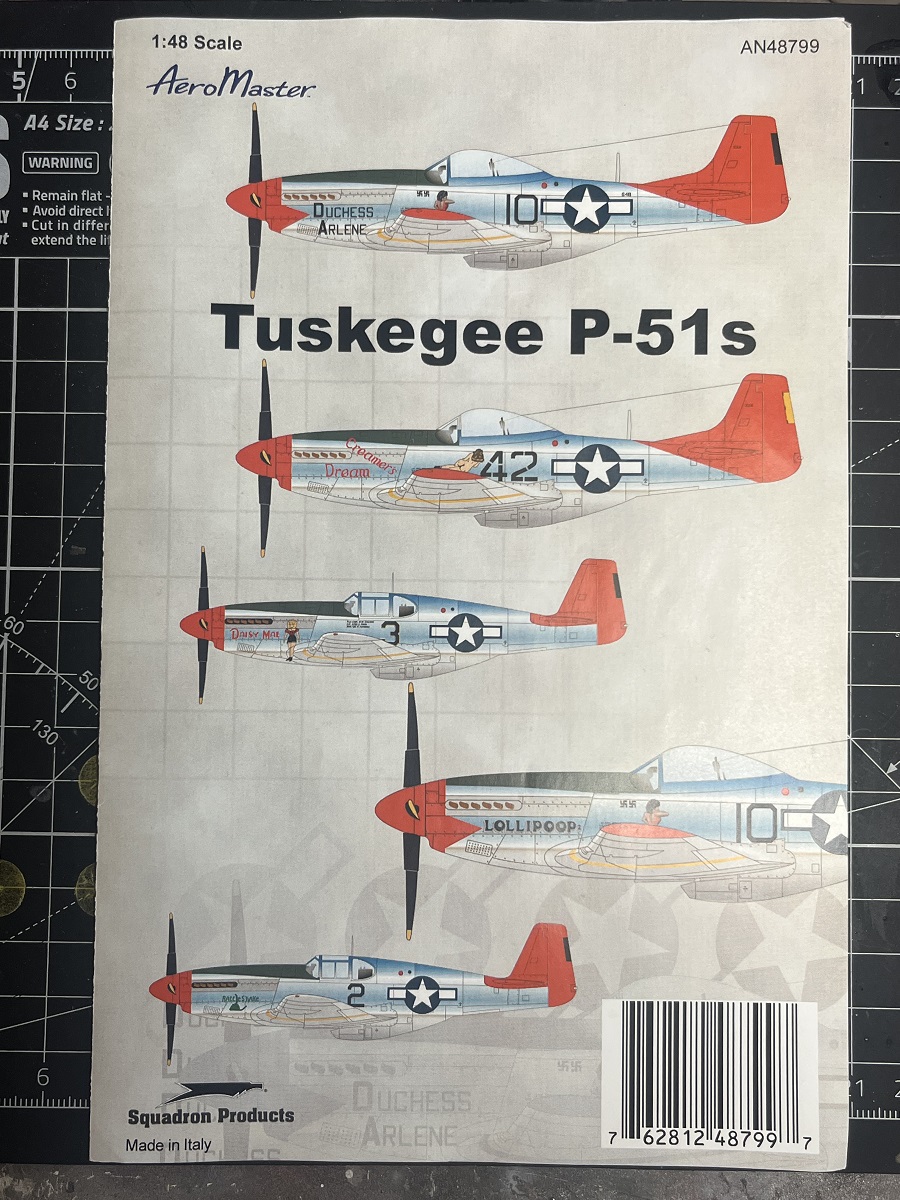
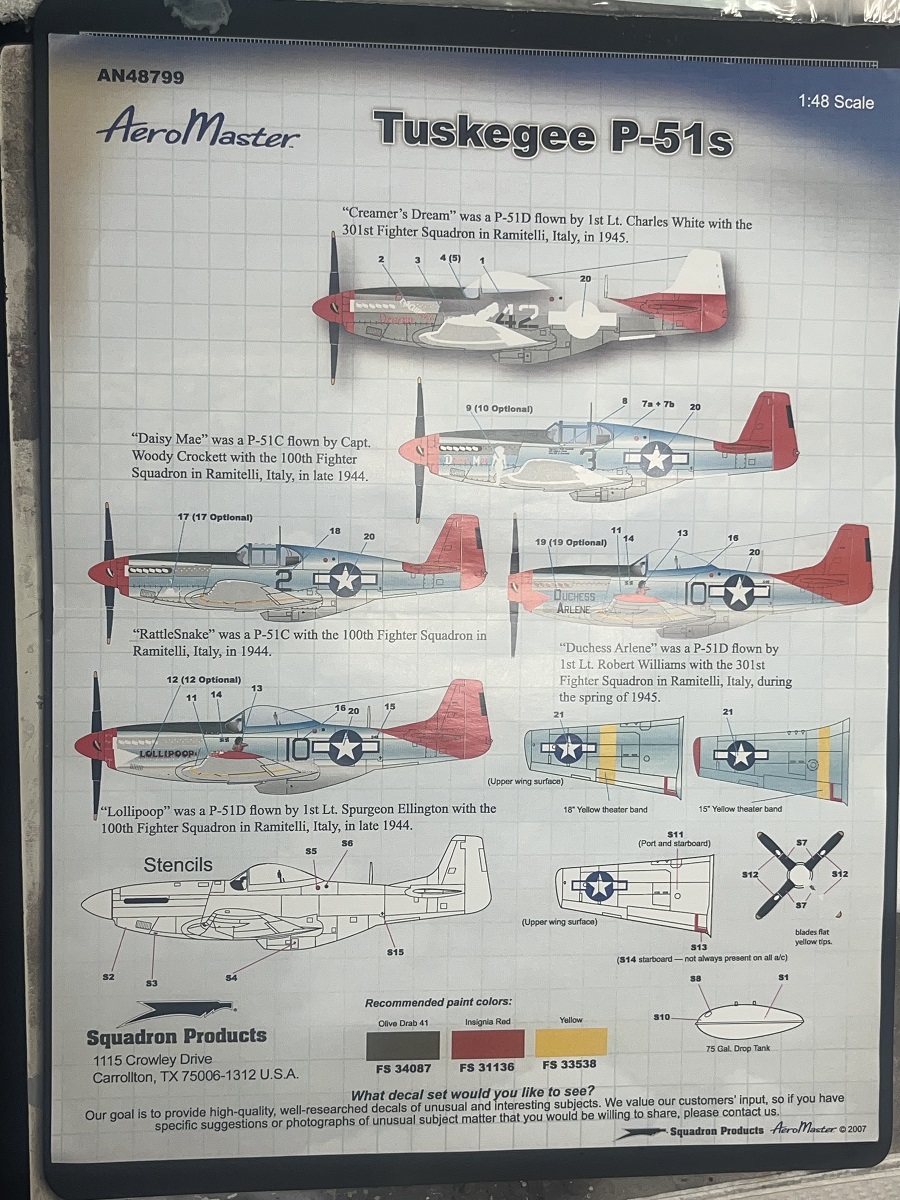
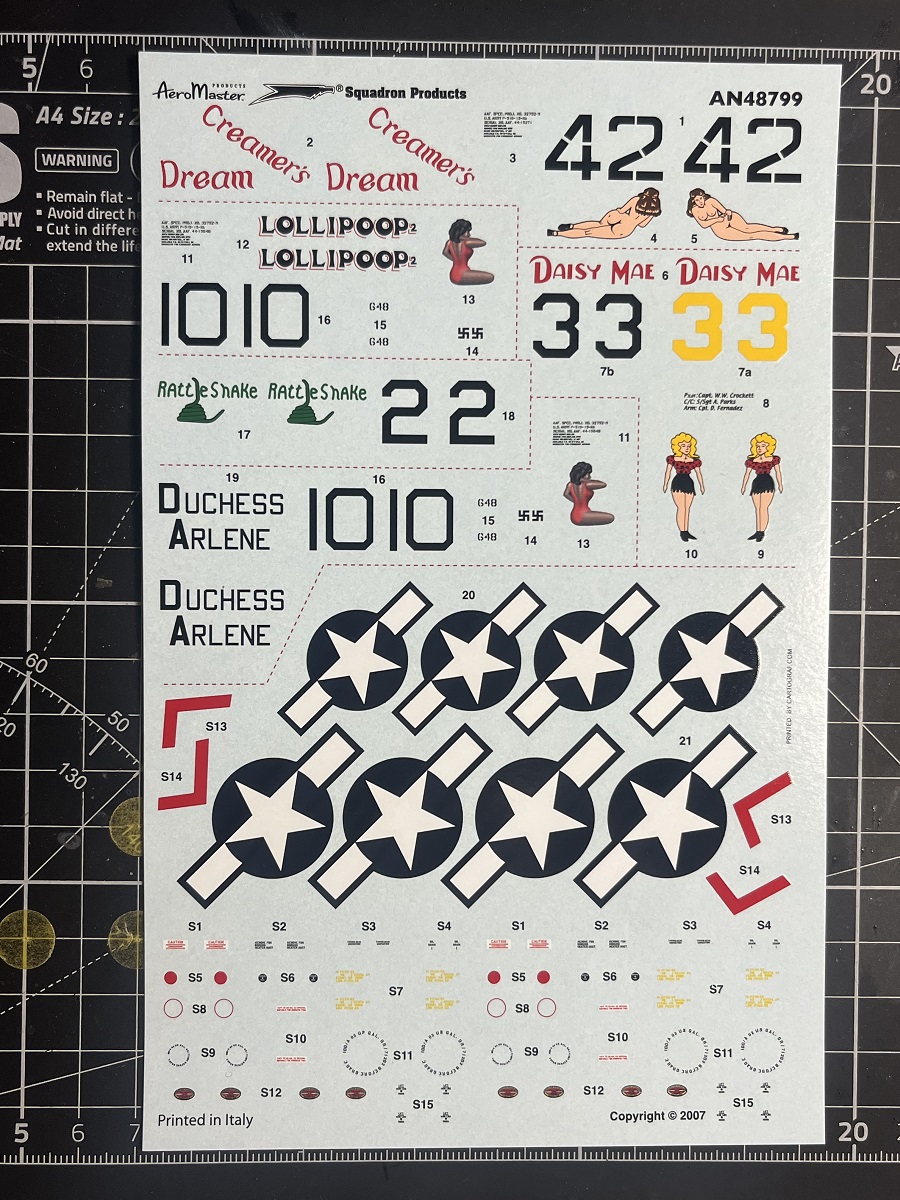
The decal sheet I am using is the AeroMaster Tuskegee P-51s set (AM48799). I will be building Daisy Mae, Creamers Dream and Duchess Arlene.
So here we are, the current state of play.
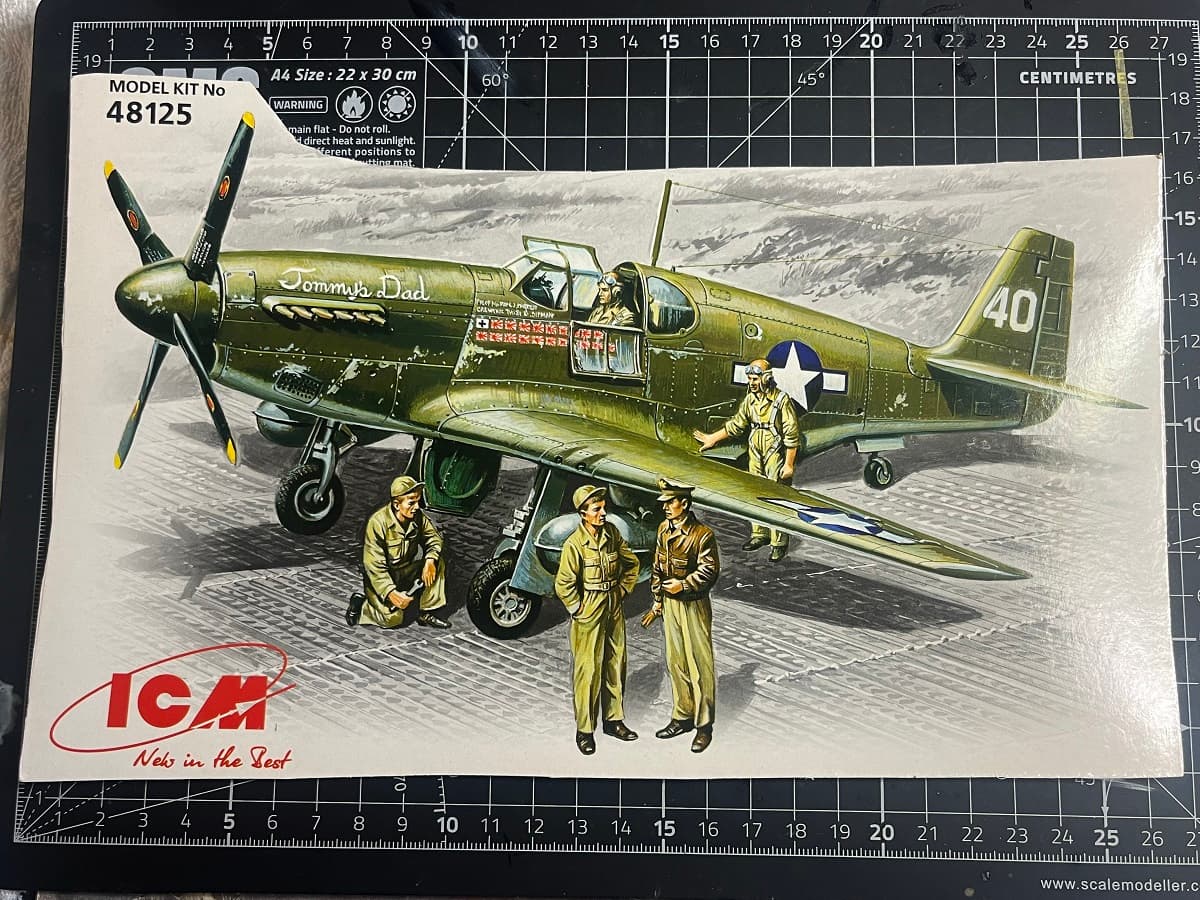
Kit 1 is the ICM P-51B to be done up as “Daisy Mae” which was actually a P-51C flown by Capt. Woody Crockett of 100 squadron, Ramitelli Airbase Italy in late 1944. My understanding is that the B model was built at the Inglewood plant, and the C model at the Dallas plant, other than that the specs are identical.
After I finish “Daisy Mae” I will move on to the other two and finish them together.
As for the wildly ambitious base? Well, I found the big sheet of 1/48 PSP from Eduard, so maybe 

Cheers, D
9 Likes
A cold and wet winter Saturday night last night, what else could I do?
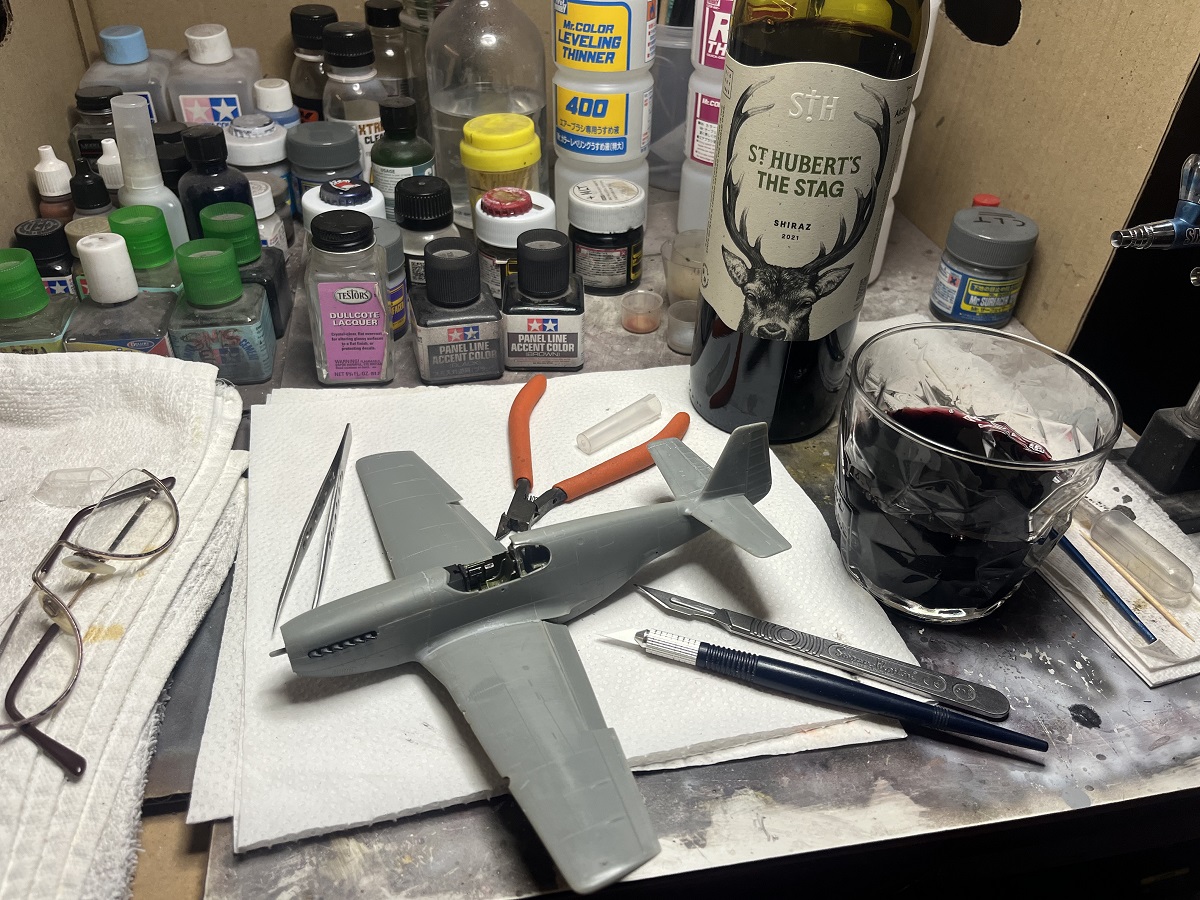
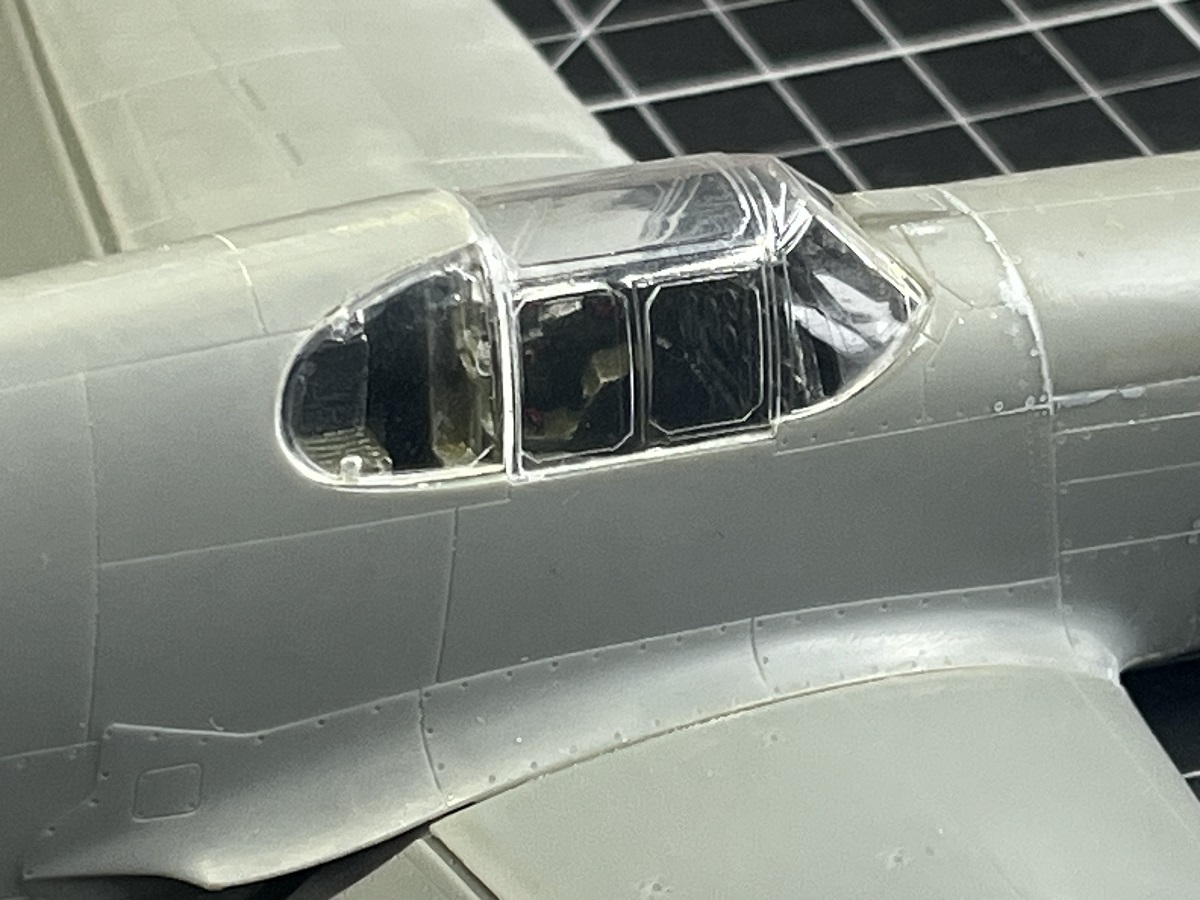
After taking stock of the WIP on “Daisy Mae” to make sure everything is present and accounted for, I painted the front deck of the cockpit and installed the gunsight, then cut and trimmed the side glass and installed it.
Once that was all cured (precisely 2 glasses of Shiraz and some tinkering with a 57 Chevy Convertible kit used as a timer) I cleaned up and installed the main glass.
Fit of the clear parts is quite good, just a little bit of filling and blending with white glue to do. I didn’t bother searching for belts for this one, strictly OOB to push this one through and once the main glass frames are painted up you will barely see inside anyway.
Cheers, D
4 Likes
Looking great.
I’ve often come across those Tamiya pre-painted silver kits and wondered how they went together. My LHS has had the Kawasaki Tony on the shelf for a while.
I’m guessing that you have to be very sparing with any adhesives.
1 Like
Good re-start of your Mustangs, D!
To cheer you up a bit, we have a bright blue summer Sunday with 24°C outside here in the northern hemisphere 
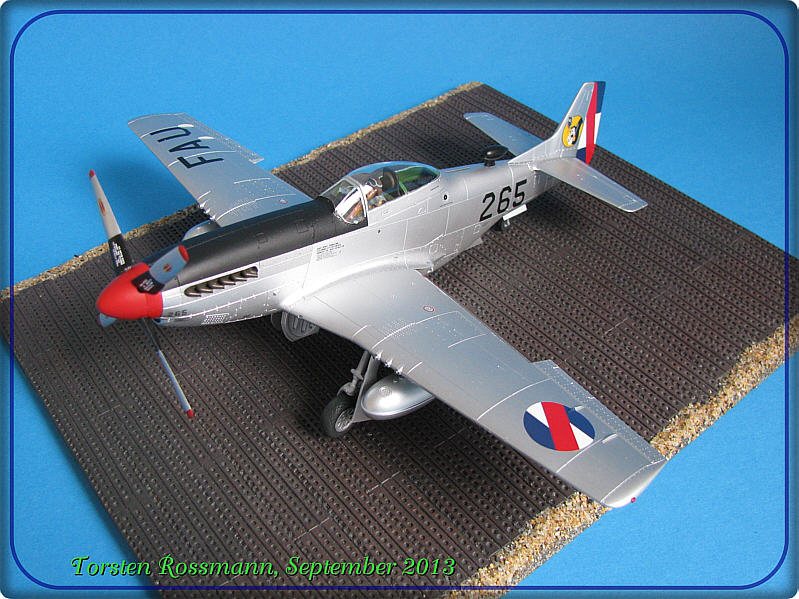
My NMF skills are still also not all that good either. Some 10 years ago I tried to airbrush a Silverbird though and it was also a Tamiya F-51 D. Maybe a bit of motivation for you …
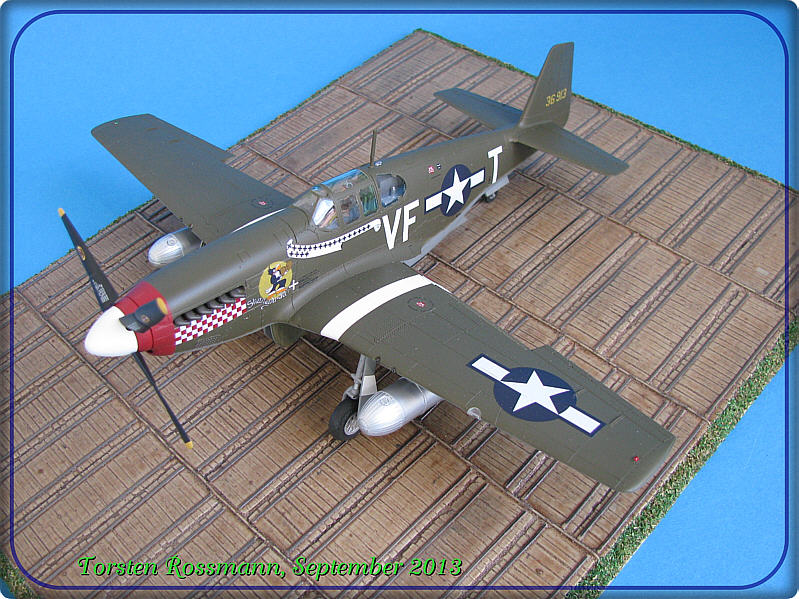
… the P-51 B which came with it, is in OD/NG though …
Torsten 
3 Likes
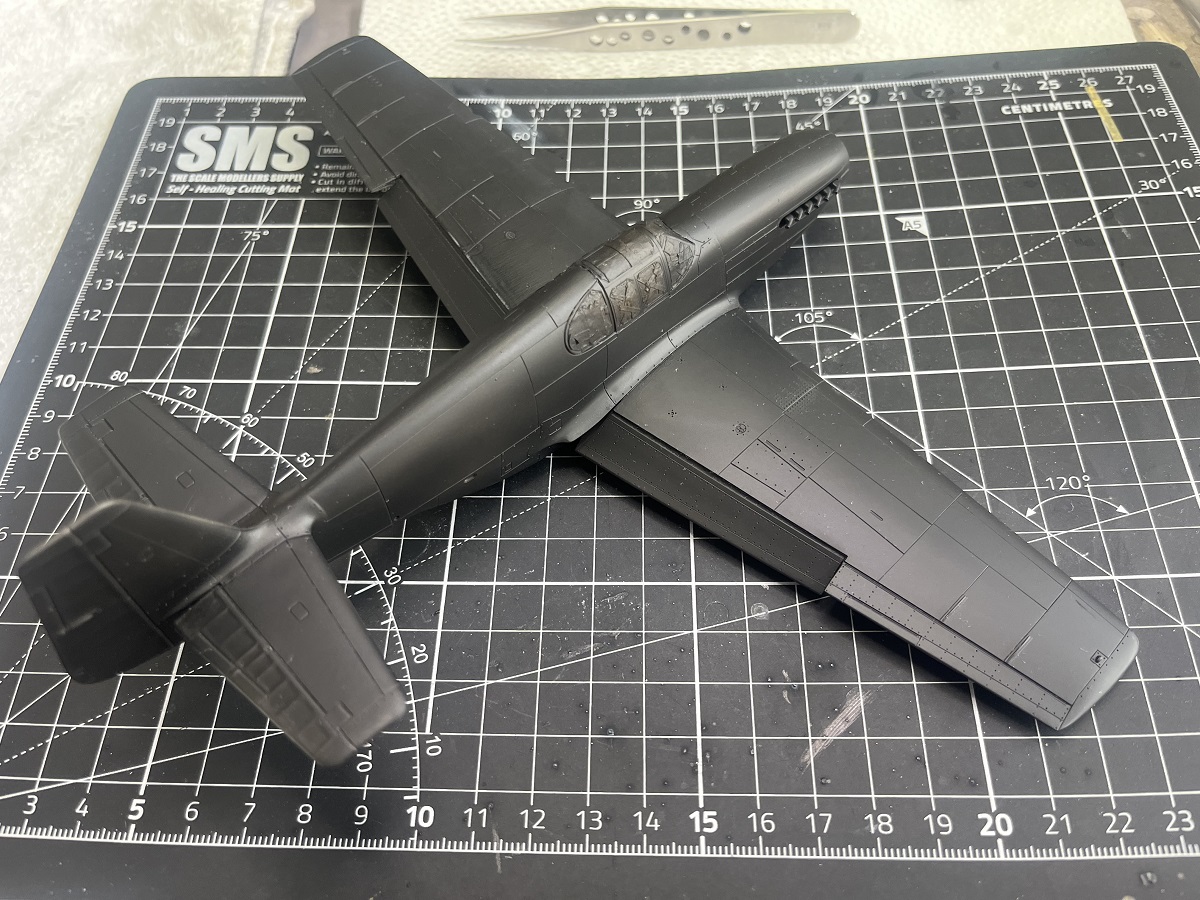
I got the canopy masked and cleaned up on “Daisy Mae”, then shot black the initial surfacer to see what further work is required.
A couple of spots need attention but nothing major, hoping to get them sorted and final surfacer on today.
Cheers, D
2 Likes
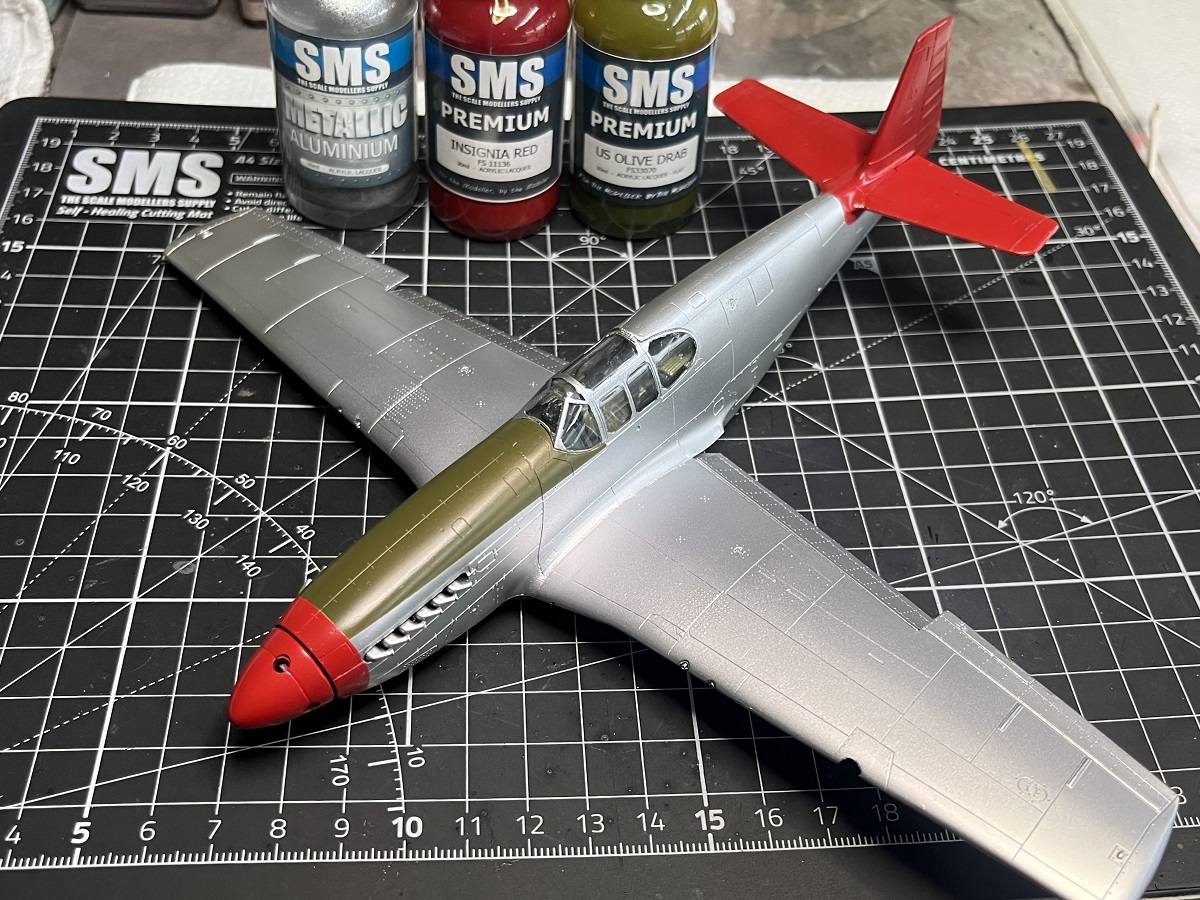
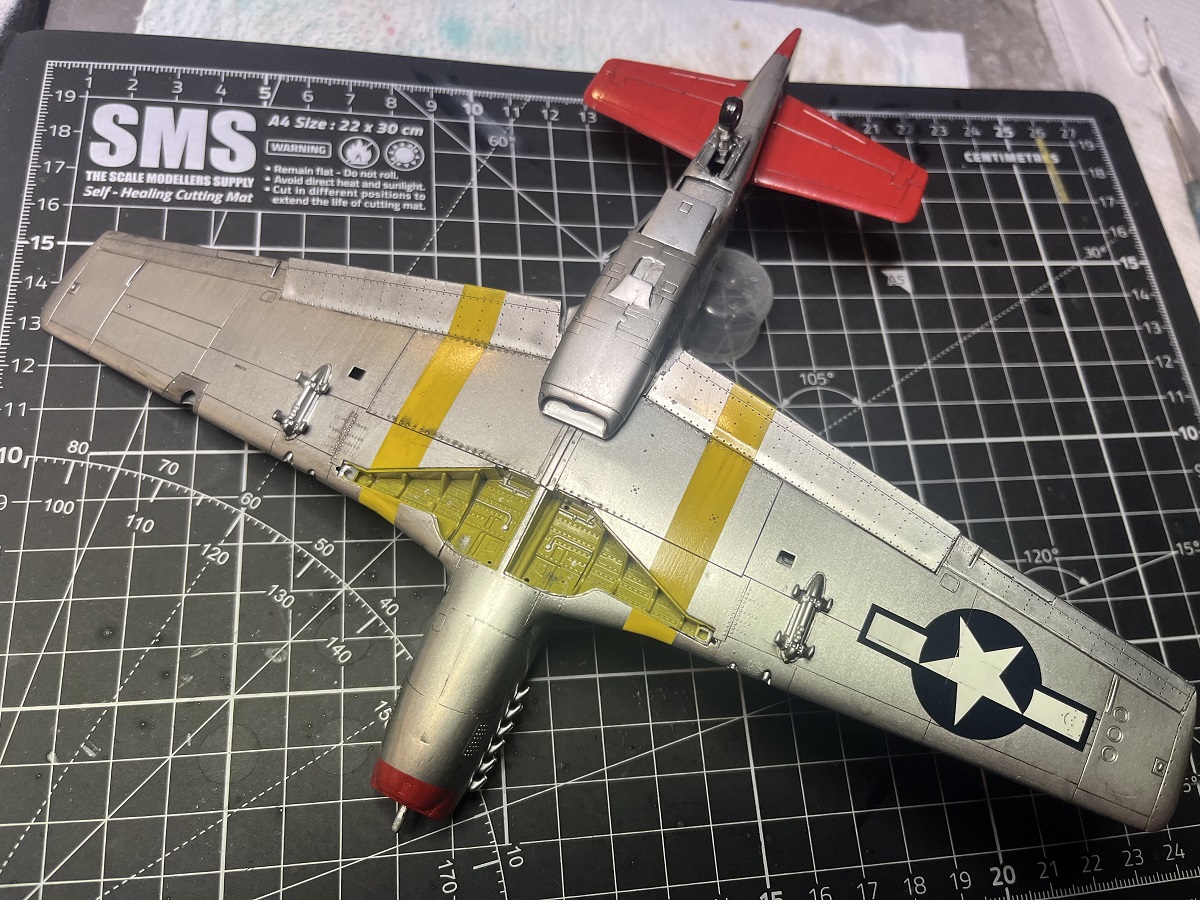
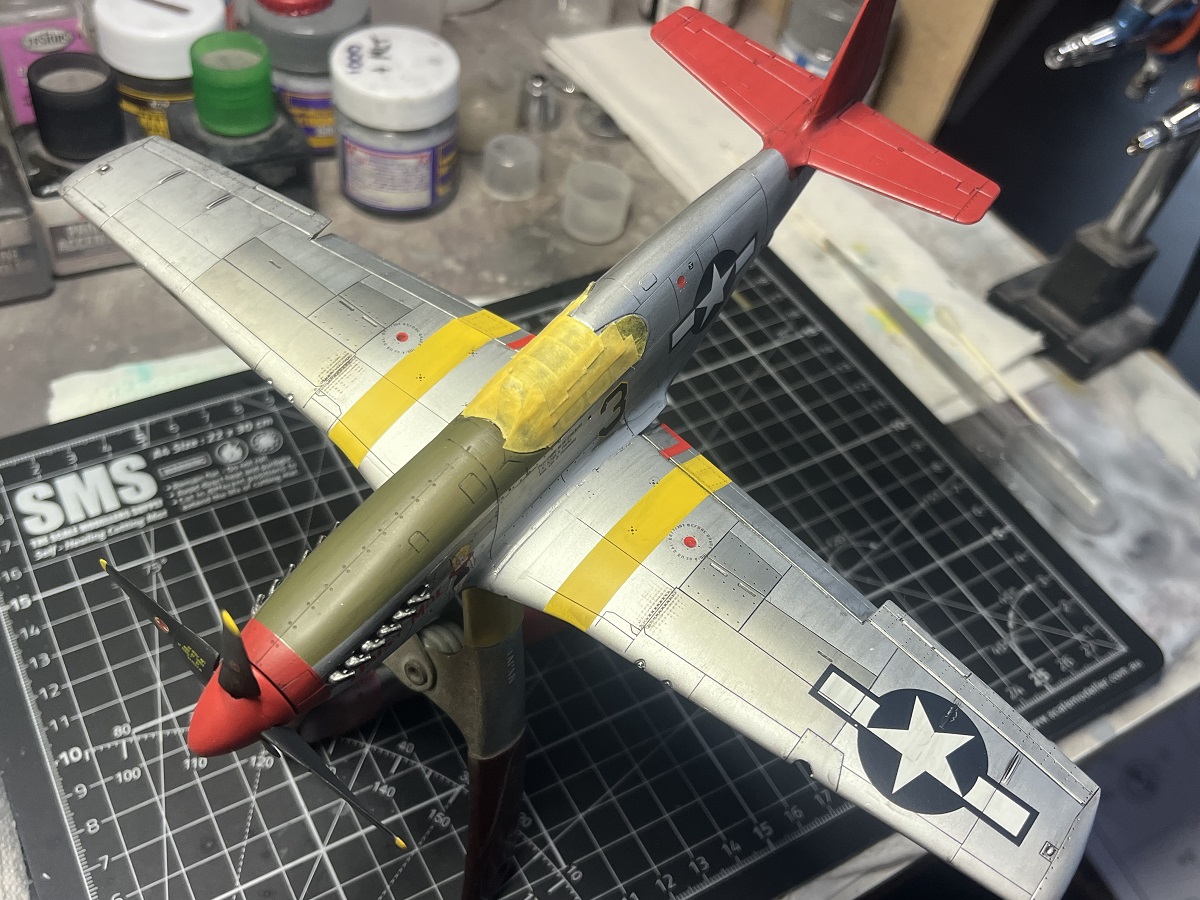
I tidied up a few rough spots, reprimed and once it was cured shot SMS Aluminium for the main NMF.
I will mask off a couple of panels and shoot a slightly darker shade for some variation, then mask up for the red nose and tail and the anti-glare panel.
Cheers, D
7 Likes
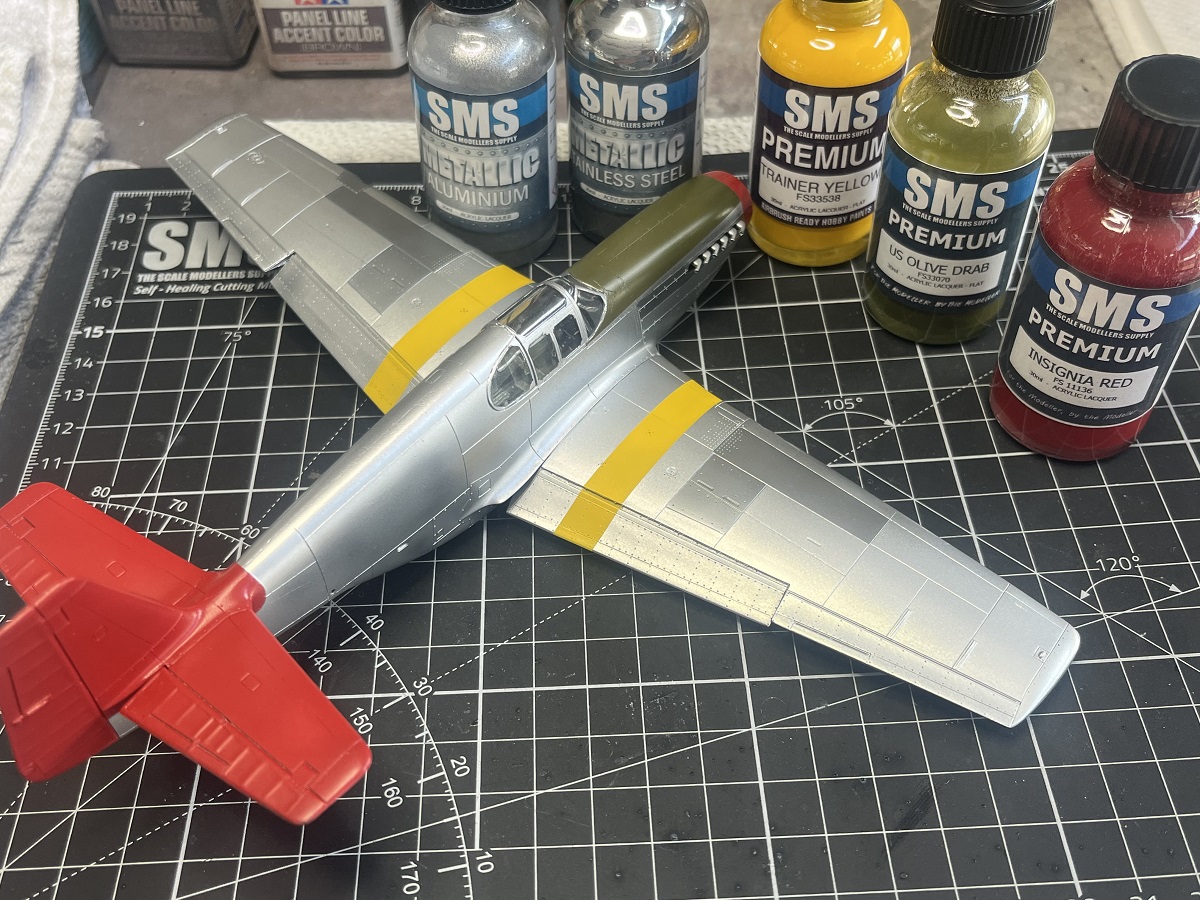
Masking and painting, unmasking, masking and painting!
I’m trying to find a definitive answer as to whether “Daisy Mae” had insignia red wing tips before I start on the decals. The research continues
Cheers, D
5 Likes
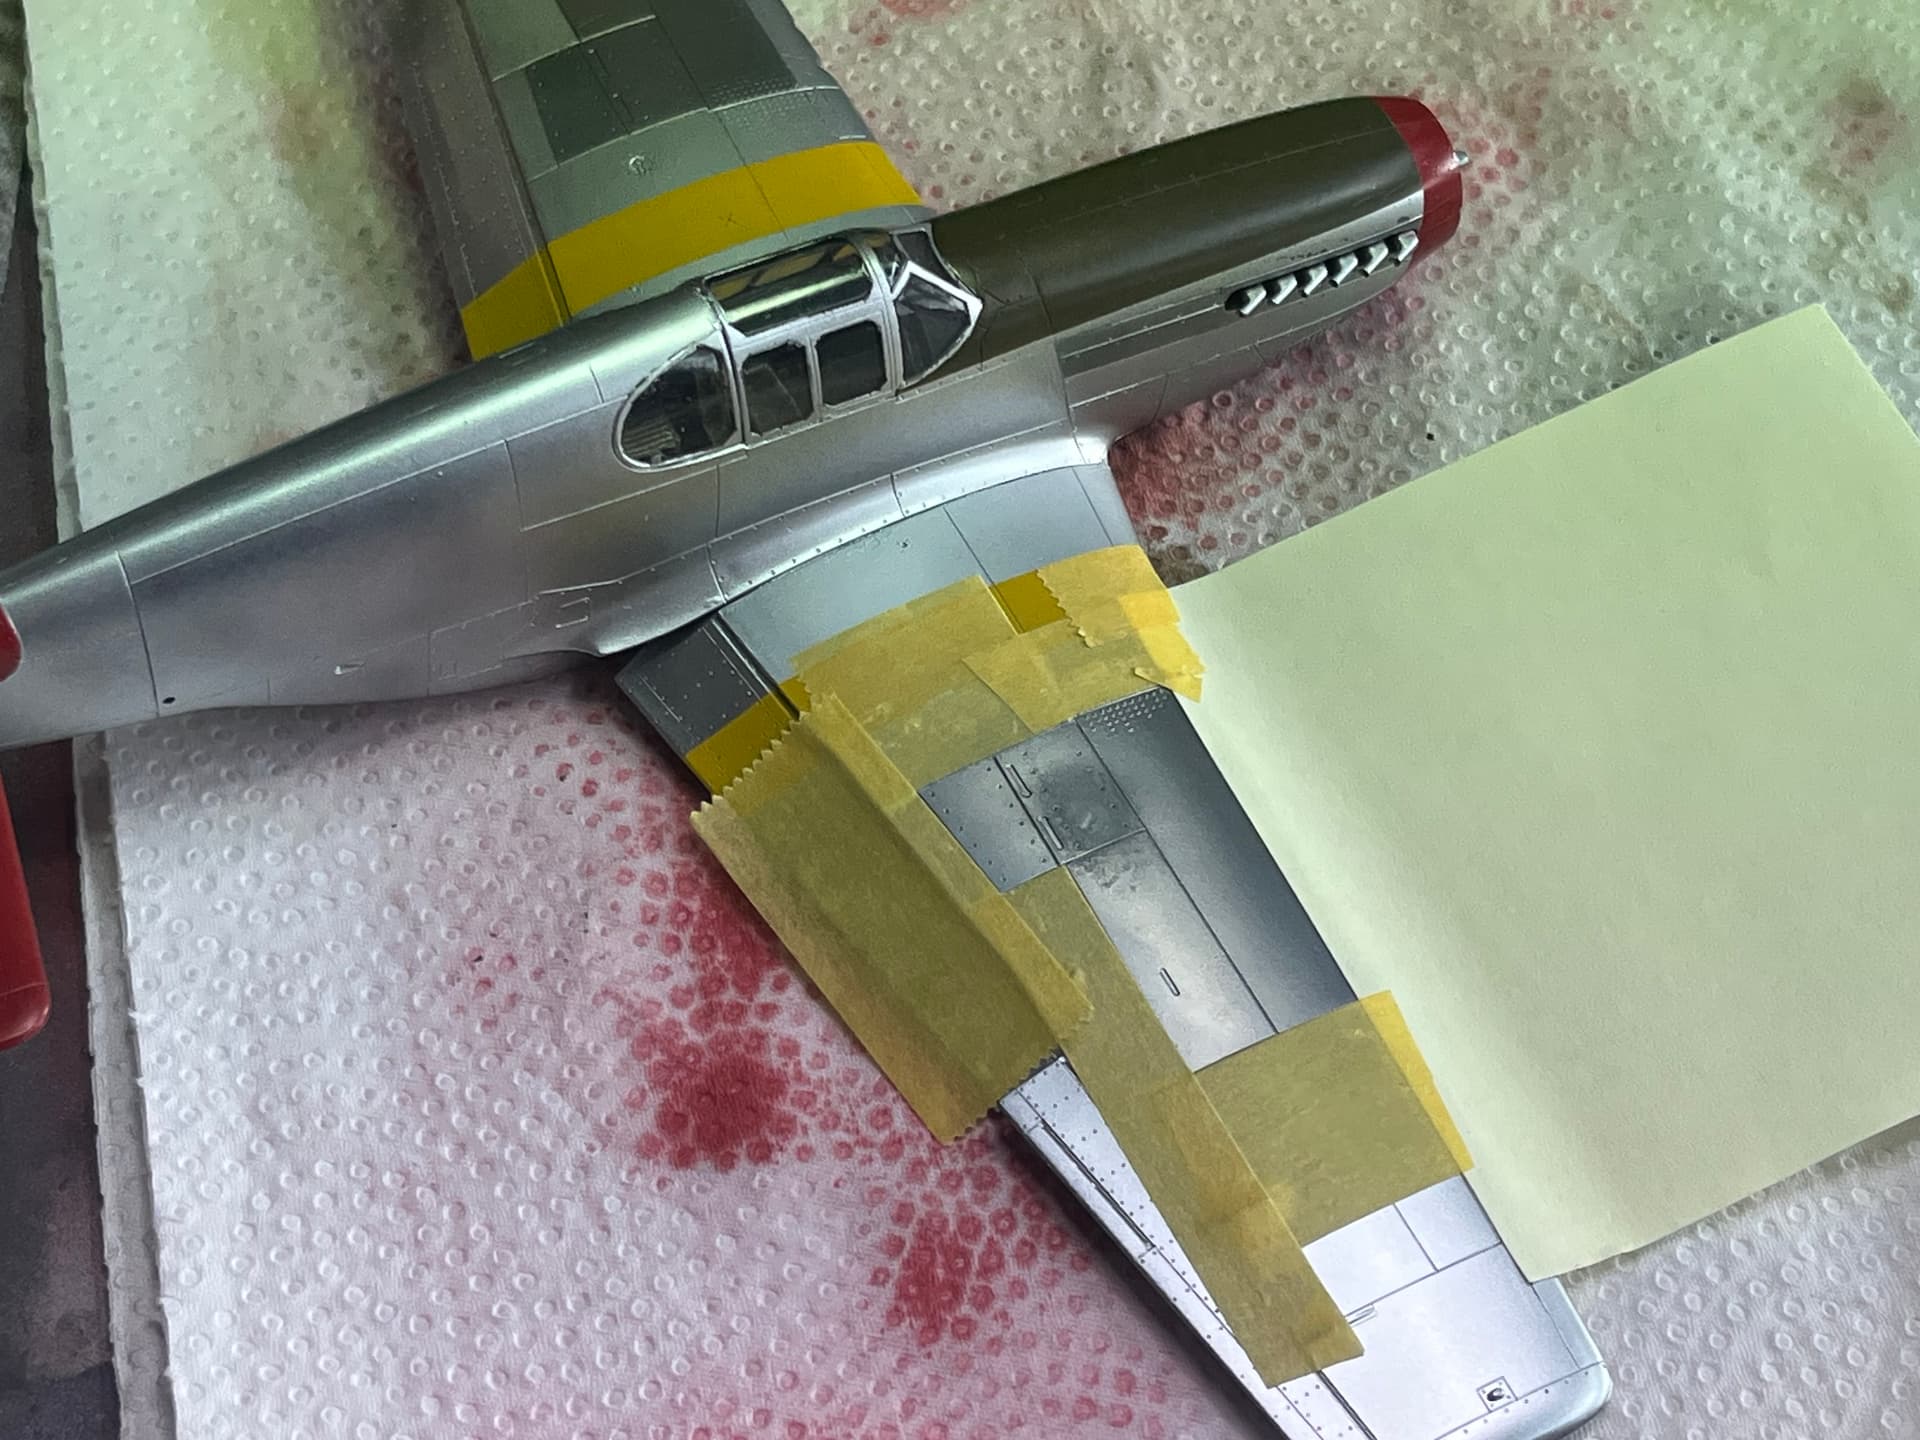
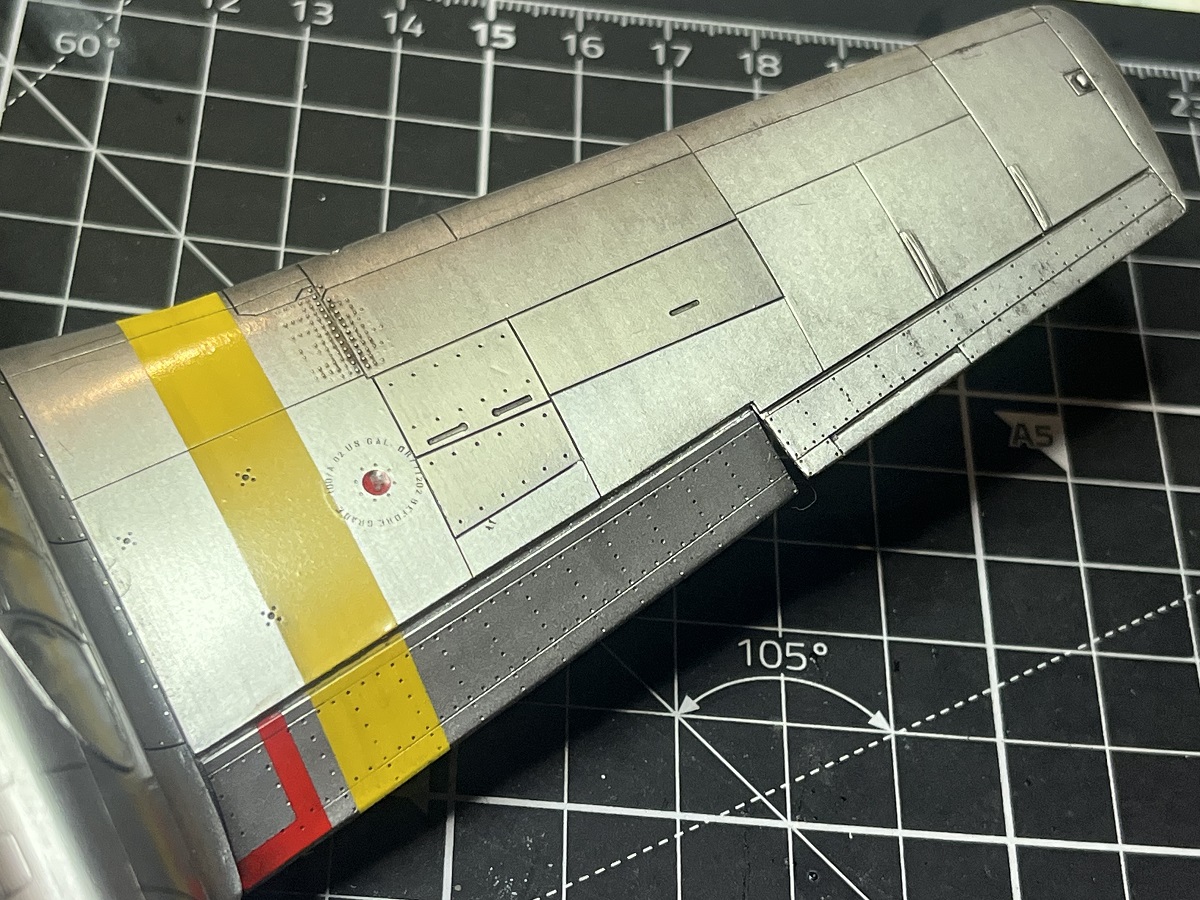
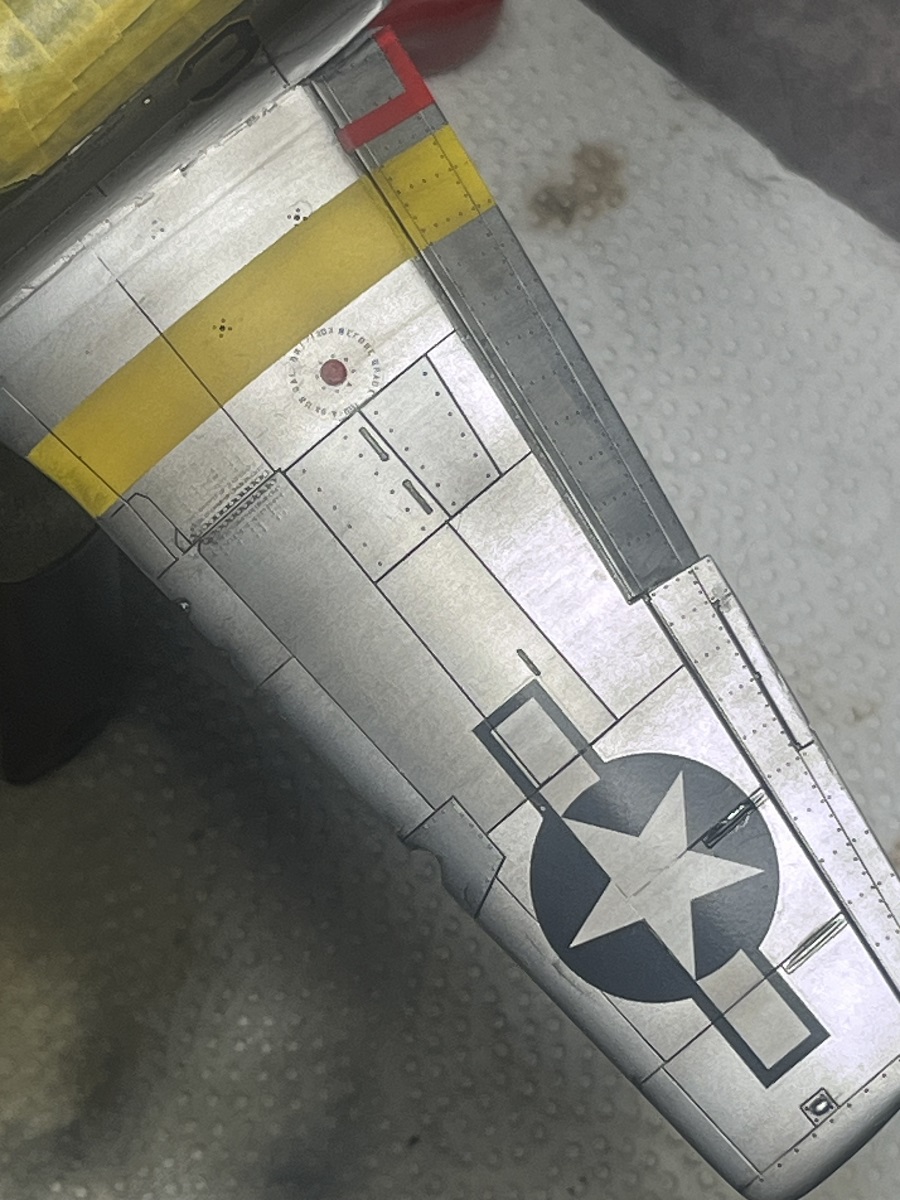
Time for a learning moment, and a minor disaster! I learned from a Facebook Group post that the front panel that I darkened is not the gun/ammo cover, but just a standard wing skin panel. The gun/ammo cover is the next panel back with the moulded in catch! A quick bit of Googling by myself would have picked that up but I was just too busy having fun throwing paint around 

A quick bit more masking and another panel to spray on each wing, and of course I manage to slop a drop of MLT onto the panels I want to paint 
So, let it cure, give it a light fine wet sand, a shot of Aluminium then another shot of Stainless Steel so the finish is the same, and here we are ready for decals FINALLY!
Cheers, D
2 Likes
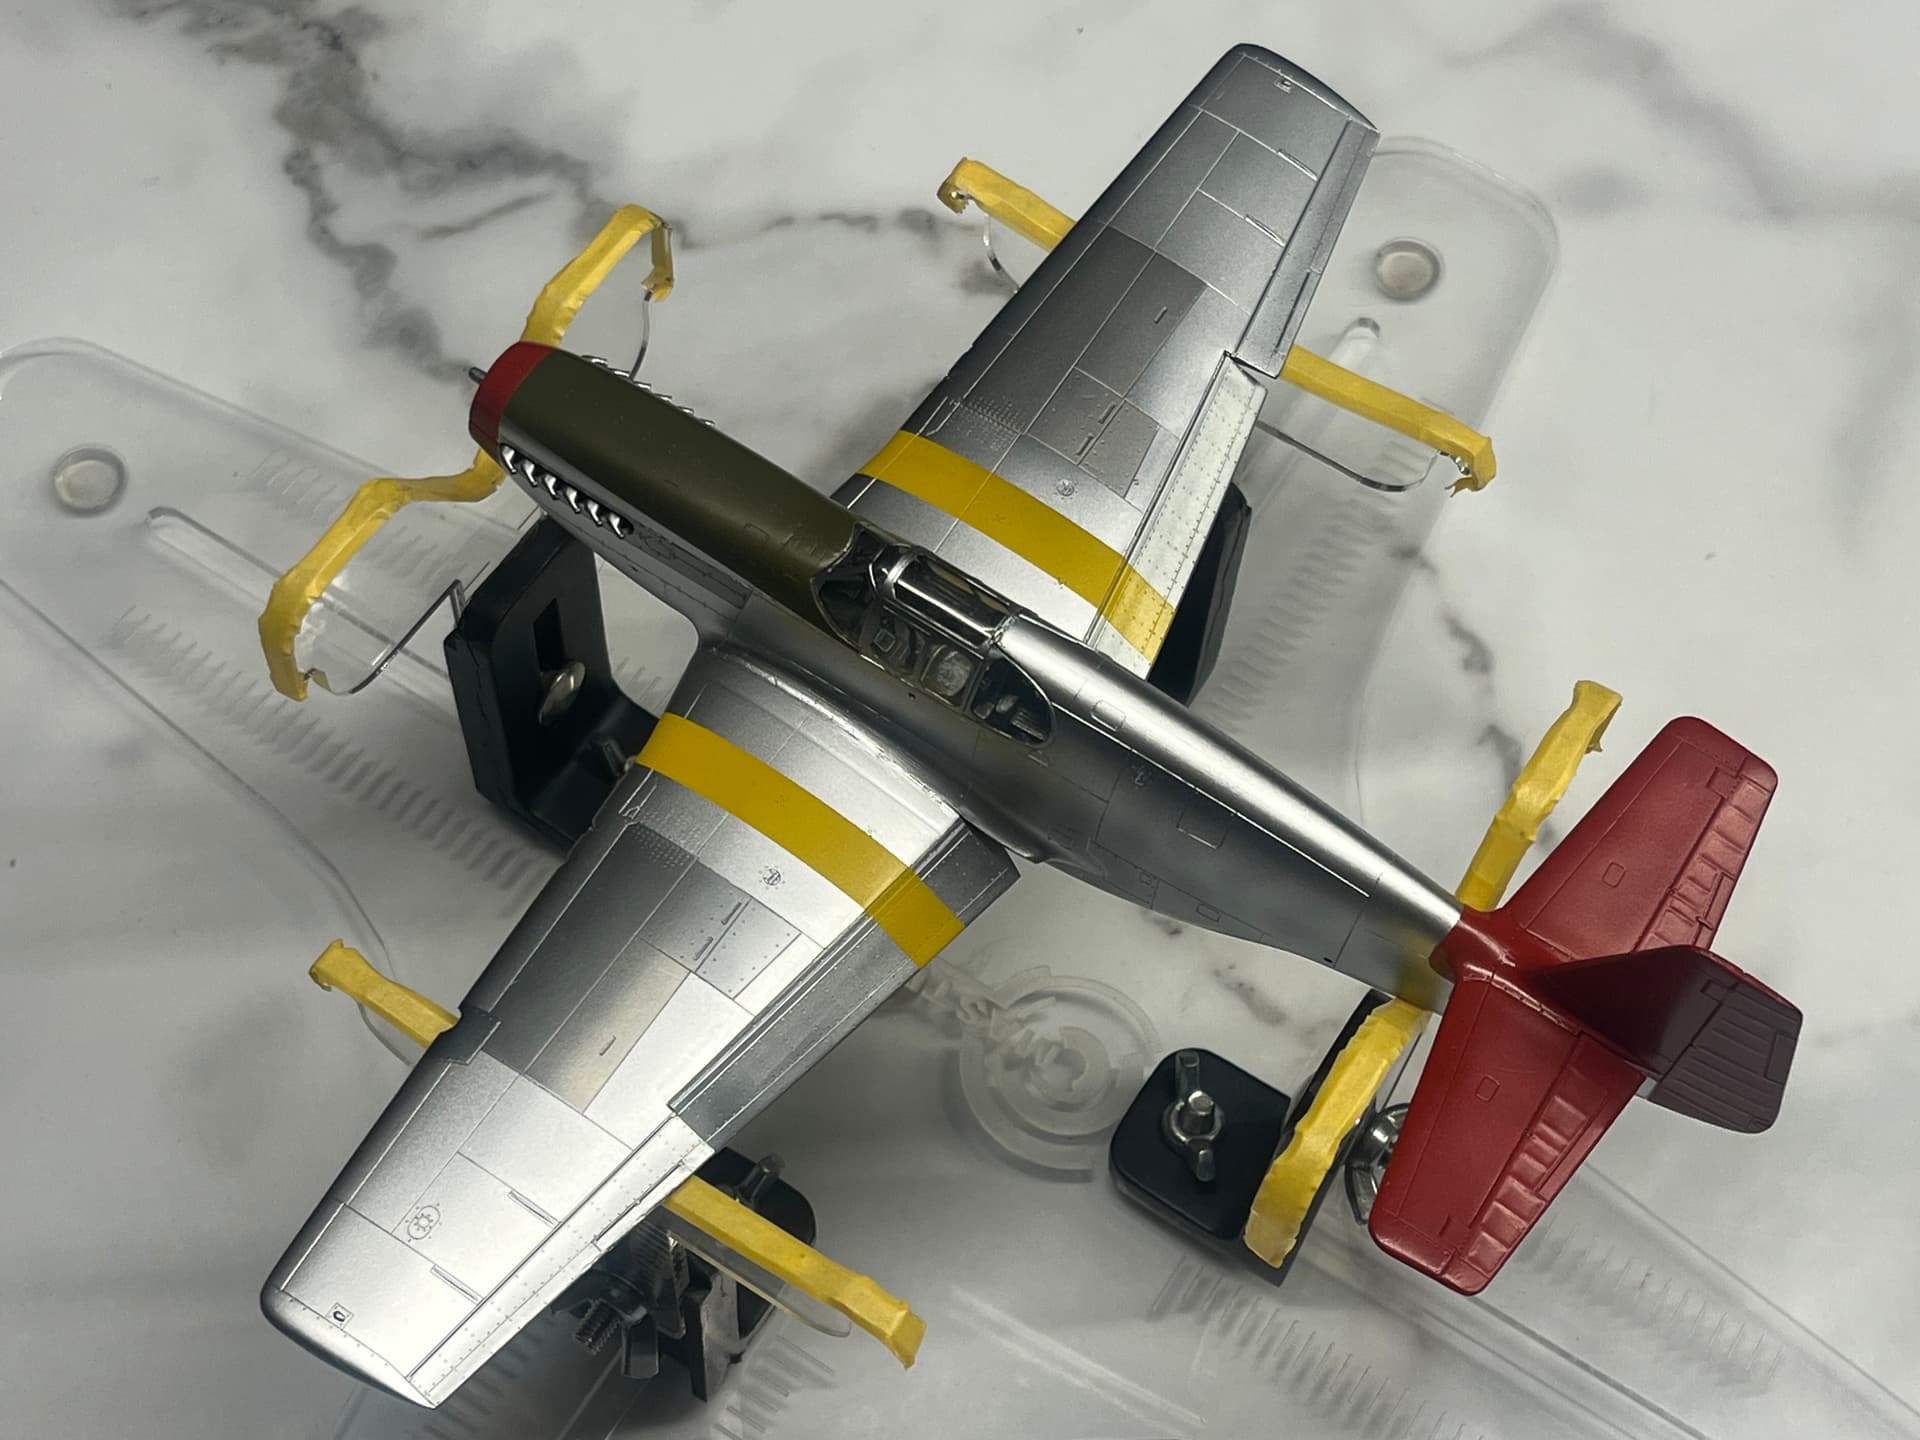
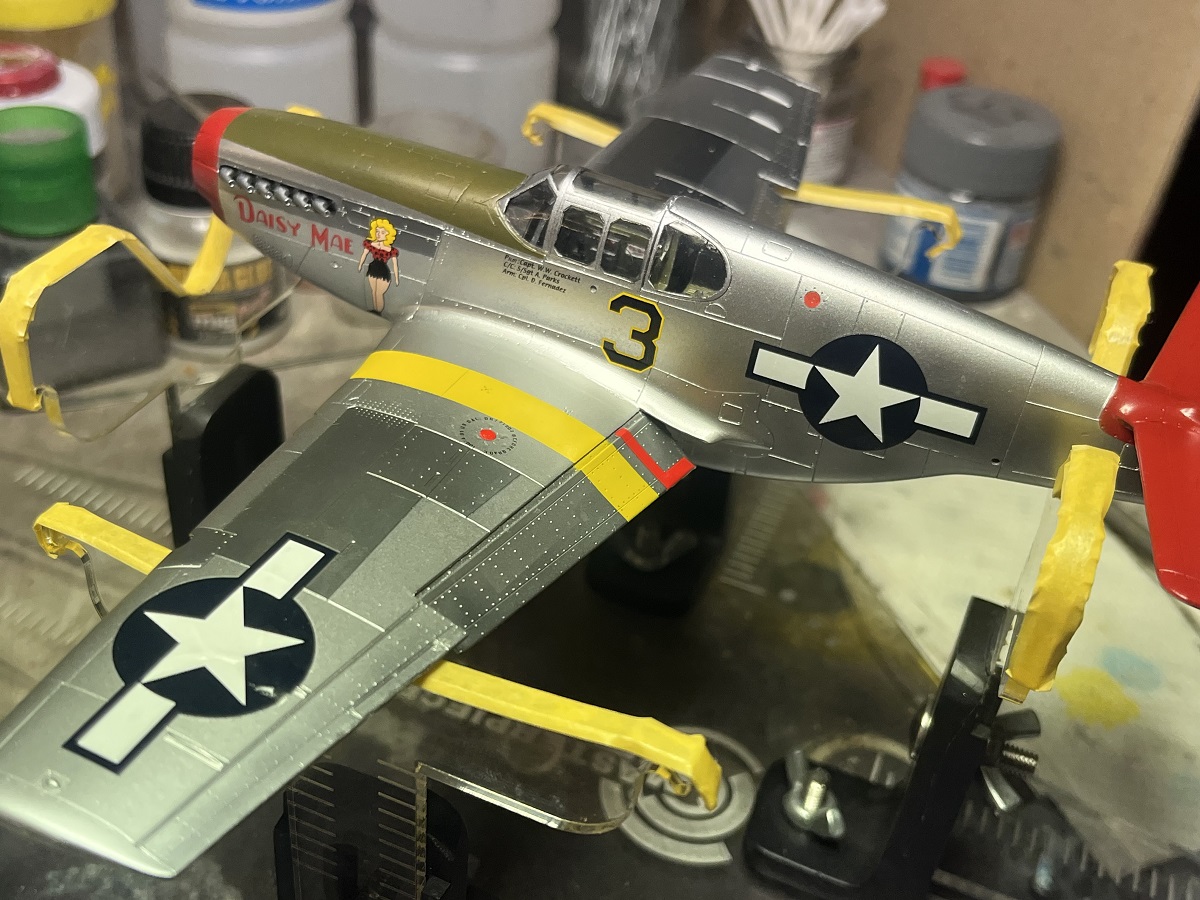
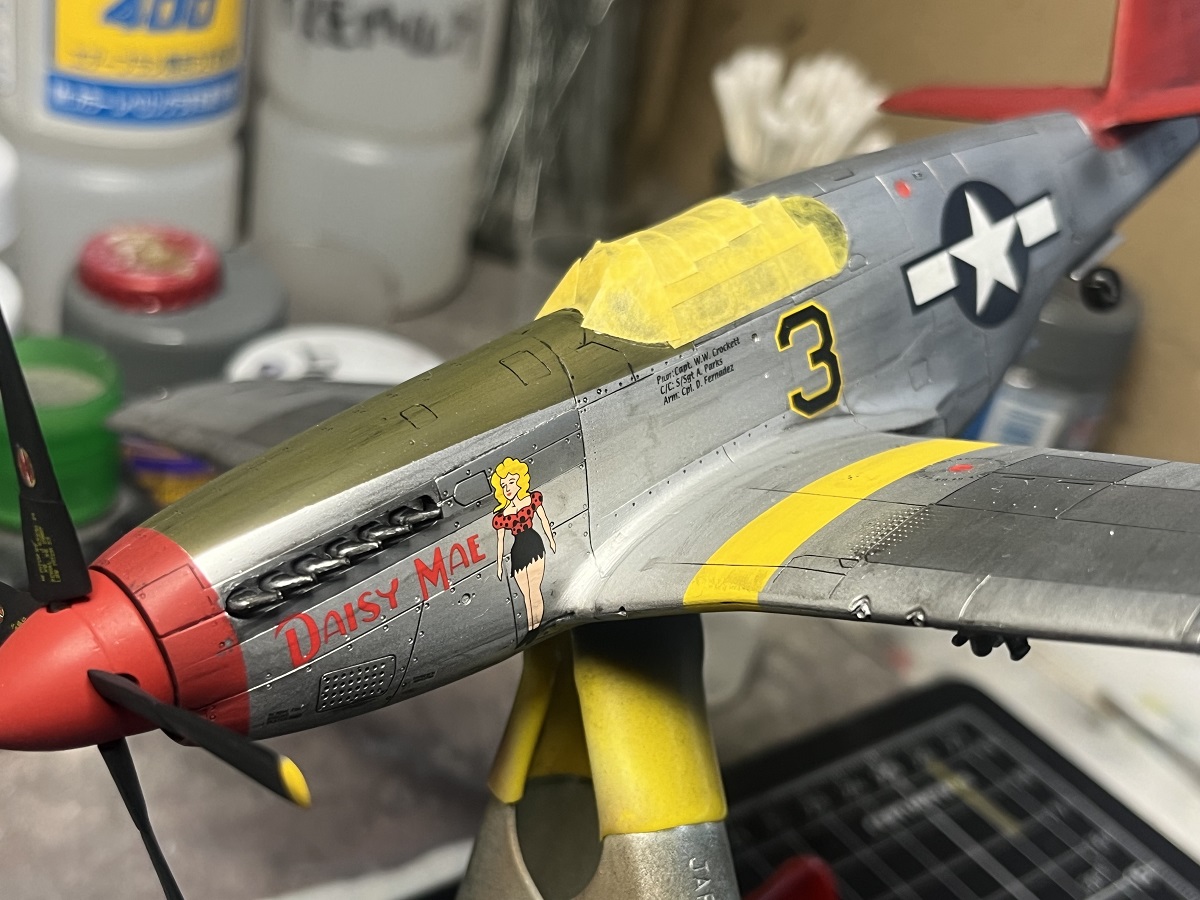
I just love how quickly lacquers dry! Main fuselage and upper wing decals are all in place and settling with Mr Mark Setter underneath and Mr Mark Softer on top. Time to walk away and leave them well alone.
Cheers, D
7 Likes
I’ve been chipping away at this build and making steady progress. I just forgot to take progress shots
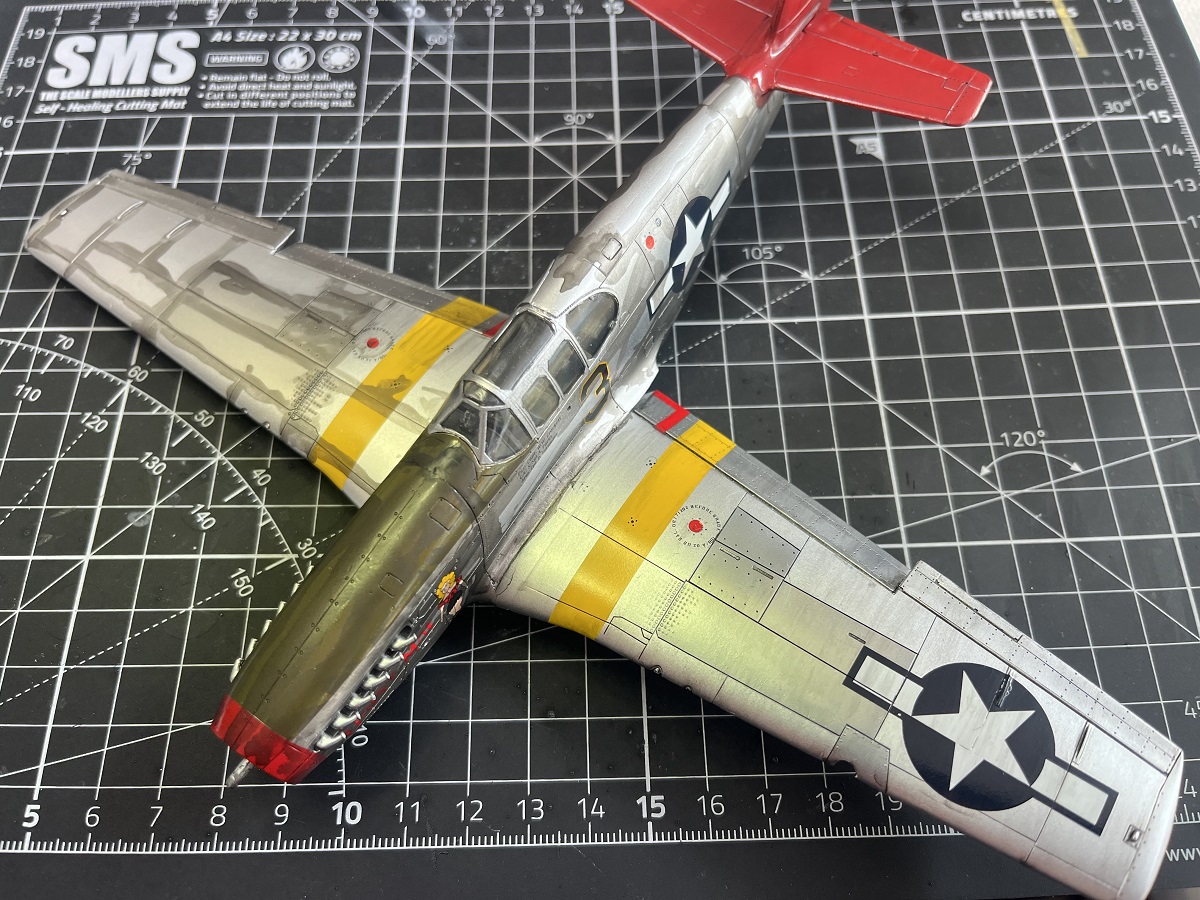
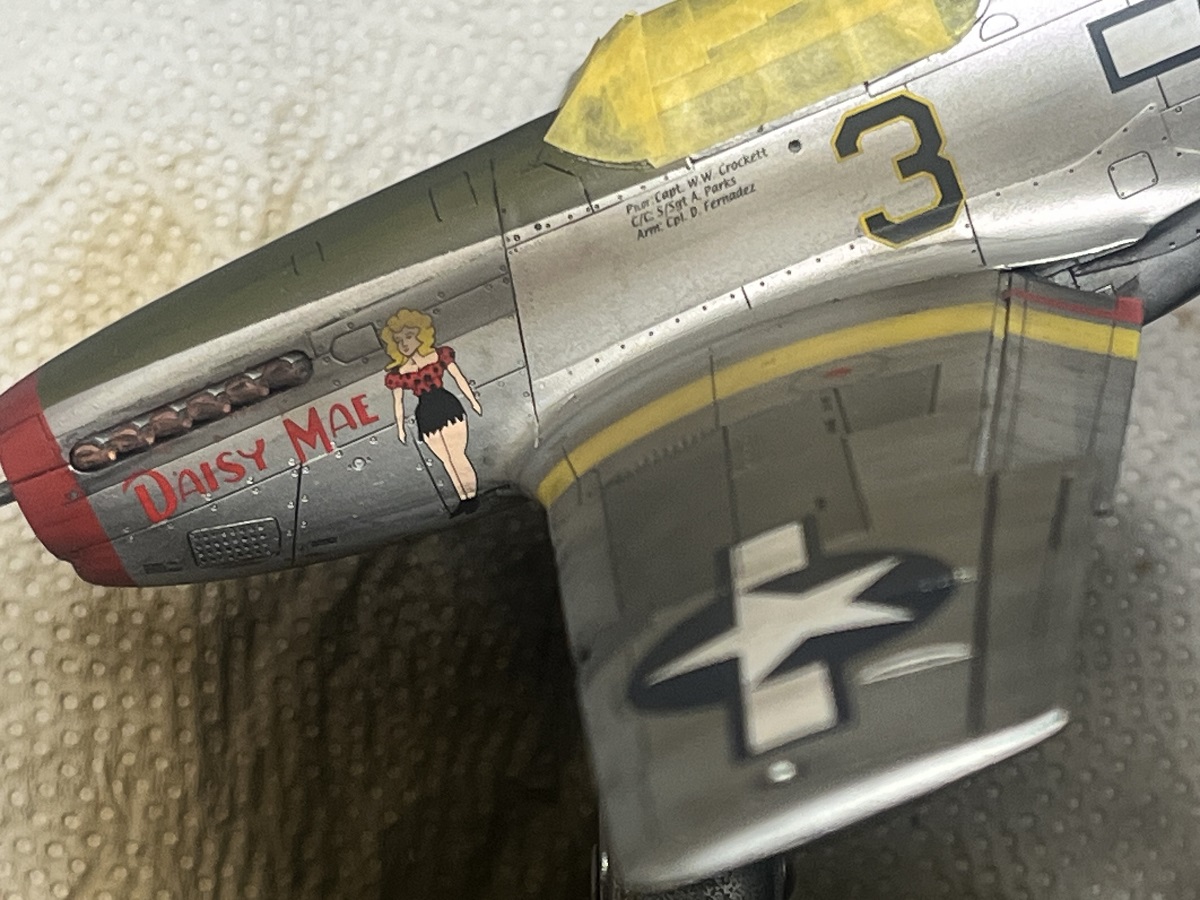
Decals were all placed and after a couple of days to cure the whole thing was given a shot of Alclad Aqua Gloss to protect the decals for the weathering to come. Once that was cured I set about splashing on some Tamiya Black PLW and went through the process of “streaking” it off with Q-Tips dampened with White Spirits.
Once again, a couple of days to let the spirits dry out completely, then I will shoot it with Dullcote and do some more weathering (chipping on the anti-glare panel and spinner, paint the exhausts and exhaust stains).
Cheers, D
4 Likes
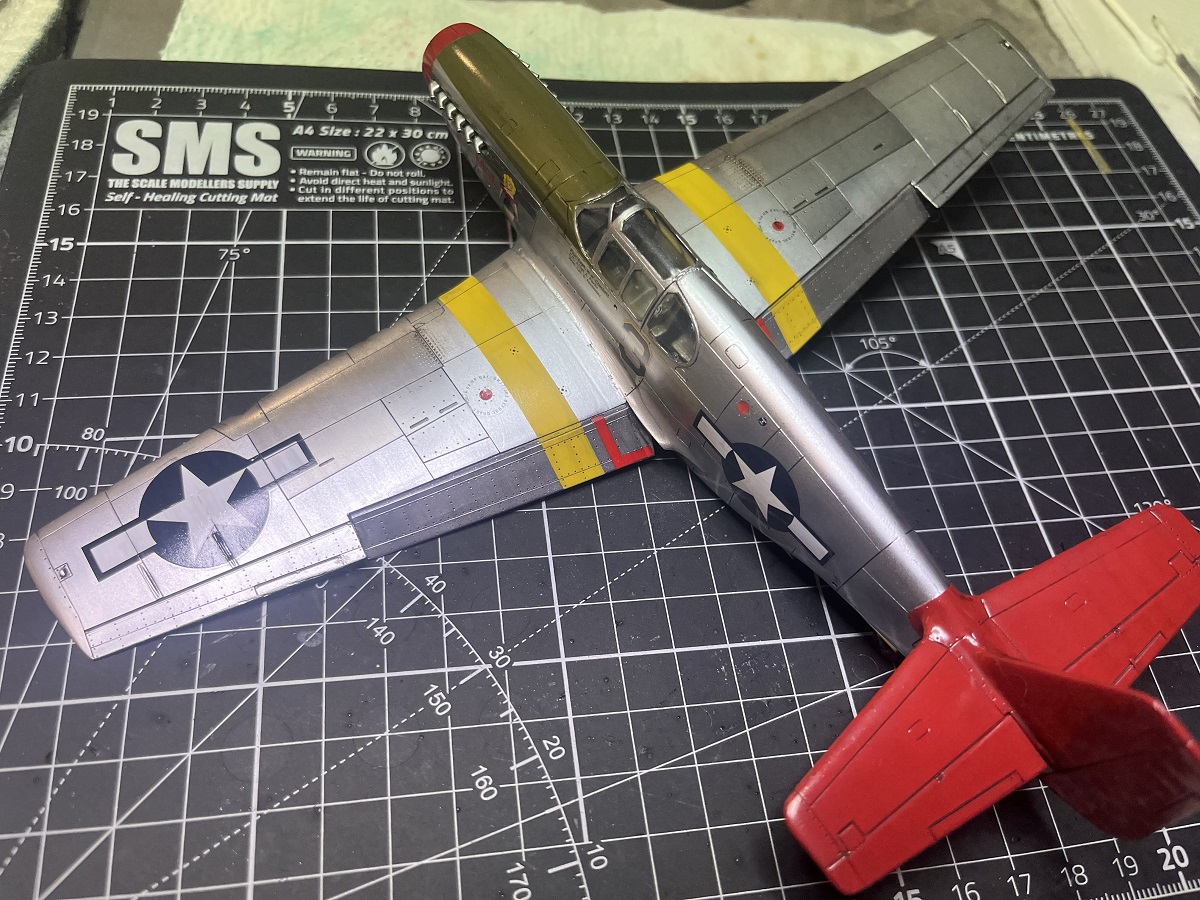
Panel lines and light streaking all locked down with Dullcote.
Next up I will work on rusting the exhaust stacks and making some exhaust stains along the fuselage.
Cheers, D
2 Likes
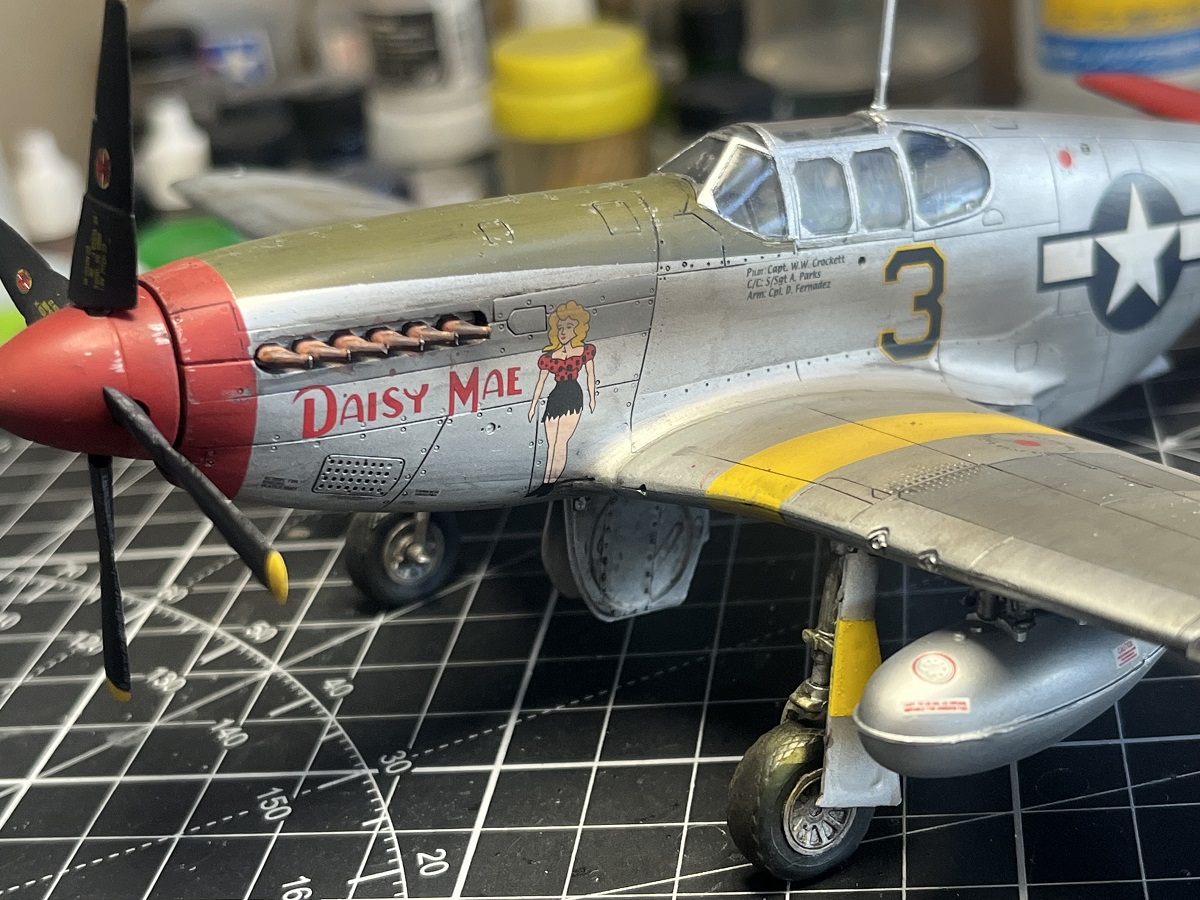
Exhausts are rusted up a bit, light exhaust streaks down the fuselage and some more light weathering on the wings.
Time to add a little bit of chipping on the nose and prop blades, then the final details (undercarriage, antenna, lenses) can be fitted.
Cheers, D
4 Likes
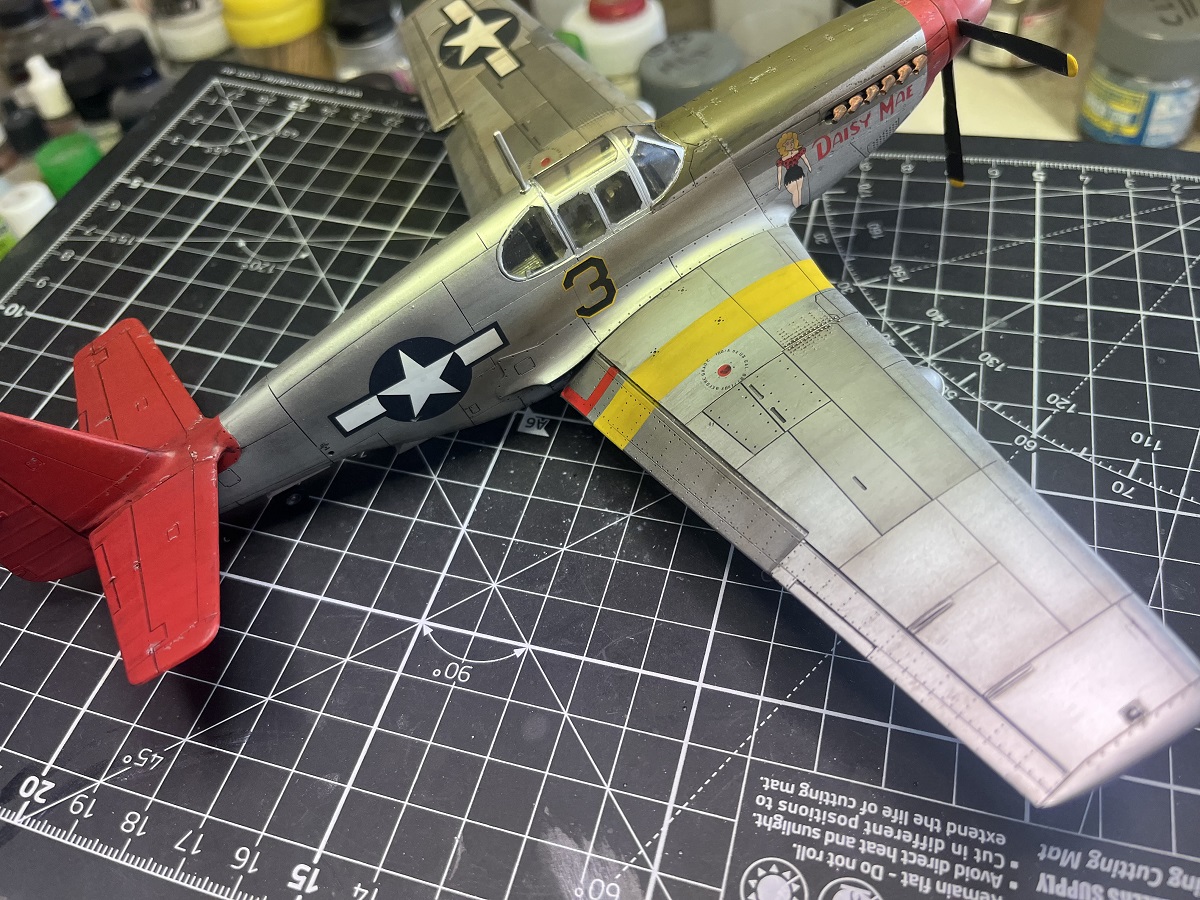
Well my “2023 War on WIP” claimes another win, and my target for 1 completed build per month is still on track. “Daisy Mae” is completed and in the display cabinet!
Definitely not the best kit or my best work, but after sitting in the Hangar of Doom for 14 years it’s great to see this one crossed off the list. It ended up more of a paint mule to test some products and techniques, but definitely a worthwhile exercise to push through to completion.
Cheers, D
4 Likes
Definitely worth the effort. Lovely work and the various tones work so well on it. Great job