Another tank on the bench, RFM T-34/85. Great kit overall, beautiful details, not so many parts and the fit is almost perfect all over. Everything went smooth, apart from my mistake while fitting the gun (glued it in wrong, closed upper and lower half of the turret and noticed mistake next day. Luckily, the halves were glued with lemonene glue, so I was lucky enough I could separate them, correct the gun position and close the turret again. Phew!)
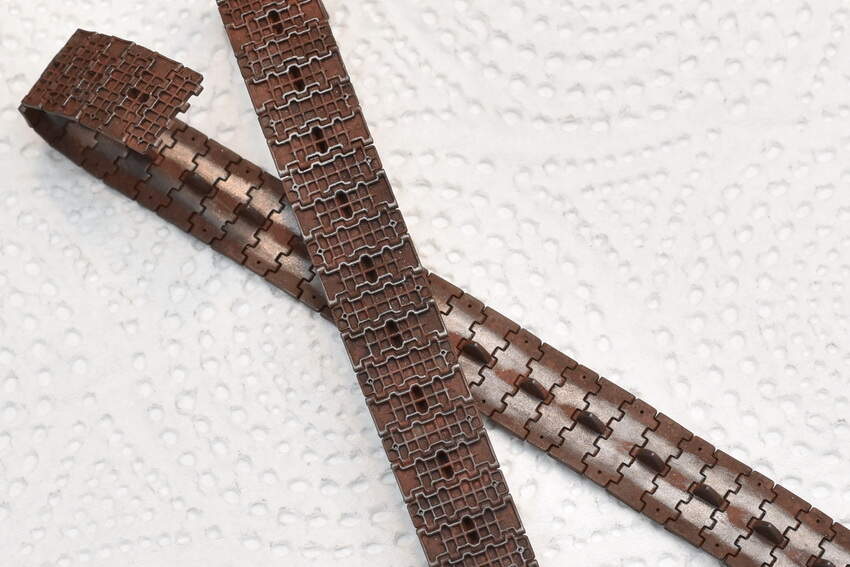
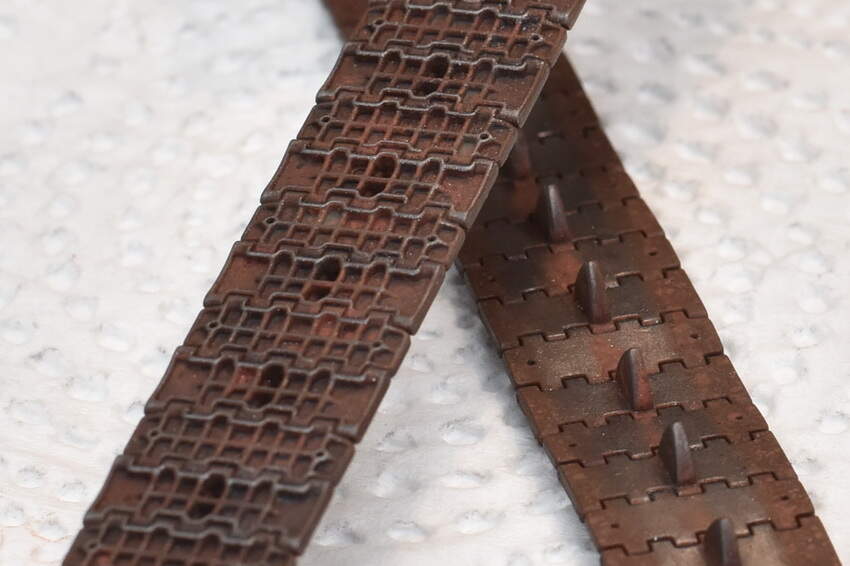
Major construction almost over, still have to do the tracks (link and length type).
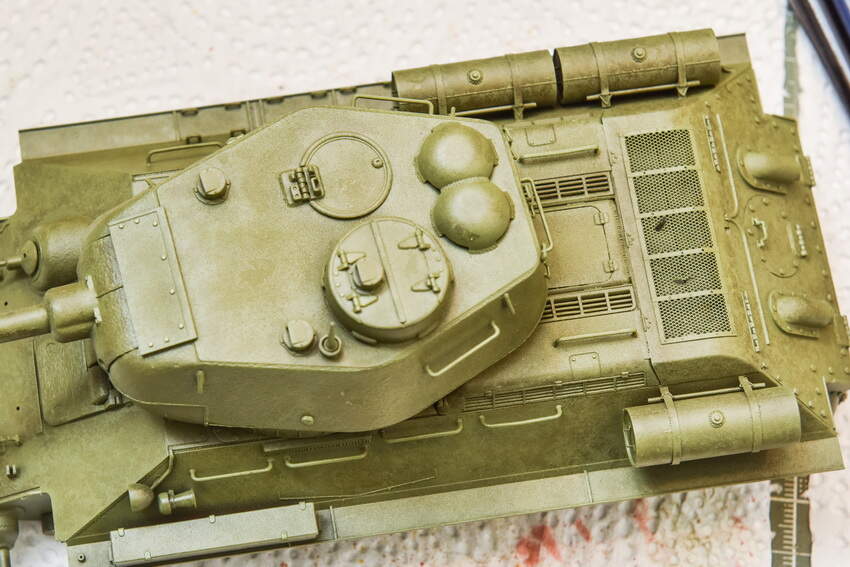
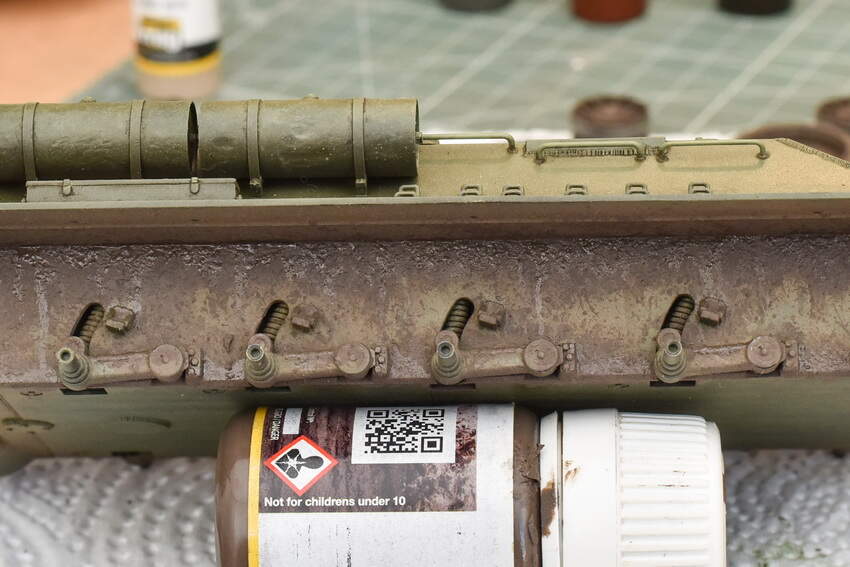
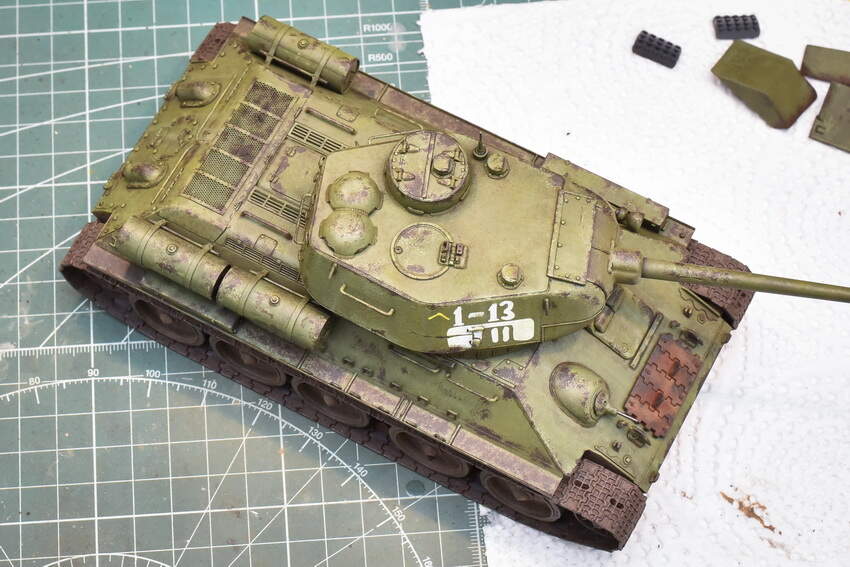
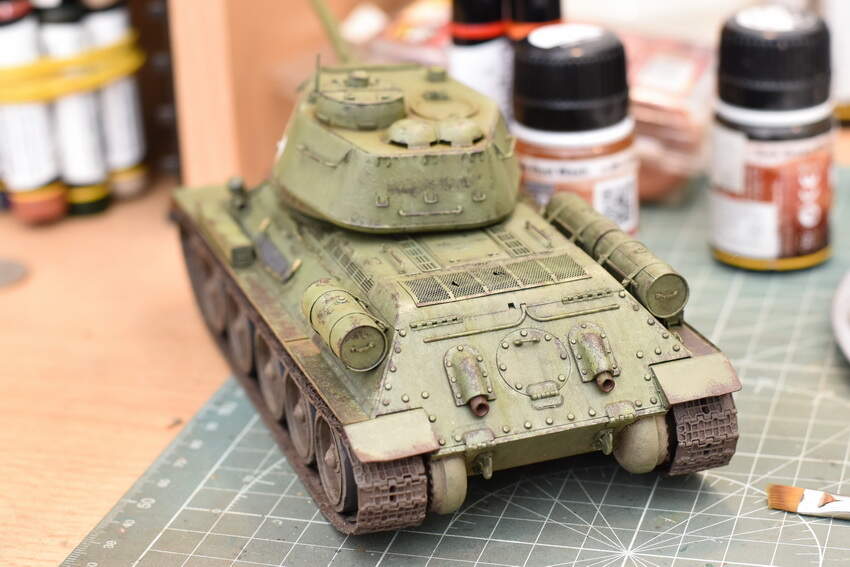
Now the fun part begins: painting and weathering. The model was primed with One shot primer (Ammo) and after a day of drying time first thin layer of Zaschitniy Zeleno (dark green) was applied. Next, a diluted layer of 4BO was sprayed unevenly and sealed with a thin layer of matt coat. Next step will be chipping fluid and thin layer of lighter green shade which should (hopefully), after chipping, give nice worn effect.
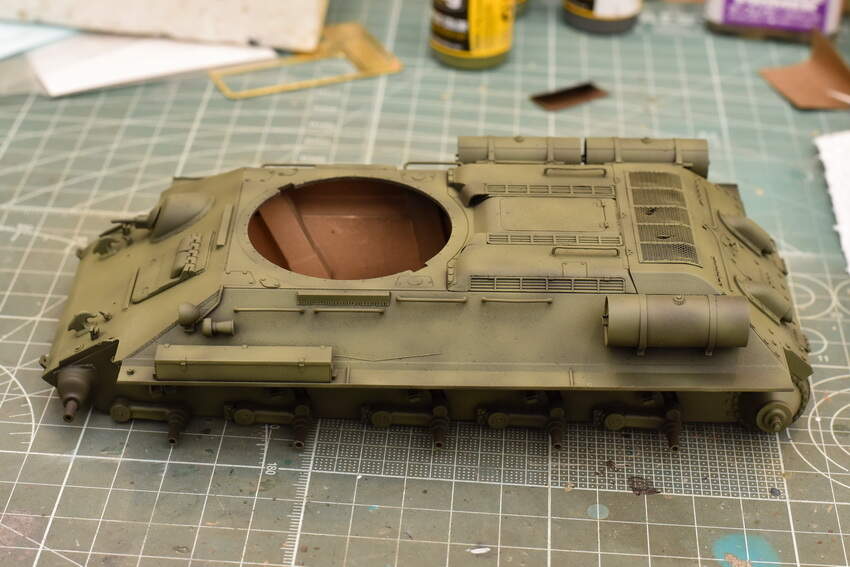
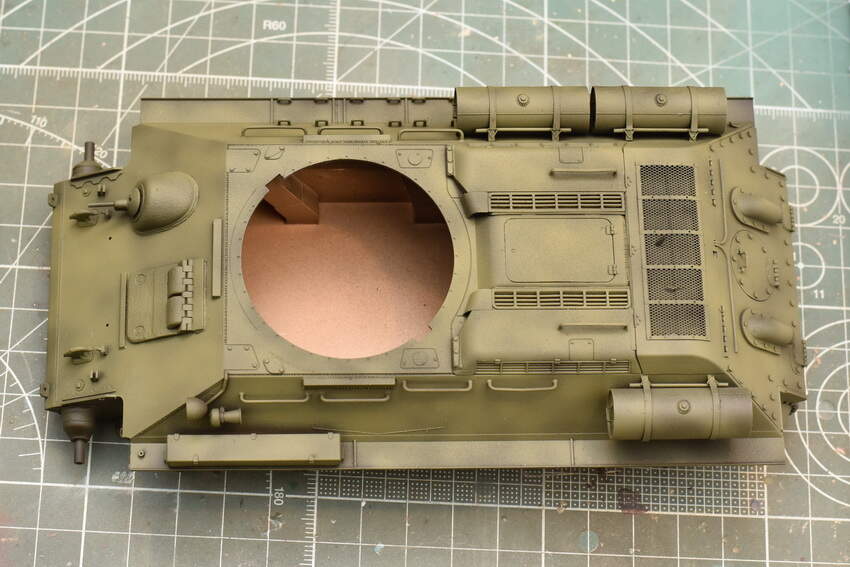


Nice subtle modulation. Should look great with weathering, etc. 
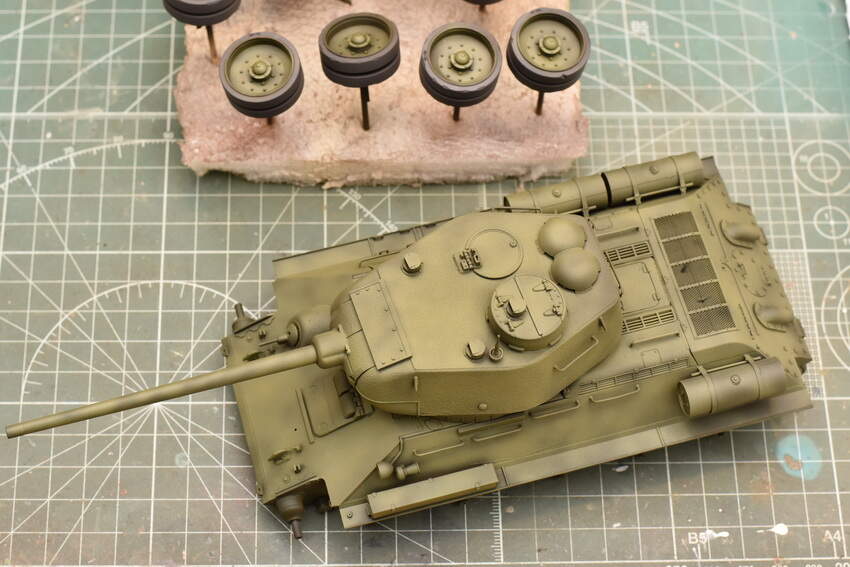
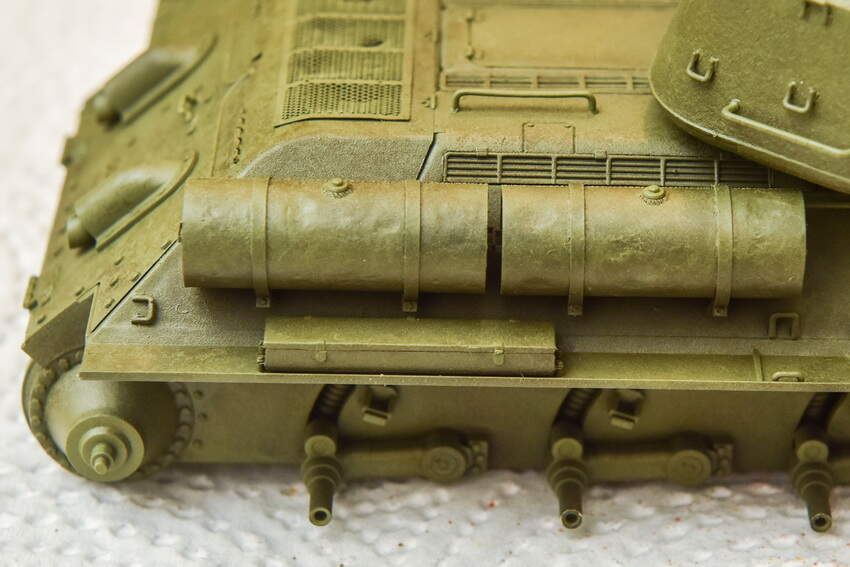
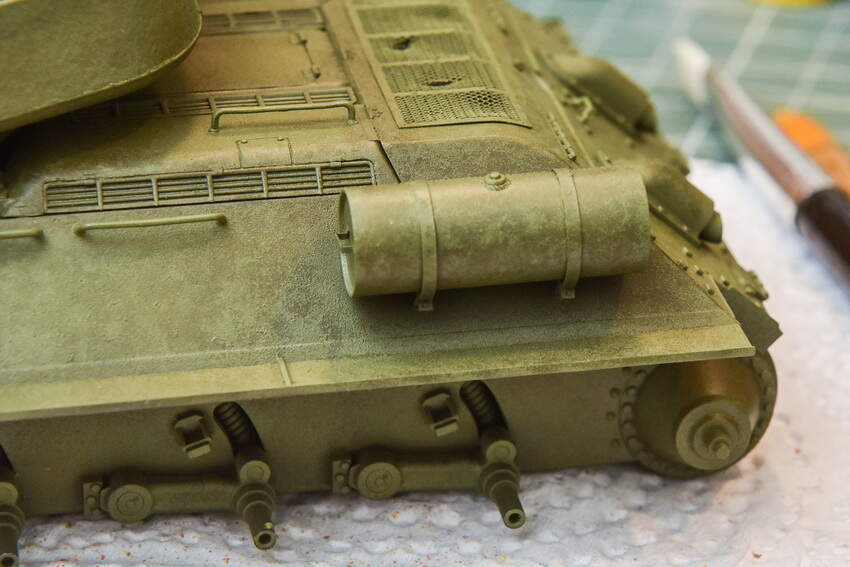
Chipping color distressing done. I was lazy (nothing new) to set up the lights for photos, so I enhanced the contrast a bit on them to better show you the effect (in reality everything is lighter).


Next step is postshading and highlighting with airbrush.
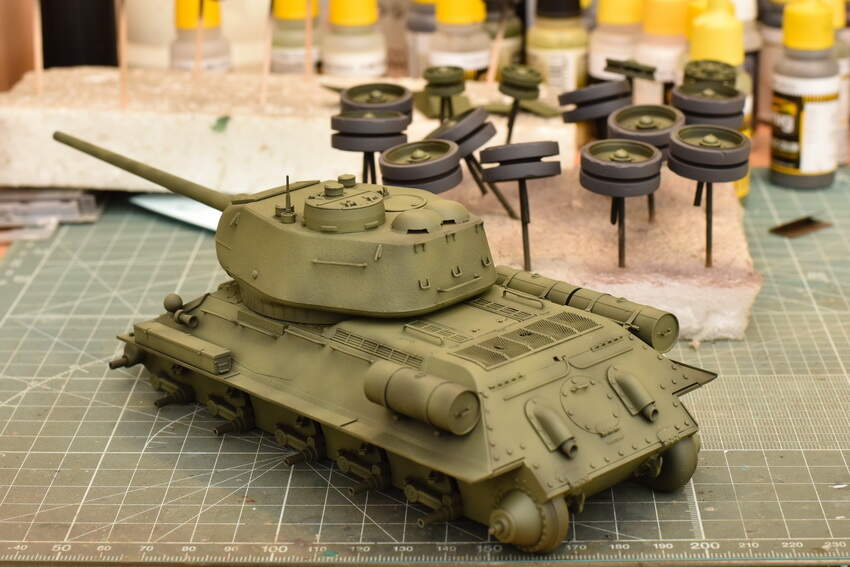
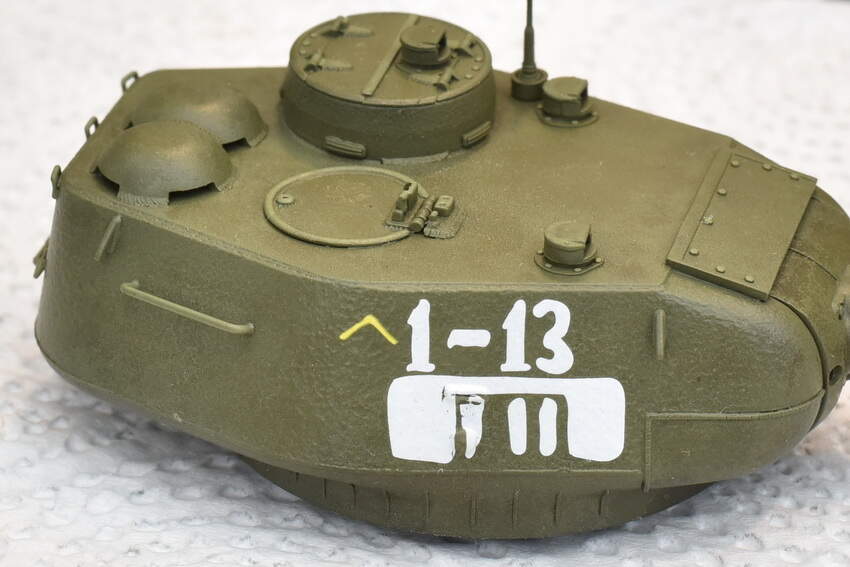
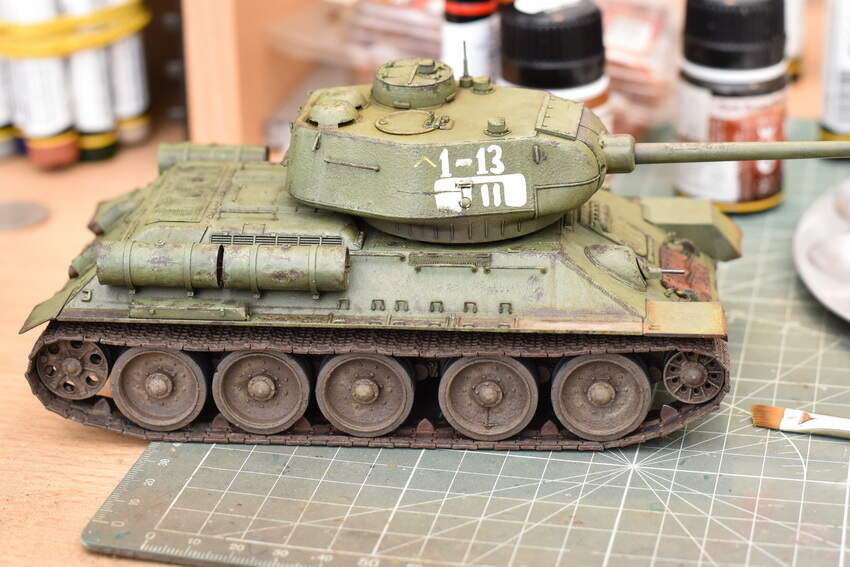
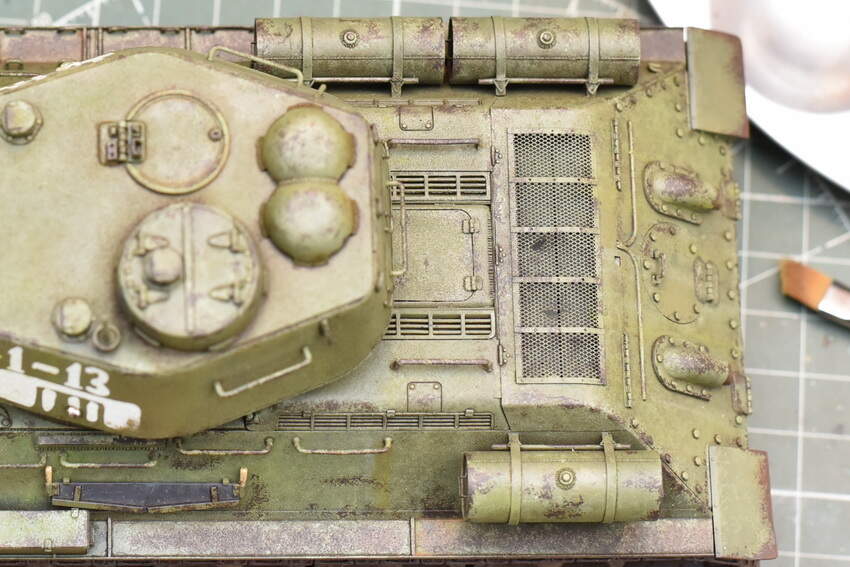
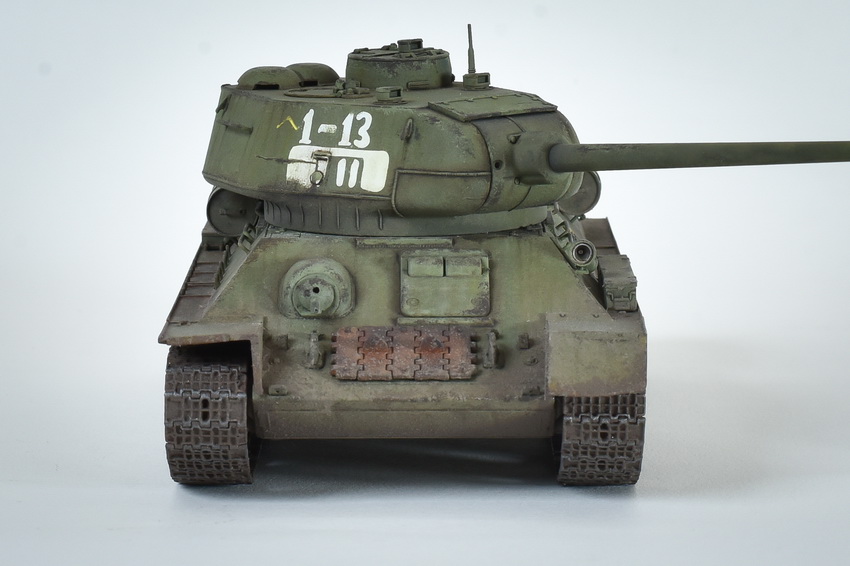
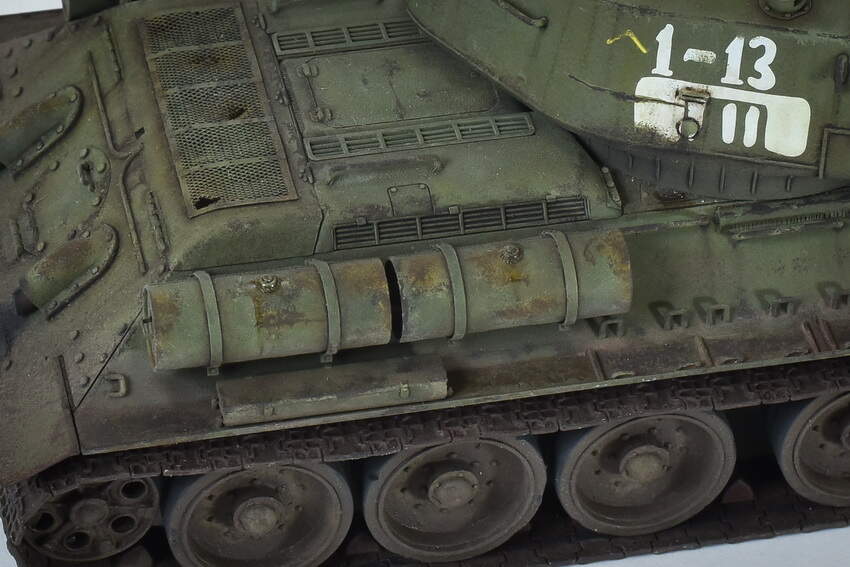
Well, I gave up on airbrush postshading and highlighting, my airbrushing skills are average at best, so I decided to do that with oils. Before that, decals are applied at cupola over gloss varnish (some minor touchups are needed, nothing to worry about) and whole model received satin varnish. Will leave it to fully cure for 48 hours, just to be safe.
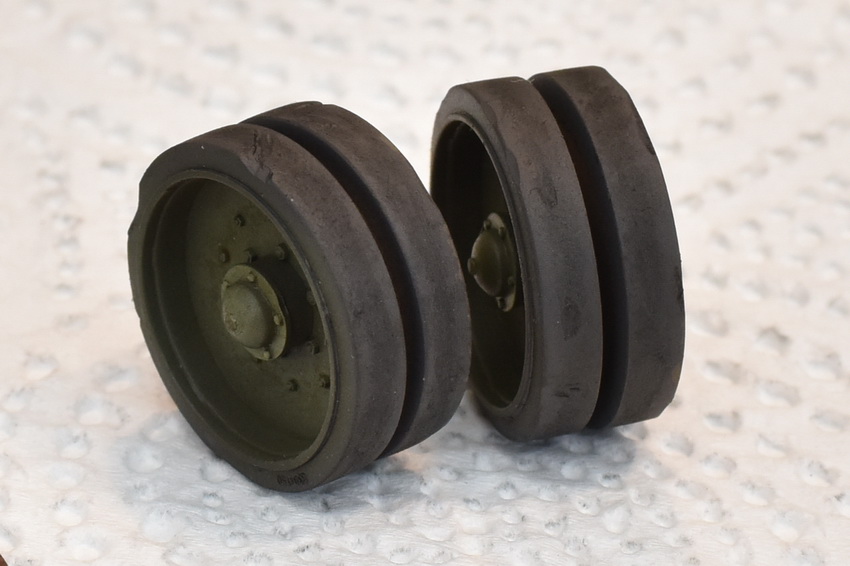
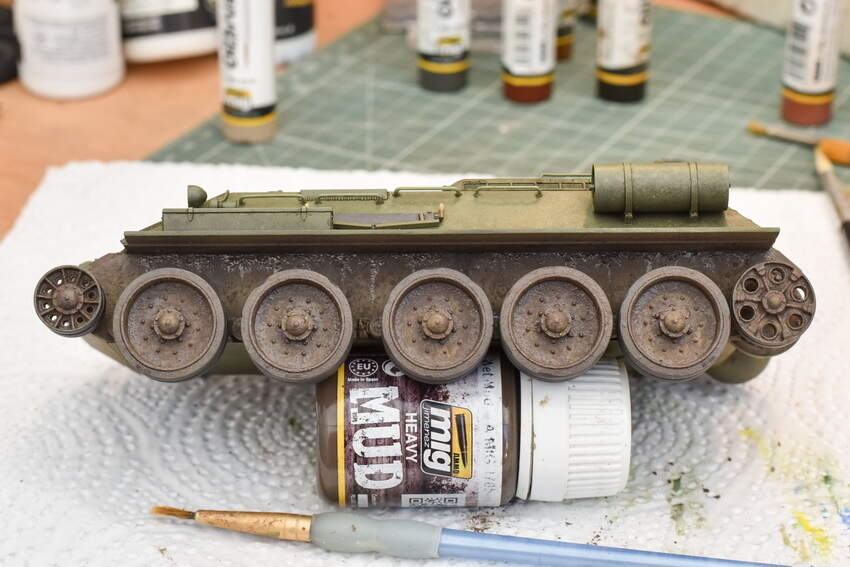
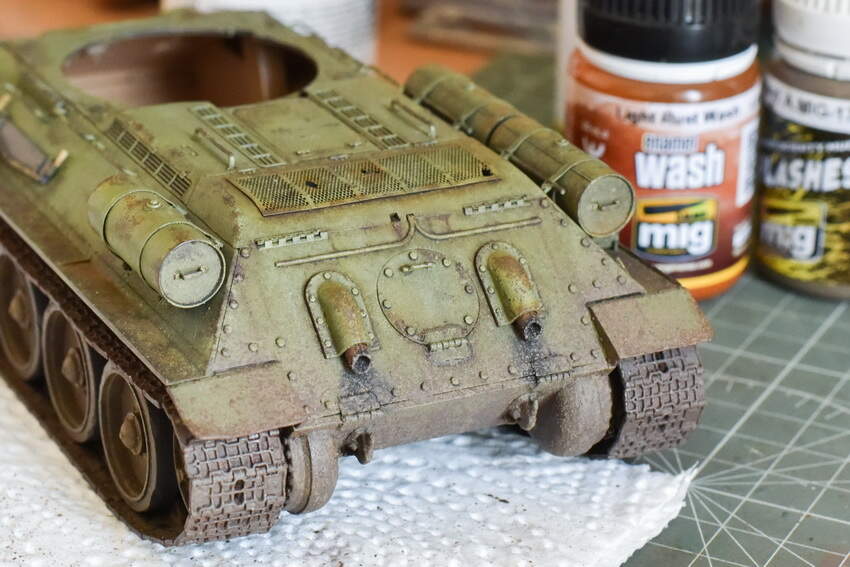
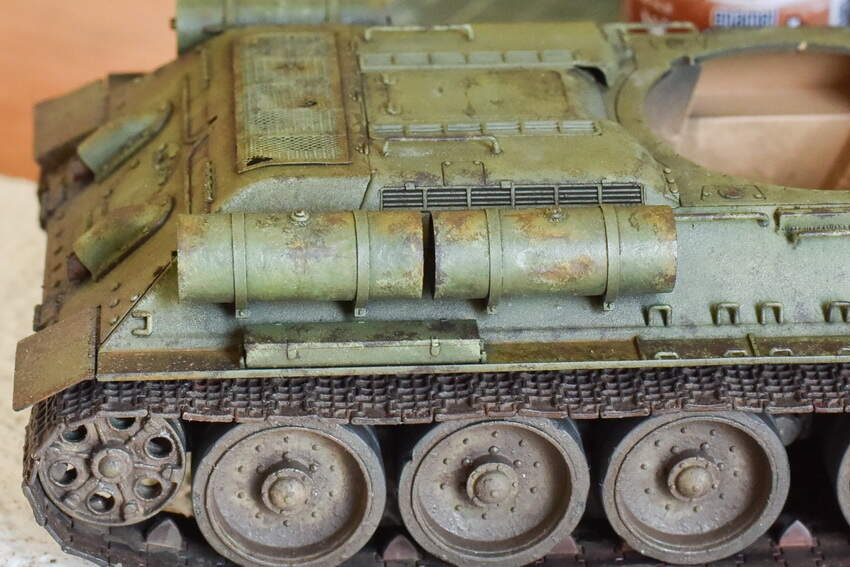
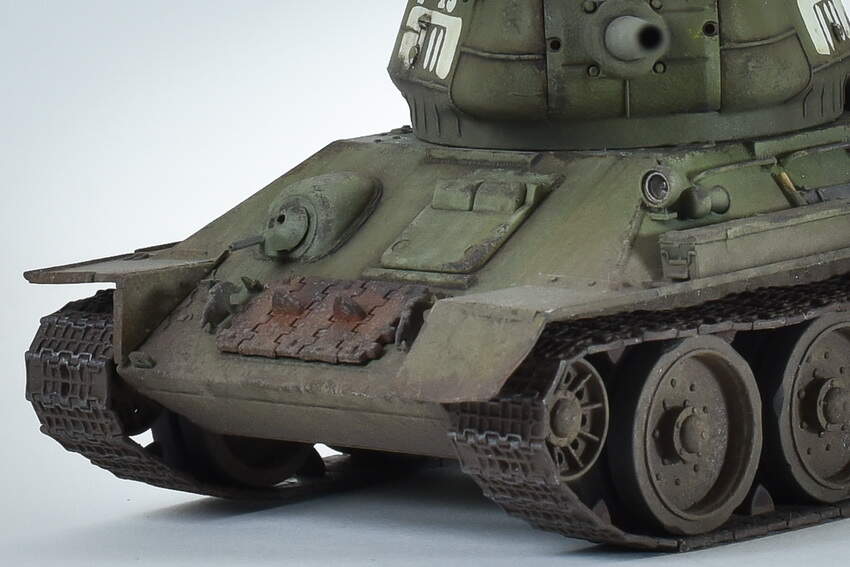
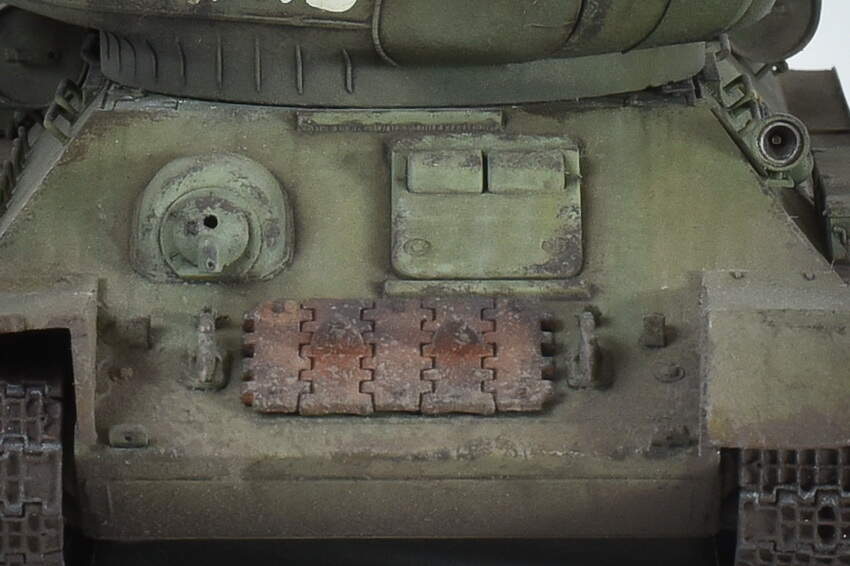
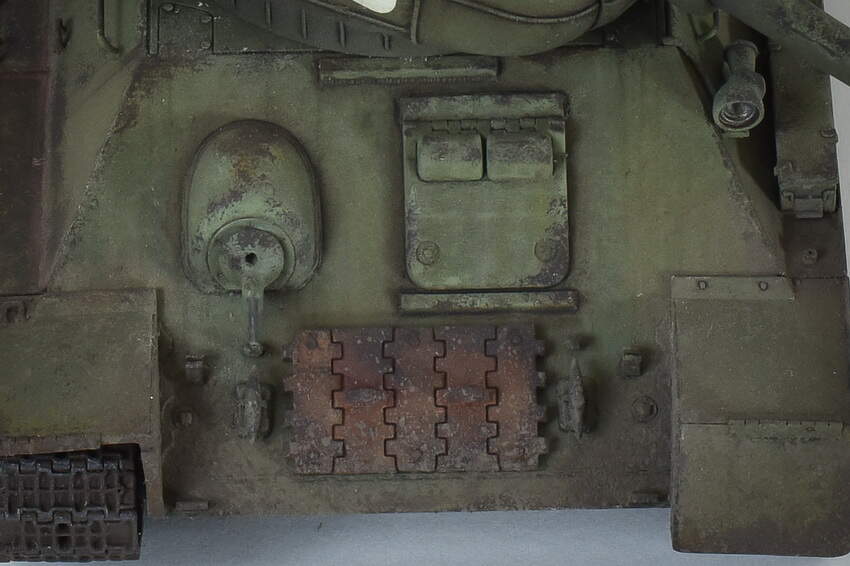
In the meantime, work on tracks started. Black primer, irregular light coats of Dark Tracks over that and when it was dry, some stippling and speckling of rust, brown and Starship Filth Oilbrusher colors. Gun metal pigment was applied with silicone brush. Rubber on wheels were treated with black oil to give it some depth.
To be continued…
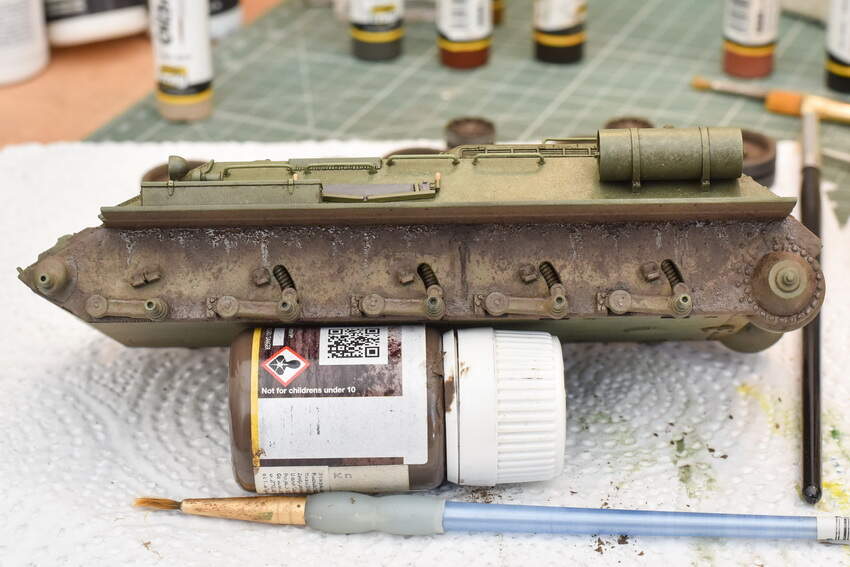
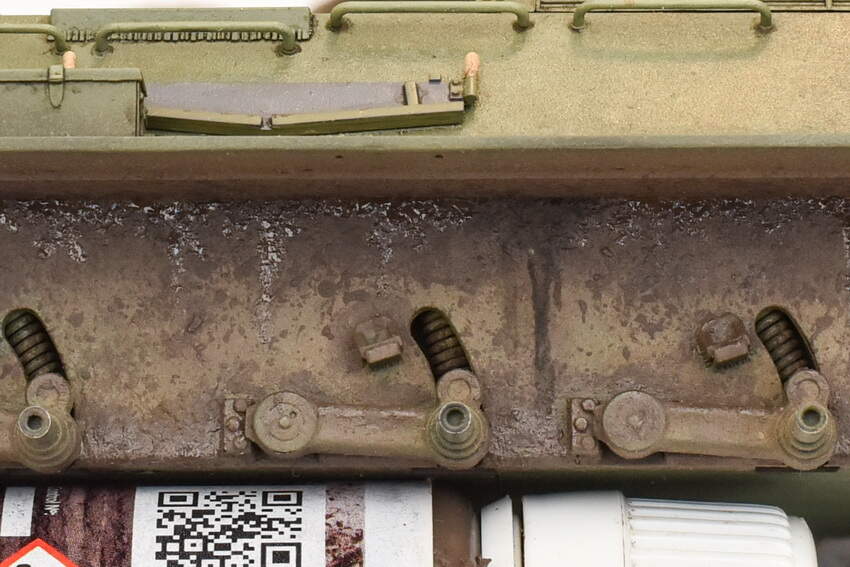
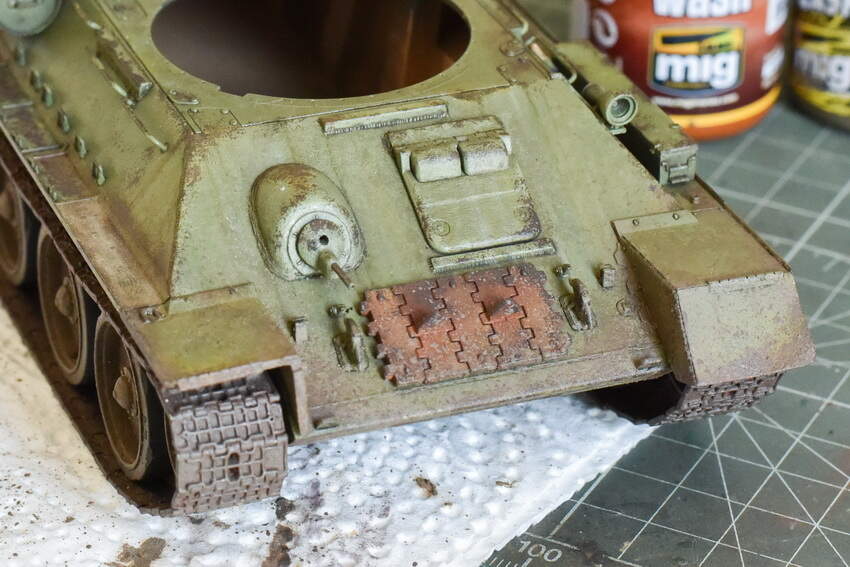
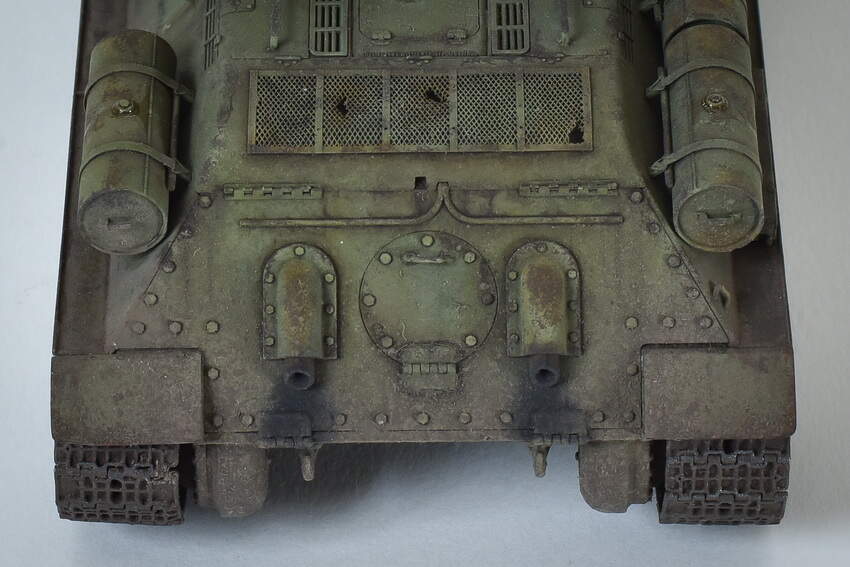
Mud!!! 
Applied over a period of few days, several layers of Splashes, Heavy Mud and Wett Effects. Few grease stains to add here and there and then wheels and tracks on.
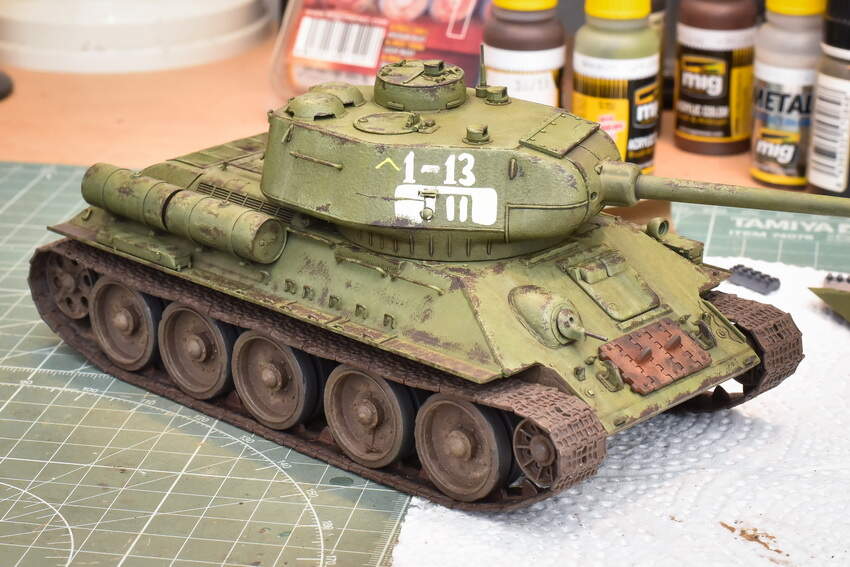
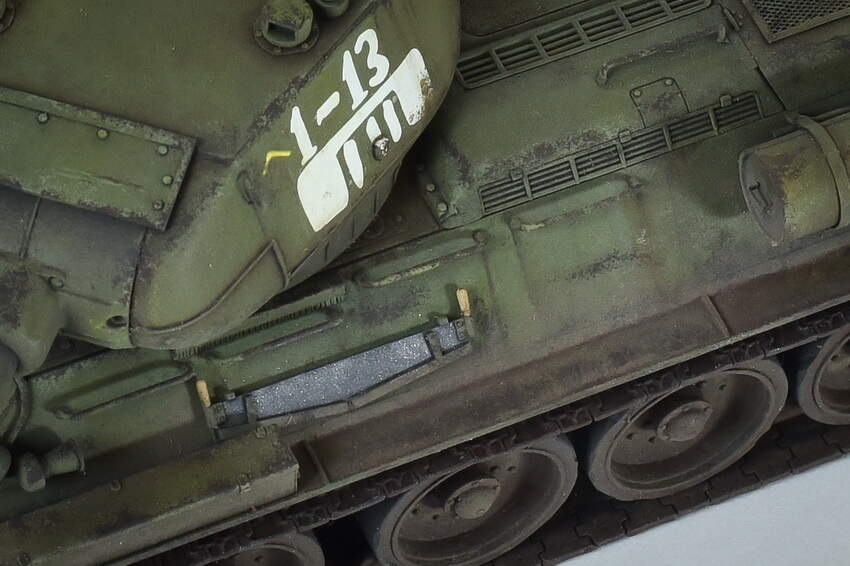
Next step - chipping. My intention is to make a very worn tank with signs of wear and tear. I know some like that style, some claim it is not realistic. Personally, I am OK with both styles.
Chipping was done maily with sponge with light shade of geen and over that gray brown. I’m not sure how it turned out, at moments it seems overdone to me and after a while it looks OK. I don’t know, you guys be the judge.
Anyway, stil a lot more of oil works, mud, washes, rust…the works…
Comments are appreciated!


Nice job! I’m not big on chipping, but your tanks look good.
Nice paint job and weathering…really pleasant to look at.
Cheers,
Great paint and weathering!
Thanks guys! I am blending down some chips with base color after spending some time looking at it…
I like your build and I plan to build the same scheme for the T-34/85 campaign. I am glad to hear your muting some of the chipping, to each their own on what they want from a build but I am in the camp of less is more. Look forward to seeing the new progress.
The finish came great ! I love the weathering
Nice work. I like the tracks. I’ve just finished putting together the tracks on my RFM Panzer IV J. Not as hard as I thought they would be but soon found out they are very delicate and can fall to pieces.


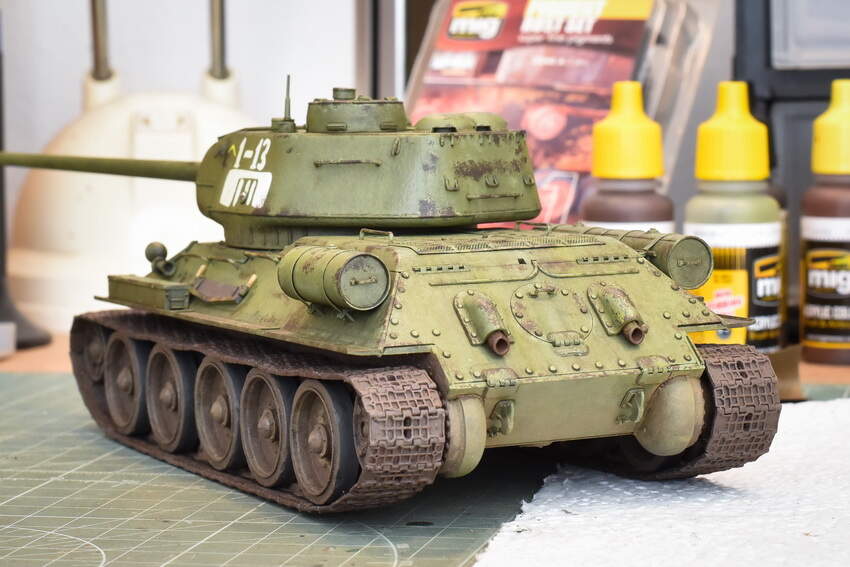
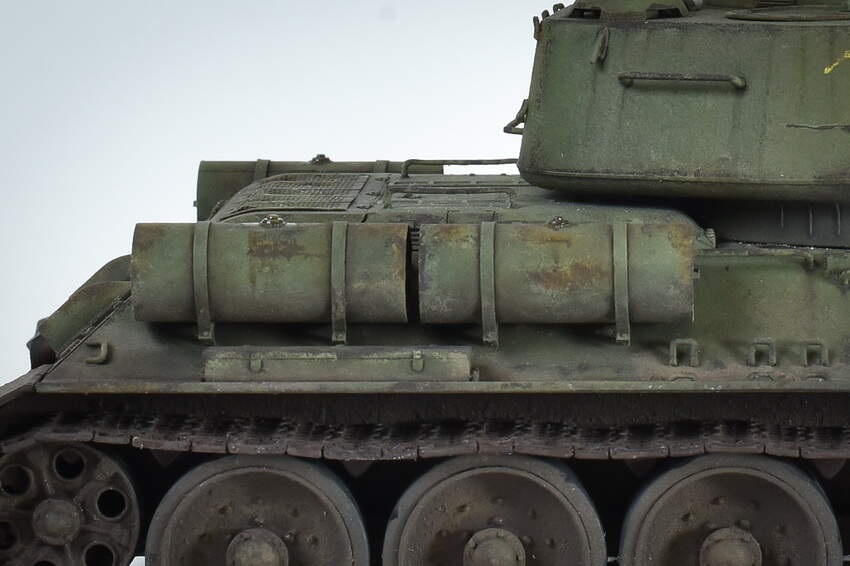
Few pics of the ongoing weathering, I see the light at the end of a tunnel (hopefully it’s not the train coming  )
)
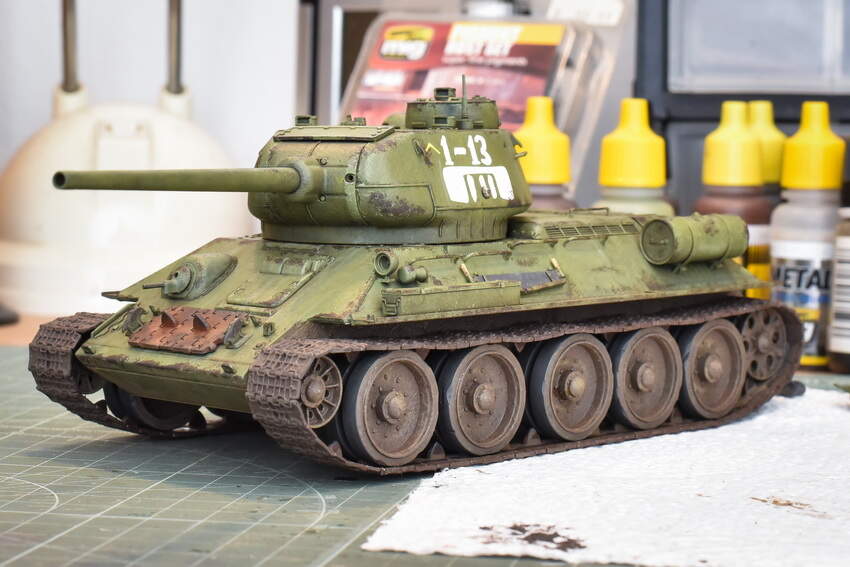
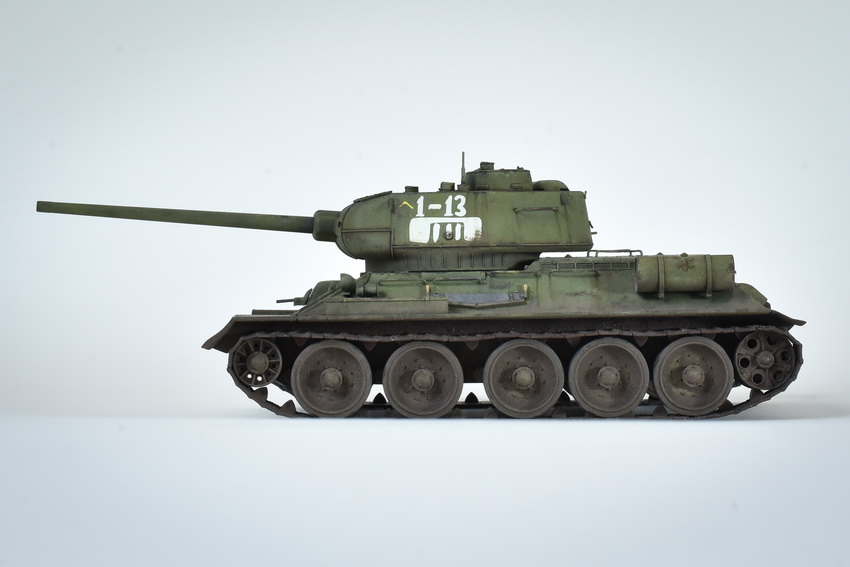
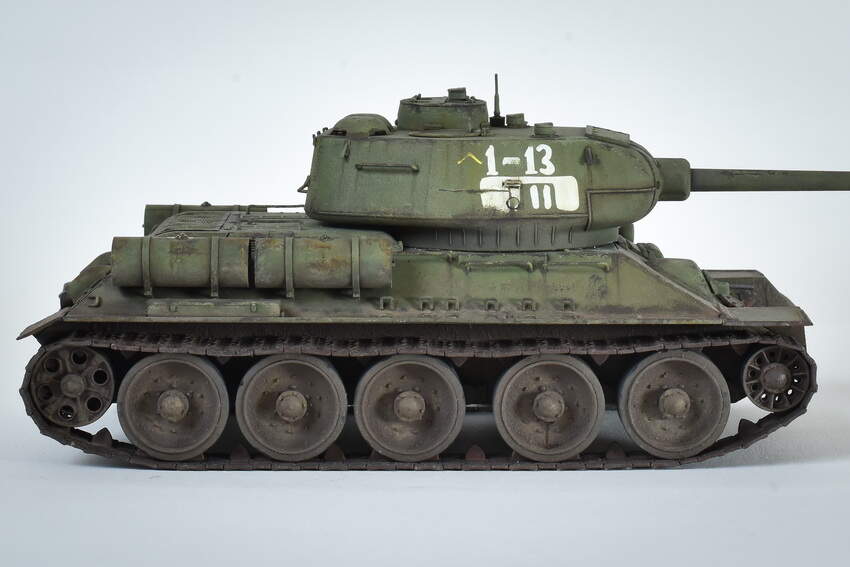
Well, I’m calling it done. Overall, I am happy how it turned out, learned few new tricks and had fun along the way. I would like to hear your opinions so I can improve in next builds.


That looks awesome!
The weathering looks perfect!
Thanks buddy, I’m glad you like it!
If you are planning to build more T-34 variants, you may be interested to know that if you plan to depict one in motion, having at least one of the periscope covers raised on his hatch allows the driver to see where he is going. Although when non-tactical, the usual practice seems to be to have the hatch itself open.
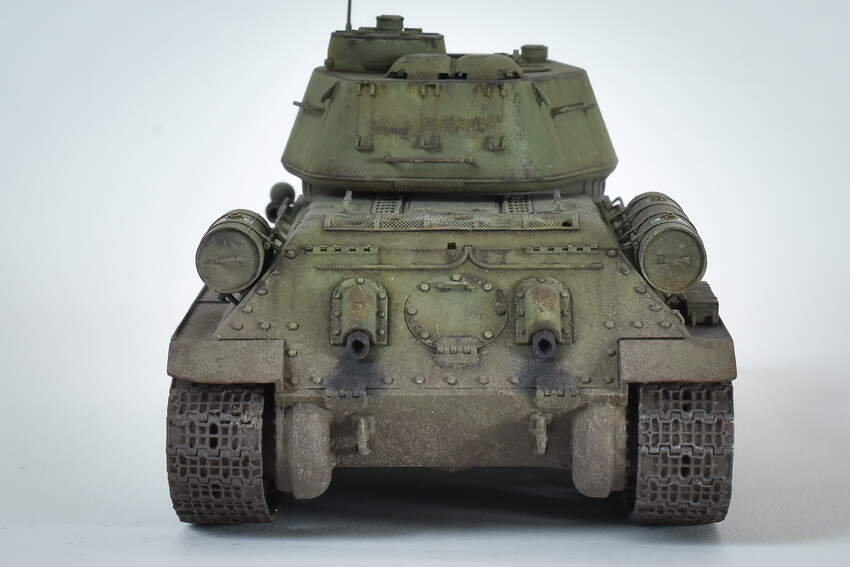
I love the job you did on the roadwheels, very realistic. An area that is often overlooked.
Ken.