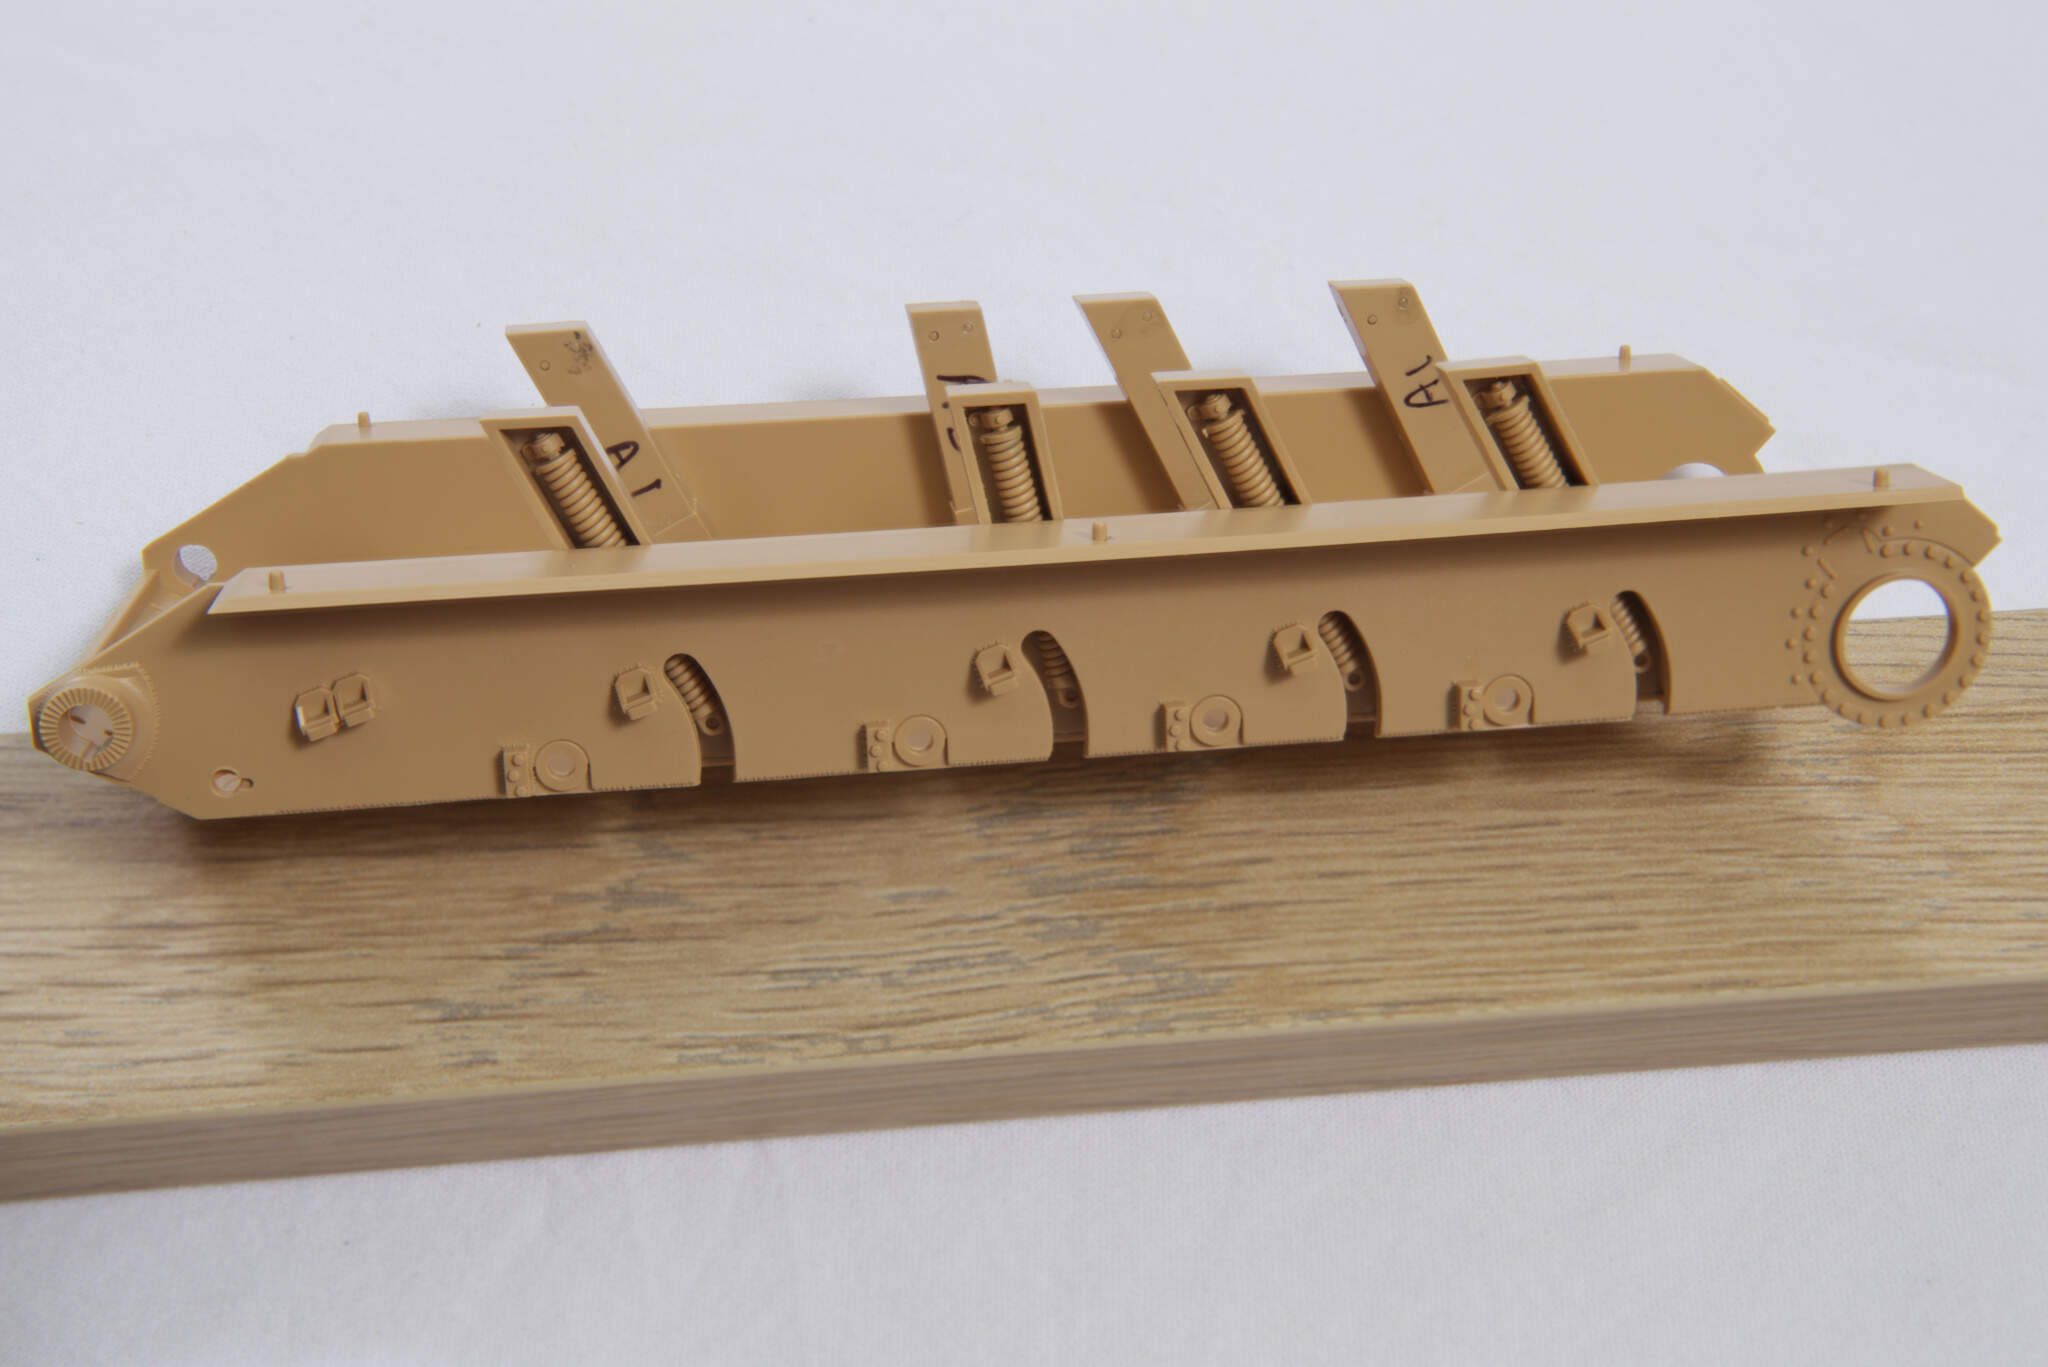
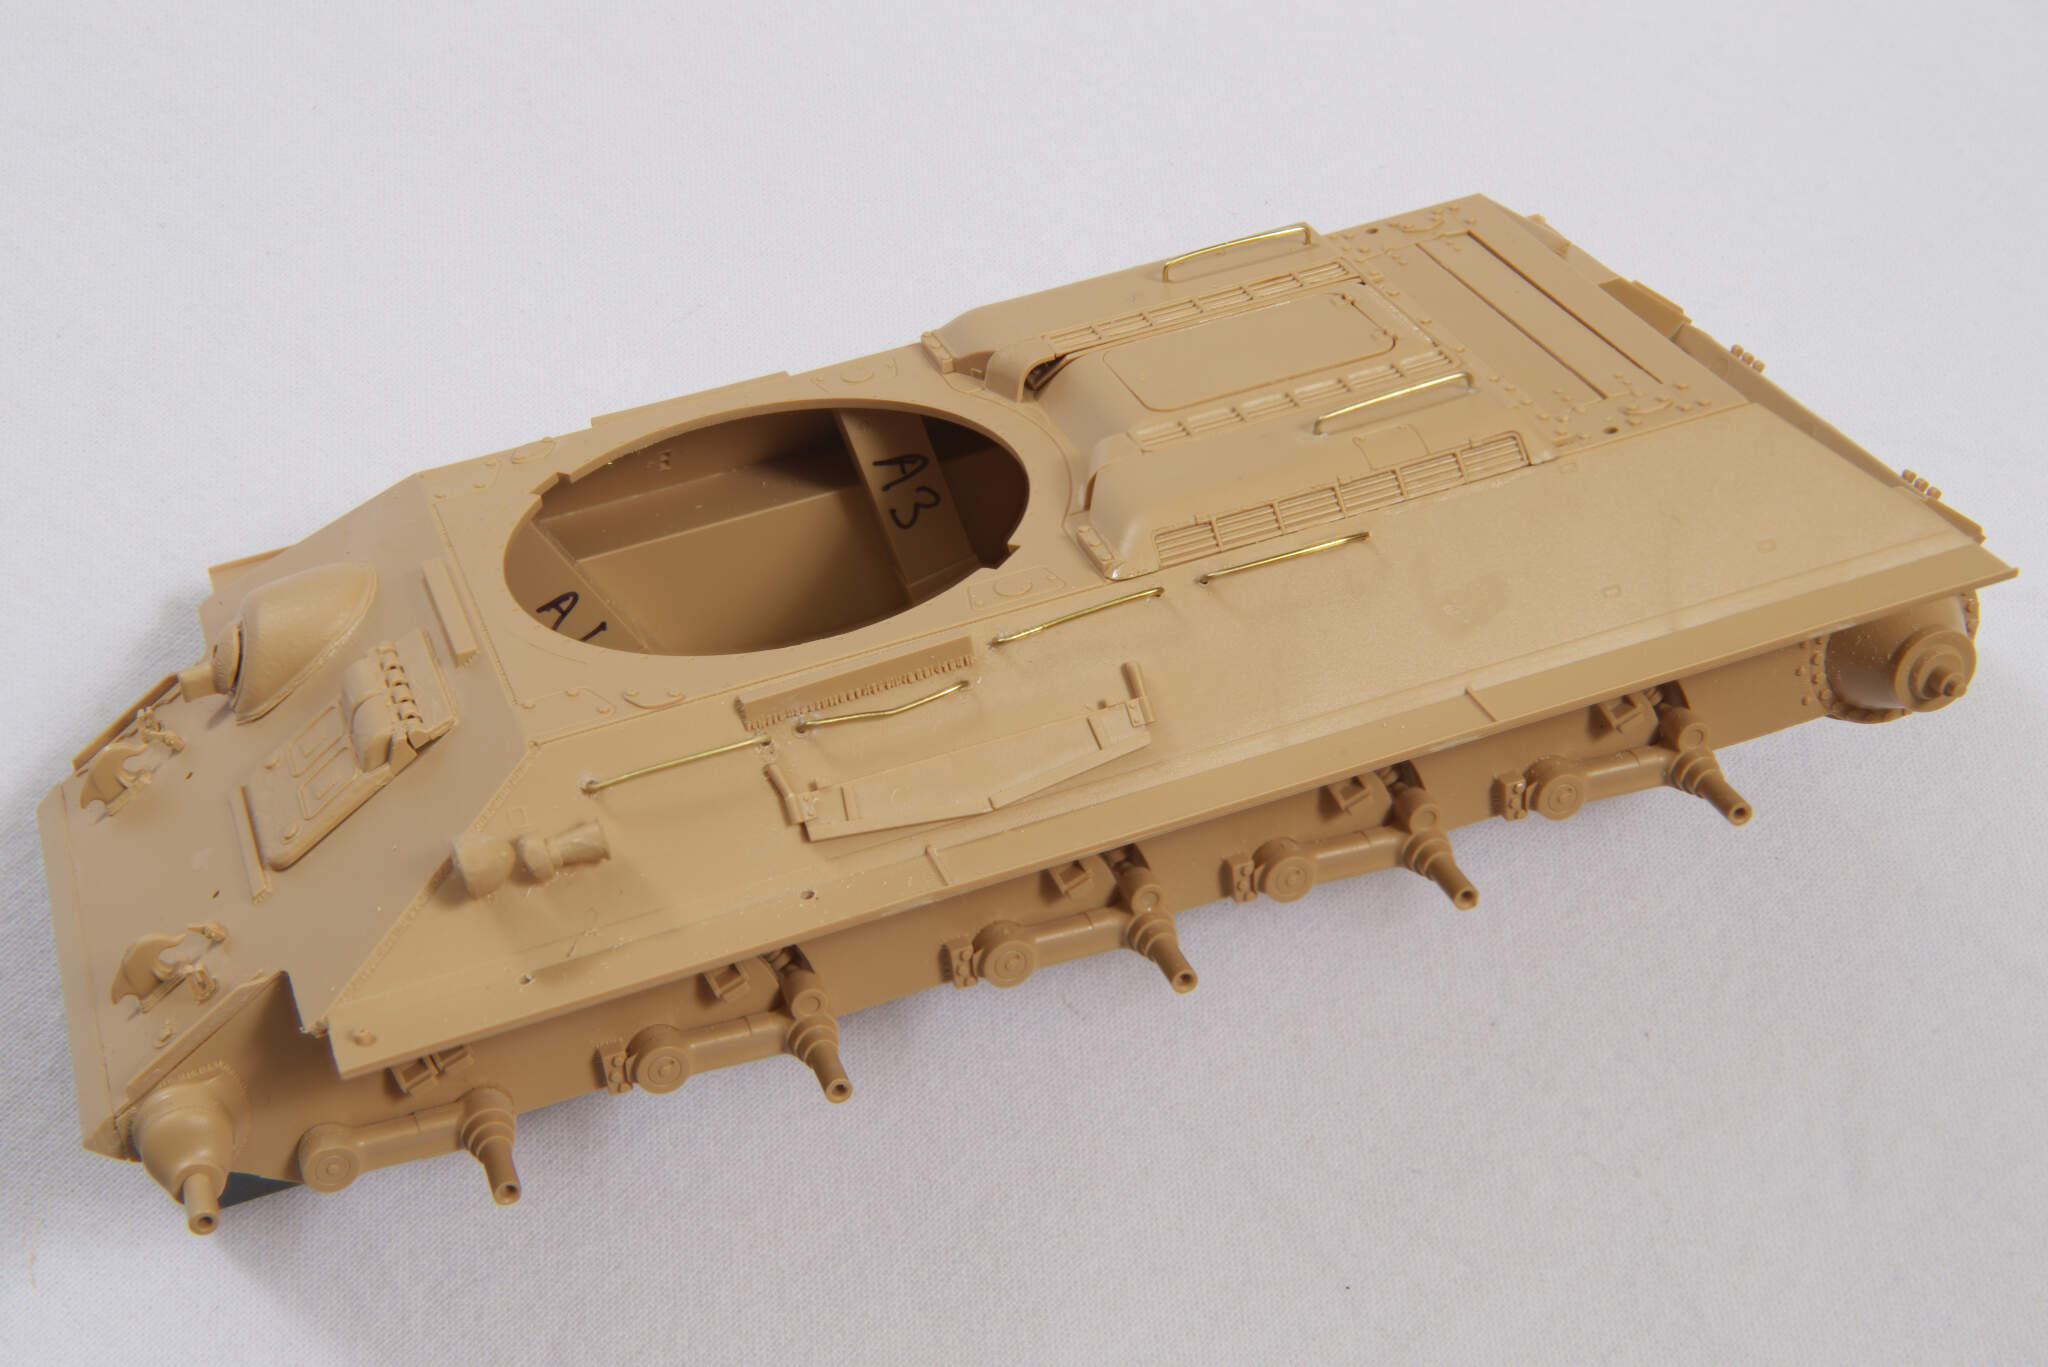
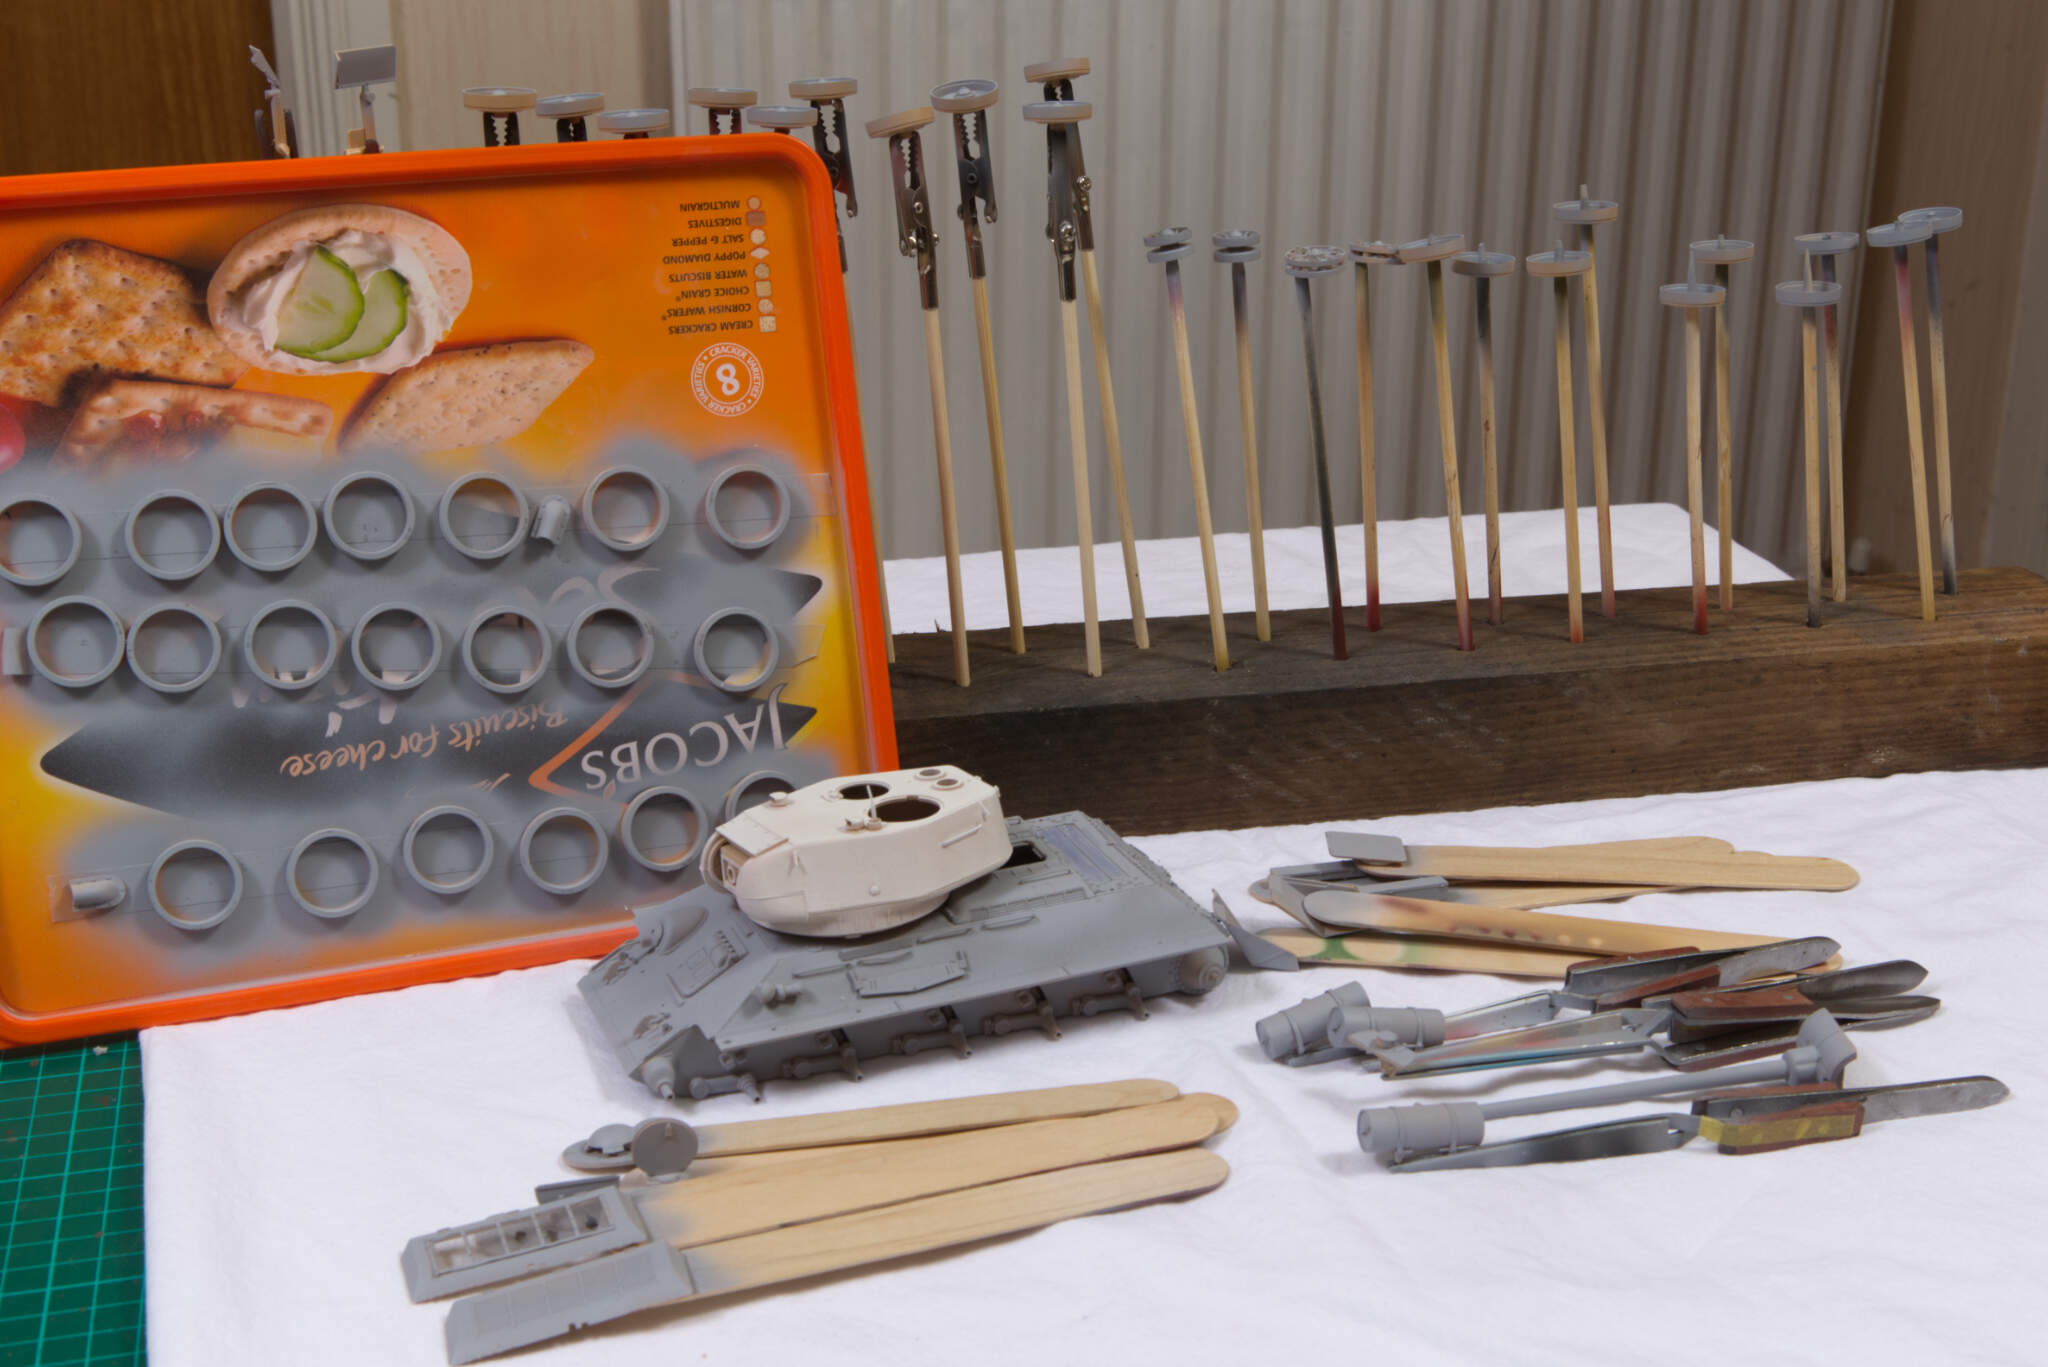
Decided to start the RFM T-34-85 while I am waiting for the dozer blade for the Challenger 2.
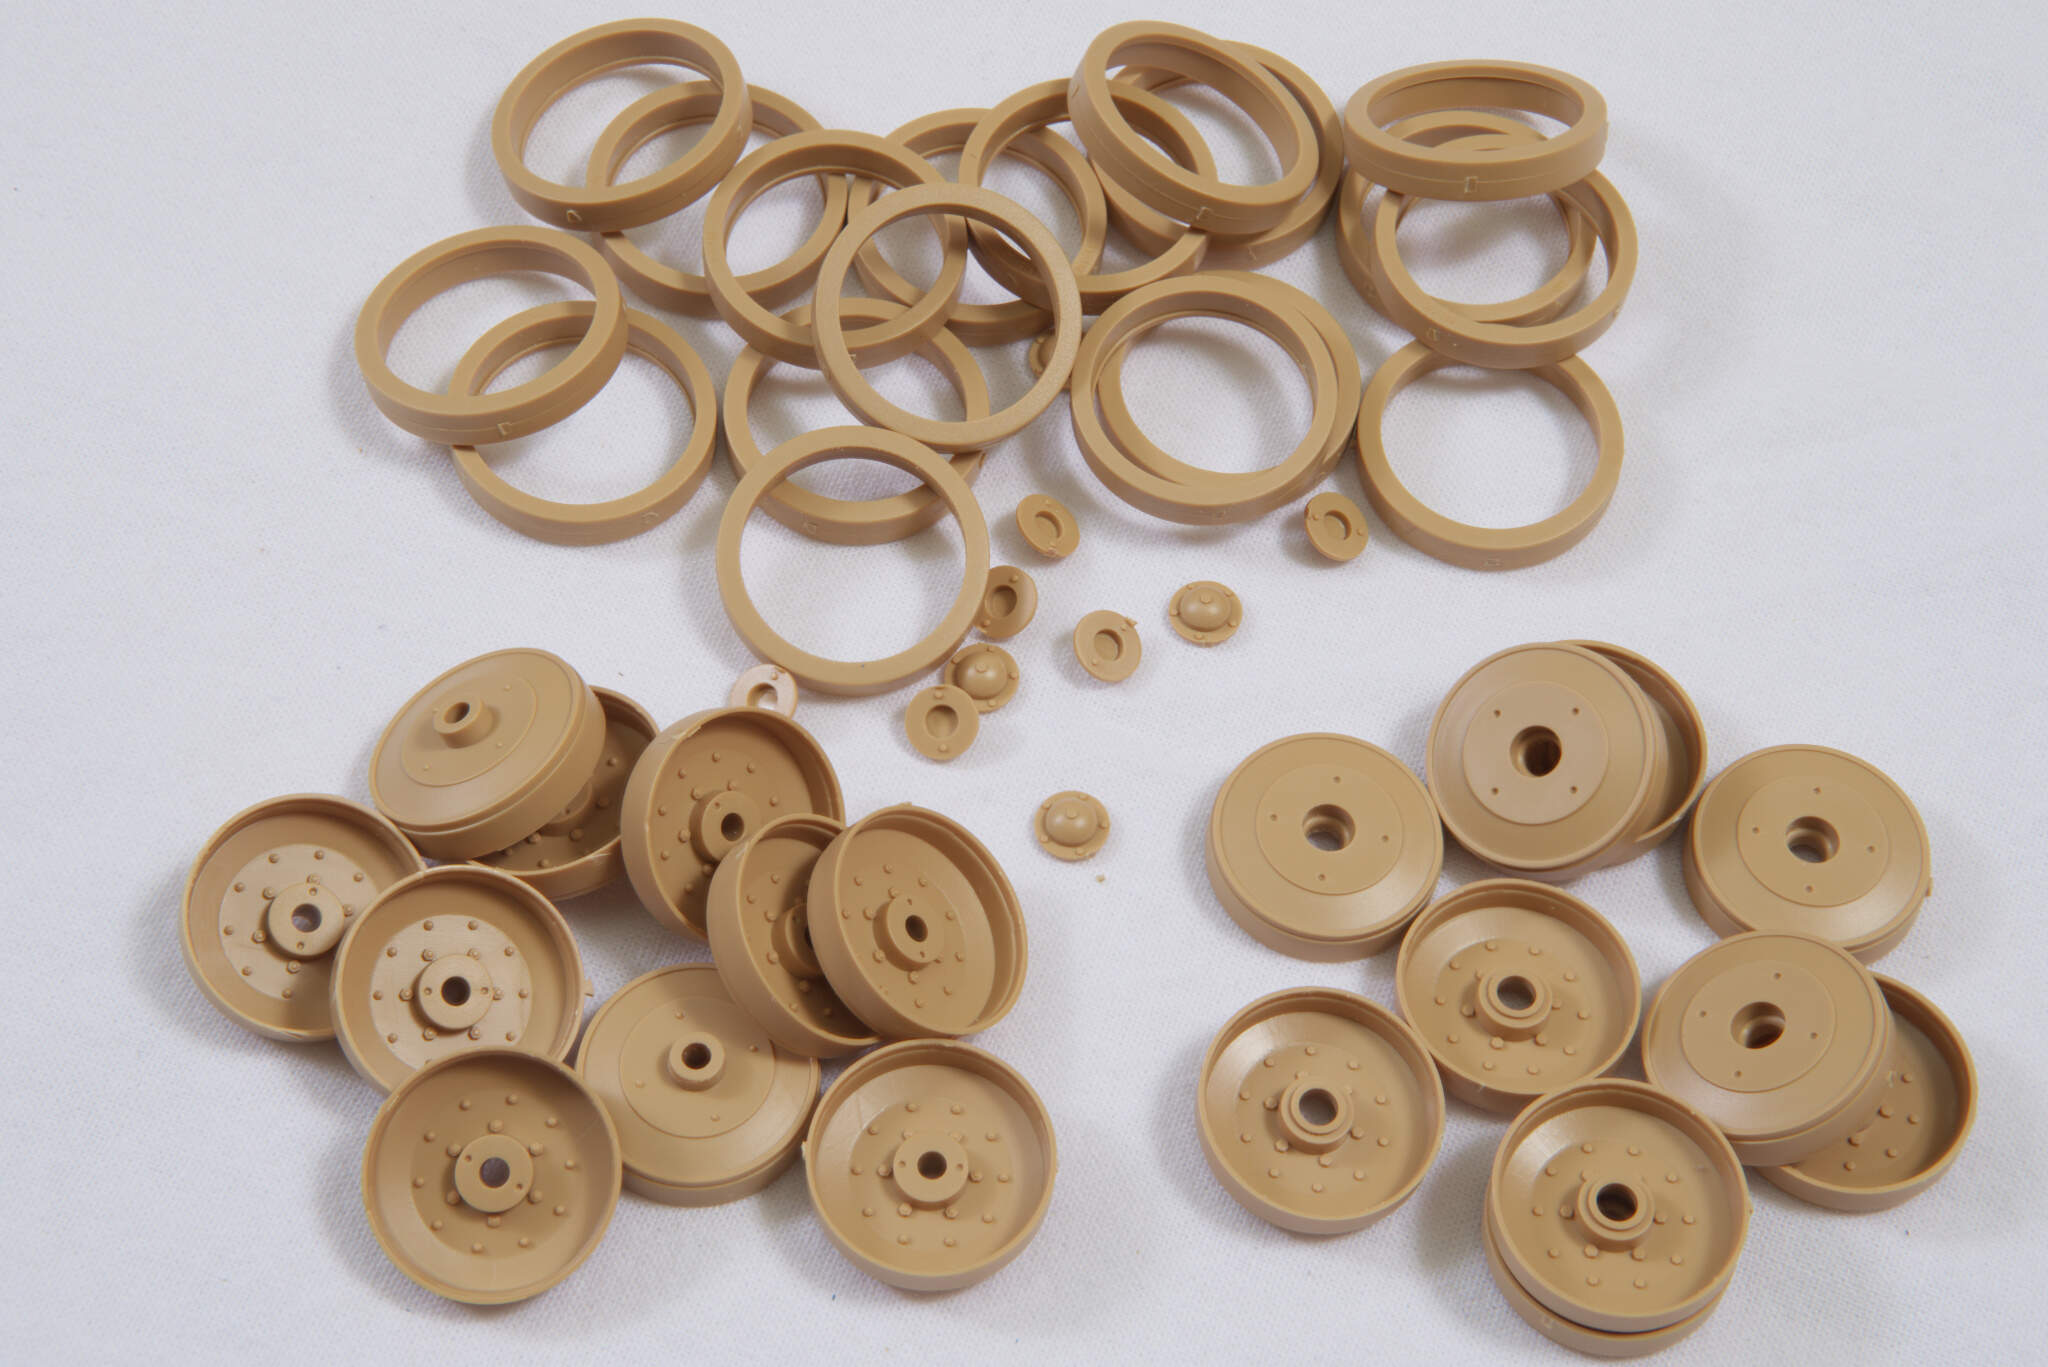
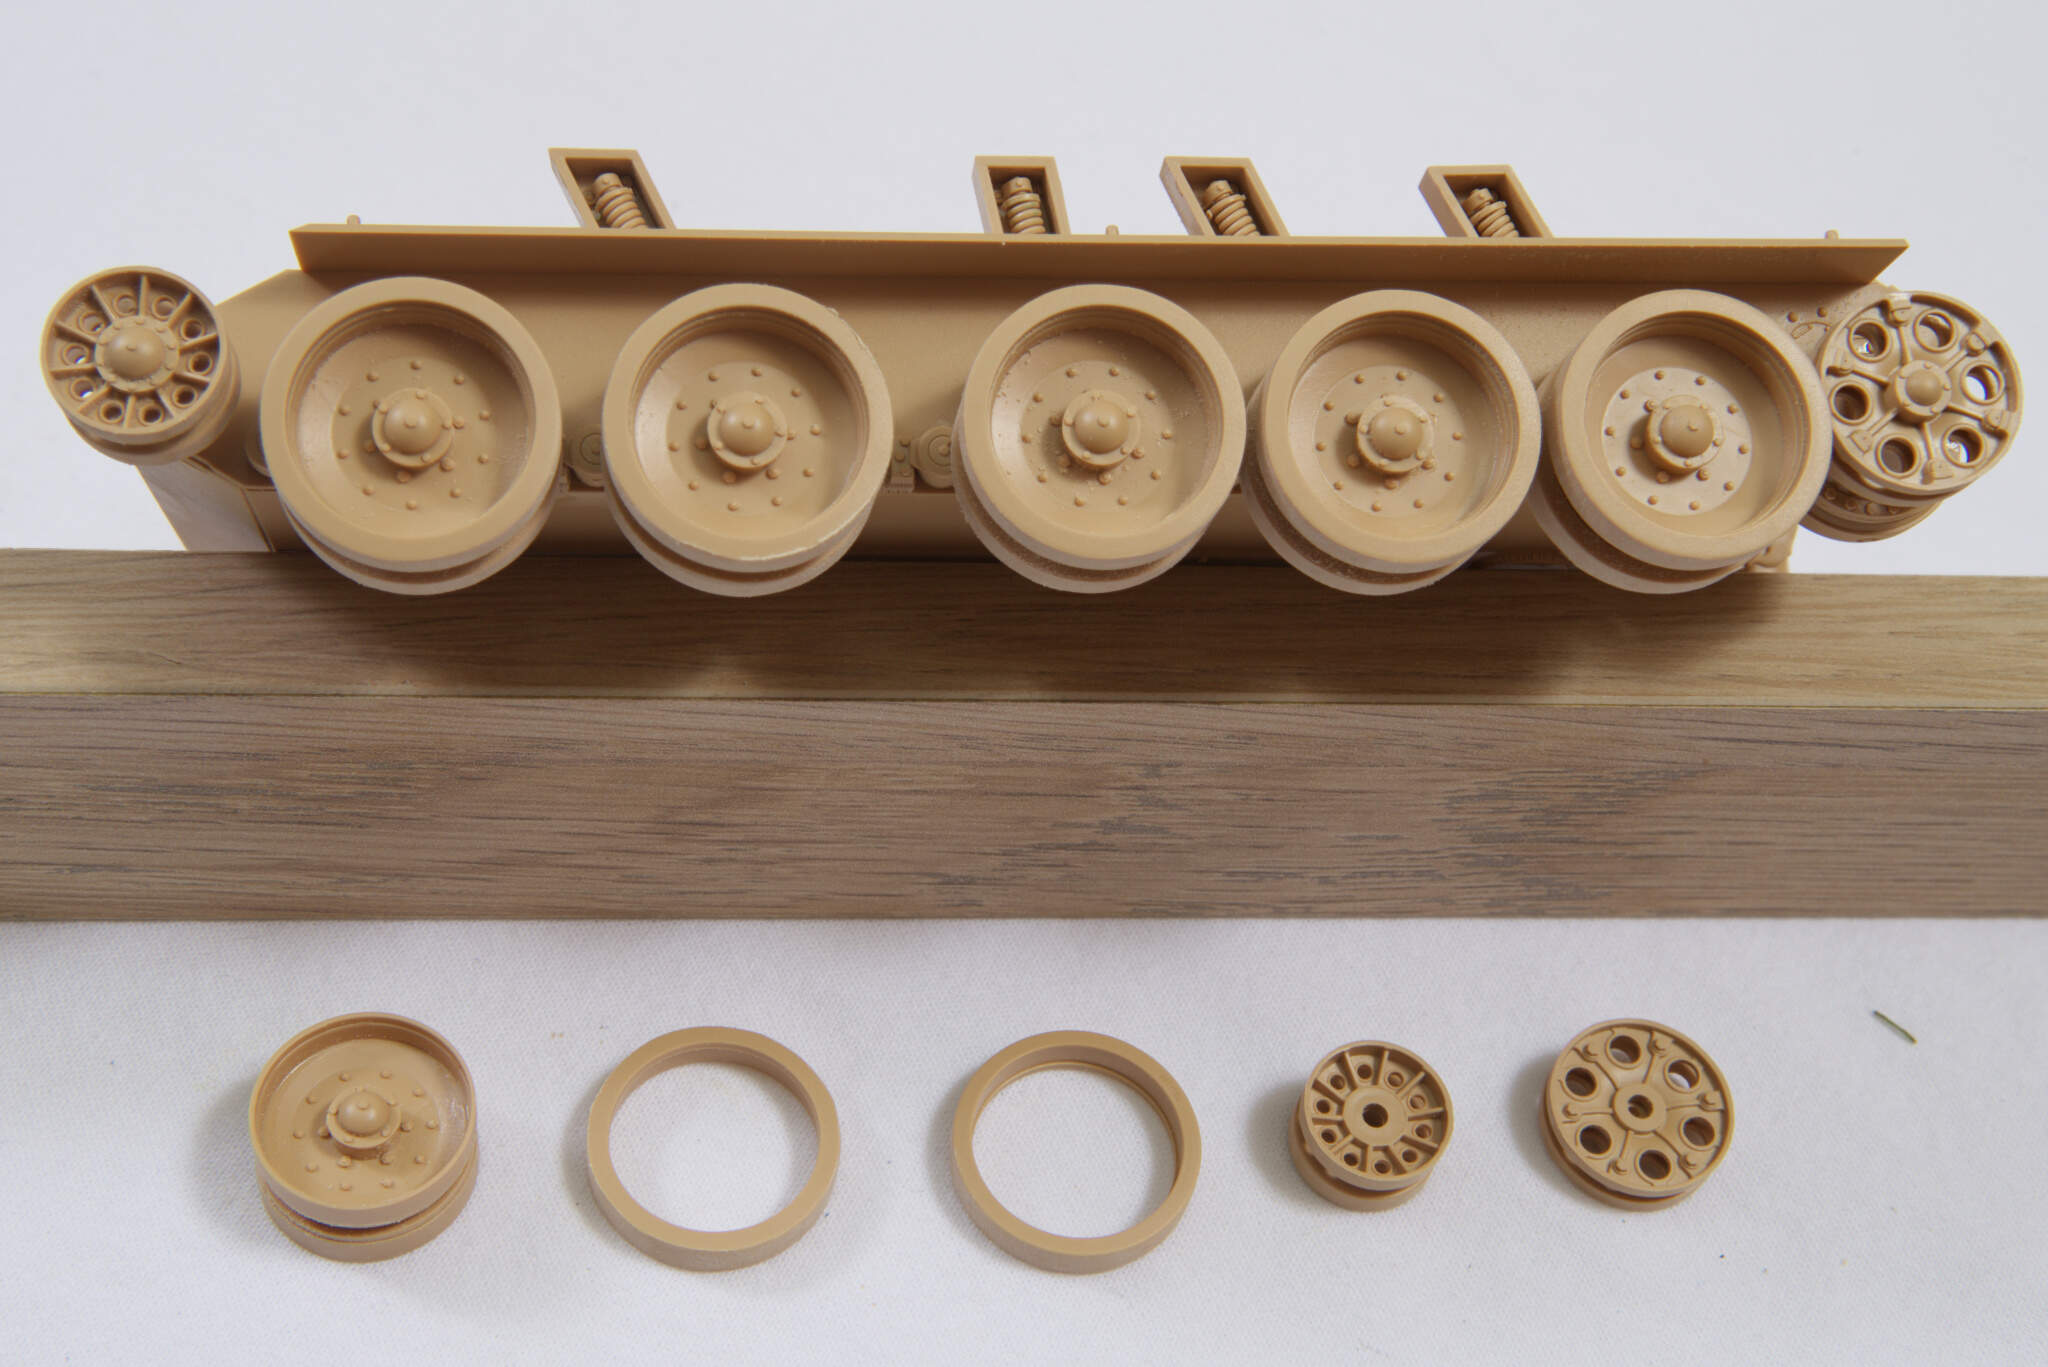
What a lovely kit and I have left the “tyres” unglued to the wheels as this is going to make painting them so much easier.
This may be my last build post for a few days as SWMBO is back home tomorrow.

8 Likes
I’ll be watching
Looking very good! Thanks for sharing!
I have never seen one of these RFM kits being built so I will keep watching with interest
Got some more bench time on the RFM T-34-85
Car failed its MOT so SWMBO not coming home for a while.
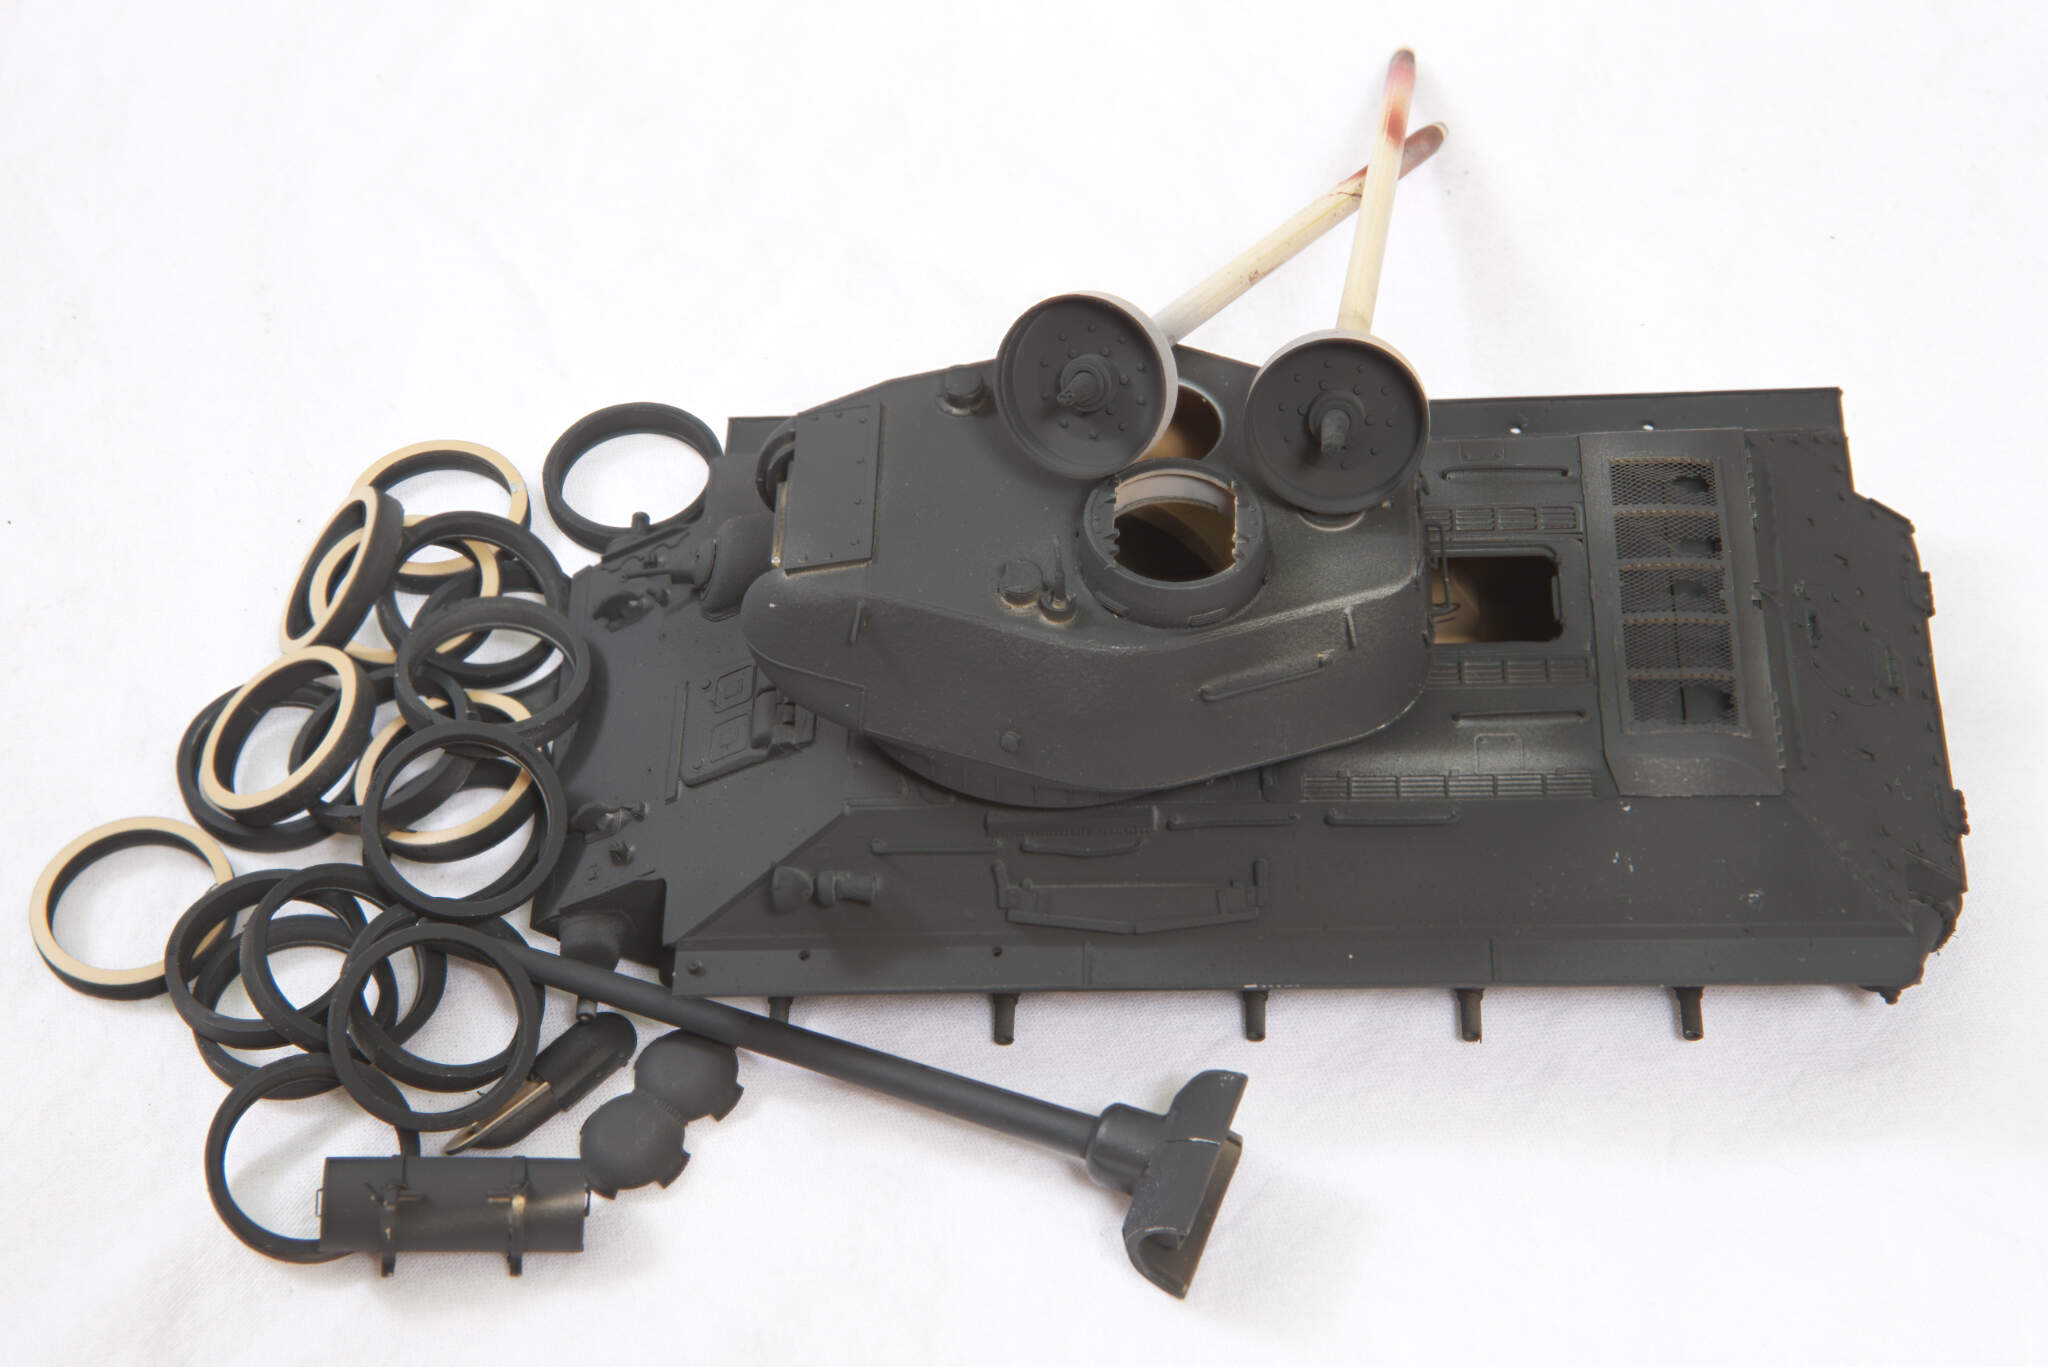
Replaced grab handles with 0.5mm brass rod so I could bend them to look used.
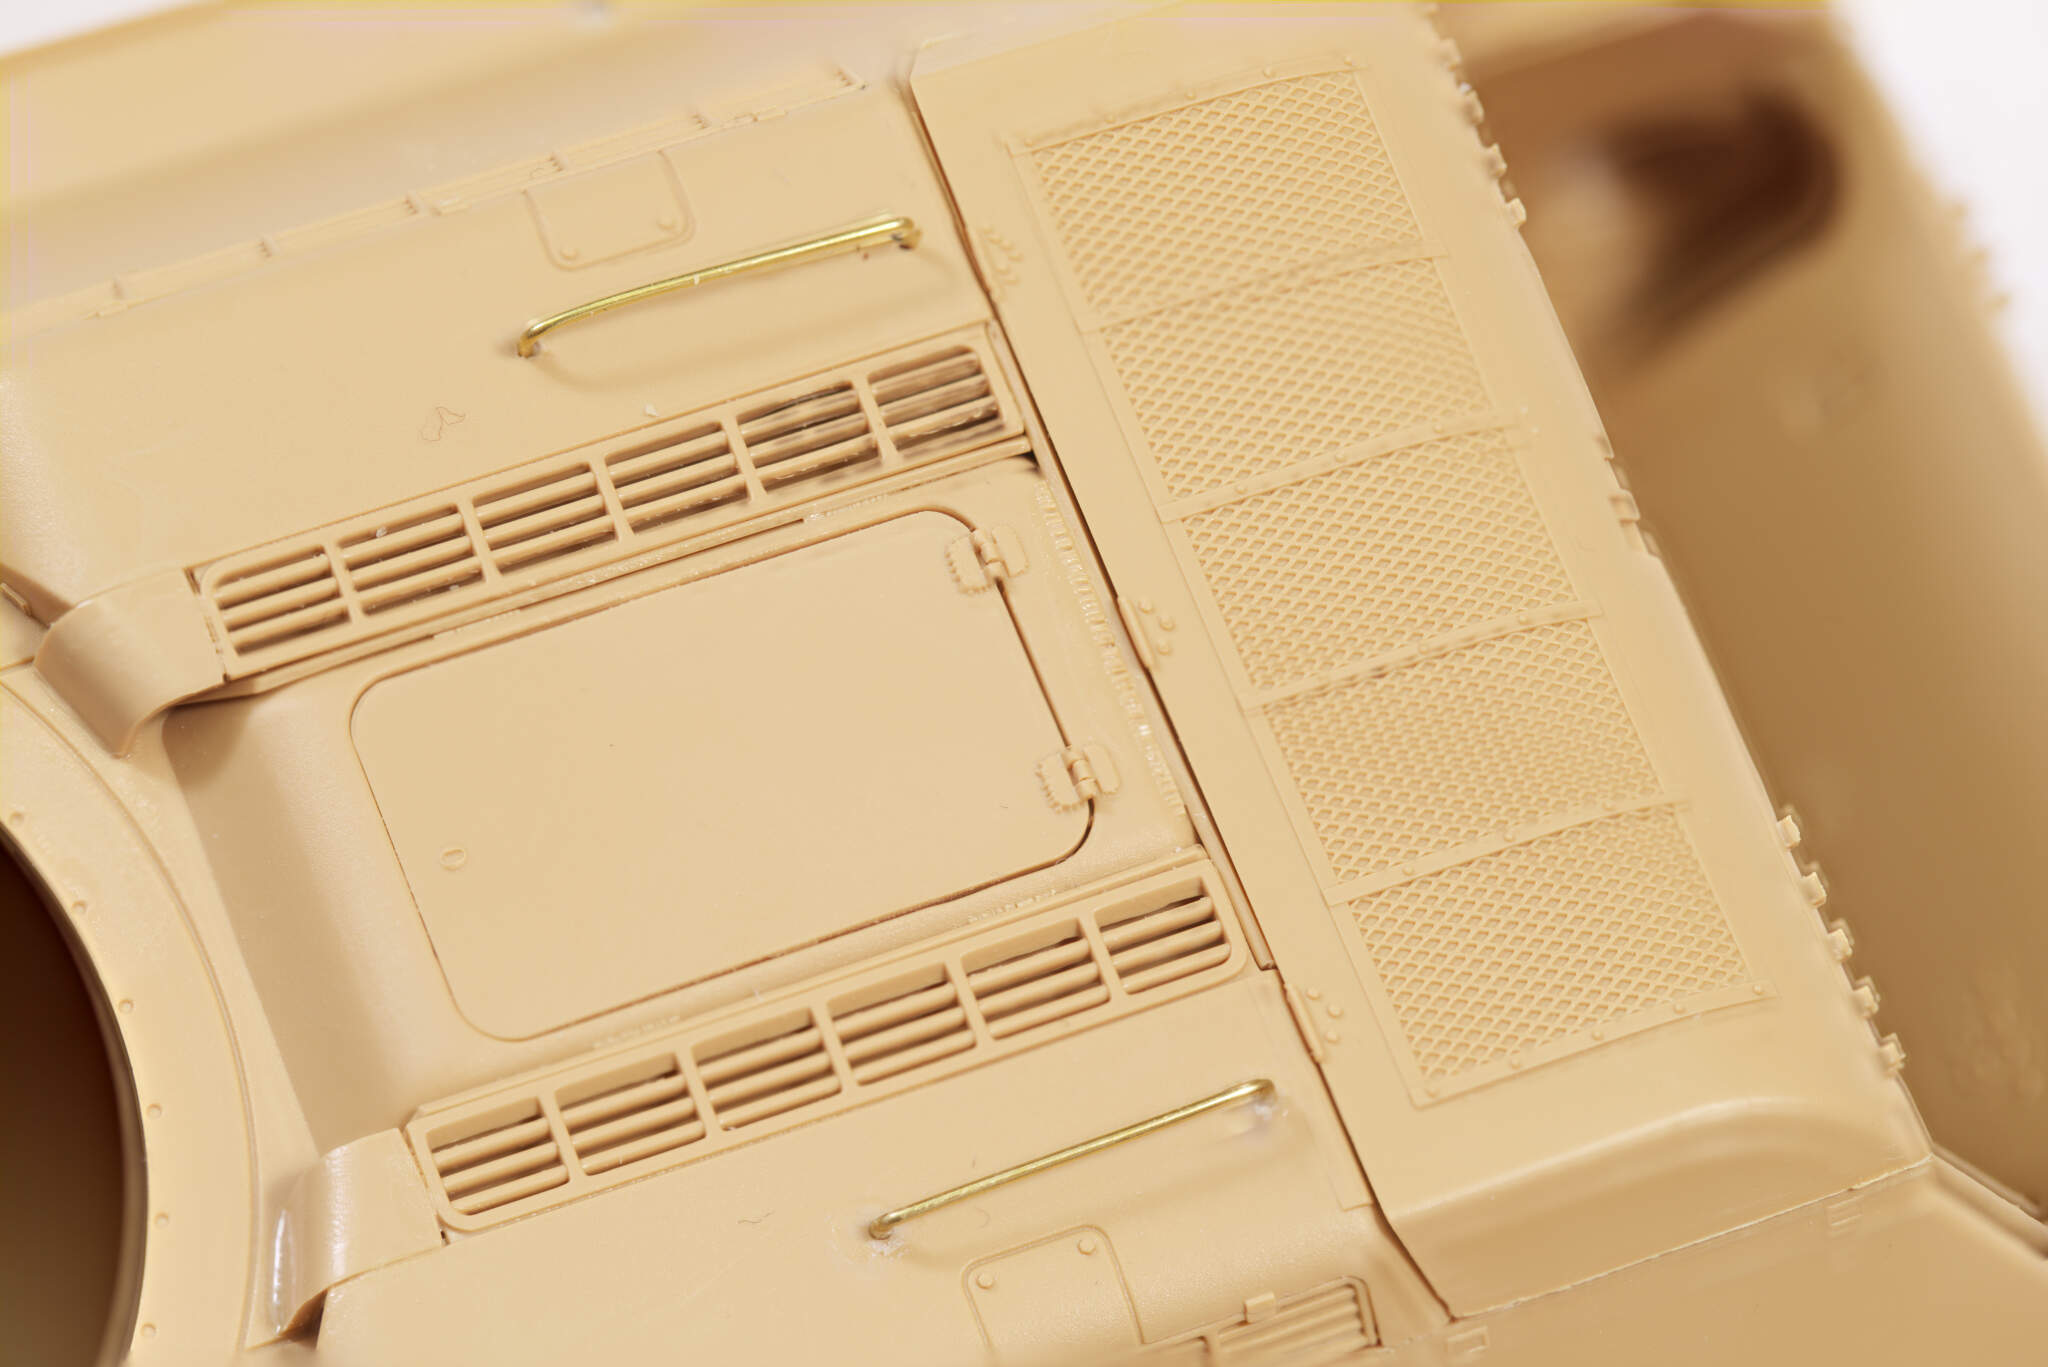
RFM give you both a plastic and a PE option for rear cooling.
So I took the option to do some “battle damage”. I think I may have overdone it what do you think?
I might paint both options to see what it looks like.

1 Like
It’s a bit much for me but I am a less is more school of thought. Seems you think it is too, either way it is your project. I would leave it for this project and do less on the next T-34/project.
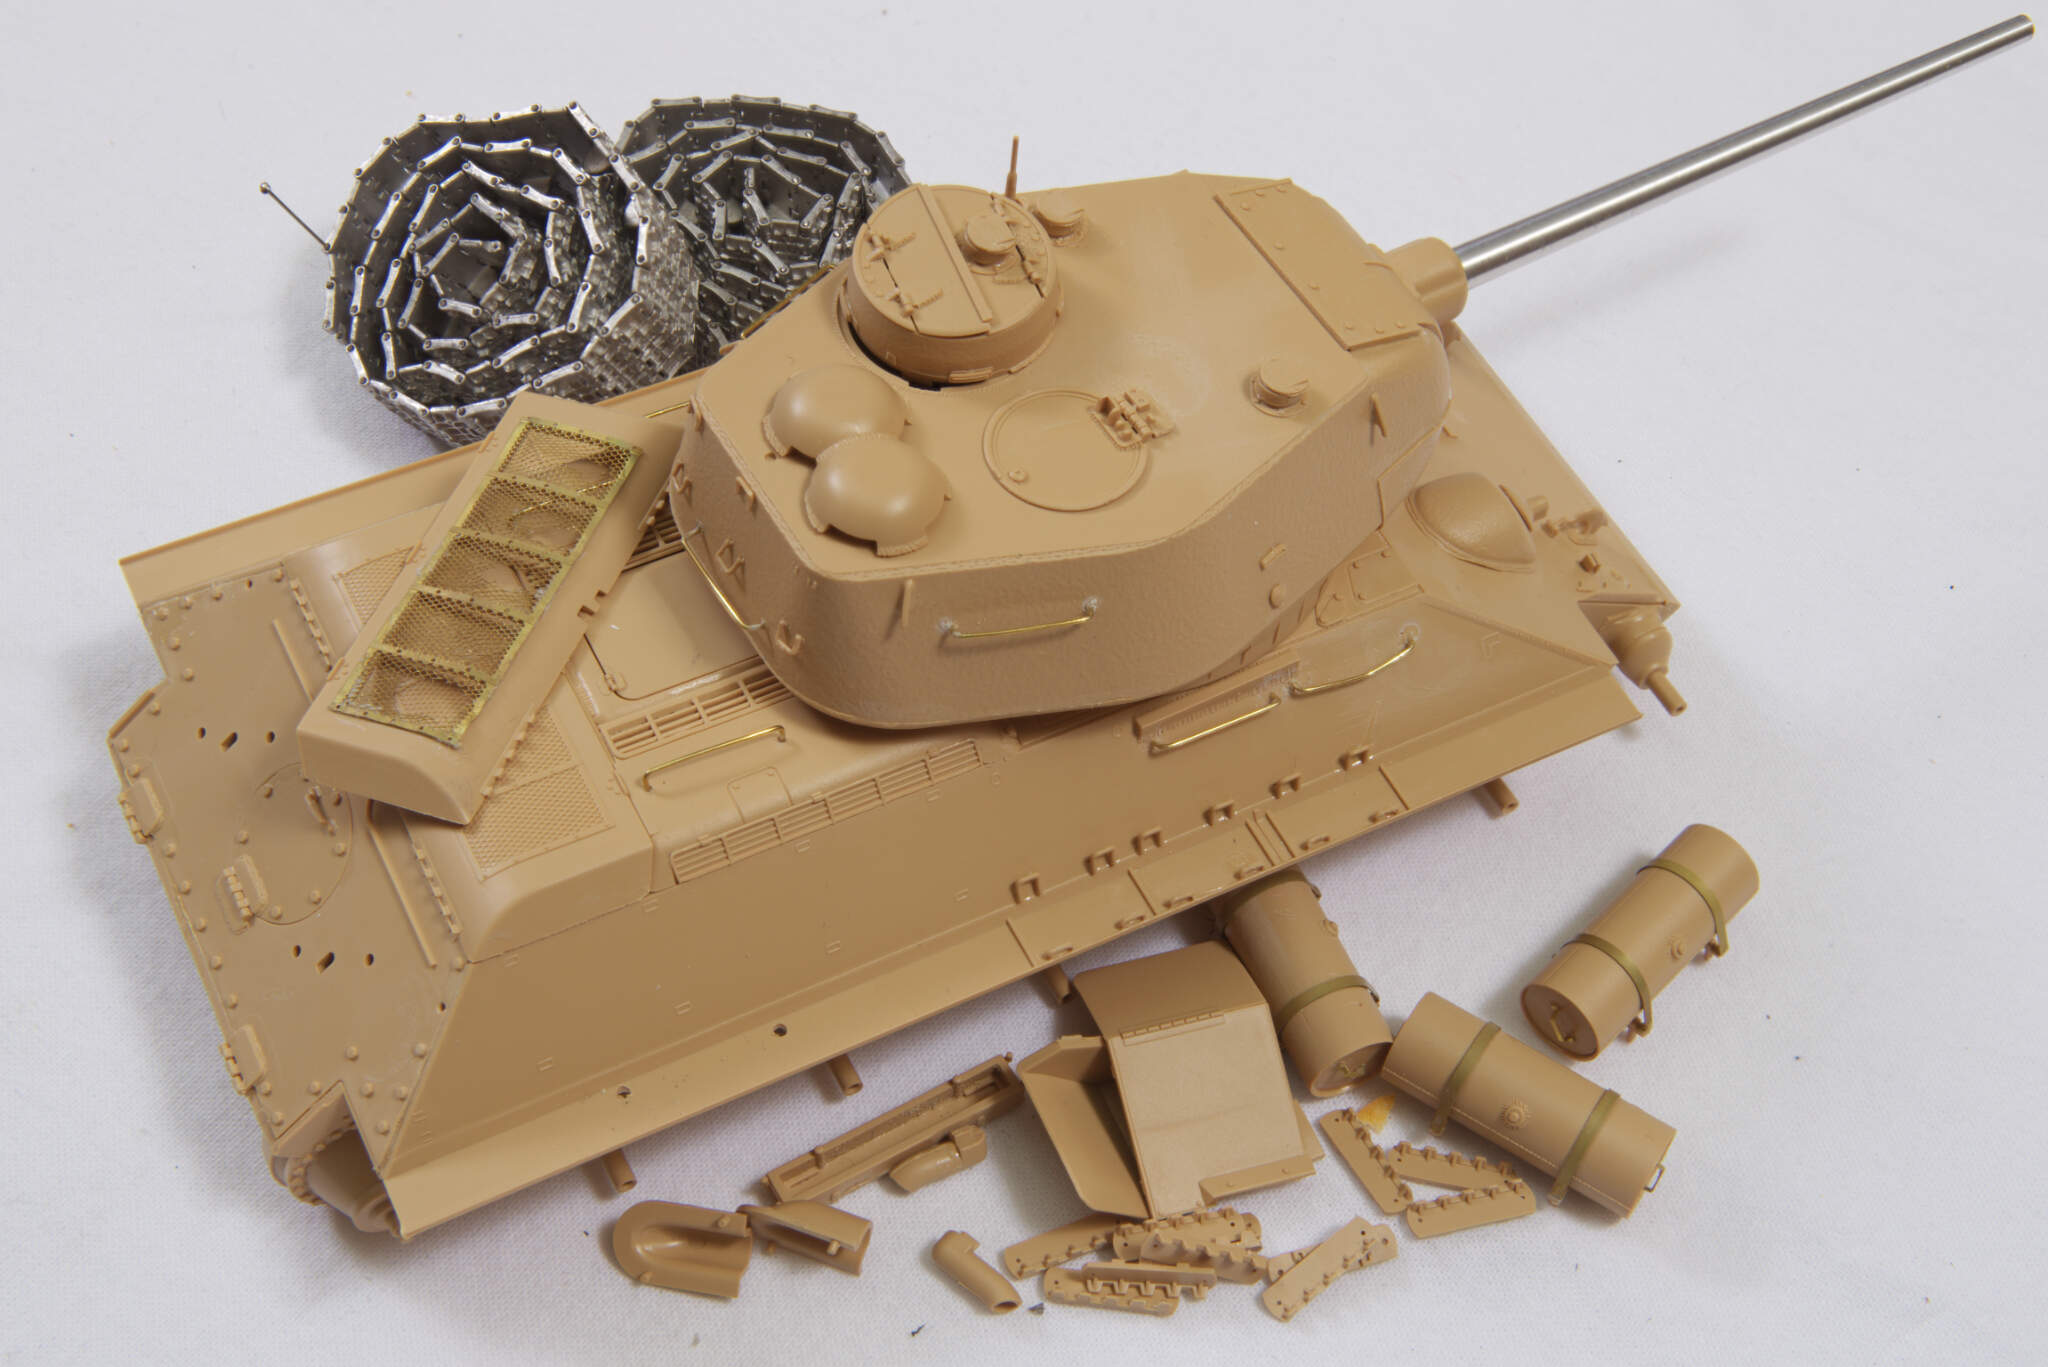
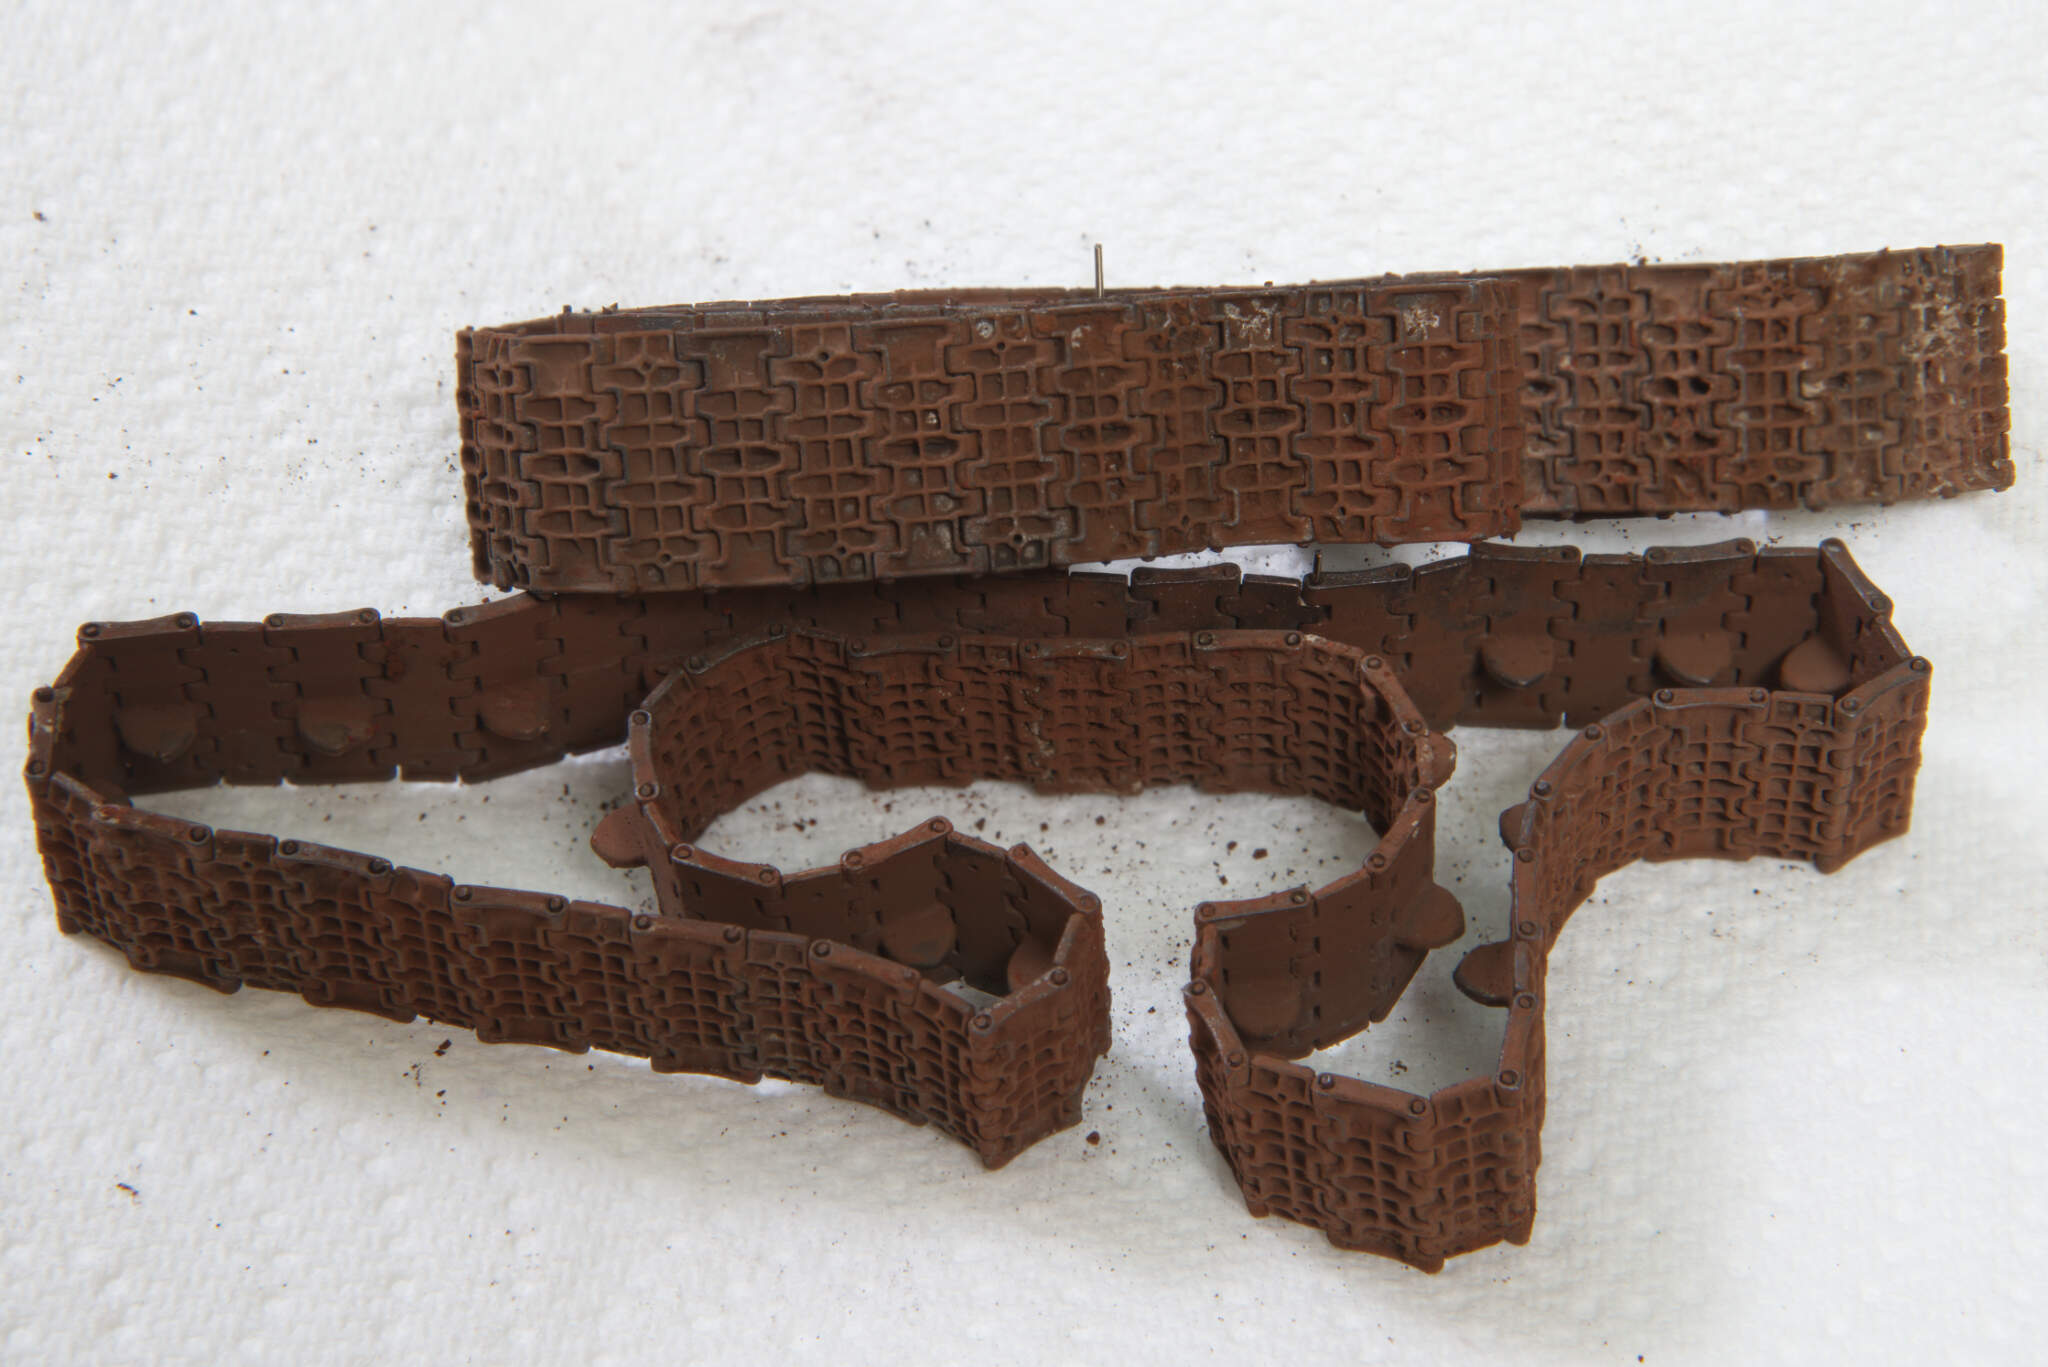
Some more progress on the RFM T34-85. Built the tracks almost ready for primer on the plastic.
Still giving myself the option to use the non " battle damaged" version.
5 Likes
to be honest …who knows. As experience on many MBTs and tracked vehicles has taught me, when reversing at speed, with very limited optics and vision… its unavoidable that you wouldnt glance off/hit/knock a fair few things and with that comes damage, some minor, some severe… even more so in a close urban or wooded scenario and even more if its a hot contact. So, I dont think its outside the realms of possibility to have damage like that. 
1 Like
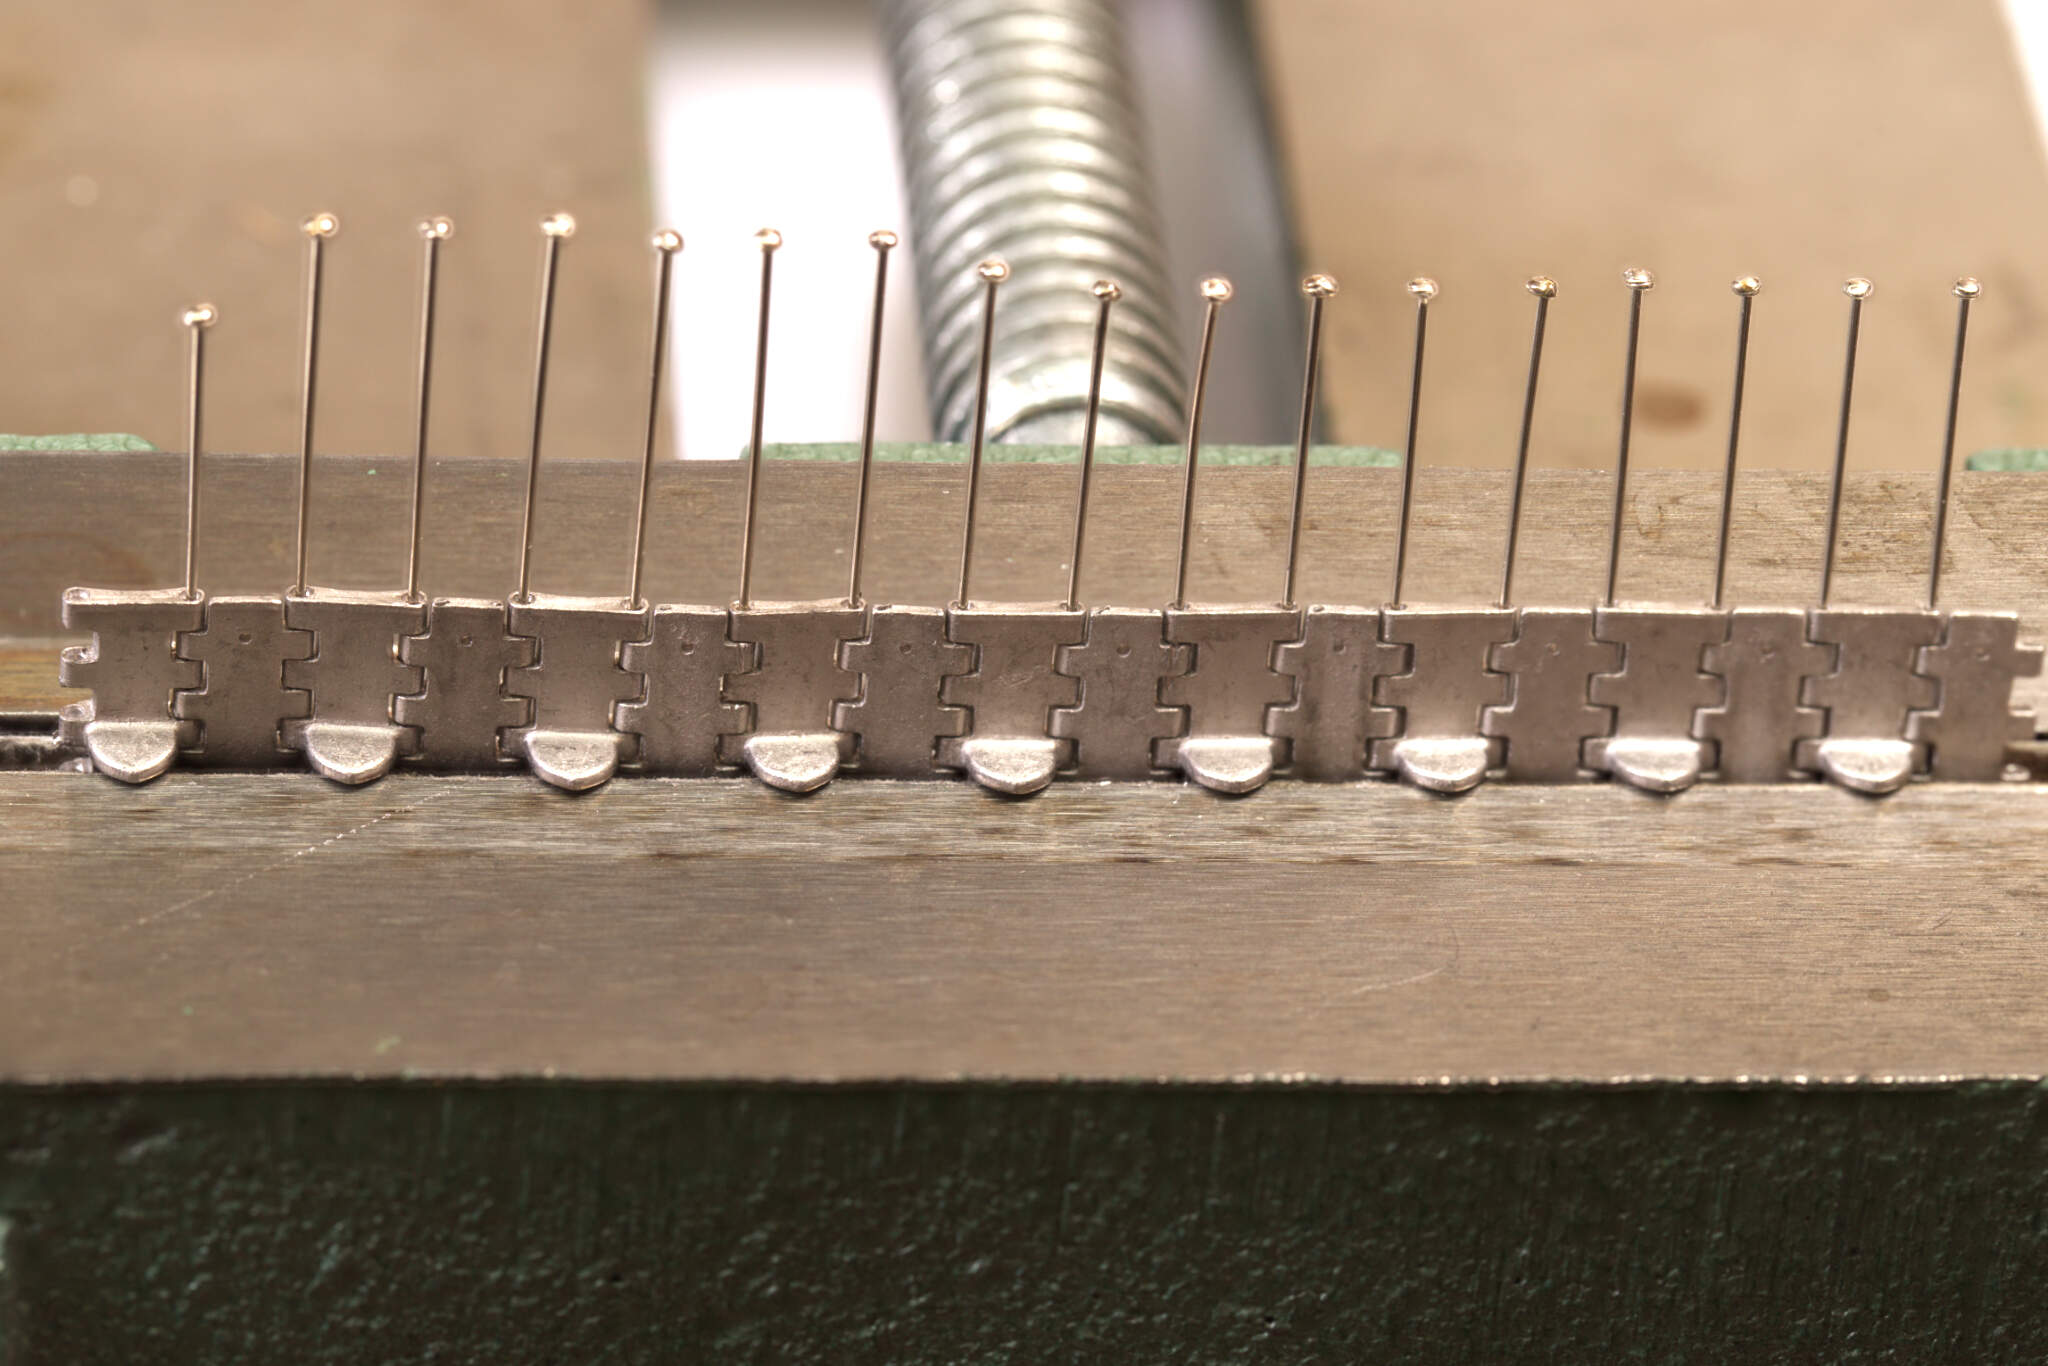
Love the jig for the tracks! Fruils are a PitA otherwise, but the jig makes it look like an easy job!
Damon.
Thanks.
The jig is a cheap vice from evilbay with some card in the jaws to stop the hard metal scratching/damaging the Friuls.
Using dressmaking pins saves a lot of time wasted in drilling.
As there are no separate pads it took under an hour to make both runs of track.
1 Like
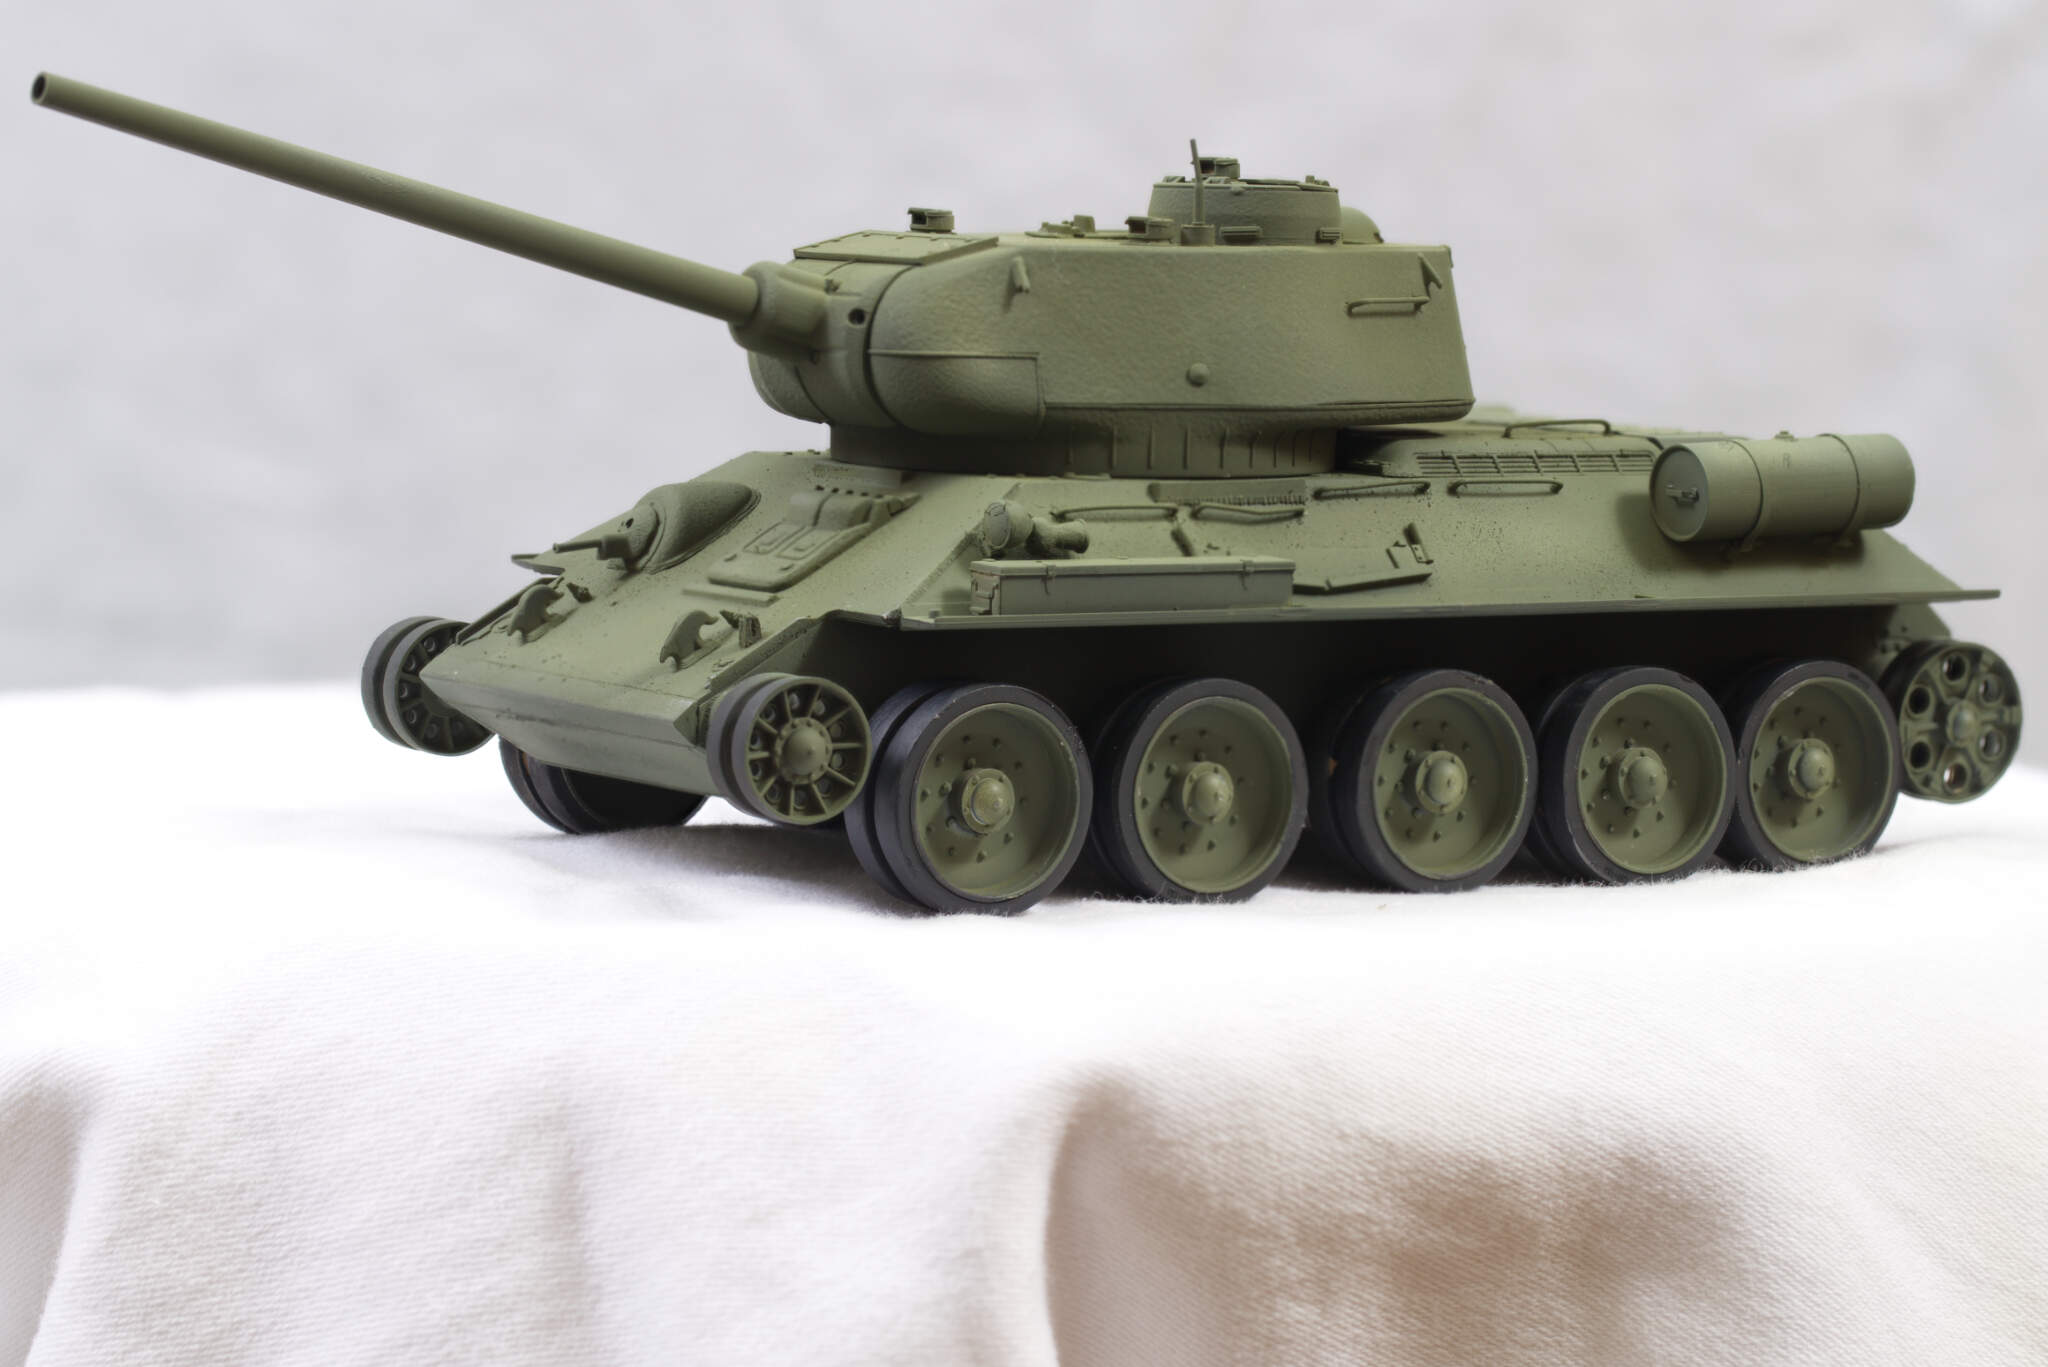
Update on the build.
Forget to take picture of the white shading over the black overall. Used Real Colors RC073 4B0 for the initial green coat.
Can any UK users access the main Armorama UK edition at the moment? Not worked for me for two days.
7 Likes
Like that shade of green. I must get away from only using tamiya paints mentality.
Thanks. The thing with the Real Colors is un-thinned they hand brush very well which is more than you can say for Tamiya unless it is mixed with retarder.
For the model I used my H&S Infinity with a 0.4mm needle and thinned it 50/50 and it went on very smoothly.
Have you tried the UK Amorama site? http://www.armorama.co.uk/
still not working for me.
Looking good. Old site working for me, although not with that link you posted. Try using the our sites tab at the top of this page.
J.
That link just took me straight to the new aeroscale site ?
I just got on Armorama old site fine.
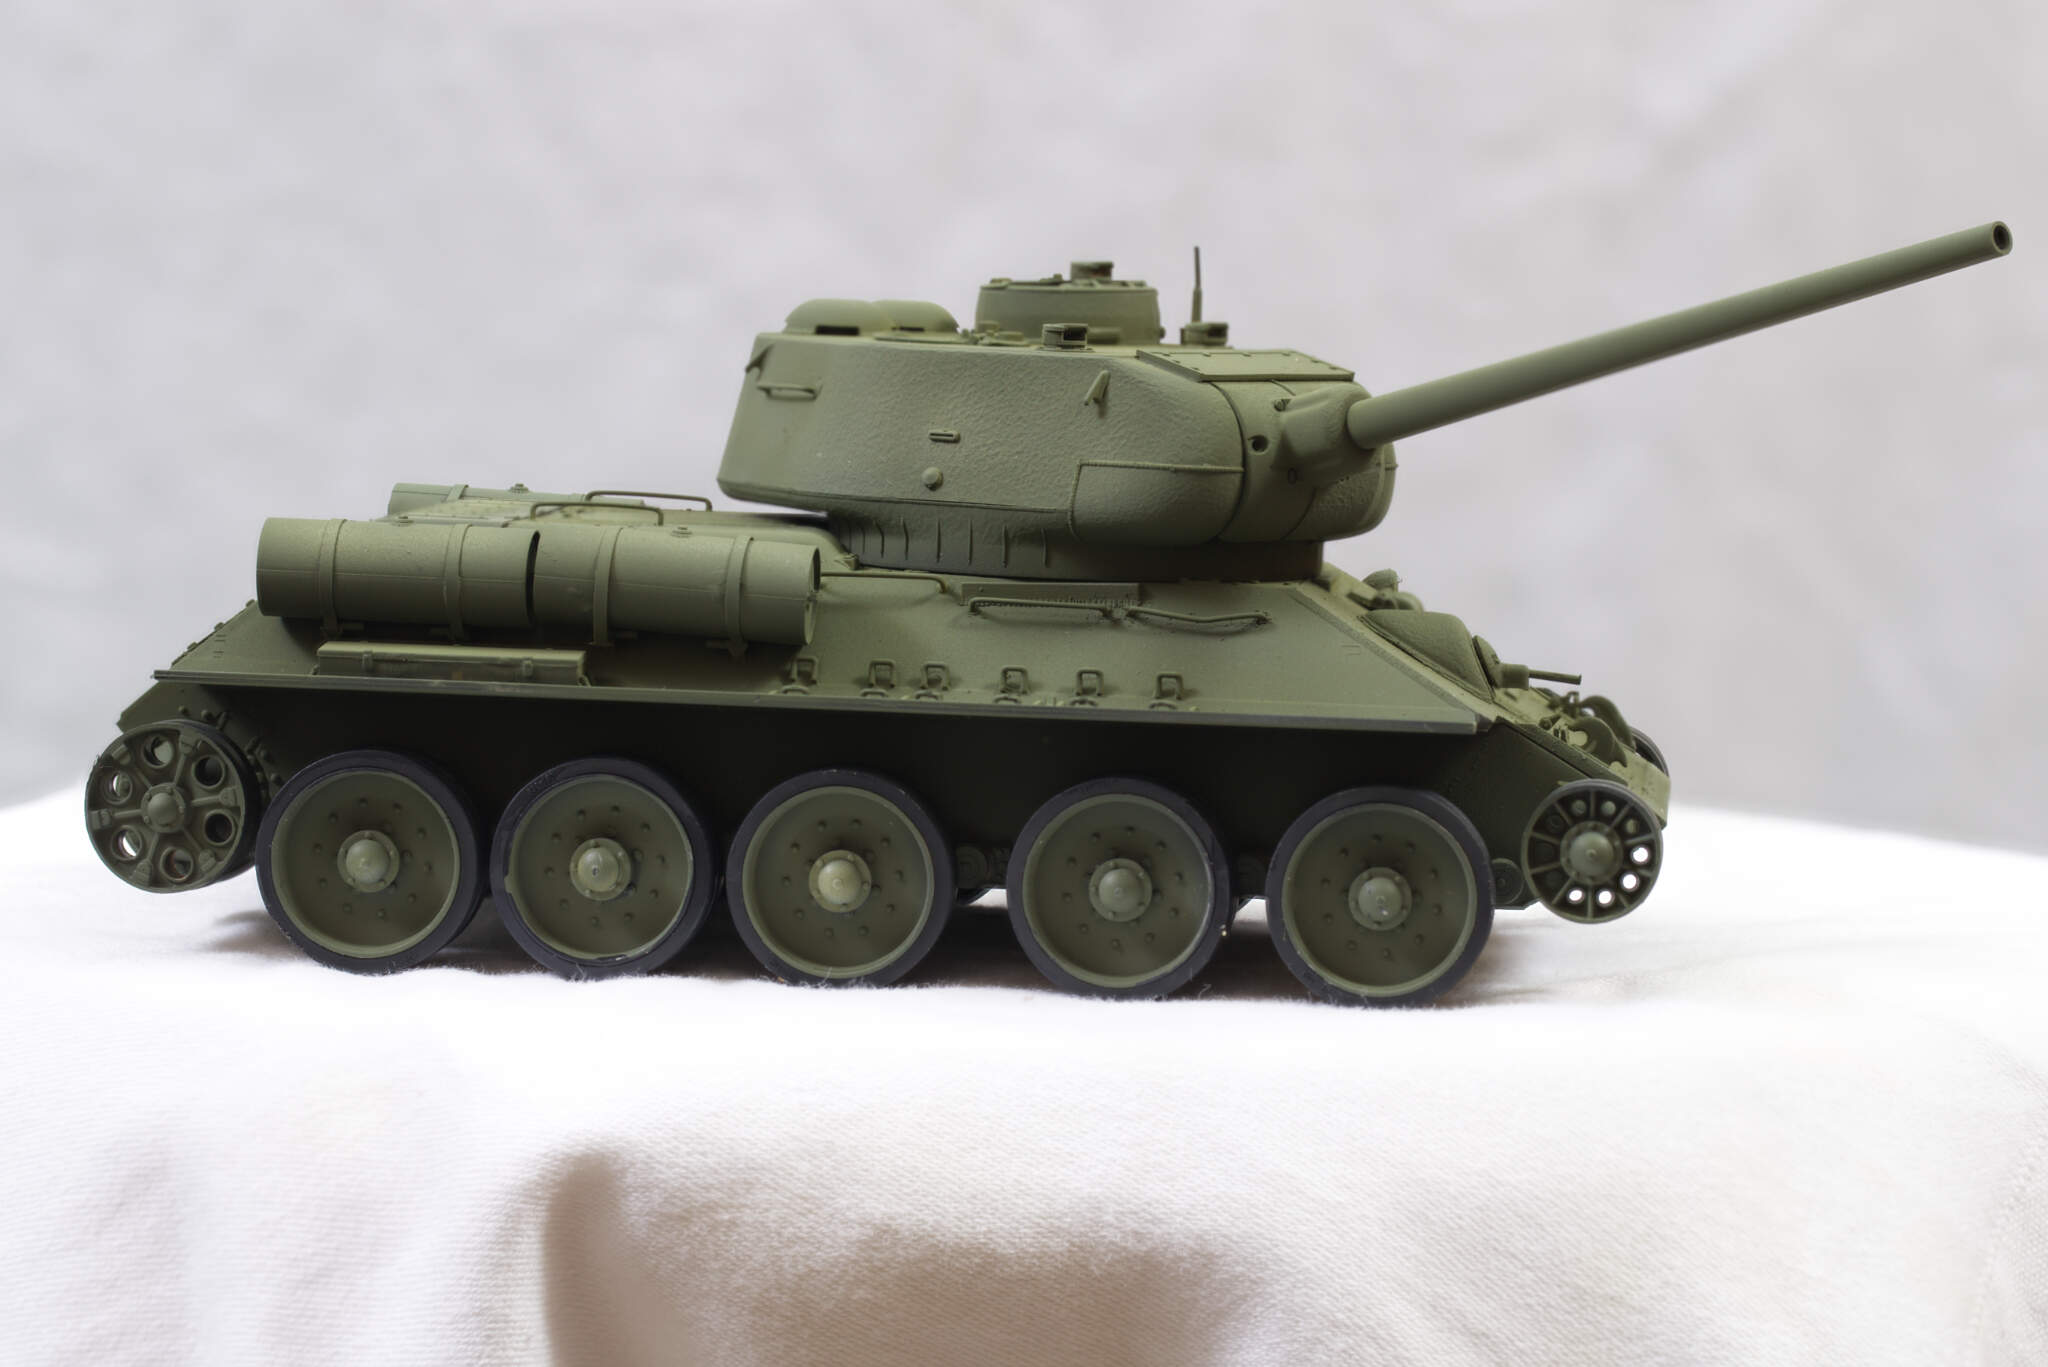
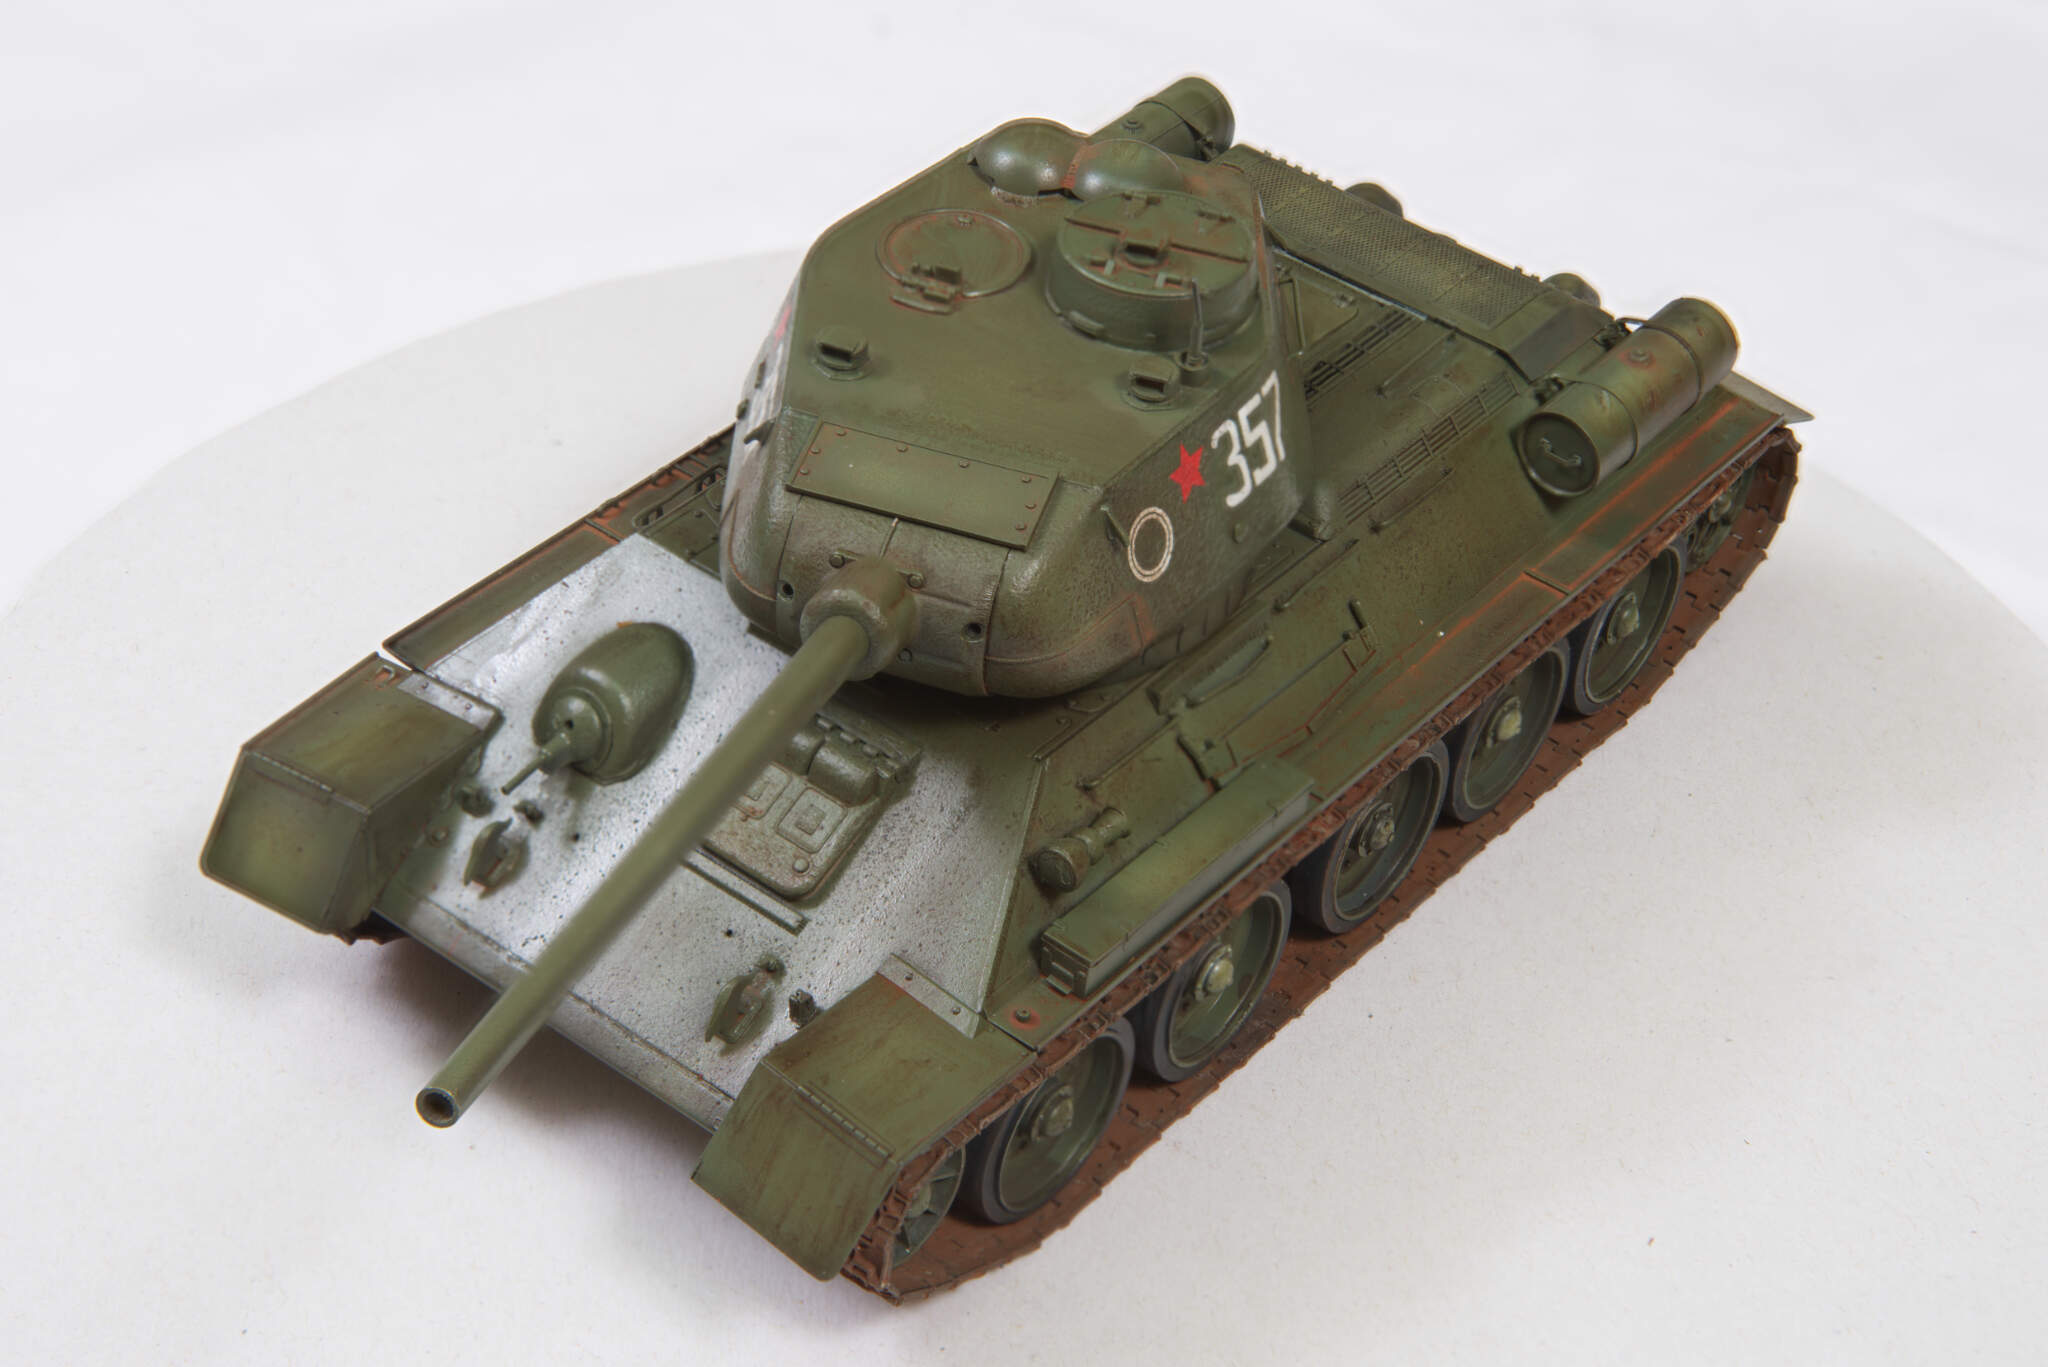
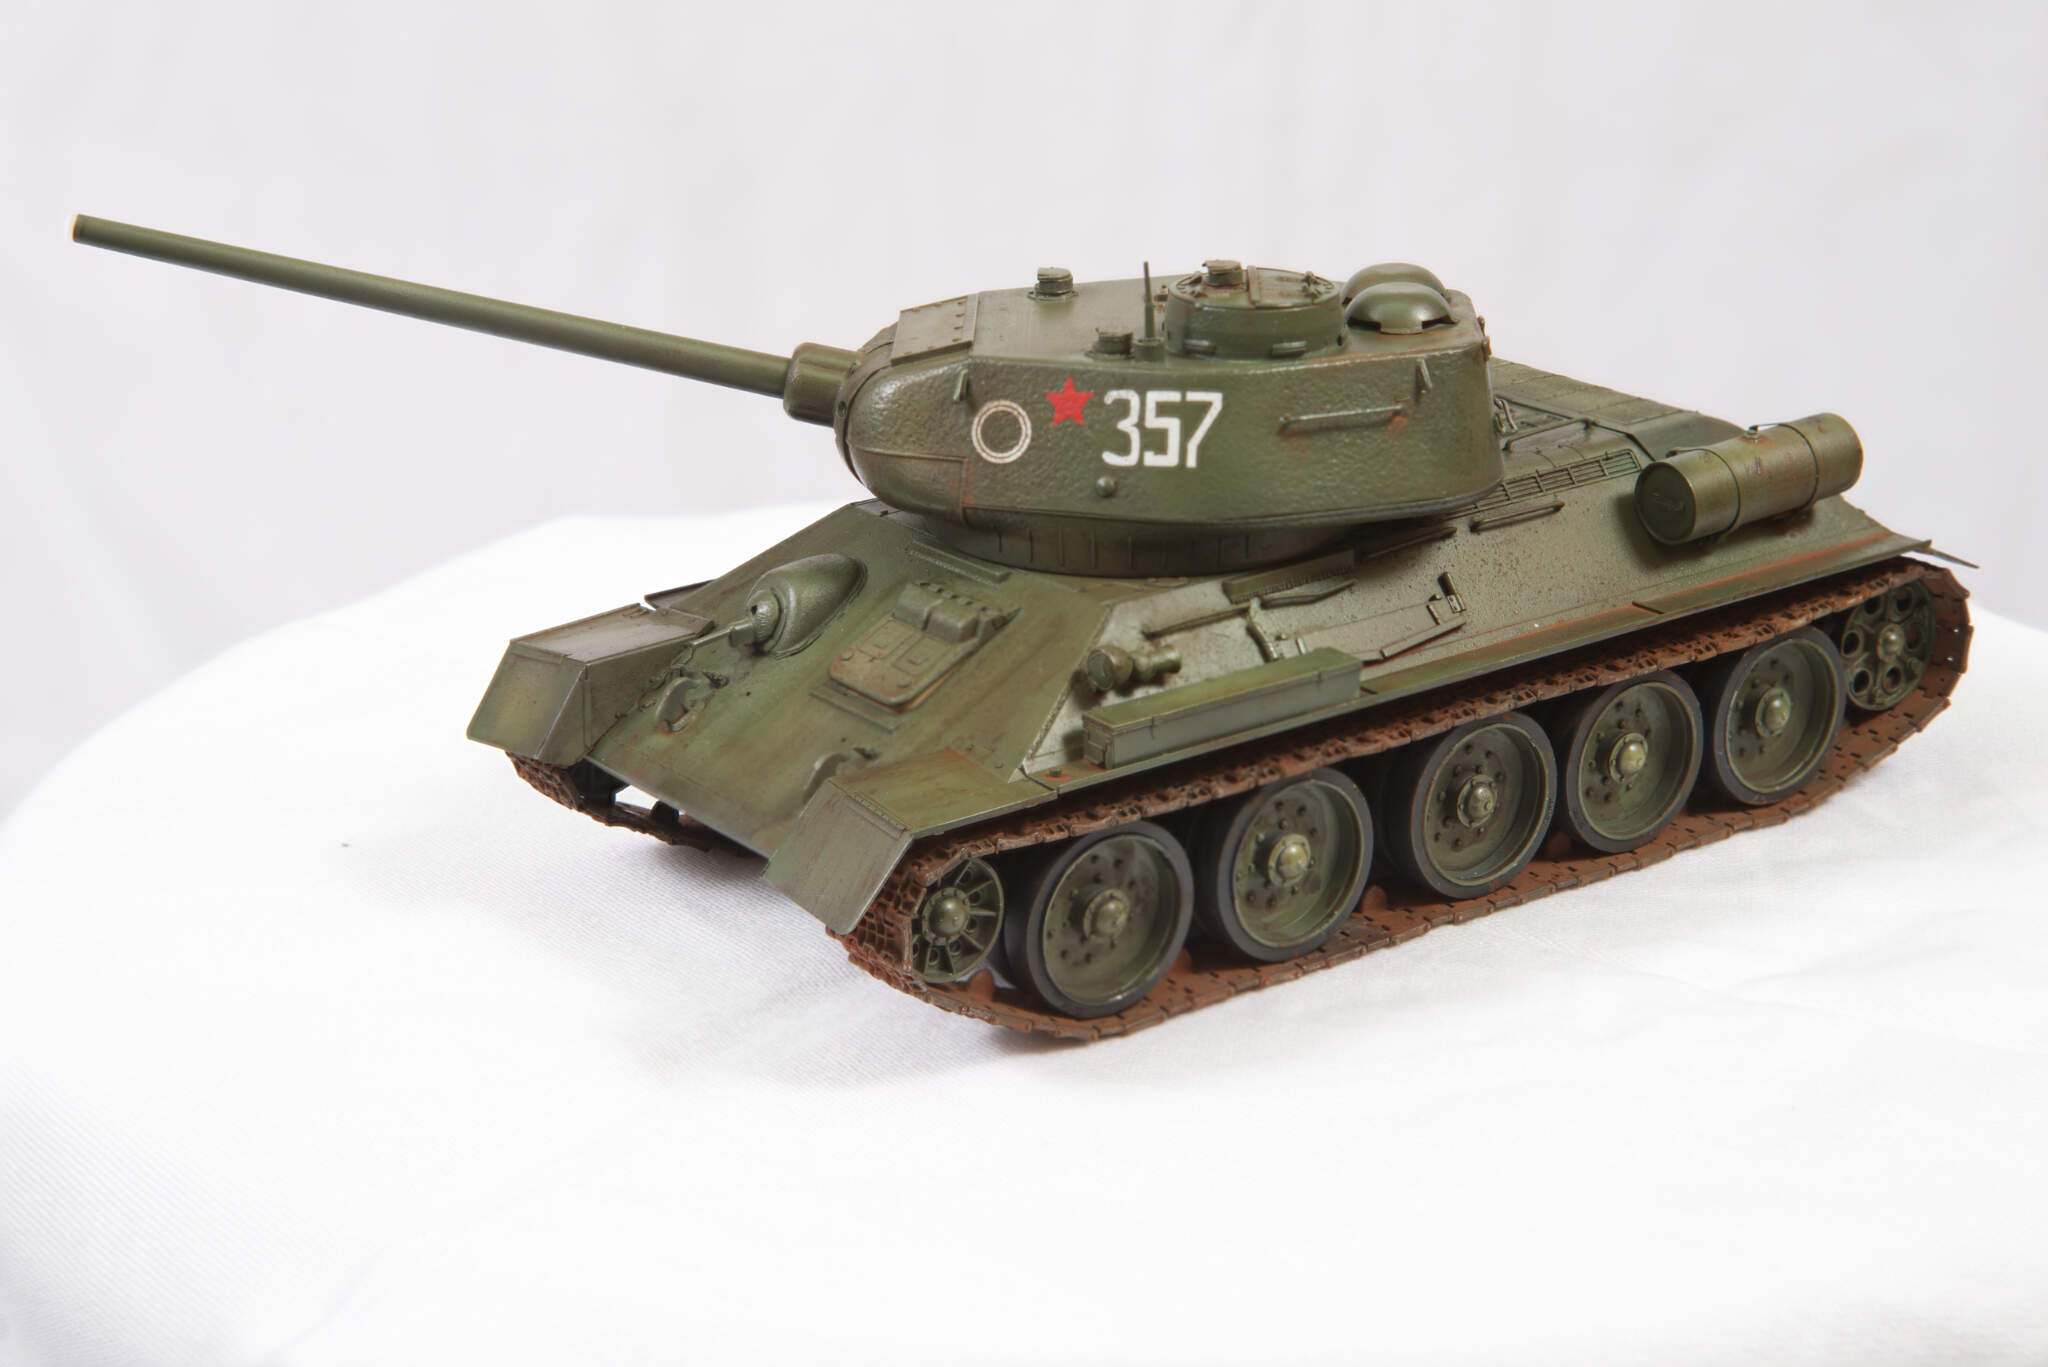
Starting to look like the finished article.
First weathering done more to follow with mud, overall dirty appearance and a matt coat to knock the shine off.
6 Likes
Tracks are very nicely done. It’s a nice kit you’ve put together there Cats, with a great overall finish. Used but not abused.
Thank you.
My problem is when I start adding the mud and other weathering I don’t know when to stop.
1 Like
You are not alone.
Ditto… 