Hello, I’ve found this drawing wich I’m going to use to correct my hobby boss kit and I’m wondering how should I scratch the weld (it seem to be the most problematic part, the rest being a matter of 1mm, wich is nothing for me and wouldn’t be visible)
The track link thread I use TRACK-LINK / Forums / Track-Link Build Logs / Hobbyboss Tiger II (July 45 production) kit no 84533
Thanks for your answer!
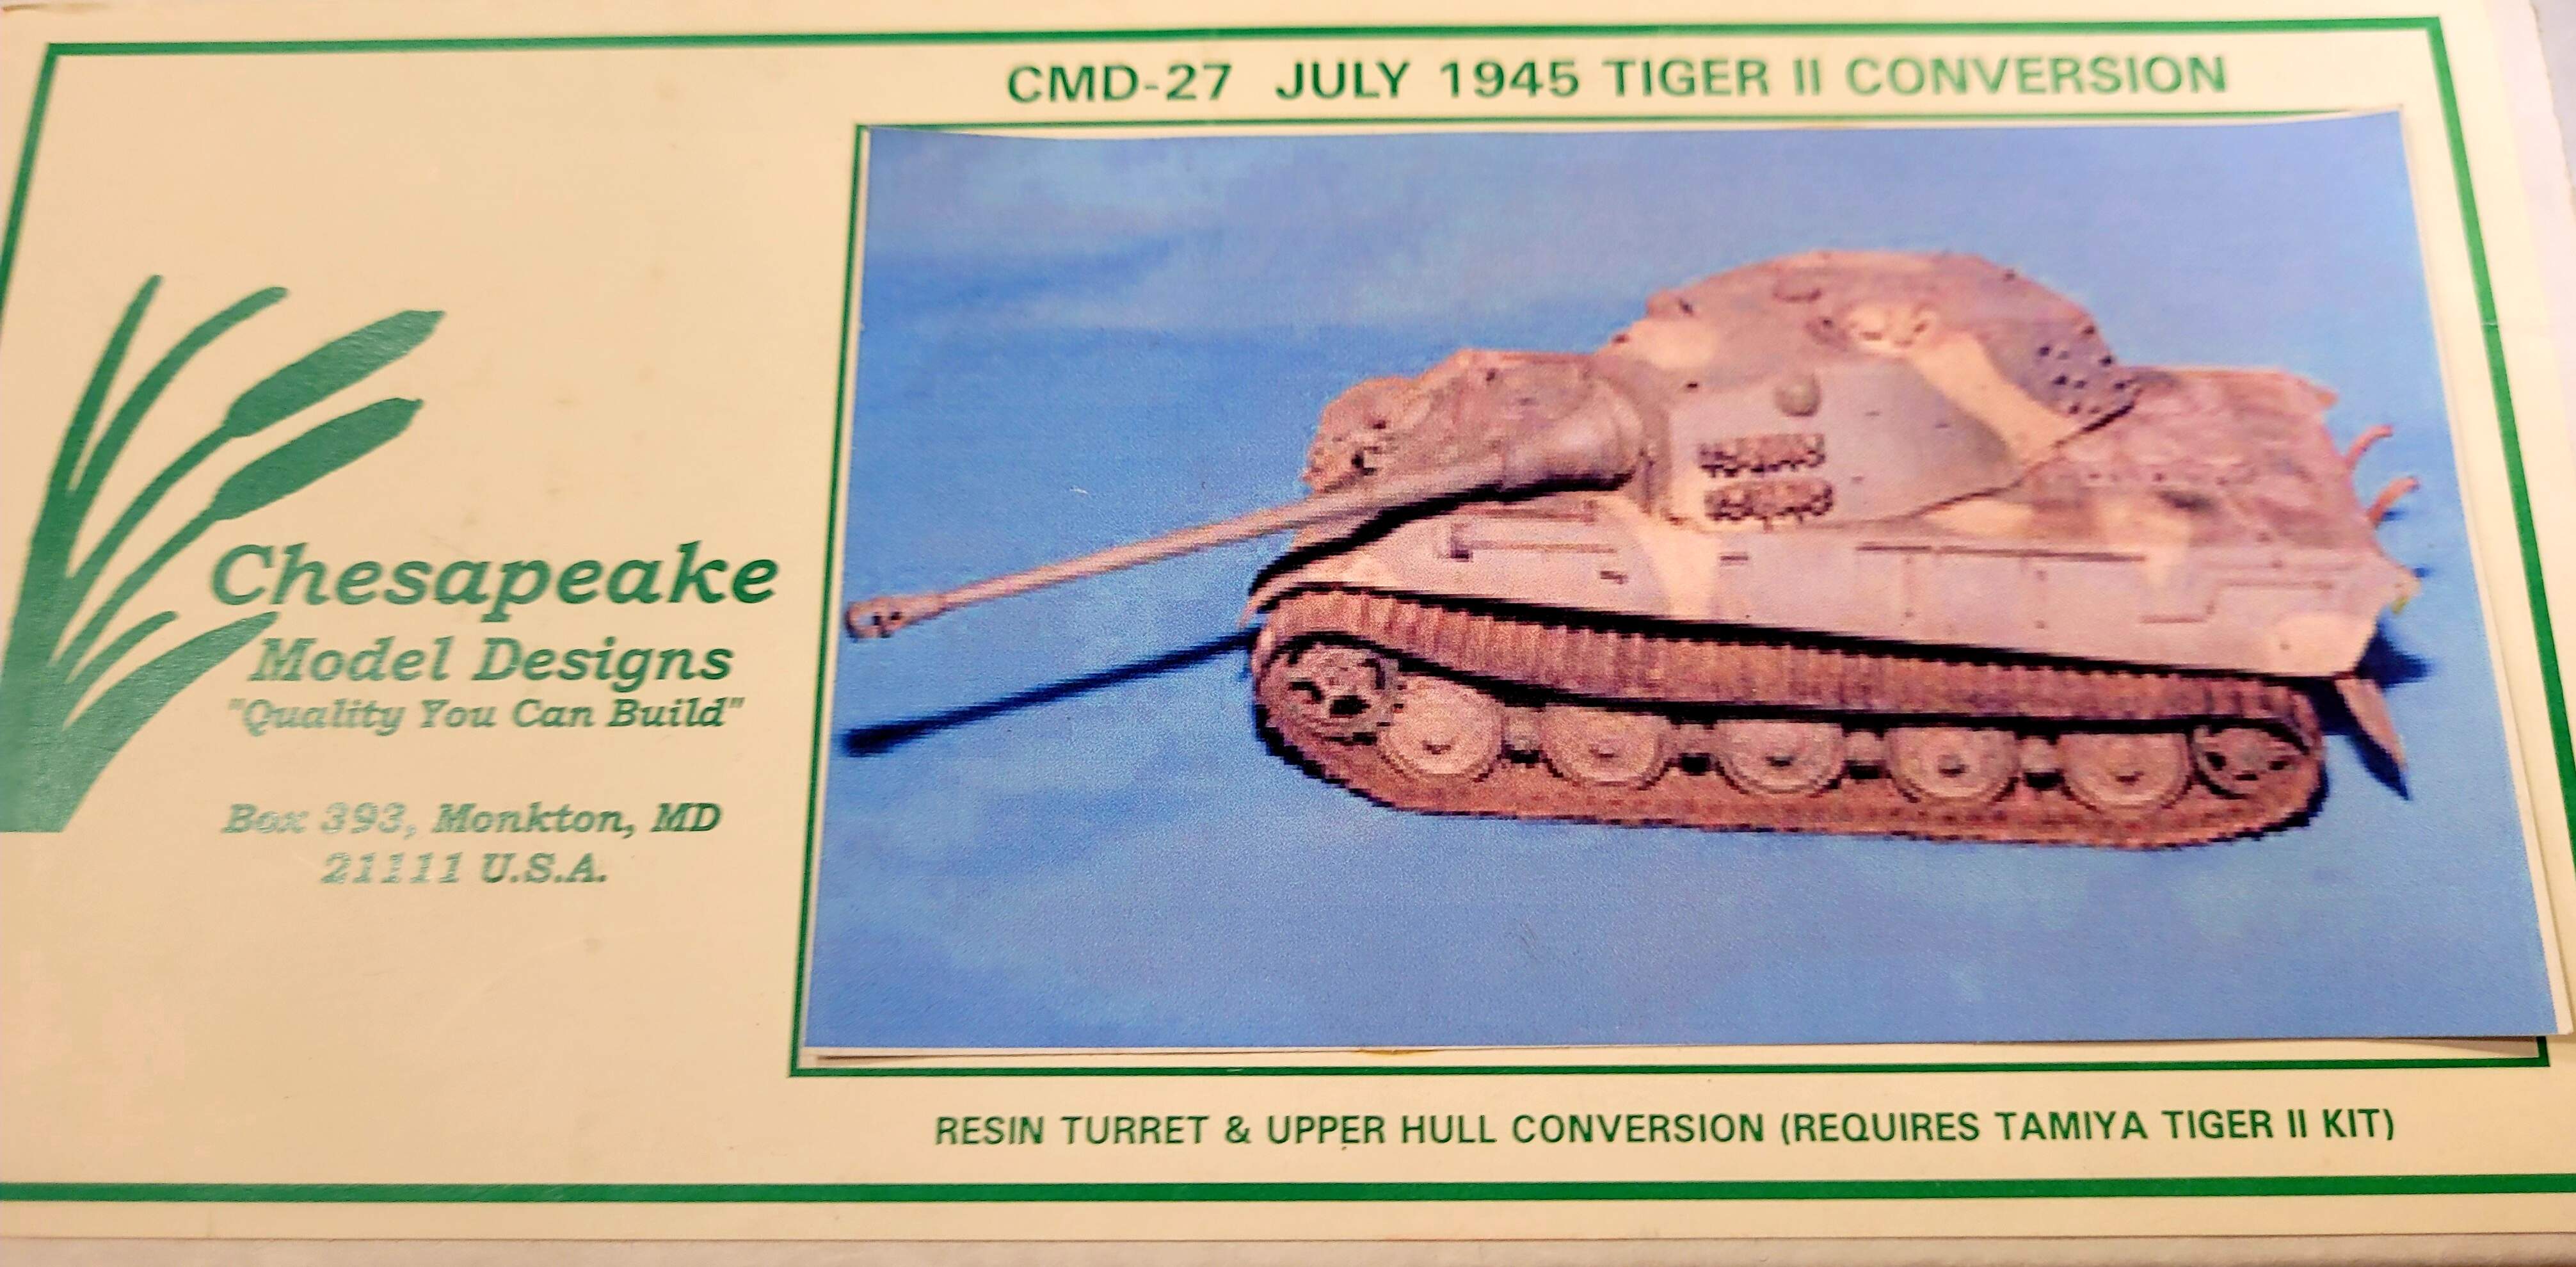
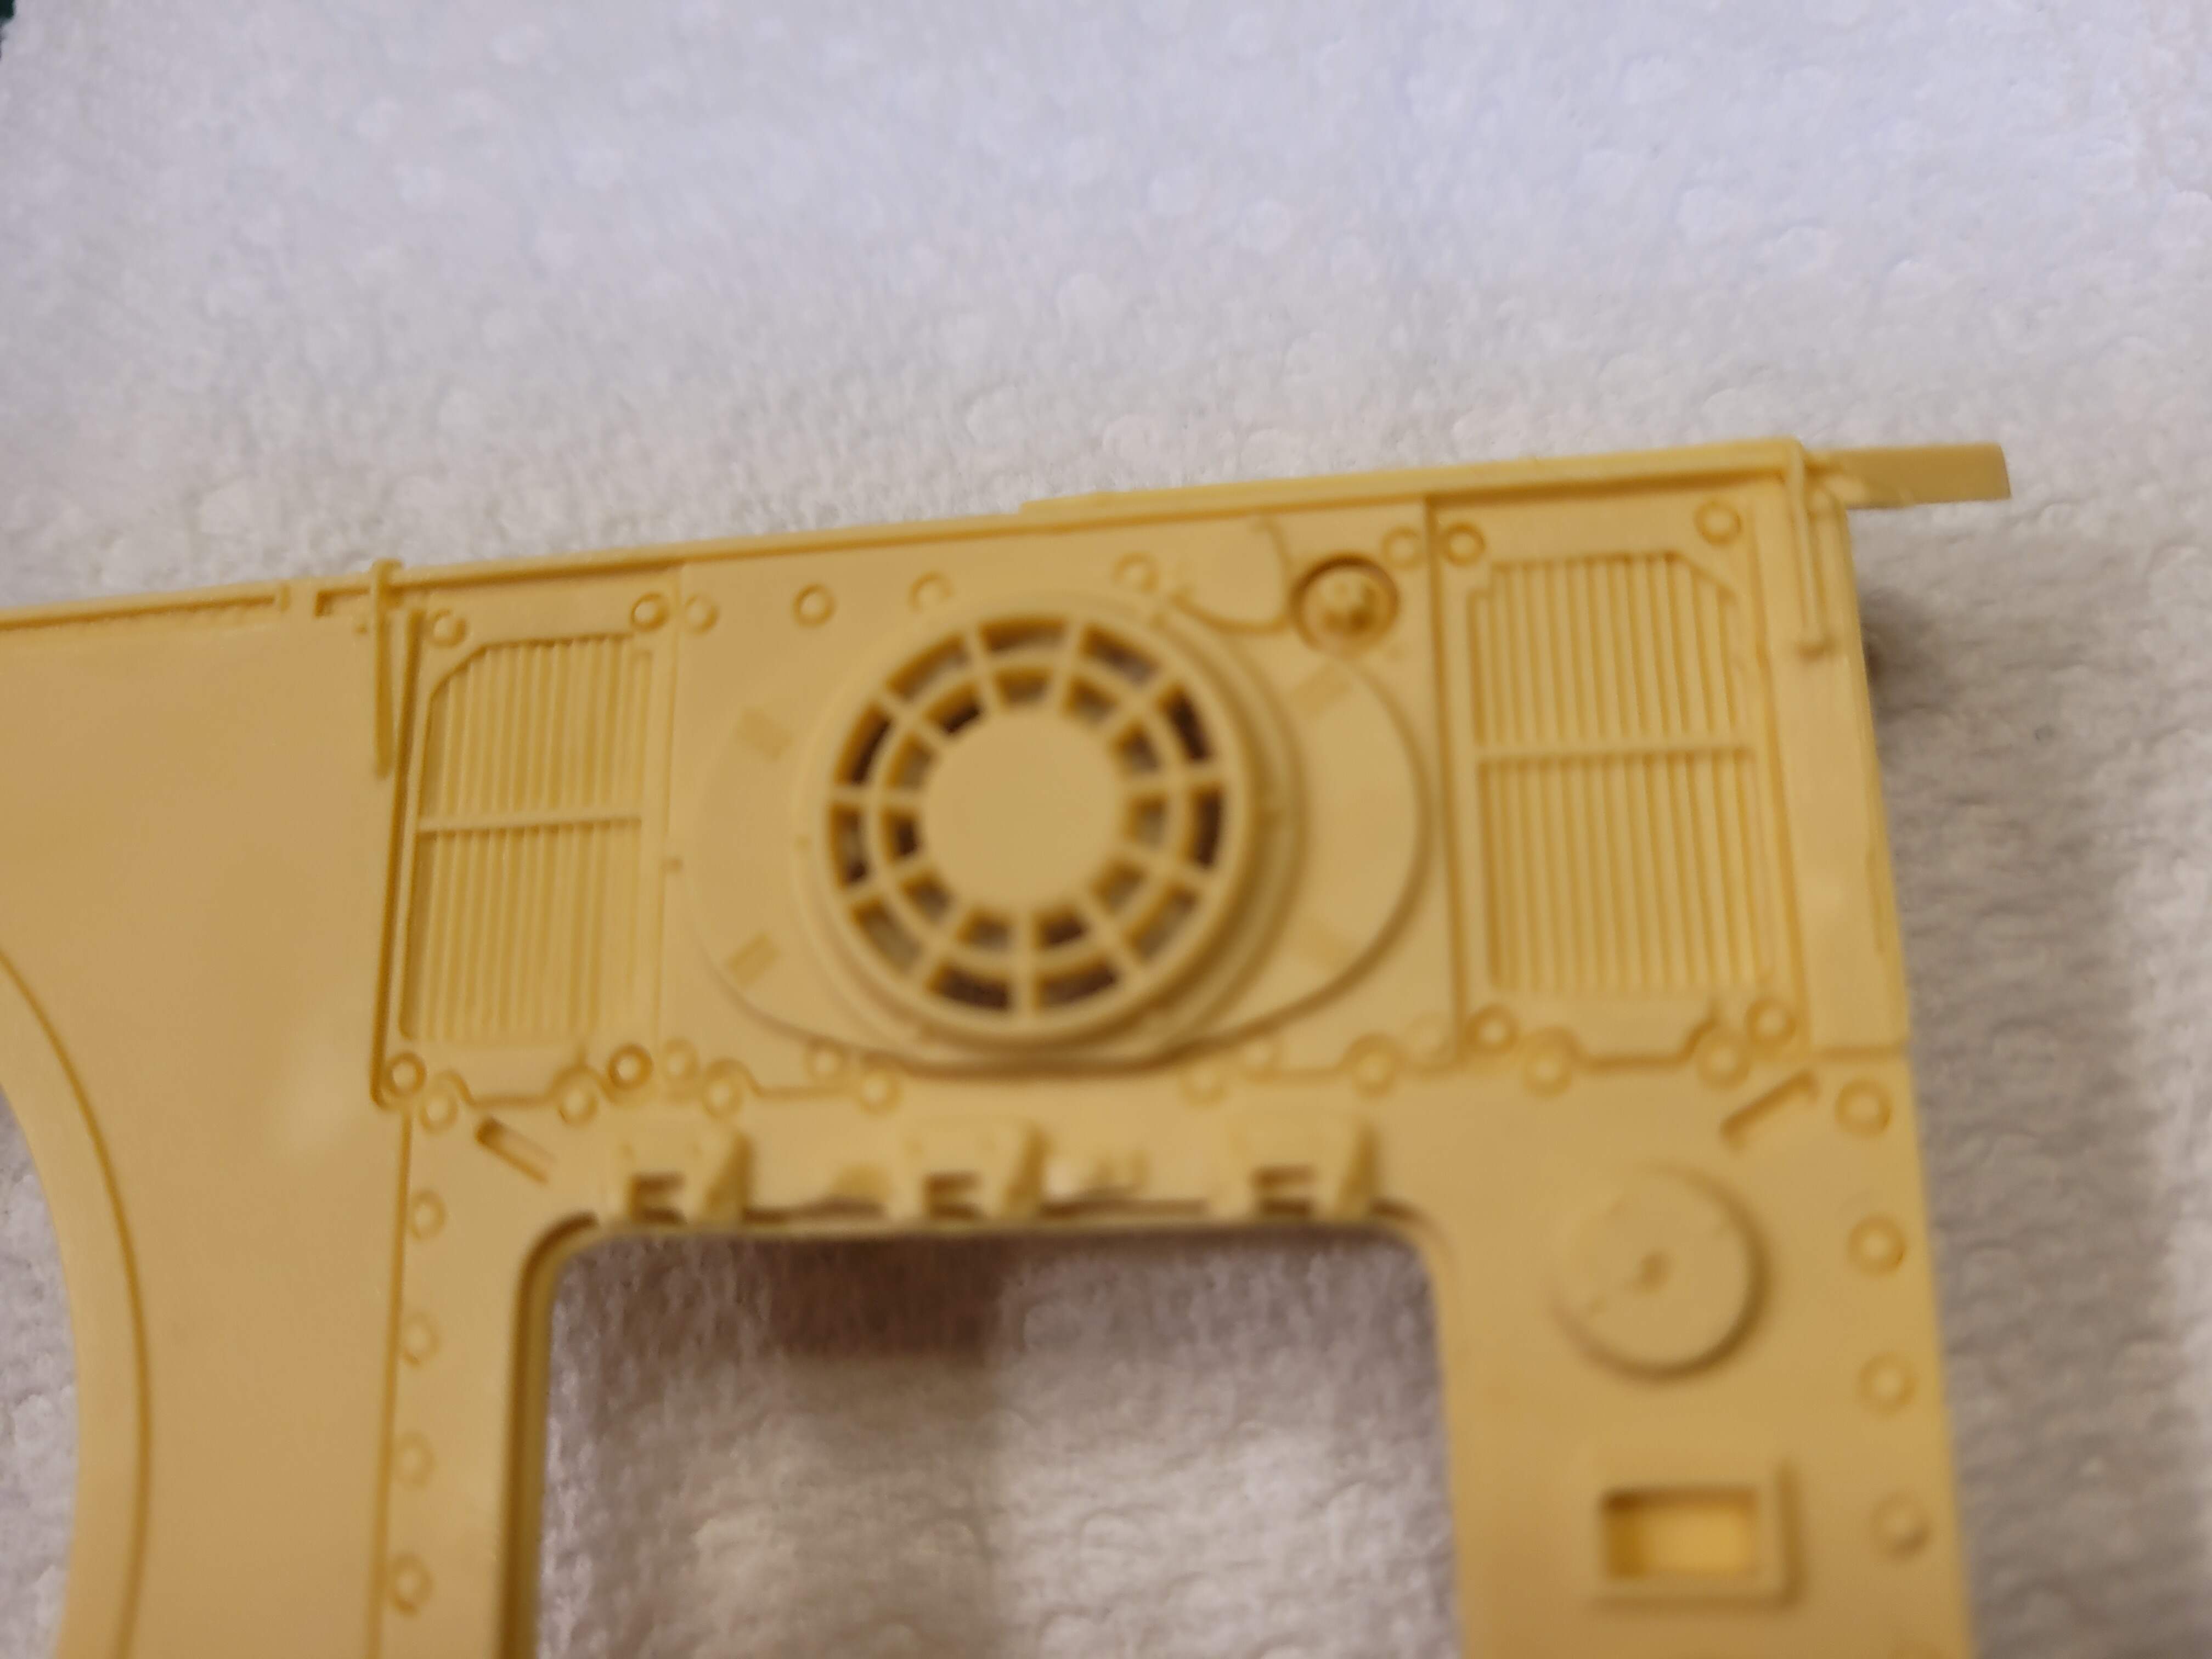
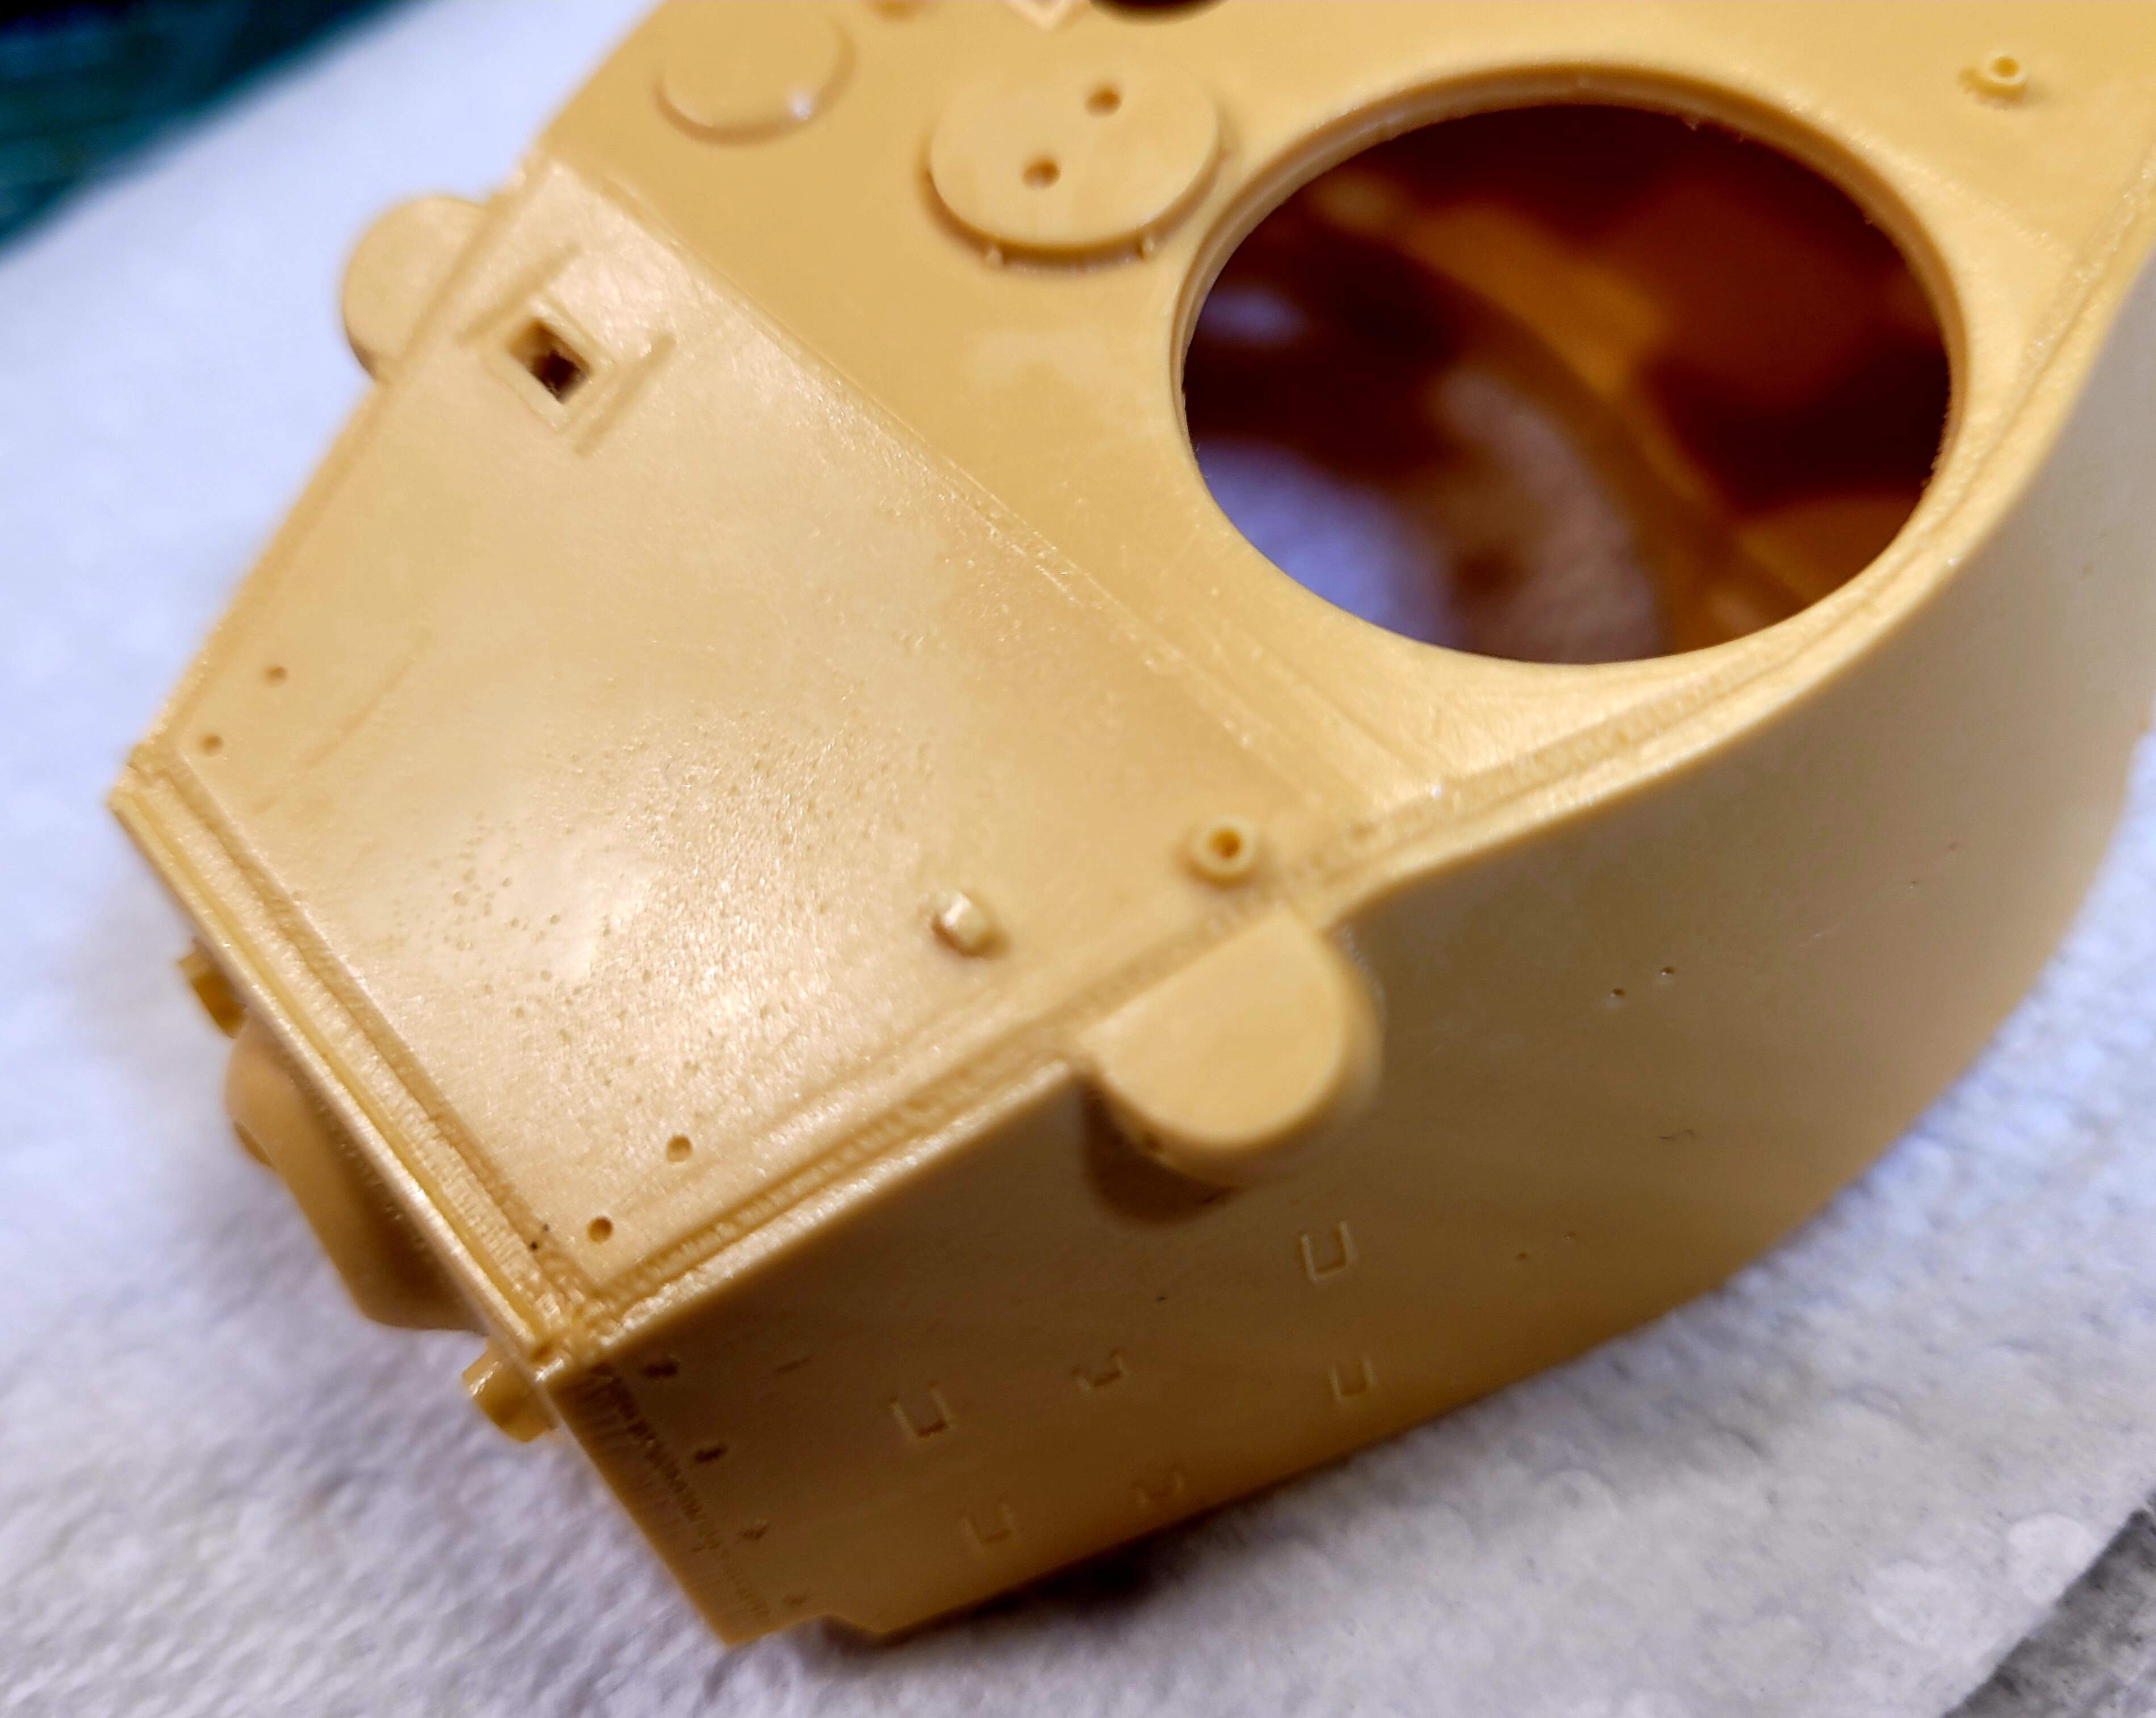
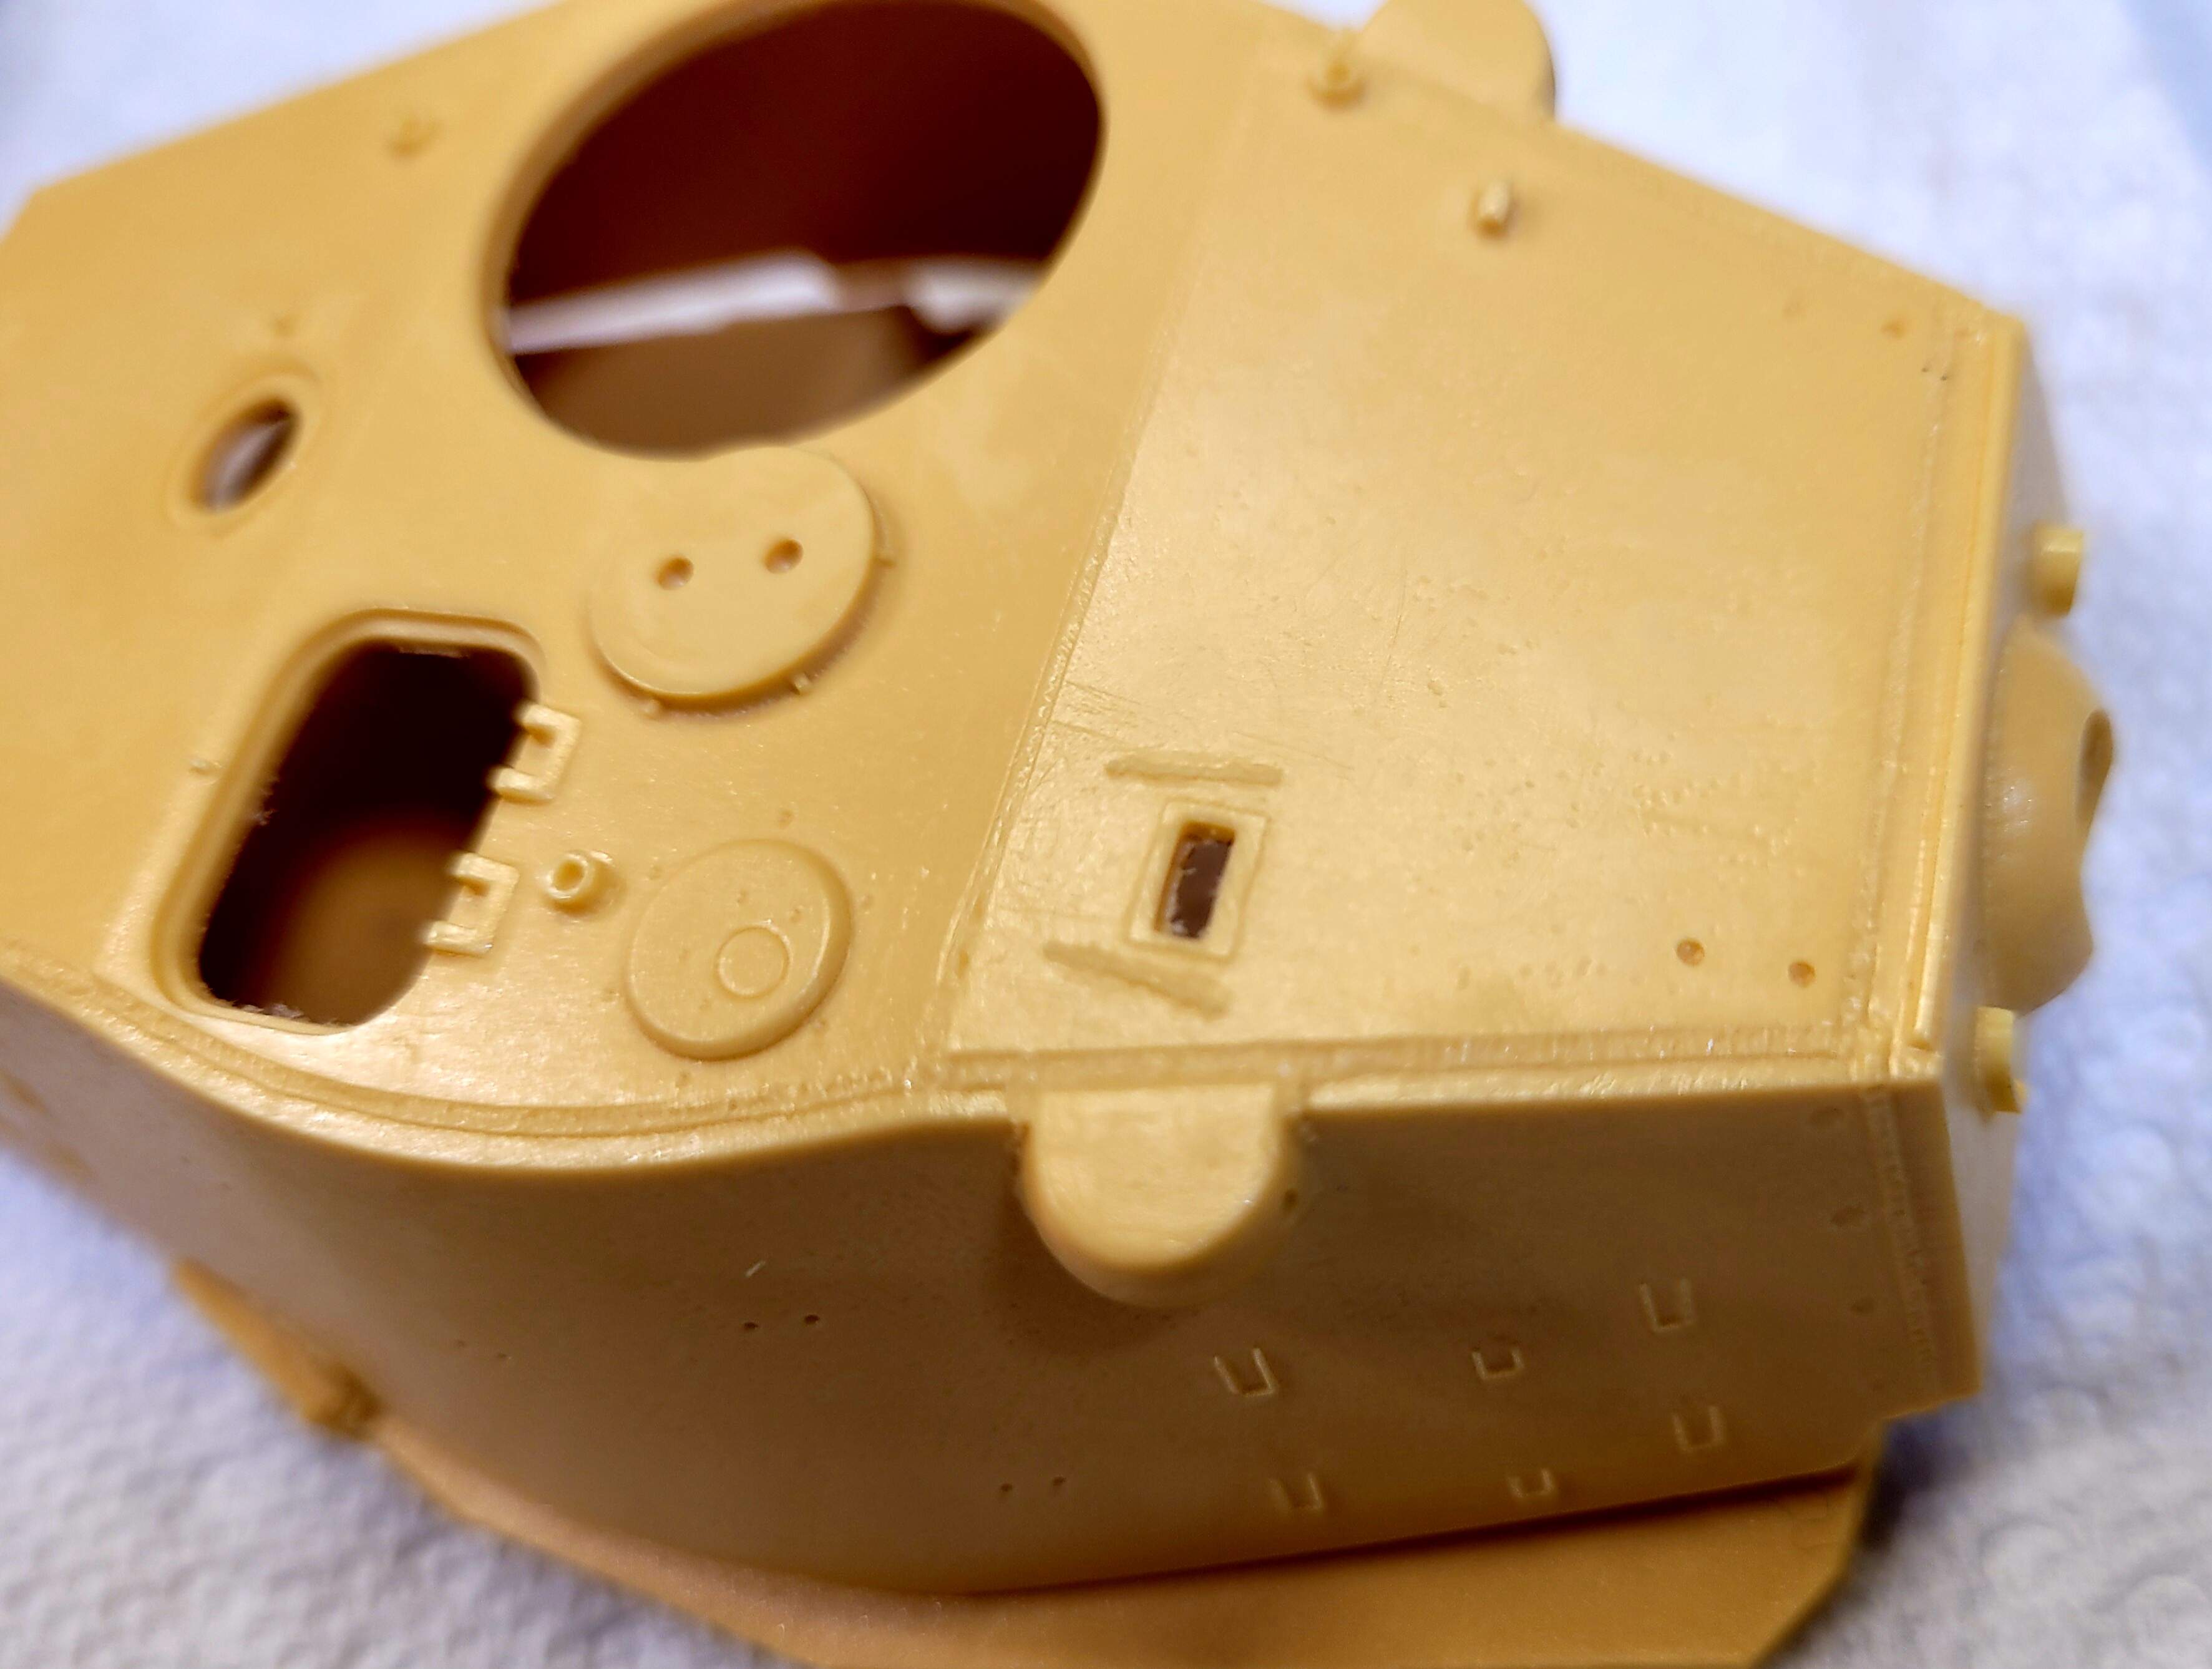
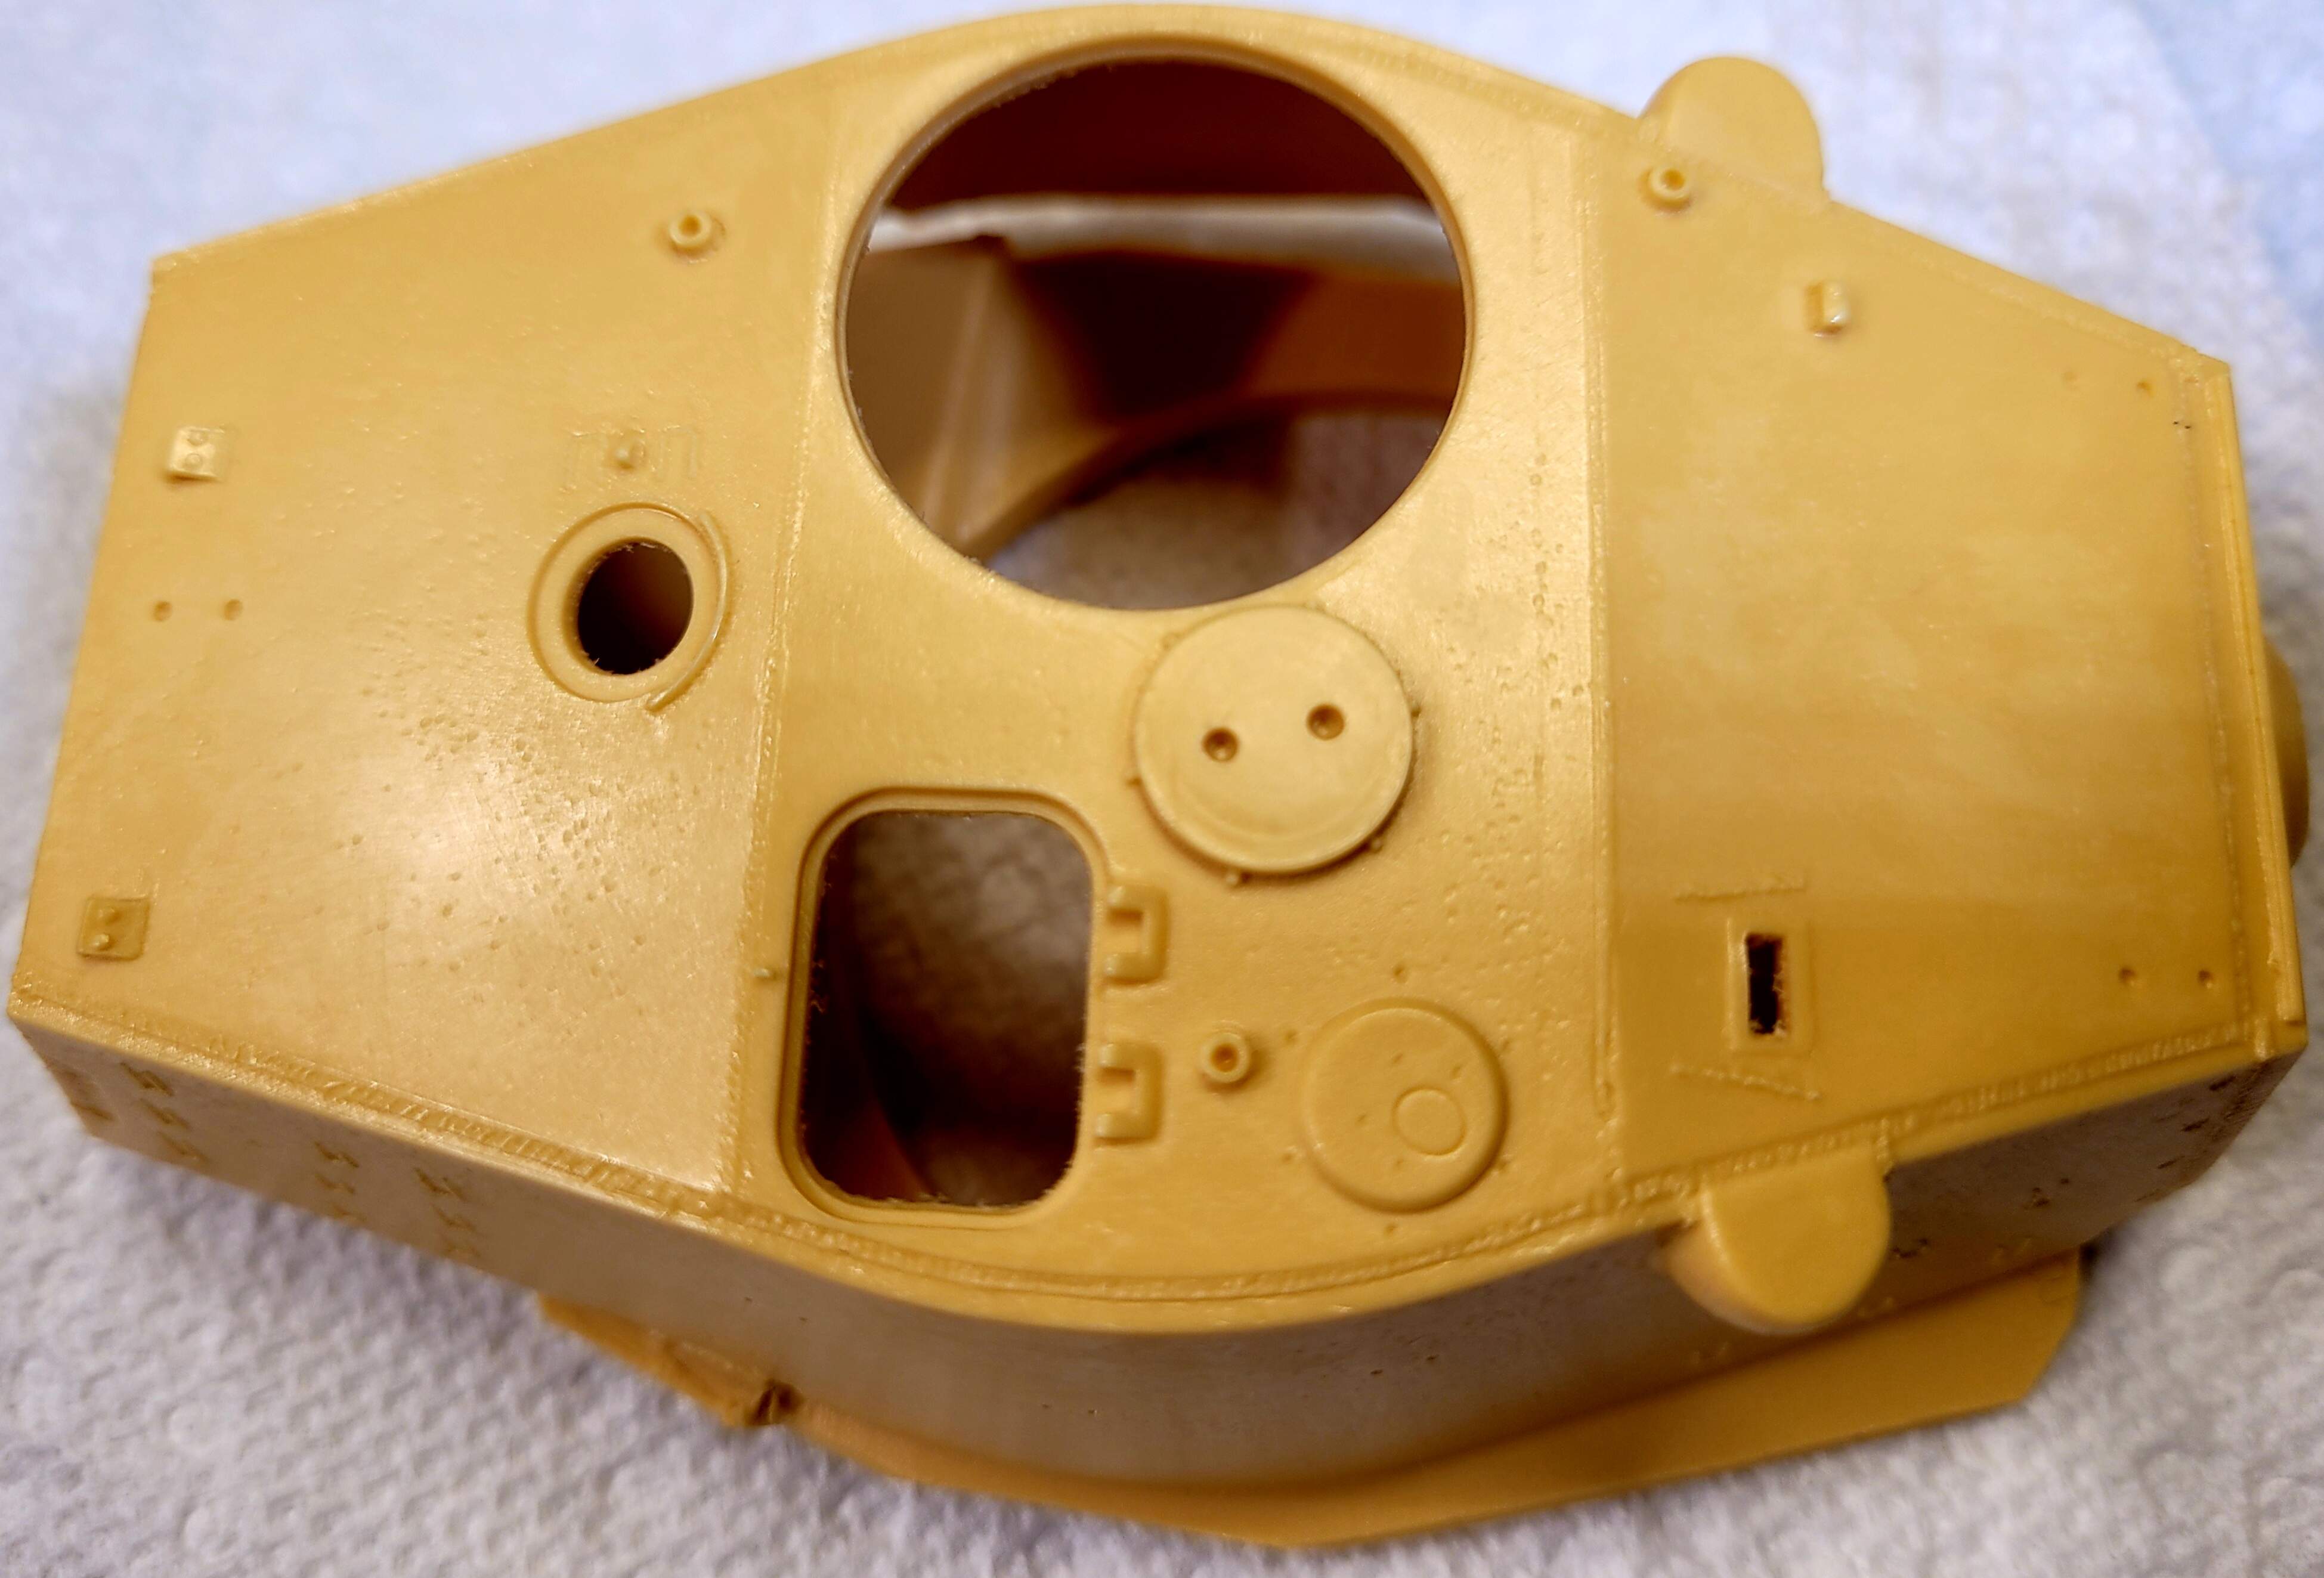
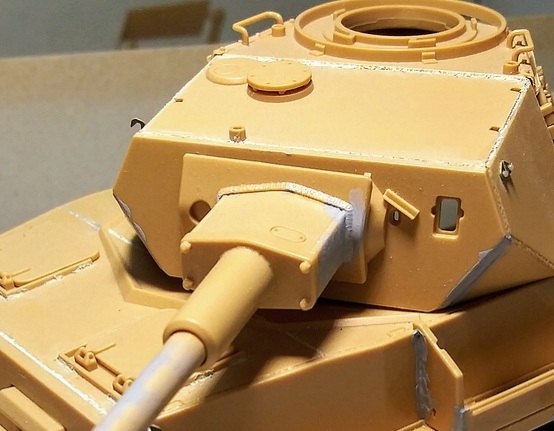
Later when in the hobby room I will snap a few pictures of the Chesapeake Model Designs - June/July 45 paper panzer turret for the King Tiger. Bill Miley, the owner was fantastic at getting these sorts of details correct on his aftermarket resin parts.
As for adding weld seams there are any excellent techniques.
1) Scribing with .1mm or .2mm or .3mm scribe as needed and filling the seam with epoxy putty works can work very well. Weld seam can be textured as desired. This is probably the best result method but it is also very unforgiving if you layout the weld seam wrong etc.
Night Shift - Epoxy Weld Seams
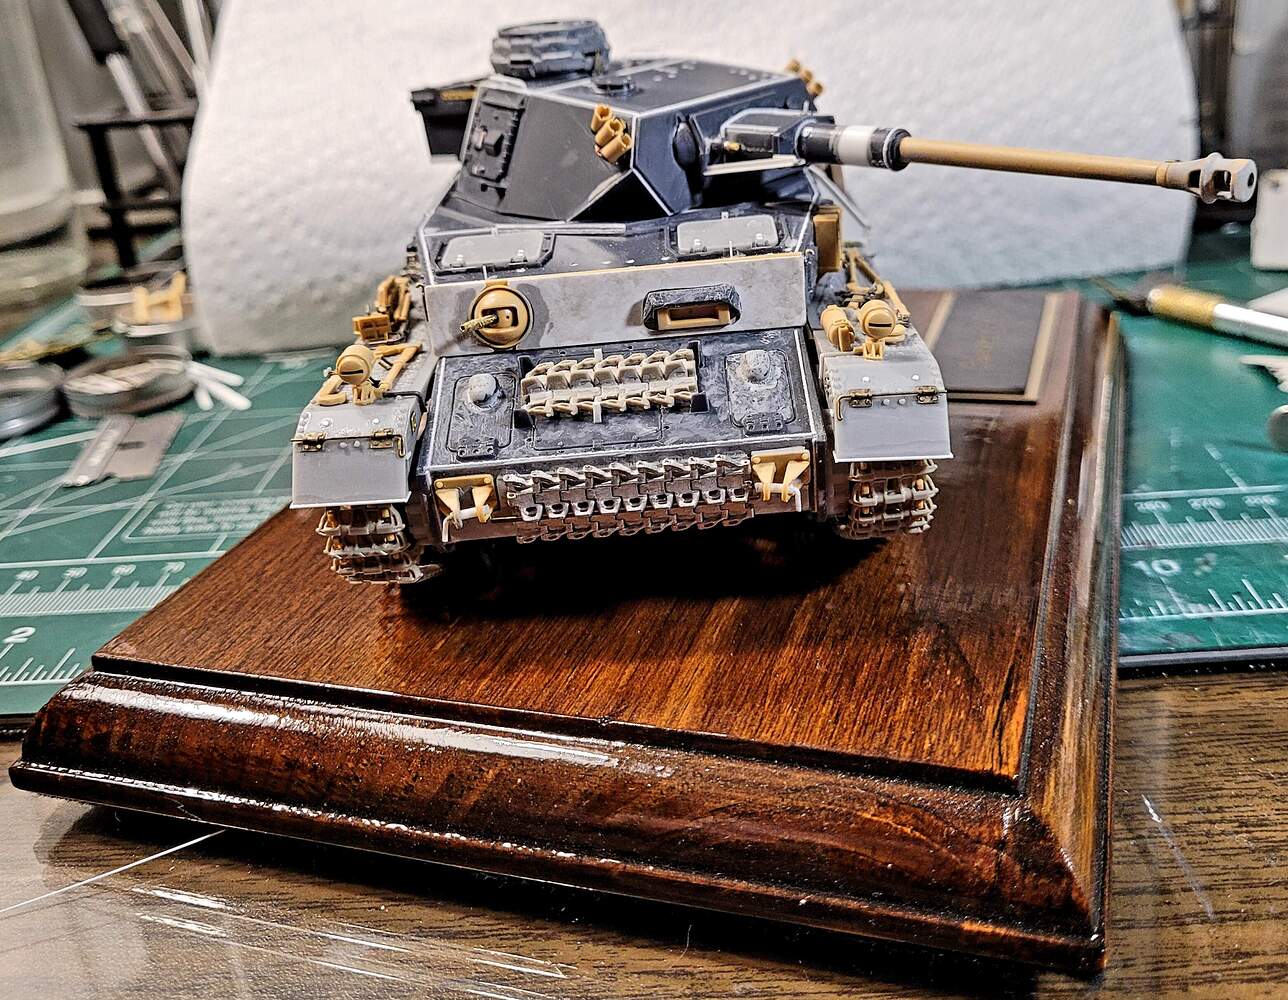
Here are a few welds in white I did back in 1994 on a Panzer IV J using the epoxy method.
2) Probably the best bang for the effort is flat styrene rod attached with Liquid Cement and after dried for 24 hours, textured with a #11 blade. Sprue also works but harder to keep consistent for a lot of welds. Best of all one can lay out the strip and make sure it is,correctly aligned before gluing in place. If it’s off a little one can bump the rod over slightly with extreme care to get alignment correct.
I used .010 square Plastistruct rod for the white welds on this old Italeri Pz IV G and textured with #11 blade.
3) Archer makes a resin printed Weld seam set can can be applied like decals or dry transfer as needed. They look OK when painted etc.
Archer - Welds
4) Small Weld can be made with a trace of thinned putty (Tamiya Basic or Molak Stucco Putty). After dry the putty can be dampened slightly with LC and textured with a #11 blade.
The grey weld on the rear of that old 1994 Pz IV J was done with Molak Stucco Putty, Testor’s Liquid Cement & 11# blade.
There are other techniques etc and I’m sure they work well too.
My favorite is flat styrene rod & Molak Stucco Putty. For big welds, I will scribe and Milliput epoxy putty or rare occasions.
I’m starting to replicate weld seams a bit more now. for whatever reason I found the styrene rod/liquid glue/score method not as easy to get the results I wanted. I’ve instead use the styrene rod but work it down with a Dremel Engraver, I use the same motion of ‘coin stacking’ that I was taught years ago when I dabbled in stick welding, in the tighter corners I revert back to the glue. Either way the results are satisfying to me. That works on long runs and straight narrow weld beads, for larger areas I’ll explore the putty method that he described above (think larger puzzle weld seams on some German armor). Welding is messy so I think you cant go wrong with all the various methods, find the one that feels good to you but its worth the effort as older armor certainly had prominent weld seams that need to be accented and ‘toughened up’.
Late 1990’s at the AMPS show in Harve de Grace, MD this kit debuted. Tread-Heads were stunned by Chesapeake Model Design’s clean and nicely cast July 45 King Tiger conversion. Billy Miley really nailed quality & state of the art accuracy back in the day.
At the time, I hated resin in general after tangling with nightmare AEF Designs worthless junk. However, the CMD kit was most impressive! So I bought one:)
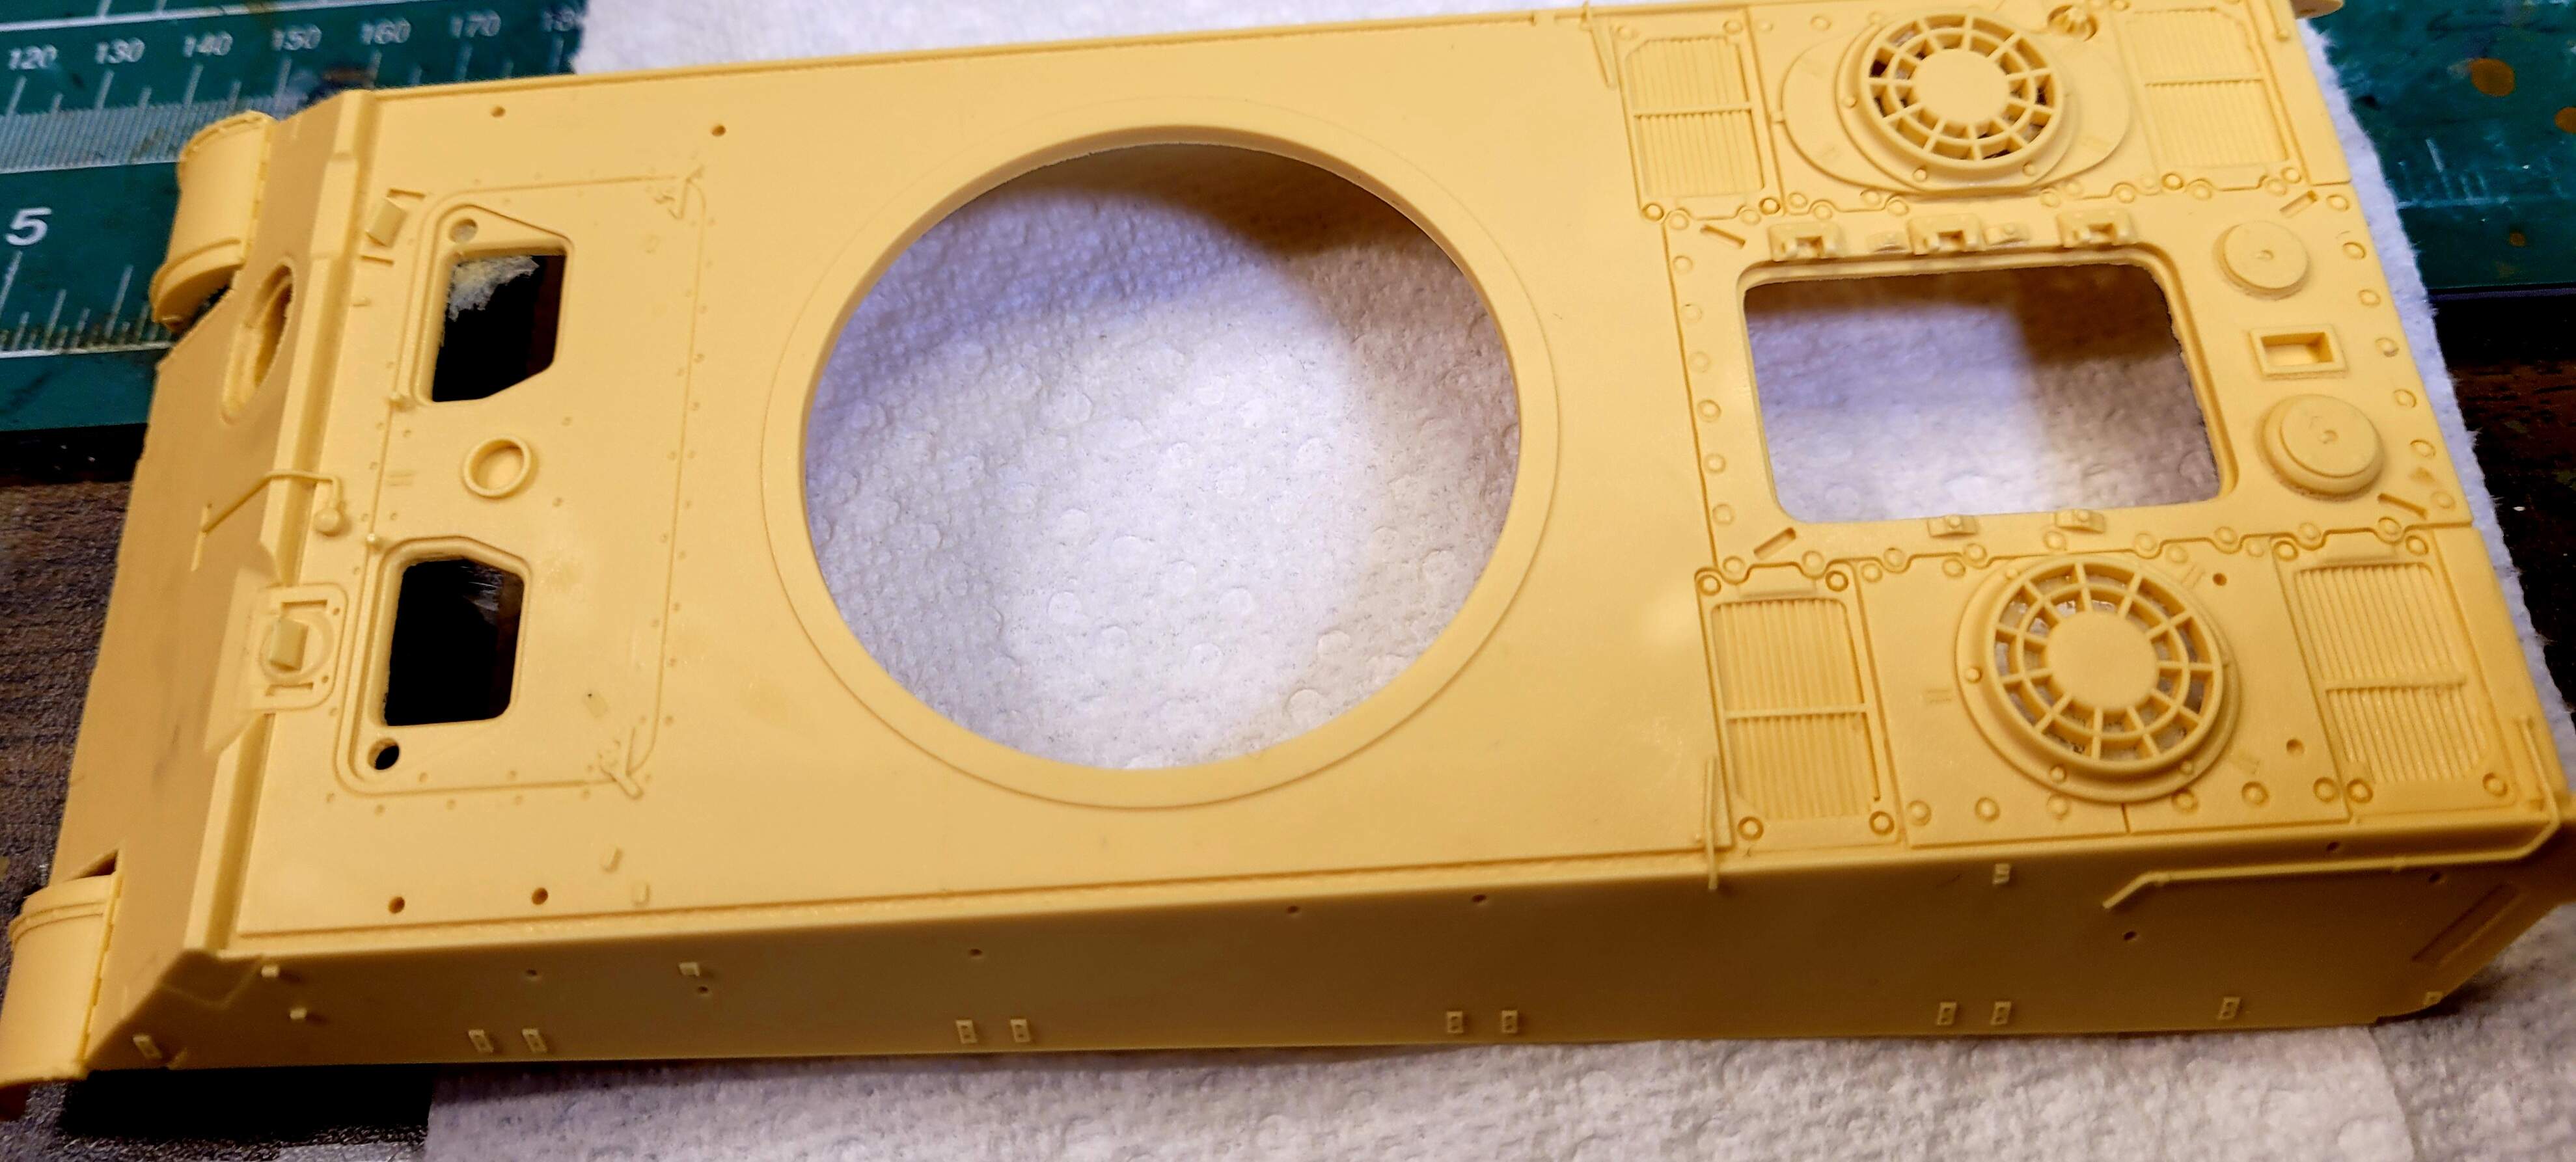
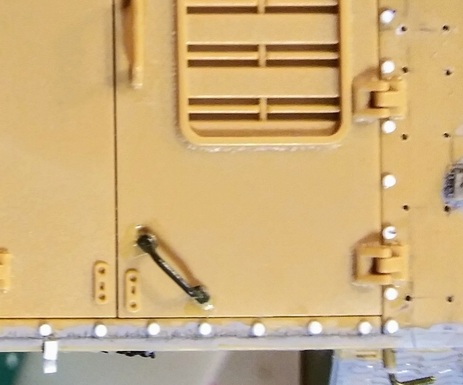
July hull had a fair number of differences planned from a production King Tiger. Hull hatch transmission area, cooling vents & three hinges on engine cover plus other stuff etc.
Note Pilzen etc
Really need to build this bad boy sometime…
Hope that’s helpful or at least interesting to take a look at.