Yes i believe mr surfacer is the same brand. Isopropyl alcohol is usually used for cleaning cuts and stuff like that. Any pharmacy/drug store should have it but it can be tricky to find during covid.
Any model putty will work to fill seams and gaps but some take more sanding than others
Mr.Surfacer 500 can also be cleaned with acetone- AMOF I’ve never used anything else to clean and swipe it away.
I’m sure it will be hard with IPA now as it is the main ingredient in all desinfection products (my source of IPA has out of stock since January last year).
DIY stores are offering a 3% water solution of acetone, that will also do the job.
The only precaution here is to first try on a sprue of the kit whether the solution is not melting the plastic- it only happened once to me with a Trumpeter’s Hetzer Starr kit, but it happened.
HTH!
Nice job on the tires, BTW!
Cheers,
Angel
Thanks for the replies so fast.
Here is my latest work I have done on the project:
I have attached the exhausts.
I think they have turned out nicely, you may not see that much of it.
But I did remove seamlines or moldlines, what you call them?
From the entire exhaust part and pin marks as well.
Since I thought that it wouldn’t be that interesting or practical to make pictures of the exhausts themselves.
I didn’t make photo’s when I did finish that step.
Instead I decided to make a photo of the attached exhausts in the next step directly following on that step.
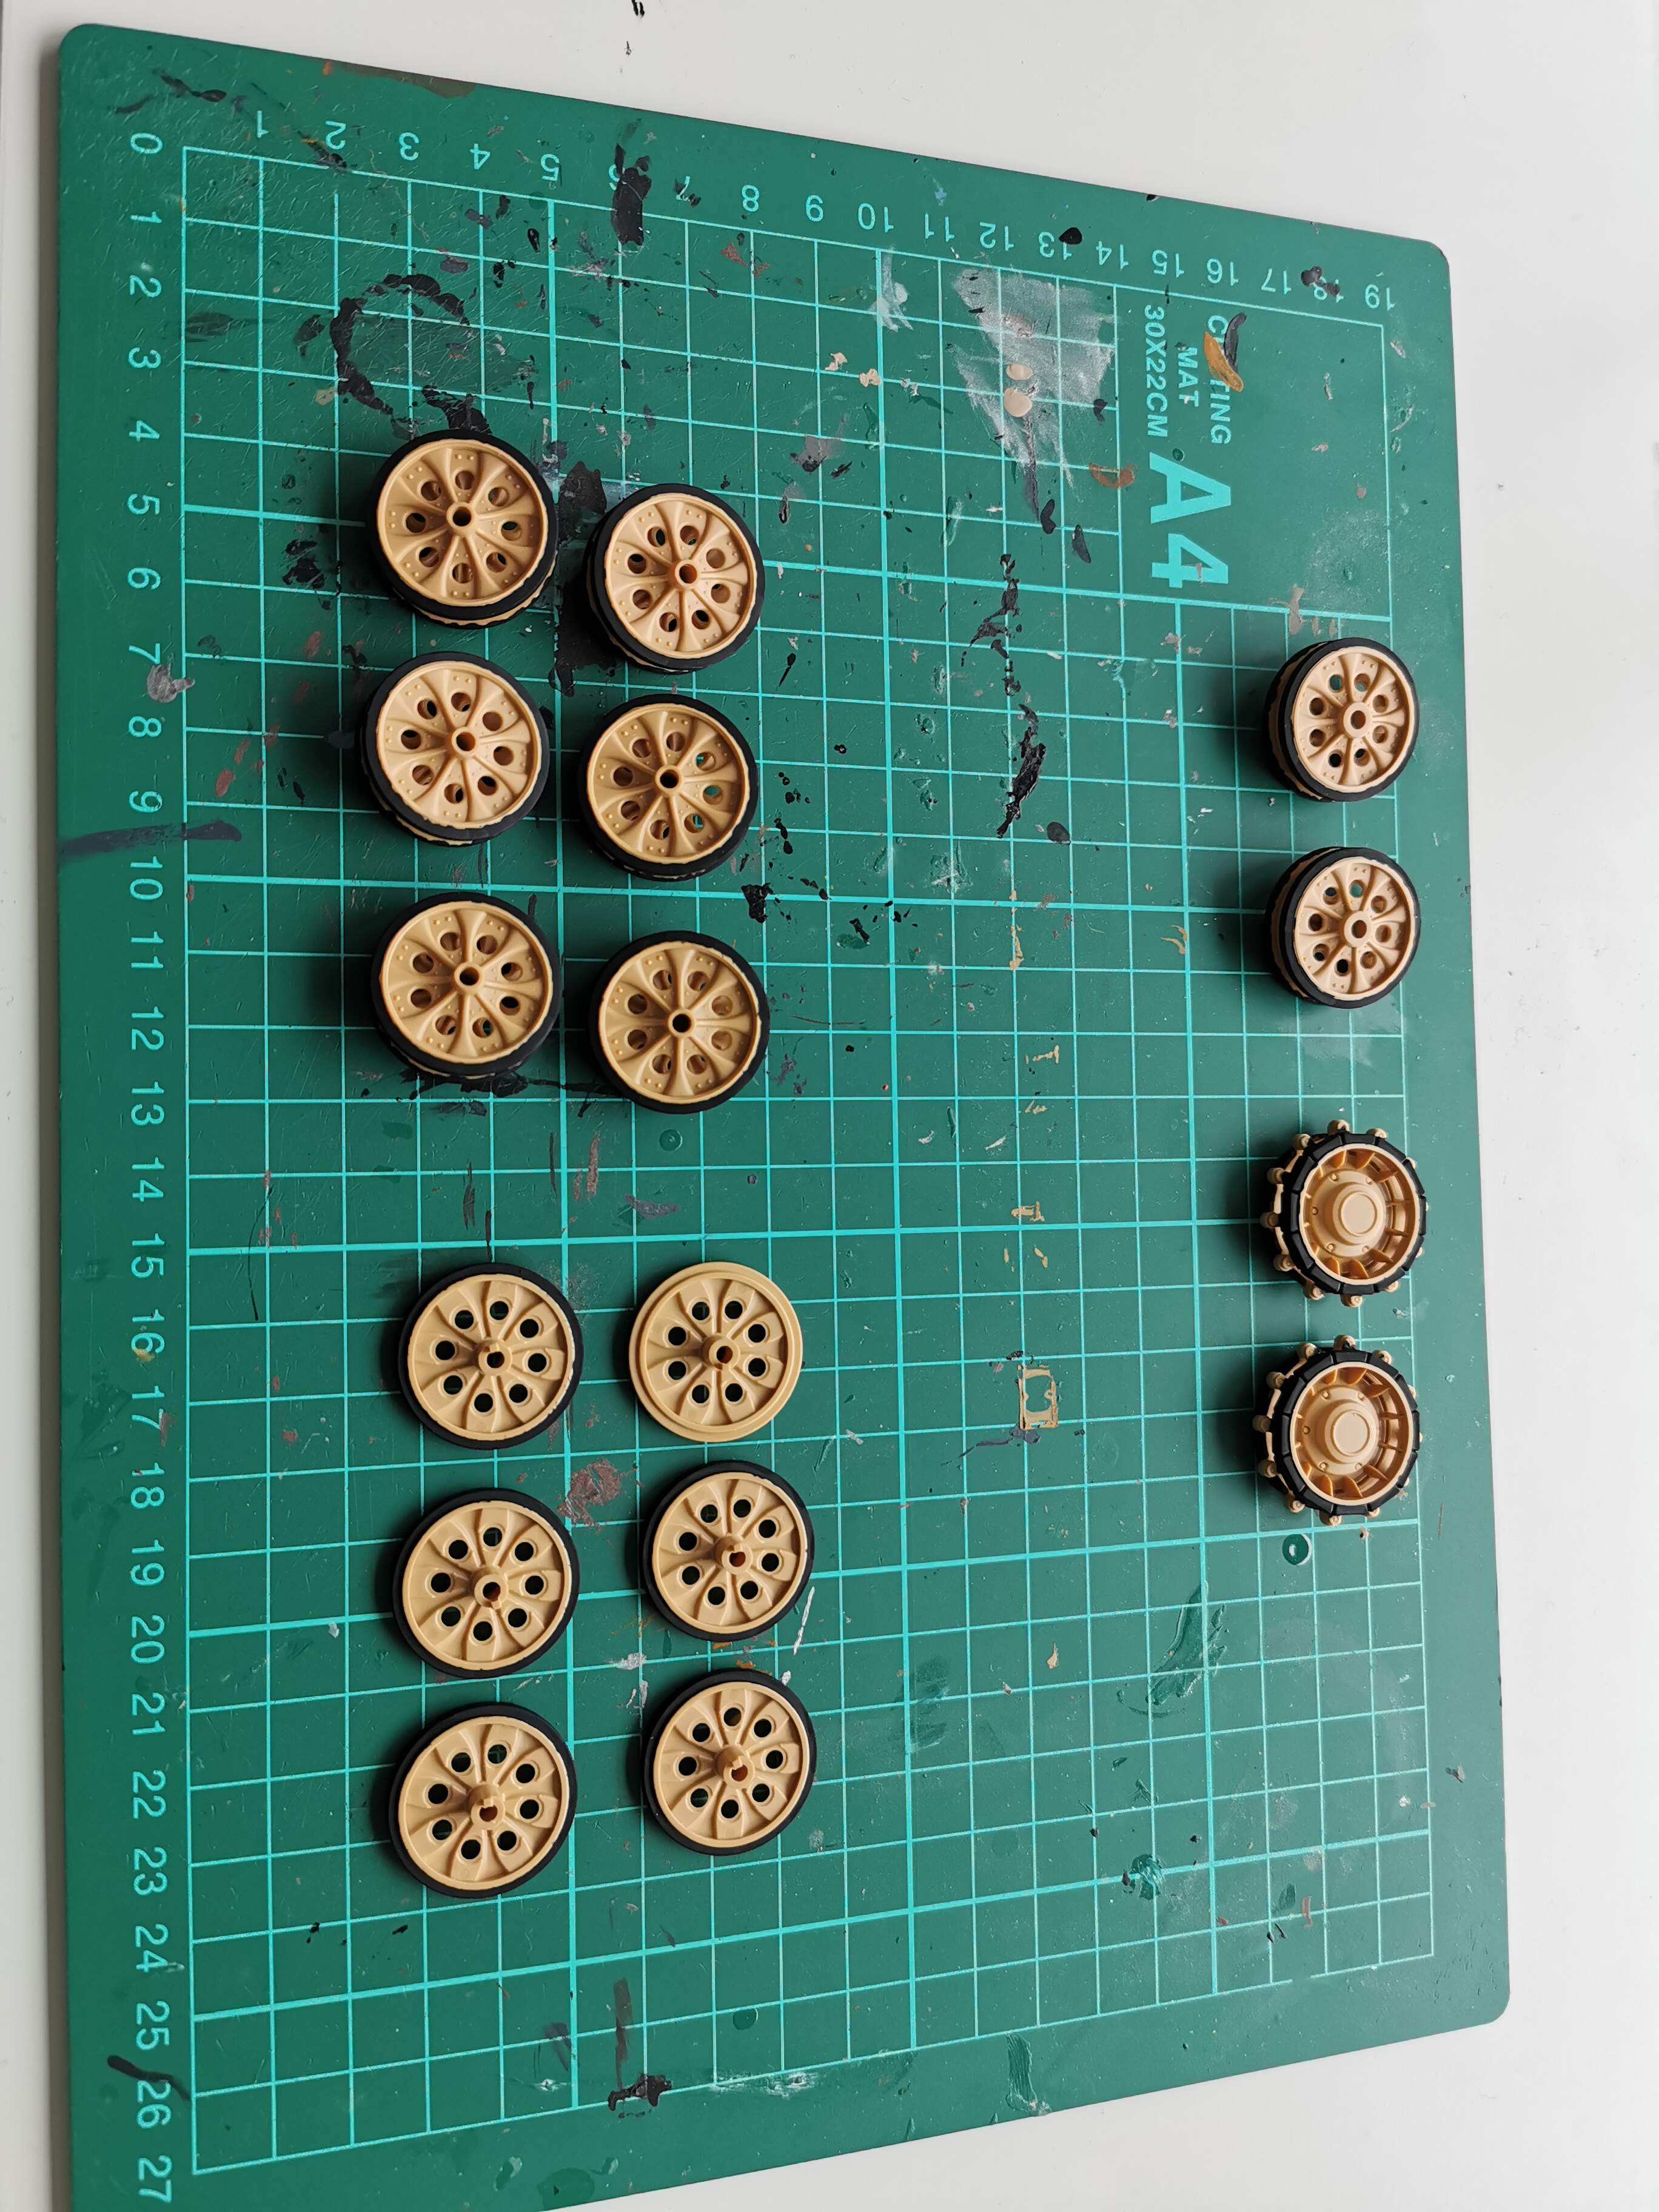
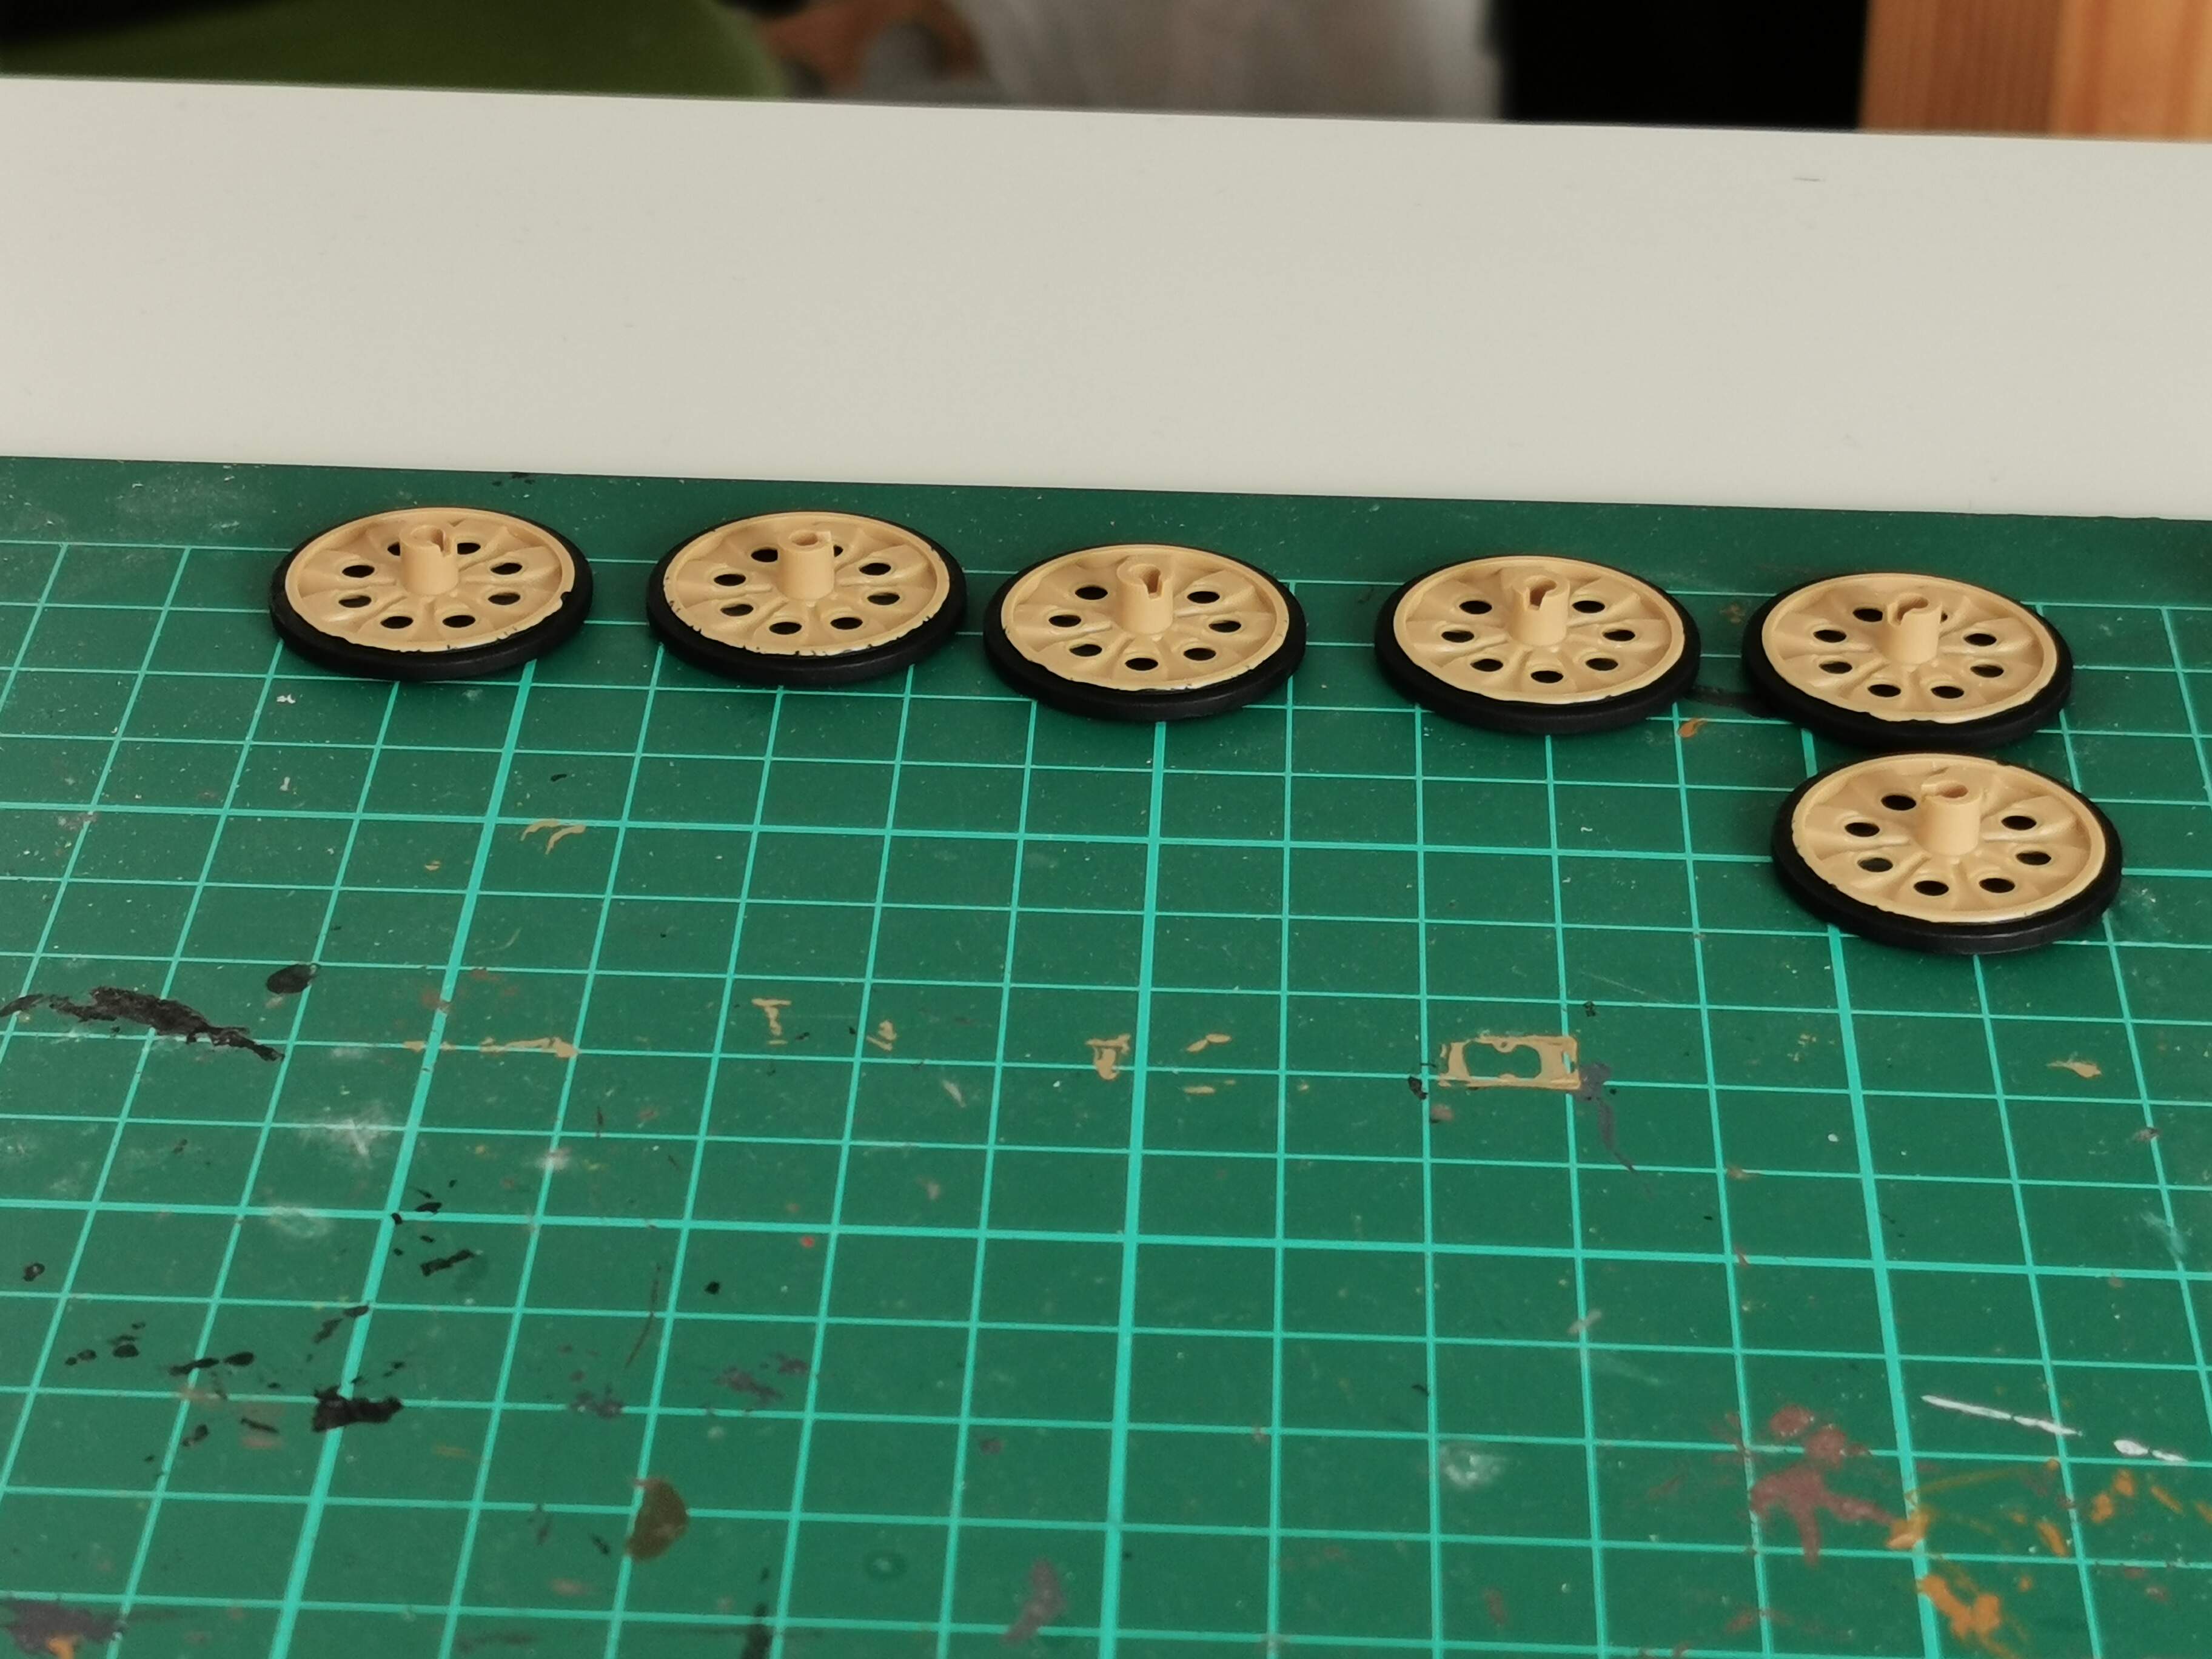
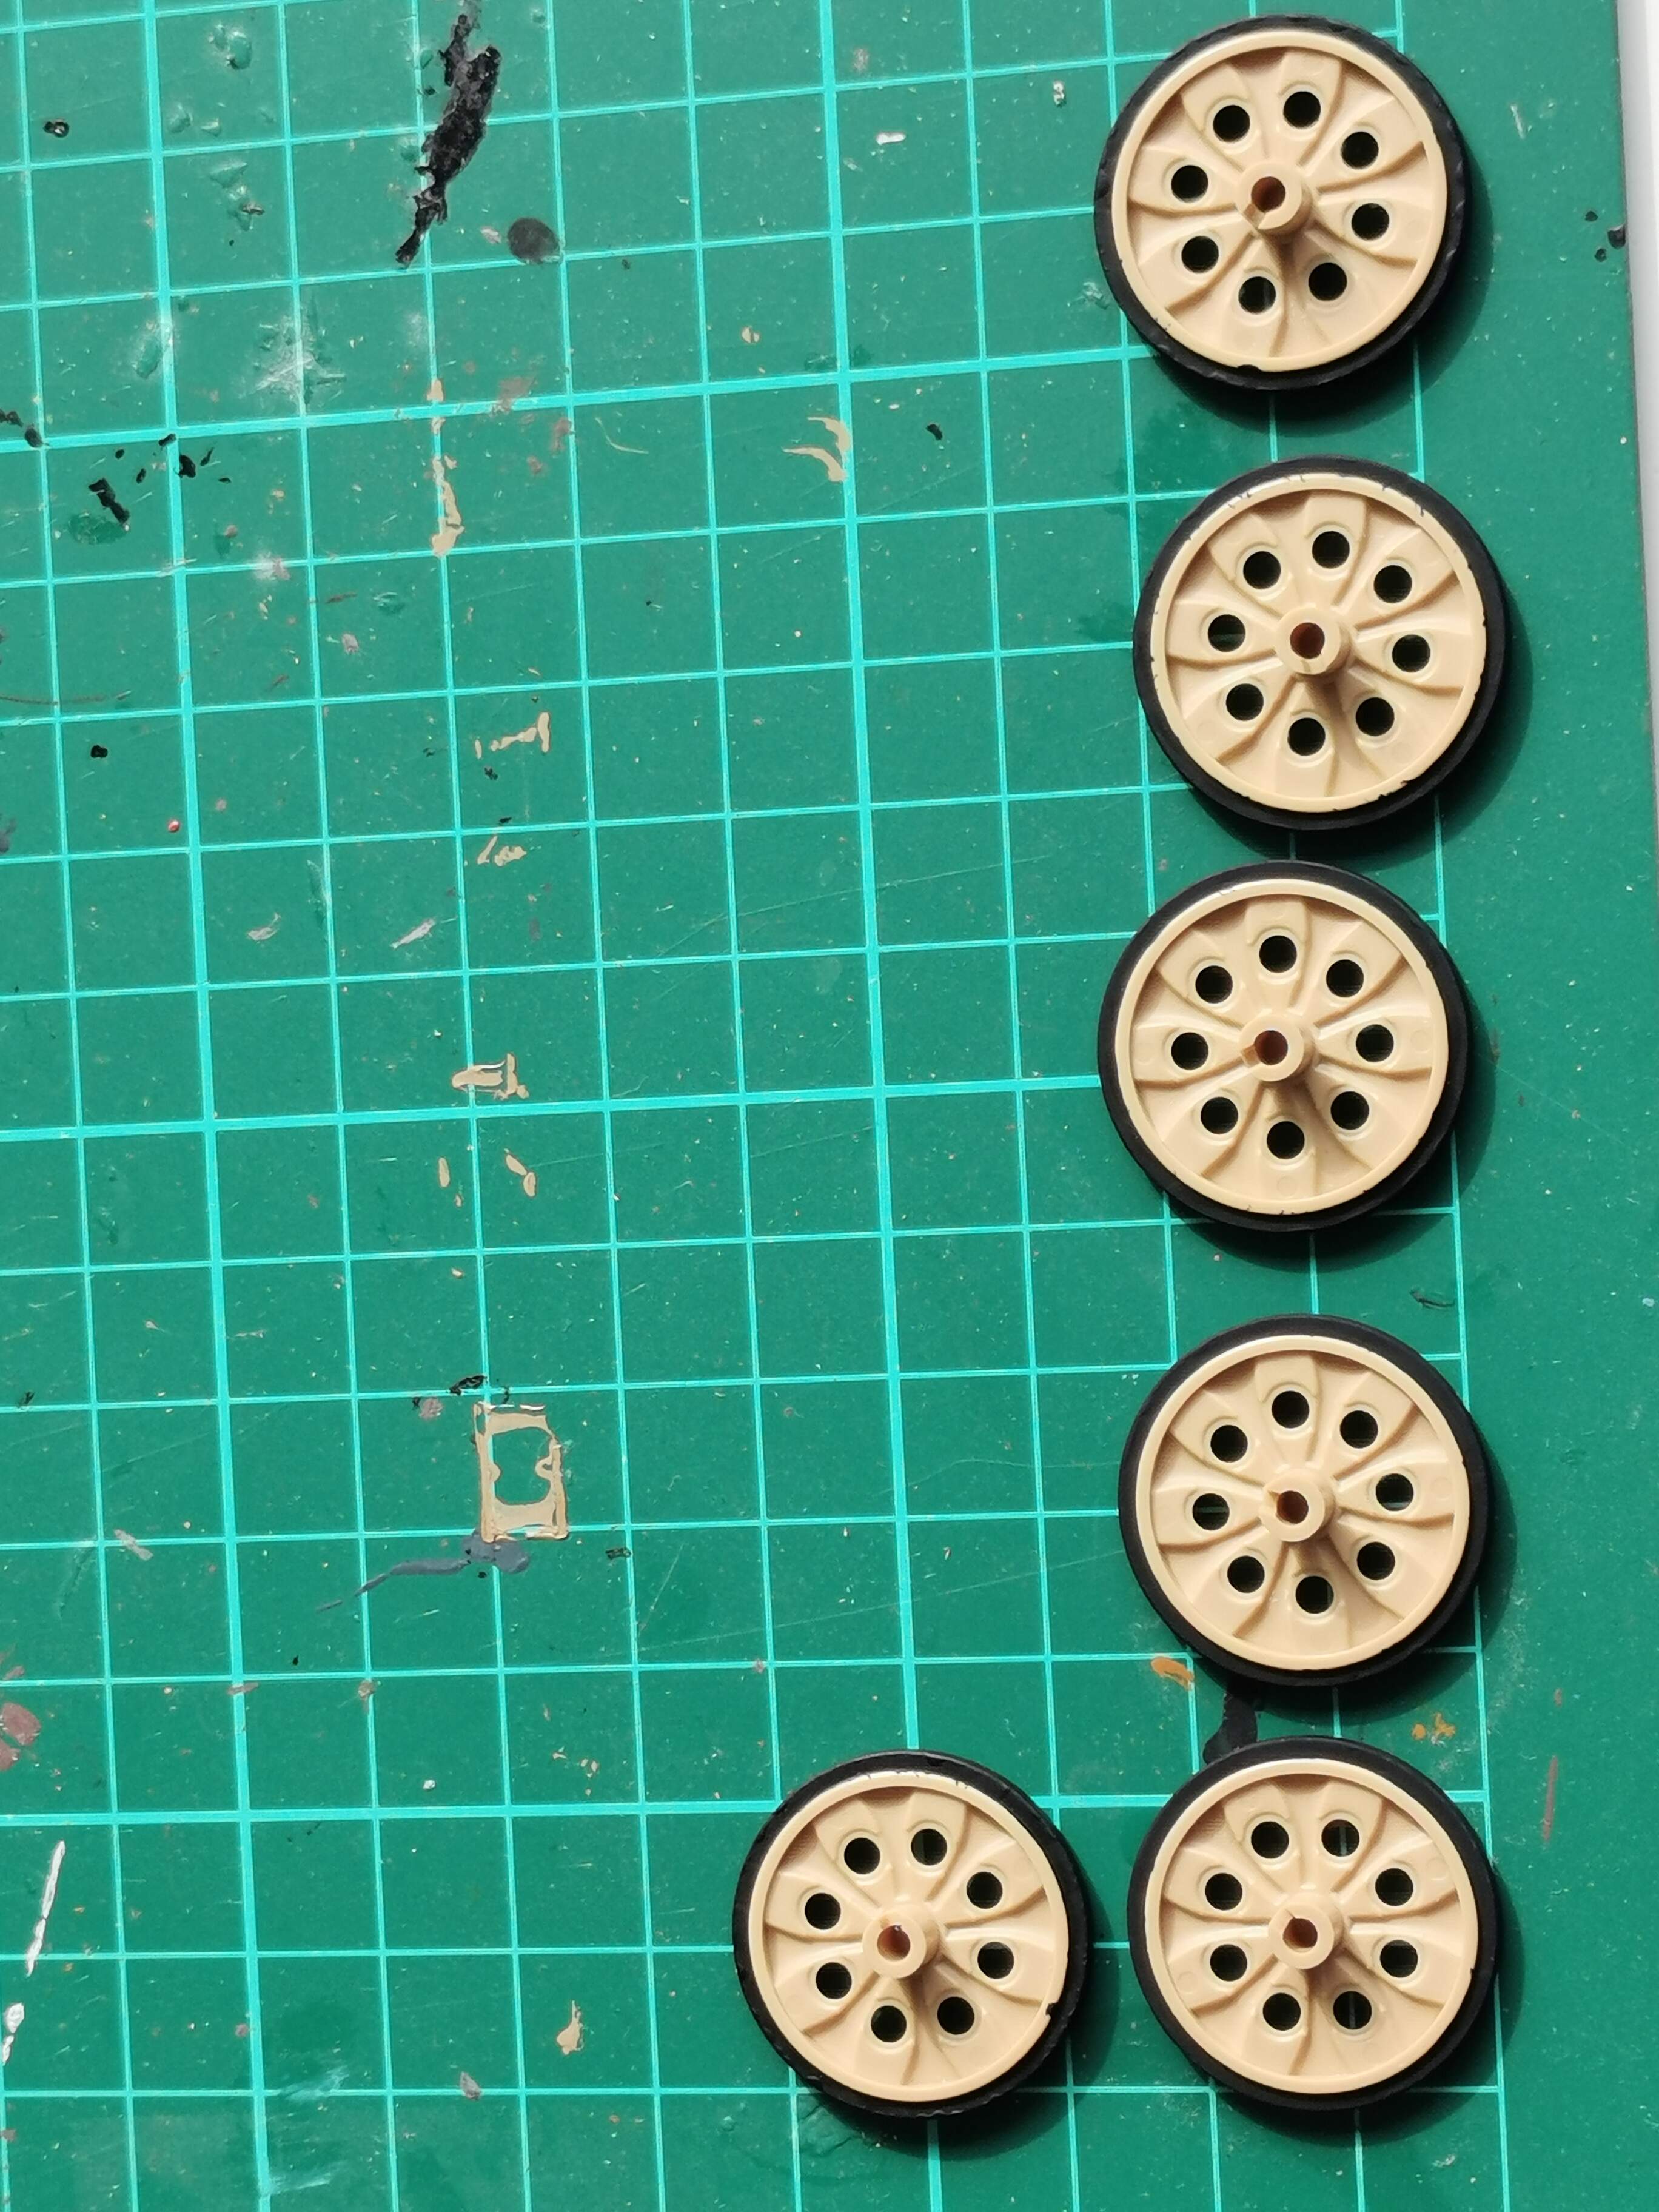
I have also painted the wheels you see on the right.
One wheel is not fully painted, because I forgot to sand them to make them smooth where I did cut the wheel of the sprue.
Rest of the wheels are fully painted and are now drying ready next time to get attached to the model.
The step whith attaching the exhausts was also the step where I would attach all the wheels you see on this cutting mat.
But as I needed to paint the other wheels on the right you are seeing.
I couldn’t attach them to the chassis.
As I thought it would be smarter to wait till all the wheels were painted and ready for attaching to the chassis.
And to only attach the exhausts to the chassis as showed in the photo above.
Of course, constructive feedback and compliments are welcome. Feel free to reply.
5 Likes
I’m finally able to post some of my progress I have made so far.
I’m sorry I couldn’t post earlier.
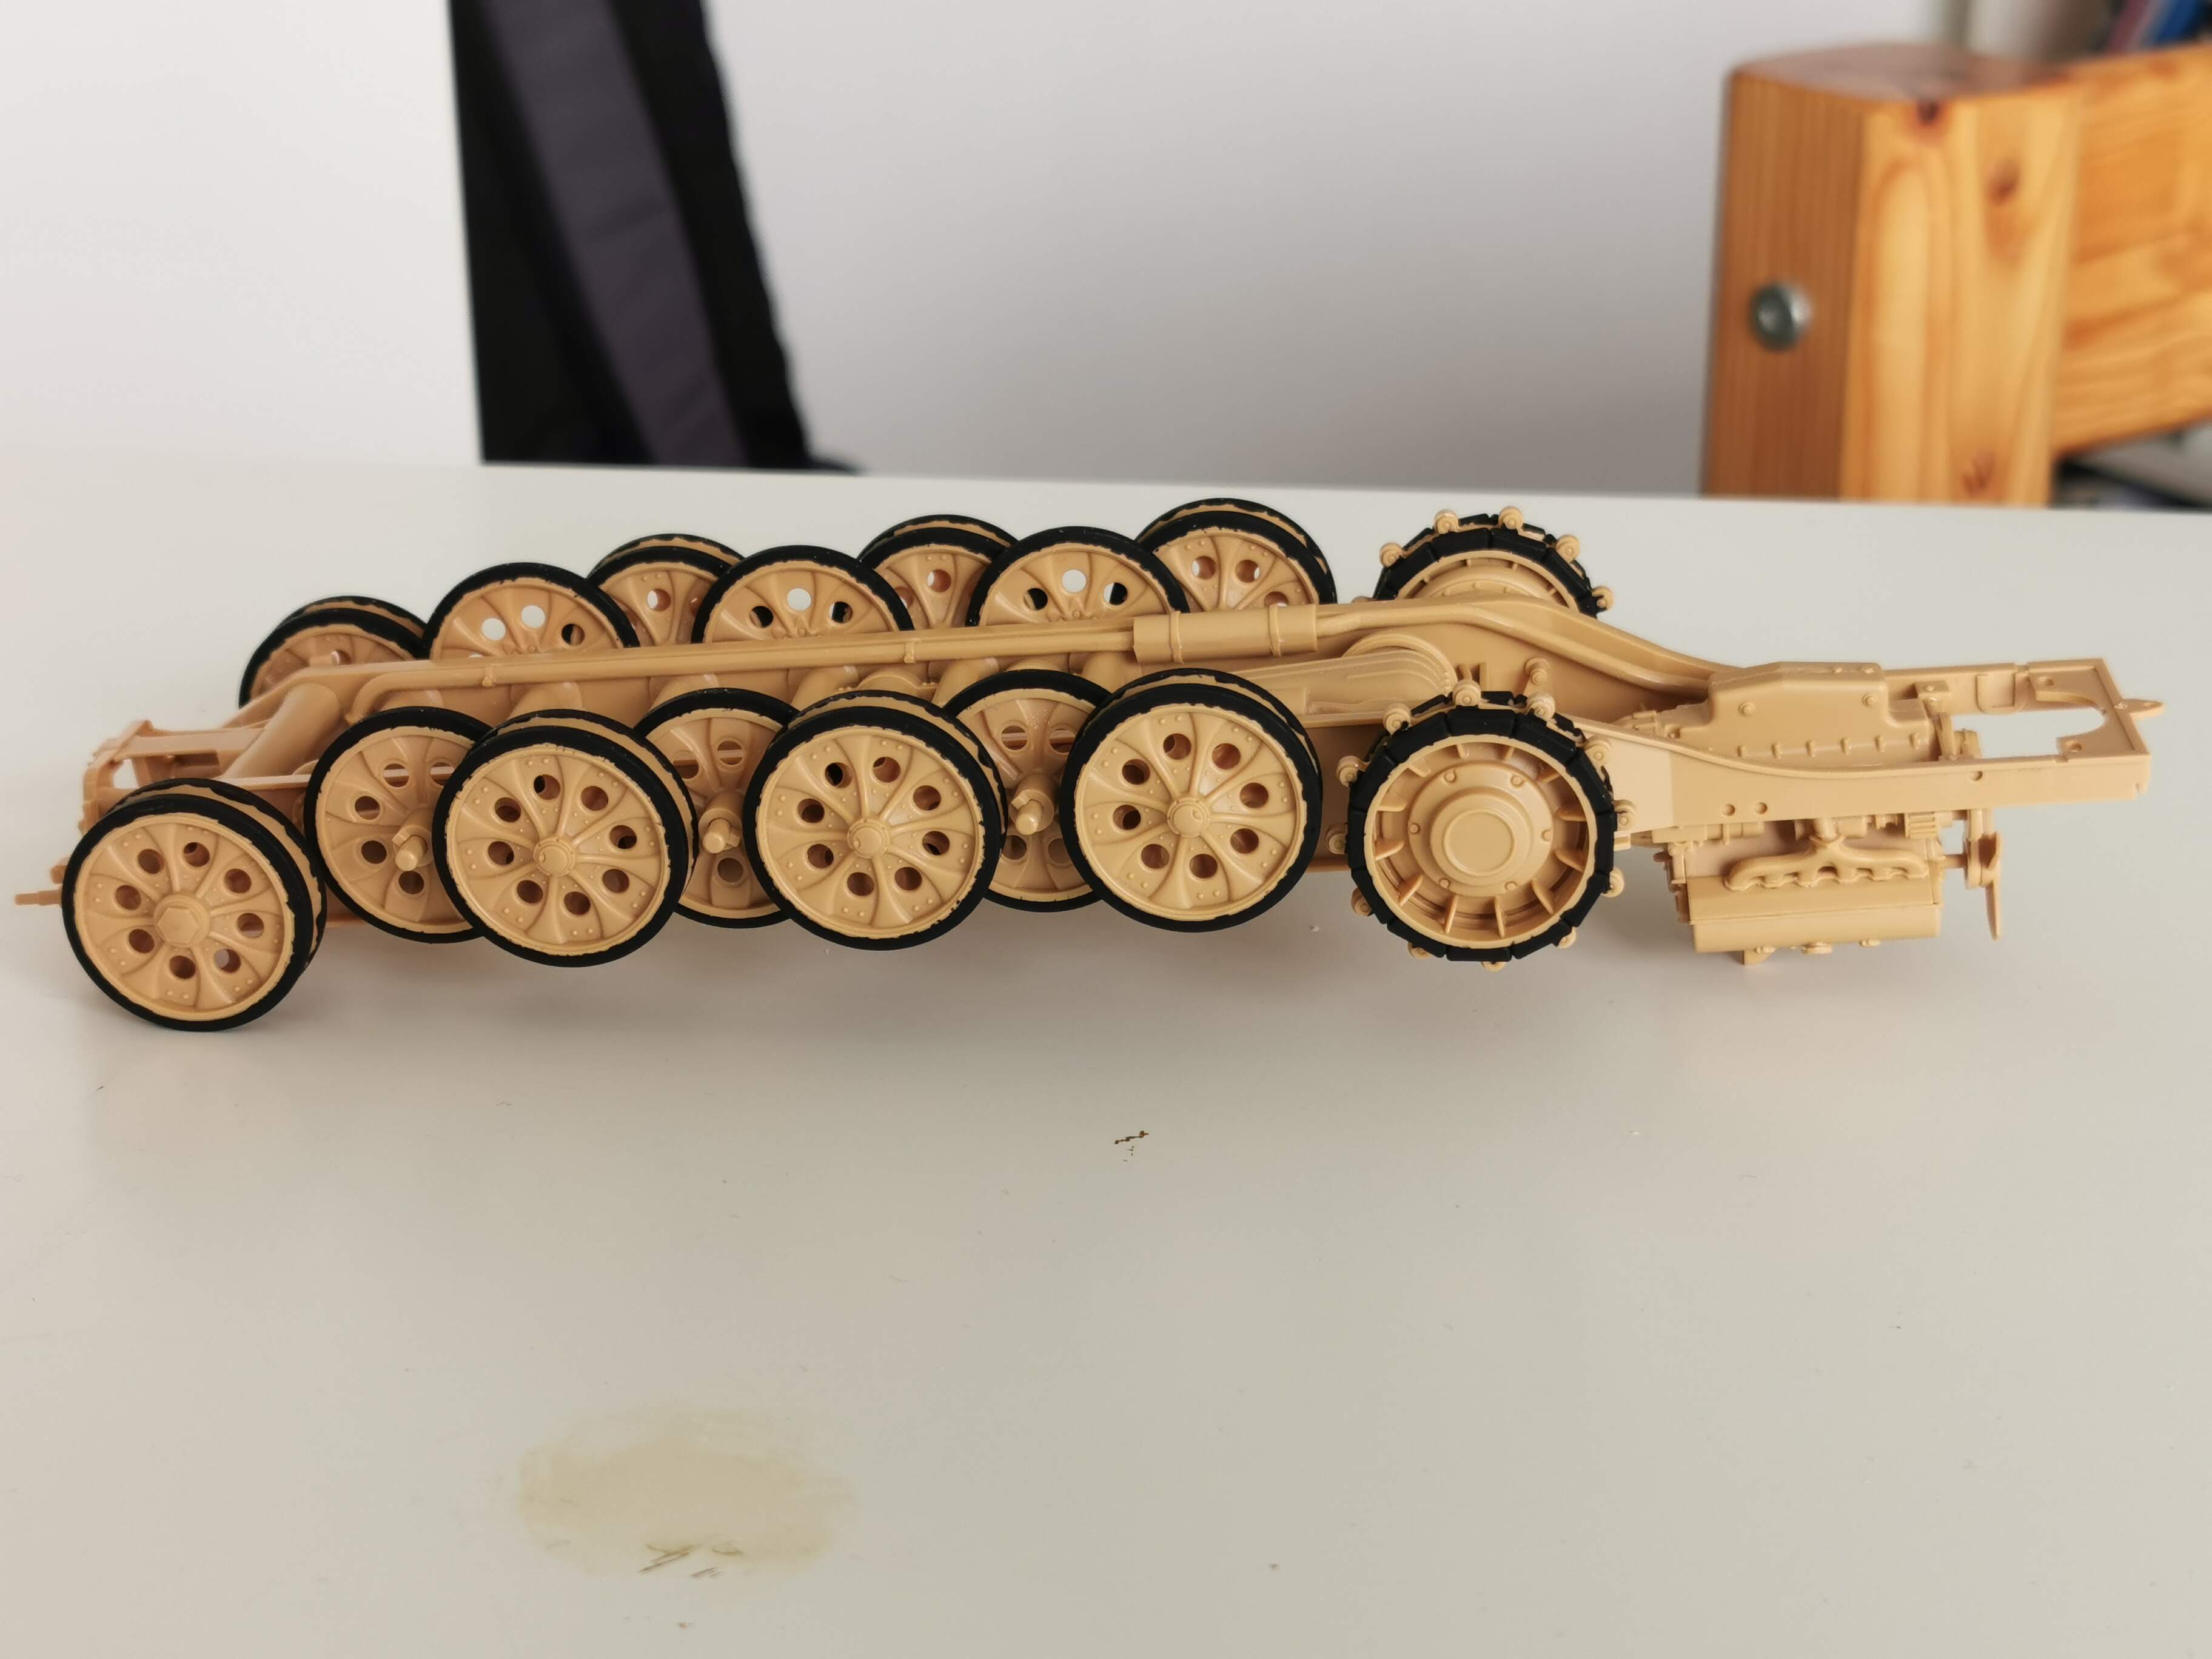
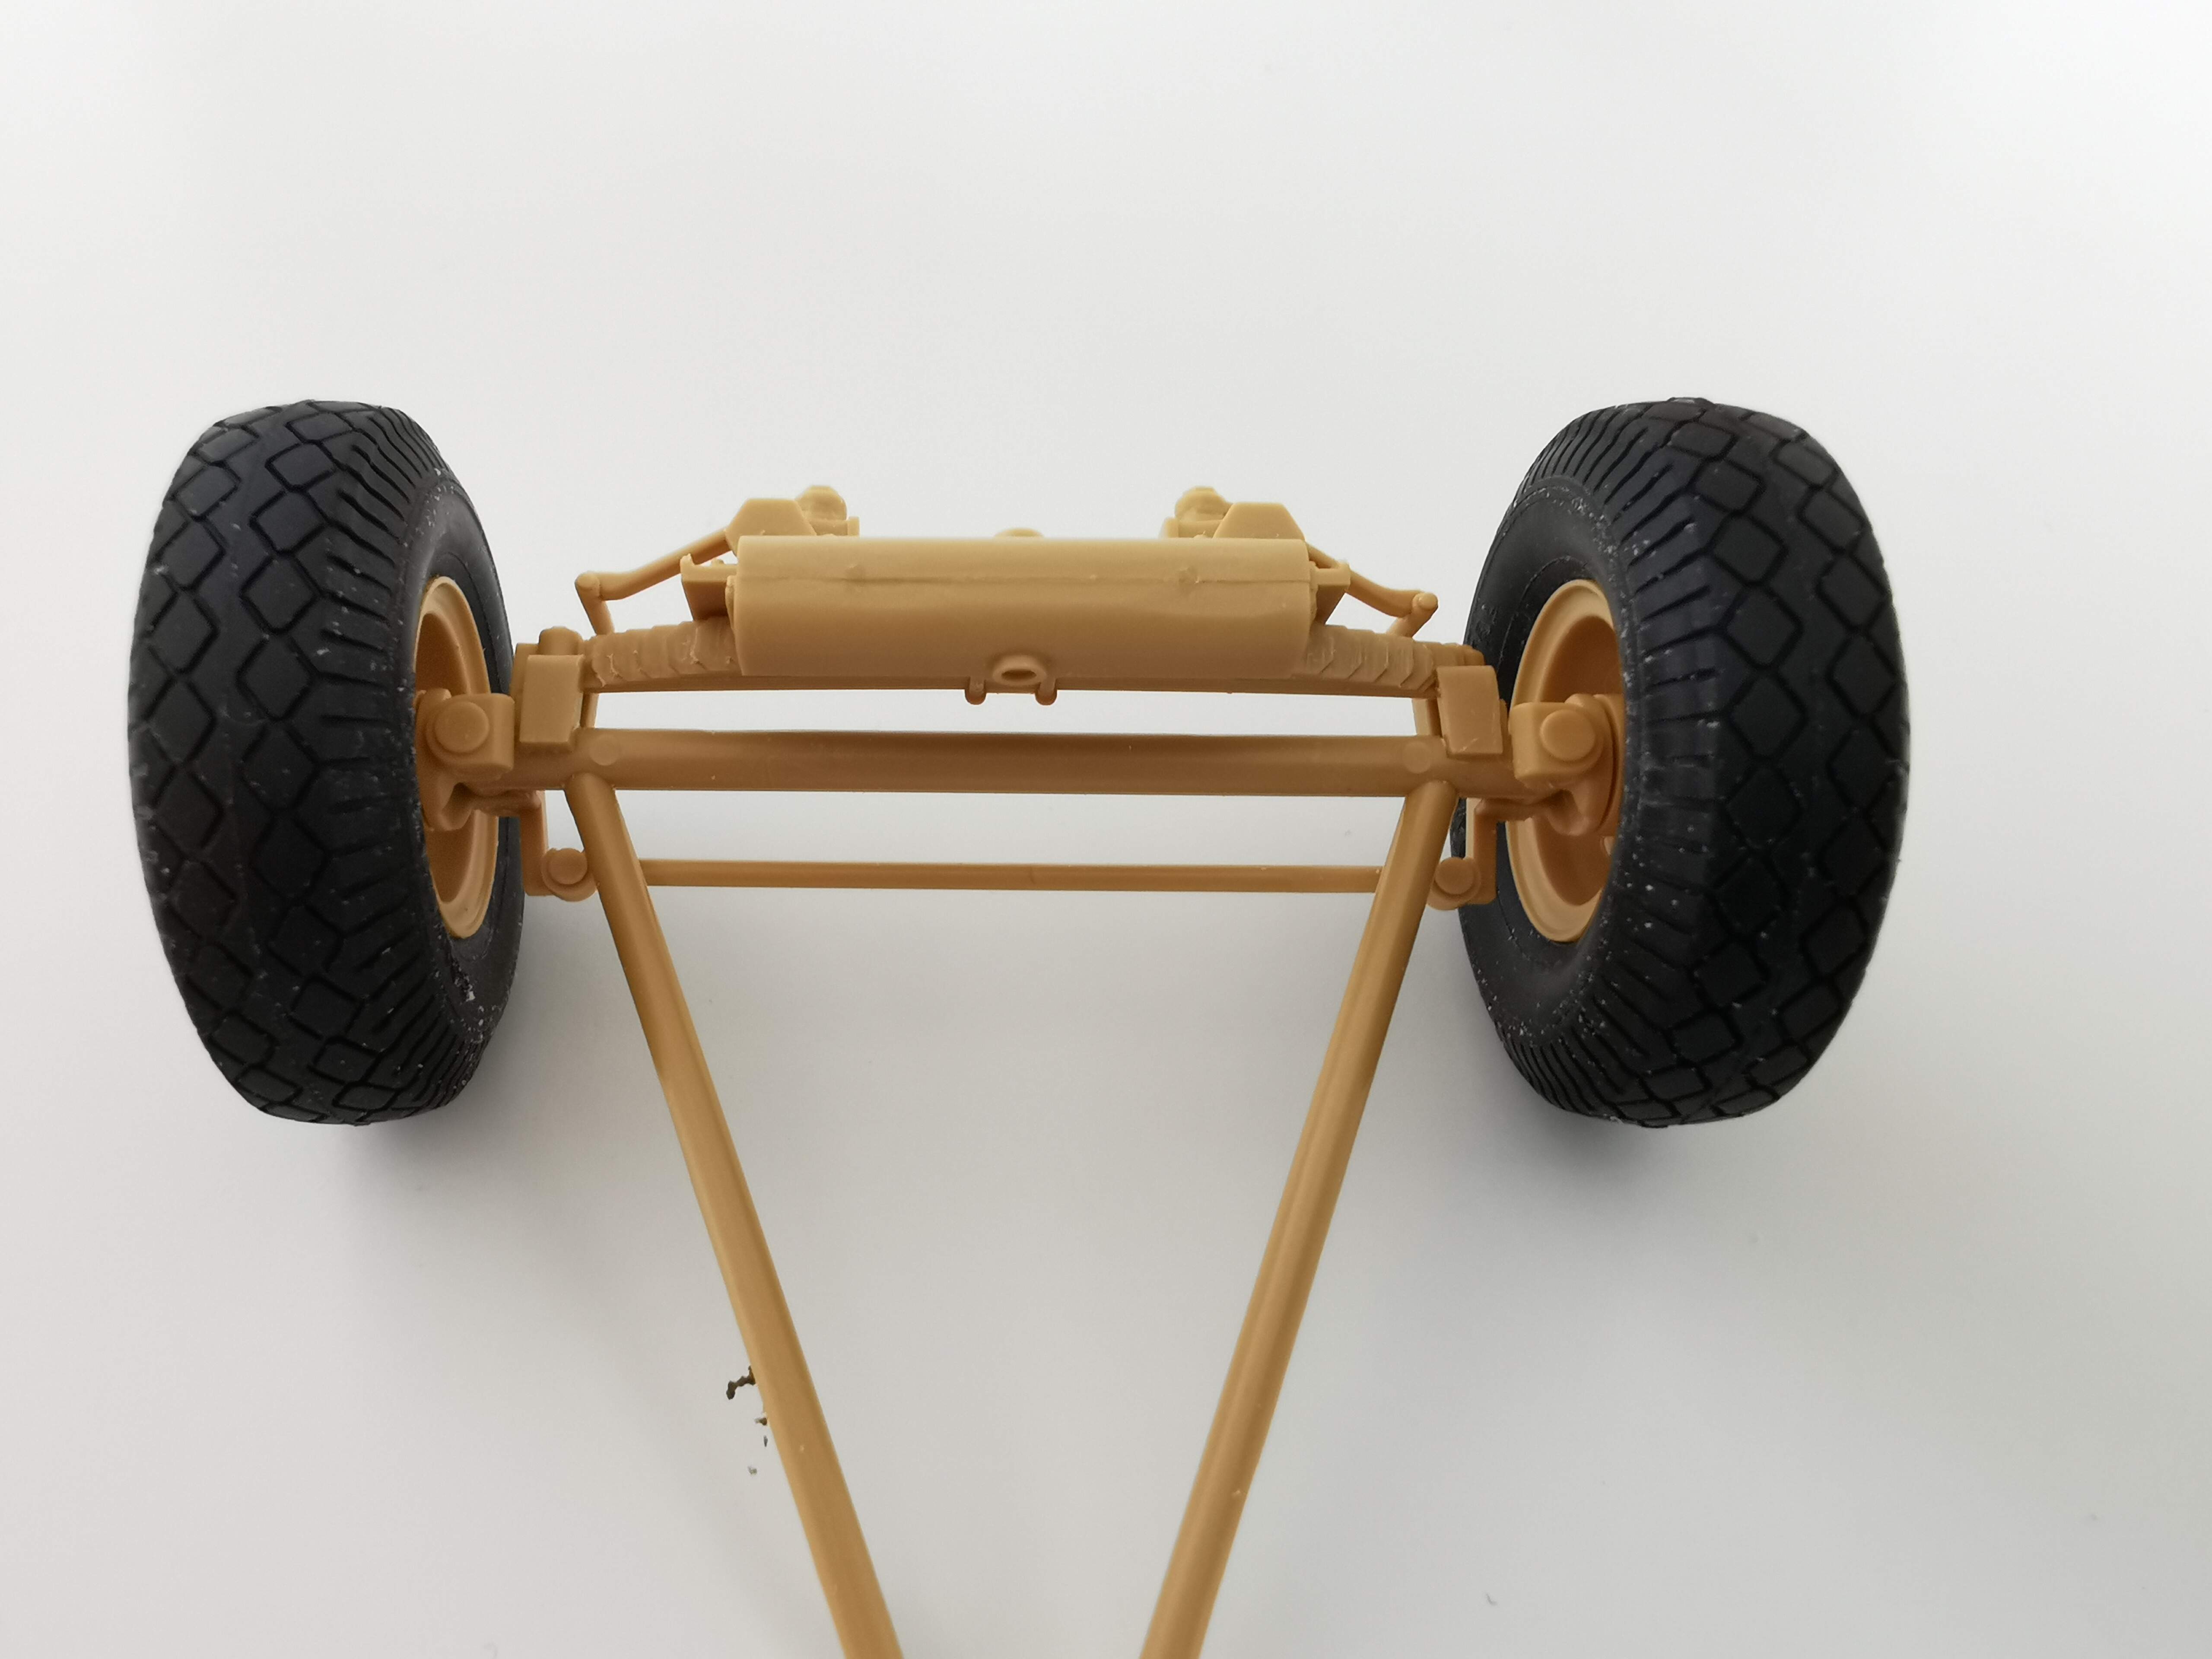
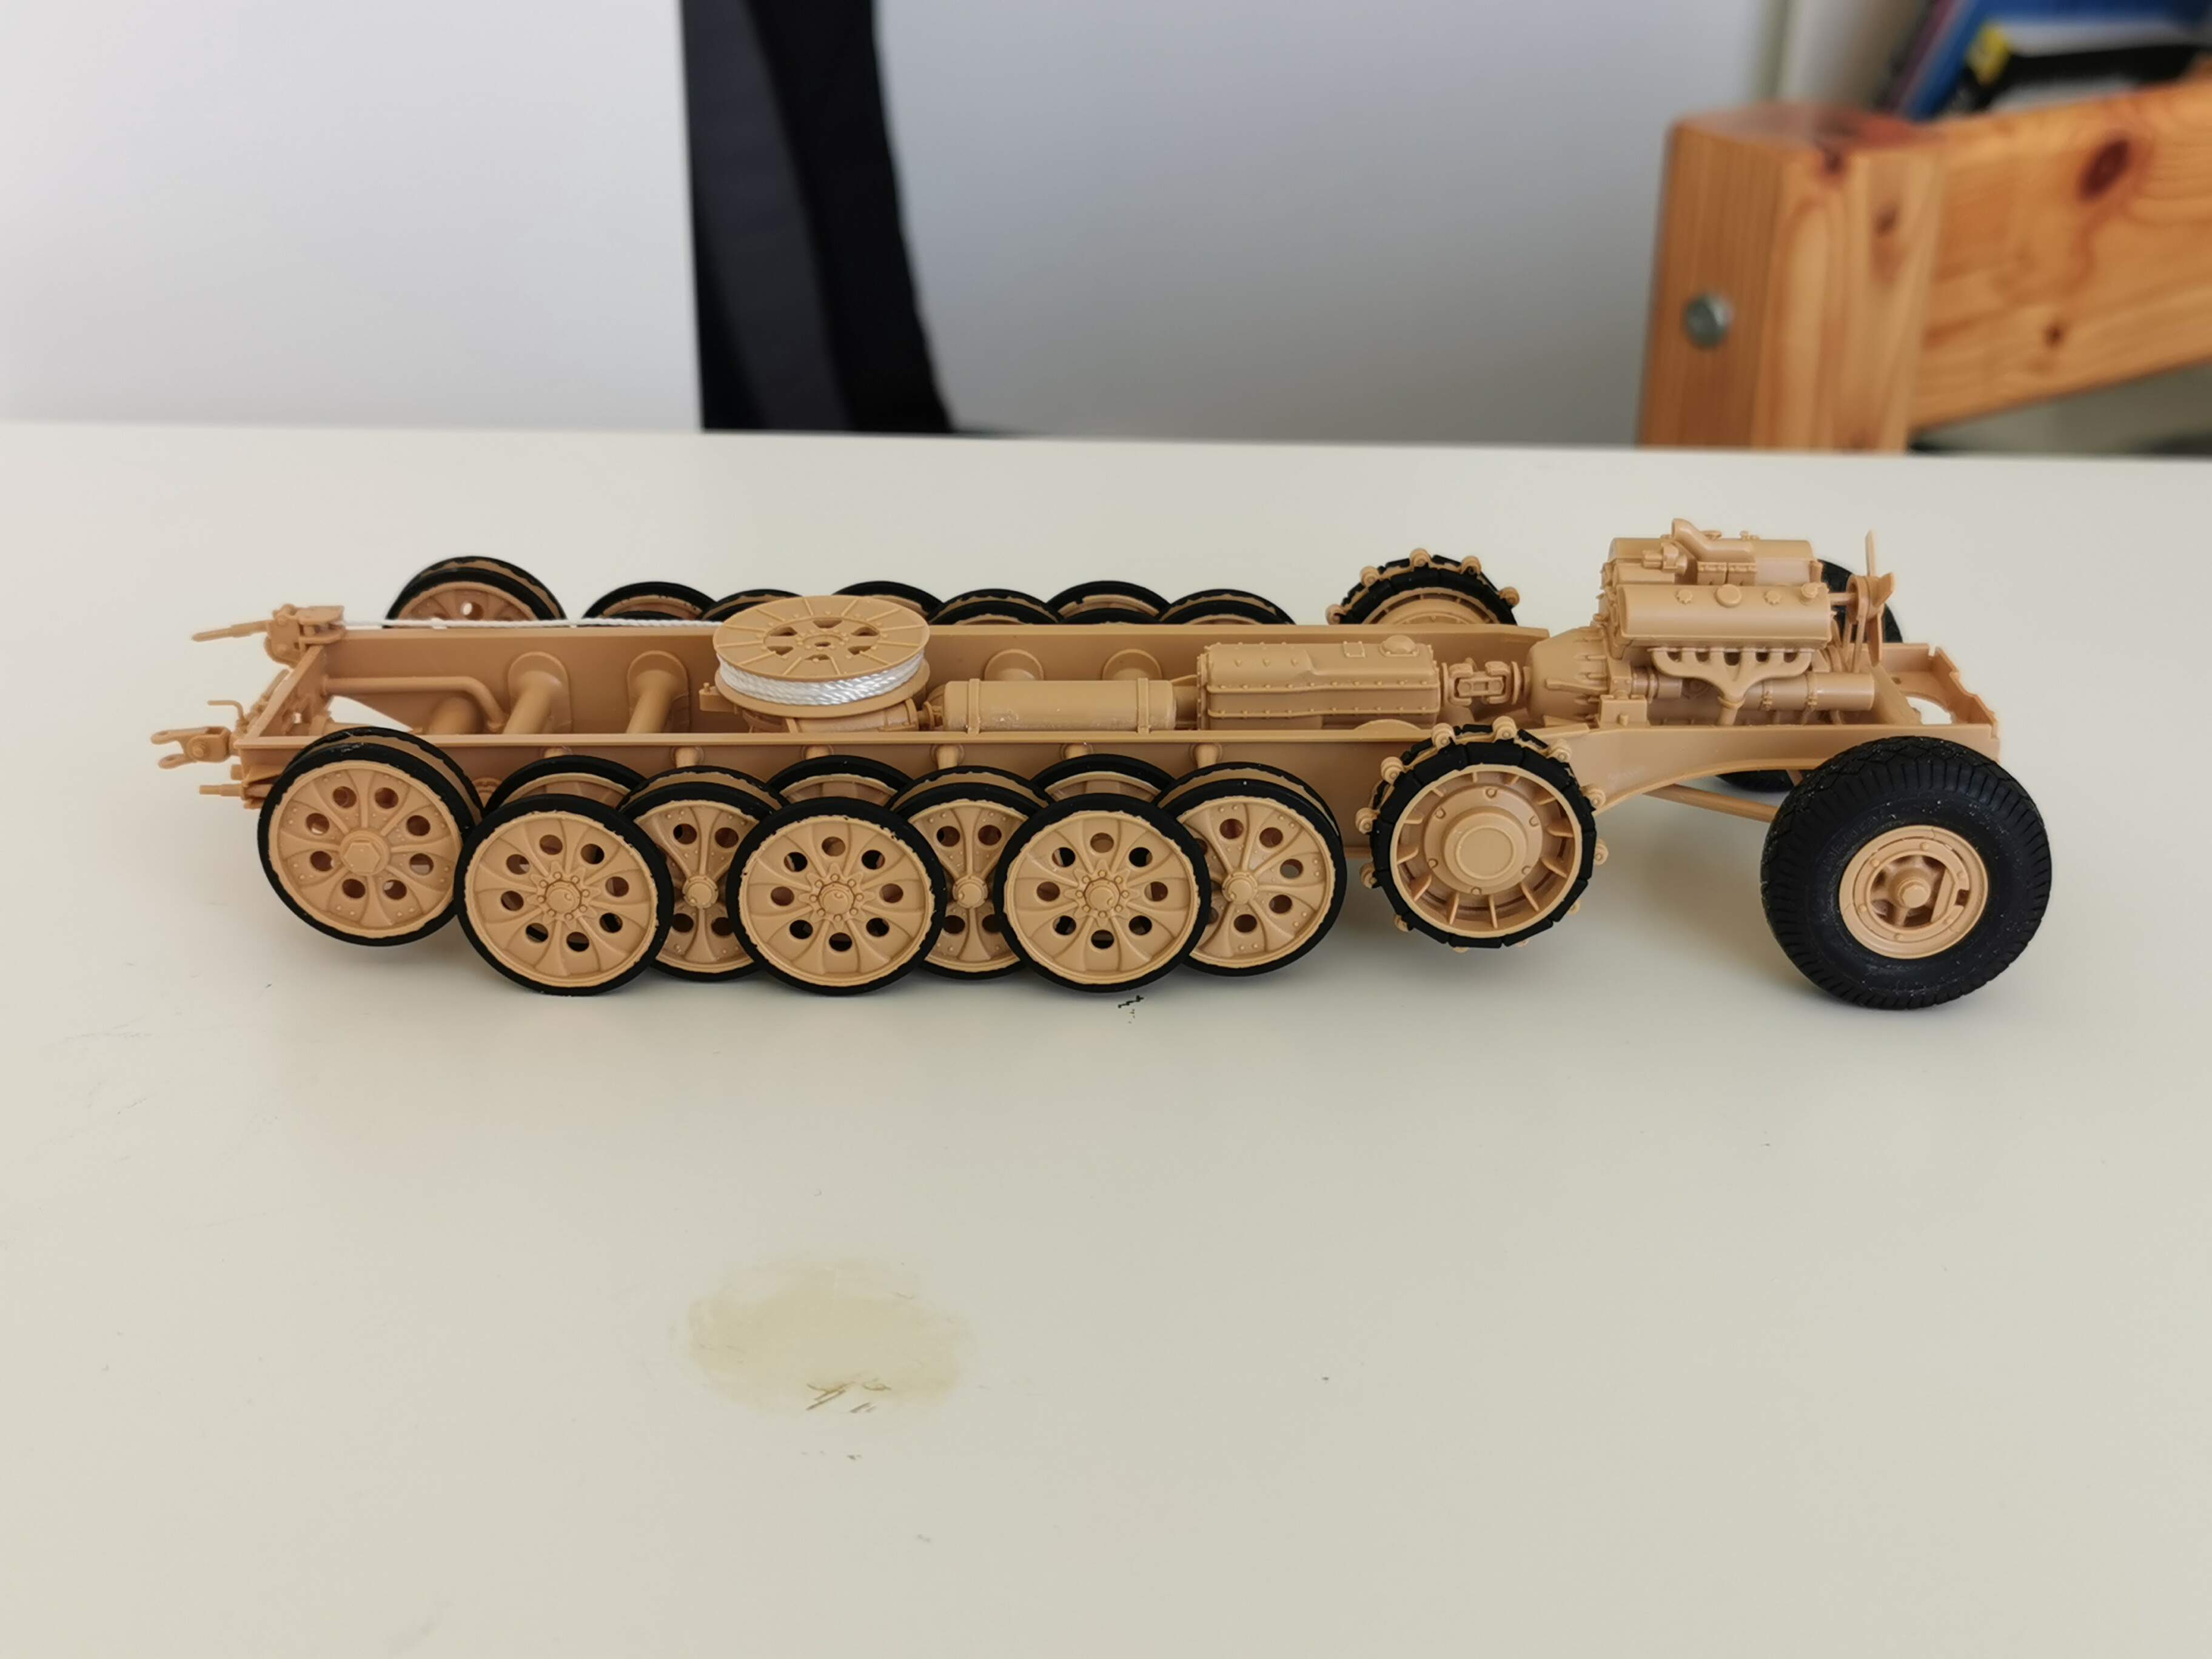
I have painted and mounted the wheels to the chassis.
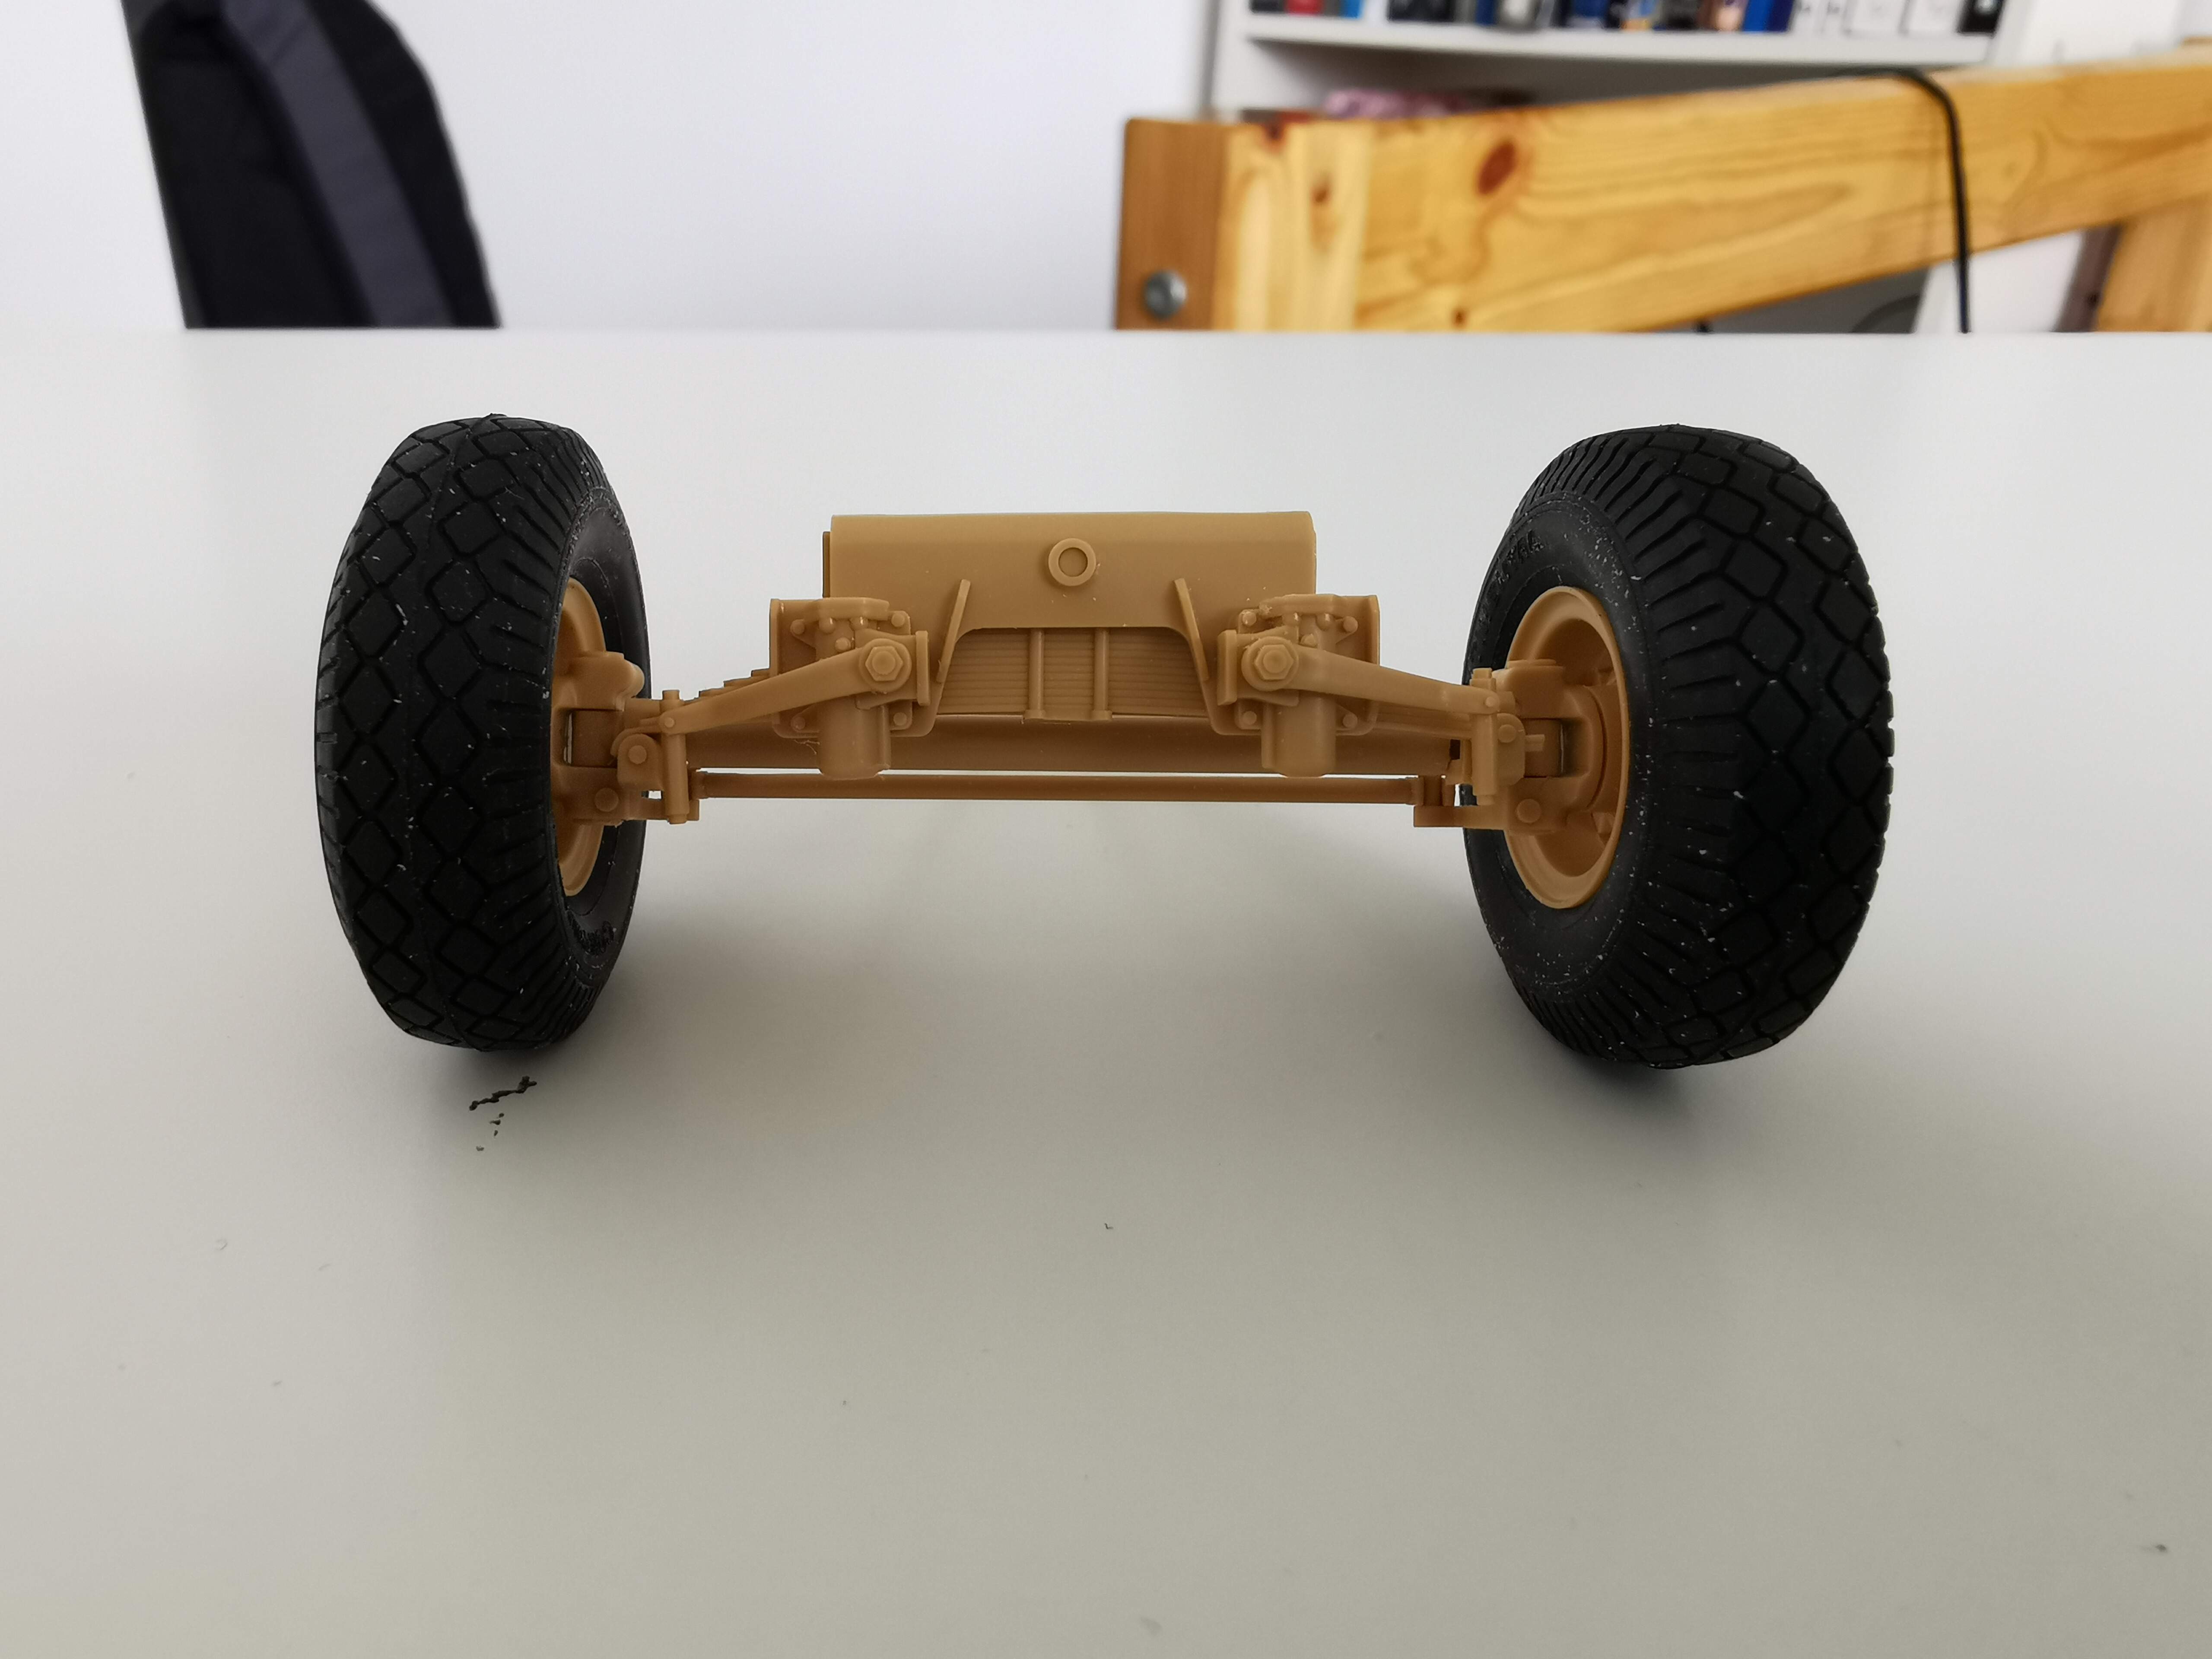
I assembled the front suspension with the real rubber tires in it.
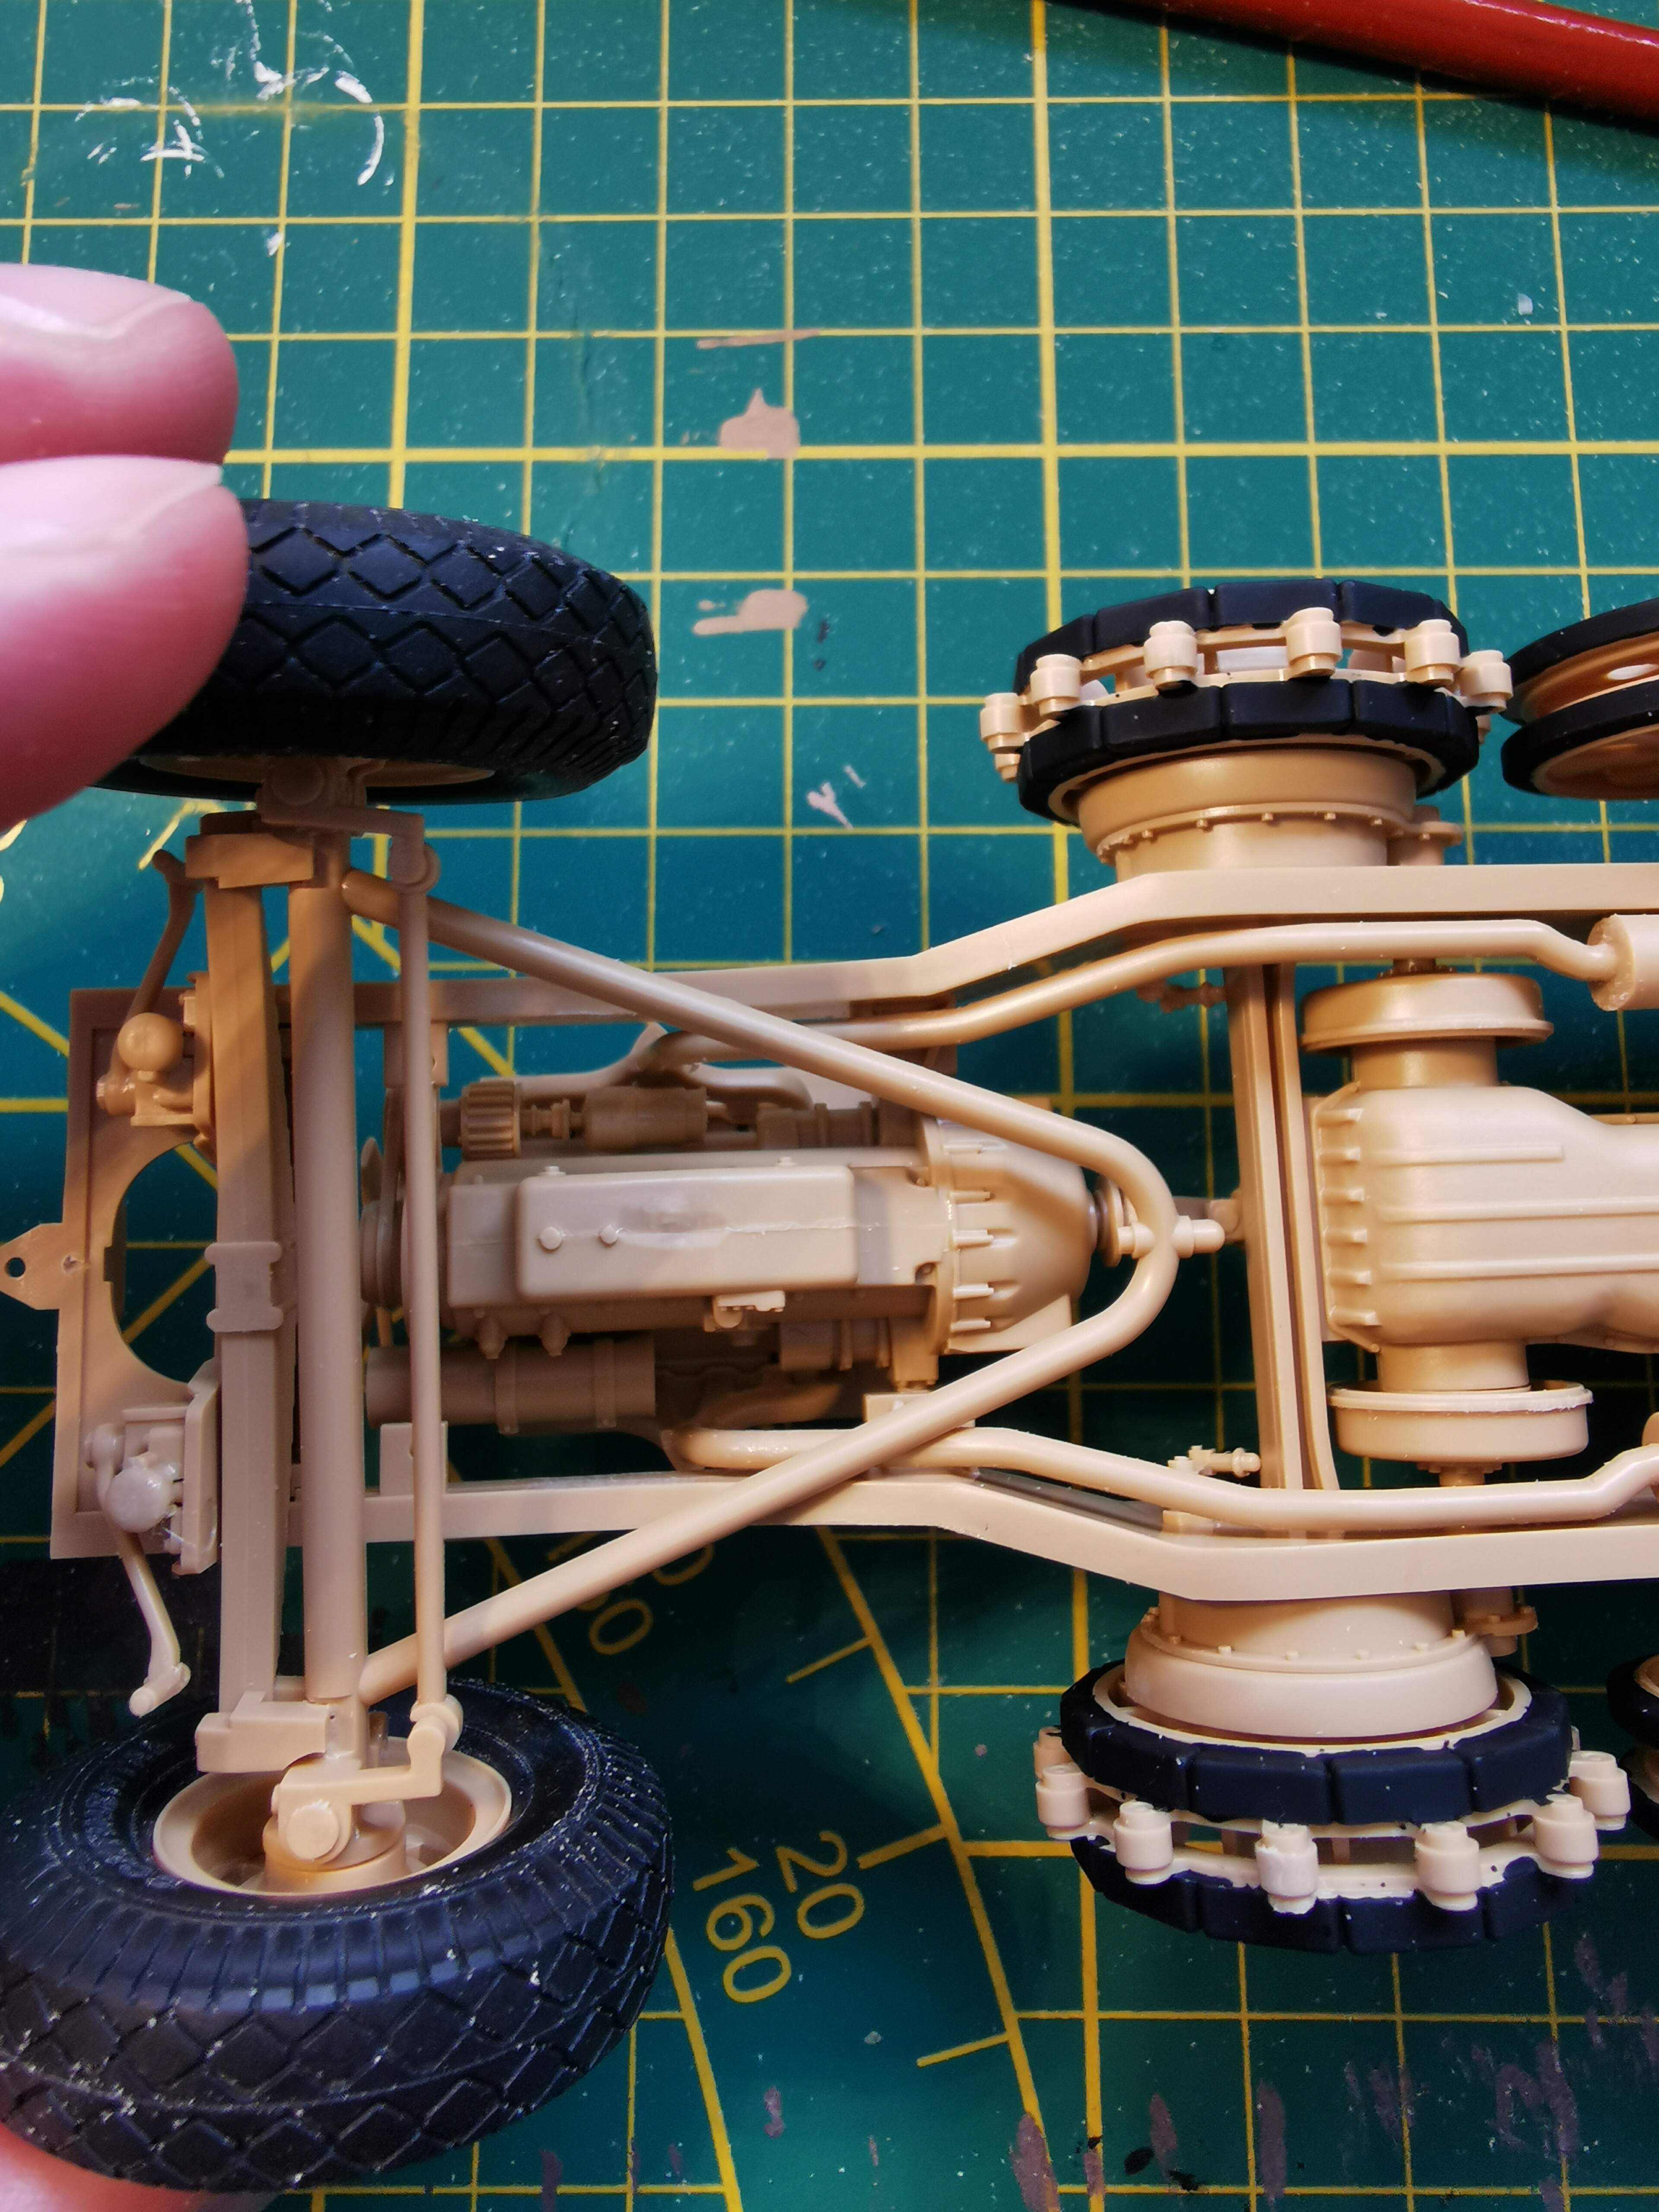
Please help me out, I got a (relatively) big problem
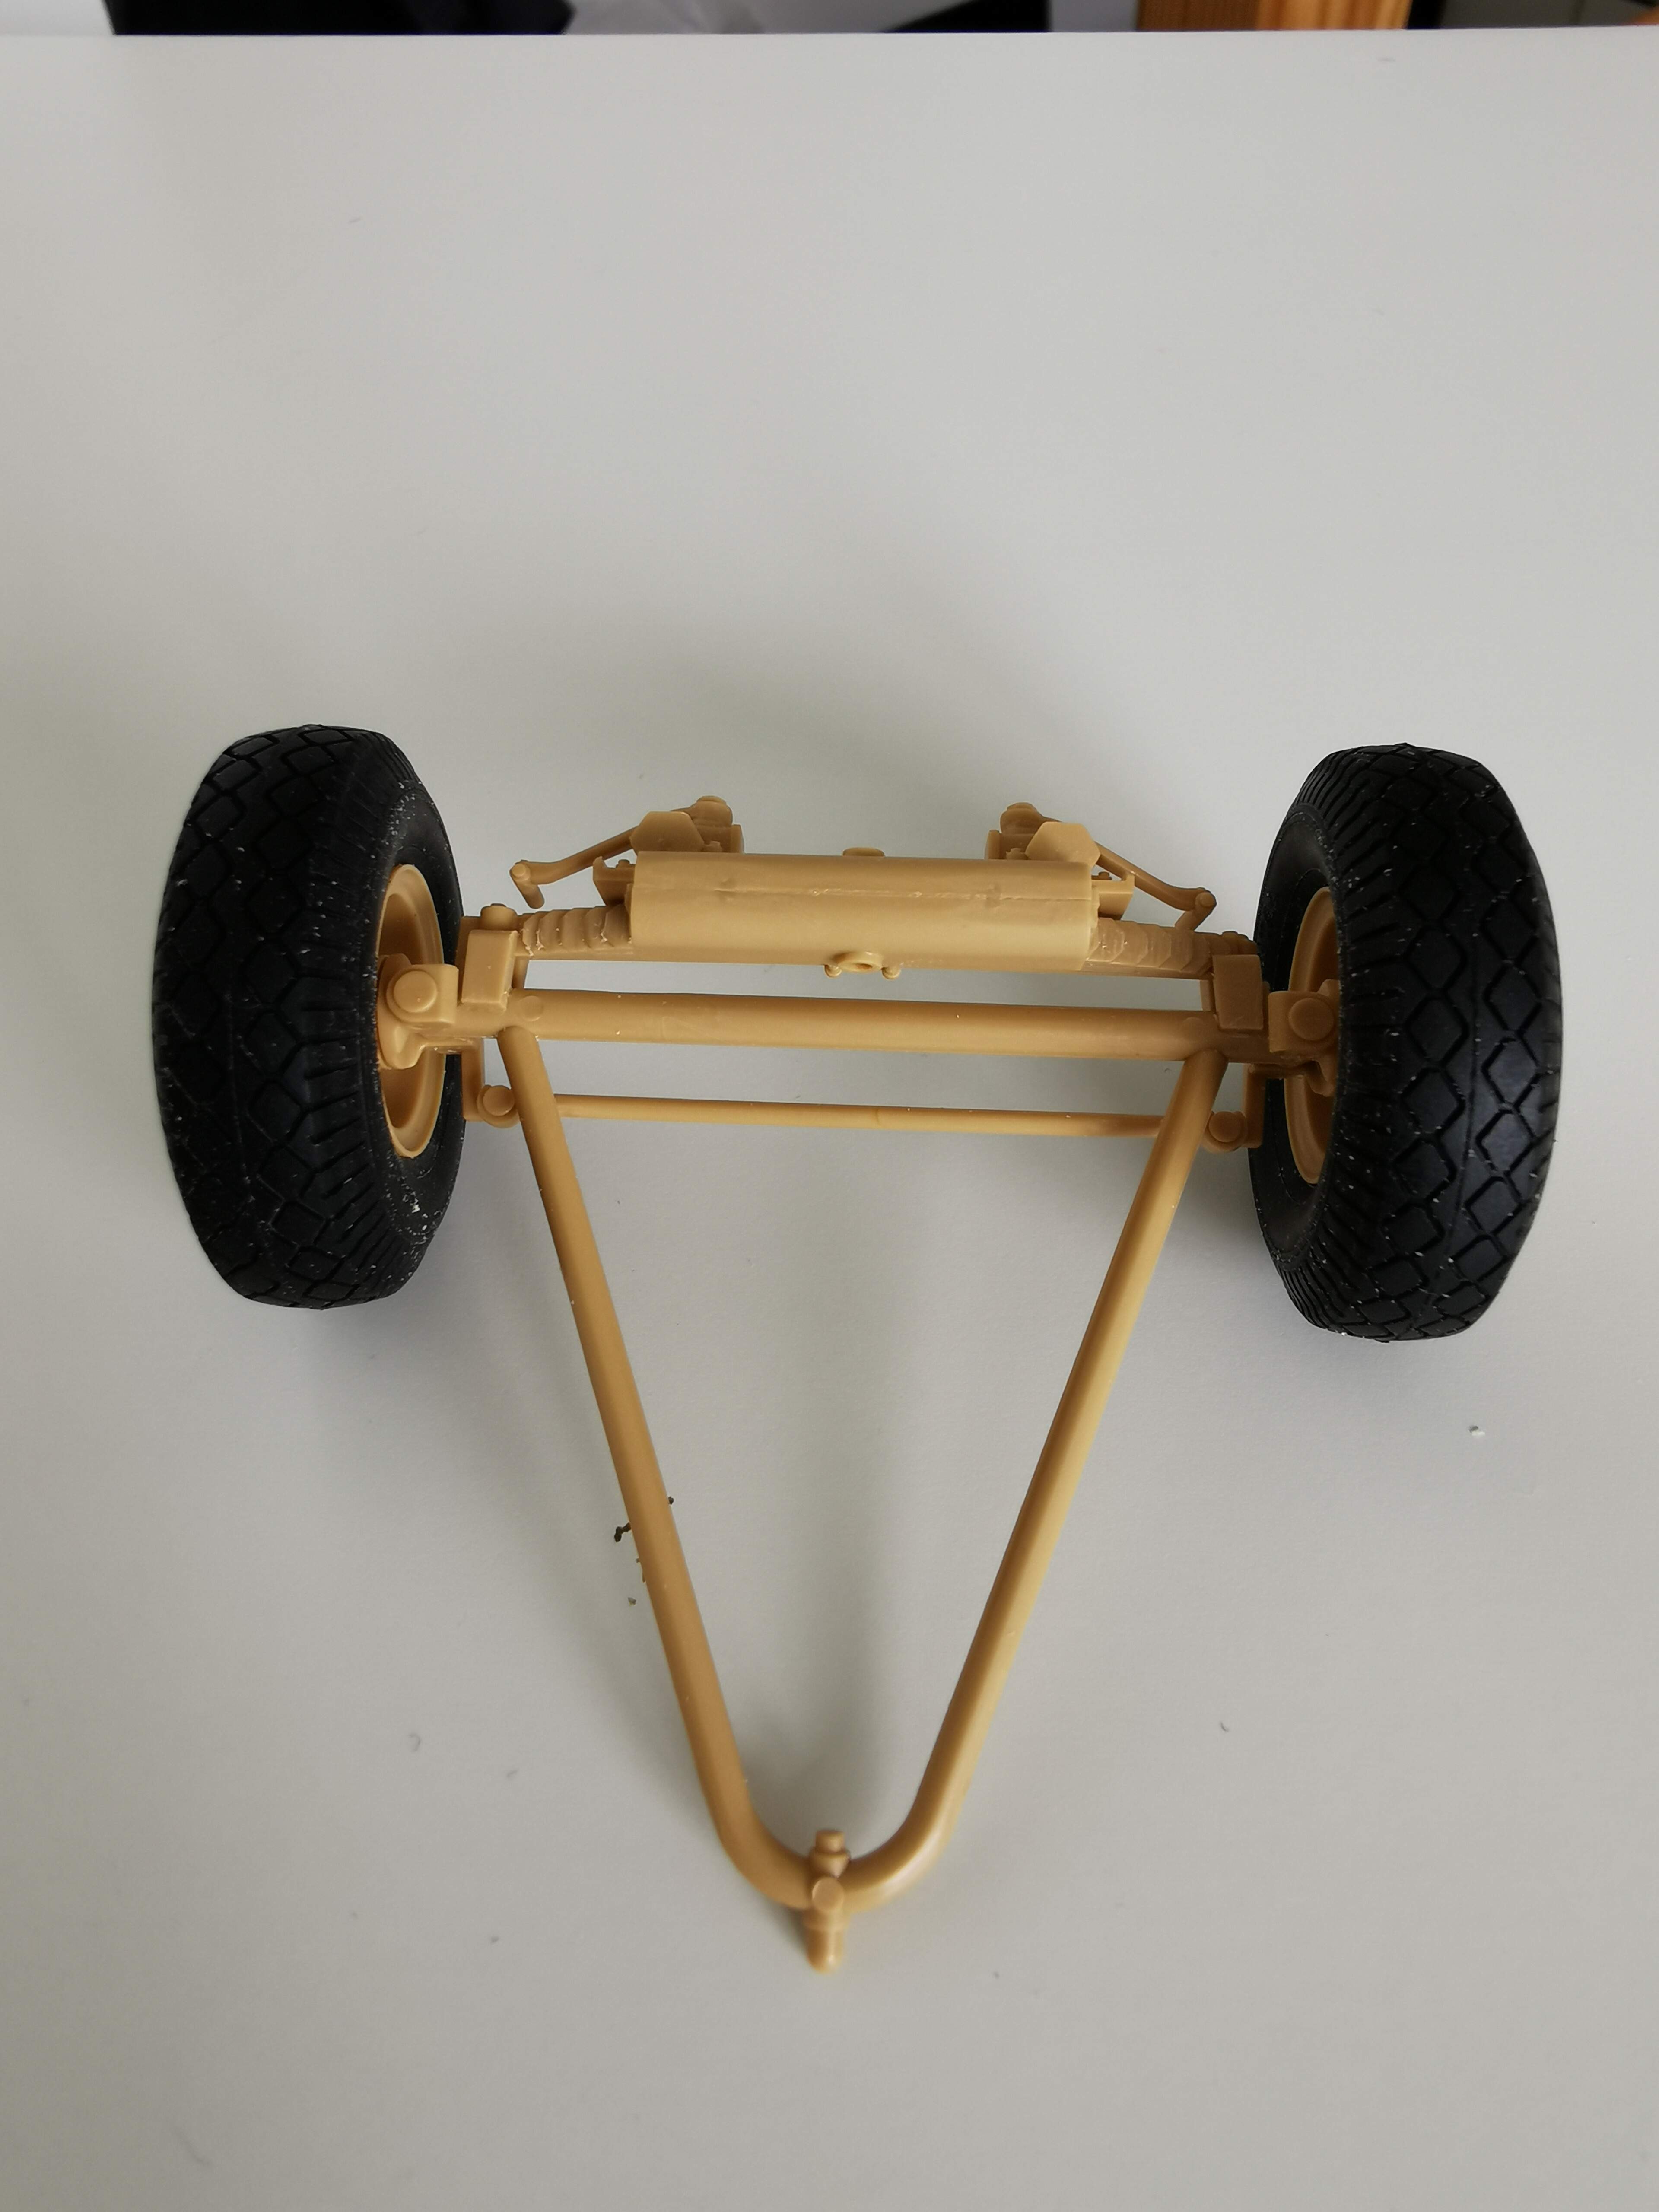
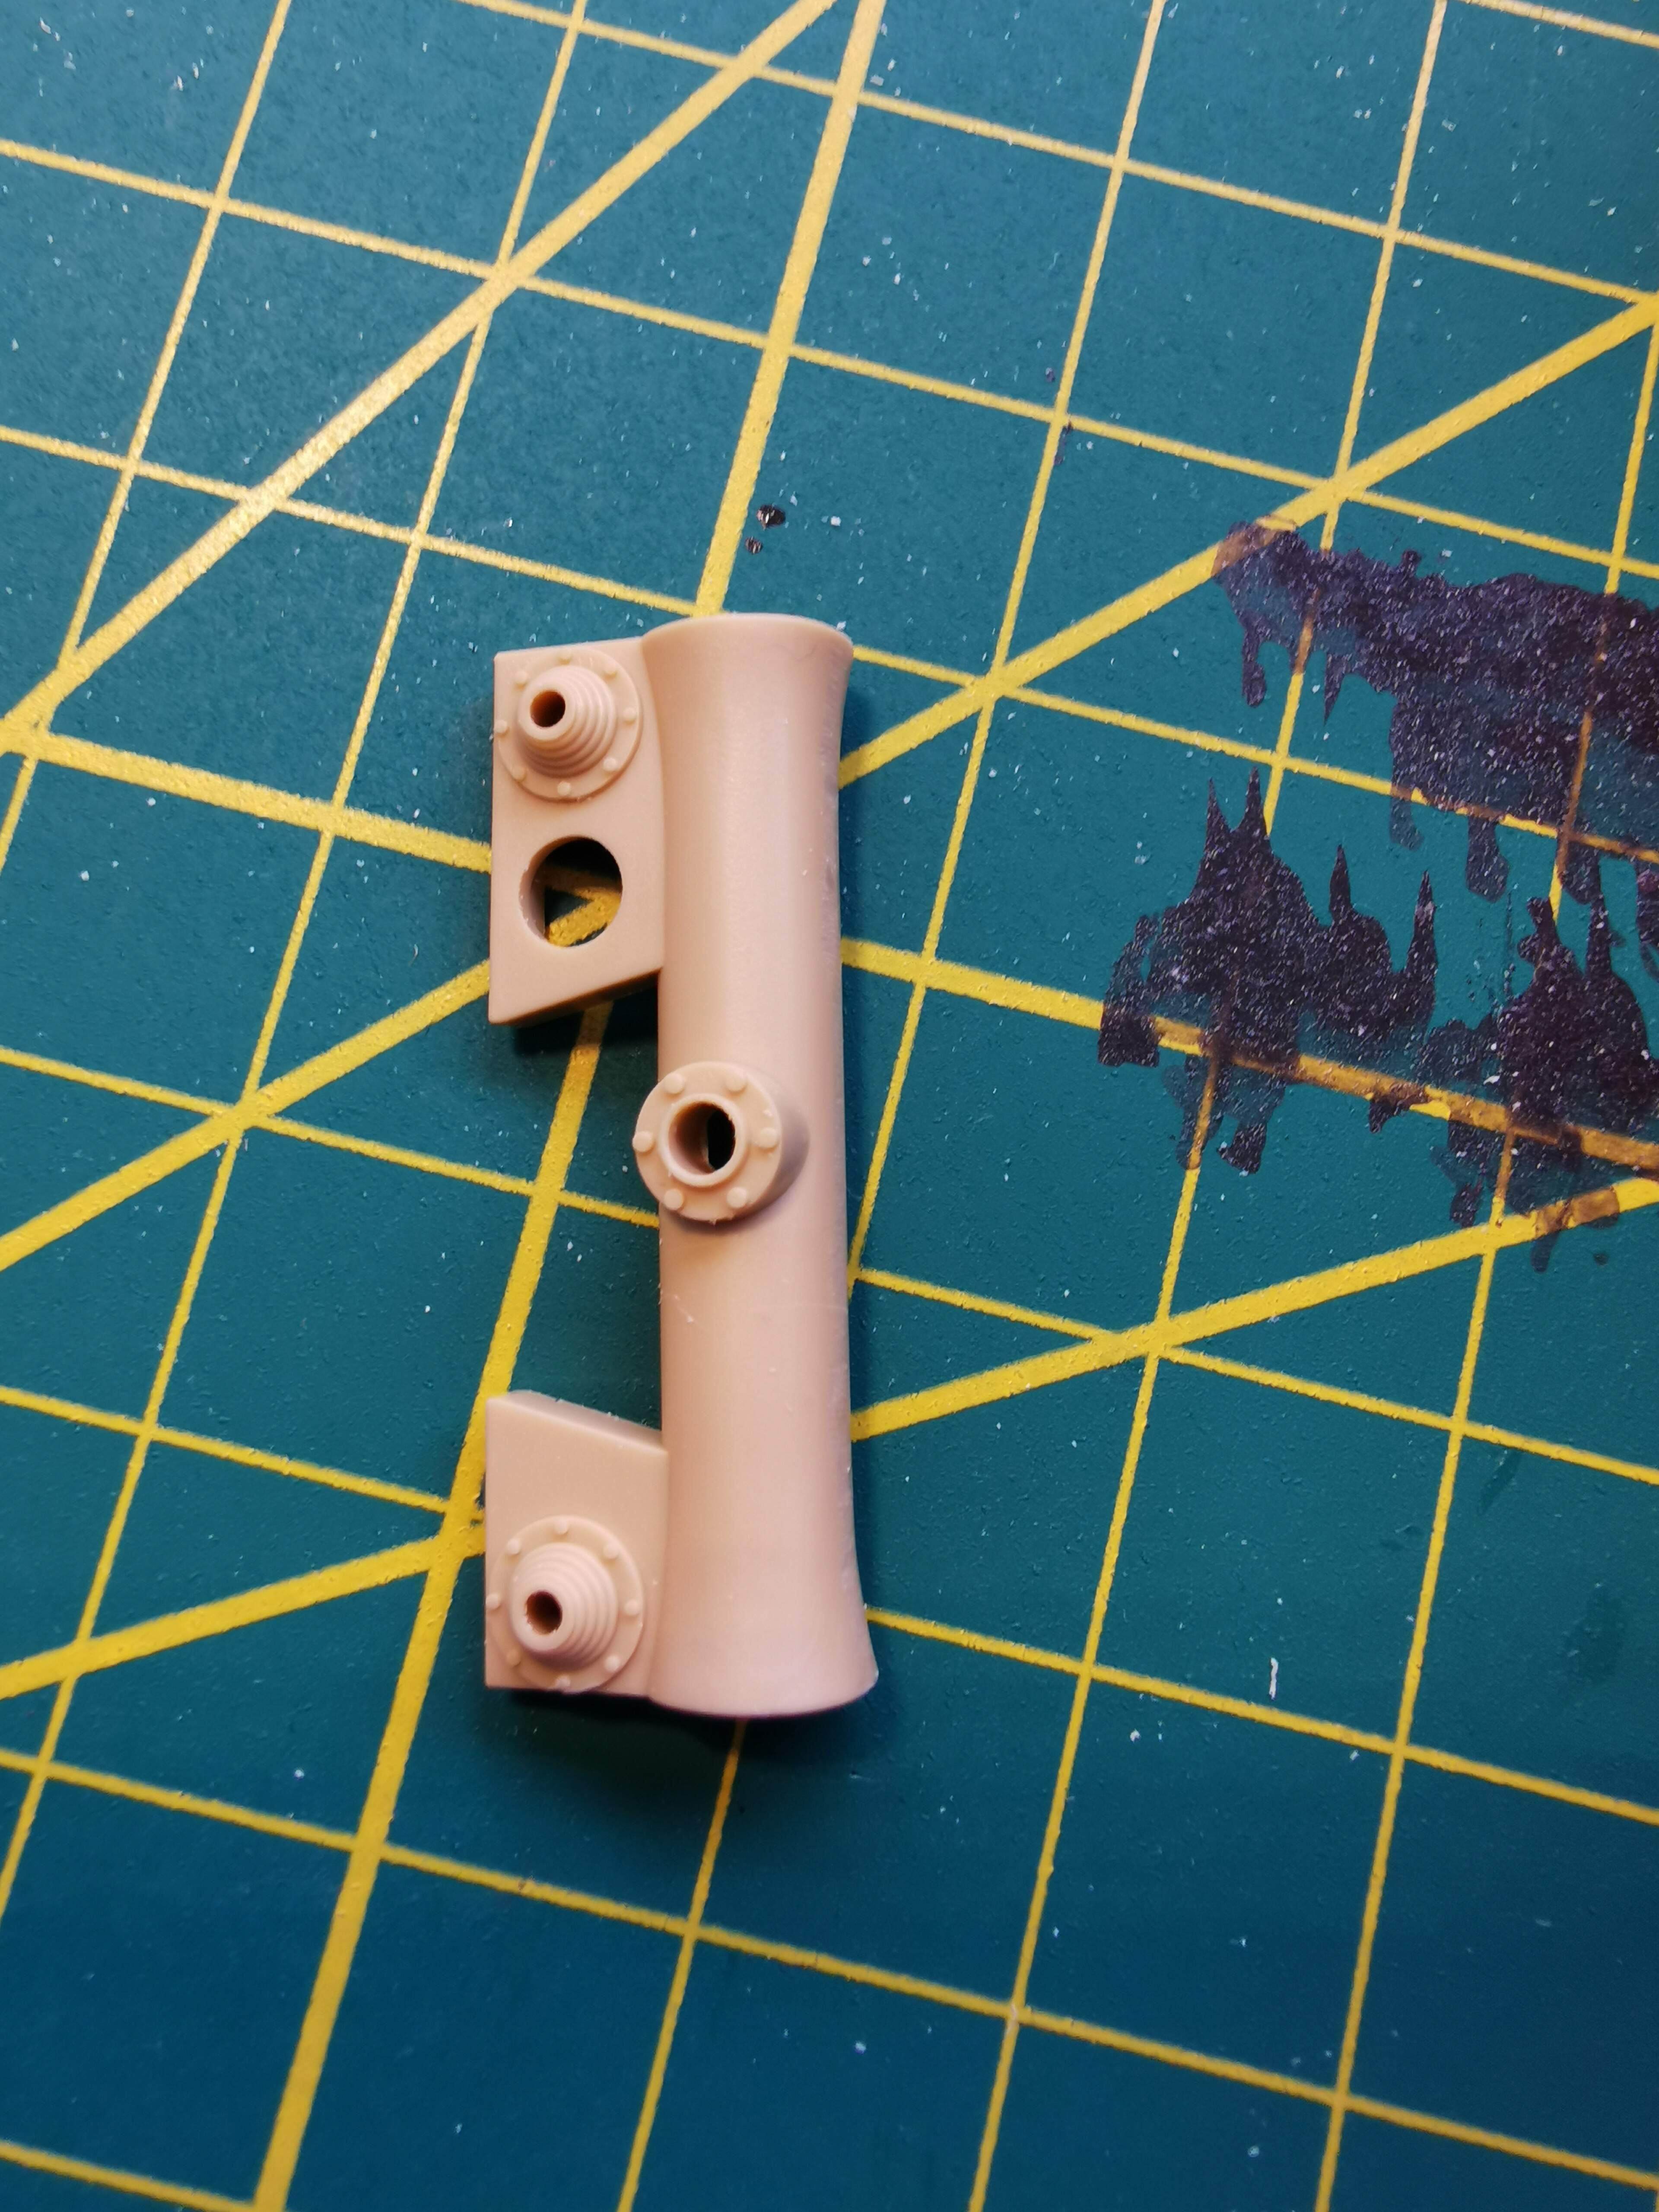
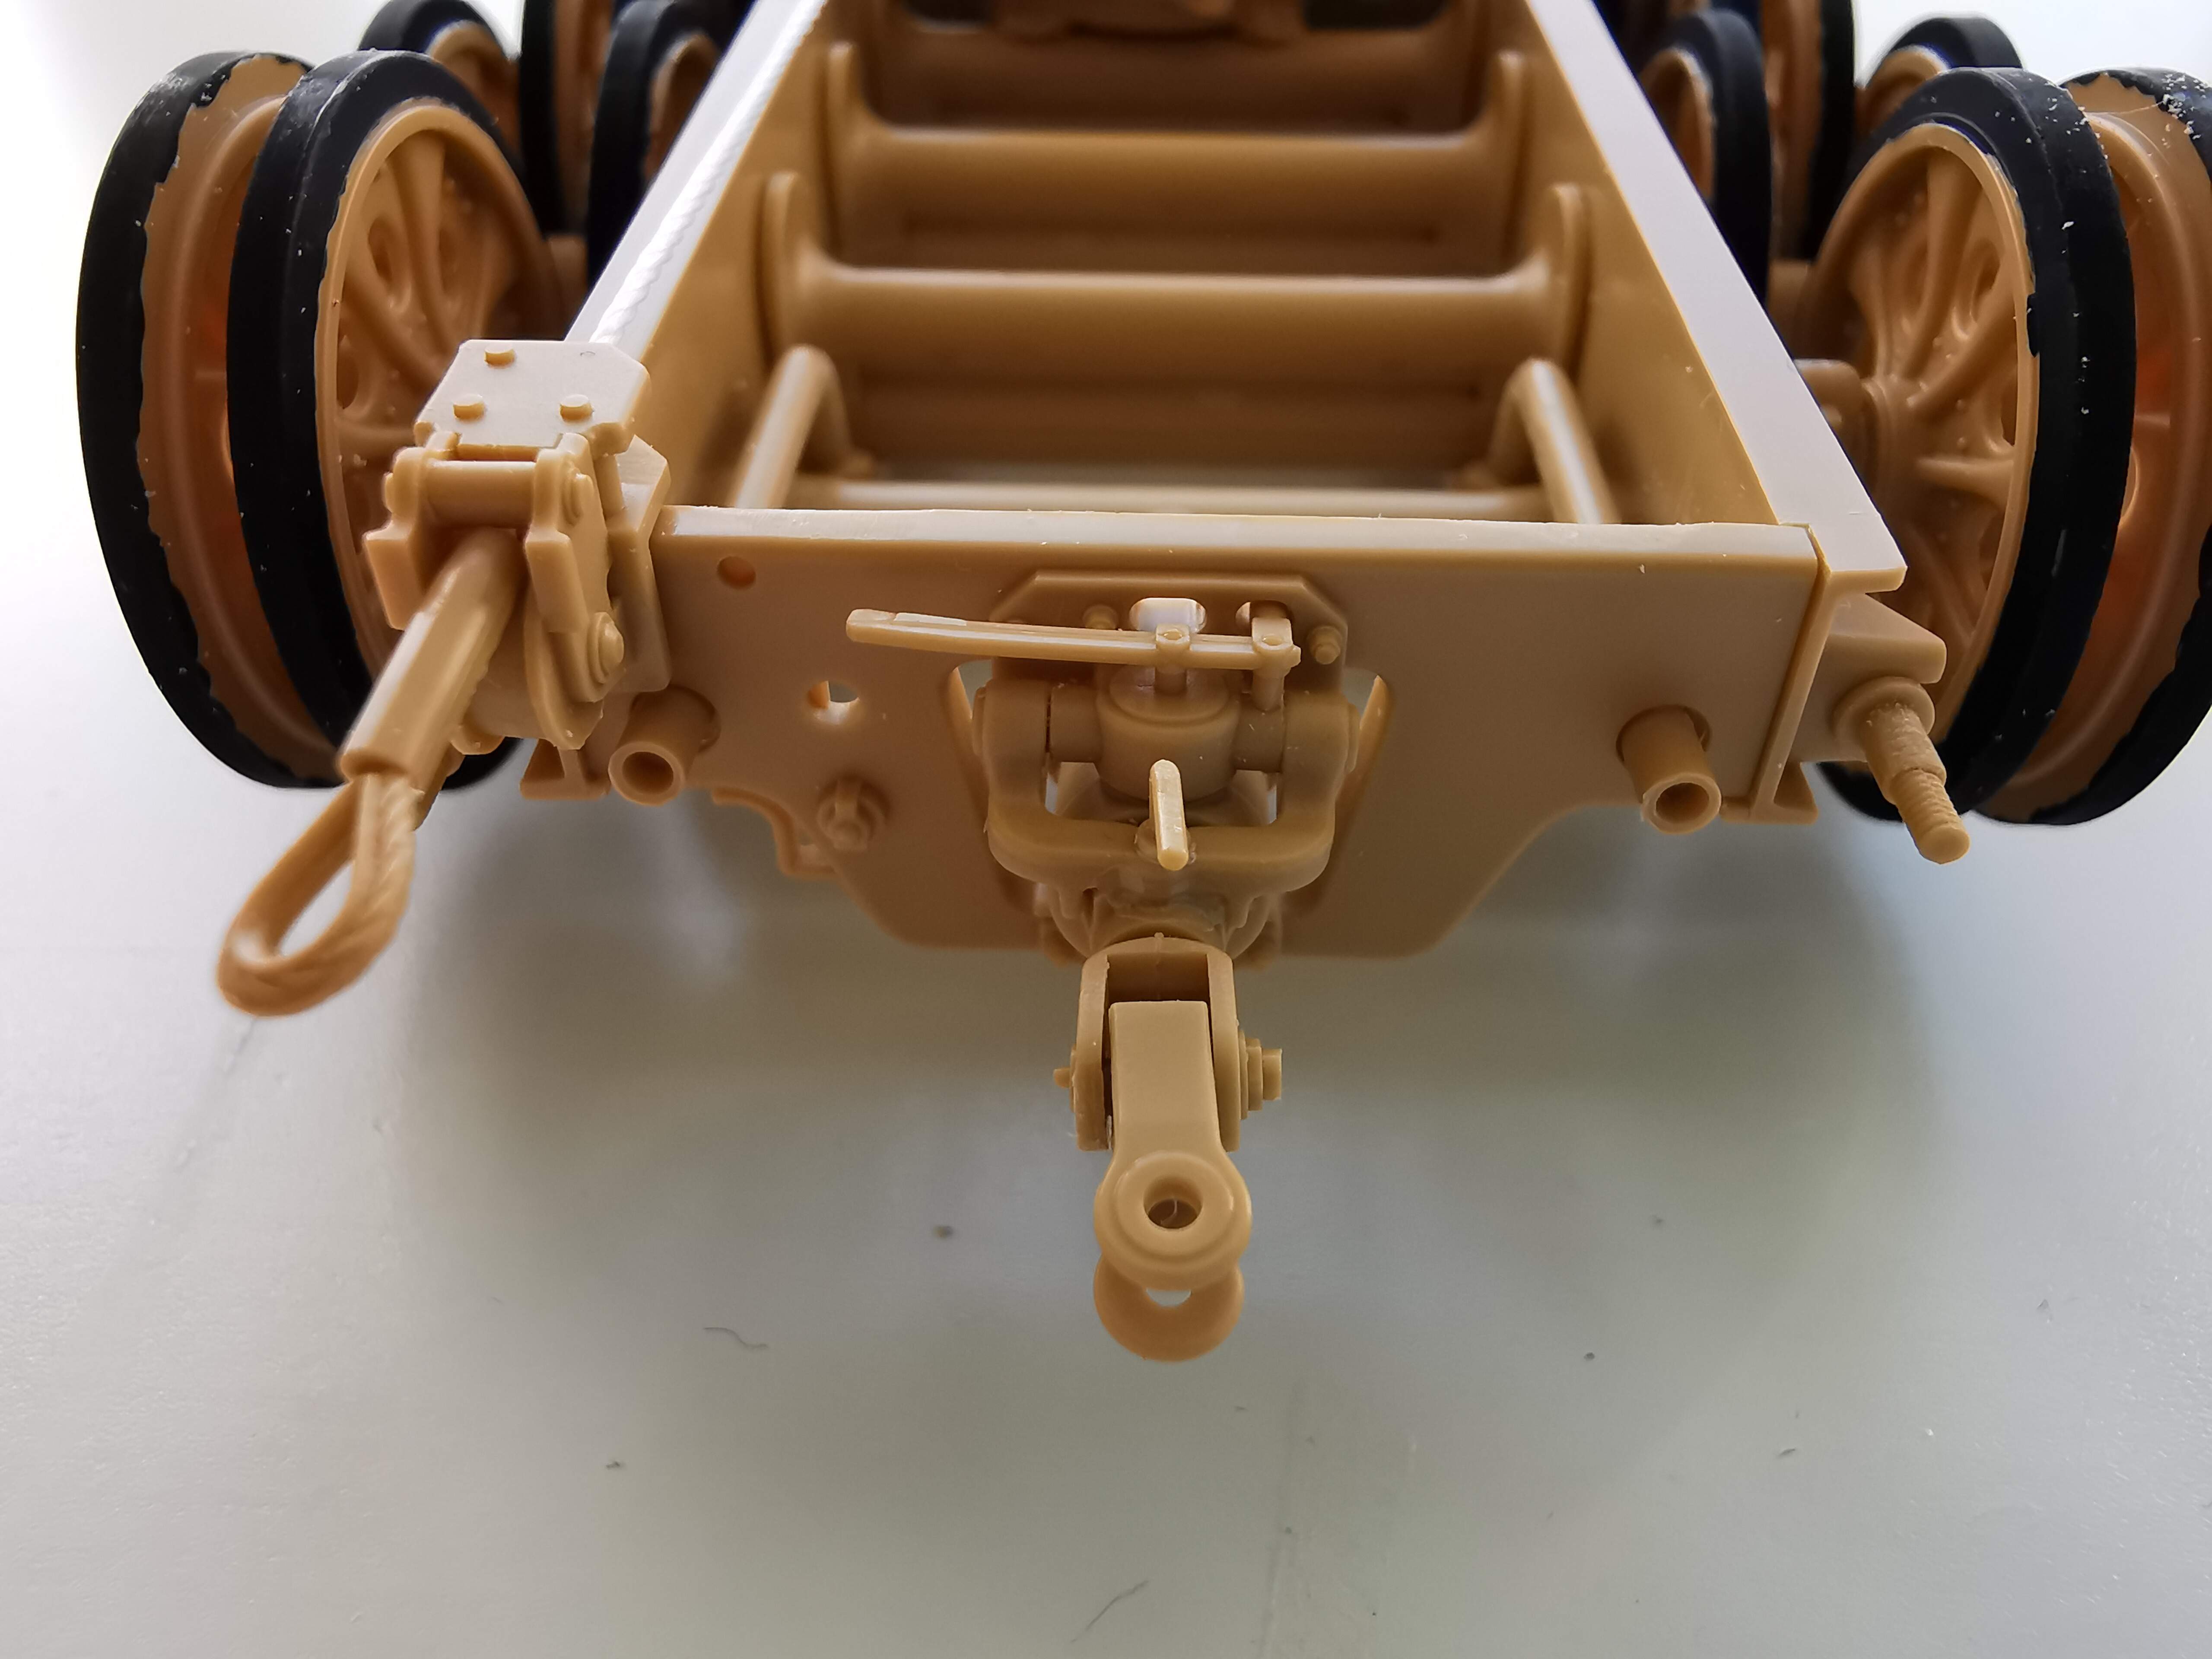
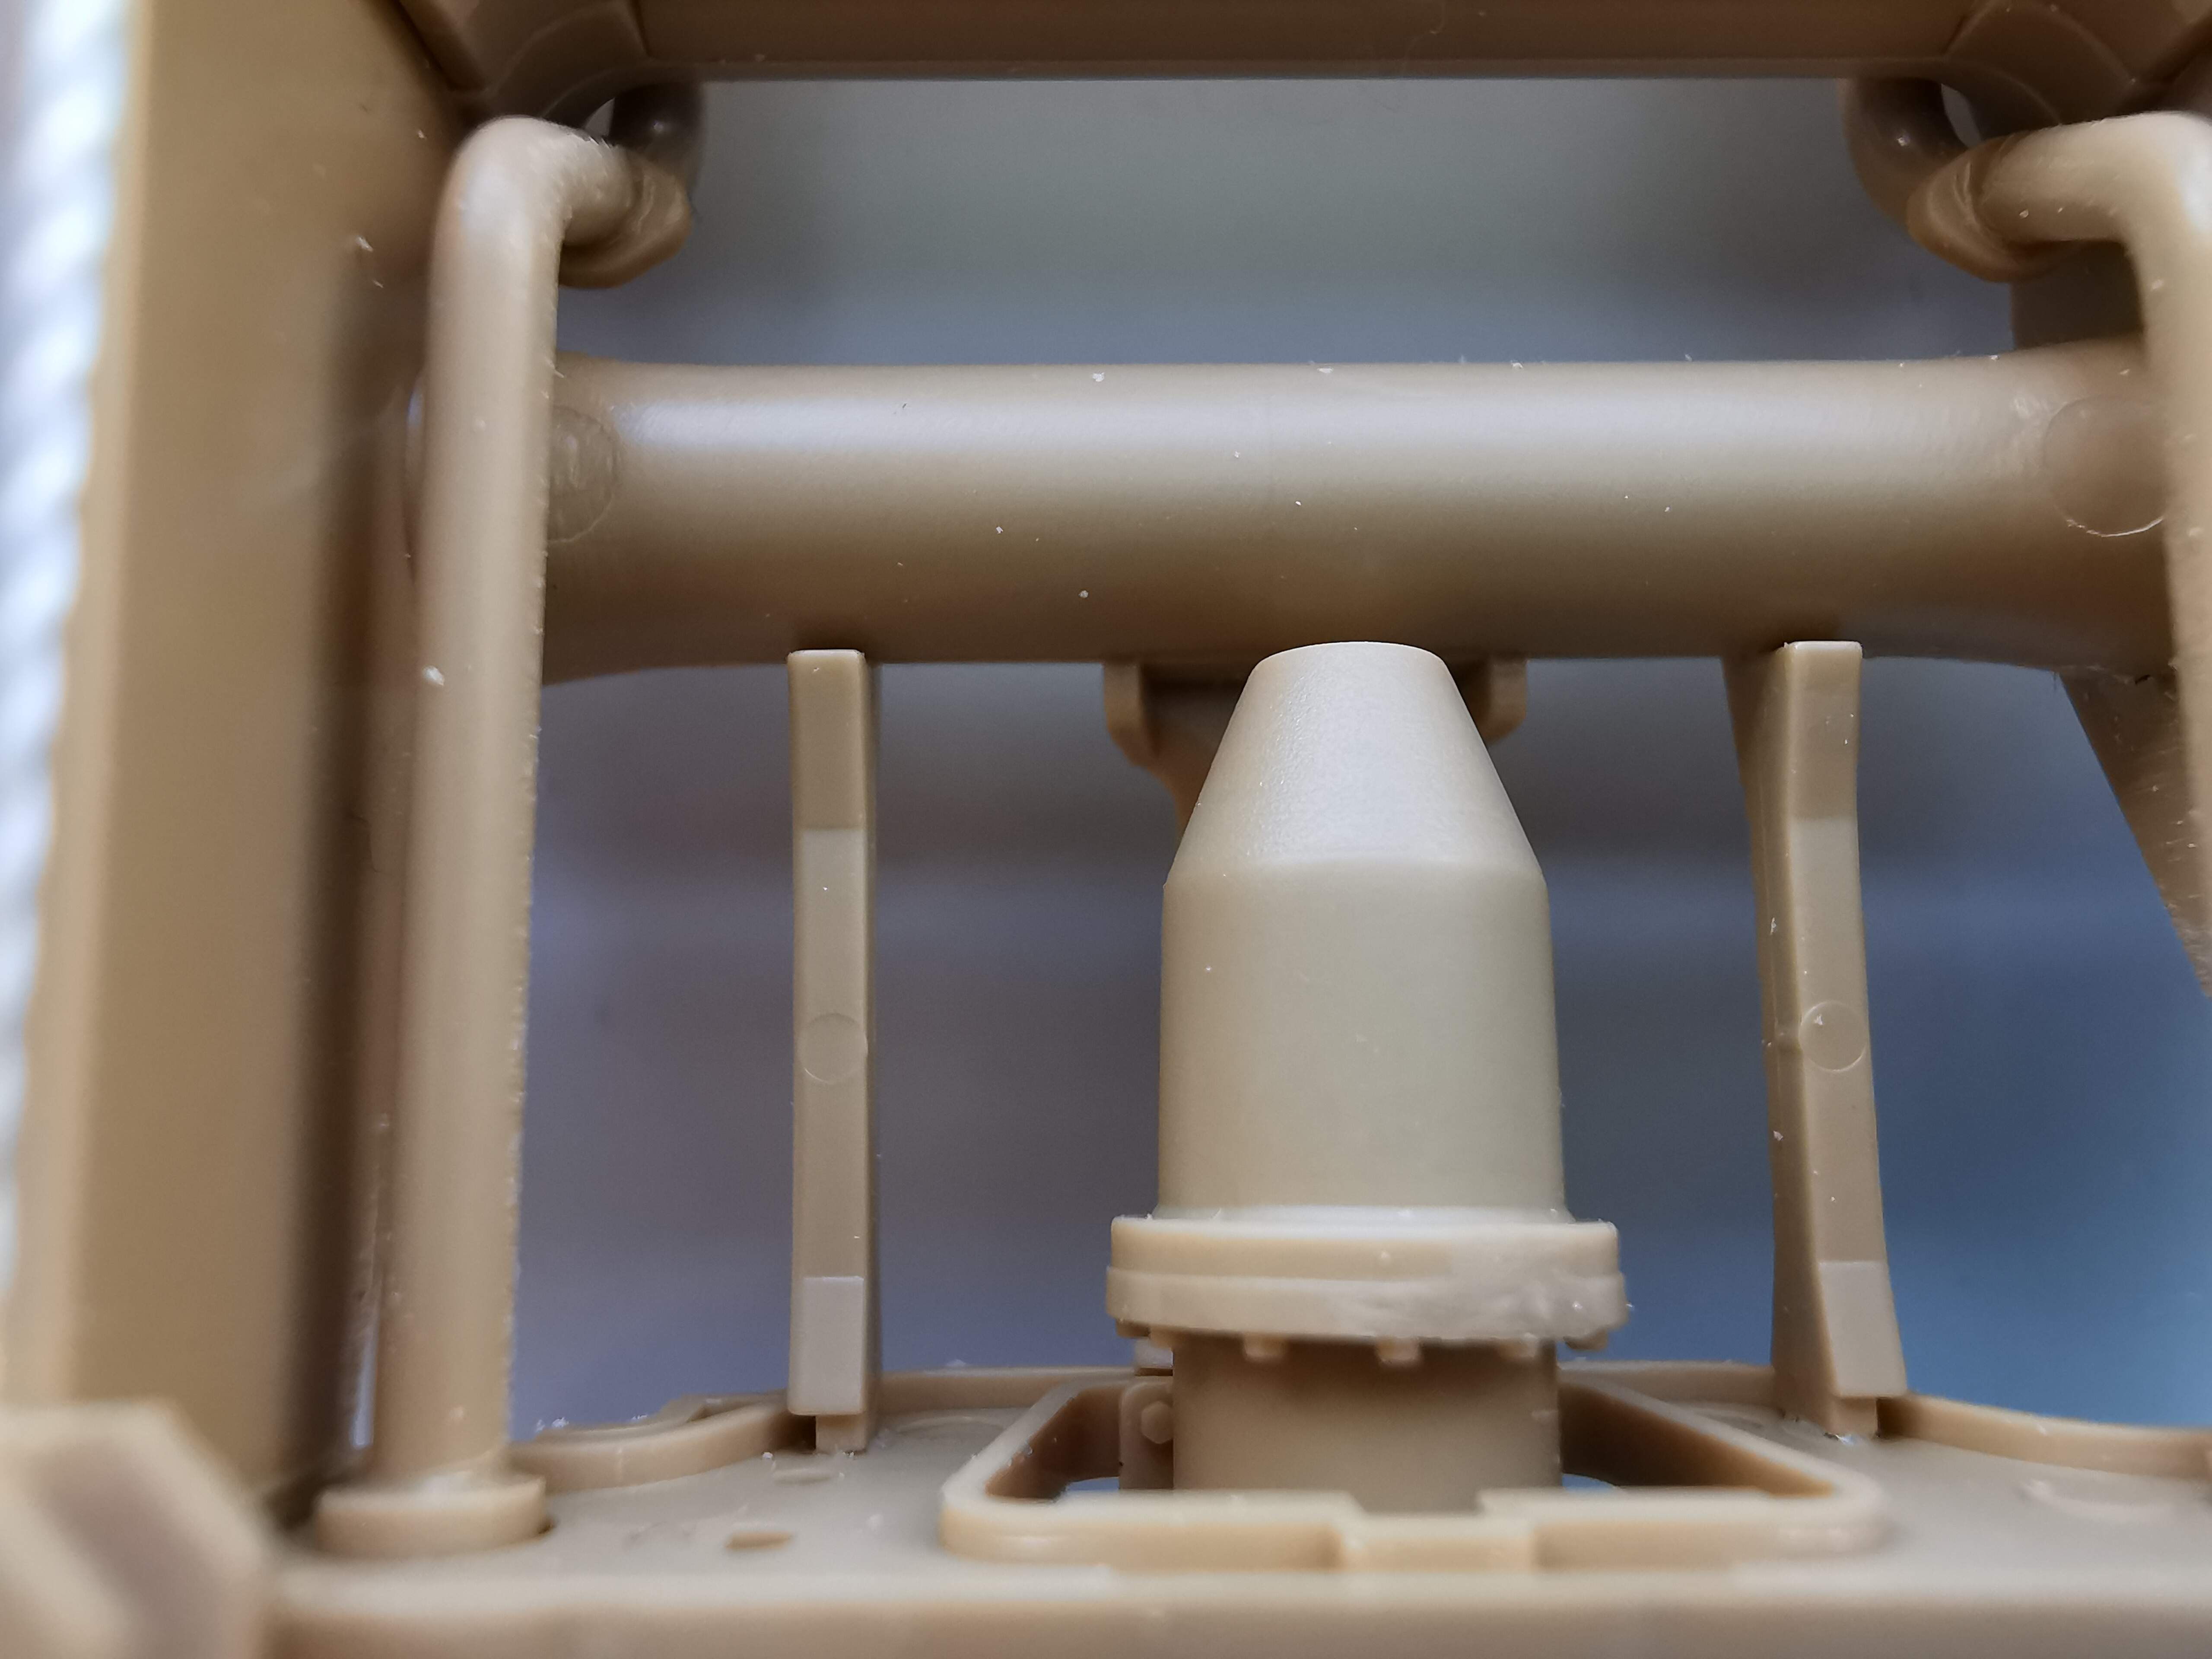
I got the conclusion that the part that I have photographed in the third picture wasn’t mounted. I probably forgot it or didn’t see it when I was assembling the model folowing the instructions. Please help me out with this problem, I don’t really know how to fix this problem by myself. I did thought of maybe to put it through underneeth or get it in place some other way, but that wasn’t possible. There was only one way to put it in. How to solve this problem, please help. I can’t go further with this. Thank you for help in advance.
3 Likes
It is part E19 and it gets assembled in step 2.
I think the easiest way is to use a thin saw to cut the exhaust pipes somewhere just in front of the mufflers.
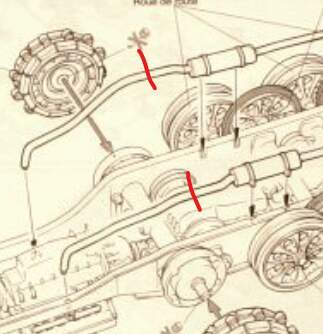
Lift the pipes and slide E19 in between the pipes and the chassis. Glue thin styrene disks to the sawn off exhaust pipes to replace the styrene that the saw removed. Glue the parts of the exhaust pipes back together and make sure they are straight.
Another option, more work, is to divide part E19 into three pieces. Saw along the red lines,
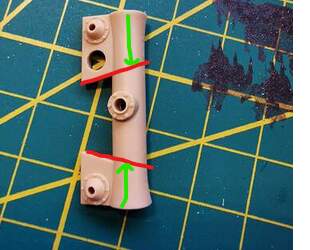
glue styrene shims to the outer sections (green arrows). Dry fit and file/sand to get a good fit.
Check the length against the inside width of the chassis. When the sections fit nicely again you glue the two ends into position using the centre section to get them aligned. Glue the centre section in position while the outer sections can still be moved. It is fiddly and you could use three or four hands to get it done.
I think cutting the exhausts will be easier …
The angled cuts make it easier to slide the centre section up/down to get all the parts in place
5 Likes
I agree with Robin. You might even be able to get by with only cutting one of the exhaust pipes.

1 Like
Thank you @Uncle-Heavy for your help.
Together with the help of my dad I have accomplished to get the most critical part on place to mount the front axle on place as it should be in the picture.
Unfortunately, with the other two parts of the parts I couldn’t do much, since also the parts of the brakes are already glued onto their place.
And I probably never could fit them in there without breaking down my model.
So I did not do that.
Anyway thank you for your help in this matter, together we have solved the problem and now I can continue my project for a bit longer thanks to you.
Problem solved already
1 Like
Today I have painted the last wheels for assembly onto the chassis.
All done by hand and a relatively small paint brush.
4 Likes
Very nice! Painting road wheels is arguably one of the most tedious parts of armor modeling, but you’ve gotten over that obstacle in fine form!
Thank you, a lot of concentration and time does the trick.
And after every side cleaning the brush.
Plus take enough paint on the brush.
Thanks again for the compliment.
1 Like
The latest progress I have made.
I have assembled the winch. And I have mounted all of the winch onto the chassis. Did have some help with the rope.
5 Likes
I’m in need of some help with the next step:
On the right you can see if you are reading the text above with the explanation of the mark that I have to choose if I attach the bumper or not. There is also some part of the explanation that I don’ 't understand. Something with removing the shaded area at D9. I don’t fully understand.
I also have to decide here what painting and marking option I want to build. But I don’ 't have entirely decided yet. I know that I probably want to paint the Grey version of the vehicle, that color. But, do you have some information or other material on the versions that are listed here to help me decide which version I would want to build?
All the help is appreciated, thank you in advance.
2 Likes
And here are some photo’s with markings to make things more clear.
Sorry I didn’t do this right away.
2 Likes
E42 is only used for some of the marking options so you need to decide which vehicle you want to build.
The shaded parts of D9 covers the slots where E42 gets mounted if E42 is used.
The little “legs” on E42 have tabs that fit into slots on the front of D9. These slots are created by You by cutting out the shaded areas.
As Robin said, these are the parts to remove, if you decide to go for that model:
As for which version, you may look for photos on internet and see which one you like. Or just choose the color as per the instructions.
2 Likes
Thank you for the help so far.
Regarding the photo’s, I can try to do that.
But I have tried that in the past and I didn’t have much luck with that.
I think I’m going to need some help with that.
I’m also having trouble with interpreting colors from black and white photographs.
Again, I think I need some help with that.
But, I’m going to start with it tomorrow and also try myself.
Anyway, thanks again for the reply.
1 Like
Sounds advice from Robin. To remove the slots. Try marking where the bumper goes in pencil or sharpie and then using a microsaw,l carefully saw out the outlined penciled area. If you don’t have a microsaw you can use a small drill bit to remove most of the material and then clean it up with a knife.
It looks to me like the first two markings lack the bumper and the second two have it.
The first and third option are panzer gray (xf-63). Decide which of the two you want to do and the third will get a bumper, the first won’t.
1 Like
Thank you all for your contributions and sending over all the materials for research. Much appreciated.