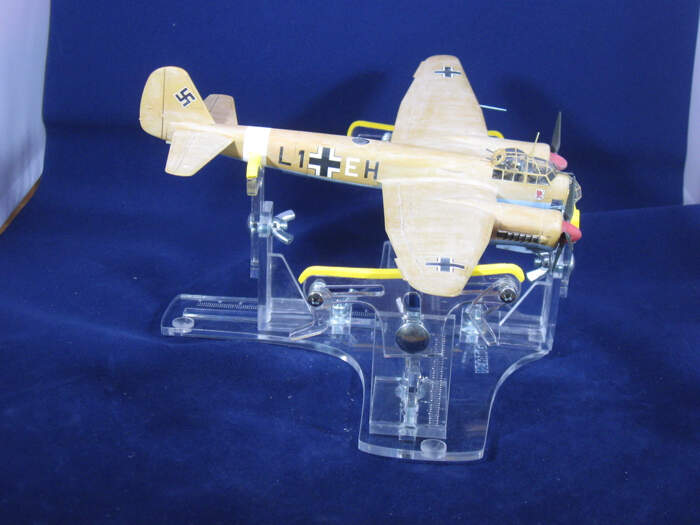
That’s turned out really nice John. I think the weathering and exhaust is just right. It’s too easy to overdo those effects, subtle is sometimes more effective.
Have been meaning to try one of these myself.
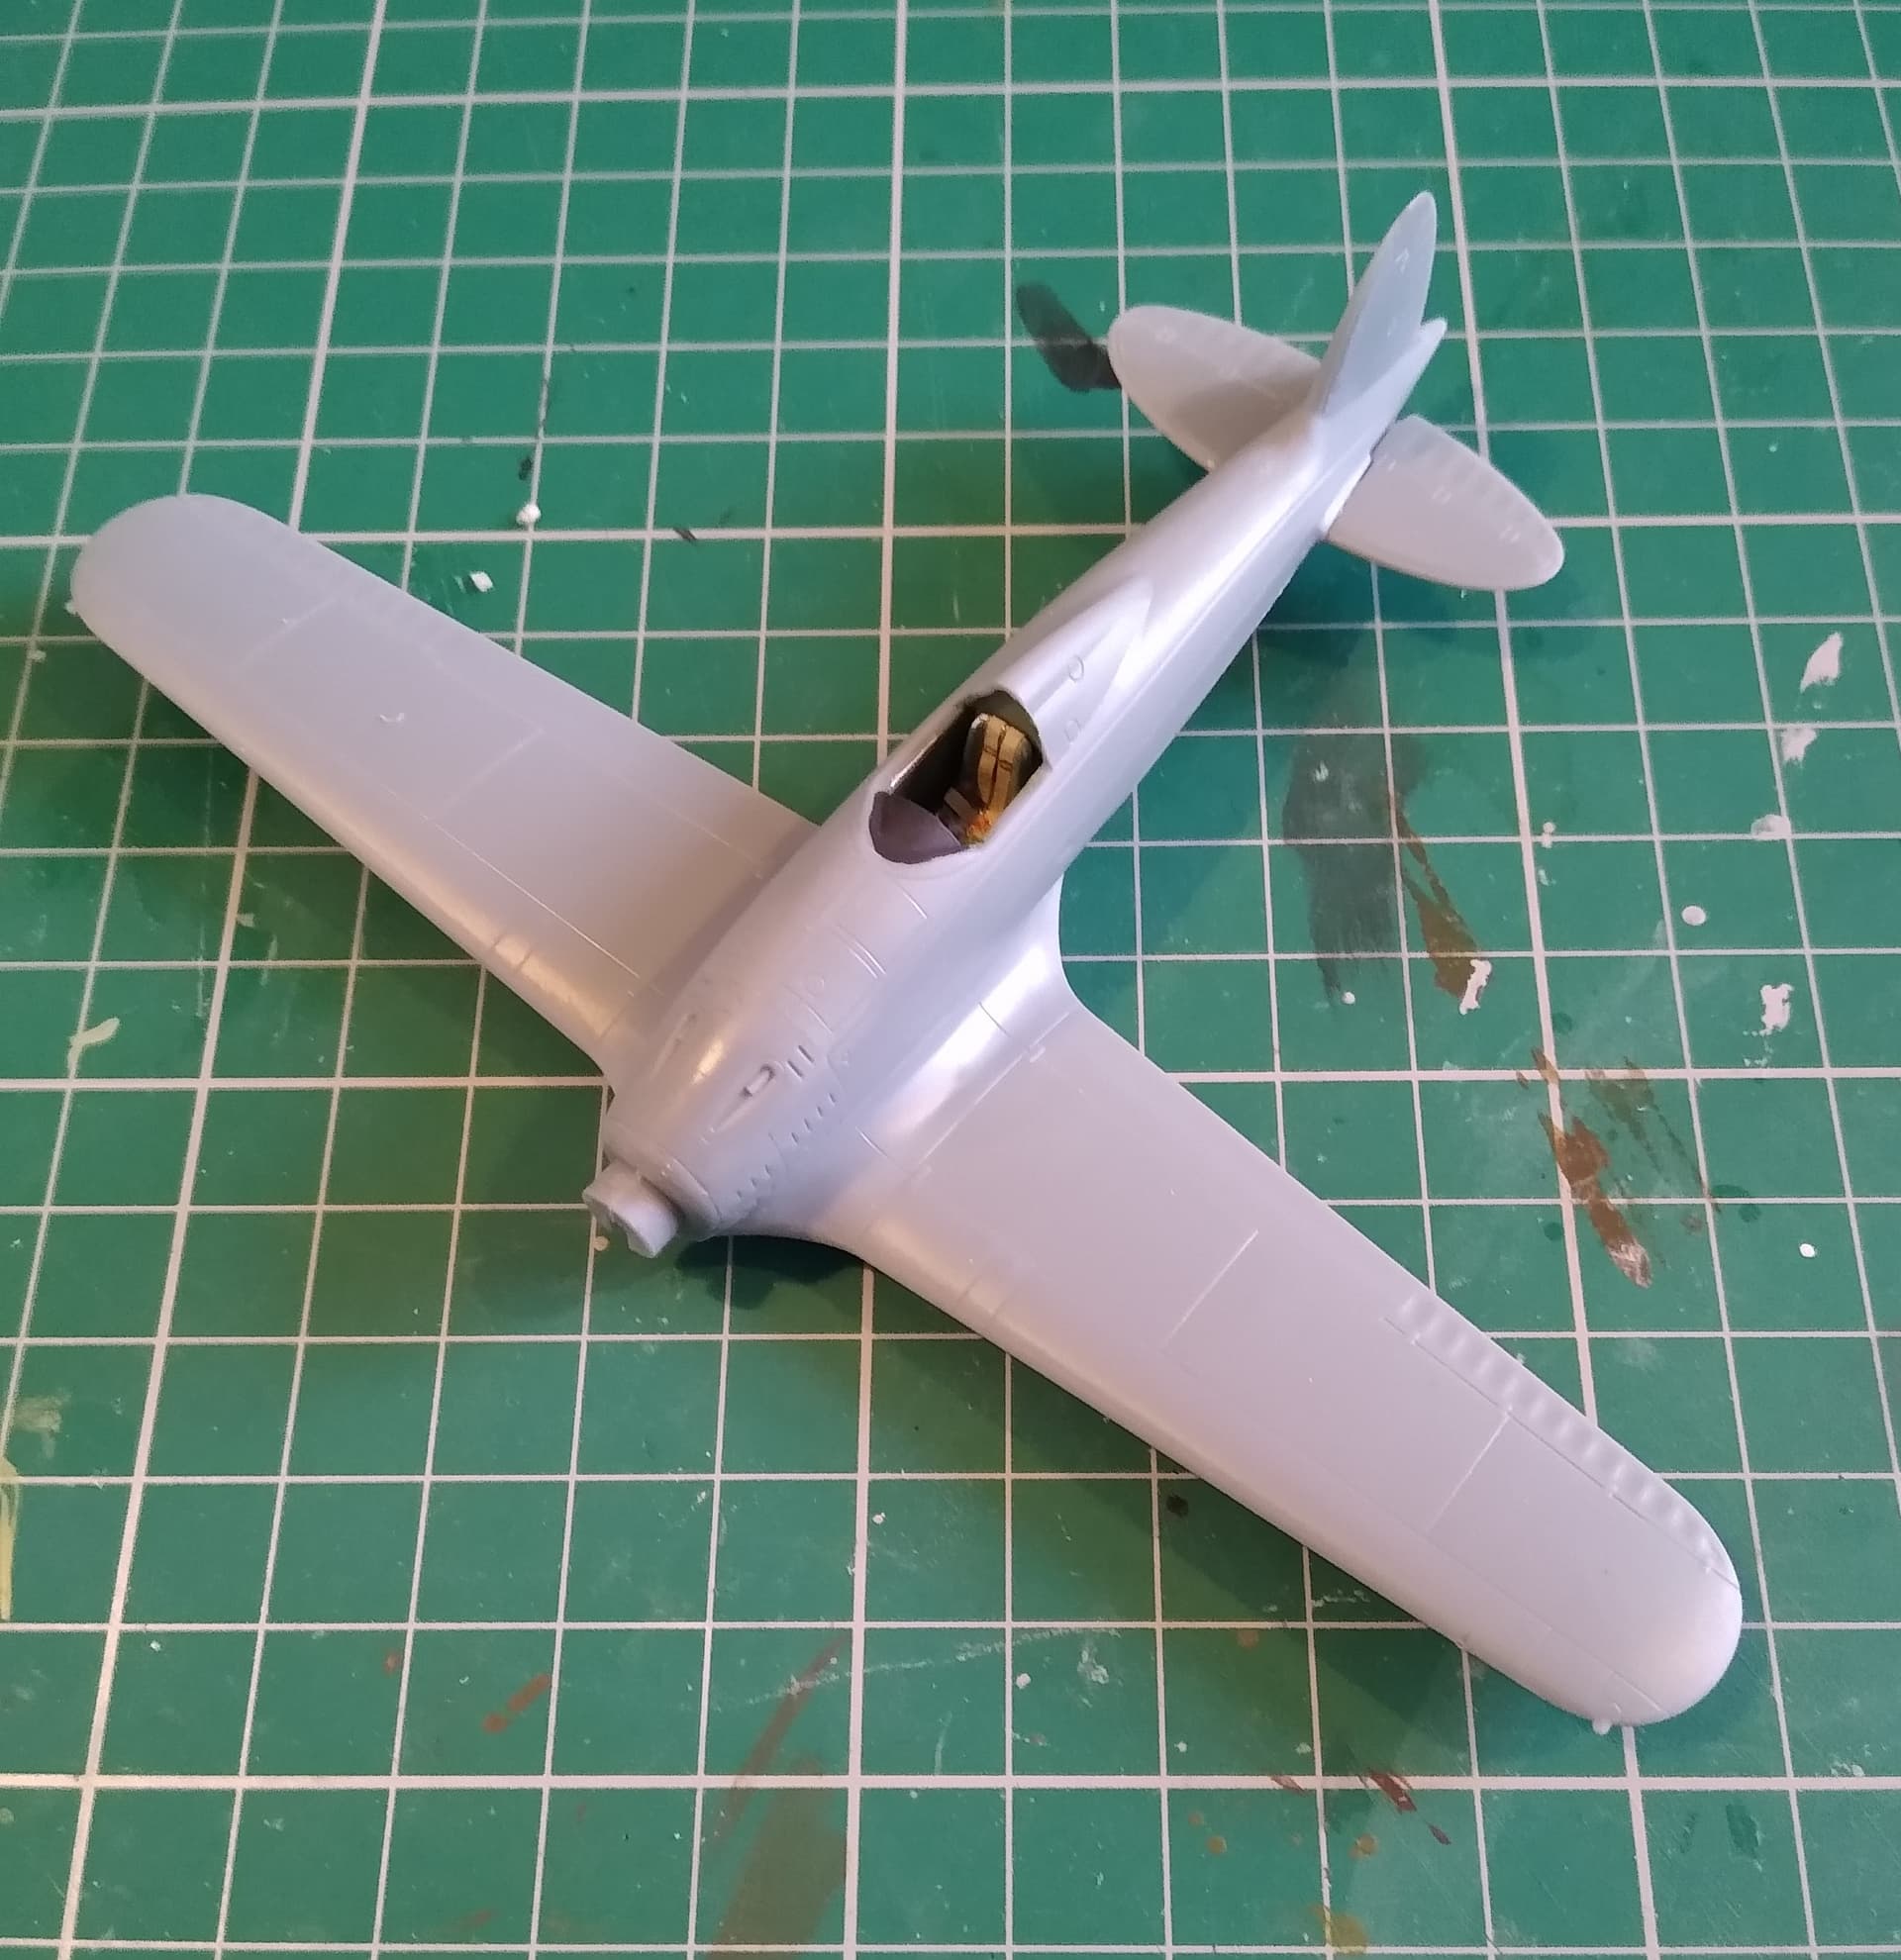
Managed to get the fuselage assembled on the Macchi today. Think I managed to get a nice neat join.
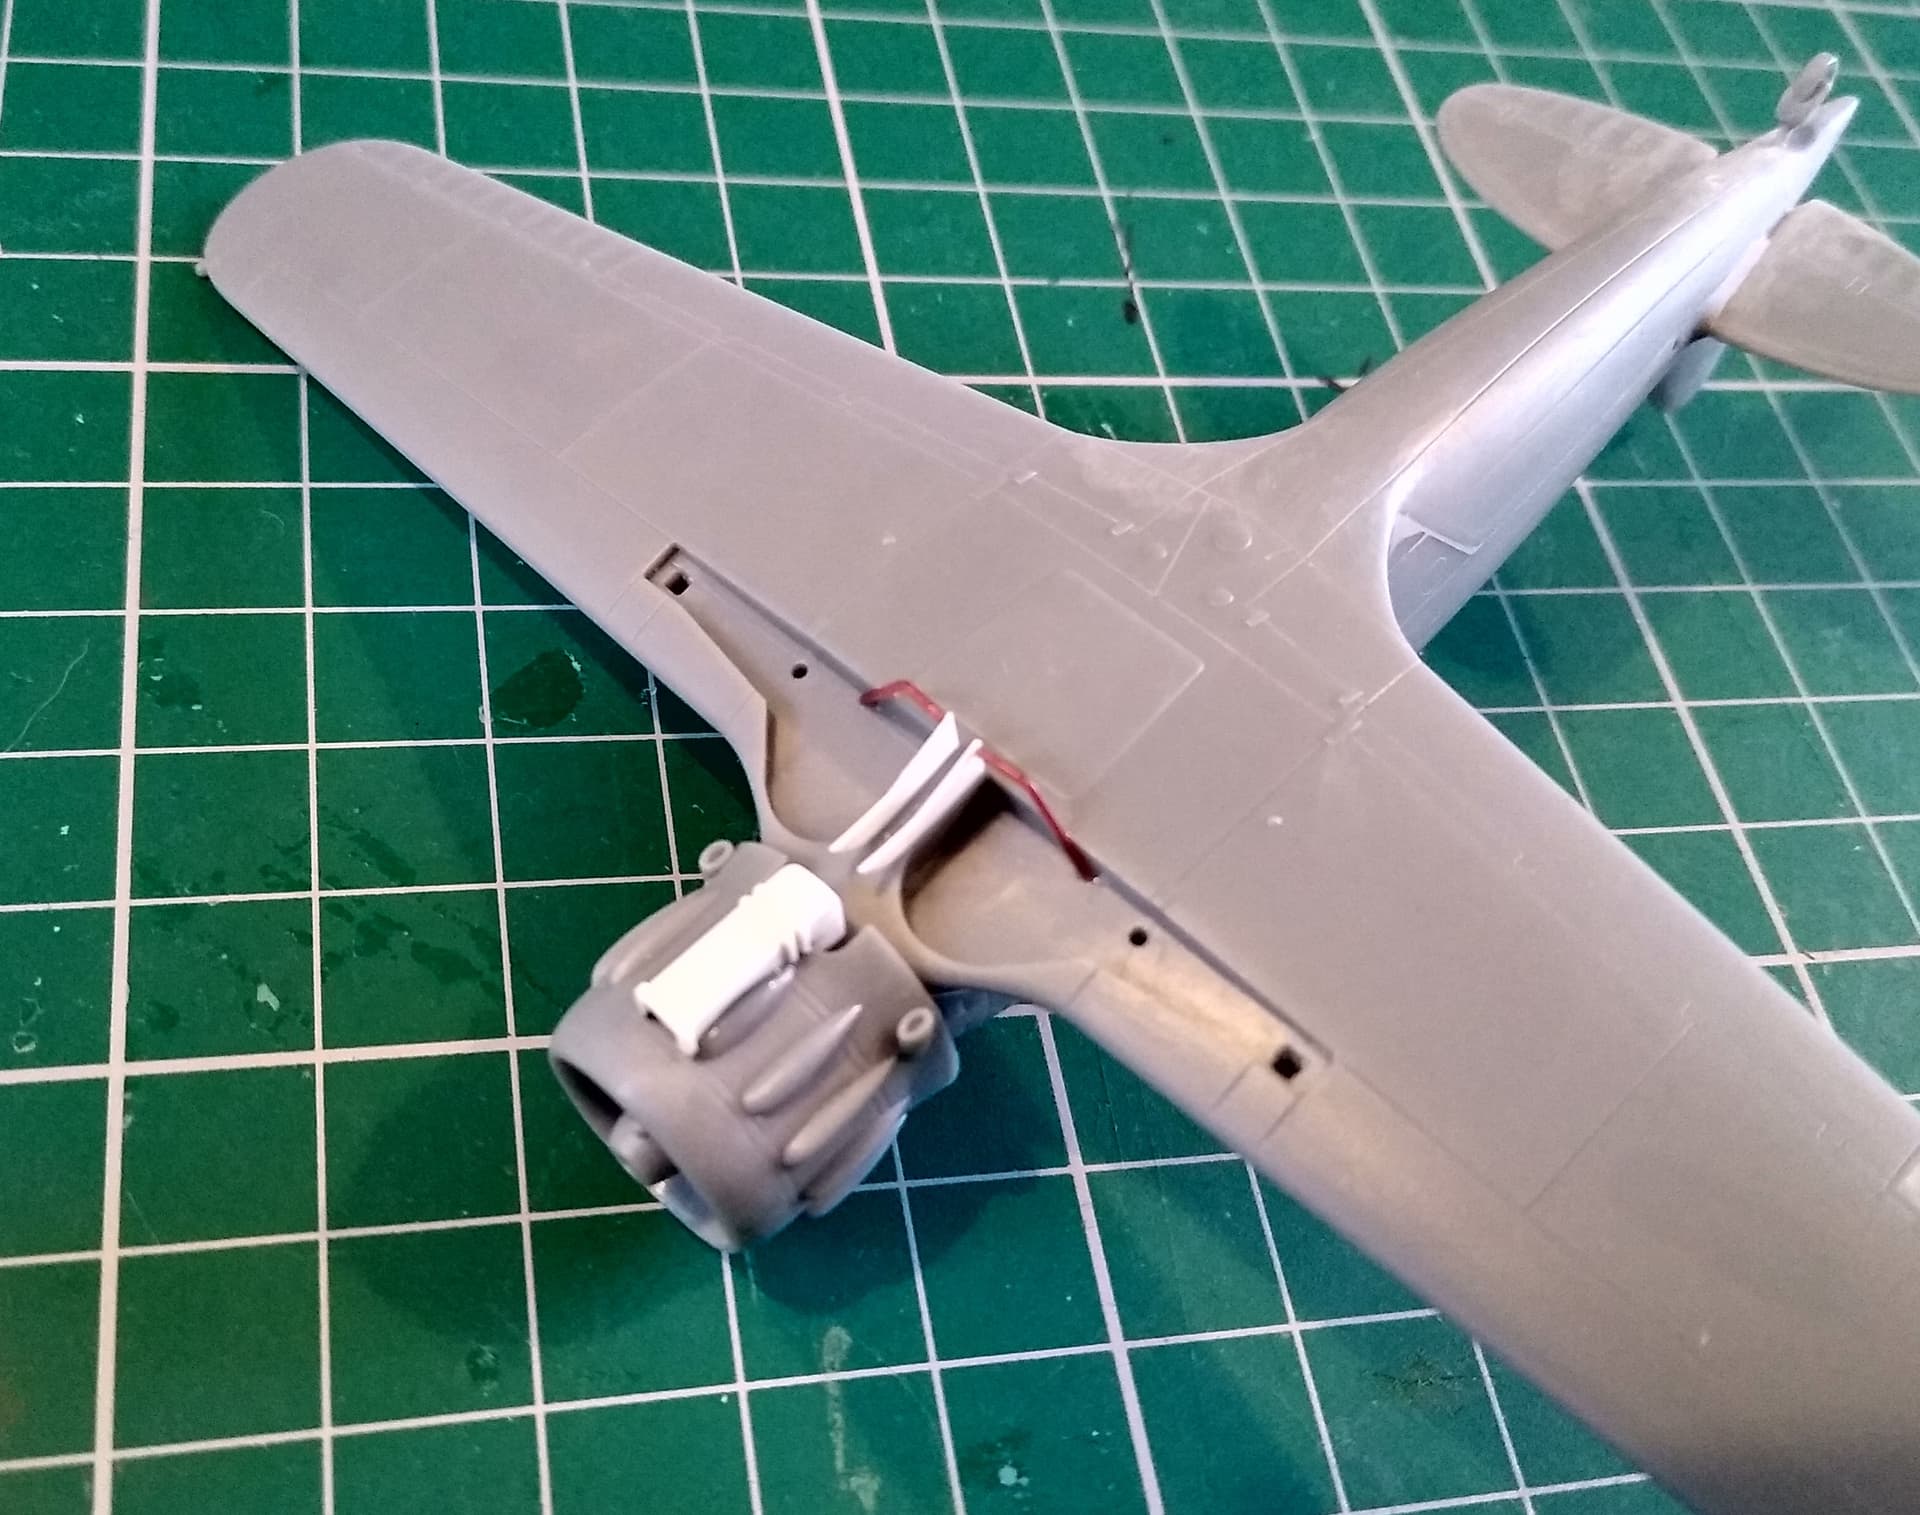
Intake was made from some U-section plastruct with strip details. Luckily I was able to find some 1/72 plans in Osprey’s Italian Aces of WW2 book. These were a big help here.
Thanks Peter.
Strange that Hobbyboss missed it off. Wasn’t difficult to make it up though. They also missed the inboard landing gear doors. I used the doors from Revell’s ancient Macchi as templates to make those.
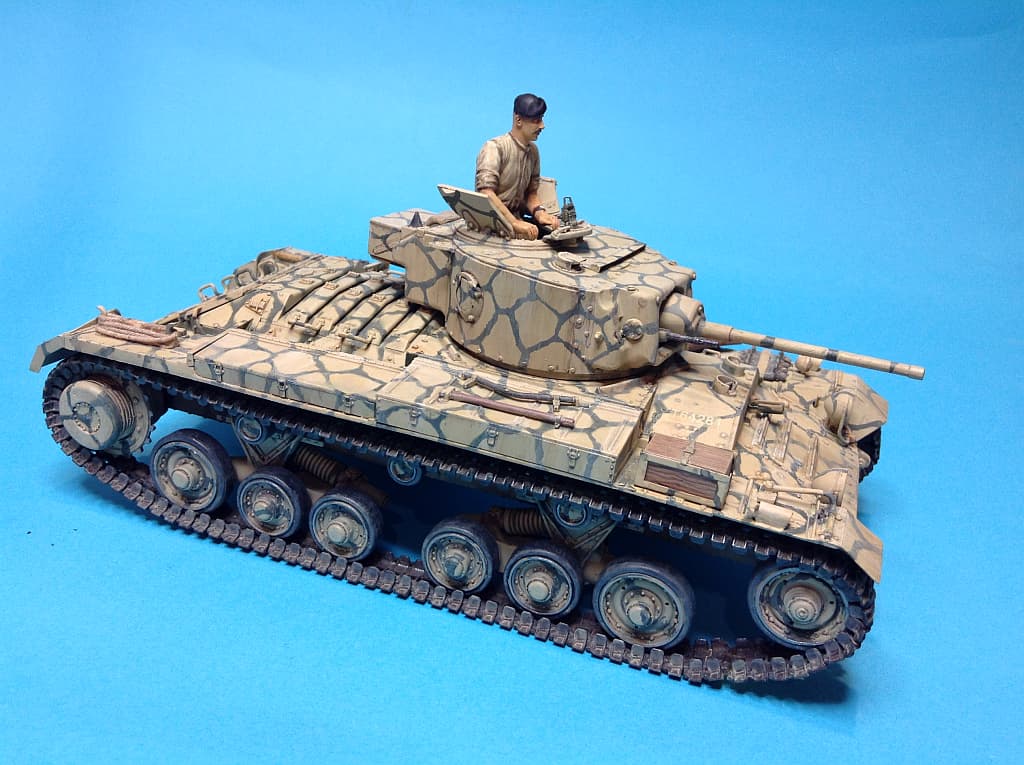
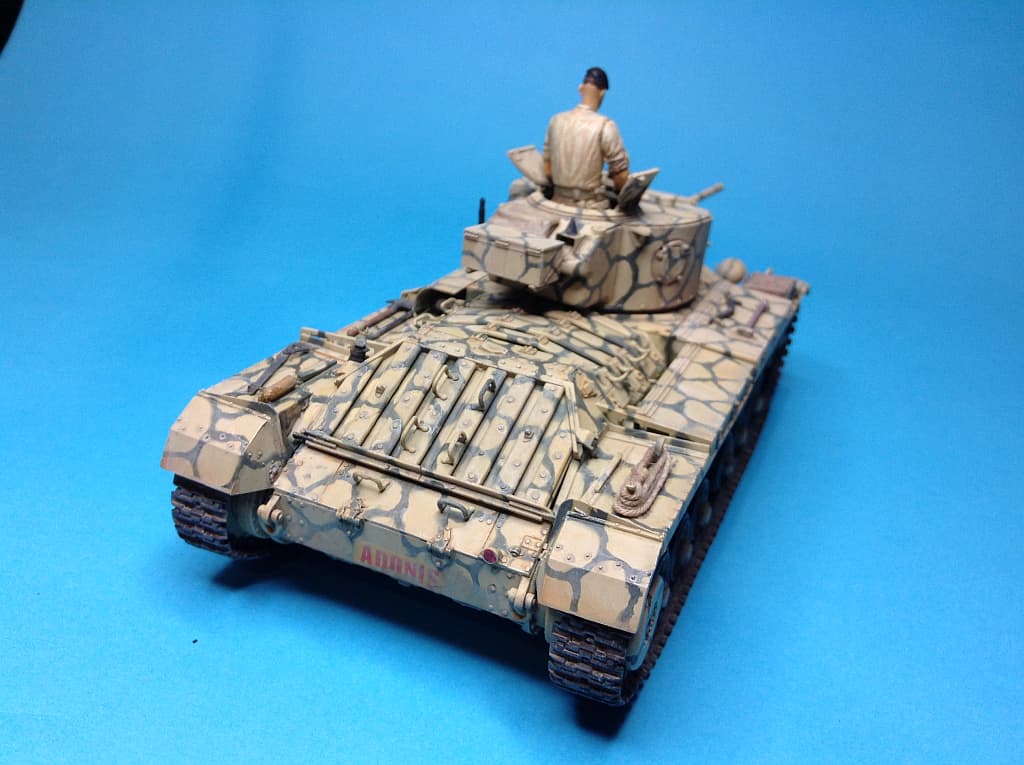
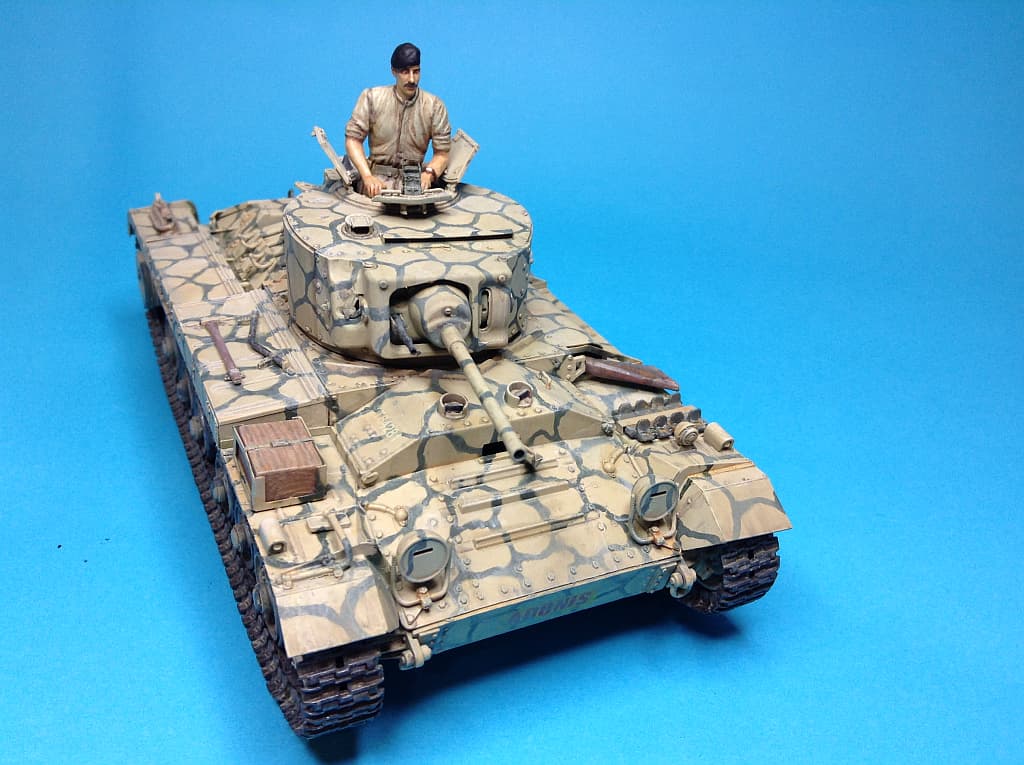
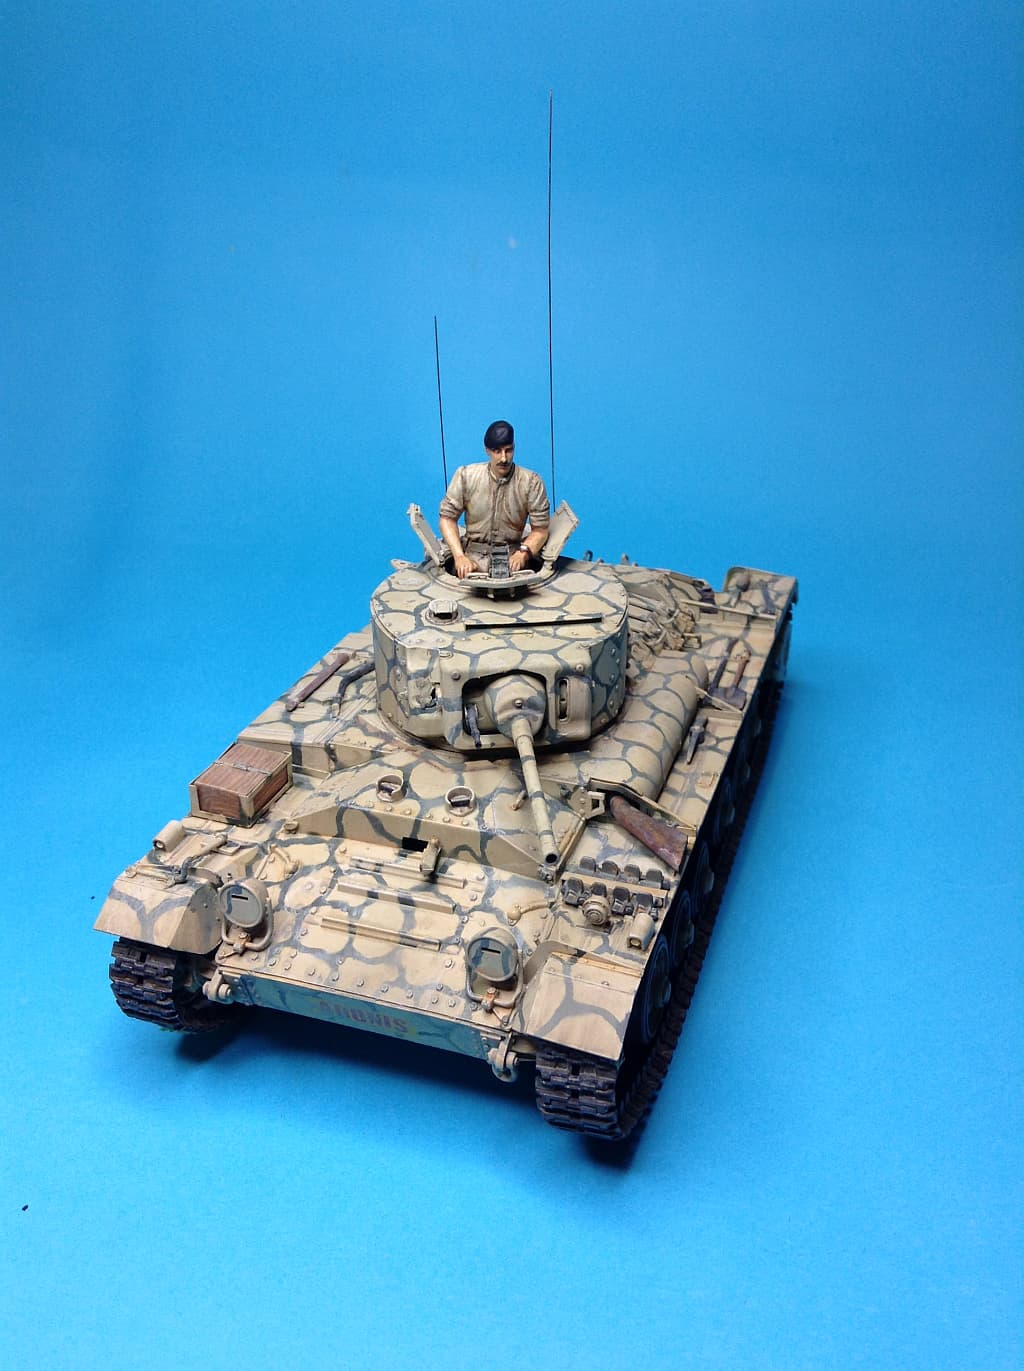
Great work on the Valentine. The stone wall cammo is very nearly done.
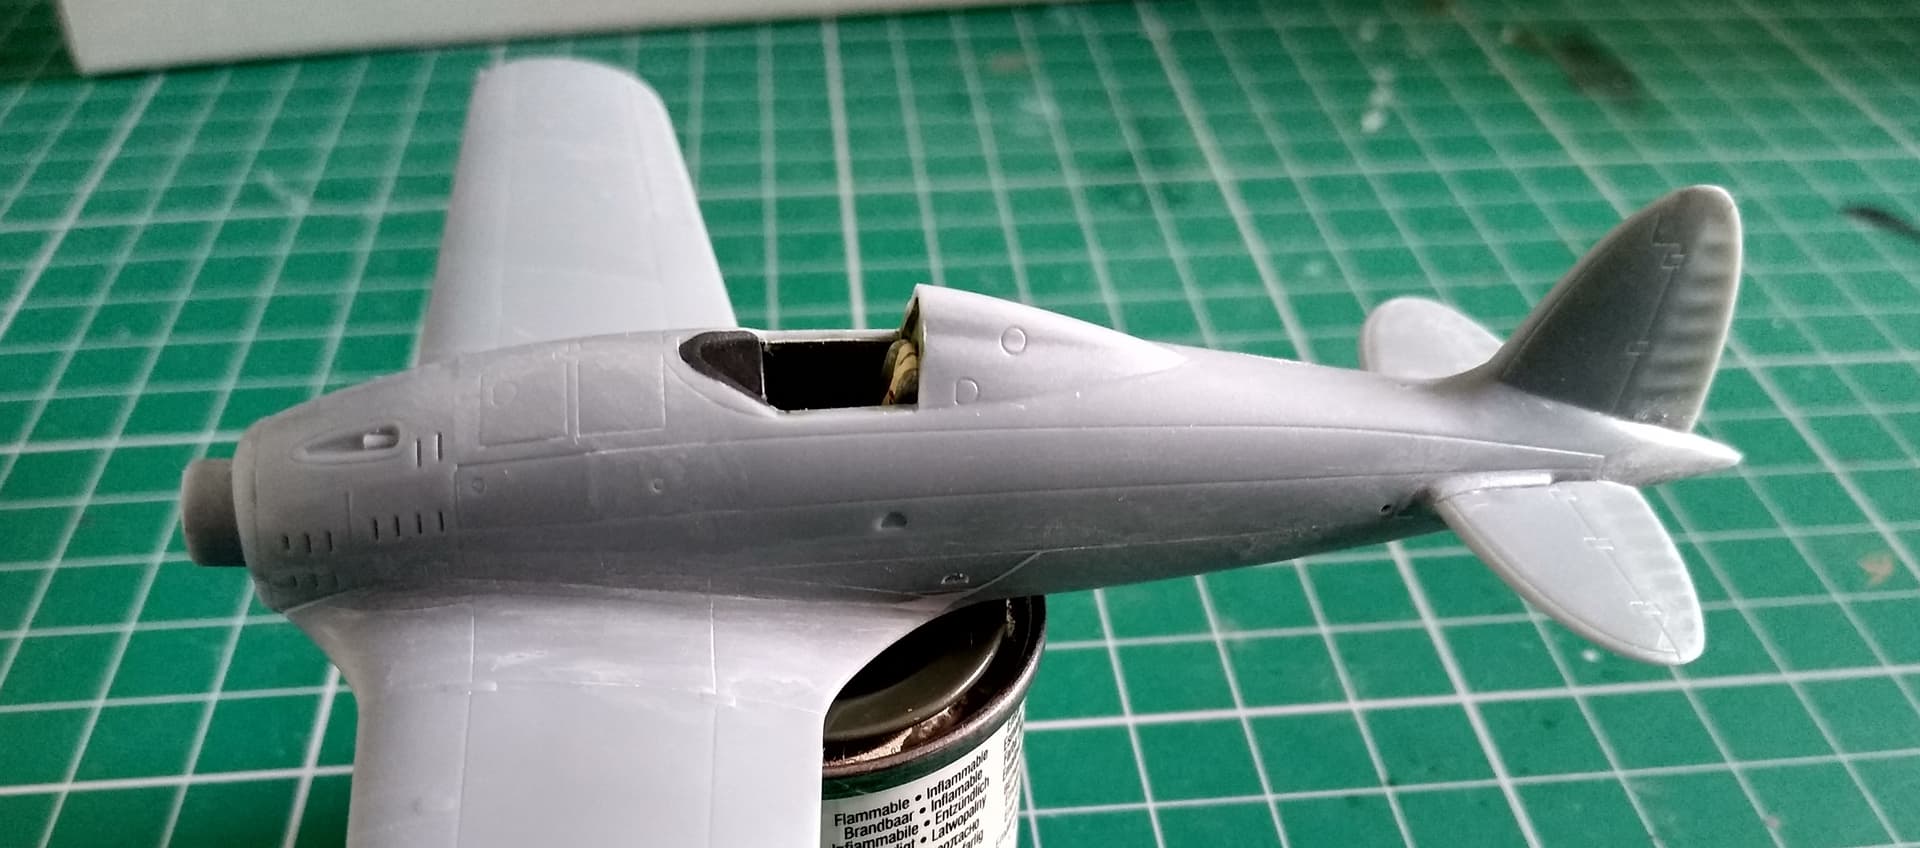
Sprayed a coat of white primer, followed by some matt white on the rear fuselage.
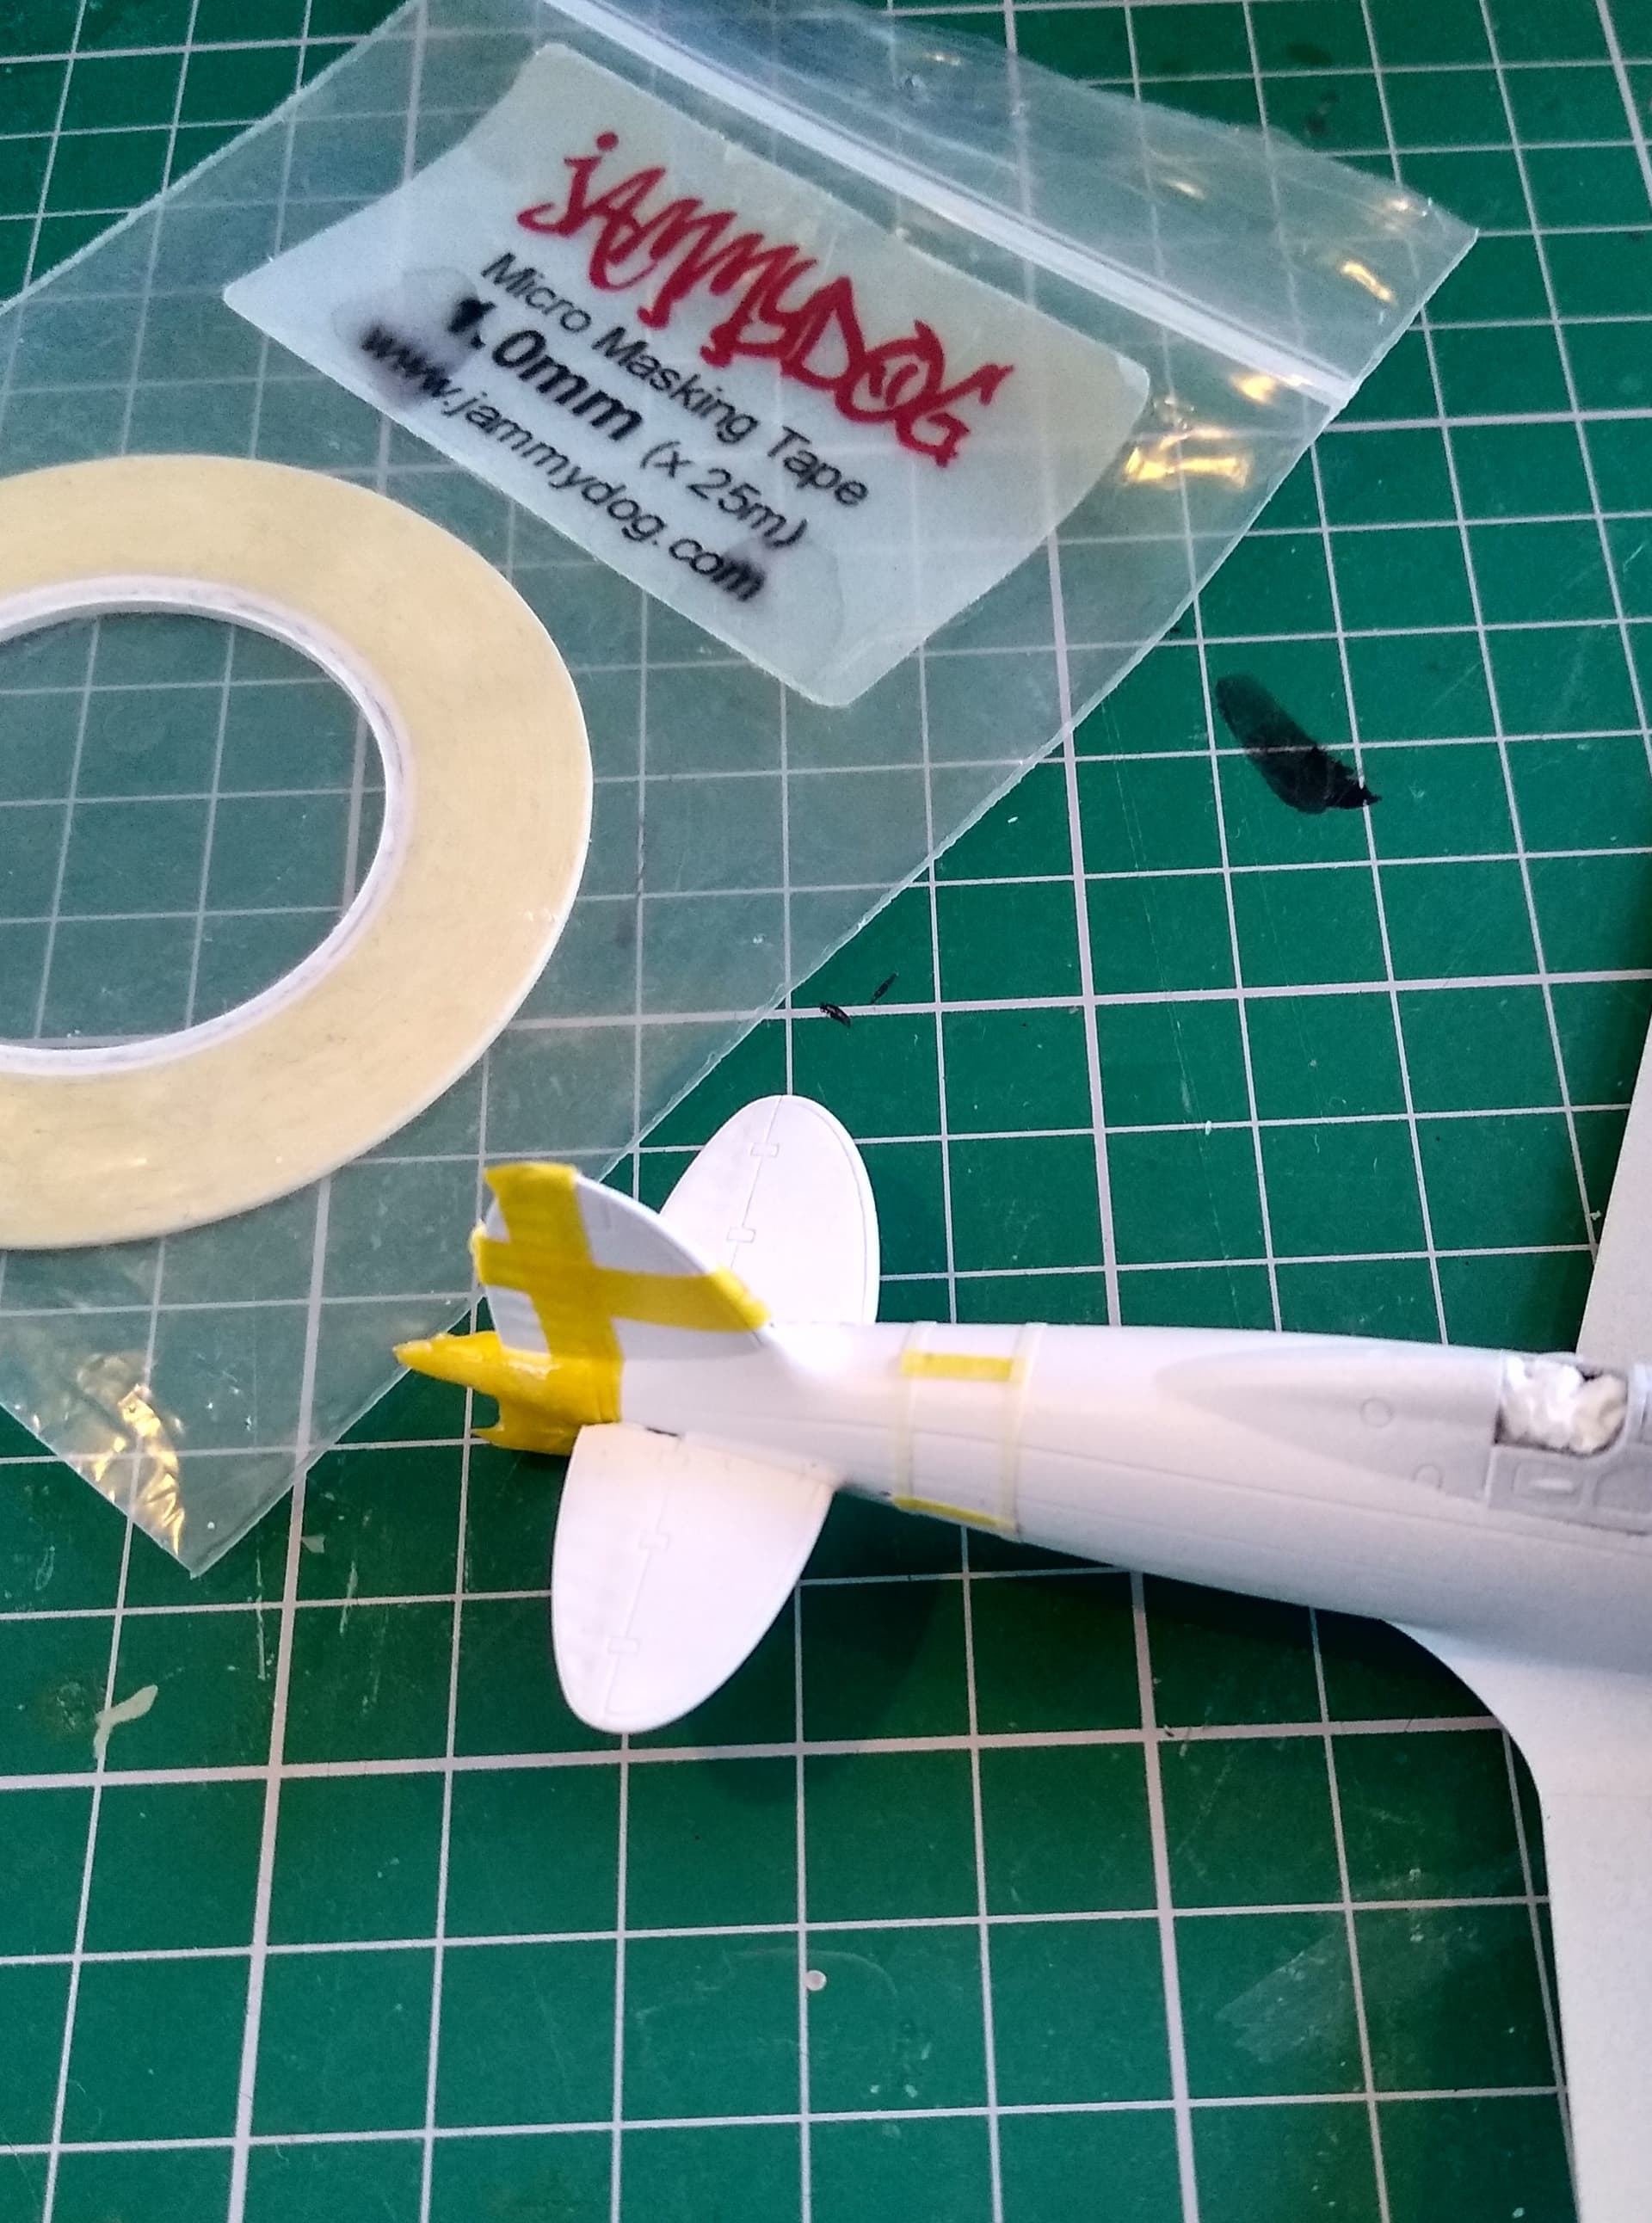
Now for all the fun and games of masking the band and crosses. I absolutely hate trying to mask fuselage stripes, always a struggle to get the m straight. Even after half of hour of messing around, it’s still wonky. Why this can’t be provided as a decal is beyond me.
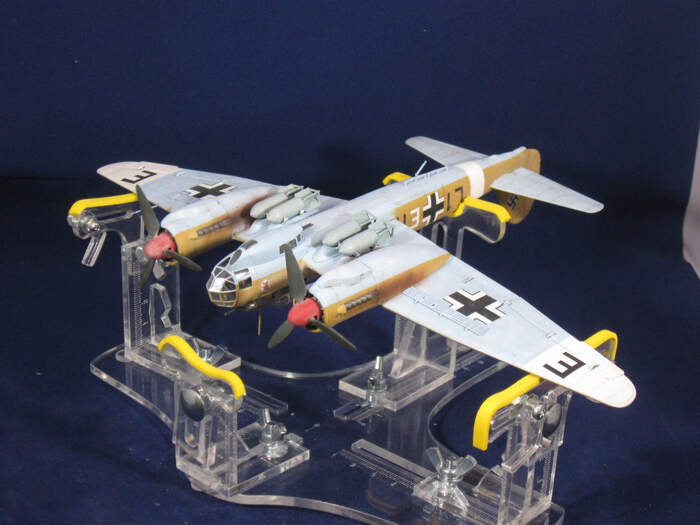
I’m calling mine done. I put a little dust on it, and even though I think it may be a little heavy, it does NOT show up this heavy in real life. The camera really makes it jump off the plane and it’s pretty subtle (if not quite subtle enough) in real life.
I really like this kit. The only ding I have on it is that the panel lines seem pretty uneven in depth. The tail and some parts of the wing took the wash really well and it popped as a result, but others wouldn’t take it at all. Had I known this I might have been able to deepen them a little where needed but I wasn’t going to redo it all as late in the build as I found out.
Everything fit pretty well - there are a couple of places on the finished model that I think don’t look that great, but I imagine that is me not taking enough care rather than a shortcoming of the kit. As I was building it everything went together well and fine.
Yeah that’s the stuff I’m using.
It’s a real pain to get this one lined up. I’m trying to get it all straight and level as I move around the fuselage. But then I look at it and it’s wonky. The top and bottom seem to be the most troublesome areas.
I’ve given up for now and got the tail cross masked out. At least that went well.
I’ll have another go at it tomorrow, but it really has felt like a day wasted. I had planned to get masking done and the grey on the underside done today.
Today’s attempt seems to have gone a lot better.
I ditched the Tamiya vinyl flexi tape in favour of some regular 1mm tape. I think this has worked a lot better. The Tamiya tape might need a bit of practice to get the results you need. It’s very stretchy and I do wonder if I stretched it out of shape while I tried to pull it around.
Of course using white tape on white paint doesn’t help either.