D,
I’m sure that the F1 guys would love to just have to scale a slot car up for max performance., but that’s just not the case. Just numerous shock/spring combinations, and each shock has 6 settings, add both sway bars which come in numerous dia/strengths, and the link position to the axle is also adjustable. Tires pressure/temp., camber, caster, toe, and all of this is inter related. ride height both front and rear which are separate and usually not equal, brake bias, brake pressure add just a little more fun to the mix. Now just for fun throw in front and rear wing settings. It’s absolutely mind boggling when you think about it.
F1 teams have engineers that just focus on just one area, and it can be more like Black Magic at times to get it right. And just when you do, the damn weather changes.
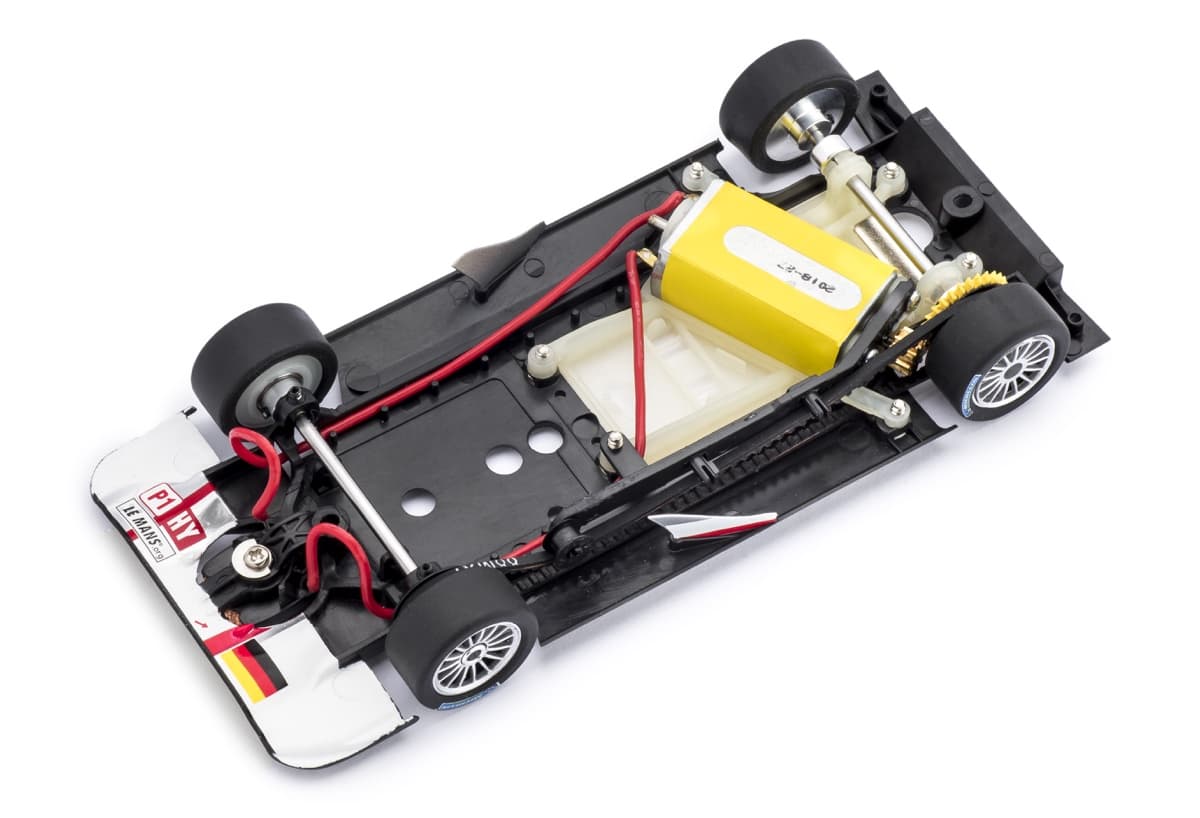
There are 4 wheel drive models also that are belt driven. You can get springs for where the two chassis pieces join so that you can also have an adjustable spring suspension. There is also a magnetic spring combination that uses opposing magnets to “float” the body
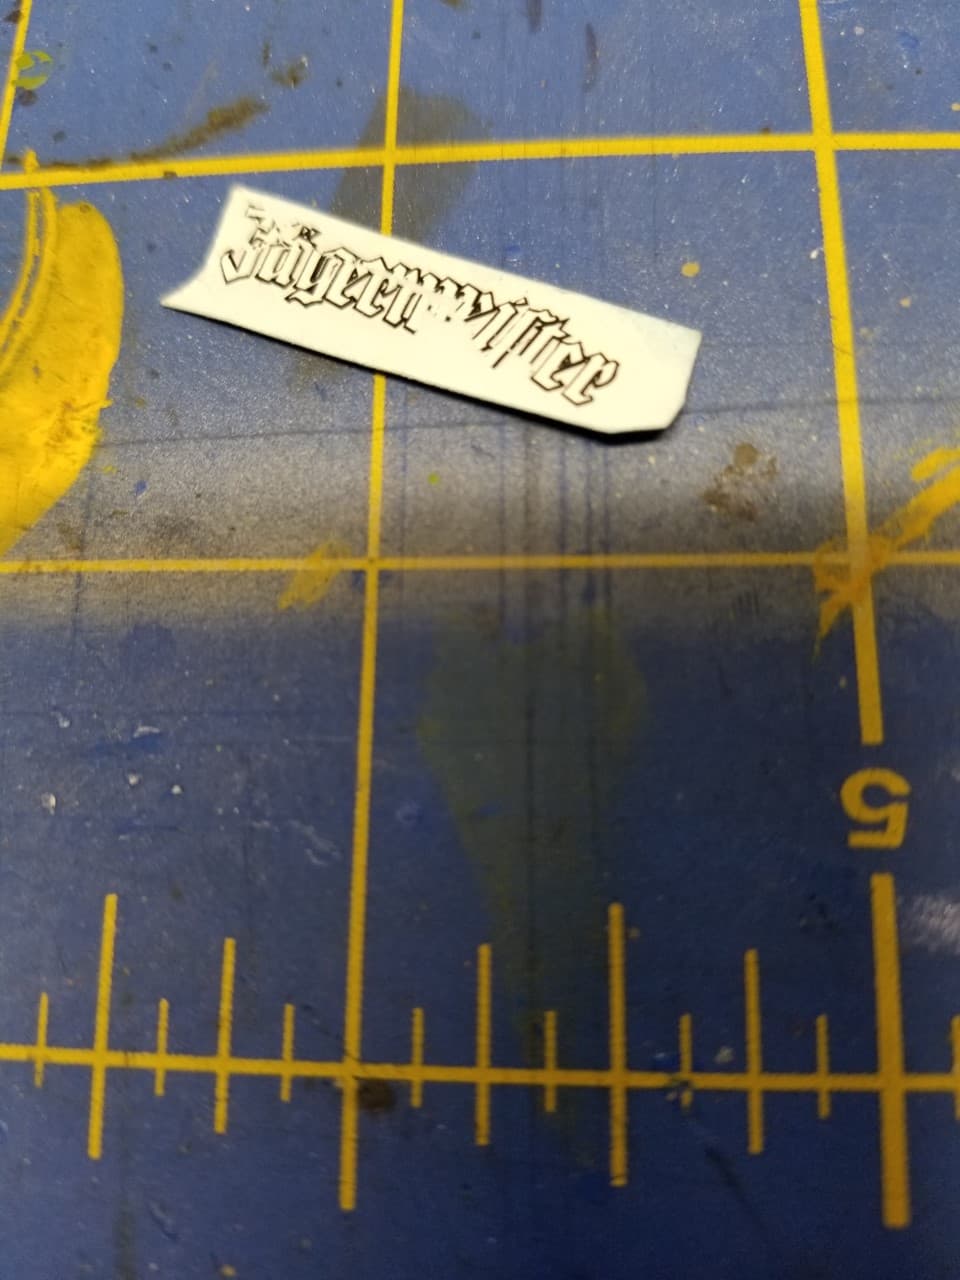
Next up are the decals The decals I am using are 5 or 6 years and and the carrier is very thin. I should be spraying some clear on them first but I am starting anyway.
This is why I should spray clear over the decals first. this one split horizontally, vertically and diagonally. fortunately I had an extra decal.
As I slowly work through the decals I notice the fuel filler cap is missing. I don,t remember seeing one. After checking I find none are supplied. I bent my head around the problem and came up with an OK solution. I took my liquid chrome pen and colored the center area of the fuel filler cap location chrome. I went into the spare parts bin and found two small washers and painted them black. I will glue them in place to complete the fuel filler caps. The liquid chrome is fantastic.
As for the decals, I’ve used decals 10 years old and they worked fine. I keep all my decals in zip lock bags each for a different race car type, with as much air removed as possible. I then store them in plastic containers by more generalized cateogries: F1, Indy Car, Tin Tops, Nascar, and general misc decals.
I’m decaling right now myself using my tried and true decal system that I’ve used for years and Indy Cals decals. Never had any real issues. But these decals for th Lotus wrinkle and just don’t settle down like I’m use to. Haven’t a clue as to why.
Microsol is your friend. Again thanks for the denatured alcohol advice, it kept me in the game. All of my spare automotive decals are kept in a 1 gallon freezer bag.
Greg,
My decal process is Microset, then Microsol, and finally Solvaset. Every decal company’s decals have worked perfectly with this system. I started using warm water to add in the loosing of the decals. It worked perfectly with Sudio 27 and SK decals, but when I tried it with Indy Cal decals they loosened up from the backing paper just fine, but were very difficult to place and keep in place as they would slide out of position, stretch, and wrinkle.
Will be posting the full issue later in the build blog. Lets just say for now that i took one, no two Giant steps backwards on the build
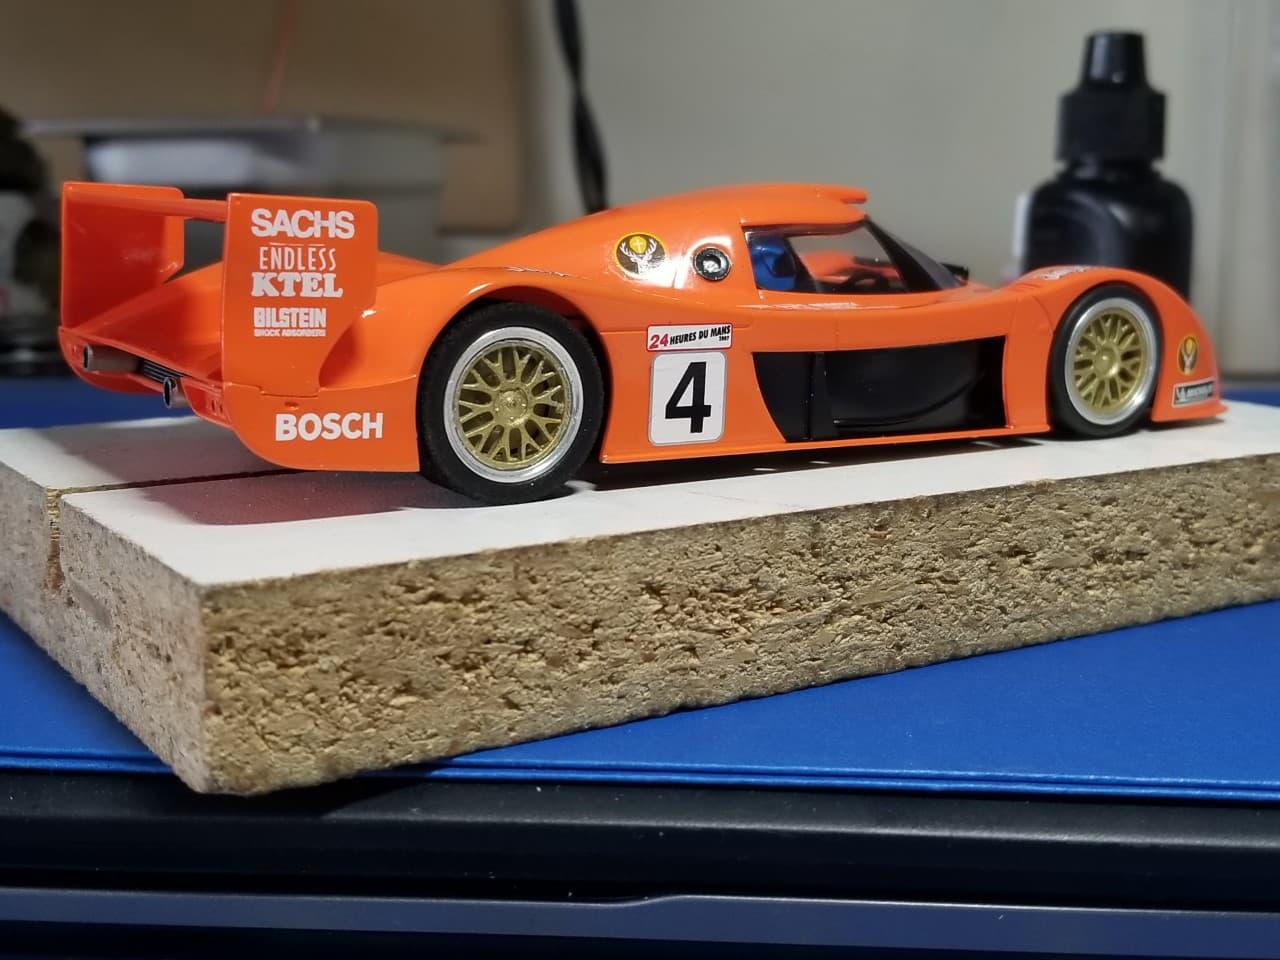
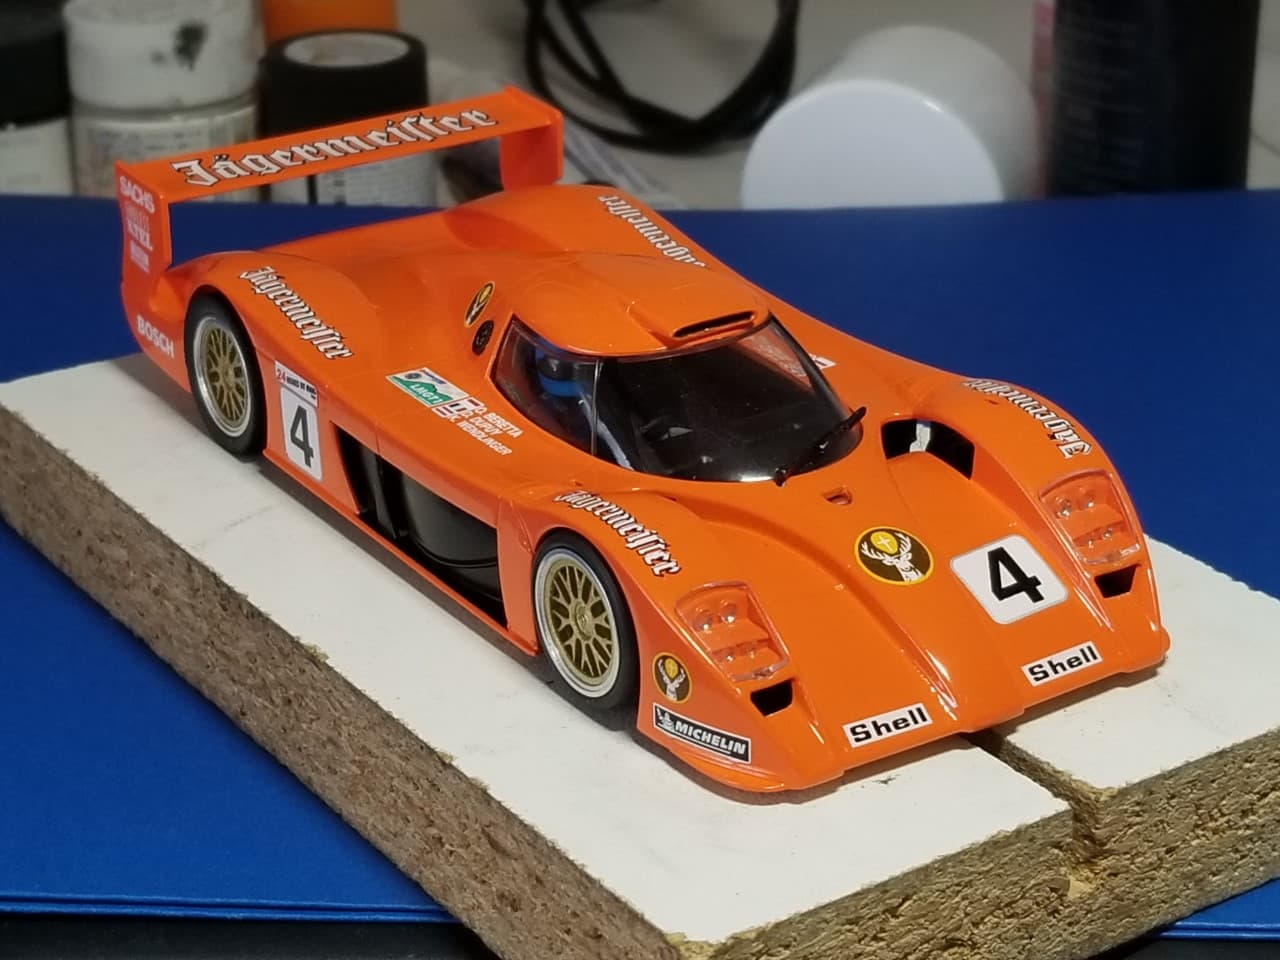
The next item on the agenda are the wheels and hubs.Most of the Jagermeister group c cars ran with silver rims and gold spokes. My chassis came with black anodize rims so I had to replace the rims with plain aluminum. I think they look better. Also the rear tires are swapped out for sponge tires.
The driver is done and now is the time to fit in the windows. I have hit a snag that you folks have a slick idea to do. I want to paint the top portion of the front windows black. I do not have a template or decal to do this. I do not want to mess it up. Suggestions as to the best way to proceed?. If not I will leave the paint off.
The steering wheel comes with the kit but the wheel is not sized to fit the drivers arms.
Maybe I should put an old pistol grip shifter in his free hand.
With regard to the black window section, if you’re not keen to mask and paint, perhaps paint a strip of masking tape then trim it to size and burnish it on? You could possible also source a small sheet of black decal paper and trim some to size.
Greg,
have no fear. Tamiya has 1,2, & 3mm tape. I use them all the time to mask curves as they bend easily and do hold their shape. I’d opt for the 2mm size and then lay it out along the sun visor line. then simply take pieces of 10mm size tape maybe a inch or so, and cover the rest of the windscreen slightly overlaying the pc right above it and next to it. And don’t forget to completely mask the back of the windscreen. This is how I do all my compound curves and angles, as well as paint all pcs of glass that need some kind of painting.
D’s idea about a decal is how it’s usually done. But everyone has sponsors on it and or the series, so it’s going to be a choir to find the correct one.
Being a purist, I just can’t see putting a manual shift stick into the drivers hand as this car has paddle shifters, even a manual clutch is a paddle on the back of the wheel.
This past week was quite busy and I didn’t have much free time. However I am back at it.
I taped off the “A” pillars and painted them black. I had not noticed them before because the black interior in the photo’s of the Toyota GT1 camouflaged them.
The number 4 follows the body line of the front nose piece When viewed from above, the nose panel line runs straight across the car. However the nosepiece when viewed from the front, dips slightly toward the centerline of the car giving the number a slightly tilted appearence. I had a choice to have it look straight from above or from the front but not both.
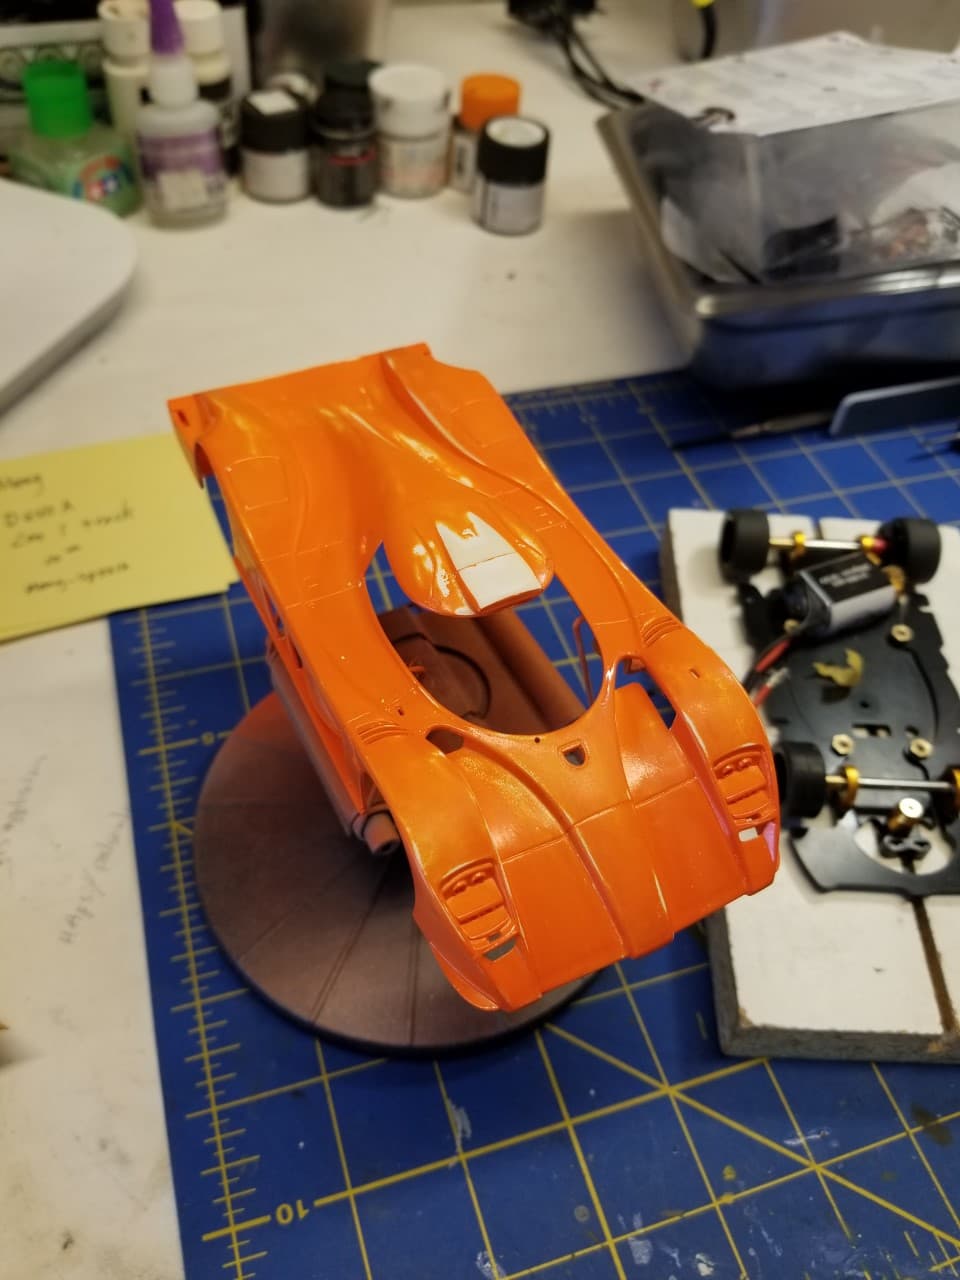
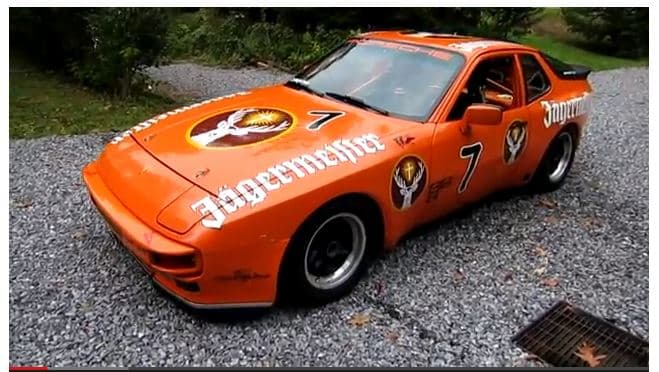
The original paint scheme was a more complex paint scheme of a Jagermeister but in addition to the color and masking issues, it did not have the same impact as the traditional all orange scheme.
An alternate scheme I thought about was having the entire side of the car black since it already had a black panel. Anyway the next two photos were the ones I used as a guide and inspiration to my decal design and placement.
Greg,
I have to admit that I actually enjoyed following a car/slot car build. I guess that I still have memories of my slot car racing days when speed was king, and that’s all that really mattered. Cars eventually looked just like one big air foil with an electric motor buried inside of it. But your Toyota GT1 build really is a class of slot cars which are modeled after their real life counterparts. I’m sure that the speeds are way less, but at the same time more realistic and handling comes into play both for the car and the driver at the electric controls.
As for your build, it came out extremely well. I to agree that the all Orange Jagermeister scheme was the right choice. as it really looks the part.
Next time you run into a curved masking issue as you did for the sun visor, Tamiya and a few other companies makes very thin tape: 1,2,3 mm wide that can easily be bent to a curved shape. Then you take small pcs of lets say 8mm or larger tape and over hang the leading edge tape. Just keep on going till you mask the area that you need to.
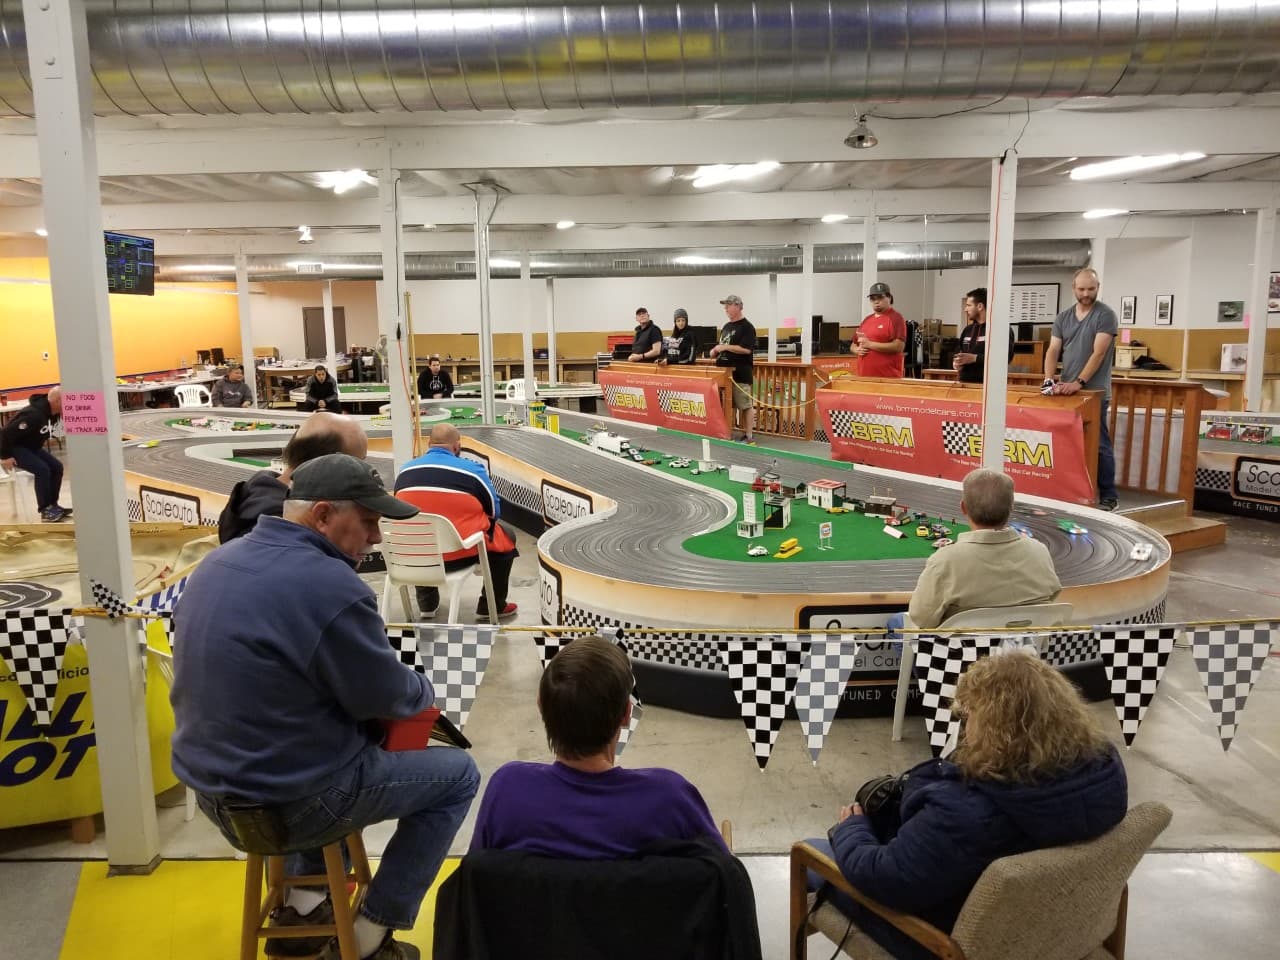
These cars run with no magnets or glue on the track. You have to drive them with that in mind. It does make for good racing. If the car is on a glued track and all you do is hold the trigger down, it becomes a mechanics race and not a drivers race.
Thanks Joel for following and thank you to everyone who popped in and checked out the build.