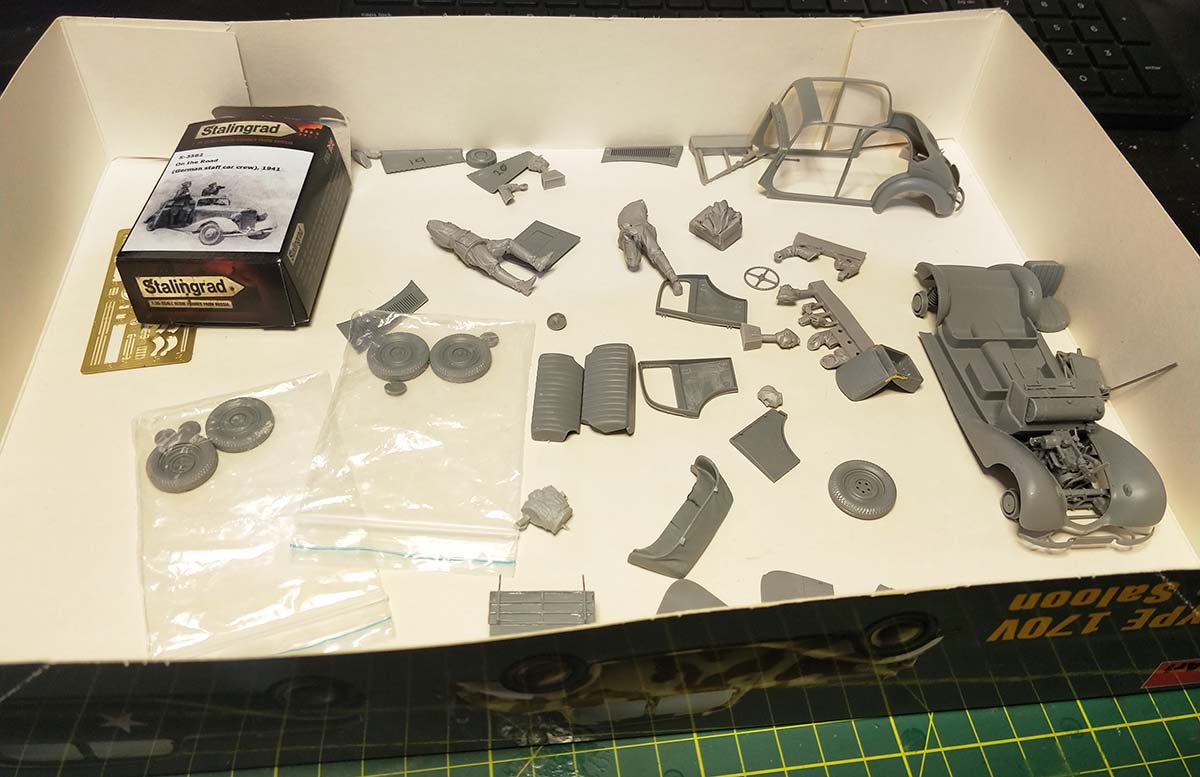
I would like to share with you a diorama that was commenced at the start of the year.
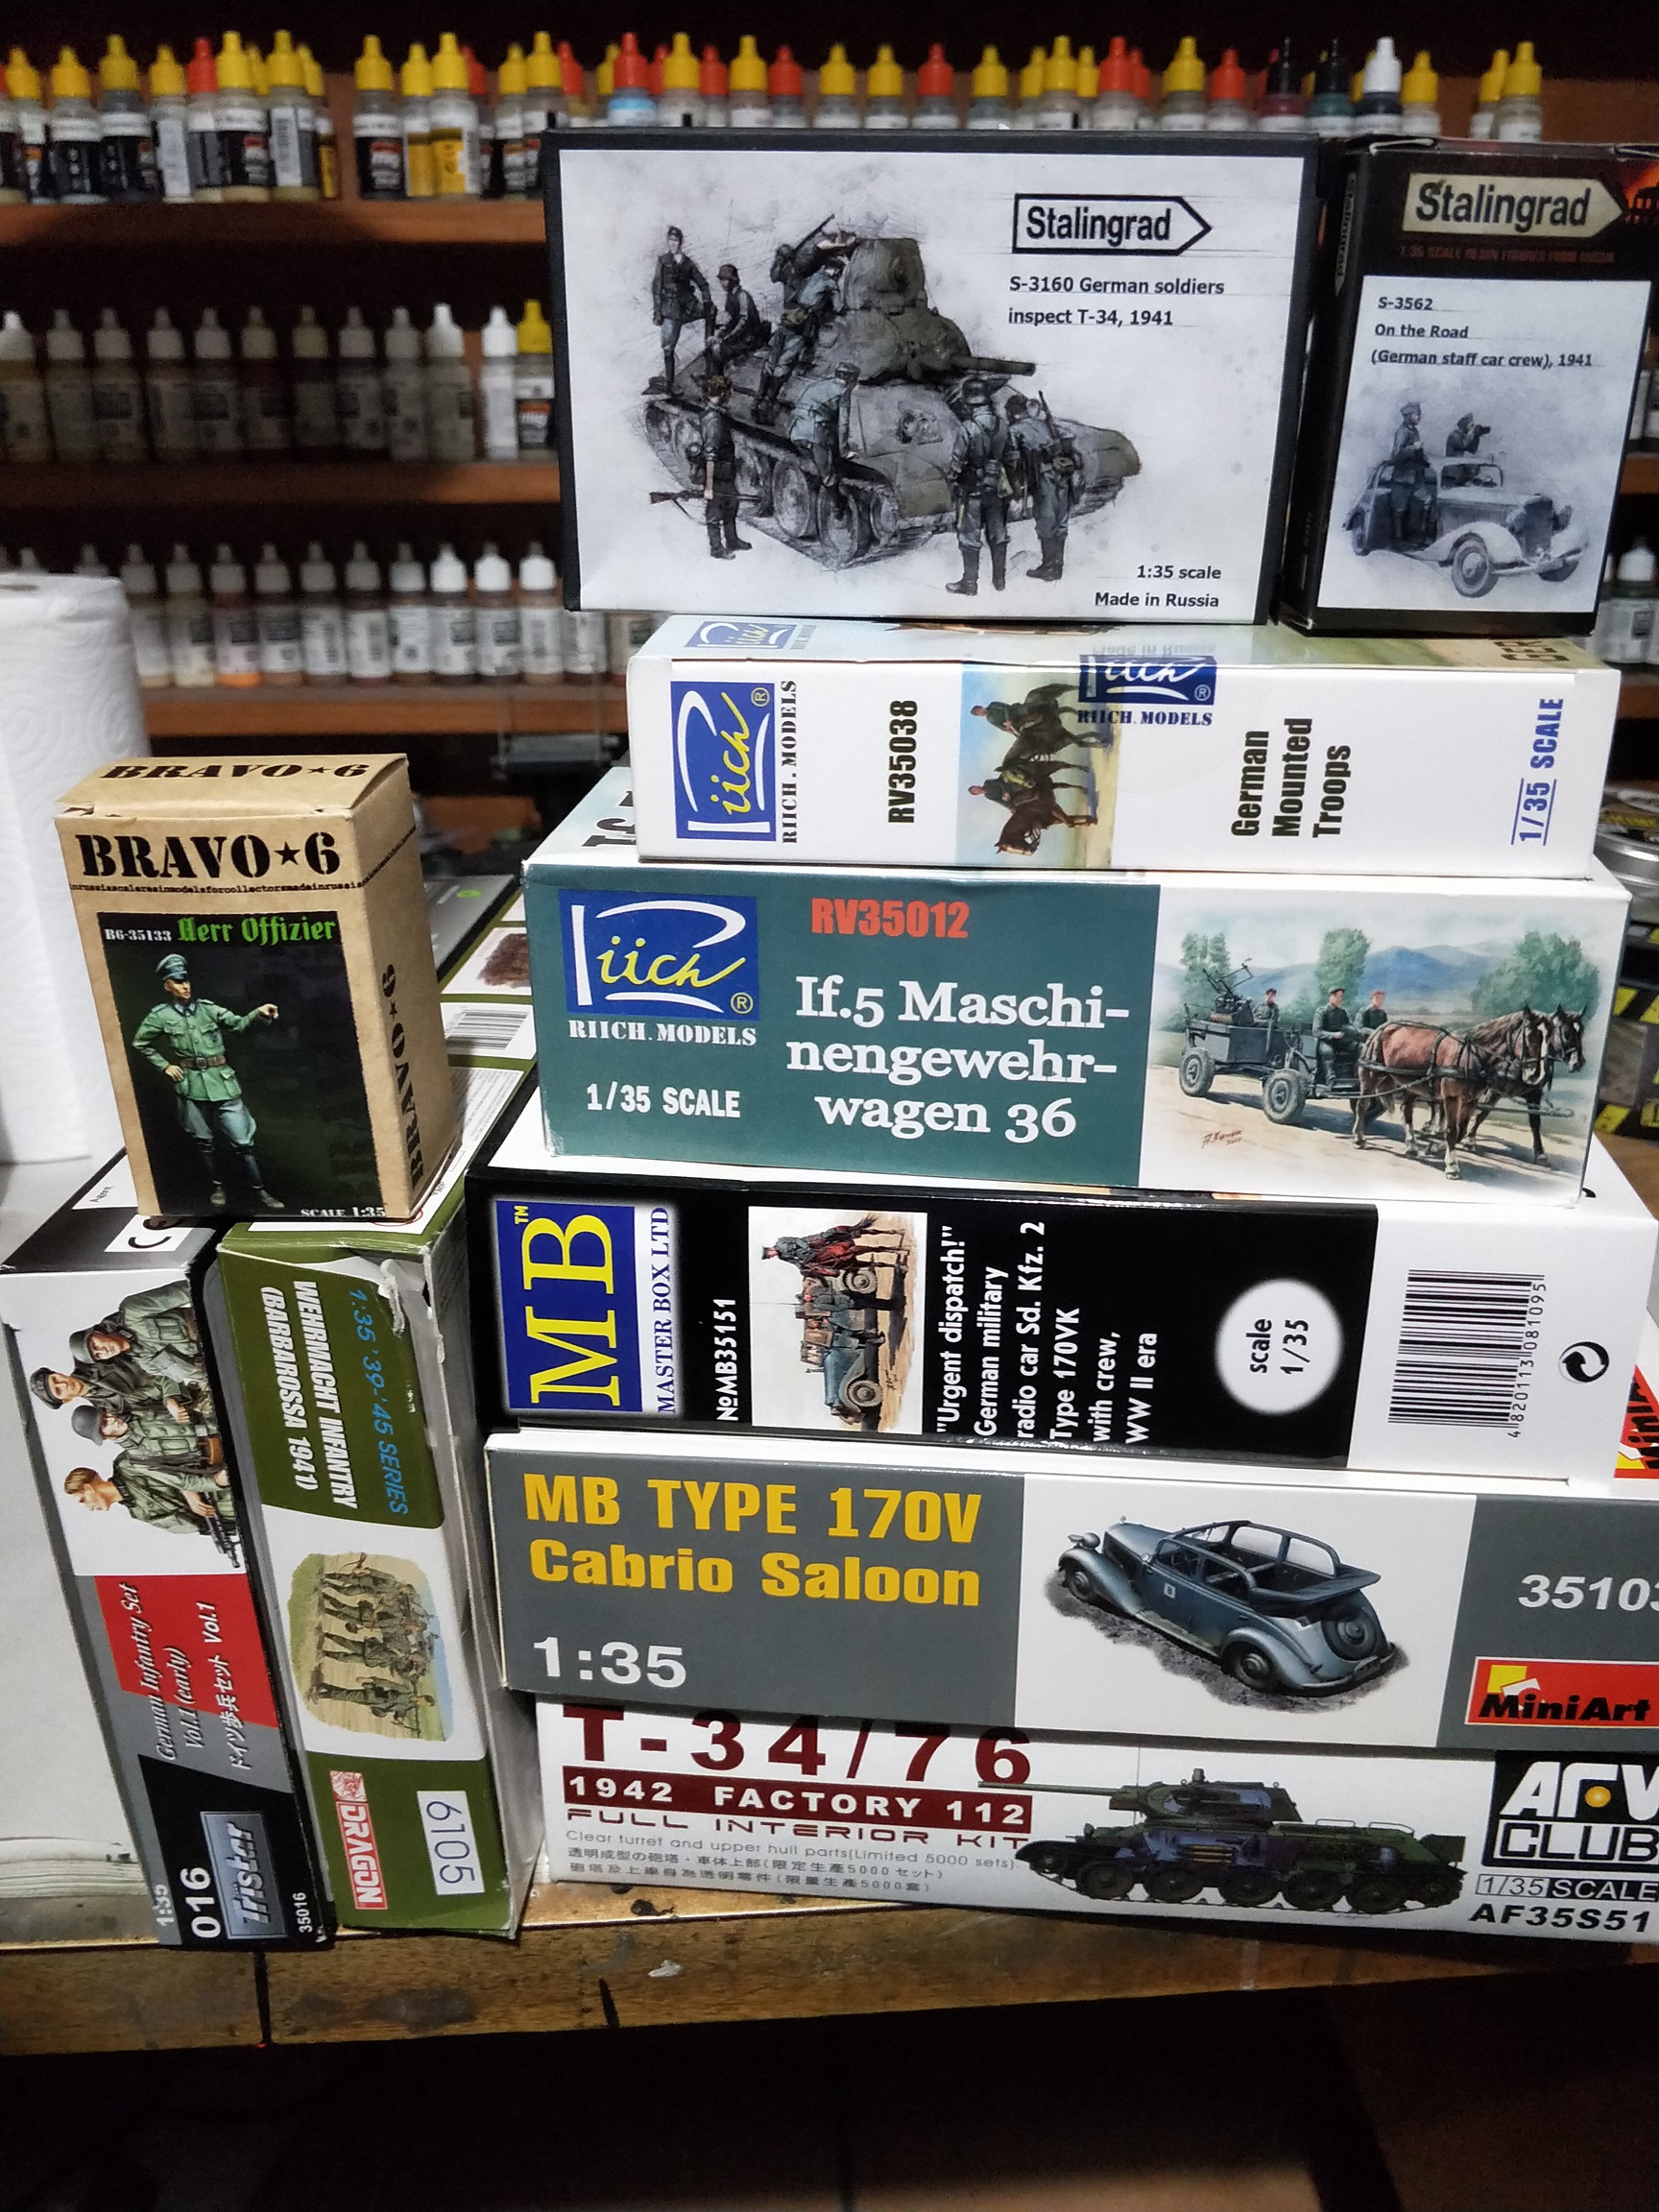
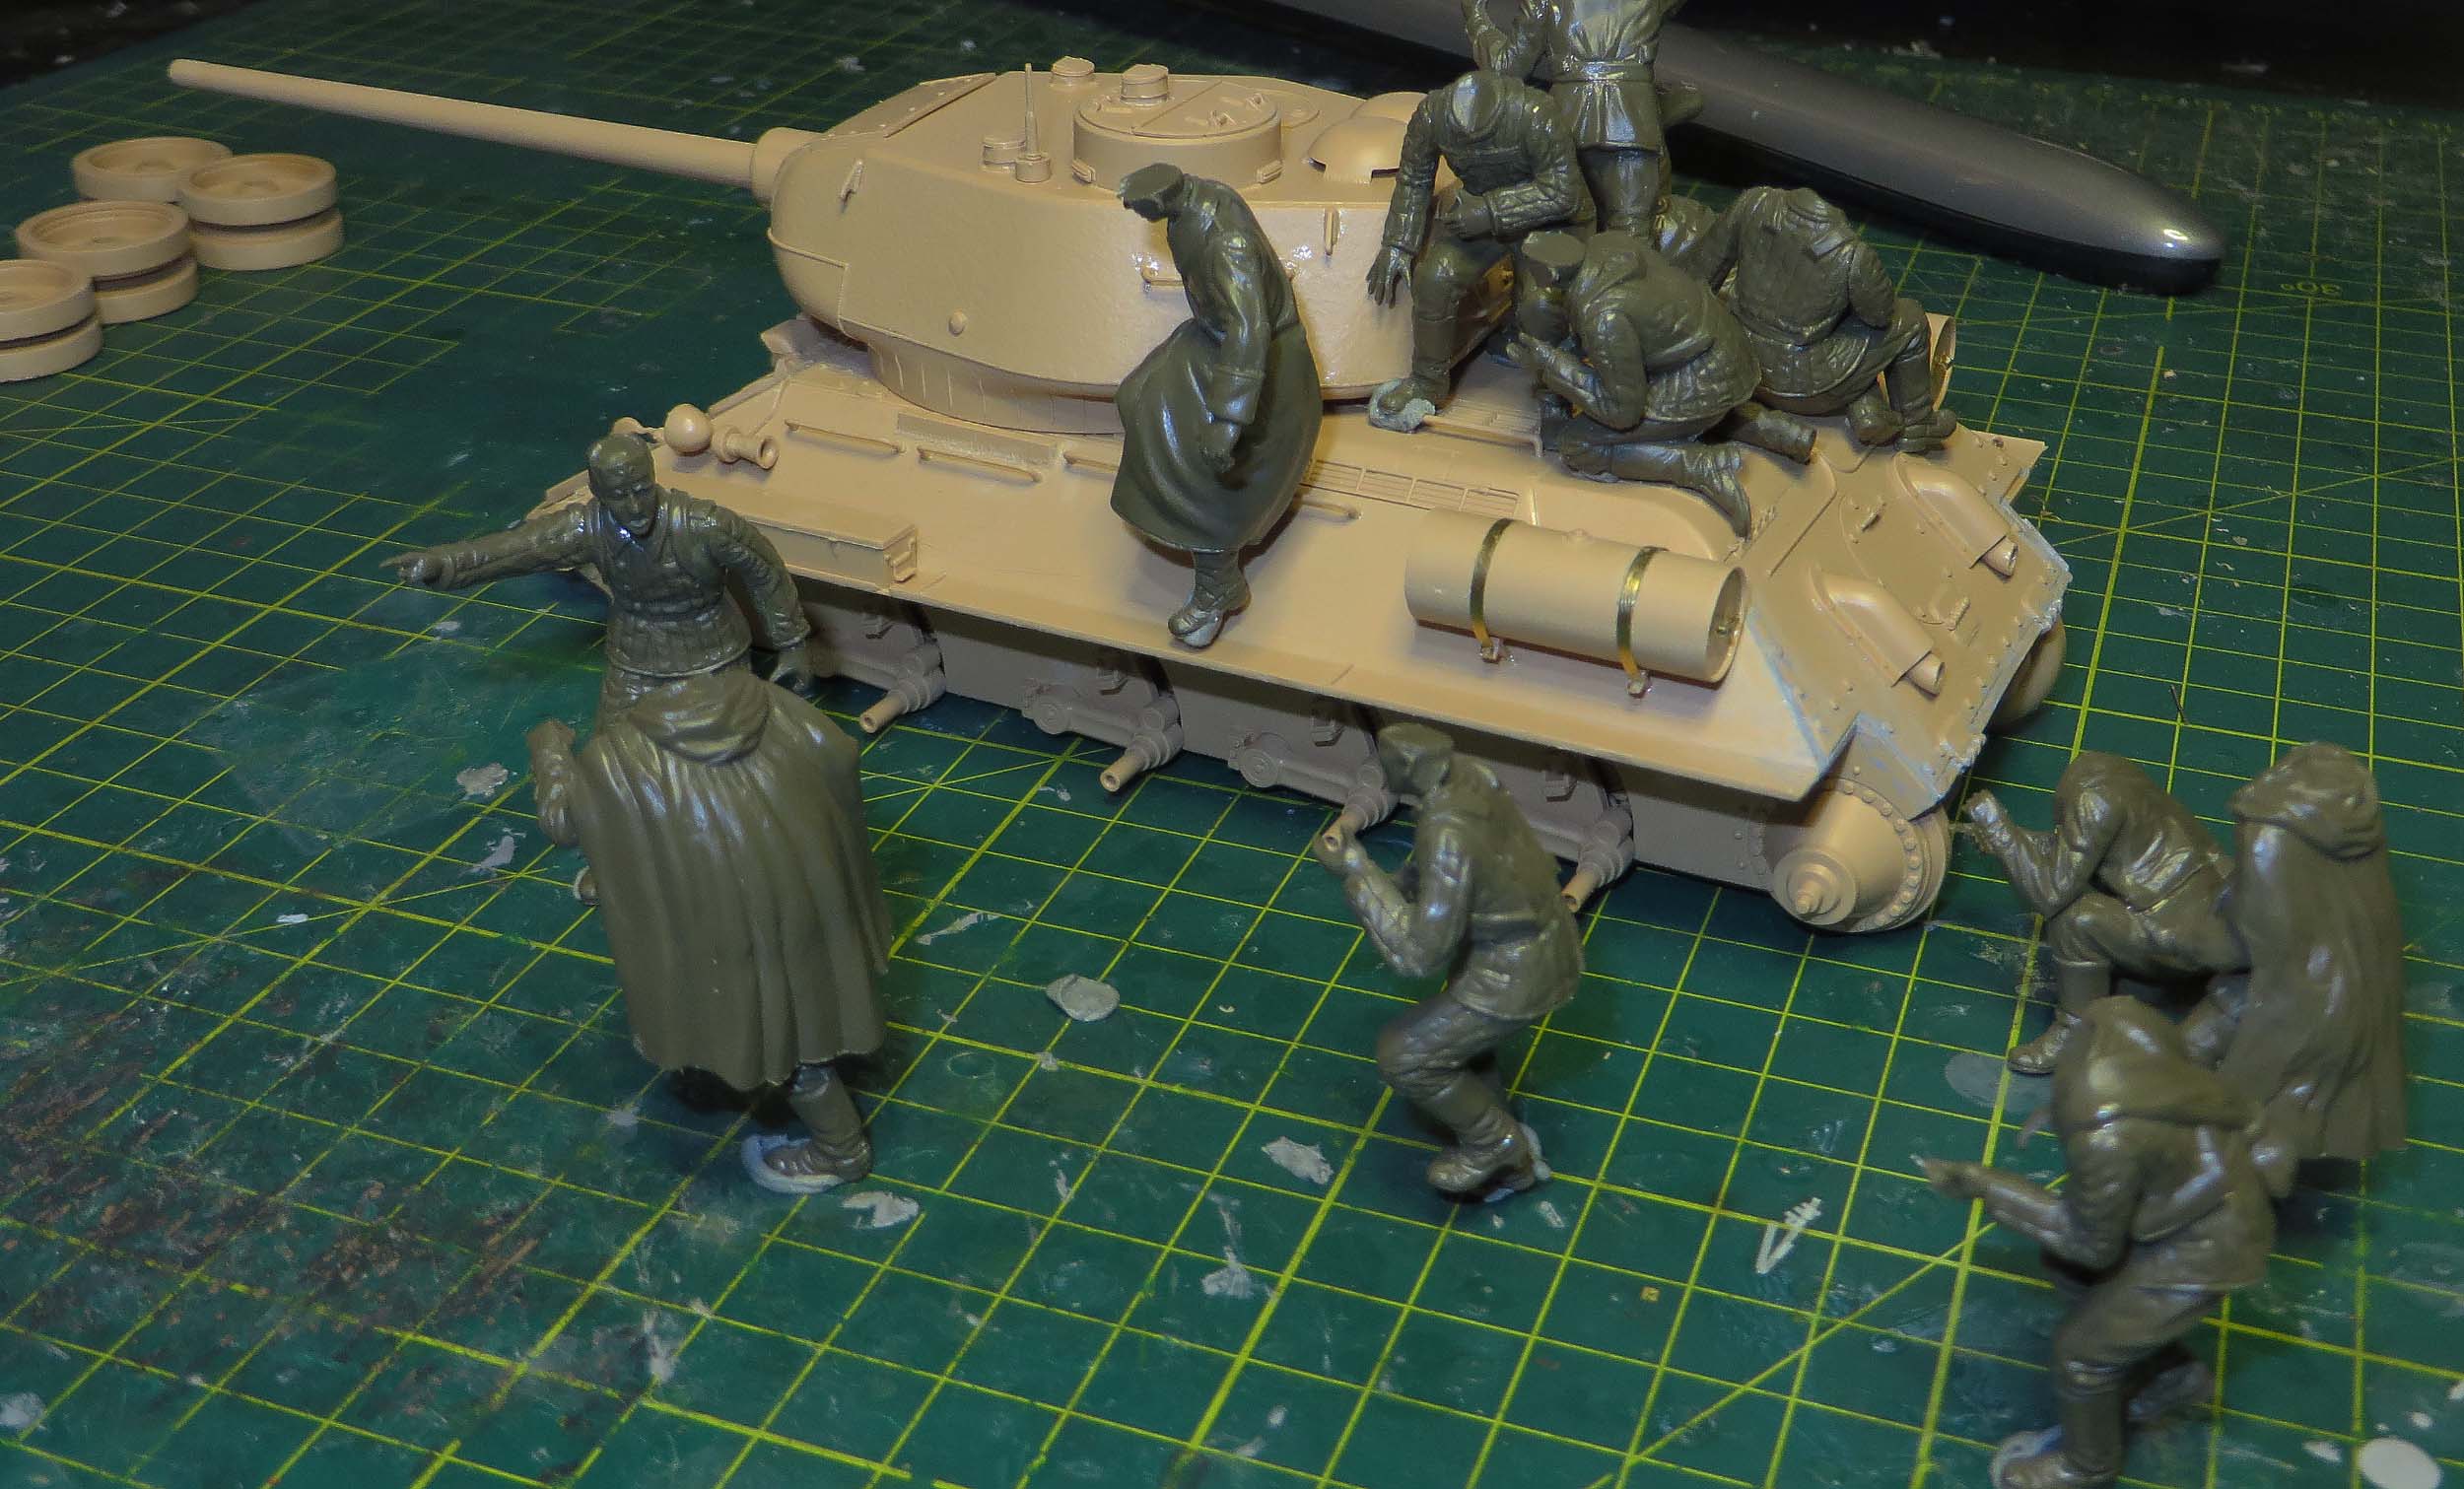
Consisting around some near sixty figures or so with a couple of add ins for the Takom King Tiger Diorama which will be released in the new Forum.
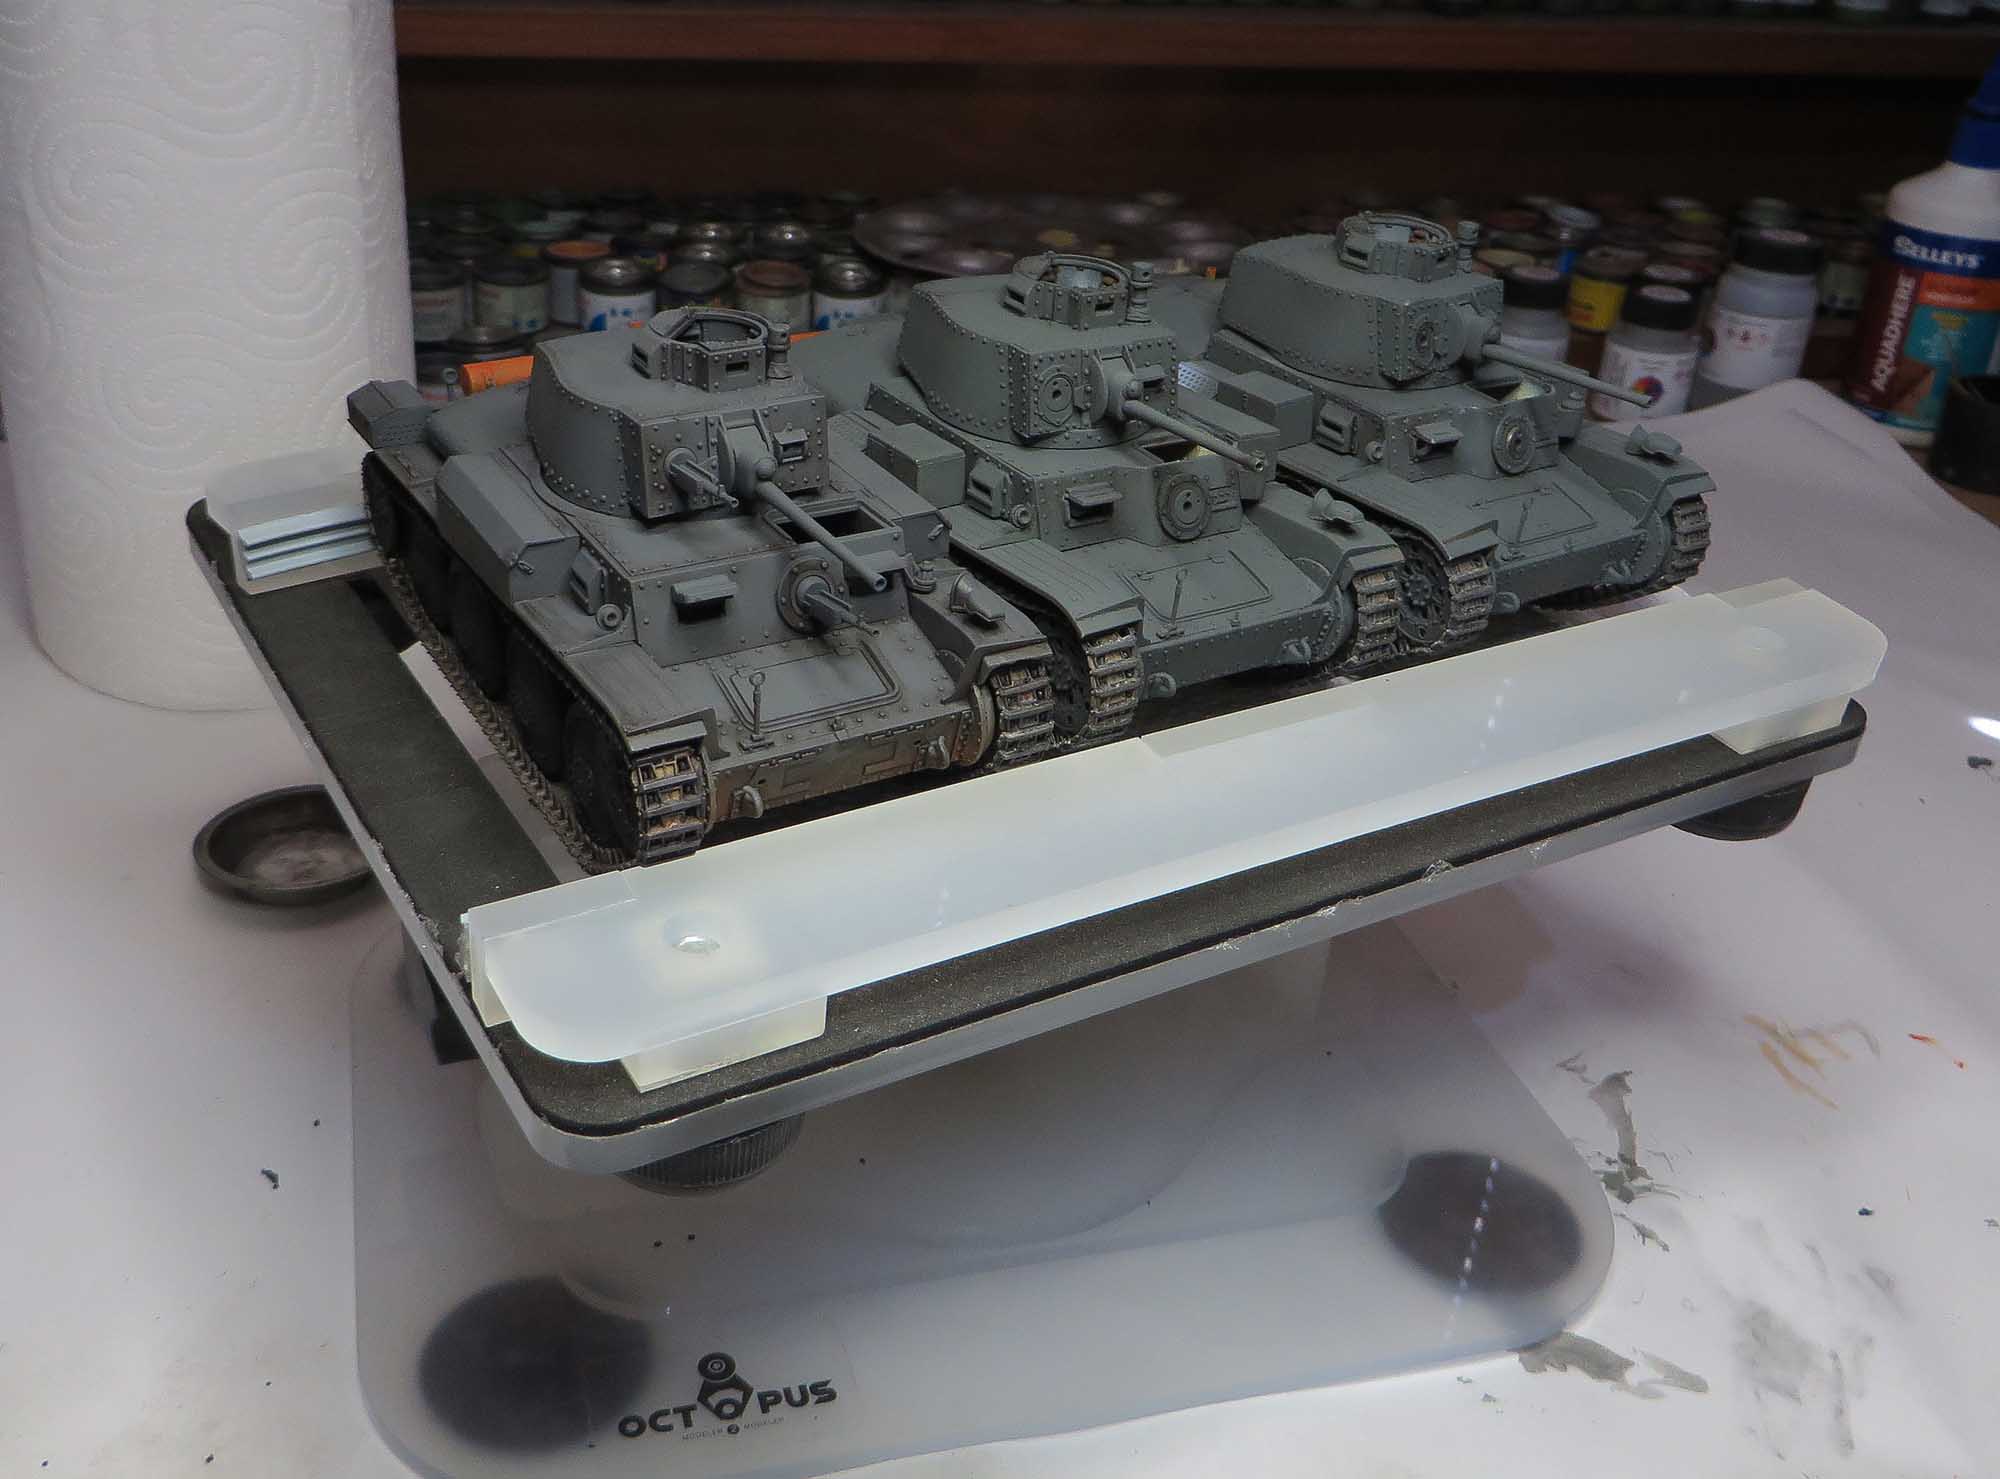
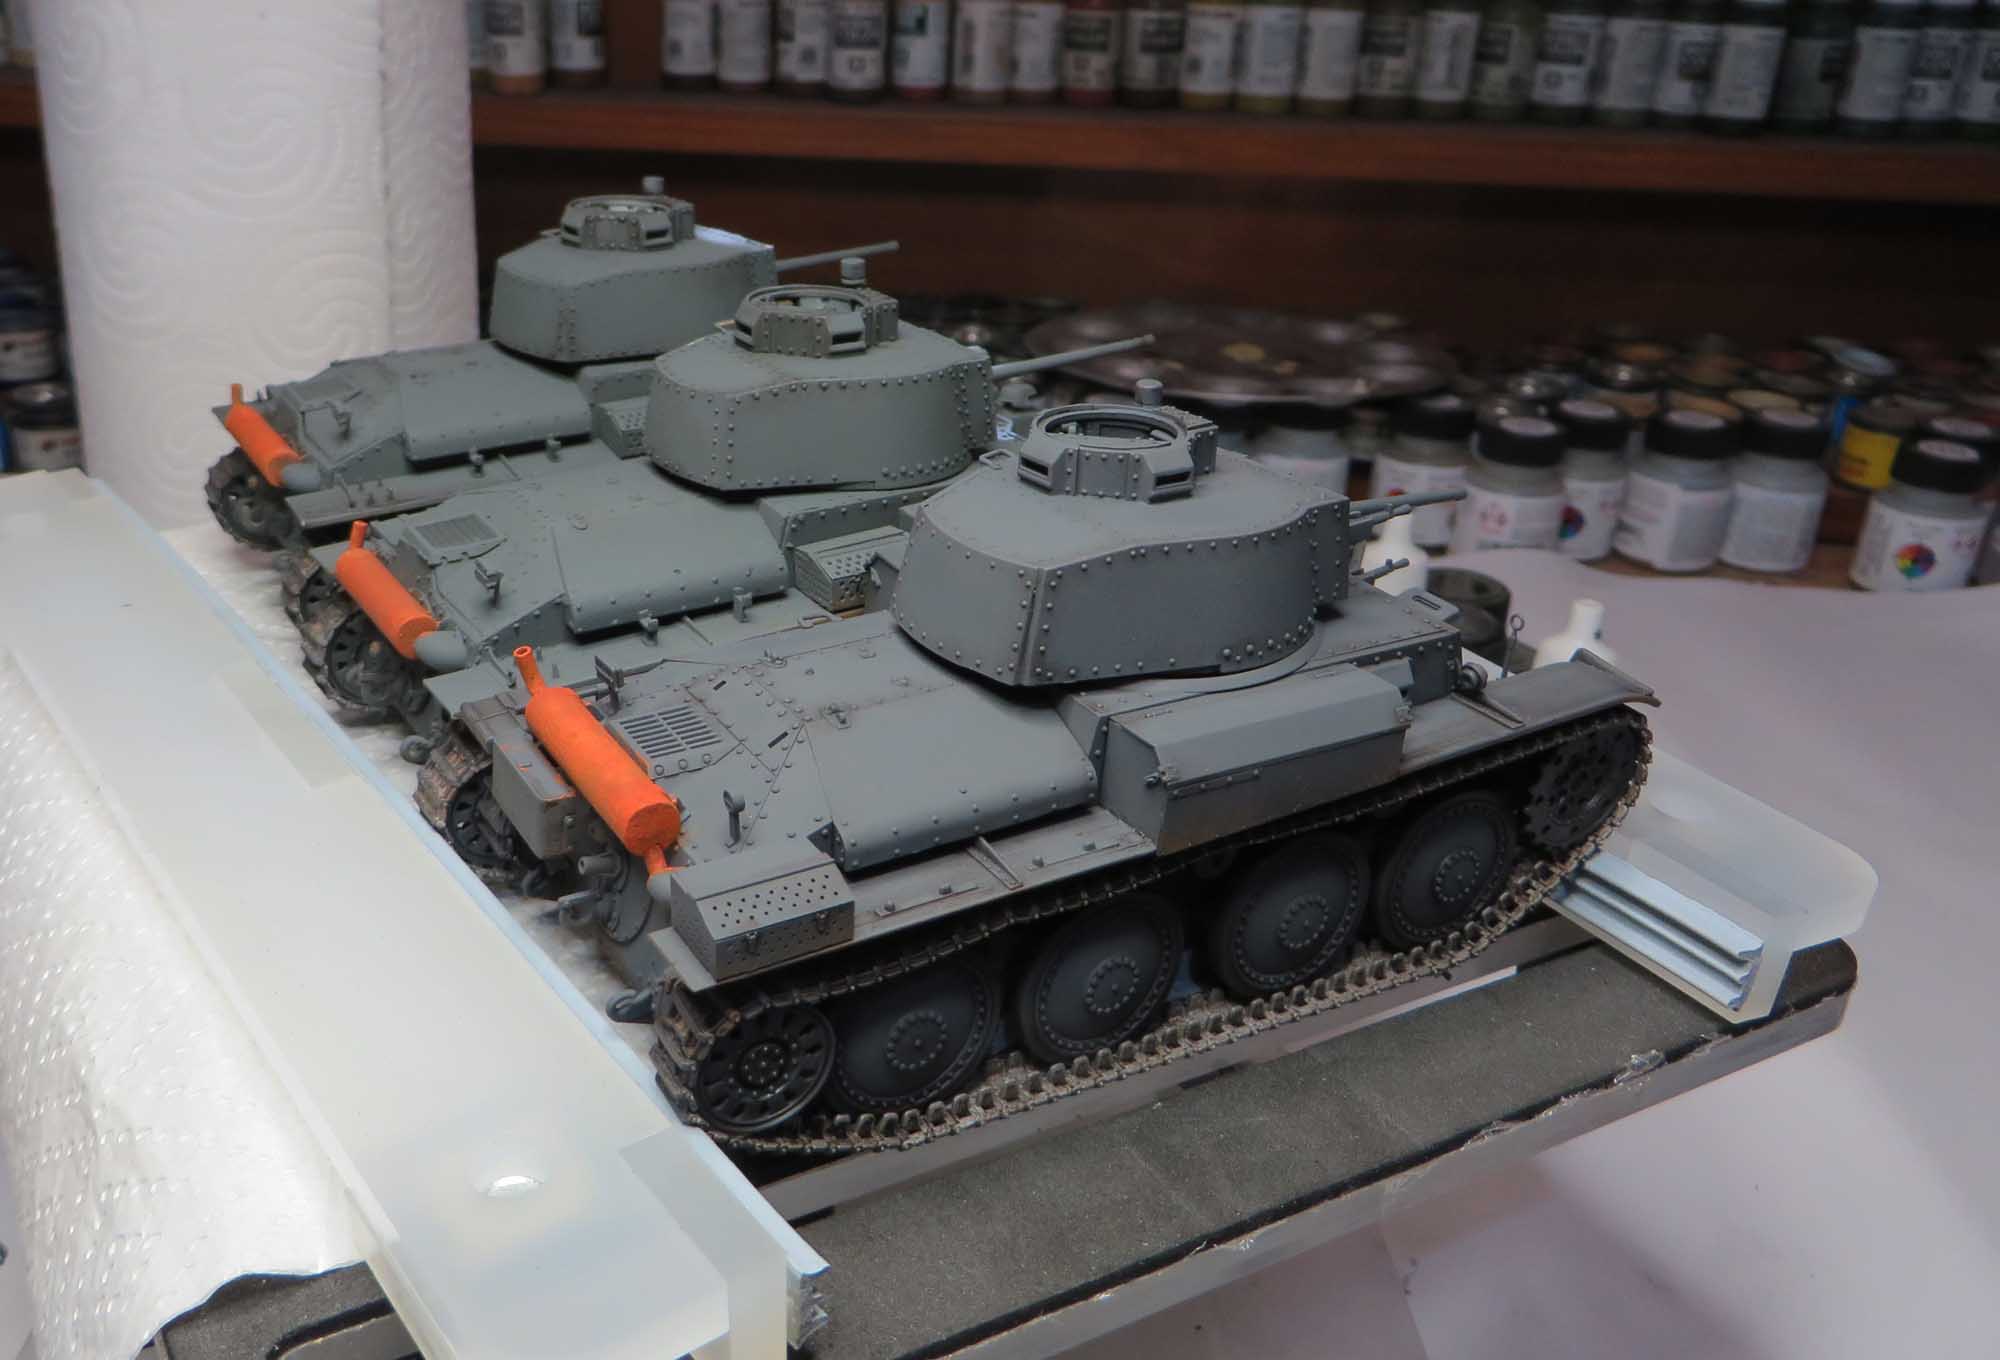
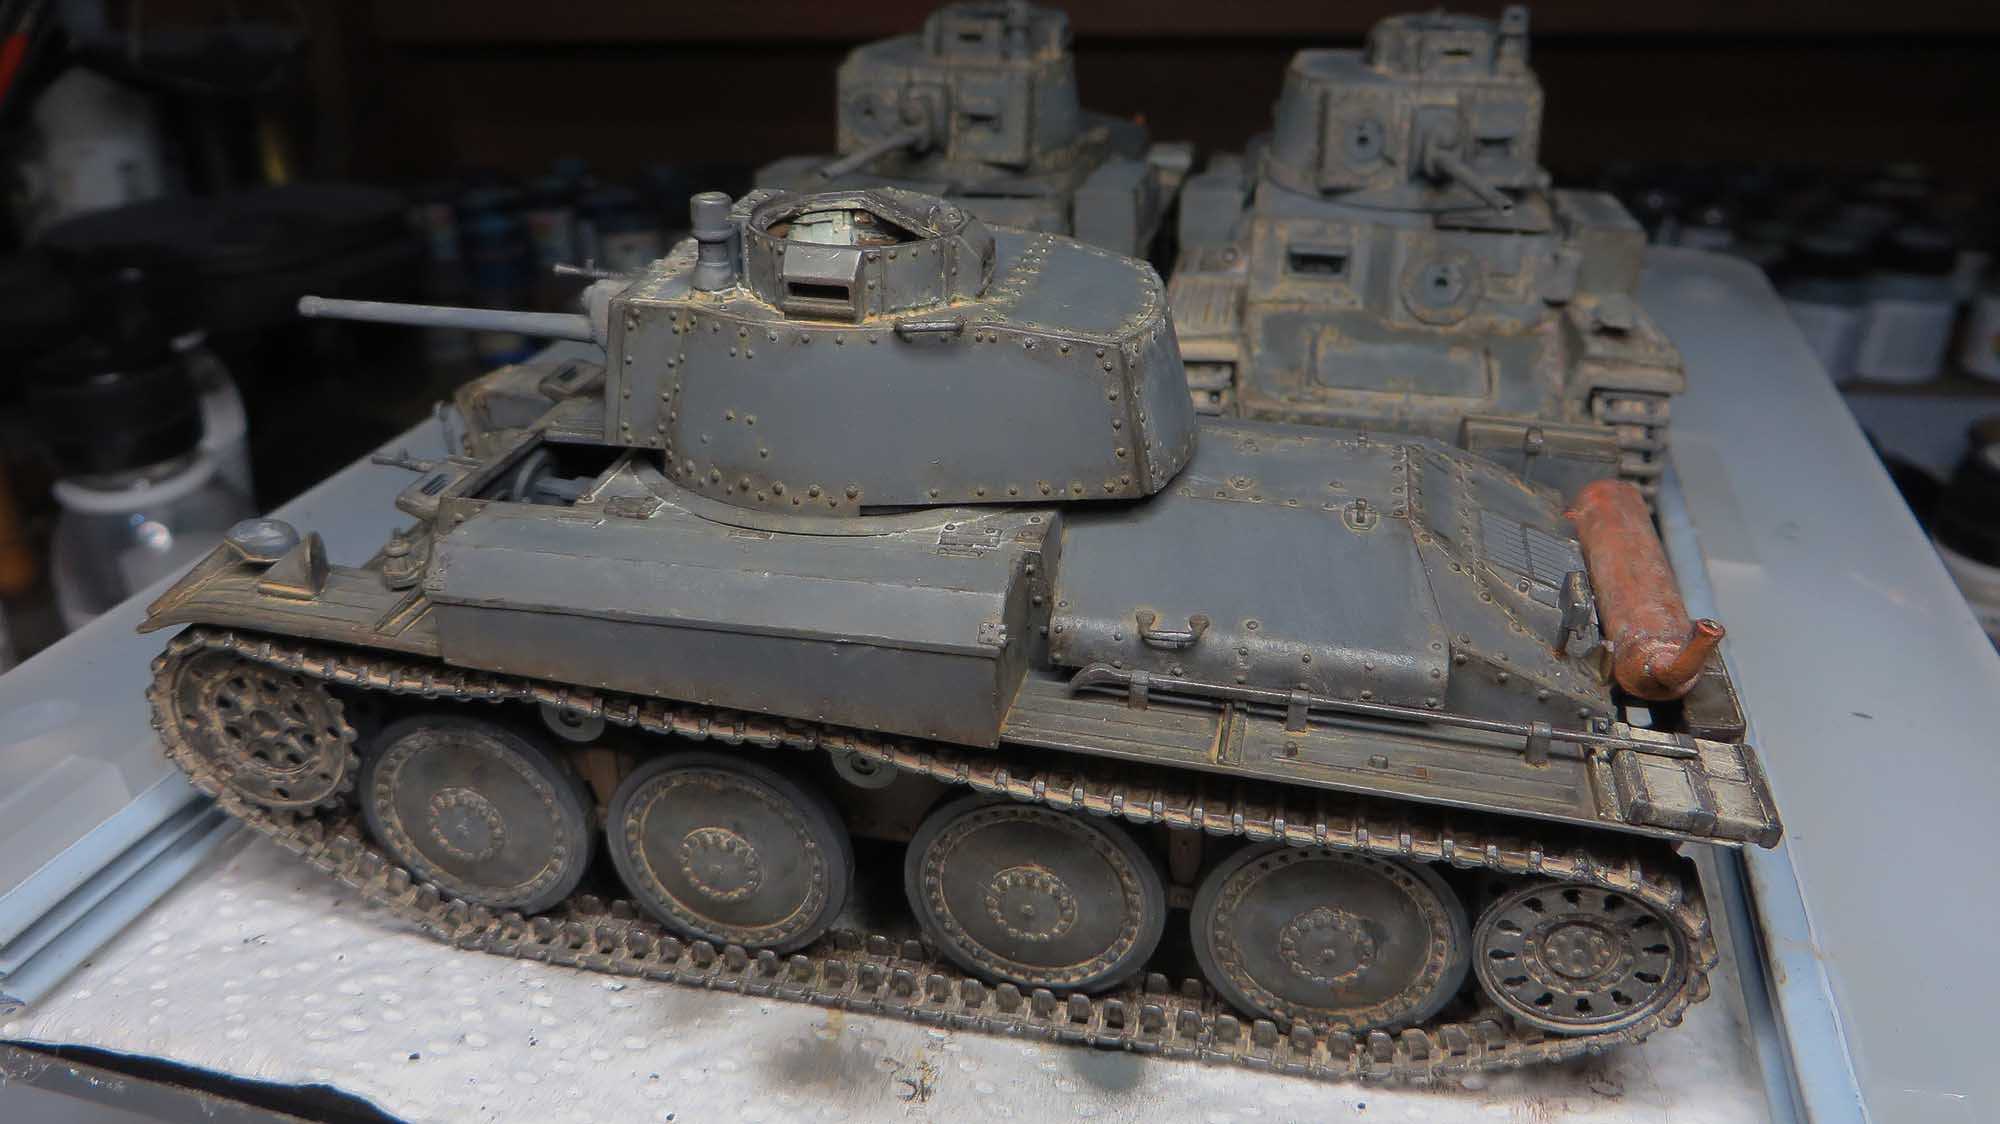
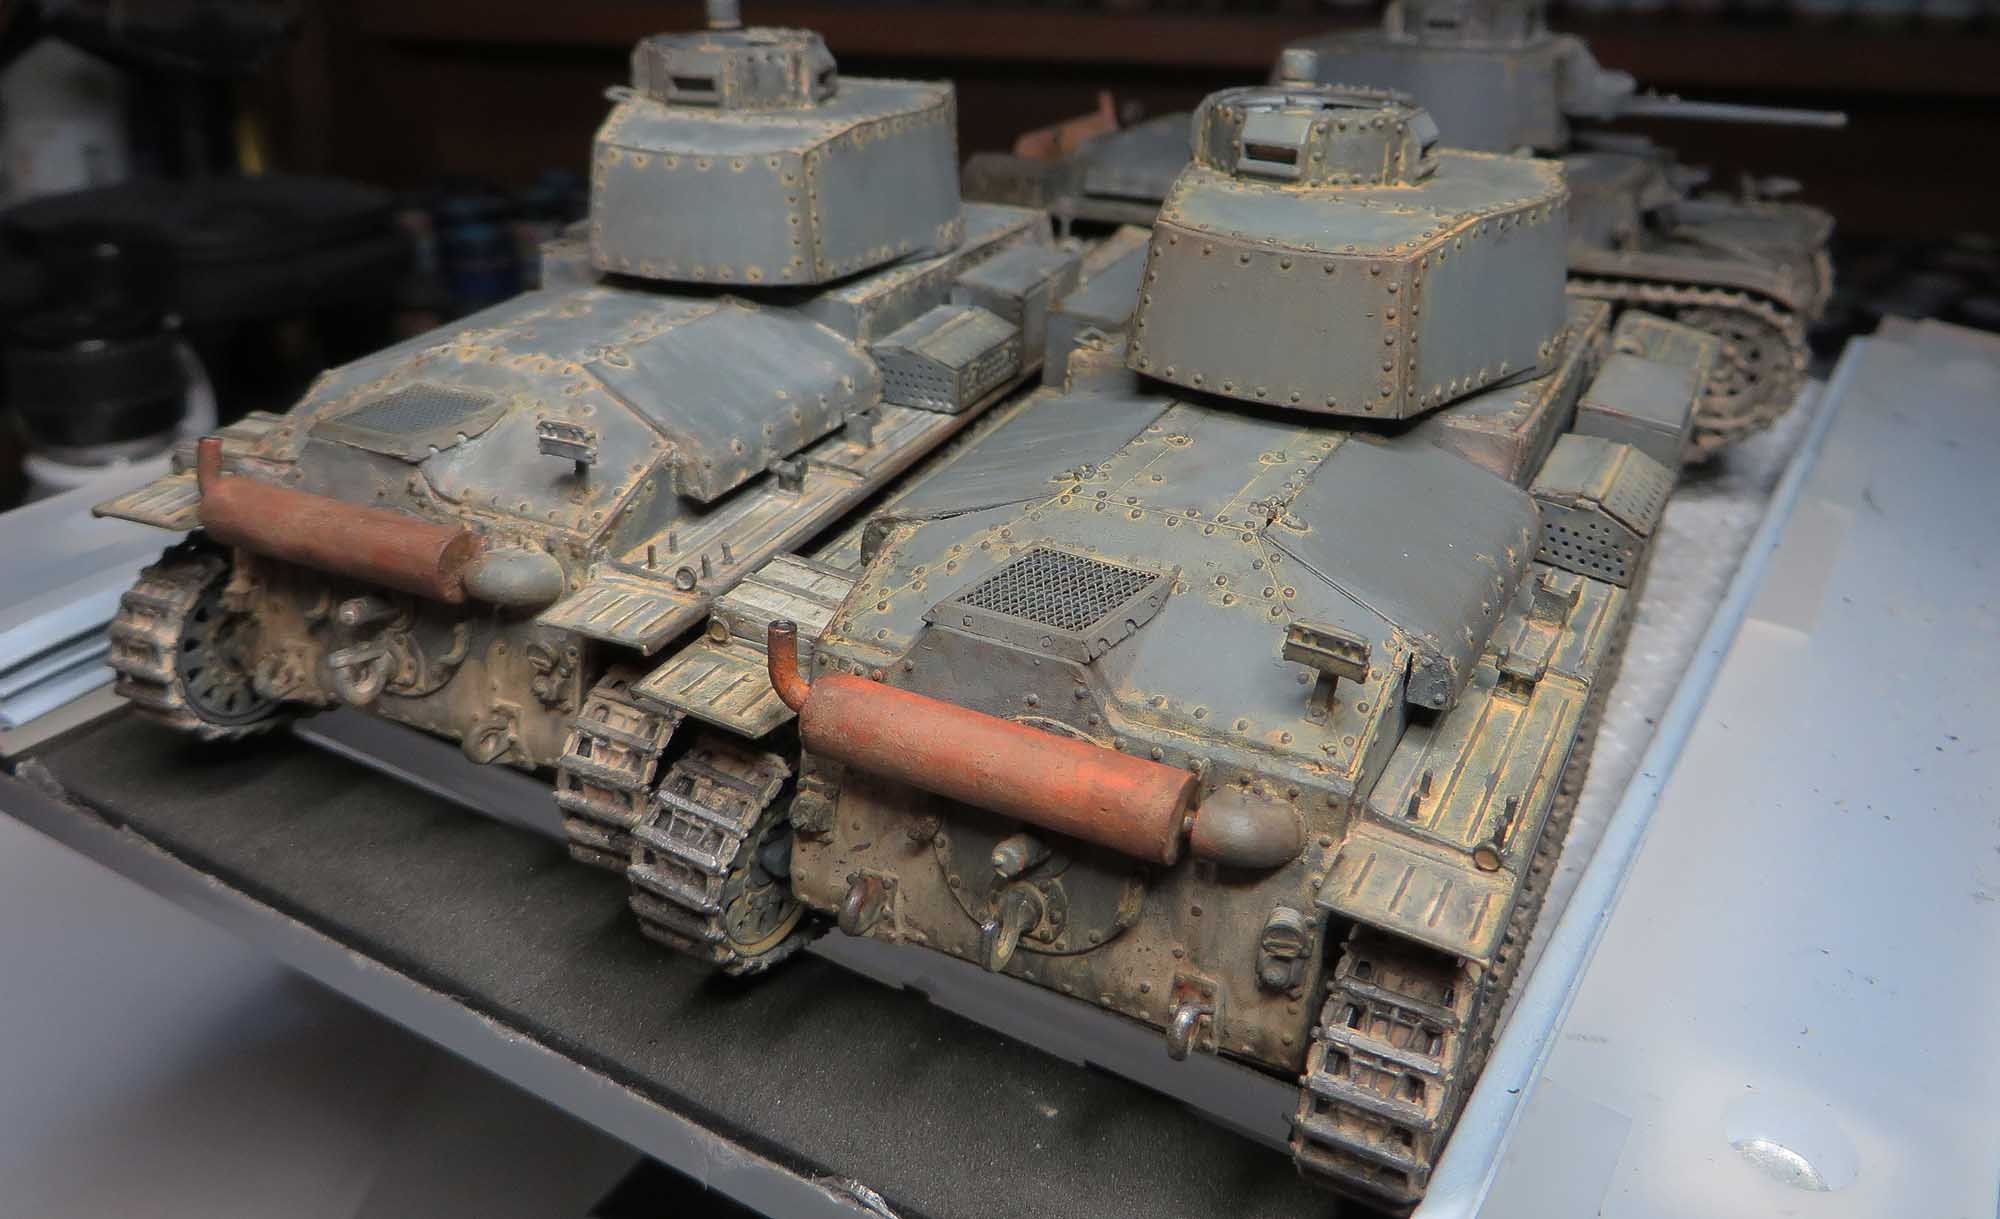
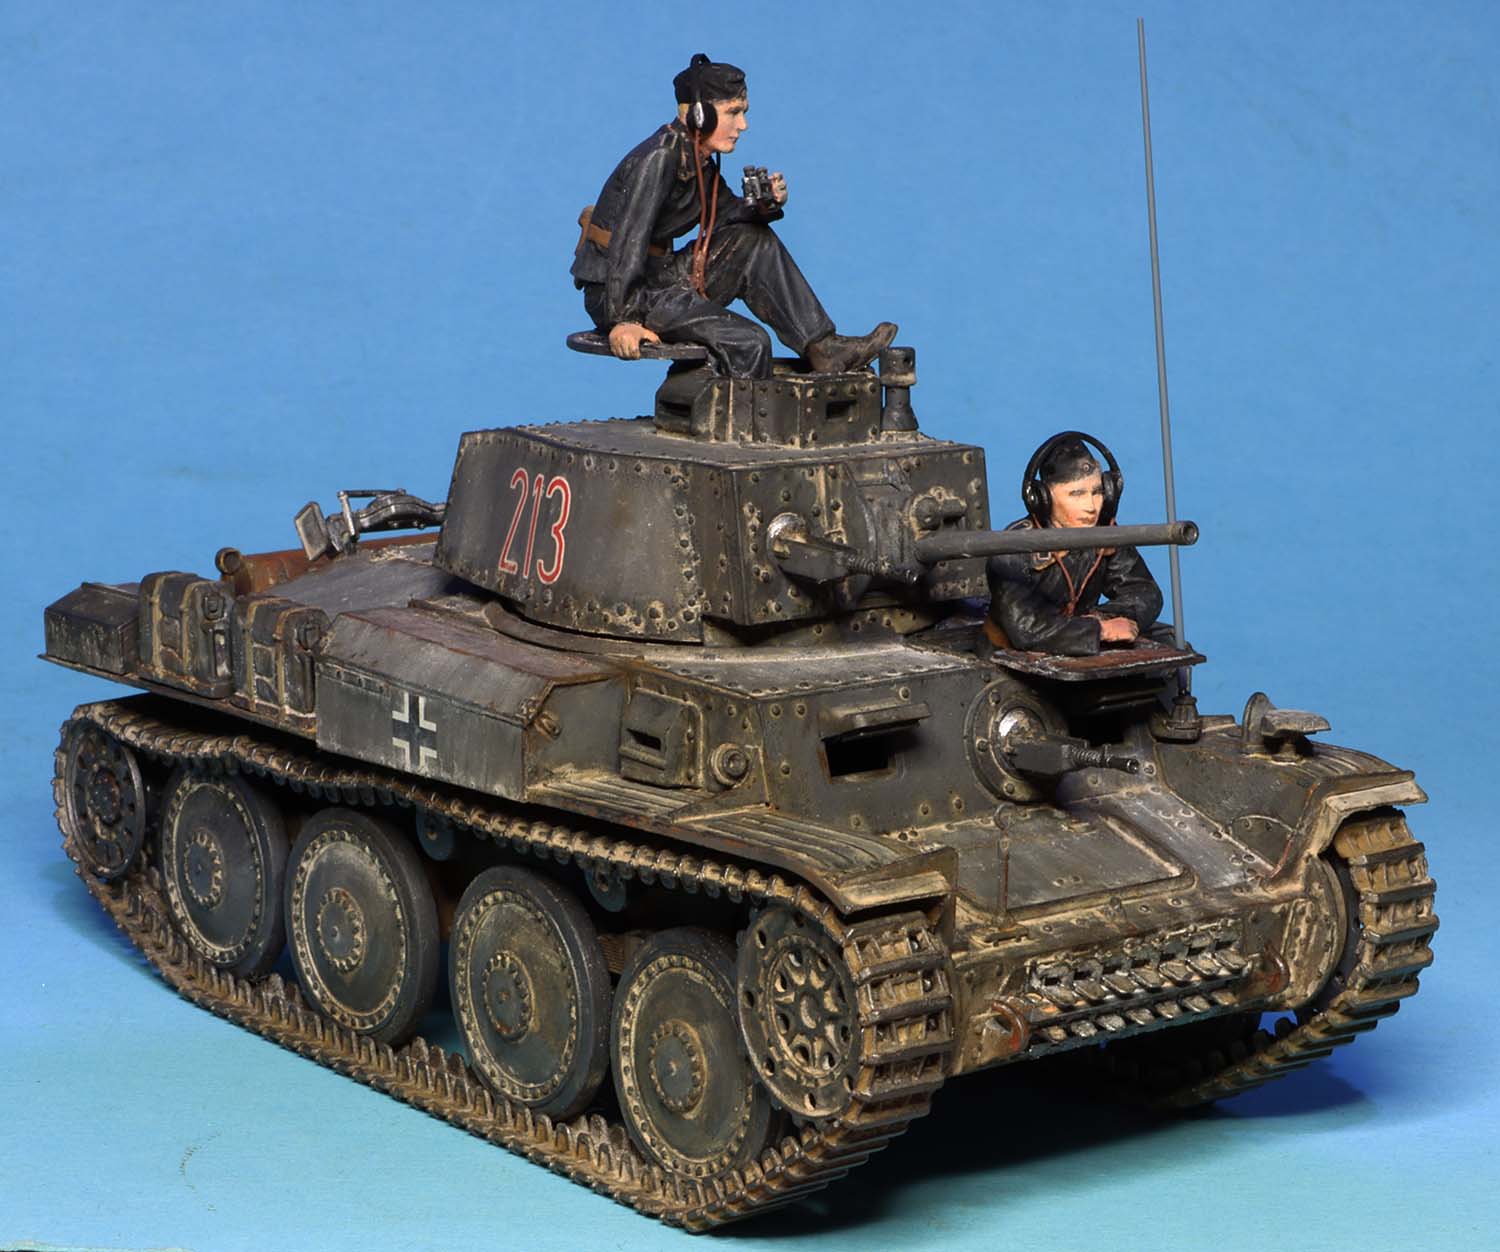
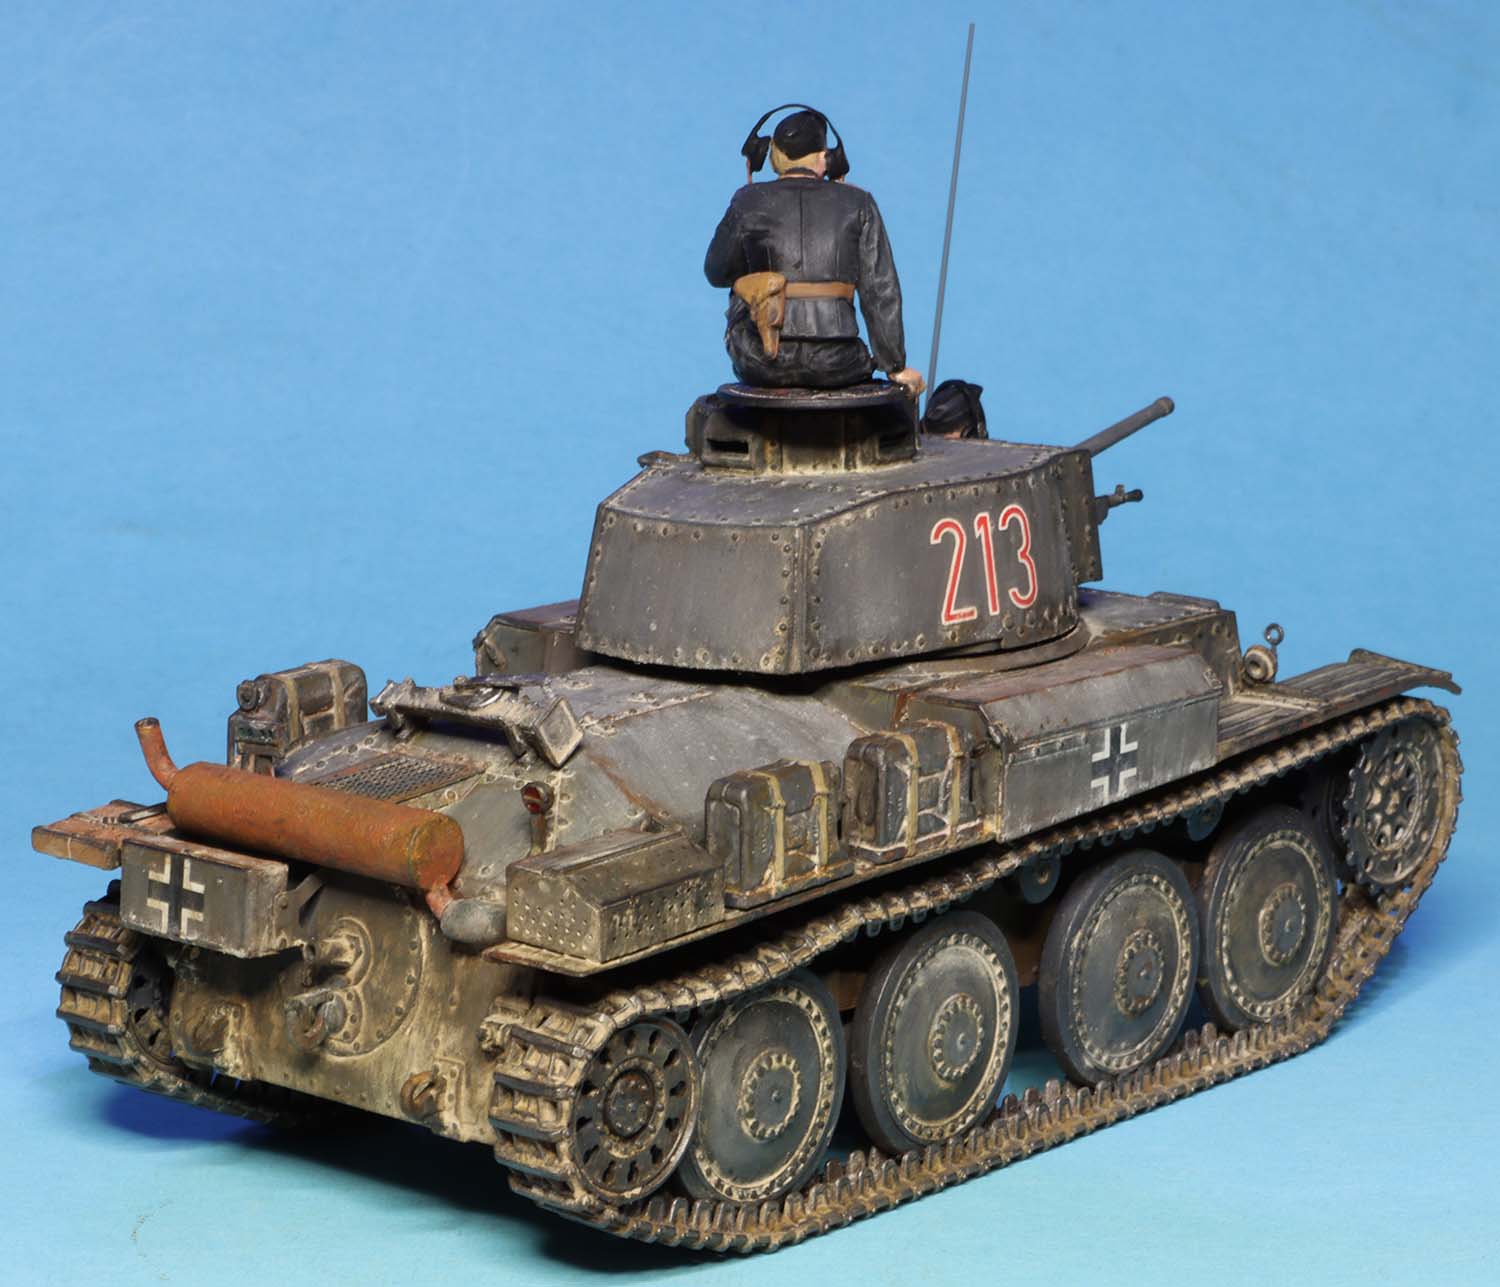
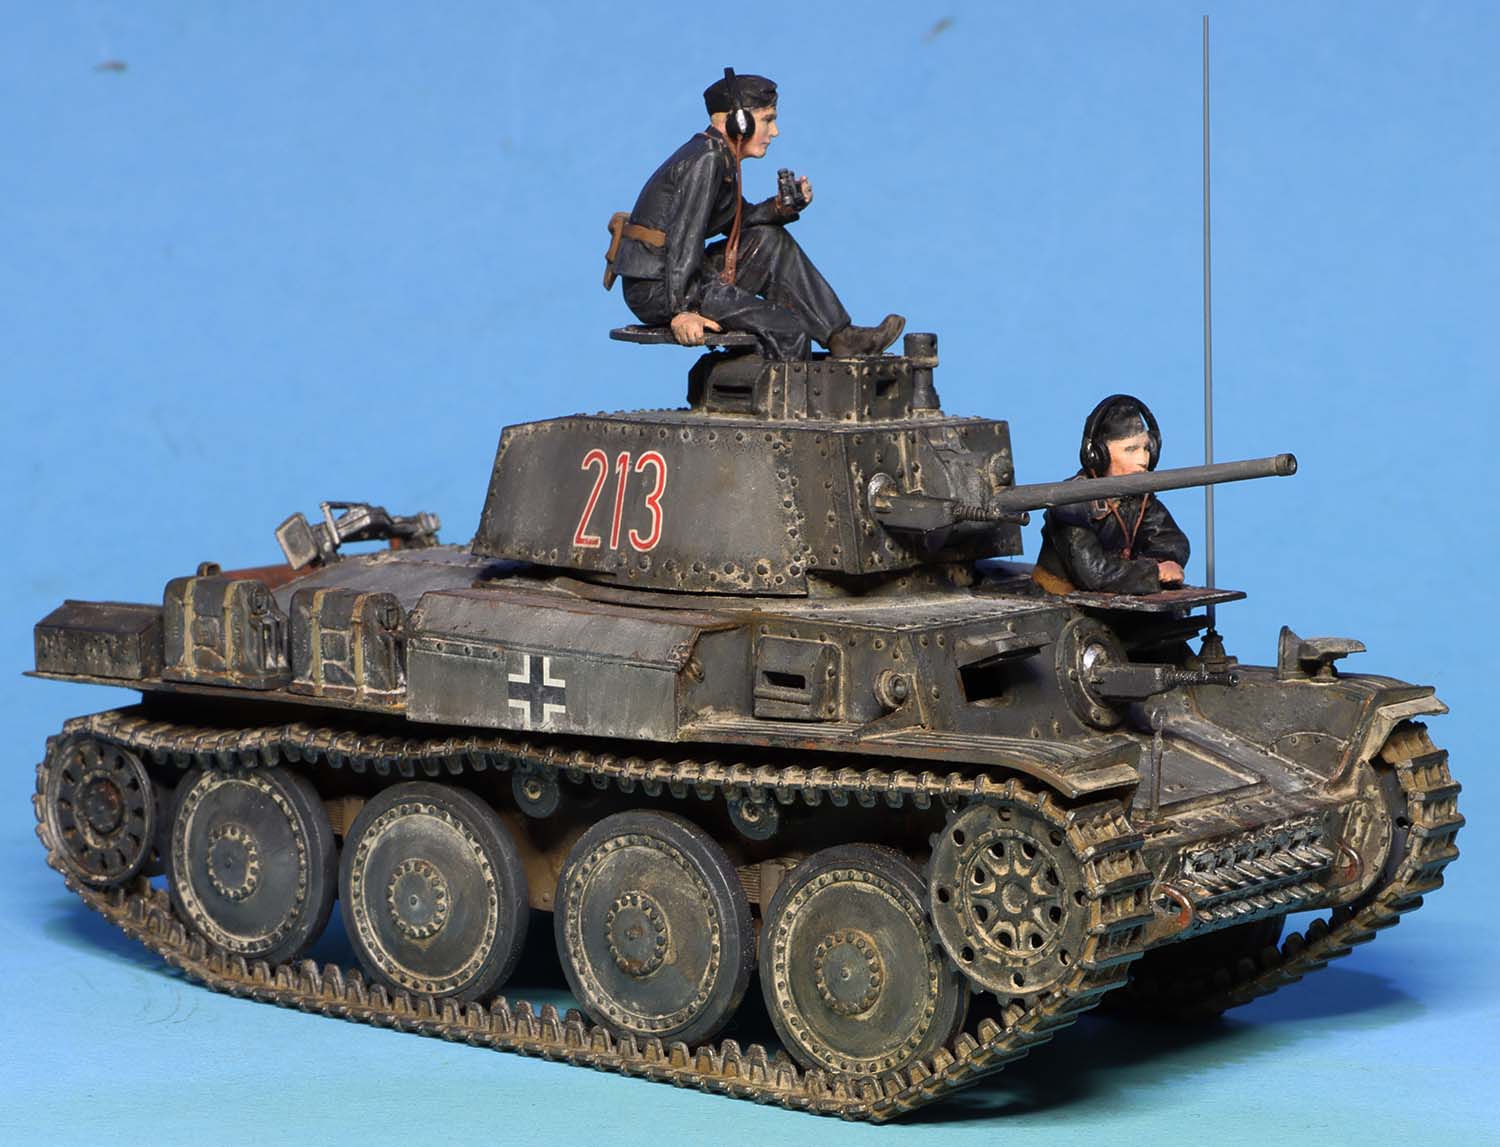
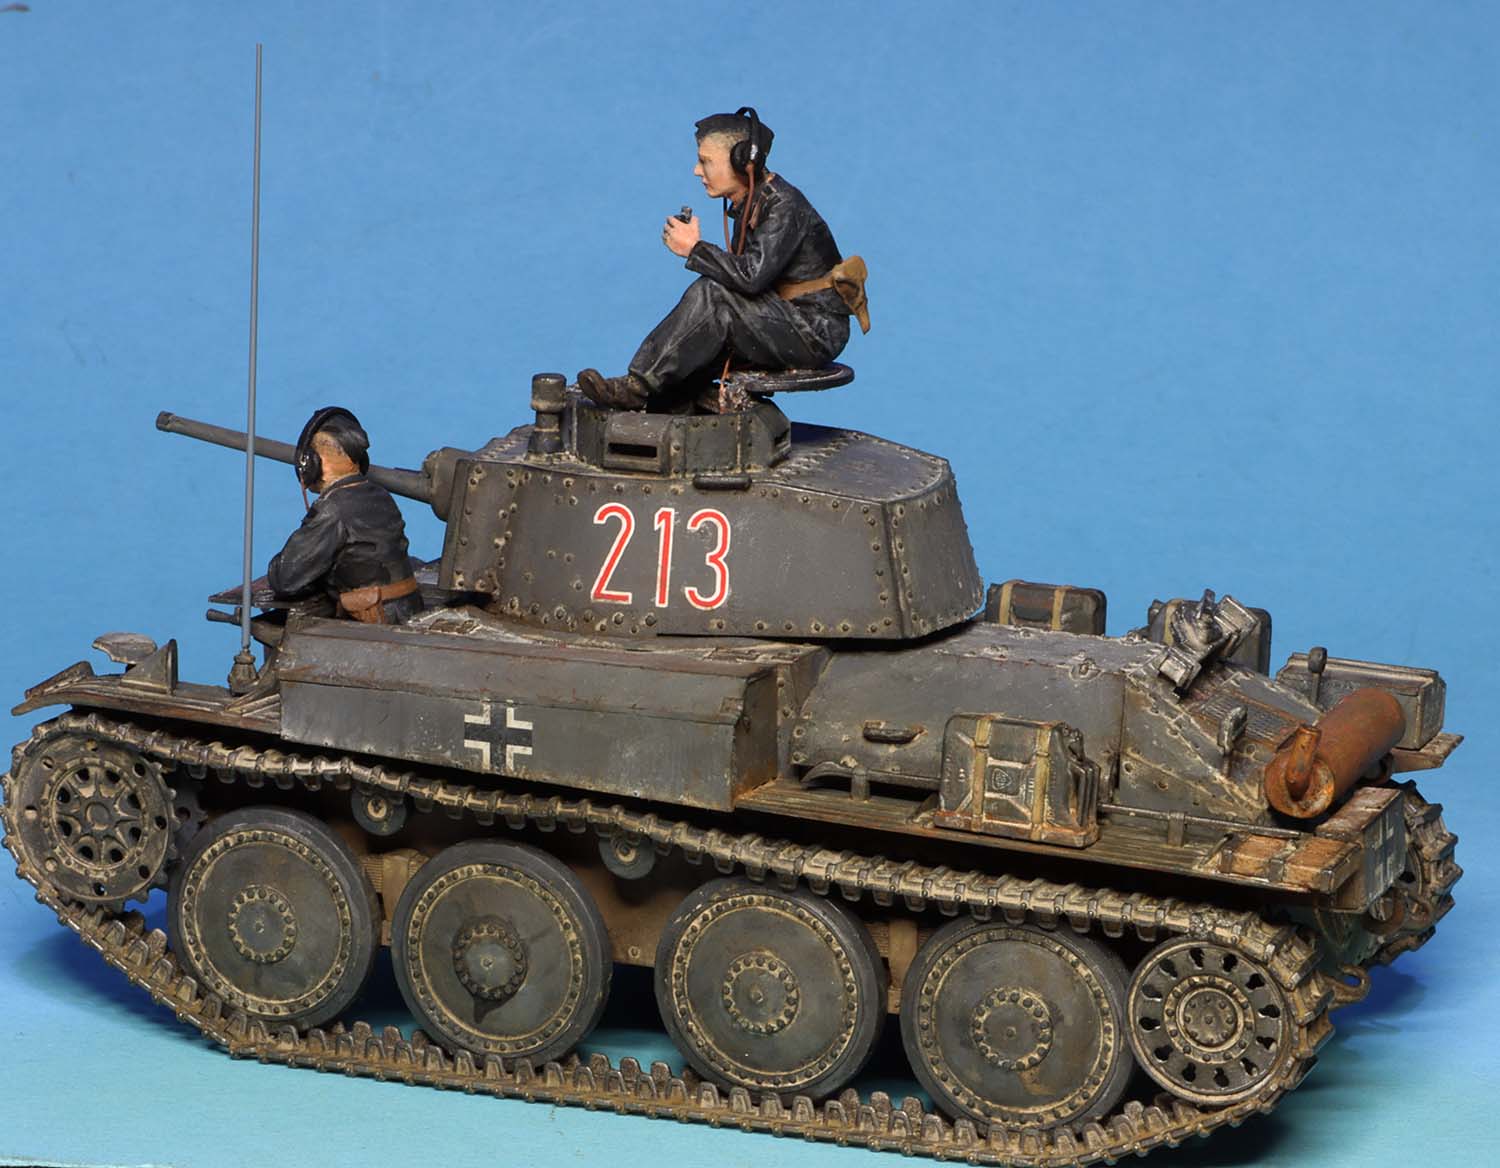
At the moment I am awaiting rub on decals from Archer to complete the Panzer 38t turrets and have moved to the working with the troop webbing and equipment.
That’s got the makings of a seriously impressive diorama. How did you find the Hobbyboss 38(t)s? One of the kits I’ve got my eye on as a possible future purchase.
It is ambitious project, we seem to start off big and somehow scale the work back.
Hopefully will not lose enthusiasm for the build although I have to admit I move frequently between other projects.
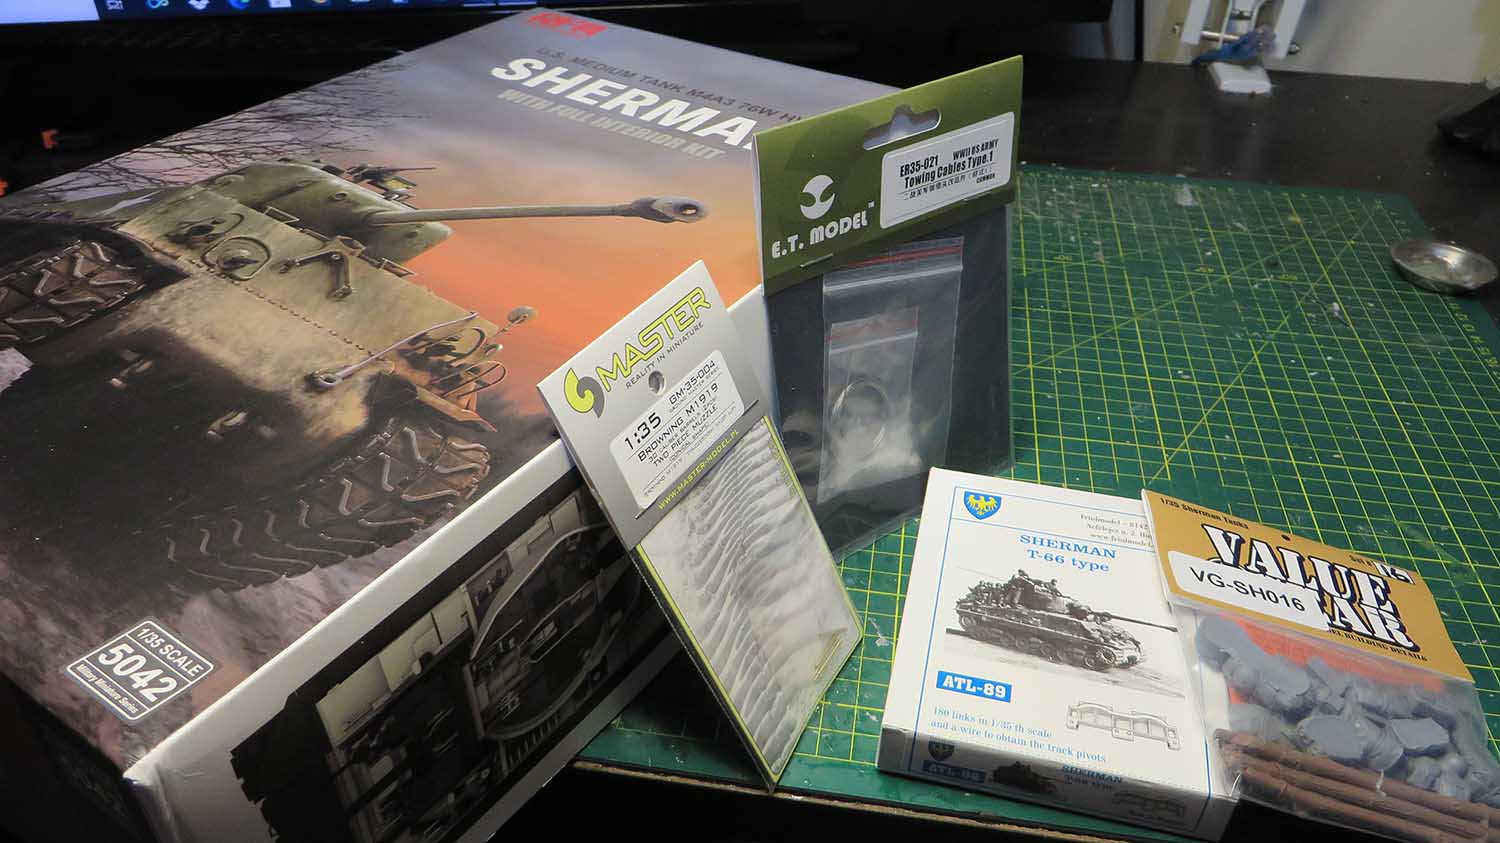
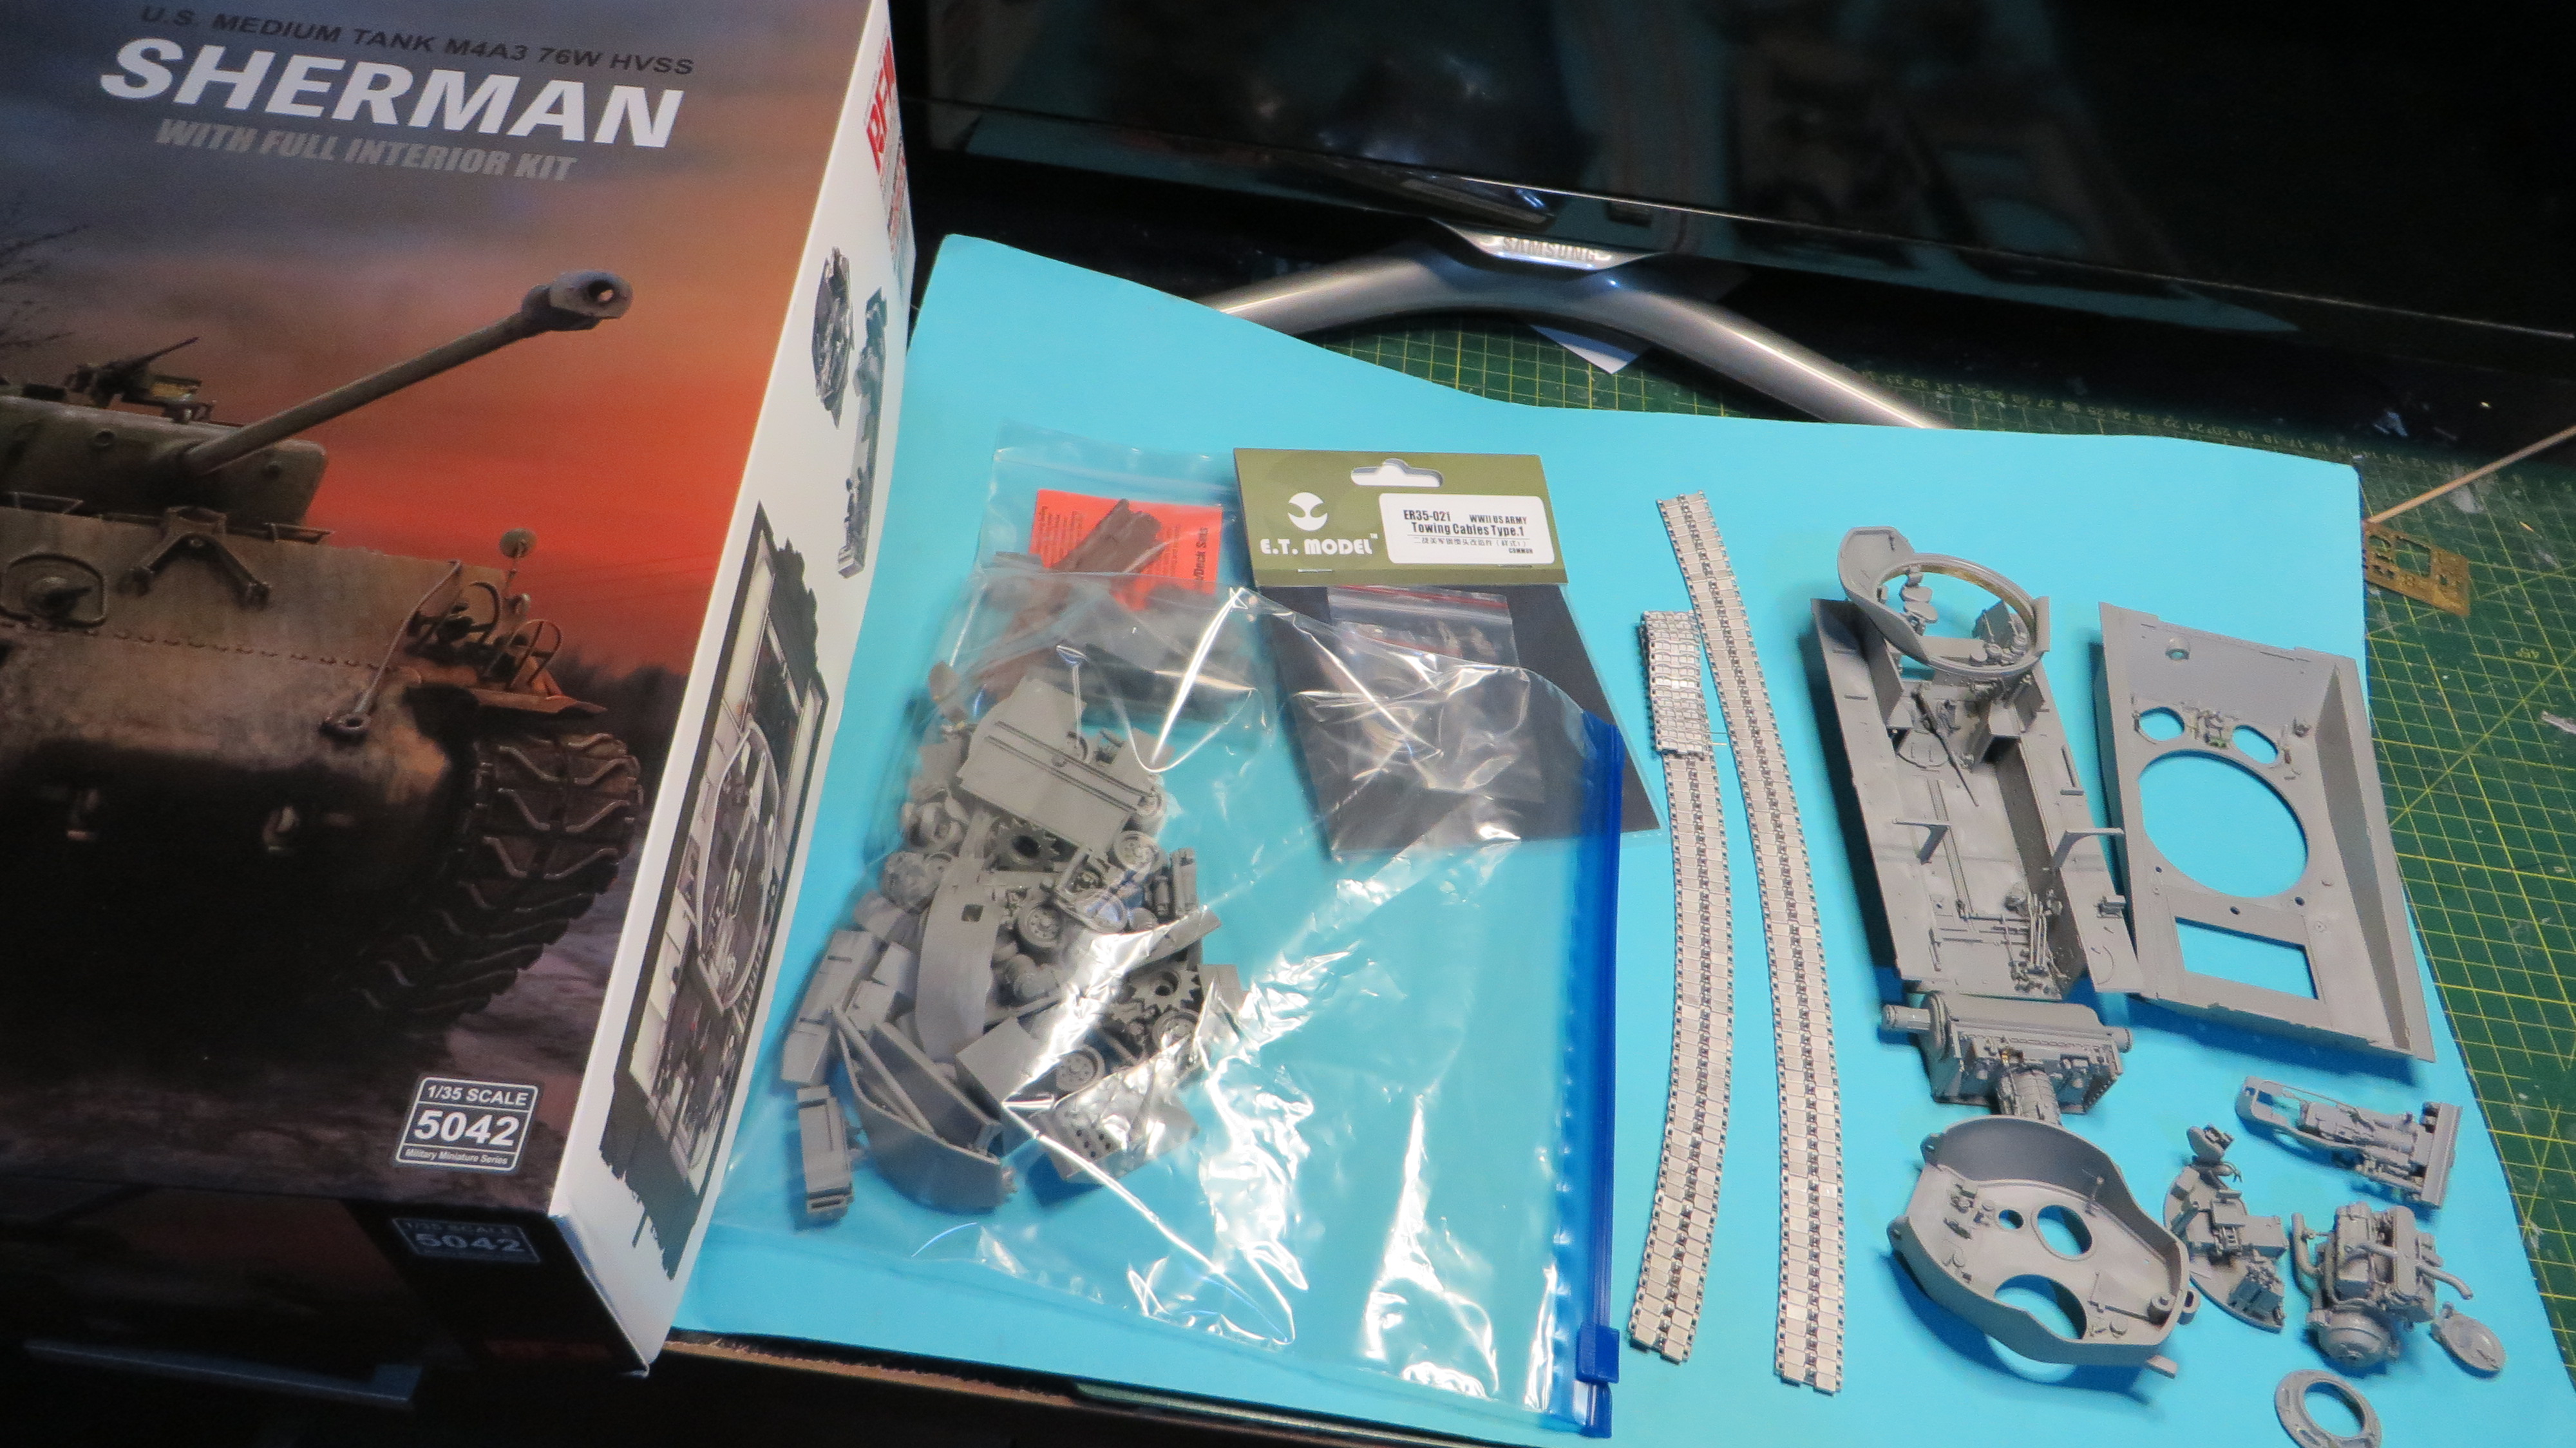
Guilty to say commencing the Ryefield M4A3 E8 with an interior this weekend
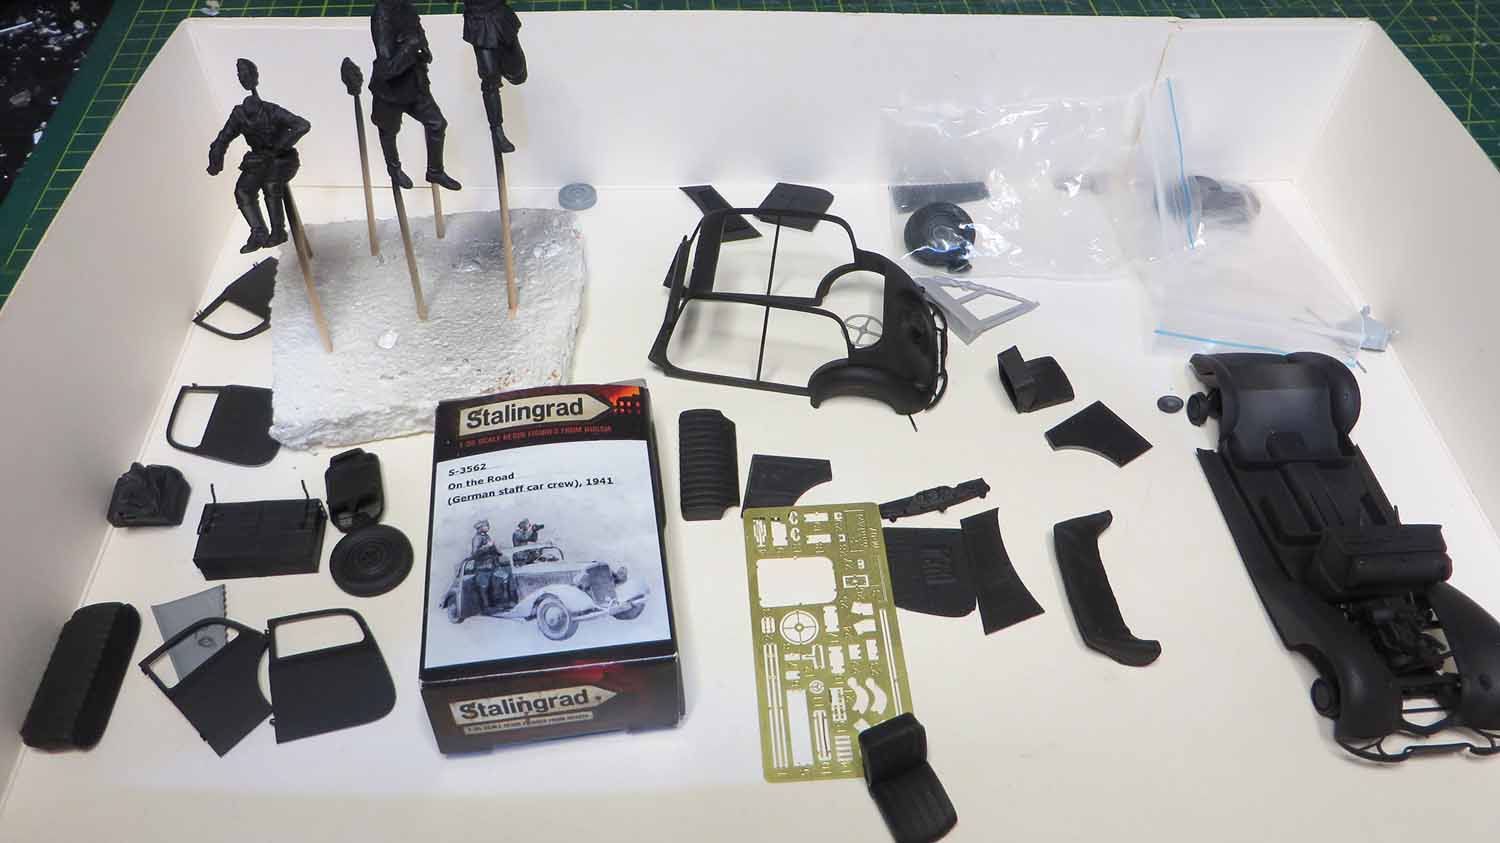
Taking a quick break away from working with the dragon figures.It has been a long time working with equipment to fit outdated figures and there is by far alot more work with them to get them up to a good standard.
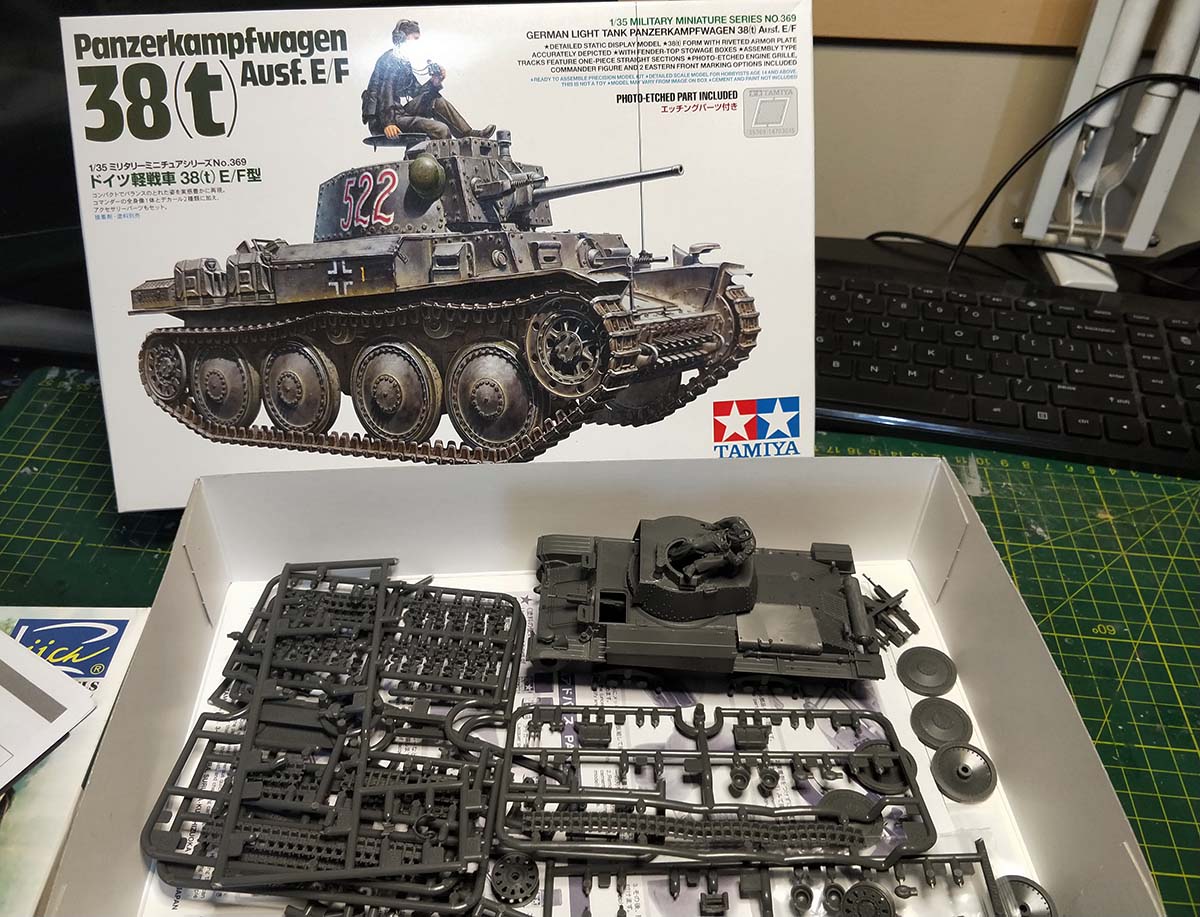
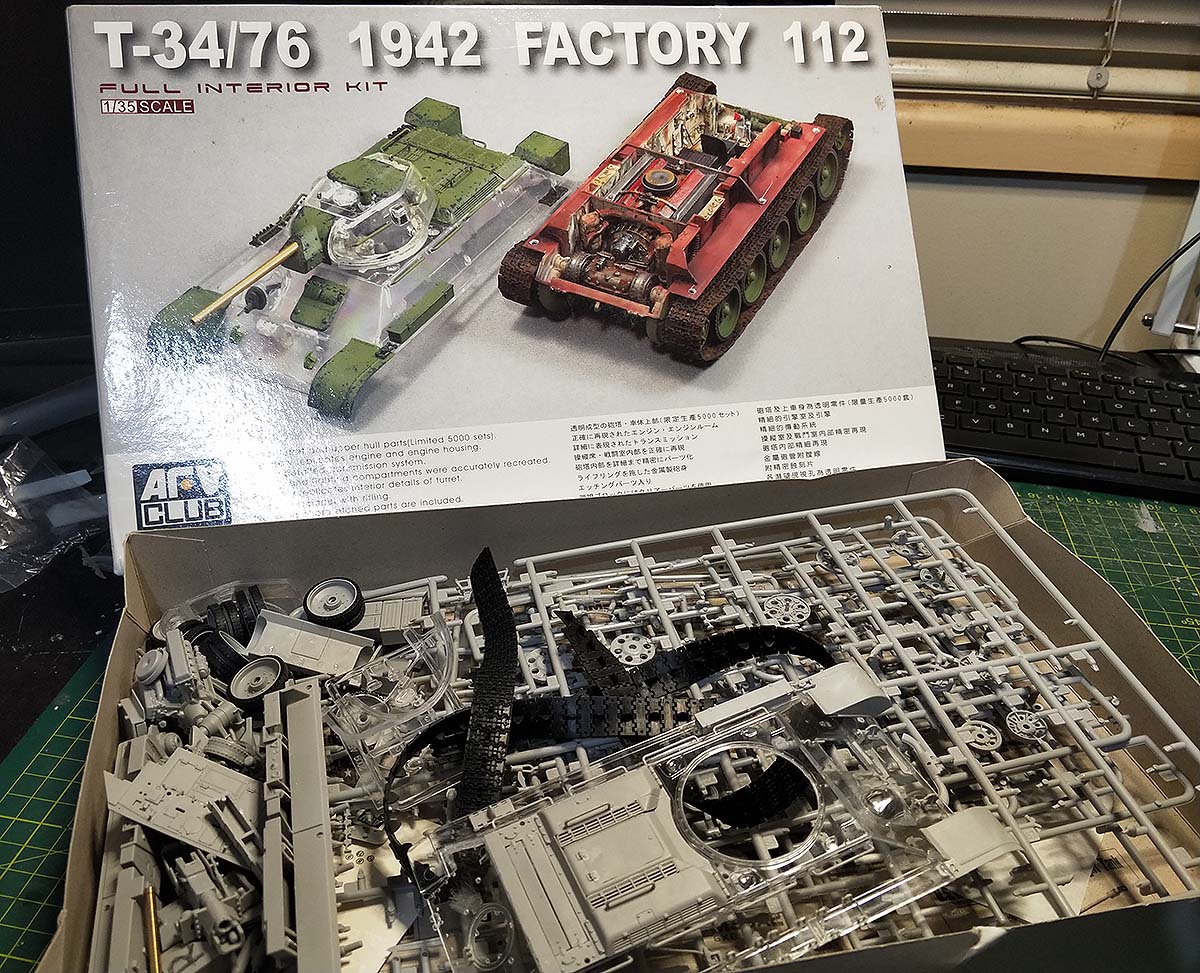
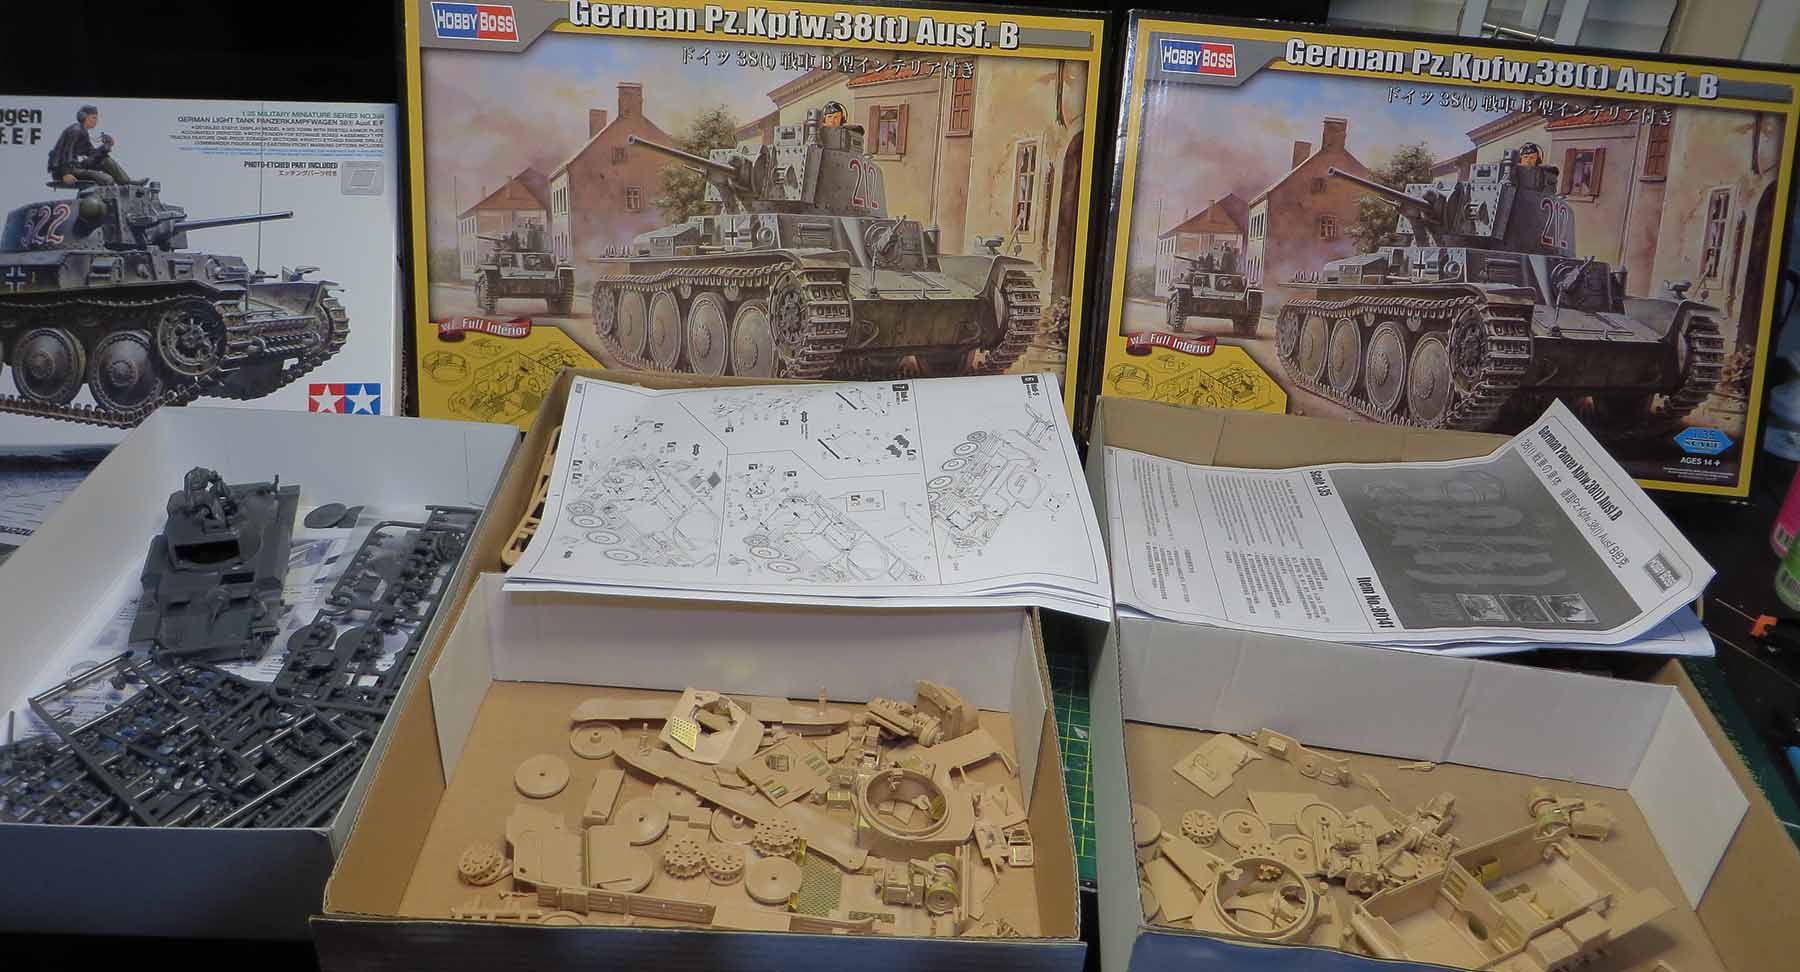
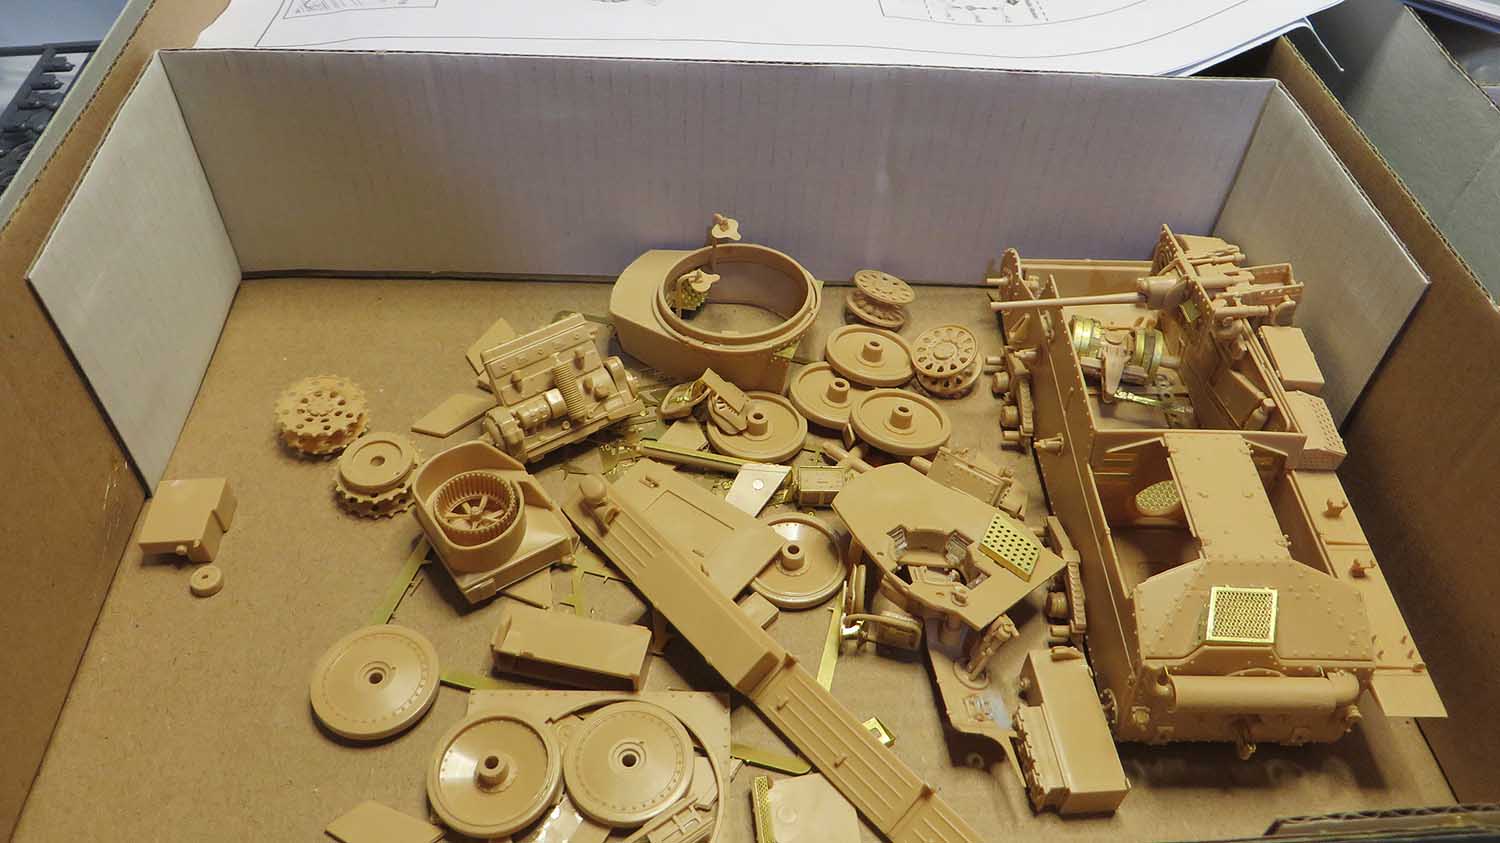
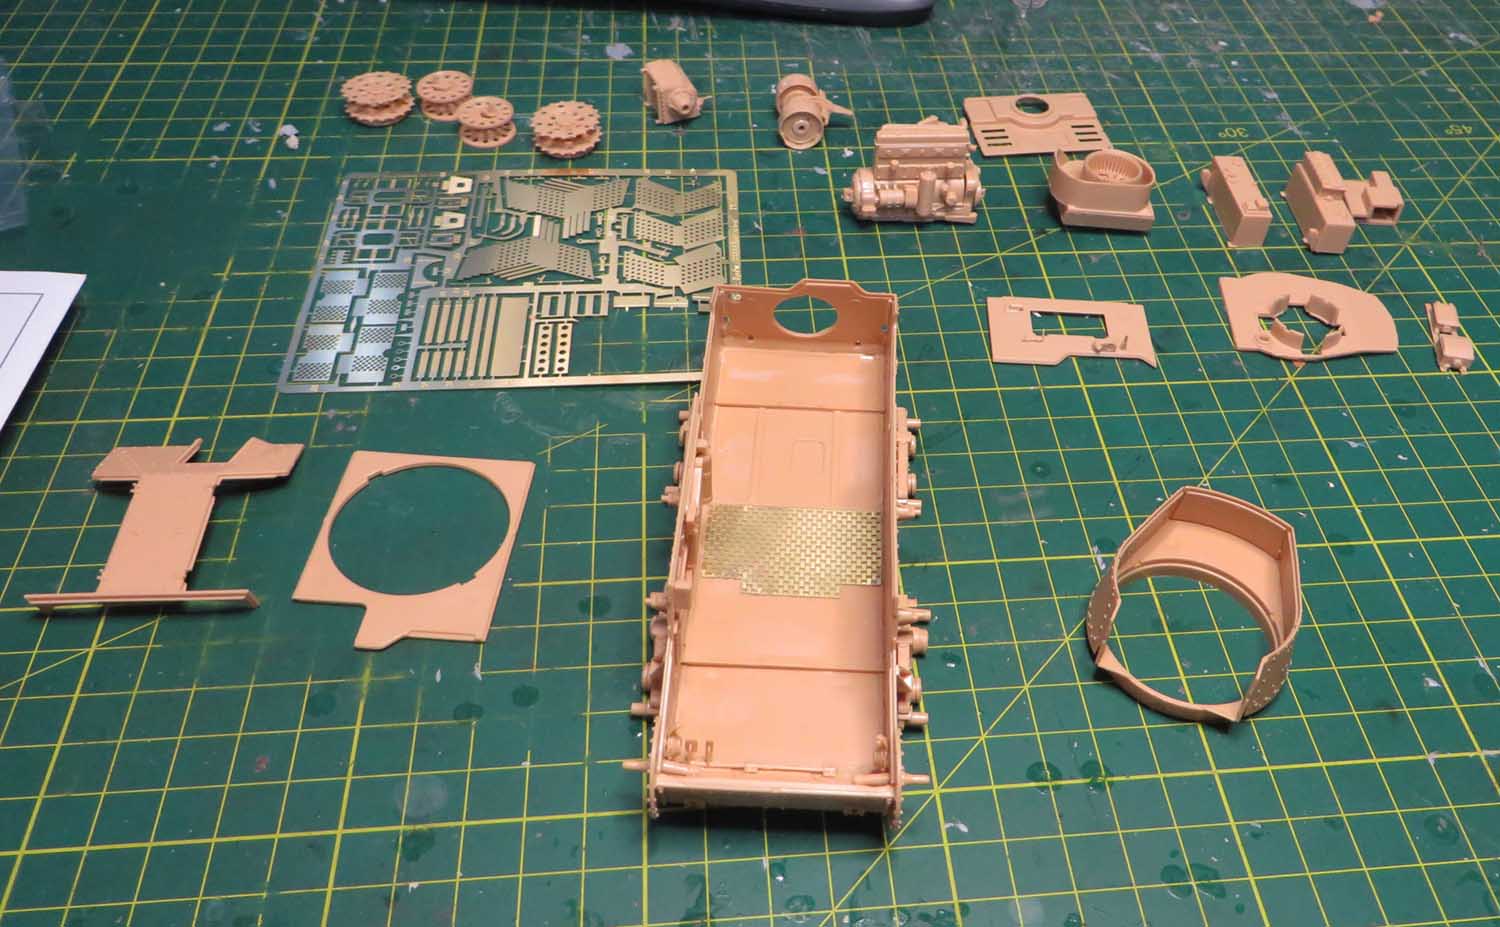
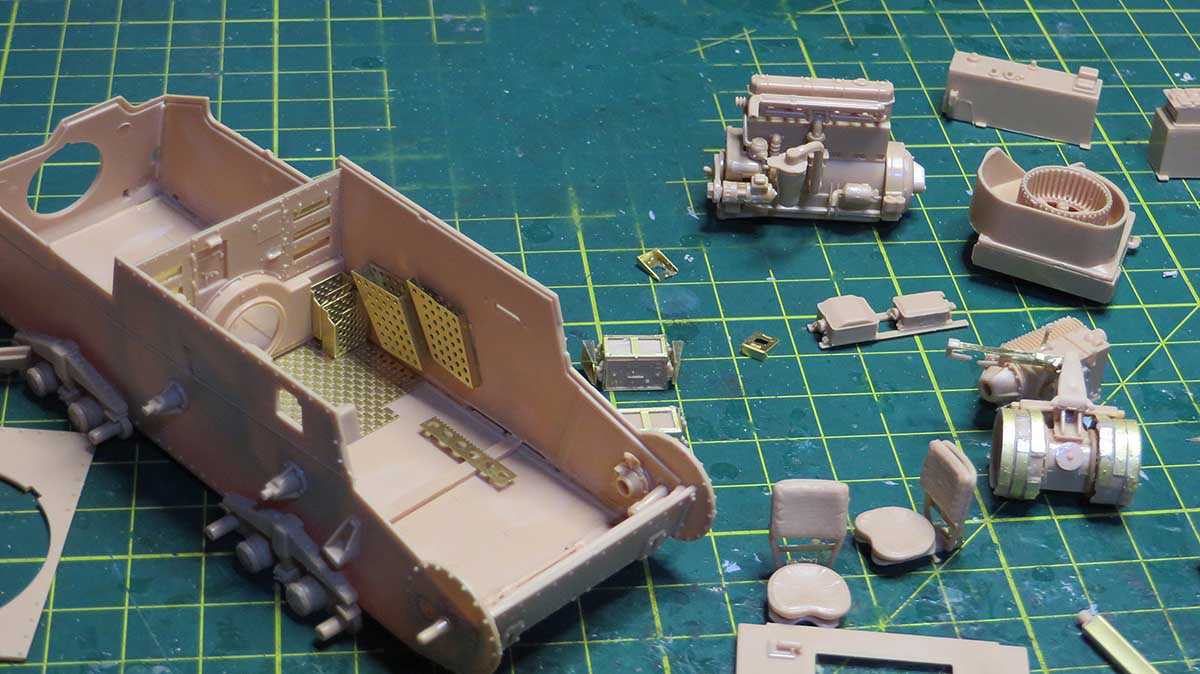
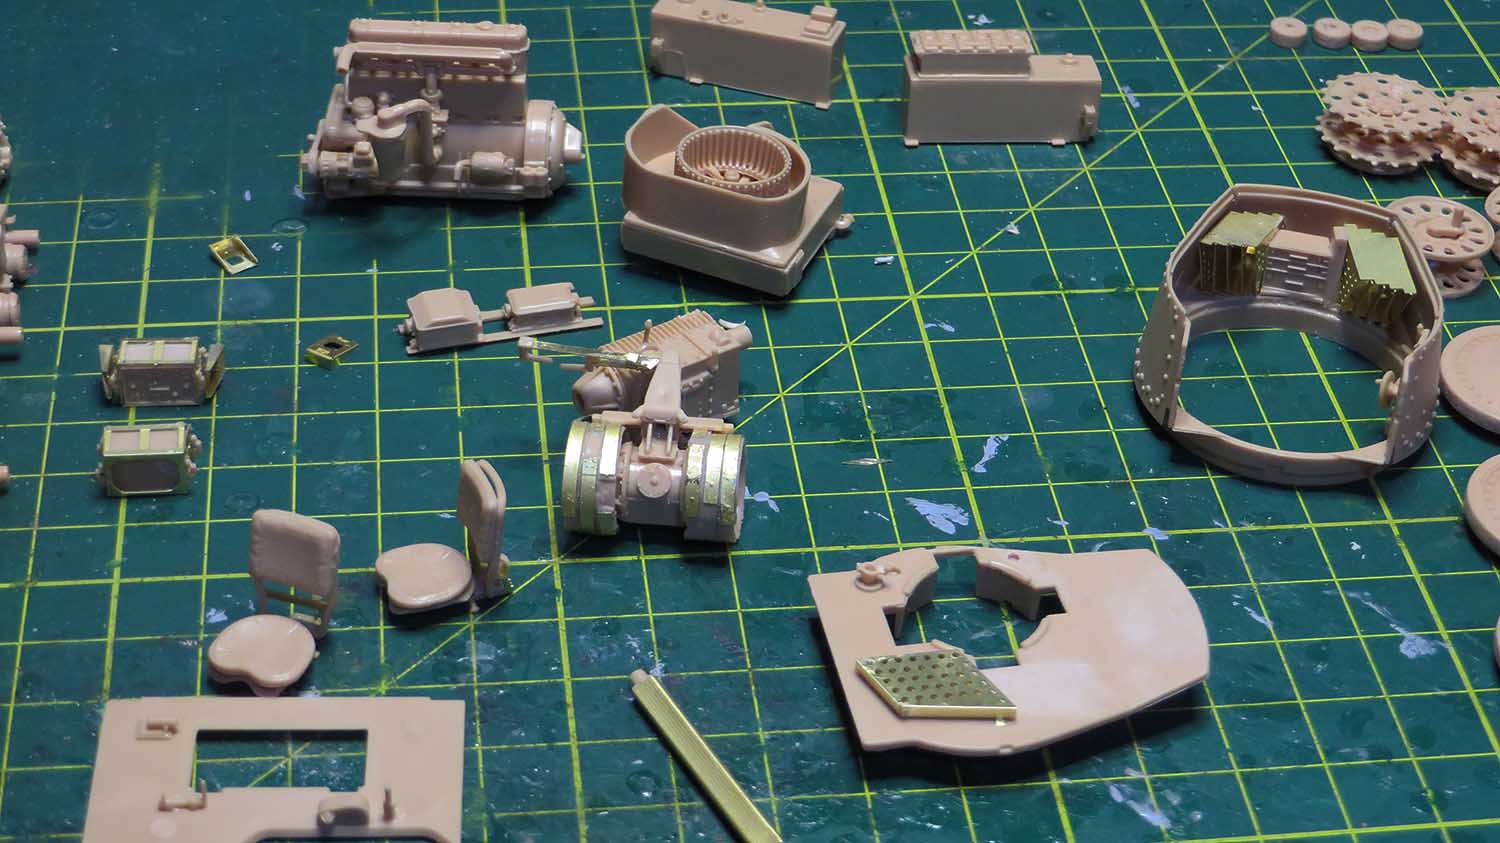
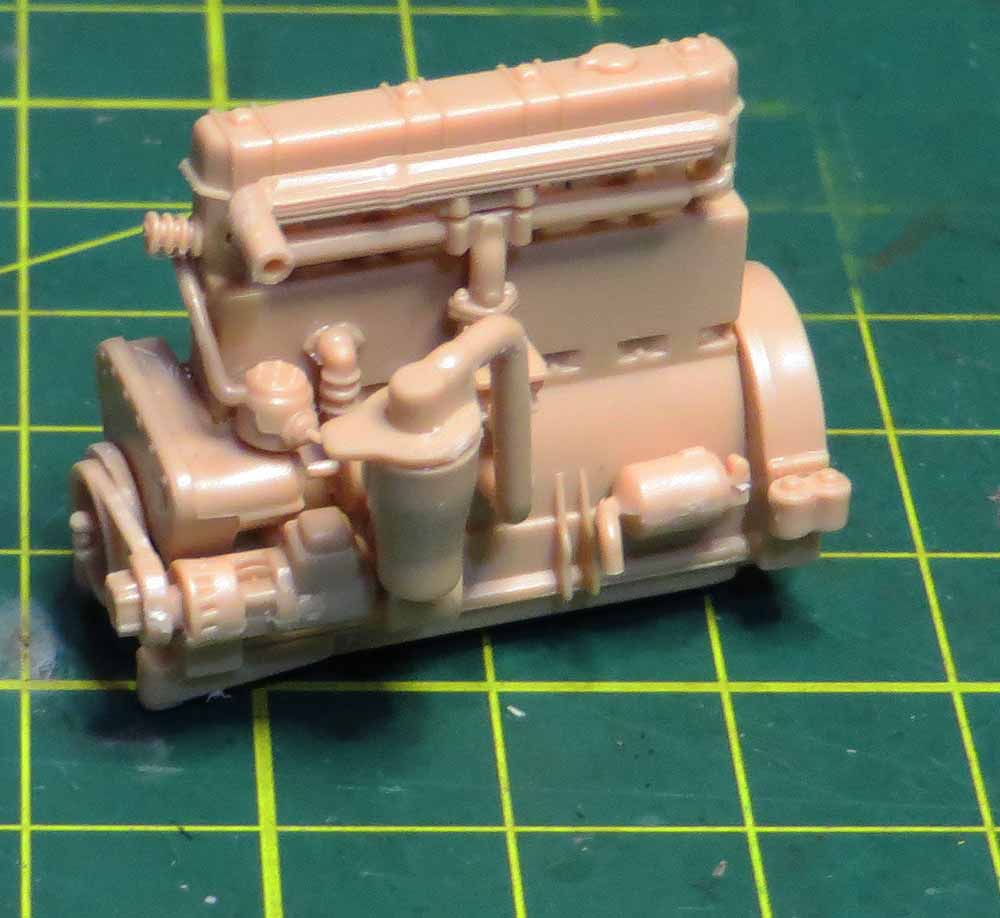
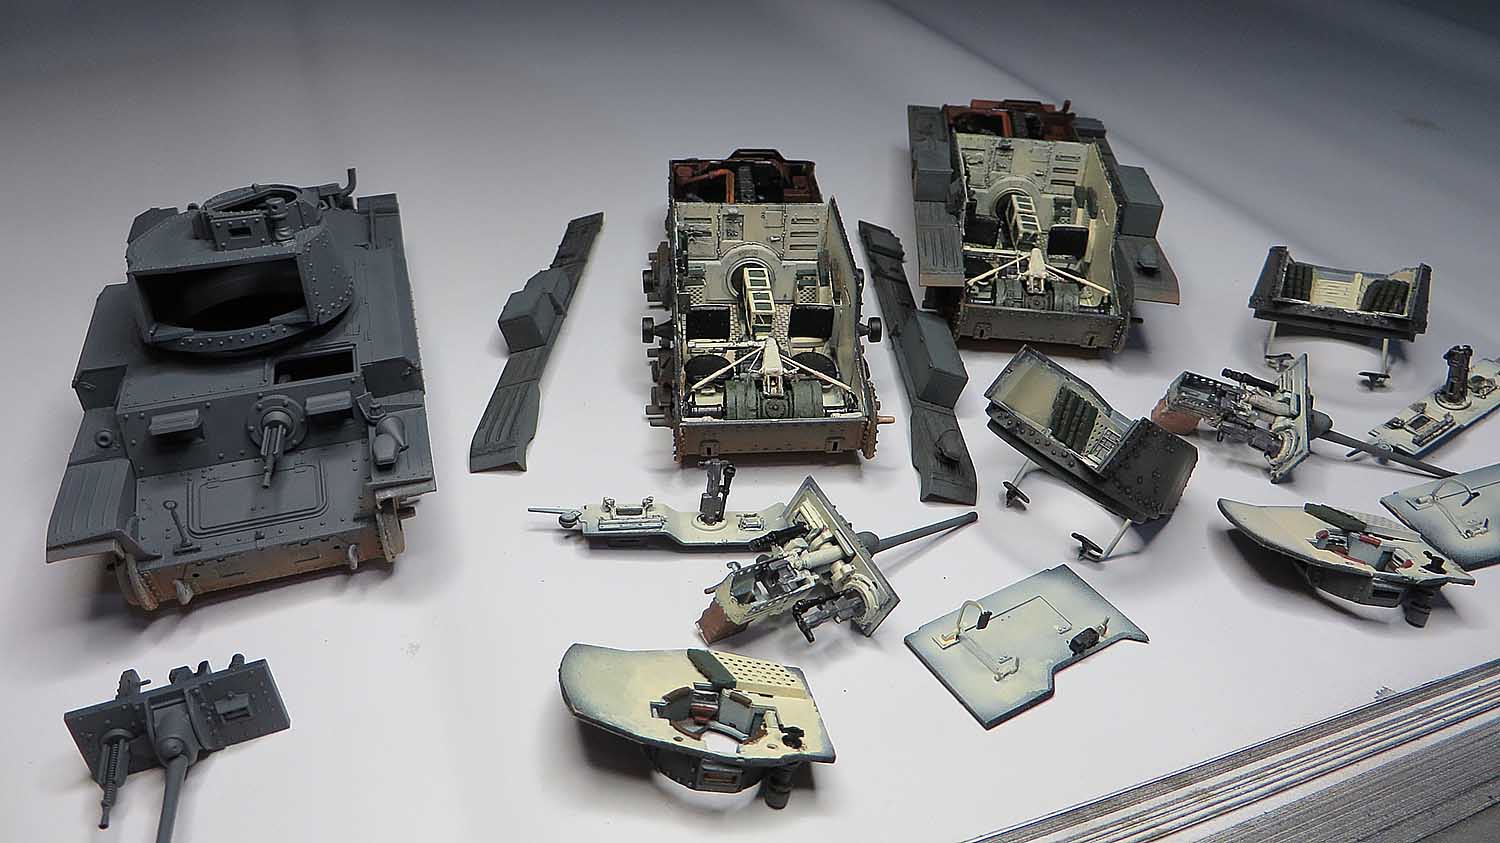
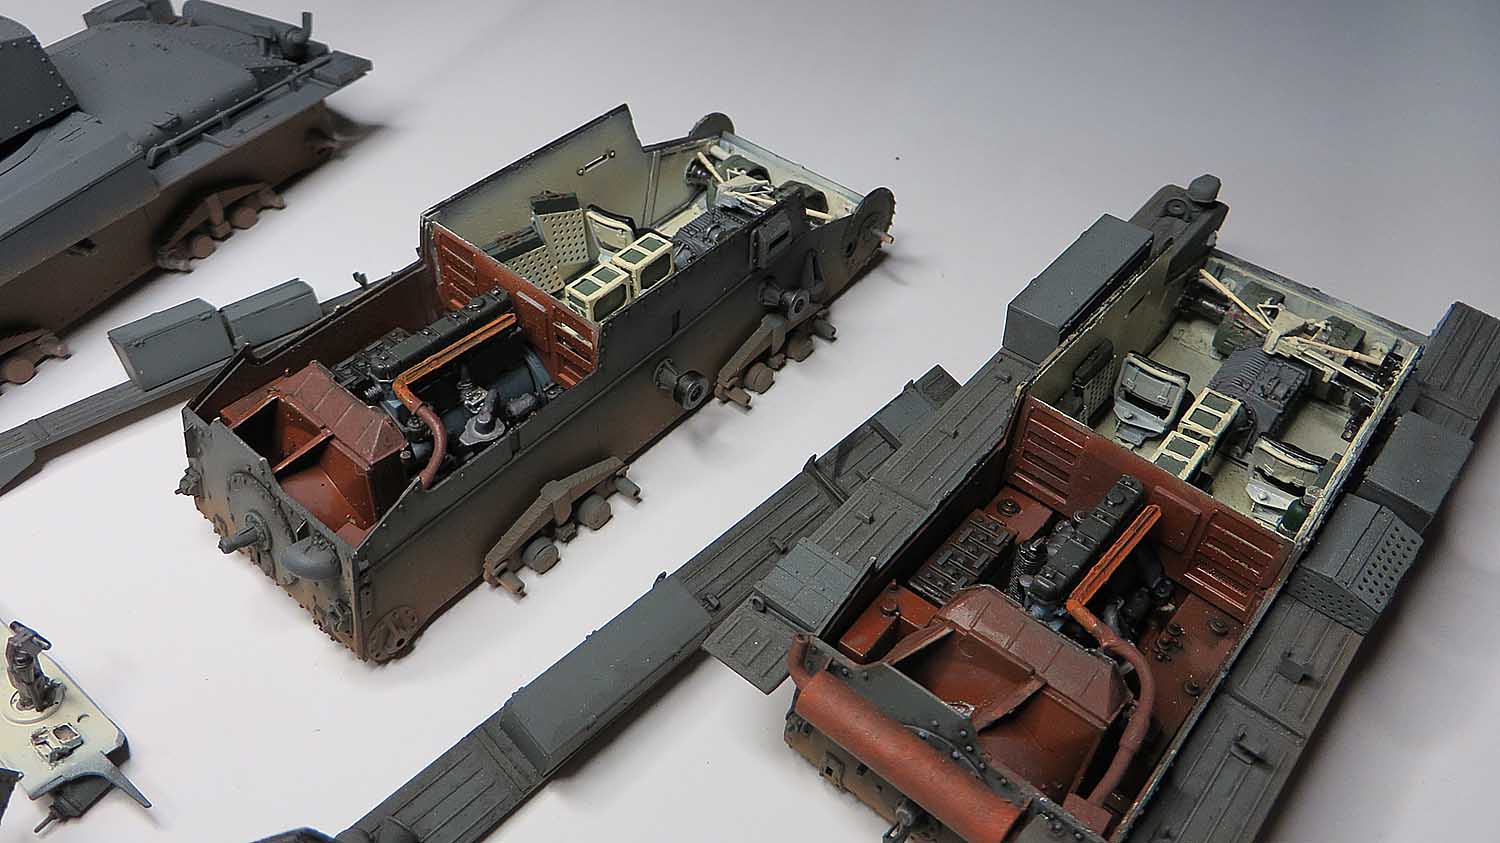
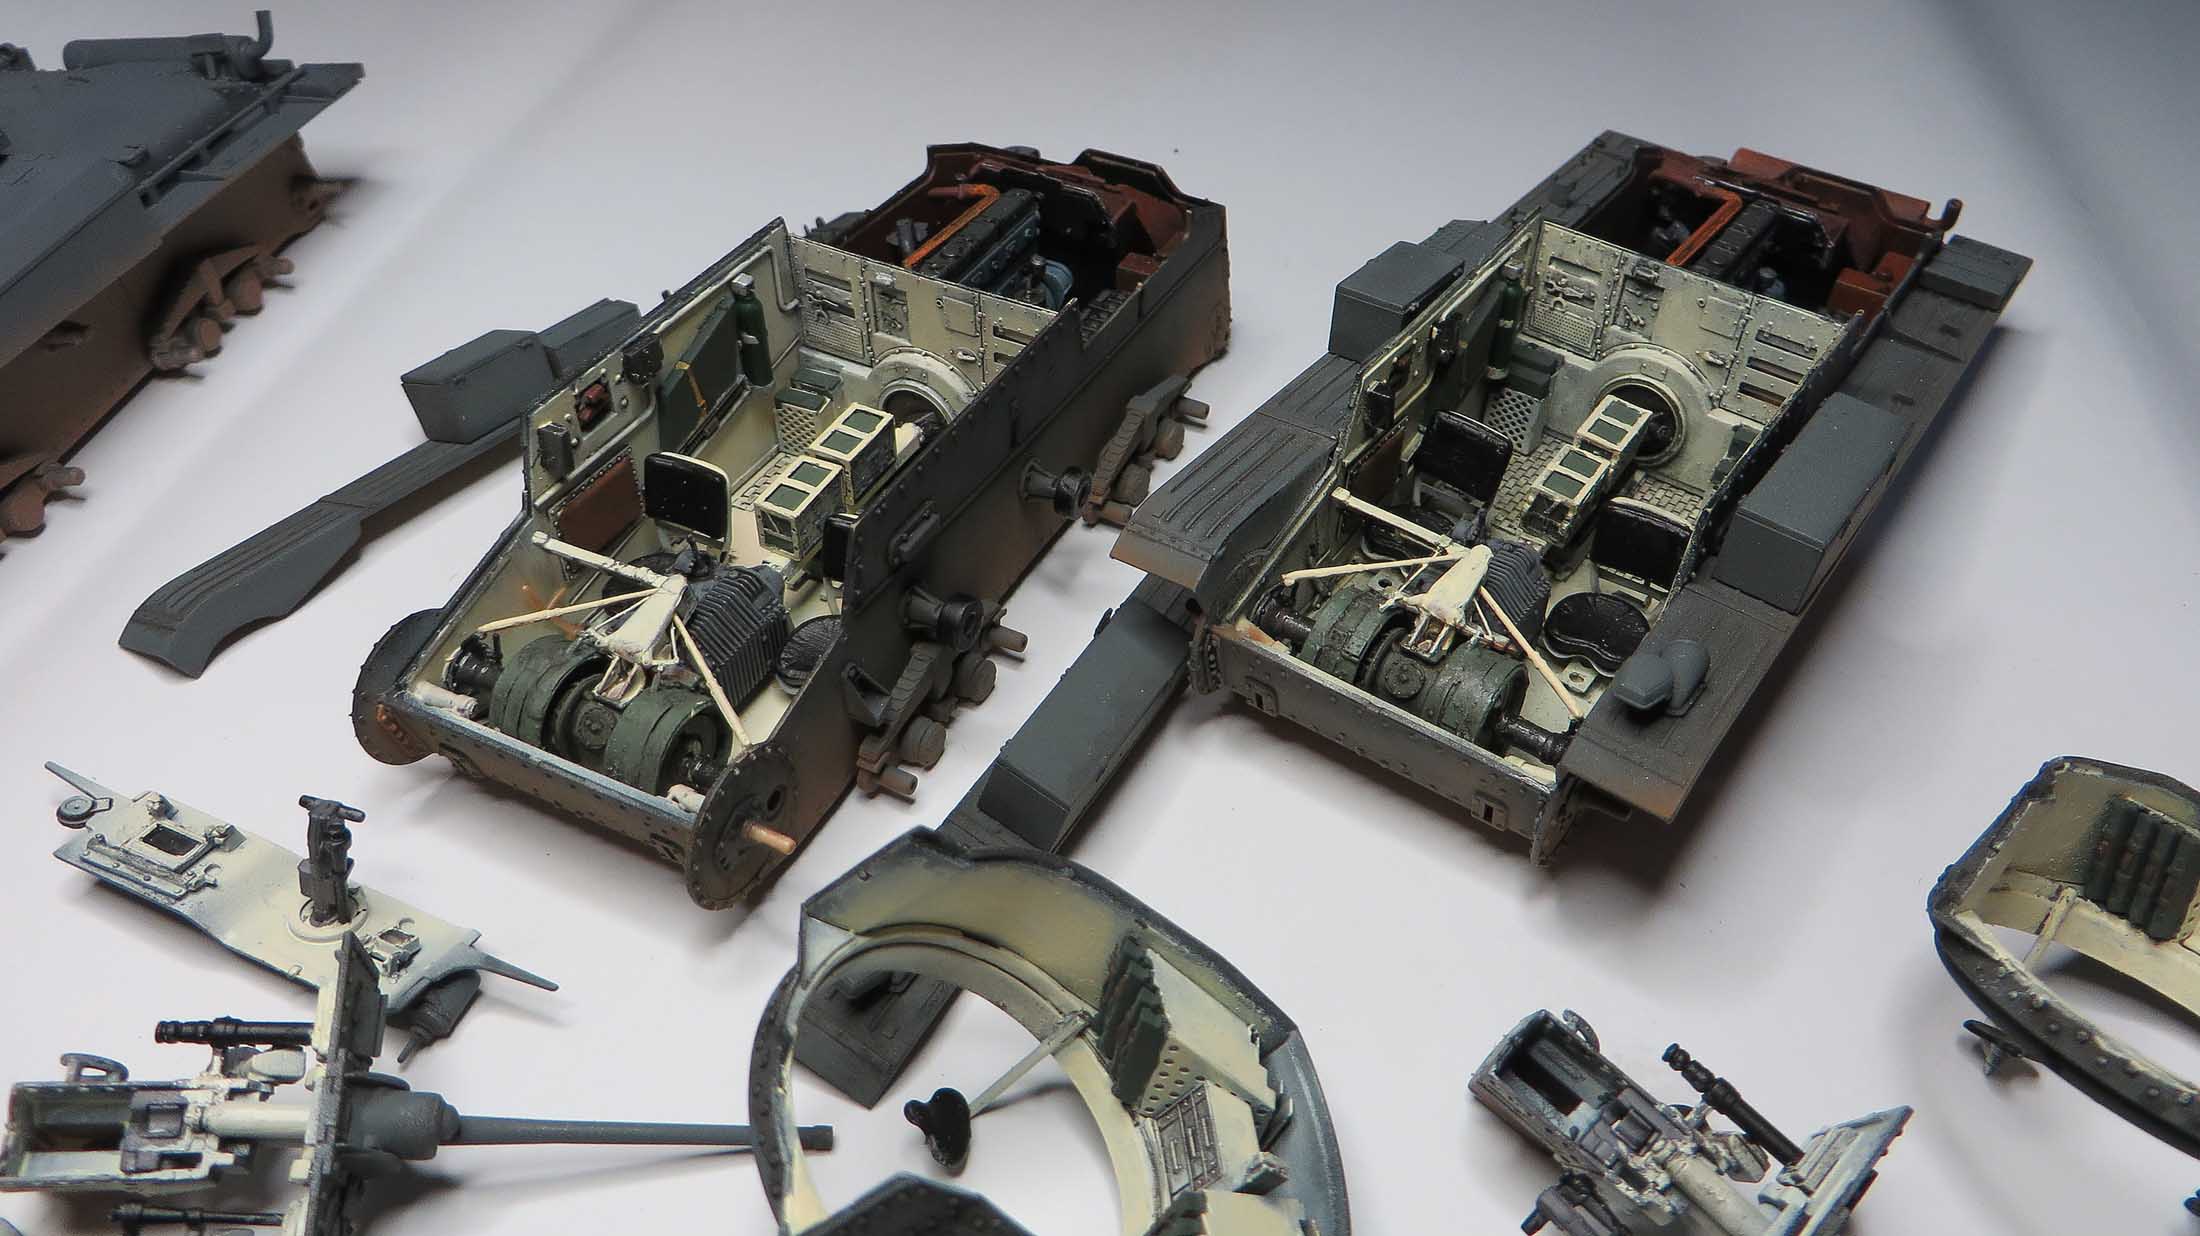
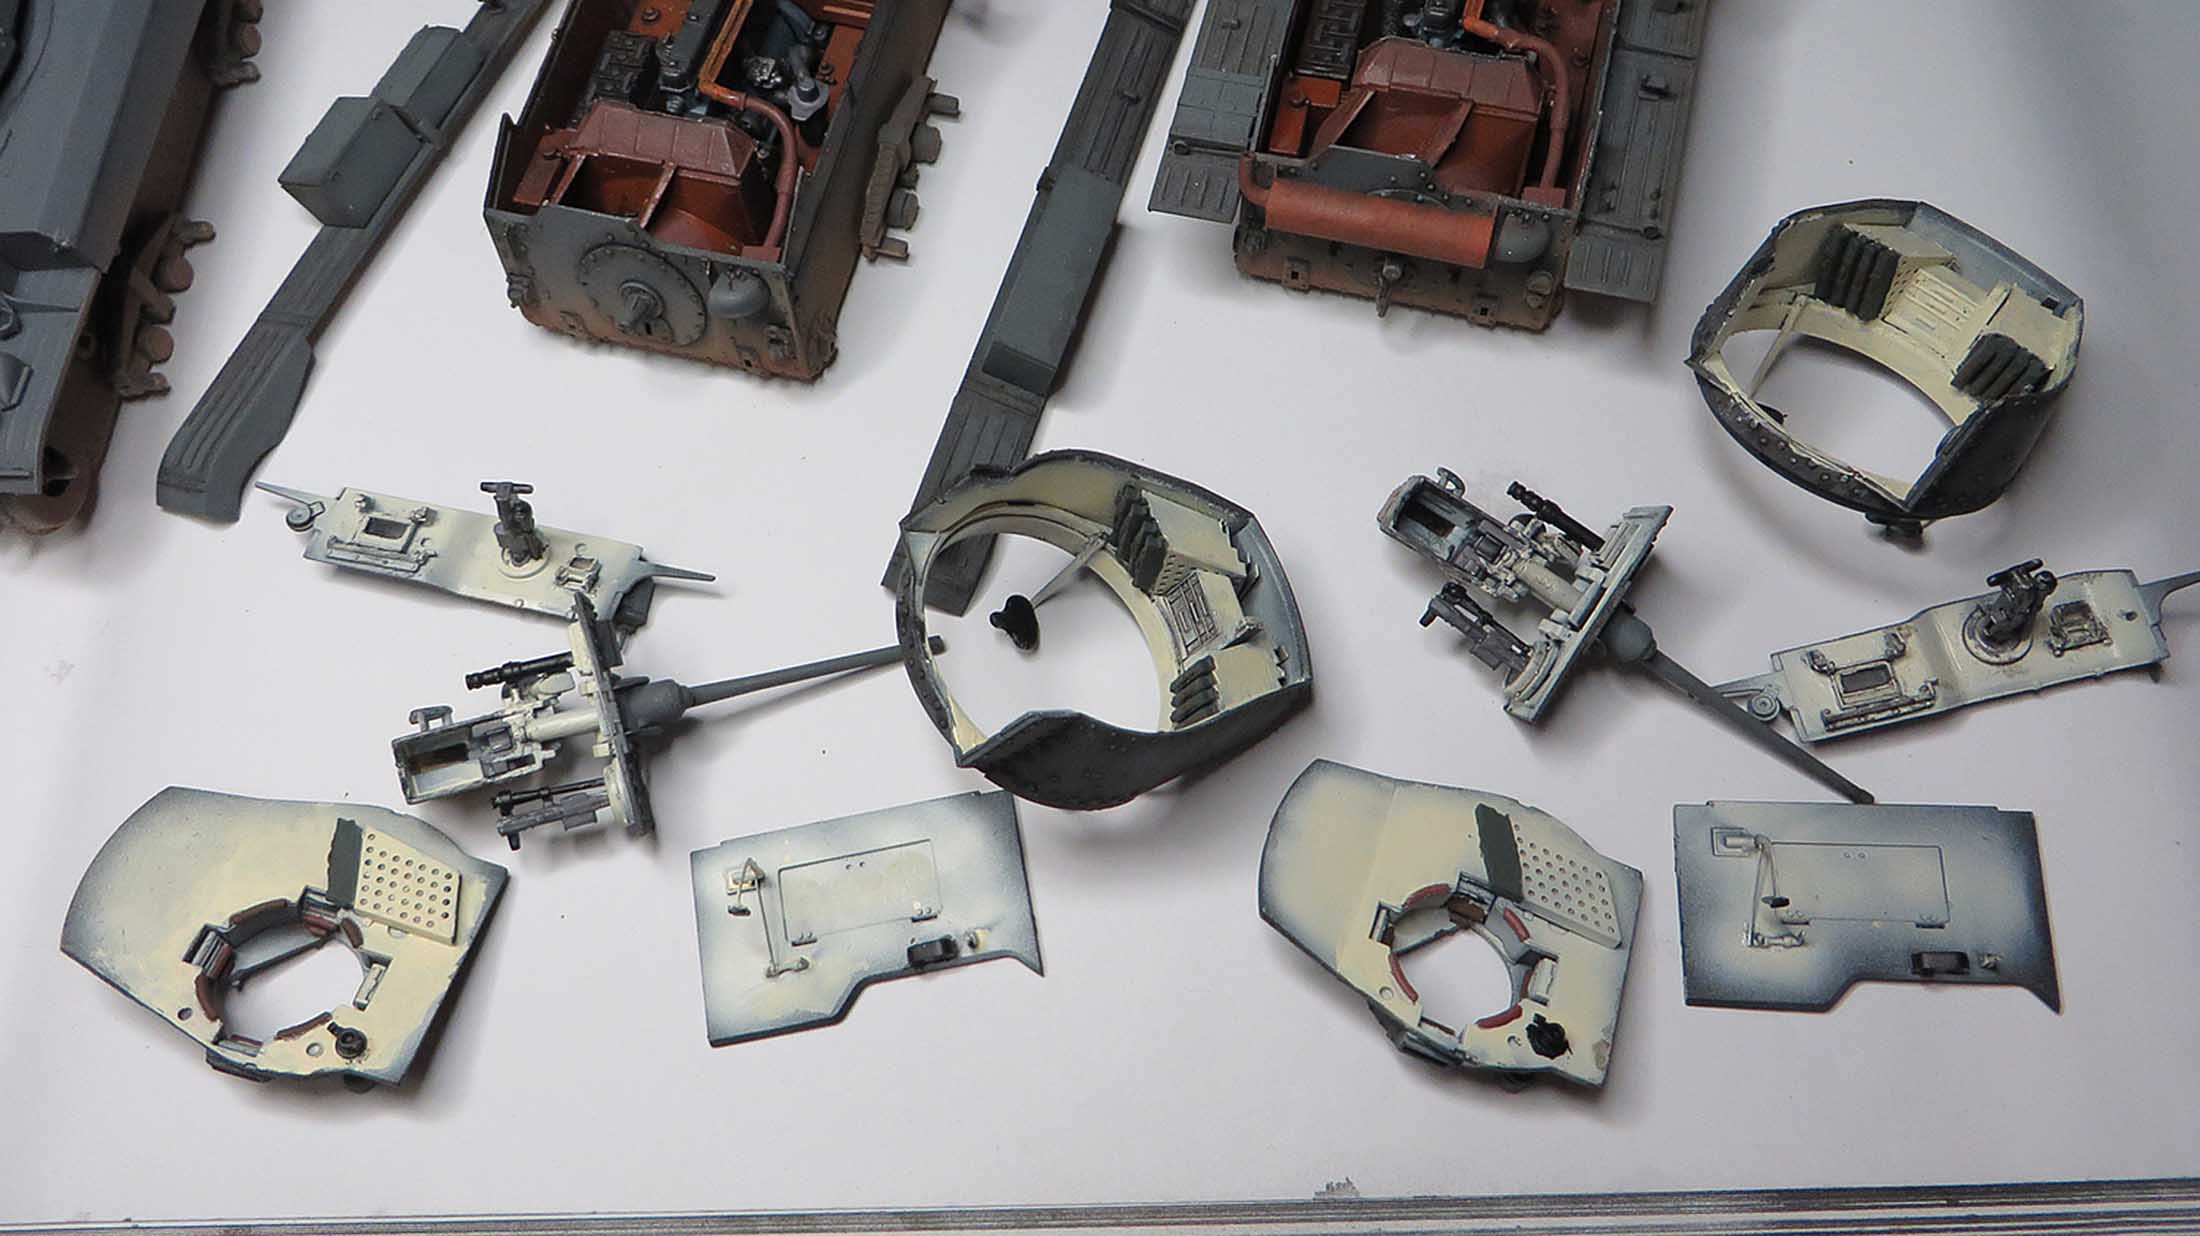
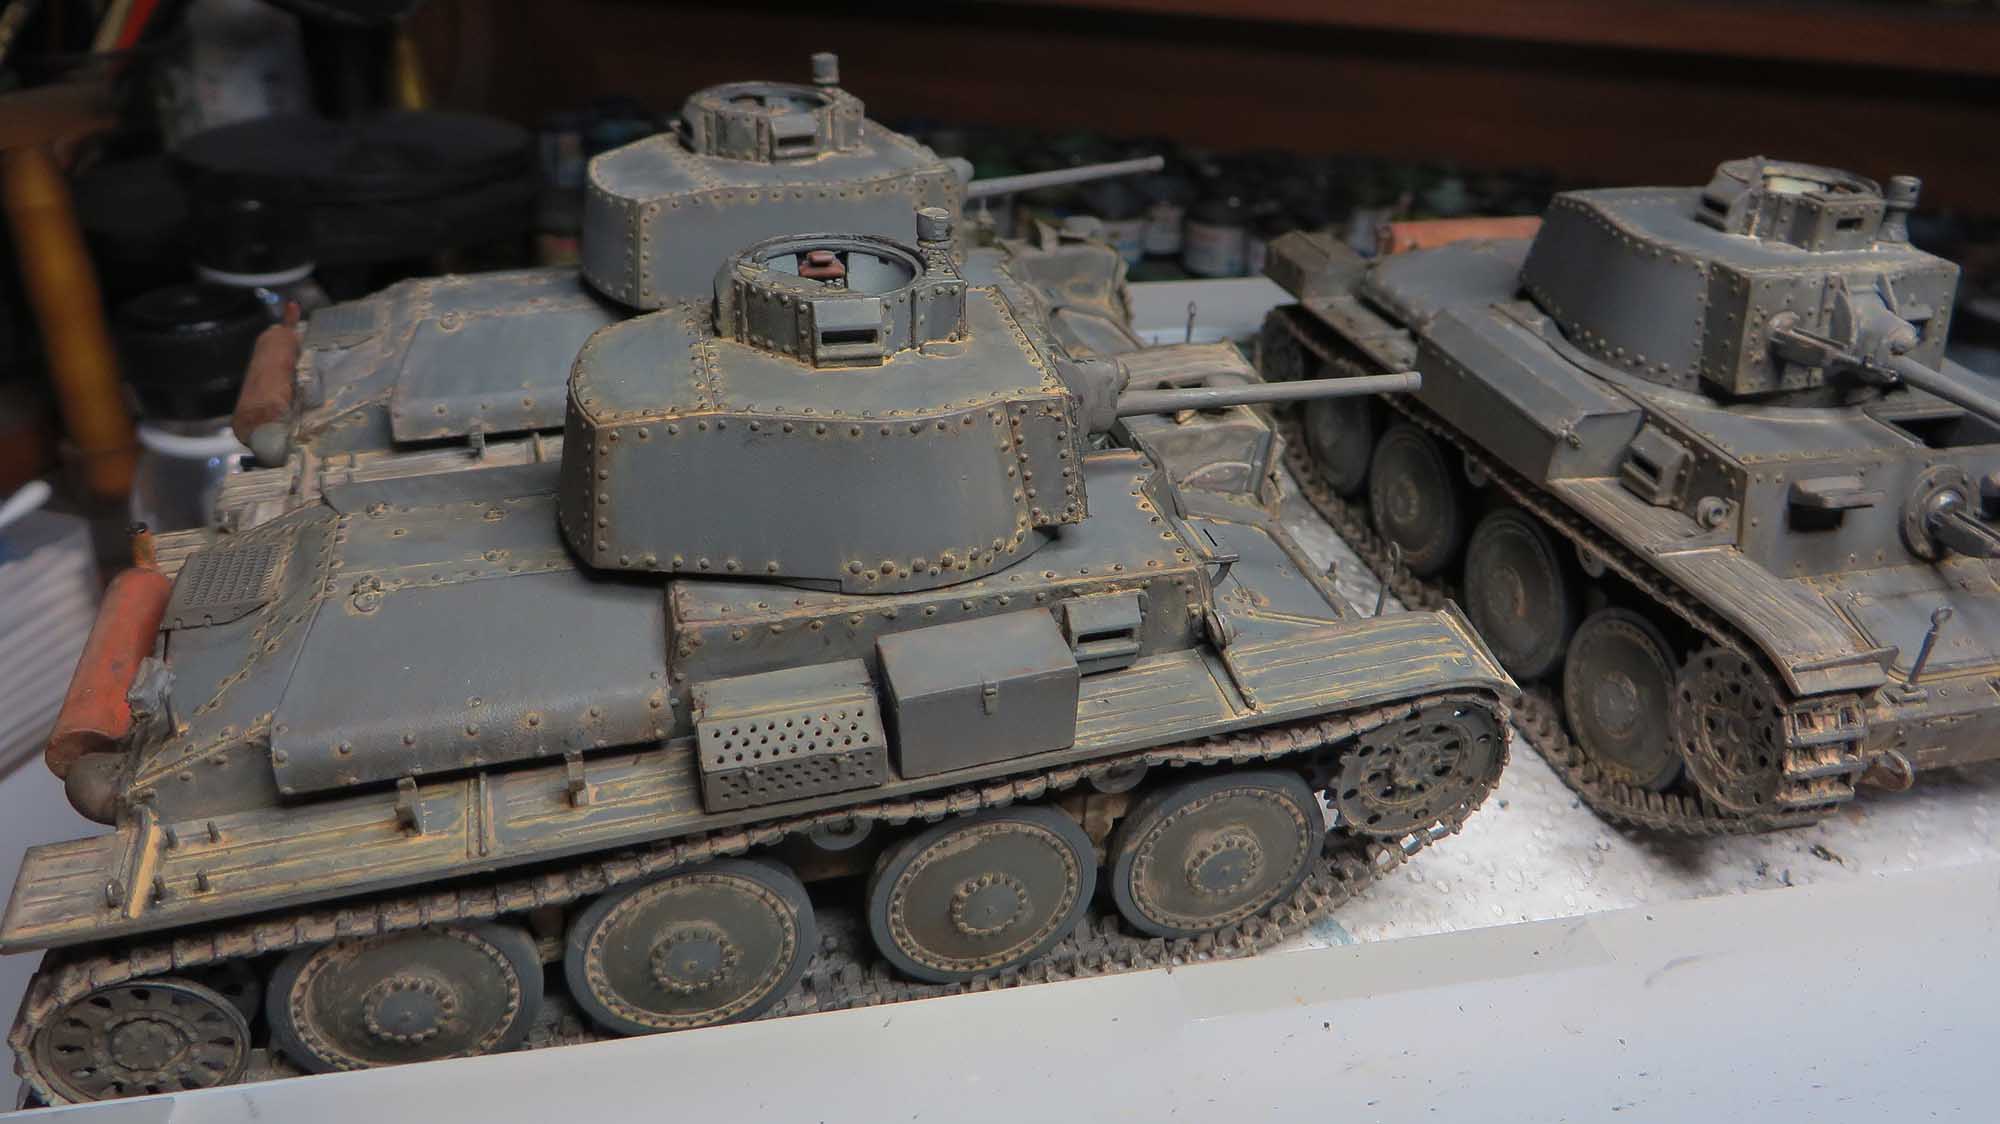
The Hobbyboss 38T is extremly detailed and well worth the Money for a tank with interior.
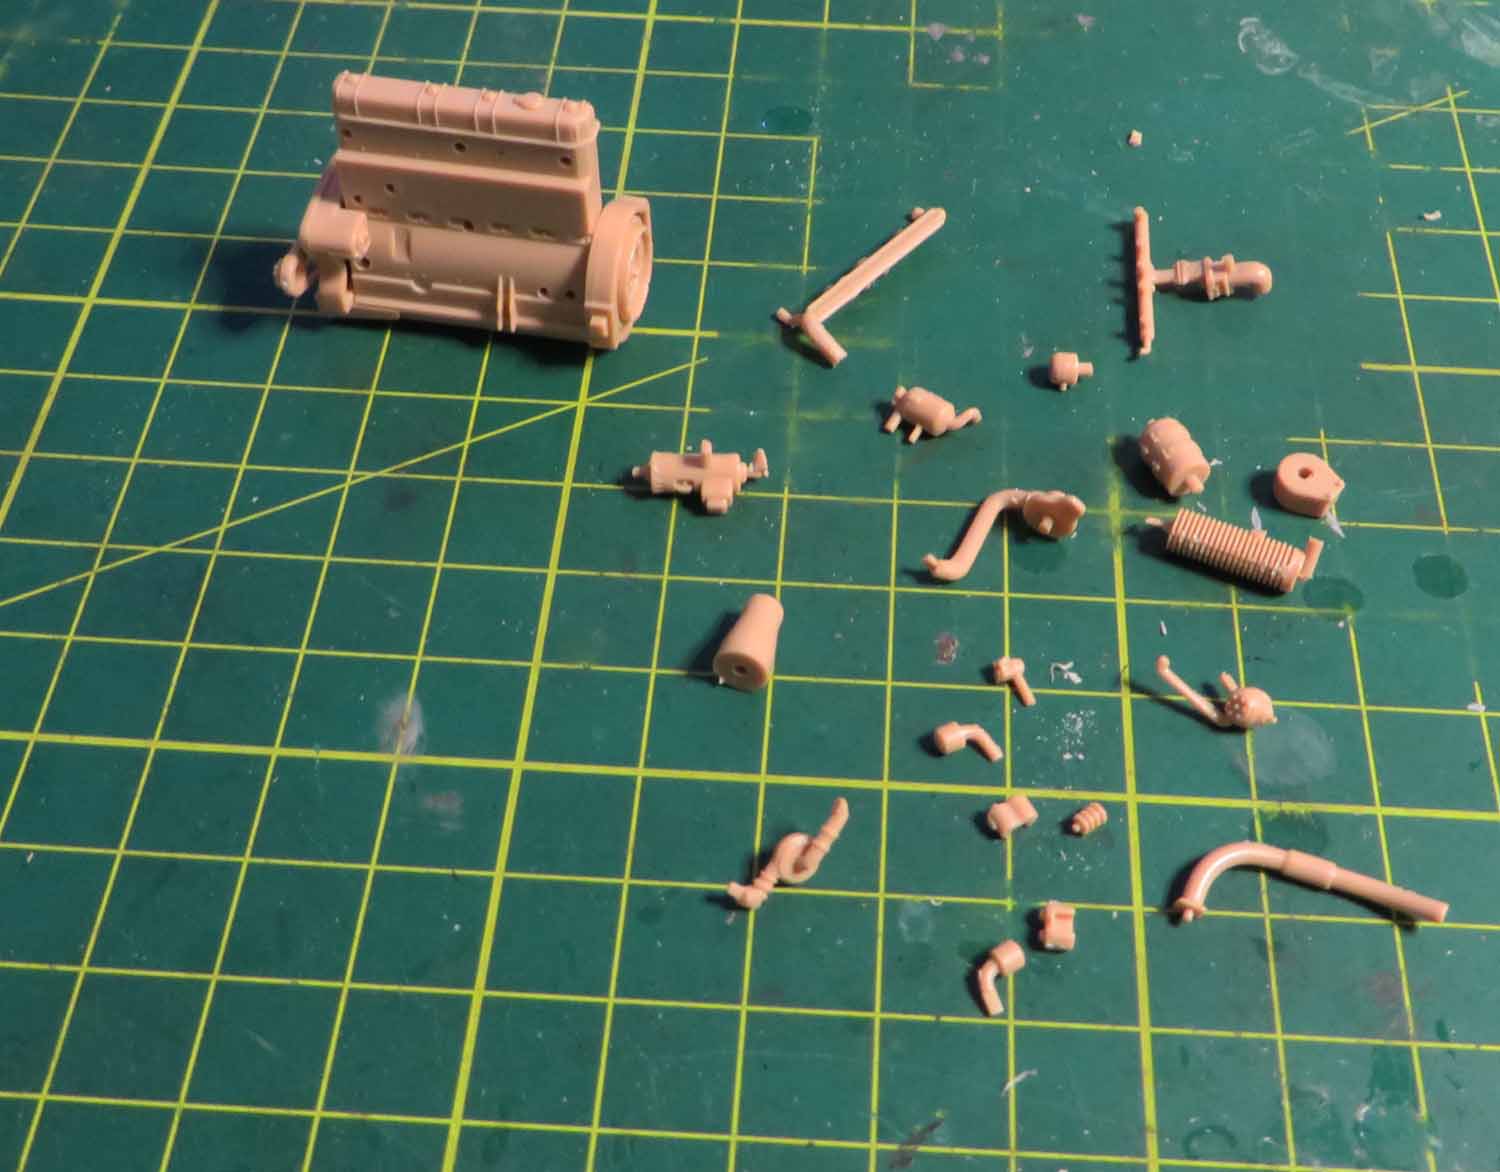
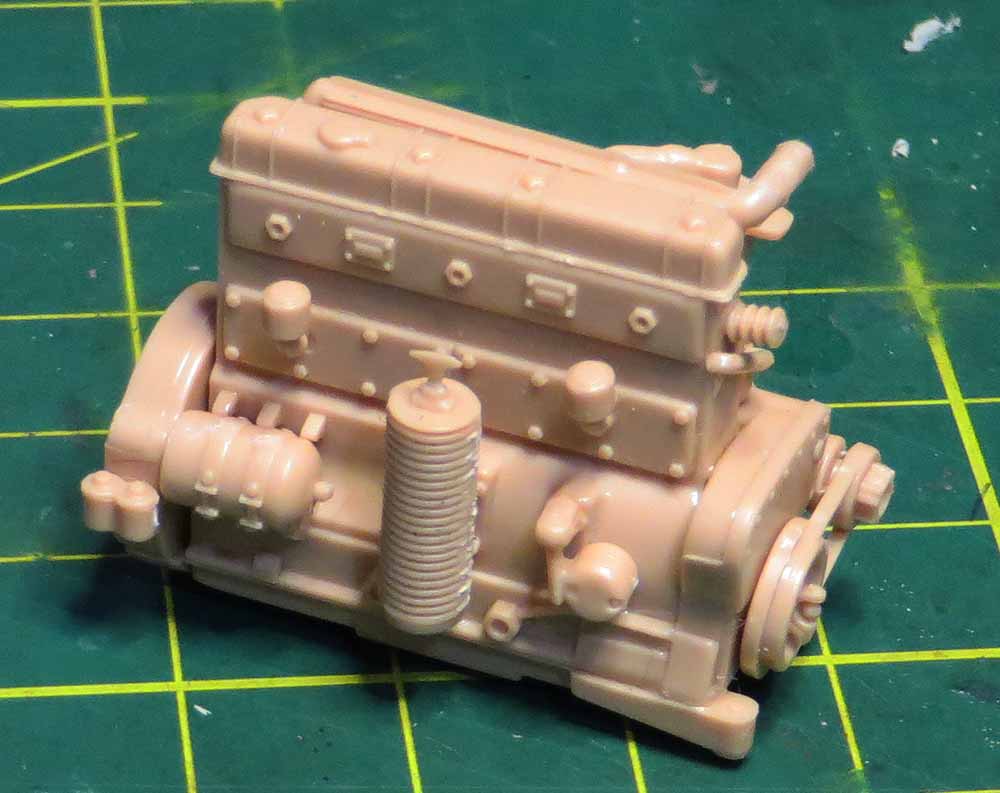
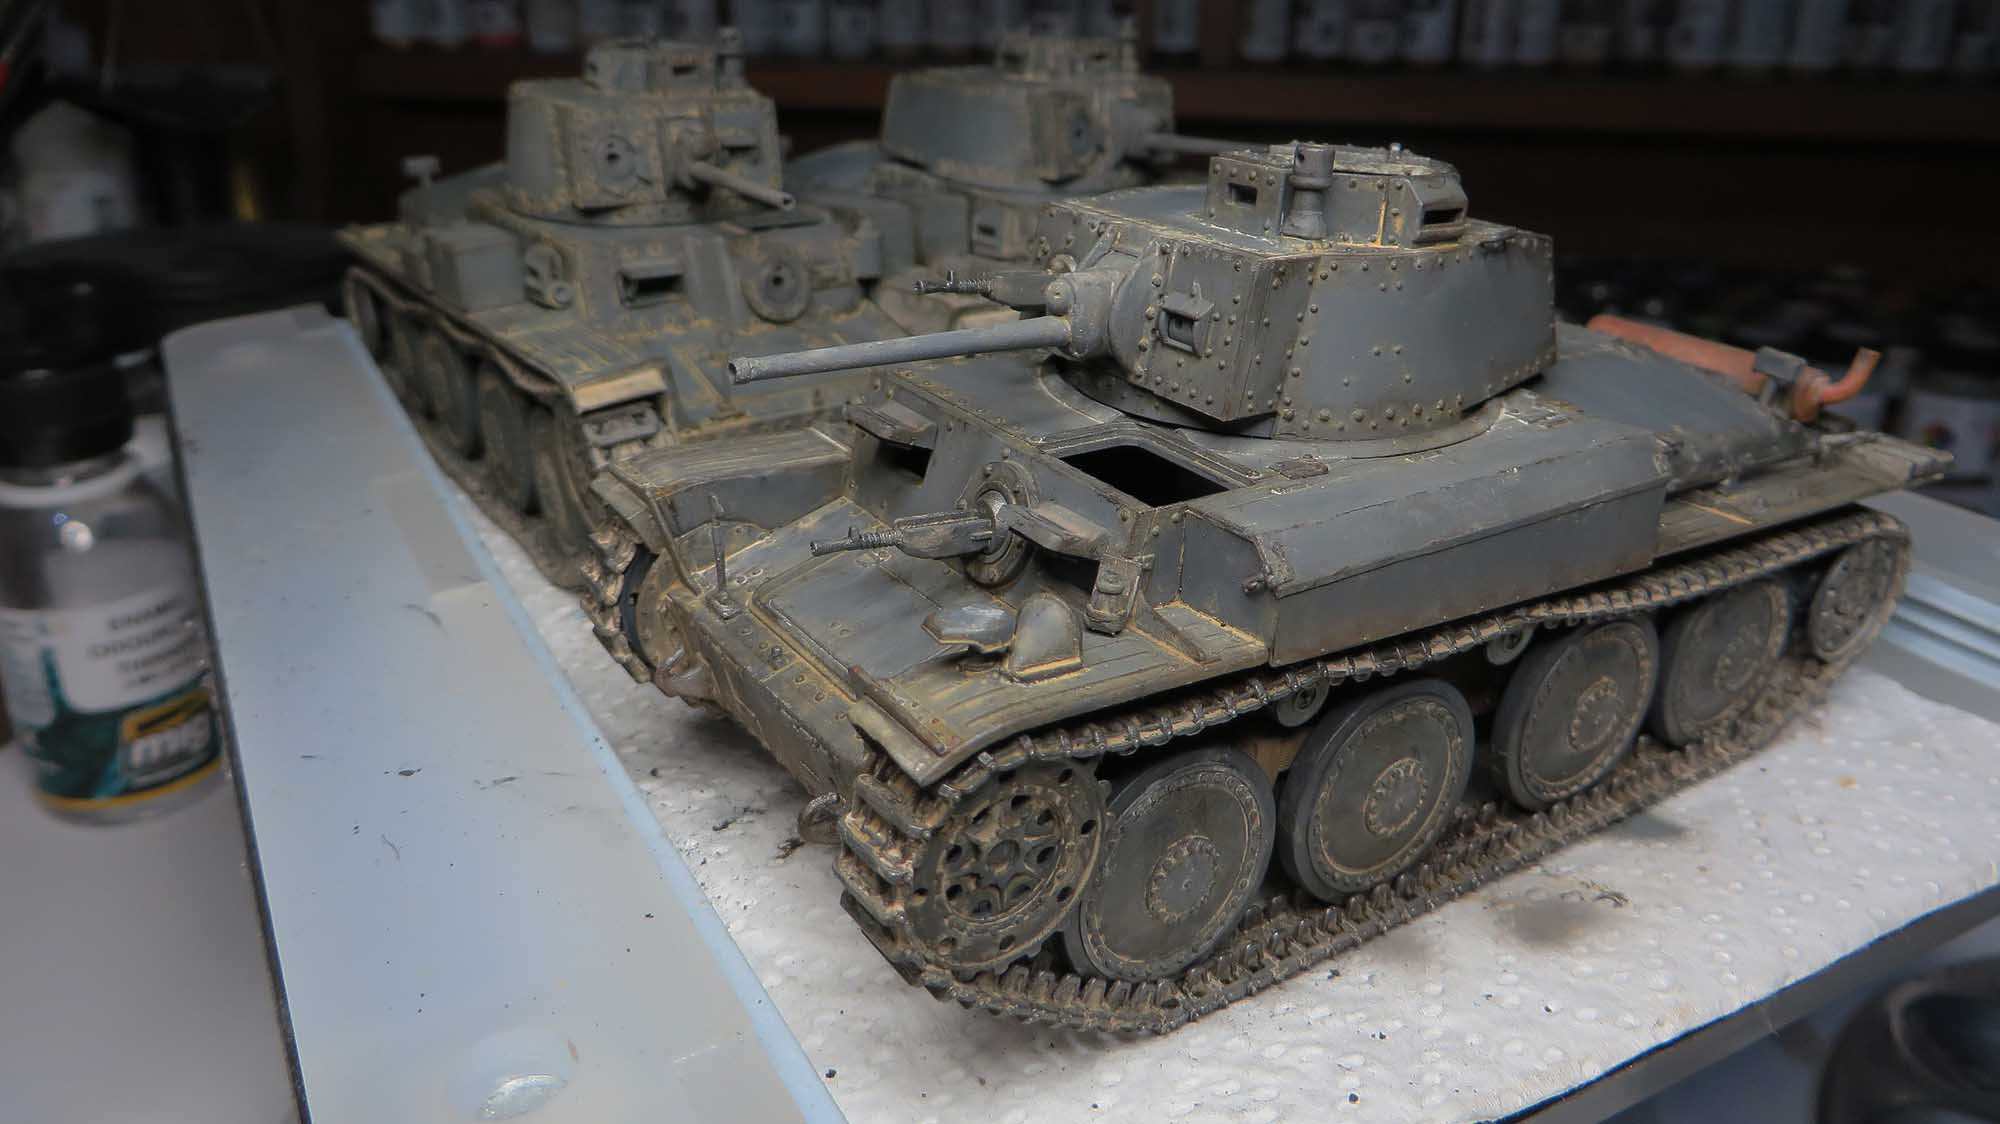
A couple of areas of concern are the rear engine deck fit and rear engine hatches. Make note during the build process. The individual tracks are tedious but look that part when done and the extreme care should be taken with the fine detail parts for the interior.
The tamiya 38T is a Shake and bake kit that any builder would have together in an afternoon build. Very nice kit and Typical for Tamiya. But detail wise the Hobbyboss kit wins hands down.
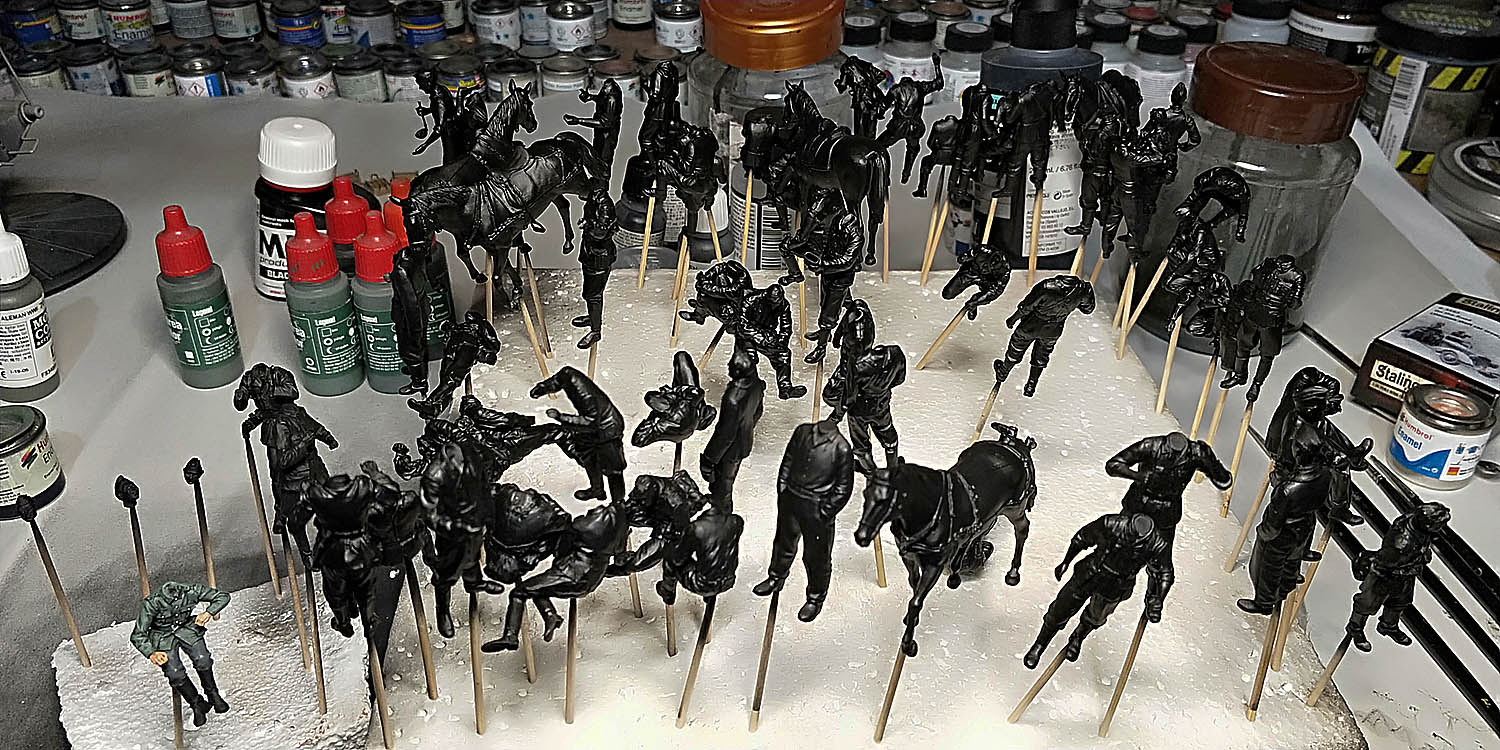
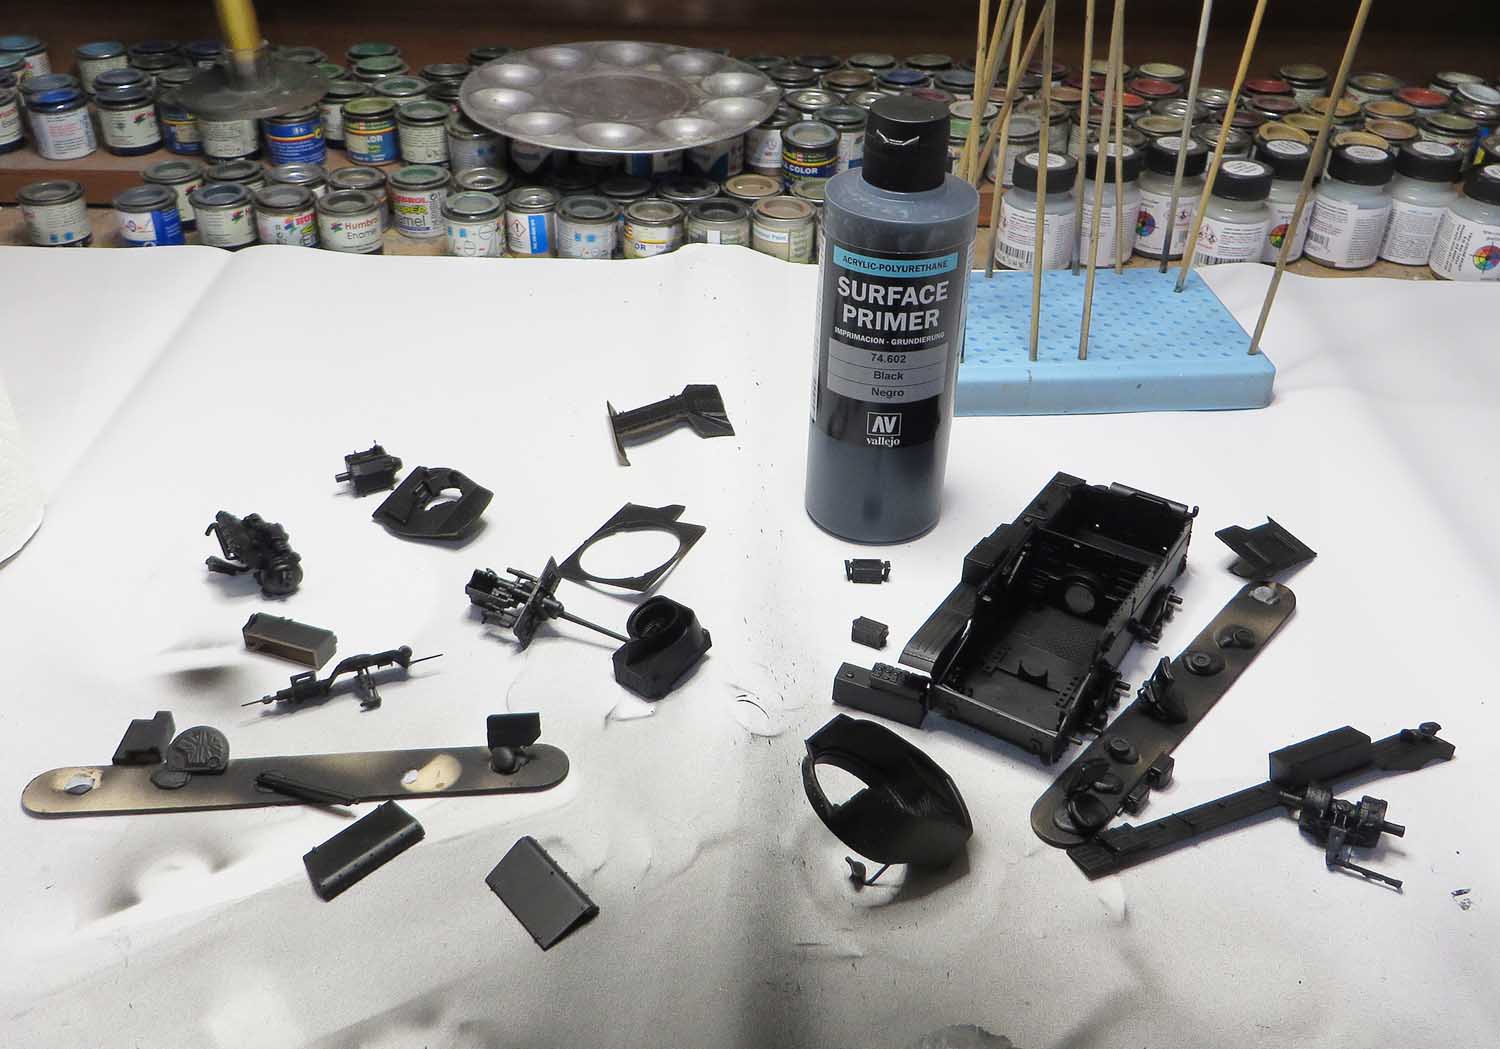
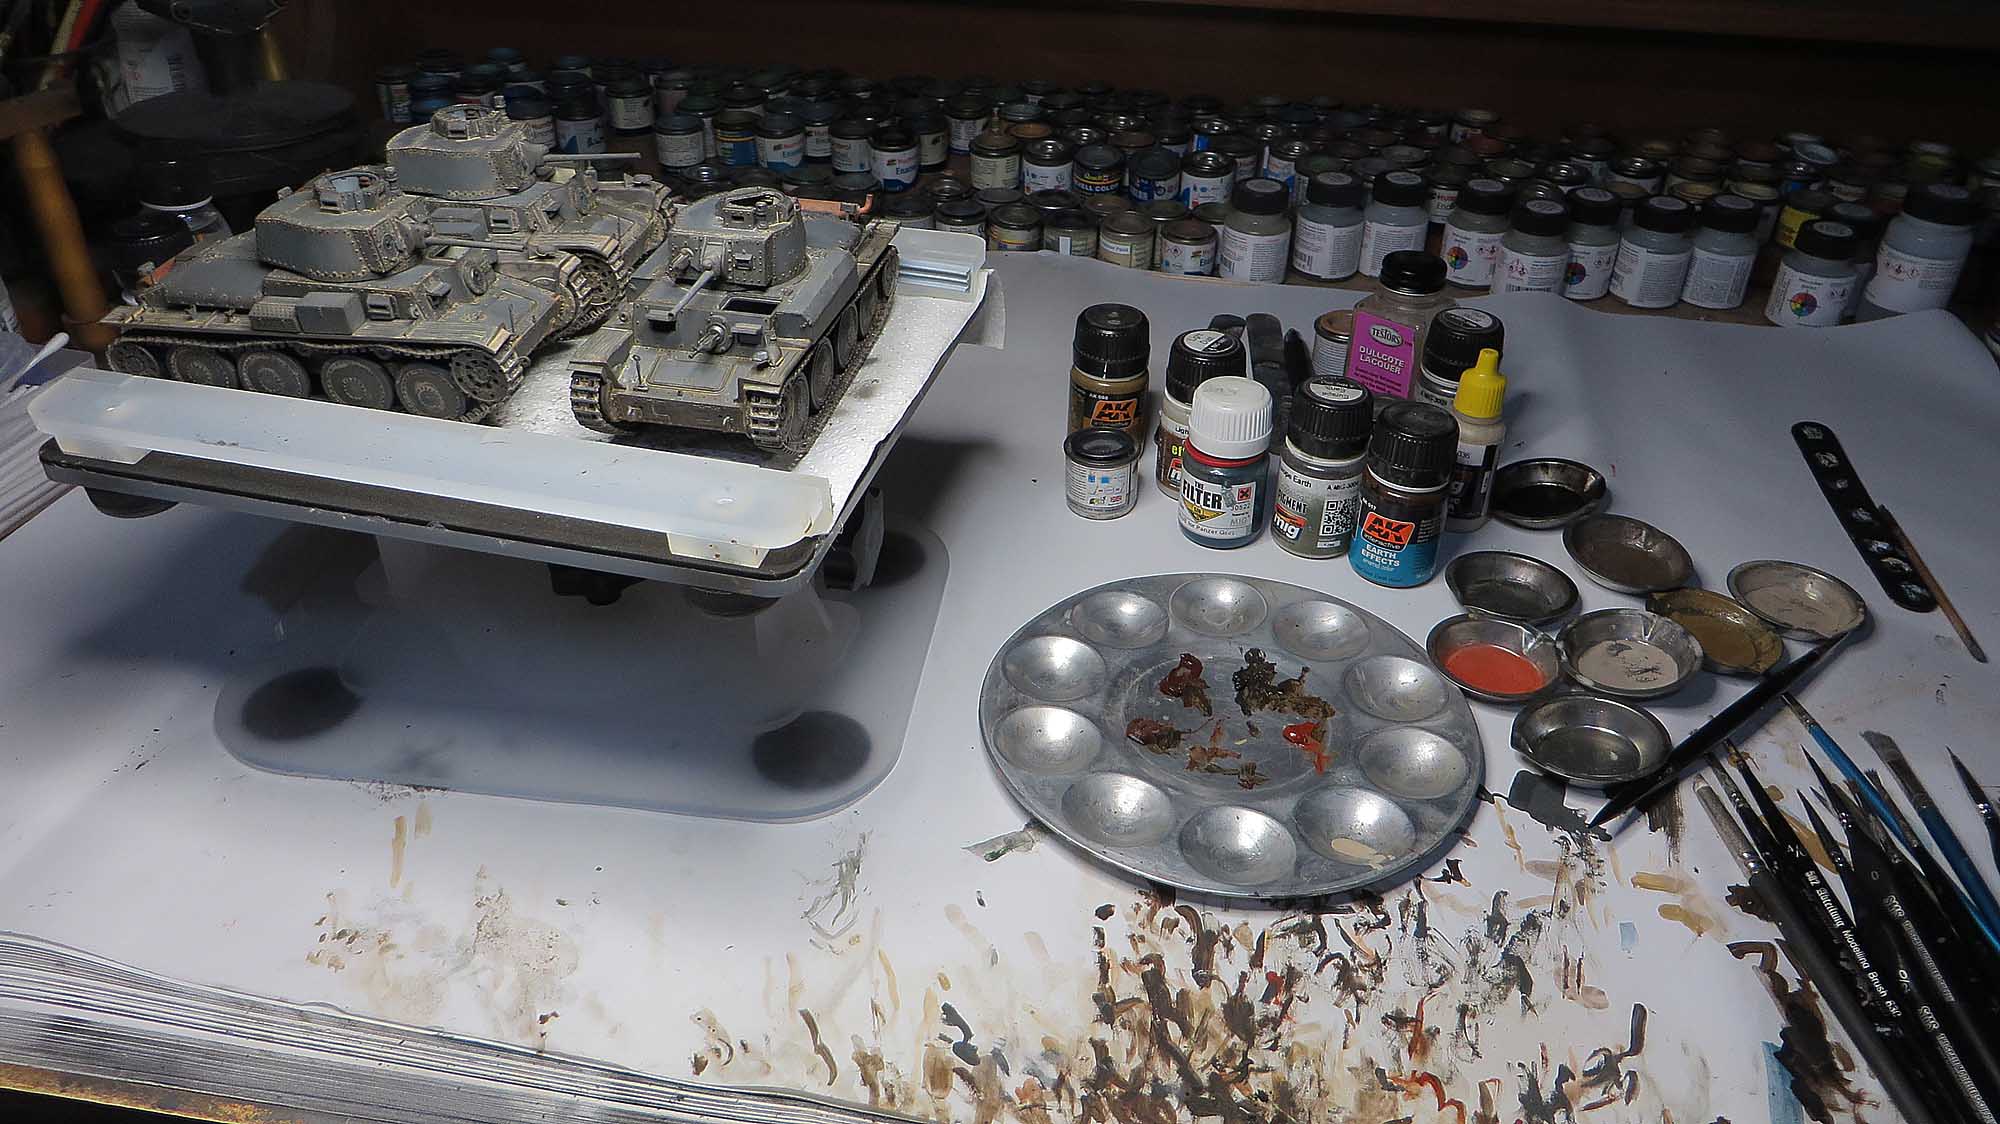
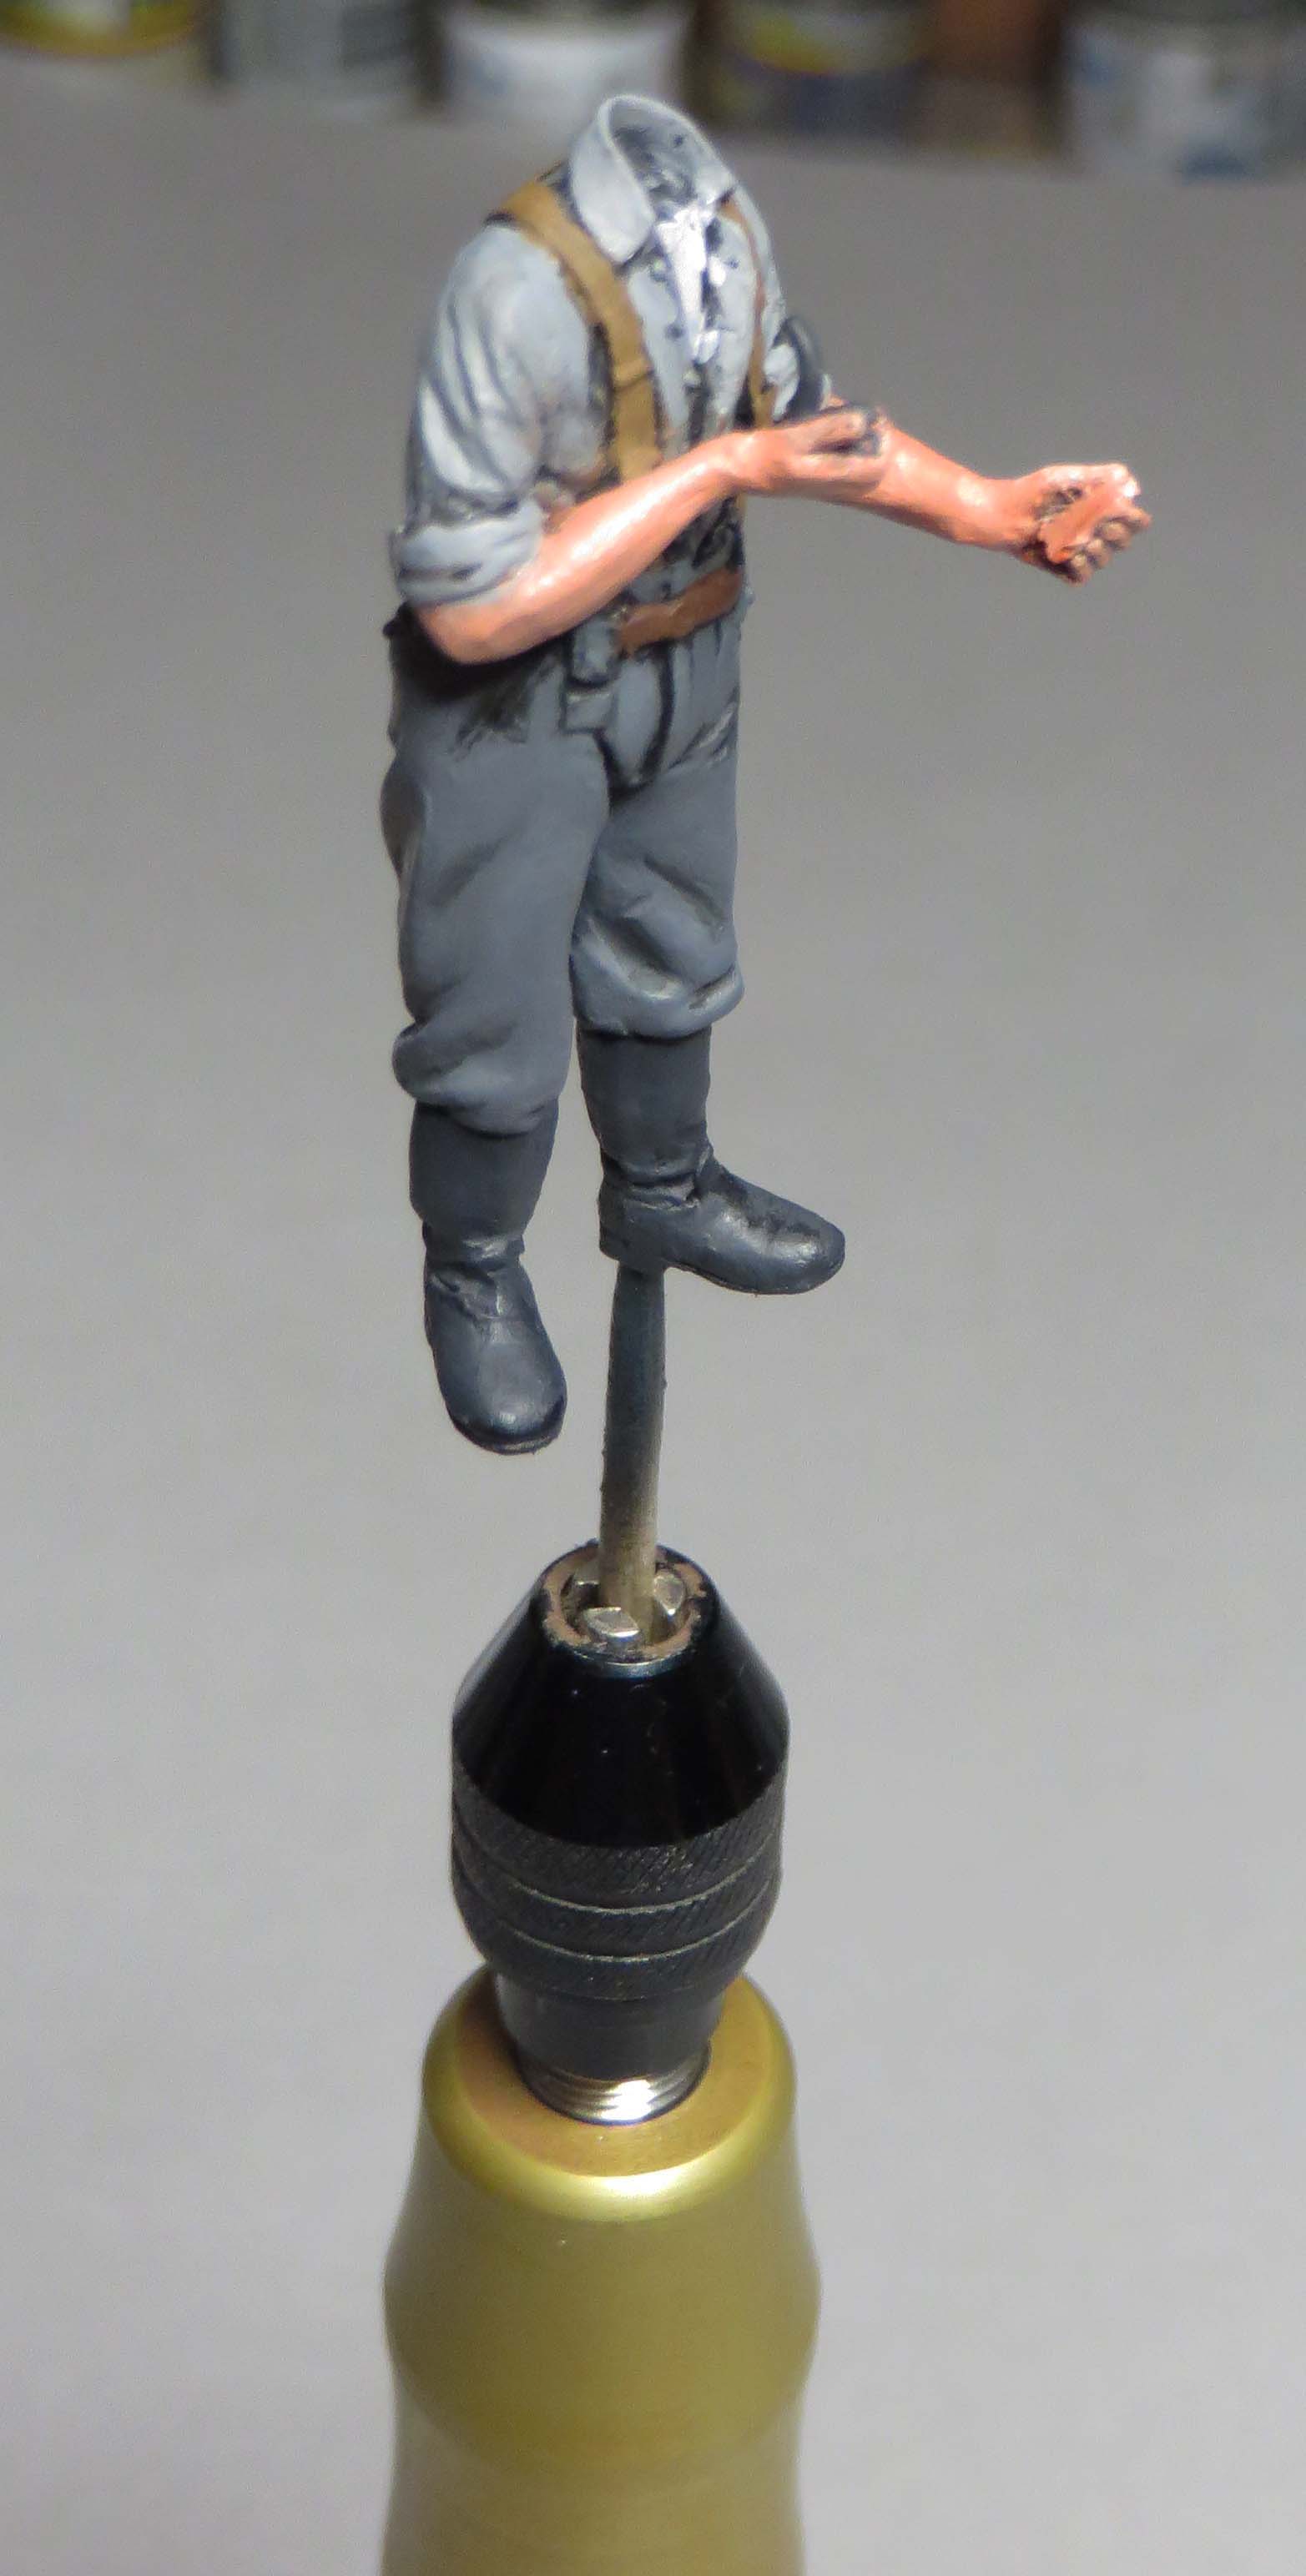
Have been a new convert to the Vellajo surface primer. Works extremely well through an airbrush without thinning although it tends to clog at the nozzle if thinner is not used.
Hands and faces are base coated in Humbrol Flesh as a starter.
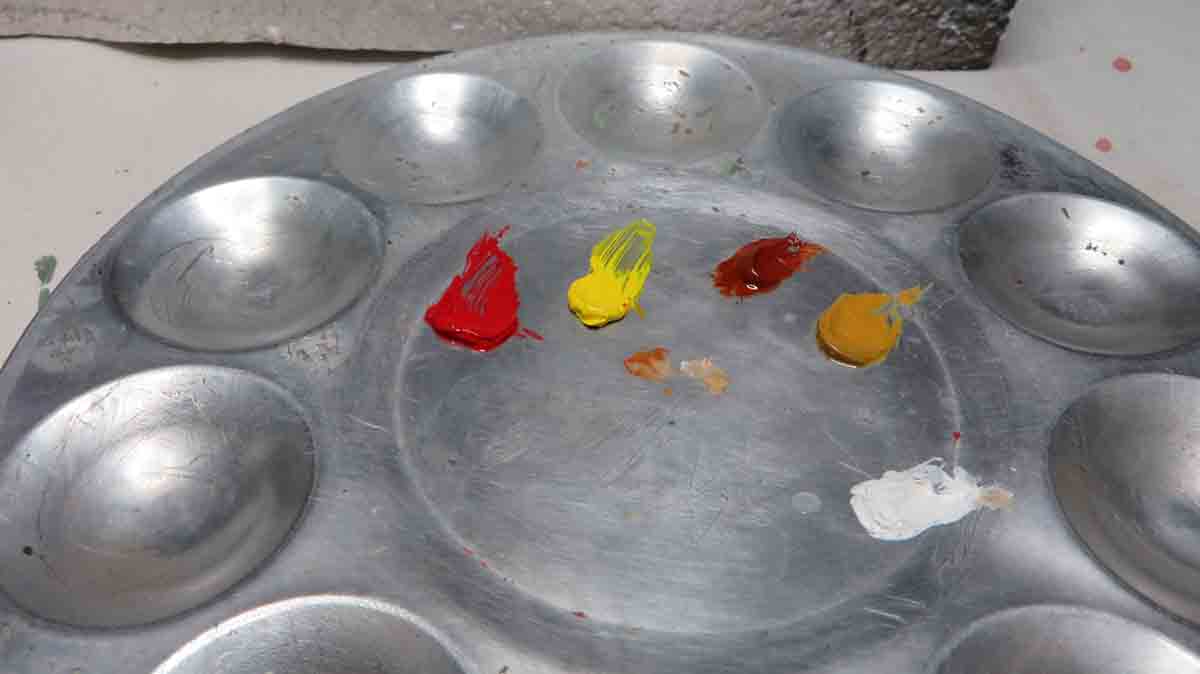
Let the figure sit for a few hours and then use oil paints as shown above.
Apply a black wash of Mig ammo dark wash with Ammo thinner in the eyes ,mouth ears fingers. To give depth and then highlight with white/pink.
Have used this technique for around 20 + years and hard to change to the acrylic style of face painting.
Stick with what works for you.
To give you an example of described methods - previous projects here. https://www.puttyandpaint.com/projects/8628
G’day Michael ! Great to see you & this epic made it over, a feast for the eyes. I can’t recall, do you have a specific unit/time/place in mind for the diorama? (PS don’t forget to wave the flag! In Preferences/Profile)
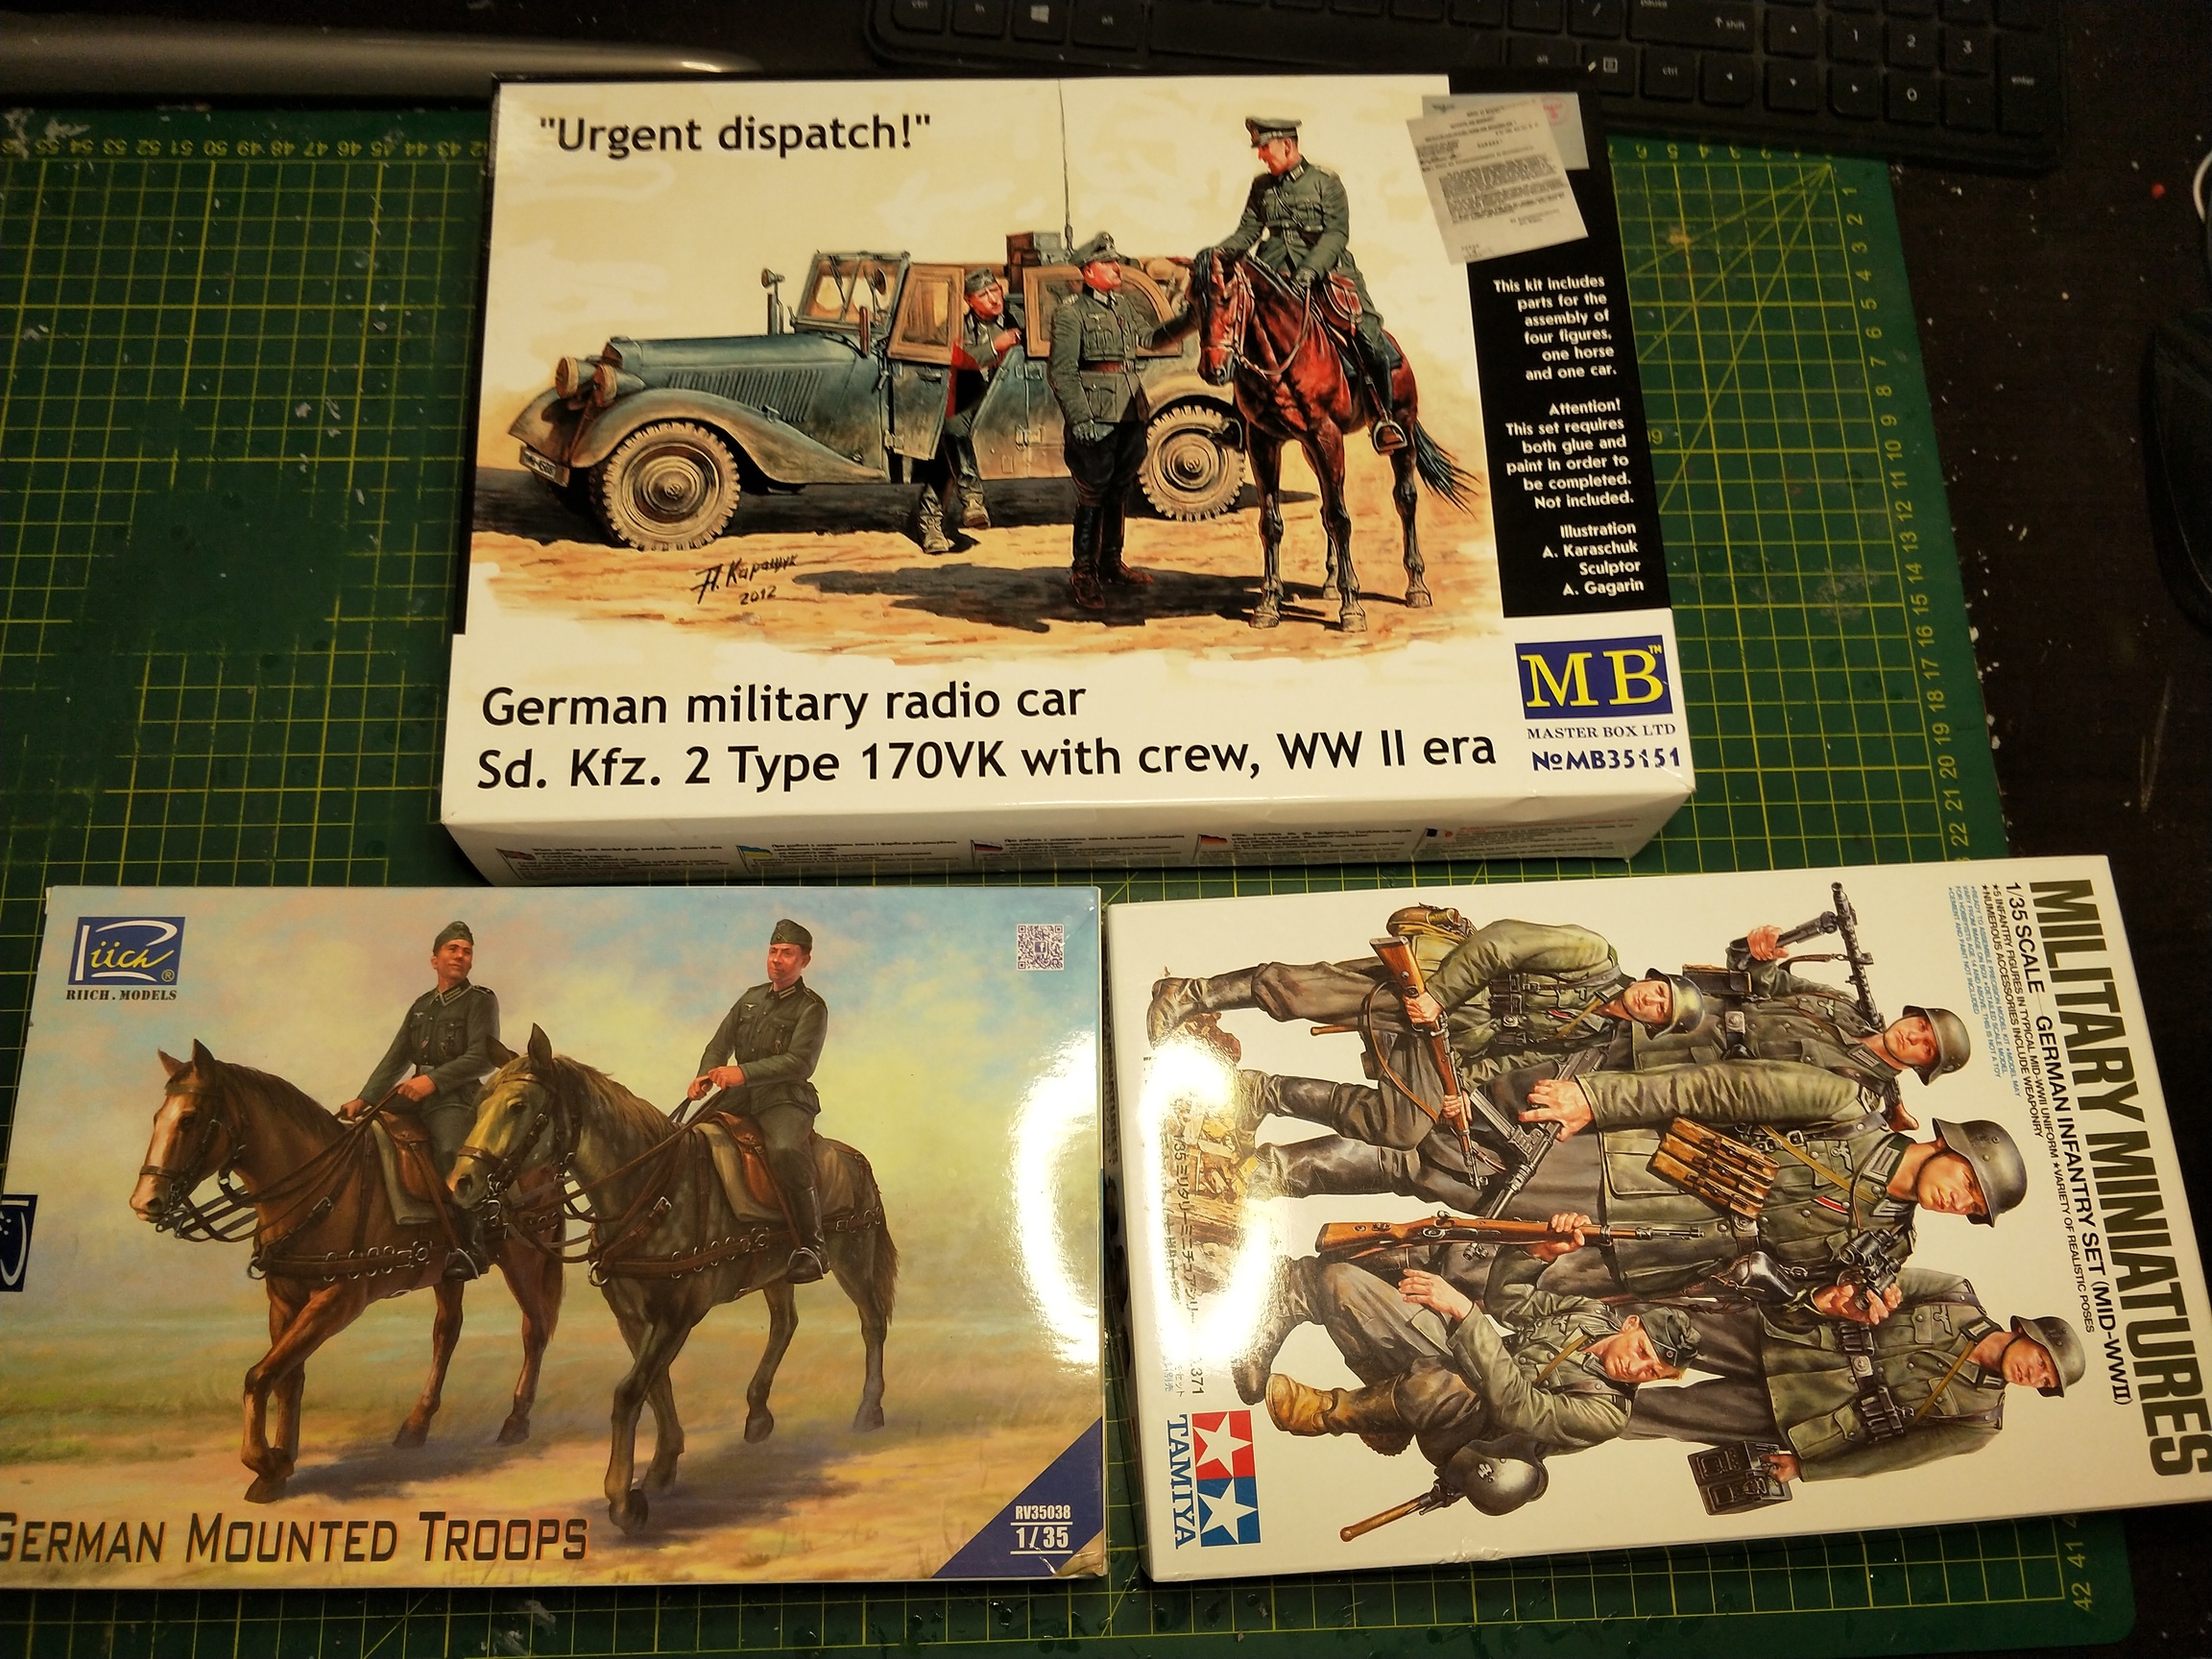
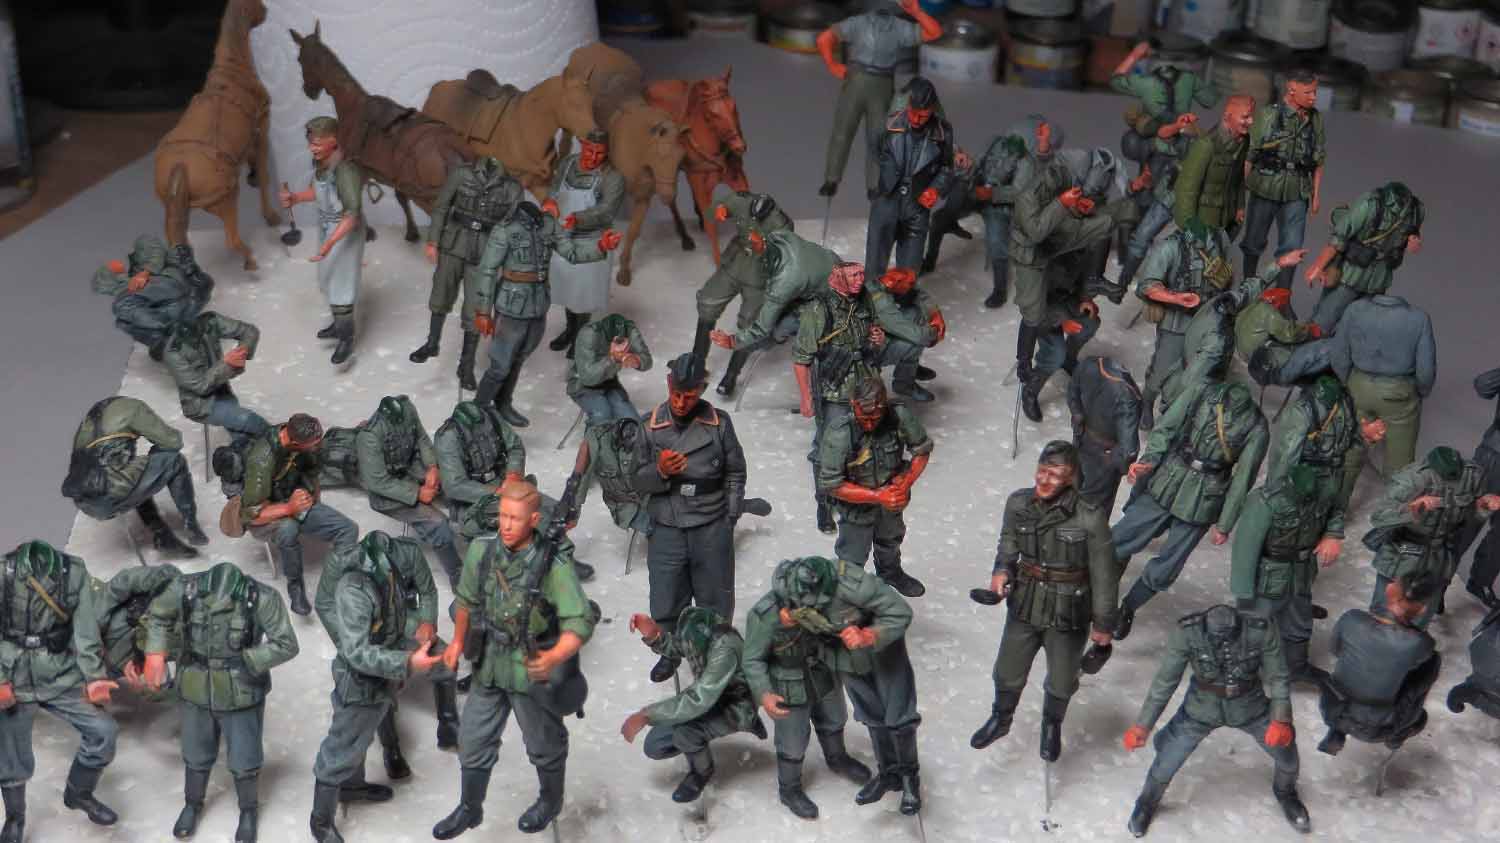
No particular time frame but Trying to lock in the 19th Panzer division with the use of the Panzer 38t models and the use of Horses and equipment during the invasion of Russia
May you all have a Merry Christmas and a Happy Modelling New Year.
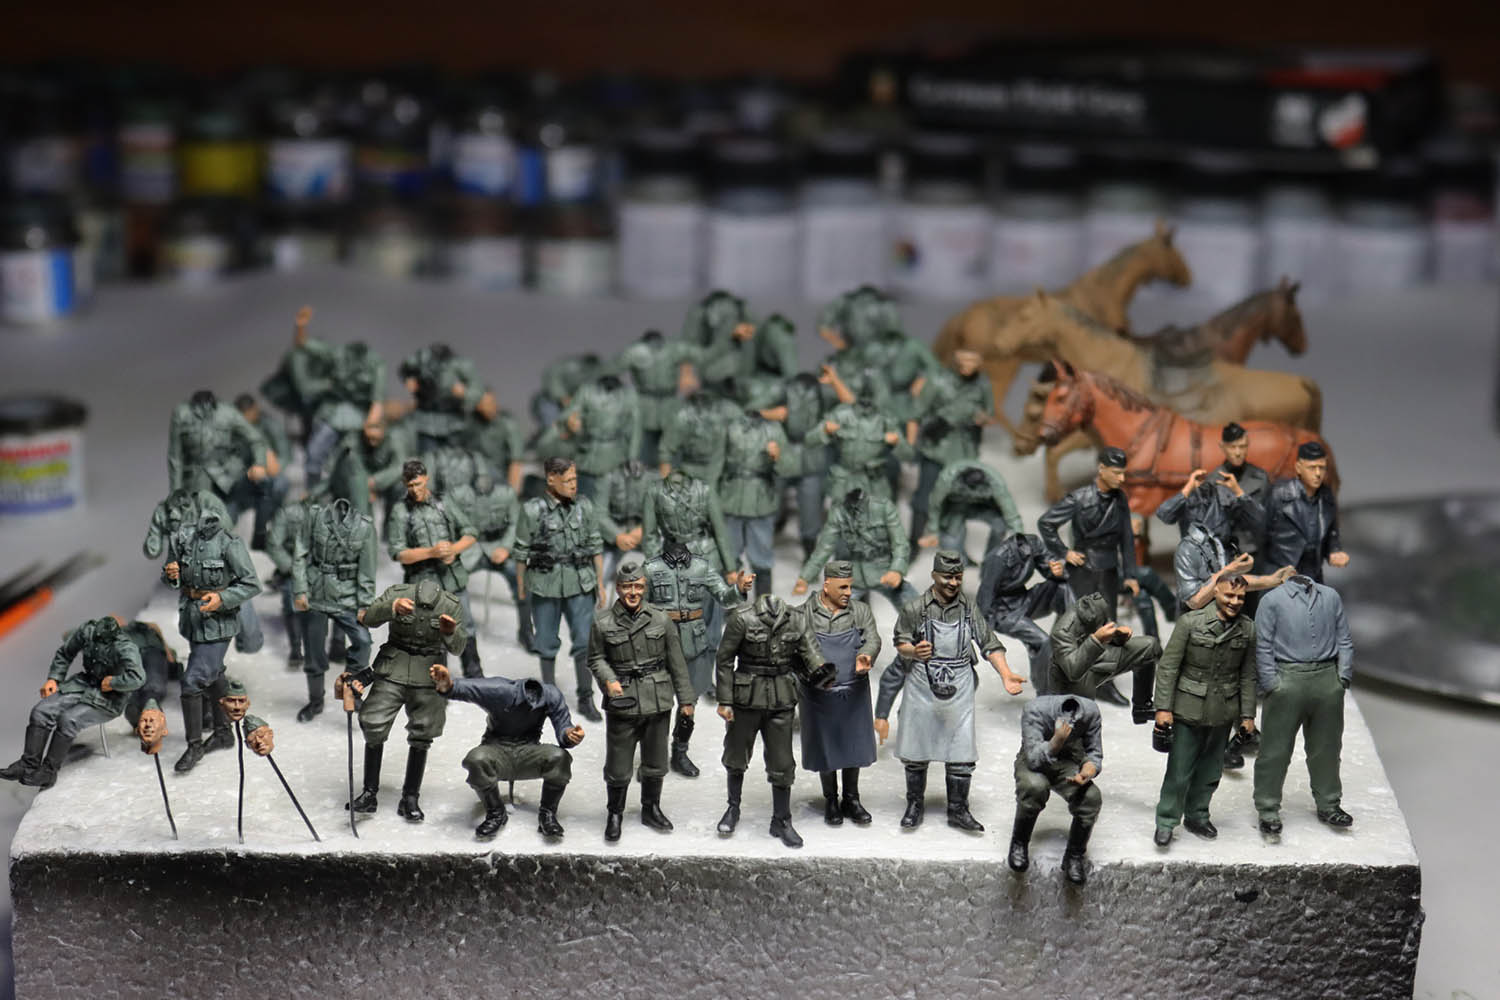
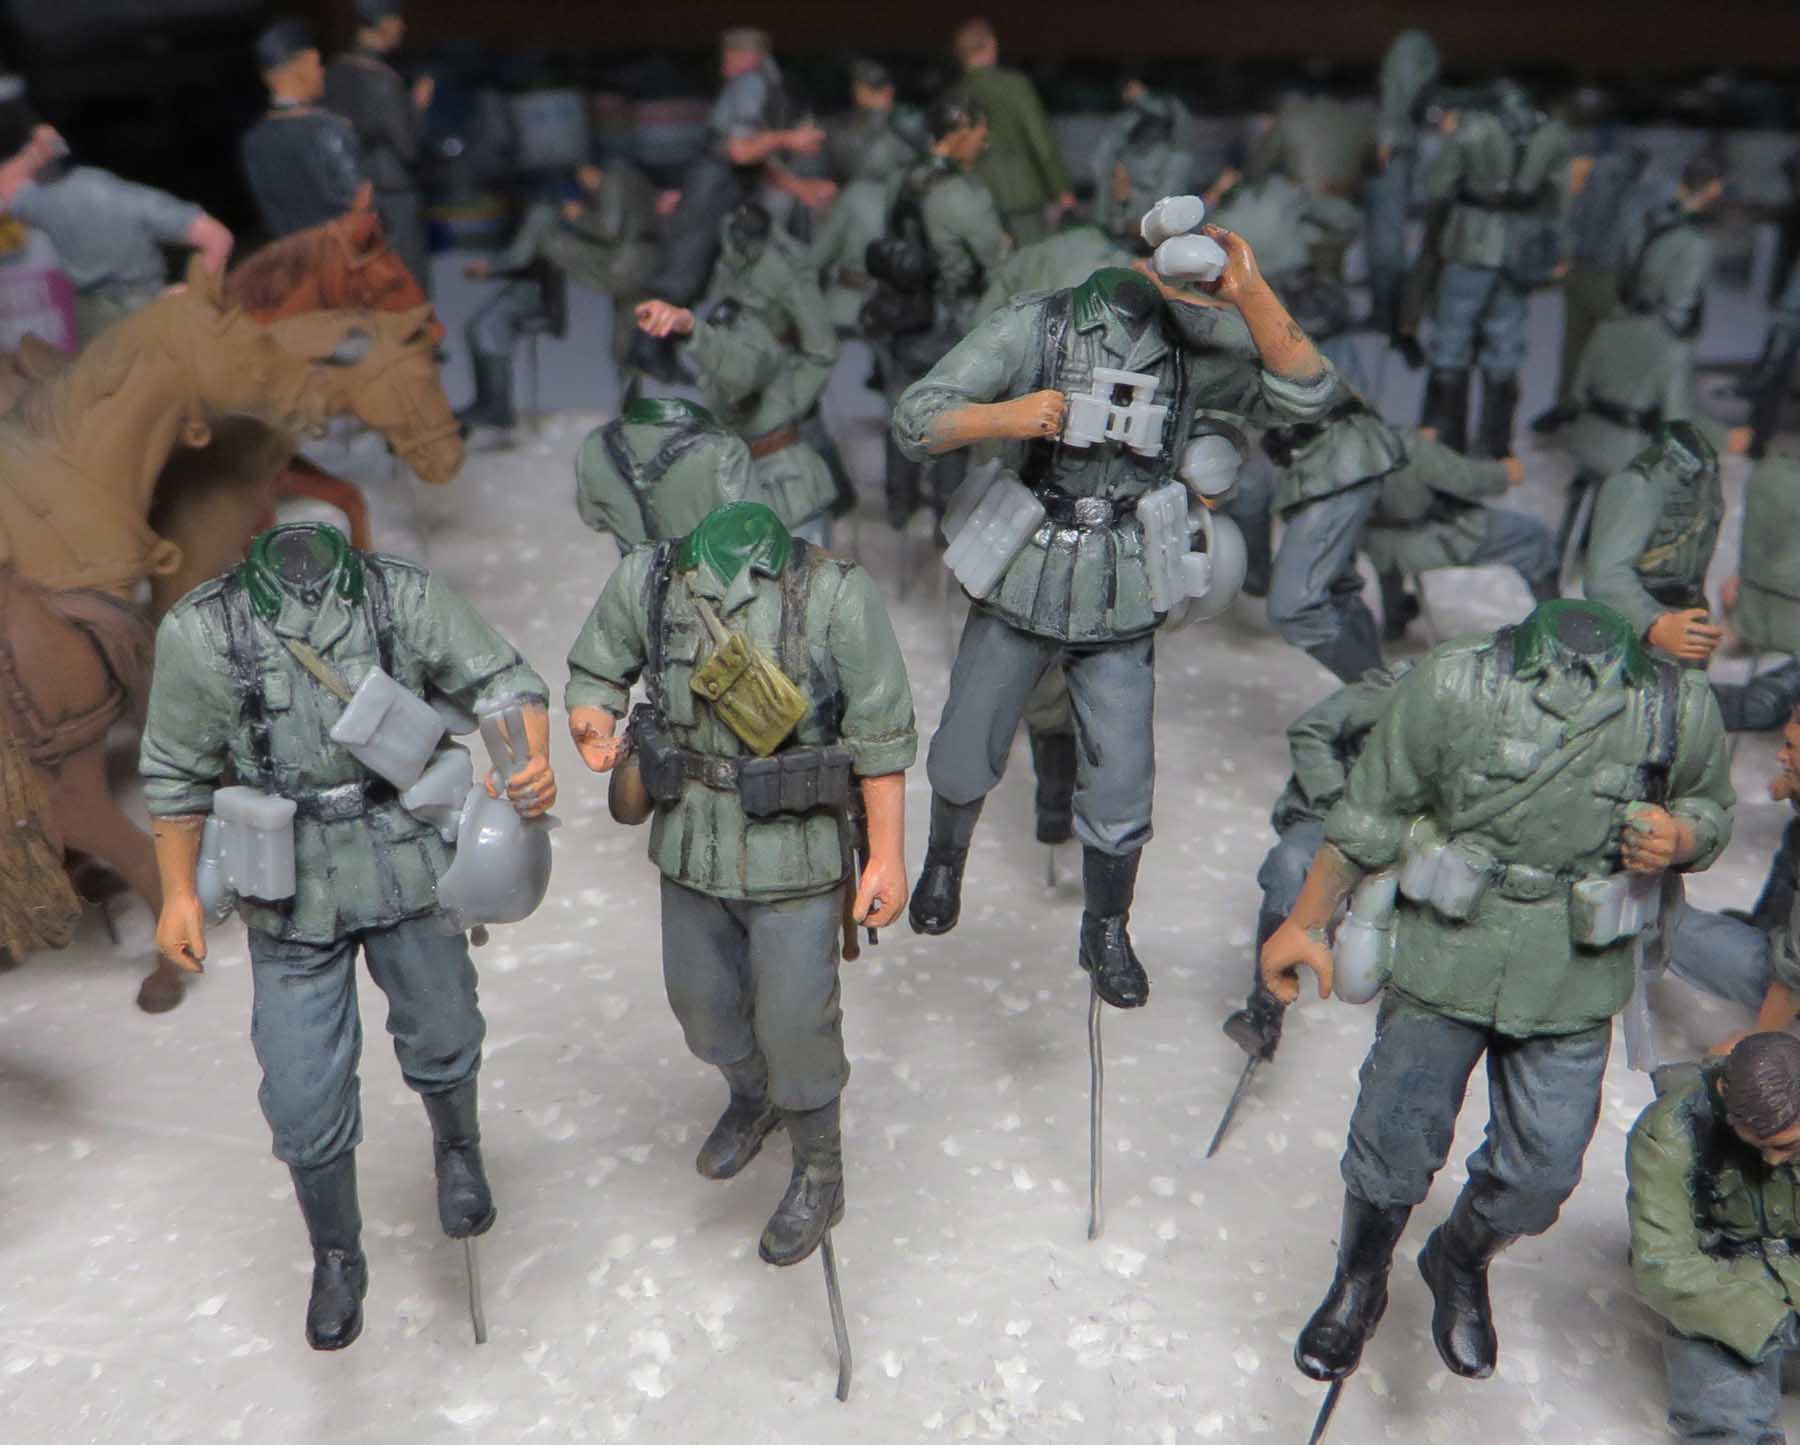
Here is the progress of the figures at the moment all be it a little slow as each figure will get the special treatment. Not like churning them out on a production run. Attempting to give each figure an individual impression to stand out on the diorama. Its not a shake and bake build.
Have been side tracked on other builds and have started back on the figures to torture myself again.
Just to let you know I have not dropped the project and shelved it as a shelf queen.
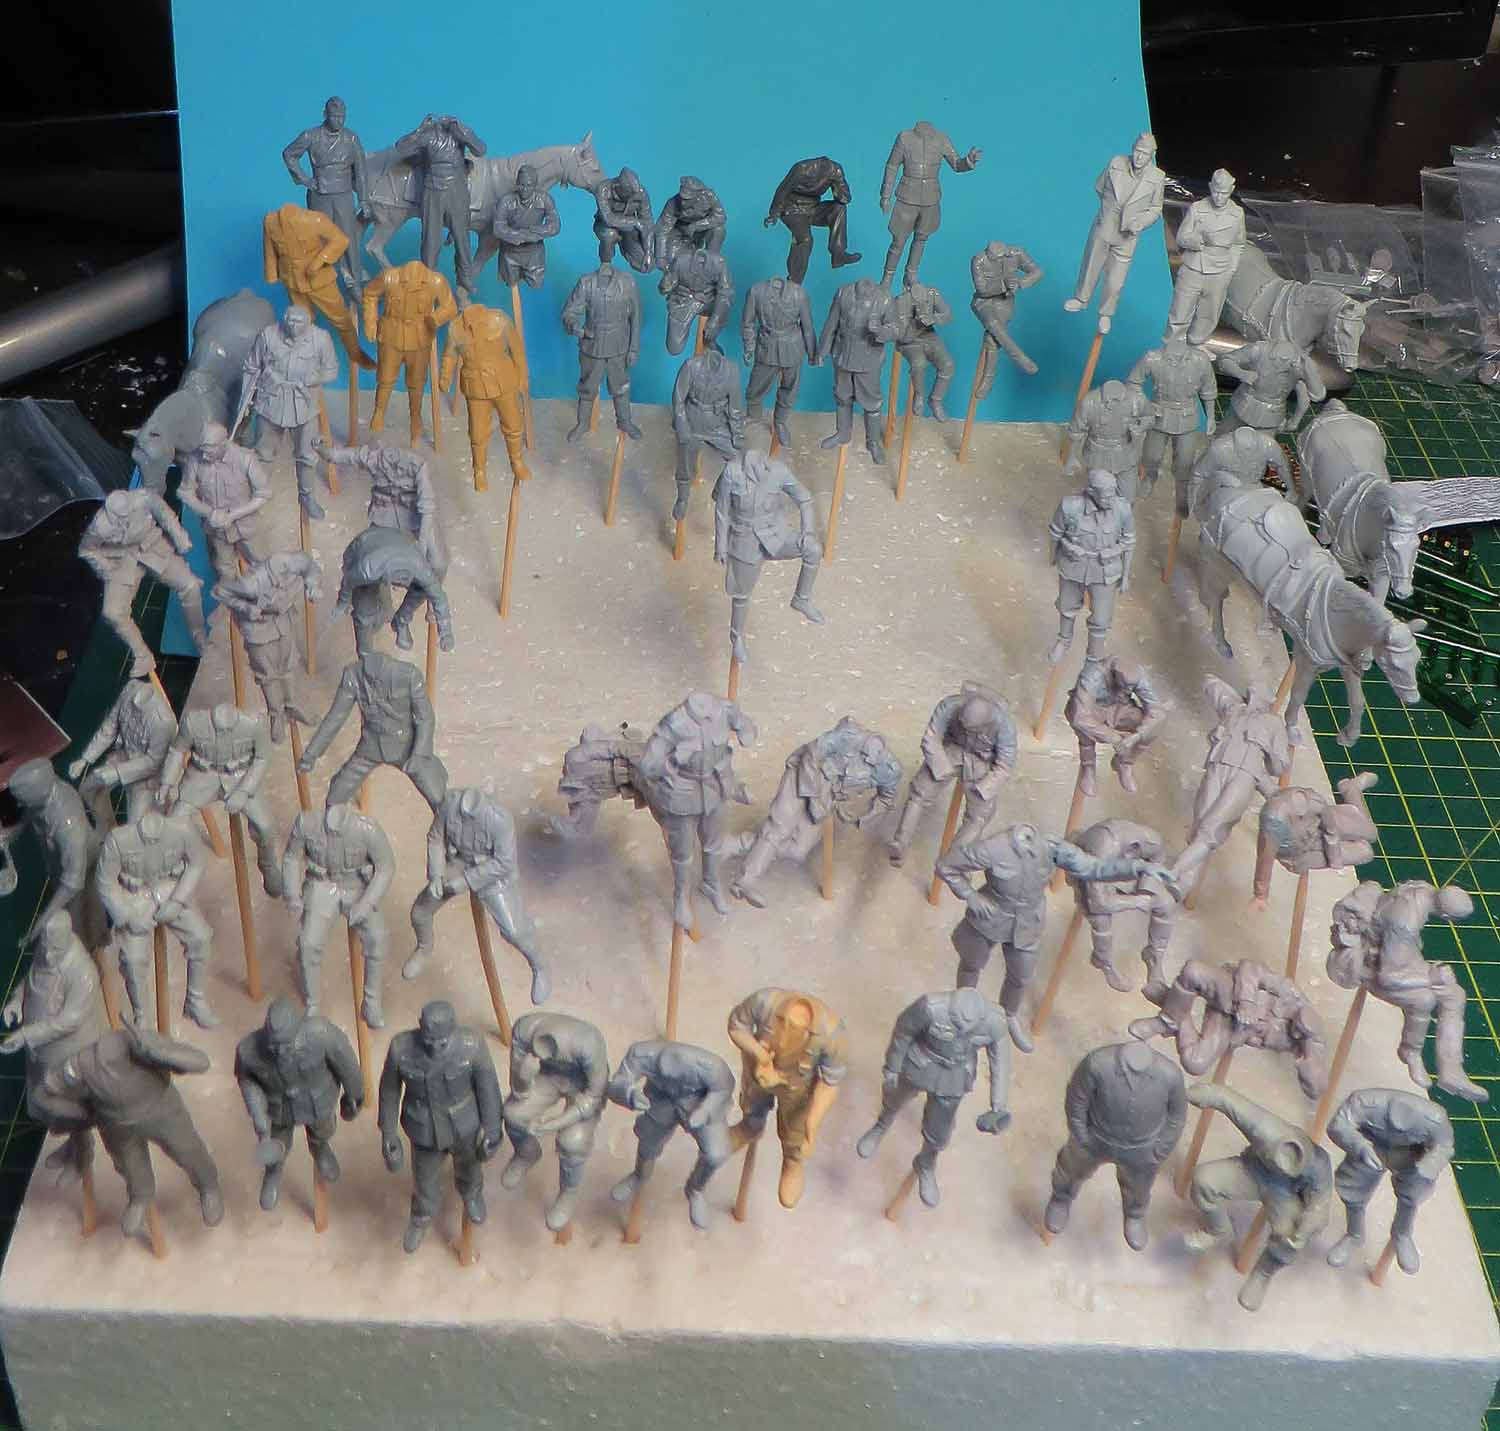
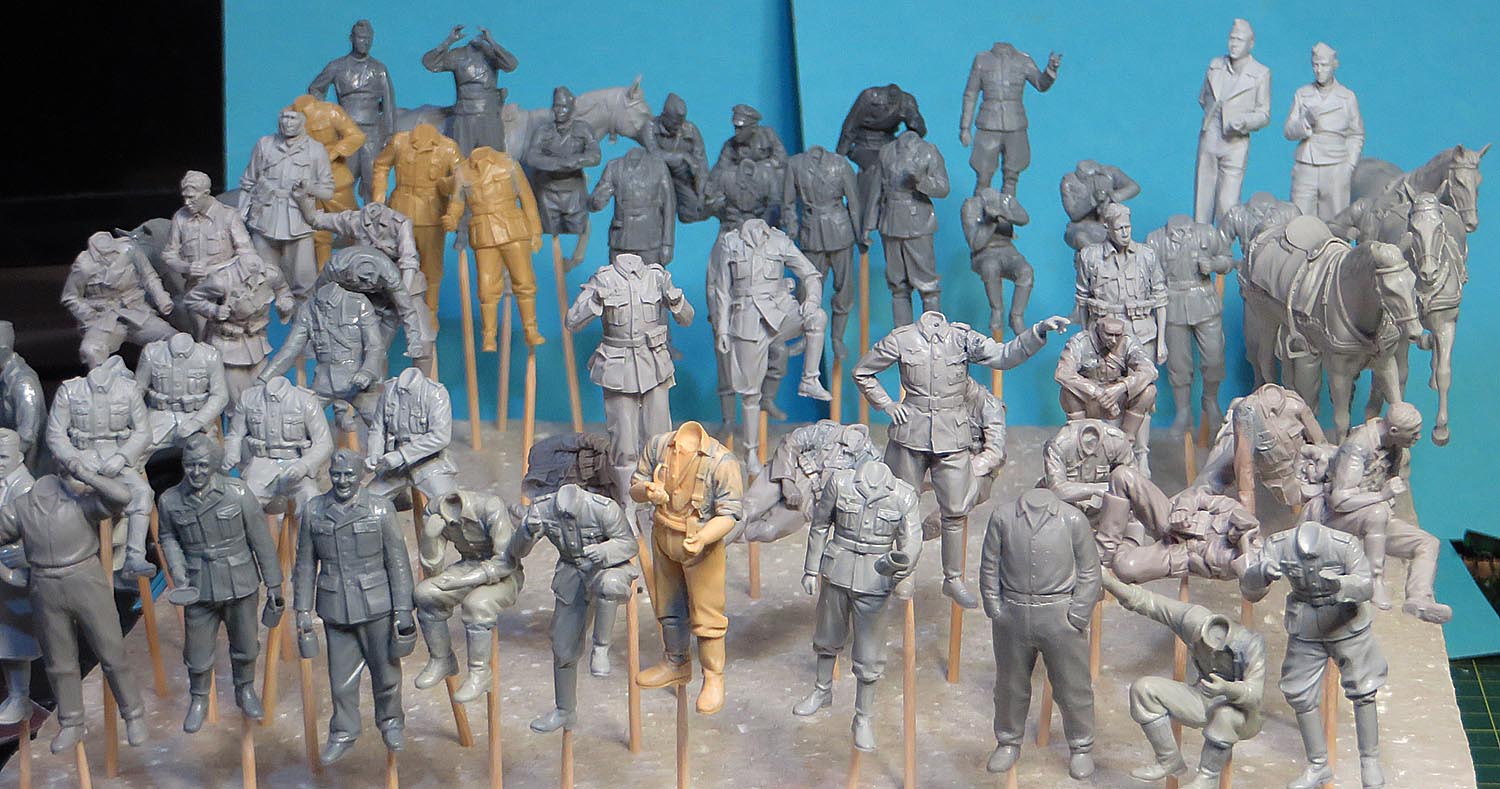
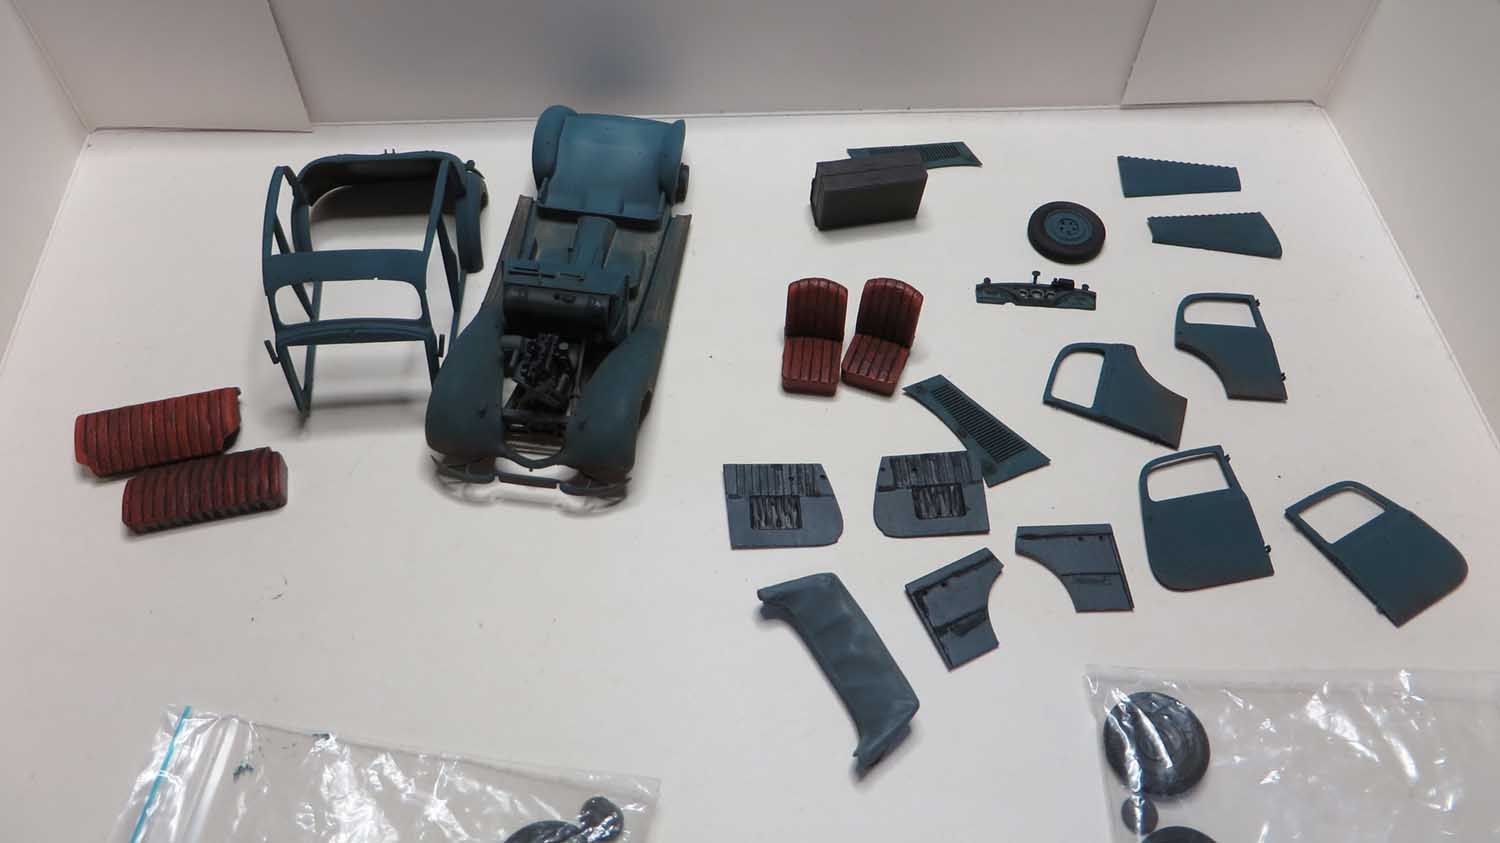
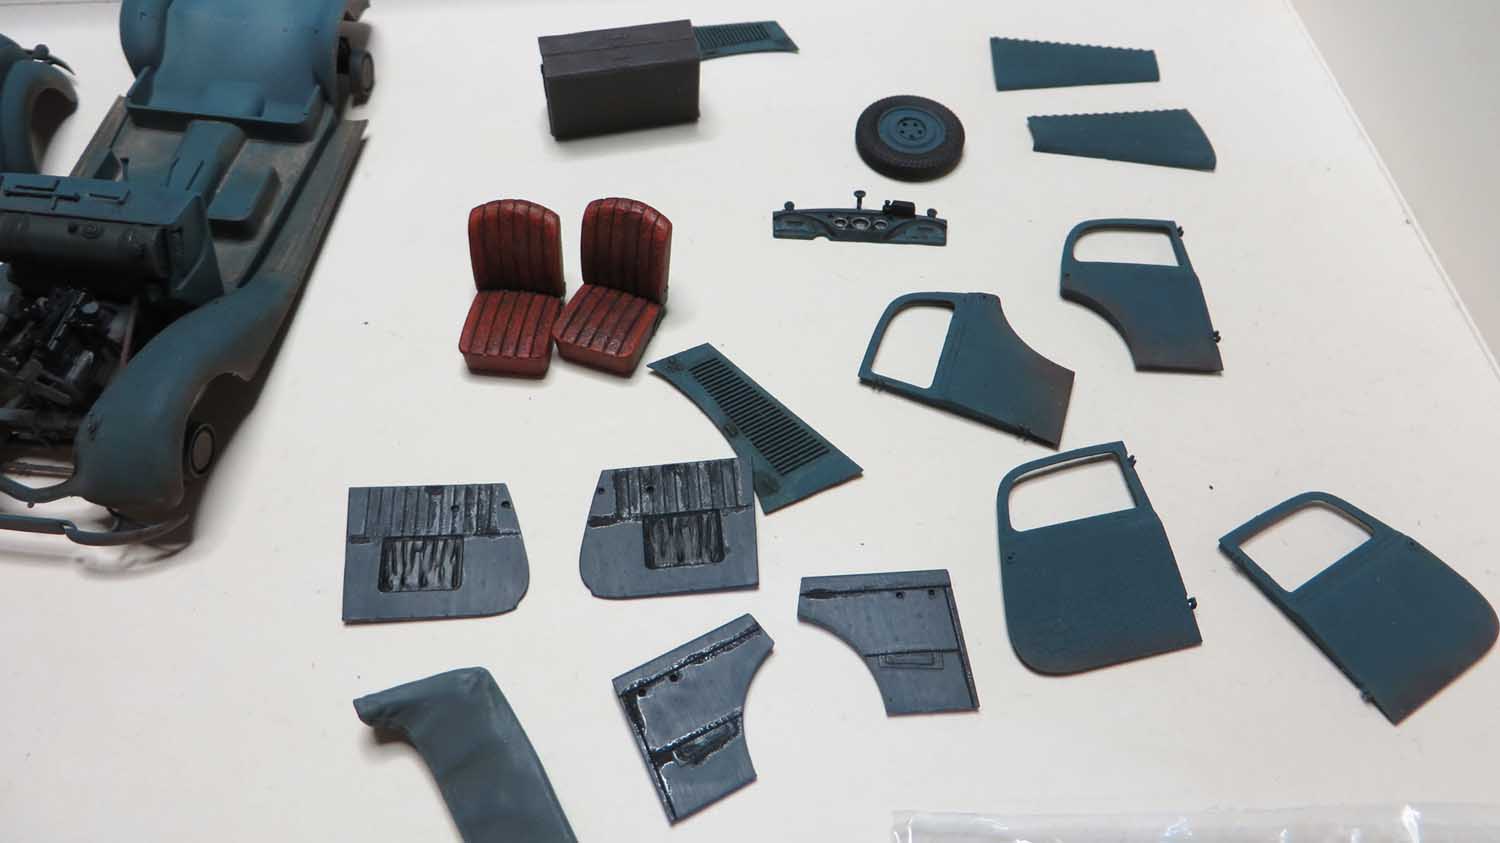
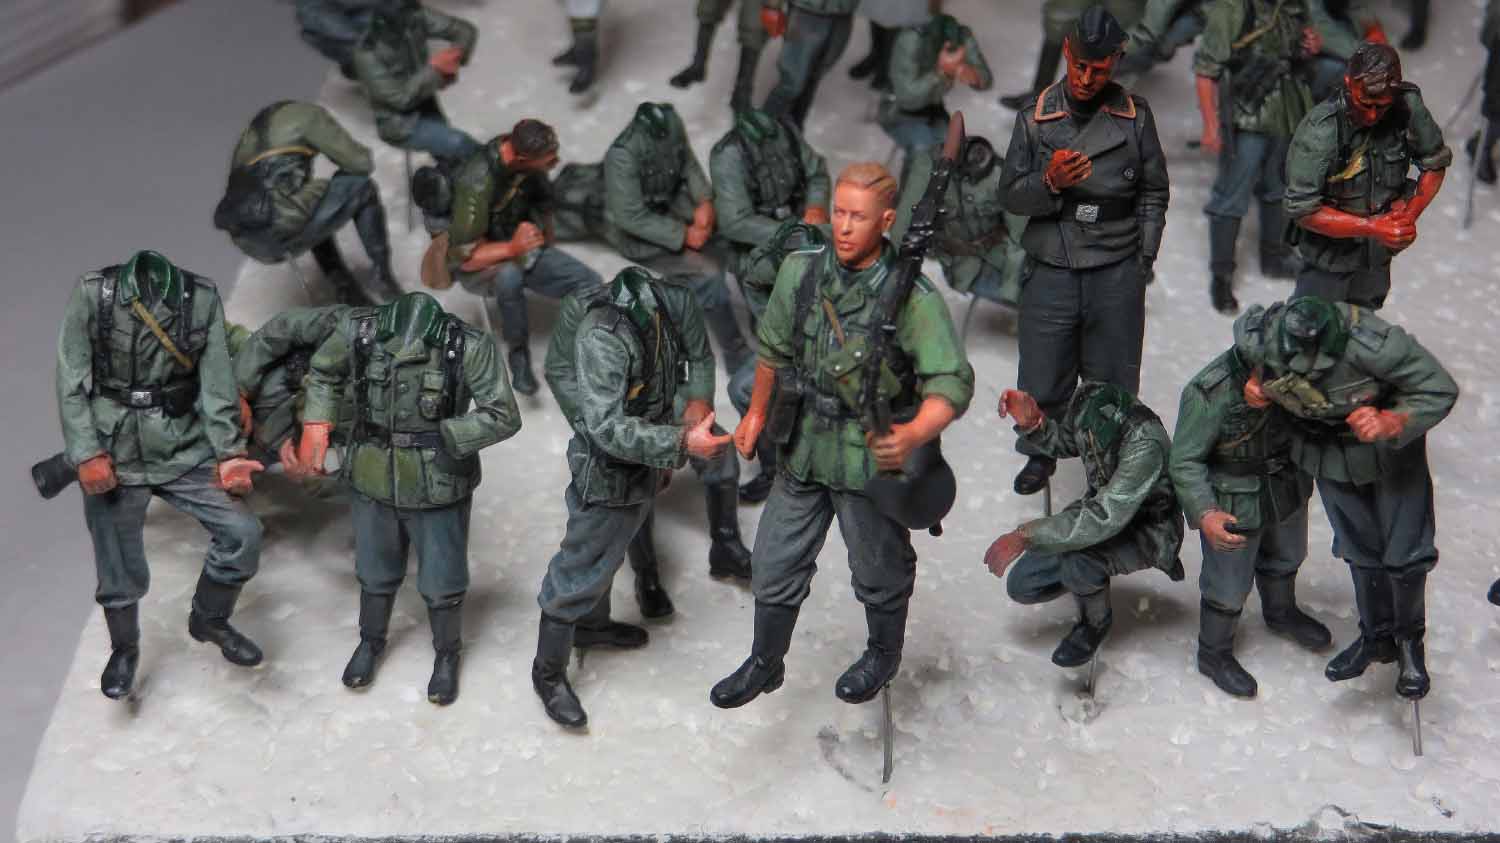
Here are some progress images of where the figure status is.
The figures have been given a base coat of Vallejo Acrylic and Humbrol enamel paints with a second layer of paints to enhance the details of the raised sections of the uniforms, arm and leg pose/movement.
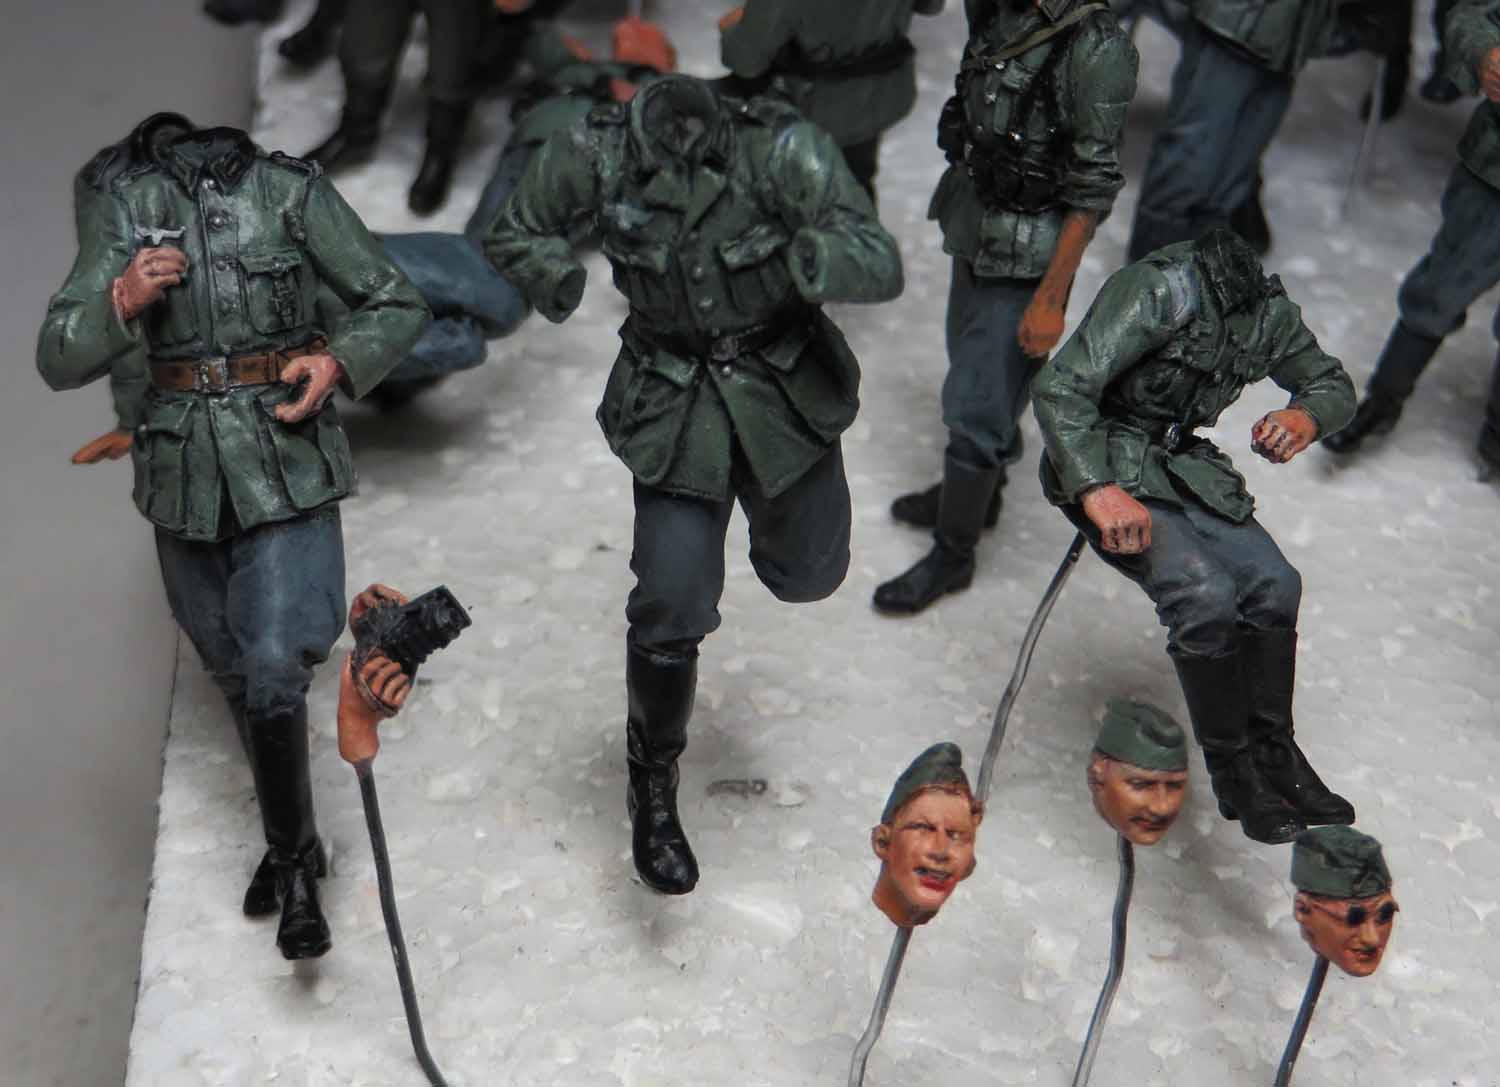
In between paint coats there has been a small black pinwash applied with a fine paintbrush placed in the arm and leg creases. This is critical to enhance the figure pose. Use a 0 or 00 brush to control the use.
The black wash consisted of small amount of Mig Black wash and Mig odourless thinner.
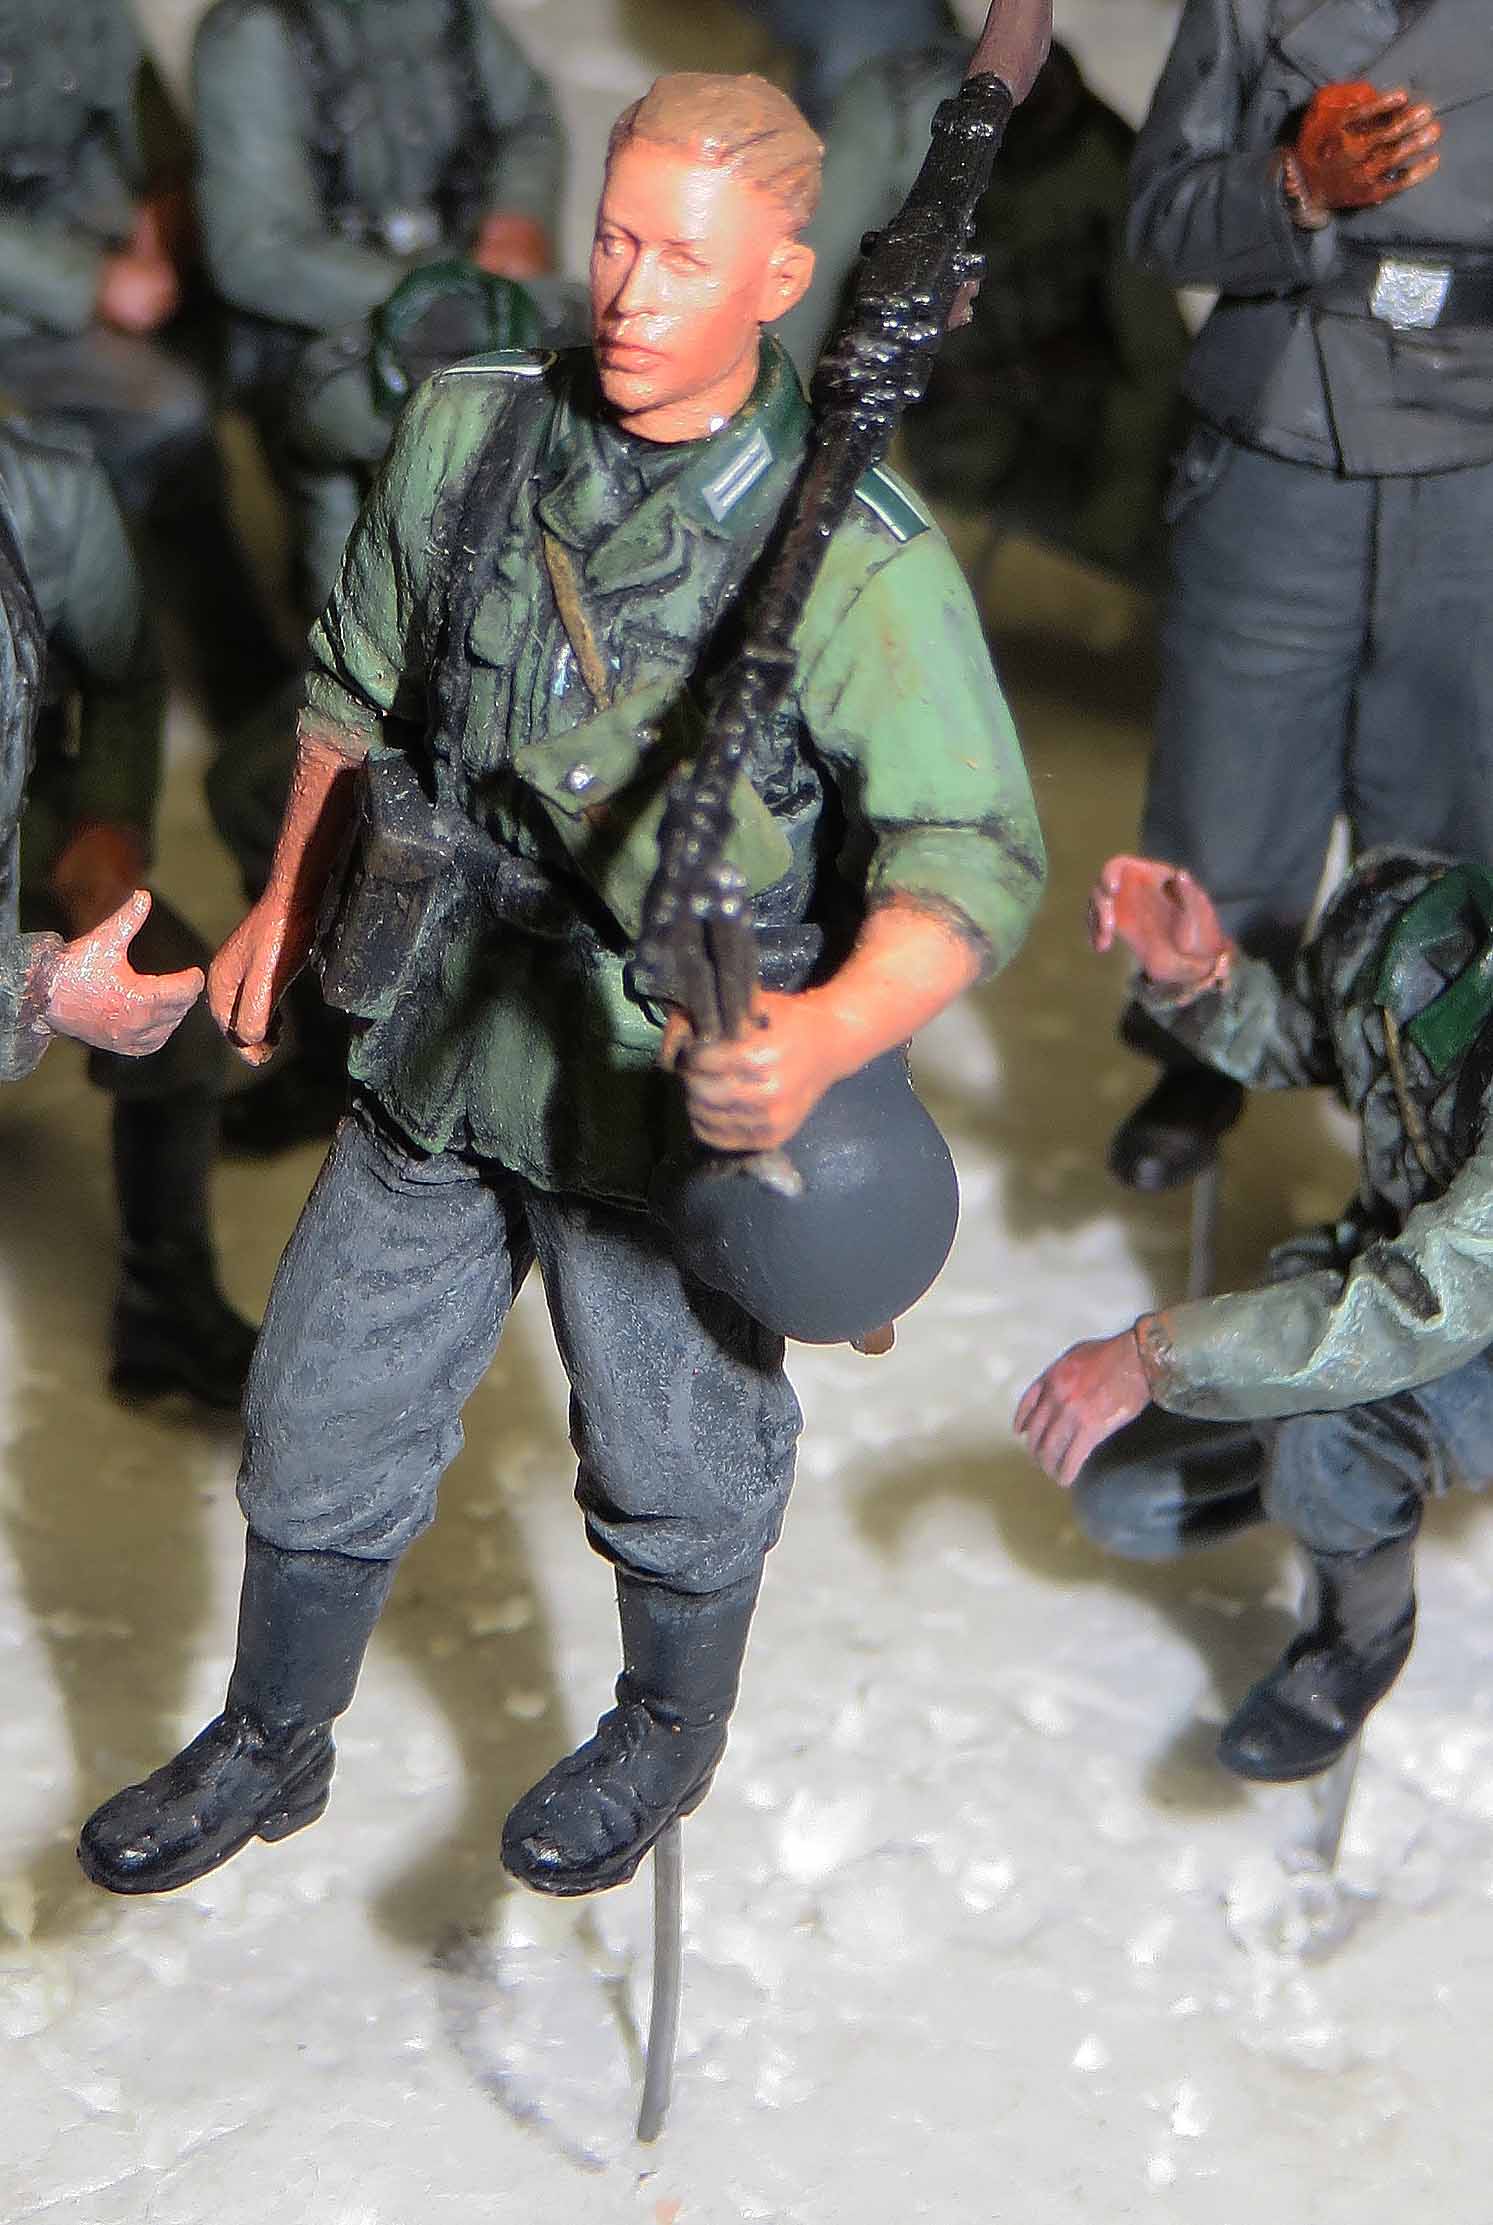
The arms, faces and hands have all received an oil paint base layer with highlighting done with white, red, burnt sienna and white in very small amounts.
To try and keep the skin colour in uniformity I dip the brush into the base colour and try and blend in to get the skin tone.
Practice and be patient with this method because it has taken me many years to get to this standard from starting into the hobby in 1987.
Notes
Oil base colour
Burnt Umber, Burnt Sienna,Yellow Ochre
Apply onto all skin areas and then use a fine brush and lightly remove excess oil paint.
Highlight
Burnt Sienna for cheeks and lips , Spectrum Red, Yellow and Yellow ochre.
The yellows mixed with red seem to give you an orange looking appearance.
This stage please use a fine brush and remove excess oil and then let it settle for a couple hours or a day.
Go back again with the pin wash with a 00 Brush in super fine amount. The wash goes into the ears lips/mouth and eyes.
Use the wash in extremely small amounts because it will bleed the oil paint and there goes a good paint job. This application is the same for the hands and any skin areas.
Sort of building up the appearance of the skin in stages.
Final stage
Highlight with the white and Burnt sienna which will give you a pinky appearance. White and Burnt Sienna work better as there is more room to change and blend the skin tone.
Note if getting too pink through in a mix of yellow and red blended to give you an orange and blend with the white.
Its all down to Practice and tweaking Your Own Paint Style.
Mine - Is a copy of the Mighty Francis Verlinden who gave me inspiration in the Hobby way back in the day.
Still working on the first German with the Mg and its a long Haul.
Everything is coming along nicely Michael, I love the work you are doing on the figures. When you do a dio, you sure go all out. I am very much enjoying your latest build and look forward to seeing it finished. Best regards…Dale