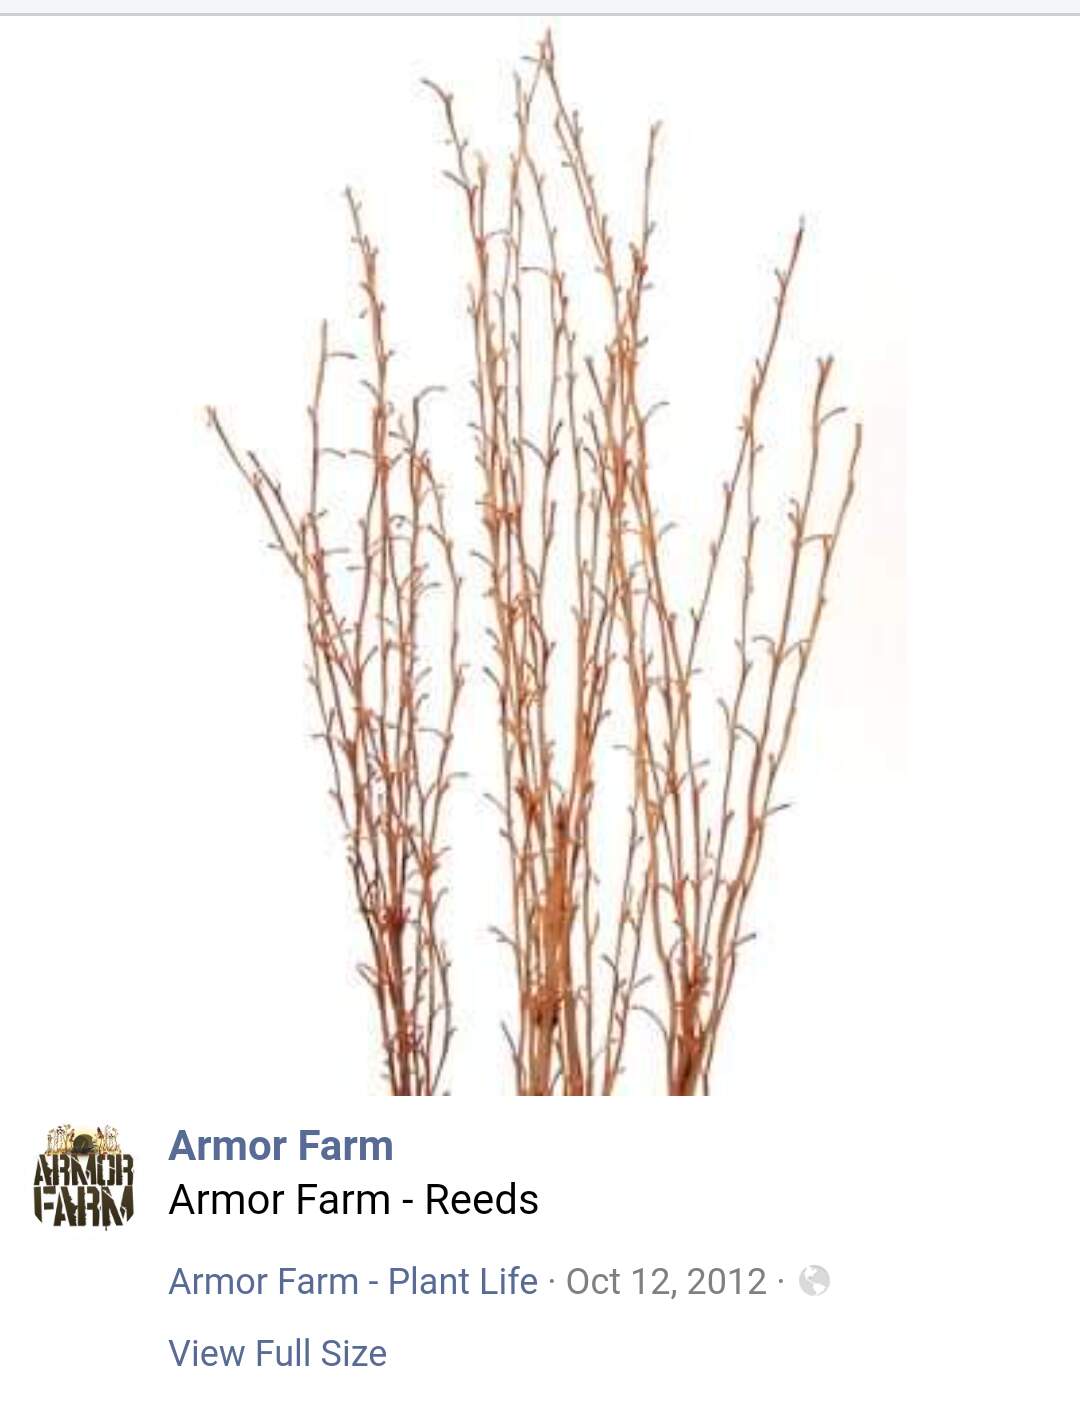
@creading thanks Charles, I don’t know if you remember but you sent me some dio stuff many moons ago on the old site, maybe early 2000’s? One item in particular I hadn’t seen until that day, it helped push me to find more natural stuff in scale and eventually lead to me creating Armorfarm.
@Micke_MM thanks Mikael, I figure if I’m gonna post, I might as well do it step by step!
@Dioramartin Hmm, that’s a good question Tim. I’ve never tried plaster simply because that is never left behind on site, they mix more than they need and toss the extra
stuff after it hardens but there is never any opened, half empty bags left when they leave.
Plaster is probably heavier, it’s more dense and dries rock hard and is pretty much impervious to water once cured. When applying to a wall, you keep troweling (or burning) as it dries to polish it to a glass like surface. It’s rock hard, yet brittle.
Joint compound is ‘fluffier’ for lack of a better word, it holds more air (especially of you use a mixer and add water to help it spread easier), even once dry you can pick at it, carve it and of course, sand it to a smooth finish.
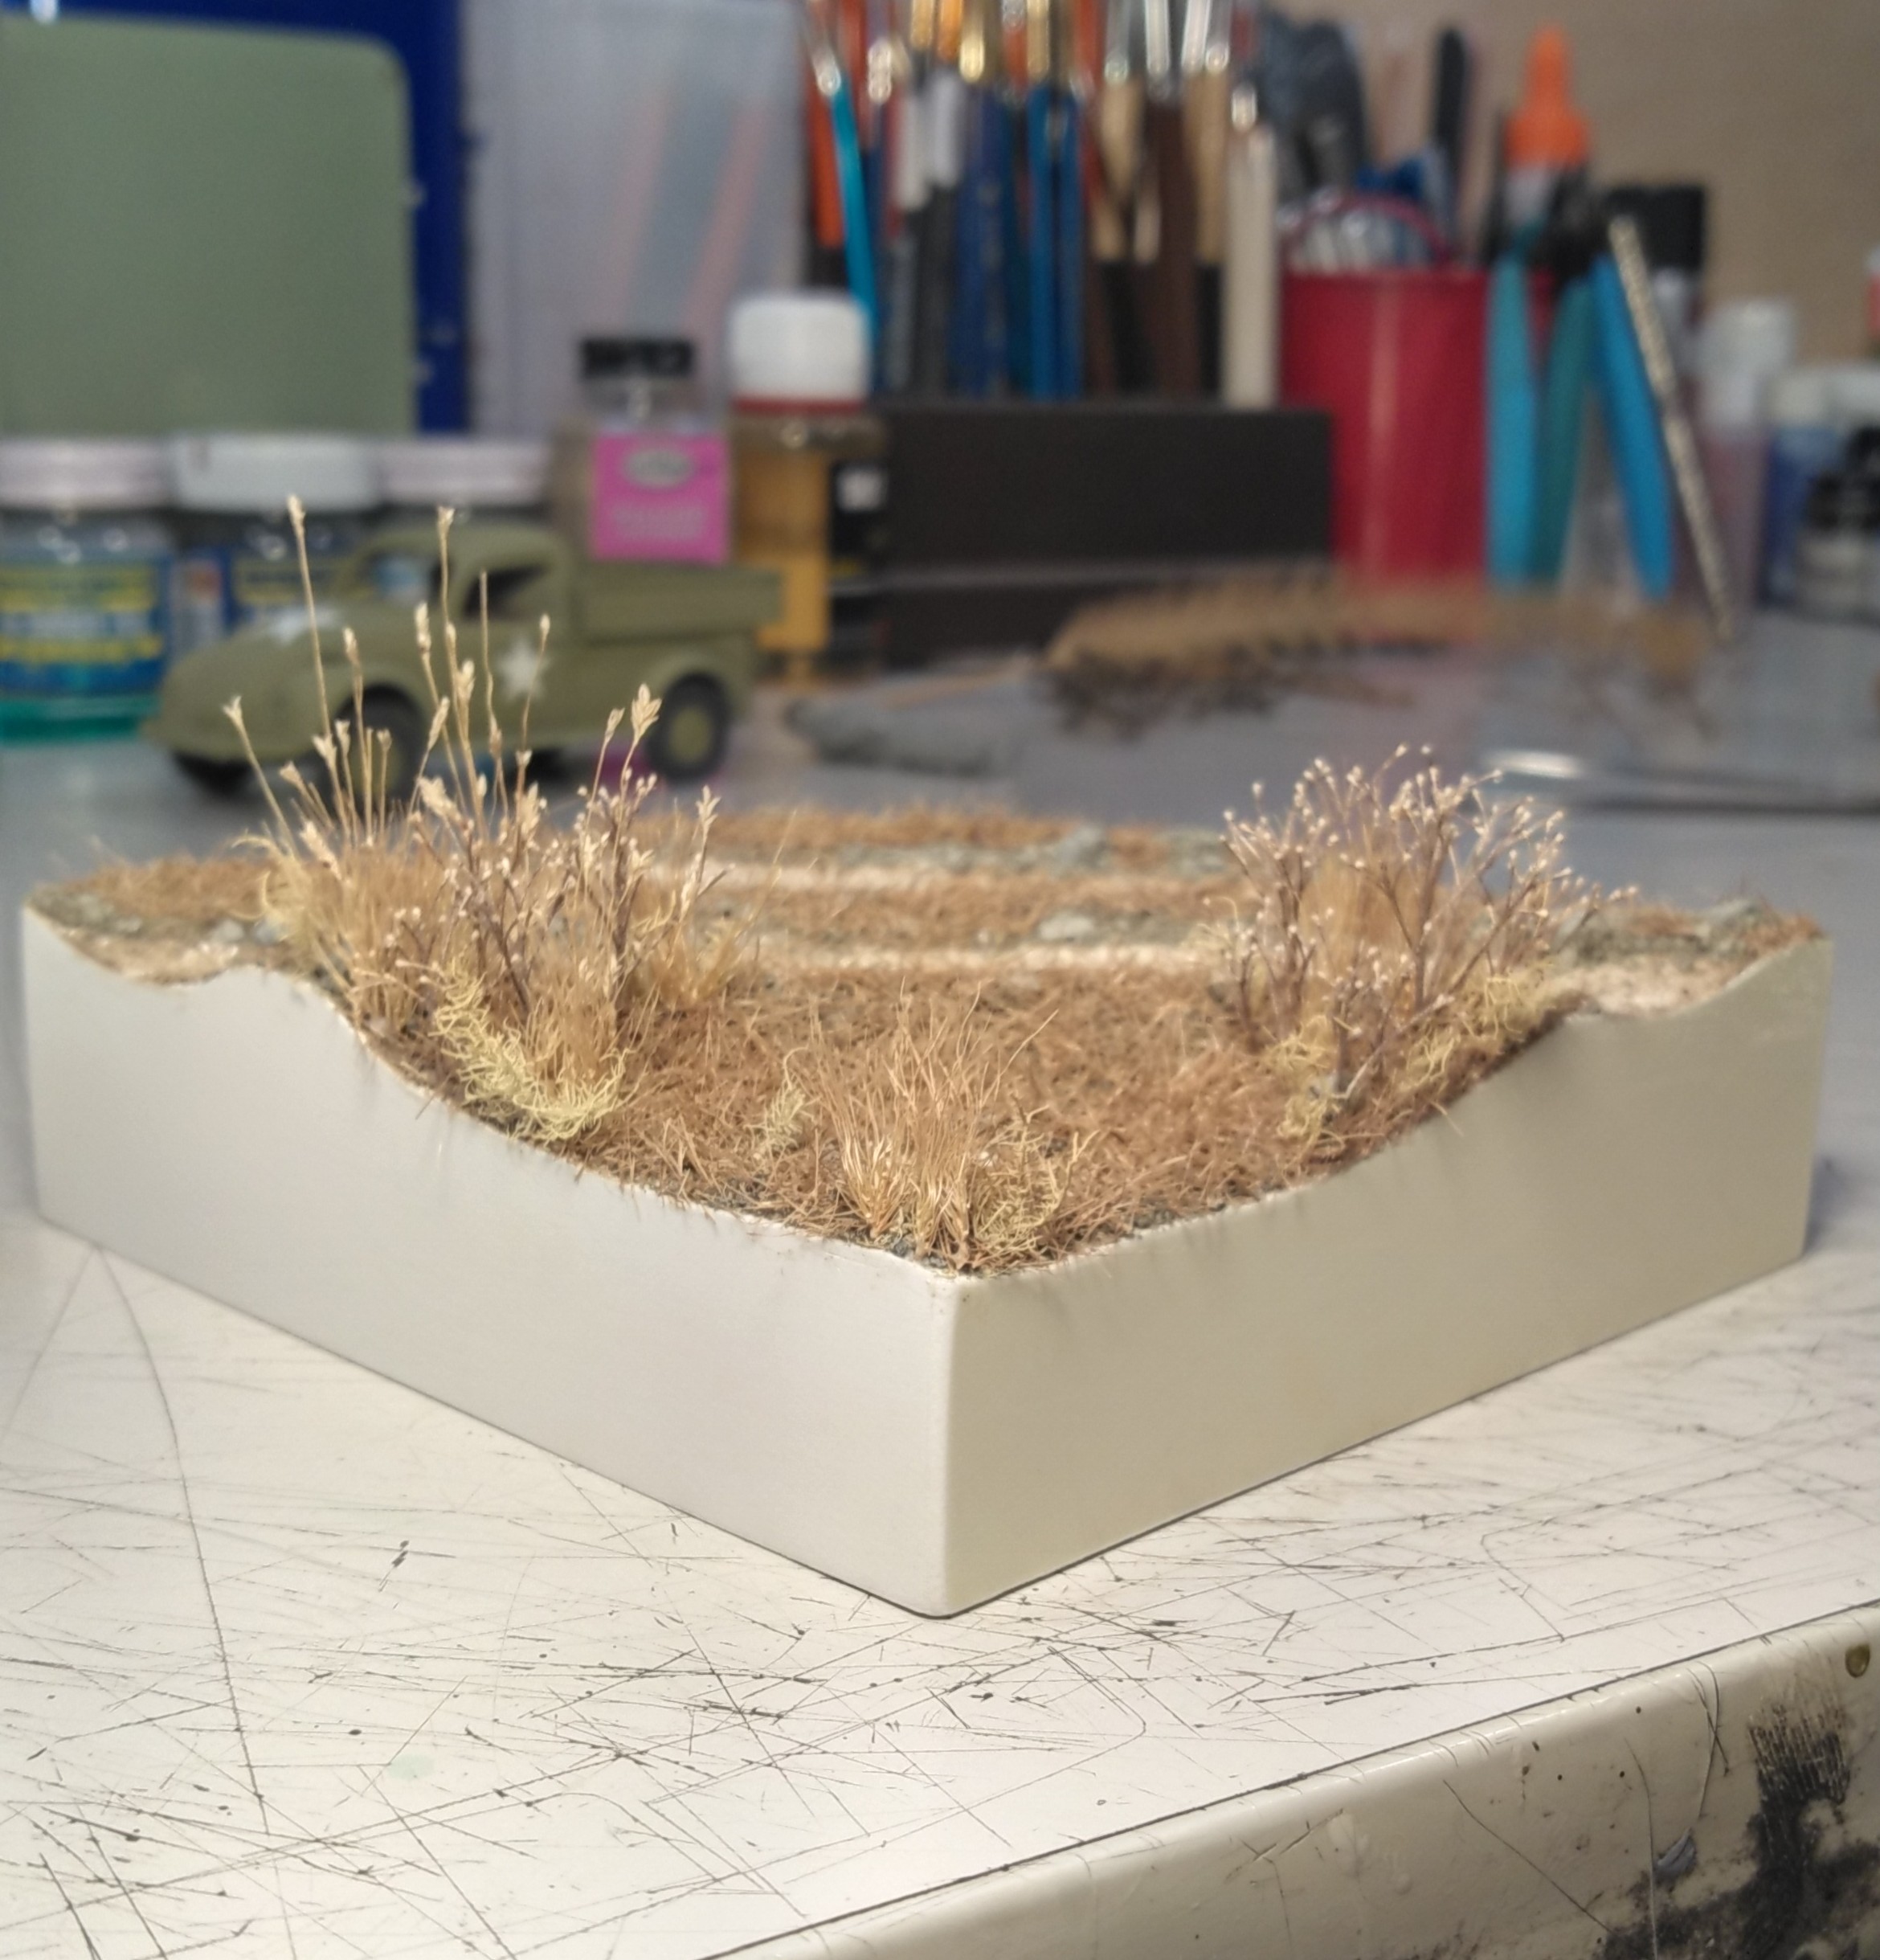
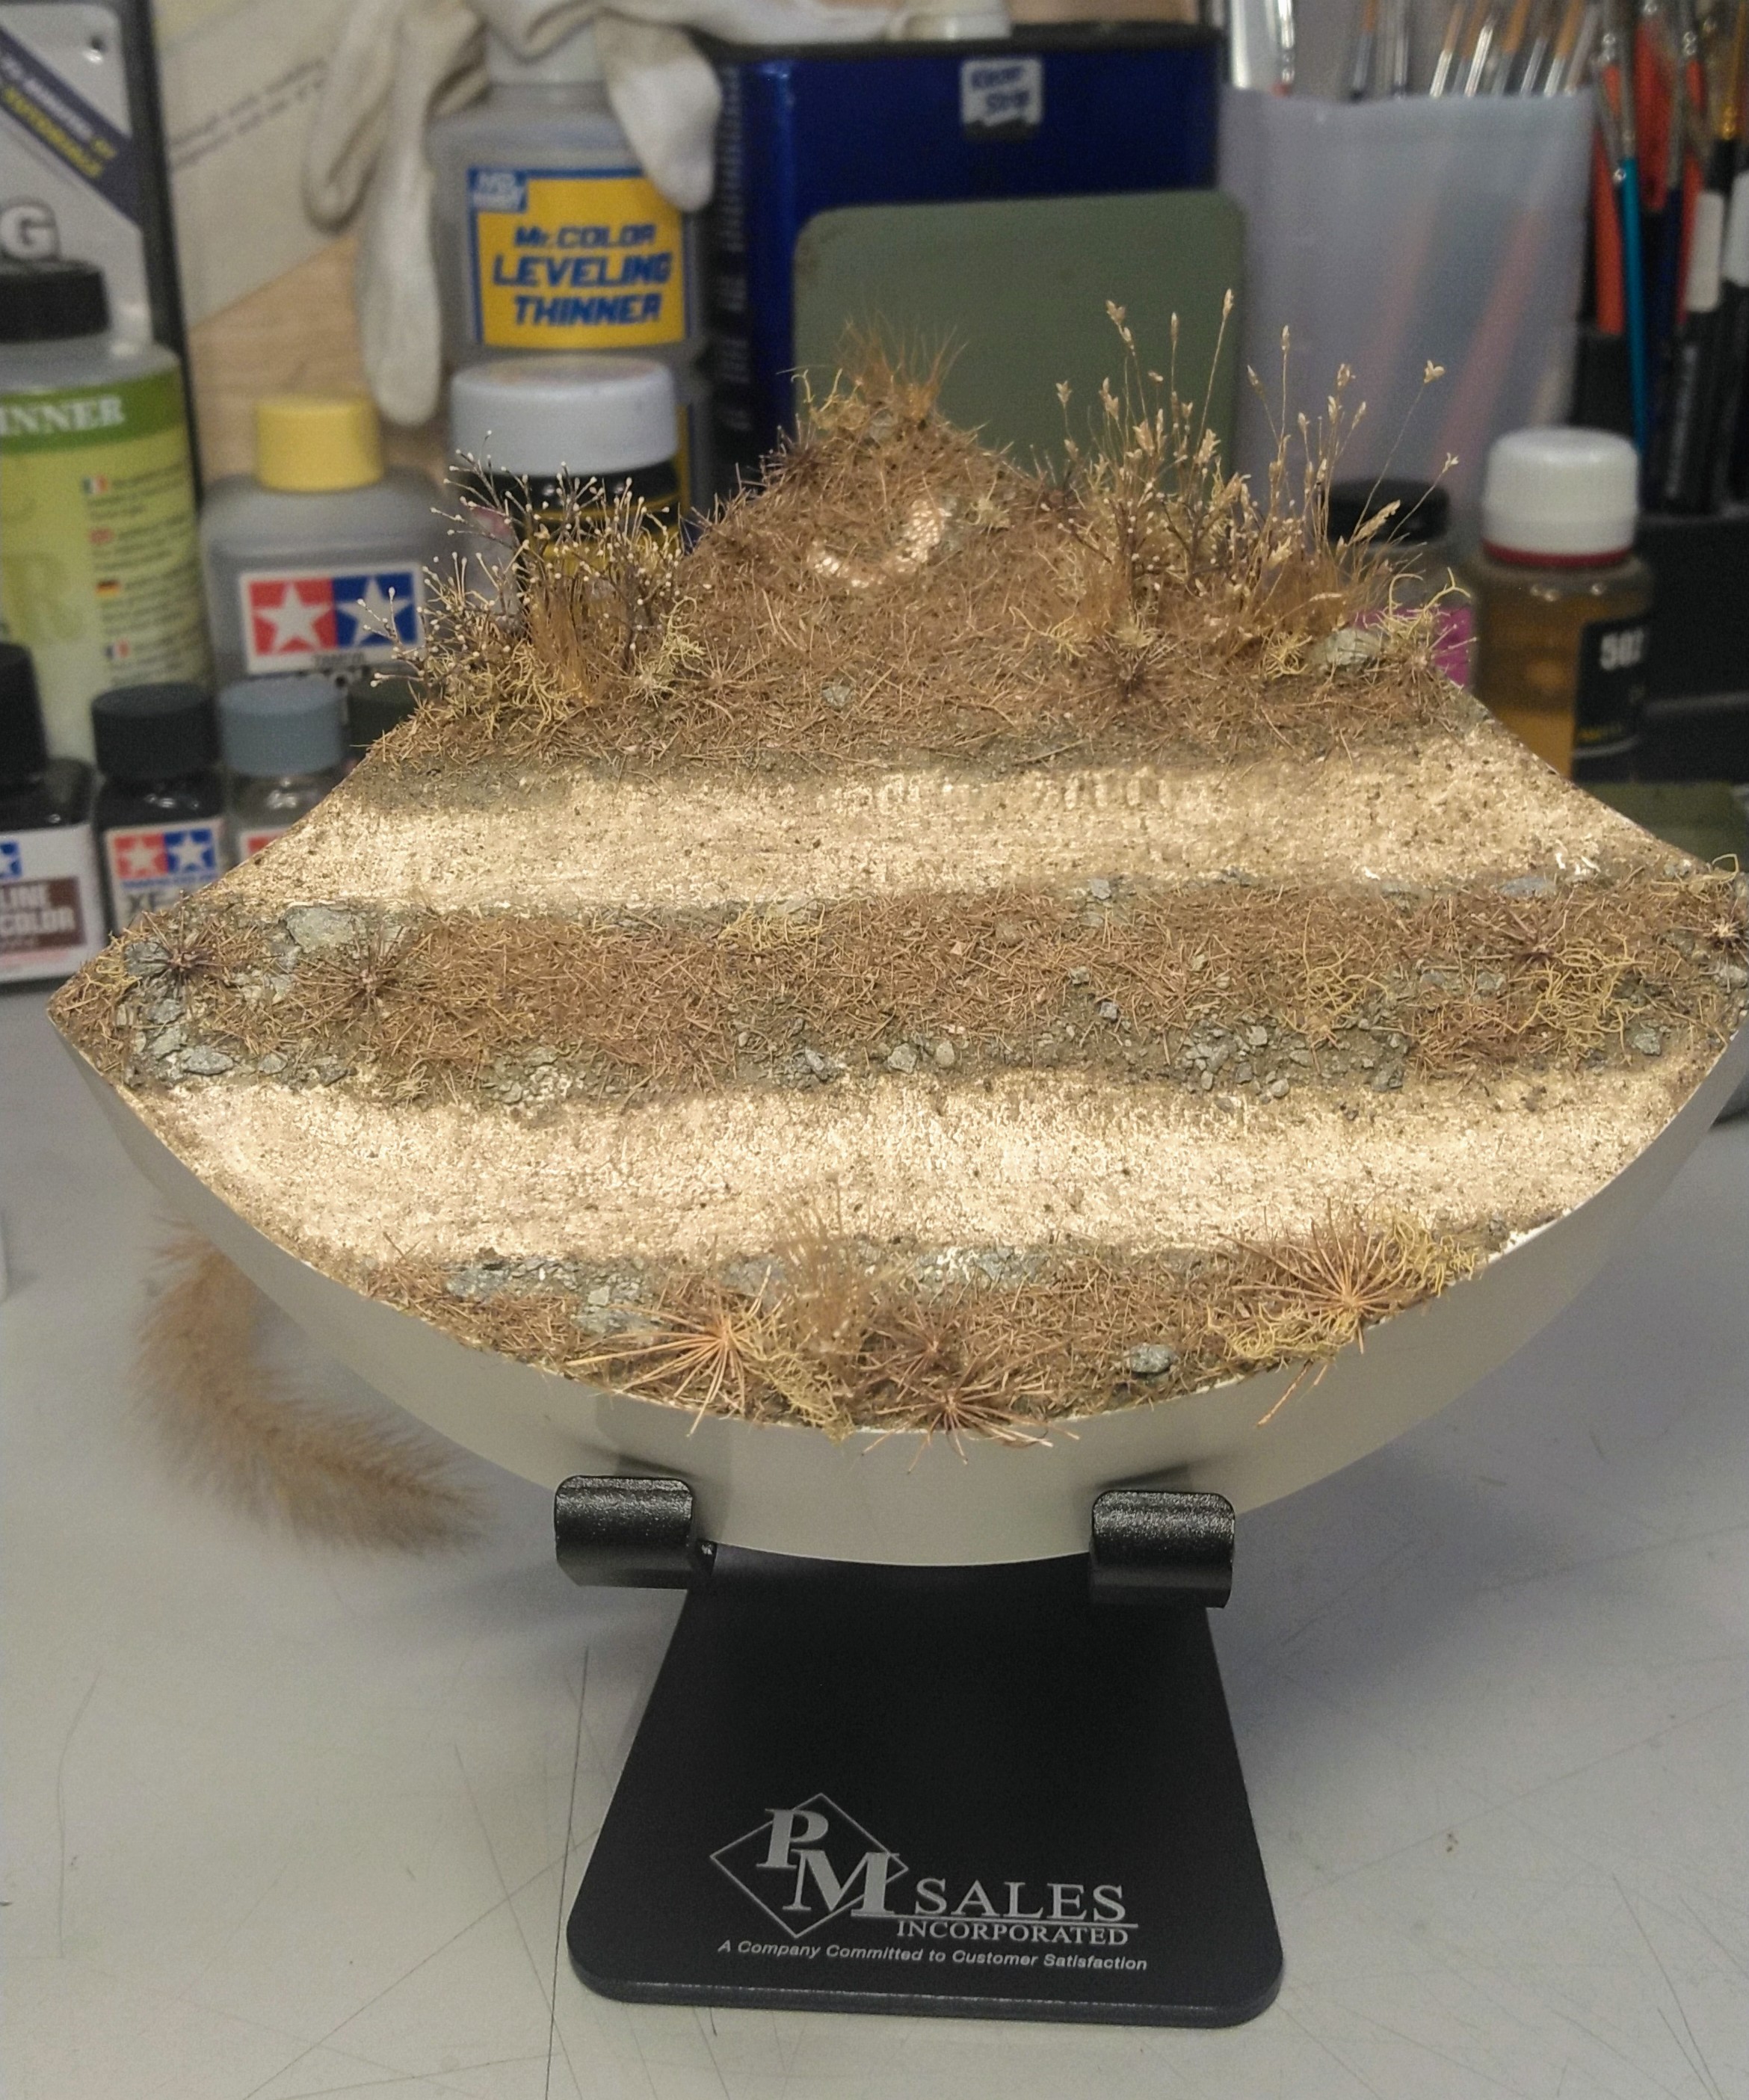
The bulk of the base is insulation foam so overall it’s still light as a feather.
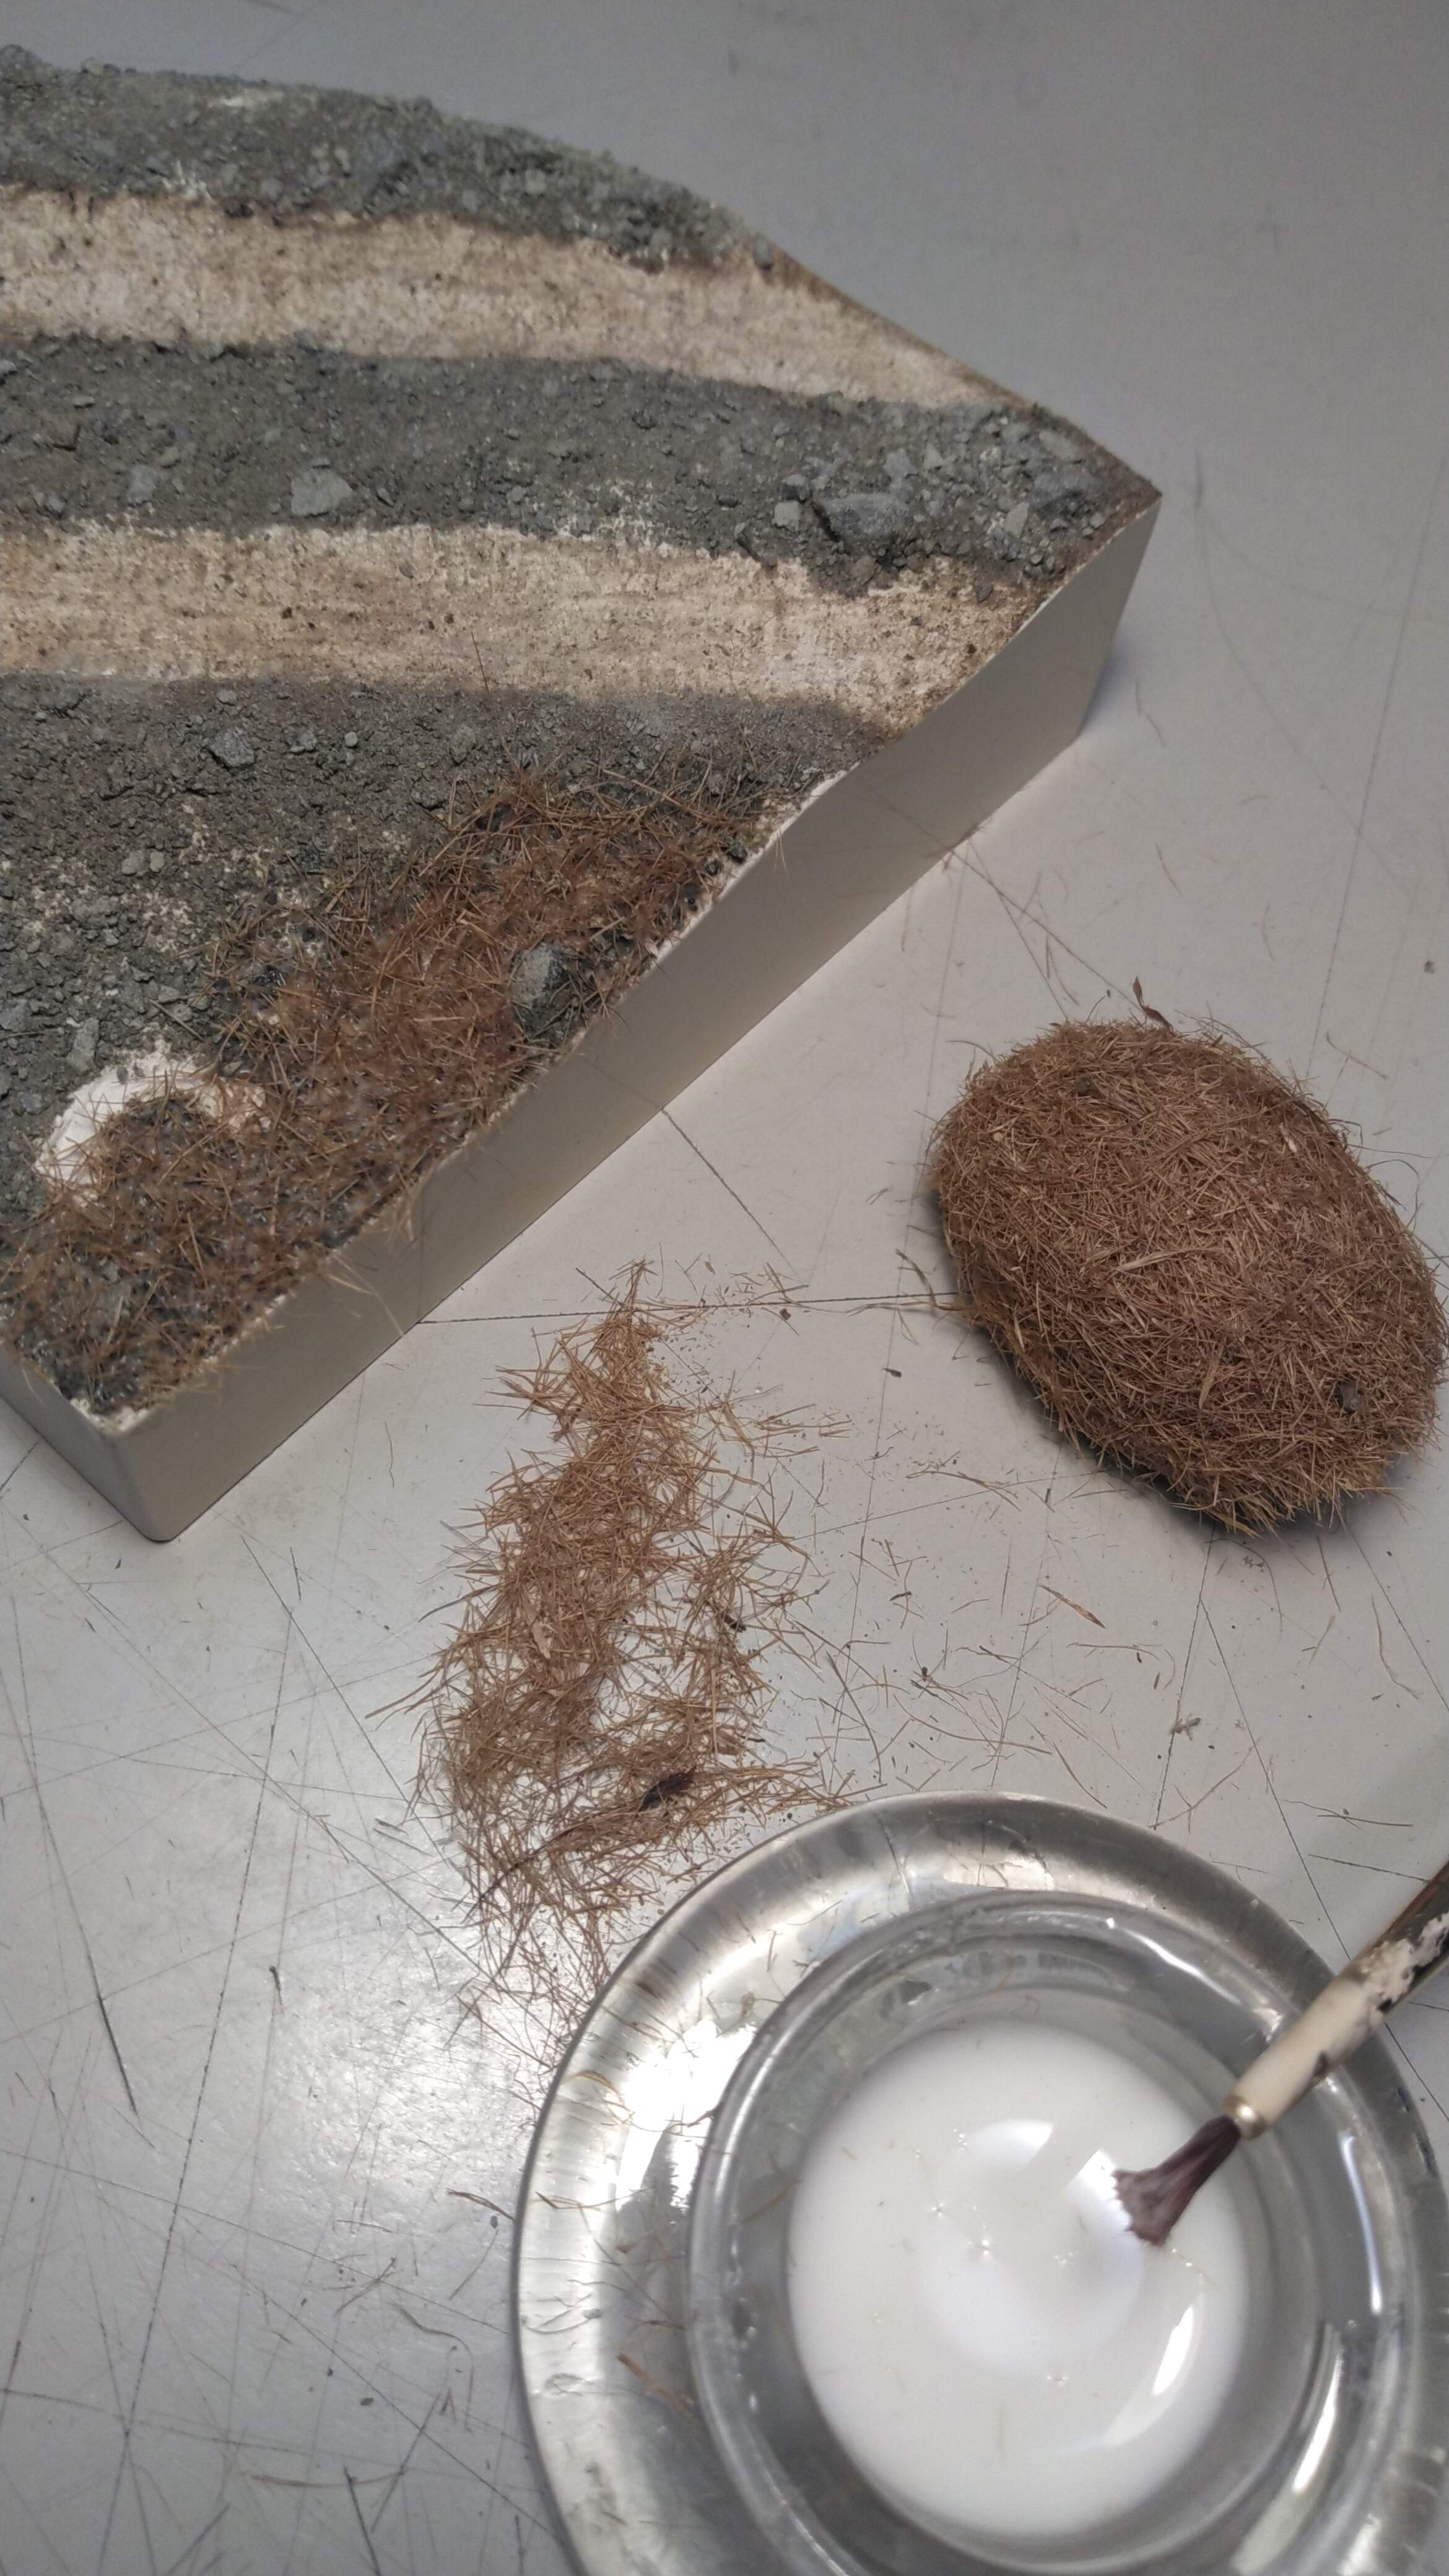
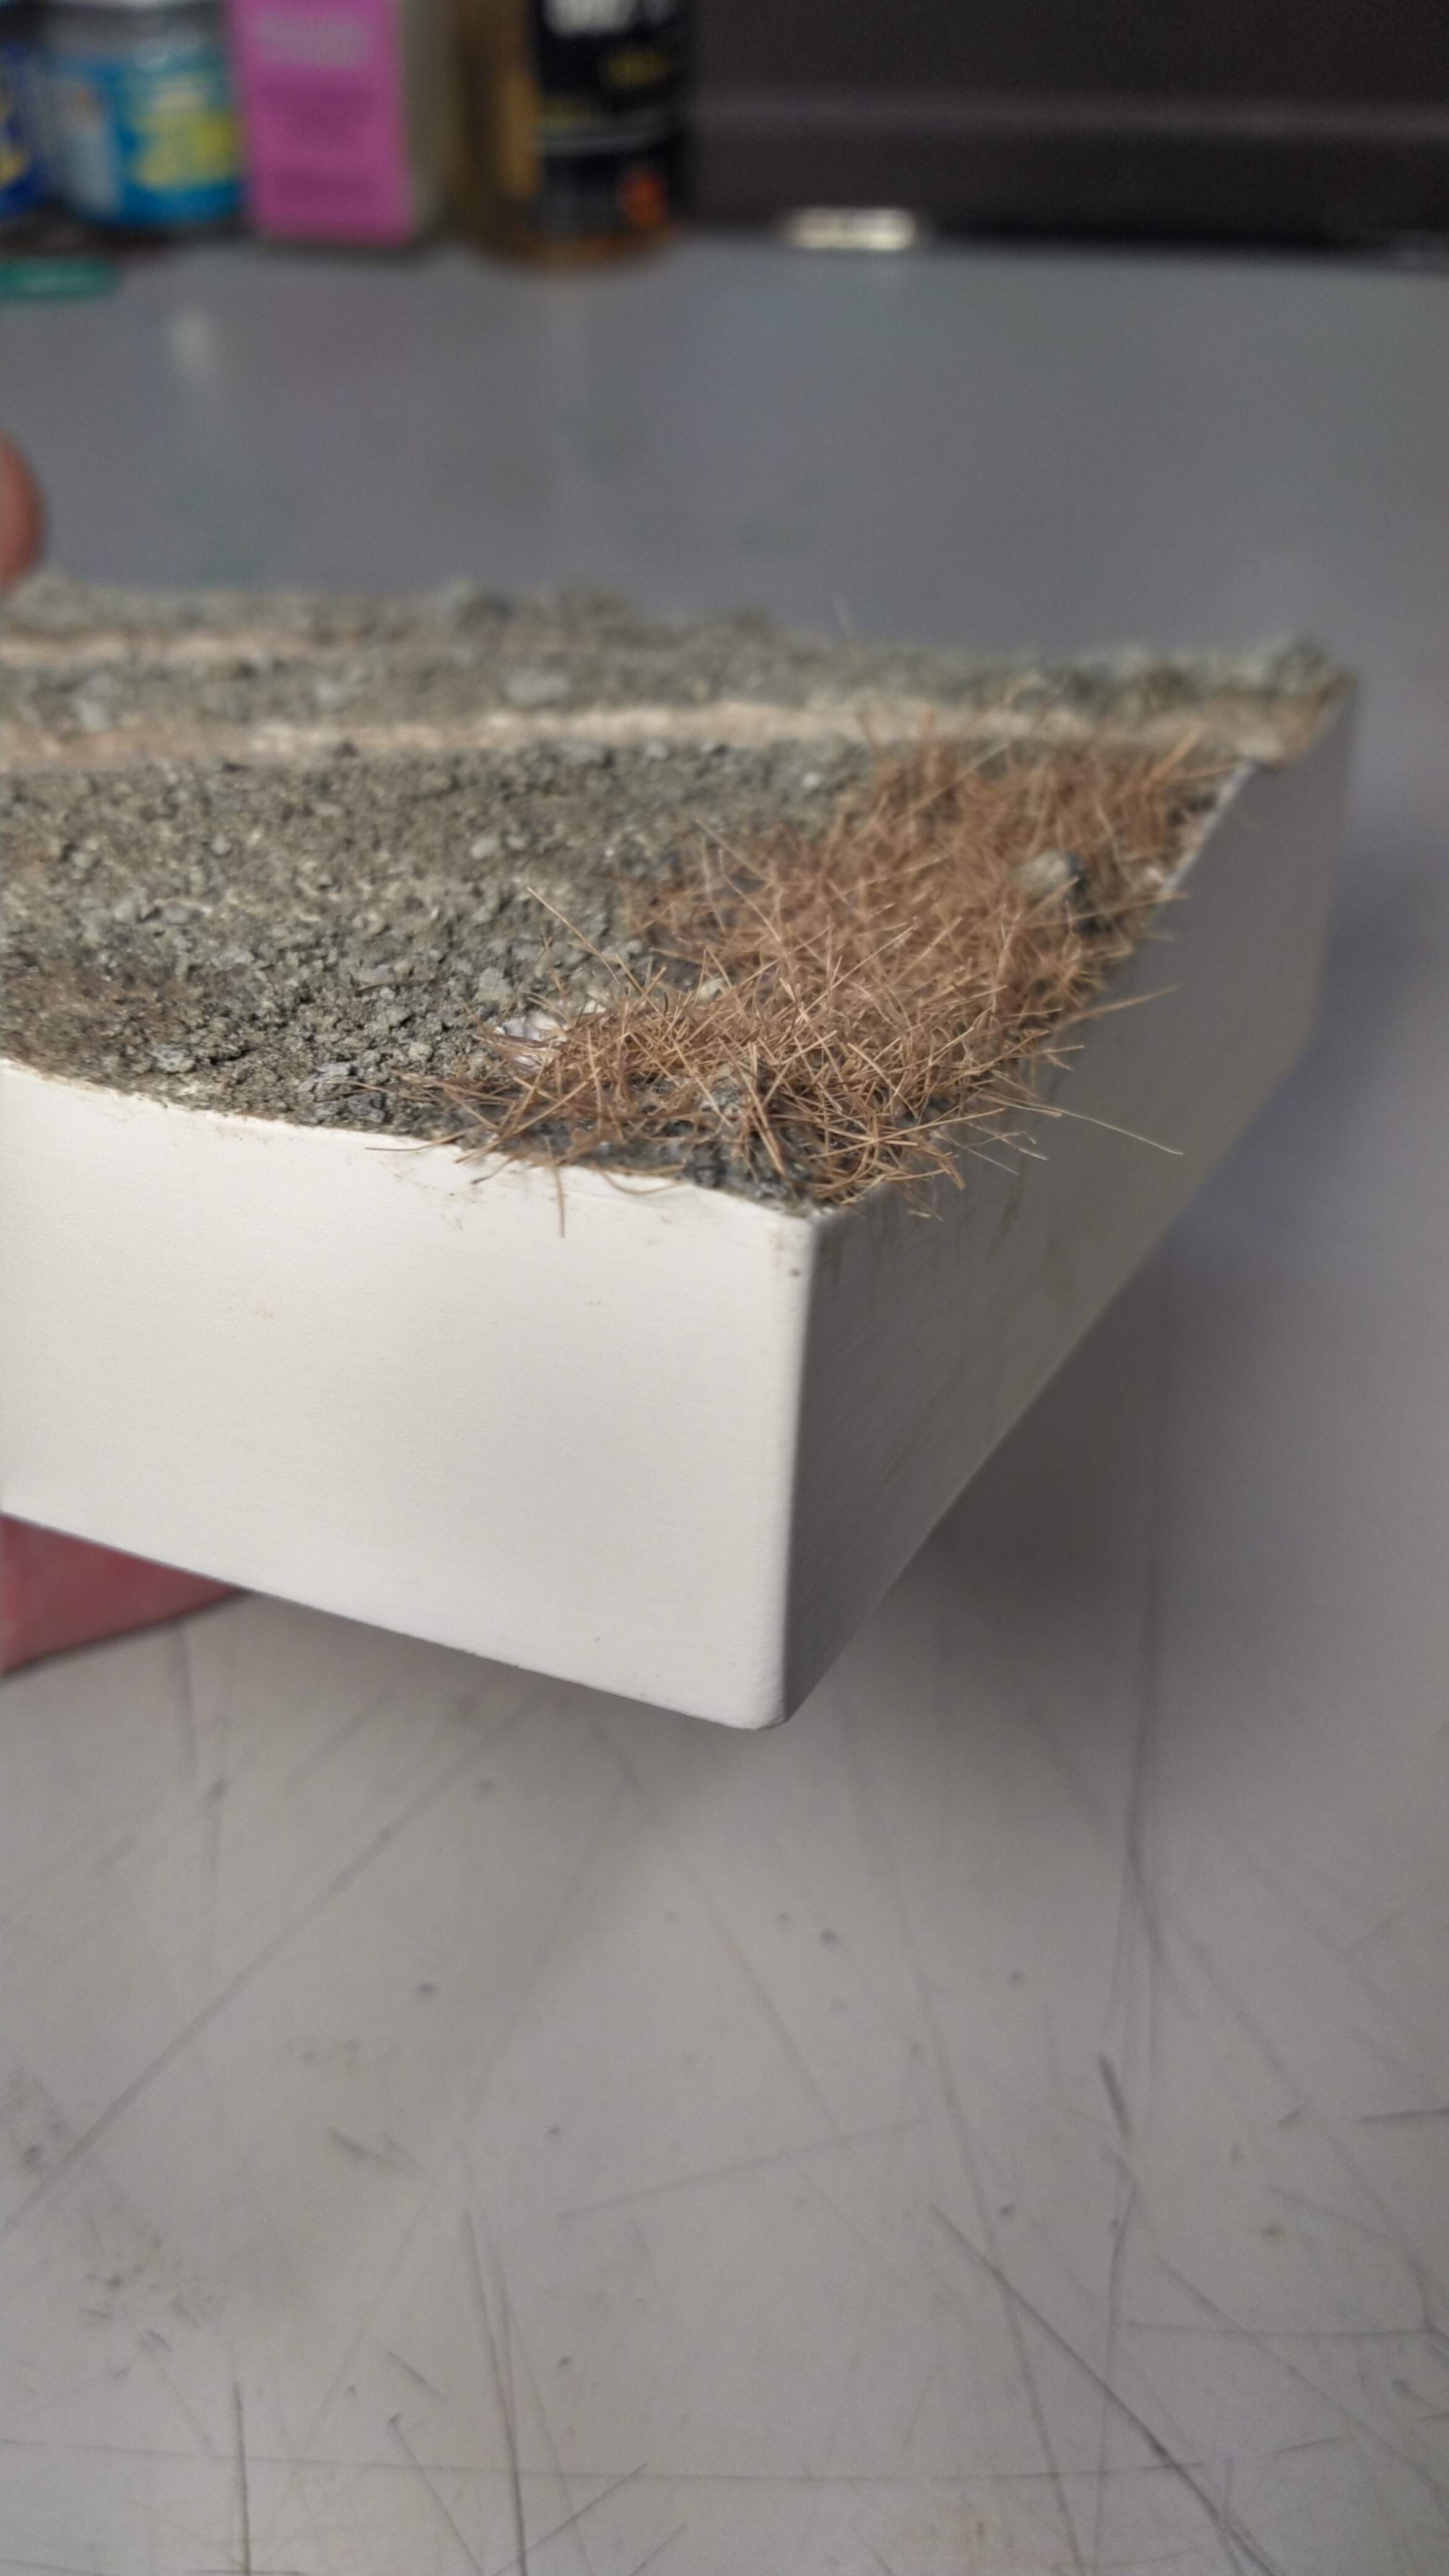
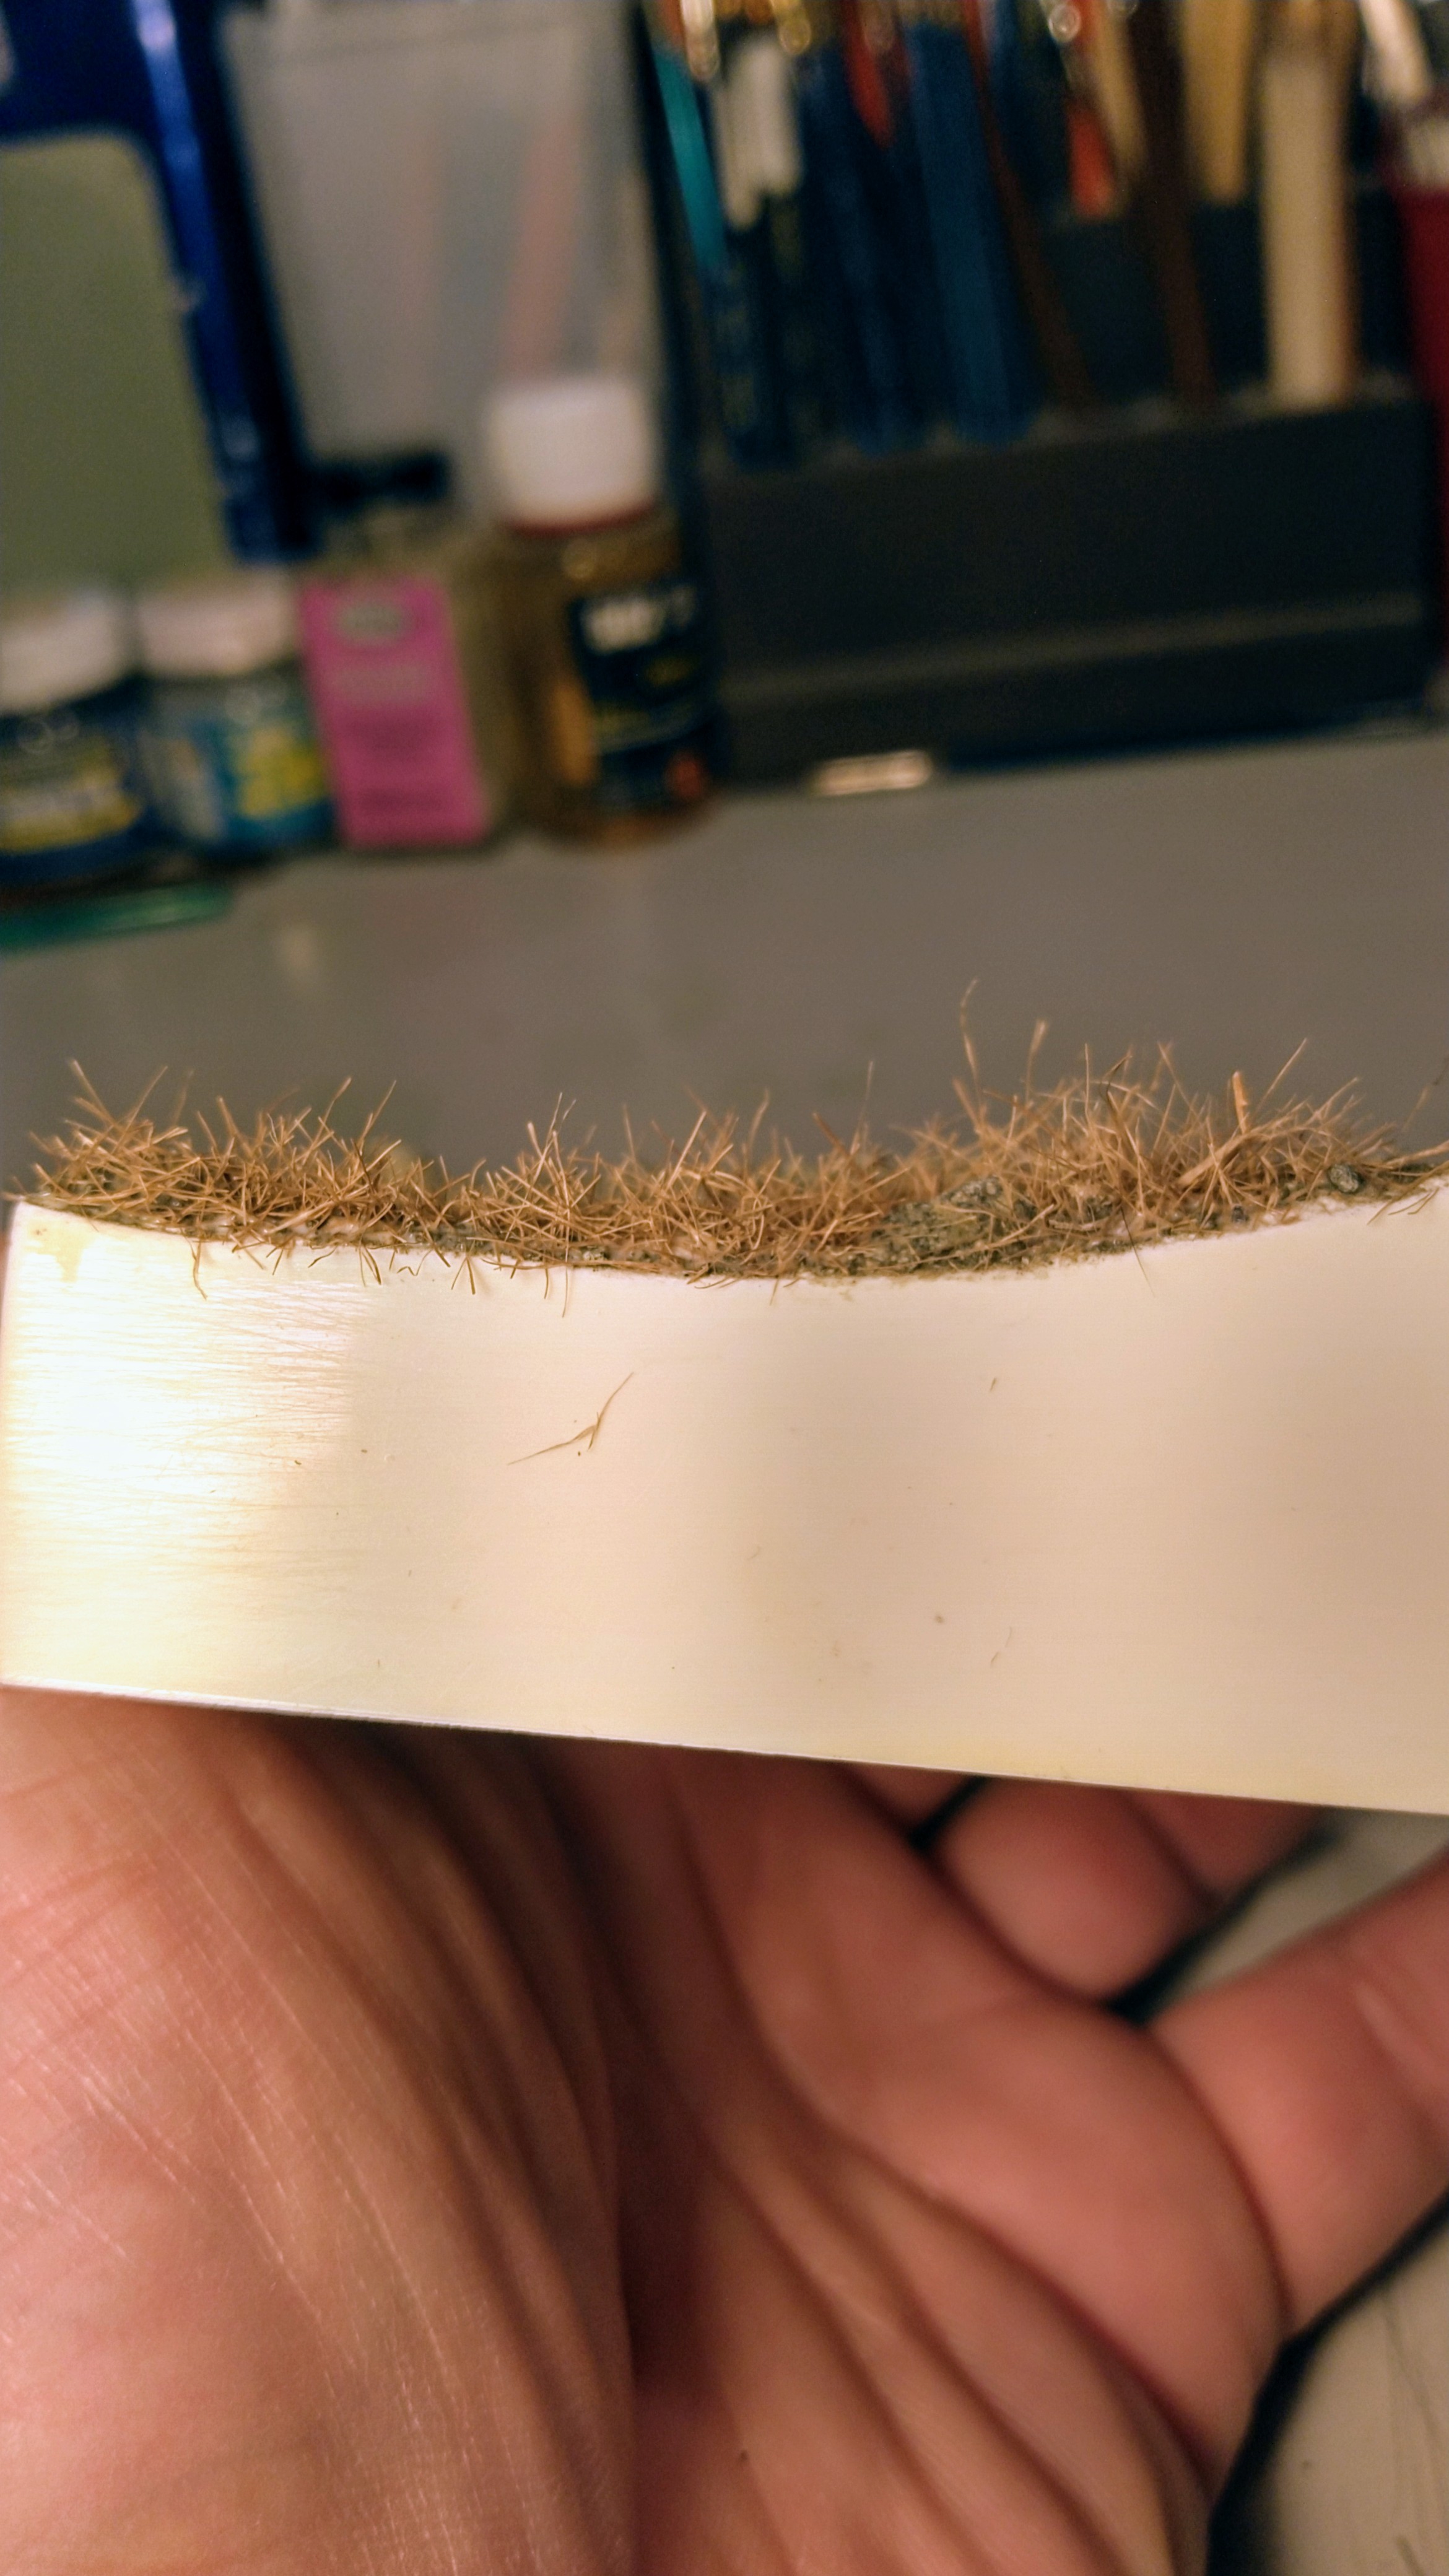
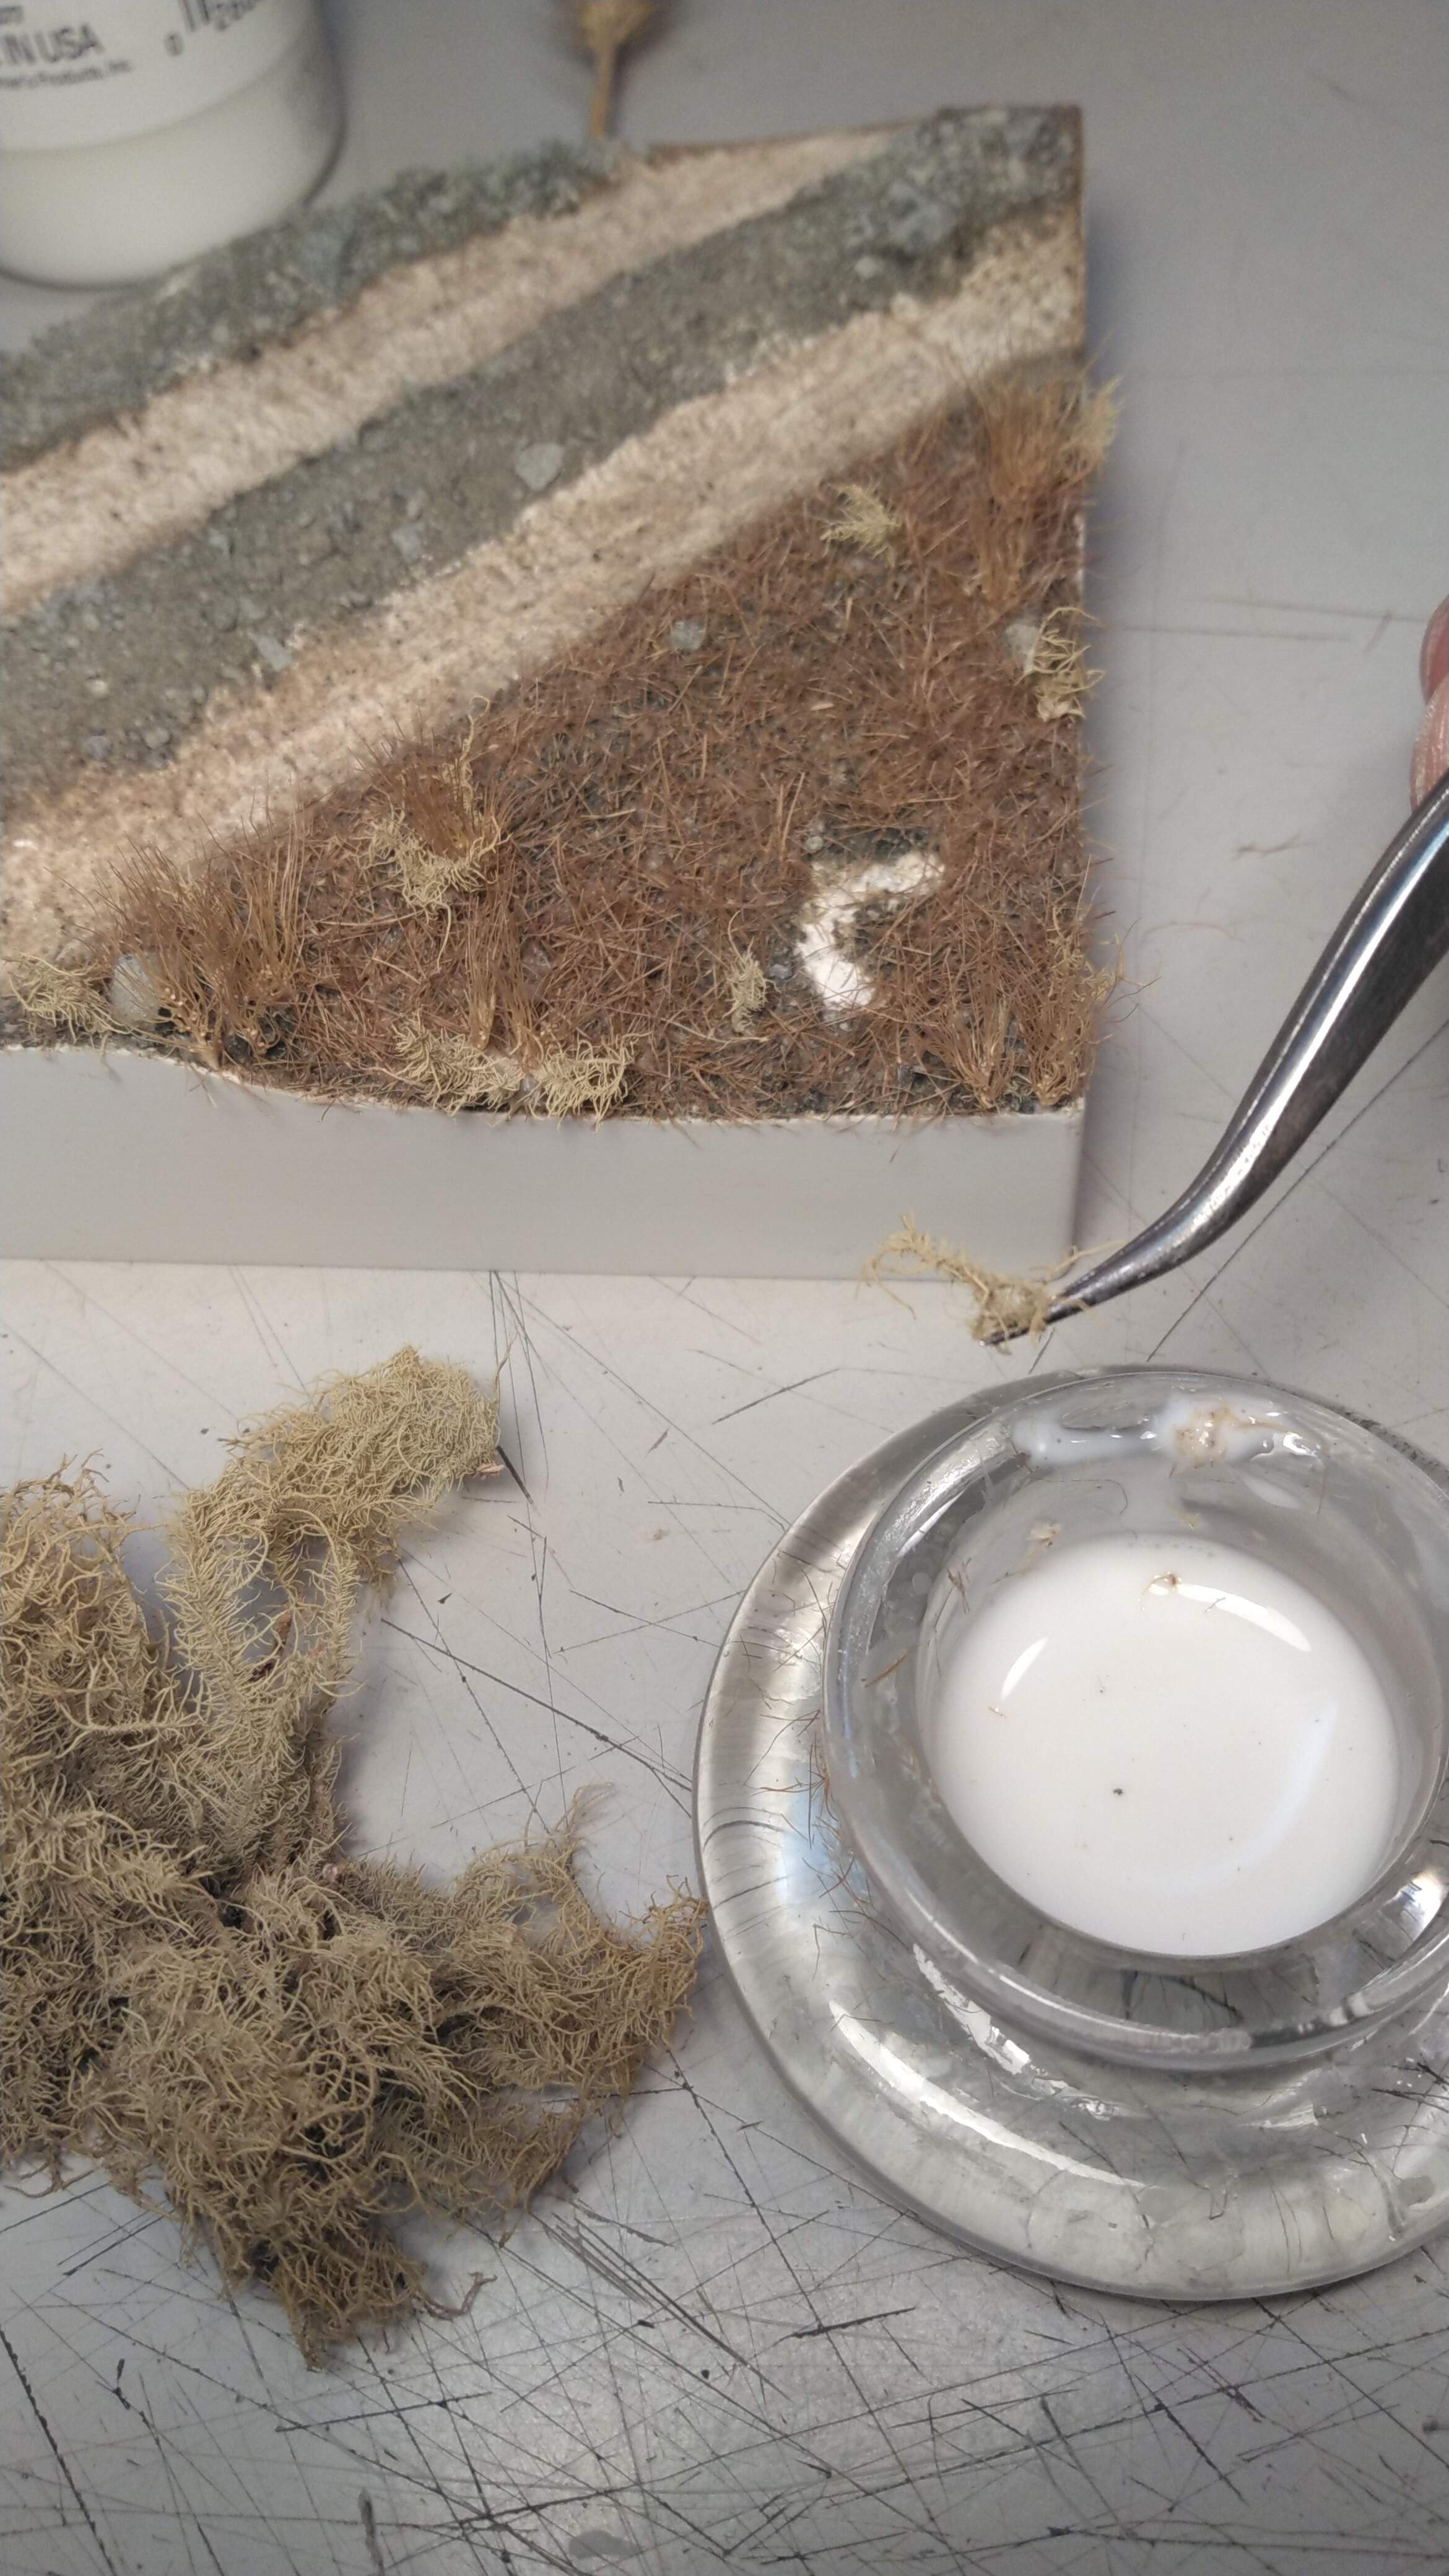
My first step is to apply some small grass using seaweed balls. I brush on some thinned PVA glue and sprinkle some fibres into the glue, tip upside down and shake off the excess. I may repeat this two or three times.
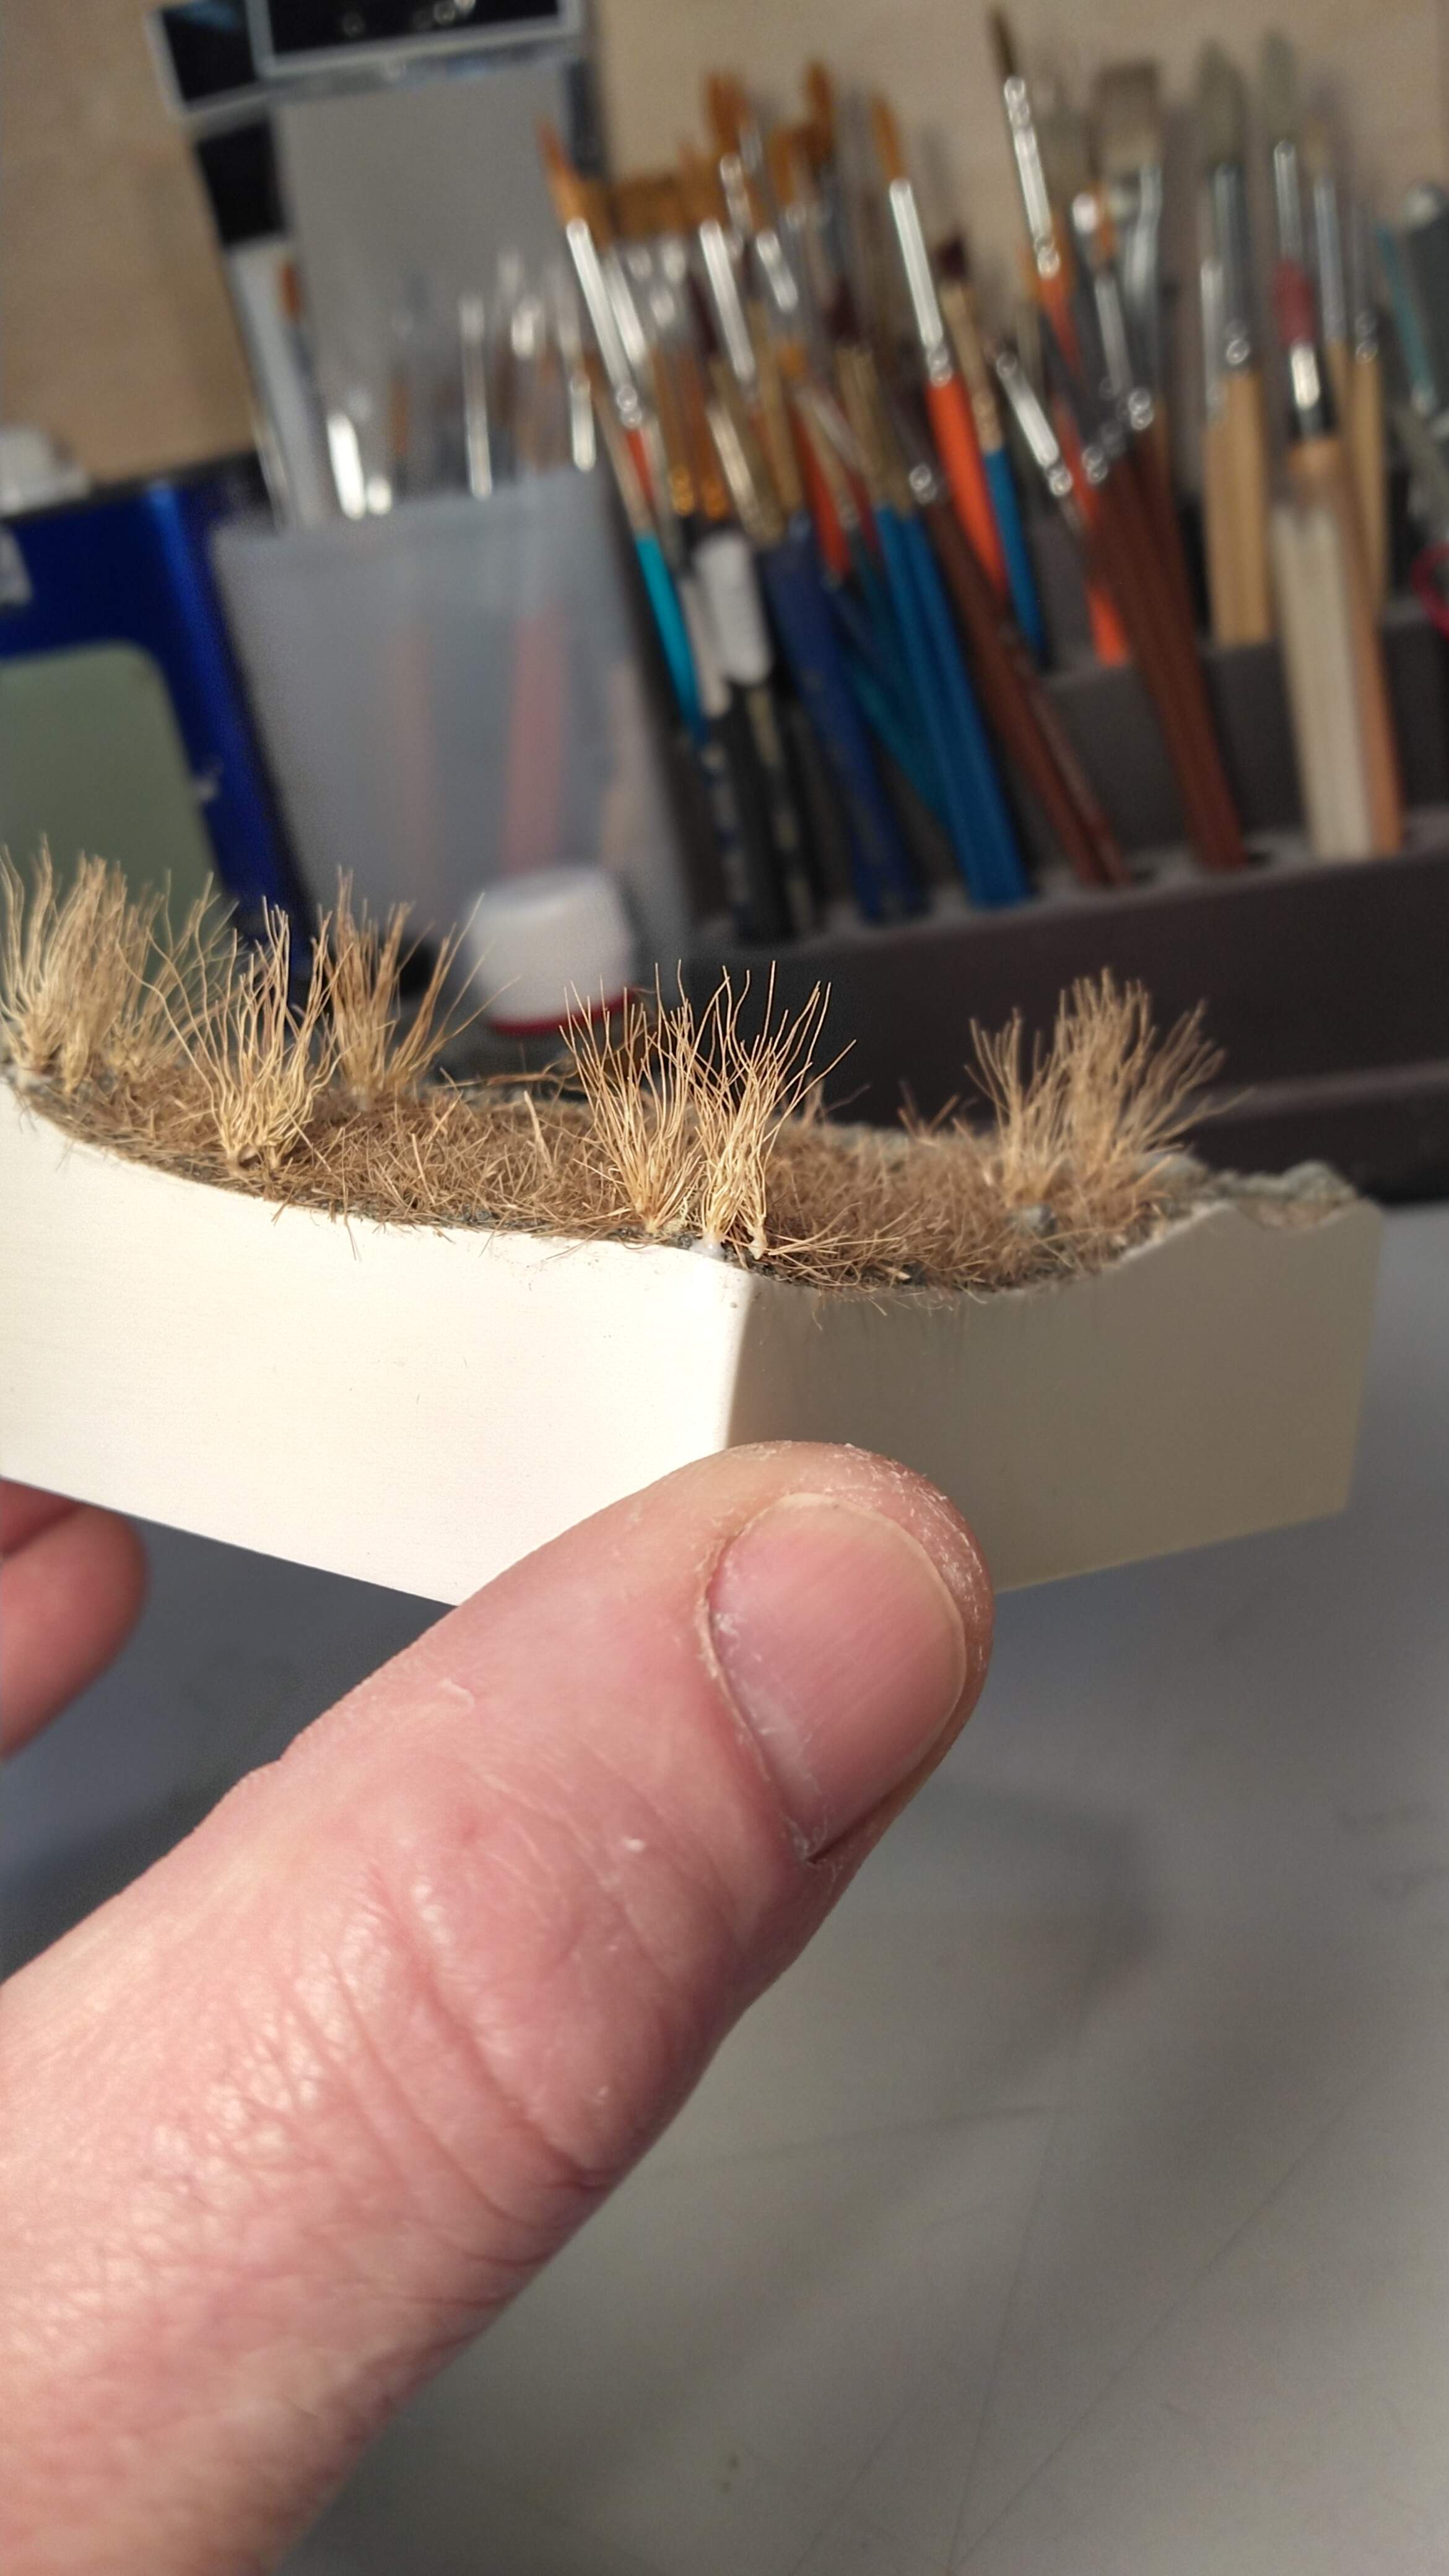
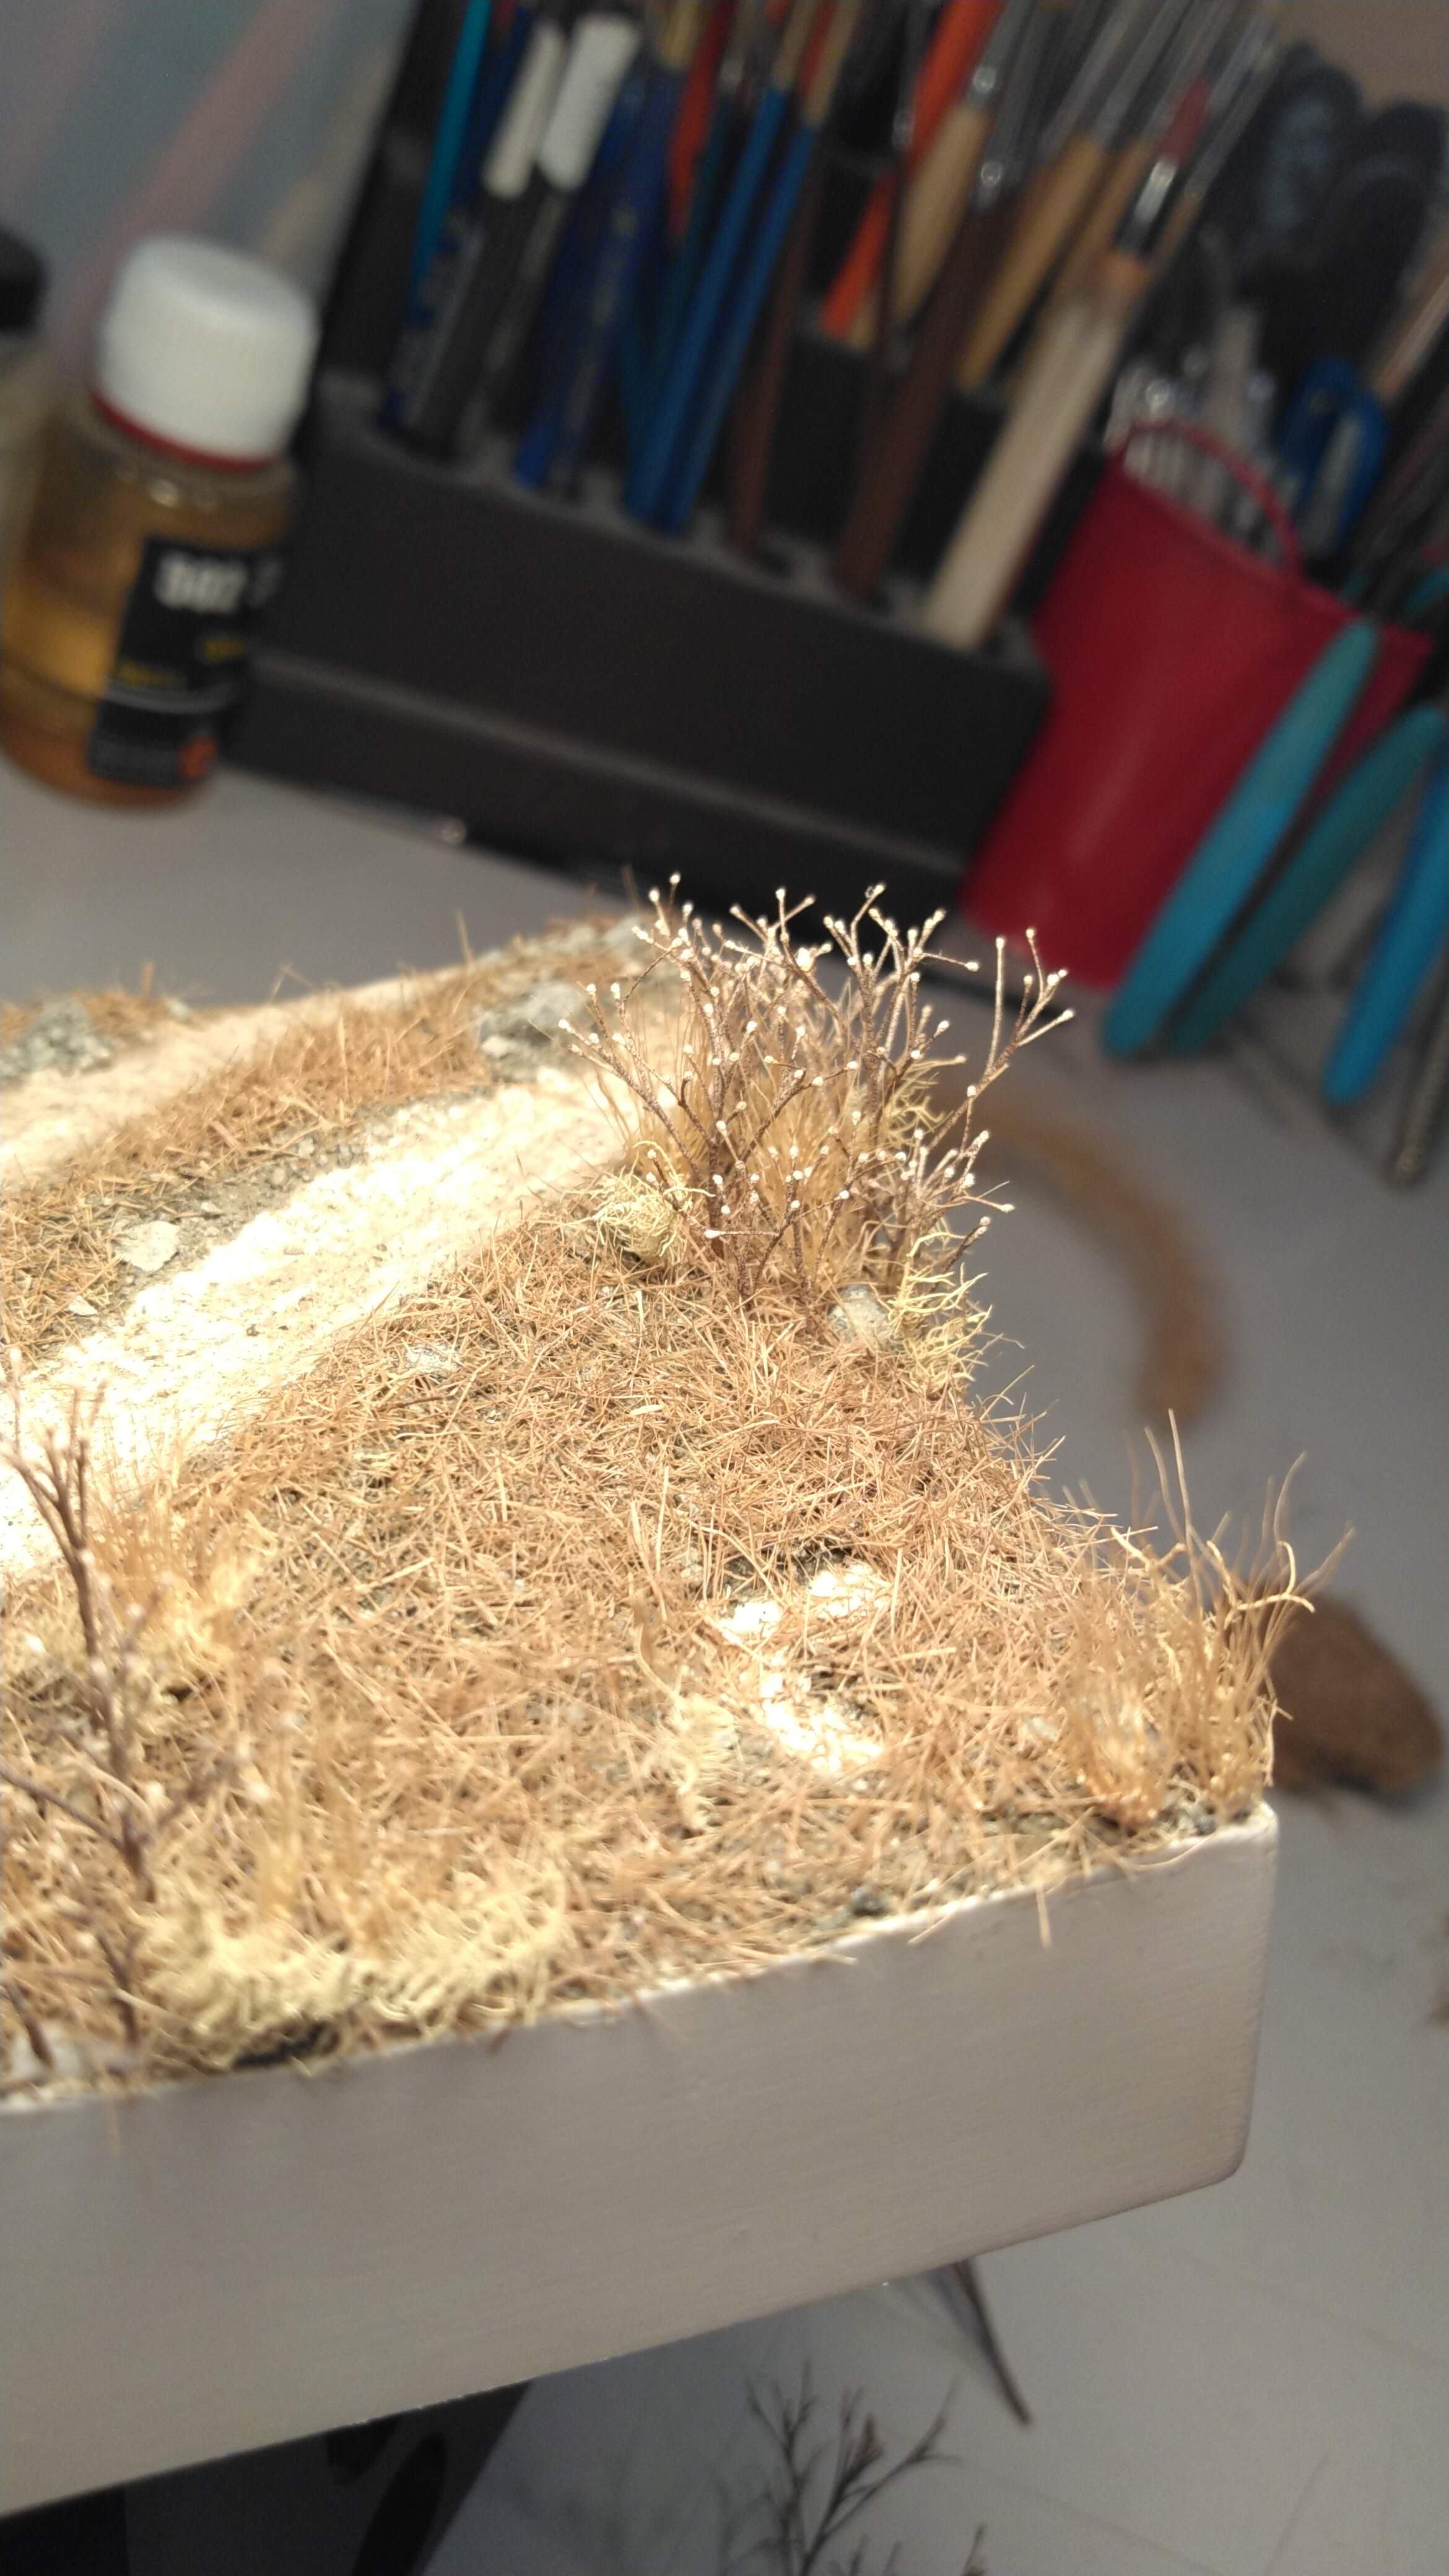
Once this is done, I will go back and add more of each item within these small areas of growth, to fill them in and make them look more natural and hide any spacing, or obvious layout placement. I want these to look like they are all competing for the same piece of ground, the same sunlight. Just like in real life.
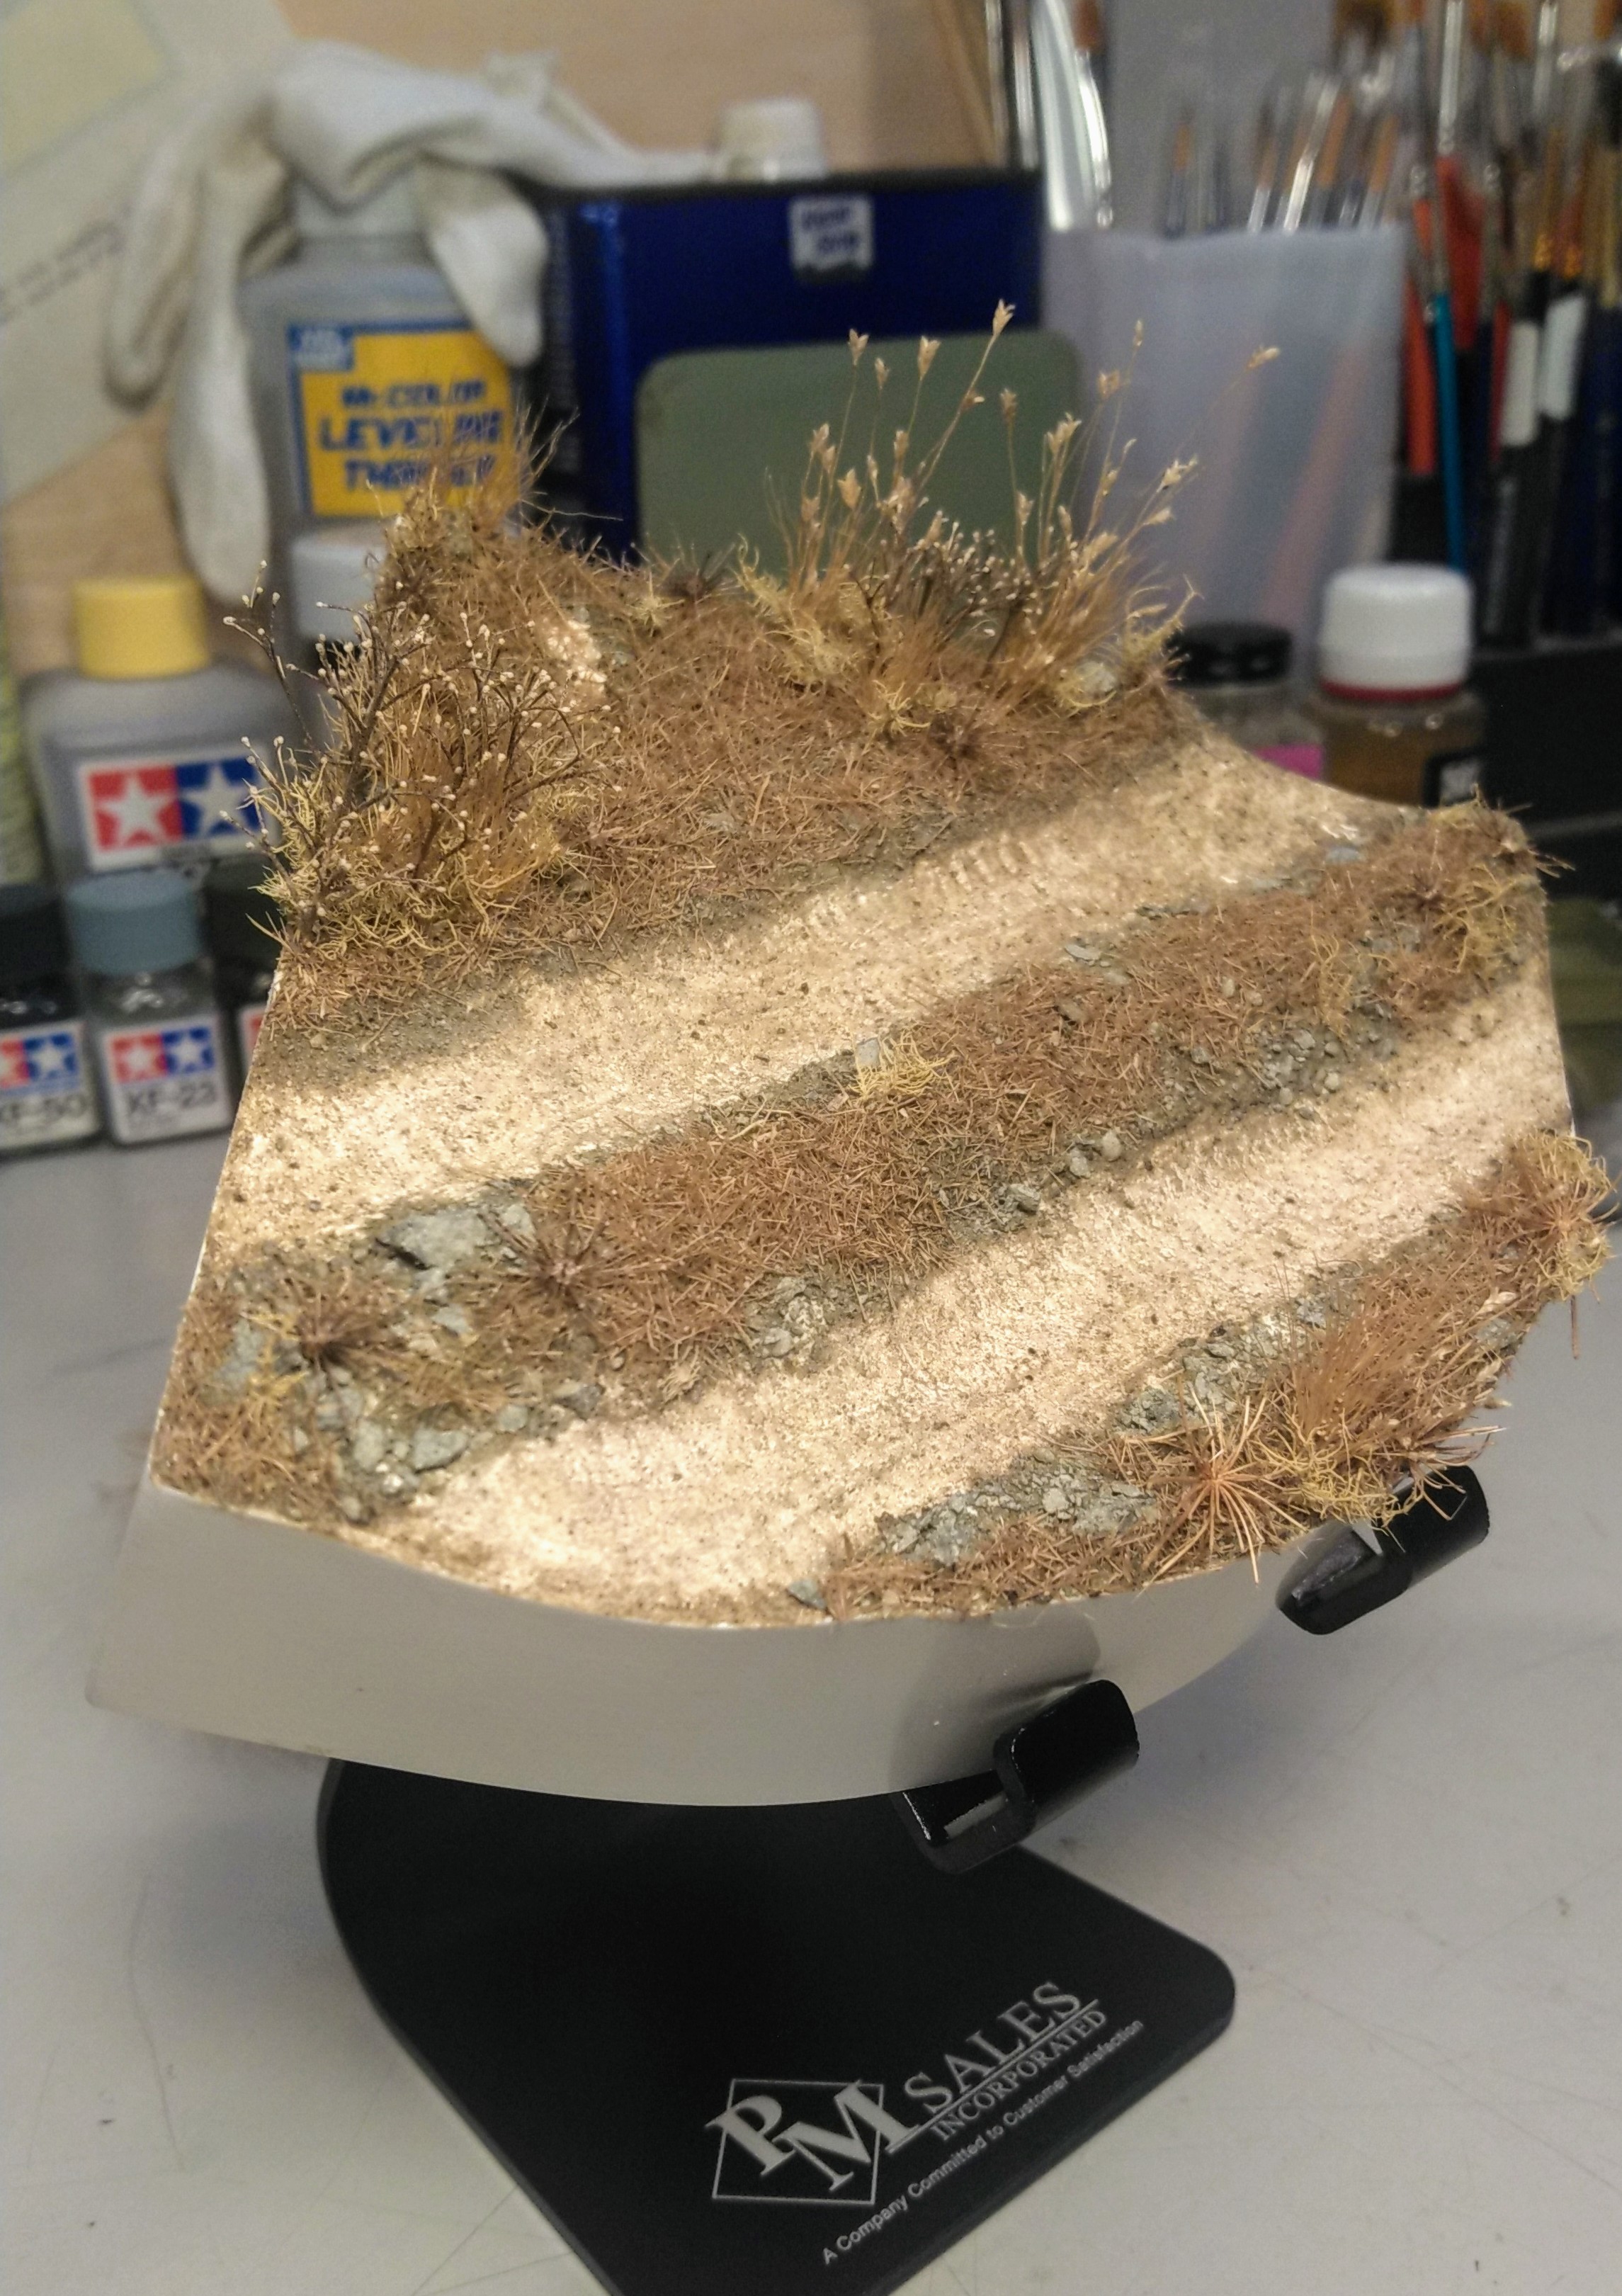
I’ll look this over for a few days and tweak any areas I think need to be addressed. Then, it’s prime and paint.
I had seaweed balls once - a hot shower cured me of it…
Seriously Ken, your groundwork is simply stunning, with such simple items. It’s your effort and attention to detail that make the scene. It all looks fantastic already, without the paint!
Ha! Now that you mention it, I do remember sending stuff out. I think it was the ‘leaf’ material I was using and only two guys ask if I could send some. You must have been one of them! Glad to see that it helped!
Cheers,
C.
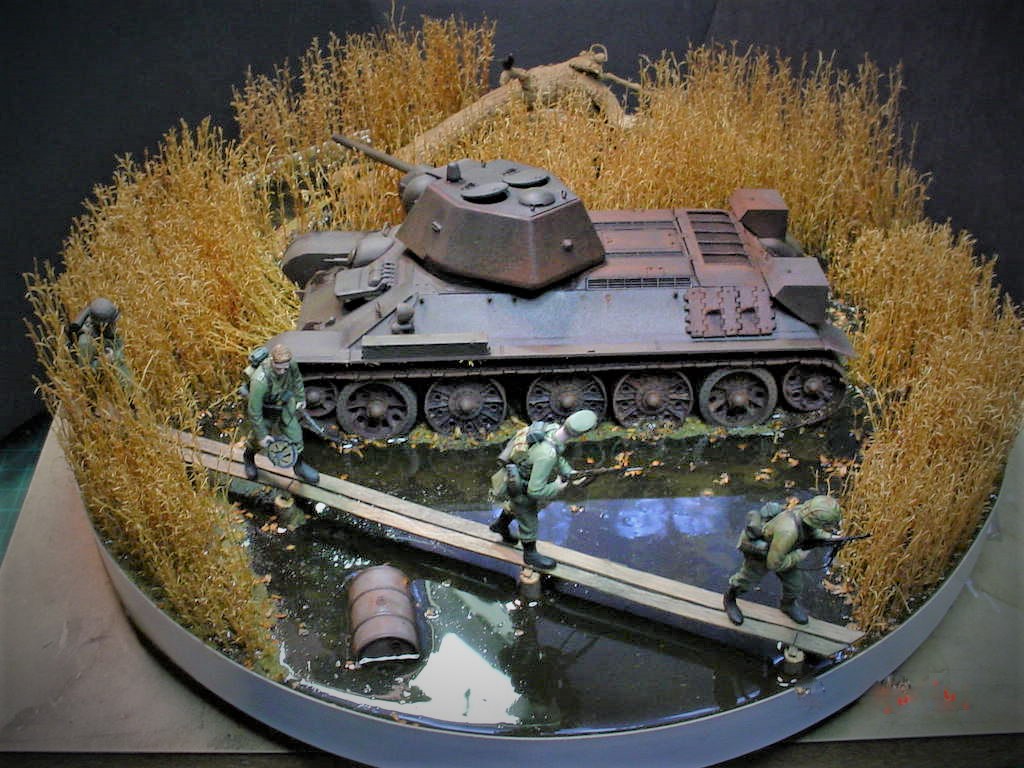
You’re right. Those were reeds from some ‘doll’ sized brooms I found at a craft store. I still have a shoebox full of them!
I used them in my ‘Shallow Grave’ diorama.