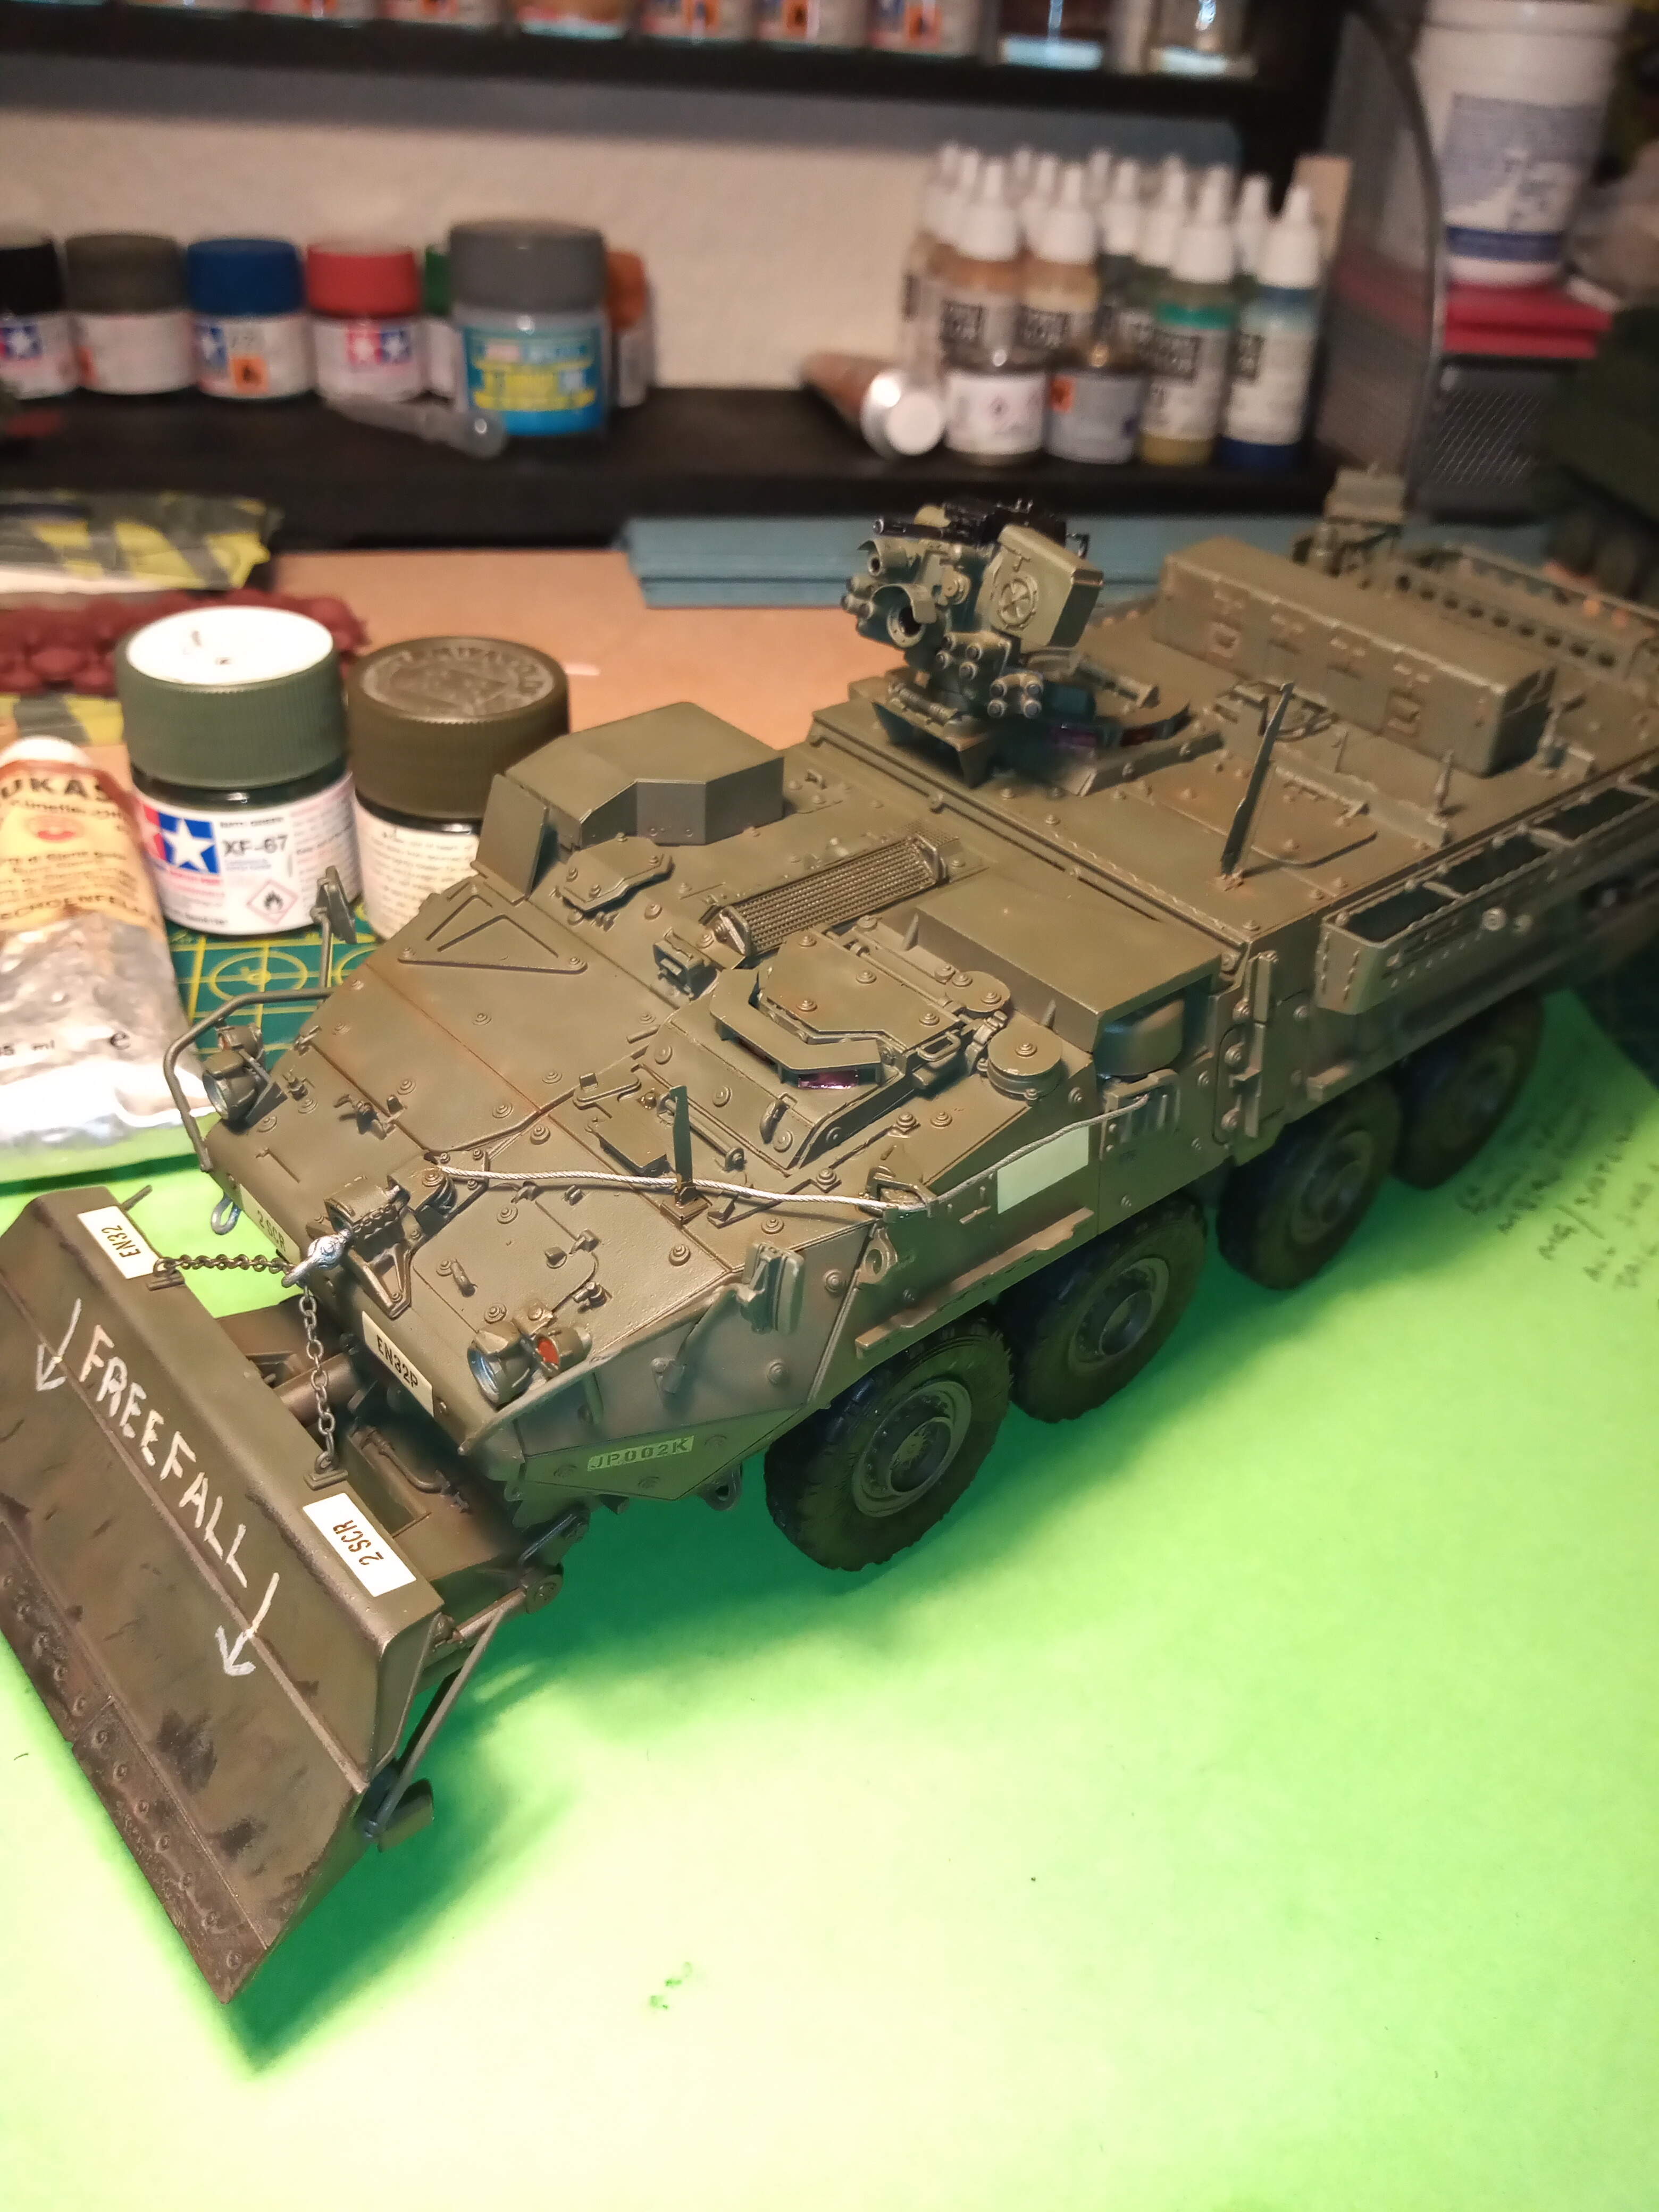
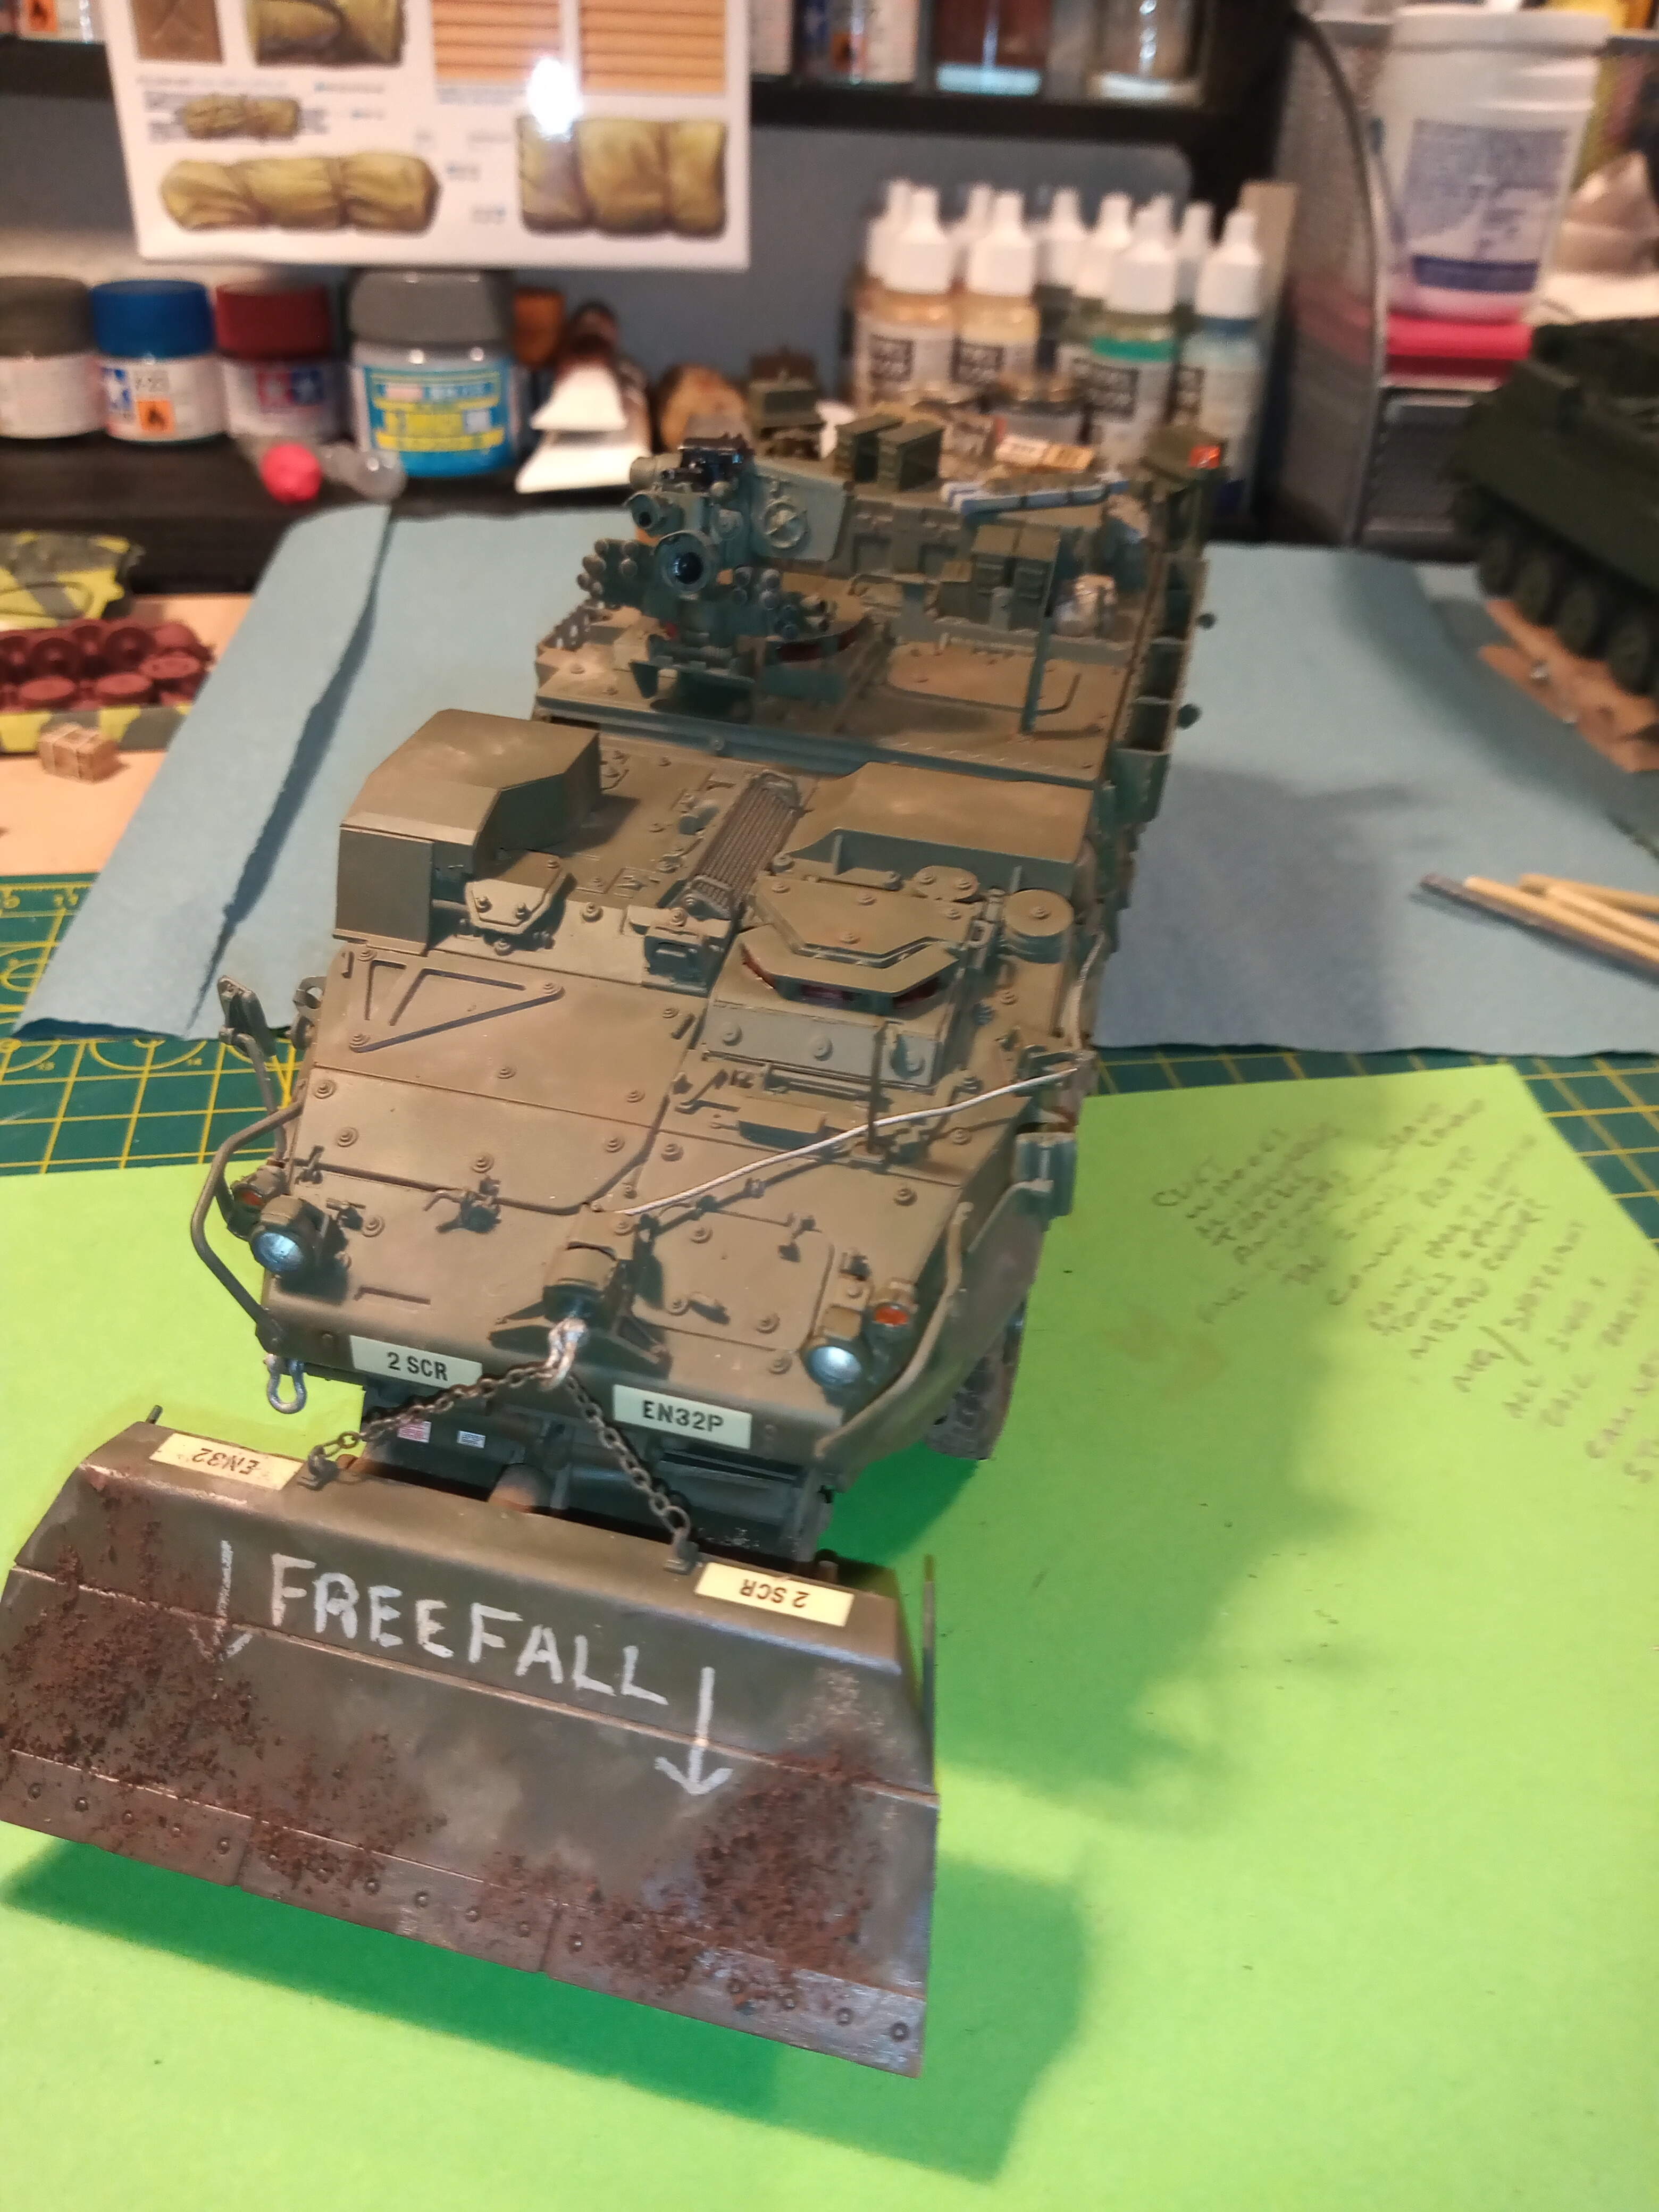
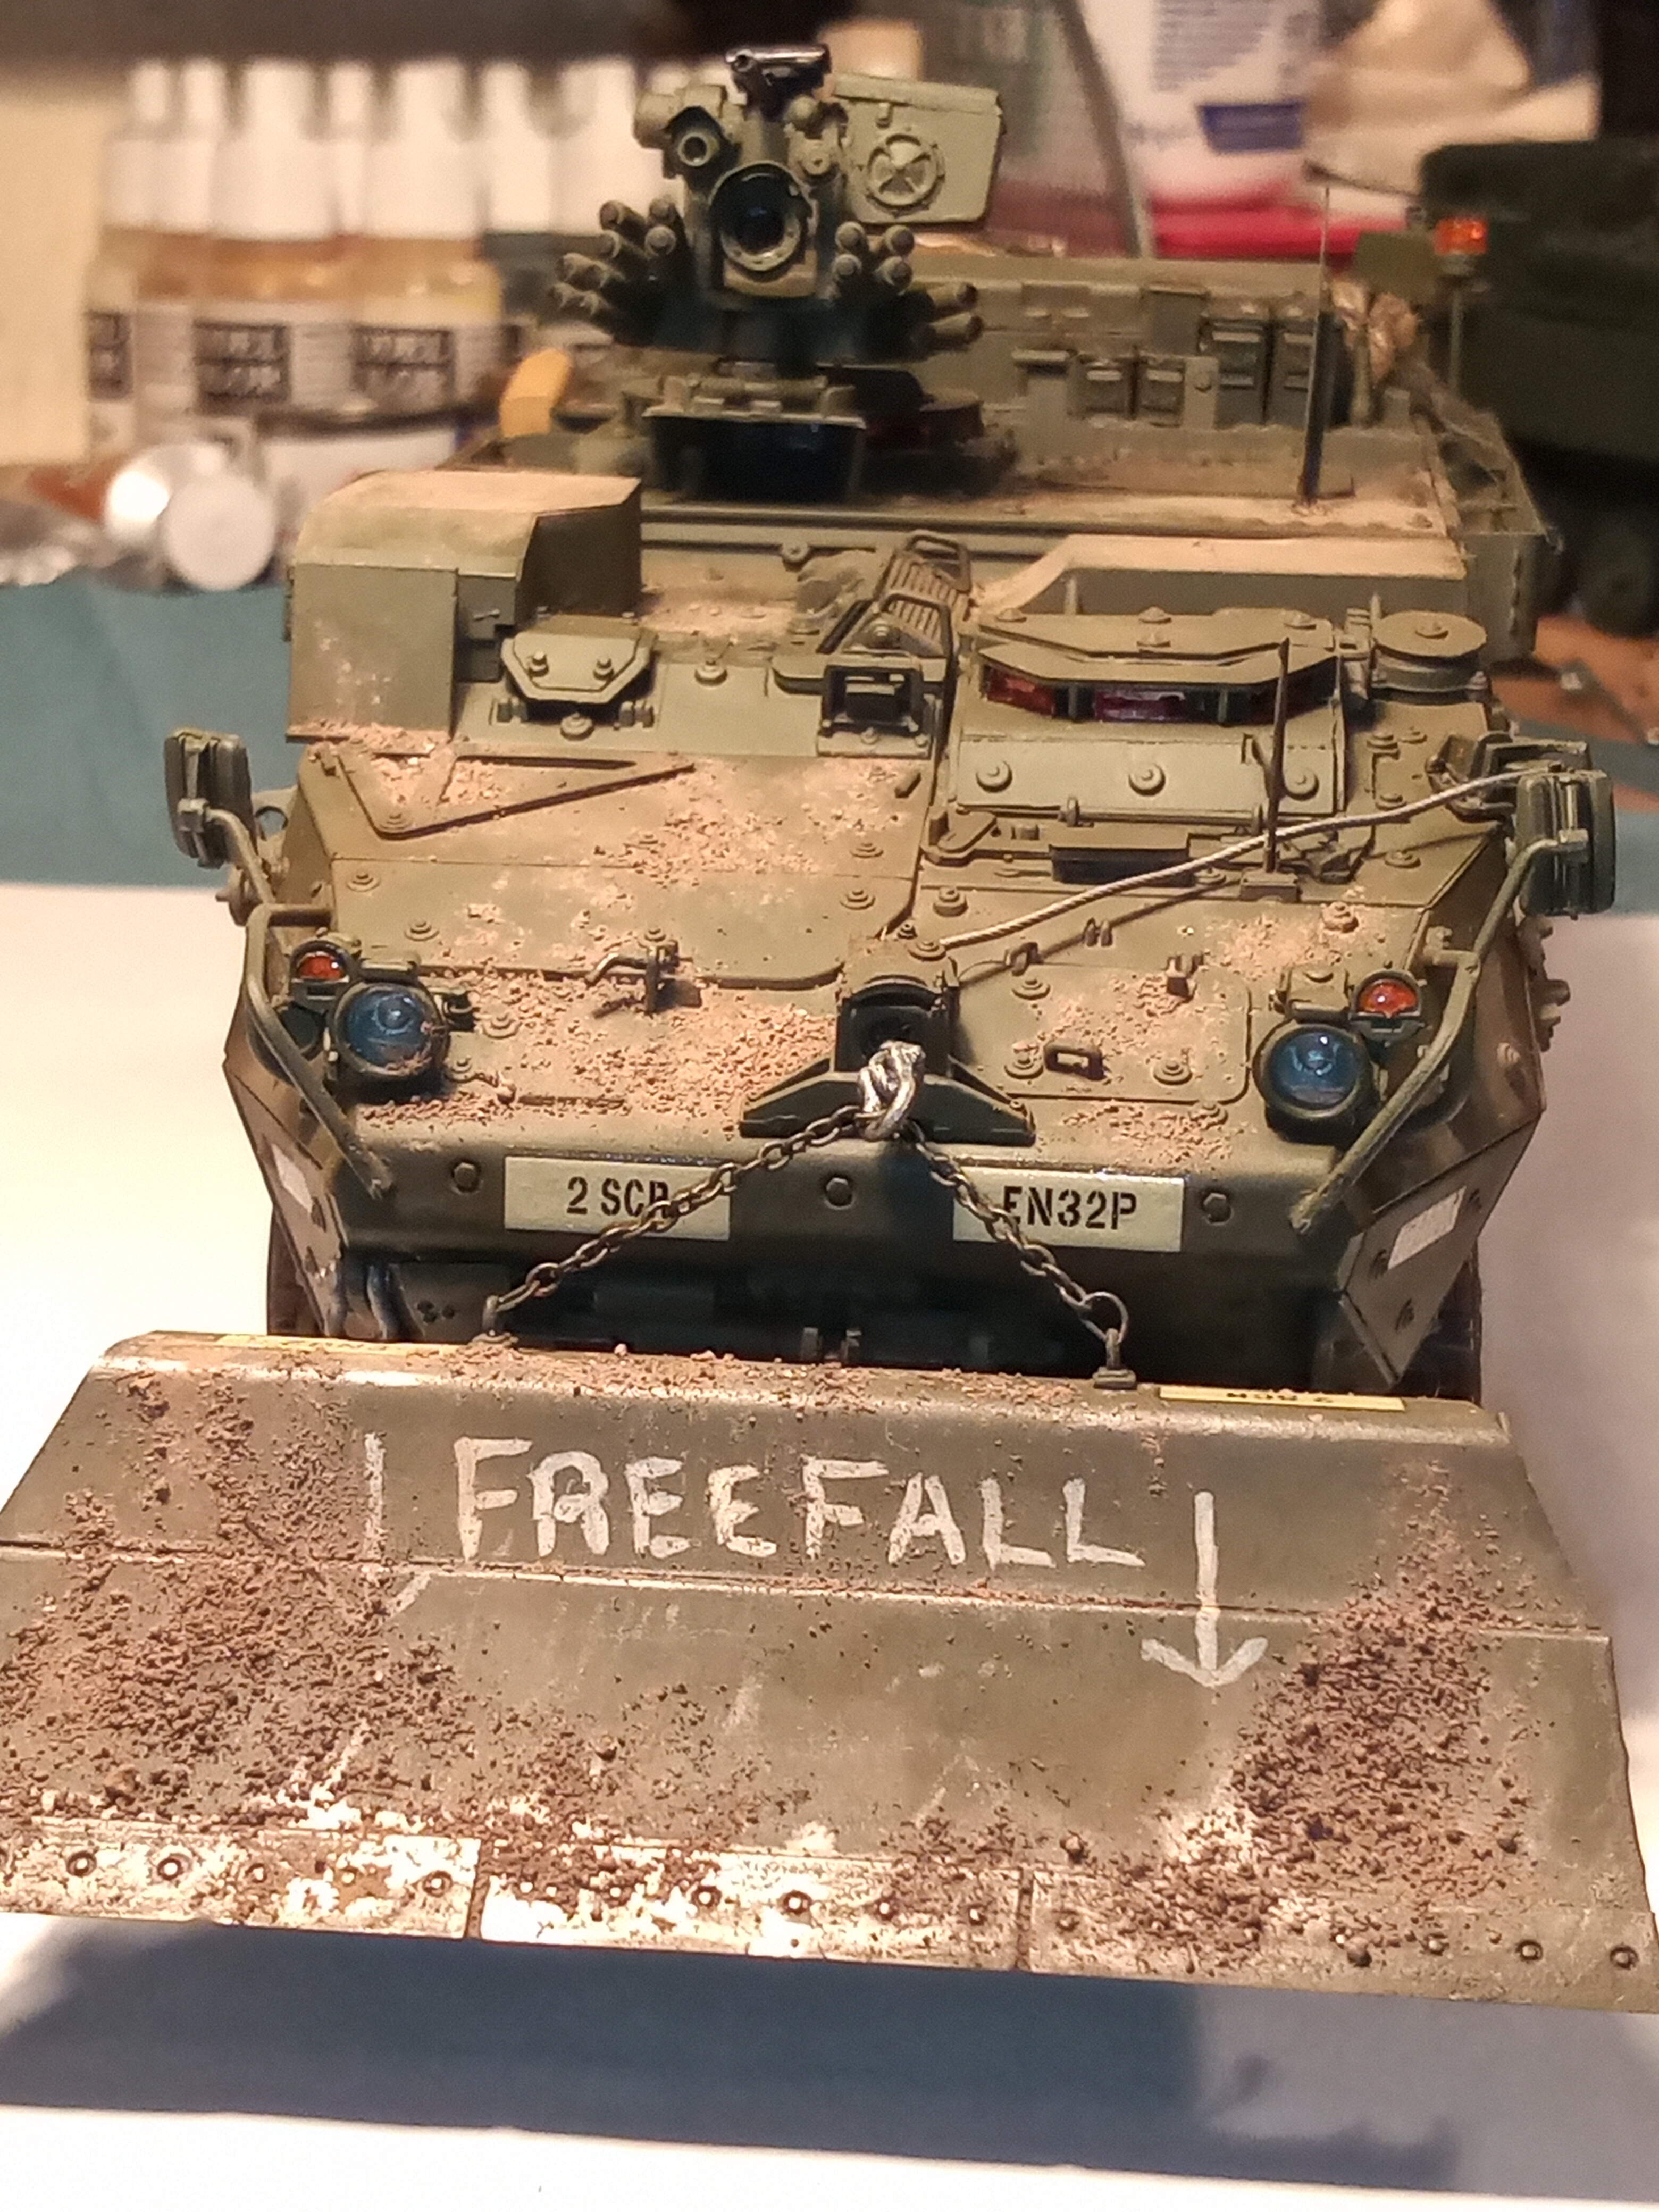
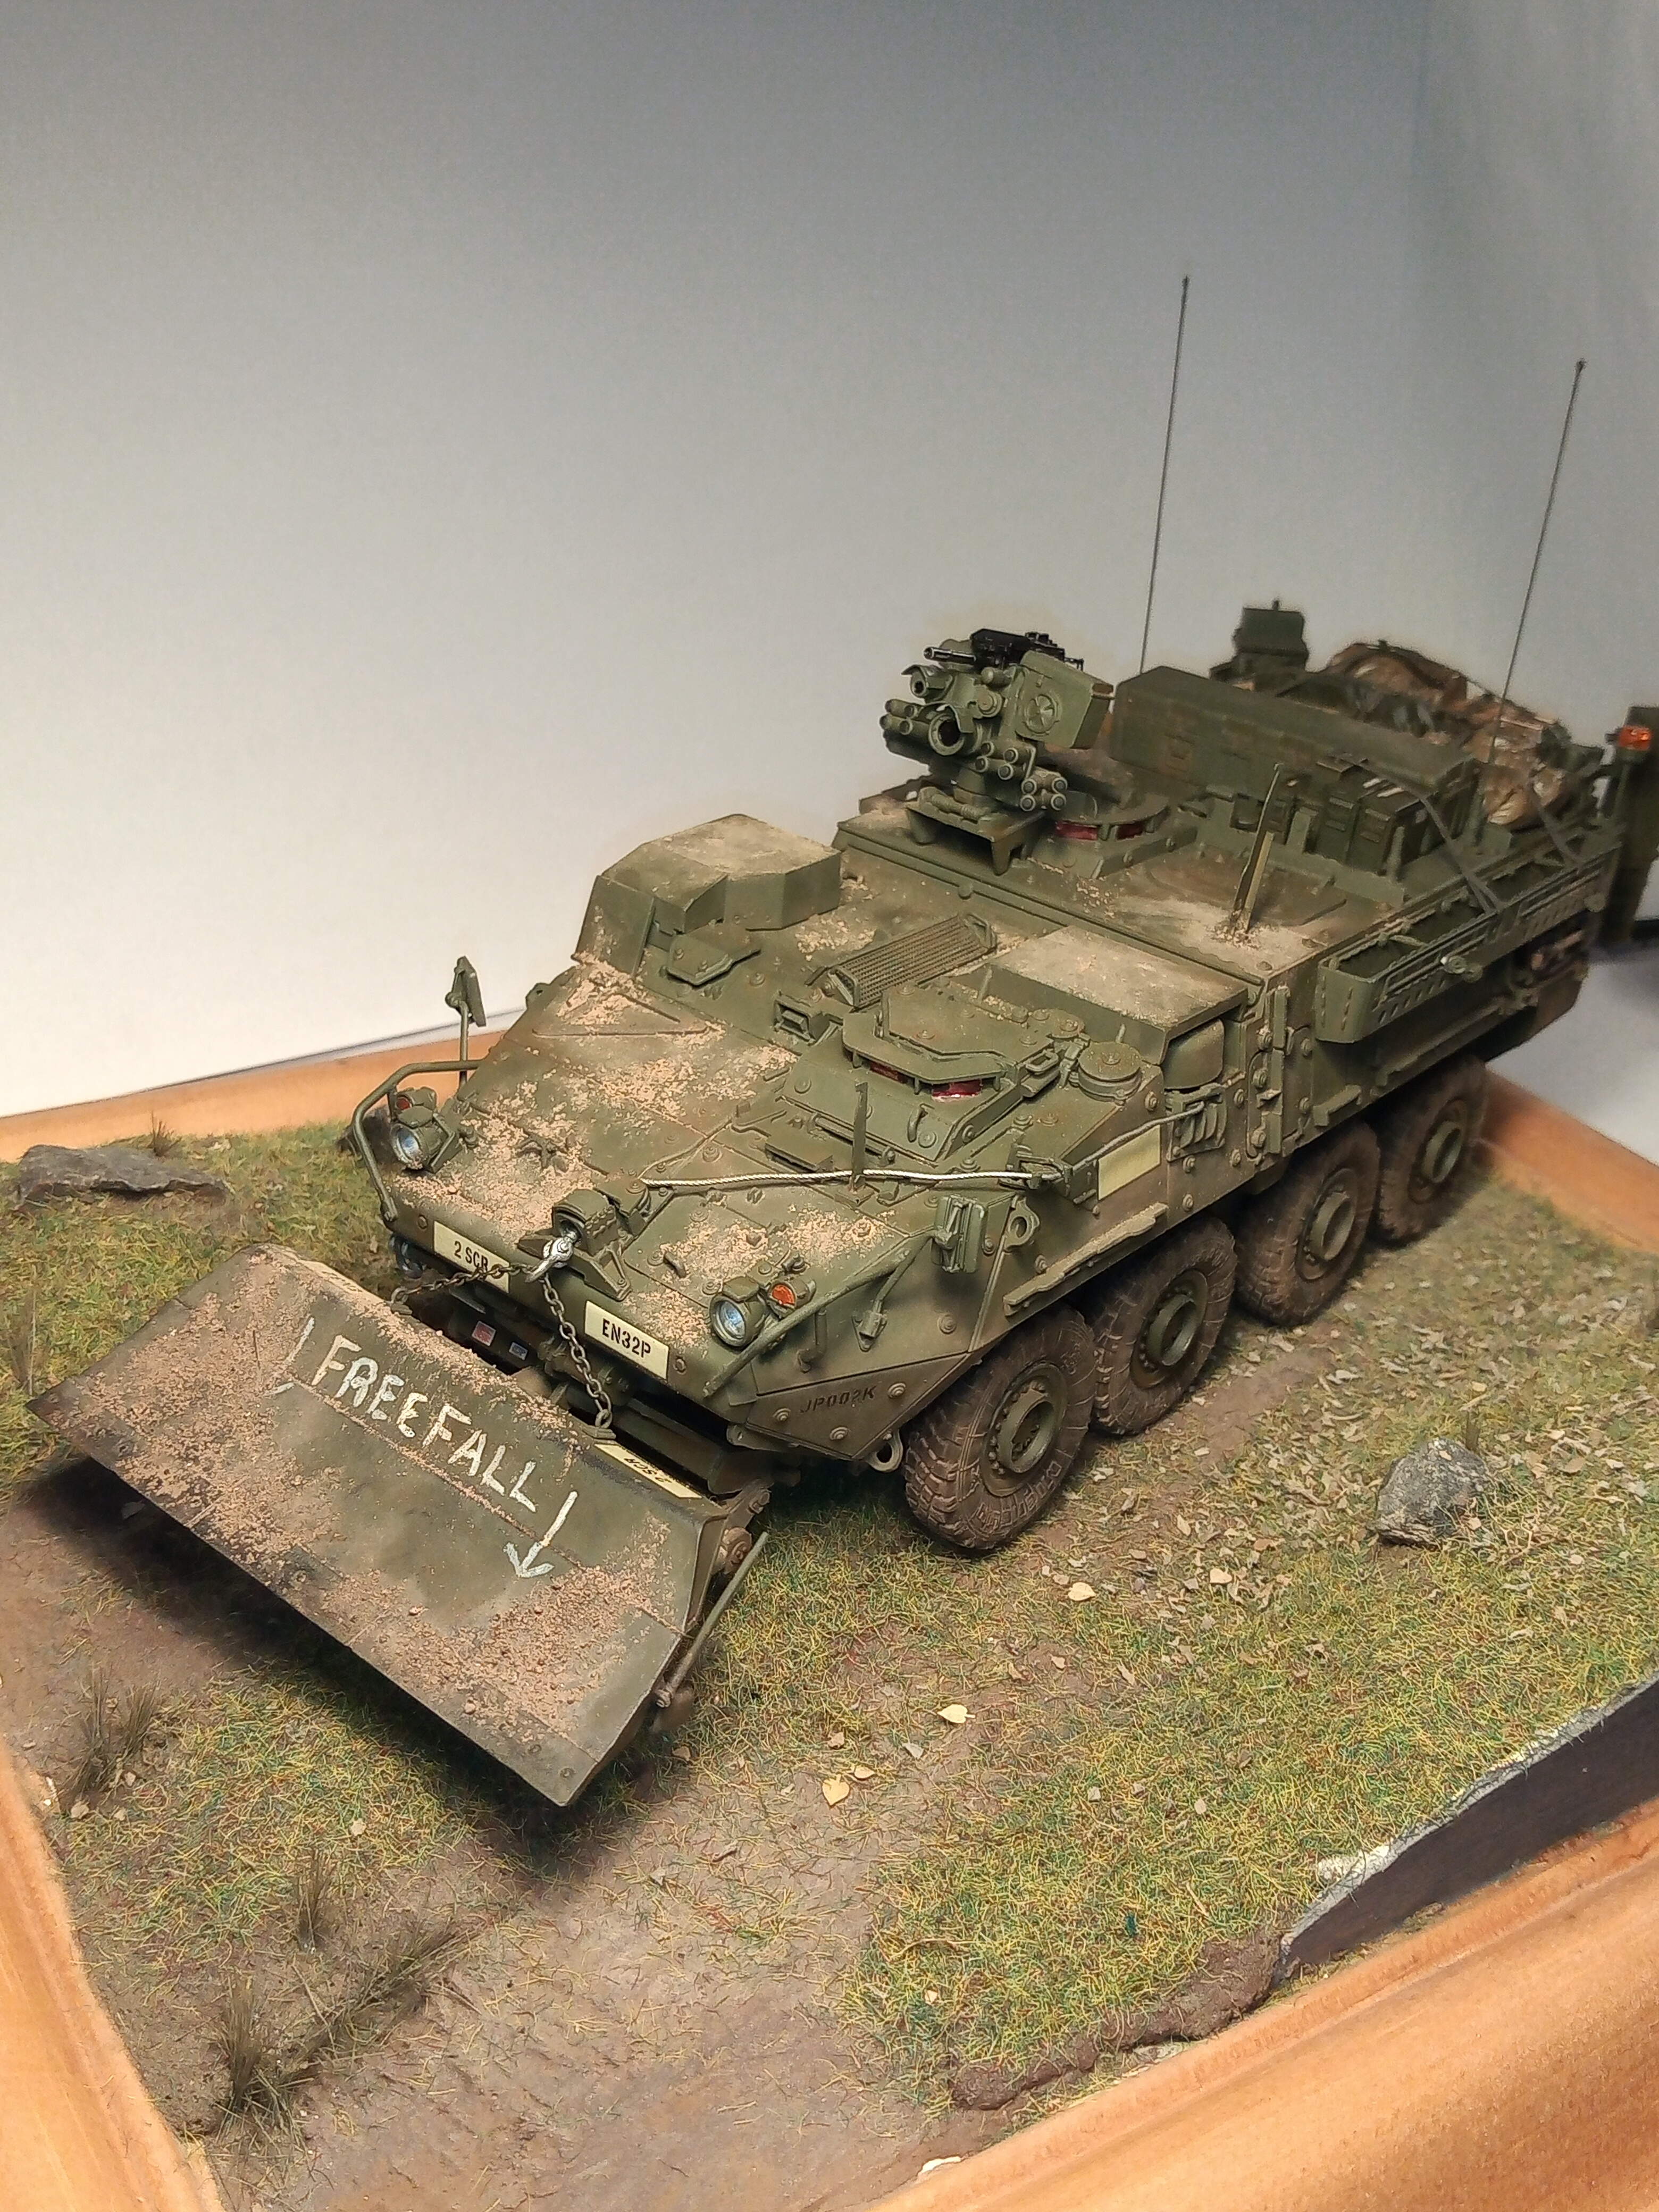
Thanks Richard. I am enjoying doing all the little bits now, and I have to say, this AK forest green is great. Its given the wagon a real protective shell as I am having to handle it a lot, and my hands are not leaving a single print on it so far … very impressed with it. I think I will end up with a pretty gentle weathering and just a light dusting on the body and wheels to tone them down a bit. I will also do the edges of the blade to show some use, but not overkill. And of course … the FREE FALL
1 Like
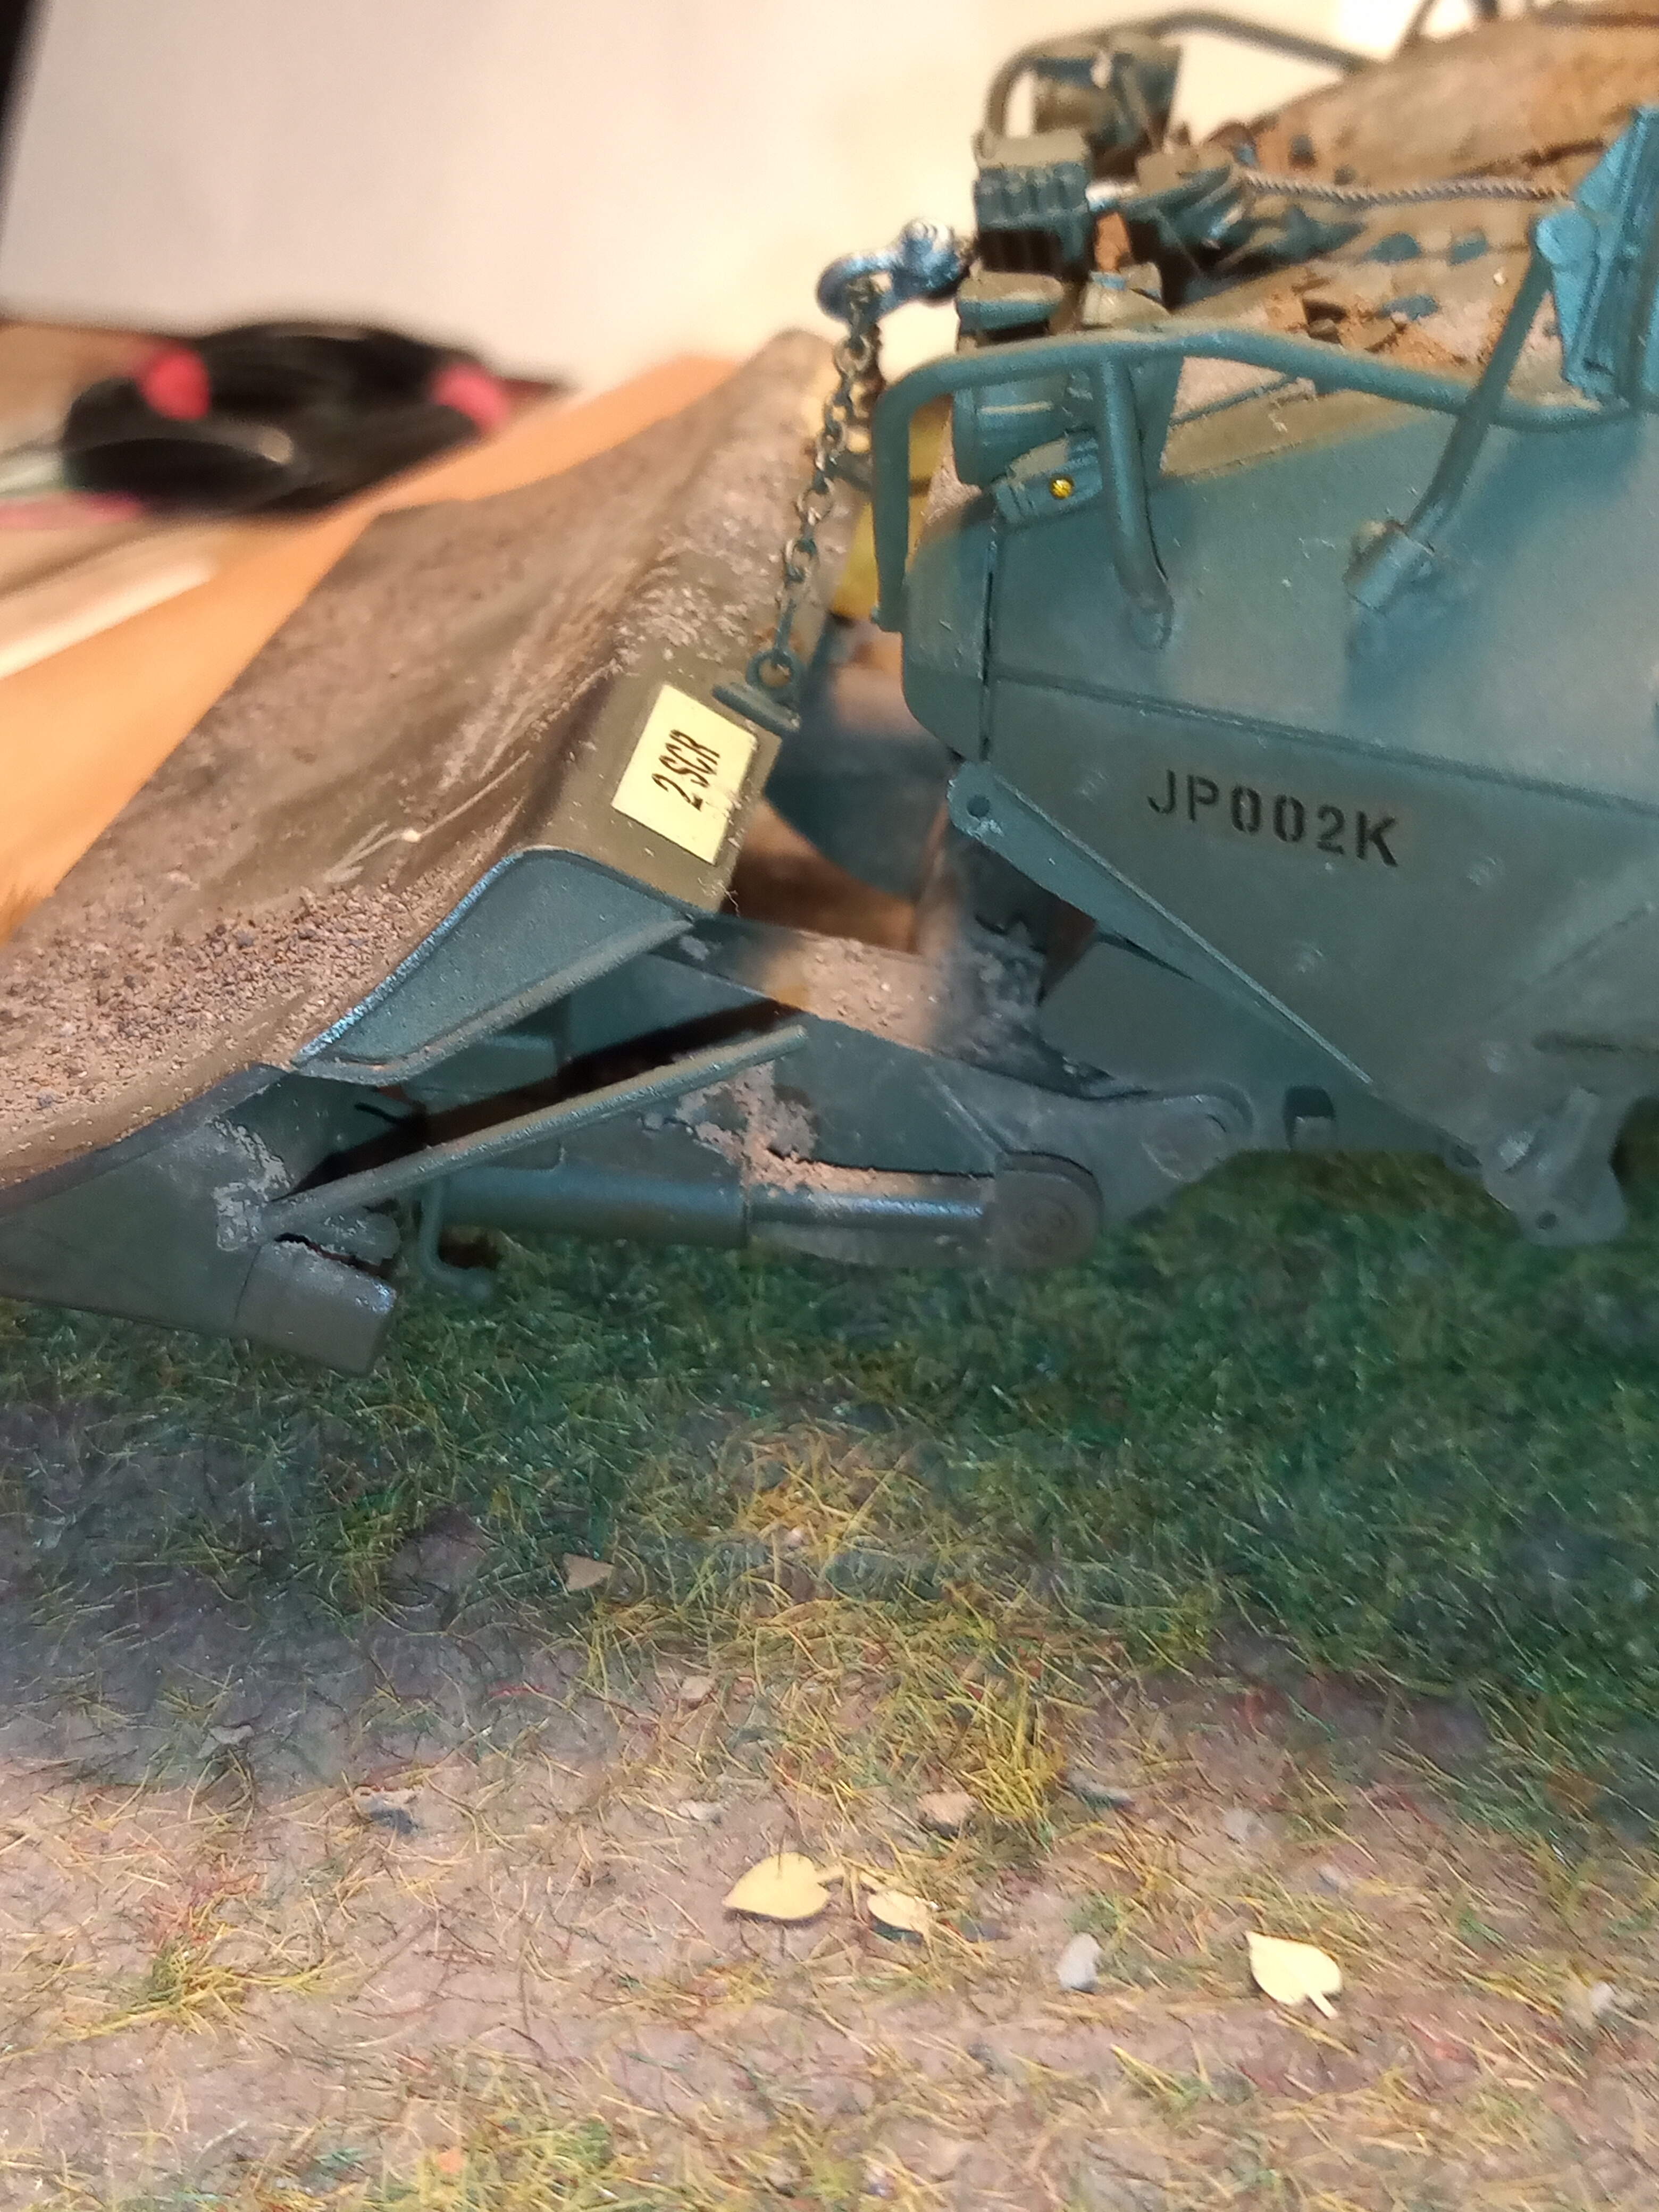
Stunning work John… Love the chain effect.
1 Like
Many thanks Glenn … I think another Striker is very much on the horizon for me … I am really liking these wagons …
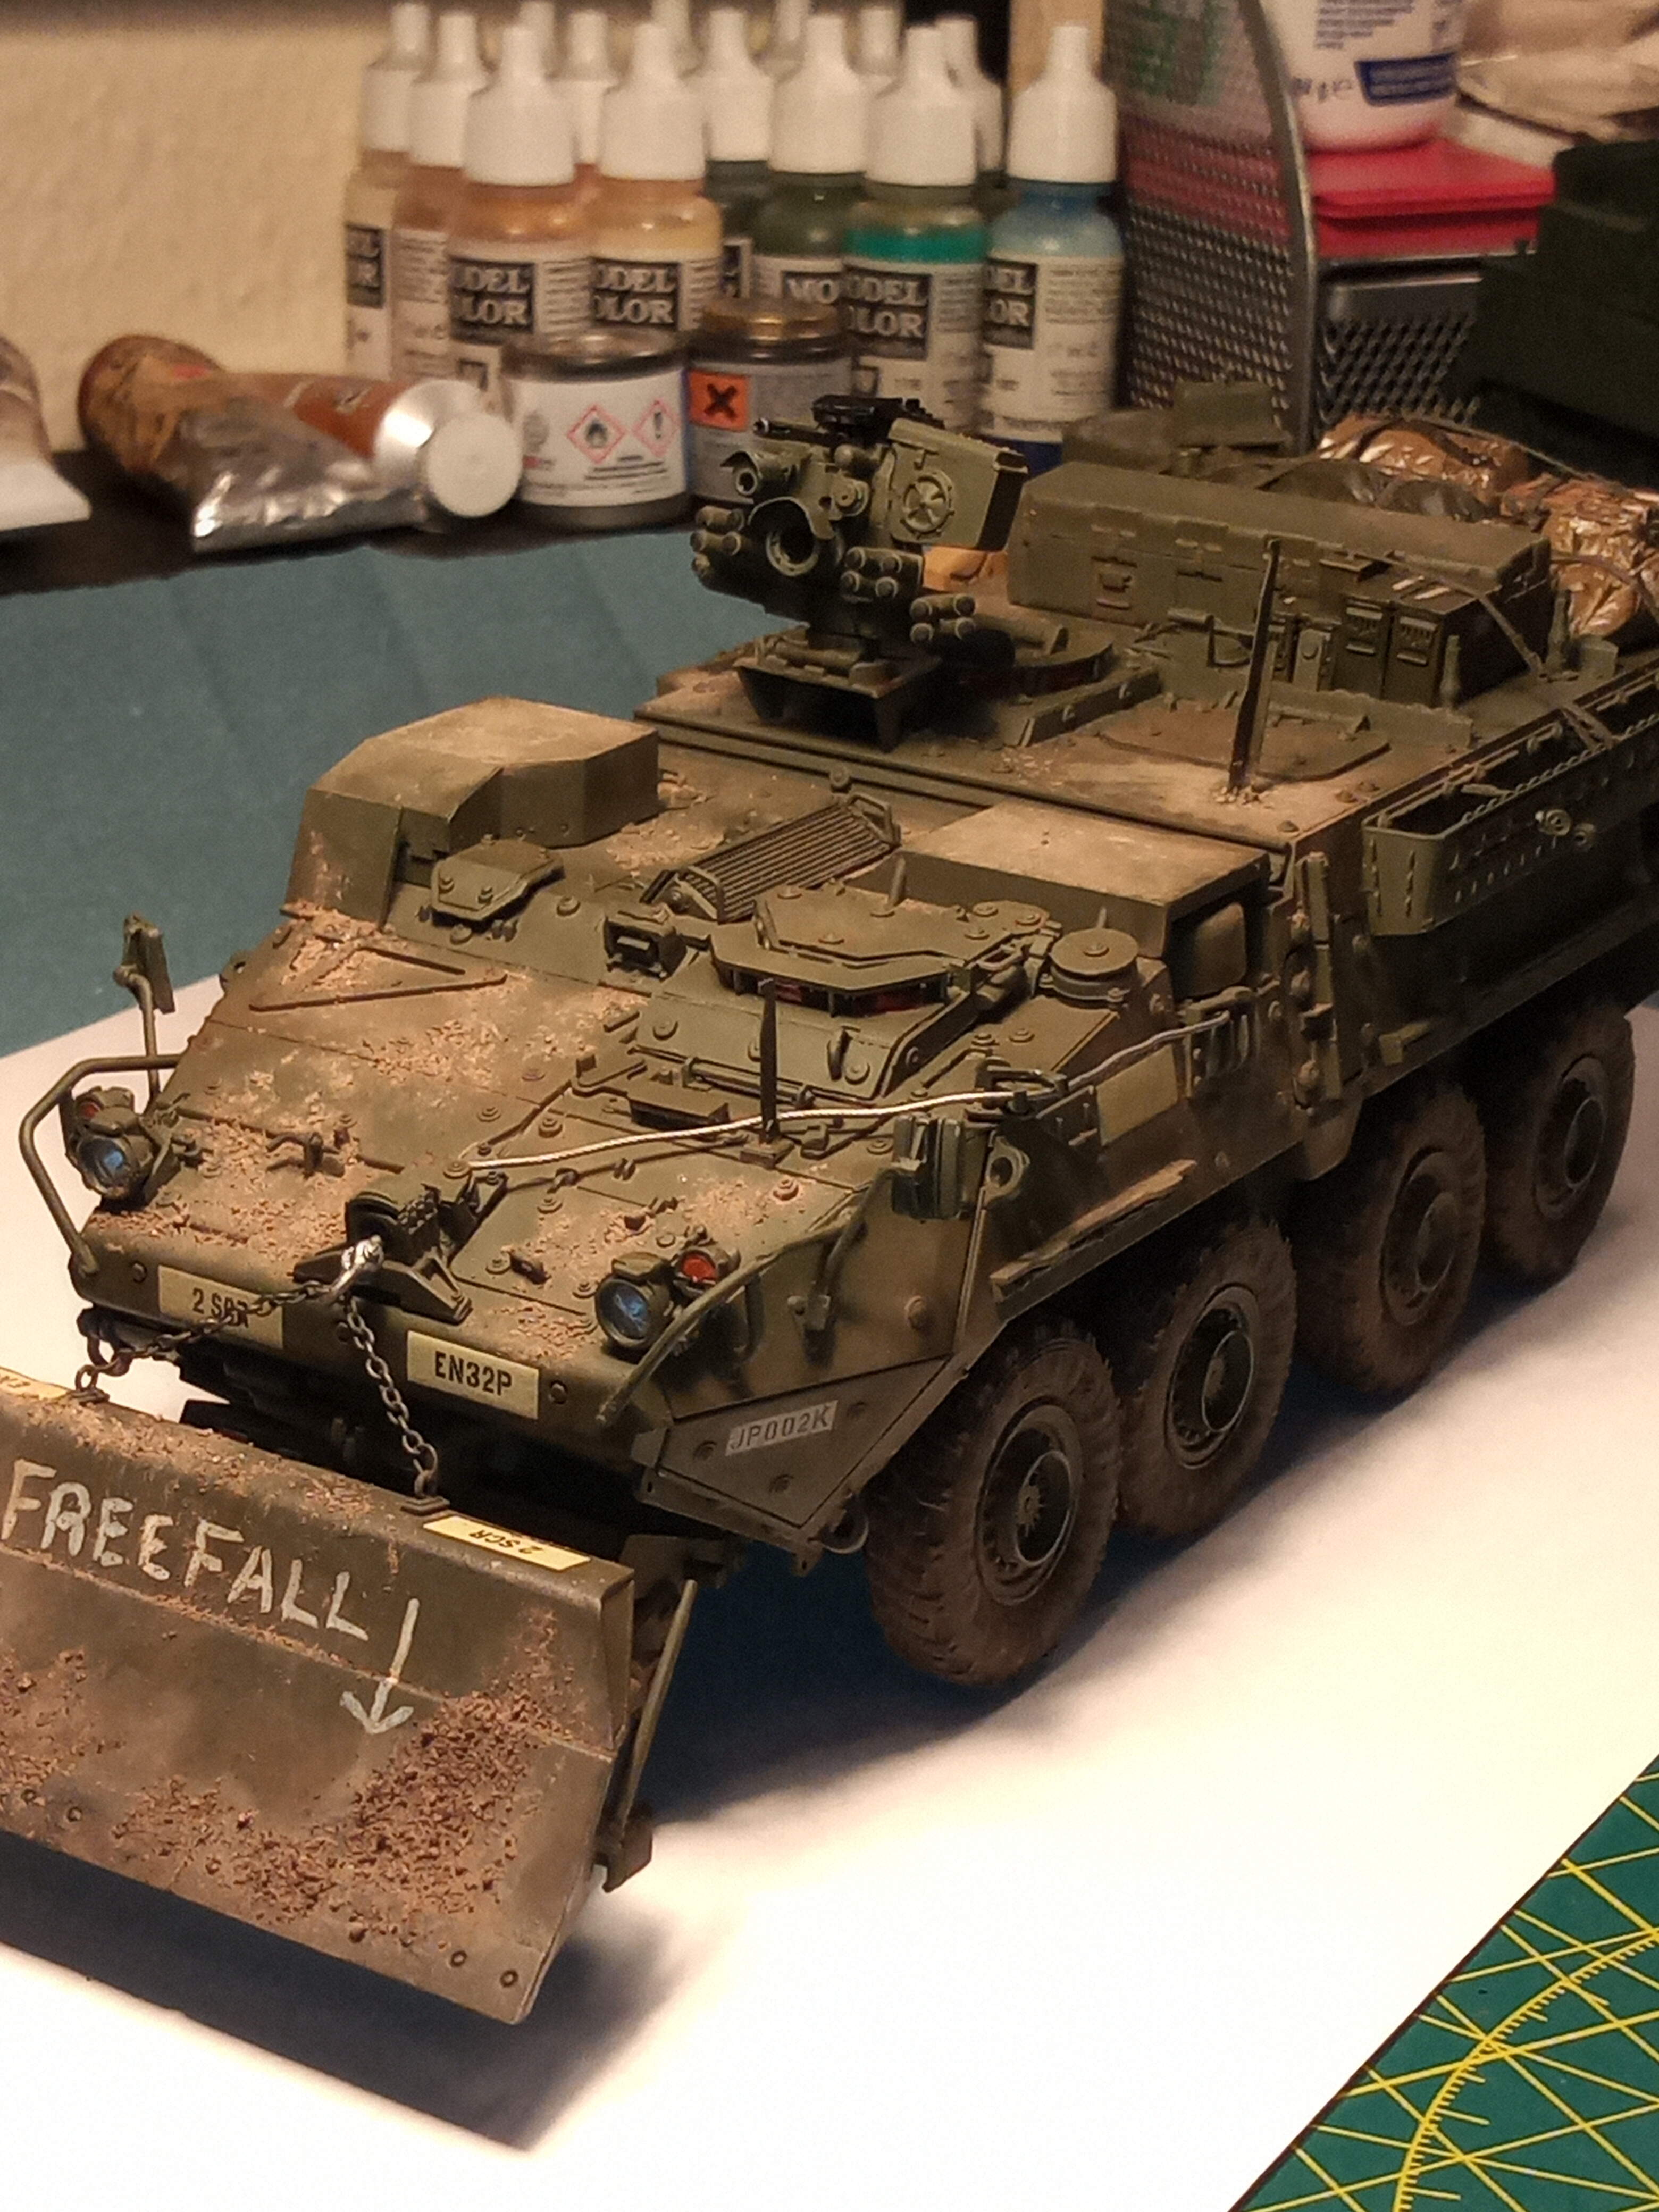
Hopefully once the recovery cable is glued and secured along its run back to the housing, that will tie it all in nicely for a realistic look. But I think the chain scenario is actually adding a bit more interest to it now as well … thanks to DV and Gino for that plan 
And none of it would of happened without that spare 35mm of chain from the M1 mine plough lol
Got the recovery cable pretty much where I need it to be now.

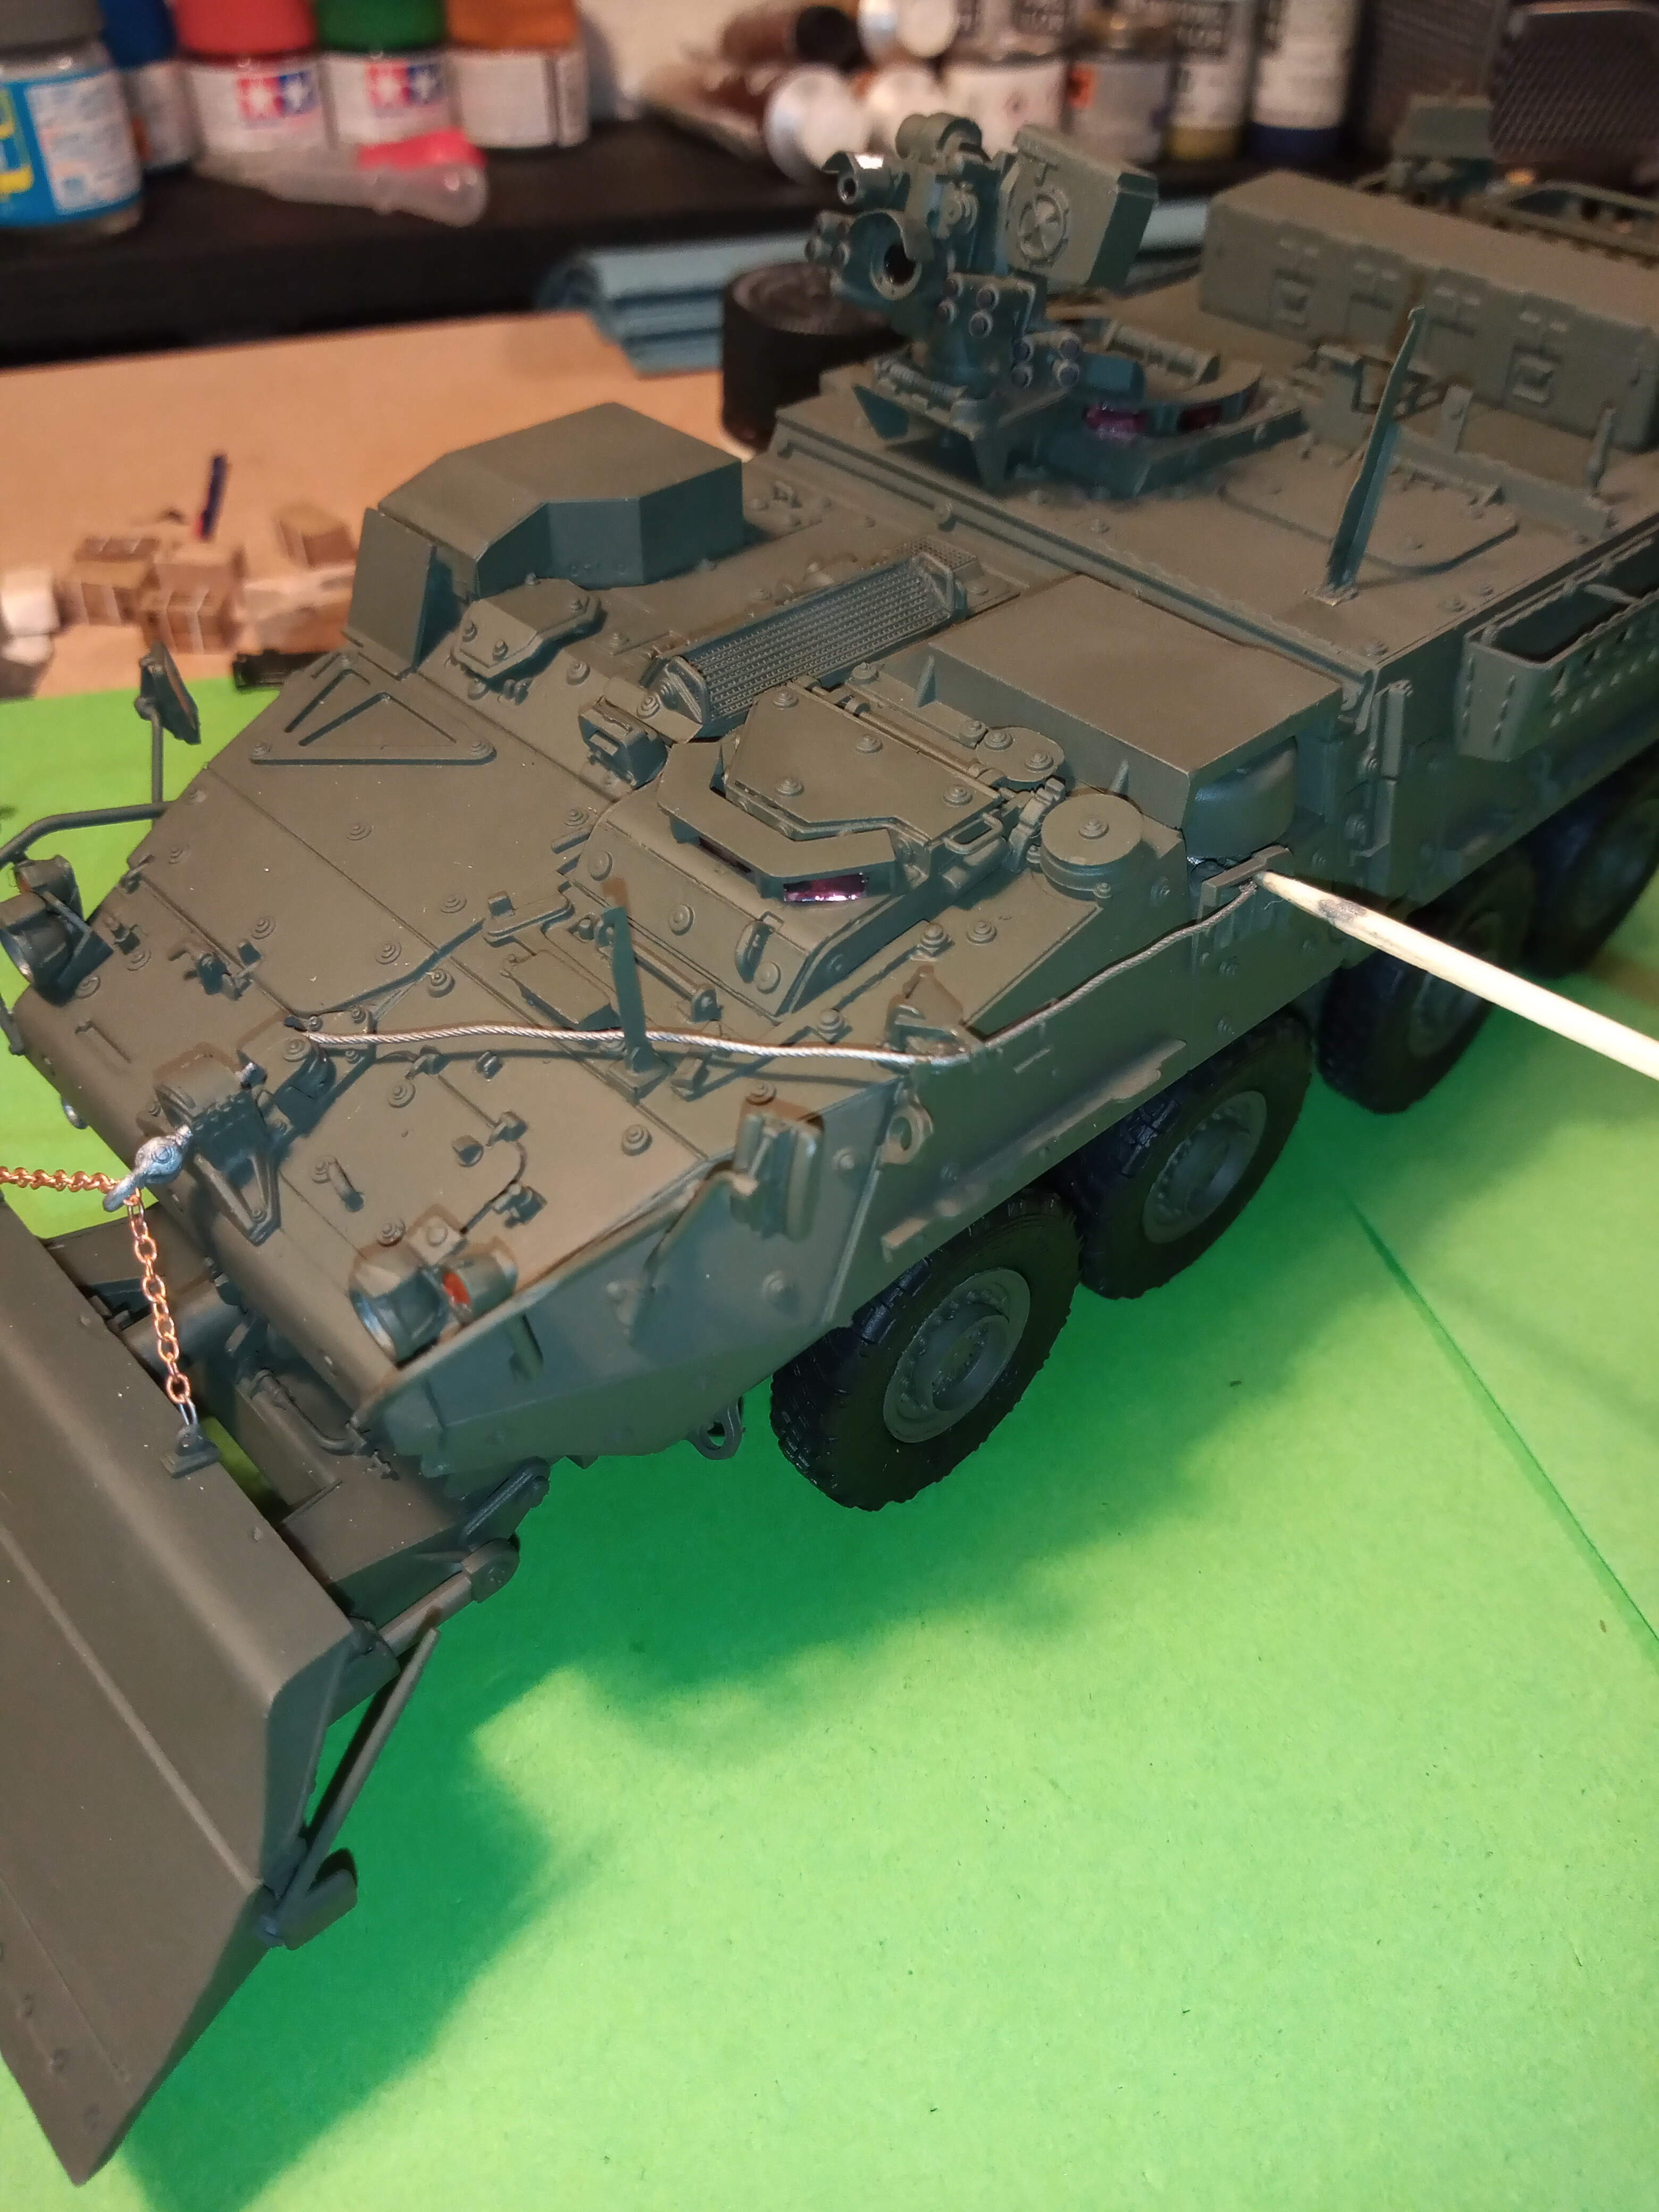
Tried to get it looking as tight as possible. I couldn’t exert to much pressure in case something snapped off further back along the route of the cable so hopefully it looks ok.
Will start the few little bits of touch up I need to do, then get the dark iron on the chain, or maybe even do it forest green and gently tease some graphite powder on it to wear it a bit.
3 Likes
Got the decals on, there were some very very tiny ones which were time consuming but they look good once they are on.


The finish line is approaching with this one, got to do a gentle wash, then add some graphite to the blade edges and chips to the chain, which I did green and looks nice to me.
Won’t be going crazy with stowage, just a few general bits from the Tamiya accessories set and the cursed ration packs lol… Then a very very gentle dusting, especially on the tyres… And not forgetting the FREE FALL on the blade 
3 Likes
You asked about spare tires/tyres in another thread. There no common practice to attach spares on the truck. Nowadays, spare tires are lying on the winch cover, fixed by a ratched strap to the utility rack over the winch cover. Since you build a very early truck, no spare tire can be fitted this place.
One remark about the Free Fall thing. Since Strykers use the Jettison Fitting Kit to attach various engineer devices, it is highly probable that they just remove the defective device and put it on a truck or trailer.
1 Like
More than likely, I agree, but I just wanted to add it as it is a known issue and remedy used by troops and a few of the guts were kind enough to point out it does happen in real life.
Thanks for info about the spare wheels… I was just curious ![]()
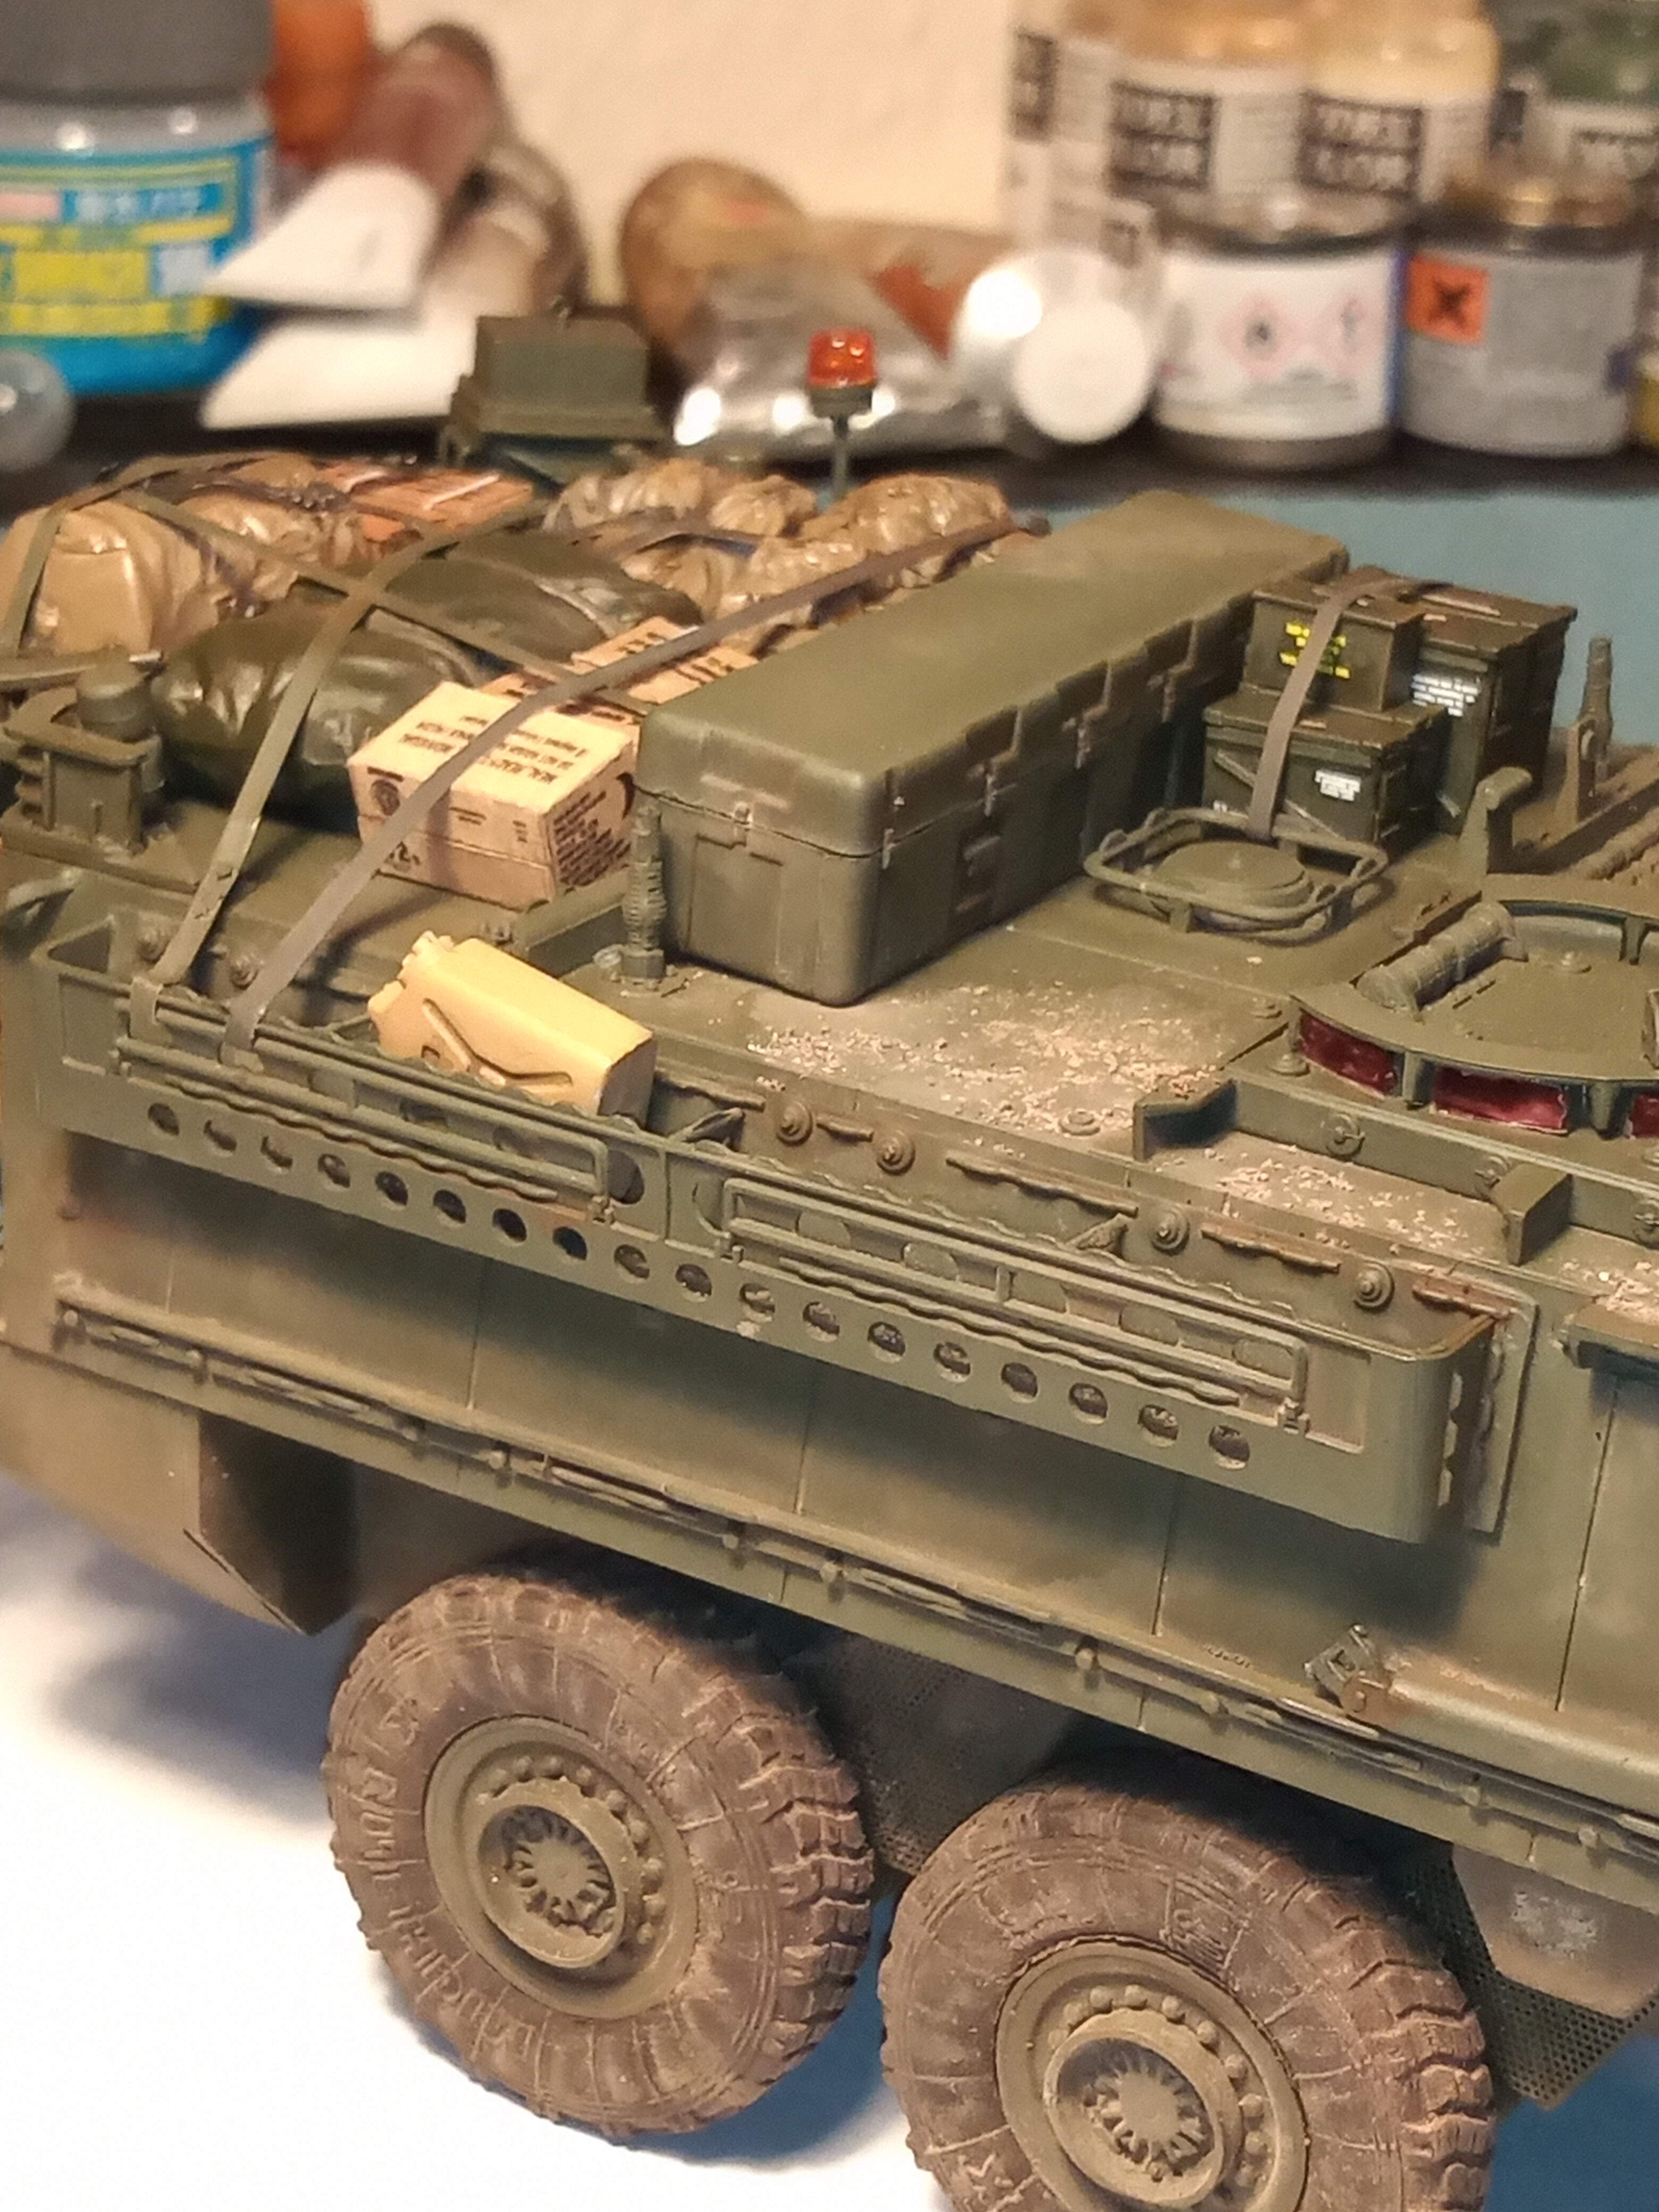
Got an oil wash down, used Lukas burnt sienna heavily thinned down.

Wanted to try and get a nice even build up in the recesses … Will let that dry and see how it looks, then add some MIG earth pigments lightly, and tone the tyres right down. Have started painting a few bits of stowage from the Tamiya set and will get that completed over the next few days.
3 Likes
Looks great John!
I love the “Free fall”!
Very close to getting this finished now.
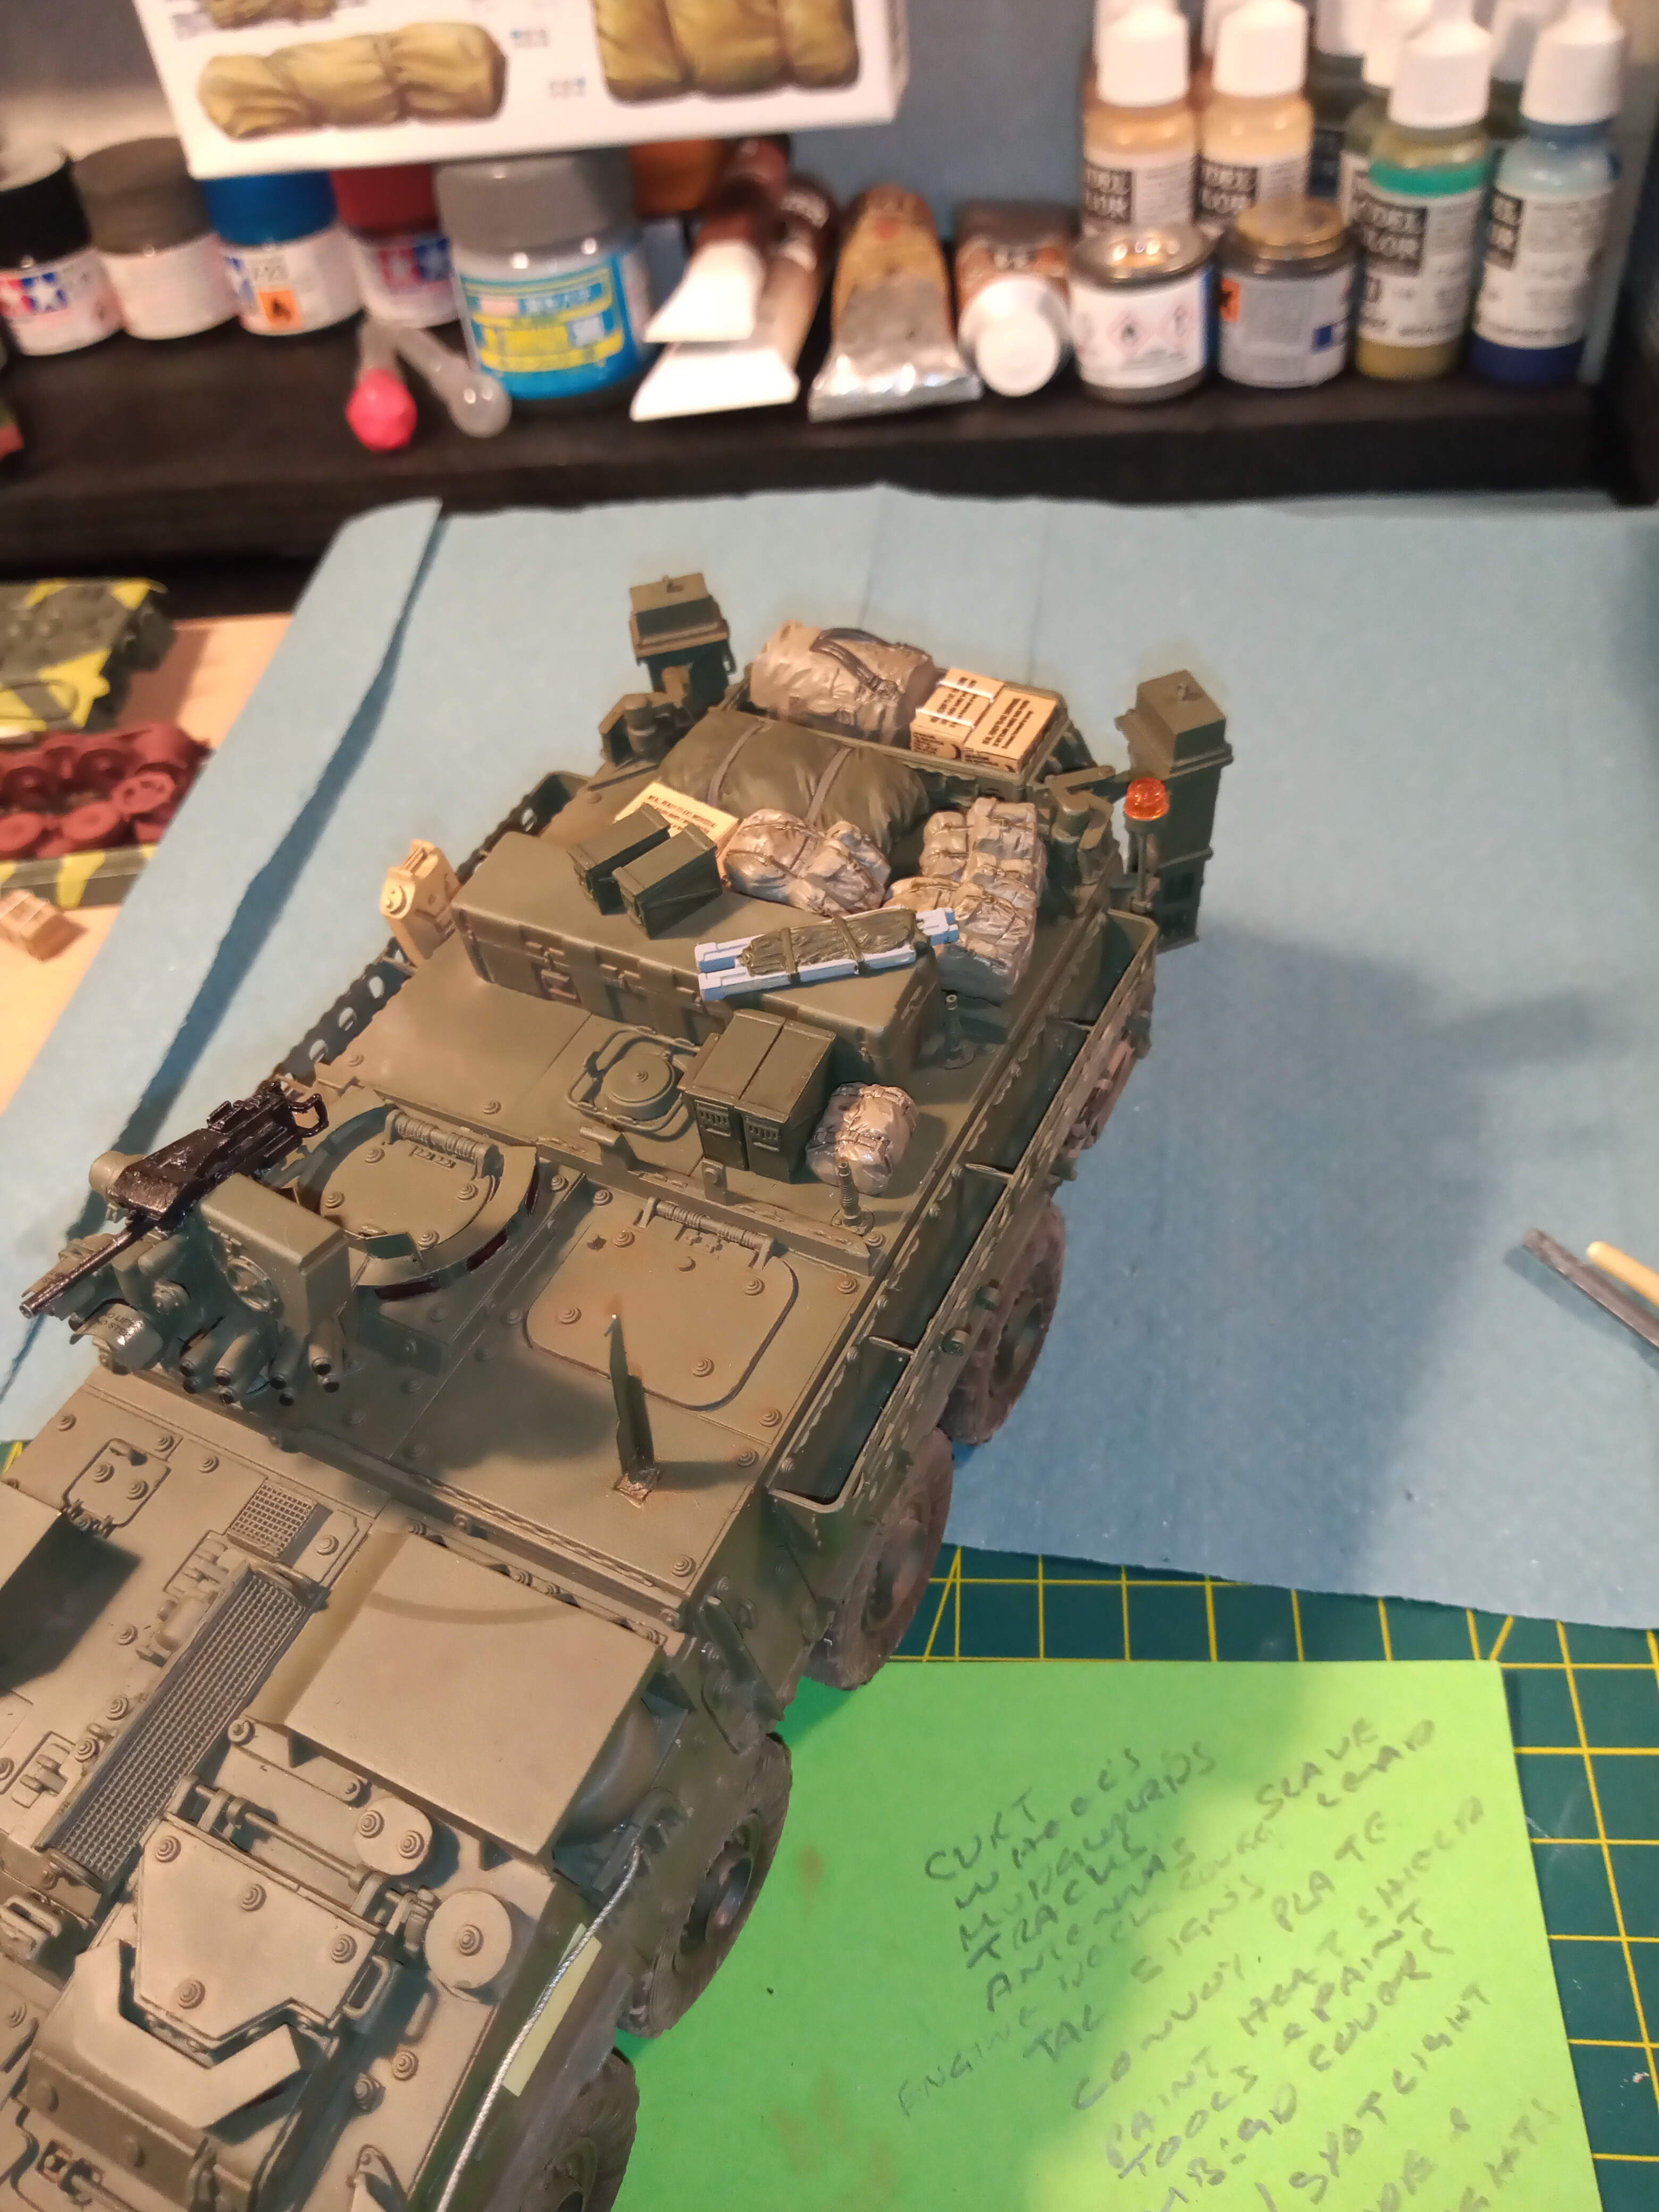
Just need to secure the stowage items down, and then fit the kit securing straps and paint them. I will also give the stowage a oil wash as well to tone it down.
Have it an overall light dusting with MIG European earth and then a more built up amount on the blade which I set with white spirit. I may rework that a bit.
Will add a couple of antennas and then that should be it all done
5 Likes
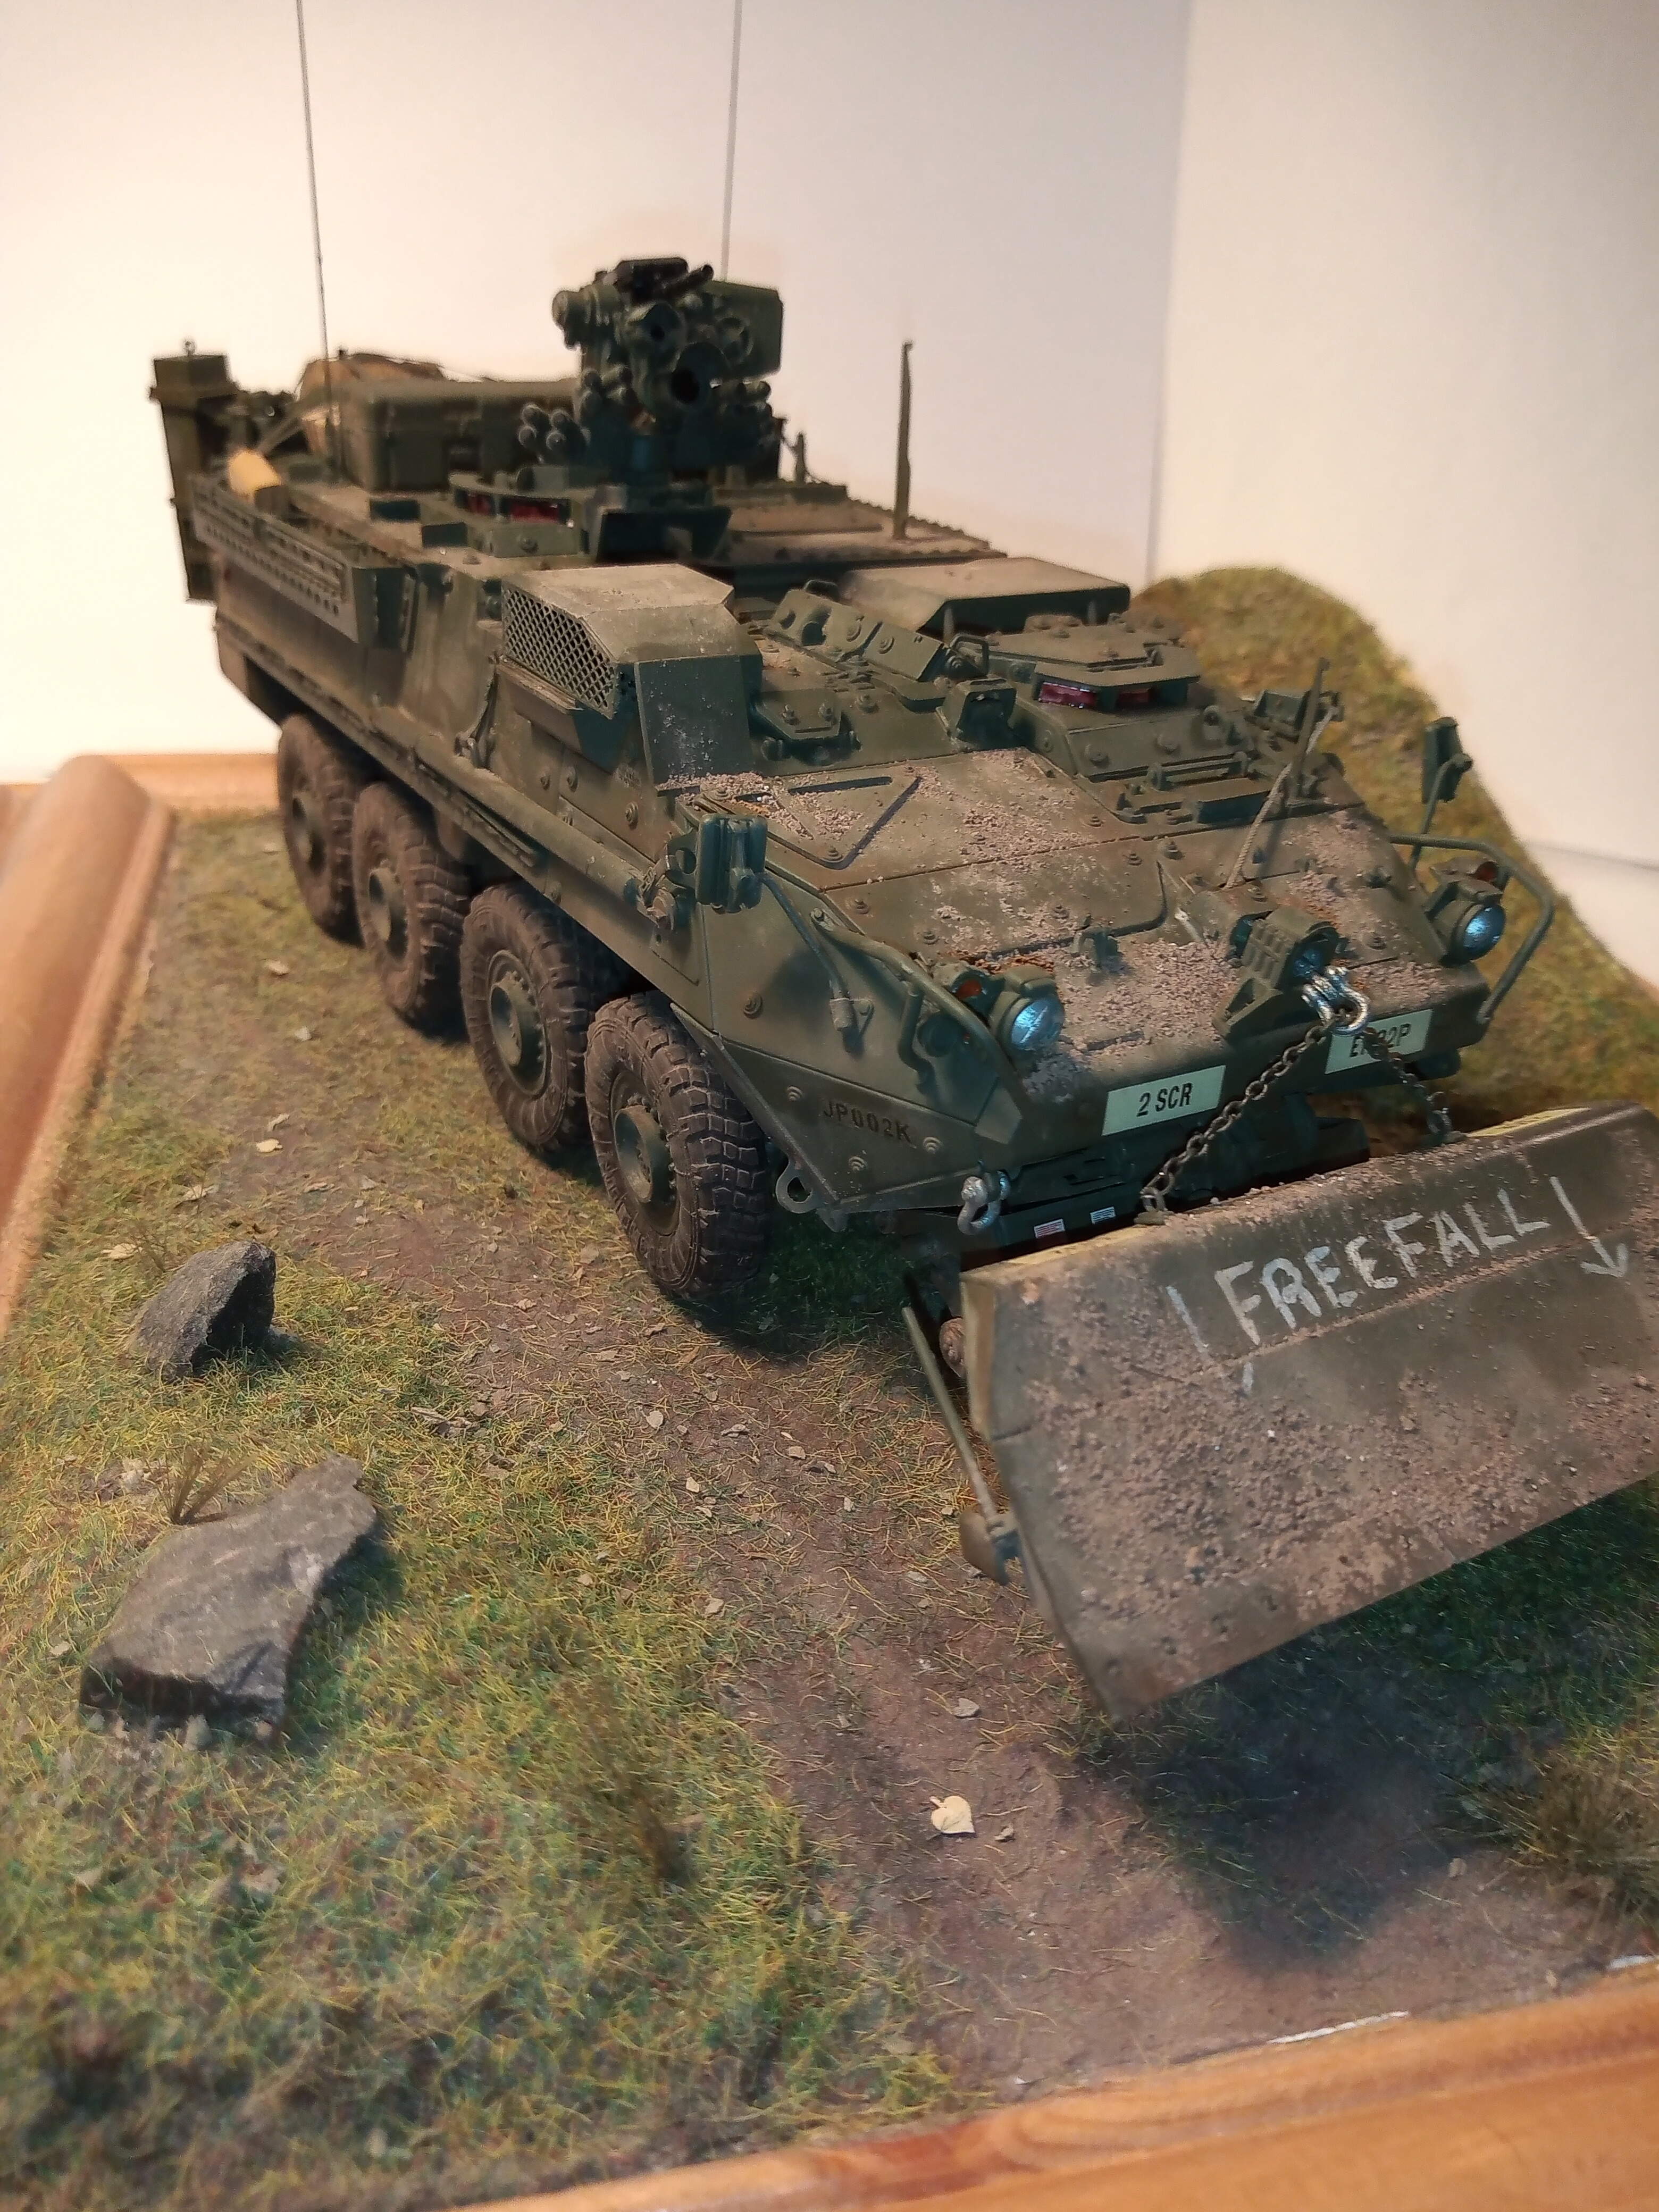
The plow with the lettering is a cool touch. Might I suggest that the top of the vehicle be a bit more dirtied up. The plow would kick up all kinds of dust and debris some of which I would expect would end on top of the vehicle. Not a criticism but an observation.
1 Like
I don’t mind observations or creative criticism… I’m not that precious
And a very valid point… I will look at adding some further dirt etc to the top and front aspects
1 Like
Fantastic work John! That blade looks awesome! The lettering is just right and the dirt is exceptionally well done. Excellent effect. I really like the overall look of the vehicle - you’ve really nailed this one!
Congrats on an outstanding finish to a great build! 
2 Likes
Thanks Matt, I’ve enjoyed this one, well away from my normal tracks only… A few minor corrections and tweaks to do but it should all be finished today or tomorrow at the latest
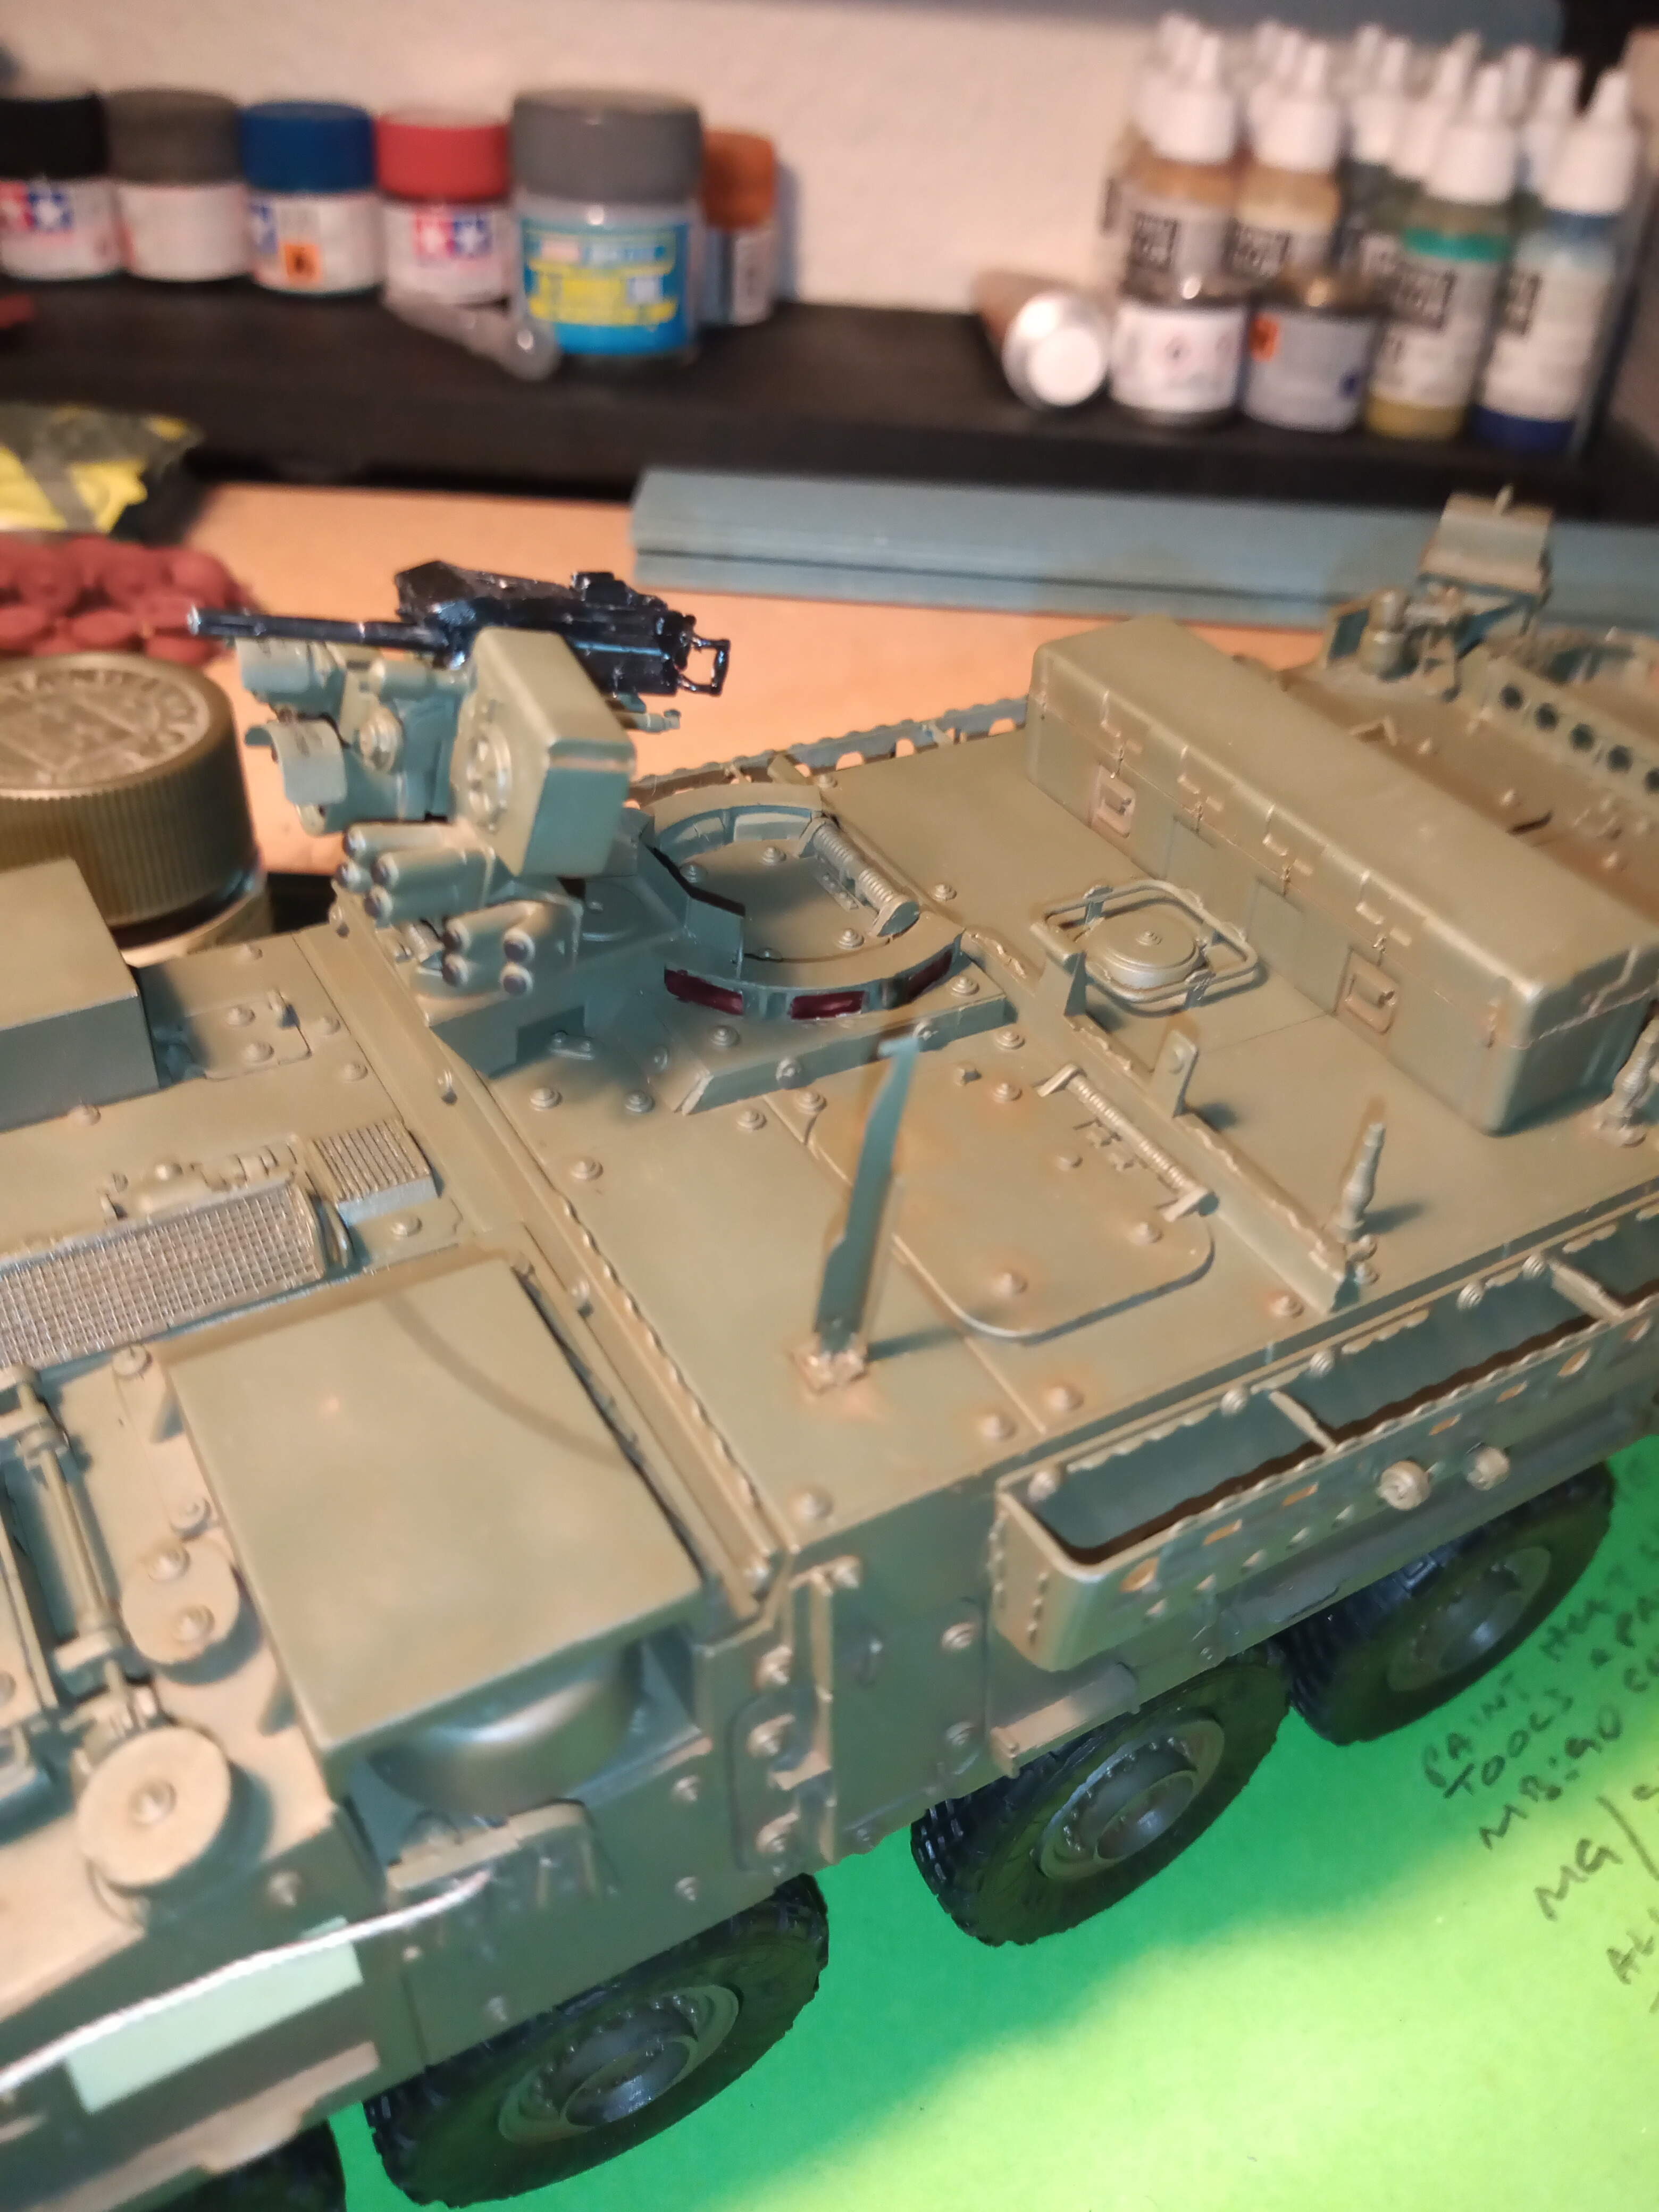
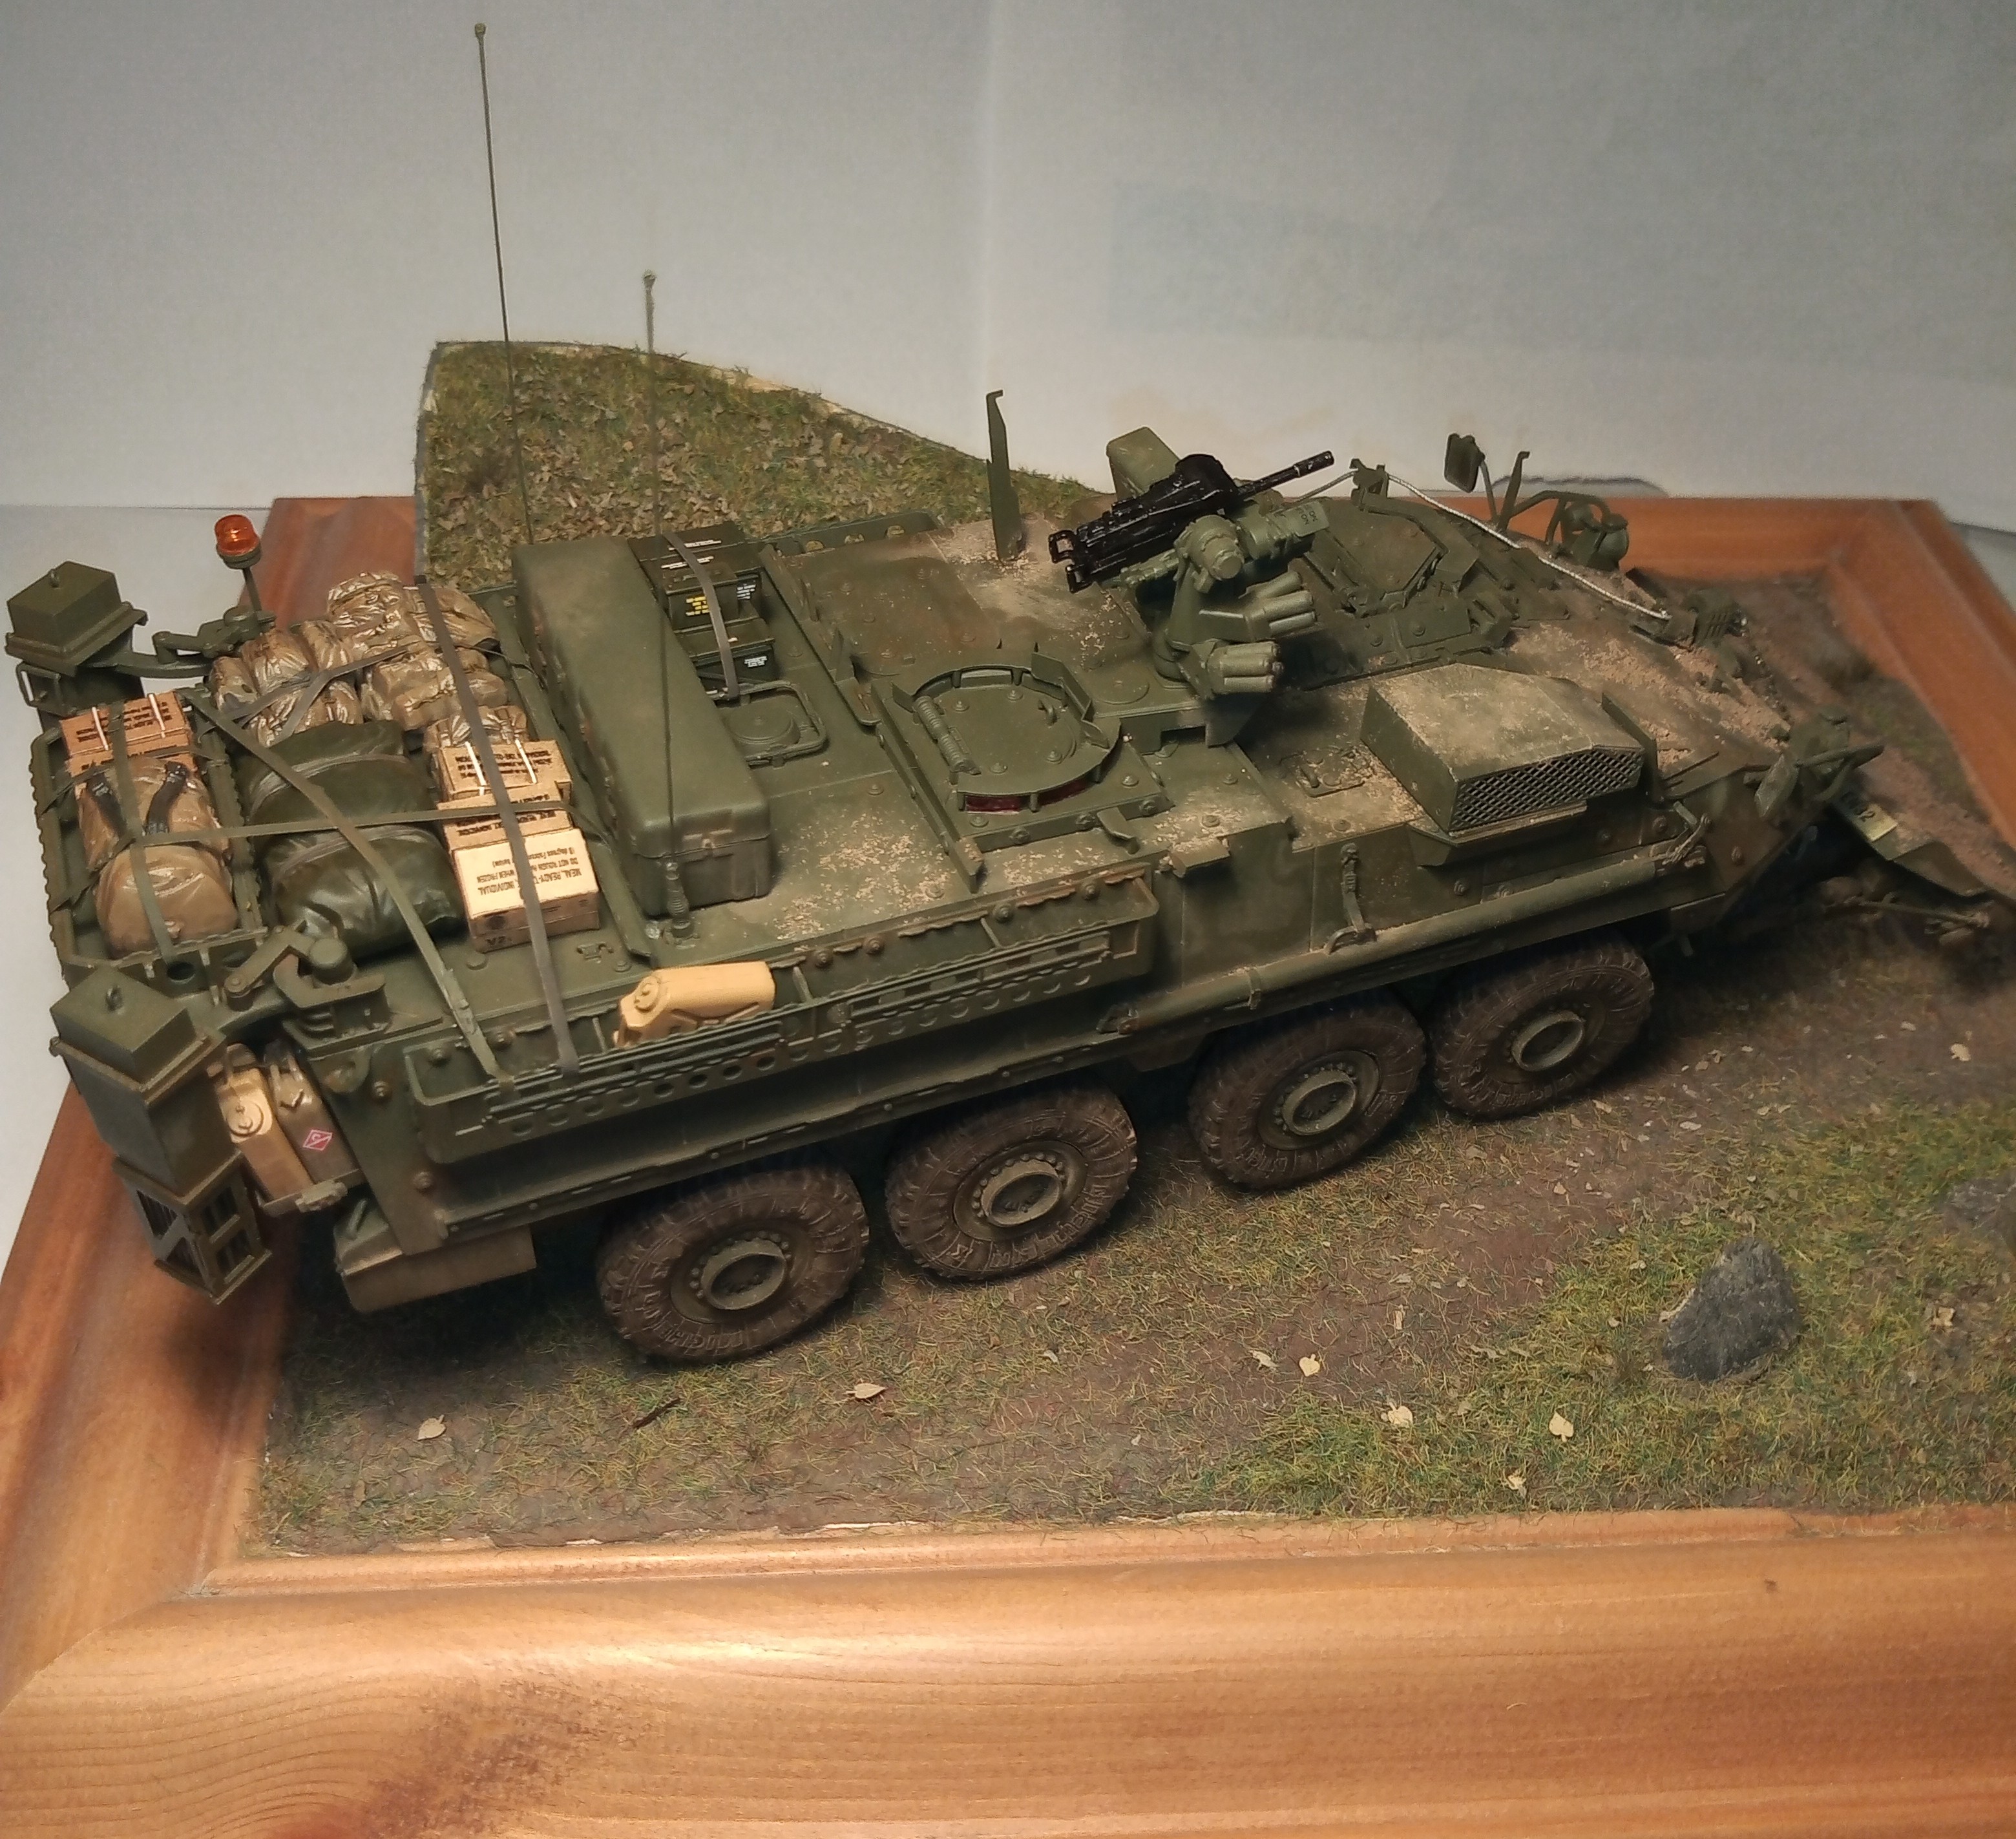
One point of criticism. NEVER put rucksacks on the airguard hatches. In operation at least one hatch is open and crewed. Also check if the rucks are appropriate for the period of operation. And tie down all the stuff on the roof, otherwise it will fall of after a short time.
2 Likes
Fair point Hermann but I’m too far down the rabbit hole now to change it. We will just have to say it’s a normal exercise  .
.
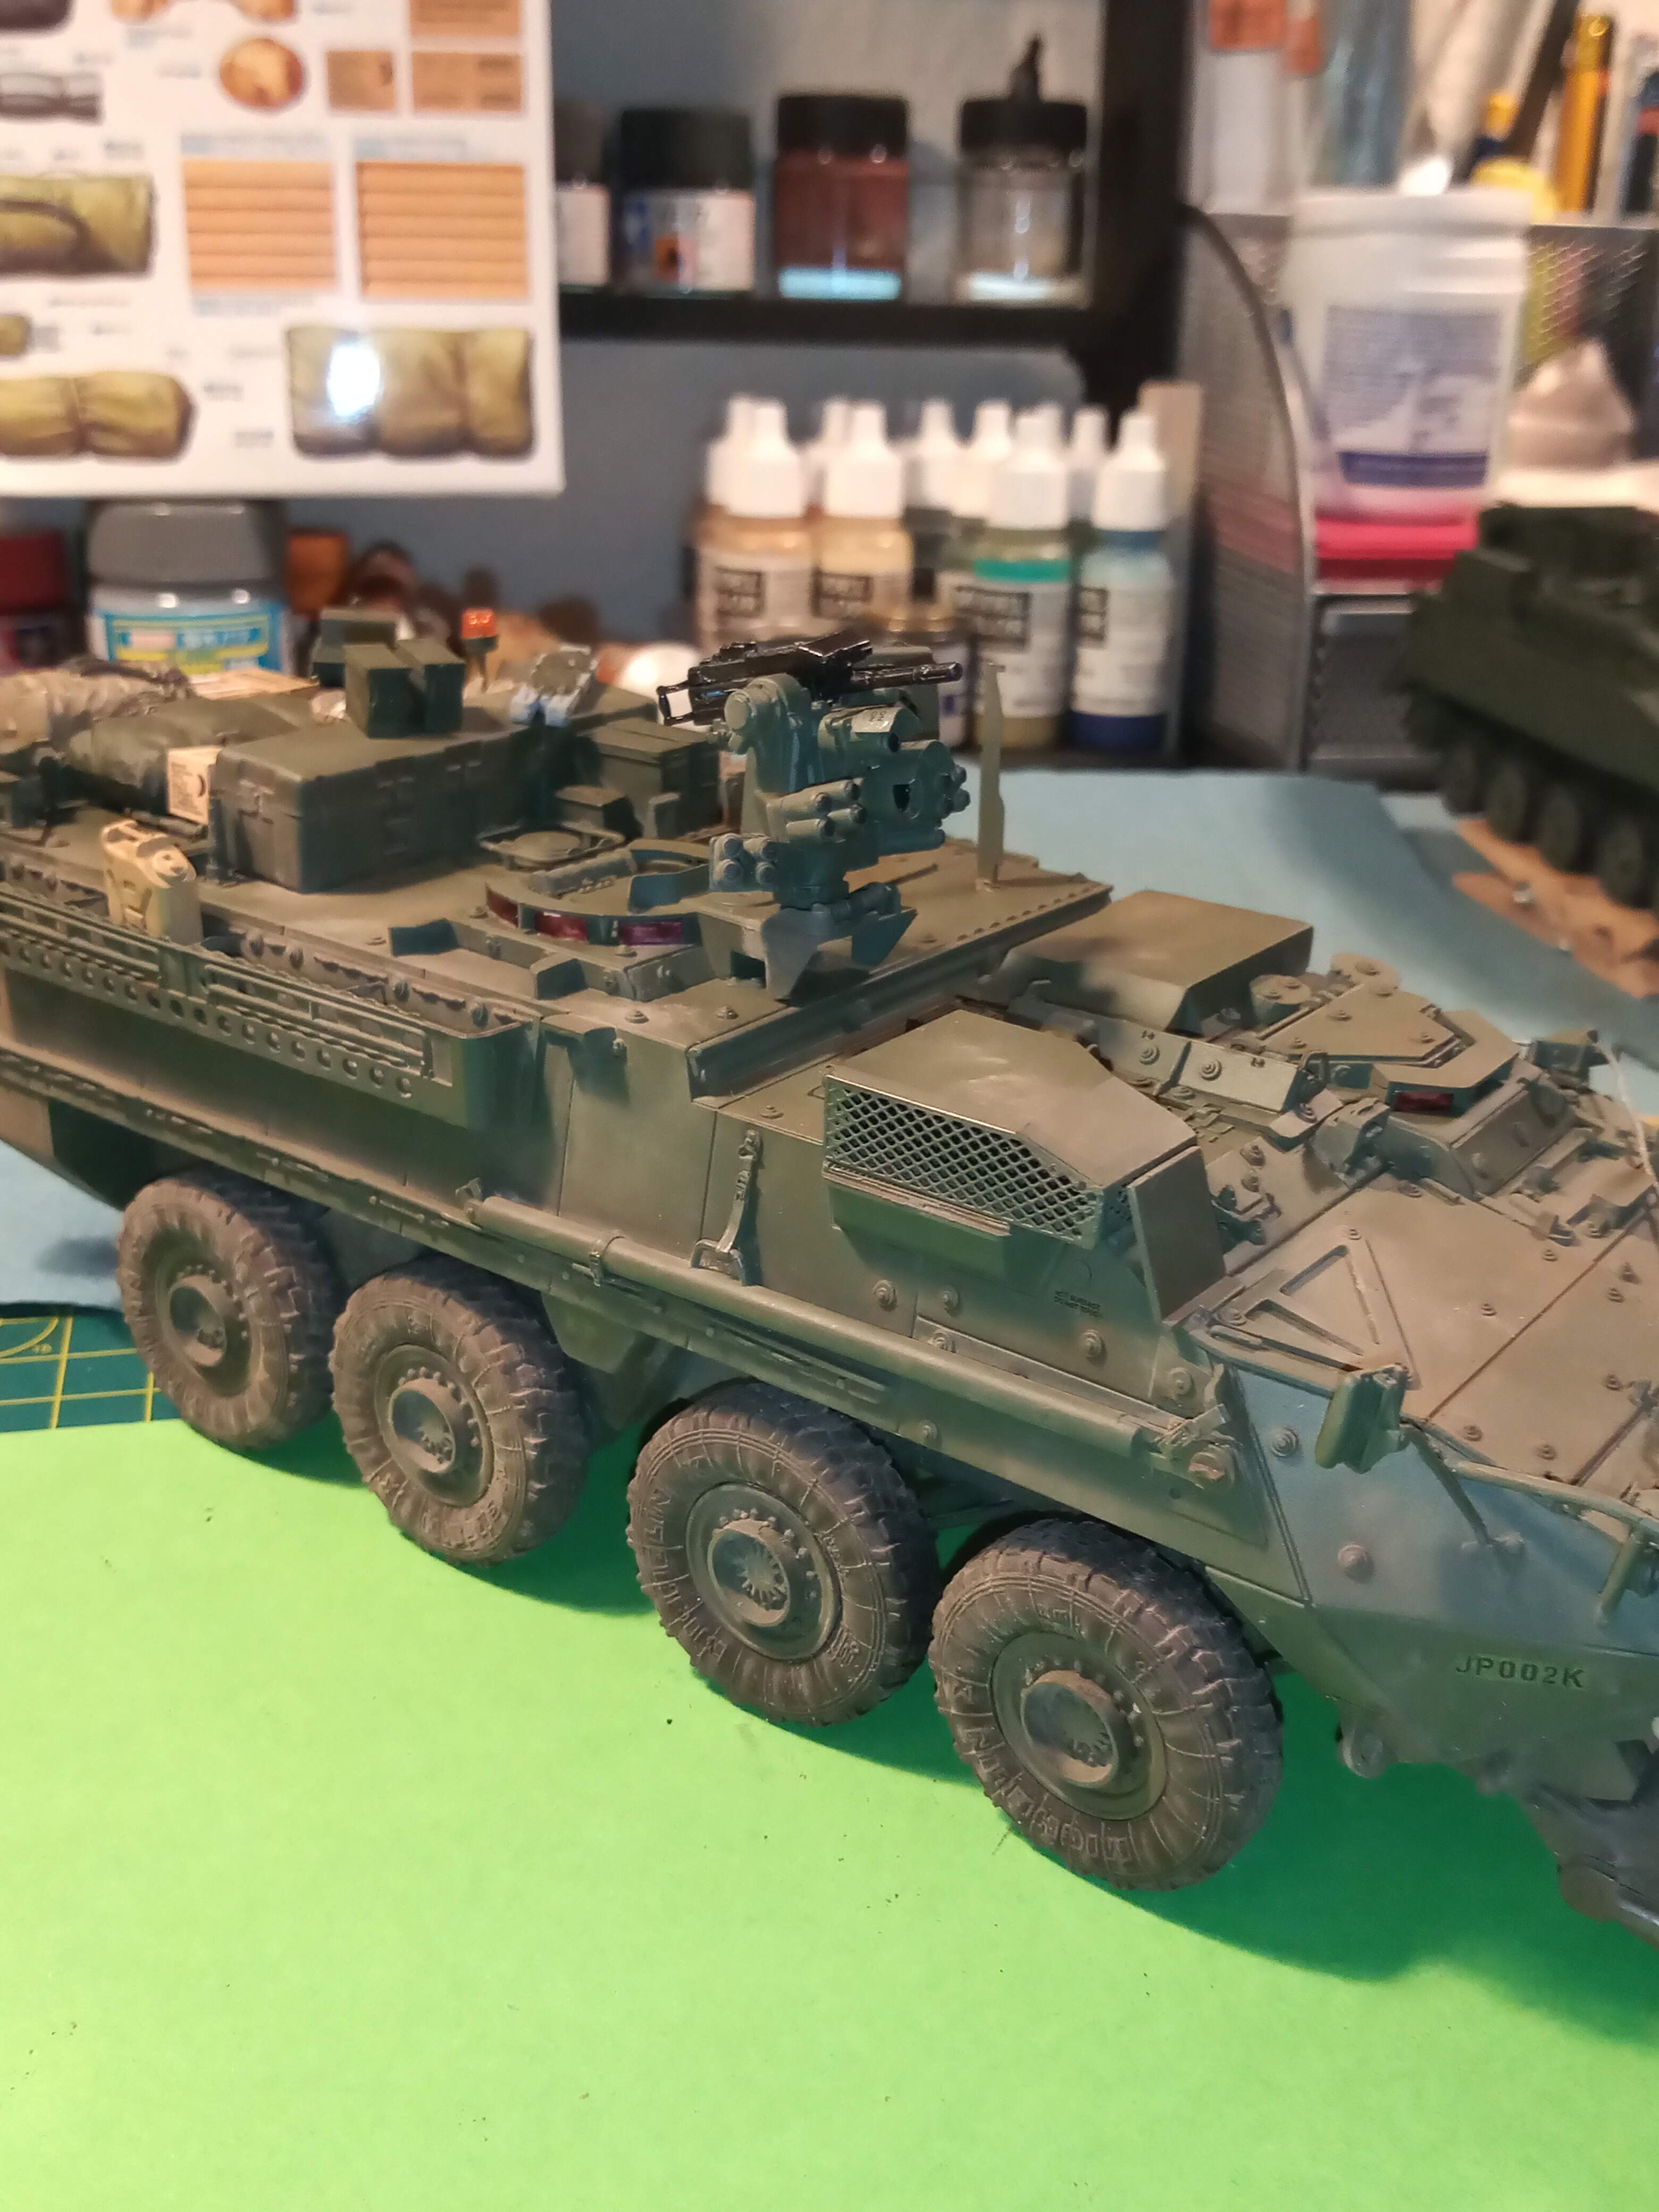
Did a few little tweaks and added more dirt and dust to the top and added the stowage straps (before I saw Hermann’s comments about the rear hatches). Used the straps you get in the kit and some CVRT brackets to imitate ratchet handles.
Just a few pics before I finish it off tomorrow and get the 2 antennas painted and fitted.


6 Likes
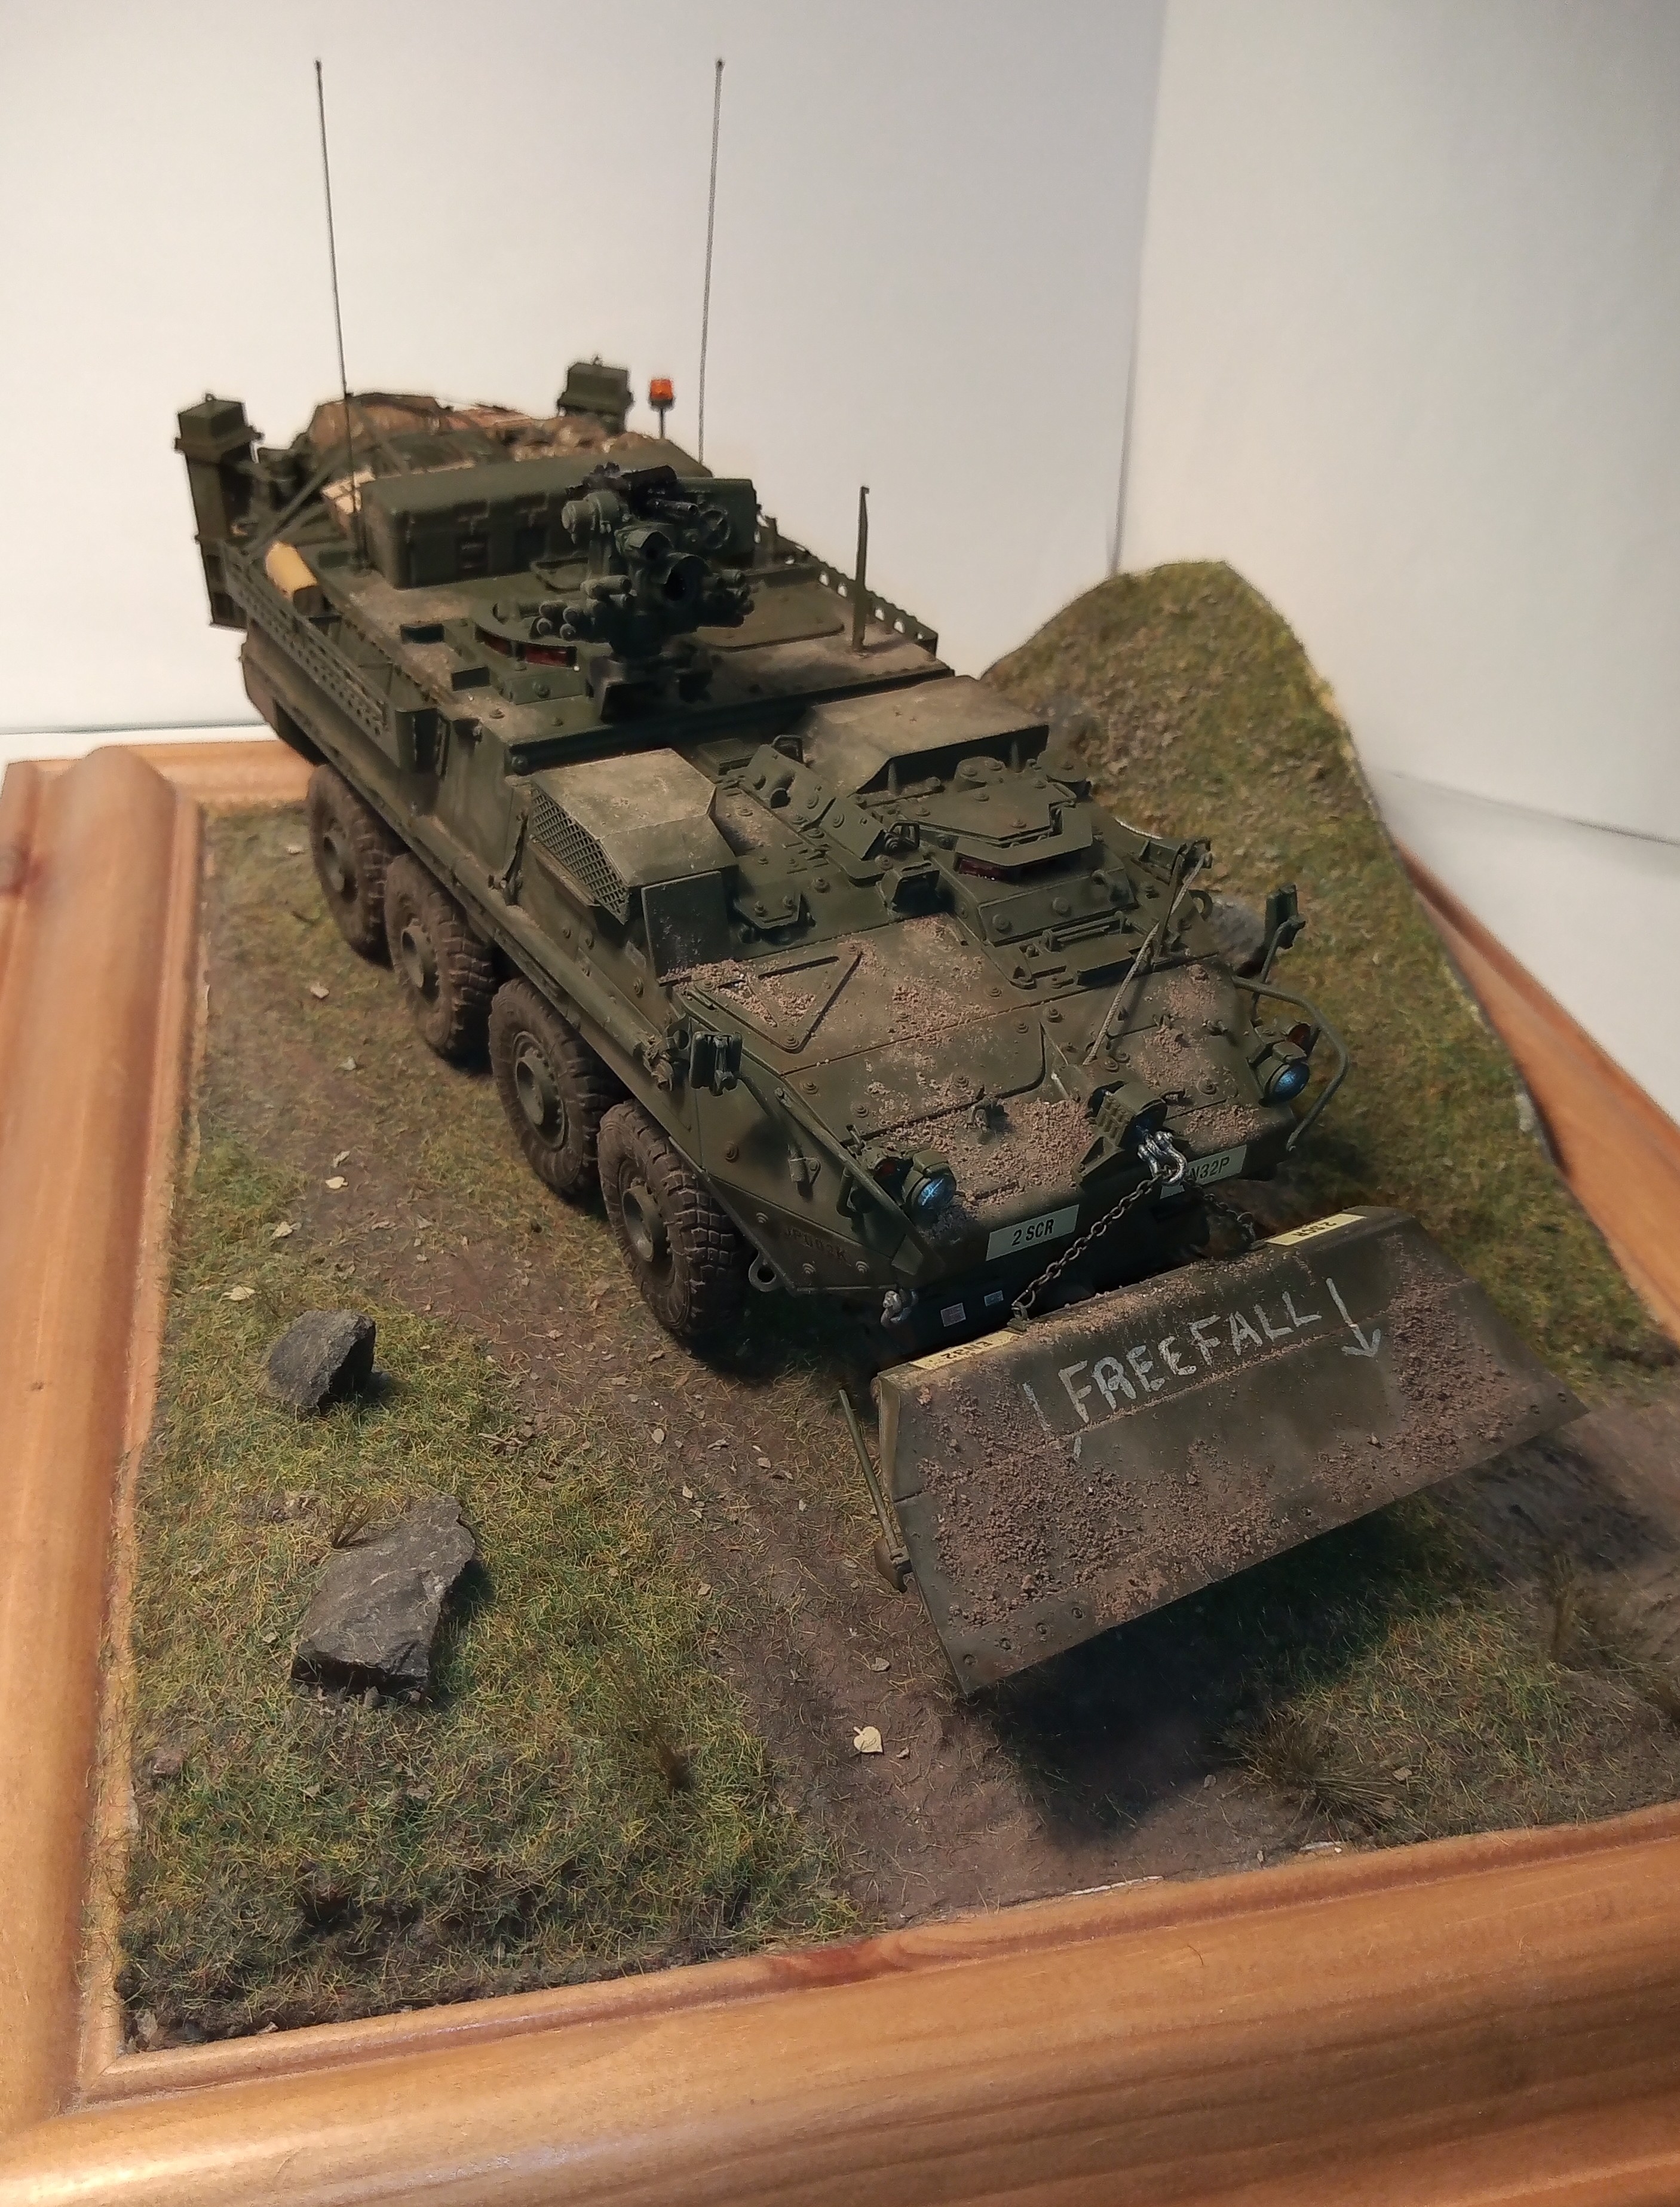
Ok guys, I’m calling this one done.
It’s been a great build and I’ve thoroughly enjoyed the experience of my first real big wheeled build. I have learnt alot about Strykers and thanks to Gino for his great tip about the freefall blade. That just added to the realism of something you could easily see on a real life wagon.
And thanks Hermann for your insights as well.


This was a lot of fun and will definitely not be my last Stryker.
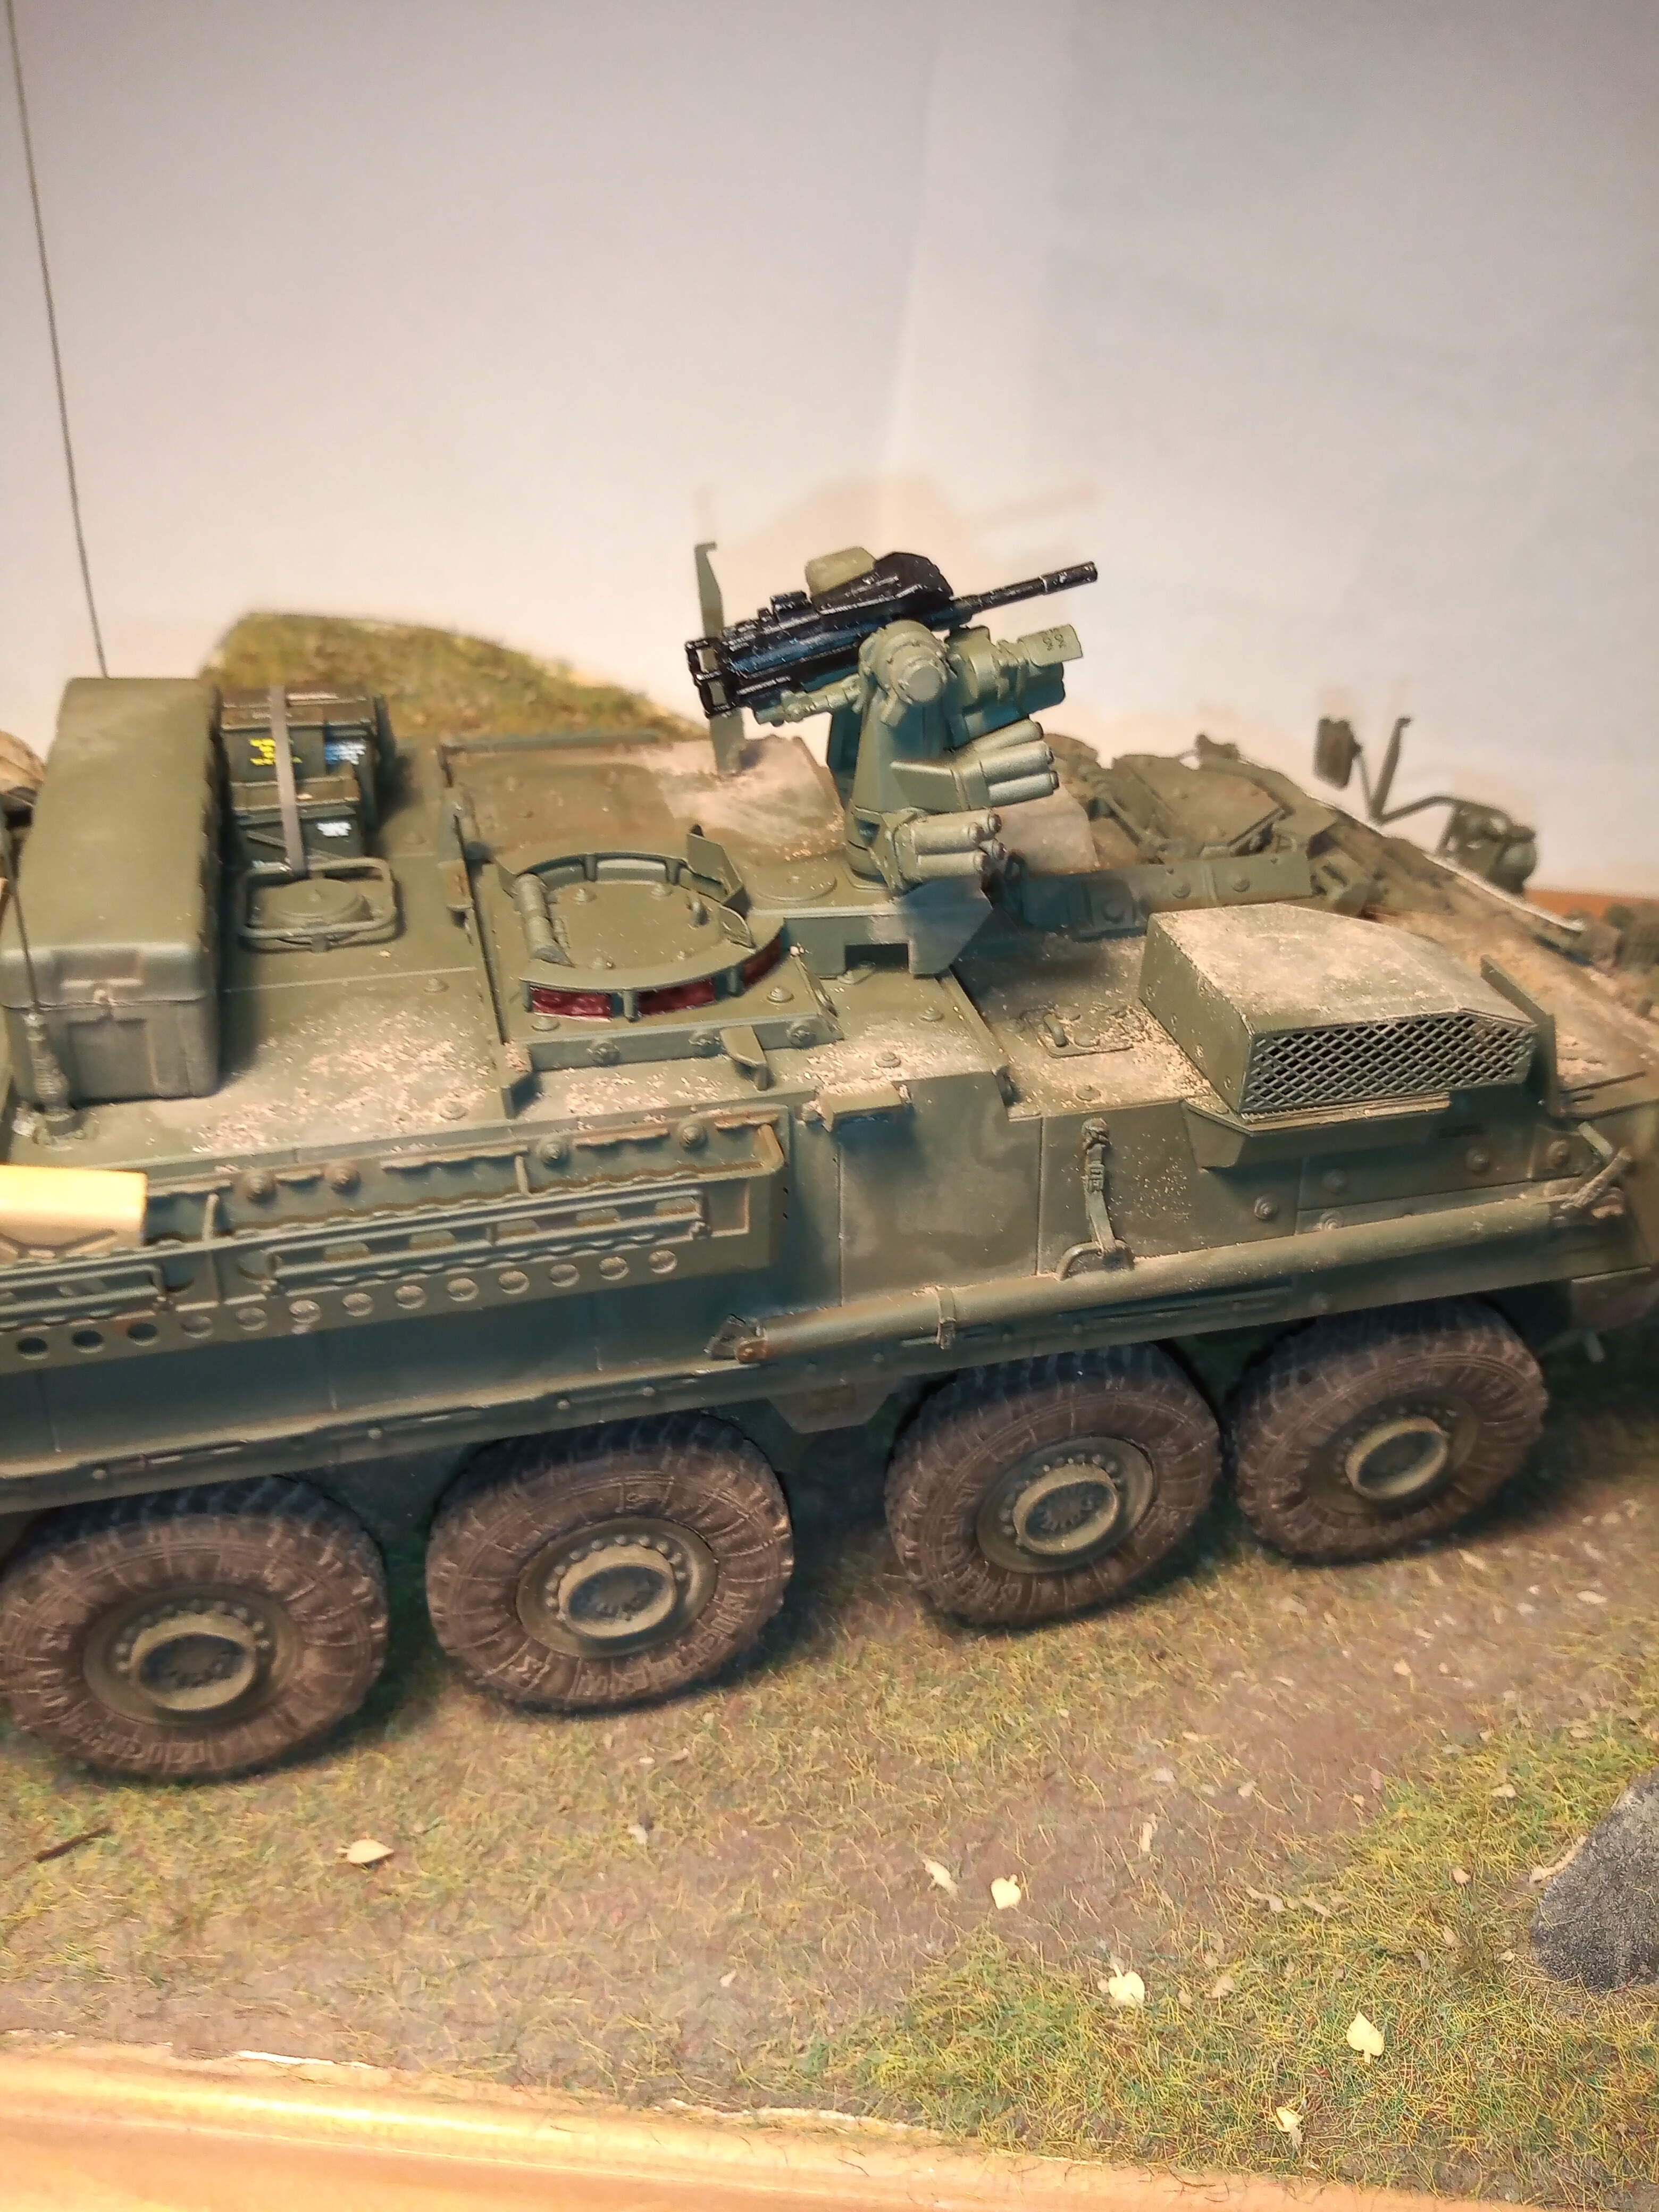
This one was the Trumpeter ESV, main colour was AK Forest Green, and then the normal paints for tools, accessories etc. Stowage was from the kit and some from the Tamiya modern US accessories set. I was pretty happy with how I got the blade to look and also the recovery cable and the guides I did for the side pulley. Dirt is mostly MIG Europe dirt fixed with white spirit. Overall wash was a highly thinned burnt sienna oil to highlight the recesses and some of the raised detail.
Vision blocks were the shiny inside from a choc bar, and painted with a mix of tamiya clear blue and red.
Looking forward to seeing the other builds as they progress
9 Likes
Beautiful John.
Thanks Matt, much appreciated. I think I will enjoy concentrating more on modern kit now, for a while at least. I fancy the Stryker ATGW wagon, or possibly the LAV Air defence one. I’m looking forward to getting back on the M1A1 mine plough now and moving that forward…
It looks great John!
1 Like