That’s done it, now you have nowhere to hide – that was brave ! You mentioned the styro base is 2” thick, so maybe it’ll be feasible to sink the brick wall so it’s the correct height relative to the SU100?
Re the wall I’d suggest washing it with a mortar colour now & gently wipe it off the surface bricks, should look OK. When all dry then pick out those slight tonal variations. Incidentally for dust you also have another/additional option of shaving it off a pastel chalk stick of appropriate sandy colour(s) & brushing it on with a soft brush.
Tim, I thought about sinking the wall a bit to make it closer to the photo but I’m probably going to leave it. I have a sheet of 1/8” cork I was going to use as the street to be covered in AK Asphalt material but I’ll probably just go over the styrofoam with it. I can carve a few potholes in it to add some interest. I also thought about adding extra gear to the hood of the jeep and tying it down but I don’t have that much extra gear and don’t really want to sculpt any, but I’m not sure yet.
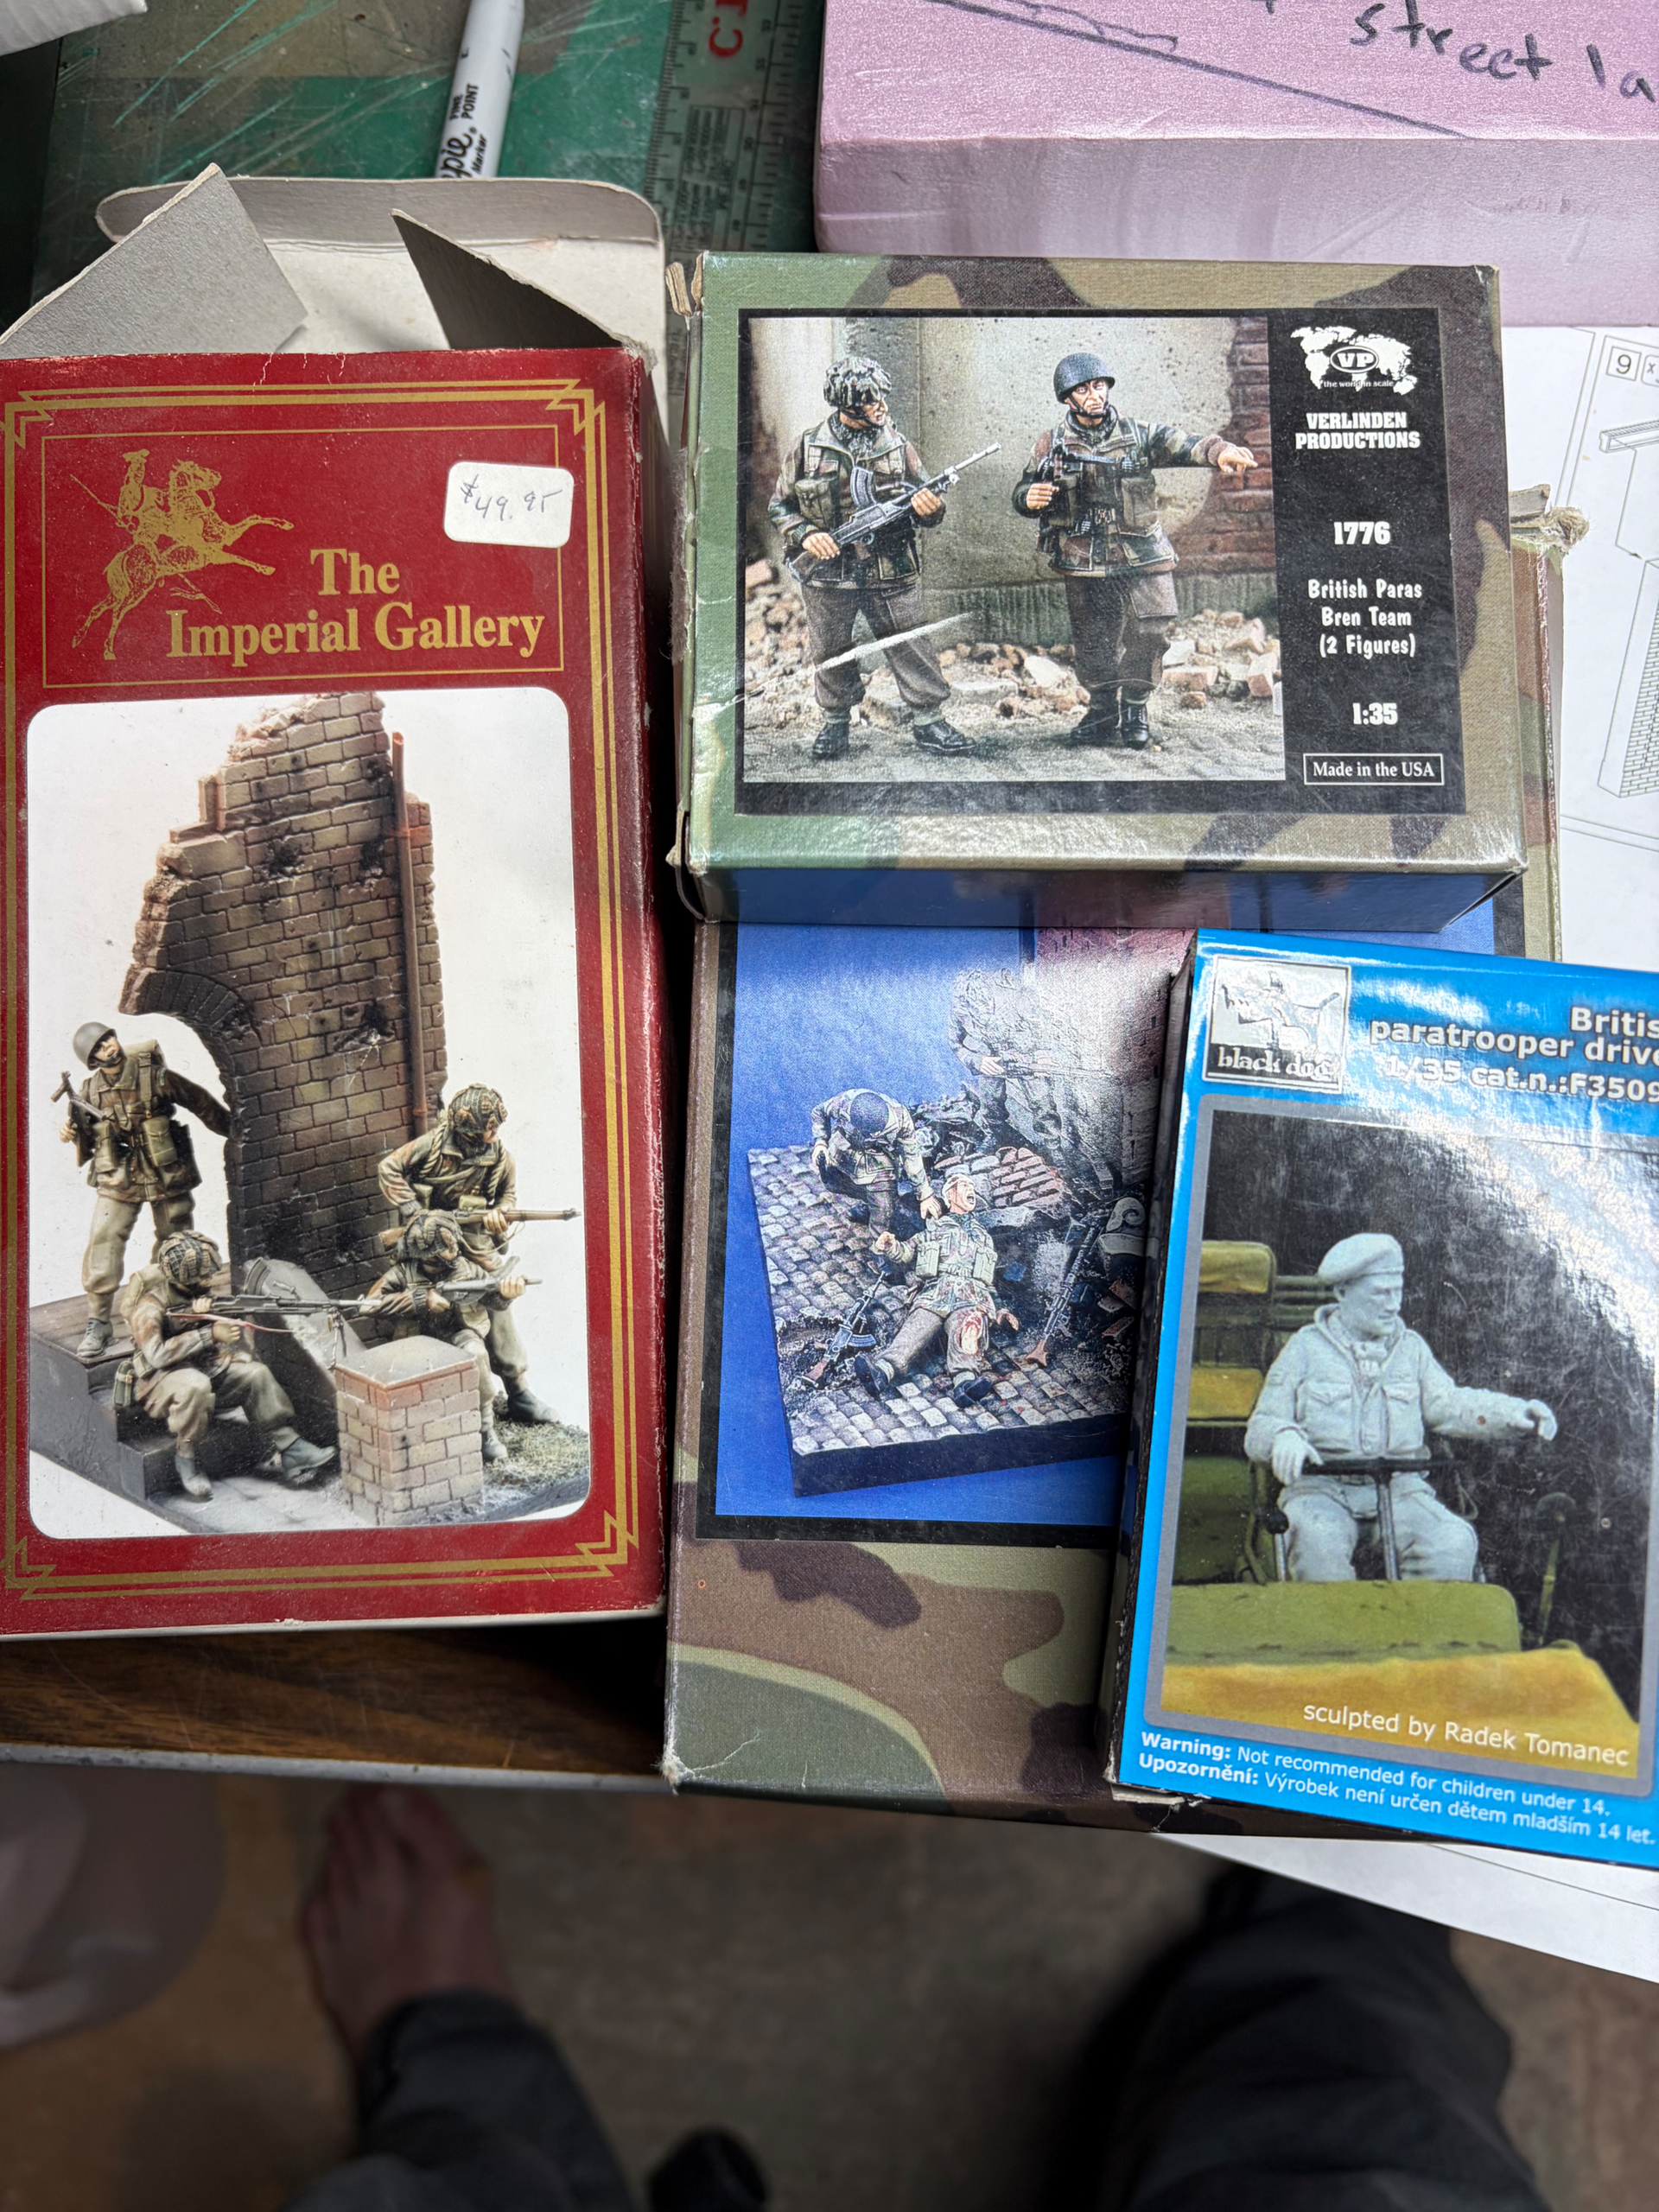
I’ll be using figures from Imperial Gallery, Verlinden, Black Dog, Resicast, and the Miniart Middle East tank crew. The surrendering Egyptian tanker in the hatch is from Warriors I believe.
Not exactly the correct time period but close enough for me. I won’t be using the figure with the jacket, if anything I might convert him by removing the upper torso. I still have to work that out.
Well Richard, after such a long gestation, though nothing like as some of mine (and even then they wither on the vine) it’s nice to see this one come to fruition; keep at it - all the components are coming together, and it all looks about right to me, though I’m always a fan of less is more - not though you’d necessarily think it(!)
All I’m really saying is keep at it - all looking very good and interesting.
As an aside, and not necessarily relevant to your project, but for Middle East stuff in general, Paul Wade at Red Zebra has some very good stuff; worth a look perhaps.
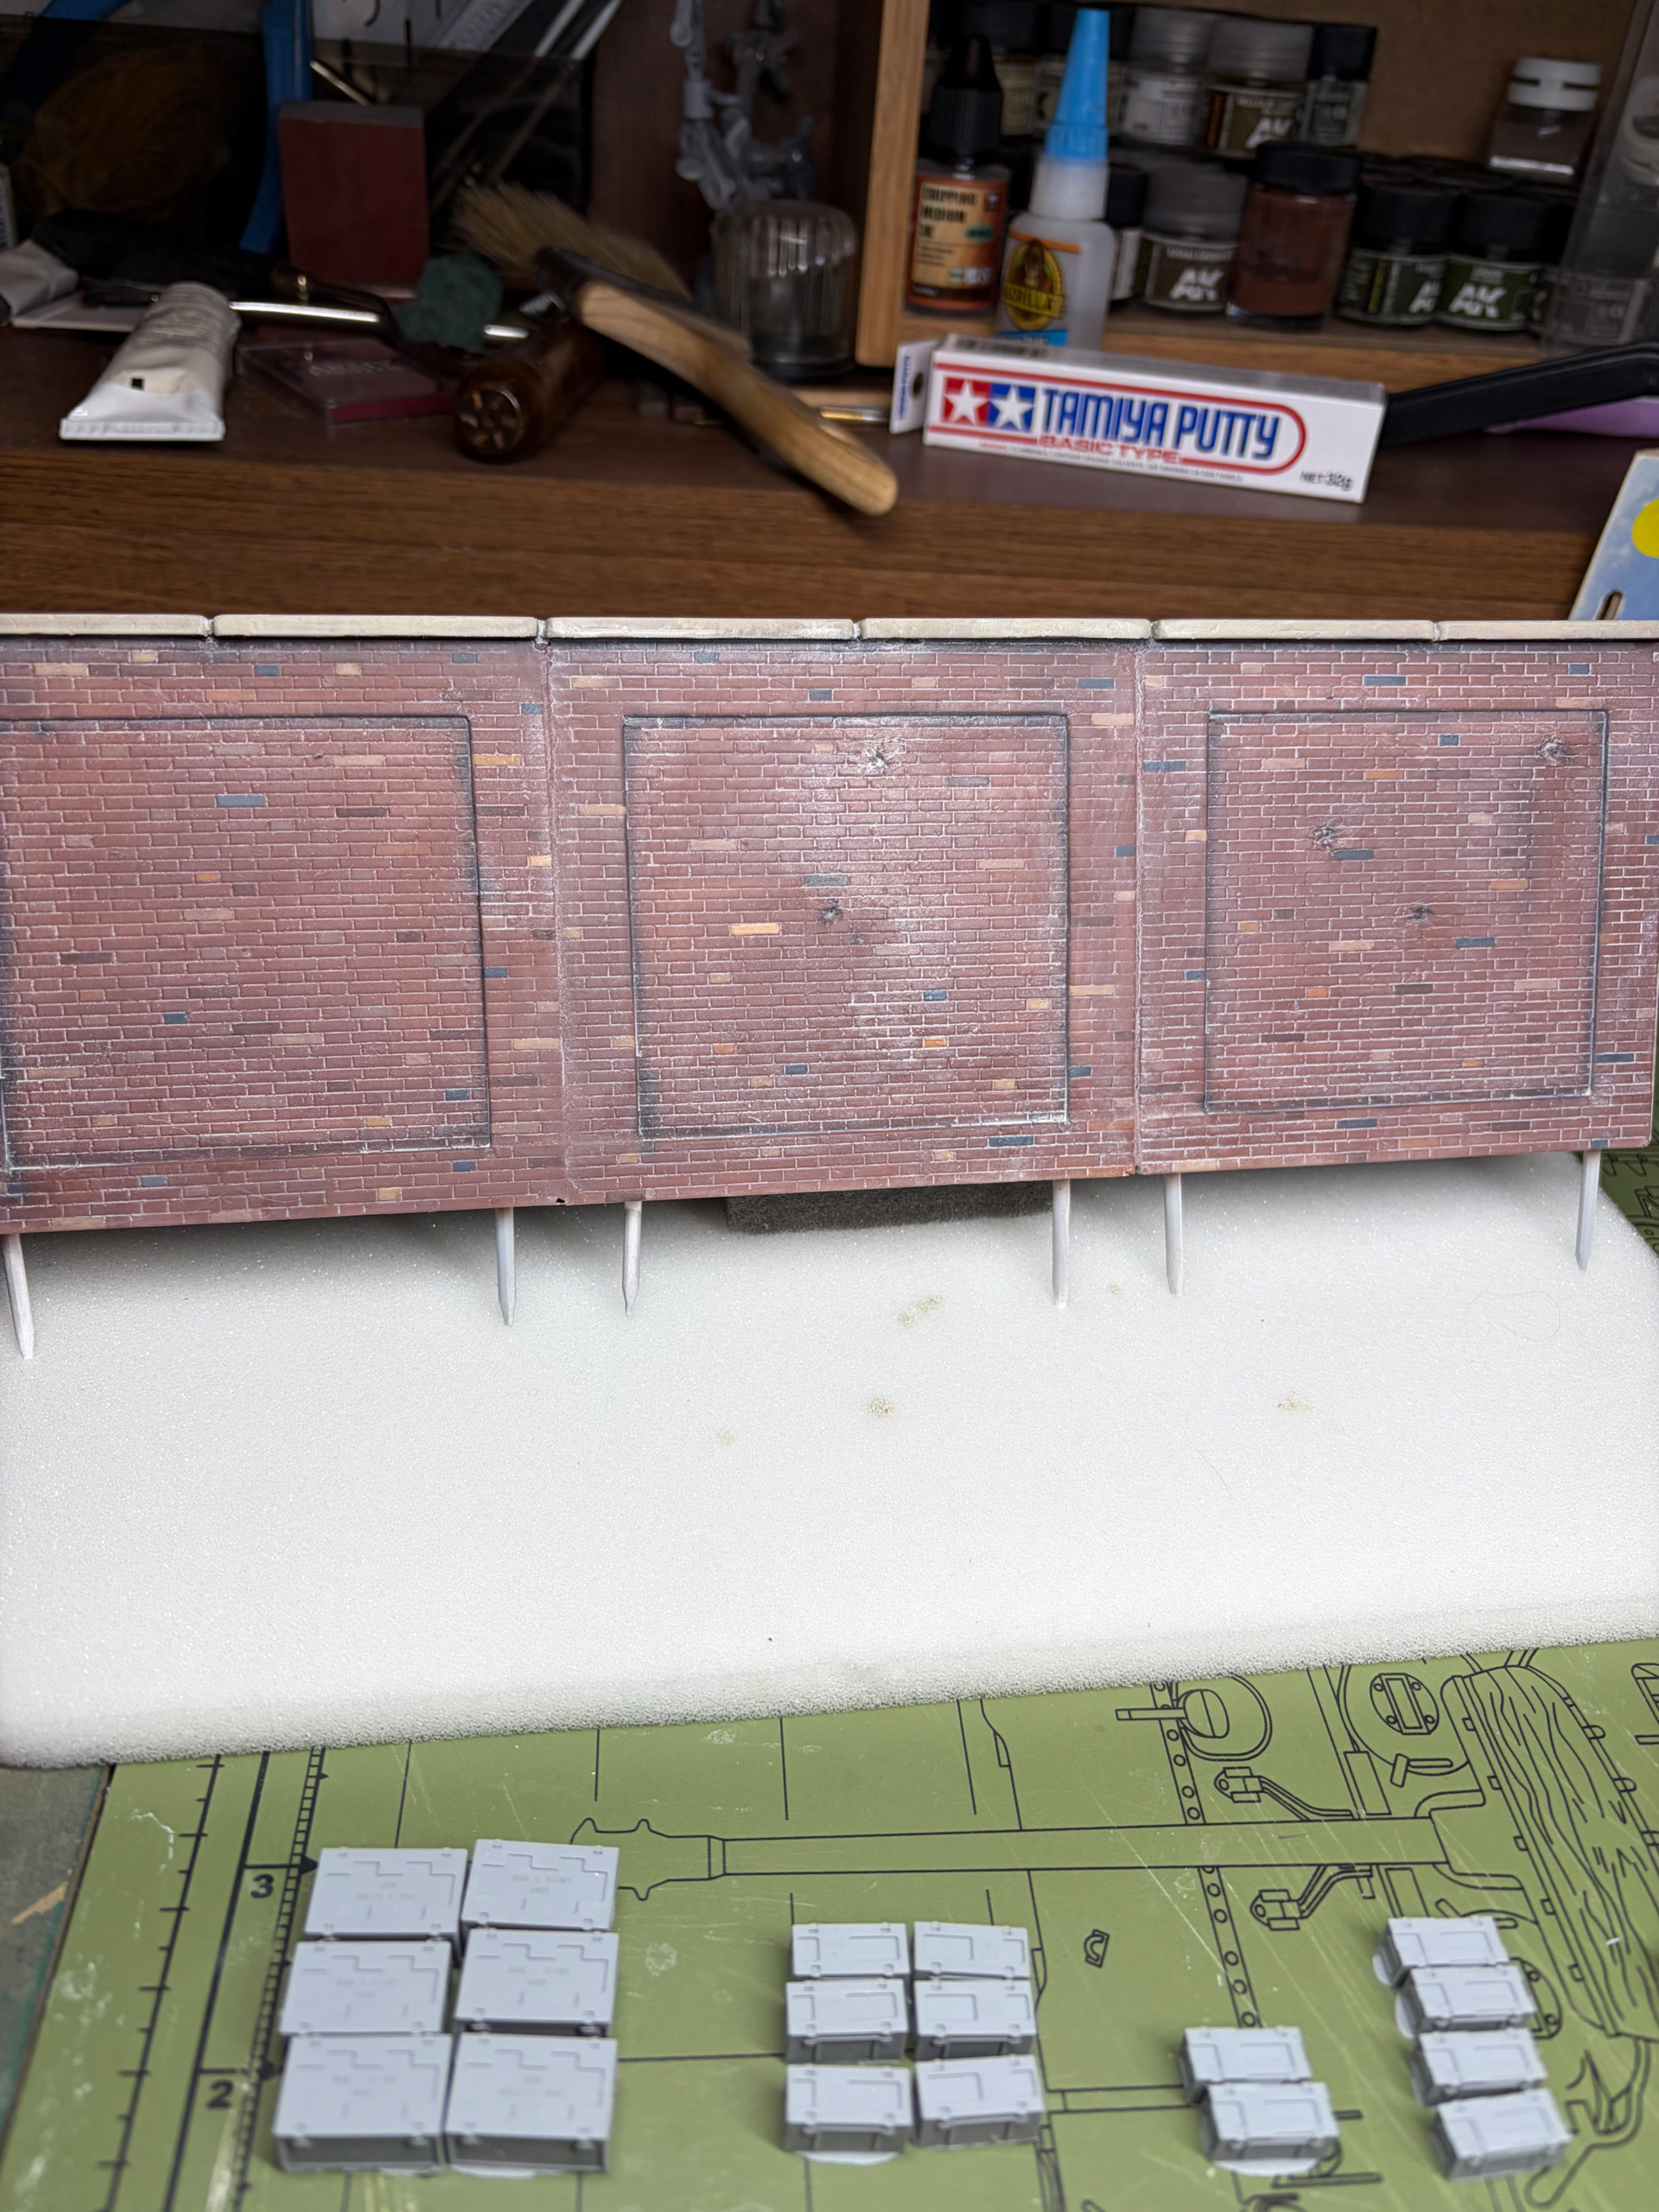
As for the wall, that’s exactly what I’m going to do once I get the basic painting done. I plan on using a light gray wash and see how it looks afterwards, then make adjustments if necessary. I cut 4 or 5 pock mark holes in a few sections of the wall, then I’ll add debris at the base of the wall once it’s situated on the base.
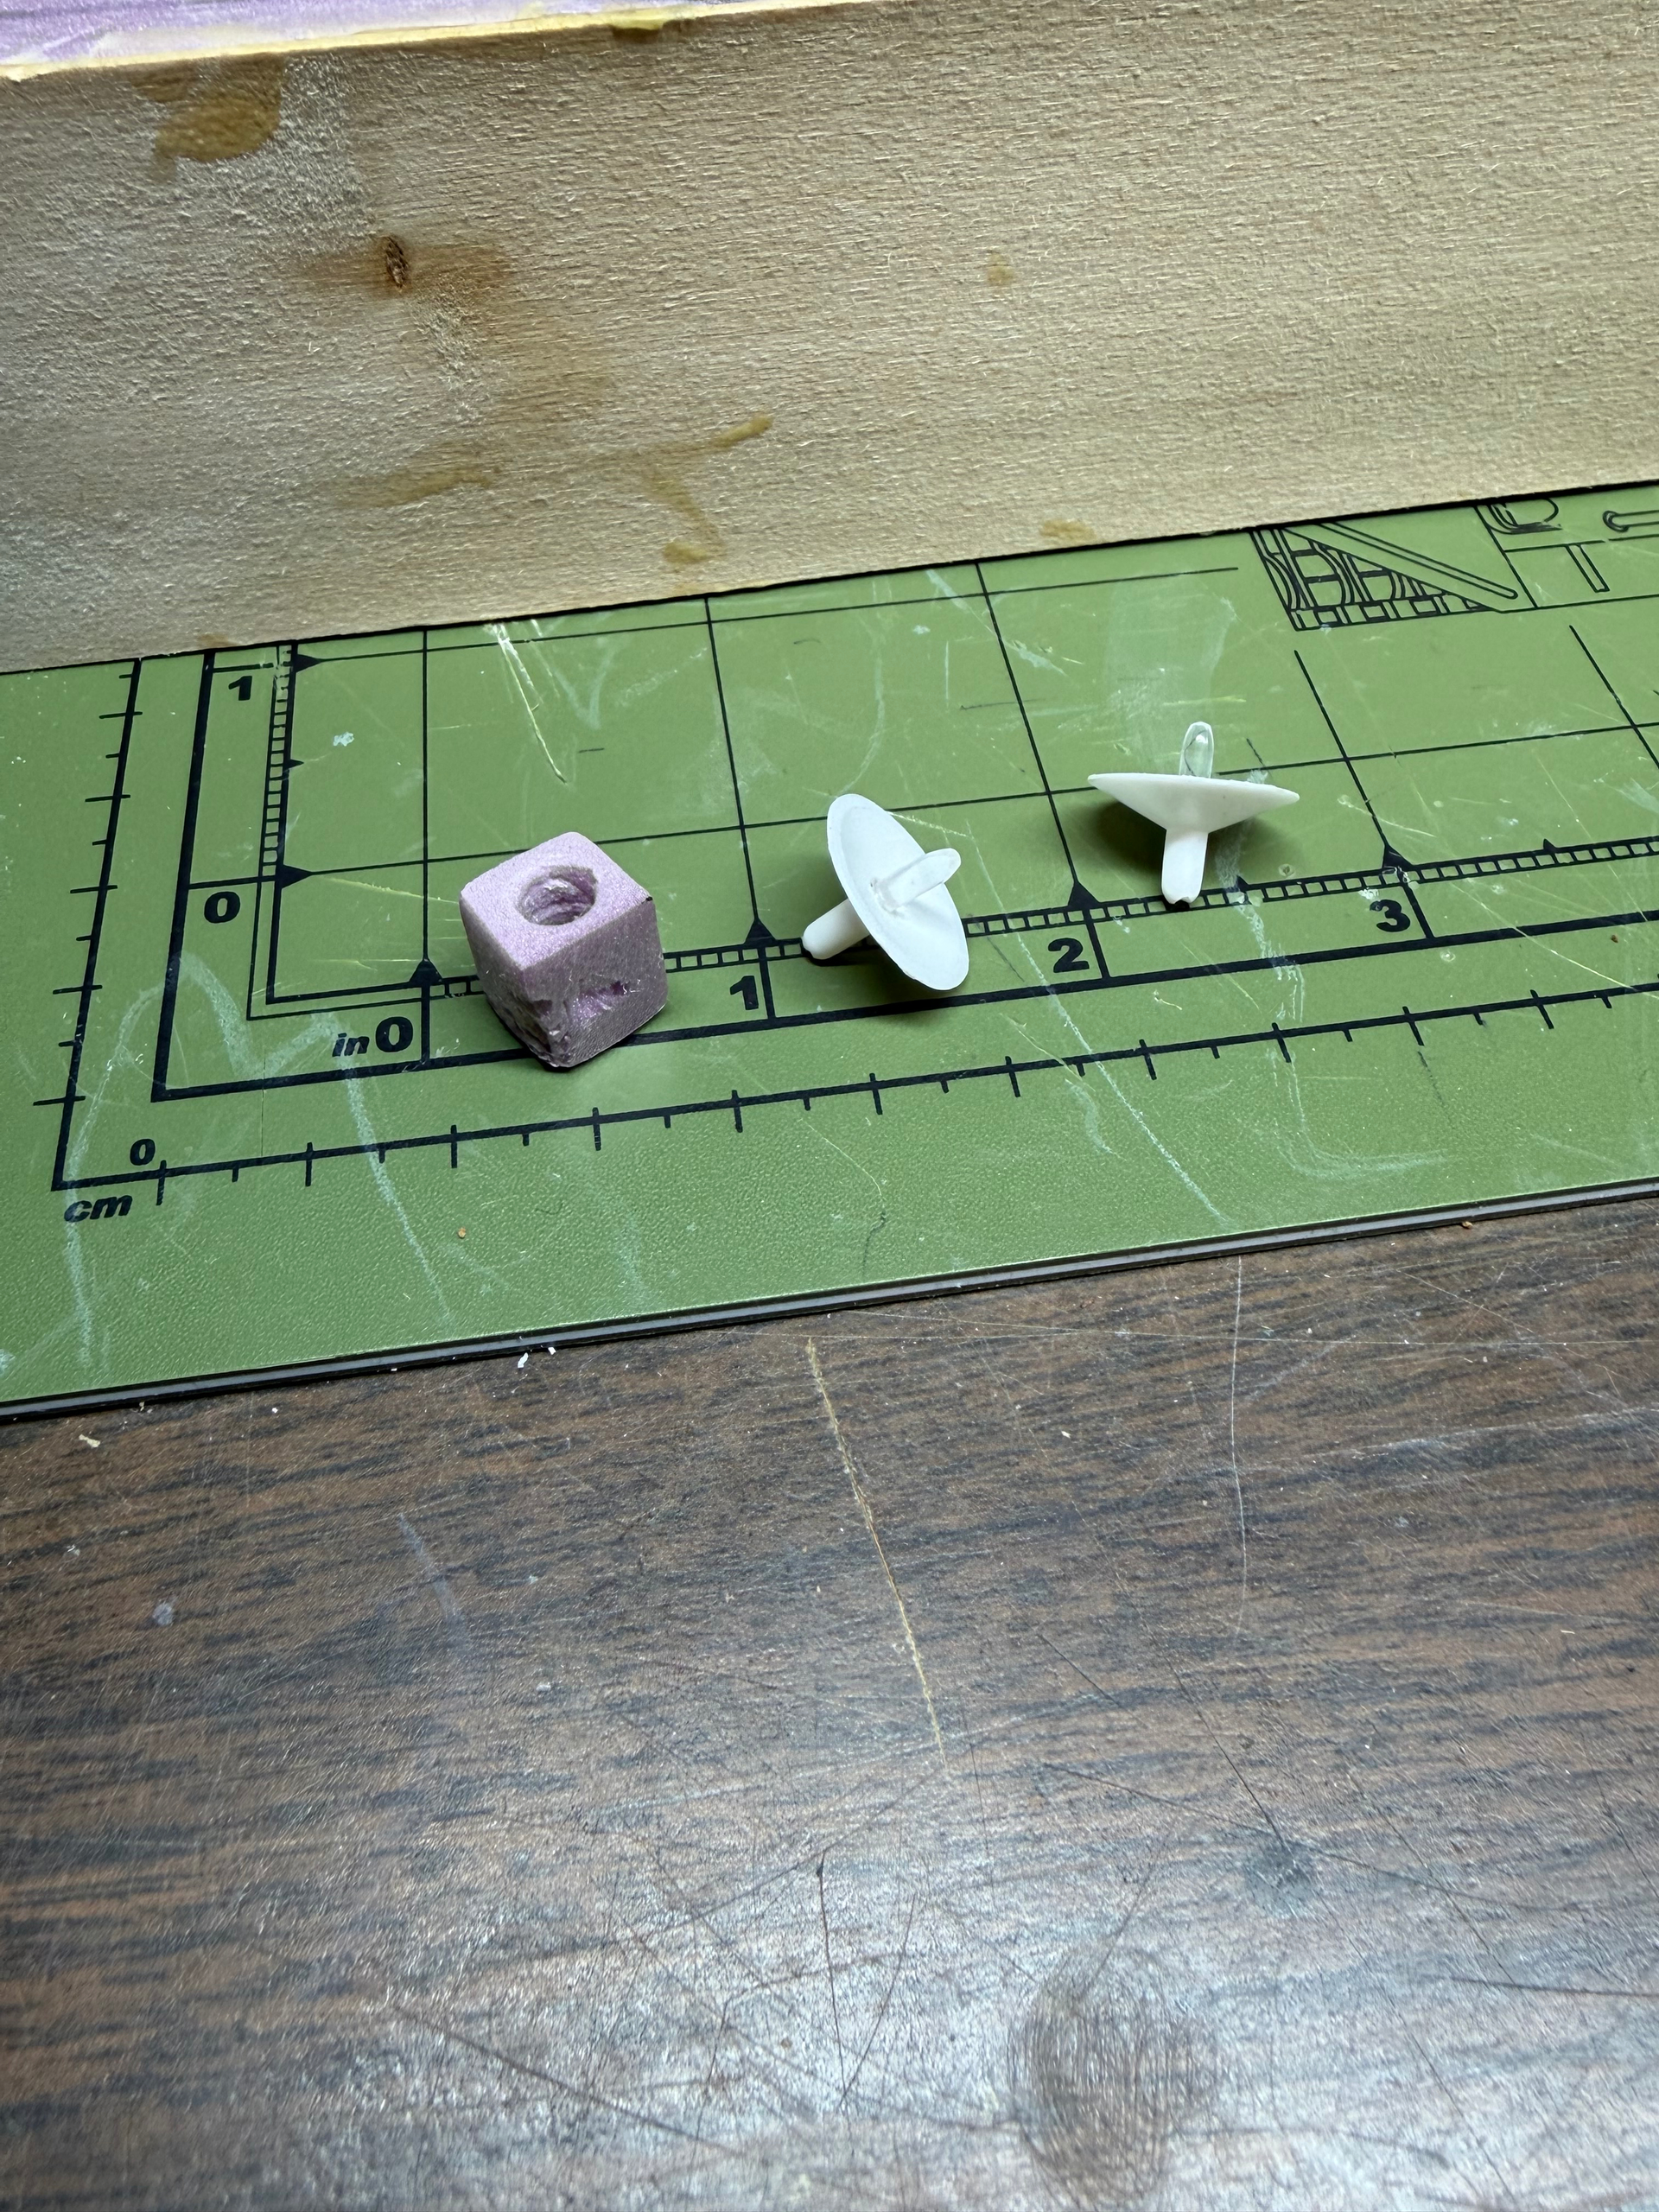
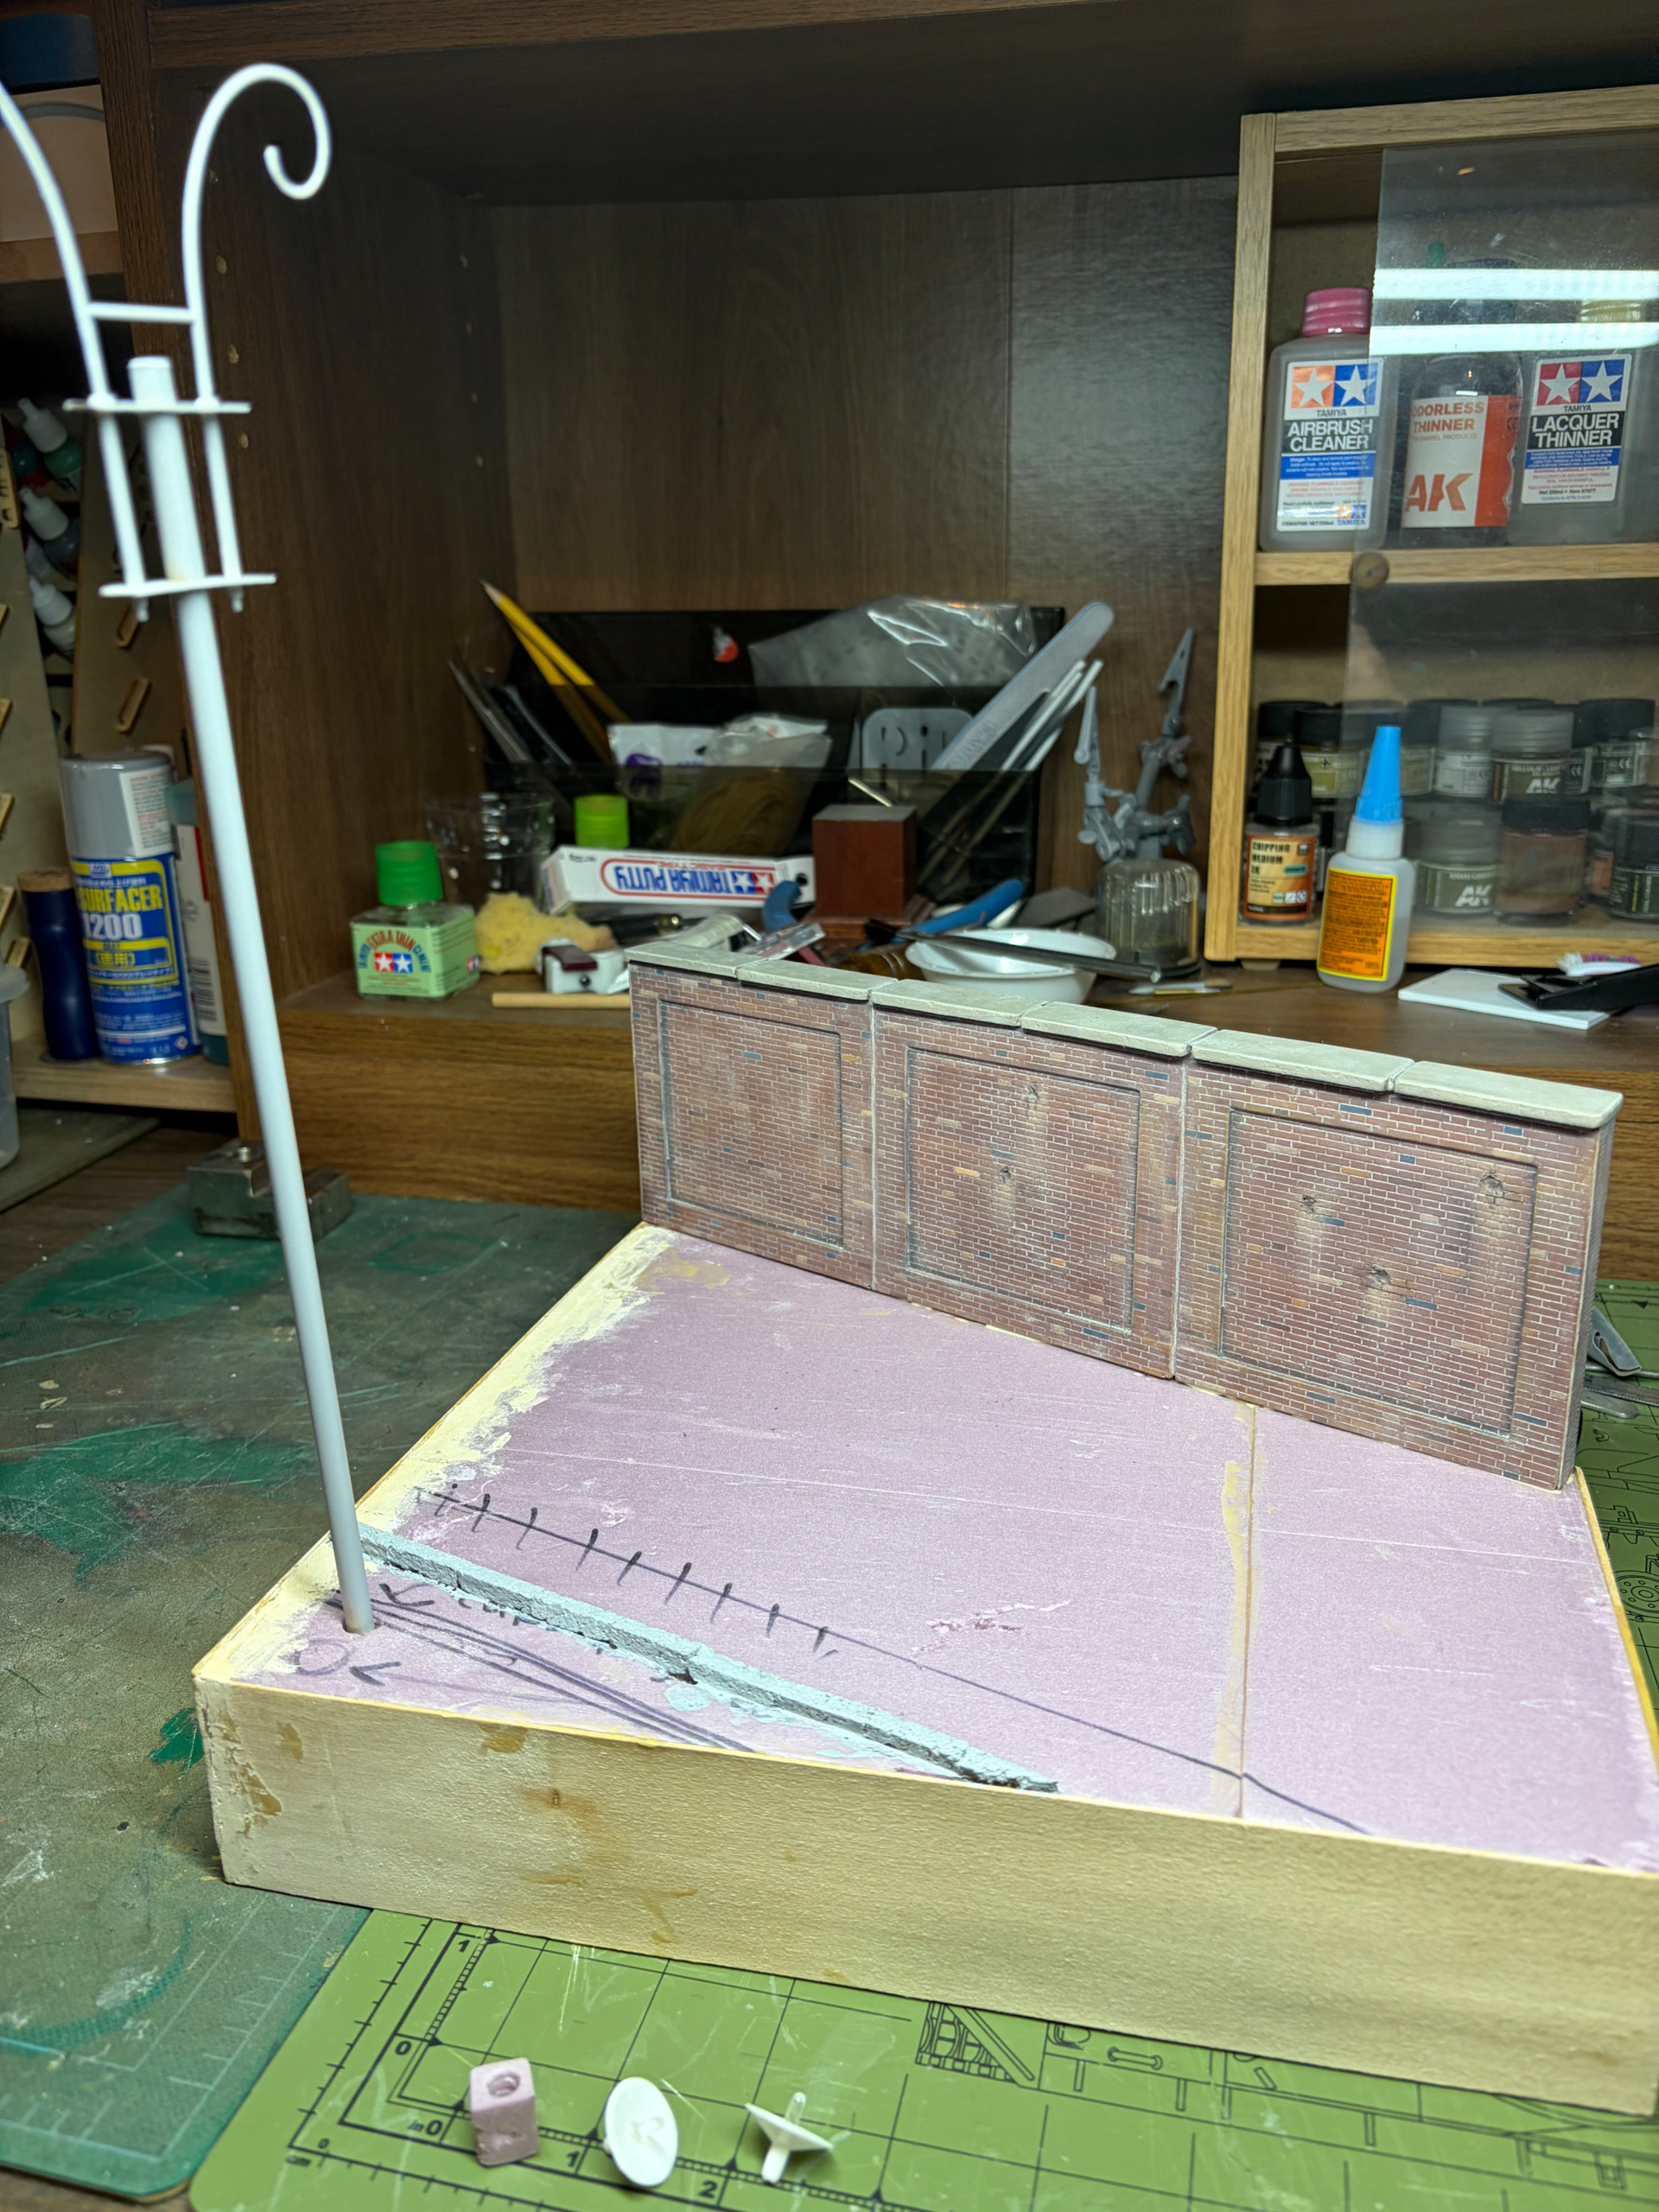
Here’s today’s progress, not much but…I weathered the wall and glued it in place. I’ll dust it with pigments tomorrow. The street lamp has been primed; I set it in its hole just to dry. It will be about an inch or so further down into the base. I made a small simple concrete base for it from styrofoam which will get a coat of Mr. Surfacer and then glue in place and painted and weathered later. I also added a light bulb to each lamp. They are cut down clear plastic wine bottles from a Tamiya farmer set or something. I’ll prime the reflectors by hand so i don’t mess up the bulbs. I plan on lamp post aluminum and weather it after. Tomorrow I will add the asphalt surface and ground work inside the curb where the light pole is.
Ok, after being rudely interrupted by a blizzard that dumped 24” of snow on us; and spending several hours on multiple days digging out, AND working ungodly hours at my job, I’m back at it.
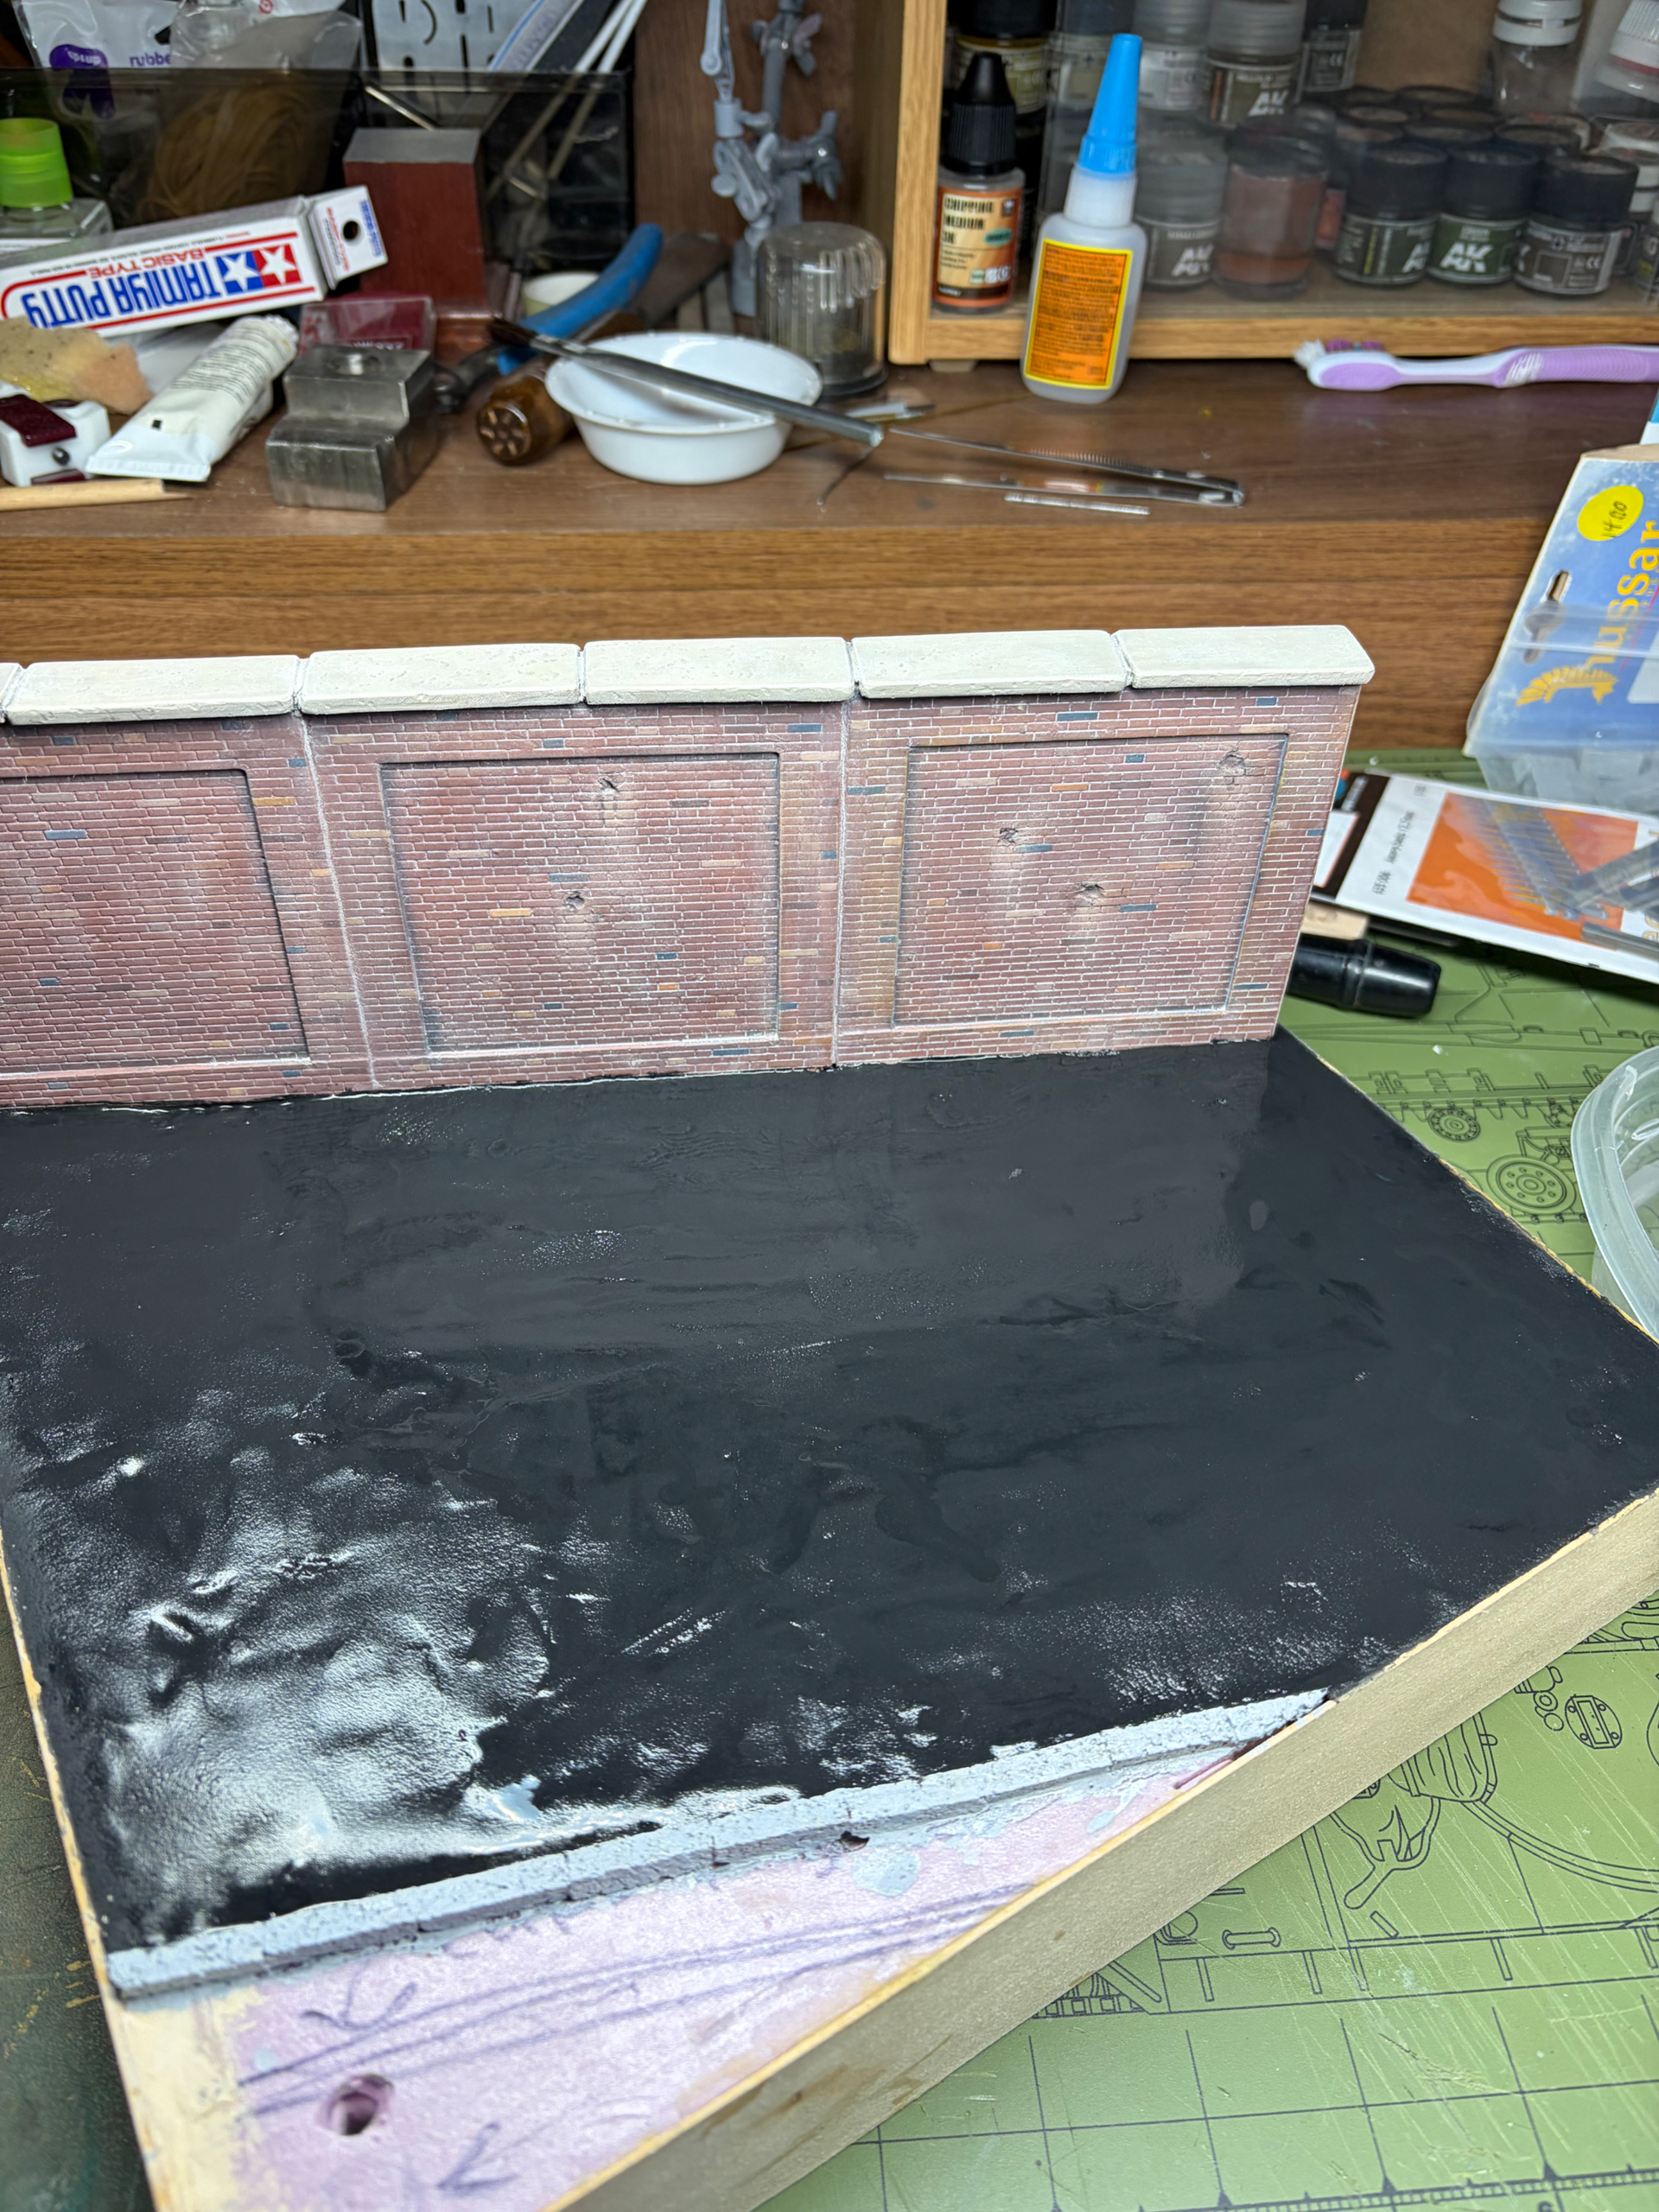
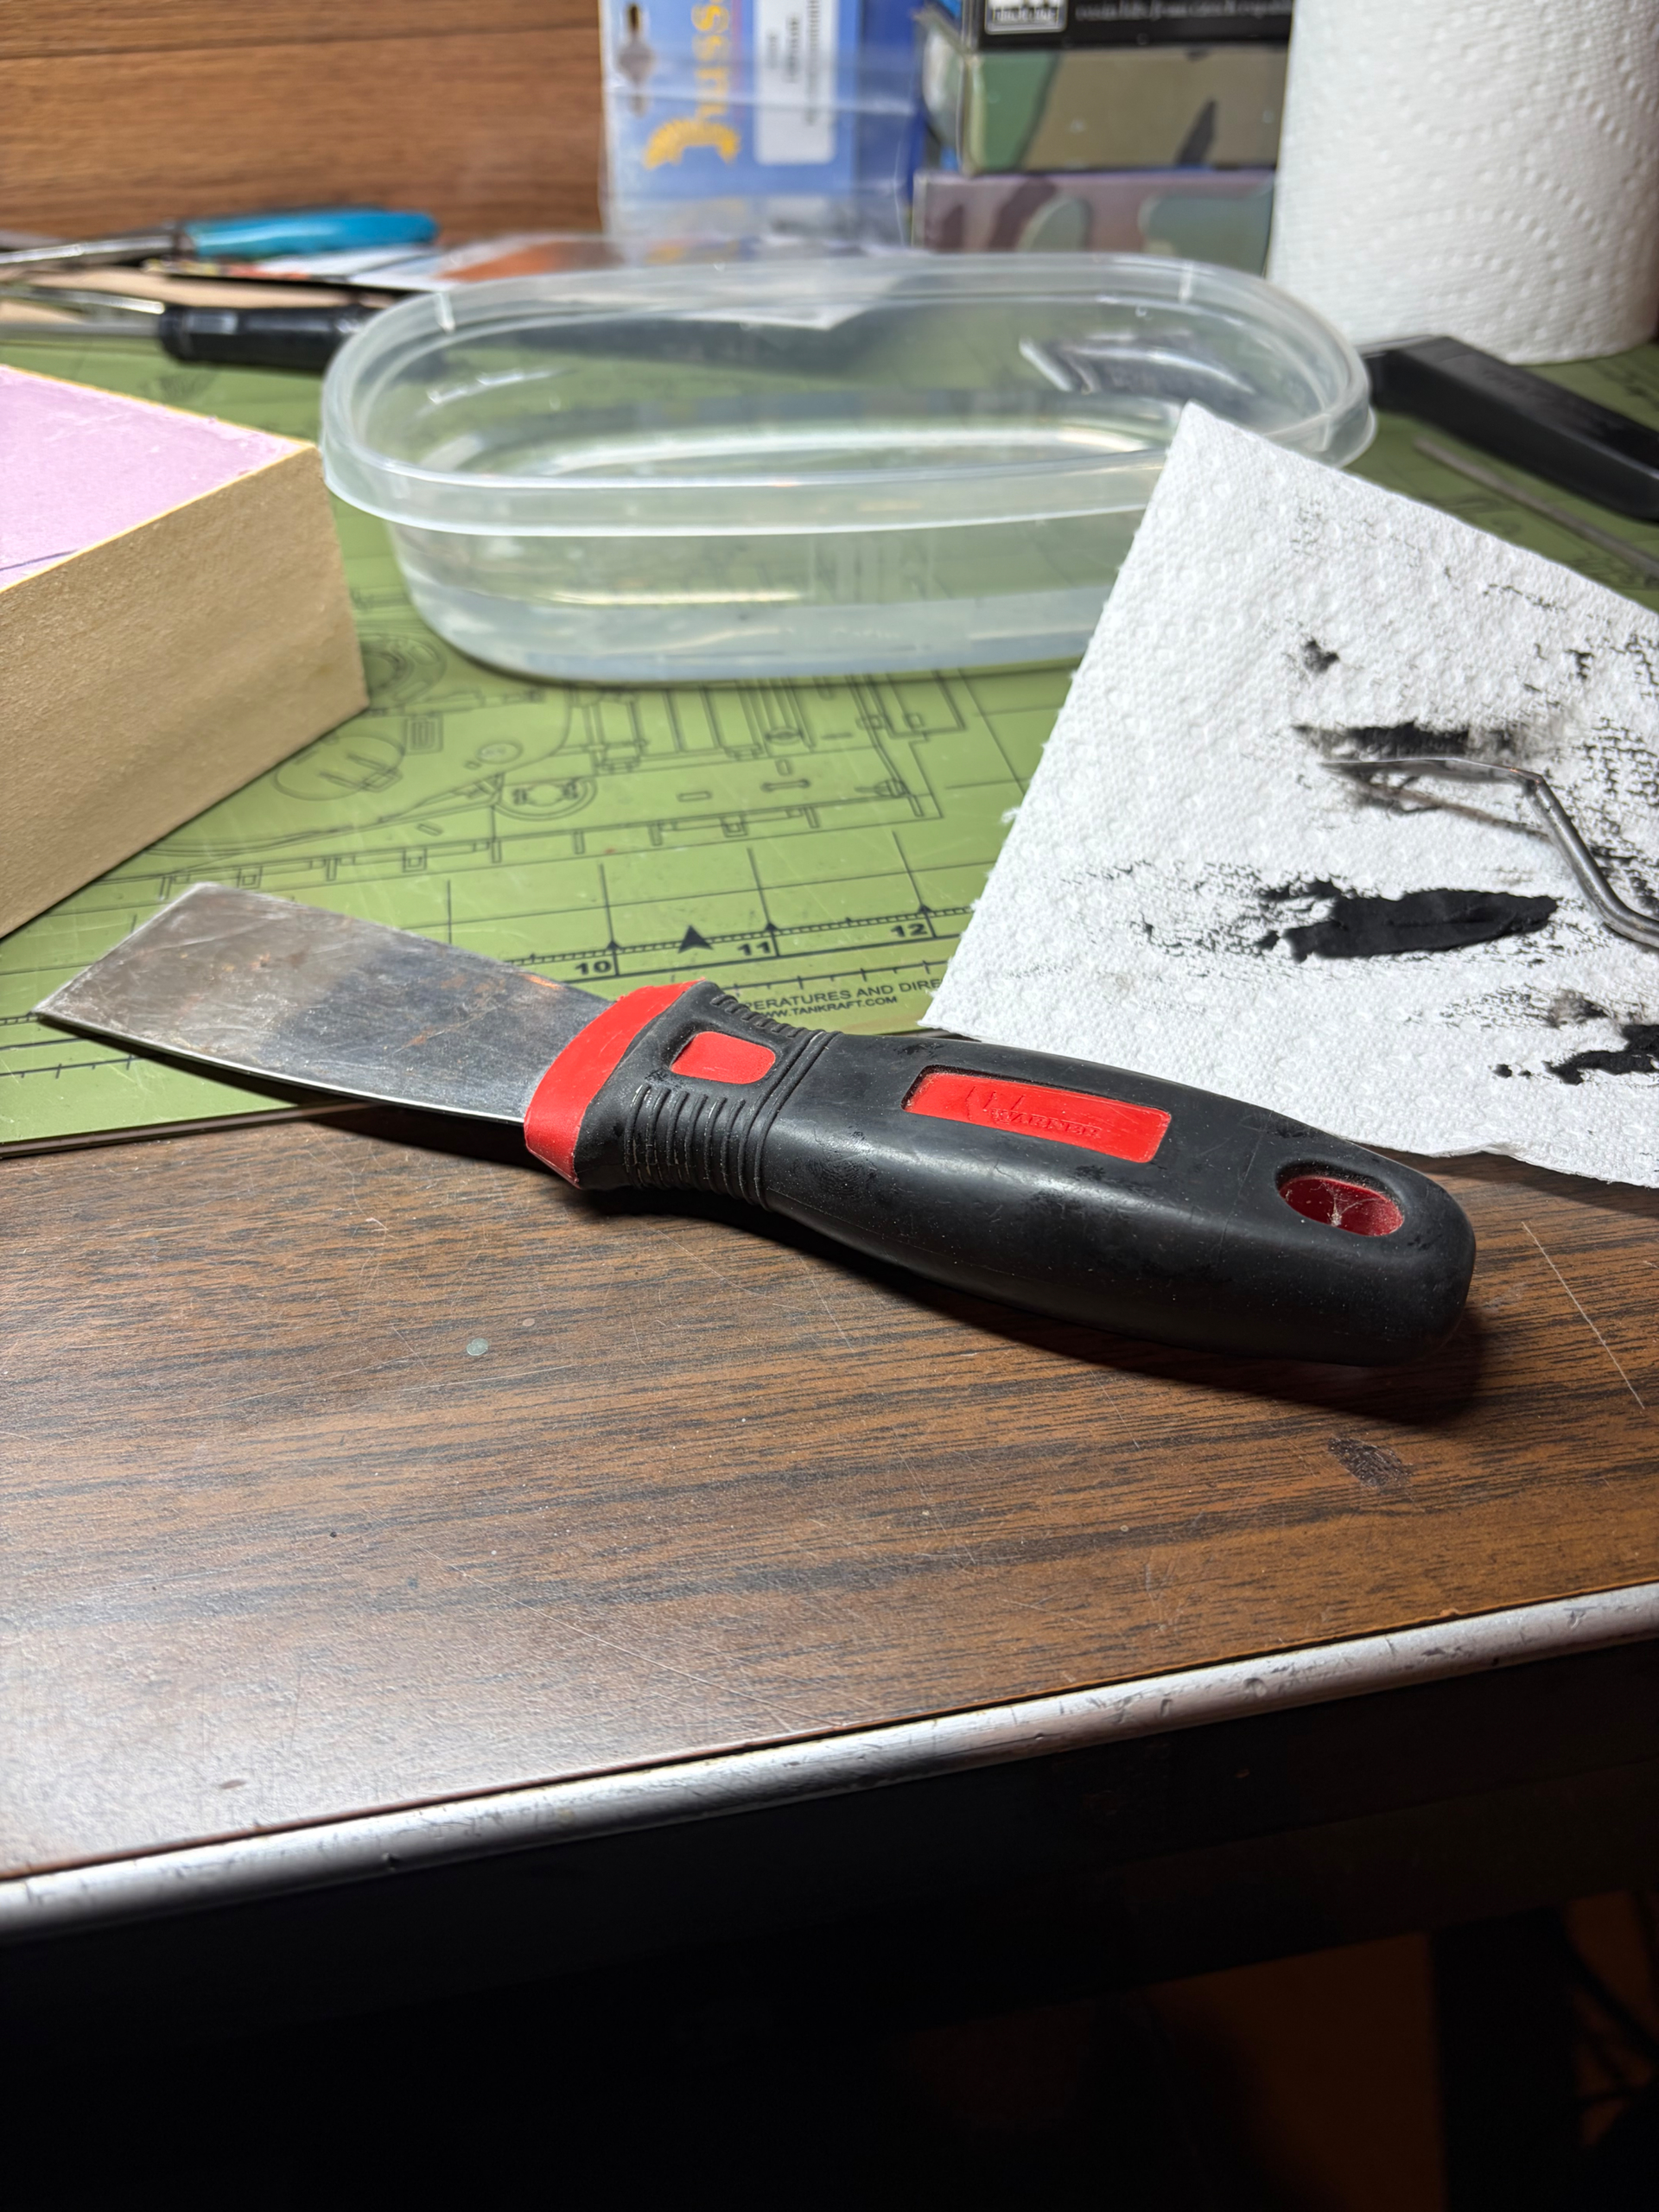
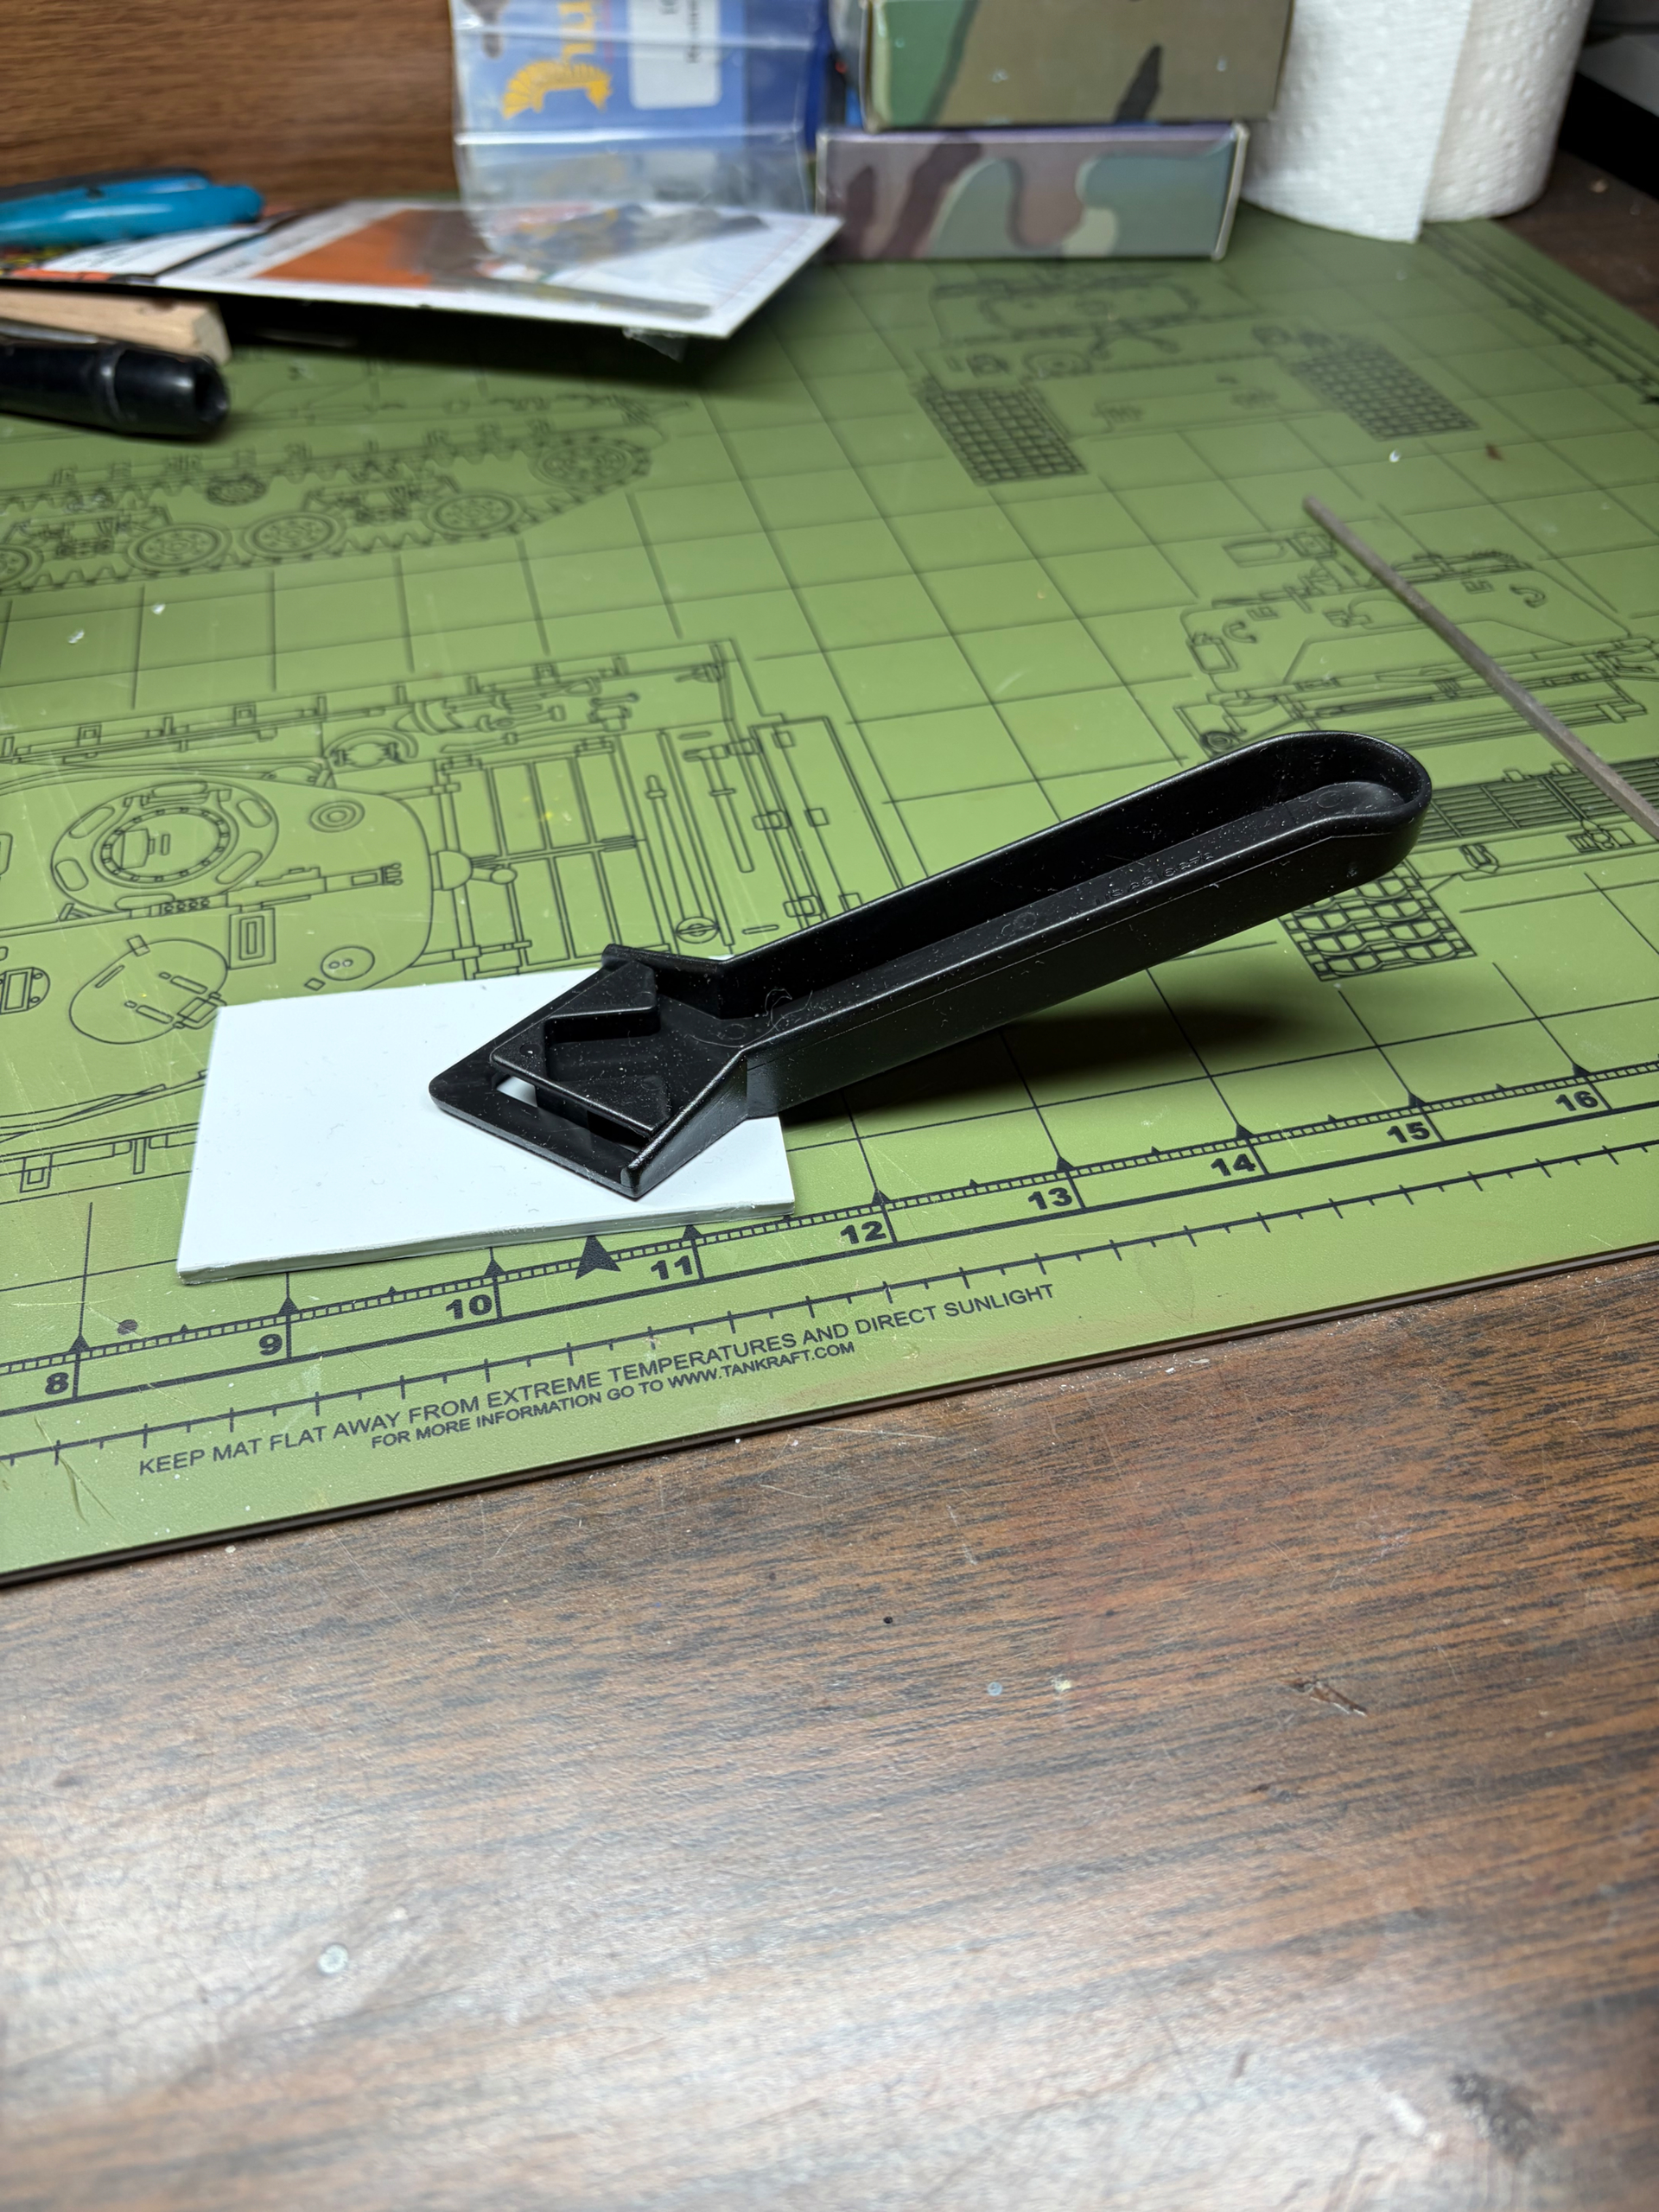
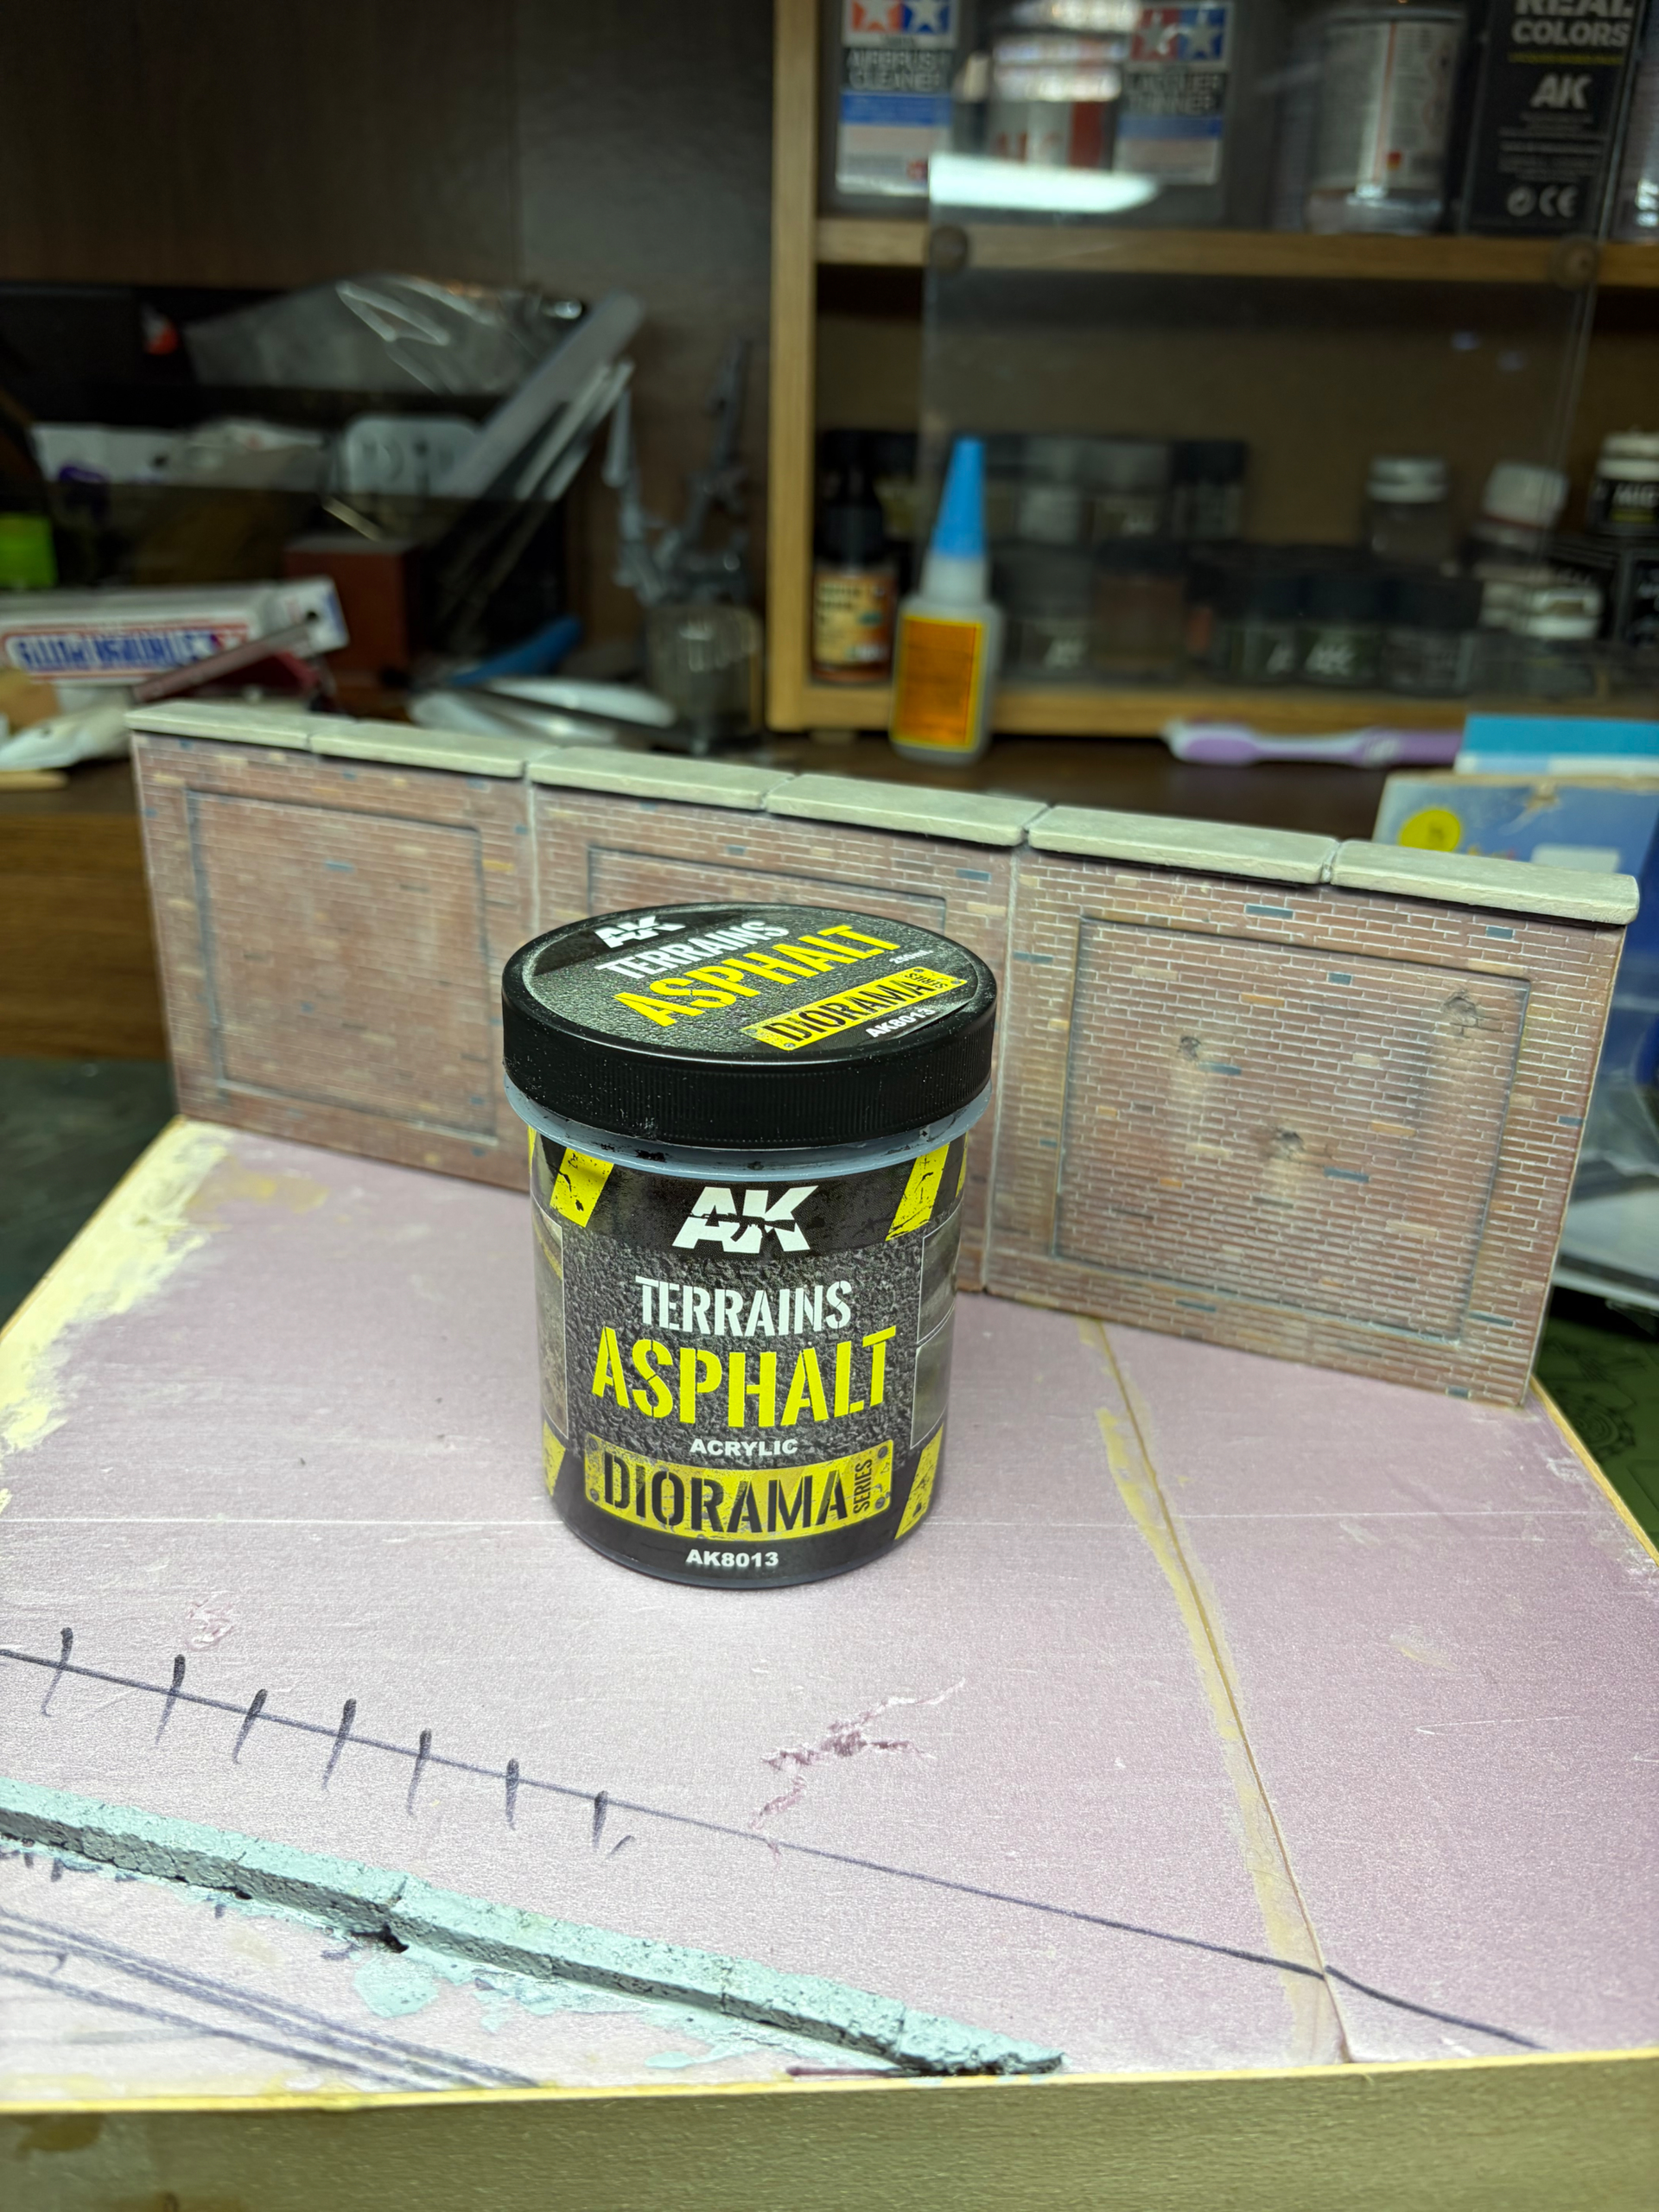
Today I applied the asphalt surface using AK Asphalt terrain product. It’s very thick and when I opened the container, there was a layer of water on top. I spent several minutes mixing it with a metal rod. It is an acrylic product that does thin out with the use of water. First time I’m using the stuff so I was a little nervous. It does take some work to spread it around and smooth it out. As I said, you need the water and it helps a lot. I had originally made a spatula from an old plastic caulk tool I found in the garage which I then superglued a piece of plastic to, but it snapped off about 5 seconds after I started. So I used my old spackle knife. It also depends on how big a surface you are applying it to, smaller bases are easier to manage I would think. Working time is pretty good. I went back and smoothed out a few raised areas with water and a small oil painters spatula. Let’s see how it looks when dry.