T-34 Mania!

So after months pause on building I decided to challenge myself to actually build. Started out with a Tamiya M51, but with the T-34/85 campaign I thought to myself, why not?? Having a whole lot of T-34’s in the stash I decided why just stop at one? I have a whole lot of T-34’s, most of them Dragon.

Basically, the challenge to myself is to build as many of them as I can. Motivate myself to get something done. Managed to finish 10 last year, so let’s see how many I can get this year.

Here are just a few of what I plan to build:

and there’s a bunch of others not pictured and about five that have been sitting partially finished.

Along side my entry for the T-34/85 campaign, I also worked on six others:

The two with the most progress as of now are the NVA T-34/85:


And bed spring armor T-34/85:

Both with brass grab handles

And on of my partial builds I want to finish is the “British T-34” proposal I read about years ago.

Feeling pretty motivated, and this is my first blog, so I’ll be posting here as I make progress.

Thanks for looking.

7 Likes

Tuned in and watching. :nerd_face: :nerd_face:

I am with Nikos. :popcorn:

Started work on the SU-122P. On all these builds, I’m going brass rod for grab handles. Also shaved off the molded on tie downs and glued new ones. I went ahead and shaved off the tie downs on the fender ends, drilled through the fenders, and glued in new loops using styrene rod.

Ran into an issue where the top hull half wouldn’t go into proper place because the rear plate was slightly to wide. Solved it by slightly sanding the right side. Had a bit of a time trying to get the two little hinge parts glued down properly. Had to use plenty of tape to get it to let the rear plate sit right.

Going on to the front plate, the sides stick out over 1mm. Though this is more a result of the top hull being simplified for the Orange Hobby release. On the regular DML release, there would be two additional side plates that would be glued there, but not here. Just had to trim it down slightly to get it to look right.

Of course the joining plate, the top part sits nice and flush, but the bottom…

Nothing some filler can’t fix though.

No PE here, so I had to provide my own. I’ve taken a liking to the Alliance Model Works set. Cutting out the mesh area took a couple minutes by working an X-acto blade around and progressively going deeper.

And here’s today’s results. You can better see the tie downs. There were only three molded on tie downs on the rear of the hull and none up front. There are a total of nine tie downs, with four missing on the front right hull. Four are on the A sprues and I had to source the rest from my spares. Notice on the right fender right by the styrene tie downs, the “ribs” just stop half way when they should go all the way to the hull. My guess is molding mishap. Thought about shaving them off and adding them with styrene, but tossing a tarp there is an easier thing to do.

Stay tuned for more.

2 Likes

Continuing some work on the SU-122P. There’s a joining triangular piece behind the case mate. Again, since there was suppose to be an additional side piece to the casemate sides, this piece is too big…

Another view. Also the additional side plates would have had the location marks for the pistol port and grab handle. Had to take a guess as to their exact location here. The bulged part for the copula also didn’t quite fit because of that darned side plate, big gaps near the top. Solved when I did weld marks with two part epoxy.

Putting together the distinguishing feature of the SU-122P, the big 122mm D-25S gun. The gun is a spare from a Tamiya kit. Had to ream out a bit of the kit mantle and remove the bolts to get the gun to fit.

The front end parts in place,

Welds are done with two part epoxy. Can’t see it well, but the light and horn are wired with some thin wire. The top part of the kit joining piece was cut to size and glued in place. Then I had to make the other half of the piece with sheet styrene.

Slow progress on the Vietnamese T-34/85. Seems when I built my Chinese T-34-1 (shorter,flatter top hull)shown here:

seems I lifted a bunch of parts from the Vietnamese T-34 kit for the other build. Though I was able to then lift some parts from a trashed bulid.

Lights and horn wired up. Added grab handles on the hull. The instructions show you the MG barrel and cover as one piece for some reason. No, you have to add the kit MG and it’s mount and then slide the cover over it. Though just gluing just the barrel to the front of the cover is easier.

Some of the reclaimed parts also include the box on the side and the PE grille, still in green. Now my only problem is I also lifted the fuel drums/mounts for use in the other build. Though the bed spring t-34/85 kit has some PE ones that I’m not using. So I could use those…

Speaking of the bed spring T-34/85, made quite a progress on that one. Have to cut off the flat fenders for rounded ones, though I think I’ll go fenderless. Also plugged up the locating holes for the fuel drums, since you cant mount them with the bed spring armor on the hull sides.

That’s where I’m at, thanks for looking.

4 Likes

image
I stole this…

Fenderless

1 Like

Cool, thanks. I will be keeping it fenderless.

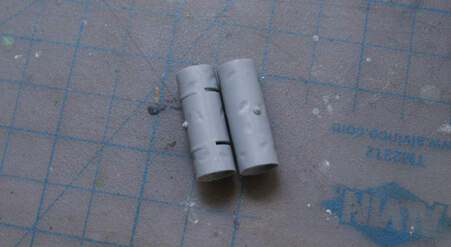
On my NVA T-34/85 I’ve made little progress. Managed to get some rear fuel drum holders and started work on the rear fuel drums. One thing I don’t like about the dragon drums is they never align very well. Lots of sanding and filling, I always also shave off the straps and make my own out of scrap brass from left over etch sprues.

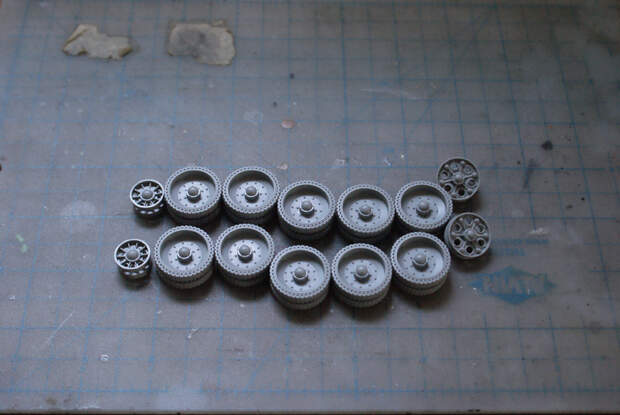
While I was working out the fuel drum situation on the Dragon kit, I started work on the Academy T-34/85. I gotta say I rather like the way the did things. Though they over did it on the cast marks. Hull sides and suspension went together real easy, and link and length track made for a quick job. The front idler arm hole is notched so I fits in one position, no Dragon-esqe fooling around with that part trying to get it into the right spot.

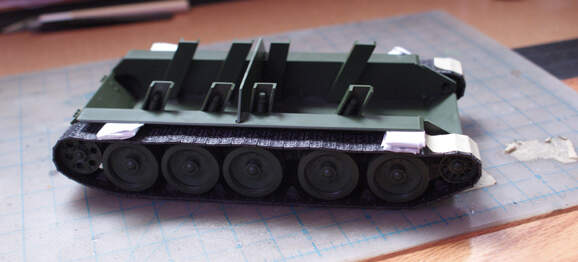
One thing that’s good/bad is the running gear fits on nice and loose. Maybe a bit too loose, as if I move it just about any way, the tracks/wheels come right off. Convinient for painting, but annoying if it’s just sitting there and I need to move it.

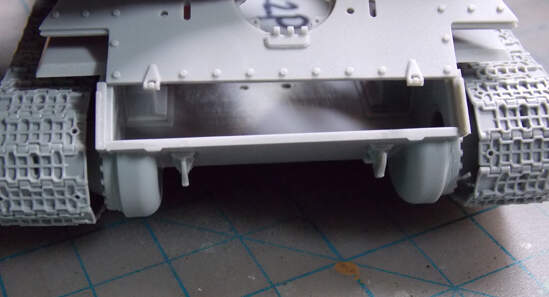
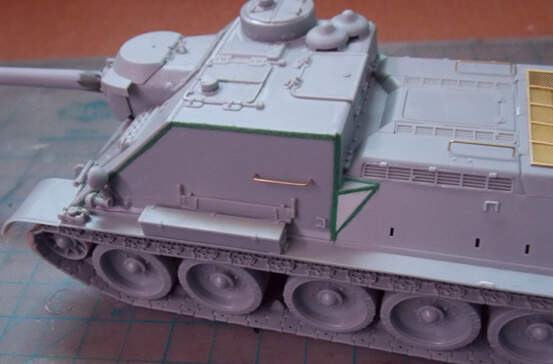
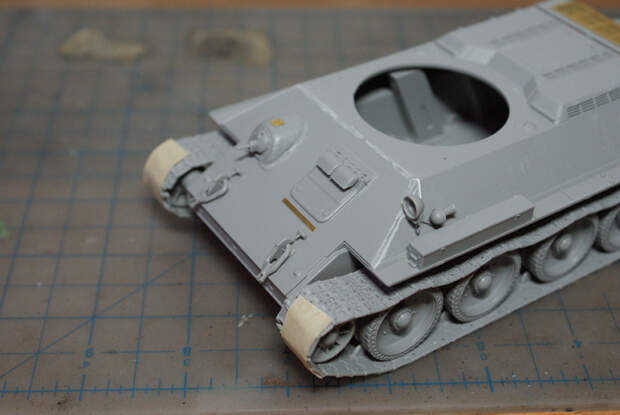
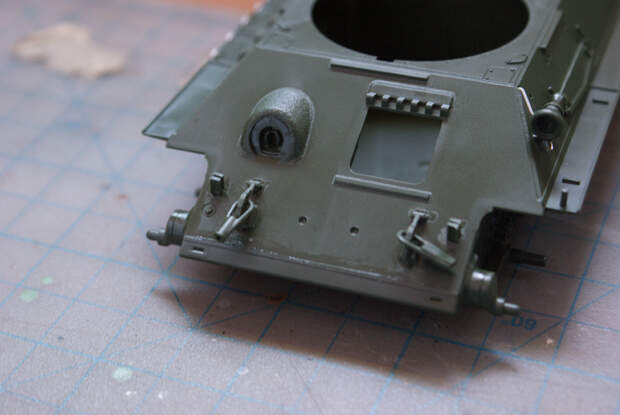
Some work on the front end. Cleaning up the tow rope ends was quick. The way they worked out the MG/mount is great and easier than the way Dragon goes about it. There’s this odd raised part where the hull and the joining piece meet, that’s smooth. That’s supposed to be a weld… Guess I’ll take a razor and some glue to it to make it look the part. Also wired up my light and horn.

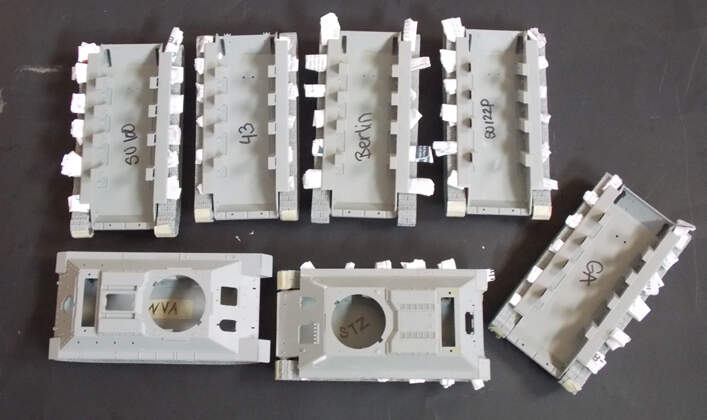
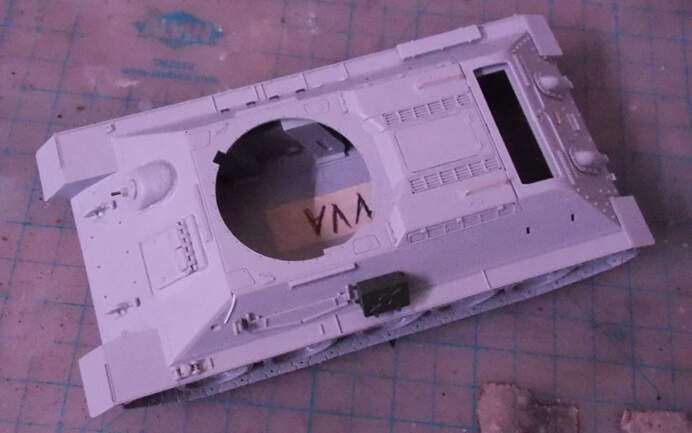
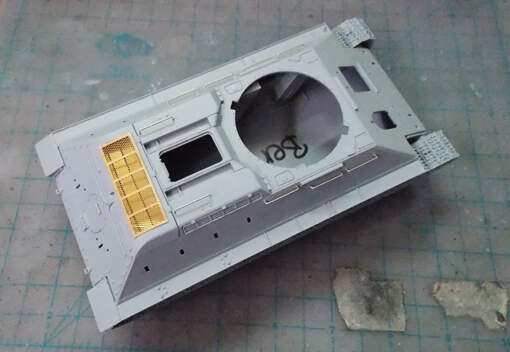
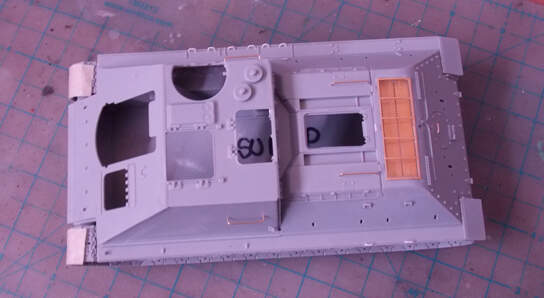
Gotta say I really liked the way the hull halves join. The sponsons/fenders are molded to the lower hull. Makes for a cleaner look. The instructions didn’t mention it, but you gotta drill holes for the the fuel drum holders. So I didn’t do it, and only noticed when I went to mount the fuel drum holders and saw they had locating nubs. And right after I had already glued the two halves… every time…
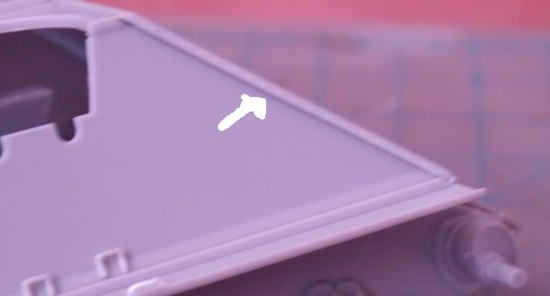
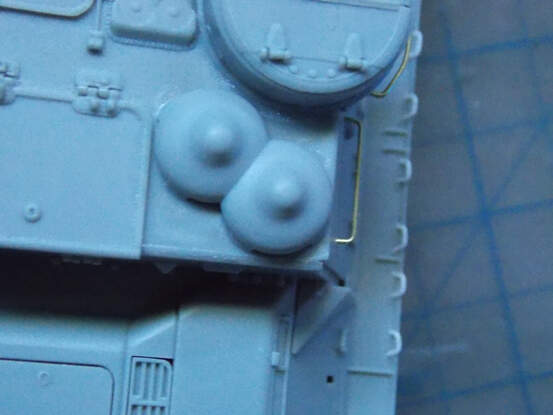
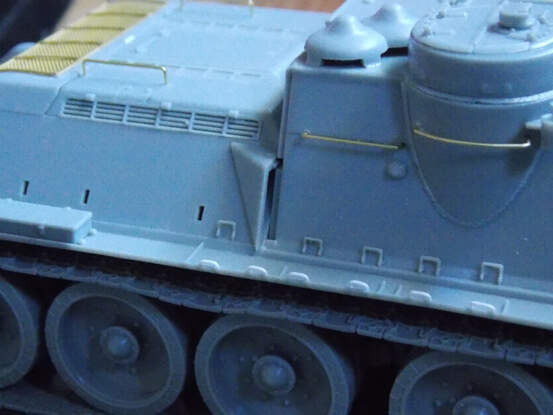
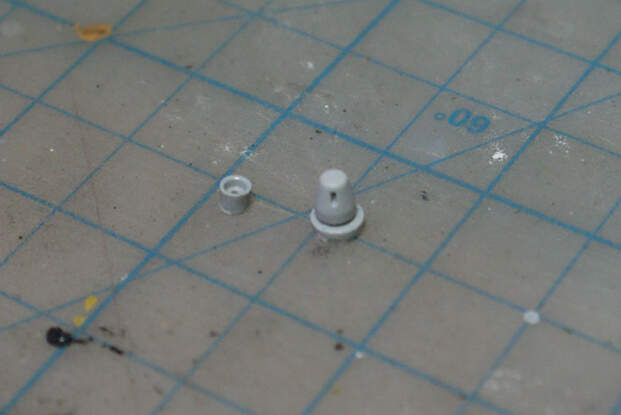
Added brass grab handles, swapped the kit string for wire tow ropes, front fenders go on real easy and the two towing shackles on the front left of the hull feel a bit too small and flat but I let it slide. One thing that is missing there is the part that holds the shackles down, which I added a spare but it’s a bit blurry in the picture.

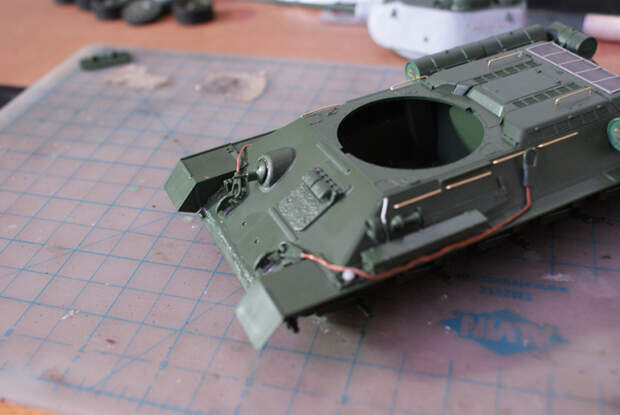
The kit engine grille is nice but I don’t if it was just me, but it kept lifting up after getting glued down. Had to go back a second or third time to get it to say. The fuel drums were really nice and easy to work with. Lined up nice and only need minimal sanding, the holder is one part (a bit fragile) and is a lot nicer than the multi part Dragon affair. There is a noticeable gap around the inside of the drums, so a bit of filler was used, scraped off the molded on handles and used some spare PE ones. And as is my custom now, scraped off the molded on tie downs and replaced them.

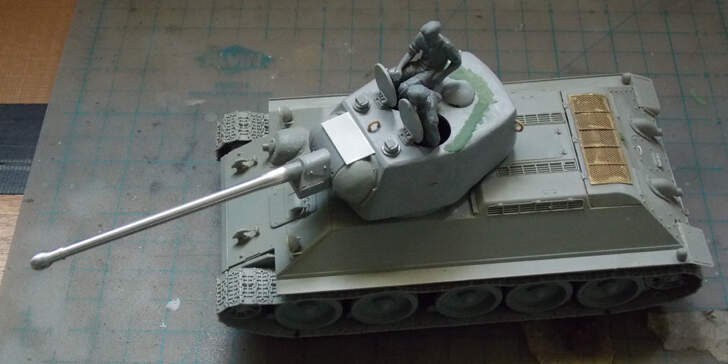
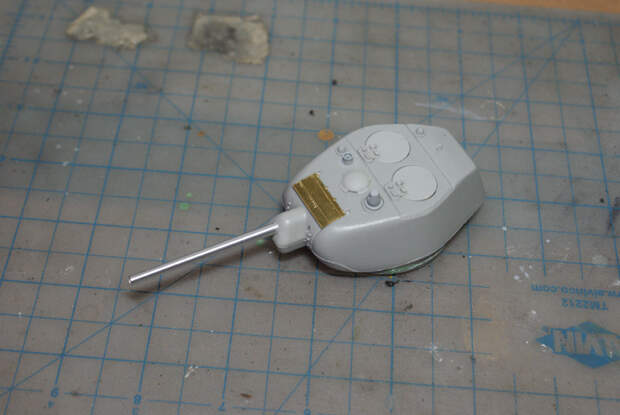
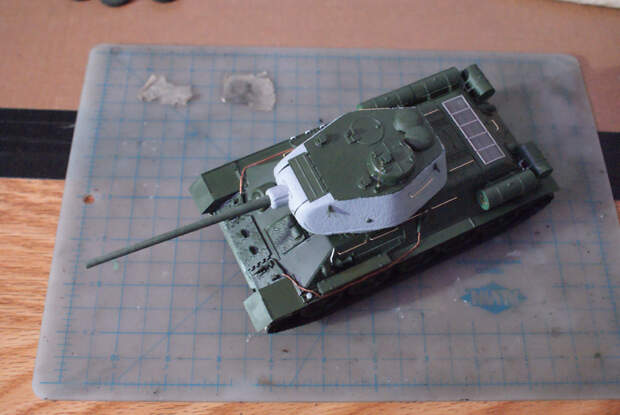
Then on to the turret, what can I say about it. It’s pretty simple and goes together real quick. No need to glue on parts for the turret cheeks like on the Dragon kit, but the turrets are slightly different. Though I did try to tone down the cast marks by sanding it a bit and using some Mr.Surfacer 500 to fill in some of the dips, but I think the effect was minimal and I just let it go. I also toned down the “casting seam” between the two turret halves, looked more like weld seam to me.

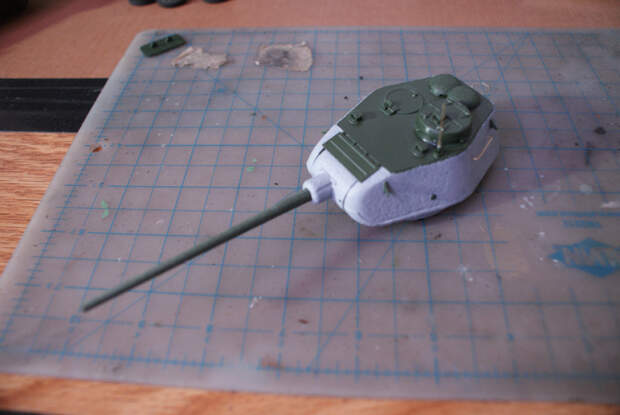
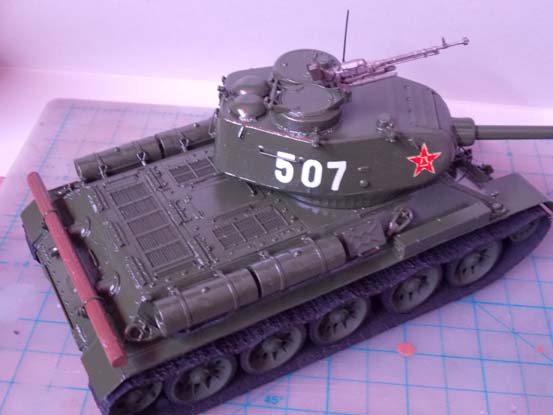
Here’s where it stands, mostly done. I want to try and make my own rolled up tarp on the rear of the turret, so I’ll finish this one up a bit later.

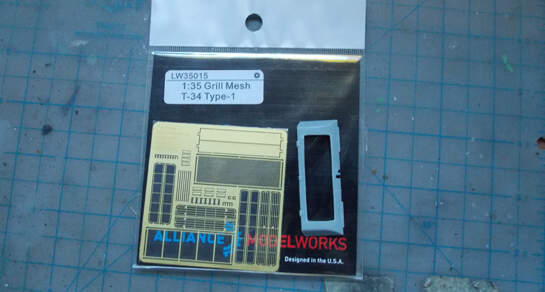
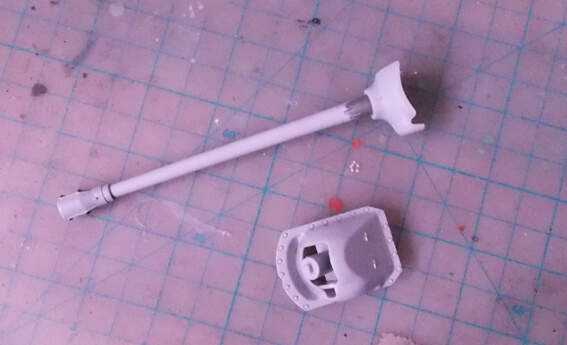
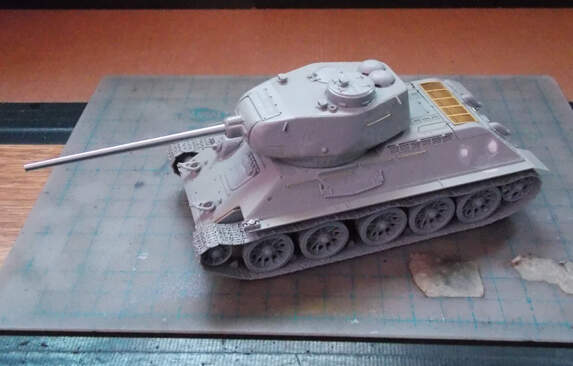
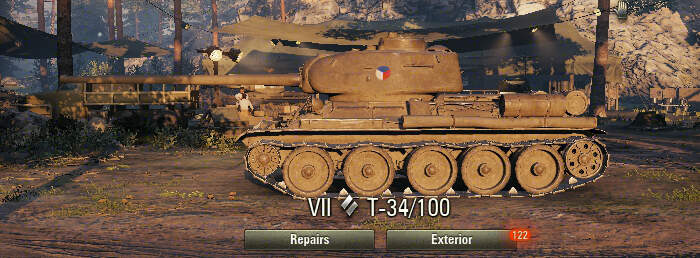
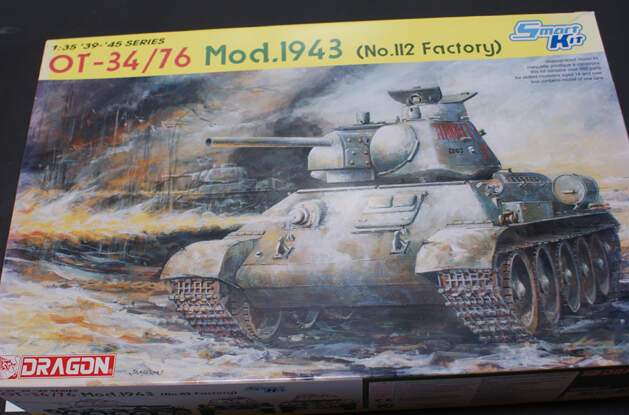
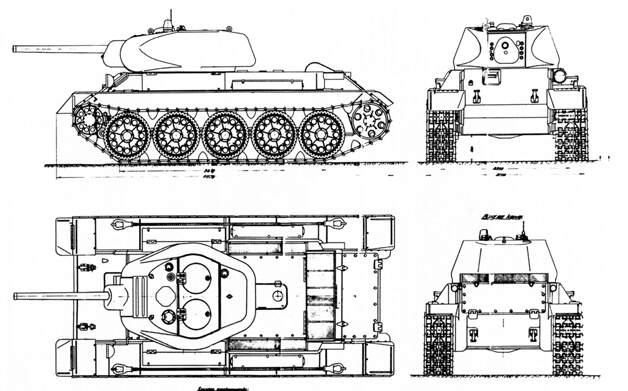
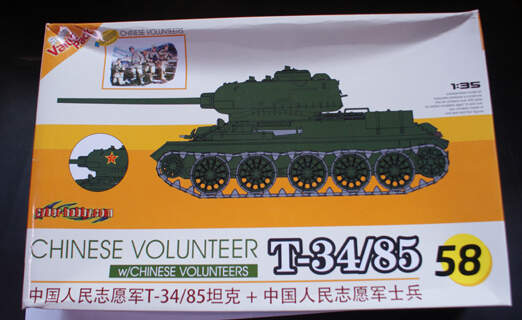
And while I was at it, I picked this up to source the fuel drum holders. Though I do have plans for this kit. I’m thinking either a T-34/85M (not the post war builds, the prototype with a different rear end with two large internal fuel tanks) or the Kontruckta T-34-100 variant 1 as seen in World of Tanks.

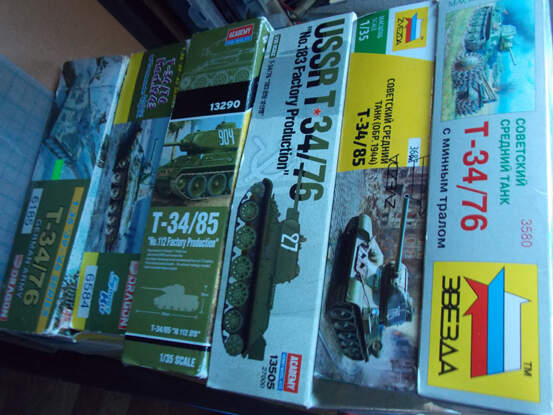
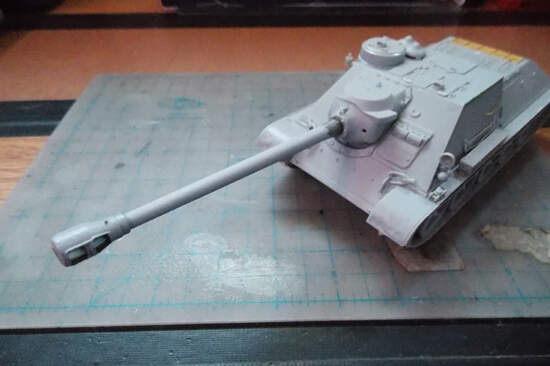
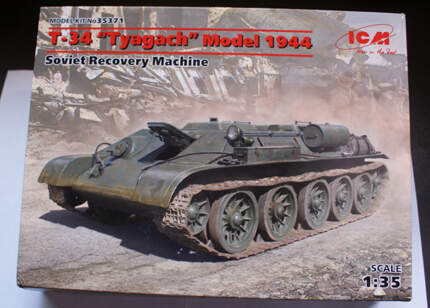
And while I was in the shop, this caught my eye and was the right price…

And while searching for something, I found these two oldies in the stash

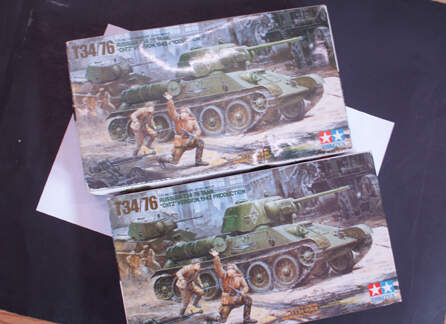
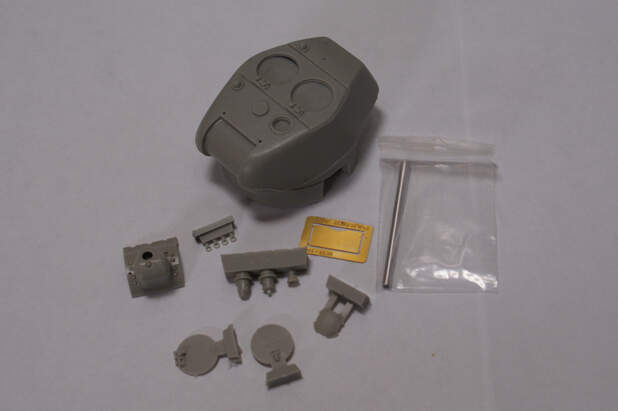
Want to build one as is, improving what I can. The second one also improved including the left over turret from the ICM kit. Oh yeah, the parts are there for a complete turret.

EDIT:
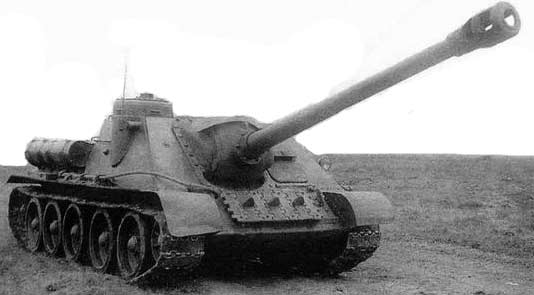
MMMMMMMMMMM, D10T on my T-34…

5 Likes

So… what is the Britiah T 34?
Was the SU 122P a what if, or were they manufactured?

After Testing the T-34 and KV-1, the British seemed to like both tanks. And in one report it claims

“Please advise representatives of the purchasing commission in England what to do regarding building T-34 and KV tanks. If the English really want to mass produce these tanks, I would like to know what changes they make to their construction and keep track of their efforts.”

“Additionally, in our conversations, we have learned that:
a) the T-34 and KV vehicles will be produced for the British army. The former will be equipped with a 17-pounder, the latter with a 6 inch howitzer.”

“The T-34, on which they adore both the gun and the sloped front armour, is deemed to have satisfactory armament for a tank of that type. However, the English wish to outdo us and replace it with a 17 pounder gun.”

“Re-armament requires some modifications, and will take time, but, taking into account the manufacturing power of England and her dominions, we could very well see a T-34 with a 17-pounder gun and a KV with a 6 inch howitzer in our time. The fact that the English expect to produce our tanks is almost not hidden from us. This was established in conversations with workers of the Scientific-Investigative Tank Proving Grounds, and is backed up by other evidence. For example, when visiting an English gun factory near Liverpool, journalist [illegible] was informed that the factory is getting ready to produce 17-pound guns for T-34 tanks, that the English will soon produce.”

So I ran with it as a “what if” .And also someone else cooked this up and I liked it:

The SU-122P was built and tested:

But it had its share of problems, mostly with a small ammo load and really tight work space, especially for the commander. The length of the gun also made problems when crossing rough ground.

2 Likes

Both look impressive.

I have thought about the ICM kit. I have grabbed the Def Model sets instead. One is made for a 76 and the other for a 85 kit. That might be more the factory difference cause the hills are the same and the resin is large enough to cover any kit turret ring size difference. I was going to make my own with the Tamiya kit you have. I had gotten some dragon link tracks to replace the kit rubber band tracks.

I like the idea of a British T-34.

Look forward to seeing more.

I’ve also was looking at the Def Model set online, but the ICM was there… Just how it goes sometimes.

Back at it again! Feels great to say I’m actually able to go back to work. Less bench time, but it feels good to go out and move around some.

Came across this online and for a couple bucks, didn’t seem too bad…

I also got it something to go on:

Finding any sort of info on this turret was hard, luckily an old post from the old forums came up. Seems this turret was designed and produced for testing for the planned T-34M. Seems some sources say some were produced and installed on some T-34’s, others say there isn’t any proof they ever where…
T-34M, you’re new and improved T-34, now with torsion bar suspension!

So let’s slap it on a T-34 I say! Came in a small box with few parts in resin with a PE part and turned metal barrel. Casting gates were at the bottom of the turret with a large opening . Actually sitting the turret on any hull was not happening, but I quickly fixed that. Also the PE part for the mantle cover was the wrong one it seems, had a cut out and was too small… but this too will be fixed.

First order of business was to make it possible to sit this turret on a hull. I sat the turret down on a piece of styrene and outlined it and cut it out. Roughly, I should say.

Next I would have to make my own turret ring. Easy enough, just some long lengths of strip styrene of the right size wound on itself in layers and glued in place. Being careful not to glue the ring itself onto the hull of course. Tape was a must as it kept trying to pop out…

After cleaning, some assembly of the turret was done. Just a few parts and your done, fit was ok. Super glued my turret ring base to the bottom of the turret. Yes, that part covers what was wide open except for a few mm around the turret sides. A bit of sanding and filling to get the shape right and to blend the turret ring base to the turret. Then it was using the MK 1 eyeball to get the turret ring to the right spot and gluing it in place.

Dunno, the running gear here seemed to go together faster than usual.

The order of the build steps is different than the other Dragon T-34’s. Also some PE bits on the front. This kit does have the driver’s hatch with the vision blocks, why don’t all of Dragon’s T-34 kits have them? Horn and light wired up and there was a noticeable gap between the front plate and hull. Don’t know why the kit has you build and place the tracks as the last step, but I’m doing it before I glue the hull halves together.

Hull rear is done too. Mounting points for the early style side strapped fuel tanks shaved off, as were the molded on fender tie down points.

Back to the turret. I wanted to add the later style armored periscope, sourced one from the spares along with it’s base. I drawings for the turret I saw had an antenna point on the roof. Cut the antenna pot in half.

I replaced the PE part that was in the box for the earlier mentioned reasons, thought I had a PE spare part from an Border Models etch fret. Man I love finding spares on the evilbay. Still needs some touch ups, but the turret is almost done. What’s left to do on the hull is simple. Should be done soon with this build.

And that’s it for this time.

3 Likes