Yeah, I don’t think it needs any special treatment for painting, and as for glue, I seem to remember not needing to use glue with it as it was sandwiched between the top and bottom turret pieces, and there is a normal piece of plastic that comes through the end of it to attach the barrel.
Momentary panic, there, Jim, as I wondered whether I had missed something (just glued the turret pieces before posting this). As it turns out, mine sits on the outside of the two turret parts. Interestingly, it says not to glue it, but it will need something to hold it in place. It isn’t simply the flexible part but also a riveted strip is included in the rubber part.
Ah, yes, I should have thought about the difference in the marks, sorry for the moment of Oh S#@*! Won’t the barrel push it into place once glued on?
The barrel holds it down in the middle which will be nice, but it’s still loose around the edges. I found a guy who did a build review of it (I think I had seen that in the past but forgot about it) and he says it sticks with ordinary plastic cement, so I’ll give that a try first.
I just primed the hull. I hope to get some paint on it this weekend.
Assembly complete except for the bits I need to paint before assembly. Primer on everything. I’ll try to get some photos after some pre-shading is done. Sadly that might take a bit. I’m planning to pre-shade with Olive Green and I believe that bottle is almost empty. Grrrrr. Right when I’m on a roll.
1 Like
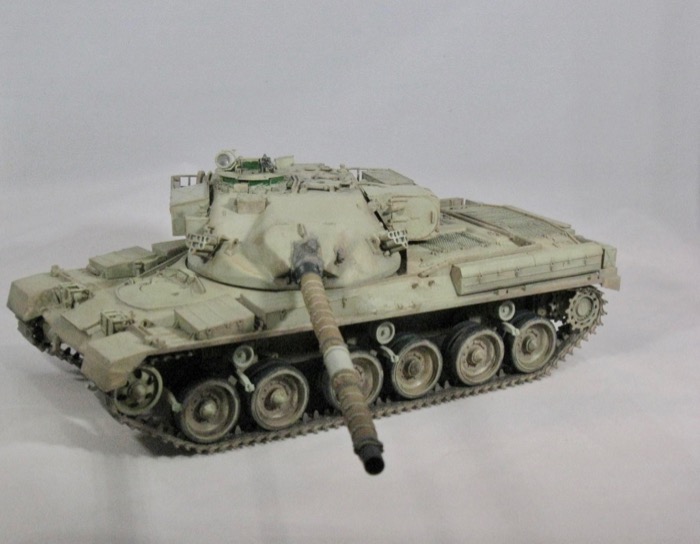
So I’m done with the painting mostly and on to the weathering stage. But I am still working on painting the gun barrel. A few questions:
- There is part of the thermal sleeve that is pulled over the bore evacuator with something that looks like it holds it in place. It doesn’t seem to have any clasps. What is that and what is it made of. Looking at pics online it looks like it is a dark gray color…
- What are those rectangular things on the thermal sleeve both above and below the bore evacuator? It looks like they are screwed onto something in the pics I see but the kit shows them as smooth. What color should they be?
Not related to the gun barrel but the engine deck. I thought I read a comment that the Chieftain deck in particular was hard to keep clean. Should the whole thing be grimy or did grime collect in certain places?
Phil, just logging off from work so will try to help out with an answer a bit later when I get home unless someone beats me to it. They are all straight forward answers 
Phil.
The ends of the thermal sleeve that sit over the extractor are secured by large diameter jubilee clips. I’m sure you must them in the States, not sure if they have same name. Expanding steel bands done up or released by a screw thread.
The square bits you mentioned are flat and held in place by a couple of small screws. They helped keep the thermal sleeve from slipping off the extractor and the ones on the longer section of thermal sleeve were added protection for when the barrel clamp was used as the clamp sits on top of them and doesn’t wear against the sleeve.
The engine decks… Well, they did get very grimy and engines were very happy blowing oil and crap all over… However, they could be clean as well so it’s 50/50 how you want to show it. In those climates the dust and sand would accumulate and stick alot more around the engine deck as there would be a certain amount of residual build up… and don’t forget spilt diesel will attract the sand and dust as well… HTHs.
John
It does, thanks. What are the square bits made of? Or, really, how should I paint them?
Just hardened plastic … If you’ve done the thermal sleeve a sandy colour that will be fine on those as well. … or maybe a khaki drab colour and faded if you’ve gone for the normal green UK colour… I think alot were a sand tone though.
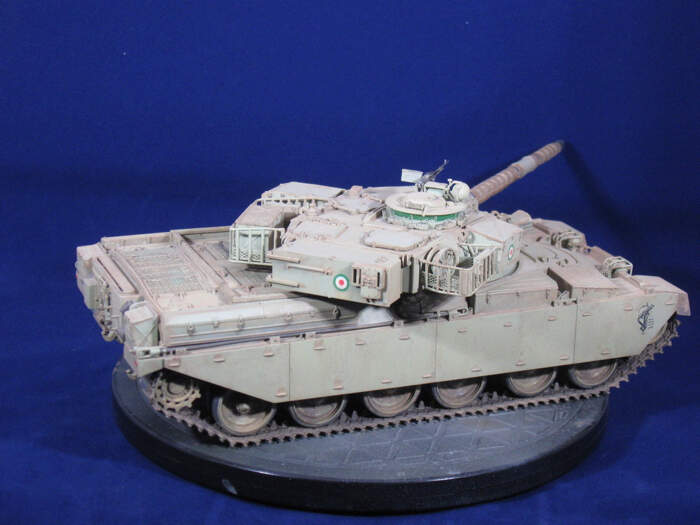
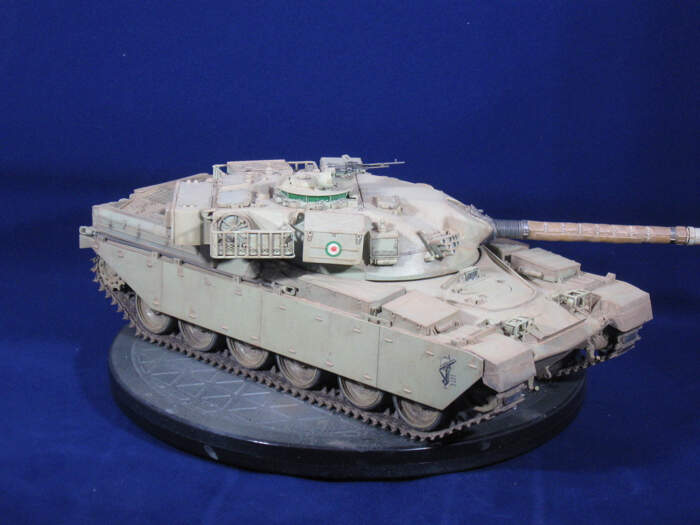
It’s getting close. I’ve had it painted and the first pass at weathering done for awhile. Started putting the parts together to this stage:
I haven’t weathered the gun at all (just forgot about it when I was dusting the other parts), so need to start on that. And I’m waiting for a lighter shade of sand for dusting it up with sand. Then I’ll attach the skirts and finish the weathering.
I also need to construct some stowage for it. The pics of tanks in the Iran Iraq war seem to be covered with all sorts of stowage.
This kit is awesome. I’m seriously thinking about doing another one soon it was so much fun.
6 Likes
Looking very sharp! All the colors look just right.
Good overall finish Phil, just the final few bits to do and it’ll be looking spot on.
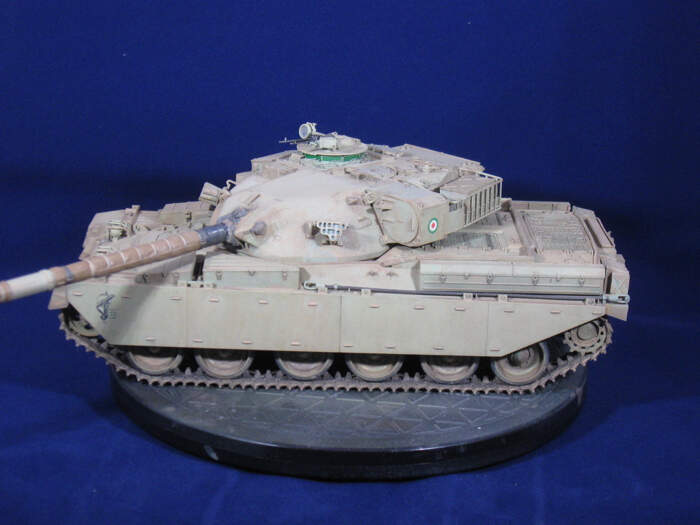
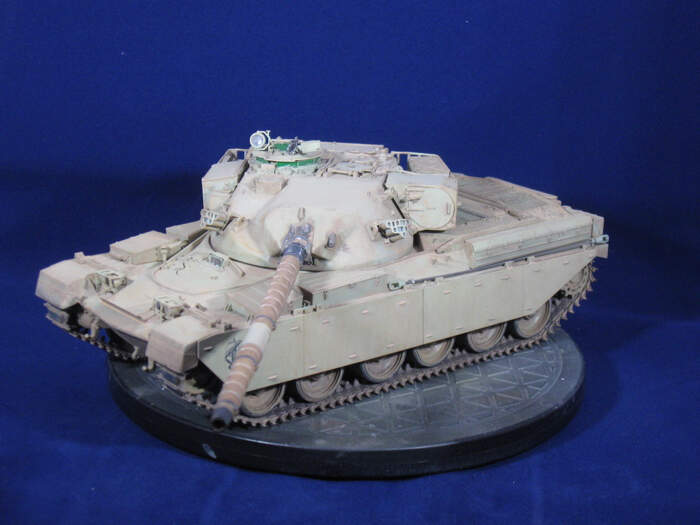
This is about done. Putting dullcote on got rid of the sheen on the decals on the skirts and I’m very happy about that. Photographing it made me see a couple of places I’d like to touch up. What color should the inside of the smoke dischargers be?
There are a bunch of small hatches on the back deck. I’m assuming one (or more) of them is where you put the fuel in but I have no idea which. I’d like to have a little fuel stain around that. And most of the pics I see of Iranian vehicles have the turret baskets filled with stowage (some of which looks remarkably like luggage…) so I’d like to add some of that.
But, man, this is a great kit. I want to do another one!

6 Likes
Did the same variant when the kit first came out. Nice job. Makes me want to do another Chieftain.
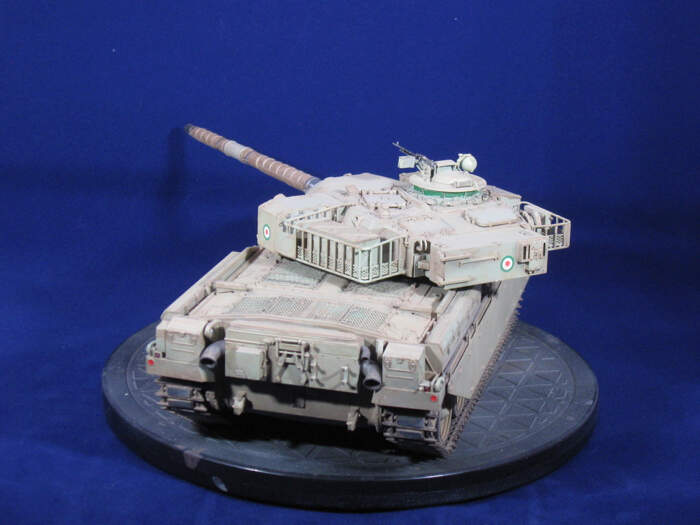
Nice. The small hatches at the back -
the 2 outer either side are for fuel, the inner ones coolant & hydraulic fluid …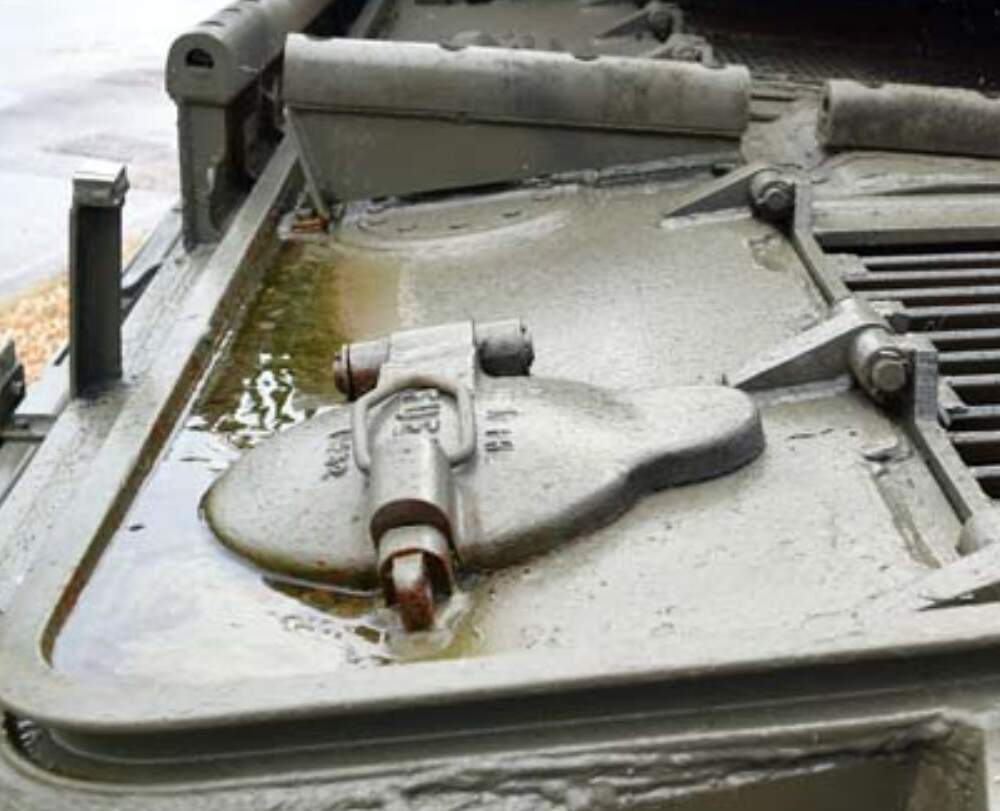
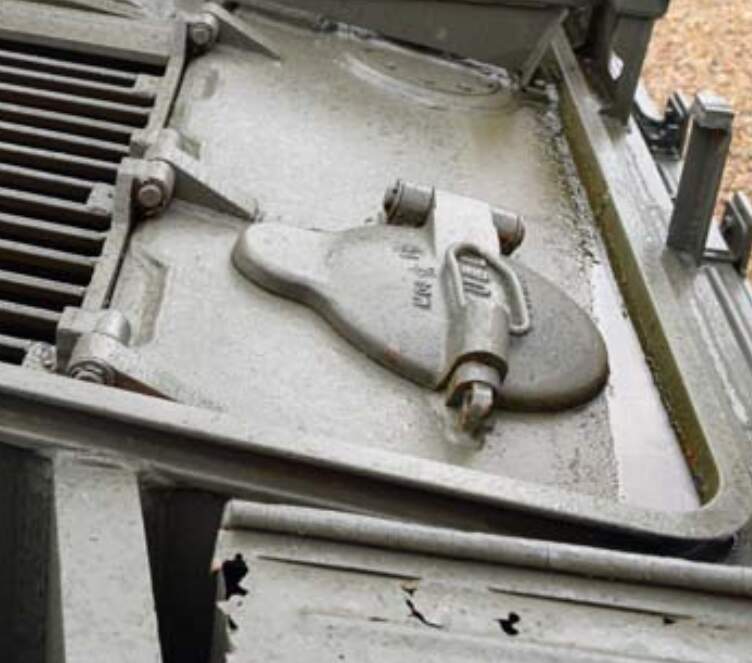

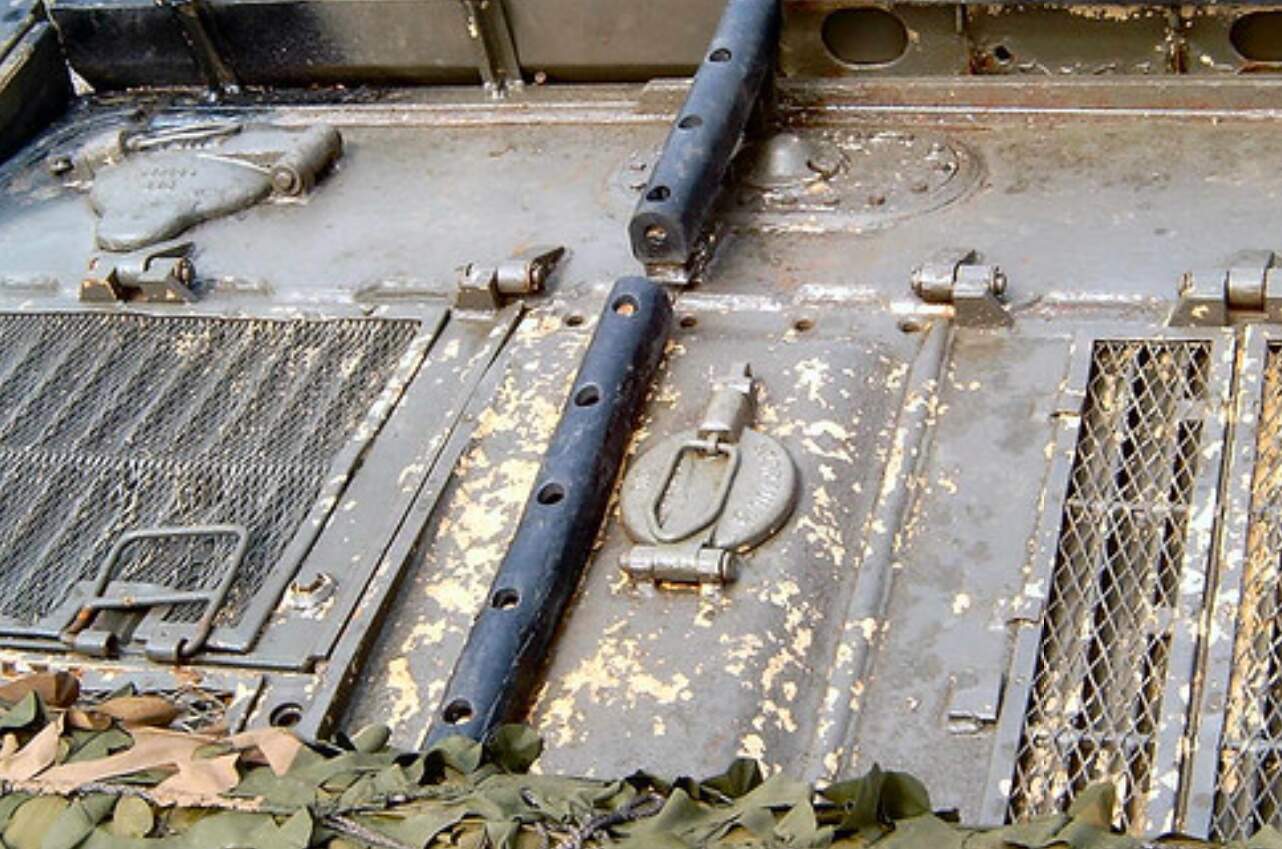
Forgot to mention there are 2 more fuel hatches, either side at the forward end of the deck, mostly hidden my the turret bustle.
Mal
Looks really nice Phil. And ref the engine deck caps, as Mal said
Looks great Phil. Really nice job there!
Rich
Missed the bit about inside of the MBSGDs,… The grenade holes are normally a dull aluminium colour, the elongated and oval cutouts Inbetween the grenades are just space savers and would be the vehicle colour. John
Nice one Phil! Looks great and nice to see another version of the Chieftain.
Cheers, Jim.