Tamiya 1/12 Lotus 49

Richard,
Oh WOW!!
On all the early Ebbro Lotus 1/20 scale kits the shift lever and knob don’t look anything like the real deal either. Your scratch built unit especially the linkage is just amazing. The knob is actually a highly finished wooden knob with the Lotus emblem on it. As a sports car nut, these type of knobs were available as an aftermarket item, so my MGB had one with the MGB logo, and a Nardy wood wheel that cost a mere fortune.
Excellent job on the bottom of the driver’s compartment. I’ve never heard of High Build Primer before. Who makes it as I already have plans for it.

joel

1 Like

RDT1953

5m

Interior largely done - sidewalls painted grey .
Box at bottom of tub under dash done with aluminum foil .
Seat and gear lever well Tamiya semi gloss black .
Dash flat black and bezels/switches picked out with silver permanent marker . Instrument lenses of clear styrene set with Future . Knob on gear lever base color sand yellow - woodgrained with burnt umber oil paint . Lotus emblem on top painted with yellow and green - Future clear coat over all.
I purchased another set of Tamiya rivets as used on my RC 166 motorcycle build and used them on dash , gear lever well , sidewalls and seat .

Now on to stripping chrome and starting suspension.

4 Likes

Richard,
I’m just amazed at the transformation of that lowly Tamiya Lotus 49 interior to what you’ve transformed it into. BTW, the wooden shift knob looks fantastic as does your IP.

joel

1 Like

Thanks Joel - I’m starting to like this model a little more but I am certain there are more pitfalls lurking.

Richard,
Don’t laugh, but I’m actually looking forward to those pit falls, and seeing how a master modeler solves them. So far you’re batting 1.00%, which even the Babe never got close to.

joel

1 Like

RDT1953

1m

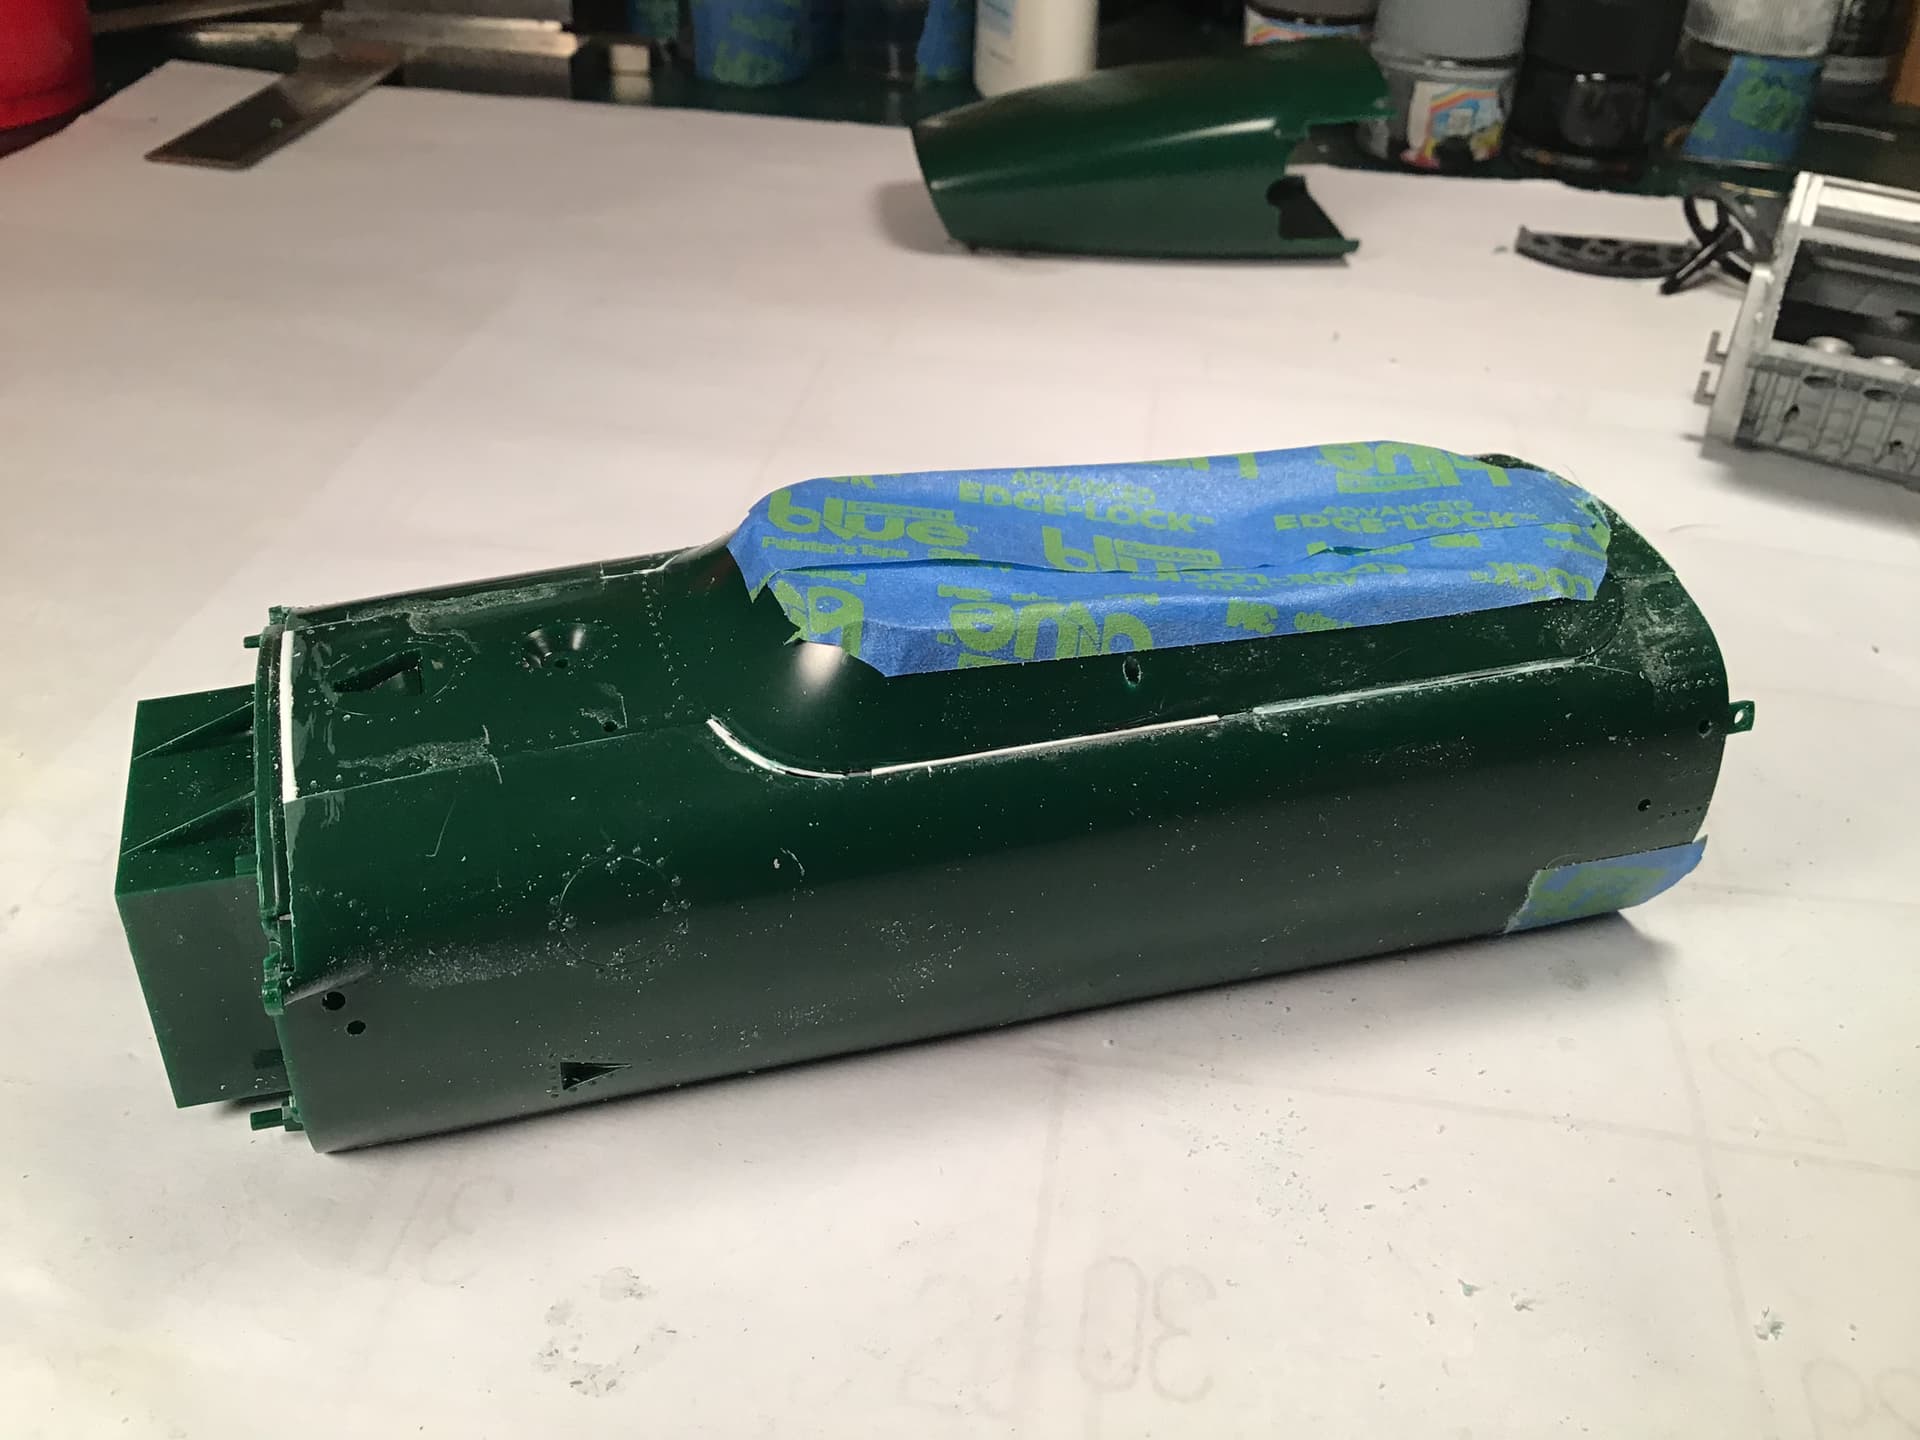
Beginning to sort out the issues of the ill fitting coaming .
In addition to the poor fit there is next to no contact area down each side between the monocoque and the coaming , making it difficult to get a strong joint .
Gaps filled with sheet styrene. Going to need Archer resin rivet decals to replace rivet detail after filling and sanding.

@Joel_W
This is the high build primer I am using …

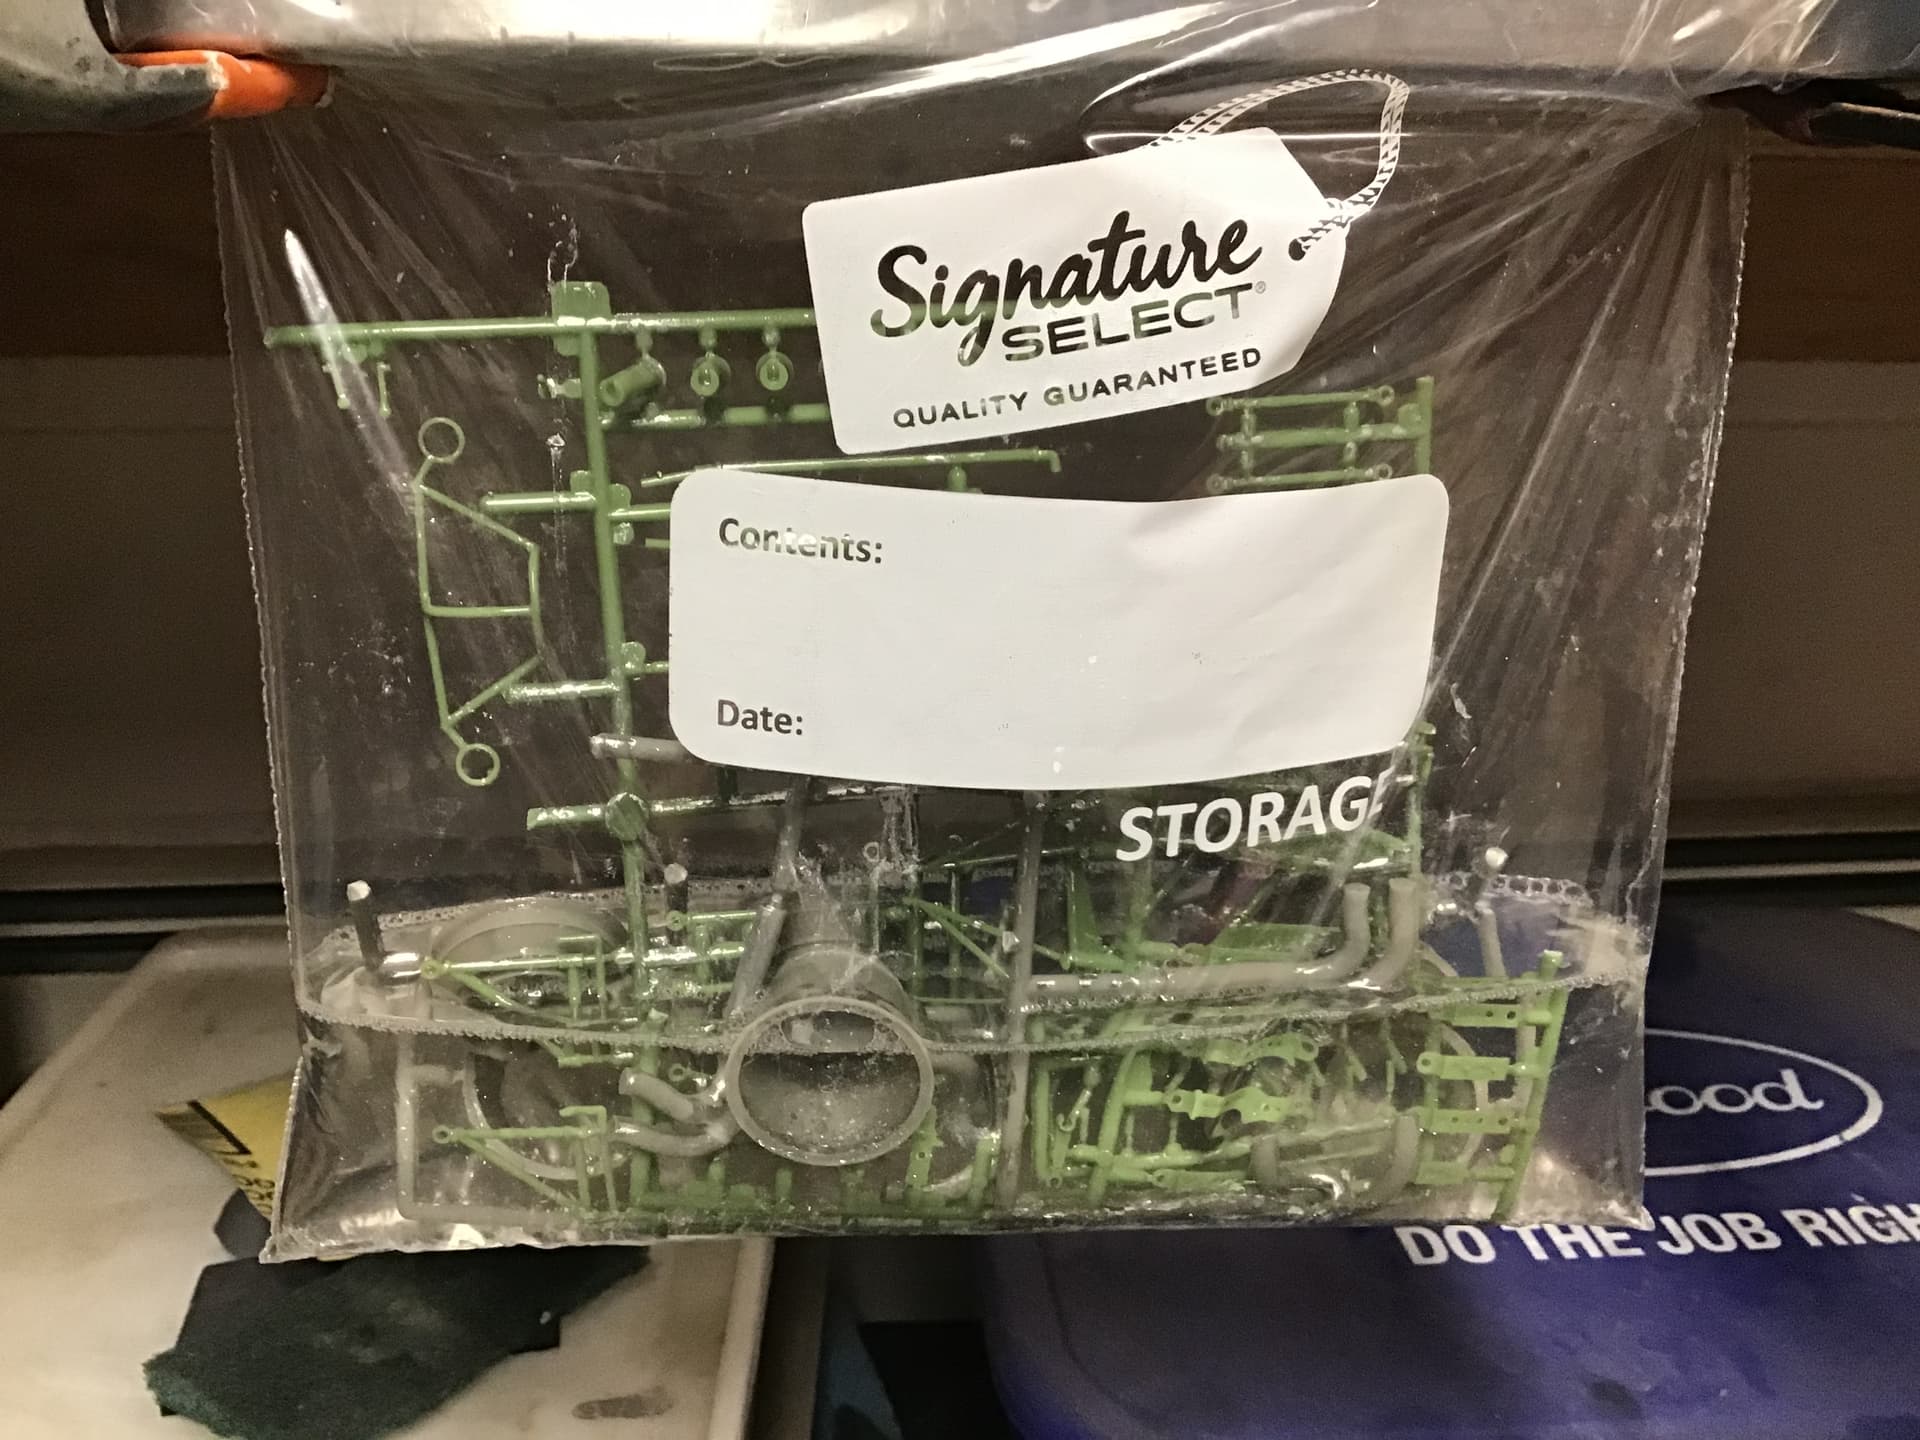
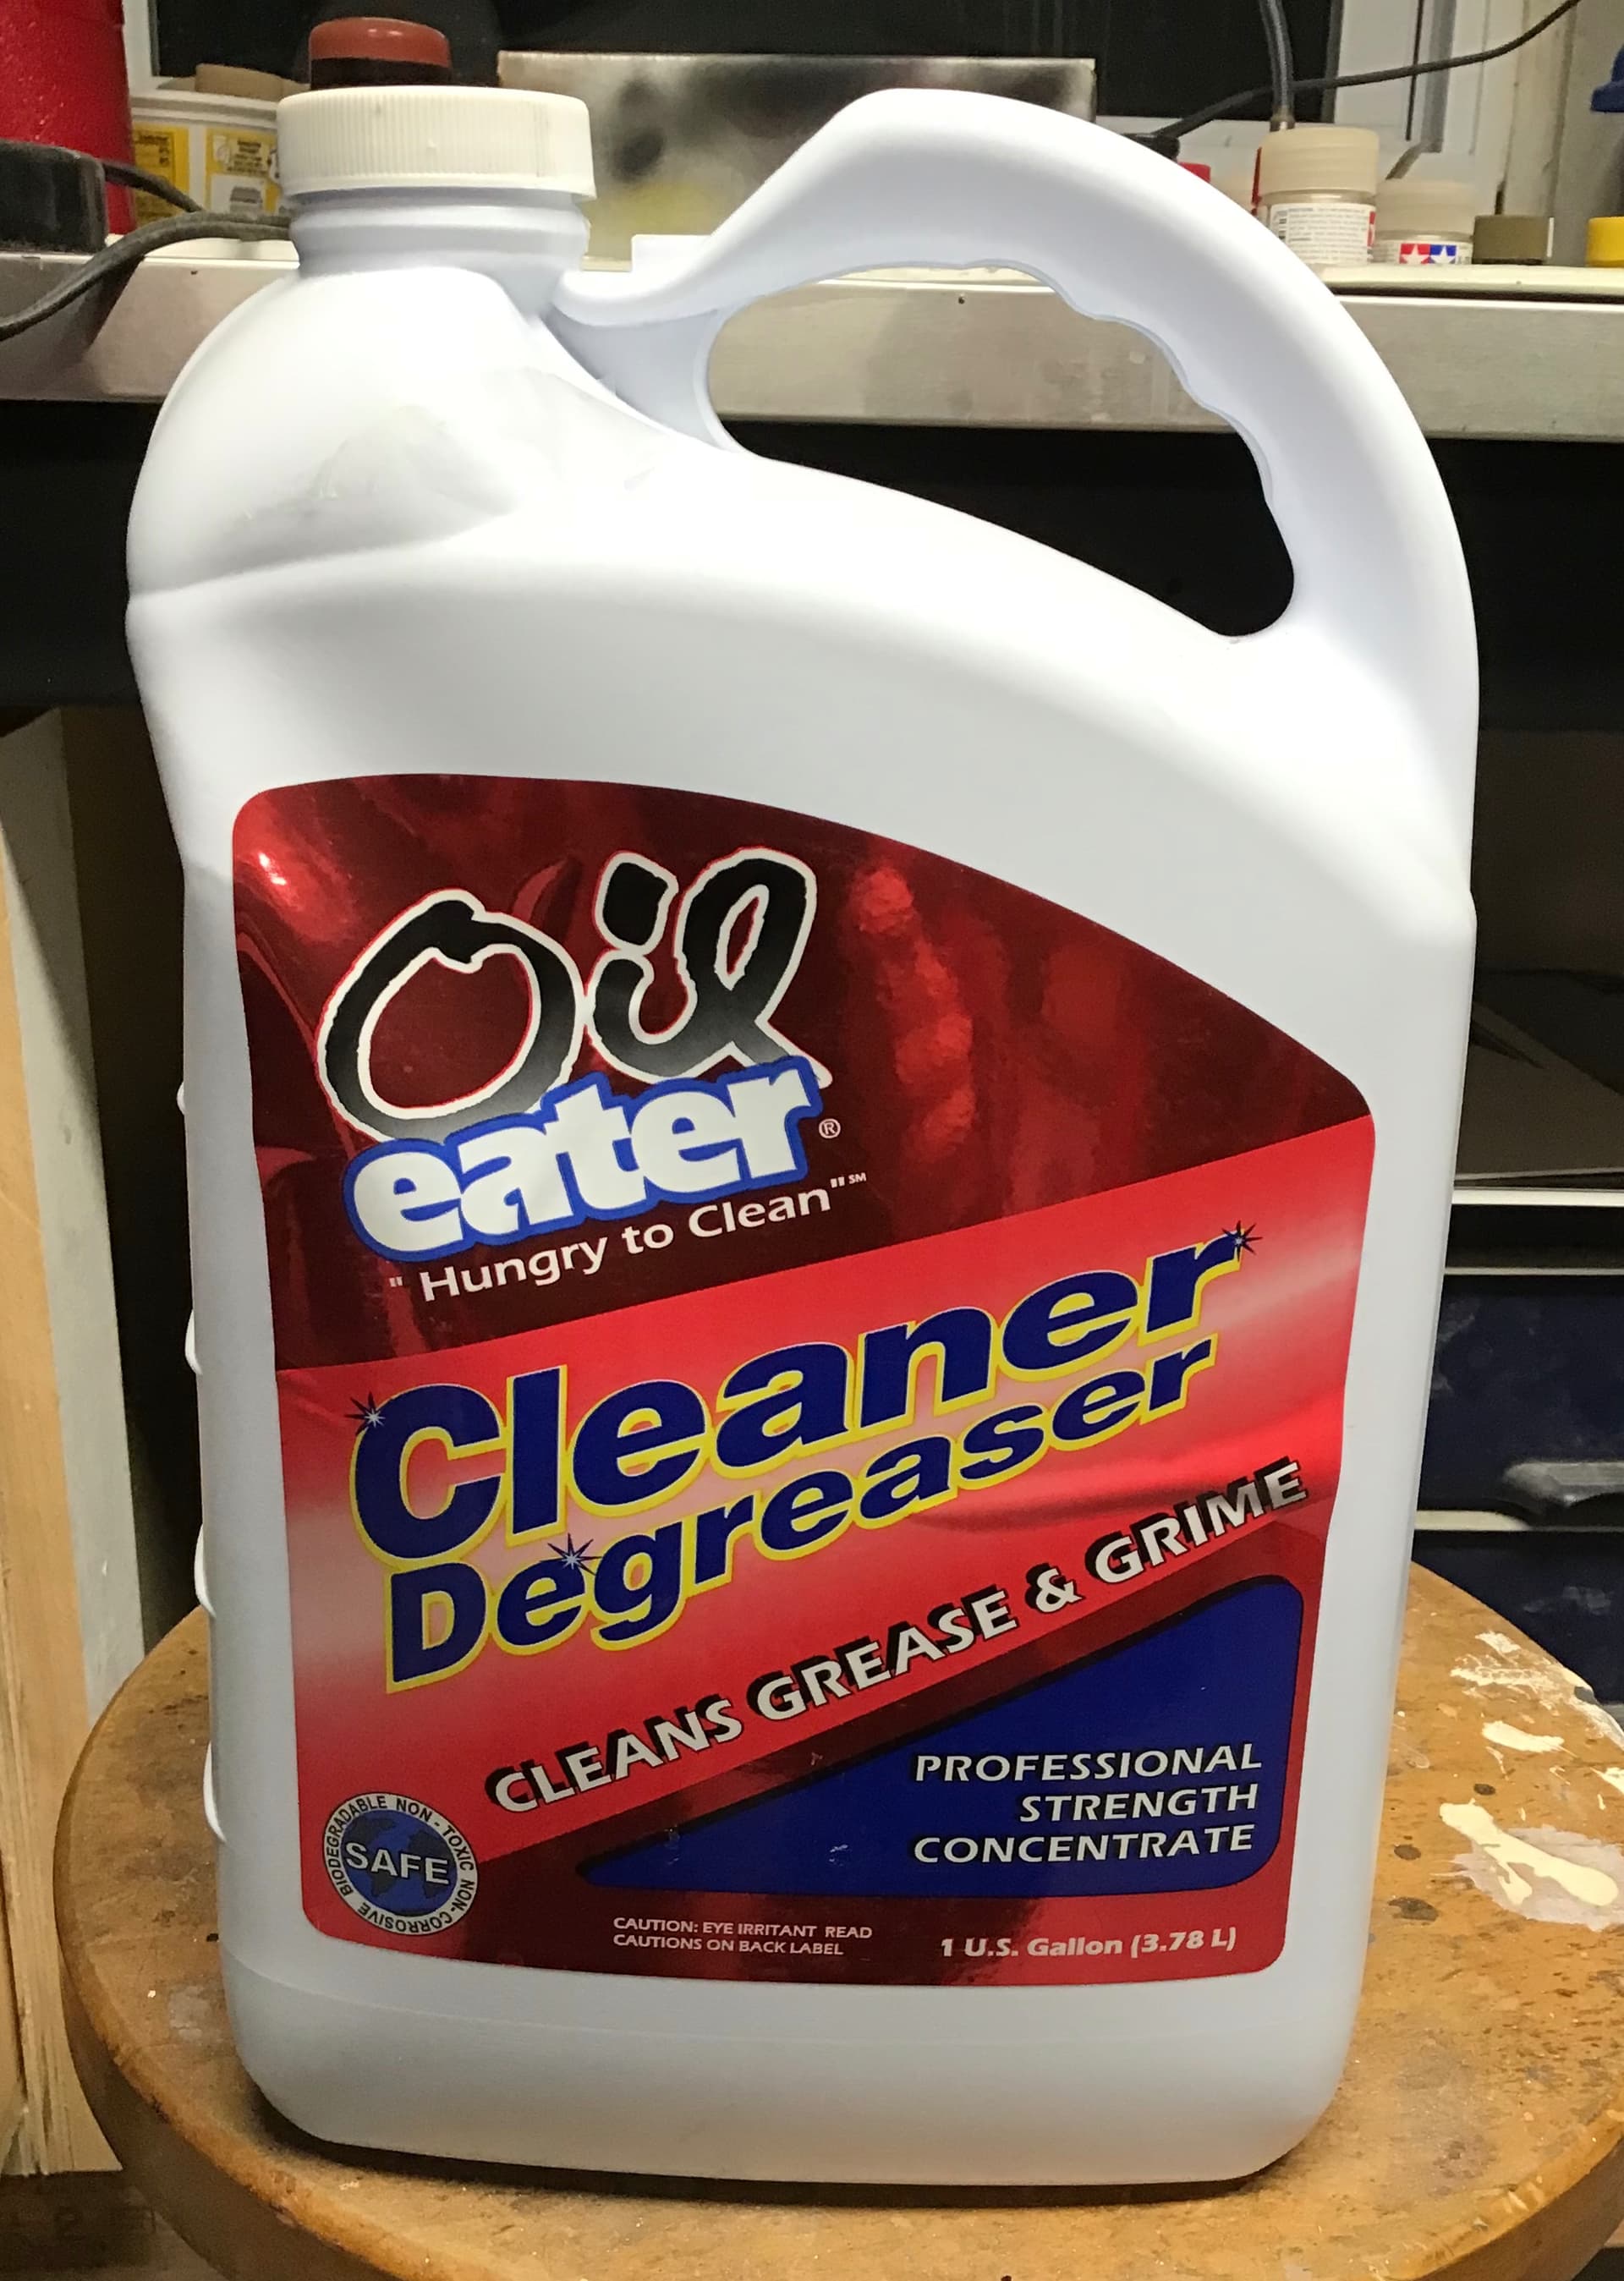
Stripping chrome with stuff I use in my parts washer - it removes some paint finishes as well …

2 Likes

Richard,
From the looks of the picture you sure got the coaming to go from a almost no fit anywhere to looking like it fits like a fine British leather glove.

And thanks for the picture of the primer filler that you used as I can see where it certainly has it’s uses.

joel

1 Like

Richard, the Lotus is looking great. The coaming wasn’t a tight fit from the pictures I have seen so don’t make it seamless. And if you didn’t know, MFH used to sell a 1/12 scale version of the Lotus 49 with a rivet set that went with it. It looks like the rivet set is out of stock which maybe lucky for you since it would have mean a lot of work! :grinning:

cheers
Michael

1 Like

Thanks gents . I will definitely need to re scribe the seams after the putty work . Trying to find a ready mix truck to deliver the several cubic yards of filler that I will need … LOL

Amazing work so far Richard.

I really must try to make those “Glass” lenses, for the gauges.

1 Like


RDT1953

1m

Body work largely done . Cockpit coaming tuned up as best I can - total PITA . Primed and blocked out and rivet detail lost to sanding replaced with Archer resin rivet decals. If anyone needs to do the same I used their O scale (1/48) set # AR88032. Rivet size and spacing matched the kit molded on rivets nearly perfectly.
Nose cone primed and blocked out as well .

Engine nearly complete - I will need to find some clear tube for the fuel lines to replace the ancient stuff that came with the kit as it went hard and brittle . I may try monofilament if I can source the right diameter.

For the benefit of Damian I tried to make the Ford lettering on the cam covers ( of the longest lived and most successful F1 engine in history ) look like the Chevrolet Bow tie but the paint brush would not obey … :grinning_face_with_smiling_eyes:
tee - hee
Cheers - Richard

3 Likes

Richard,
The coaming on the tub looks darn good in the pictures, and the Archer rivets look perfect for 1/12 scale. I really need to check them out as they must have one or two steps down for 1/24 and 1/20 scale rivet detailing.

the 3.0 liter Cosworth looks way better then even Tamiya envisioned it. You really aligned the exhaust manifold perfectly so that the collection pipes should fit like a glove.

As for new fuel lines, I’ve used the smallest size Fly leader line I could find for 1/20 scale and it looked right but it’s solid, so it was a real struggle. But for 1/12 scale is should work perfectly .Try Bass Pro Shops for Fly fishing leaders. they’re cheap and come in several diameters.

joel

1 Like

RDT1953

1

9m

British Racing Green paint on. SMS lacquer is pitched as being ready to spray from the bottle but I couldn’t make it behave and had to thin it nearly 50/50 to get it to lay on nicely.
The Indycal decals also did not fit . Perhaps it was my mistake in assuming they were engineered for the Tamiya kit . The only other 1/12 Lotus 49 kit that I am aware of is the MFH kit and at nearly $800. I can’t imagine there are many people buying aftermarket decals for it , especially since it comes with these markings and it is also apparently sold out . I suspect that the decals are generic and since they are offered in multiple scales they are simply enlarged or reduced as needed and not specific to any kit . If this is the case it is a shame because it would have been far better to have them too long and cut back as needed rather than have unsightly patches which is what I had to do . I will compliment them however in that they are thin , tough and settle down beautifully with Microsol.

Cosworth Ford DFV plumbed and wired. I wound up using Monofilament for the fuel lines to the injectors and leftover black tubing from the RC 166 build for the ignition wires as the 50 year old material in the kit was unusable .
If a 1/12 scale Colin Chapman should appear I may be in for one of his tirades as I don’t know the firing order and consequently the fuel and spark may not be happening in the right place and at the right time .
The tubing from the motorcycle kit was also smaller and more in scale. Tamiya supplies black tubing for the coolant hoses but the line from the rear of the right cylinder bank to the expansion tank was hard pipe on the real car so that was scratch built using a piece of sprue.

4 Likes

Richard,
Excellent progress as I would expect nothing less from you.

I’ve never used SMS paints but it doesn’t surprise me that you needed to thin them 50/50 for air brushing as there’s no consistency from one brand to another. I’d take that any day over the super thin primers most of these paint companies as they’re so thin that they can’t cover any variations in color worth a damn. The only two paint companies I use are Gravity of Spain and Scale Finishes. Their paints are truly ready for the AB, and the colors are dead on. The down side is that I’ve tried their gloss finishes and what they call Super Gloss isn’t what expected. So I’ve moved back to the Tamiya and Mr. Color Clear Lacquers.

As far as the Indy Cal decals being off somewhat, Micheal just scaled up his Tamiya 1/20 decals. For him to make perfect sized decals for every scale model in all the available scales, he’d really need to have the actual model as a test mule, and that’s not realistic for us to expect that especially on a kit nearly 50 years old. I can tell you that even with his decals for the Ebbro kit, I bought both versions: Yellow decals and masks for the Yellow stripes.

I looked as carefully as I could and you did an absolutely fantastic job with the nose cone lip and the duct and what I think is the gas cap recess. The transition from decal to paint is nearly a perfect blend.

joel

@Kpnuts
@Joel_W

Thanks gents . This is turning into the build from hell - fighting me all the way . While I am glad to have the Indycals available as obviously the old kit ones are worthless it is still unfortunate about the fit issue , especially considering the fix is so simple . If the stripes were made overly long they would work for all - just trim them to length. This is certainly a better solution than patching.
To add insult to injury ( and this is entirely my fault ) I put the Team Lotus decals on backwards. Short stripe is supposed to go to rear by number roundel.
Gotta laugh :joy:

New here, This is a quite timely thread.

Im doing a commission build for a customer of this exact kit, Jim Clark version - Dutch GP.

All the challenges you have outlined with your build is what I’m having as well. Had the same with the old Honda R 273 build as well with the tub. many layers of filler and styrene sheet to fill the gaps!

Spent last night working out the best way to fit the top part of the cowling to the side as I’m getting some fitment problems too. Managed to reduce the slight warping of the body with steam to close some of the gaps, but the age of the kit is certainly showing.

Ill upload some photos soon, sounds like were in about the same place with the build.

1 Like

Tony,
Welcome to our site, you’re going to really enjoy being here. And please post pictures of your build. You might like to start a build thread so we can follow right along.

Joel

Hi Tony - Welcome-so there are two of us in this world with enough optimism/masochism to tackle this dinosaur.
Just a heads up if you are using Indycals and haven’t yet applied them . I contacted Michael the owner and informed him of the issues and he was grateful and would correct them . I don’t know how soon but you may want to reach out to him and ask .
All here would love to see pics of your work - feel free to post in this thread or start another as you see fit .
Cheers- Richard

Hi All,

So this is where Im at with the build.

Its a rebuild of an attempt buy the customers father, hes doing it as a gift back to him.

So its just come out of paint stripper, most paint came off no problem. A couple of stubborn bits Ill deal with soon.

Lots of filler in the bottom to remove the battery components, and the top is clearly warped a bit. Manged to pull it back into line pretty close with steam, and will hopefully clamp the rest and use epoxy or plastic card to fill in the small gap for the top part of the cowling,

Engine is certainly a 1st generation moulding, nothing like the other Tamiya mouldings of the DFV thats for sure. Ive also added mesh and a couple of other bits for a bit of detail.

Was given the instructions not to go balls out detailing like my other builds (happy to share those if needed) as they cost a bit lol.


1 Like

Oh and yes Im using Indycals for the decals. Have been using them exclusively for all my F1 builds for a long time now, excellent product and service.

Just finished a commission build of the big P34 of Depalliers (sorry about the spelling) and the customer picked up the mispelling of his name in the print lol, so watch out for that as well.