Tamiya 1/12 Lotus 49

Tony,
Welcome to our site, you’re going to really enjoy being here. And please post pictures of your build. You might like to start a build thread so we can follow right along.

Joel

Hi Tony - Welcome-so there are two of us in this world with enough optimism/masochism to tackle this dinosaur.
Just a heads up if you are using Indycals and haven’t yet applied them . I contacted Michael the owner and informed him of the issues and he was grateful and would correct them . I don’t know how soon but you may want to reach out to him and ask .
All here would love to see pics of your work - feel free to post in this thread or start another as you see fit .
Cheers- Richard

Hi All,

So this is where Im at with the build.

Its a rebuild of an attempt buy the customers father, hes doing it as a gift back to him.

So its just come out of paint stripper, most paint came off no problem. A couple of stubborn bits Ill deal with soon.

Lots of filler in the bottom to remove the battery components, and the top is clearly warped a bit. Manged to pull it back into line pretty close with steam, and will hopefully clamp the rest and use epoxy or plastic card to fill in the small gap for the top part of the cowling,

Engine is certainly a 1st generation moulding, nothing like the other Tamiya mouldings of the DFV thats for sure. Ive also added mesh and a couple of other bits for a bit of detail.

Was given the instructions not to go balls out detailing like my other builds (happy to share those if needed) as they cost a bit lol.


1 Like

Oh and yes Im using Indycals for the decals. Have been using them exclusively for all my F1 builds for a long time now, excellent product and service.

Just finished a commission build of the big P34 of Depalliers (sorry about the spelling) and the customer picked up the mispelling of his name in the print lol, so watch out for that as well.

Tony,
As if this kit isn’t going to be a real enough challenge being Tamiya’s 1st 1/12 scale kit from the late 1960’s no less. The Cosworth DFV for what it is, looks darn good. The fuel and spark plug lines do really add a lot to it.

Looking forward to how you deal with the cowling once it’s done as Richard’s was an absolute horrible fit, yet his end result proves that it can be successfully done.

And yes, I’d love to see some picture of your recently completed of your 1/12 scale Tyrell P34.

joel

Thanks,

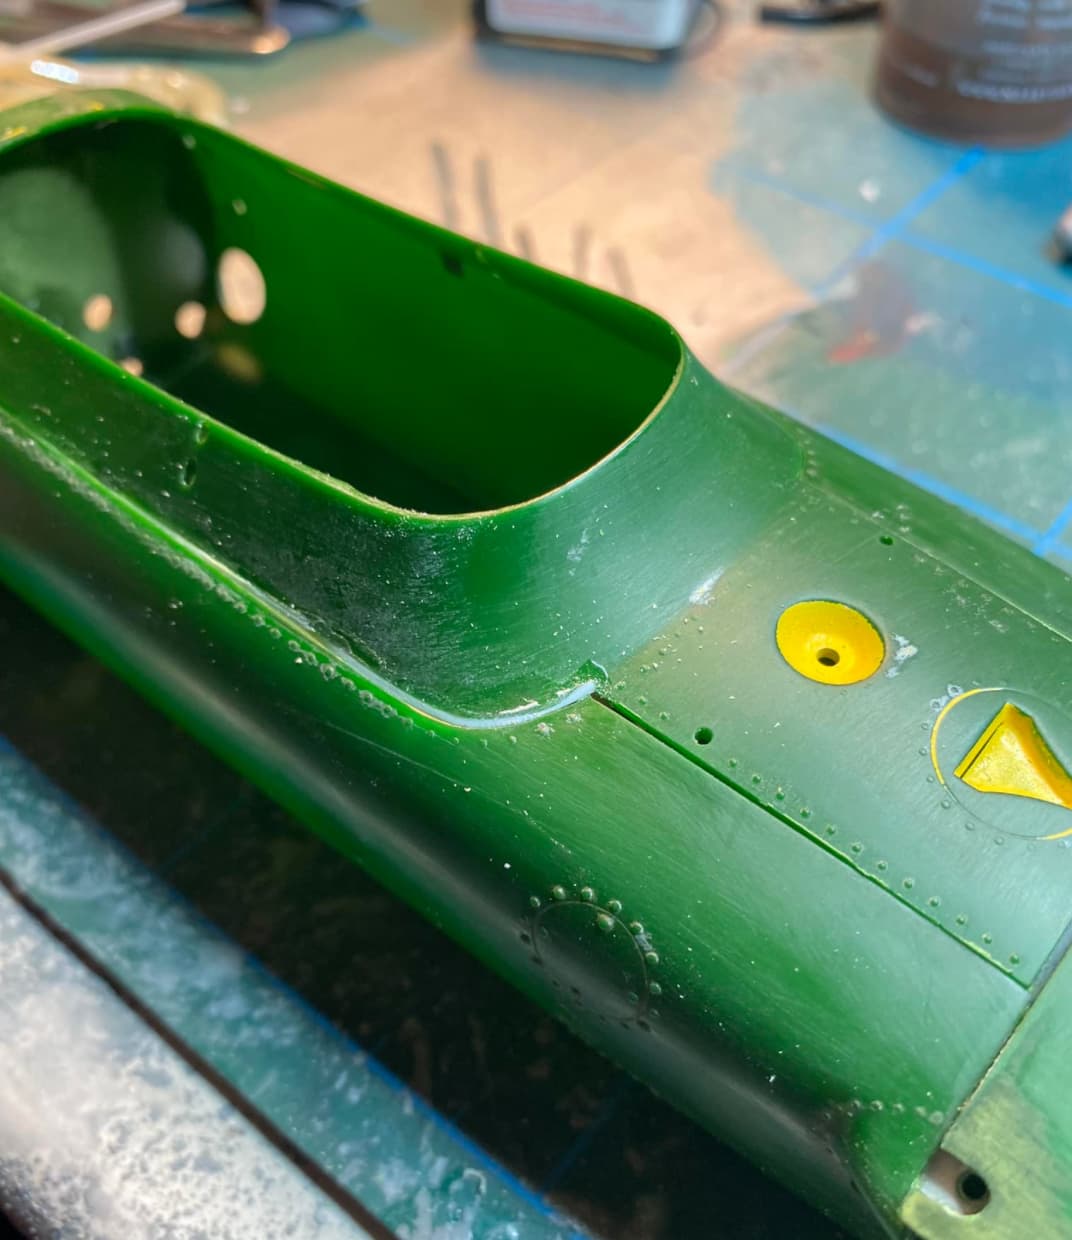
yeah its coming along. Ive opted to use a combination of plastic strips and filler to close the gaps enough and use steam to pull the side in a bit. seems to be working out ok.

The thread here is one I opened up on the recent P34 Commission build.

1 Like

Tony,
Excellent work on blending in the cowling.

As for the P34, I’m super impressed at the finished build. Very nice level of detailing without going crazy to the nth degree. Paint and decals looks outstanding.

My only request is that before posting any pictures that you make sure they each have the correct orientation. The 1st pic for the P34 is in the portrait mode and the site doesn’t have an easy way to rotate pictures.

joel

Hey Joel, Yep sure thing will do.

I just uploaded the Ferrari 312T as well in a separate thread, will do more soon.

Couple of updates from my efforts on this subject over the past few days.

Started prepping the tub for paint, will do a couple of coats of grey primer, as the chassis itself needed a lot of love so needing to double check imperfections.

Wheels redone with Alclad HPA, and Engine and Transmission pretty much done.
Interesting comparison in size to the Ferrari F190 I’m building as well, both in 1/12 scale and the engine profiles are really interesting.


2 Likes

Tony,
I just love the Aluminum finish you’ve achieved on the those wheels. I usually use Alcad 2 Aircraft frame Aluminum but yours look so much better. Guess I need to experiment a little more.

joel

1 Like

And here is the state of mine - paint largely done - 2 coats SMS BRG - decals - 3 coats SMS gloss clear .
Only rubbing out done was primer and first coat green - afraid of losing rivet detail . Decal edges showing a bit and in the interest of full disclosure I got the Team Lotus decals on the wrong sides - the short line should be at rear by number roundel .
As the nose cone will be permanently attached I did not bother with paint / details that won’t be seen. Rear bulkhead and front bulkhead done with foil .
Wheel centers Tamiya semi gloss black. Wheel nuts and all suspension components except uprights are Alclad Hi Shine Aluminum over Tamiya gloss black . Wheels Alclad Aluminum over Stynylrez Black Primer .


Thanks for looking !

3 Likes

Thankyou, yes I use the Alclad straight Polished Aluminium a lot for wheels, used it also on a number of other builds of mine such as the RE30B and Ferrari 312T


1 Like

That looks amazing, did you use the Indycals decals for the yellow or just paint it?

Thank you Tony - Your work is stunning .

I used Indycals but in hindsight I should have painted it - I recommend you paint yours unless Michael has corrected the decals and even at that the roll around the lip is paint on mine and the blend looks much better in pics than it does in reality.
Cheers - RT

1 Like

OK yeah thanks for the heads up. Was wondering if it would be better to paint.

Love Indycals decals but I find for the large tricky bits like we would see for the nose cone it might be a bit of a challenge. I had that problem with the Indycals decals on the BT44b nose cone and trying to shape it to all the curves, I learnt a whole new vocabulary with that one lol.

1 Like

Richard,
Now your 49 looks fantastic. Both you and Tony have taken the very old 1/12 scale Tamiya kit #1, and have far surpassed any previous builds of this kit I’ve seen over the years. There both that good. Way better then this old timer could ever accomplish.

Your finished paint and polish job looks perfect in your pictures. I wouldn’t be concerned about rubbing through the gloss and paint layers to damage the rivets, as you shouldn’t get close to that issue. Once I’ve gotten to the gloss stage I wet sand with 6 or 8,000 then 12,000 Micro Mesh wet and let it do all the work. I then use one of the two 3 part polishing sets I have, one being Gravity’s and the other Novus. For wax, I use either Gravity’s or International Scale Modelers wax. Never had a single issue with damaging the gloss, paint, or plastic.

Interesting that both of you opted for Alcad 2 High Shine Aluminum. I’ve got 10 shades of Alcad but not that one. Will have to find a source locally for it.

As for getting a decal to roll over a nose lip I’ve seen a few Japanese master modelers do it to perfection by cutting wedges in the decal where it rolls over. That eliminates wrinkles, etc. Not that I’ve ever had the nerve to try it myself, but it’s an option that I’ll need for my Brabham BT44B Buddy Build with my brother next year.
One thing that both of you missed is my hand prints on the side of the cockpit coaming that yours truly applied when I actually laid my hands on the car in the pits at the 1967 Watkins Glen F1 GP. I’m sure that Chapman would have wanted it to remain there :joy:
joel

2 Likes

Thanks Joel - I will work on the hand print bit :wink:
I get my Alclad and SMS paints from USA Gundam Store in FLA . A little slow on shipping but they do get it to you .
@TonyLyne
Another heads up for you Tony - on my kit the headers are a bit high where they come together for the two into one collectors , forcing the lower A arms up and effecting the car’s stance . I tried bending them down but had no success and wound up filing notches in the headers for the A arms to clear . A bodge to be sure but best I could do at this point . Hopefully you will be able to do better.

1 Like

Richard,
I have delt with them as well. Got my super expensive/professional circle cutter from them. Shipping time was ok.

I really haven’t had time or the concentration needed to work on the Bimmer the last 10 days or so, but now my wife is doing excellent and can actually make, and carry a cup of tea from the kitchen to the den using the walker at the same time. Yet I struggle to do it without spilling any of the tea while just walking.

joel

1 Like

RDT1953

1m

Finish line in sight - coolant pipe down left side needs prime and paint. Tamiya would have rubber hoses at both ends bot the real car had hard pipe elbow at front that led inside nose cone until it got close to radiator. Elbow fabricated out of brass tube .
Tamiya also omitted the two lines from the fuel pump at the bottom rear. Left side of the tub . Brass pins set in pump inlet/outlet and hoses added.
remaining are Talbot mirrors , windscreen, final exhaust.

Thanks for looking! RT

3 Likes

Richard,
I can’t tell you how impressed I am with your build to date. Every correction, adding omissions such as that cooling pipe and filter lines keeps on kicking it up another notch. As for the Talbot mirrors, sure hope you left them as chrome. At least mine were on the MGB, but boy did they vibrate as the mounting bracket just wasn’t up to that task.

joel

1 Like