Micro Set and Micro Sol are good things to invest in and last a long time. They make decals adhere to uneven surfaces much better. Just follow the directions on the bottles. Use Set first and Sol second.
I recommended that you get red Bondo putty from the auto store.
I’ll look into those items.
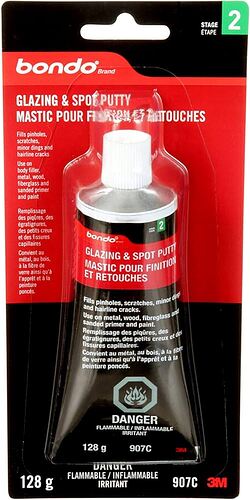
My father has the Bondo putty shown in the picture below, would that work? He also has some kind of putty hardener…
THAT’S the stuff you want! Use it straight out of the tube on plastic, resin, and photo etch. It will stick to all three. Don’t mess with the hardener - that’s for their grey body putty and they have nothing to do with this.
A tube of this is the best putty you can buy for models. It has amazing adhesion to all materials, dries fast, won’t chip, feathers finely, and sands to a glass smooth surface. It takes all types of paint equally well. It won’t shrink, and a $6 tube will last you ten years or more.
Alright, thank you so much Matt!
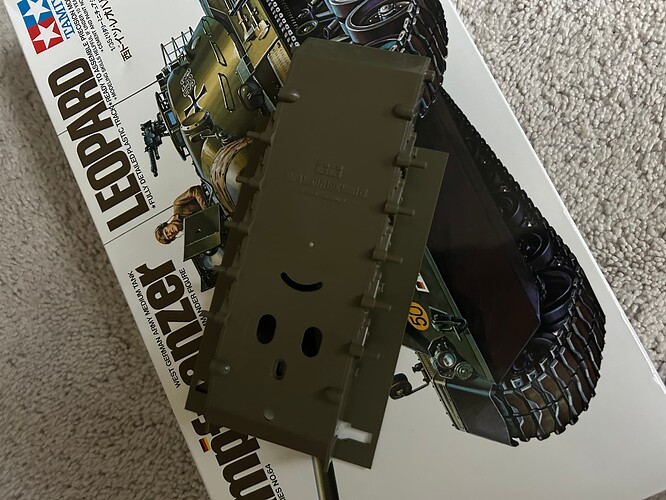
Best way is to close off the holes with sheet styrene from the inside first. Then you can press the putty into the depressions to smooth out the hull. Without backing, the putty will just fall in/out before it dries.
What Gino said. You can use cut sprue to back the openings.
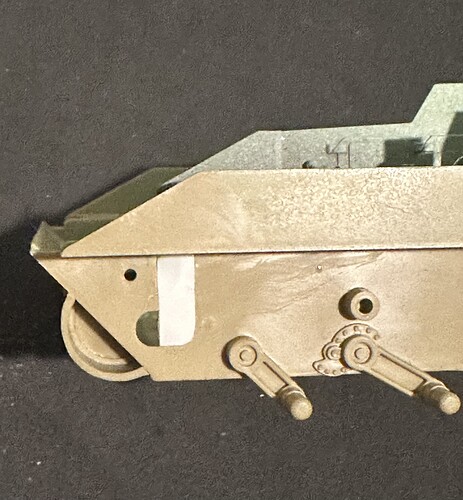
Easiest, fastest method - (for me) no putty required.
Trace the oval shapes onto a piece of .040 styrene. Don’t have any? Go to Ace and get a for sale sign, or use an old gift card.
Cut them out, insert into openings so that they are flush from the outside, not the inside.
Spread CA around the edge, hit with accelerator. Sand with sanding block. Done.
I do this on a regular basis. Less than ten minutes start to finish.
Alright.
I was an MP in Germany in the late 70s & early 80s. I worked at a physical security site and we had some down time. One of the officers had the bright idea to camouflage our jeep. He handed me a Field Manual (FM) and ordered me and a couple of other guys to paint the jeep according to the illustrations in the FM. Let me tell you that, when finished, the jeep didn’t resemble the illustrations in FM AT ALL!!! It was more like a Picasso and not anything the US Army would have dreamt up. Bottom line: camouflage paint jobs are only going to be as good as the skillsets of the guys painting them. We painted them with brushes and cans of paint. it was very primitive looking.
I agree. That is the point I was trying to show with my M818 build.
No kidding?? It turned out great! Can’t wait to see your MERDC M151. And you have some of the site’s experts helping you out. They have the skills and experience and are helpful great modelers - plus they have great stories.
I was in the US Army back in the late 70s to the early 80s. We had down time one day and the higher ups thought it would be fun to make us work. They handed me a field manual, cans of paint, and some paint brushes, the same ones used to paint walls, etc., and told us to reference the field manual and then paint the jeep. In the end, it looked like a Picasso. the end result is based upon the skill of the soldiers painting them. There is really no 100% perfect pattern. As long as you are using the correct colors and close to the scheme, you’ll be fine. They never asked me to paint another vehicle.


