
I’m not done yet, the figures may need another layer of paint. And haven’t finished all the paint work either.
Tips and tricks are welcome.
I also apologize for the quick posting I have done.
And that I didn’t take more time for designing this post.
But I was doing more things at time of posting this.
1 Like
I just painted those guys myself recently. What colors are you using for the basic uniform? I used various companies Olive Drab on each item, (tunics, trousers, puttees) to try to get some tonal variety.
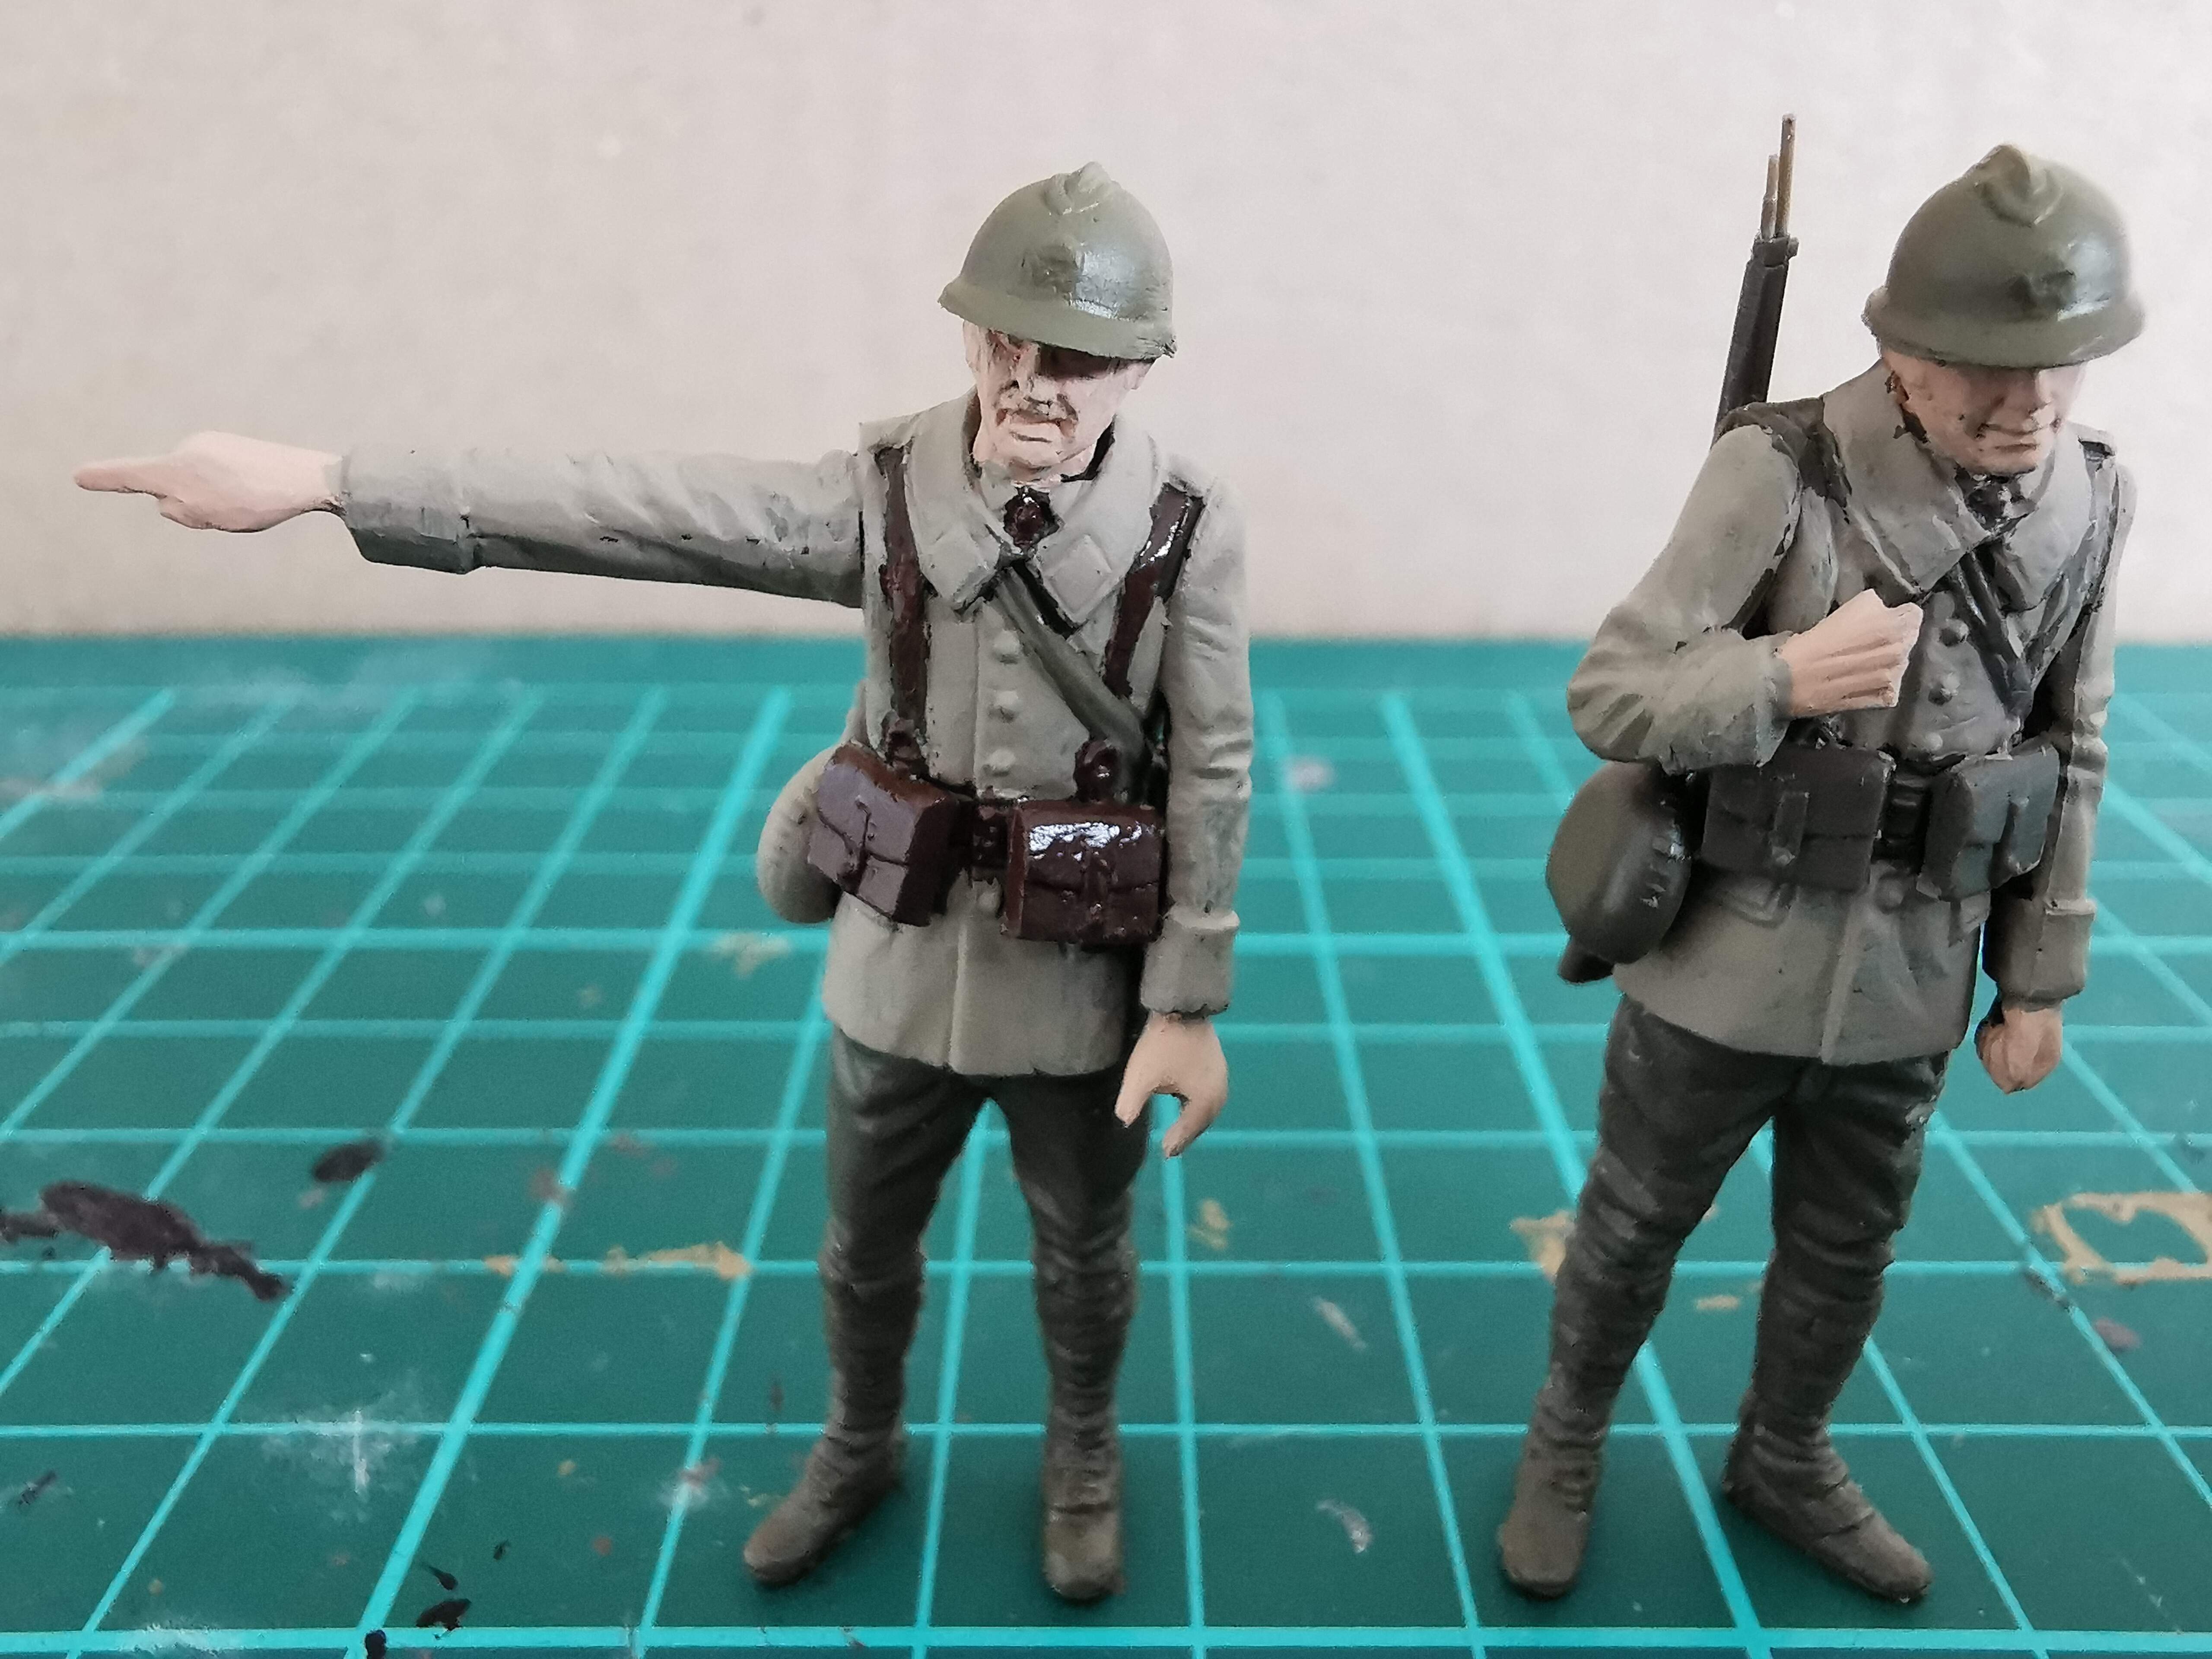
I have used Revell 89 for the coat.
For the bags of ammunition I have used Tamiya X-9 Brown. The helmets are painted in the mixture that Tamiya recommended following the painting instructions. Faces and hands with Revell 35. Bag on the back I used XF-49 Khaki. And Revell 89 for the field cantine.
I’m still a beginner in figure painting and I need to Lear a lot. And current work probably looks as flat as a pancake. But, I’m satisfied with the result so far. Next time is maybe shadow and depth of field bringing more life and 3D in the figures. And probably more. Any tips and tricks are very welcome to improve my work even more.
I’m no expert, guru, or master when it comes to painting figures, so I stick with old fashion basics: base colors, wash, and dry brush highlights. Above all it takes practice to learn what works and does not work for yourself. Experiment a bit to find what works for you.
Here’s my two. Base coat on, then an oil wash of Burnt Umber, followed by dry brushing of each base color or something similar and lighter. I still need to work on the flesh areas

2 Likes
Thank you for sharing your results.
I’m no way close to the skills and the results you have achieved here.
But I’m willing to learn.
I’m wanting to search more information on the internet.
But time isn’t my best friend, because I’m not having enough.
Thank you Modelbou. I hear you about time. Until recently, I never had enough time available either. But like I said, the techniques here are extremely simple to do. Mix up an oil wash of burnt Umber and apply it over the base paint work of the uniform and gear. Let the wash dry, then clean off the excess with a thinner moistened brush. Oils are very forgiving for this sort of thing and allow days for clean up once dry. Then go back and dry brush highlight colors on the uniforms and gear. For the flesh areas you can use the same technique but use a wash of Burnt Sienna instead of the Burnt Umber that was used on the uniform. It’s easier than you think.
Thank you for replying again.
How do I make washes?
Or do I purchase them ready made?
Also, I don’t know anything about washes.
What are they supposed to do?
Where and when do I use them?
I hope you can help me with this as well.
By the way, you gave me great information so far.
Thank you for replying again.
How do I make washes?
Or do I purchase them ready made?
Also, I don’t know anything about washes.
What are they supposed to do?
Where and when do I use them?
I hope you can help me with this as well.
By the way, you gave me great information so far.
First off, you’re quite welcome.
As far as washes go, yes pre made washes can be purchased, but for figures I prefer to make my own using oil paints, the type that you buy in a foil tube from an art supply store. Those paints are very forgiving, and if you don’t like the results, can be cleaned up fairly easily. Additionally, using oil washes over acrylic base colors works real well because the clean up of the oils, and the wash itself will not remove the acrylic base layer. Depending upon the thinner or turpentine used, this may happen with enamels as the base colors.
For figures, I tend to use overall washes. One color for the uniform and gear, and another for the flesh areas. Mix up your wash with the selected oil paint color and thinner. I’ll apply the wash over the base color, then allow it to dry. After the wash dries, I’ll go back with a thinner dampened brush and remove the excess dried wash. If you remove too much, apply more to that area, allow to dry, then repeat the clean up. Oil washes dry slowly to very slowly, depending upon humidity and temperature. That process can be sped up a bit using a hair dryer. The basic idea is to allow for the wash to accumulate in the recesses of the folds and creases to enhance the shadows of those areas.
You can also do a “pin wash” on selected area with a darker color, say around a belt or suspenders, applied with a very small fine tip brush for more precise application.
My figure painting skills are not as good as many, and are still a work in progress. Particularly in the flesh areas. I’m sure that there are plenty of other methods to be found.
Okay. How do I determine which colors to pick for what areas?
For example, what color do I pick for uniforms and which do I pick for flesh areas?
As a general rule, I like to use Burnt Umber for the uniforms, and Burnt Sienna for flesh. But Burnt Umber also works good for deep shadows area pin wash on some flesh areas that border against the uniform such as collars and cuffs, and also as a wash over the Burnt Sienna for heavy “five o’clock shadow”.
Get yourself some inexpensive figures and experiment. Don’t worry about mistakes on them, that’s how you’ll learn what works and what does not.
Thanks for the suggestion, I will consider and try.