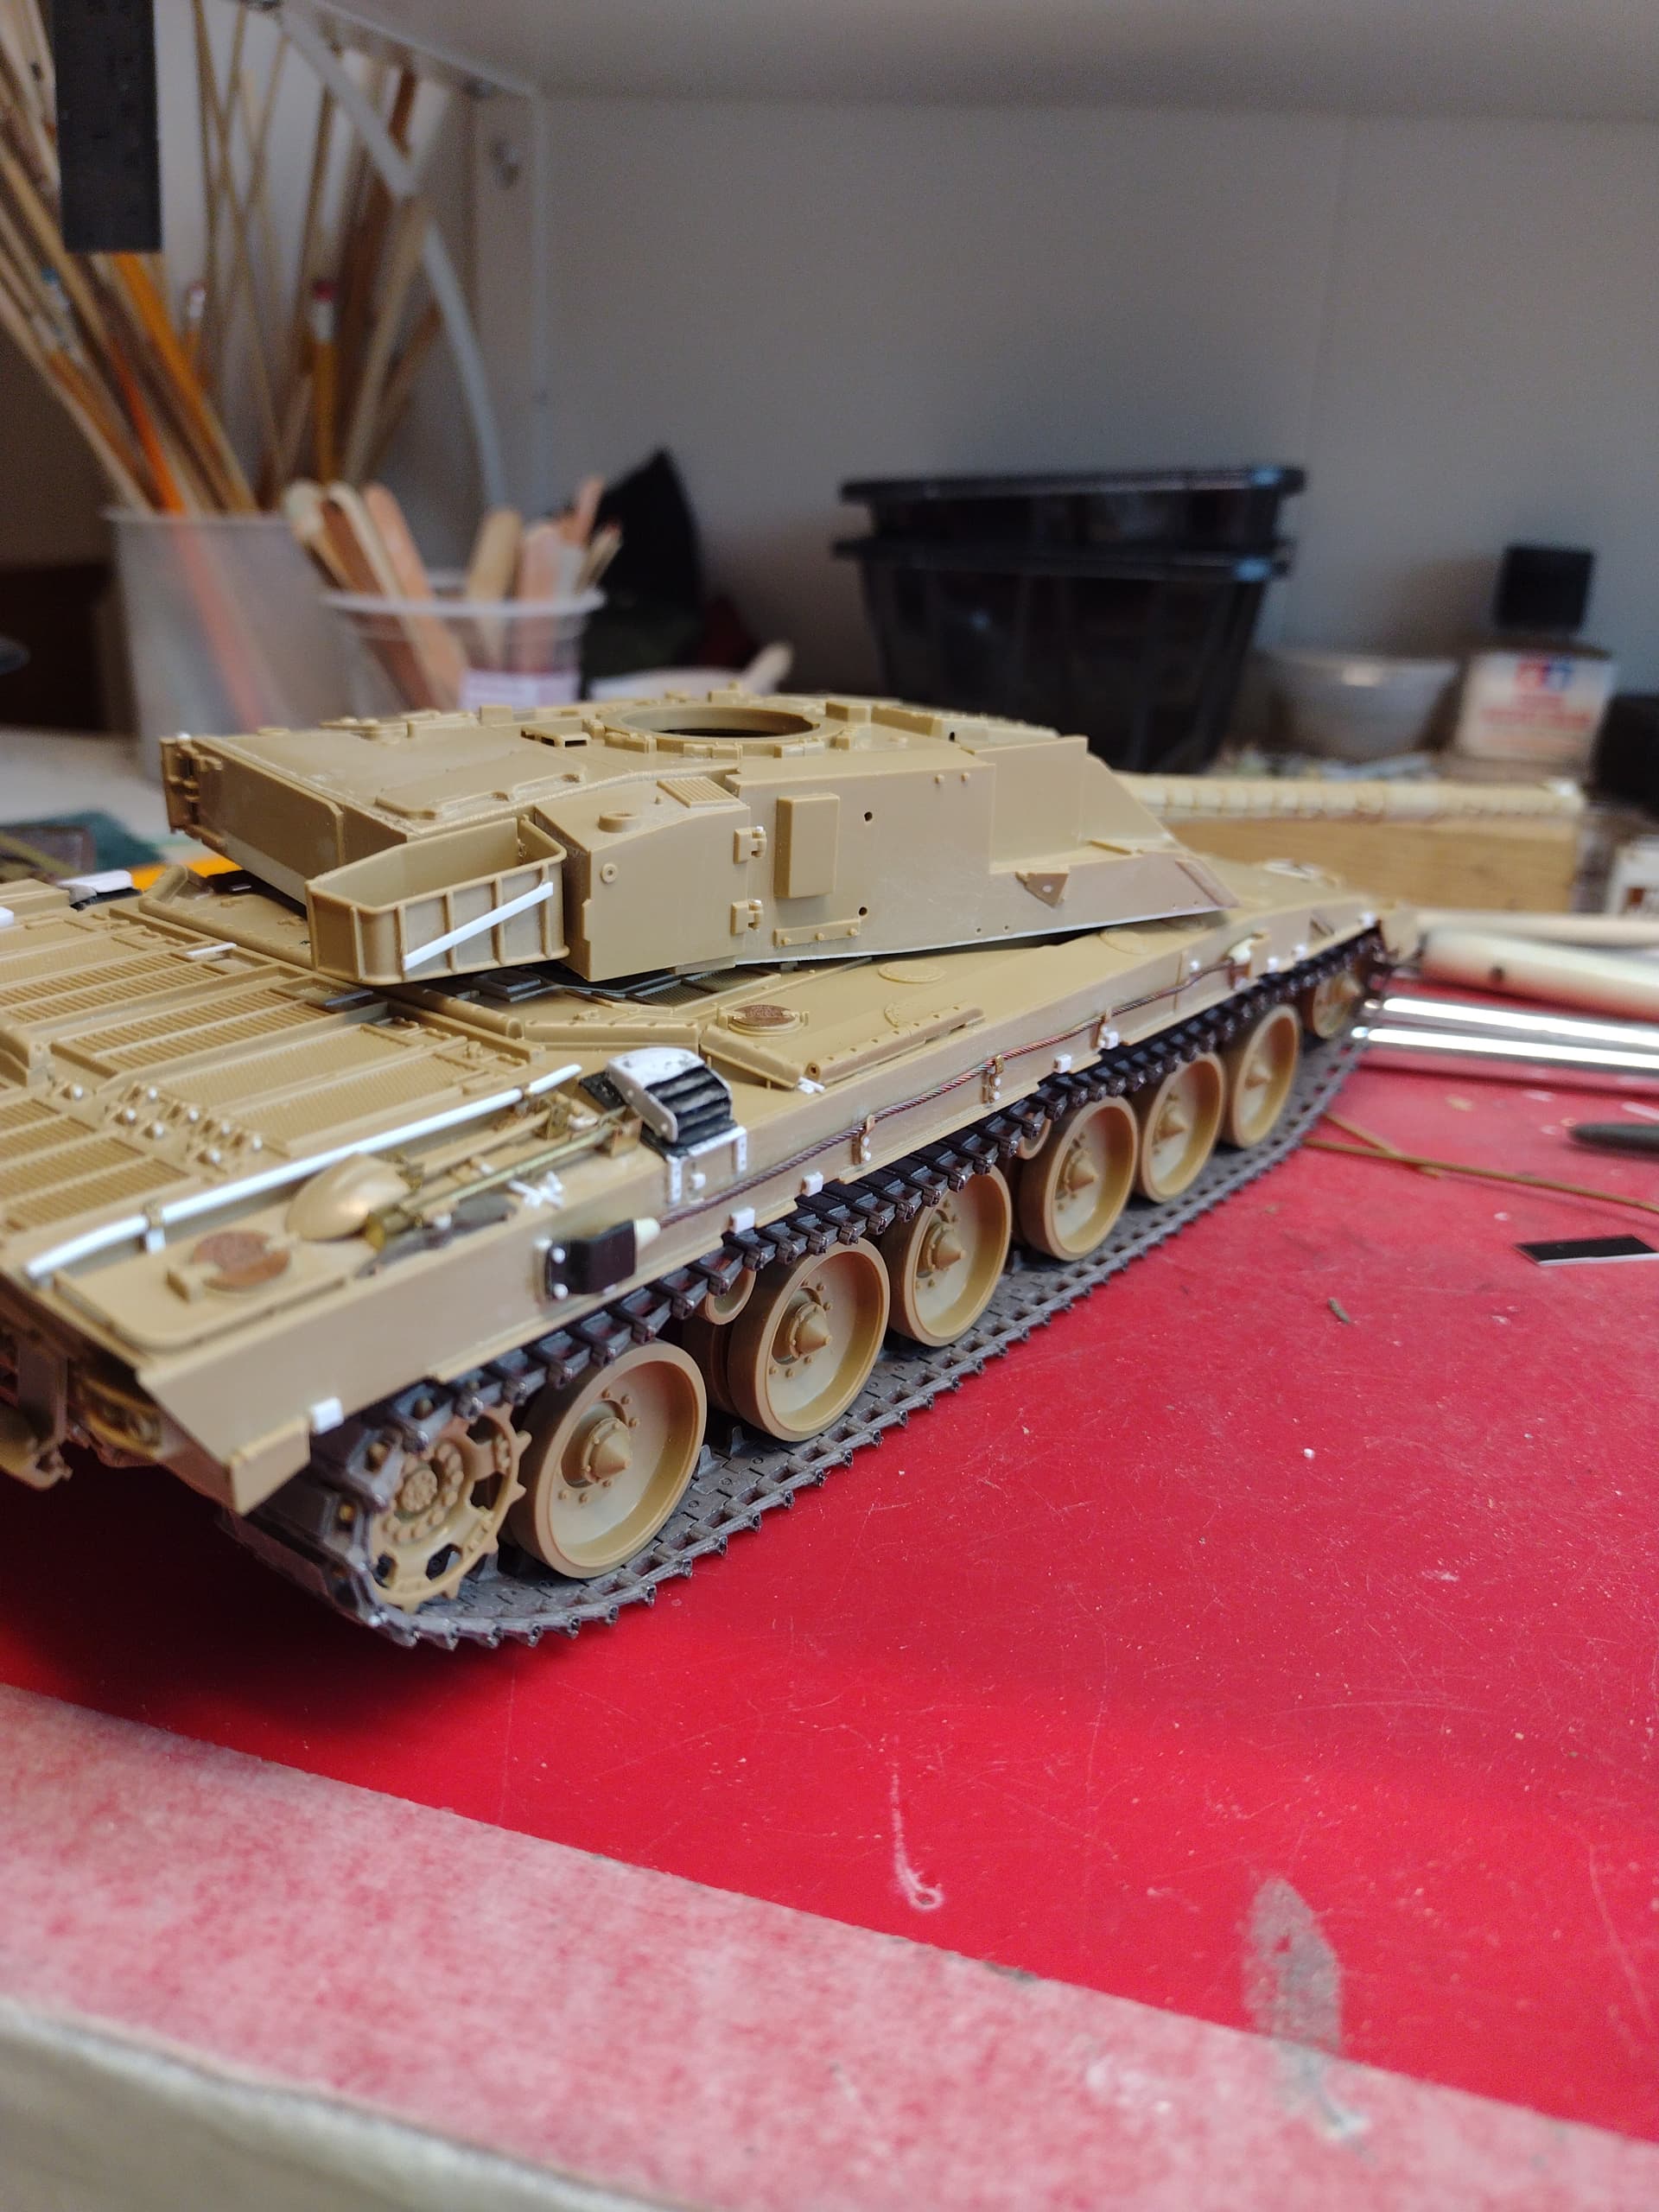
The kit supplied ones are the old vertical MK1 type, they got replaced with the horizontal louvres.
But the 35154 kit also has de horizontal louvres part included ??
See the left side of the hull (SMM part on the right side and next to it on the table). Or am I missing a detail ?
Again just to learn and understand the difference ![]()

I missed them when I looked the sprues …
Russ has just done that to show the gaps in between so it looks more realistic
Also because I used them on the first build…
 IMG_2898 by Russel Baer, on Flickr
Like Johnny said, the updated parts in the Mk3 kit show horizontal louvres but are weak in detail. I just added the two bolt heads per side and moved on. For #2, I used the “green” outlets, trimmed the tops and built the later louvred cover from scratch. If I was more patient (and working) I would have ordered a couple pair from SMM, along with a bunch of other stuff. As it is now, I’m depleting my stock of Evergreen and Plastruct…
2 Likes
Thanks for the clarification guys ![]()
1 Like
Looking good so far. All these Chally builds make me want to do one. I have already ordered a Centurion (IDF) because of all the Centurion builds as of late. Great inspirations. ![]()
![]()
1 Like
Go for it ![]()
A few more and we can almost call it a group-build ![]()
2 Likes
My compromise on the aux fuel drums:
 IMG_3288 by Russel Baer, on Flickr
I had thought about scratching empty mounts, mainly because the Tamiya parts are, well, simplified. Then I took a look at the pics I have and decided to pass, and add the drums but do a bit of trickery to make the mounts at least look like they’re present. Moving on…
1 Like
Good compromise. Luckily the RFM Cr2 cradles are easy to fit empty and only take a bit of work for the one I’m doing
1 Like
Works for me. ![]()
![]()
1 Like
Progress on the tow cable hangers, other side is close. I won’t be doing the two locking clamps on each side till about the last thing.
Russ, not sure if you have this link or knew about it, but it has some nice close up detail images.
http://www.primeportal.net/tanks/olivier_carneau/challenger_1/index.php?Page=1
1 Like
Russ, this is the actual mounting point for the pick axe head.
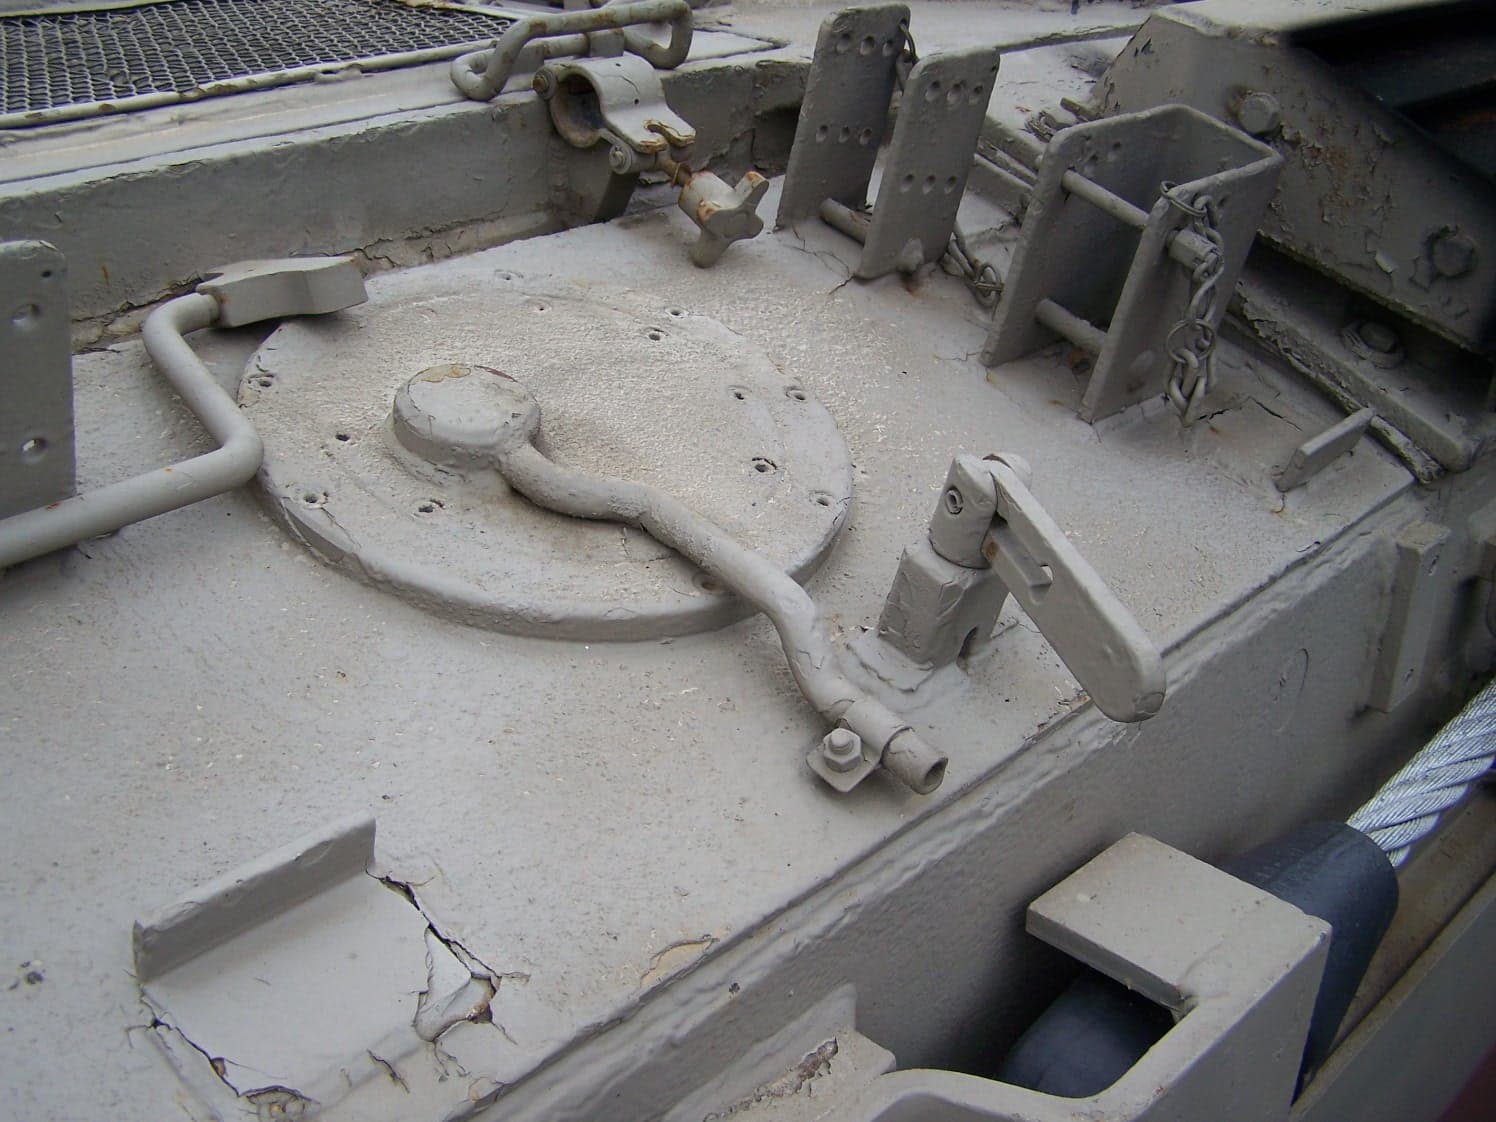
And ignore the anti slip, its very much overdone on this one. I am not sure if this was the same with all the Jordanian Cr1s or just this one.
1 Like
Thanks. I have to re-do that whole fuel tank vent and valve there too…
Sorry man… I hate posting things like that, but I know you like it to be as good as you get it … ![]()
Russ, when you chopped out the armour block on the top glacis palte, did you razor saw it out ? and can you remember the plasticard size you used to replace it ?
You just know I’m OCD…![]()
I used a new #11 blade and a straight edge, and .040" card. Making the first cut is a little nervy, but once I was committed, it was easy.
2 Likes
Okay, gonna have to go with this for the right rear corner. I was doing some serious head scratching until I realized the pick head I’m using is too short, so I made up the end rests for it from the pic, calling it done.
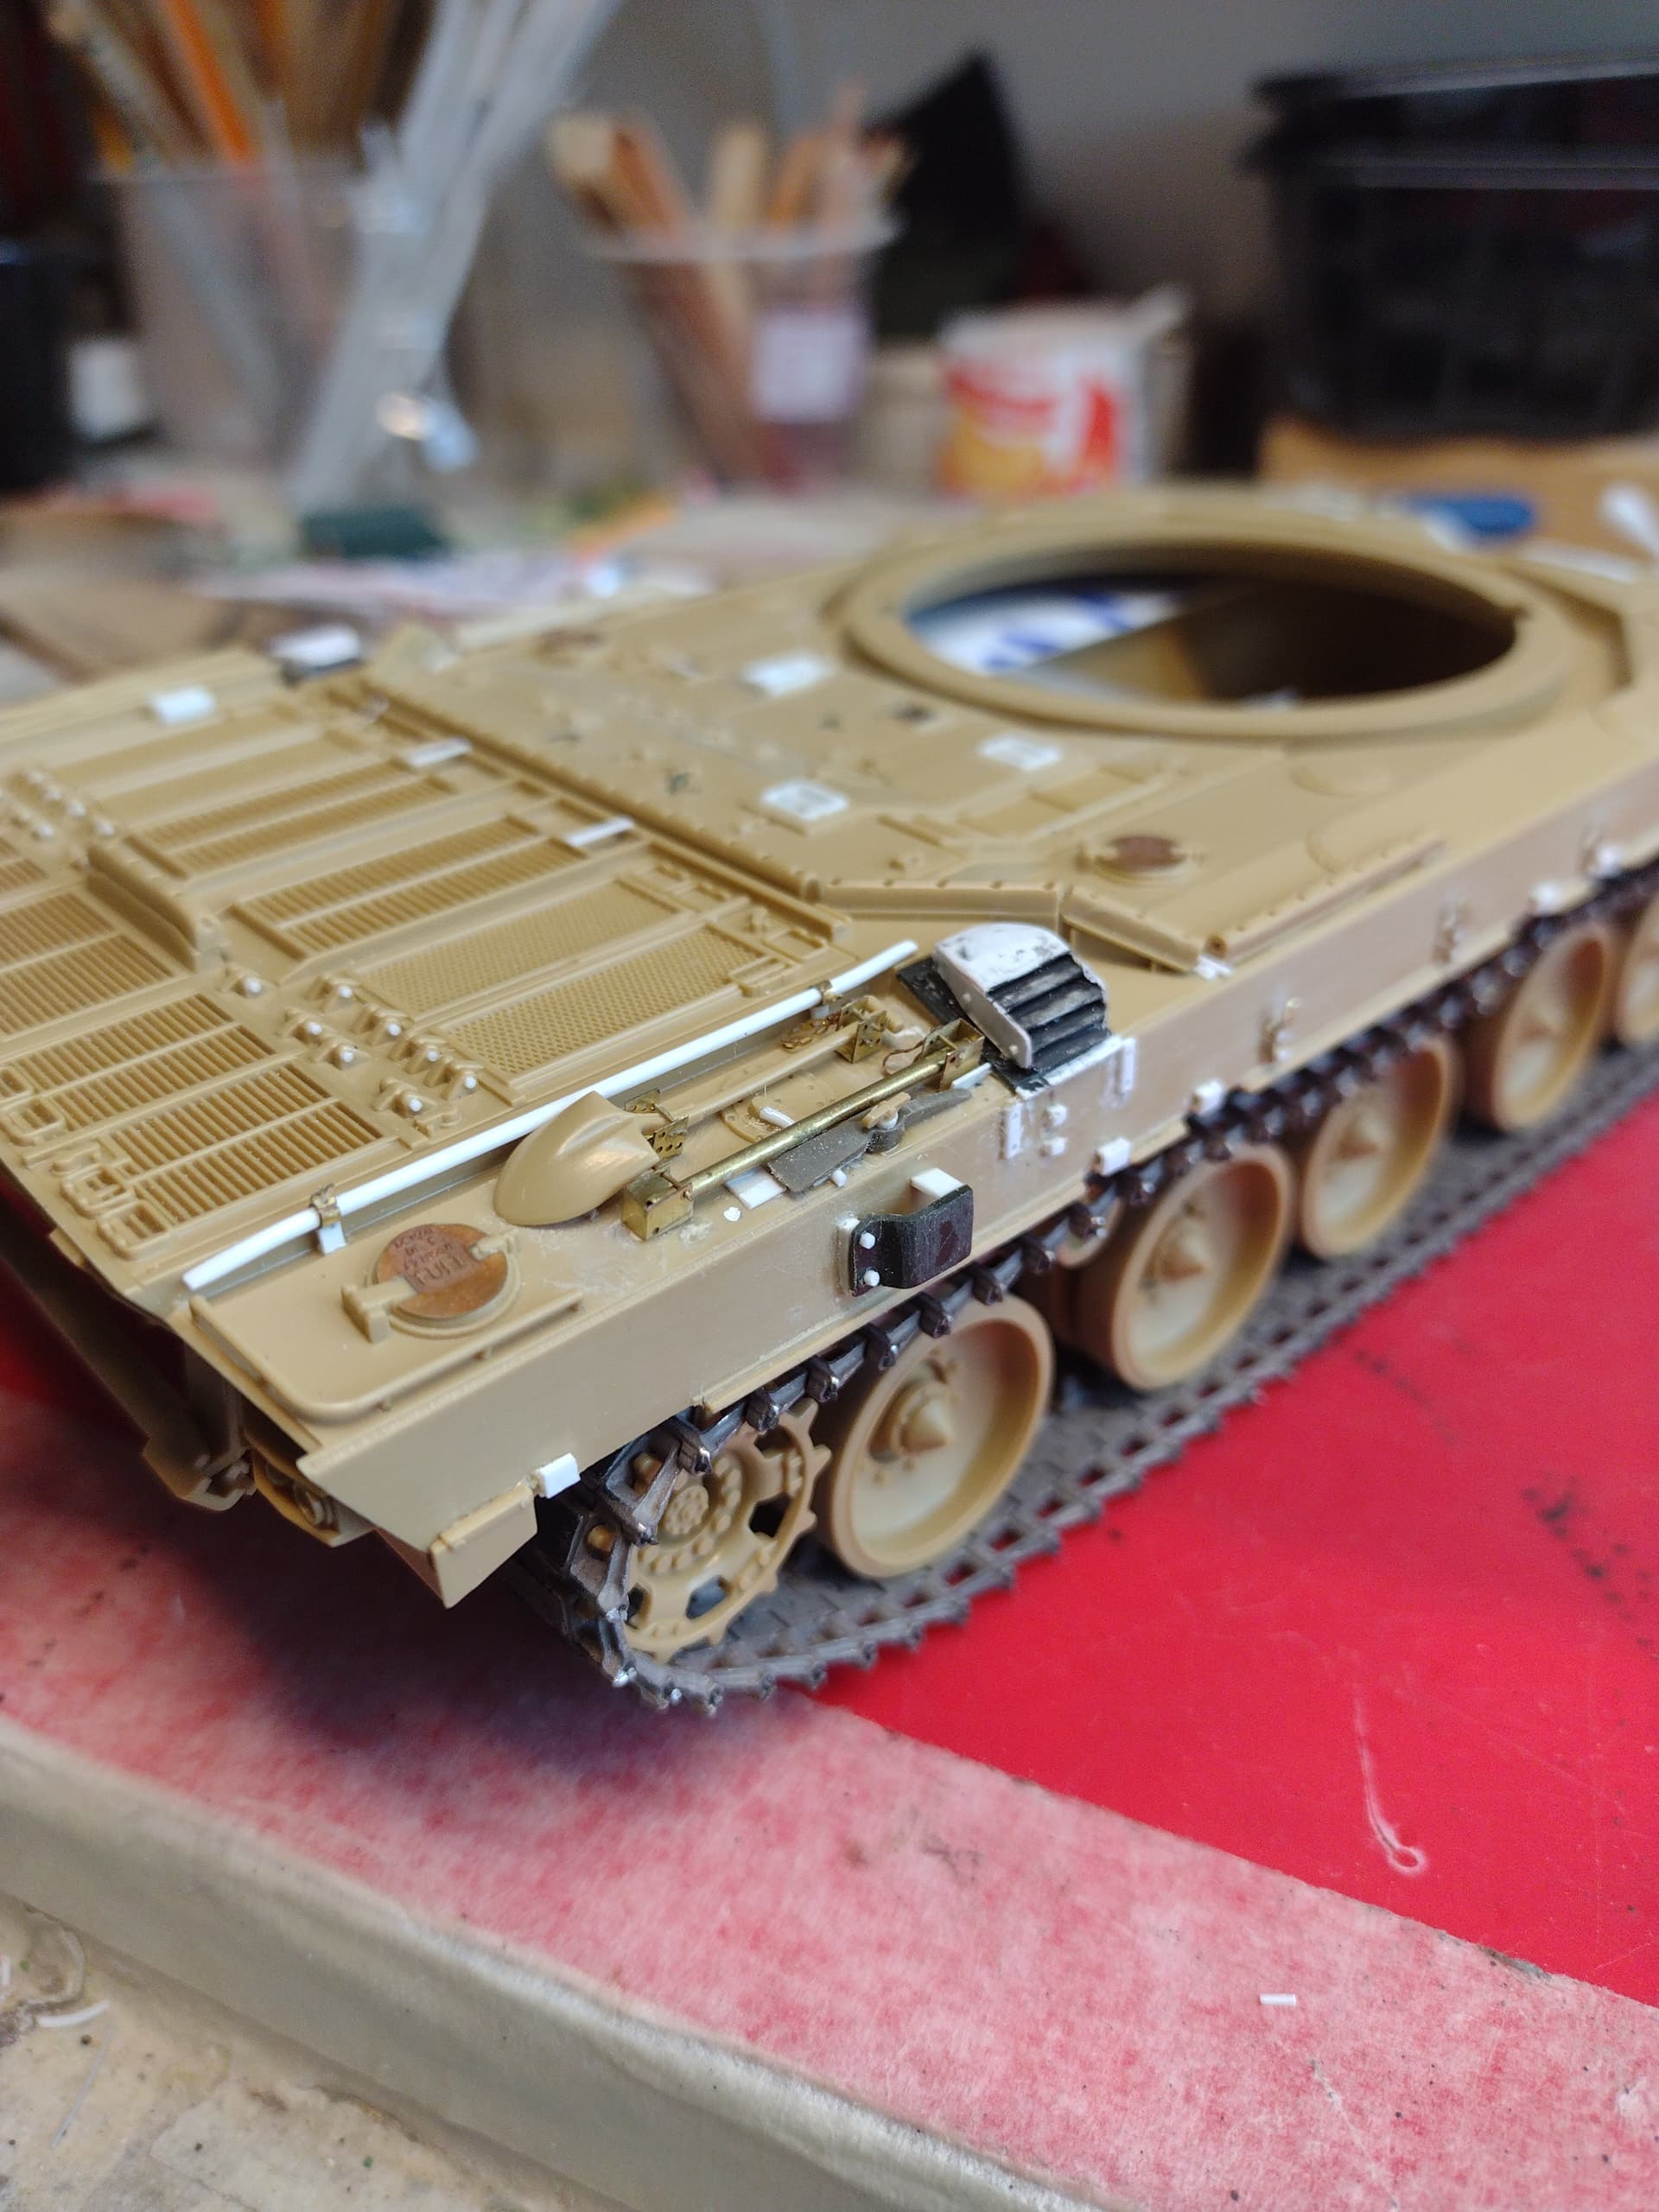
3 Likes
Nice work !
Did you also scrathbuild the brass brackets for the shovel etc ?
Looks good and once painted it won’t be noticed ![]()
T’anks!
Marc: all the brass is from the Eduard set except for the ax handle-it’s just brass tube.