This is great thank you!
Looks amazing! Is the line at the canopy attached to a piece glued onto the back of the canopy or is it drilled though and attached to the brace?
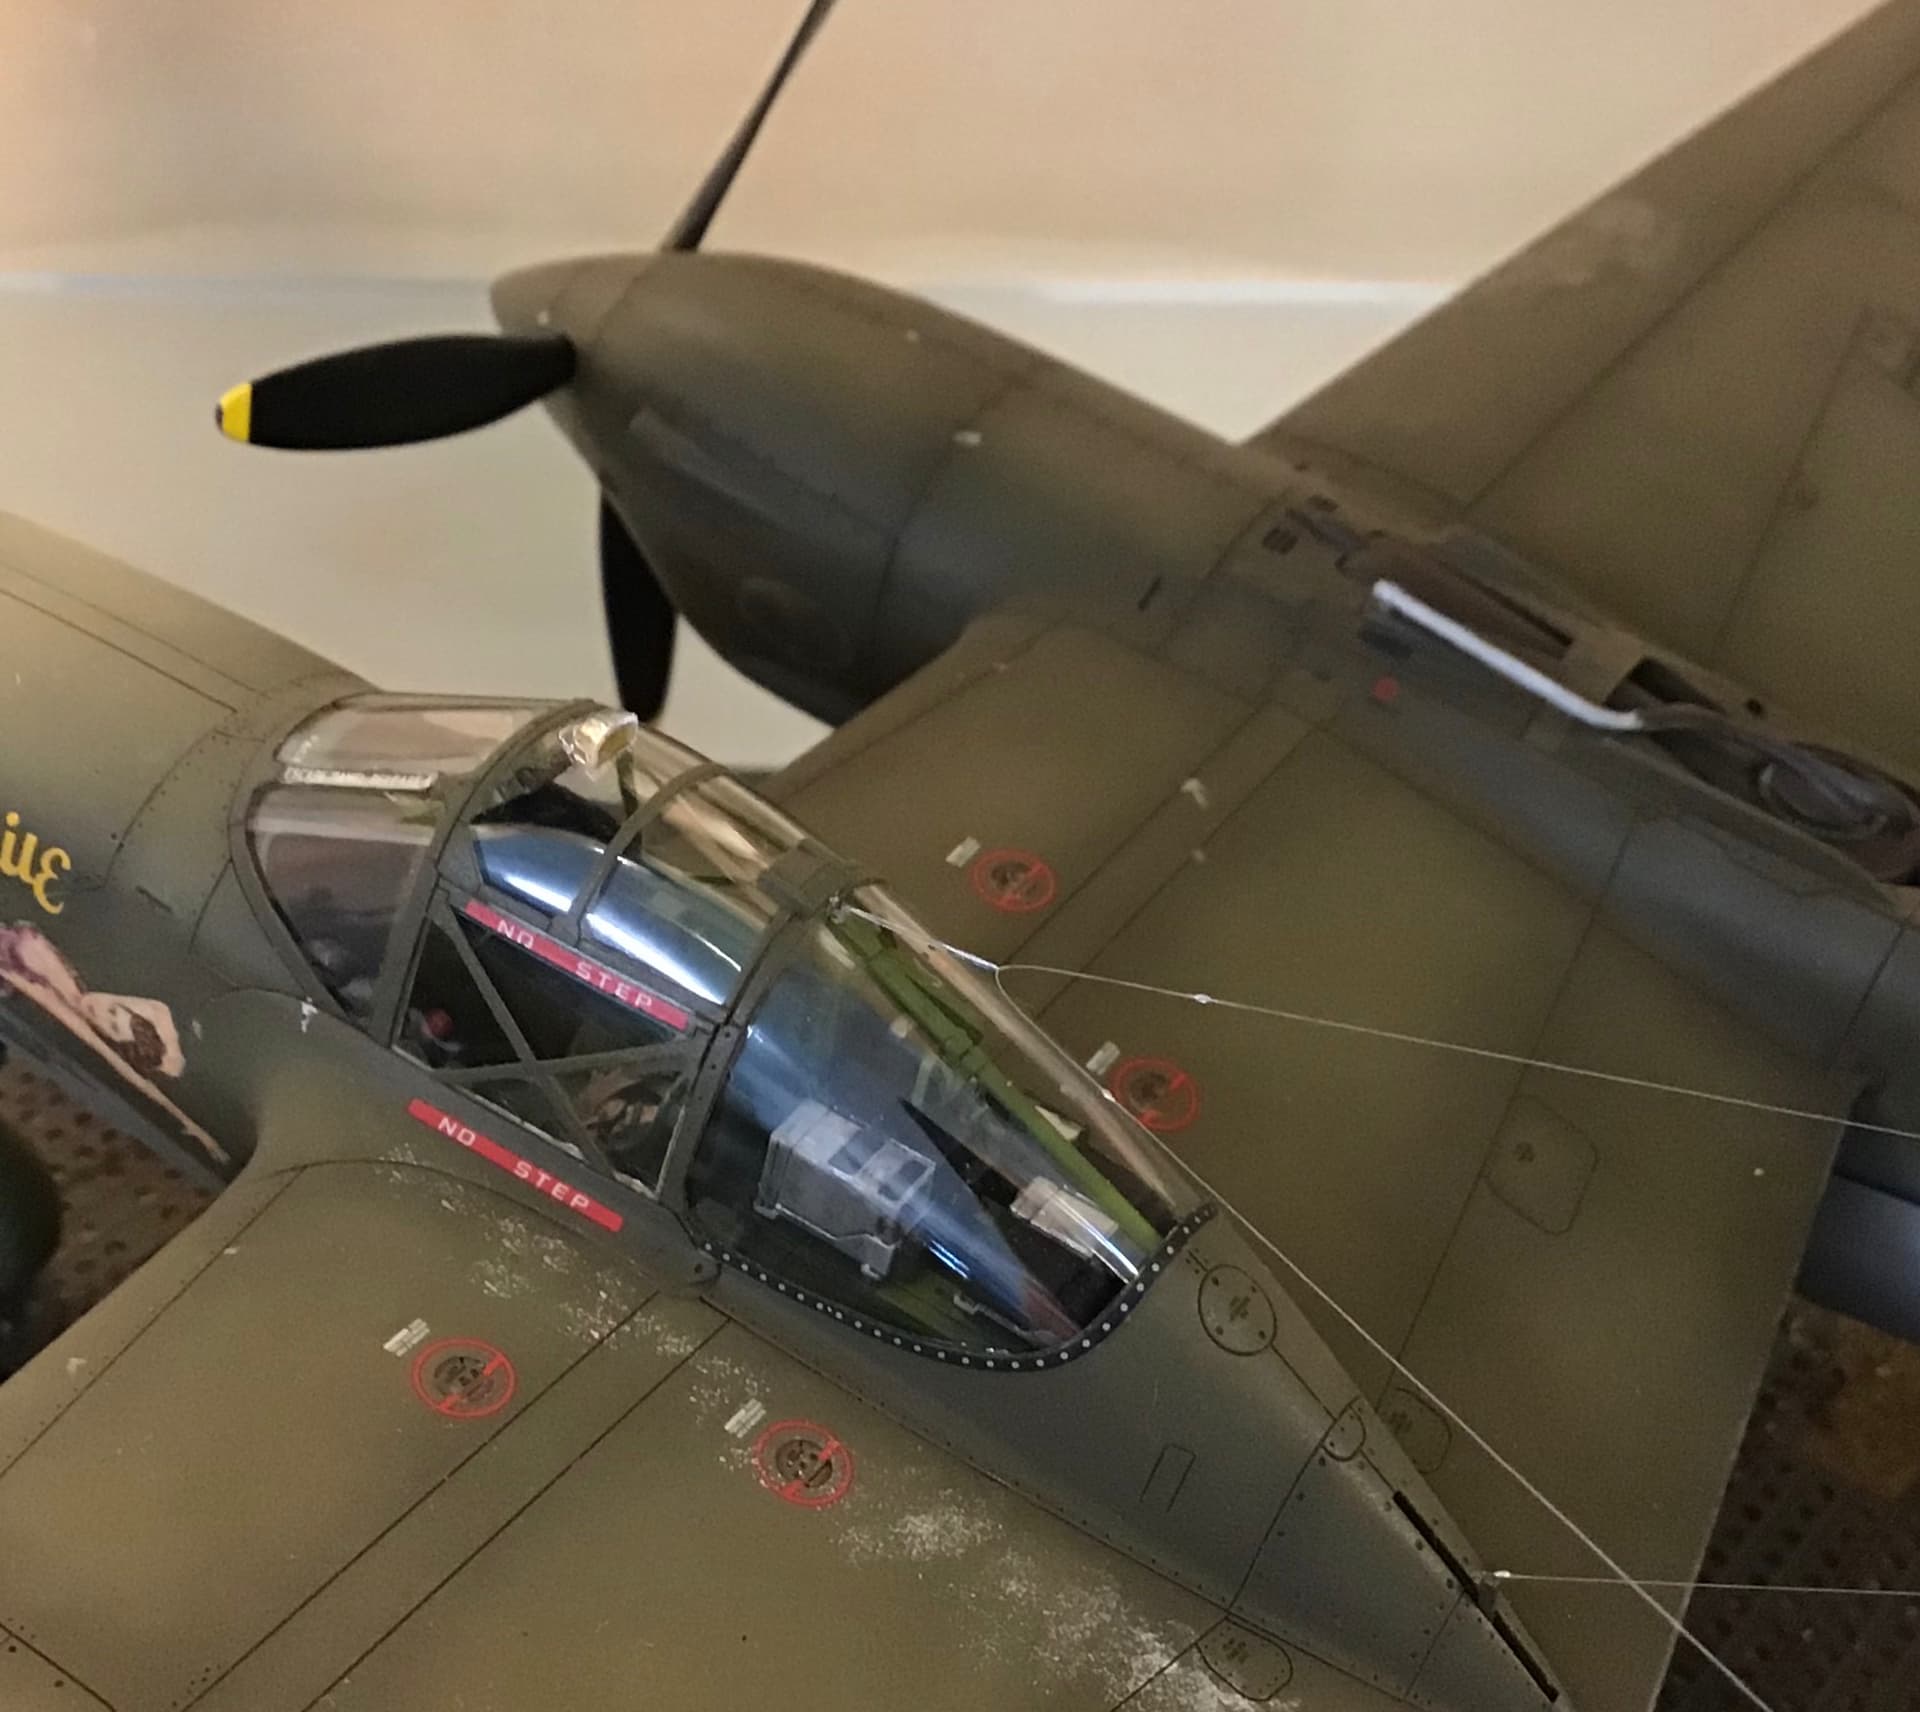
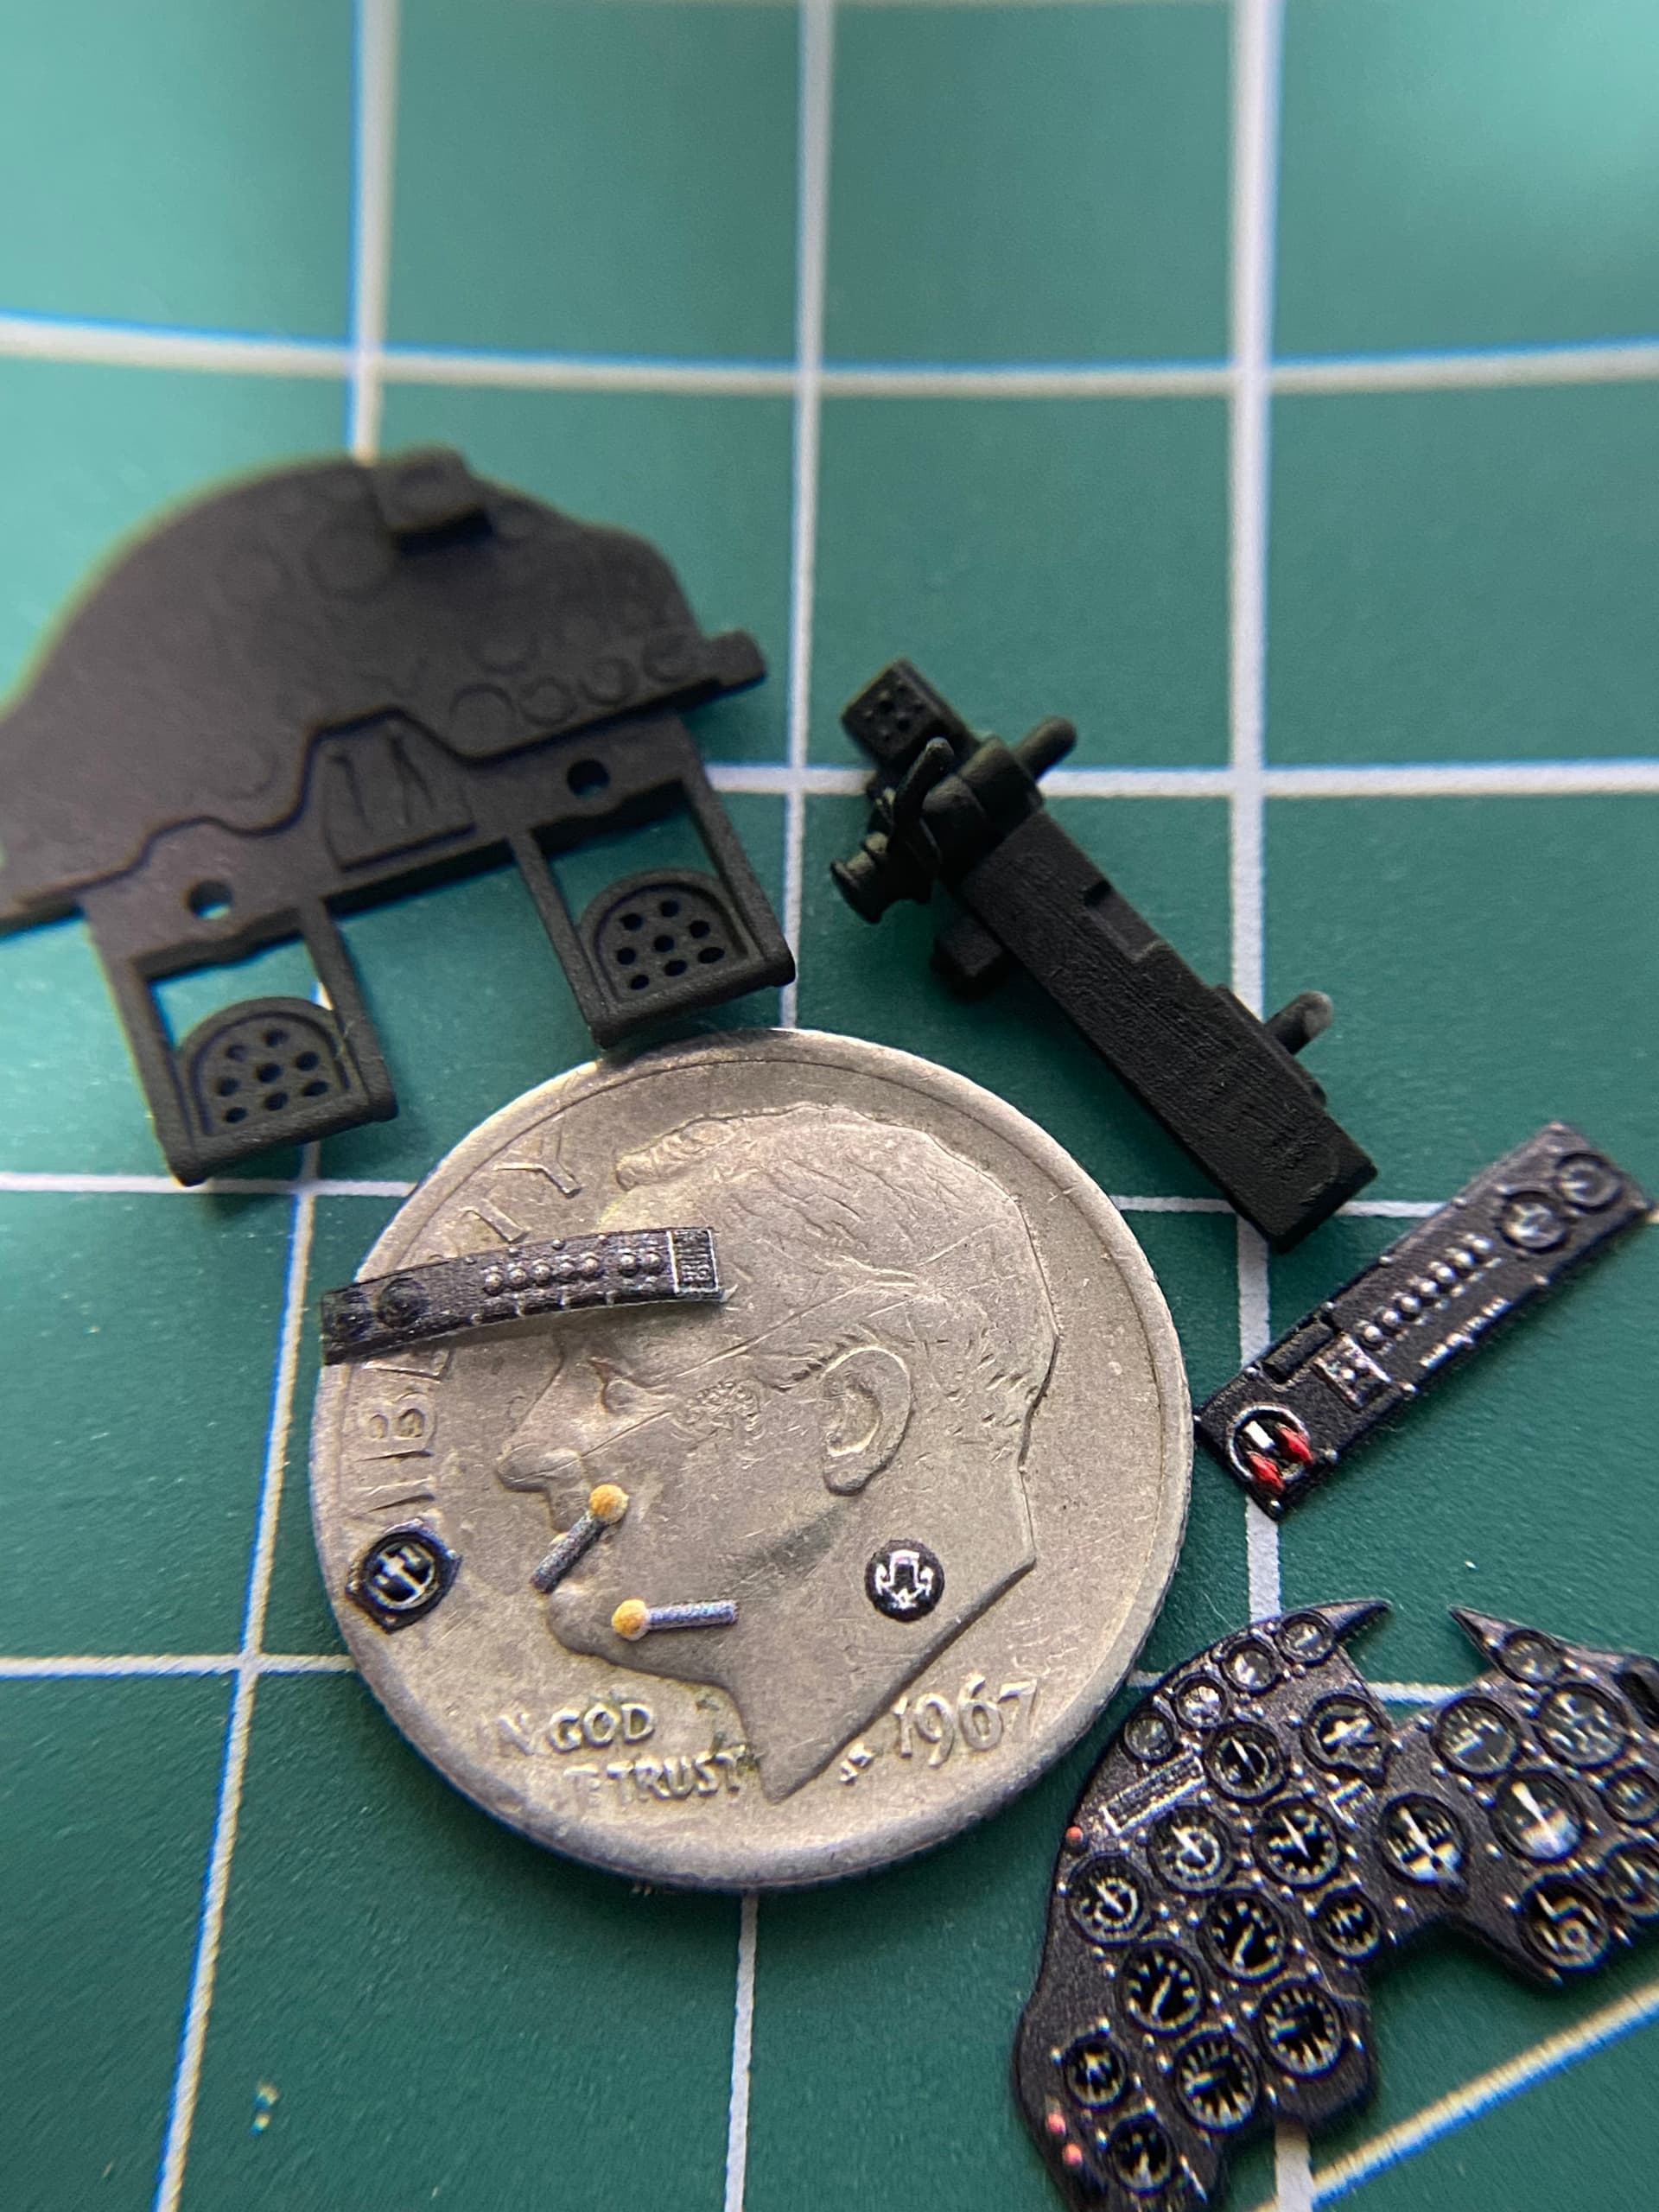
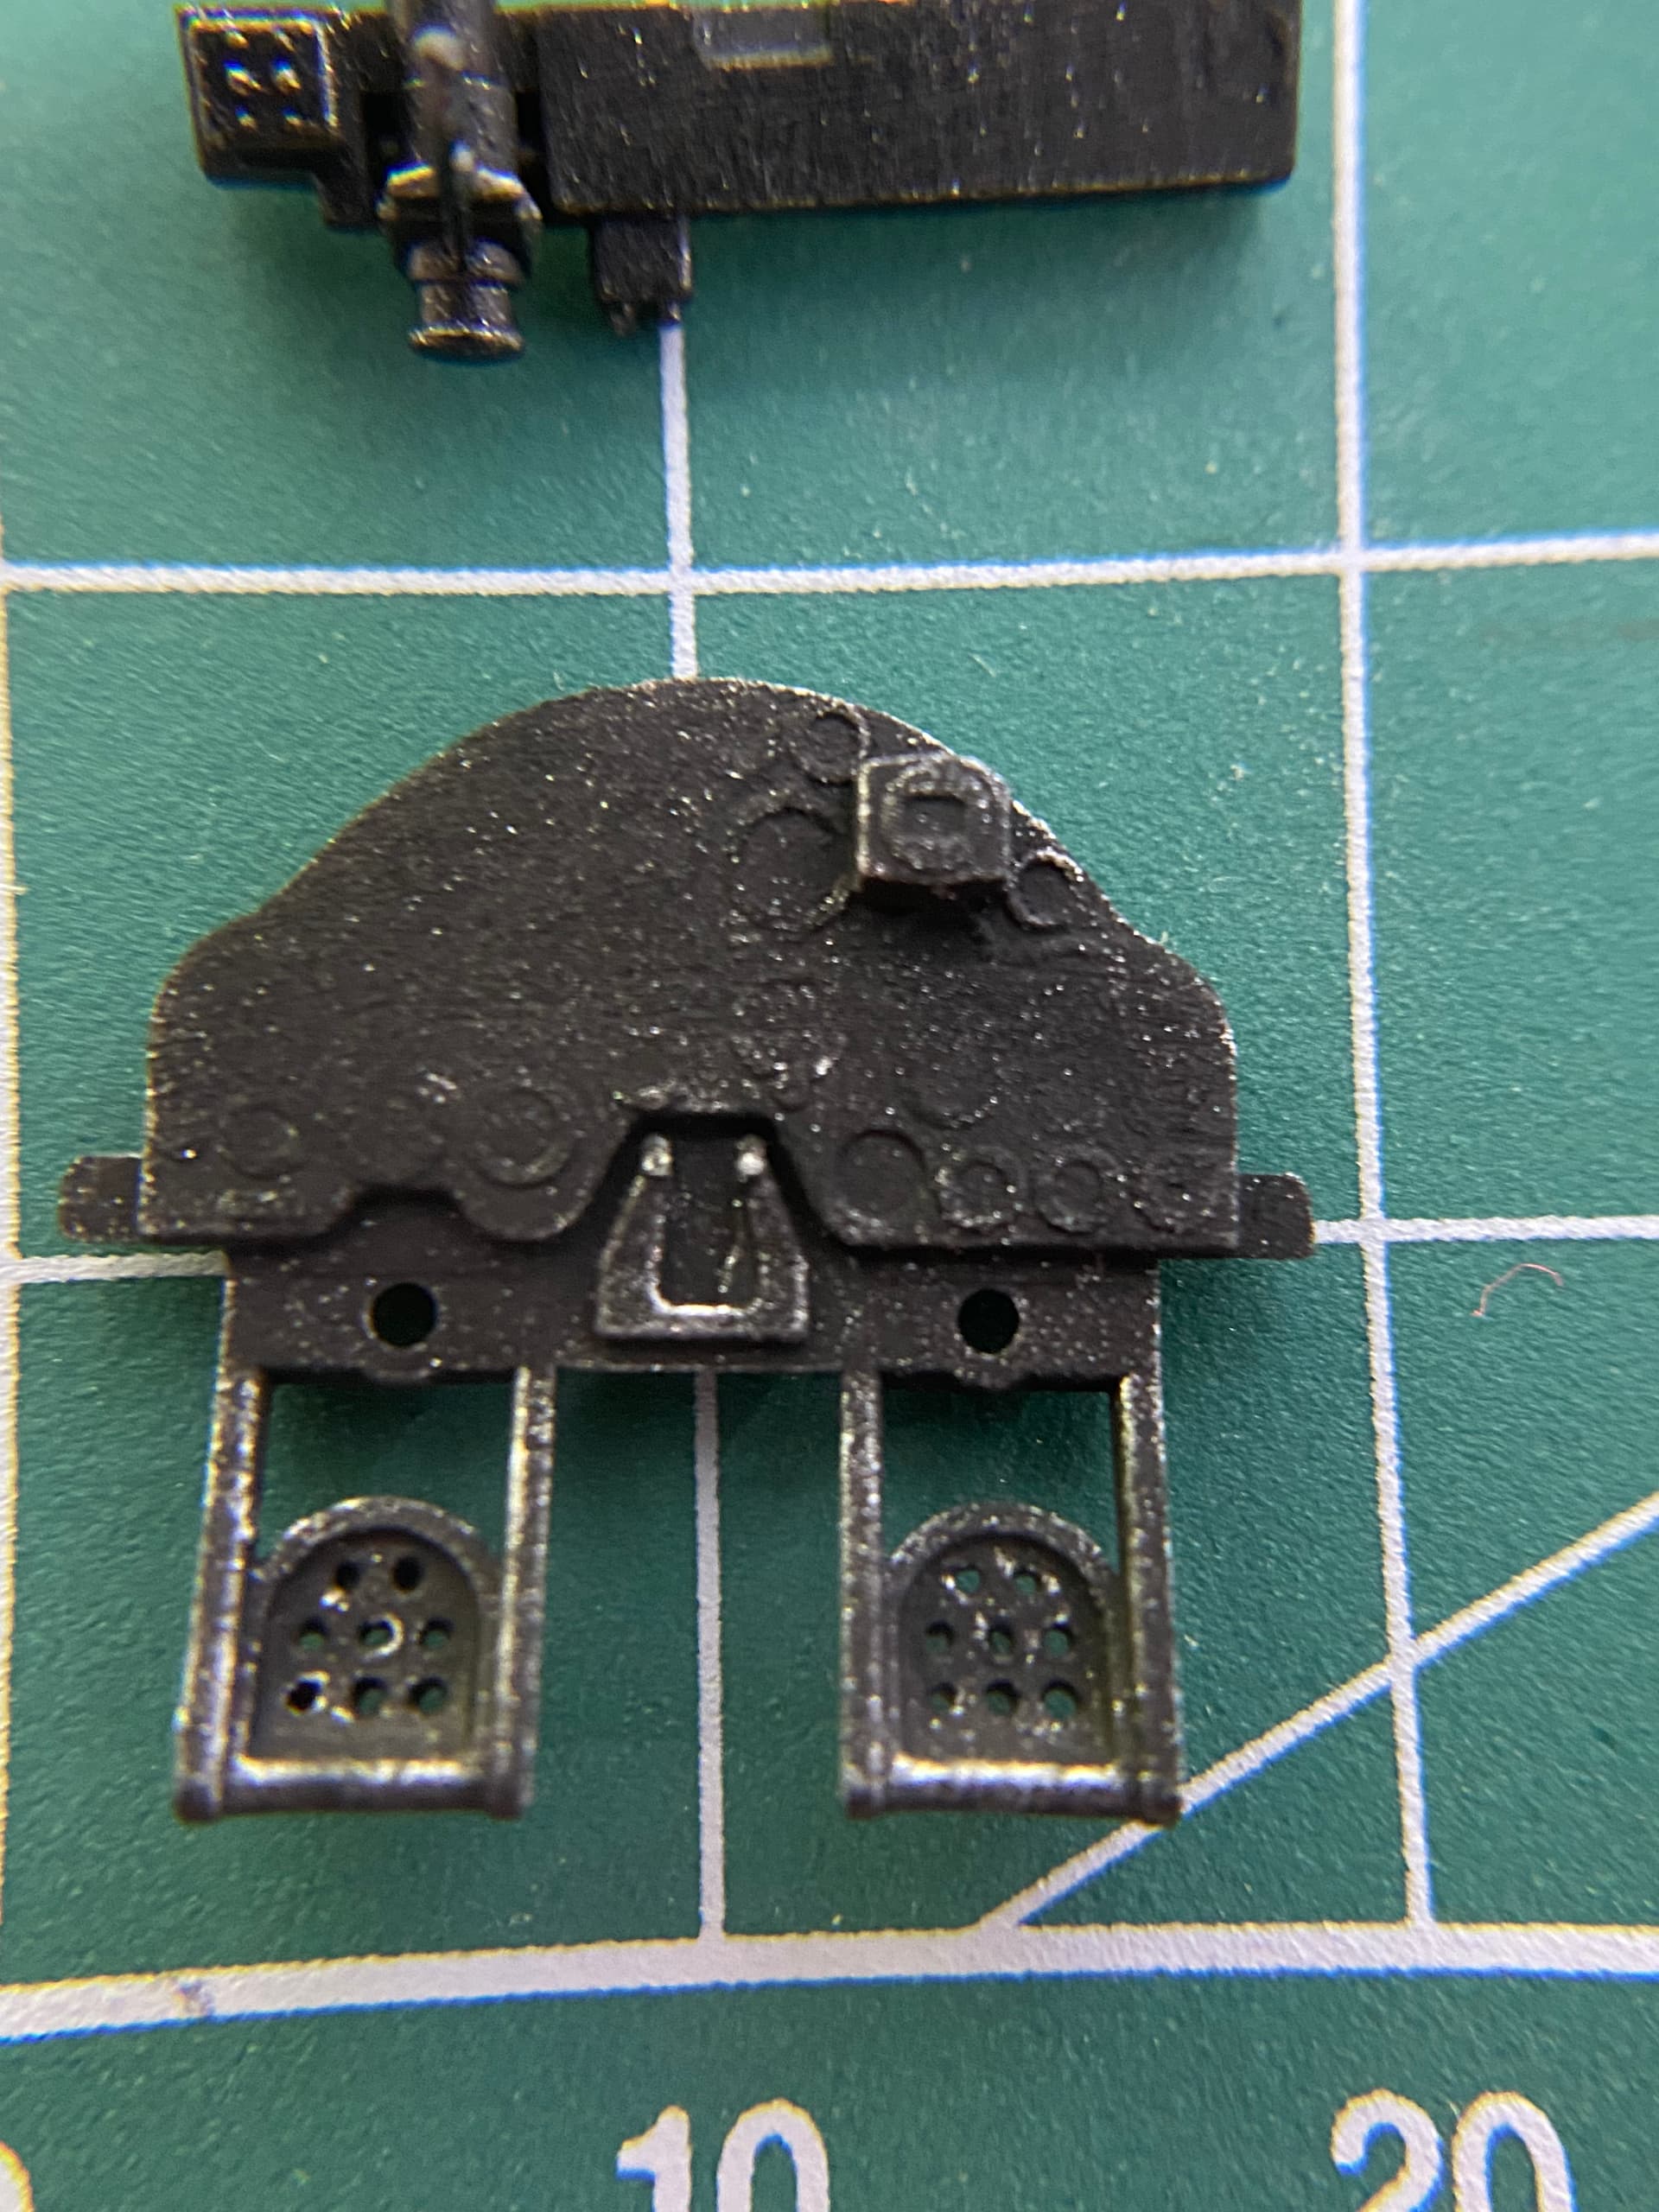
Drilled through. If you look at # 33 in the antenna arrangement link you will see that there is a strand leading aft from the forwardmost frame of the rear fixed canopy. On the real aircraft this was likely attached with a spring to maintain tension on the aerial antenna. The rear most part of this strand was connected to the aerial antenna with an insulator . As can be seen in the illustration there was a jumper that led from the radio gear through a hole in the canopy to the “V” antenna wire that attaches to the the tops of both vertical stabs.
I did not include the jumper because it was too late for me - by the time I received this info I had already installed the rear fixed canopy. Not too late for you though ! LOL
Thank you for this. I will admit my building skills with regards to addition to the outside the box directions are aftermarket sets with instructions of their own, so we’ll see if I get the gumption to scratch build in full the antenna stuff. Appreciate the info!
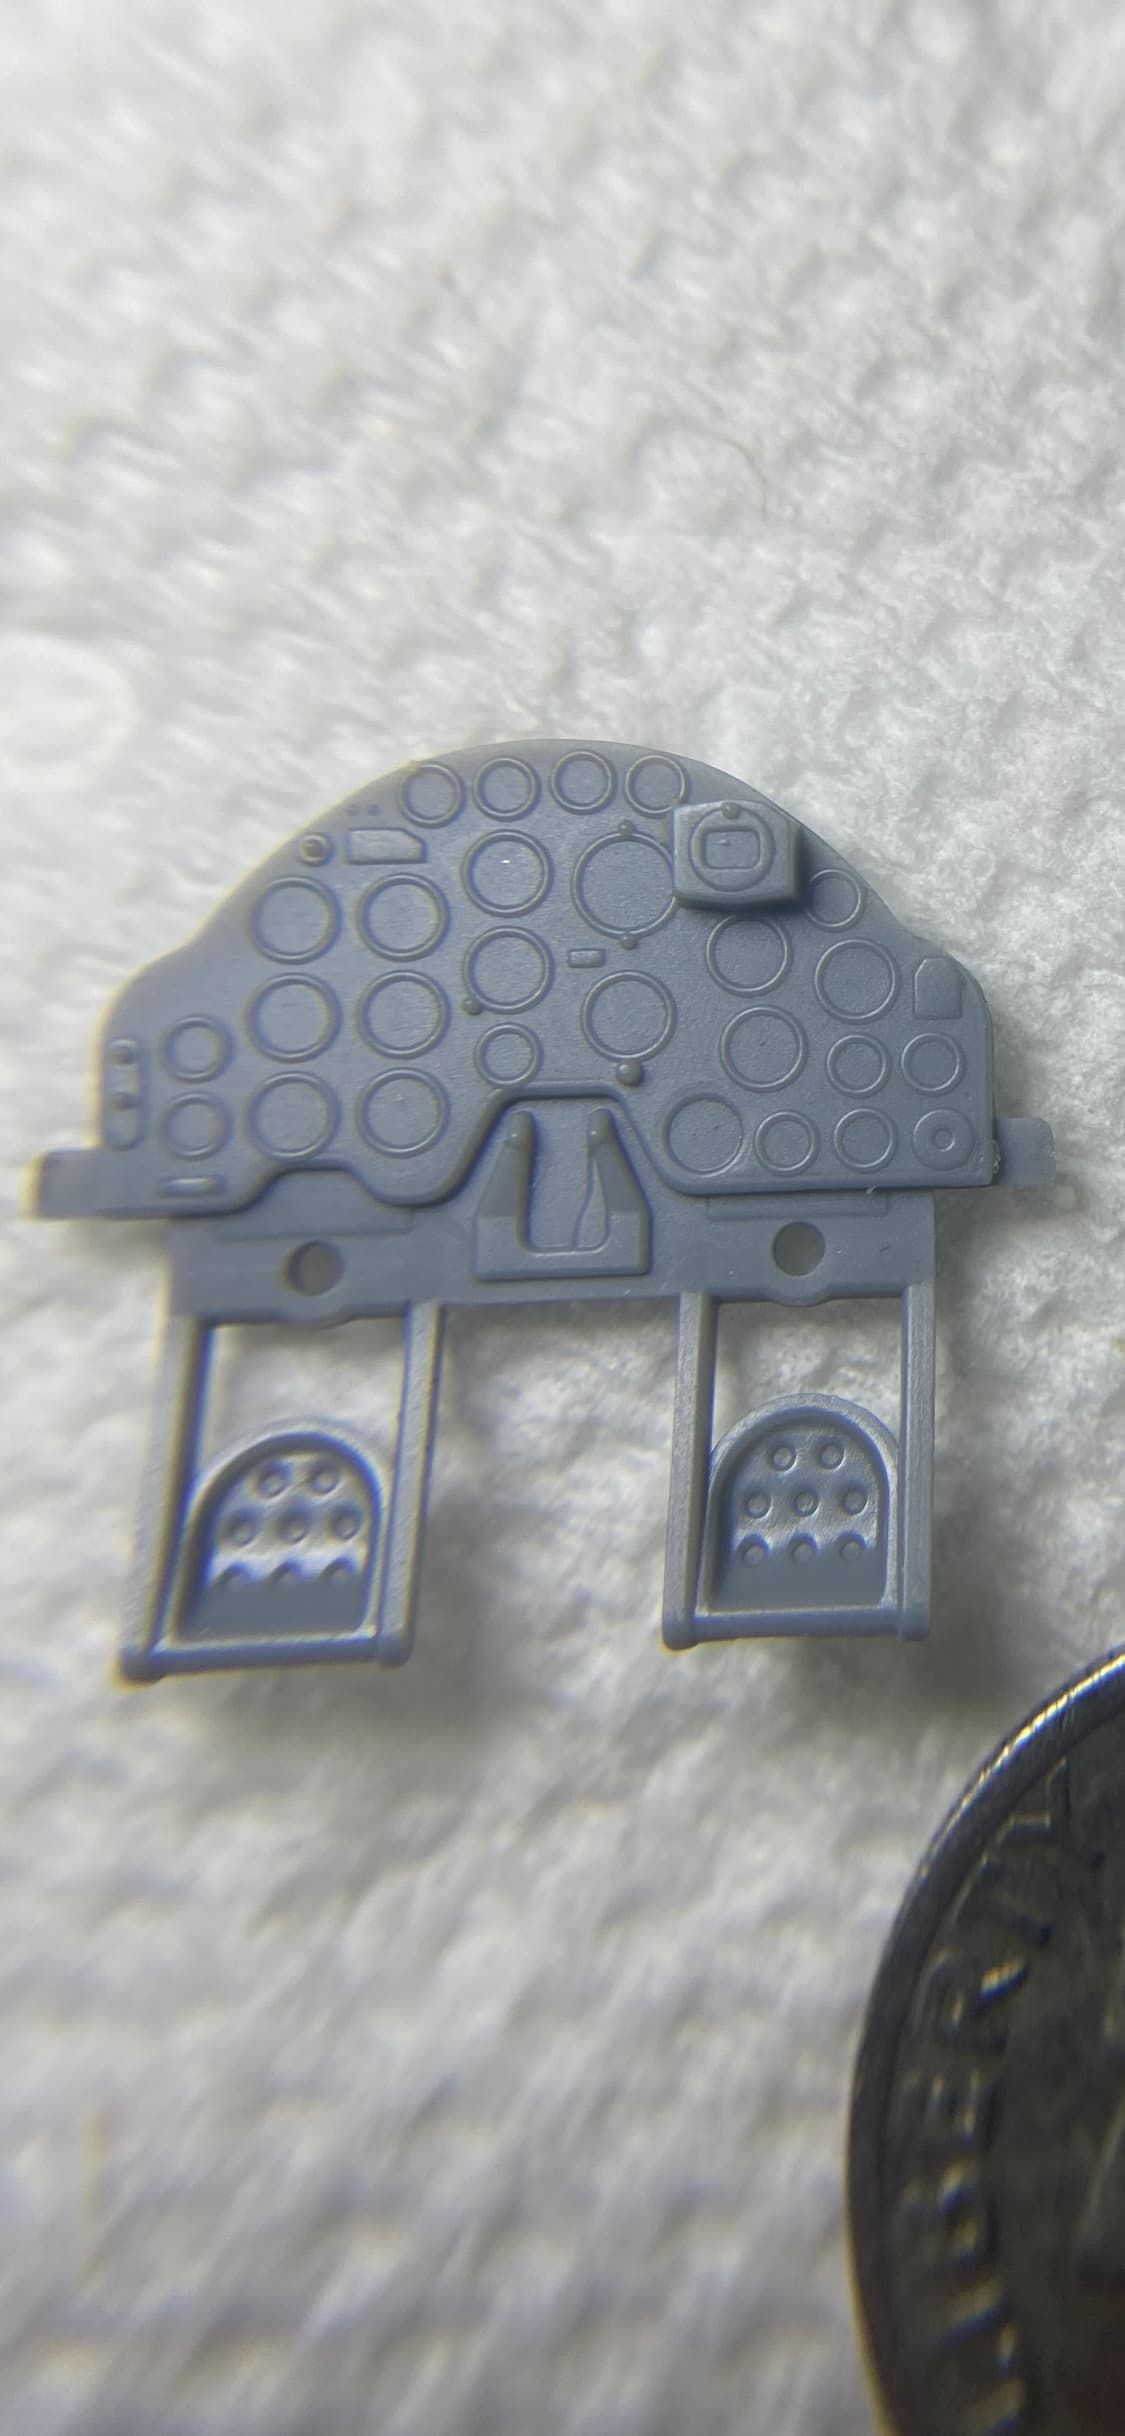
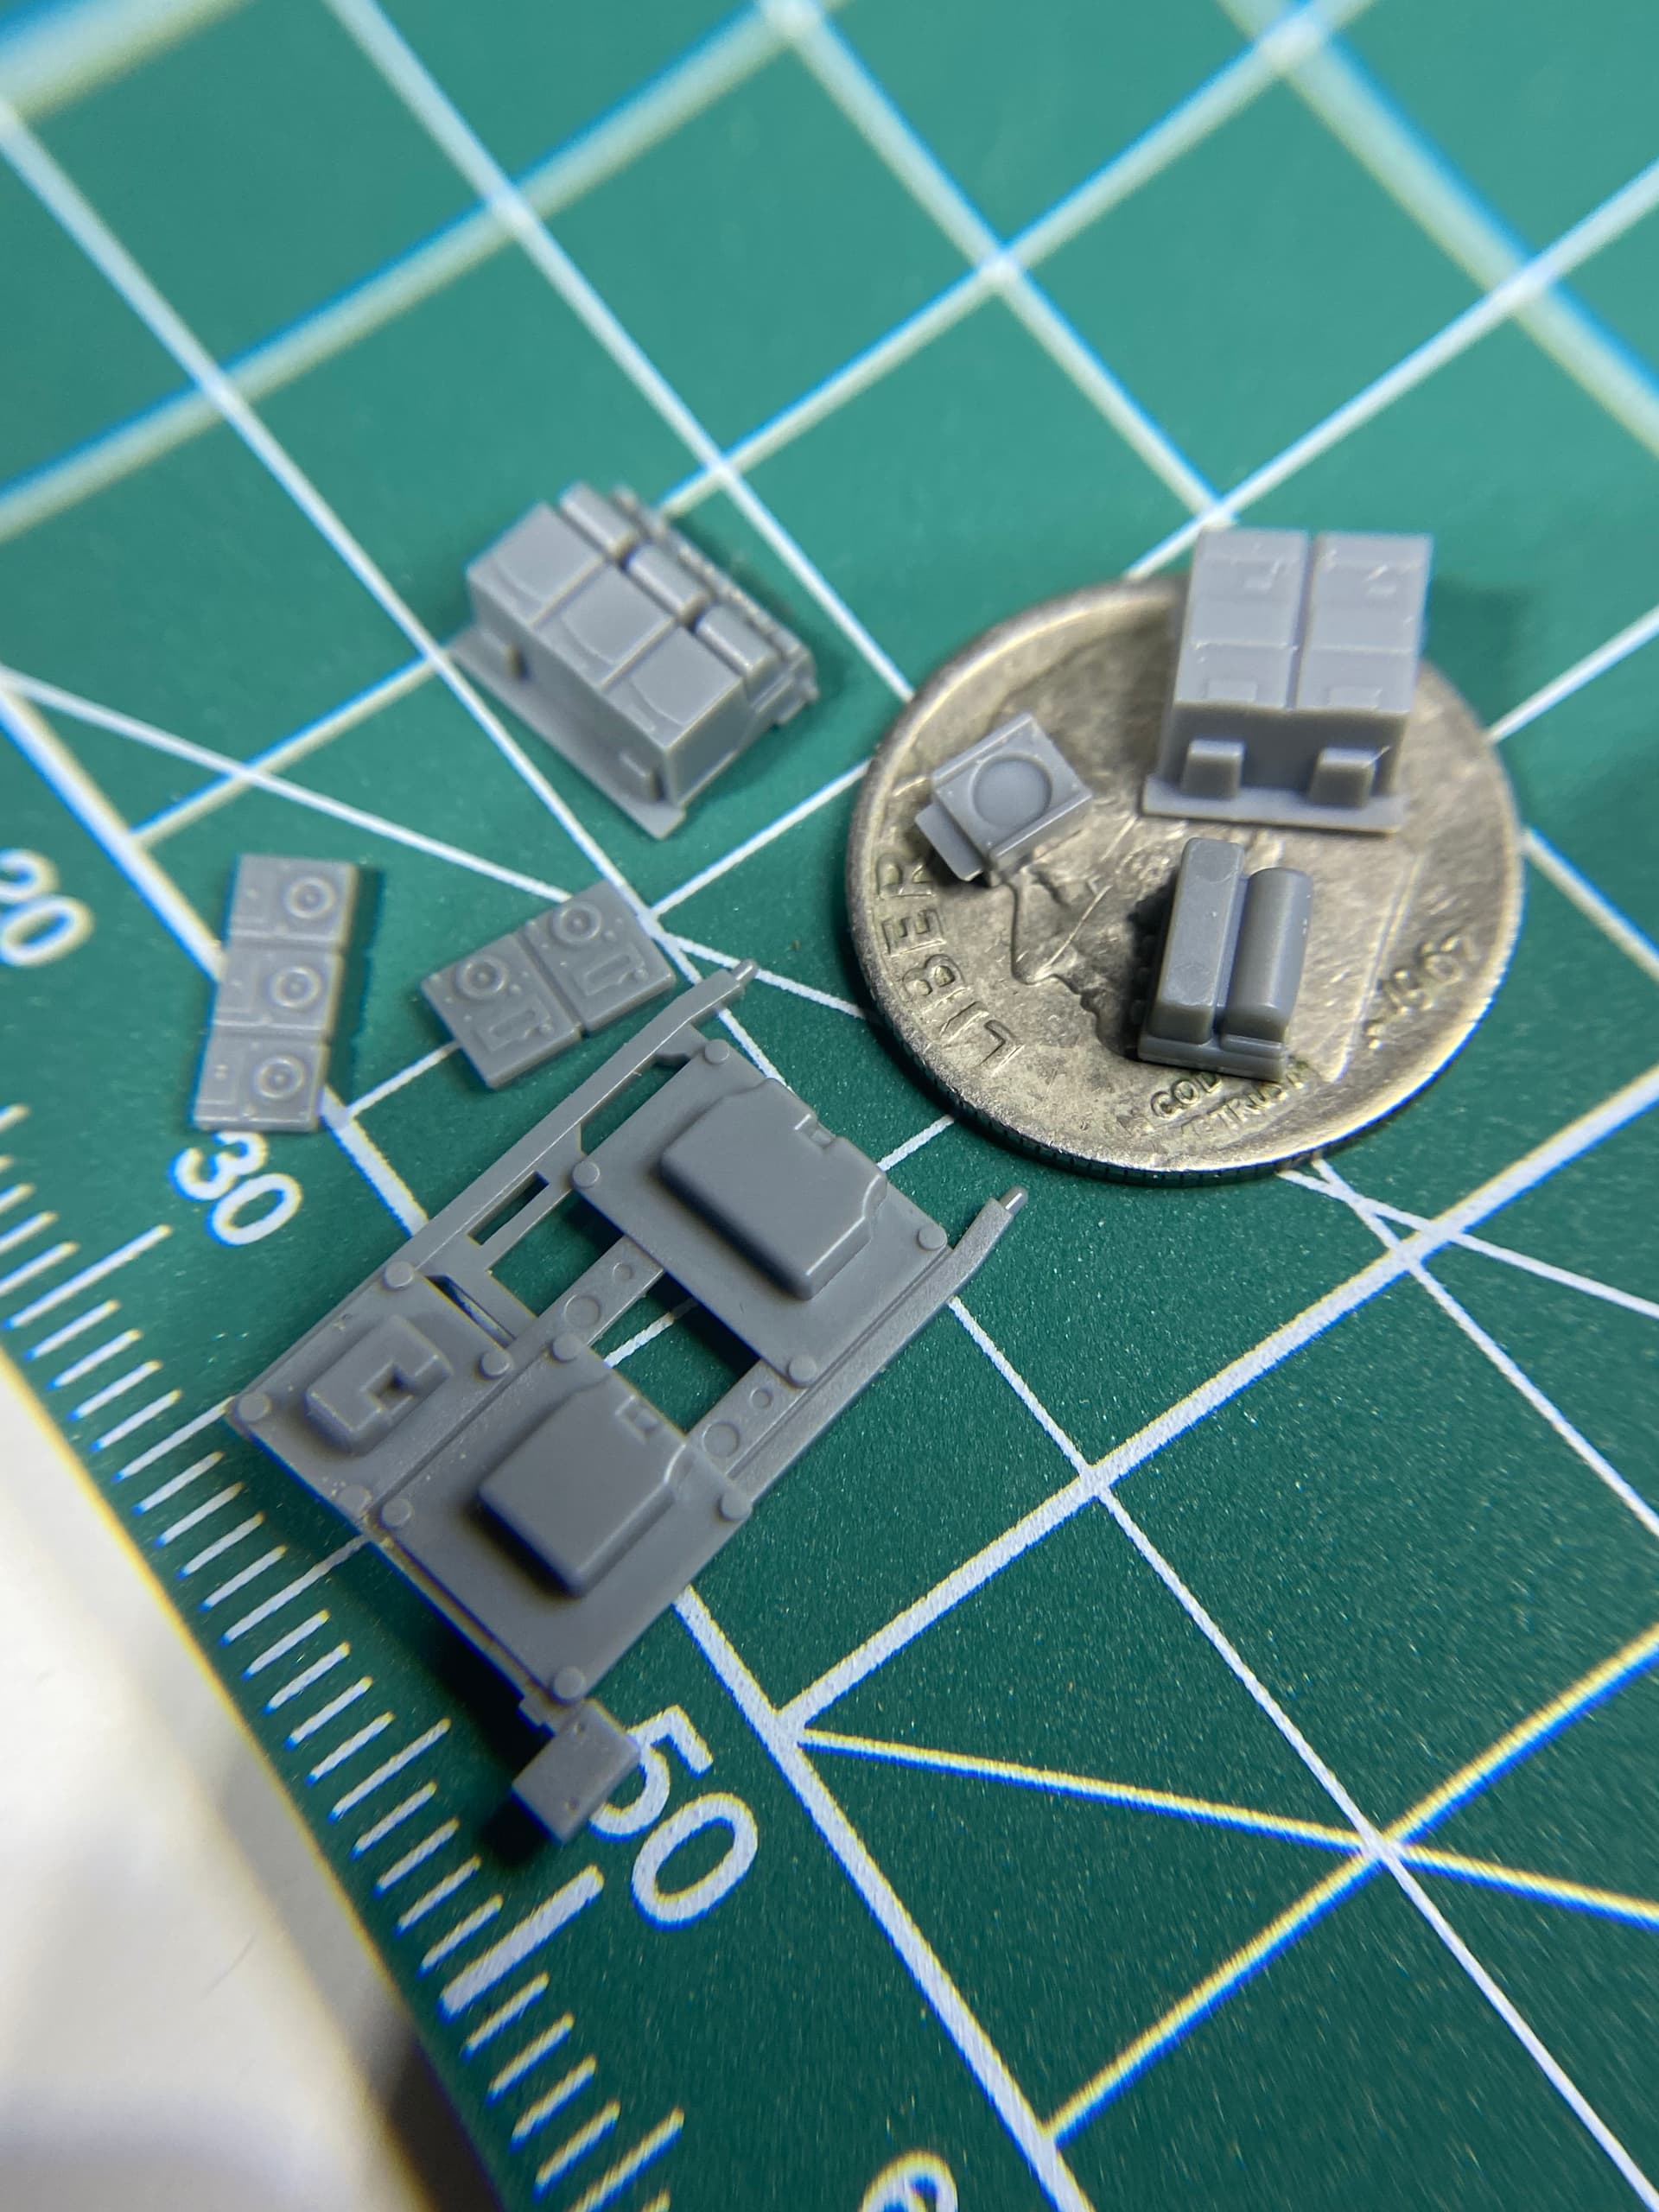
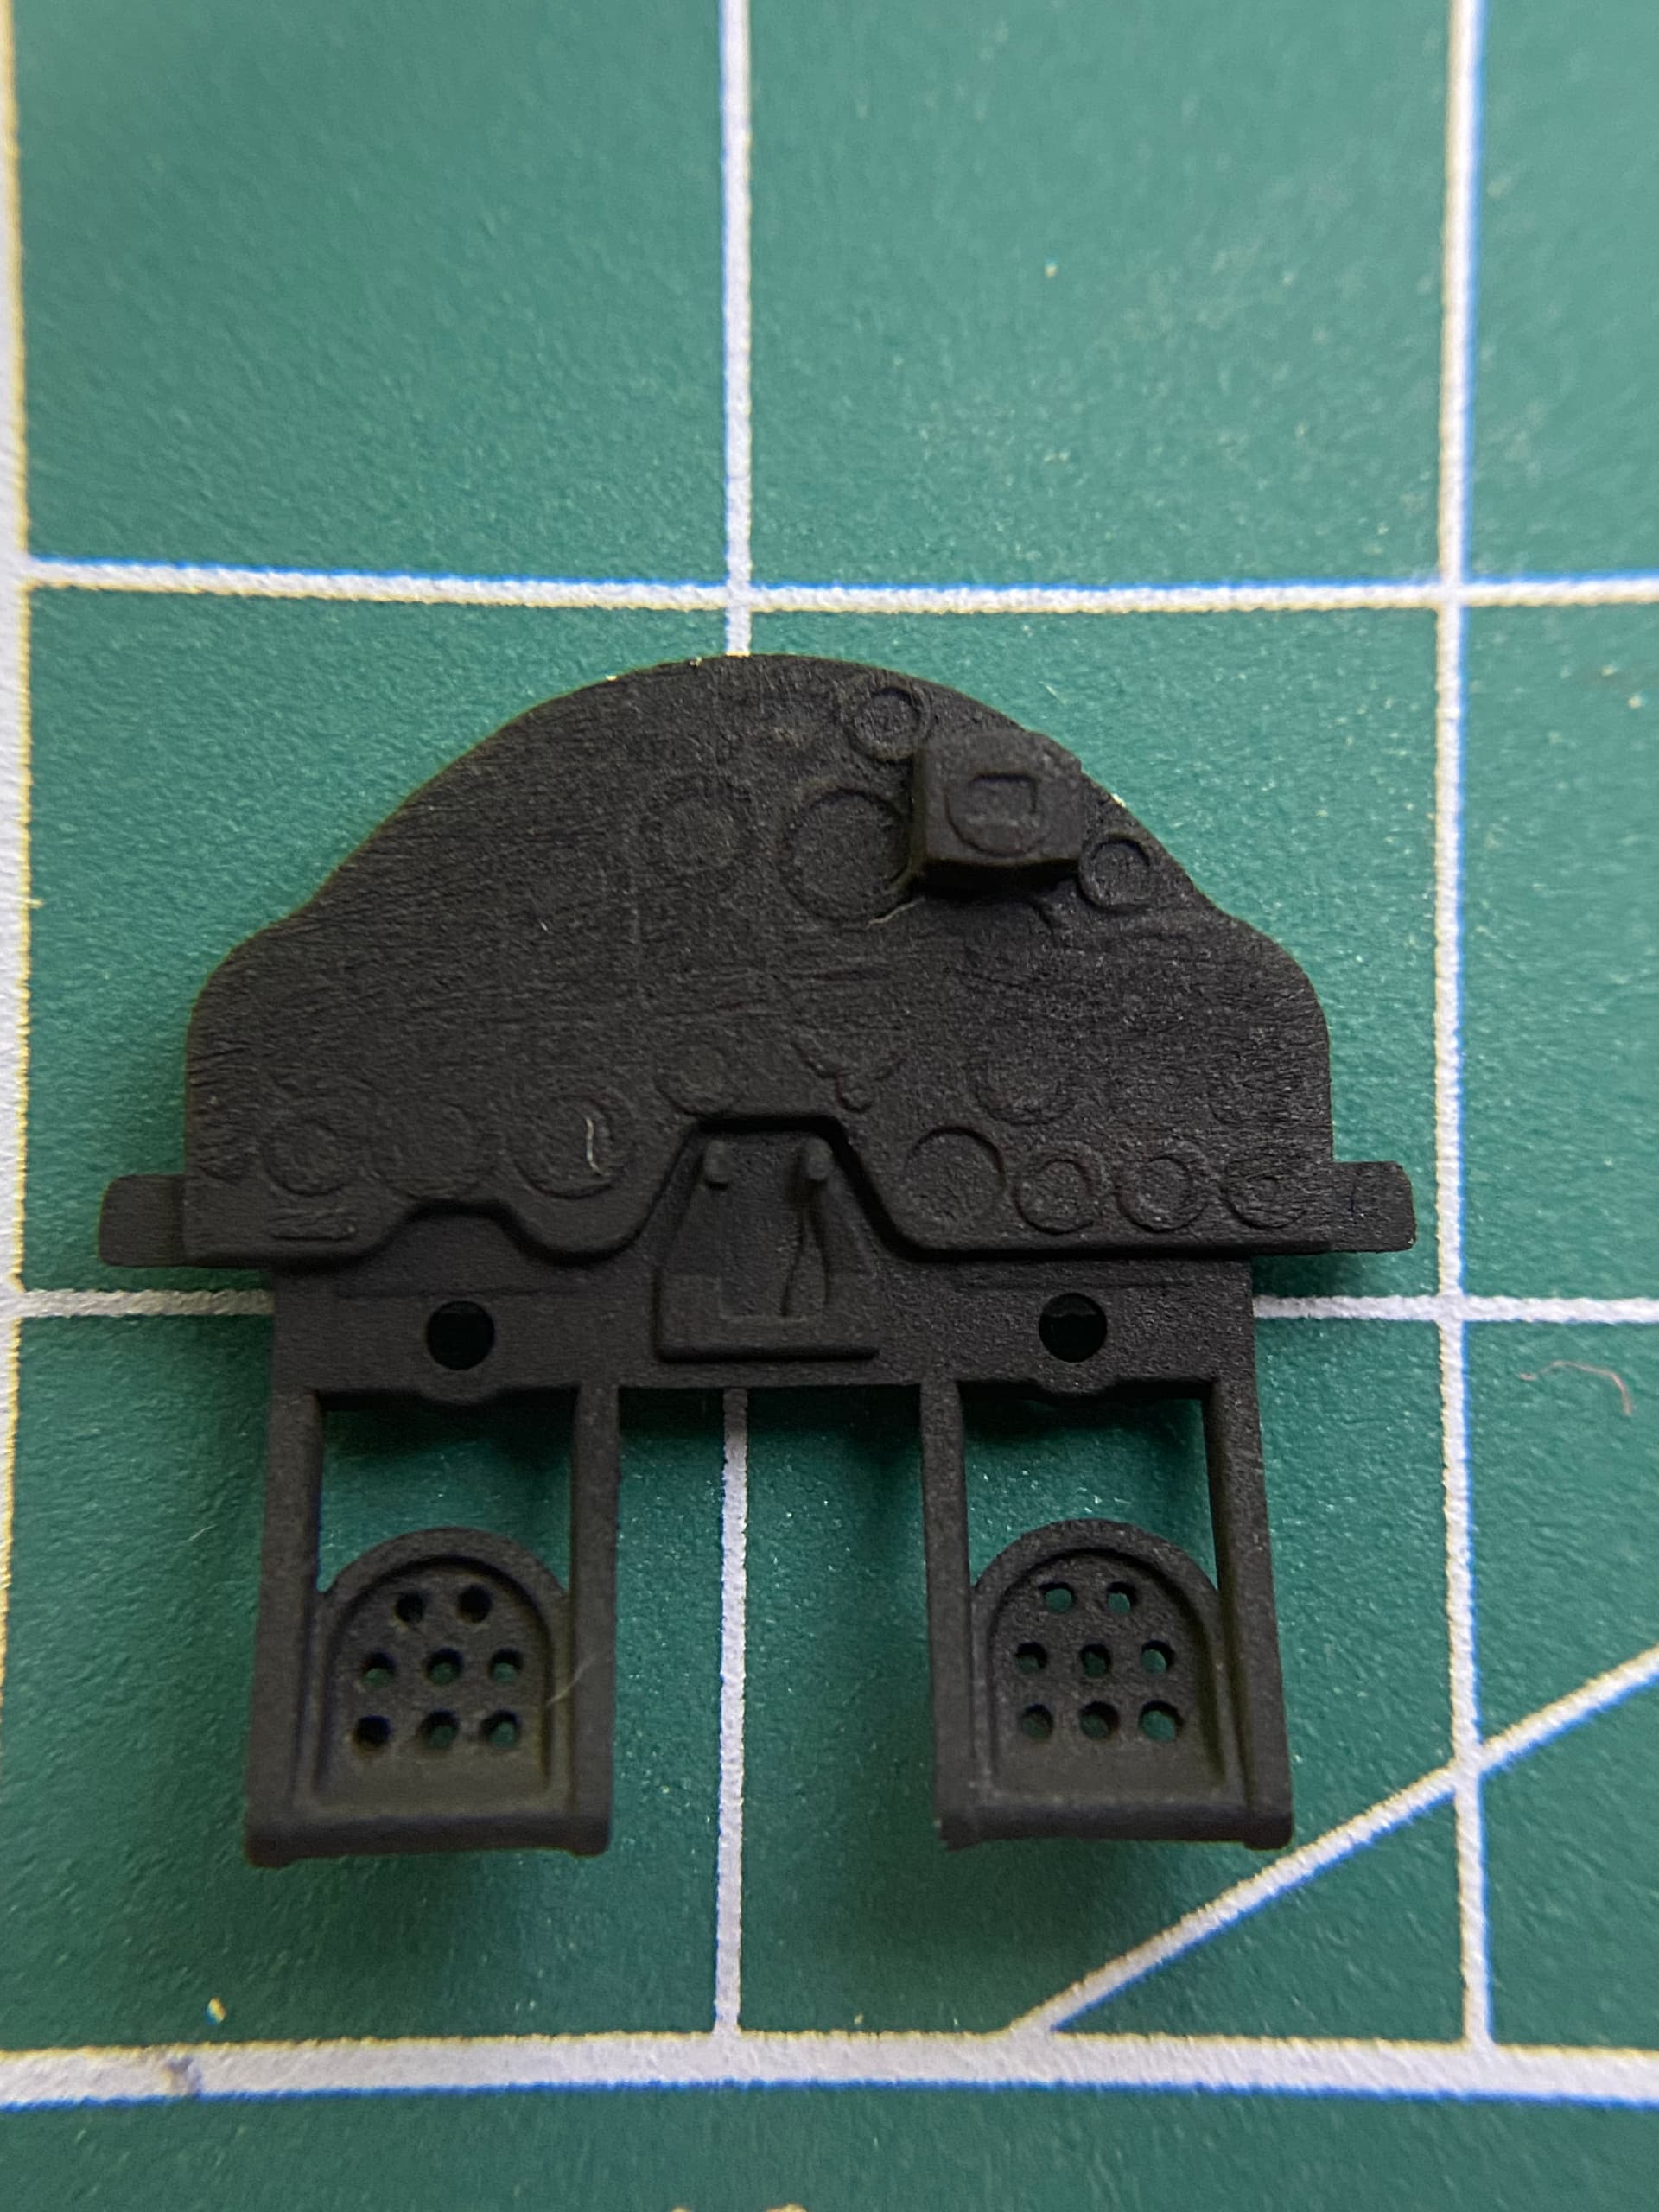
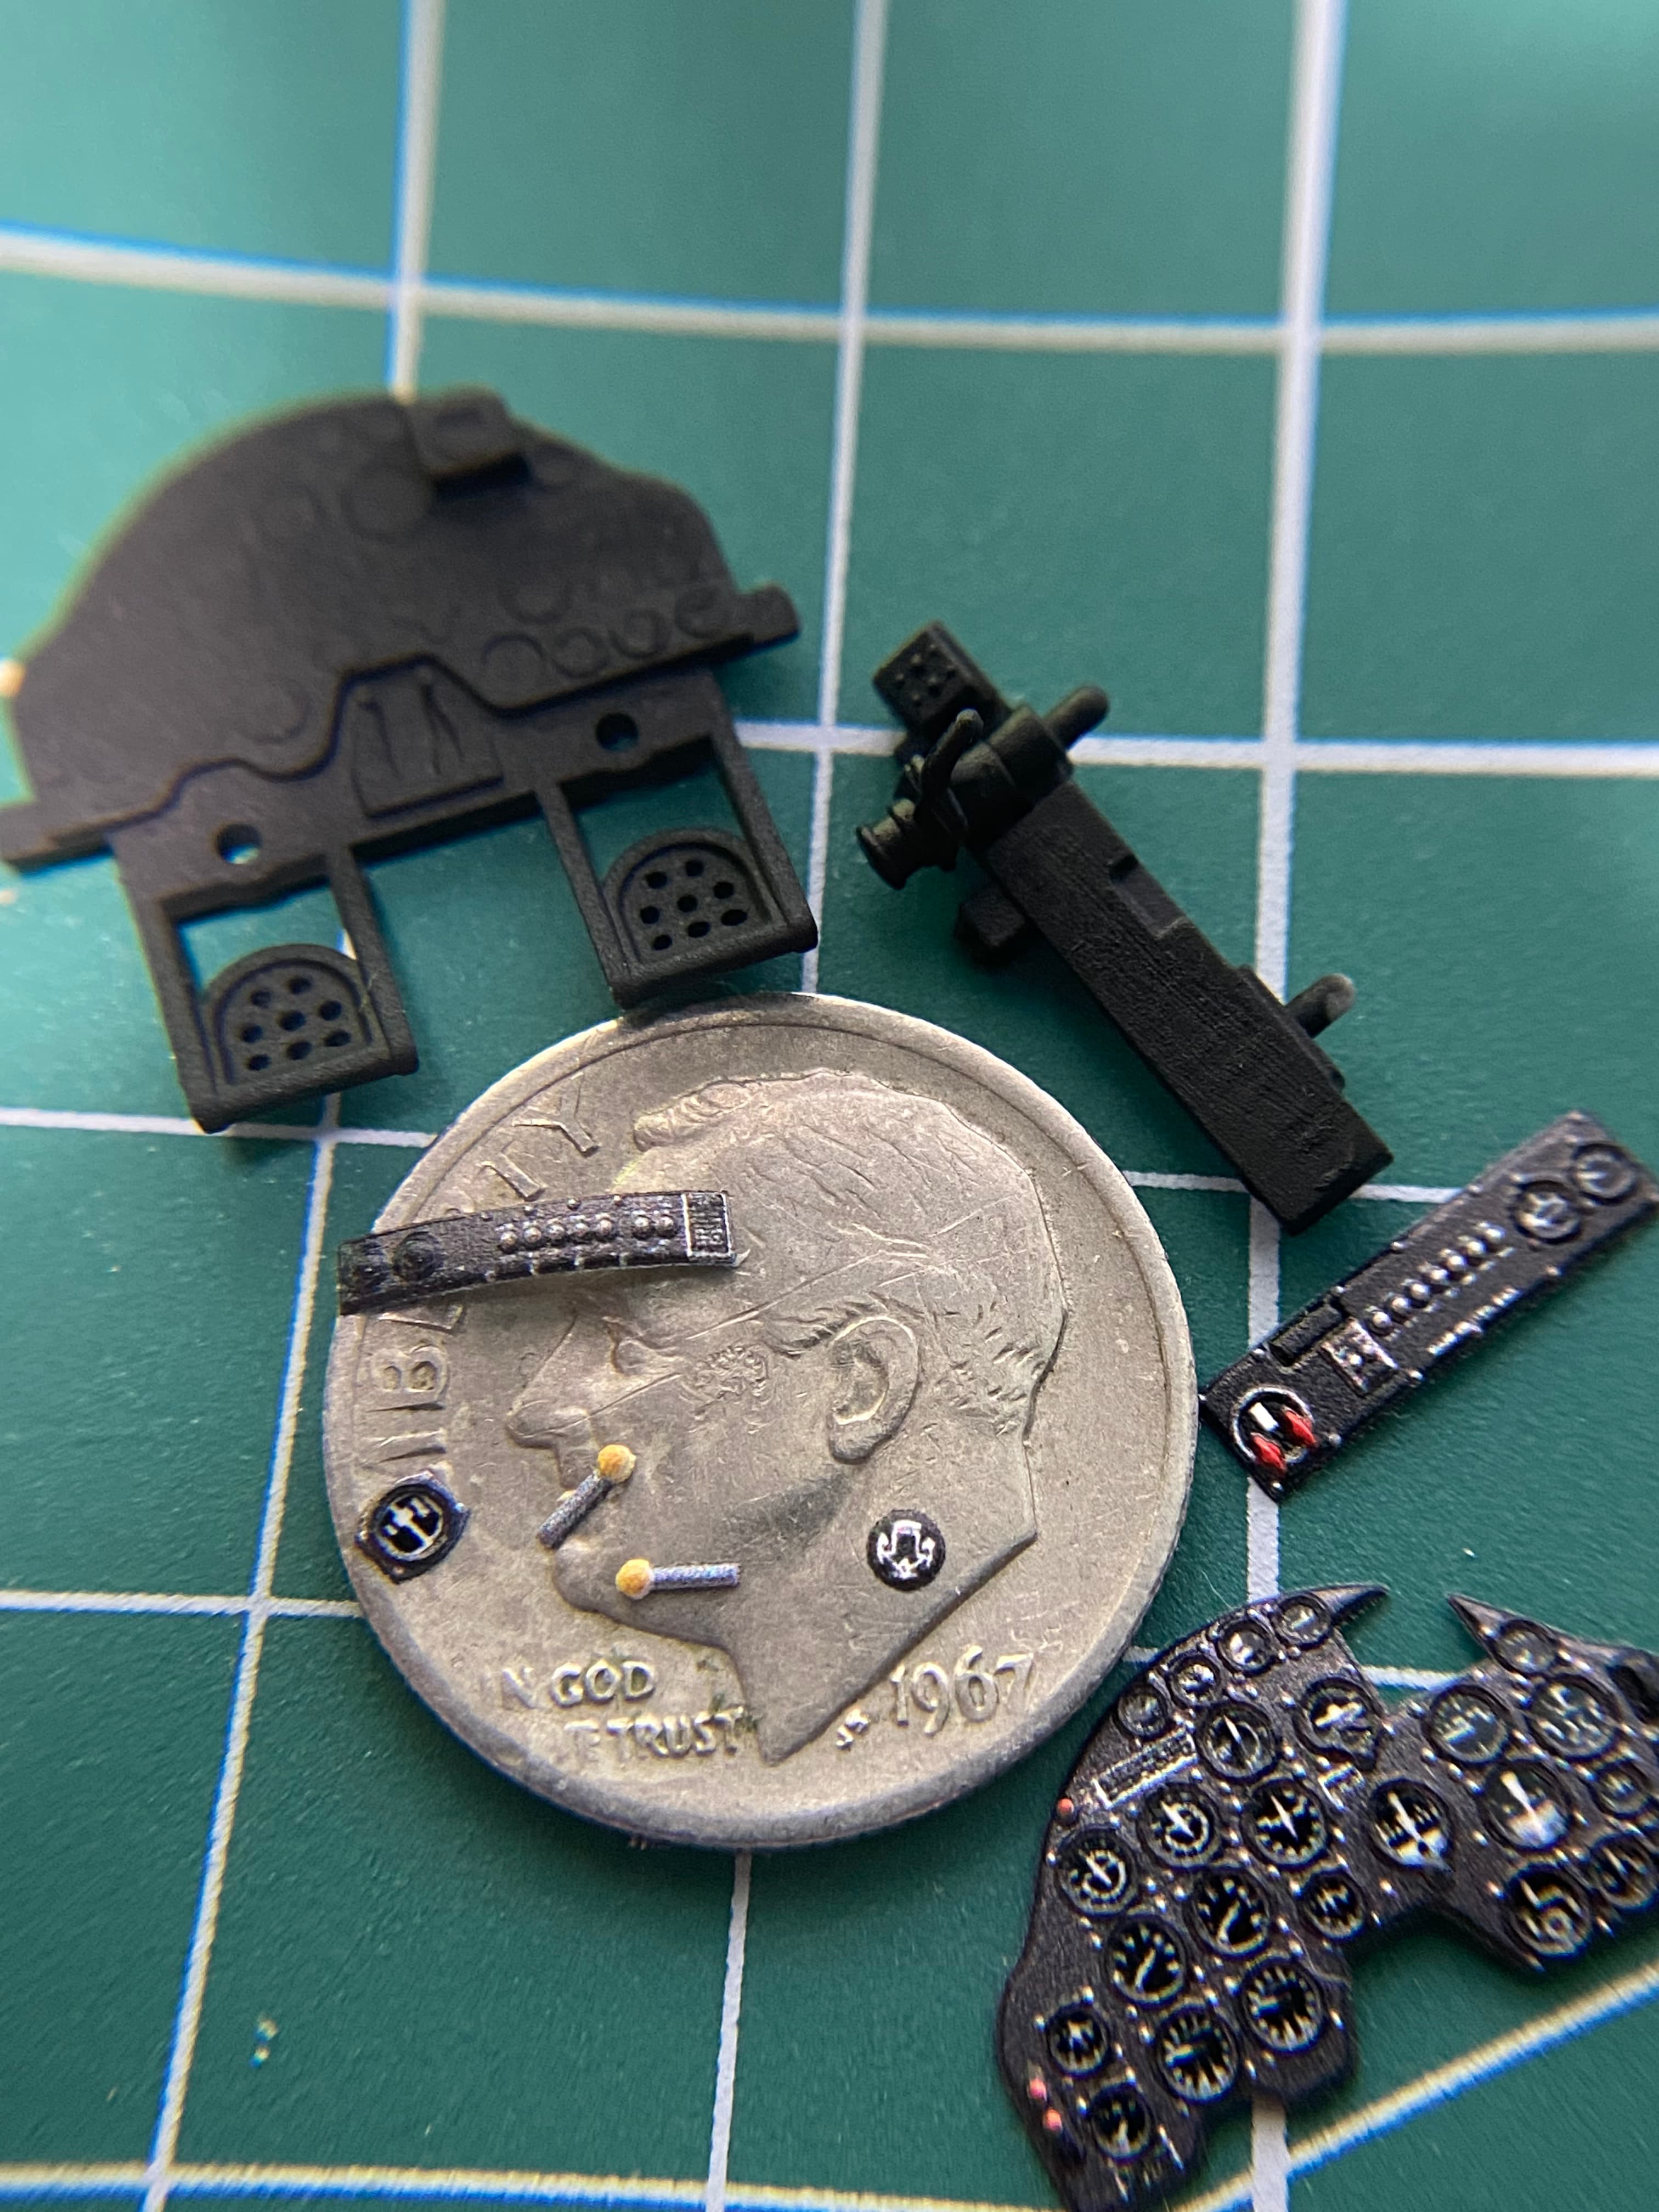
Nearing a point where I can prime the cockpit parts. Next week possibly we’ll see. Been cathartic sanding parts down to prepare for the 3D decals. Multiple times I wondered if it was worth it and should I just build OOB but they really are detailed so well that I will try to use as many of them as I can. The throttle knobs scare me though.
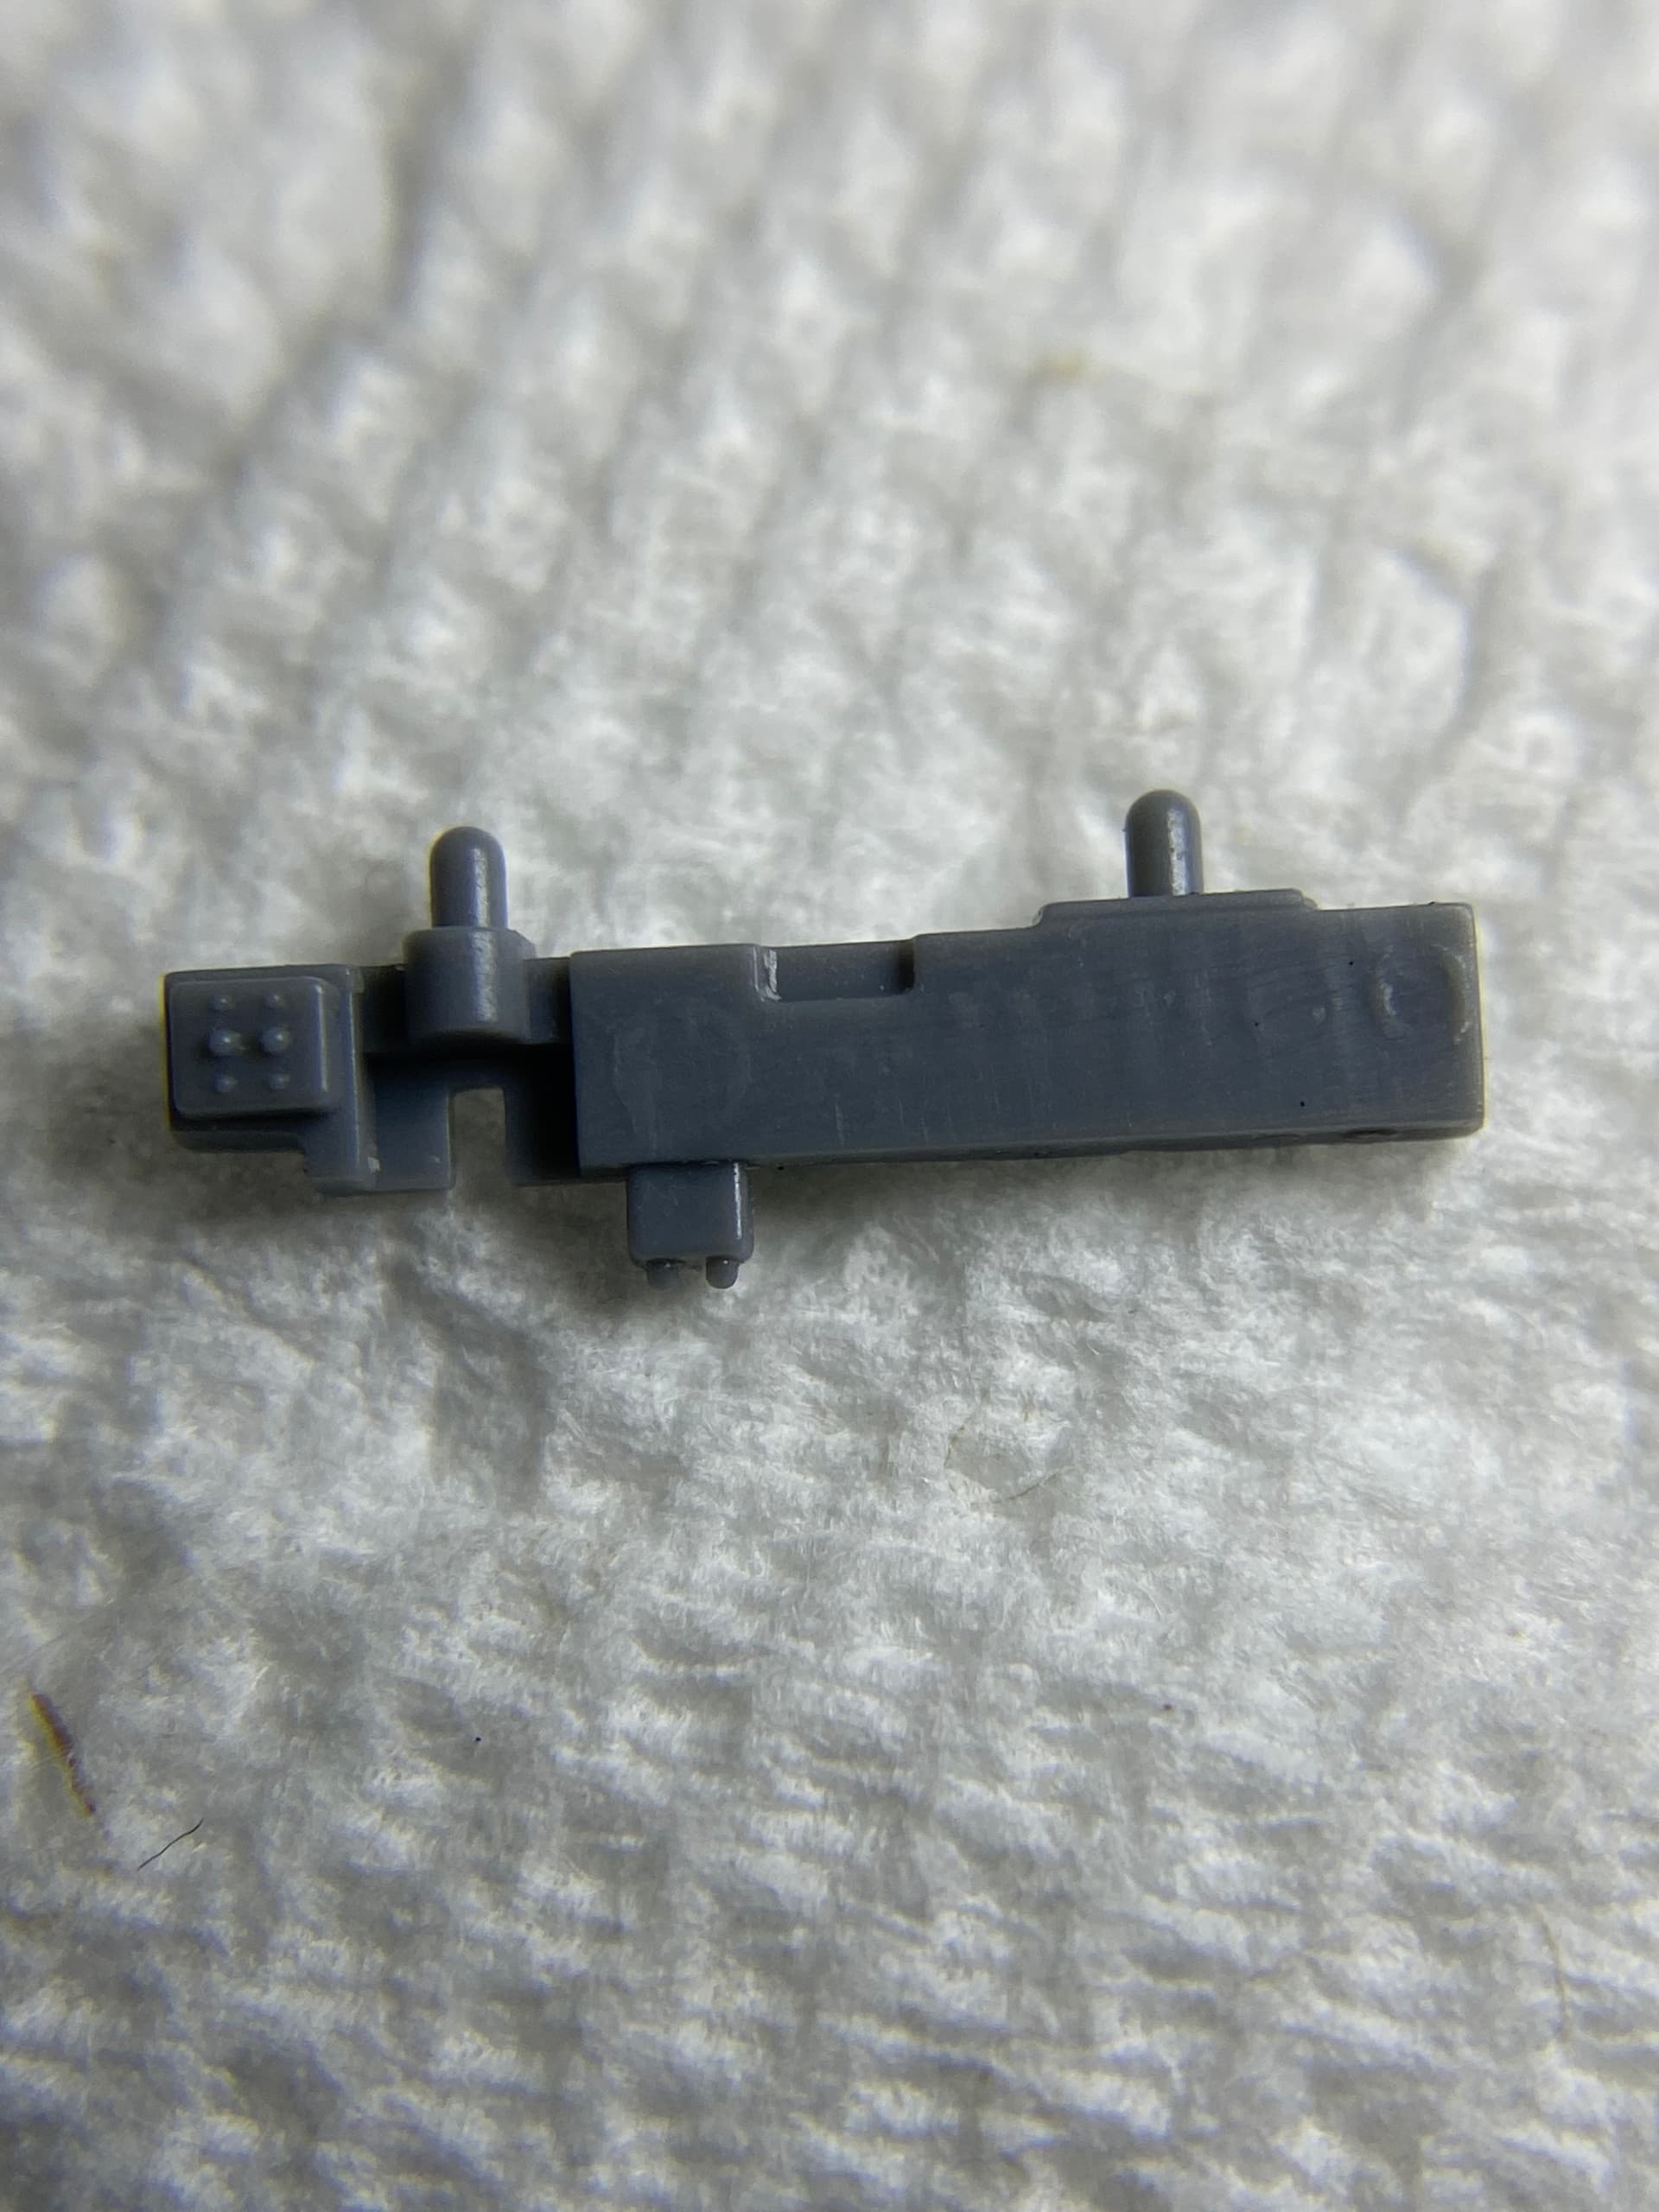
Also drilling out holes in the foot pedals for extra detail that won’t be seen.


4 Likes
 or me, I suppose
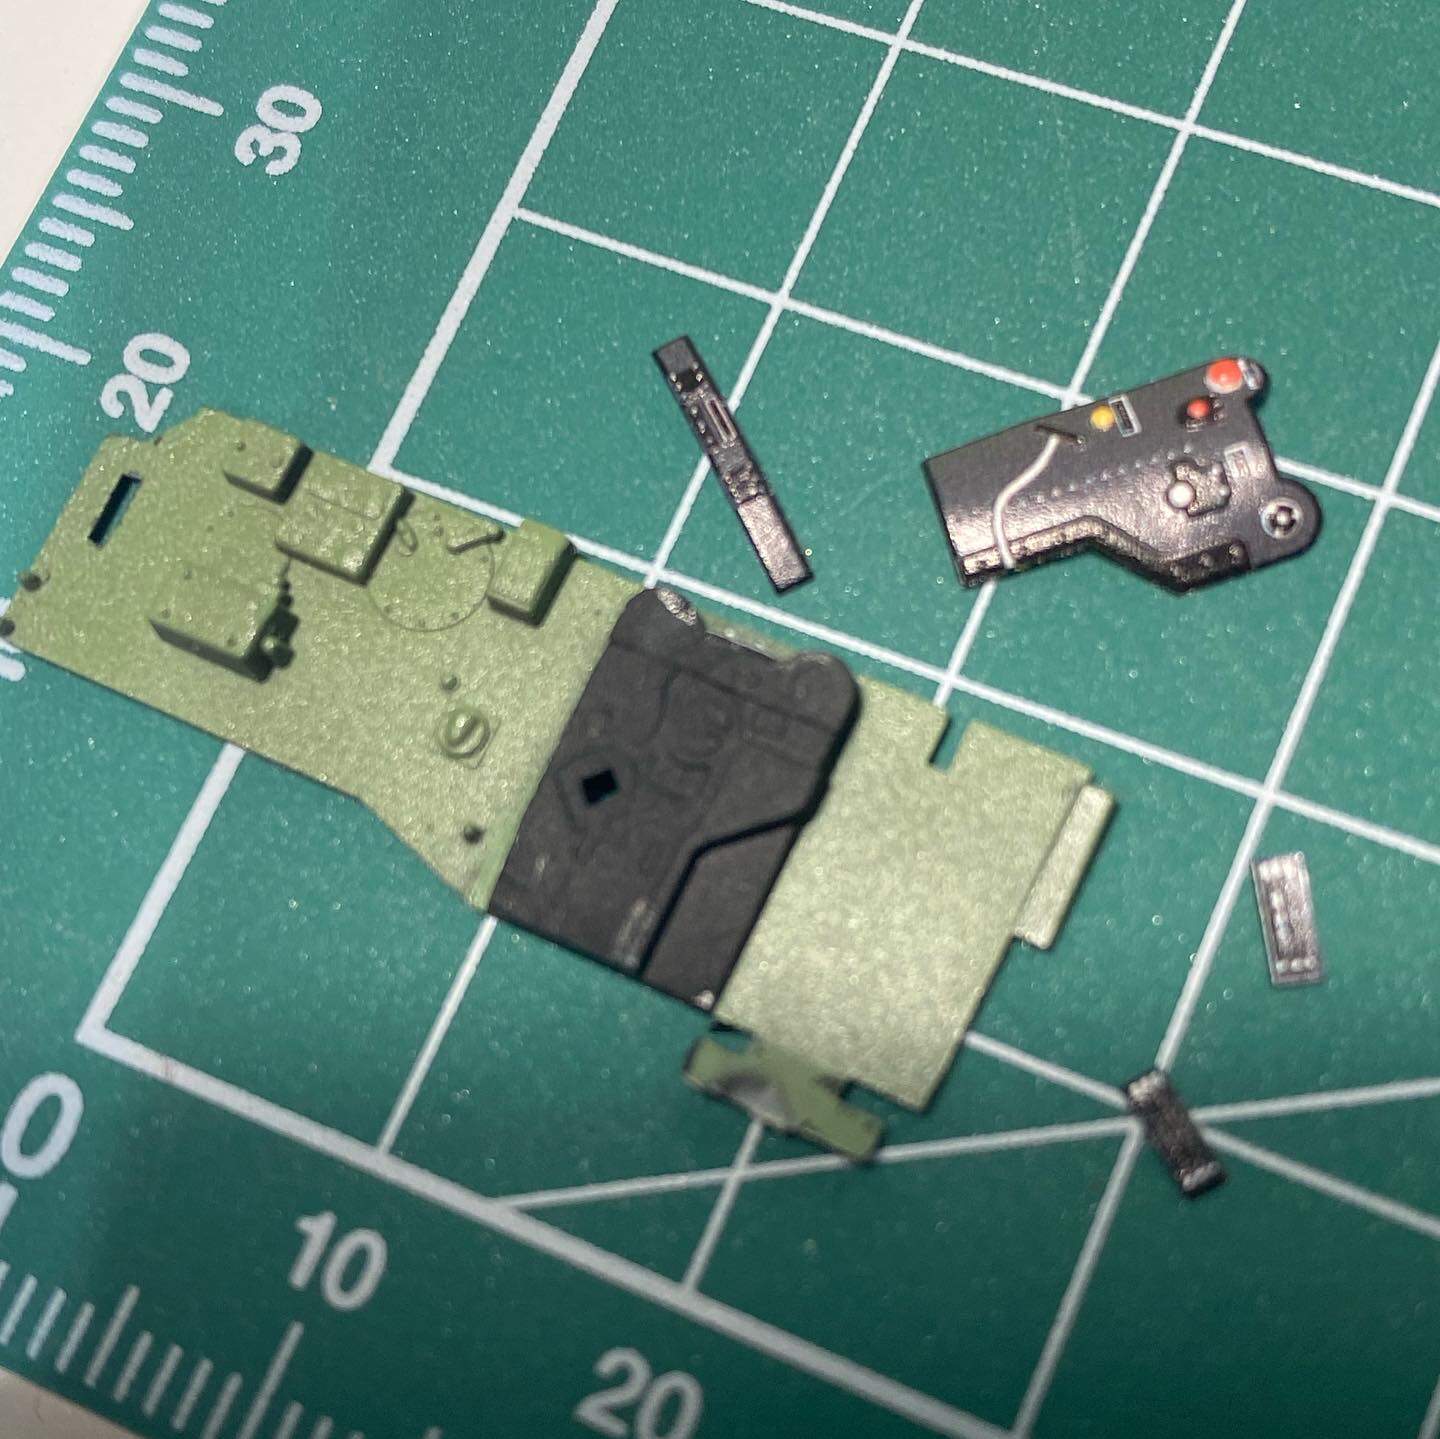
Cockpit/interior pieces all primed up!
First time using Mr. Surfacer went well. I need to work on a consistent way to retain the same thinner to paint ratio when I refill the cup for long sessions though.
Next up is interior green.
6 Likes


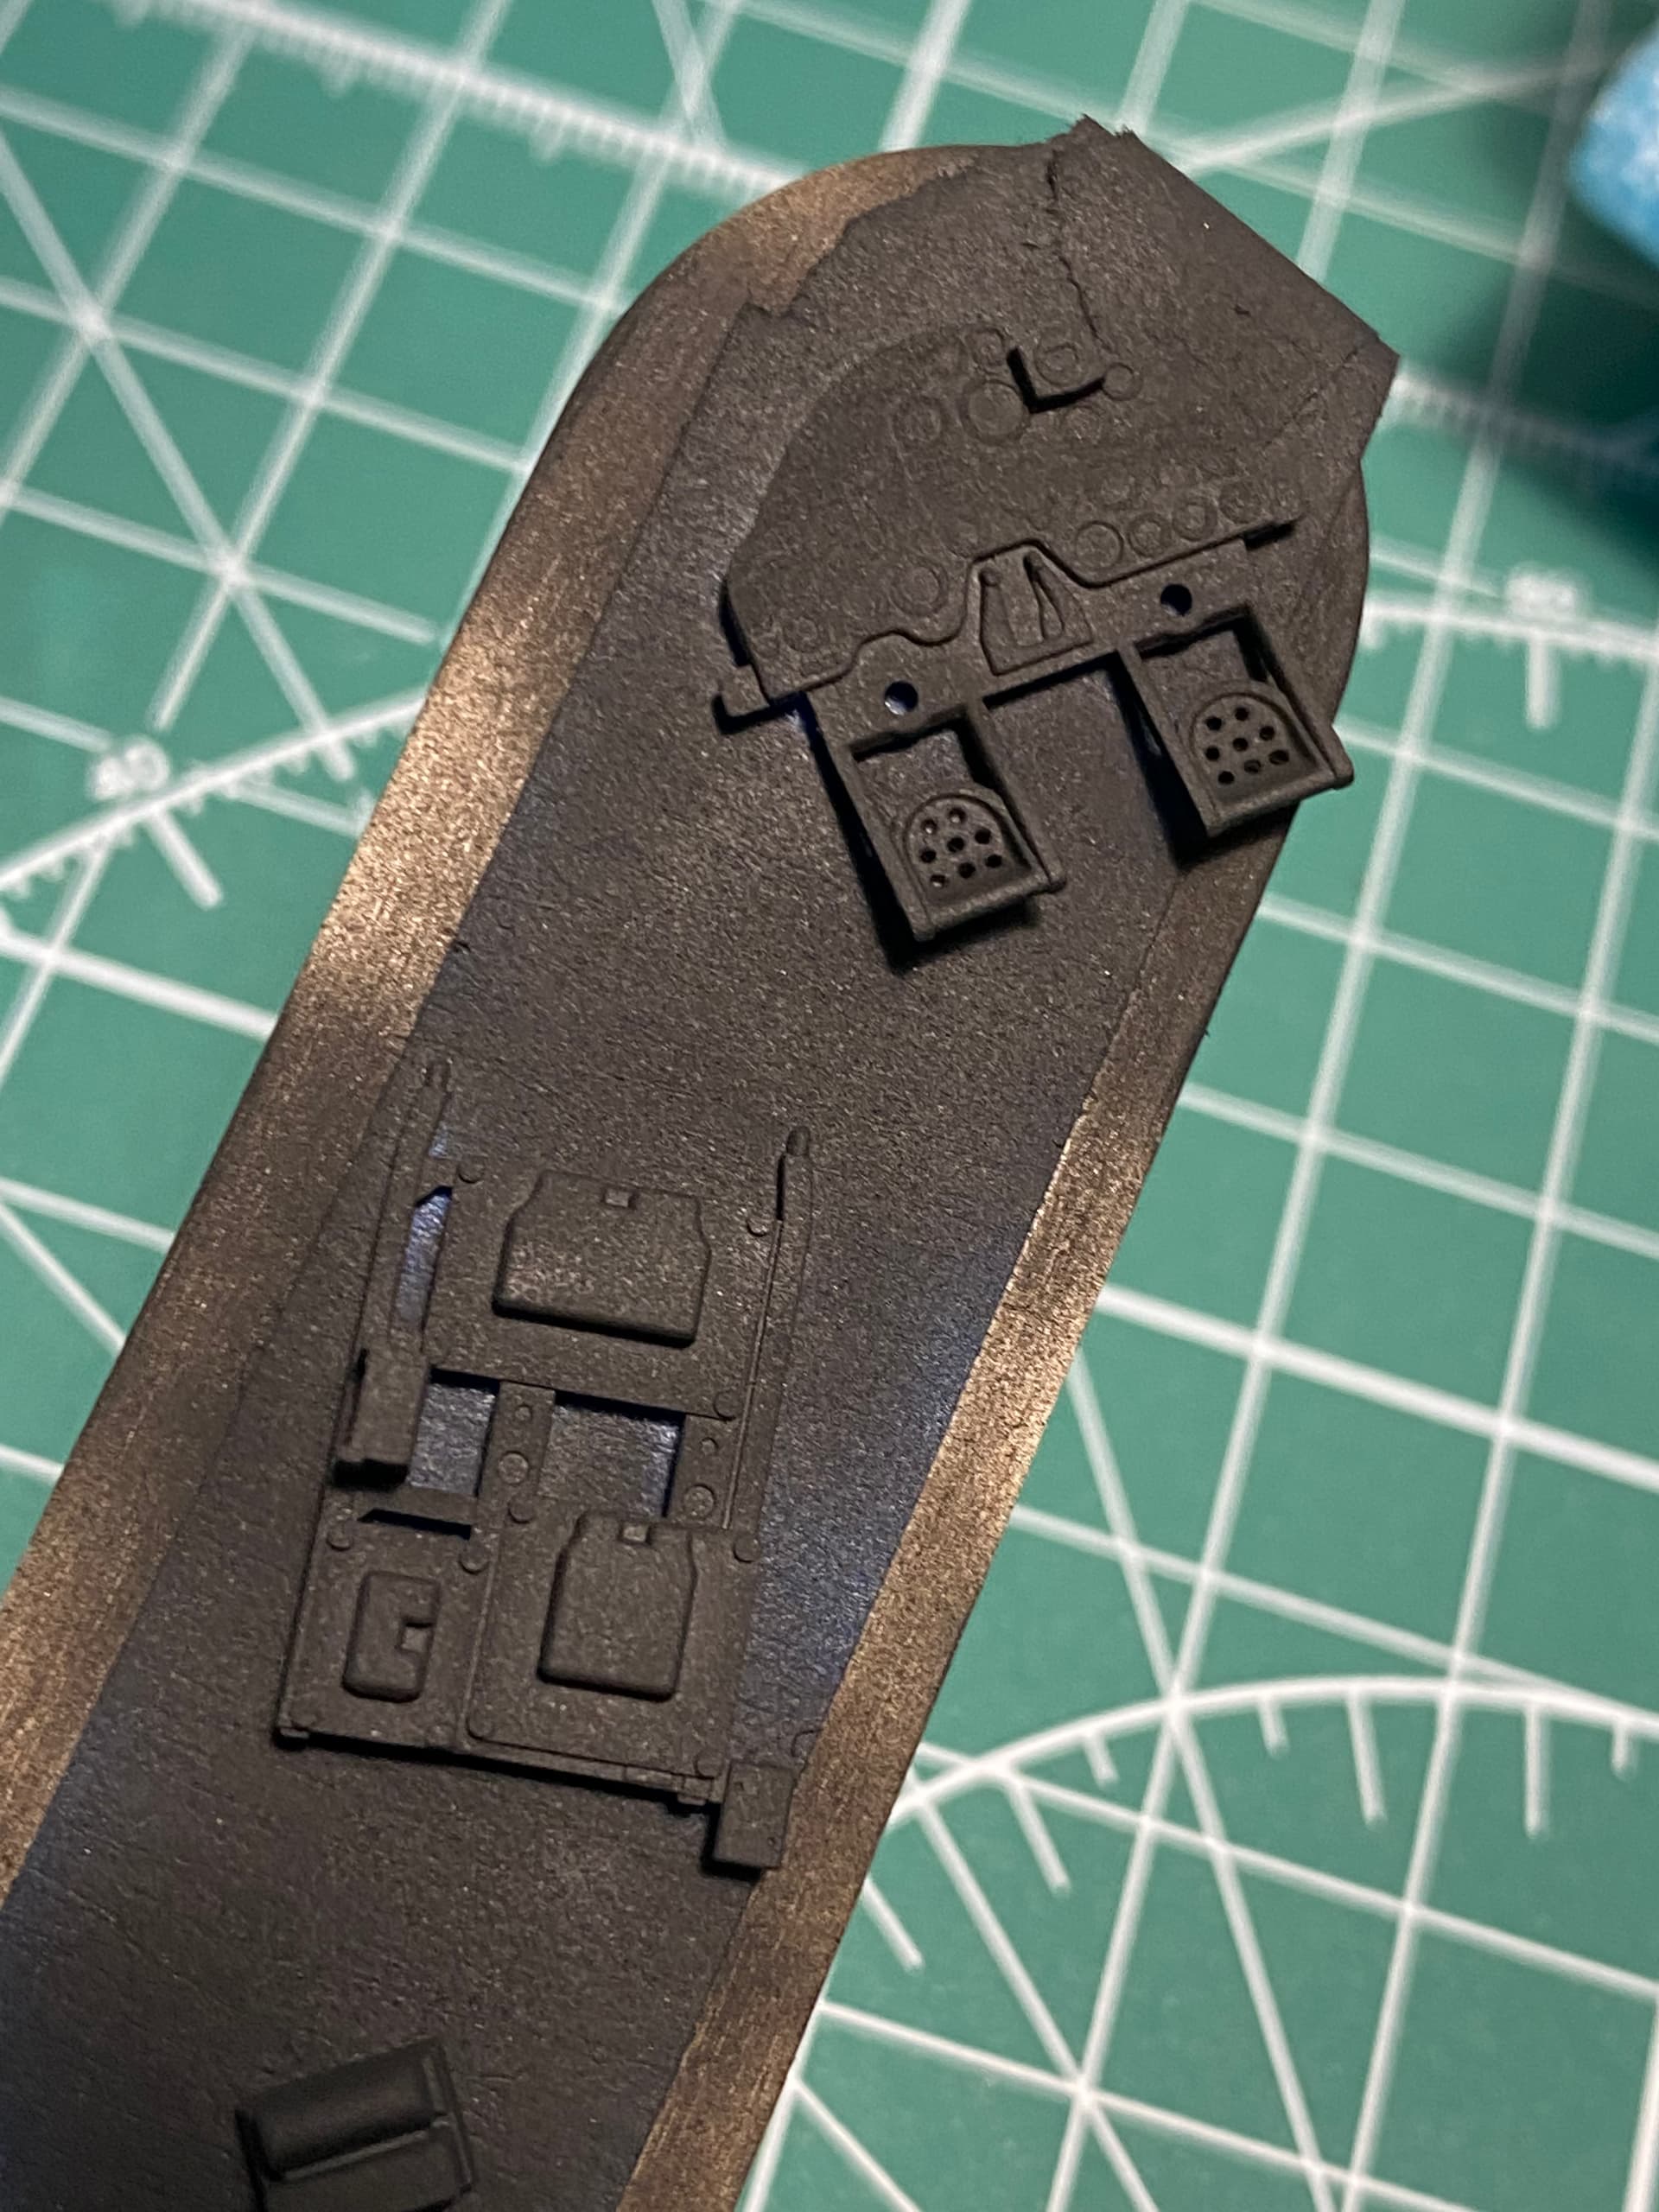
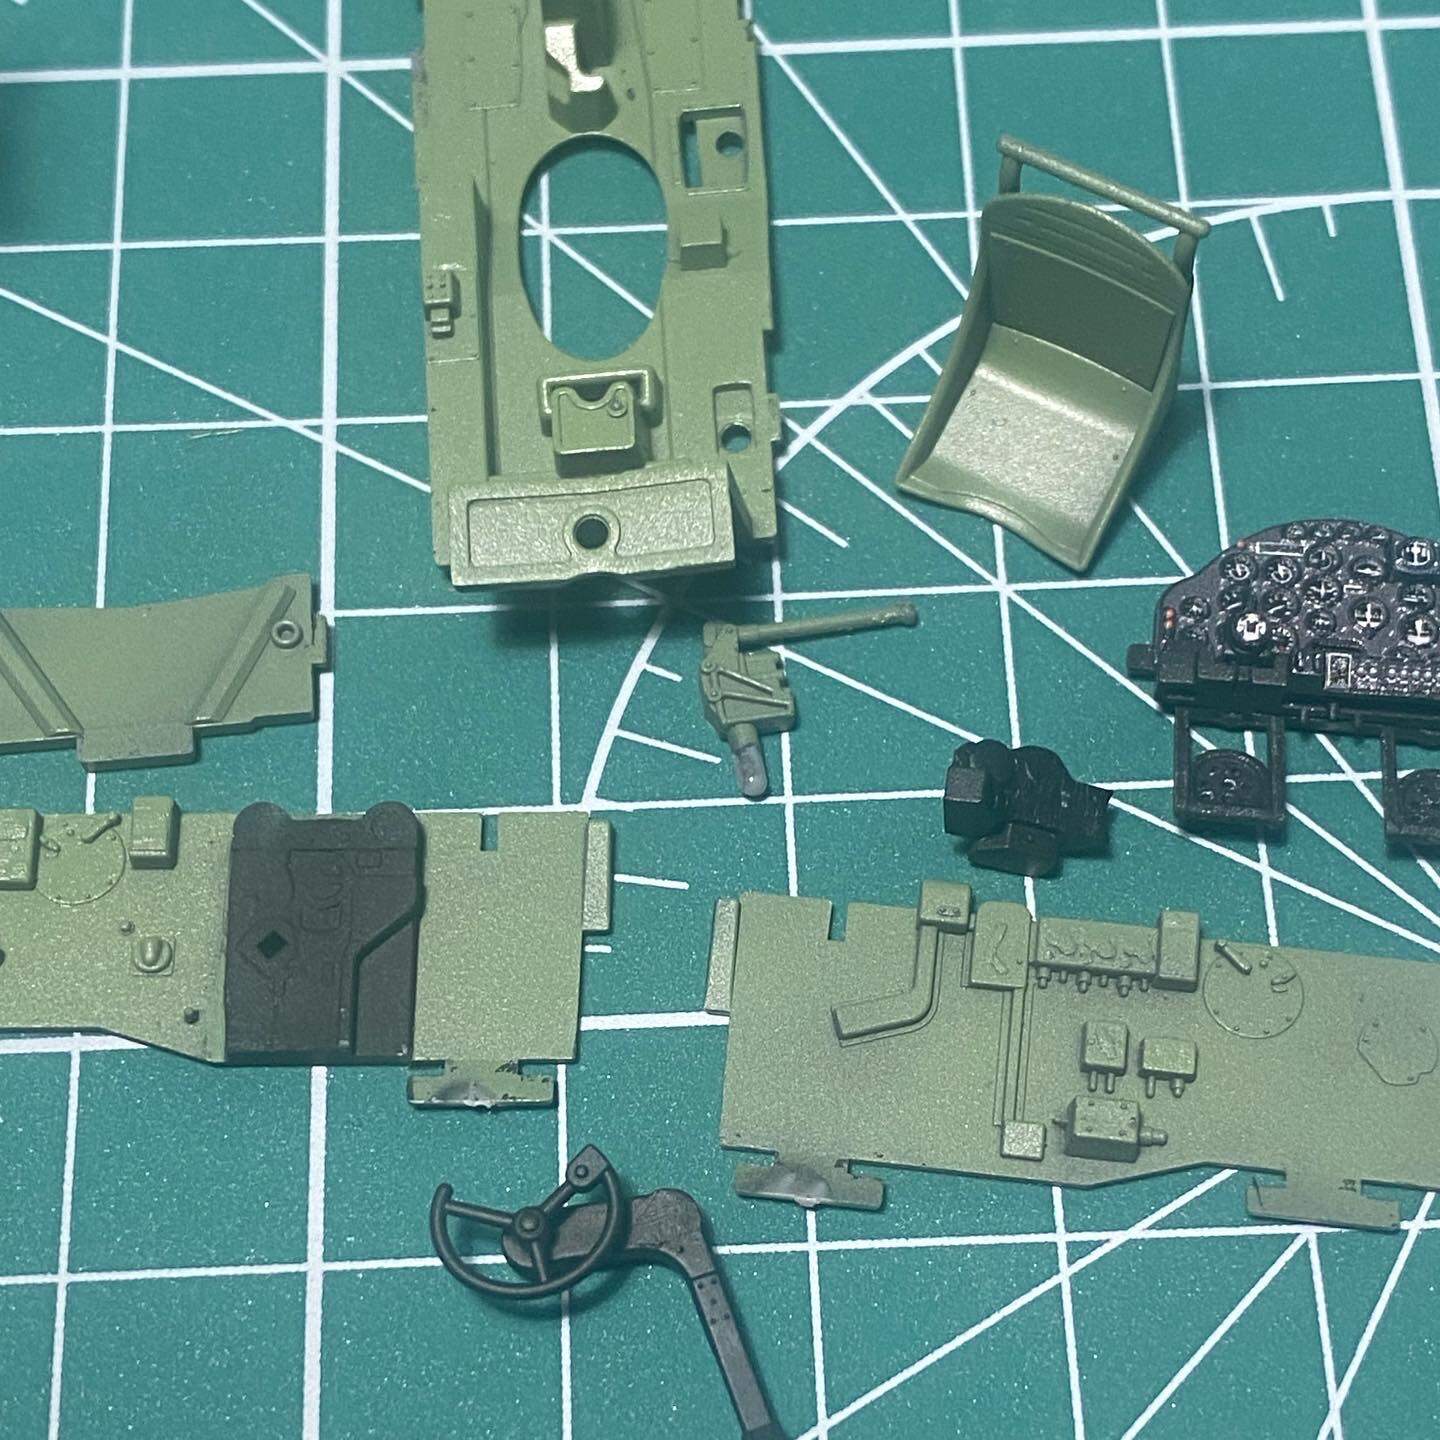
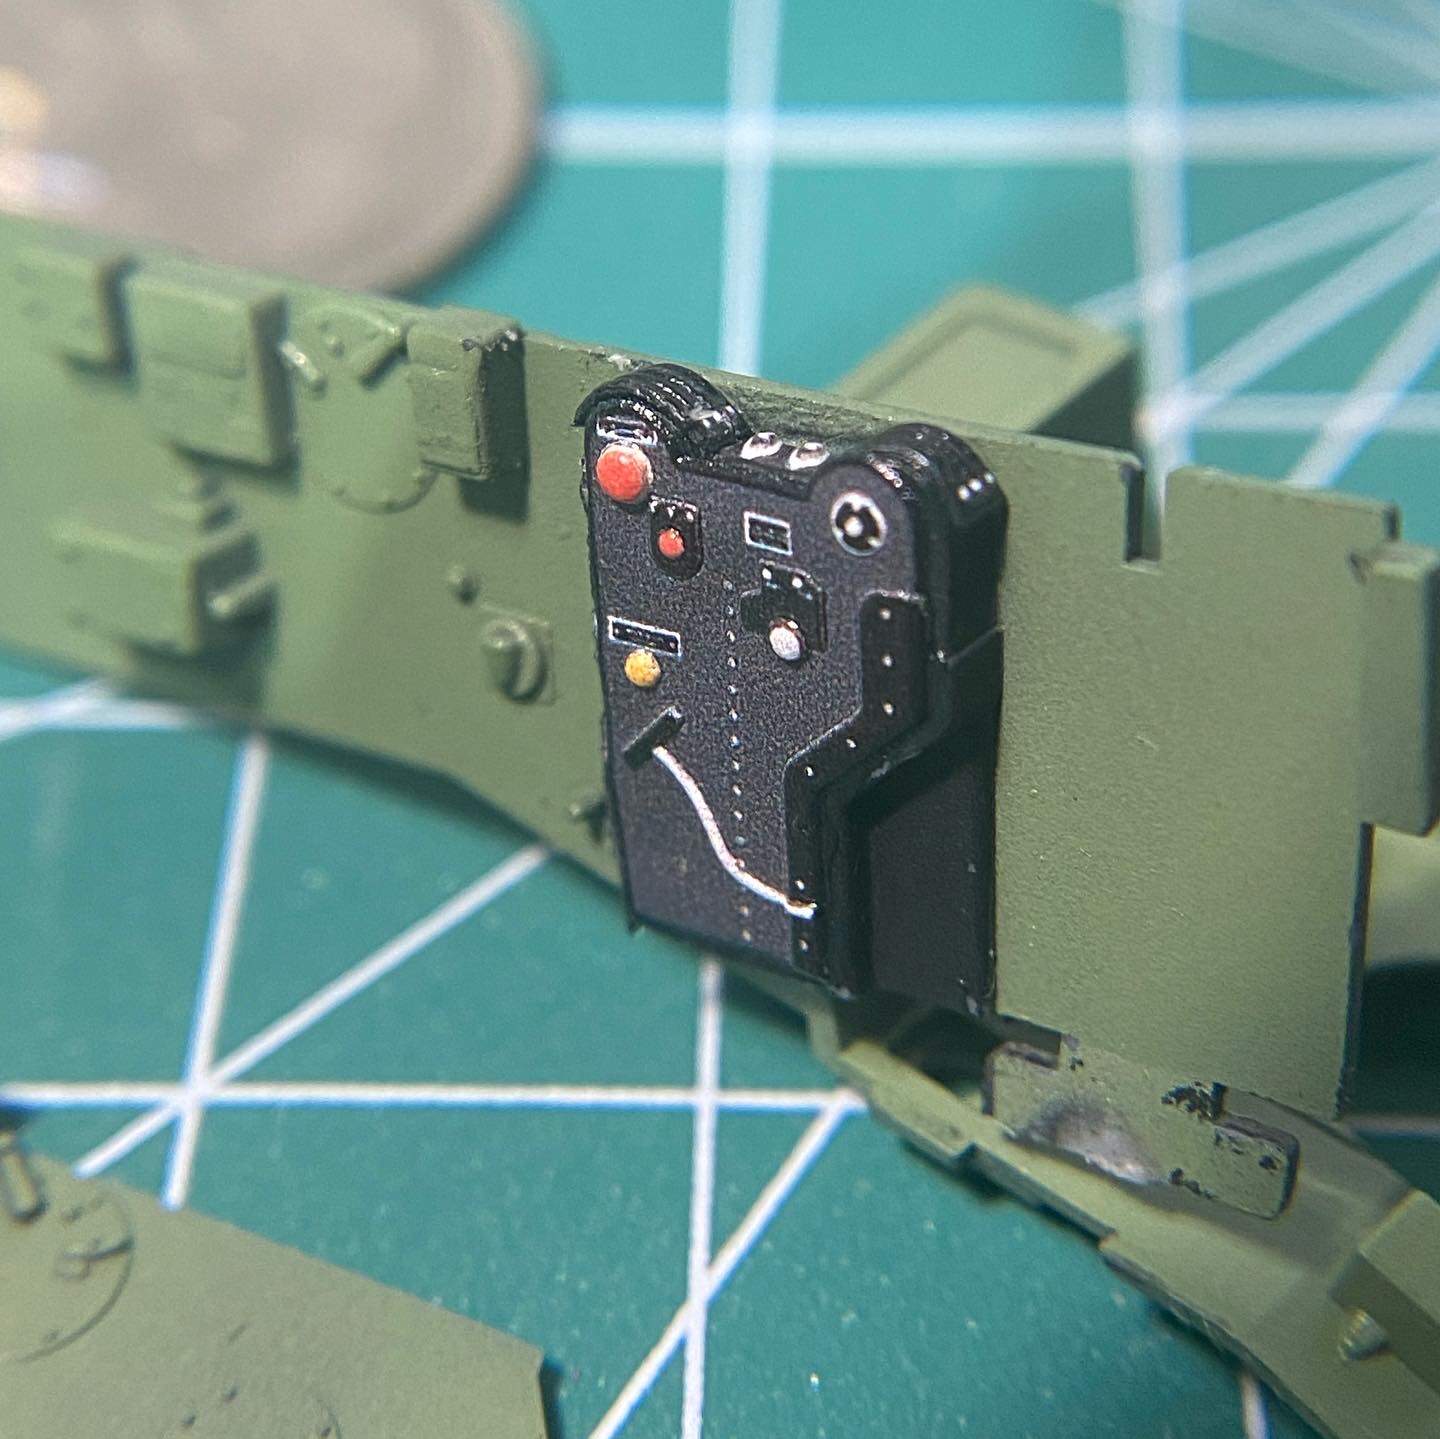
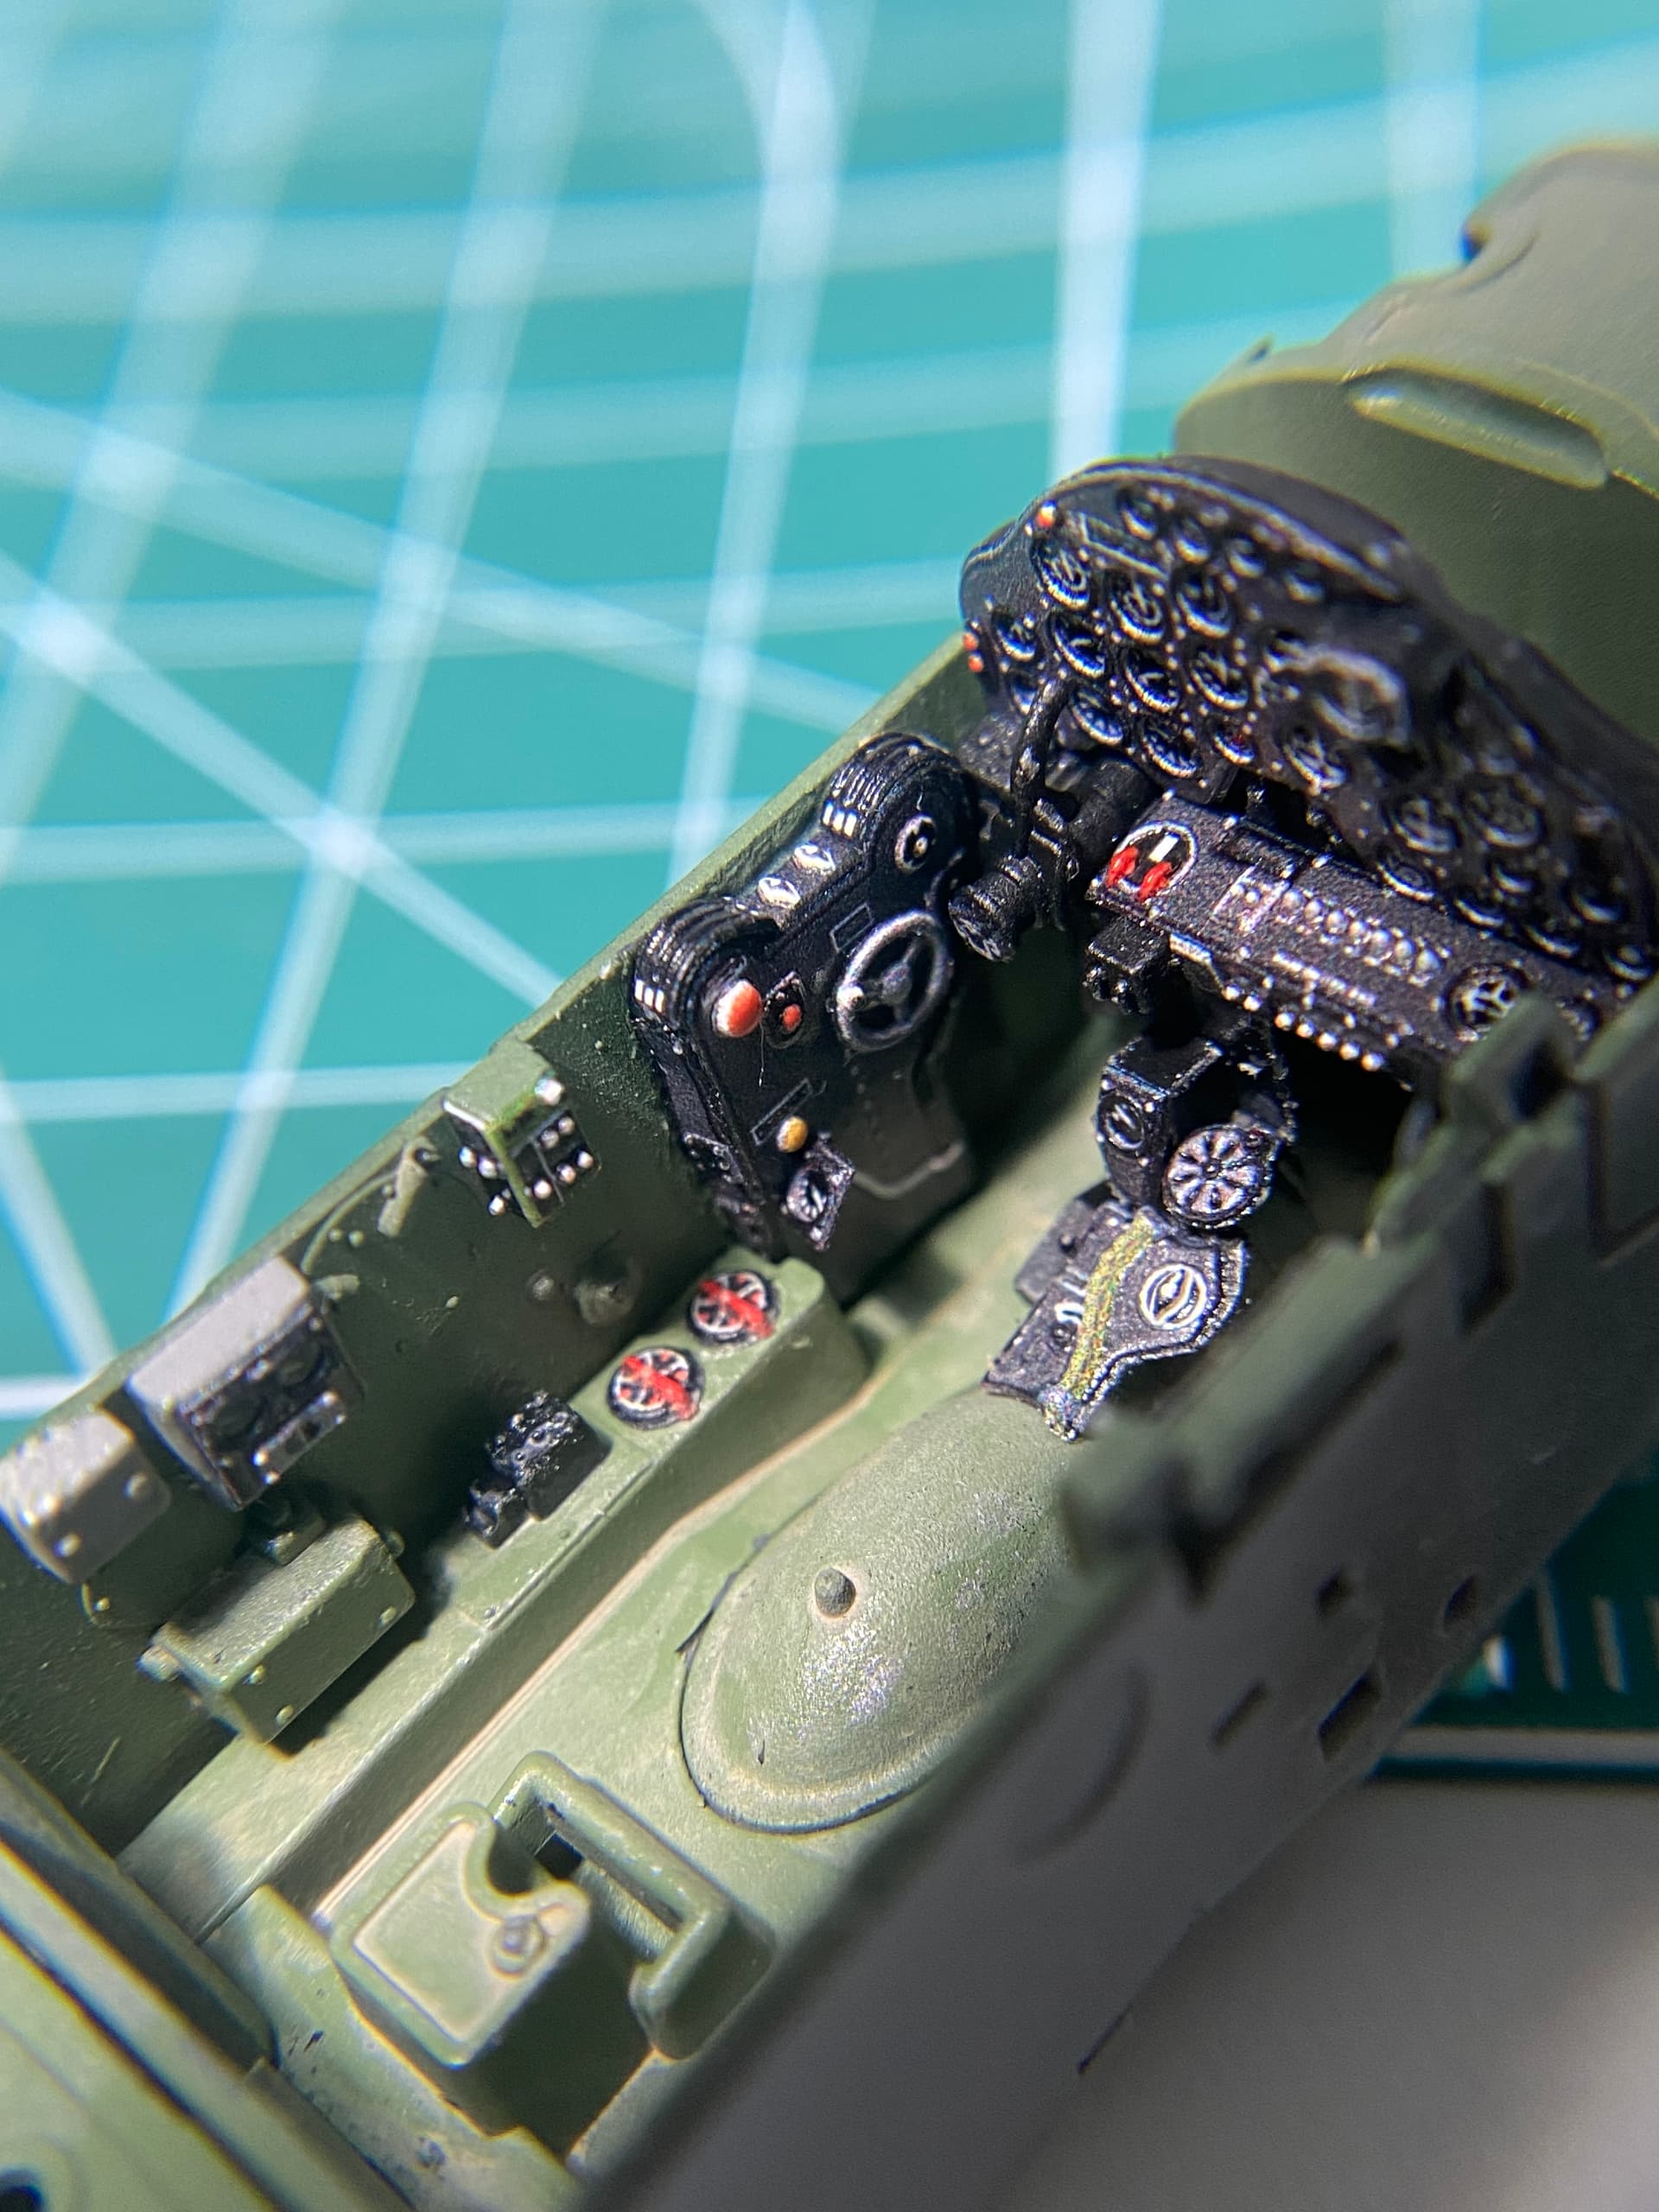
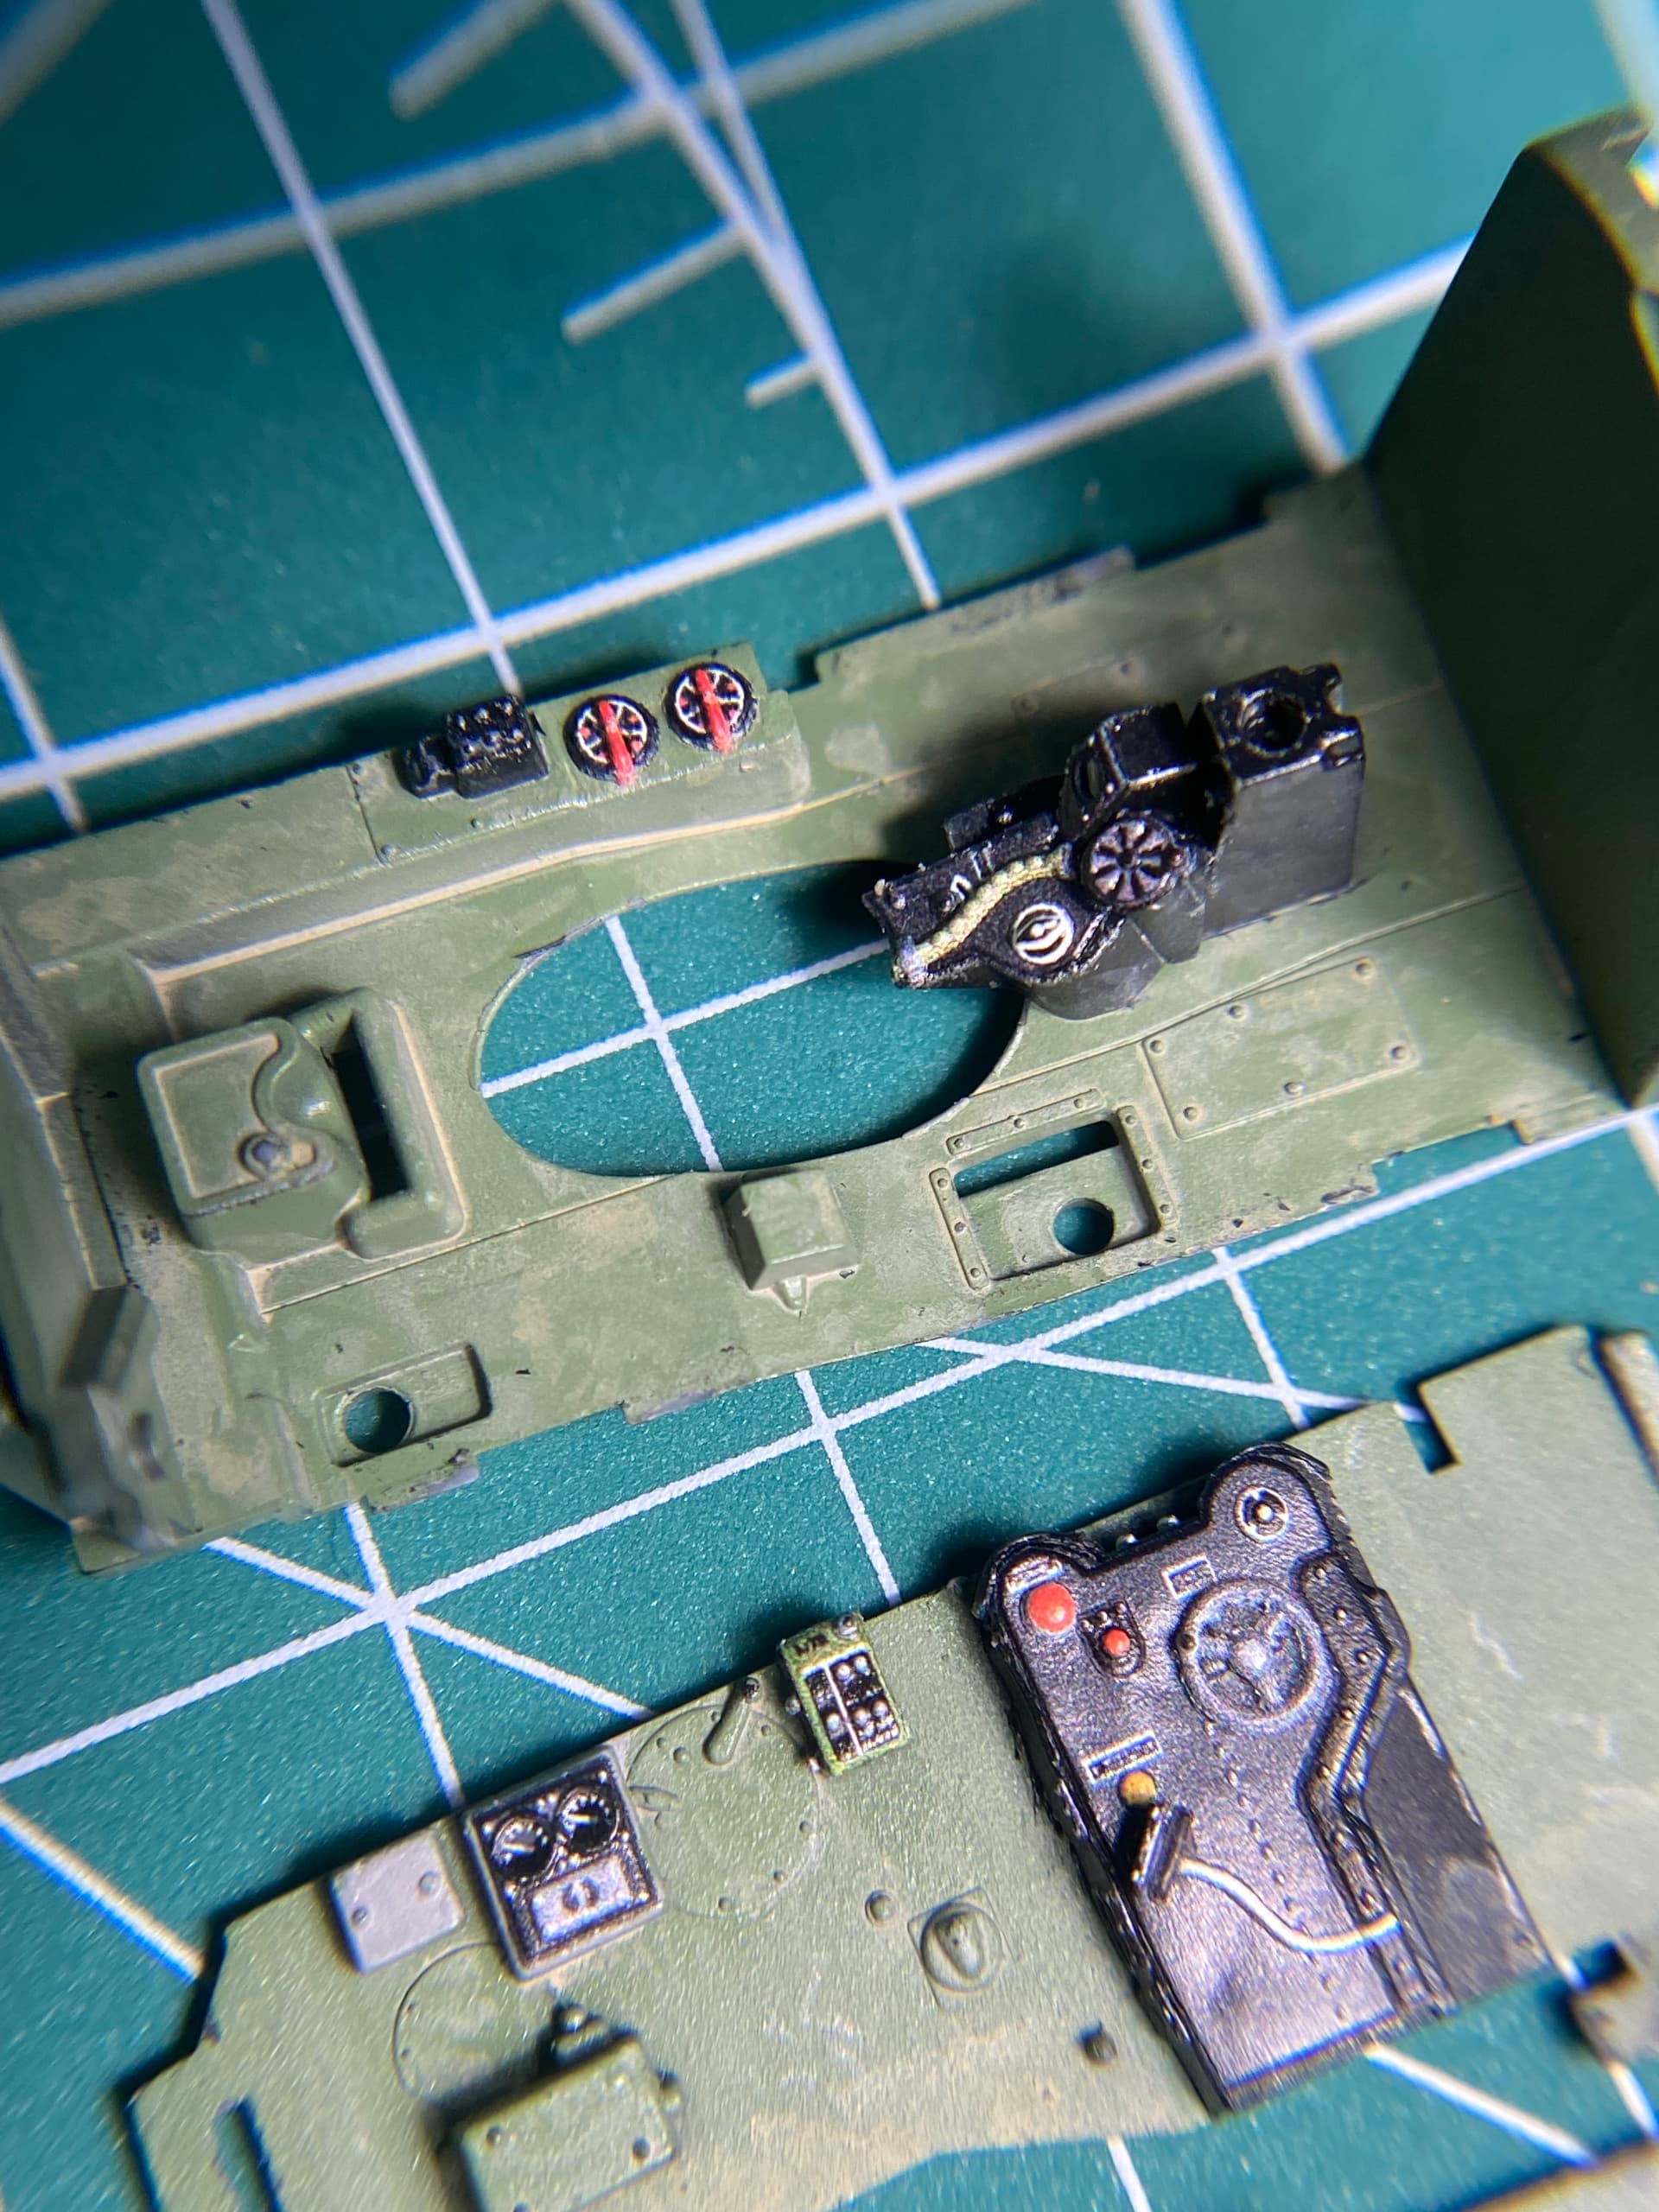
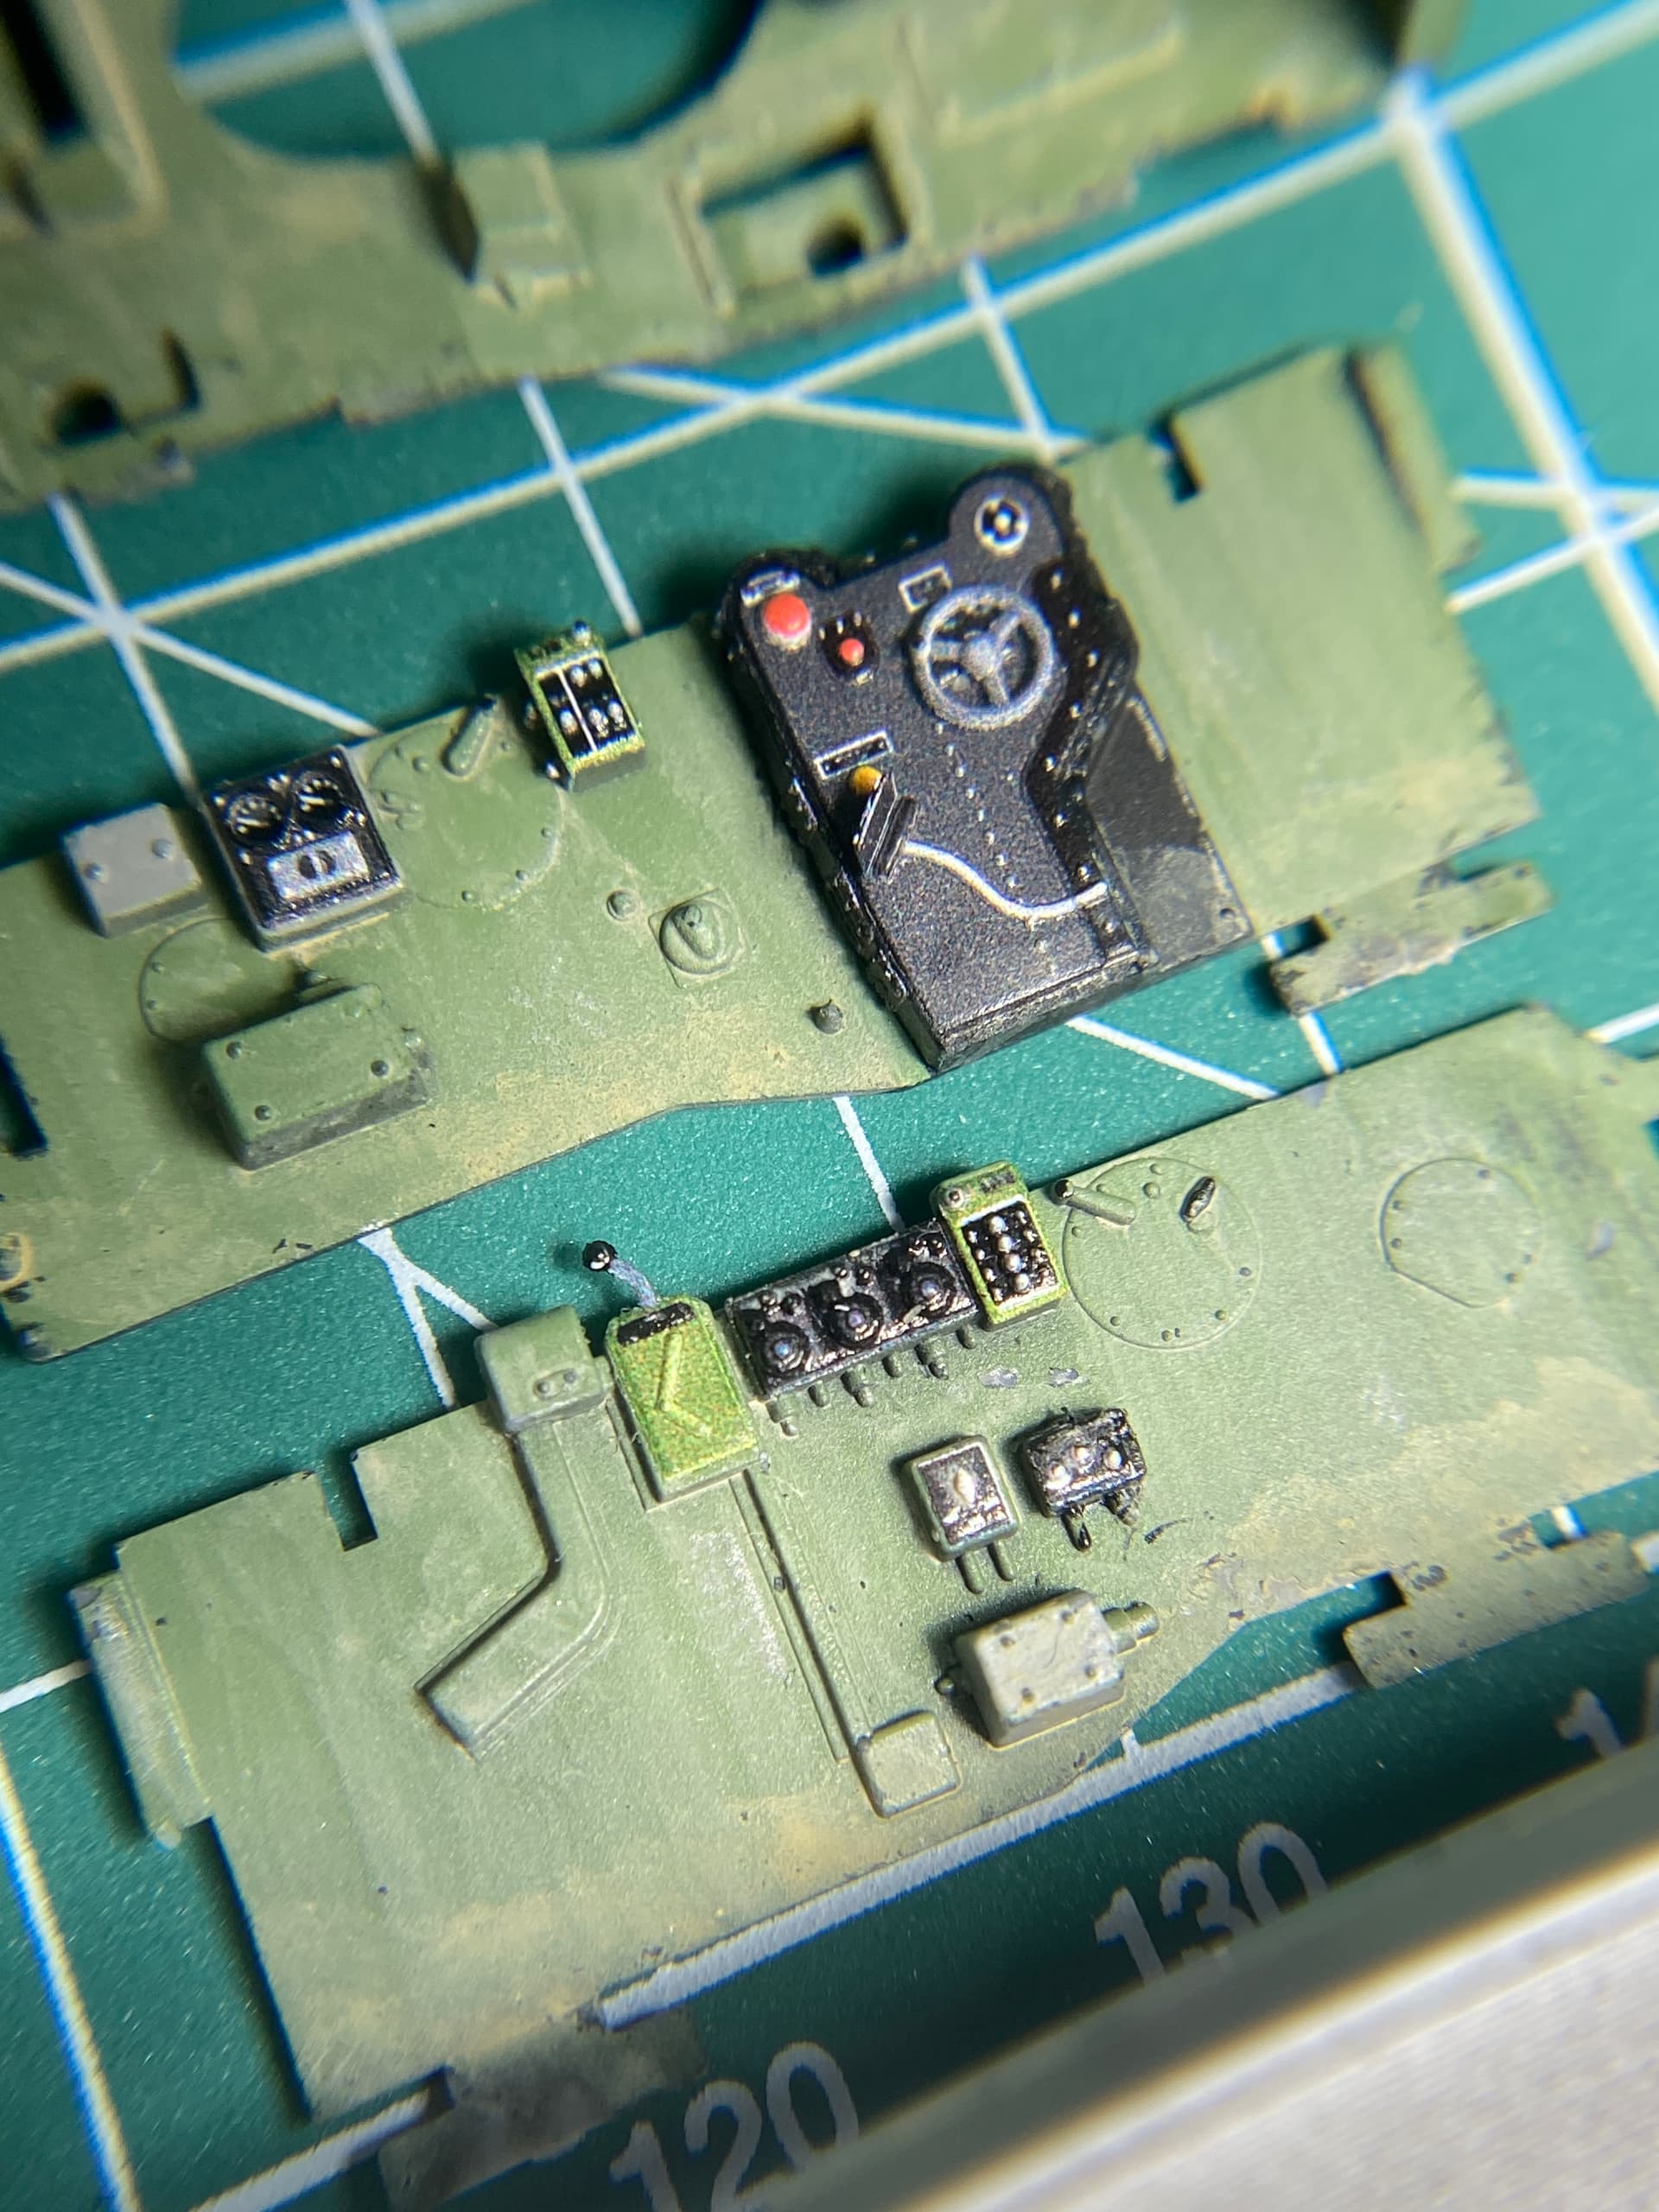
Slowly but surely. Interior green painted on to cockpit parts and more placing of Quinta decals. Did end up deciding to remove plastic throttles in favor of more to scale Quinta ones soon.
4 Likes
Those things look pretty good,need to take a look at them
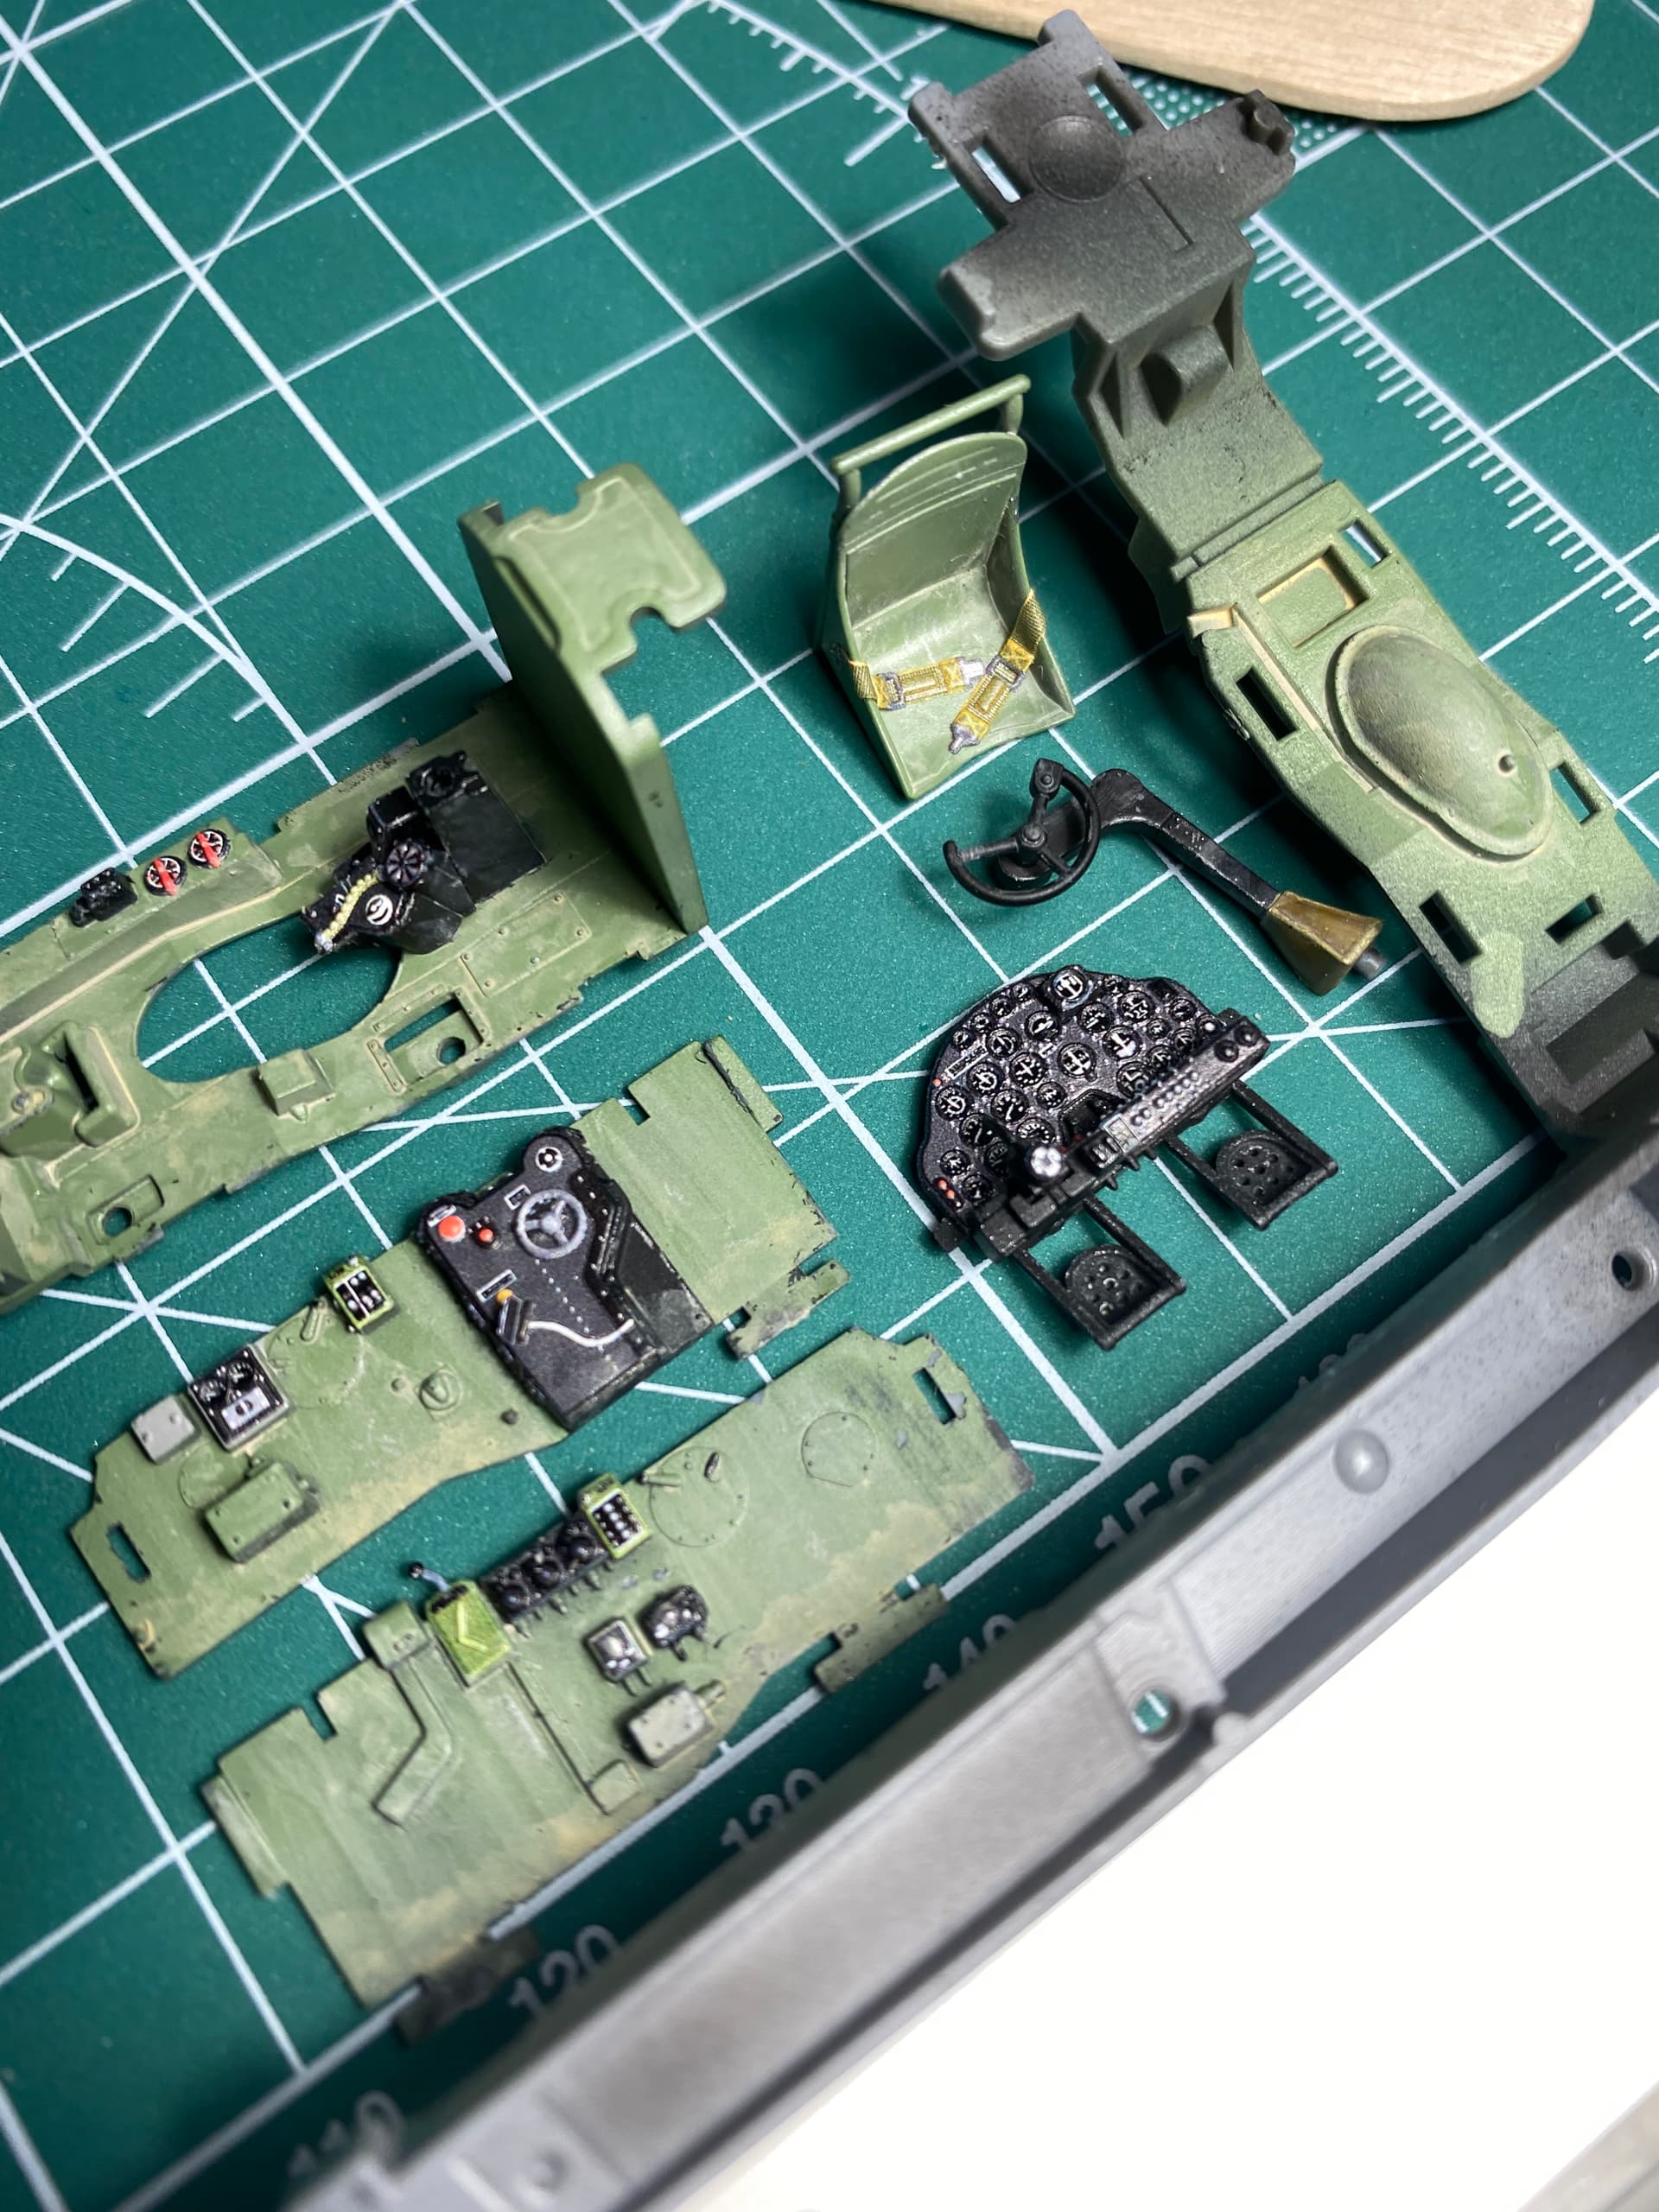
The majority of the Quinta decals have been added and some basic weathering applied. First time using Mig Panel Line Wash and didn’t put a clear coat down first which almost destroyed my paint when trying to remove excess with lacquer thinner. Few more decals and then done.
Question: do I flat coat it or leave it as is? Worried about flat coat on the glass lens effect of the decals. I could just not spray the IP too. Happy Thanksgiving to those in the US!
5 Likes
That clinches it,gotta try d
Some for my P-38
Great job
Thanks! They’ve been really enjoyable to use, and while at first I thought it was going to be considered cheating, enough prep and precision is still required to make it feel like an accomplishment.
One question,where did you source them ?
You use lacquer thinner to remove MIG panel line wash? I would have thought mineral spirits would be what you use?
1 Like
Looks excellent Steve. Liking the look of the decals, but your paint work and weathering is superb 
2 Likes
I use eBay! Quinta.studio is the name of their direct online store. Comes from Russia so it takes a bit.
1 Like
Yep that’s it. Been a while so I’m forgetting what solvents can/can’t go with things. Thanks!