They also have an Etsy store too. I only mention as on eBay you have to request a quote before paying to combine shipping, you do not on Etsy. I ordered 10/30 and still waiting, package is stuck in Czech. Sprue Bro’s sells in the US but both P-38 sets are sold out.
1 Like
I’ll often go back over gauges or lights with a drop of clear gloss but I’ve never worked with Quinta stuff before. You’ve put so much work into making that cockpit look top notch, I’d be tempted to try and mask things up and just spray the paint.
I would contact them, you can use the eBay store and see their thoughts on it.
1 Like
That Lightning cockpit looks really nice. Well done, Steve!
1 Like
I think I’ll flat coat every piece except the IP and it hopefully won’t be too noticeable. The Quinta dials are pre-glossed with immaculate uniformity so I don’t want to risk messing that up. Appreciate the advice!
1 Like
Thank you!
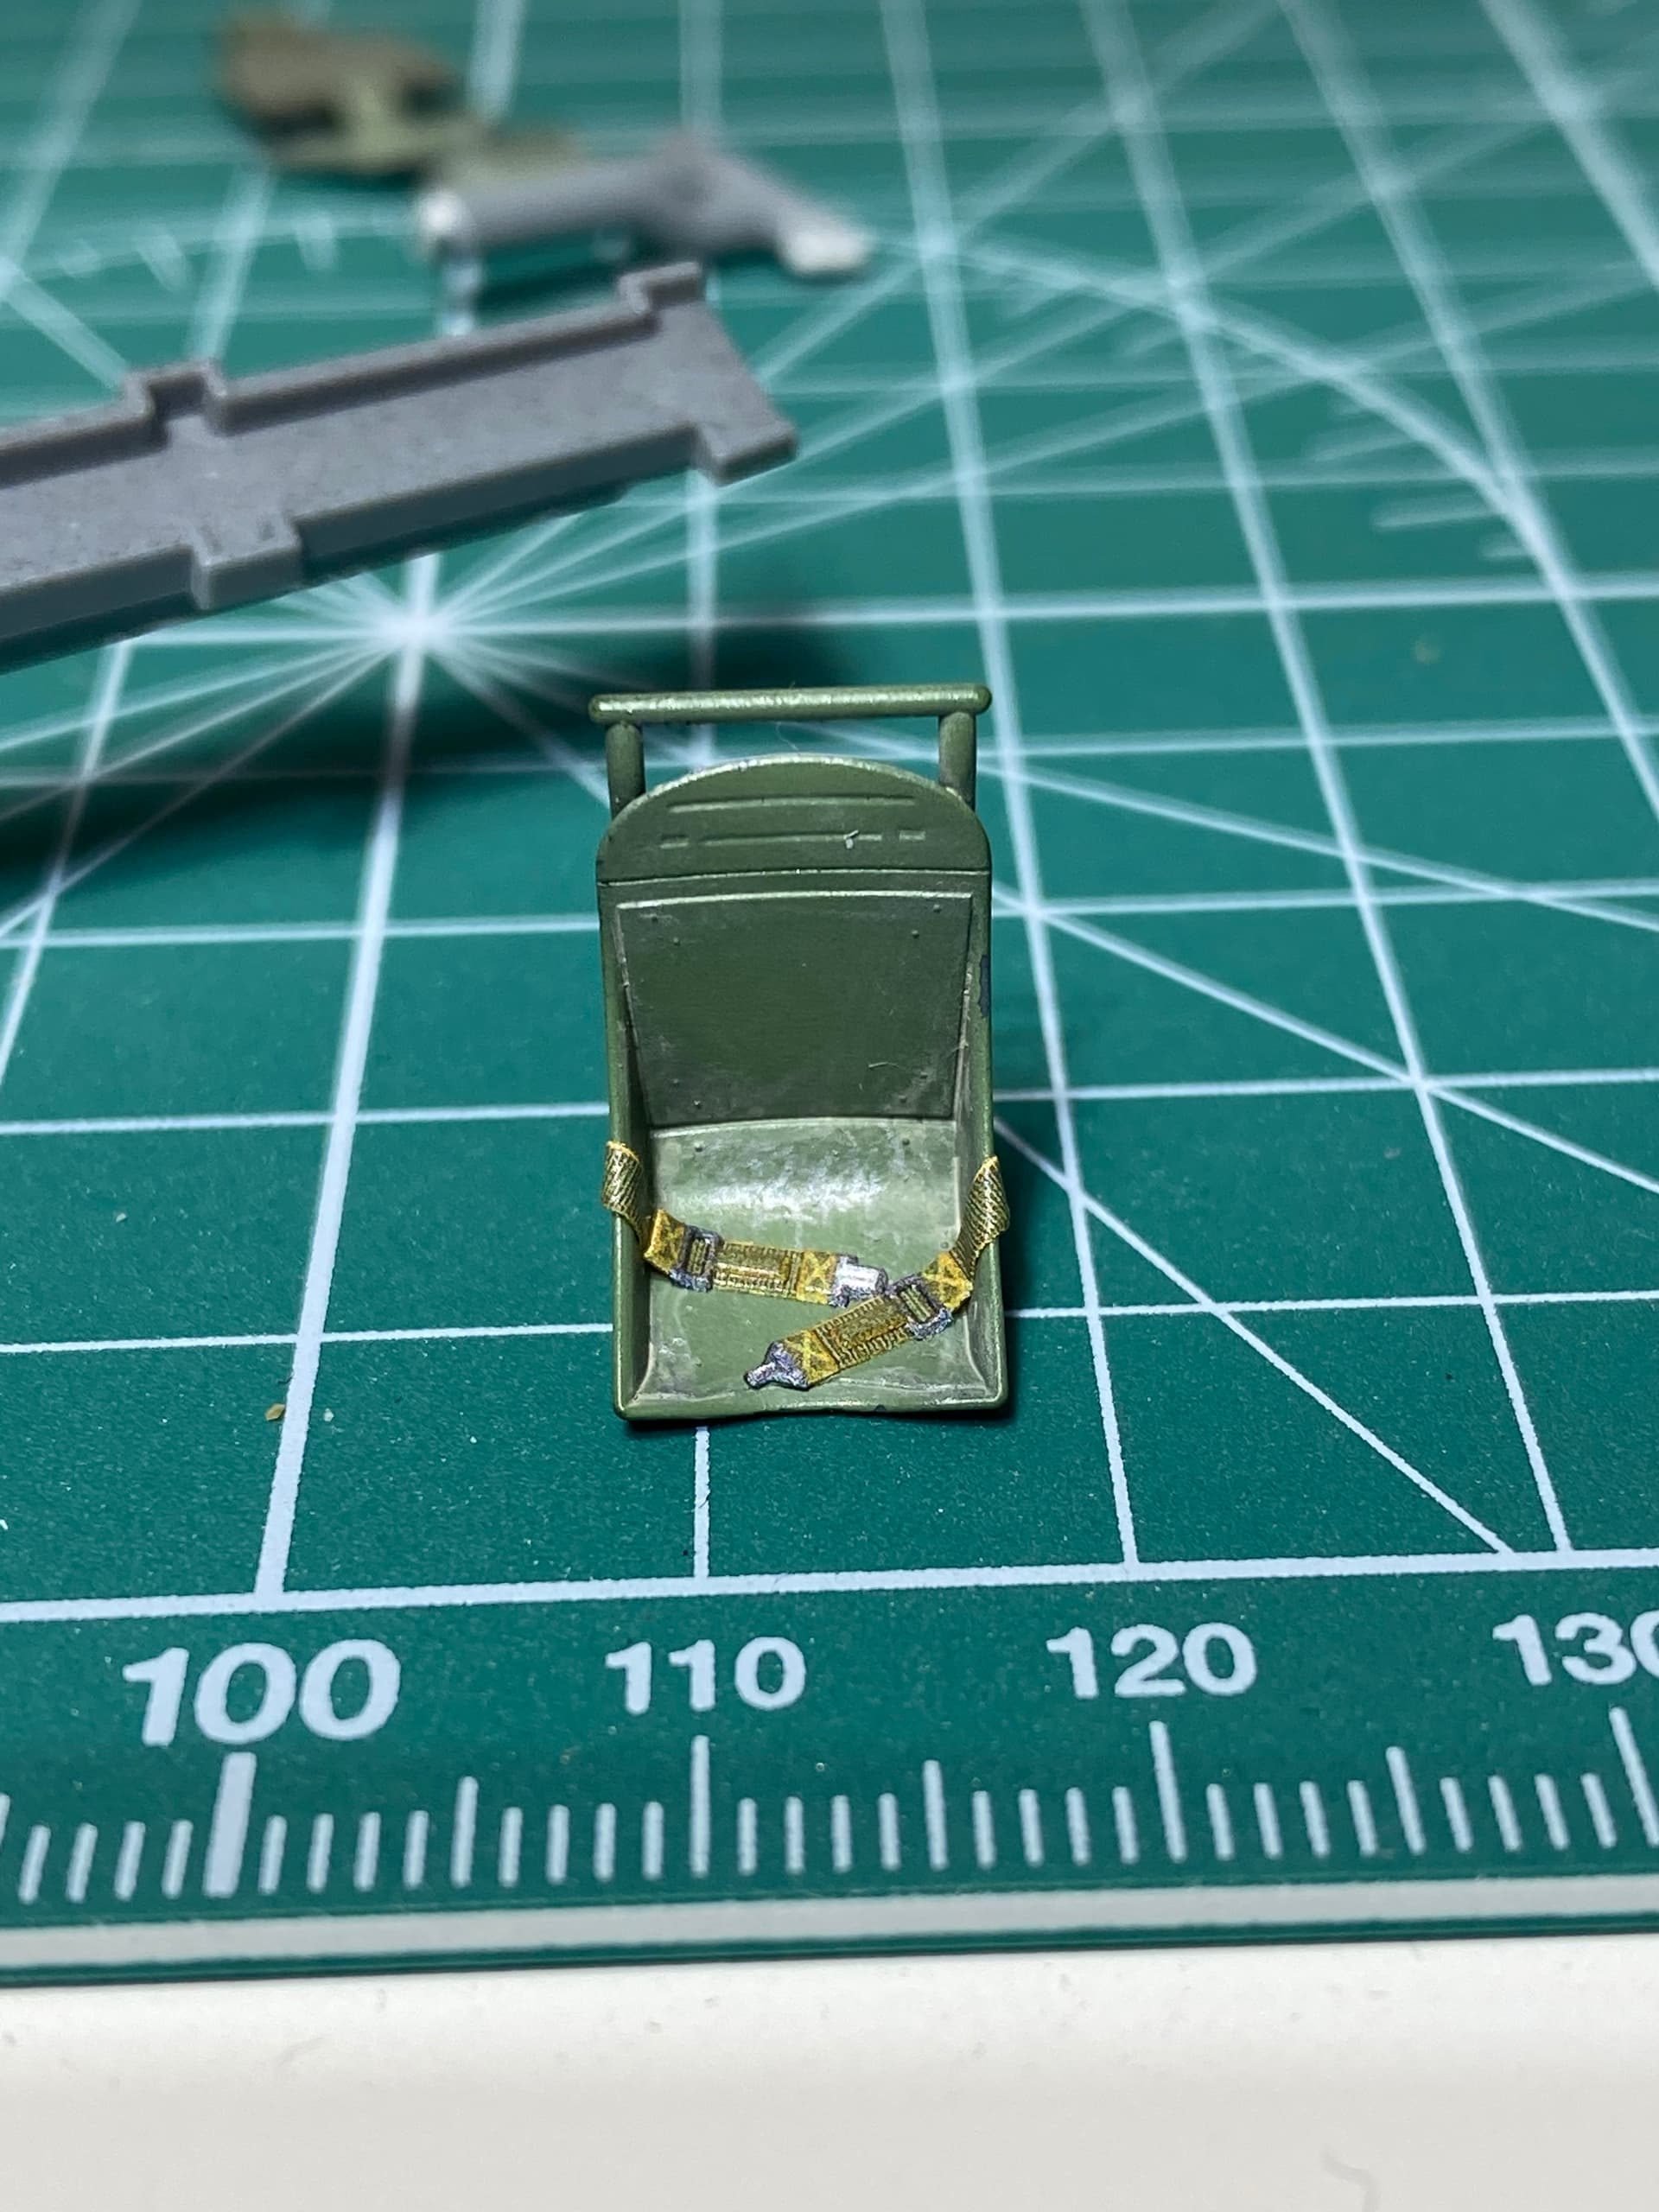
Question: do the shoulder harnesses go only over the seat, or up and over the bar and down? I’m seeing both in a cursory Google search. Any help would be appreciated. Thanks!
1 Like
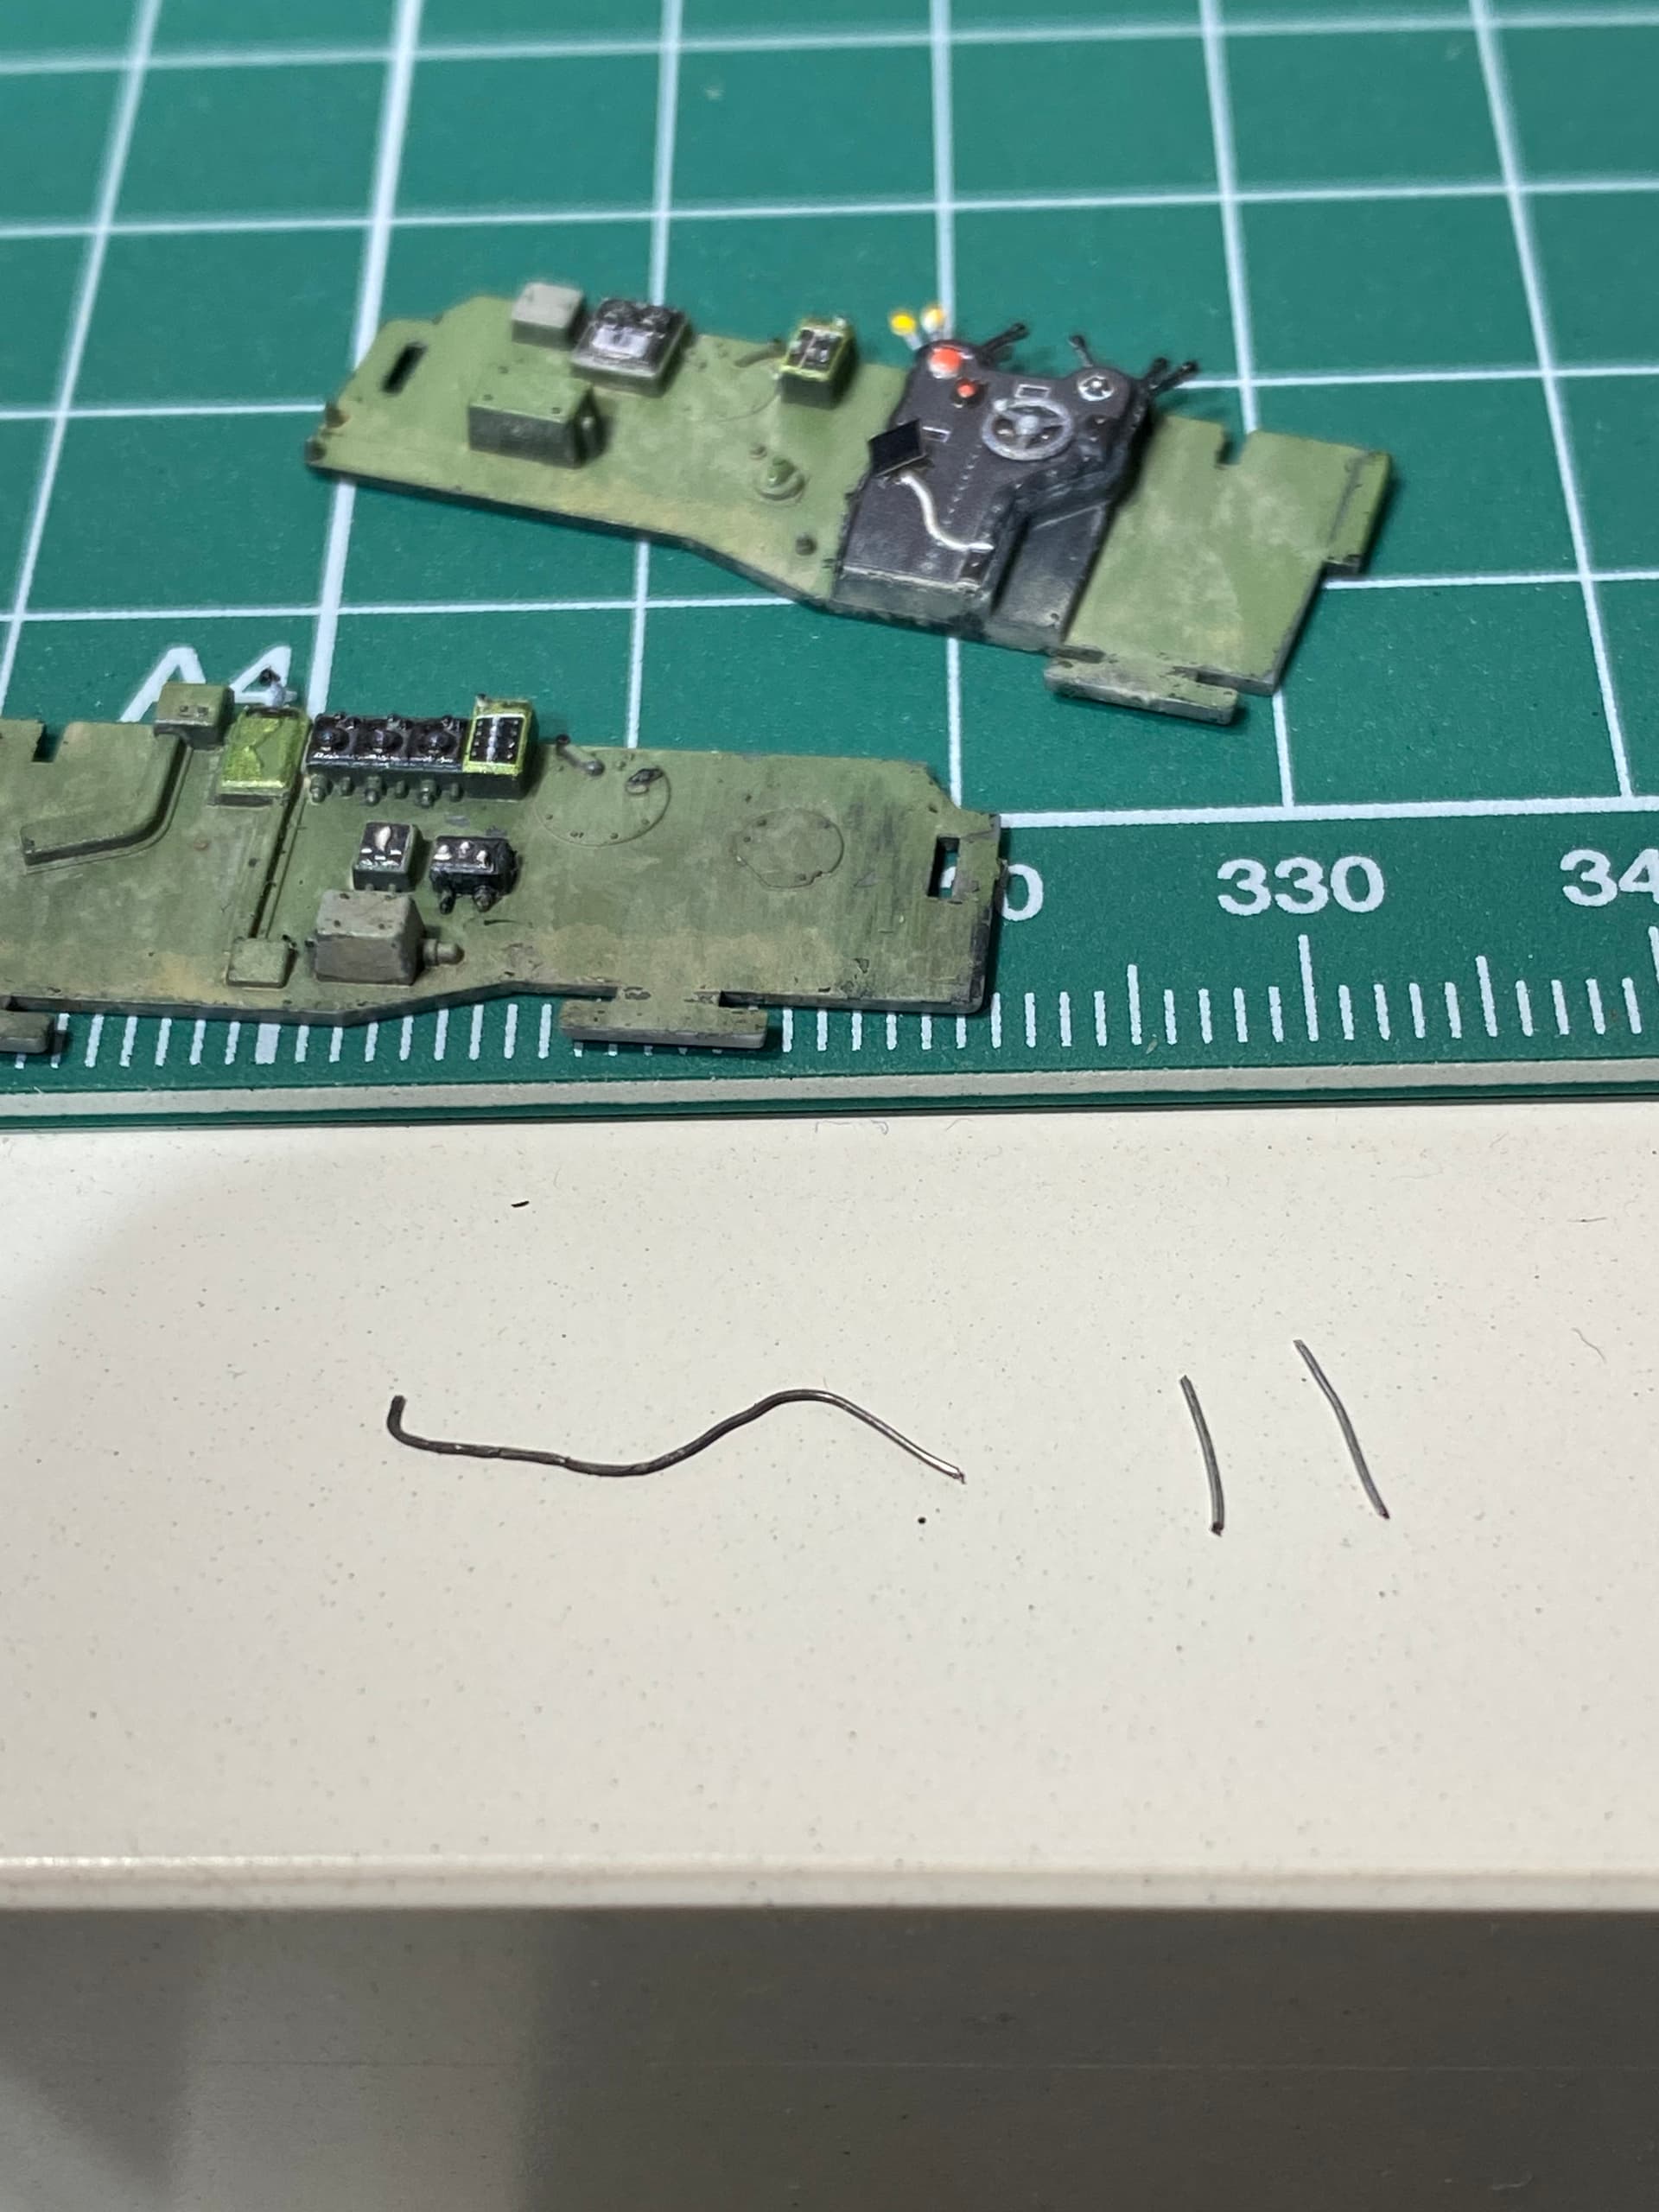
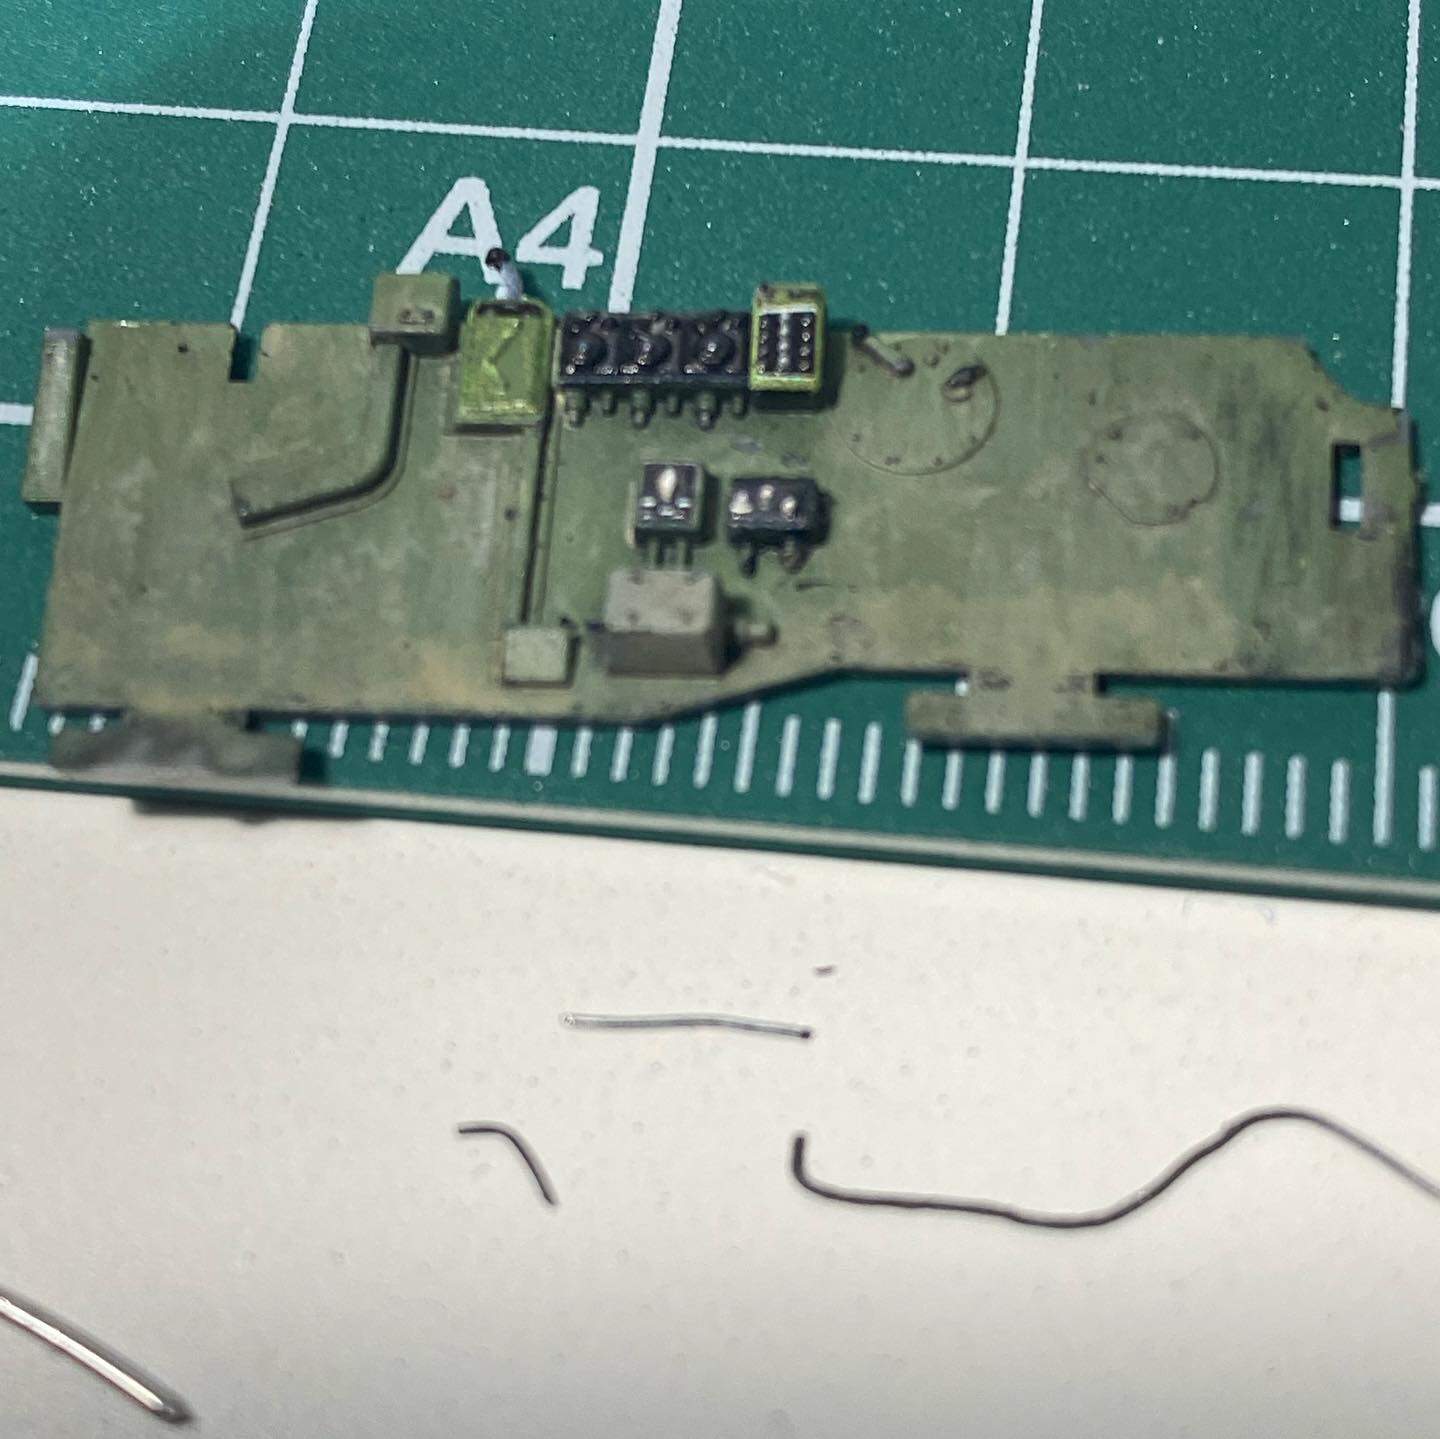
Almost ready to flat coat the interior. Going to try to put a few wires on the sidewalls and the radio compartment. We shall see how it goes!

5 Likes
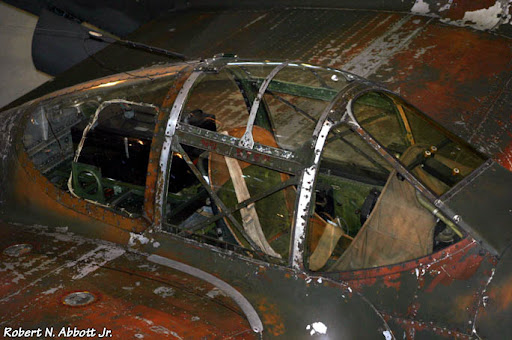
Hope this helps - unrestored original I believe.
3 Likes
Really nice cockpit! Looks super nice with sharp details. I have bought a Quinta set for my A-10, but not used it yet. Looks like I am in for treat once I get around to it.
Looking forward to see more 
Thanks! Yeah I’m pleasantly surprised at how well it all fits!
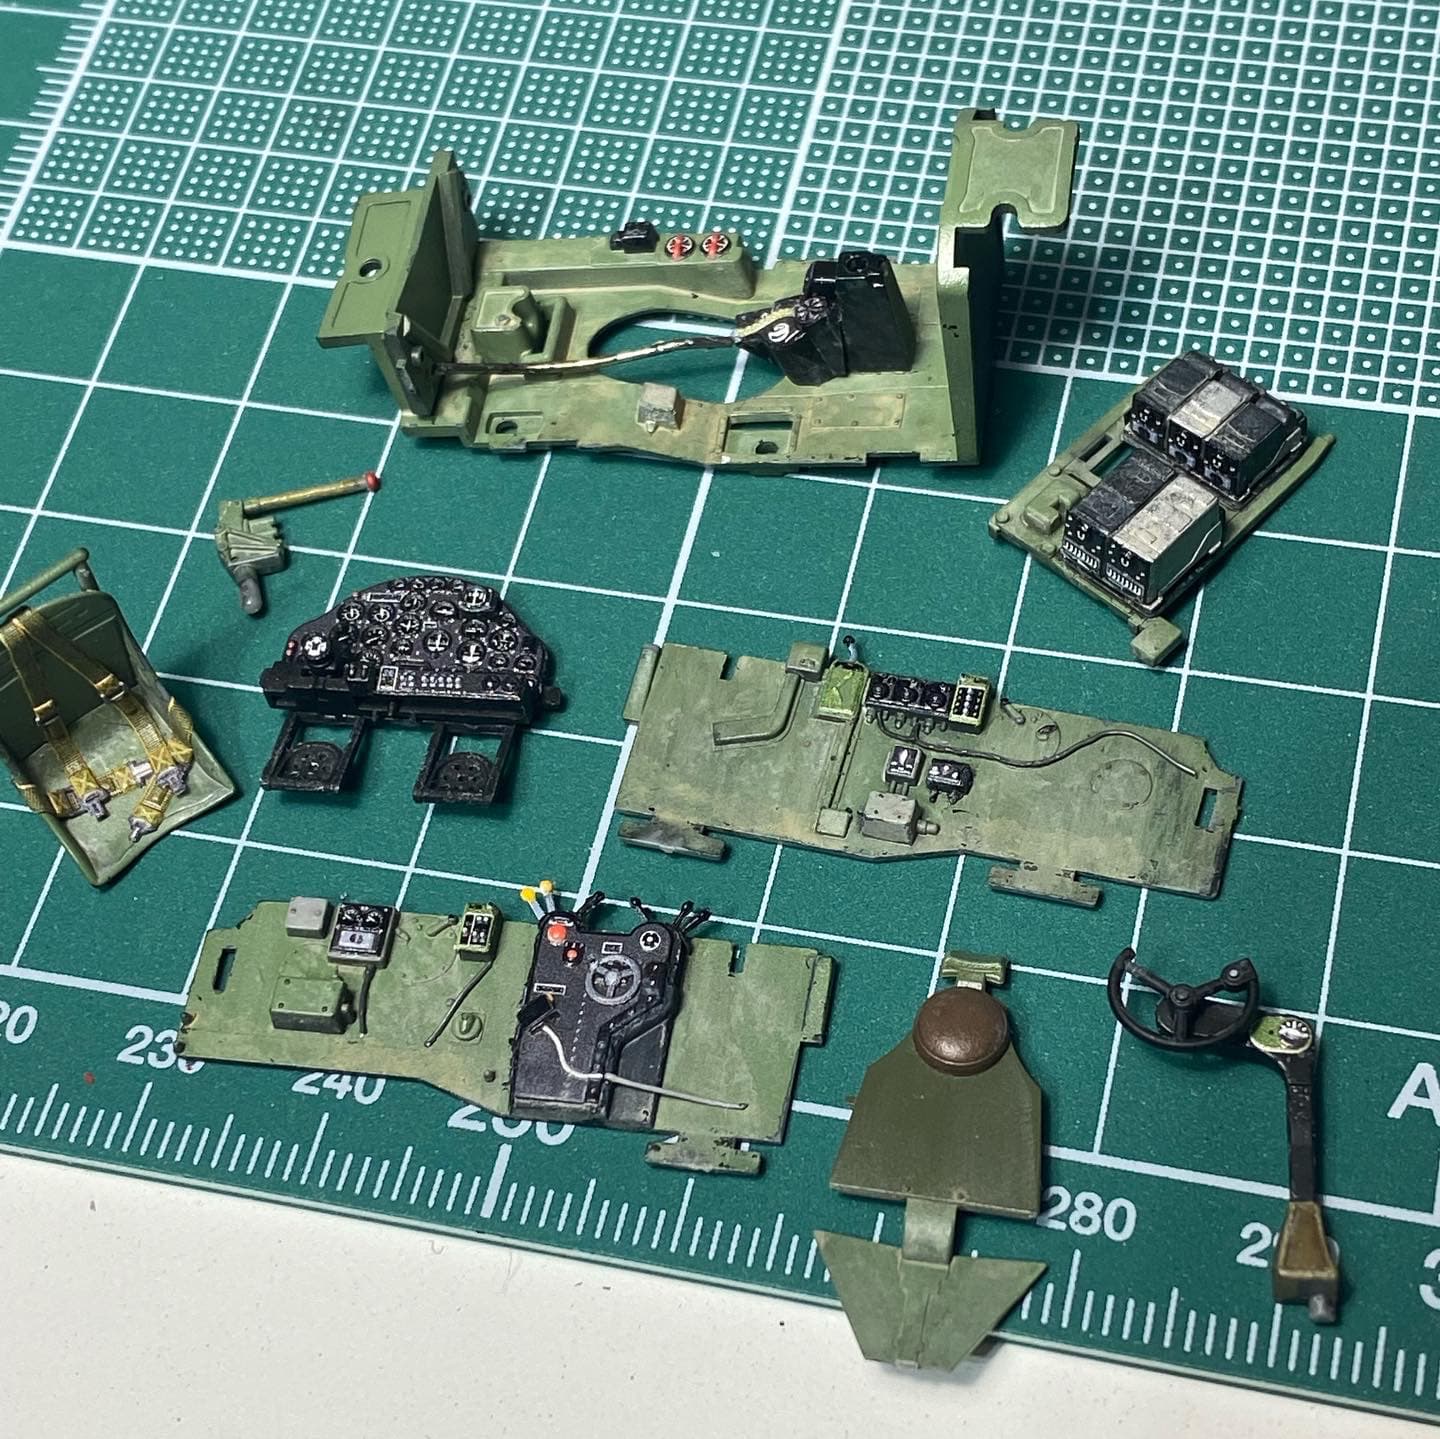
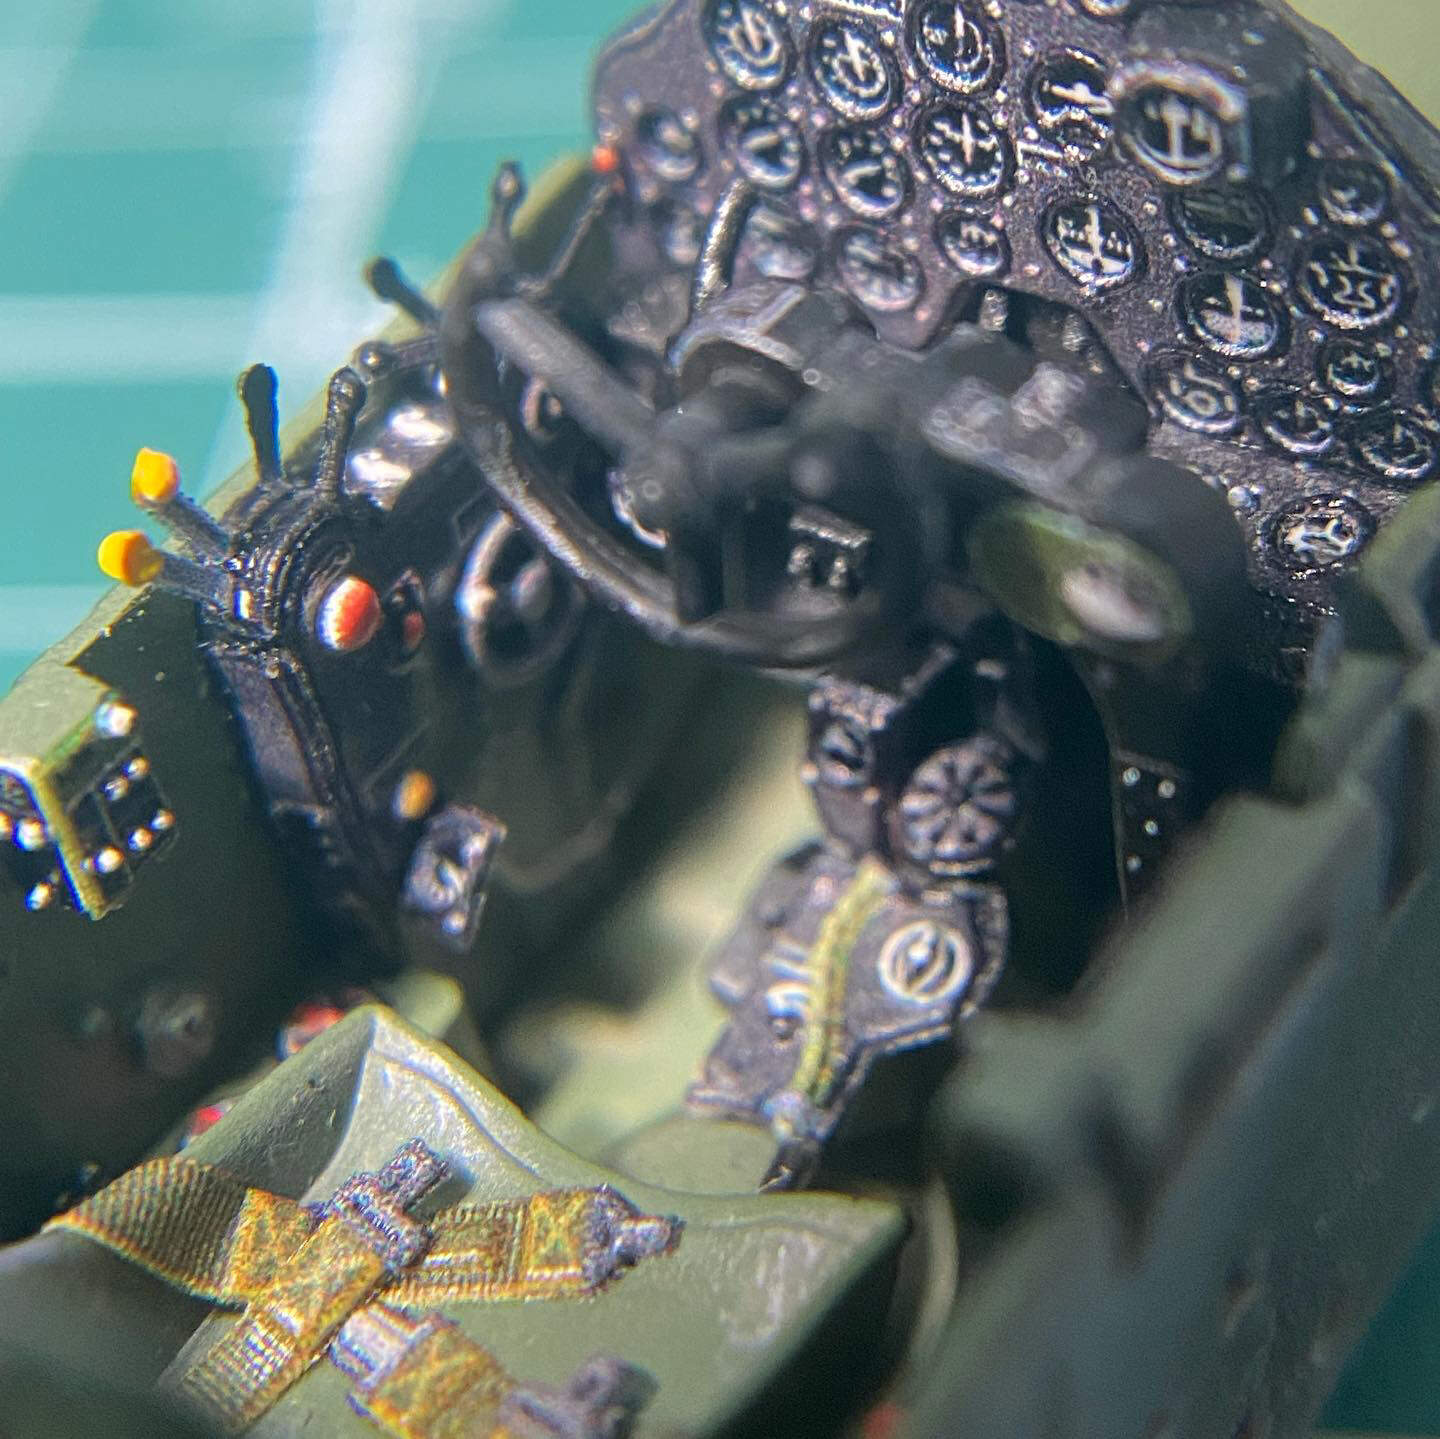
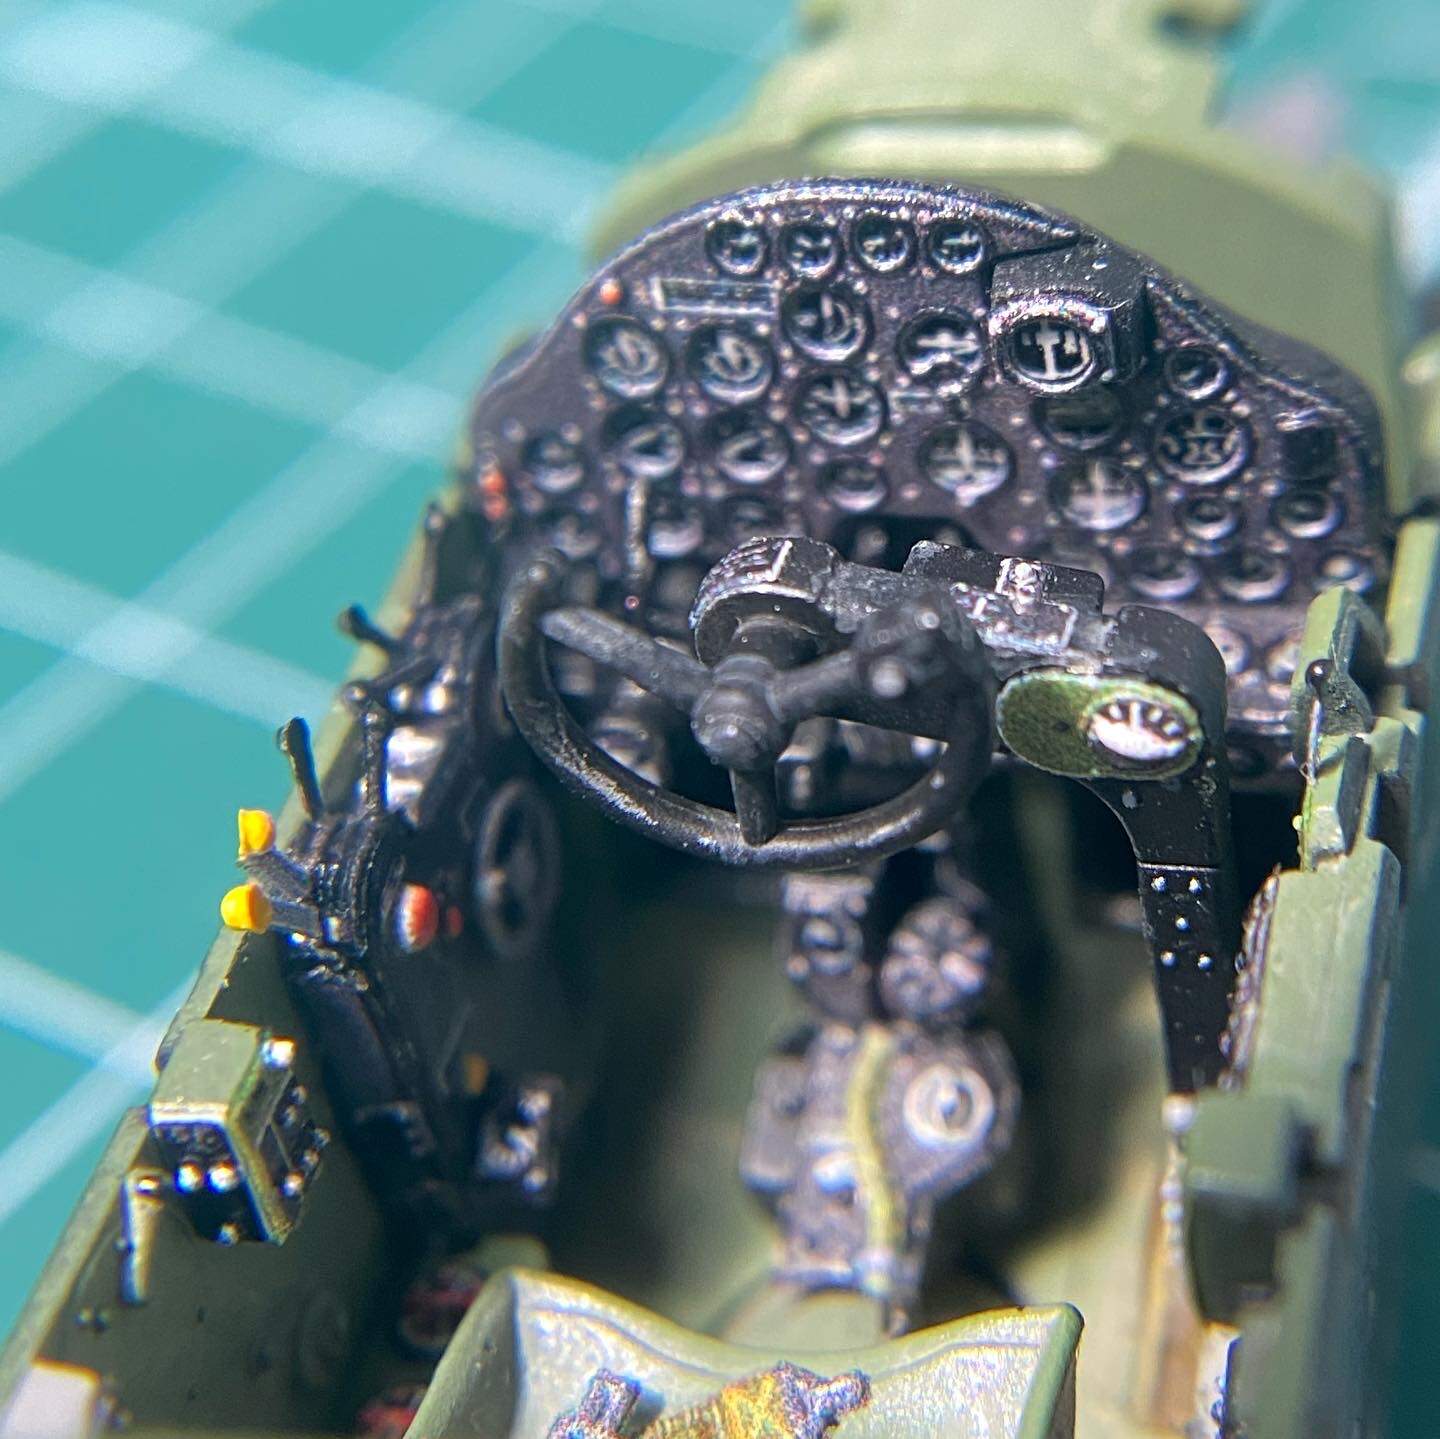
Cockpit is all done save for a flat coat! Tried my hand at some random wiring to liven things up a bit more. Totally barely visible when closed up lol. Excited to start on the other parts of the build.

6 Likes
The cockpit looks stuning Steve 
yeah it looks great. having arrived at this point, any advice you’d give to someone else using the Quinta cockpit decals?
The biggest thing that I have found is unless you are going to immediately put them on the model after removing from the backing paper (with warm water), then they need to be flattened as to not curl. I’m working in very small chunks of time when I model, as my kids are very young, and night bottles, lack of sleep, and tantrums in general means I’ve had to stop mid step at times. I had almost all of the instrument panel pieces removed from the water and paper and had to stop for the night. The next day some of the pieces had curled a bit which made it slightly more difficult to adhere with PVA glue.
So for every other piece that I removed, I just placed a jar of paint on the top to keep it flat. One nice thing is they don’t need to be placed immediately like a typical waterslide decal.
Otherwise they are perfect!
I feel like if you are able to do it in one session, like a normal person would lol, that won’t be an issue at all.
1 Like
Thanks! Fun to build, ready for main body!
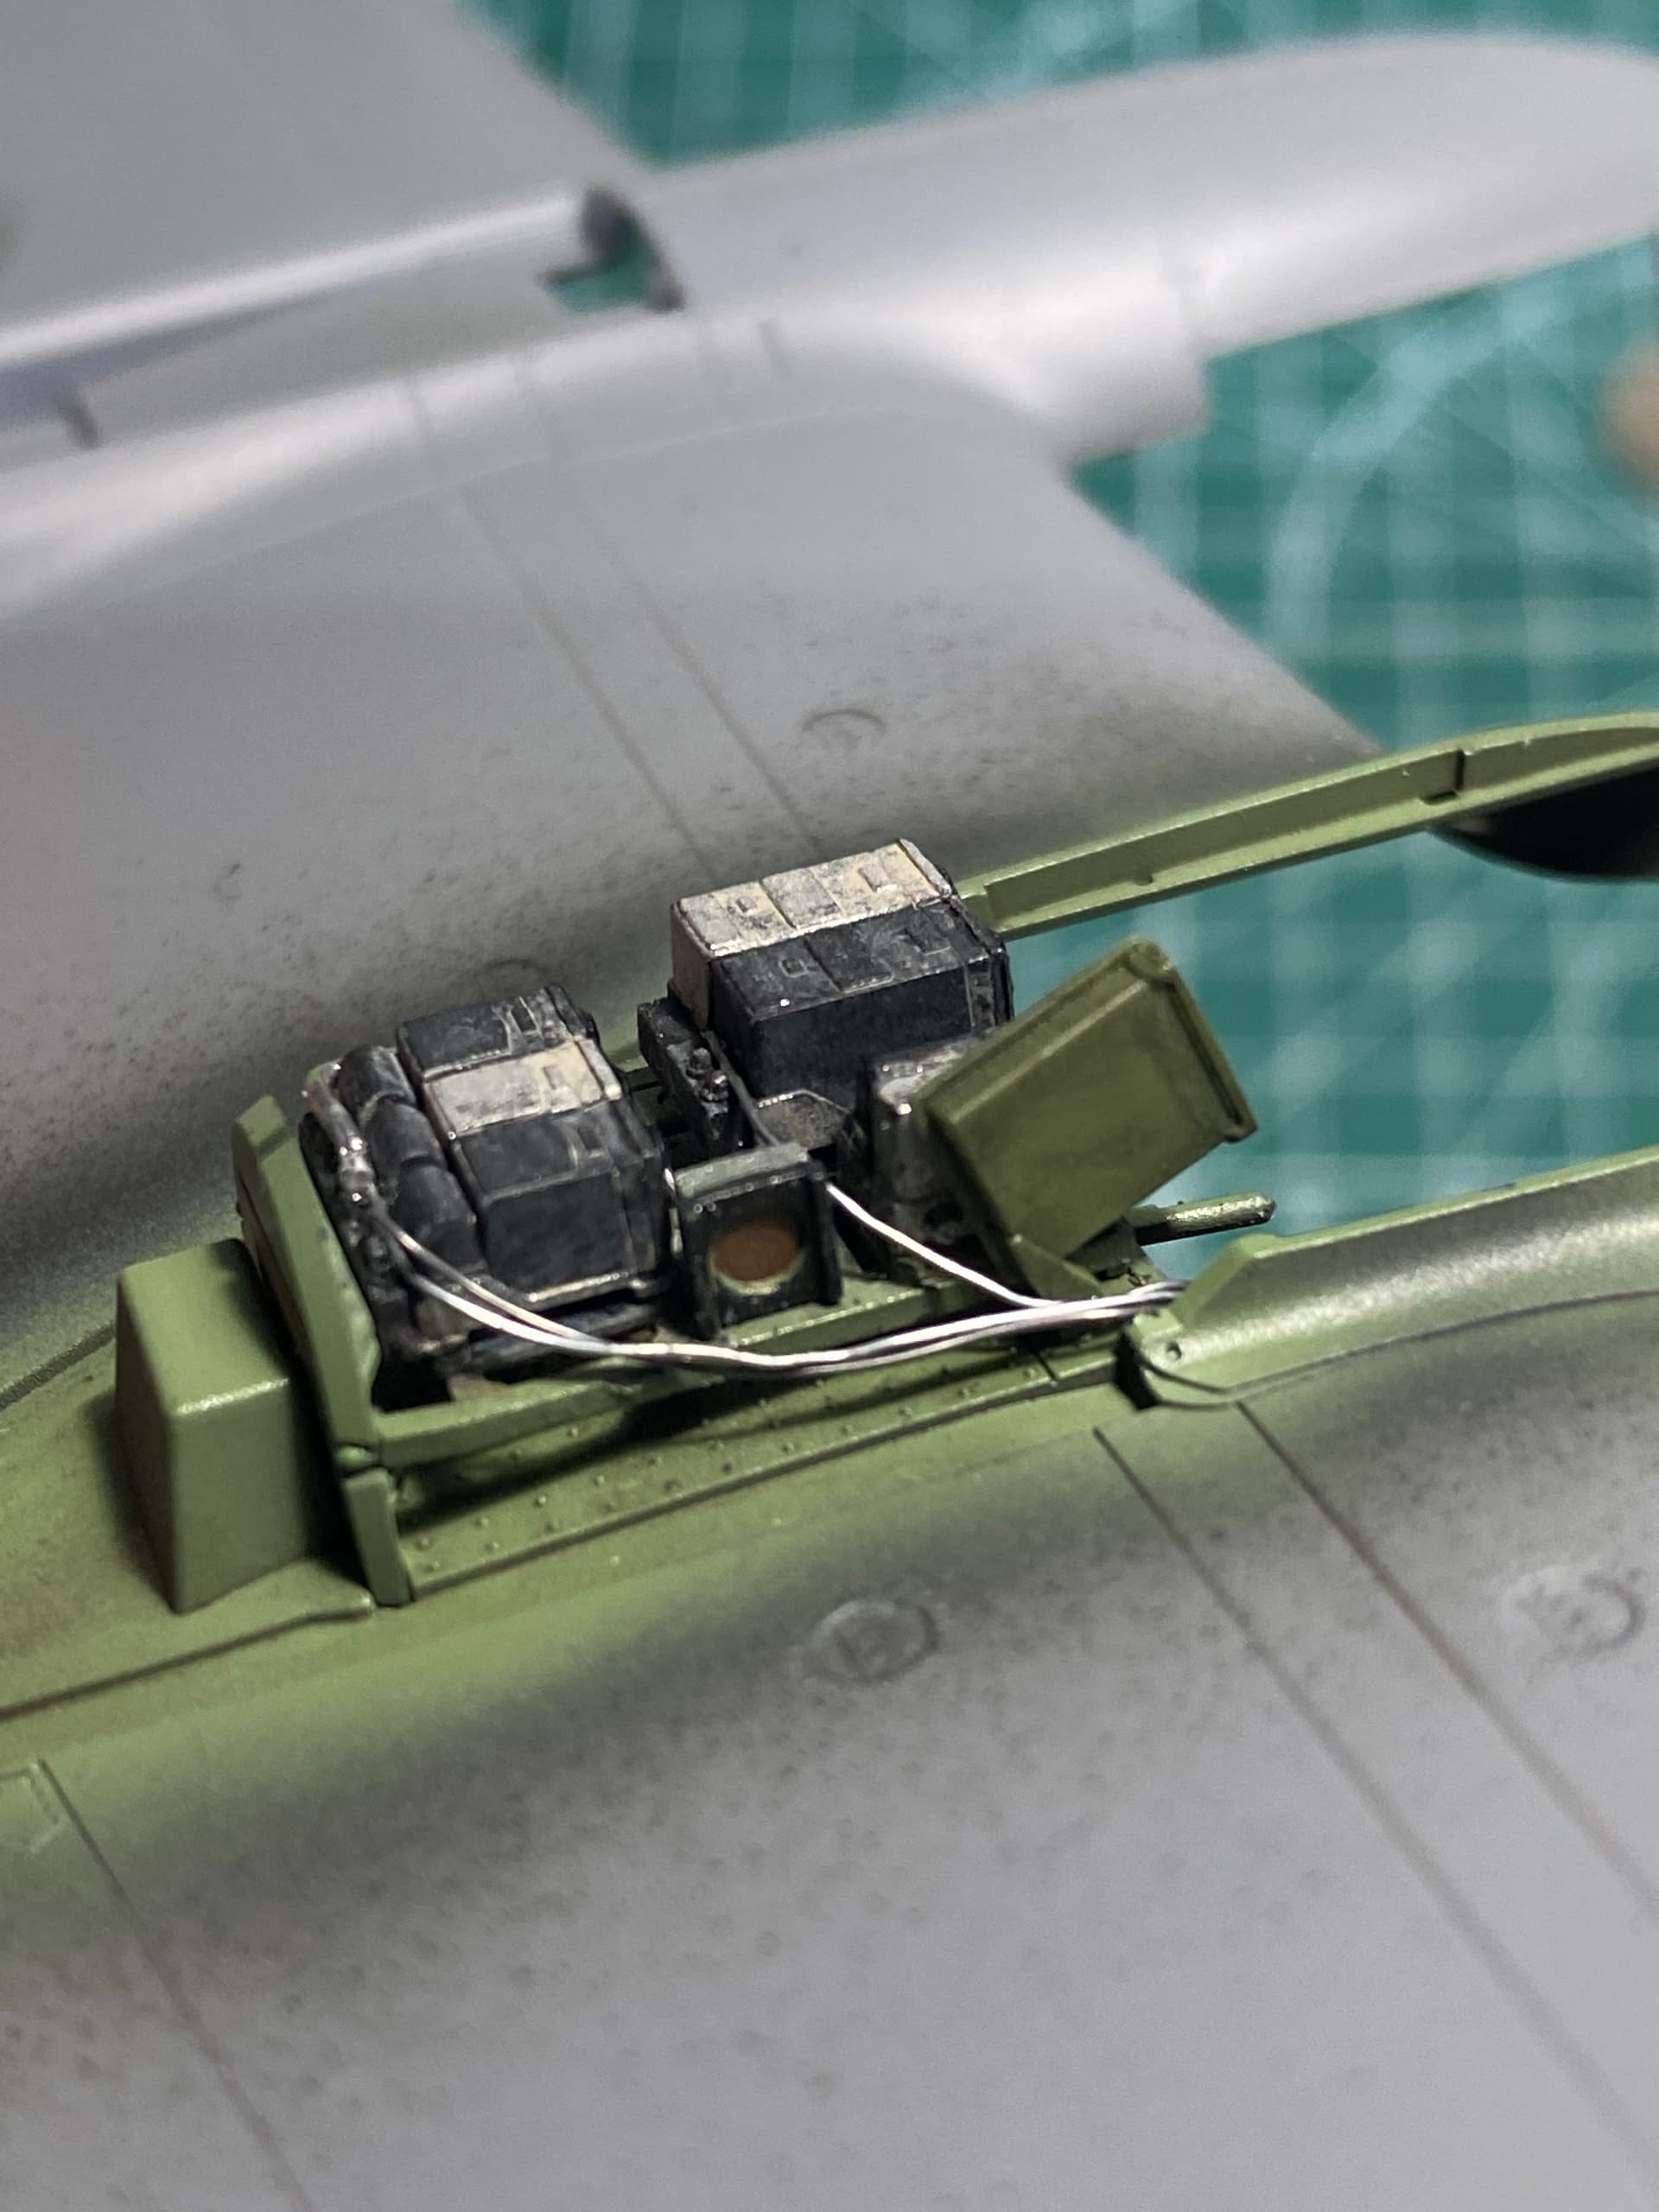
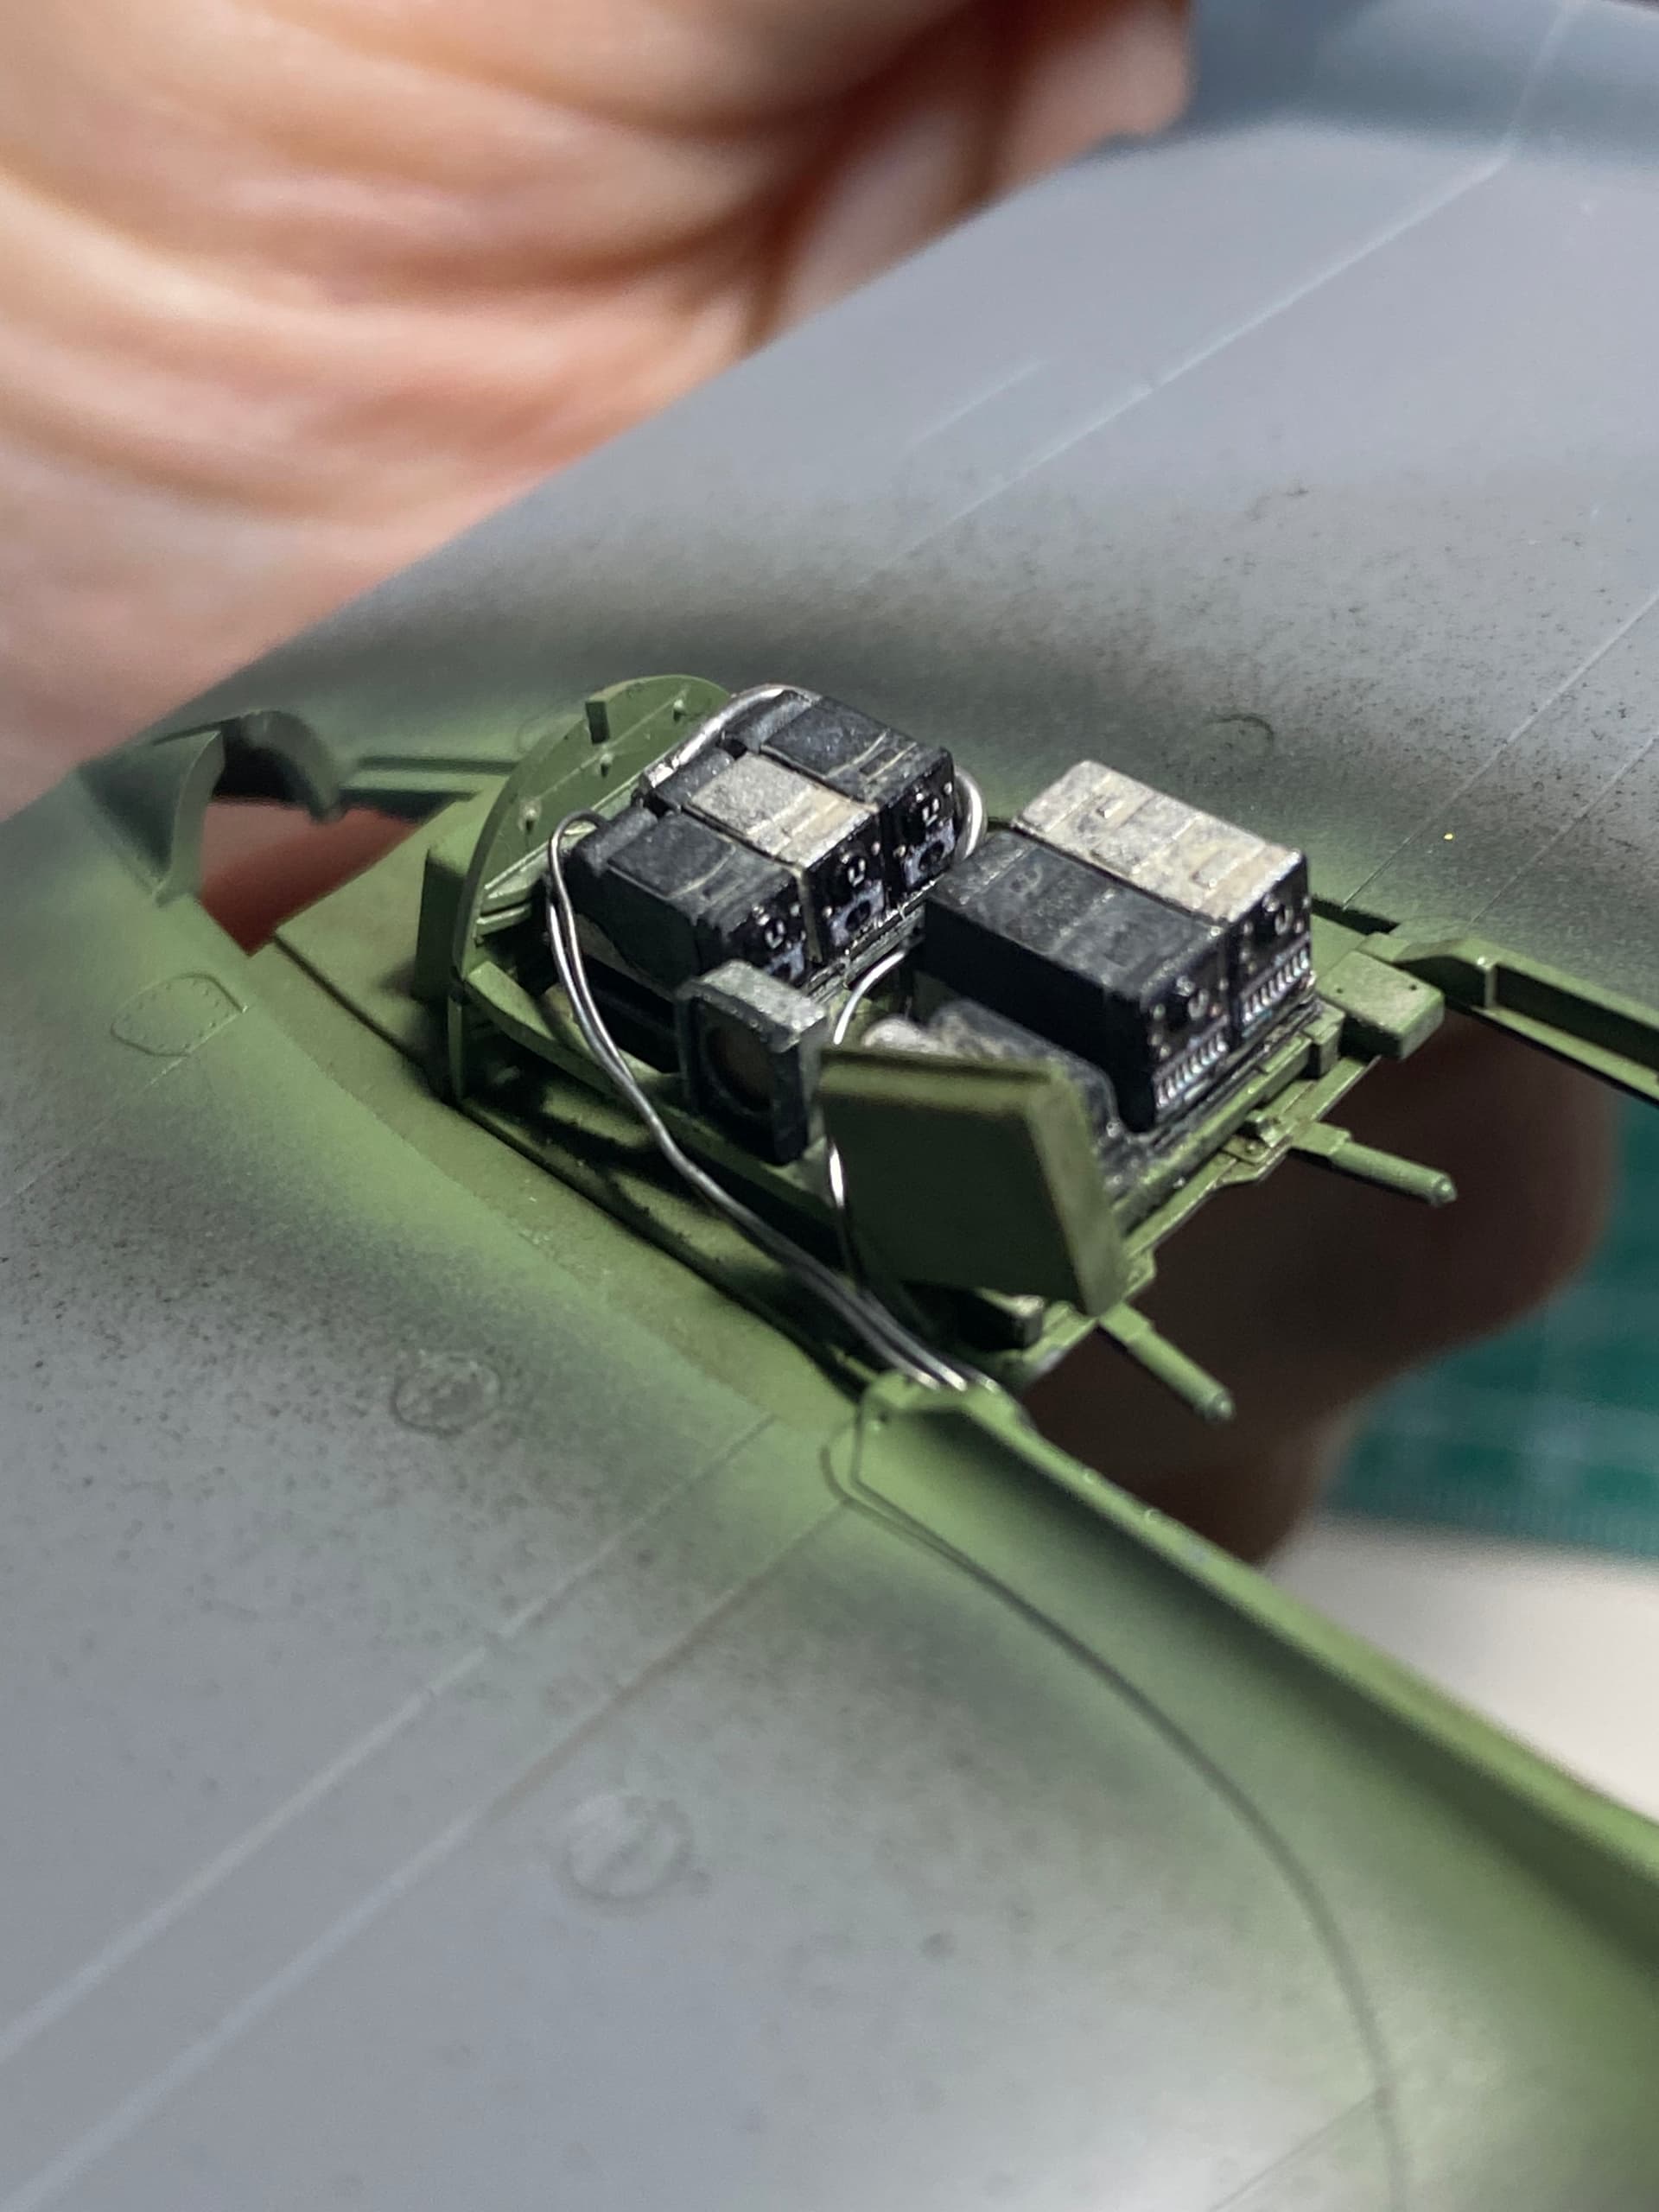
Radio compartment near complete. Decided to add some wire. A little bit of solder and some really old wire laying around. Don’t know if I should paint the wires a gray color or leave them as is.
Hope everyone had a happy holiday season for those who celebrate!
6 Likes


Working on mine now. The instructions suggest you remove the decals from the carrier with water. Check. And then glue them into place? Did you use PVA glue or something else?
Sorry for the delayed response. Yes I used PVA glue for the vast majority of the pieces. For the seatbelts and small bits I used a minuscule amount of super glue so it wouldn’t squeeze out when pushed down. Hope that helps!