Testing session airbrush

Greetings everyone,

Today I have done some testing and trying with my airbrush and also made some pictures of it to show you my results.
First of all I must say that it was a hazzard to get all the stuff together for my airbrush session.
And it took a while to prepare my workspace for the session.
Which brings me to my first question: How do you efficiently bring your stuff together for your airbrush session? And how do you prevent forgetting important stuff when you are having an airbrush session going?
Do you make a list or something?

Secondly, I have tested and practiced with Revell enamel paints.
I had one ‘bottle’ which I thought was to syrupy, so I discarded this bottle.
A while later, I finally got to airbrushing.
And this is the first result:


I would say, not very bad results.
This is later on in the session on another test object:


With this I would say, irregular spraying pattern. And I don’t know what is causing it.

This is a close up of my paint cup.
I notice that last times I airbrushed some sessions that there were a lot of bubbles I could say in my paint cup.
The lid with this session became dirty and my paint cup higher up wasn’t very clean as well.

I don’t really know what could be causing it.
Because in the past I didn’t have any problems airbrushing, at least I didn’t notice them.
And I was happy with the results.
But now, not so much anymore.

If I forgot to provide anymore critical information to help me out with this problem, I would be happy to provide it in the replies on my topic.

I hope you can help me out.
And this experience was valuable for me as well as I’ve learned some lessons as well.

Congratulations on your first try :slight_smile:

You do not mention if you have thinned the paint, which is usually required for airbrushing. Seems on your last horizontal line that the airbrush is pulsating… maybe a problem with the air source?

Bubbles on cup are because of paint clog on airbrush, usually on the tip. You should clean it carefully. Even while painting, cleaning the tip helps.

Keep practicing, it is the only way!

1 Like

Does your compressor have a tank?
The dotted appearance of some of the lines look as if the action of the piston in the compressor goes straight into the airbrush.
A simple solution could be to have a few meters of thich hose (think garden hose) connected between the compressor and the airbrush.

Bubbles in cup are caused by different problems:

  1. Clogged up tip as varanusk wrote above
  2. Untight seals so that air escapes into the chamber where the cup is attached. Can be caused by old paint on the seal and/or on the needle.

The sound from the airbrush when the piston movements goes direectly to the airbrush resembles this sound:

1 Like

Correct, and also a moisture trap acts as a micro tank that prevents this effect (apart from its primary function!)

2 Likes

Never thought about that …
but it is obvious now that you mention it :smiley:

Thank you both for your reply on my topic so quickly.
This isn’t my first try on airbrush and I have airbrushed some models in the past.
However, recently I started to encounter problems.
As a reply, I will send some photo’s of the equipment I use.
I have thinned the paint with Revell Color Mix with a ratio of 1 part paint one part thinner.
At least I think I have done that.
Here are some pictures of the equipment I use:


Thanks for the suggestions.

1 Like

I maybe recall something like that sound when the compressor is running.
But, the tank is also storing air, so…

1 Like

OK.
Time for some experiments. Use the same paint mixture, airbrush, pressure settings et.c.
Let the compressor fill the tank until it shuts off. Pull out the power cable from the wall socket.
Try airbrushing those lines that were dotted the previous time

Okay, I will do that next time.
Not today, I’m tired.

As an ad on to @Uncle-Heavy comments, depending on the pressure and compressor you may need to let it charge back up to full after each time the pressure in the tank drops below the spray pressure. For example, my compressor max pressure is 100 psi but it kicks back on at 75 psi. If I am spraying primer which in my climate requires around 40 psi, my tank will drain to zero; the compressor can’t keep up with the spray. In this case if i don’t pay good attention I’ll start to get sputtering as the tank pressure drops below the 40 required for good primer spray. So in these instances I’ll airbrush till the tank gets around 40 psi, let it fully recharge and then keep going.

However, if I am spraying base coats around 12 psi the tank can recharge faster than the spray. So in this case I leave the compressor switched on and every time it gets below 75 it will charge back up to 100.

Sputtering is caused by one thing at its core, inconsistent paint flow. The causes of this as others have stated are

  1. clogged airbrush (usually the tip) allowing paint through in spurts as the clog moves around

  2. inconsistent air flow leading to poor paint flow

  3. pressure too low so that paint only comes through sometimes

1 Like

On a positive note, the more you airbrush the faster and easier it will get. After a few sessions, you won’t feel like you need to make a checklist. It helps to have a dedicated place to paint where you can keep everything together. If that’s not possible, then keeping everything together in a small fishing tackle box or a similar container can help speed things up. (Maybe a small plastic box with a snap on lid, etc.)

Not much else to add to other advice, though, about the bubbling in the paint cup or the inconsistent spray pattern.

I would, however, suggest careful and thorough cleaning as a first step. My experience is that dirty airbrushes are the main cause of problems followed by improper thinning (at the desired air pressure and paint flow rates).

A careful and detailed cleaning should almost always be your first course of action (unless the problem is obvious). This is especially true if everything was working just fine in earlier airbrushing sessions.

Again, the more often you clean your airbrush, the faster and easier it will get. It might seem at first like you’re trying to take a watch apart and put it back together, but with some practice, you’ll see that it’s a very simple device. Another advantage to frequent cleaning is that you’ll better understand how it works which can make trouble-shooting easier. Carefully inspect the parts to learn what they look like in their perfectly functional state, and you’ll be able to easily spot problems like bent needles, split paint tips, etc.

You should never have to force any of the parts together or use force to take them apart. If you feel you need to use force, then stop and consider what you’re doing. You are most likely trying to fit something together improperly. If your airbrush came with a small wrench to disassemble the tip, be sure to not lose it. You should only ever have to screw things together with finger pressure.

Finally, try to source one of the many proprietary airbrush lubricants (Badger RegDab or Needle Juice, Iwata / Medea Super Lube, etc.). These are VERY sparingly applied to the needle right at its shoulder (where the taper to the point starts) and helps to mitigate damage to the needle / air seal while also helping that seal to keep air from bubbling into the paint cup from around the needle.

(The air-needle seal is a Teflon or rubber o-ring and it can be damaged by paint, dried around the needle being pushed back and forth through it. Once this seal is damaged, compressed air can force its way past the needle into the paint cup.)

If you cannot find one of the proprietary airbrush company lubricants, you can use a very small amount of glycerin from your local drug store. It will dry out quicker than the proprietary lubes, but it will work. Remember, though, to use just the tiniest drop and spread it along the needle from the shoulder of the tip back along the shaft. (There’s no need to actually put any on the tip of the needle.) You are only lubricating the needle where it passes through the air seal and the trigger assembly.

If your airbrush also has an o-ring at the junction of the air and paint tips and the airbrush body, use a very small bit of the lube on that seal, too. If this seal is damaged or worn, compressed air can also enter into the paint channel from the cup to the tip and cause bubbles. However, not all airbrushes have another seal here.

1 Like

Thank you all for providing such great help to me.

Today I have planned to clean my airbrush and all of my other airbrush equipment.

To be honest, I’m a bit afraid to take everything apart because I did break one of my previous airbrushes by doing this.
Tightening the tip I believe to tight.
According to the shop I contacted for help where I bought the airbrush set.
Also, the user manual doesn’t say anything of about taking my airbrush apart for maintenance purposes.
The manual does contain a maintenance section, so…

Here are some photo’s of the manual of my airbrush gun.
And some other part that I’m curious to find out what it actually is, because I have no idea.


Maybe I’m going to read through these answers more times.
And get back to actual questions I have, because of reading again through the previous answers.

But for now, I just leave it by this reply.

Thanks again for replying and helping me out in this matter.

The part in question is an air hose connector.

1 Like

Generally, once done painting I will remove the color cup and clean it out, then I’ll just run some windex with ammonia through the brush until color stops coming out. After that and this is CRUCIAL I run a couple color cups full of water through it to remove the ammonia.

If I run something nasty through like primer or future, i.e. stuff that can dry quite hard, or I haven’t cleaned my airbrush in a while/know I won’t paint for a while, I’ll pull the needle, tip, and nozzle and clean those with some brushes and windex and then again neutralize with water. Every once in a while I’ll gentley clean the inside of the body.

To disassemble, at least on mine. You unscrew the back of the airbrush, then the needle retaining nut, and then carefully remove the needle. I then unscrew the nozzle and then remove the tip. It is really quite easy to take them apart once you do it a few times

Most important is to be very careful when the needle is out not to bump the tip on anything or drop it. And don’t over tighten anything, finger tight is good

1 Like

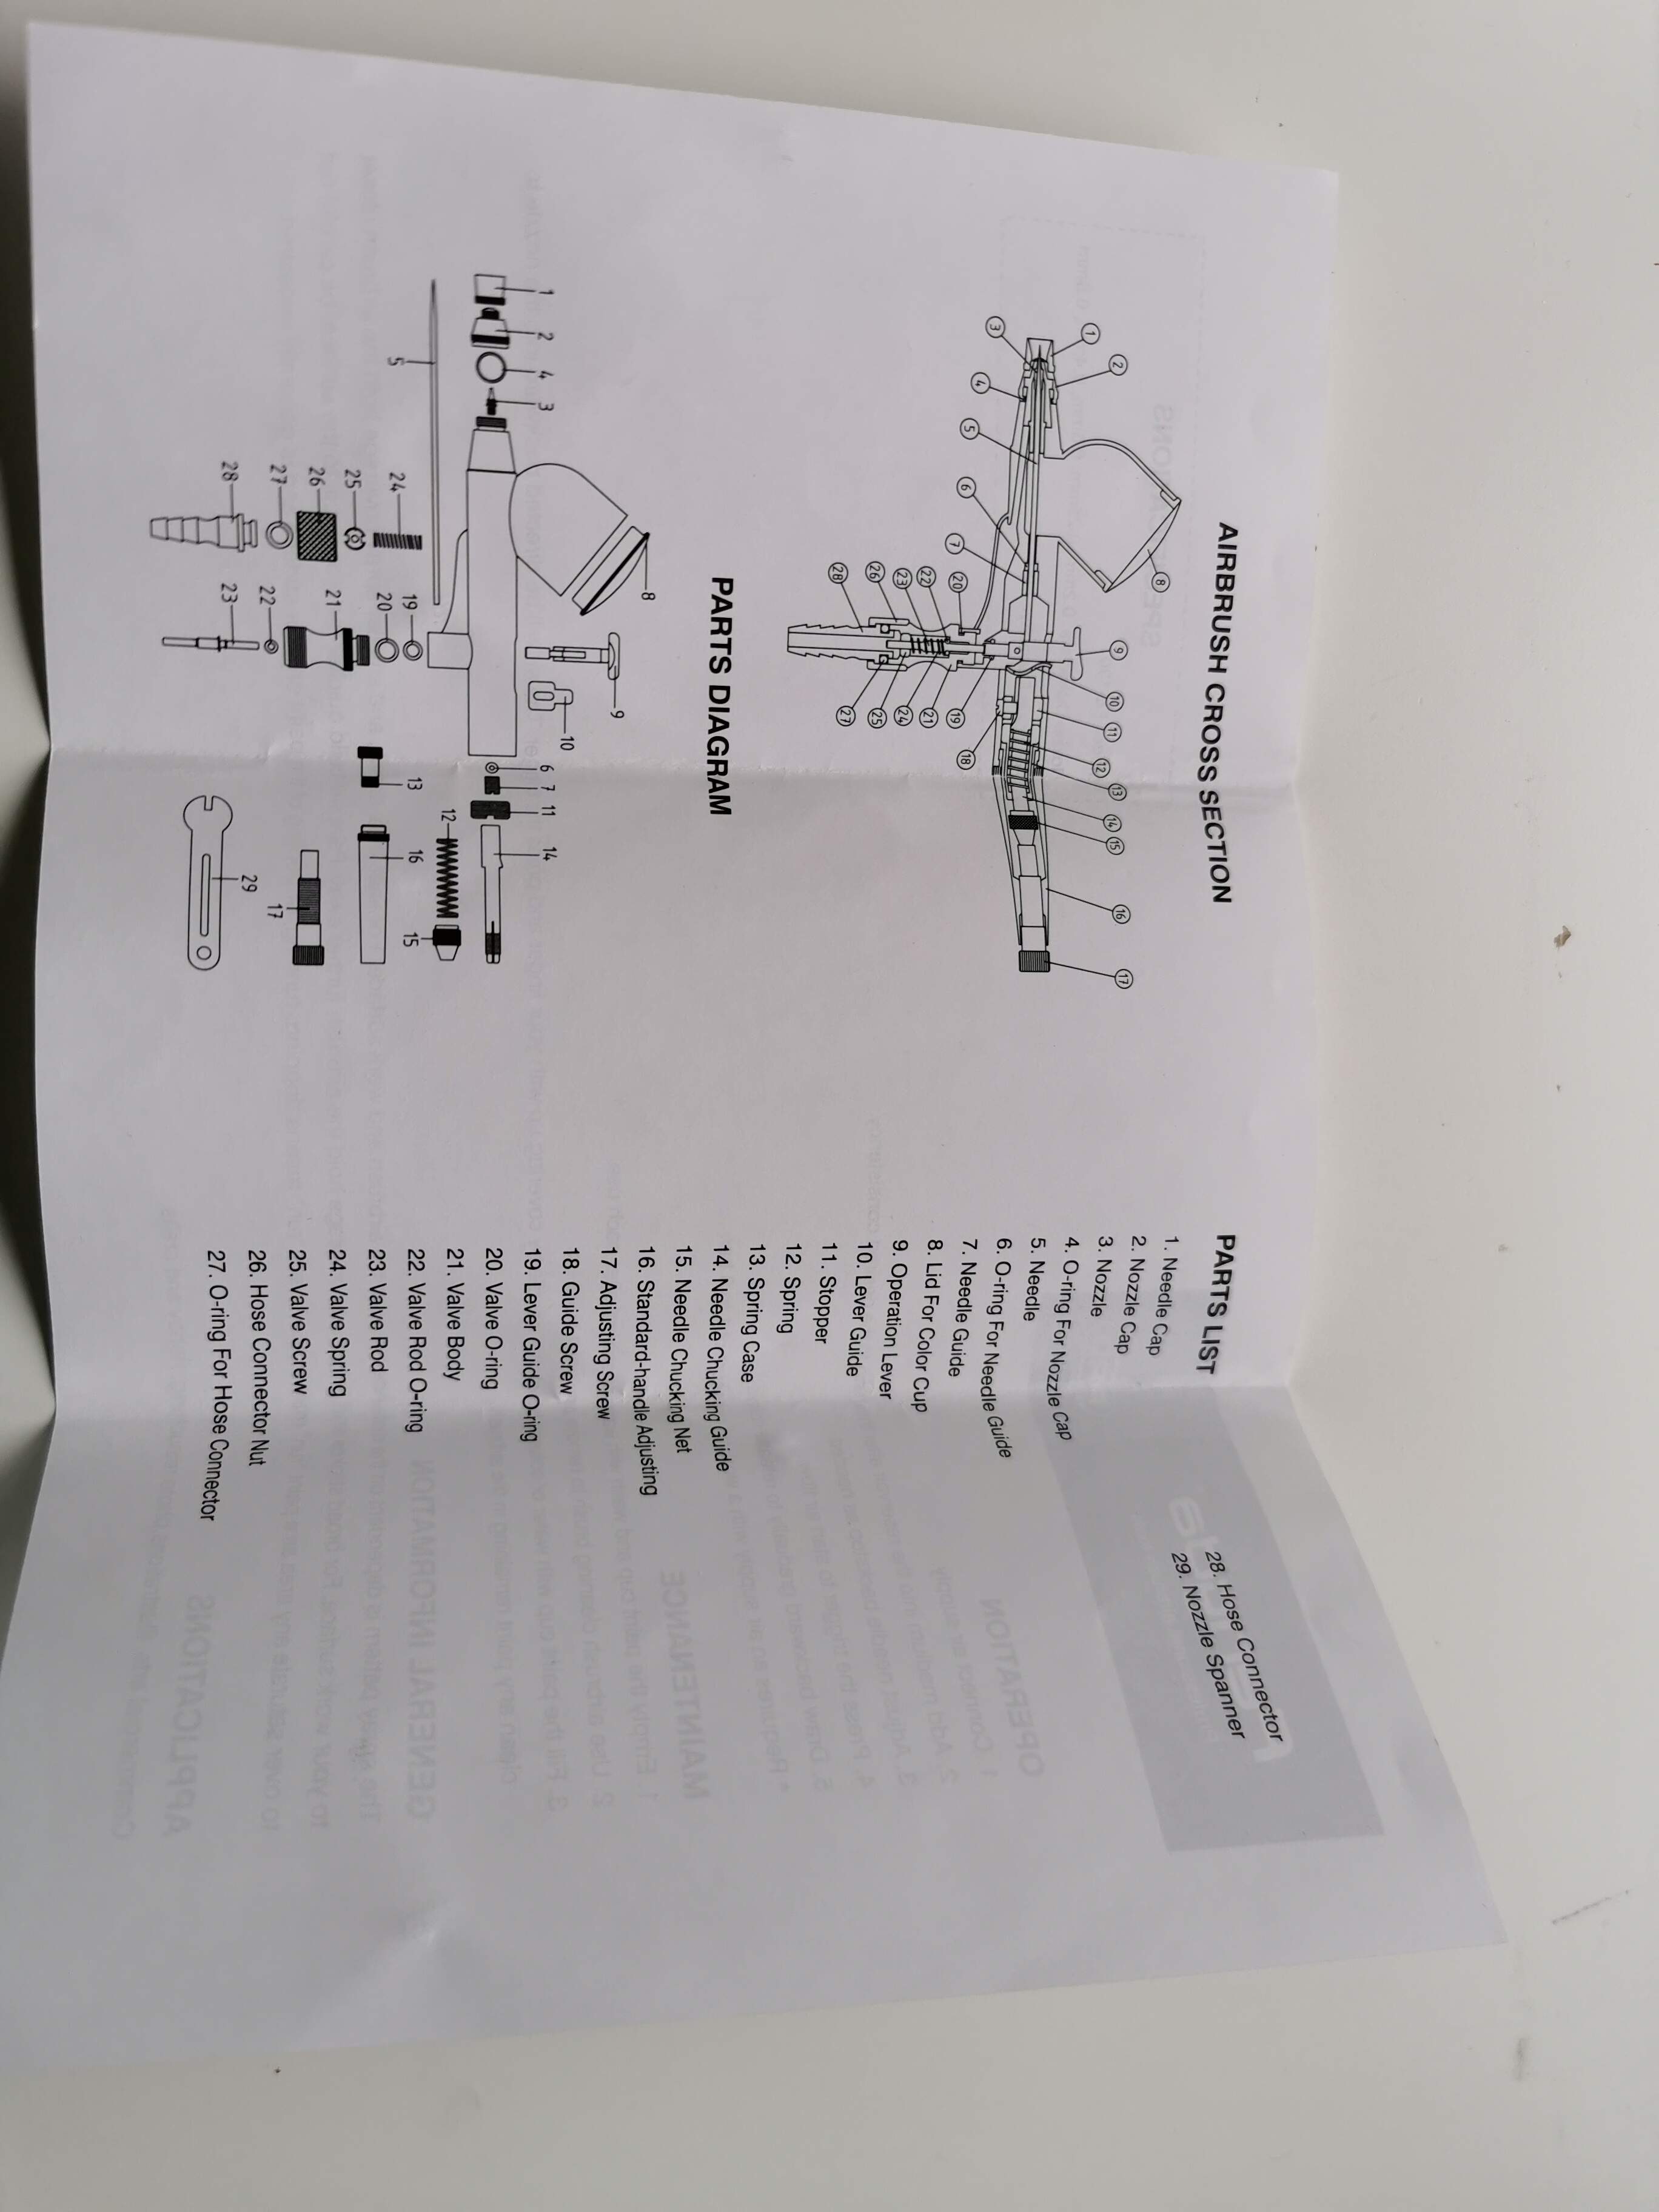
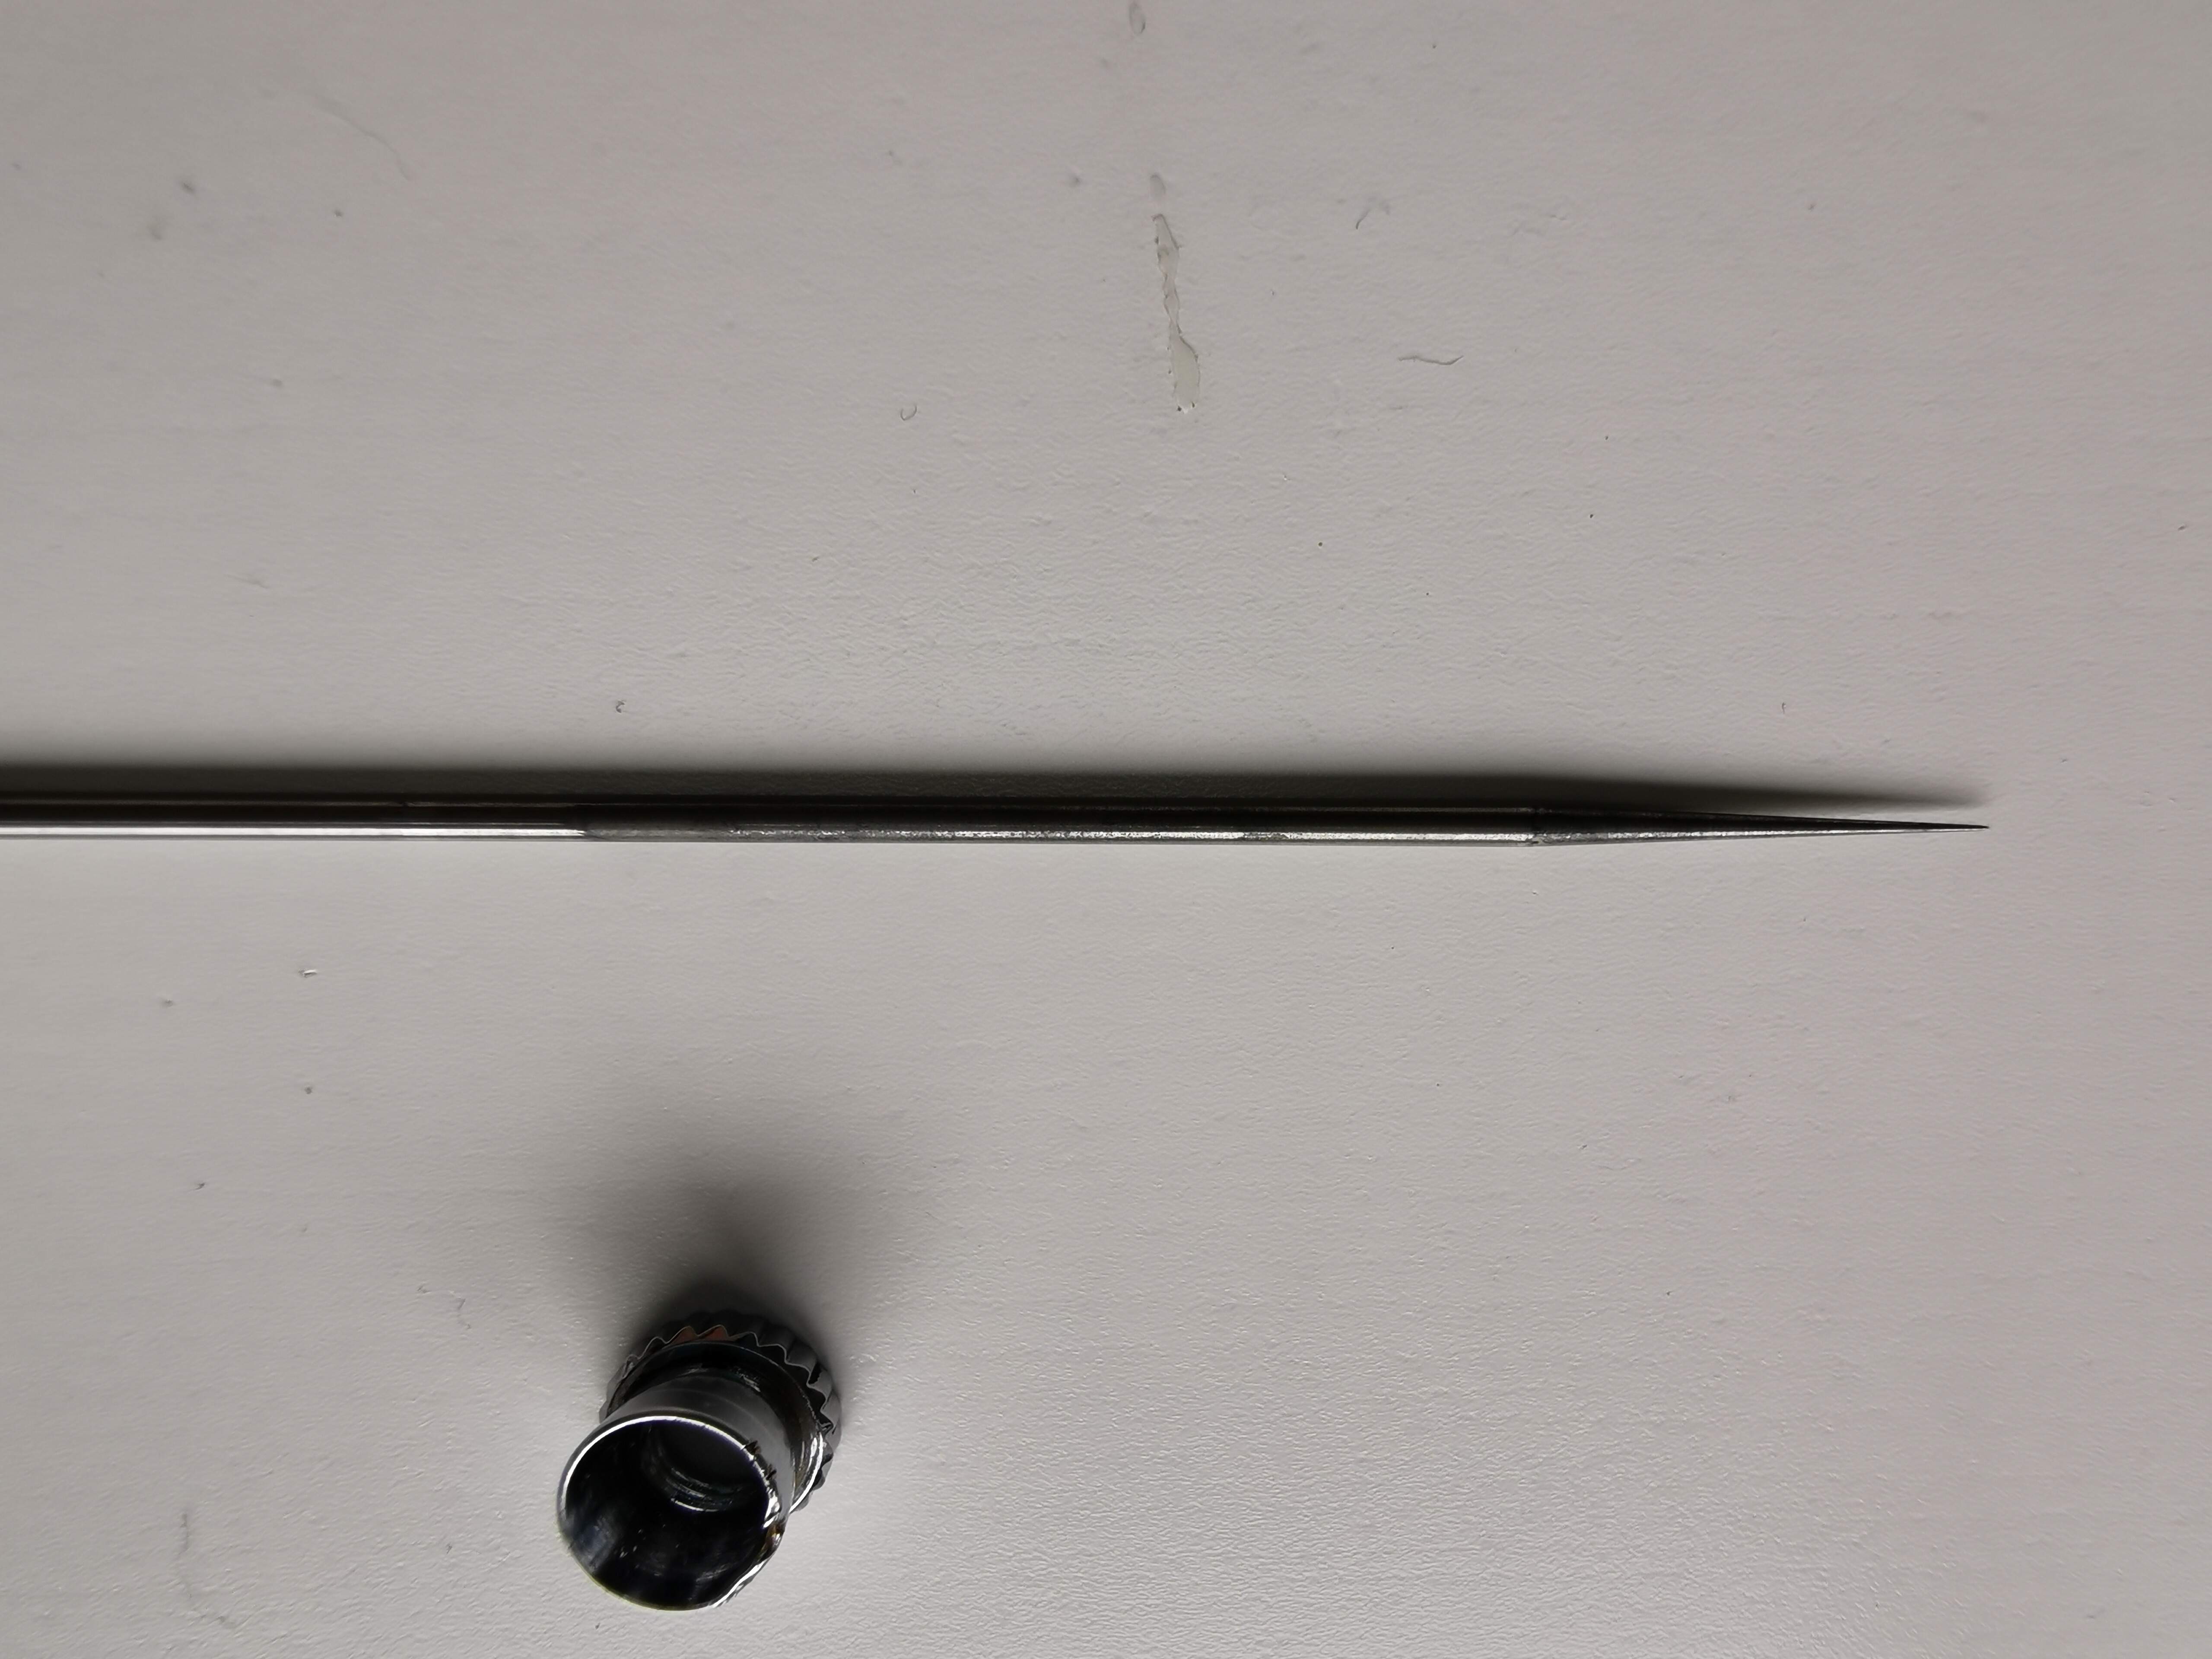
As recommended above, you’ll start at the rear with the nut that holds the needle and work your way forward to the tip.

A suggestion is lay the parts out in the order that you remove them and in the same general orientation that they had in the airbrush. Reassembly will generally be in the reverse order of disassembly, so, if the parts are laid out in a line, you’ll just start reassembly with the last piece removed. Keeping the parts oriented in the same way they were in the airbrush will help you get them oriented correctly during reassembly (if you forget how they go).

Note that the trigger (button you press to spray) and its bearing will likely drop out once the needle has been removed. Pay close attention to the orientation of these parts. The bearing will probably have a curved side that has to be correctly installed. It can likely be installed backwards, so be aware of it.

You don’t need to disassemble the air valve that the trigger presses down on (where the hose connects to the airbrush).

When you reinstall the needle (after reassembling the tip), gently push it all the way forward (to close the paint tip), then tighten its locking nut at the rear of the handle. The needle should fit in the paint tip to close it, but it needs NO FORCE to do this.

You want to be sure that when the return spring has pushed the trigger all the way forward, that the needle has also moved to close the paint tip. However, you don’t want any forward pressure on the needle in the tip as it sits closed. It should be in a neutral position, but closed. The return spring should only exert pressure on the needle as the trigger is pulled to the rear.

Your brush might have a stop or adjustment to limit the amount of paint that can flow (it will stop the trigger from moving to the rear at a point that you chose). If your airbrush has this feature, you should open it up fully before you disassemble it. This makes it easier to be sure all of the adjustments work and the needle has full range of motion once the airbrush has been reassembled. (With practice and experience you will not need to do this later. The orientation of the parts and their range of movement will become understandable.)

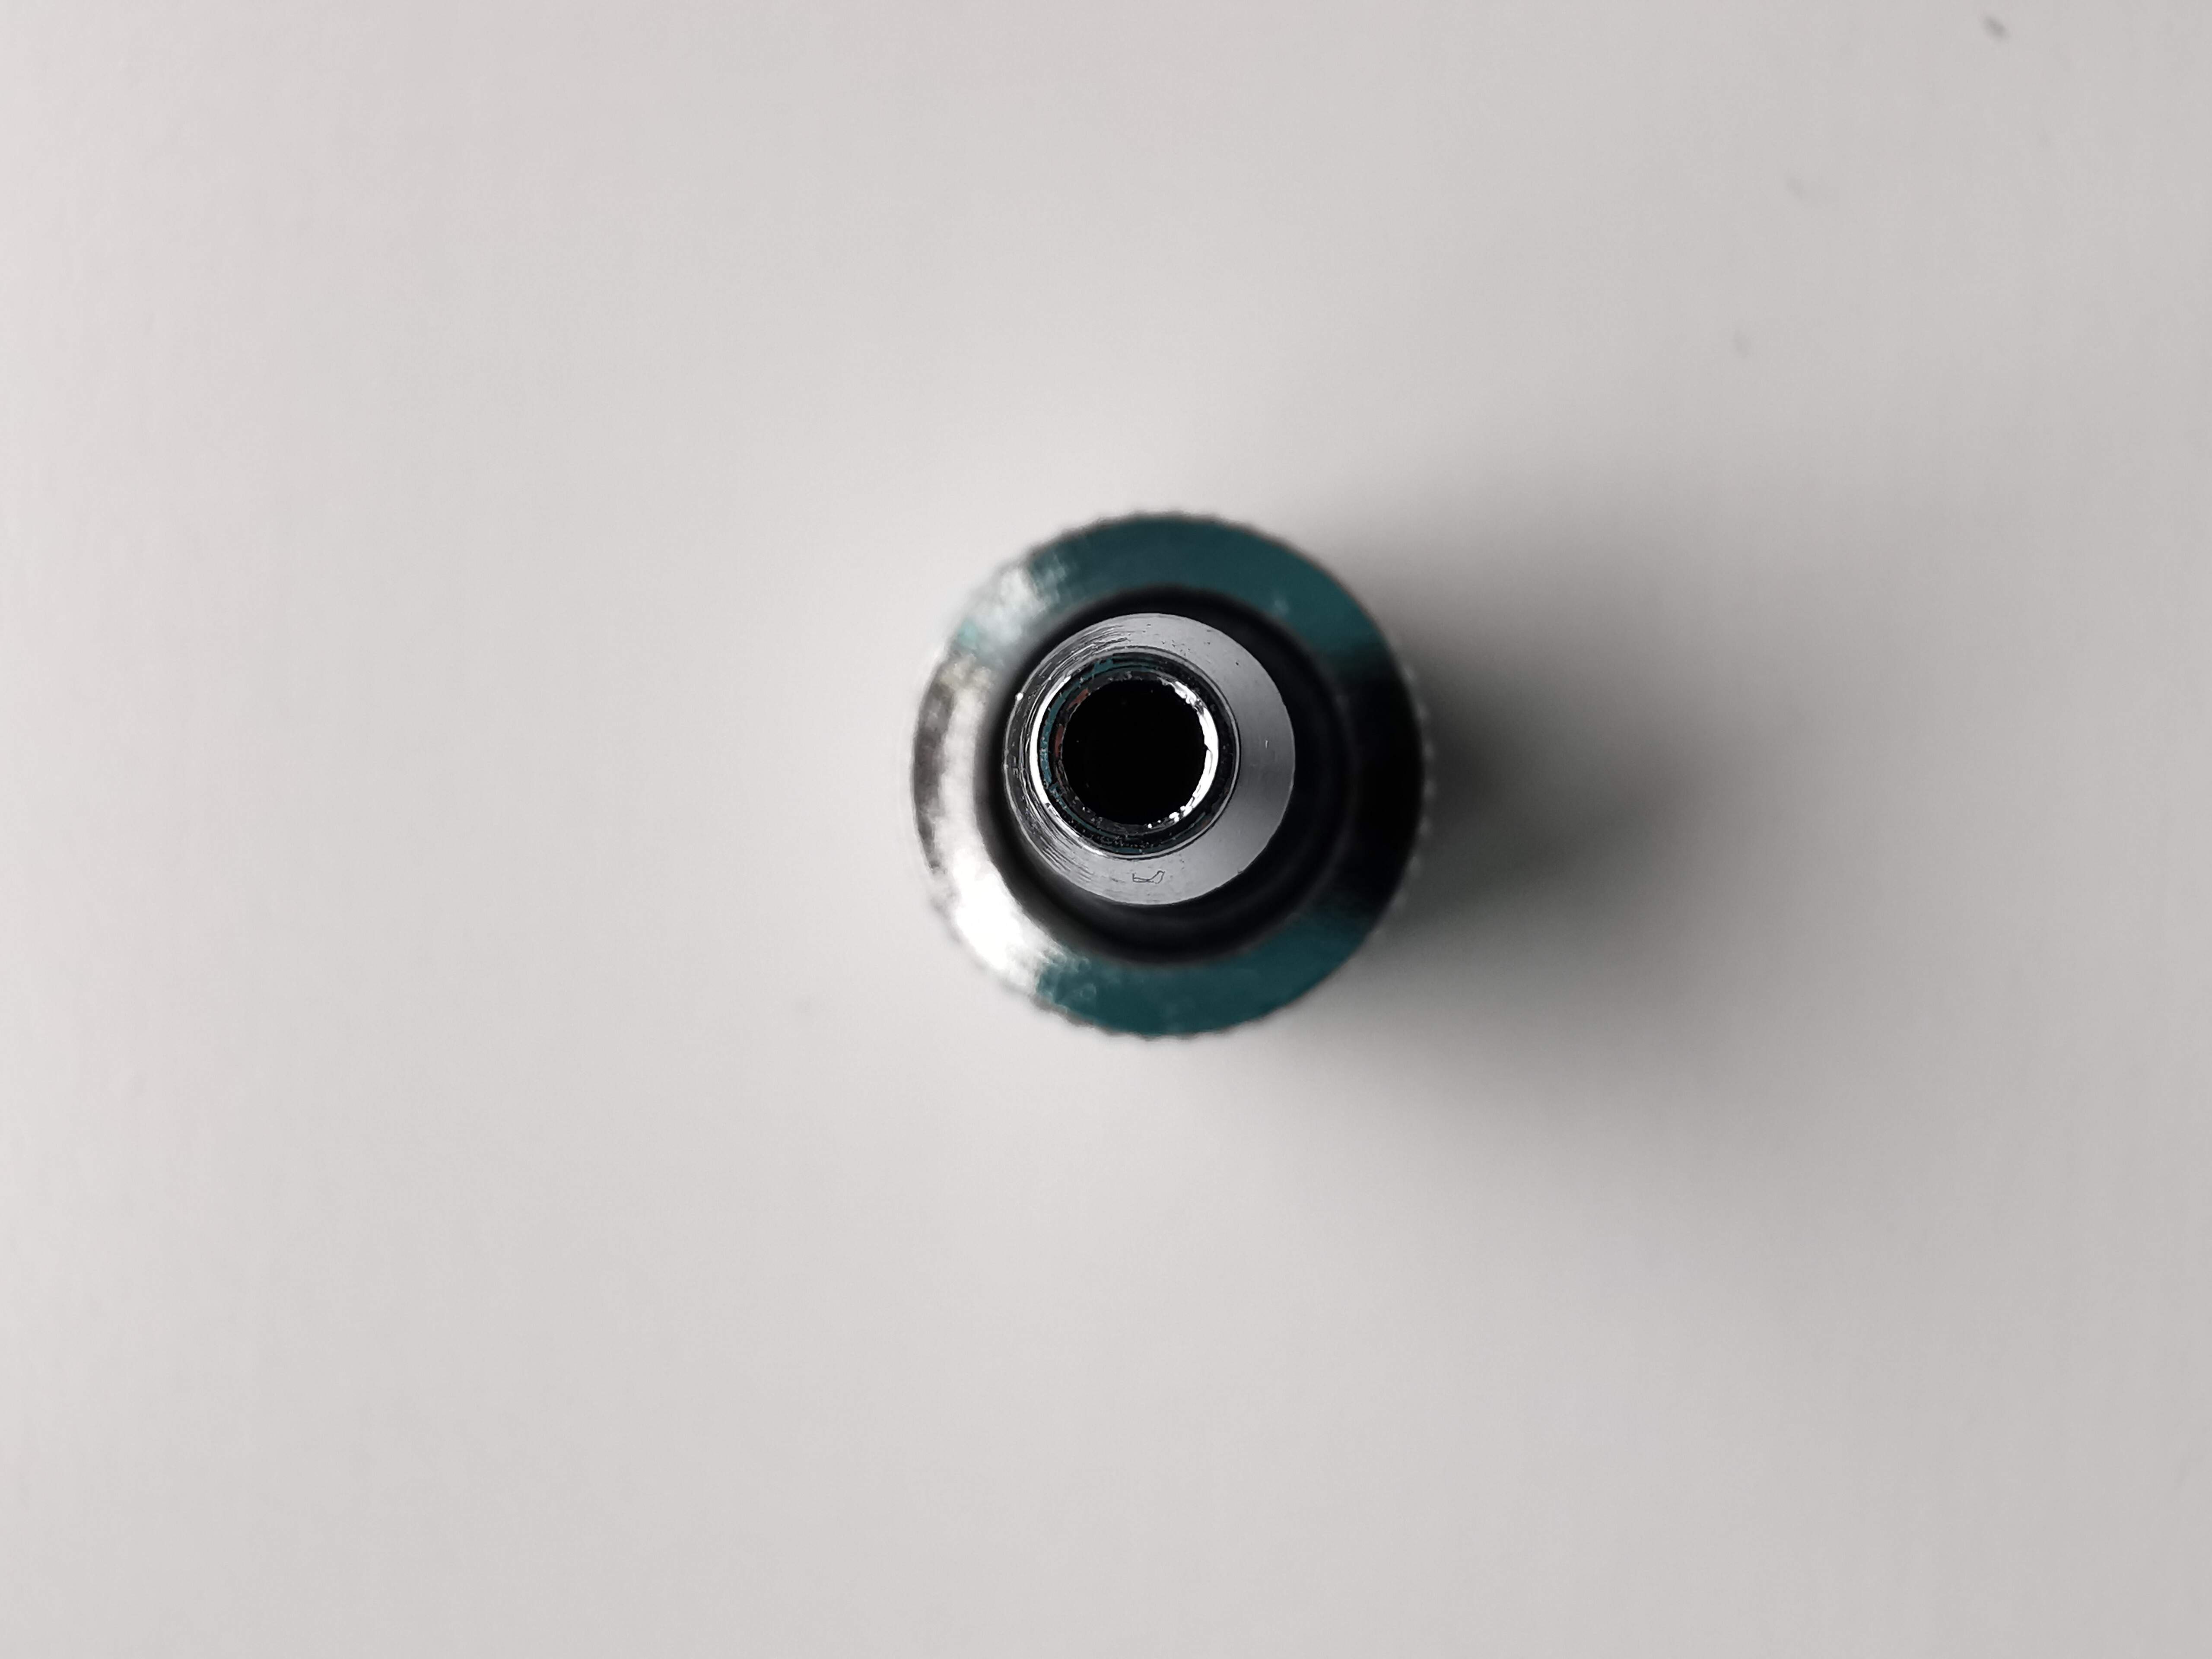
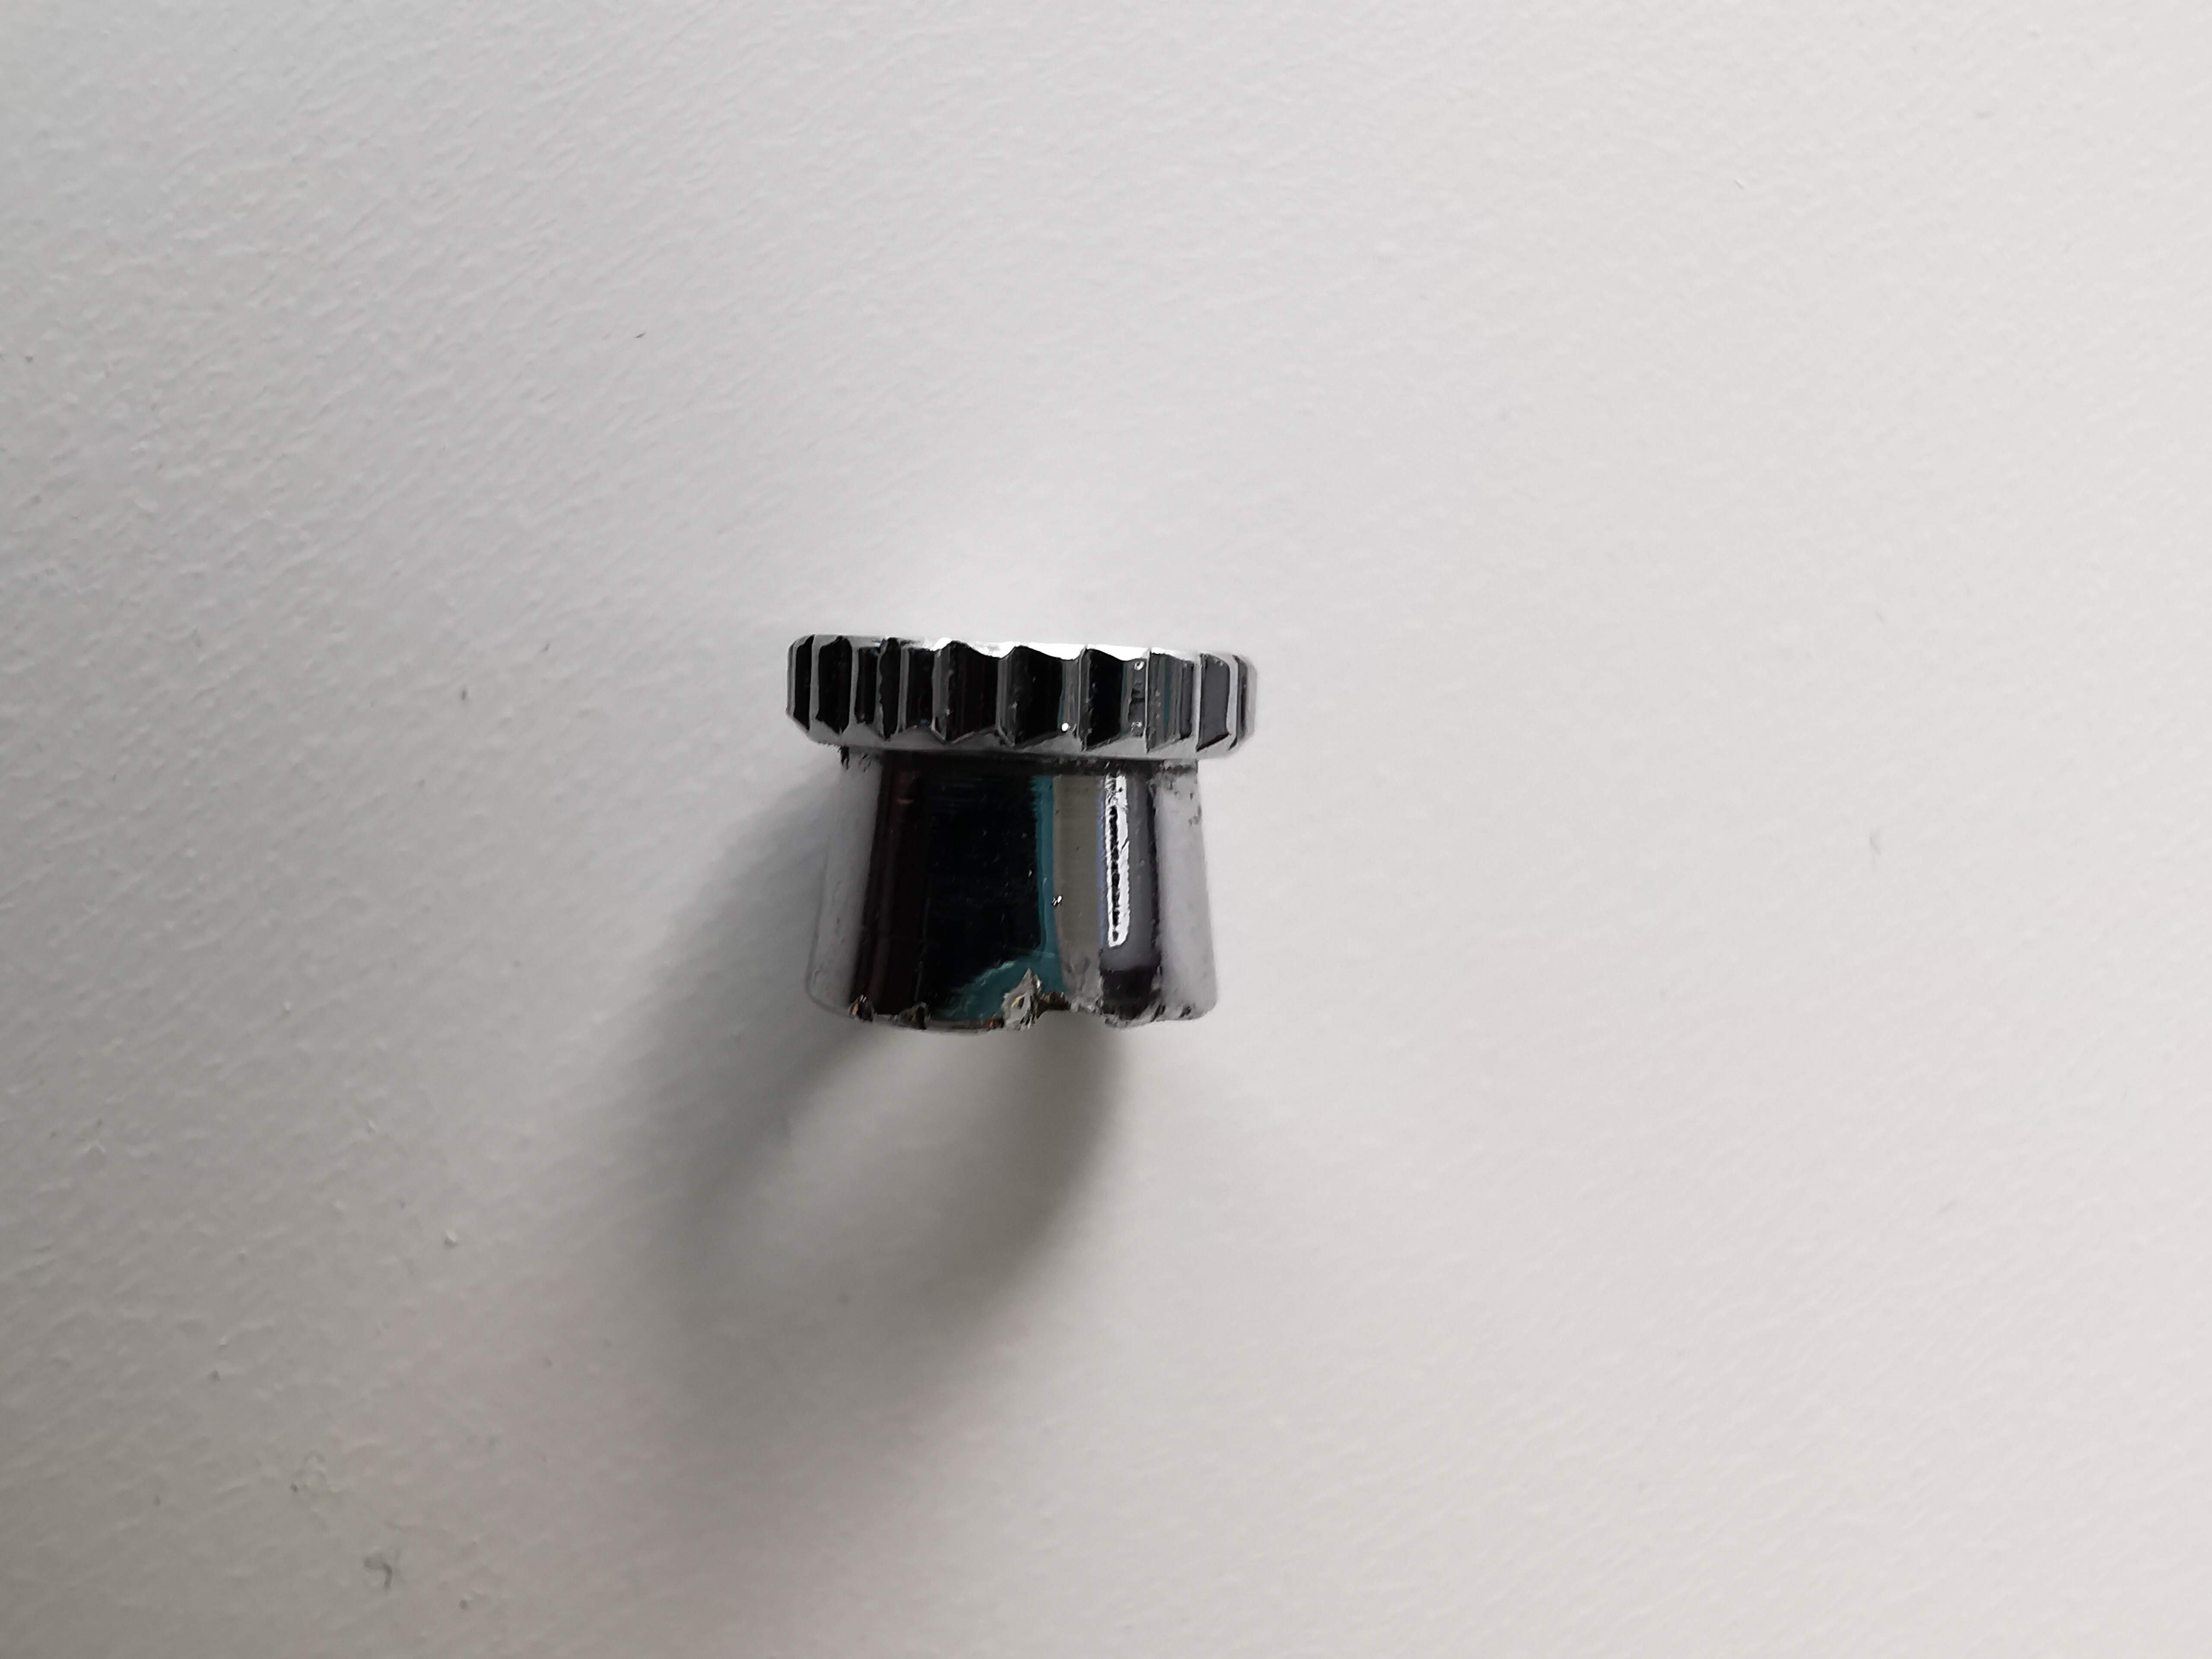
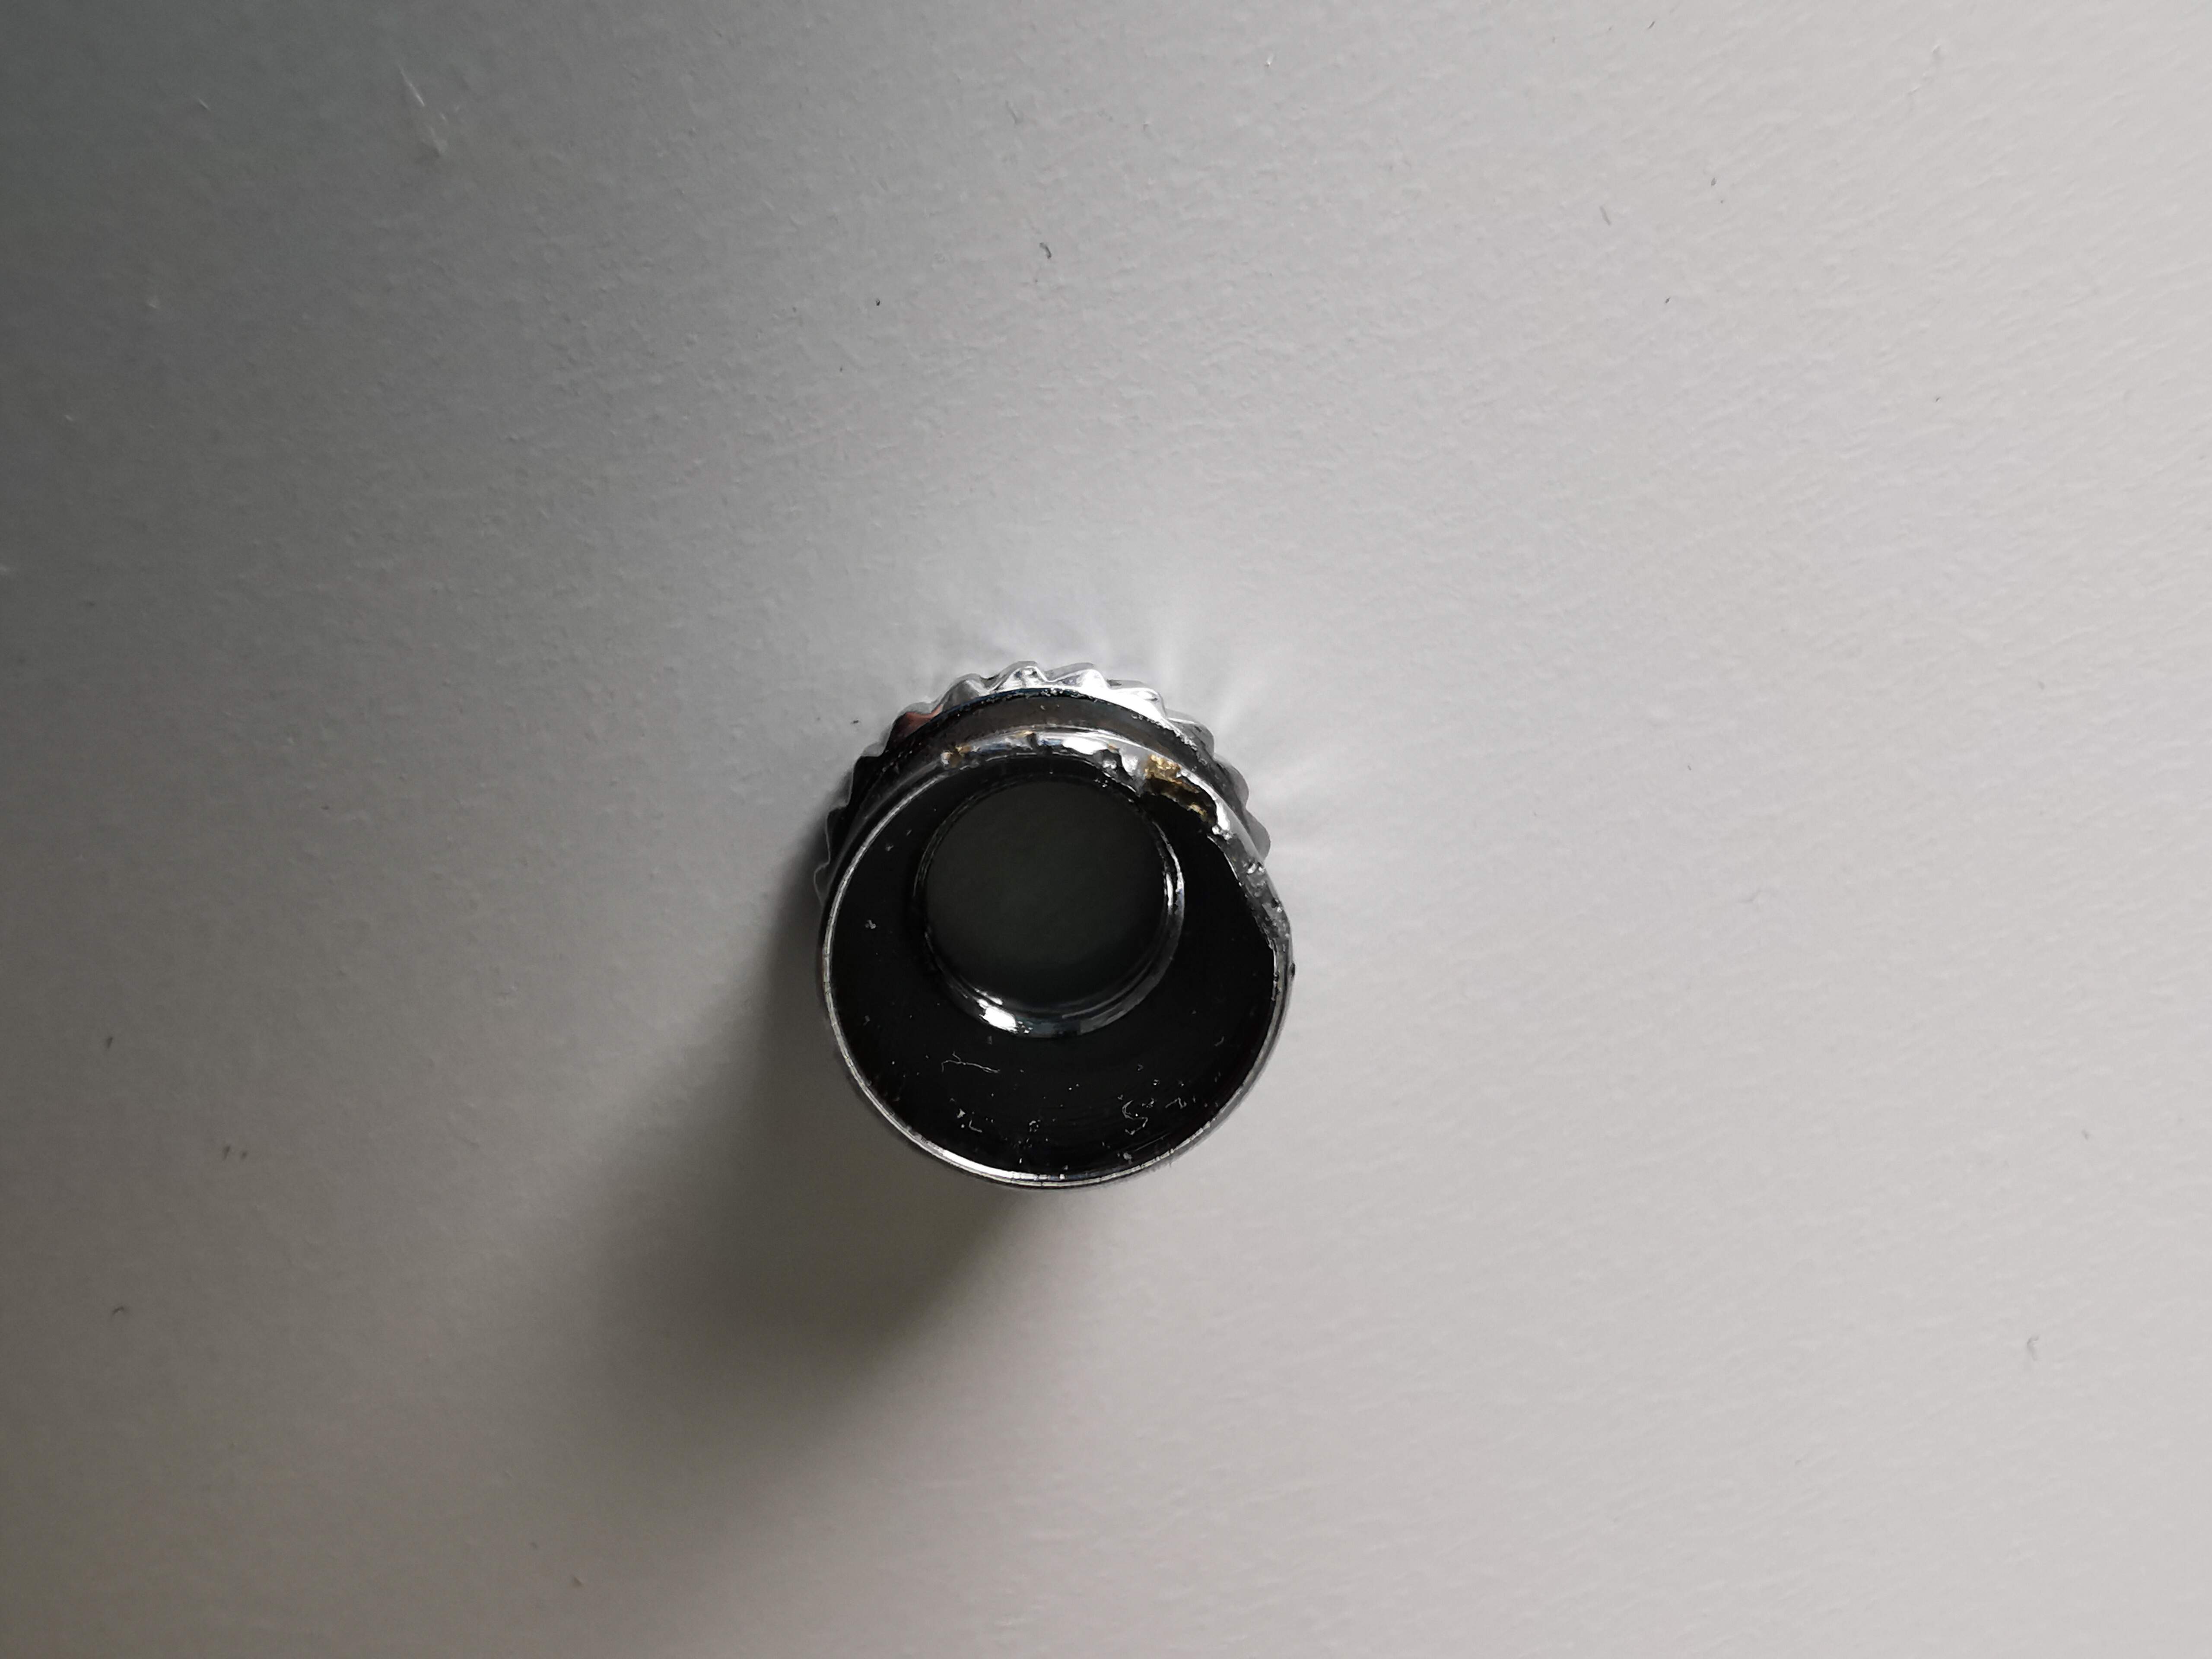
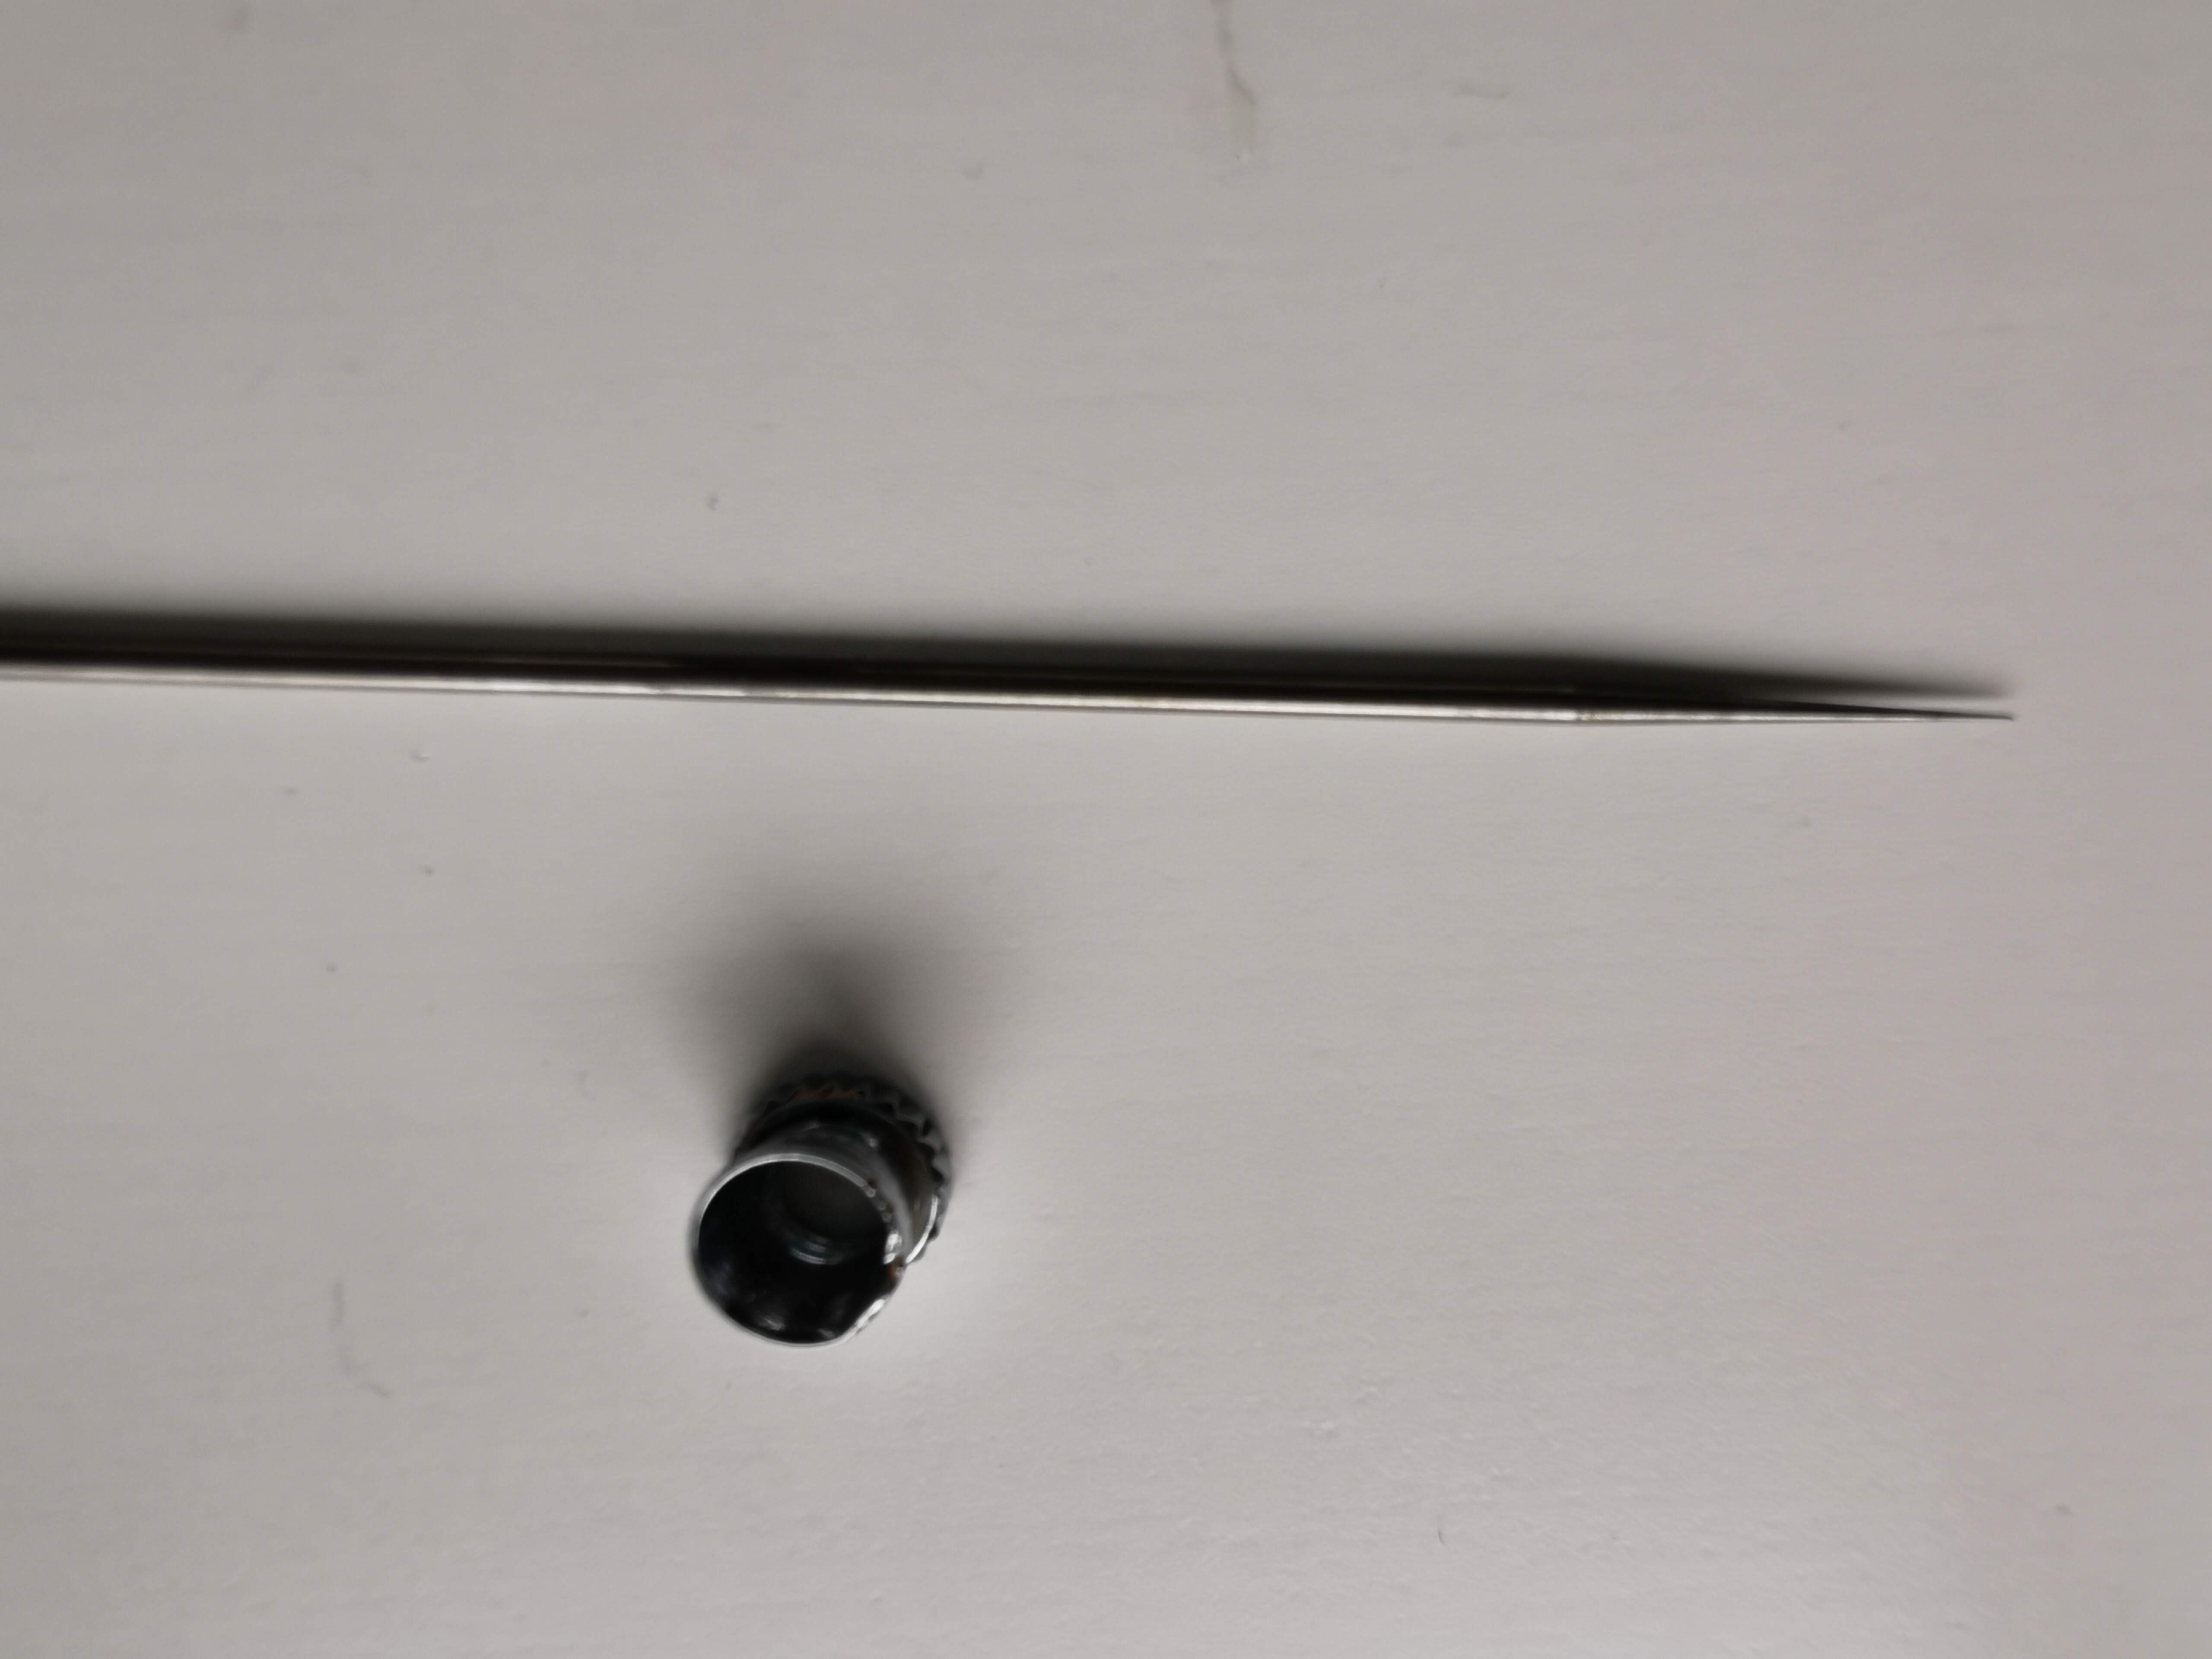
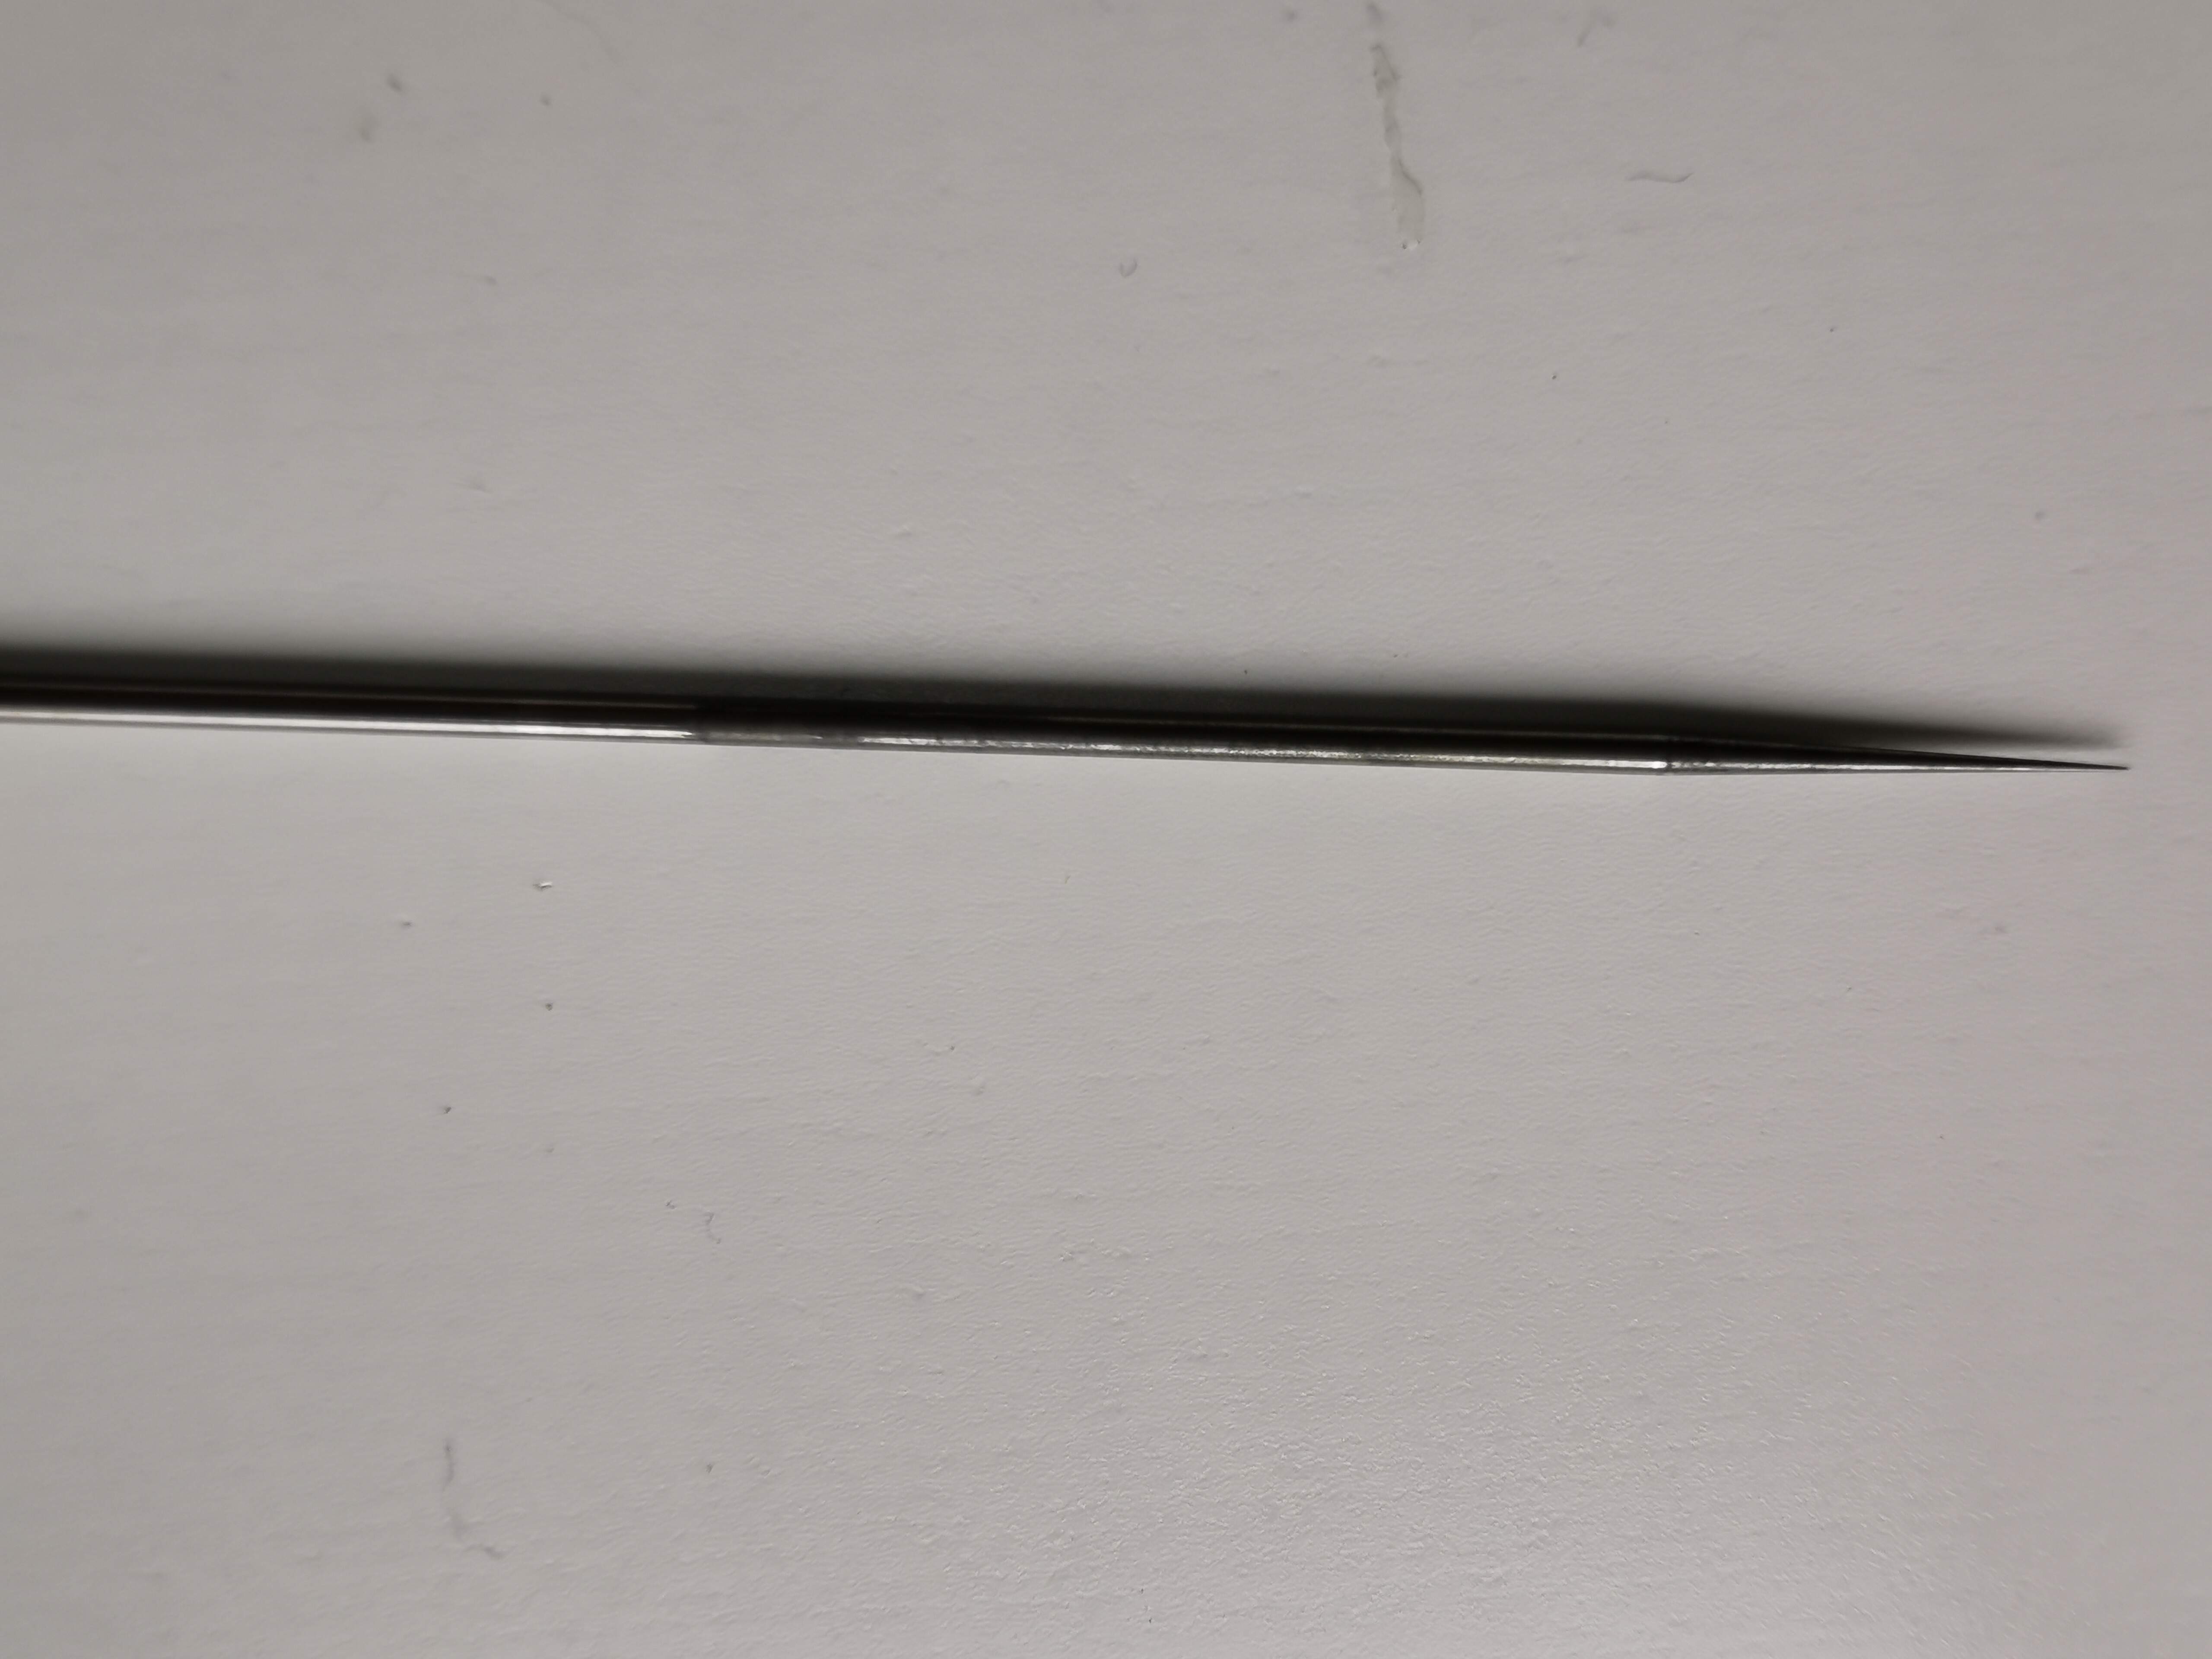
If you remove the locking nut for the needle, and it does not want to pull out easily to the rear, then consider adding a few drops of lacquer thinner (cellulose thinners) into the paint cup and allow it to soak for a few minutes. A ring of dried paint around the need where it enters the paint cup can damage the o-ring air seal as you pull the needle out. Take care here. If it has been a while since you cleaned the airbrush well, you might have some trouble with this.

(This is one of those areas that you should clean routinely. The needle should slip out easily every time you disassemble it. If it does not, then you need to clean more often.)

Consider using a very small brush of the kind sold for flossing between your teeth to clean out the paint channel between the tip and the paint cup. Again, lacquer thinner can help to soften up old, dried paint collected in the this area.

(Again, this is an area that can cause problems unless cleaned regularly. No matter how much thinners you spray through the brush after painting, paint will build up in this channel. When it does, it will block the flow of paint.)

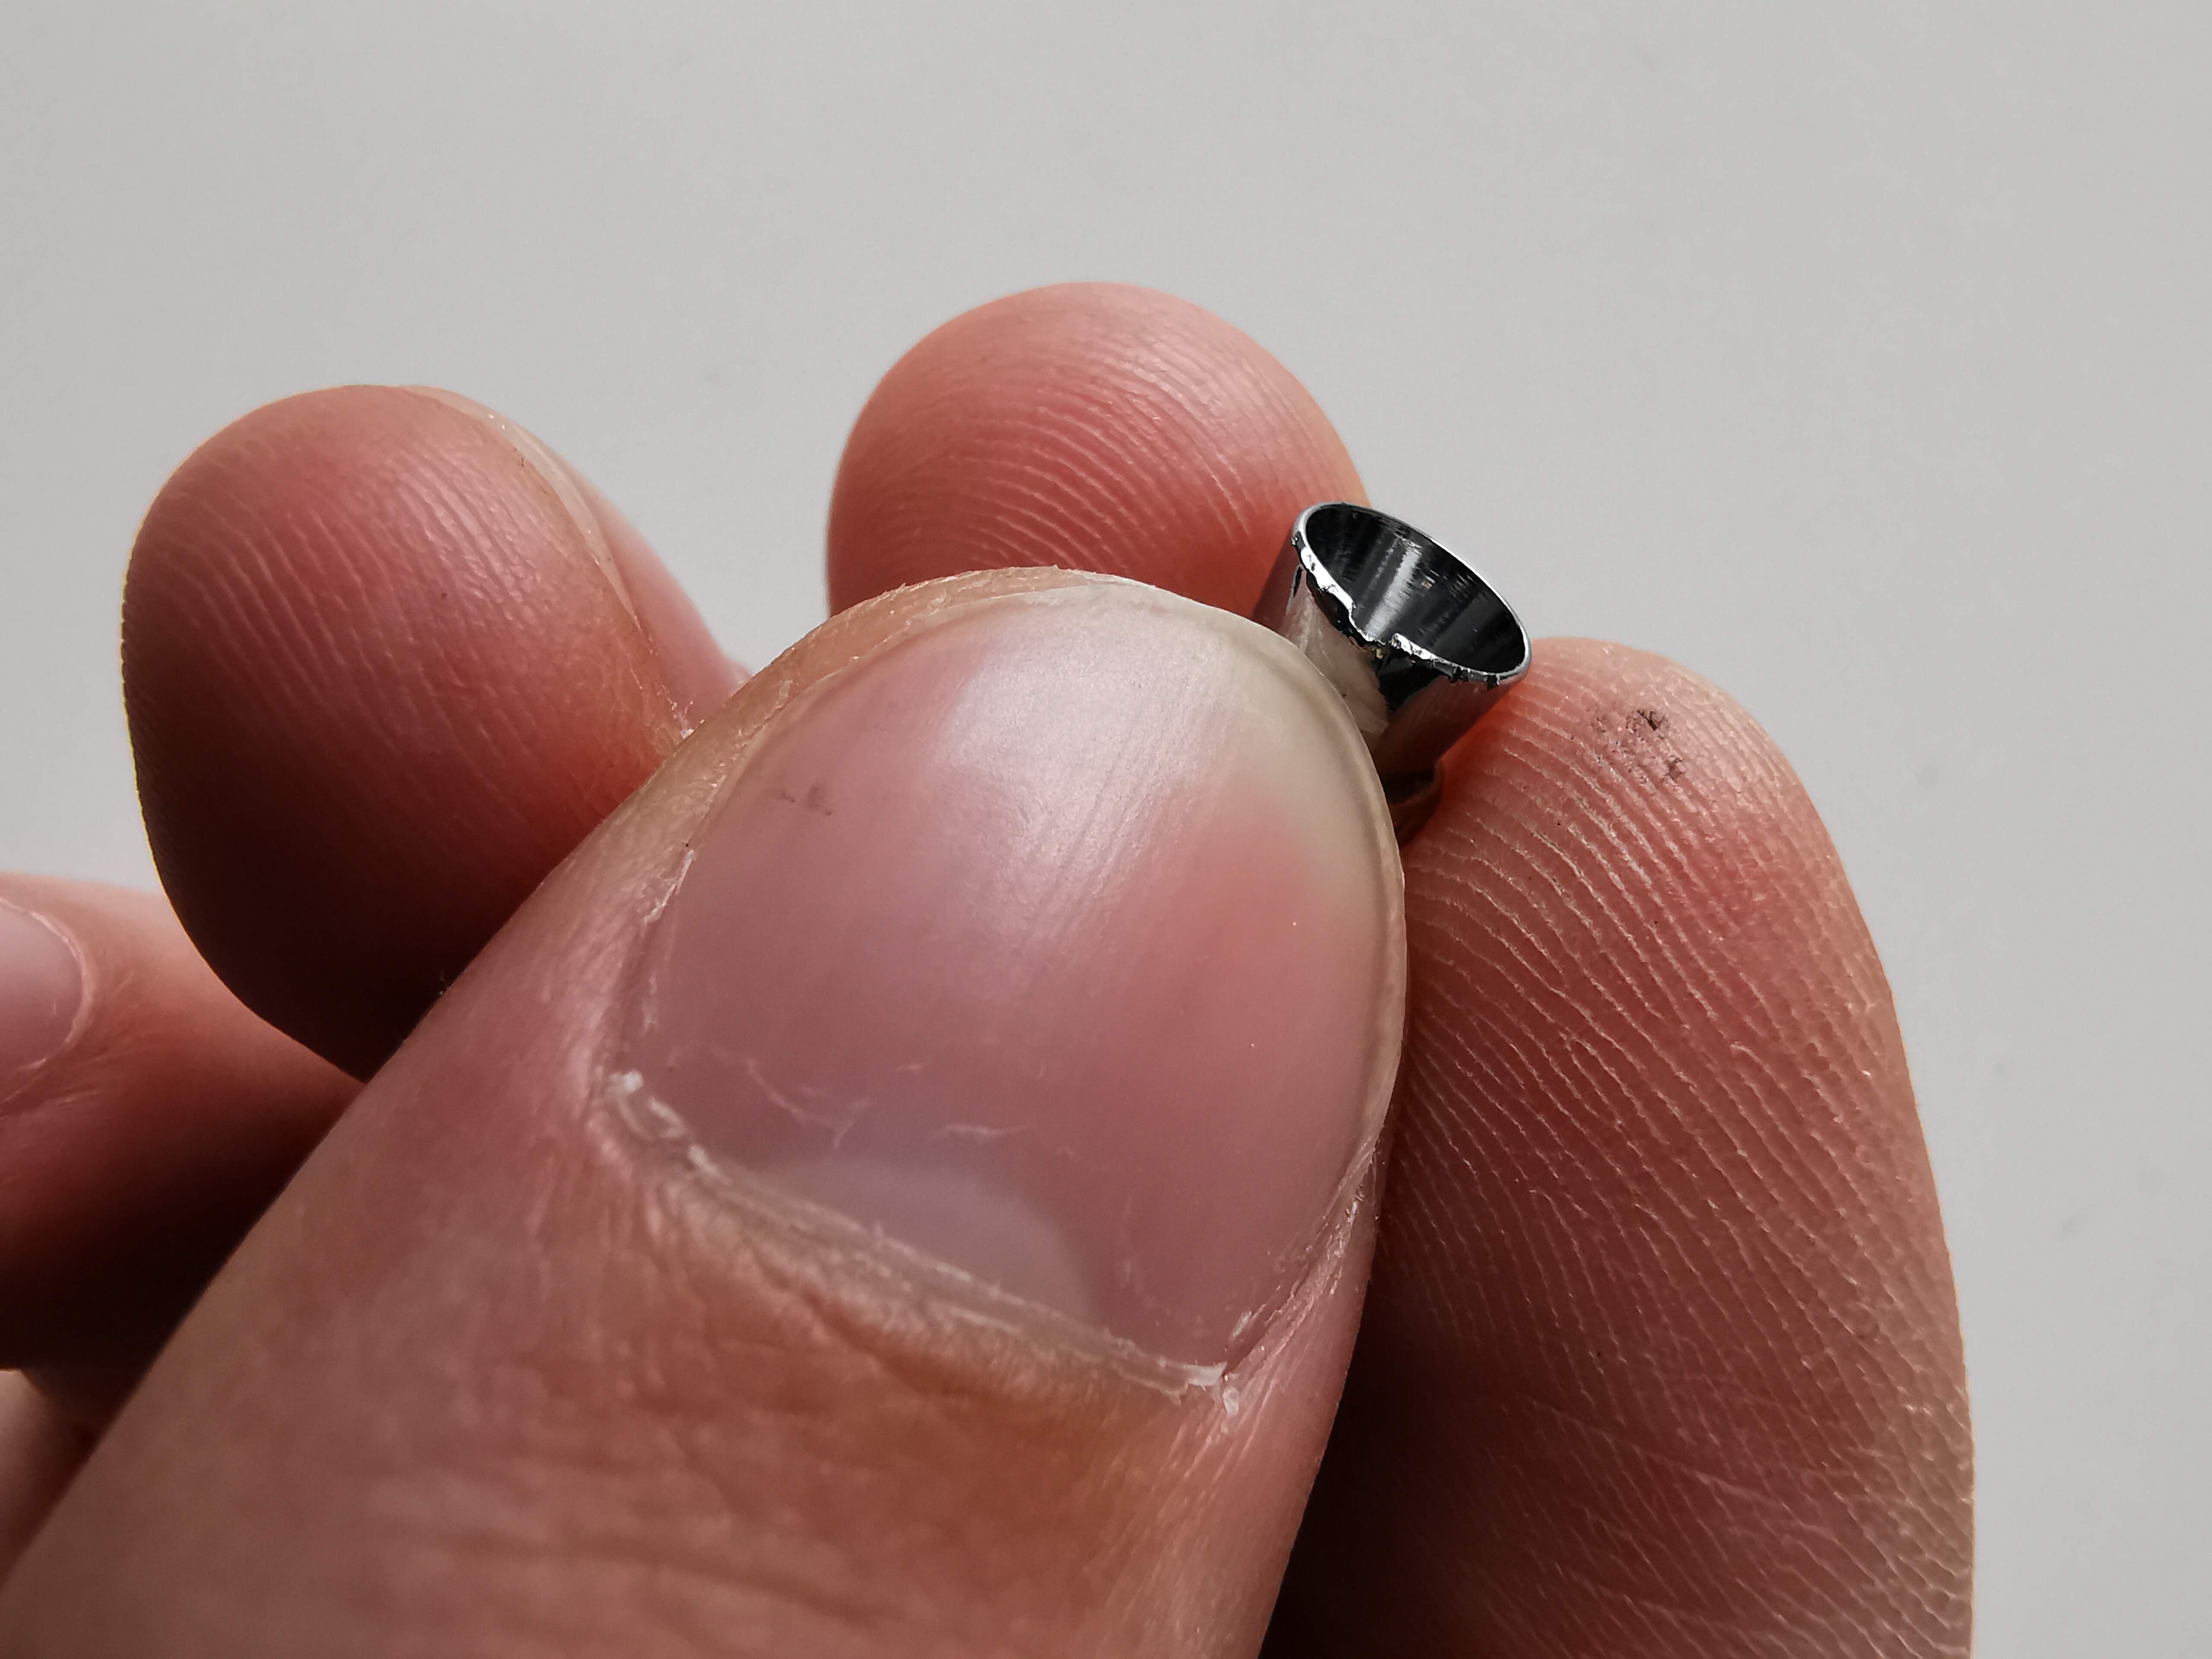
If your paint tip is clogged with dried paint, consider soaking it in lacquer thinners. This may take some time. If you cannot get all the paint out of it, you can carve / whittle / trim a wooden cocktail stick (wooden tooth pick) down to a very fine, thin point and use that to clean out the paint tip. IF YOU DO THIS, be VERY careful. This is the tip that you mention you split on your old airbrush. If you force the cocktail stick into it, you can do the same damage again.

However, a trimmed down wooden cocktail stick is better than trying to use a piece of wire or a sewing needle for this same purpose.

(Again, the paint tip is an area that is prone to clogging unless it is cleaned periodically.)

3 Likes

Mike is On The Mark with this observation.

Last week my custom Iwata Micron started to have consistency issues with lines which is pretty rare. It would spray fine then drop out if you didn’t to pull back on trigger to keep spray pattern. I had the trigger stop in the handle set to keep line with so that definitely wasn’t going to work.

Tip, needle, nozzle, built in color cup where all clean and without the crown on, I could see the needle and knew it wasn’t getting dry tip etc.

Had a little bit of build up in that channel area. With the channel cleaned out, the Micron was again to spray consistently again with very fine lines.

1 Like

Thank you for your detailed answer.

You are saying the the tip split, that I have mentioned that?
I was more specifically talking about the rubber O-Rin that had to seal the stuff properly.
I know very well what had happend then.
I screwed the tip of and I believe the ring just fell of of my paint tip.
Trying to get it back on, it just didn’t wanted to back on.
It was just broken, it also was very hard to try get it back into place because it was such a small piece.
And I believe that I couldn’t get the tip back into place either.

That is why I’m a bit afraid to take everything apart.
Because there are so much delicate parts that can be broken when taking the whole thing apart.
And there aren’t very clear instructions or something on how to tighten the pieces back together.

The tip for example, if I’m screwing it on to lose.
Air can escape and I get problems with airbrushing.
Screwing it on to tight and the thing could get broken.

And the instructions don’t say anything of taking the whole thing apart.
So I don’t know if they even suppose me to take the whole thing apart to clean it.
Wouldn’t the steps mentioned in the maintenance section of the instructions be enough to clean the whole thing properly?

One other thing to mention, I got cleaning wires and brushes from the manufacturer of the airbrush to clean it carefully.

Thank you all for contributing your knowledge to me, an airbrush noob that doesn’t have very much experienced about the things to talk about.

Yesterday I planned to took my airbrush apart to clean it carefully.

Before I did that, I had watched a video of Andy’s Hobby Headquarters.
It seemed all obvious to me and I did basically what he was telling to do.

Disassemble the airbrush from back to front.
Clean everything out thoroughly and inspect the parts.

All in all I think the whole action took me half an hour or so.

Here are some photo’s of parts that I took a closer look at.
Could it be that these parts are damaged?
And that these parts could be the cause of the problems I’m experiencing recently?


I hope you can see everything clearly, I took the photo’s with my Huawei P30 Pro using the Super Macro mode.

I must add to my reply, I’m currently out of test objects for airbrushing I believe.
So if you have some suggestions for test objects for the airbrush, your welcome to give them.

Thank you again for all your knowledge contributions.
Much appreciated.

The chipped part shouldn’t be a problem. To me it looks like the piece that screws onto the end near the needle and it’s sole purpose is to protect the needle. I often remove mine while painting.

The second part, the needle, has an odd shape to my eye, but it could just be the style

1 Like

That chipped tip-protecting cone looks like the airbrush was dropped on a concrete floor! As Mead says, it isn’t strictly necessary, but it does protect the delicate needle tip from being bent, so you want to find a replacement if you can. The needle itself looks dirty, as if there is a build-up of paint along it. Use thinners or airbrush cleaner and carefully wipe it away so the whole needle is clean and shiny metal. Dismantling and cleaning an airbrush is a skill - it takes time, practice, and patience to get good at it.

A can of Badger airbrush cleaner is a very useful tool - the solvents will remove all manner of gunk when you spray it through the dismantled airbrush! Just don’t try to breathe while spraying it…