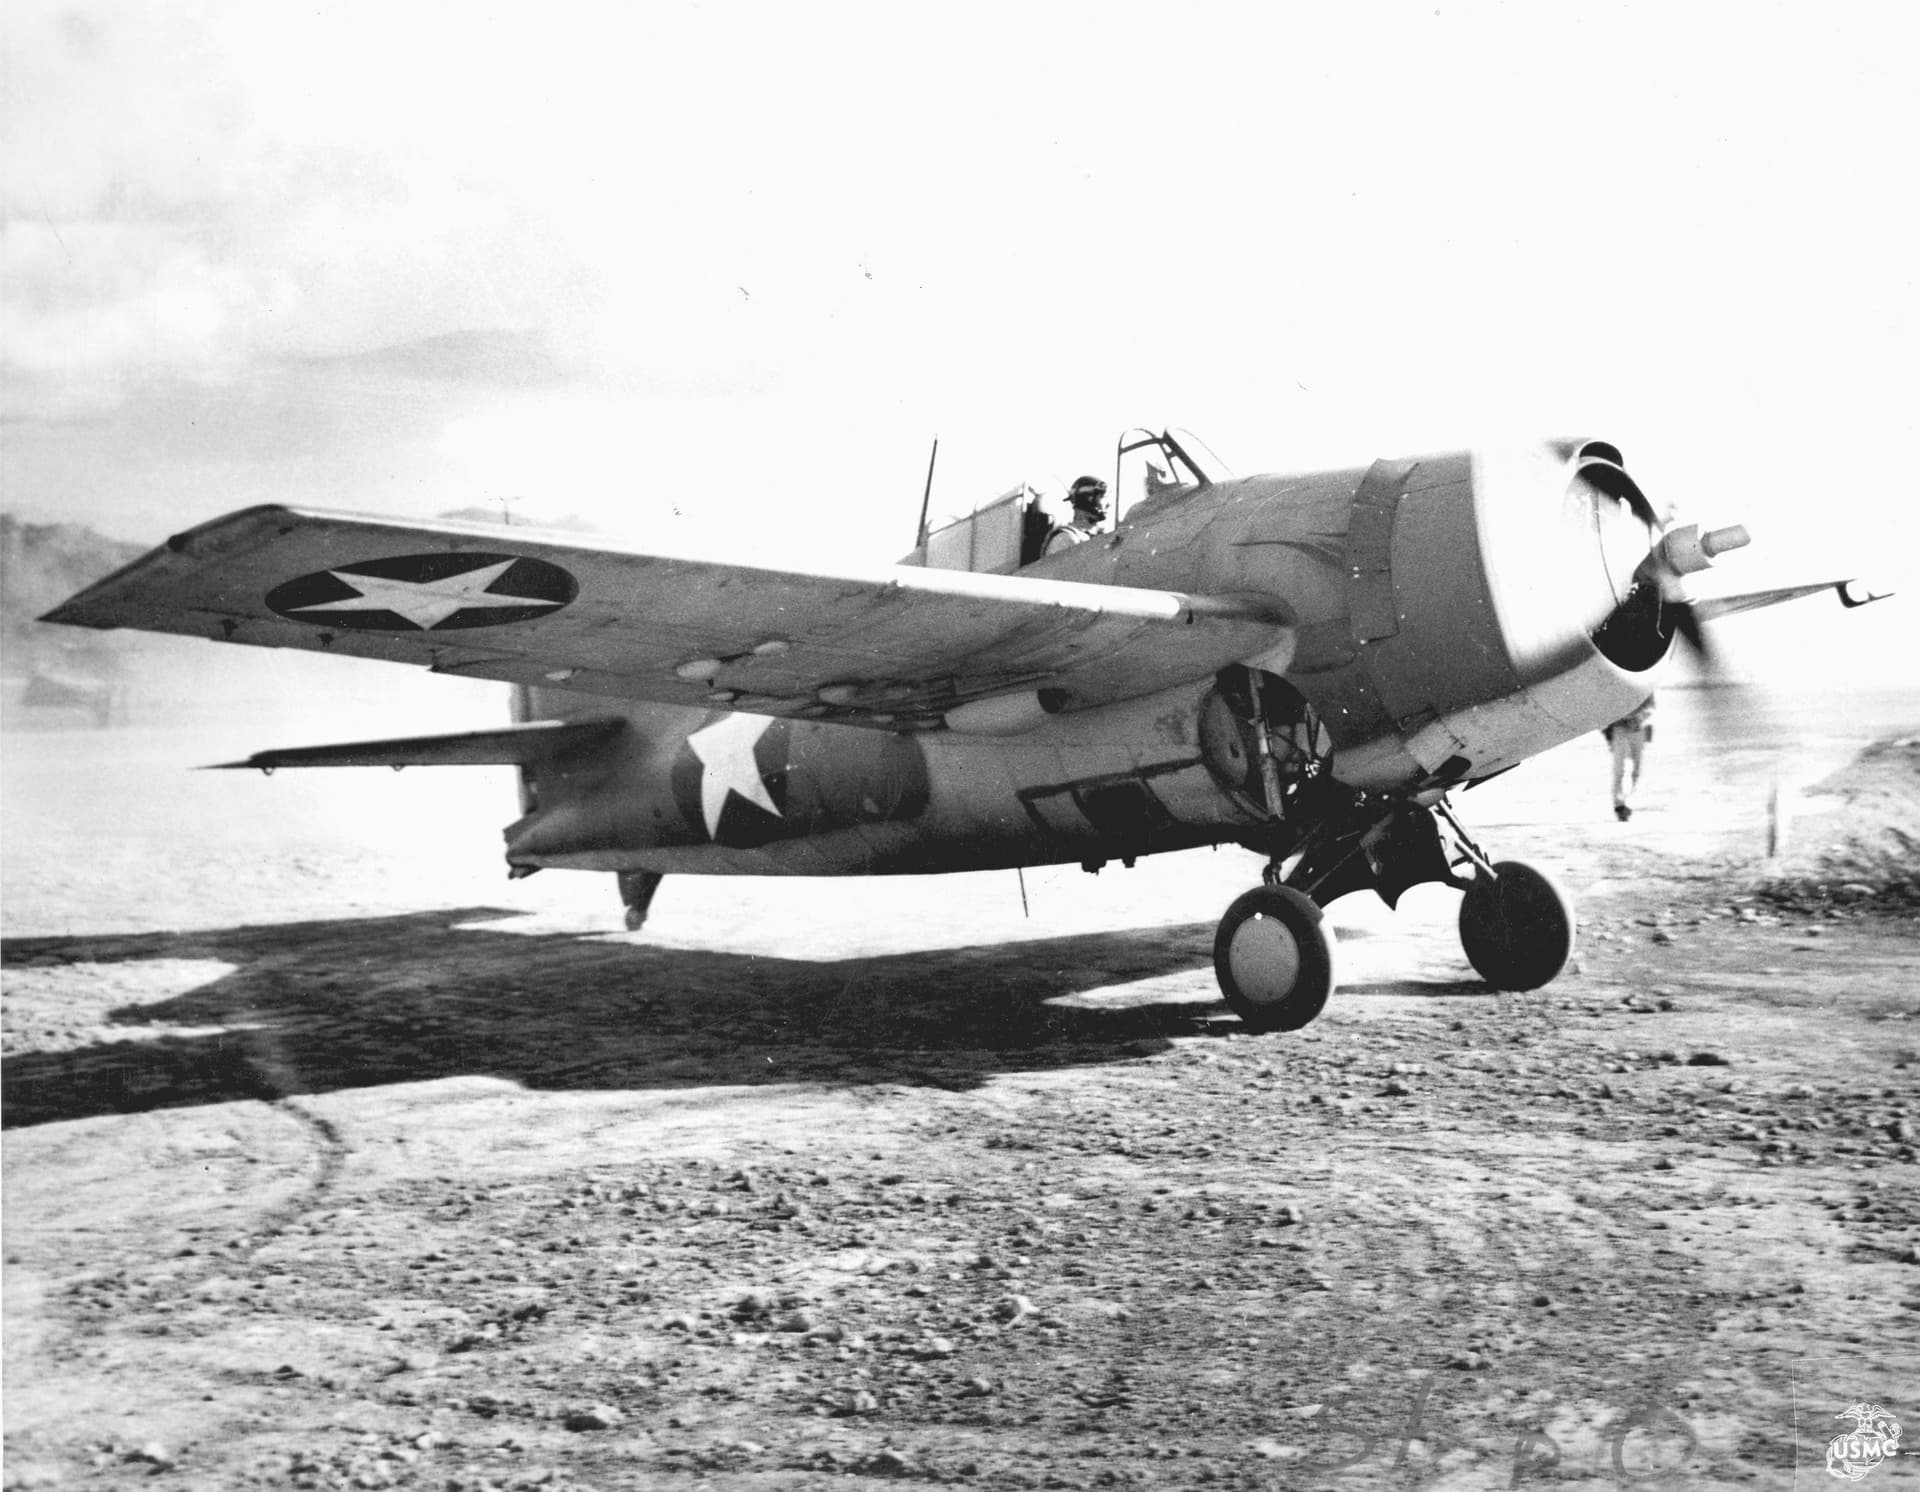
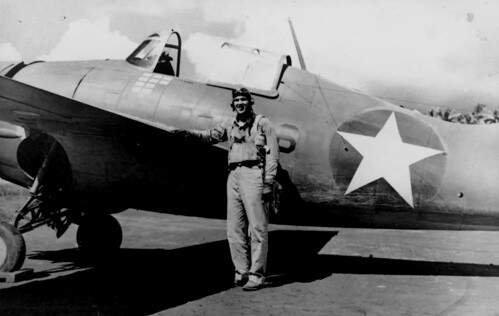
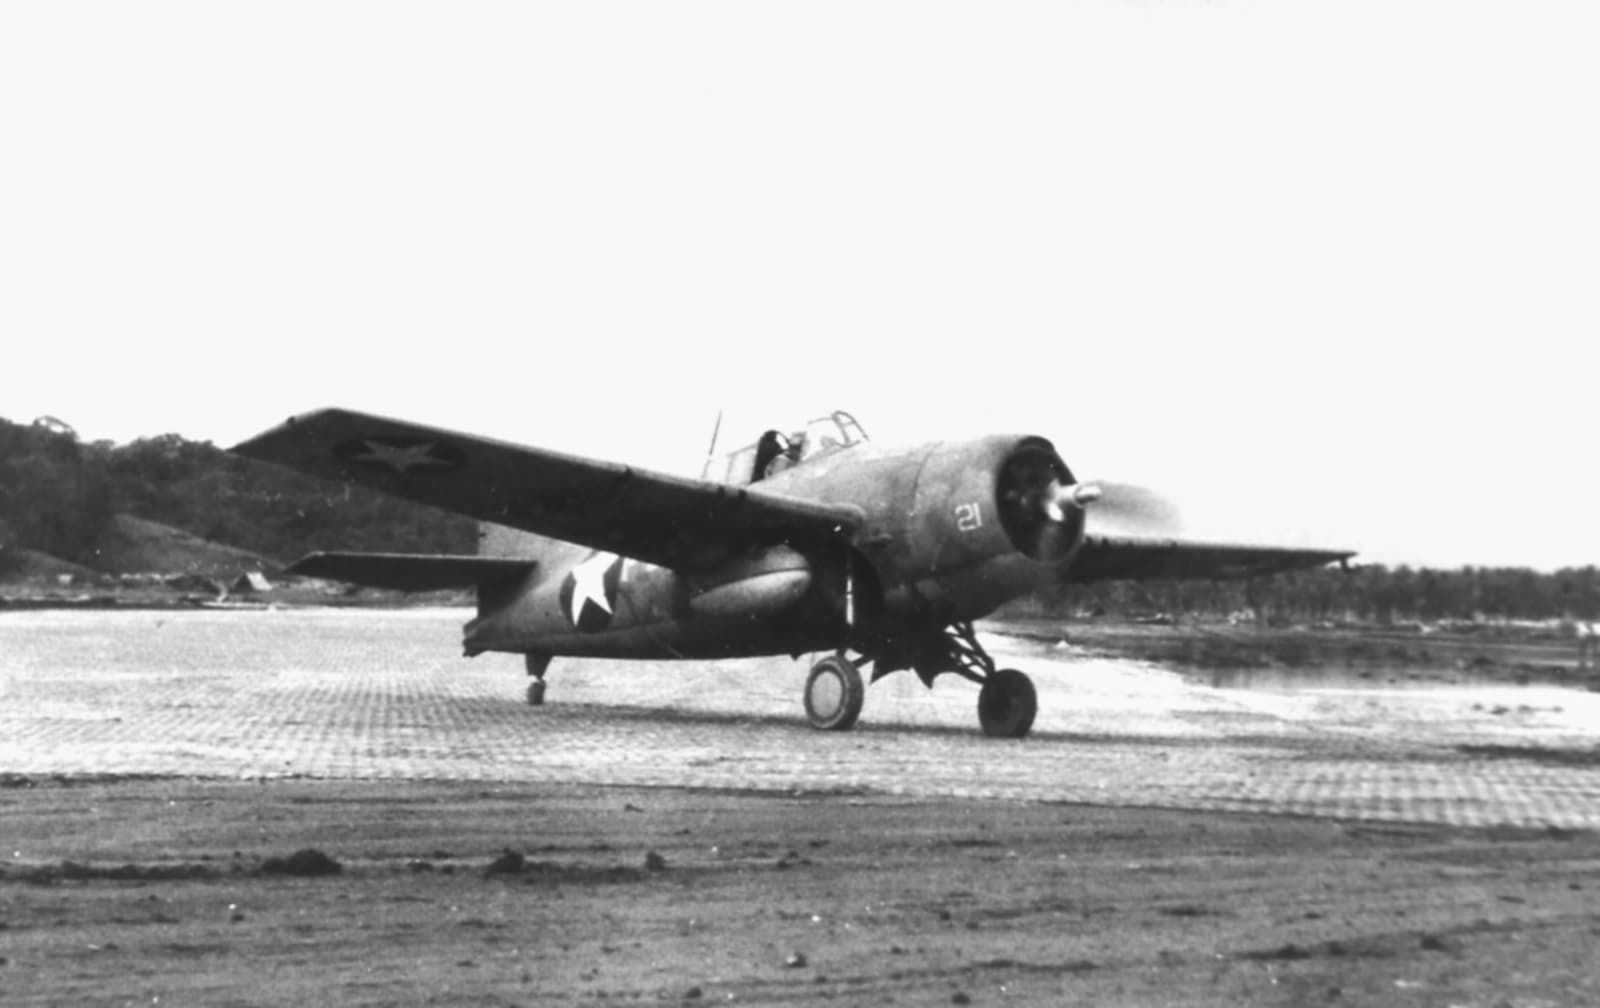
Those new Arma kits are beauties! As for the wheels on the F4F, I’m gonna say the covered hubs would be correct for an F4F from Cactus. I think the open spokes are for the FM’s that Arma also does.
Michael ![]()
Those new Arma kits are beauties! As for the wheels on the F4F, I’m gonna say the covered hubs would be correct for an F4F from Cactus. I think the open spokes are for the FM’s that Arma also does.
Michael ![]()
Thanks Michael, that will do for me…covered it is ![]()
![]()
Cheers Peter ![]()
Thought it was time to make a start…
First cut leads to start on the cockpit. God it’s all so small… Why on earth I chose 1/72 is going to haunt me now lol.
Instructions from Arma are very clear, precise and nicely illustrated
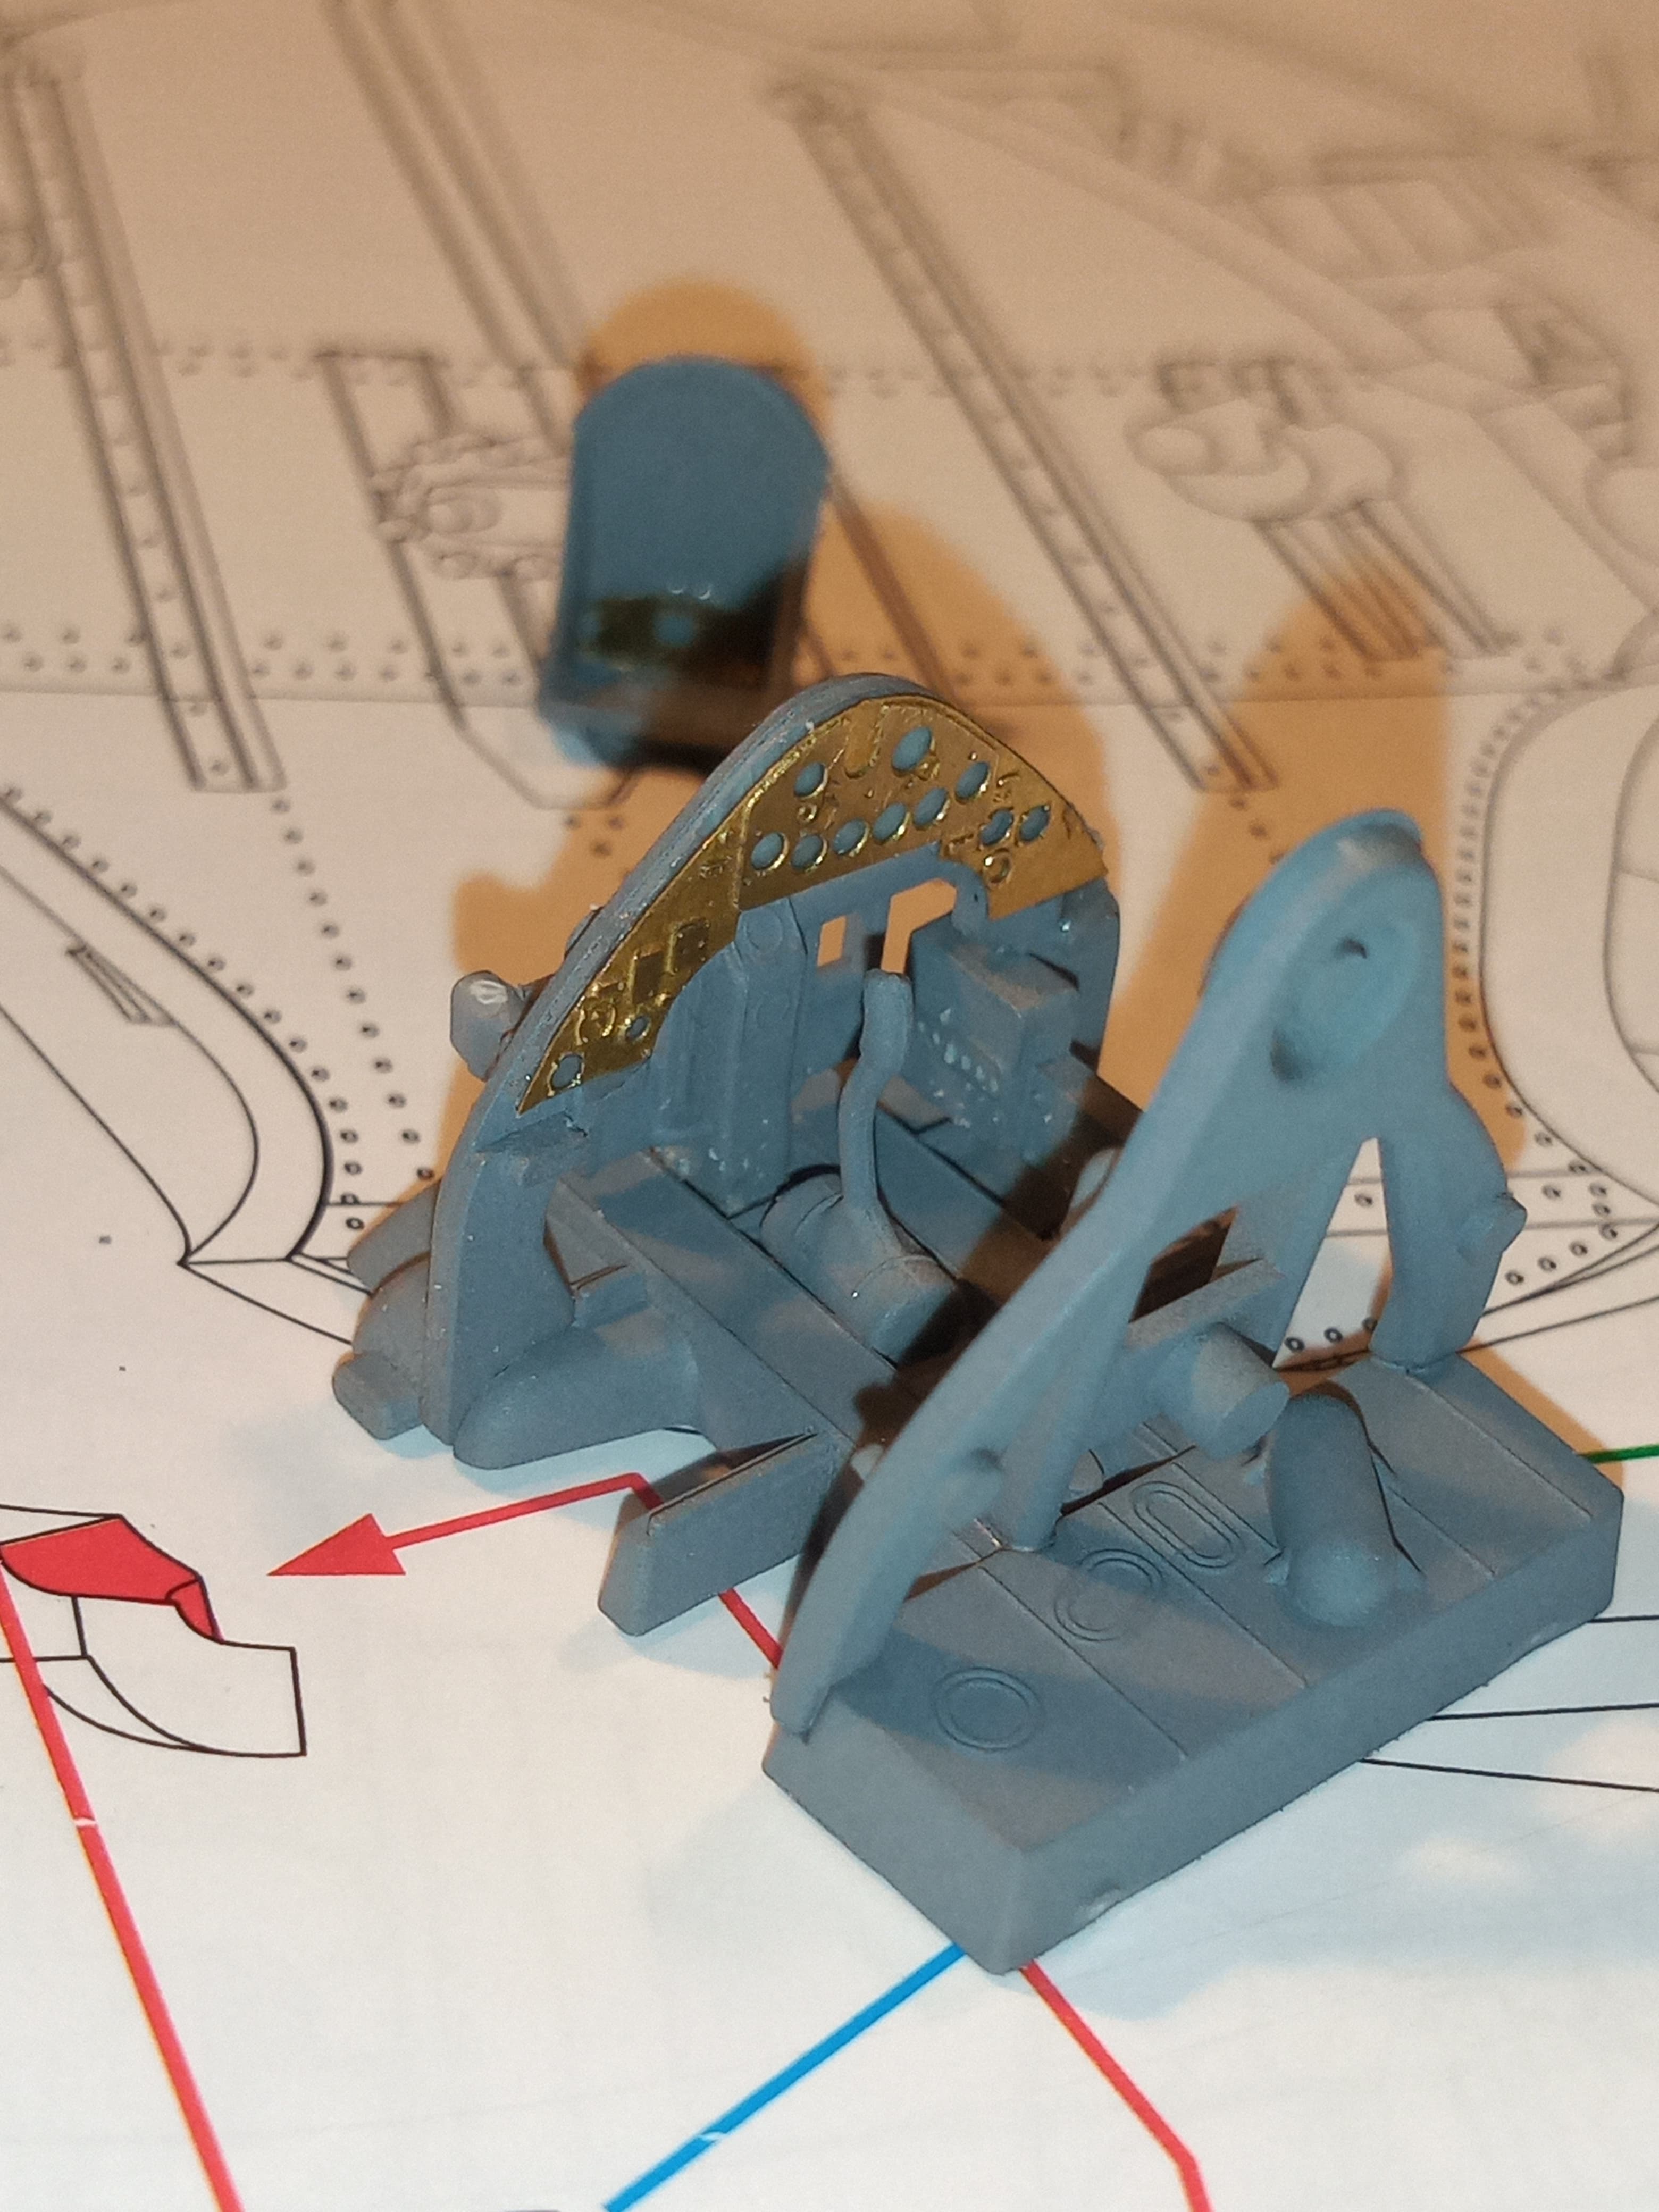
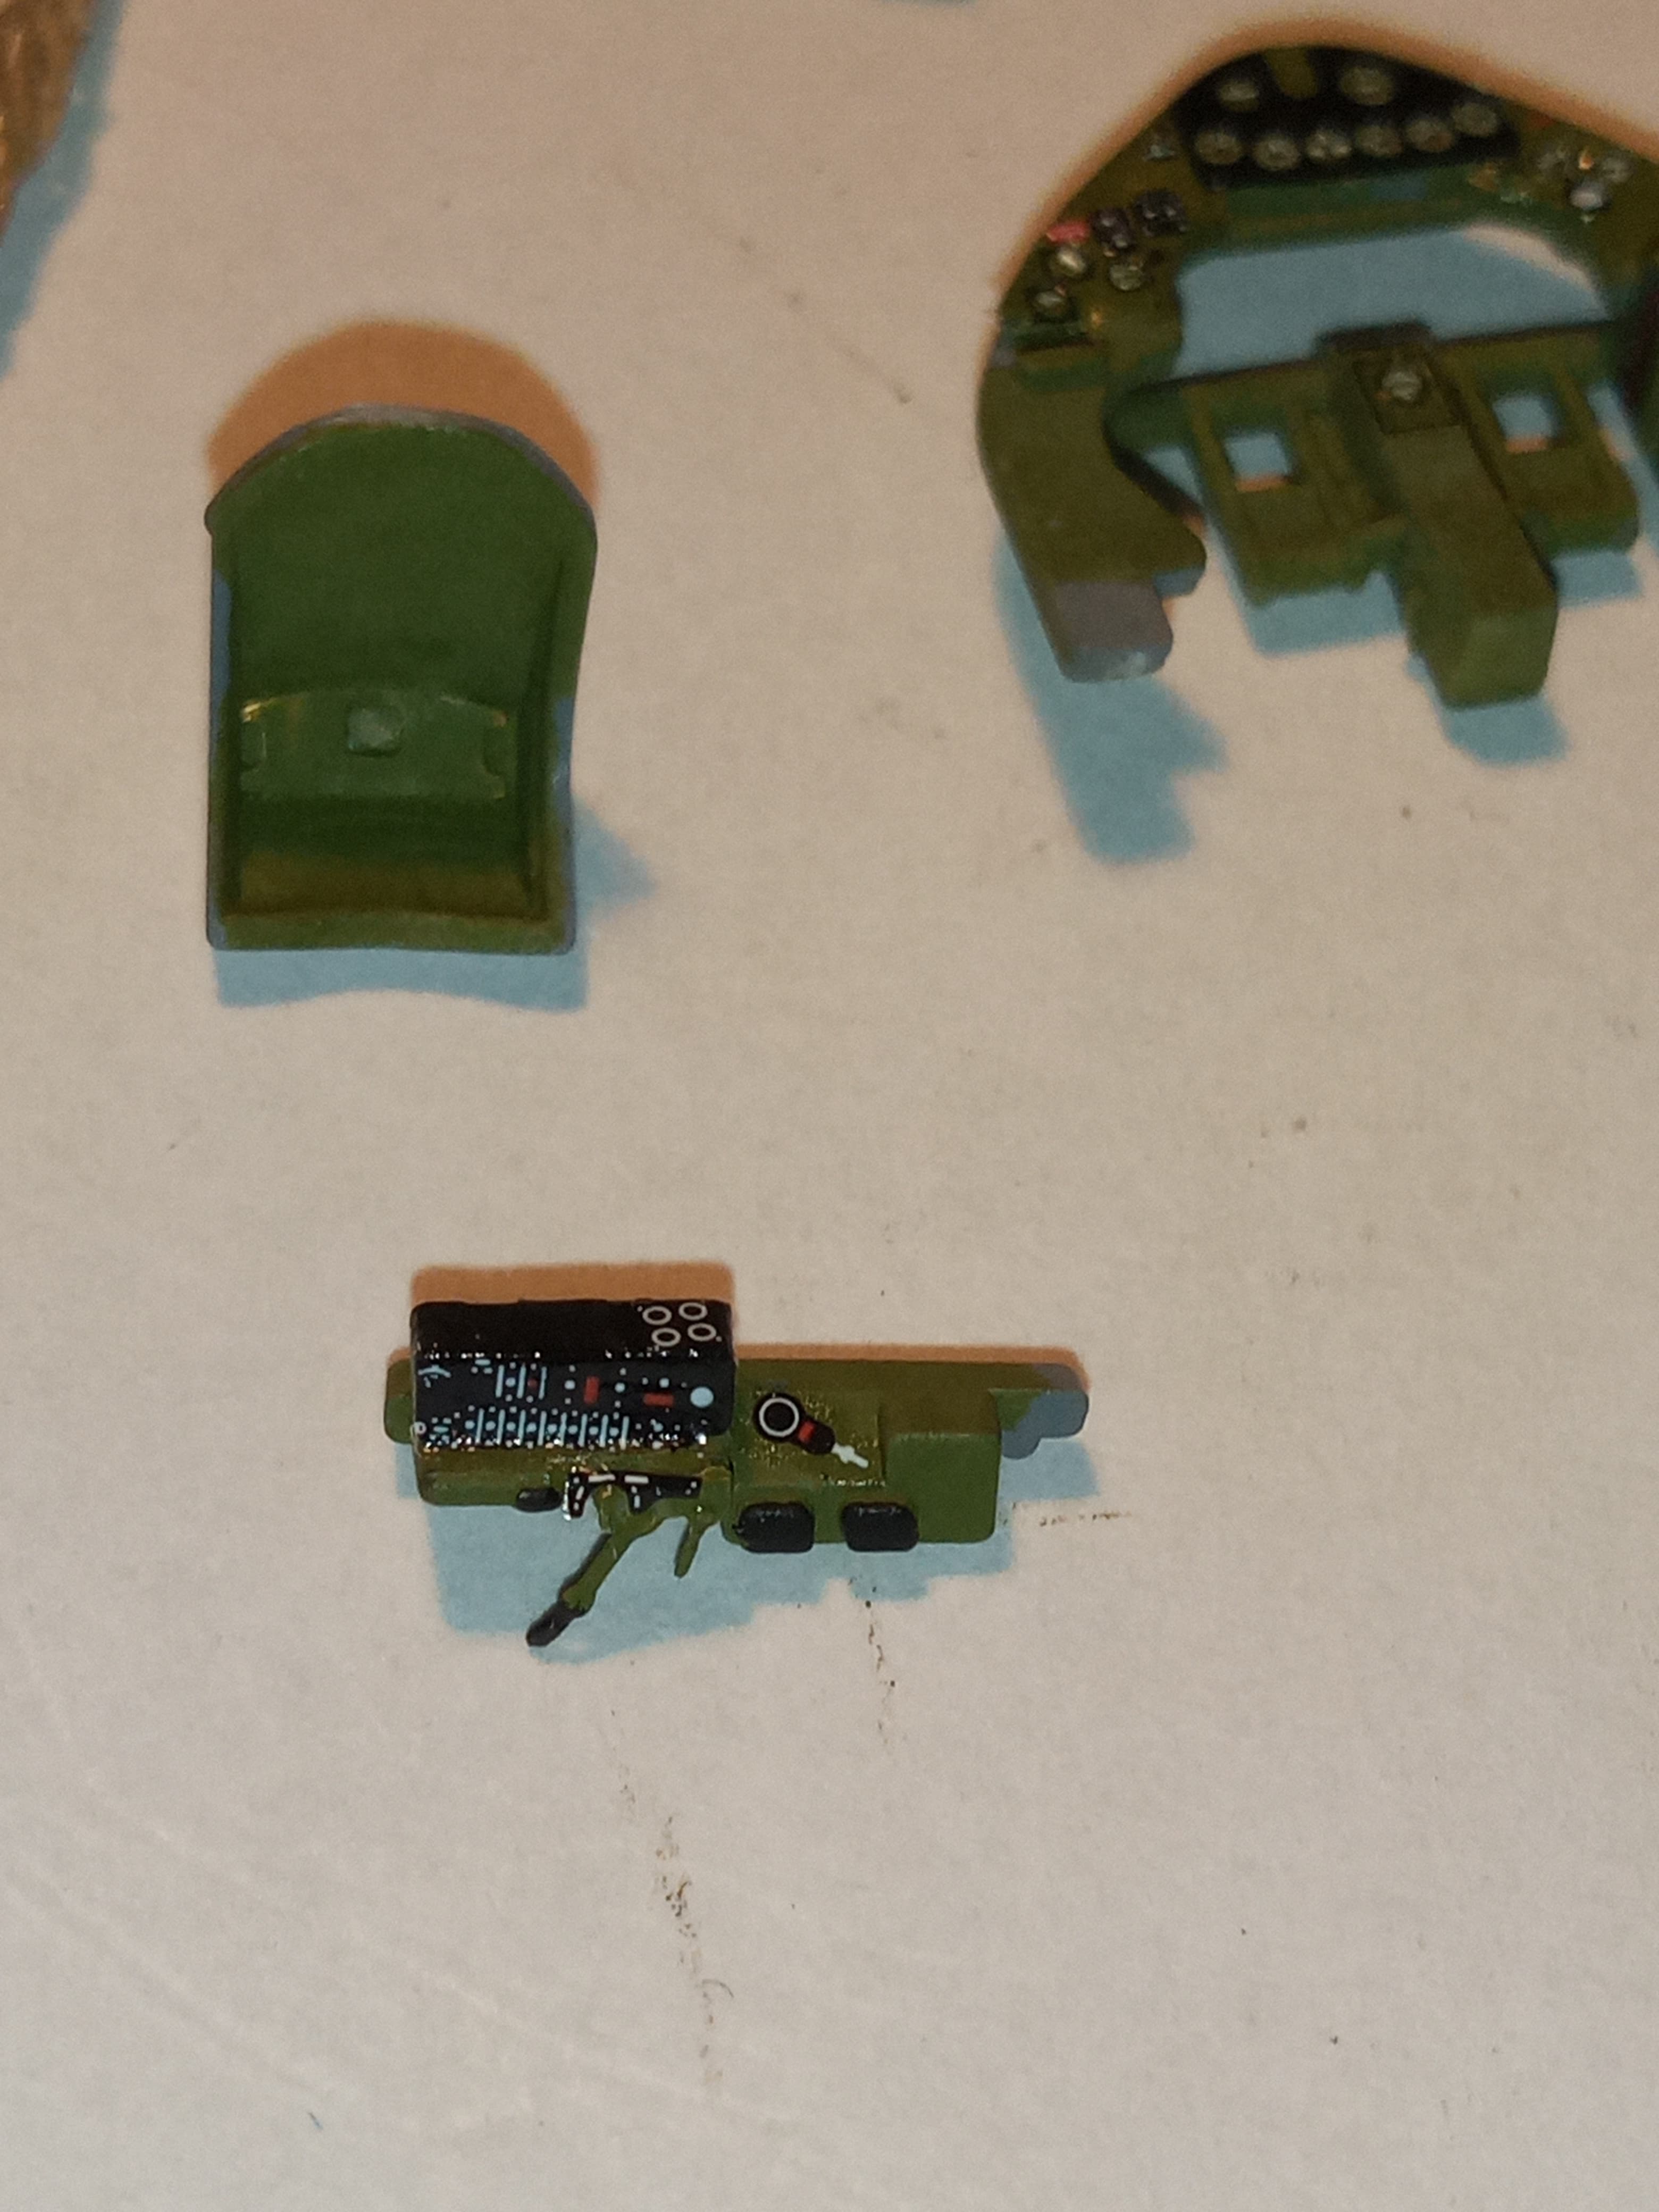
This is the basic cockpit area dry fitted less the side sections which I’ll show later.
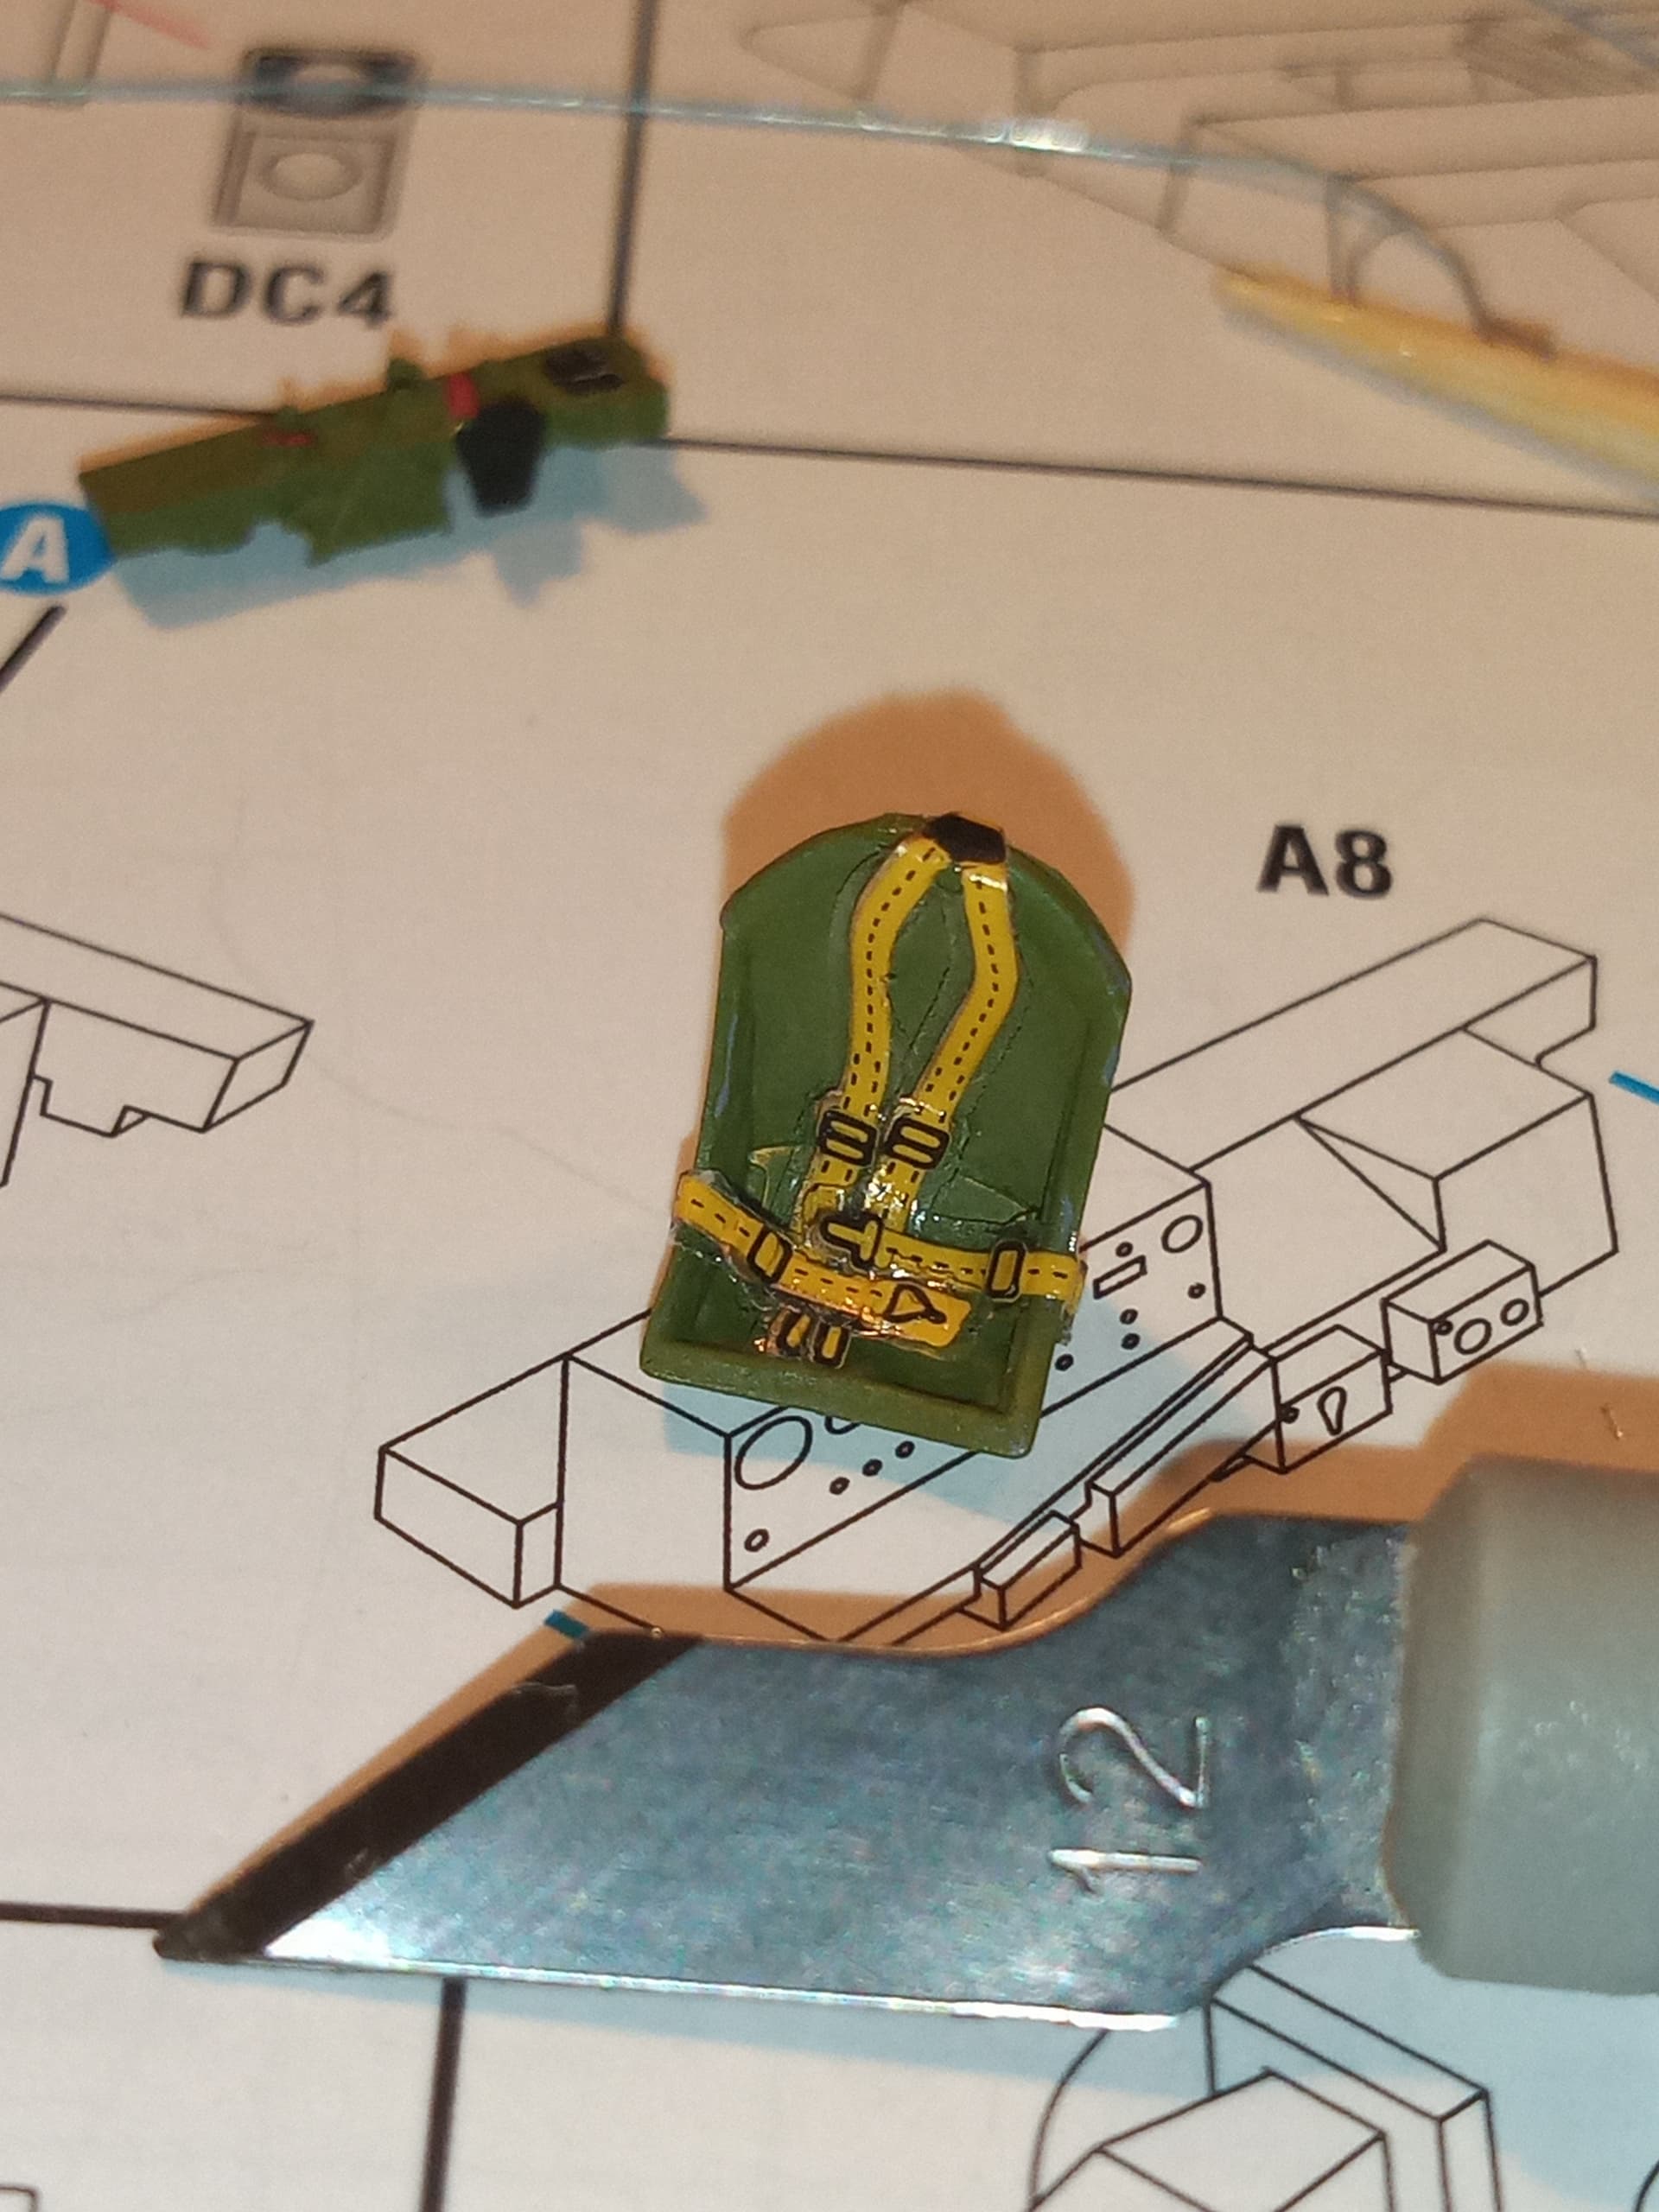
Seat with some PE added. Will do the harness later as it’s PE and there’s a decal supplied that goes over it
Looking at the instrument panel and the PE replacement. Again I will paint all this tomorrow and the various insanely small decals to all of it.
What colour is the bottle on the floor behind the seat frame, - red or interior green ?
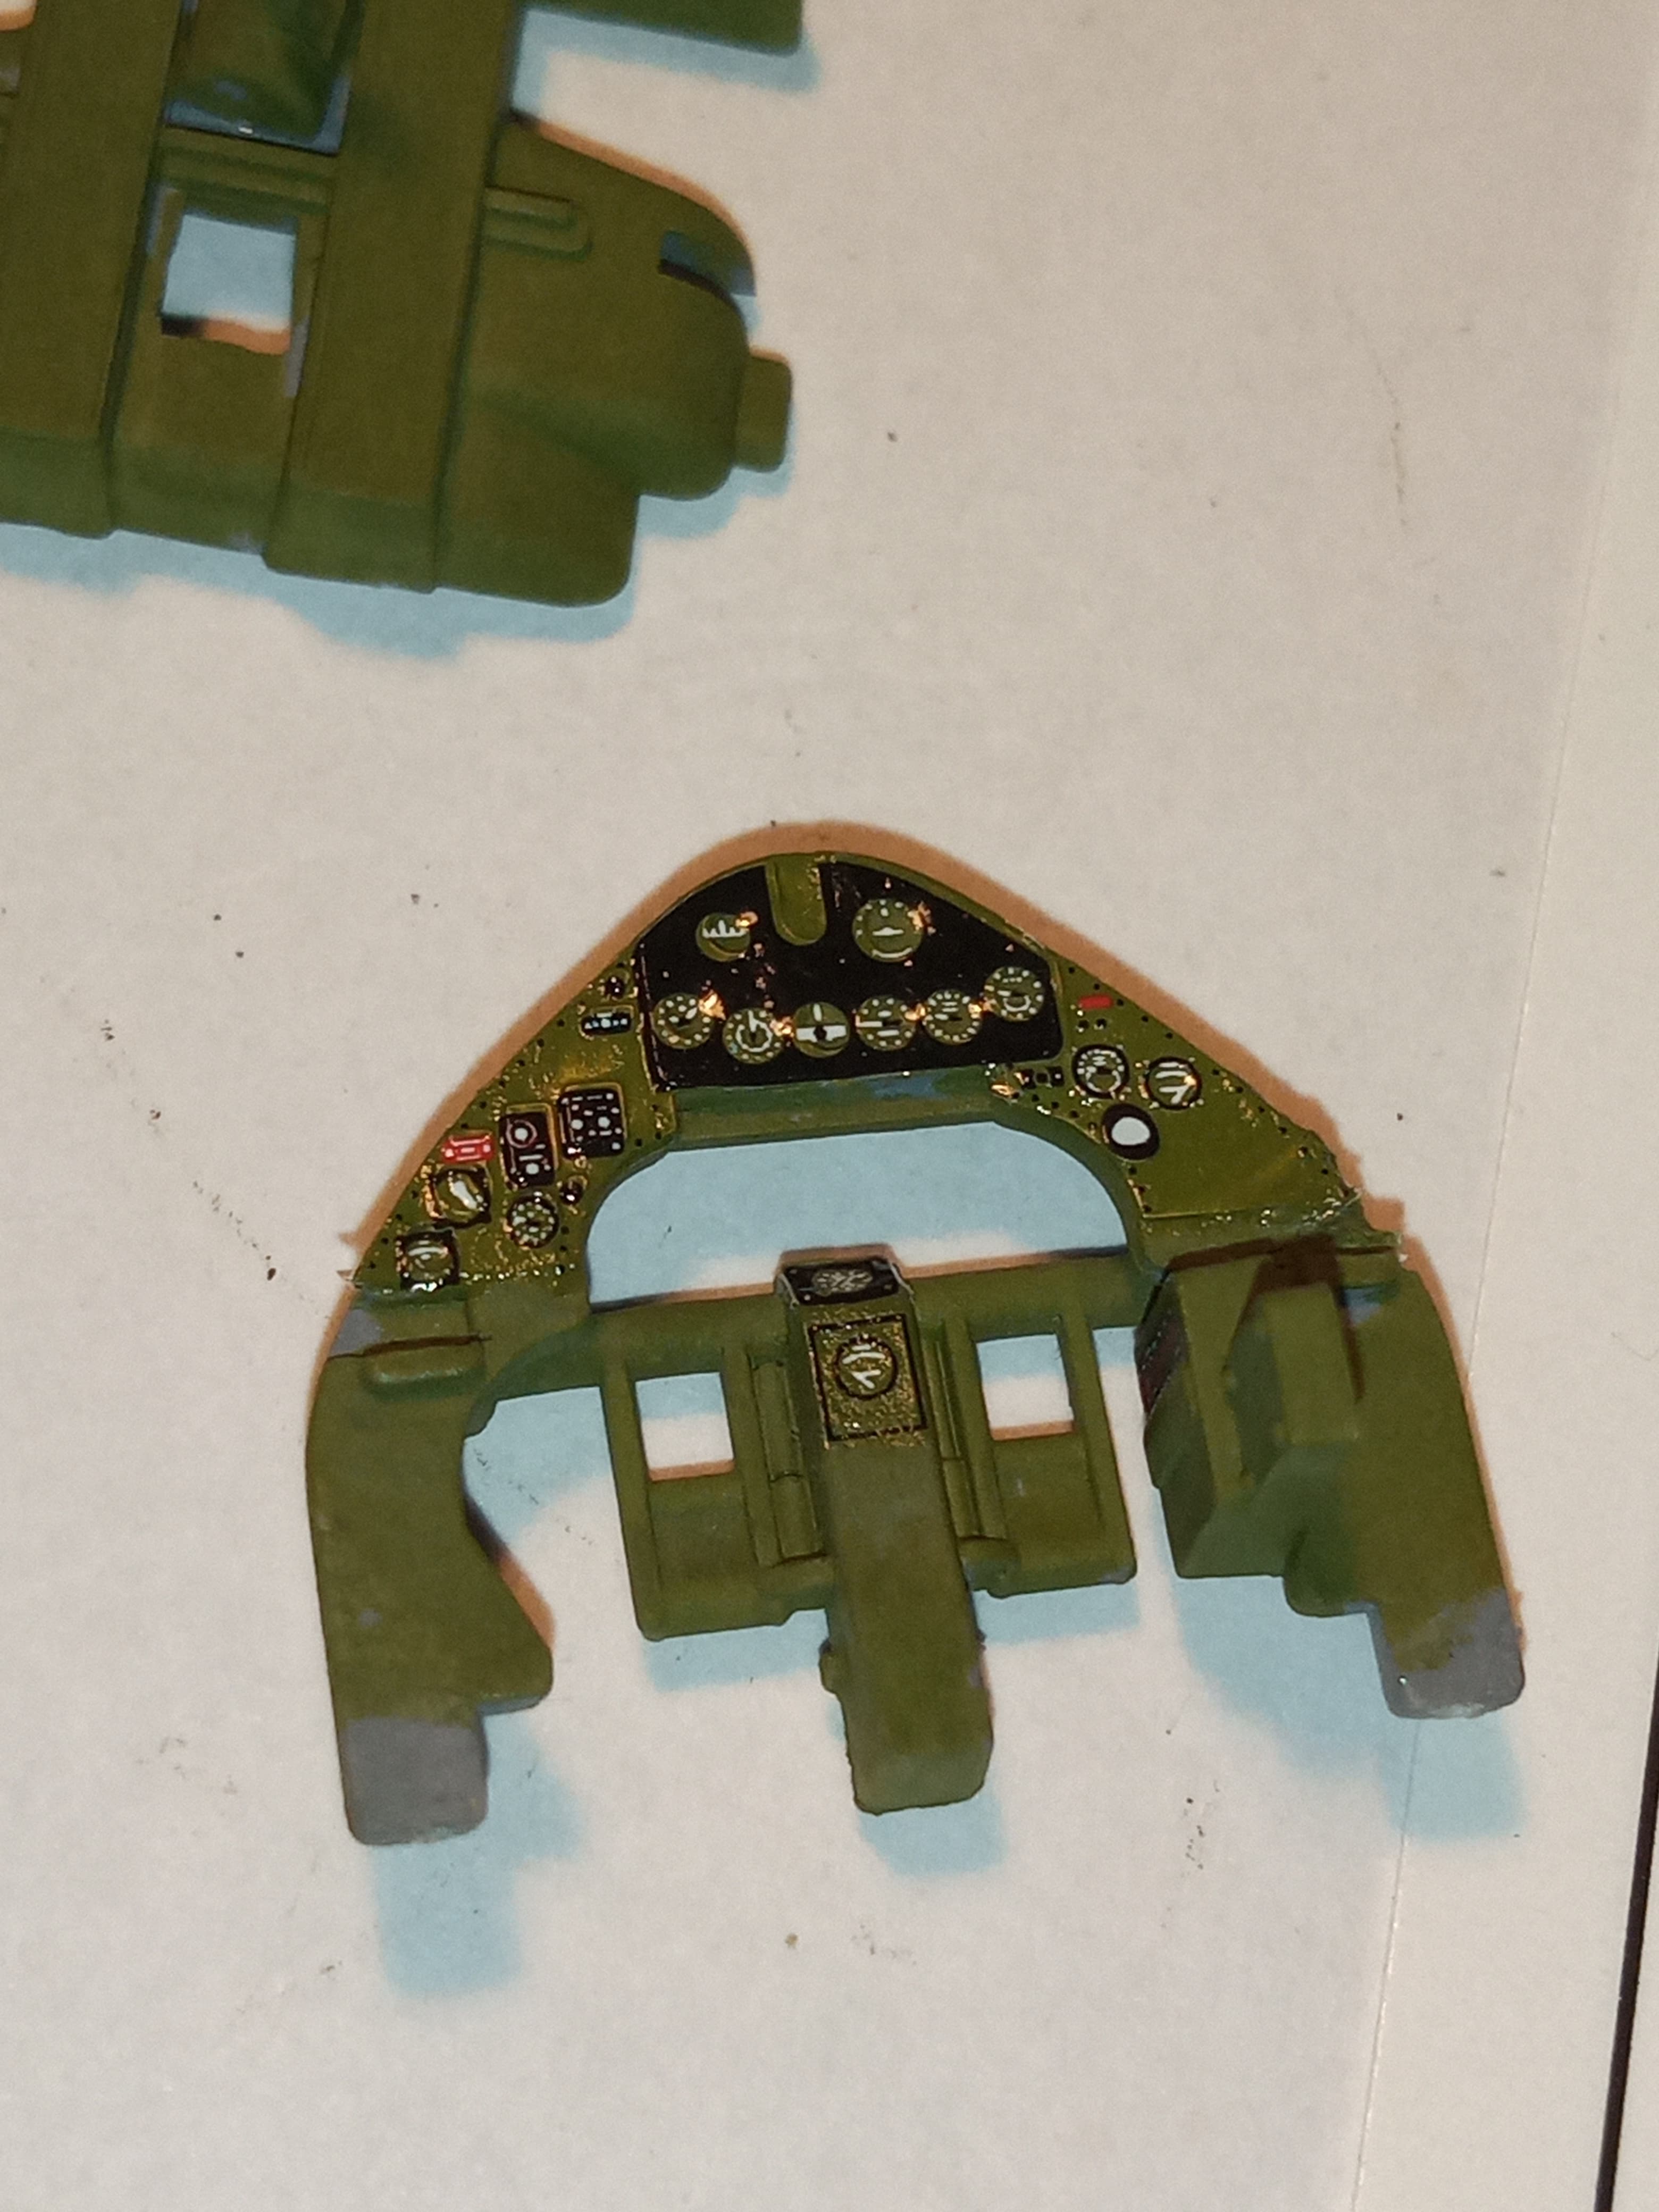
These are the left and right sections with yet more insanely small PE parts and these will be painted and then even smaller decals added.
I just noticed that Arma give you 2 complete sets of cockpit instrument decals as well as 2 sets for the harness…which is lucky as I’m bound to mess up at some point along the away ![]()
God John this one’s so teeny - the instructions look bigger than the parts! You’re really going to challenge the old eyesight on this one. Best of luck and steady as she goes - cut down on the coffee!
John, wonderful little bird. The molding reminds me of the first time seeing a Hasegawa Zero in /72, incredible but way too tiny for my ham-fisted fingers! The PE looks great as well. The tank behind the seat is the oxygen bottle for the pilot, at that time it was either zinc chromate yellow or yellow in color so the crew chiefs knew where they went and what went in them. I have found on the Wildcat, that doing it in yellow adds a nice splash of color because when everything is closed up it’s pretty hard to see.
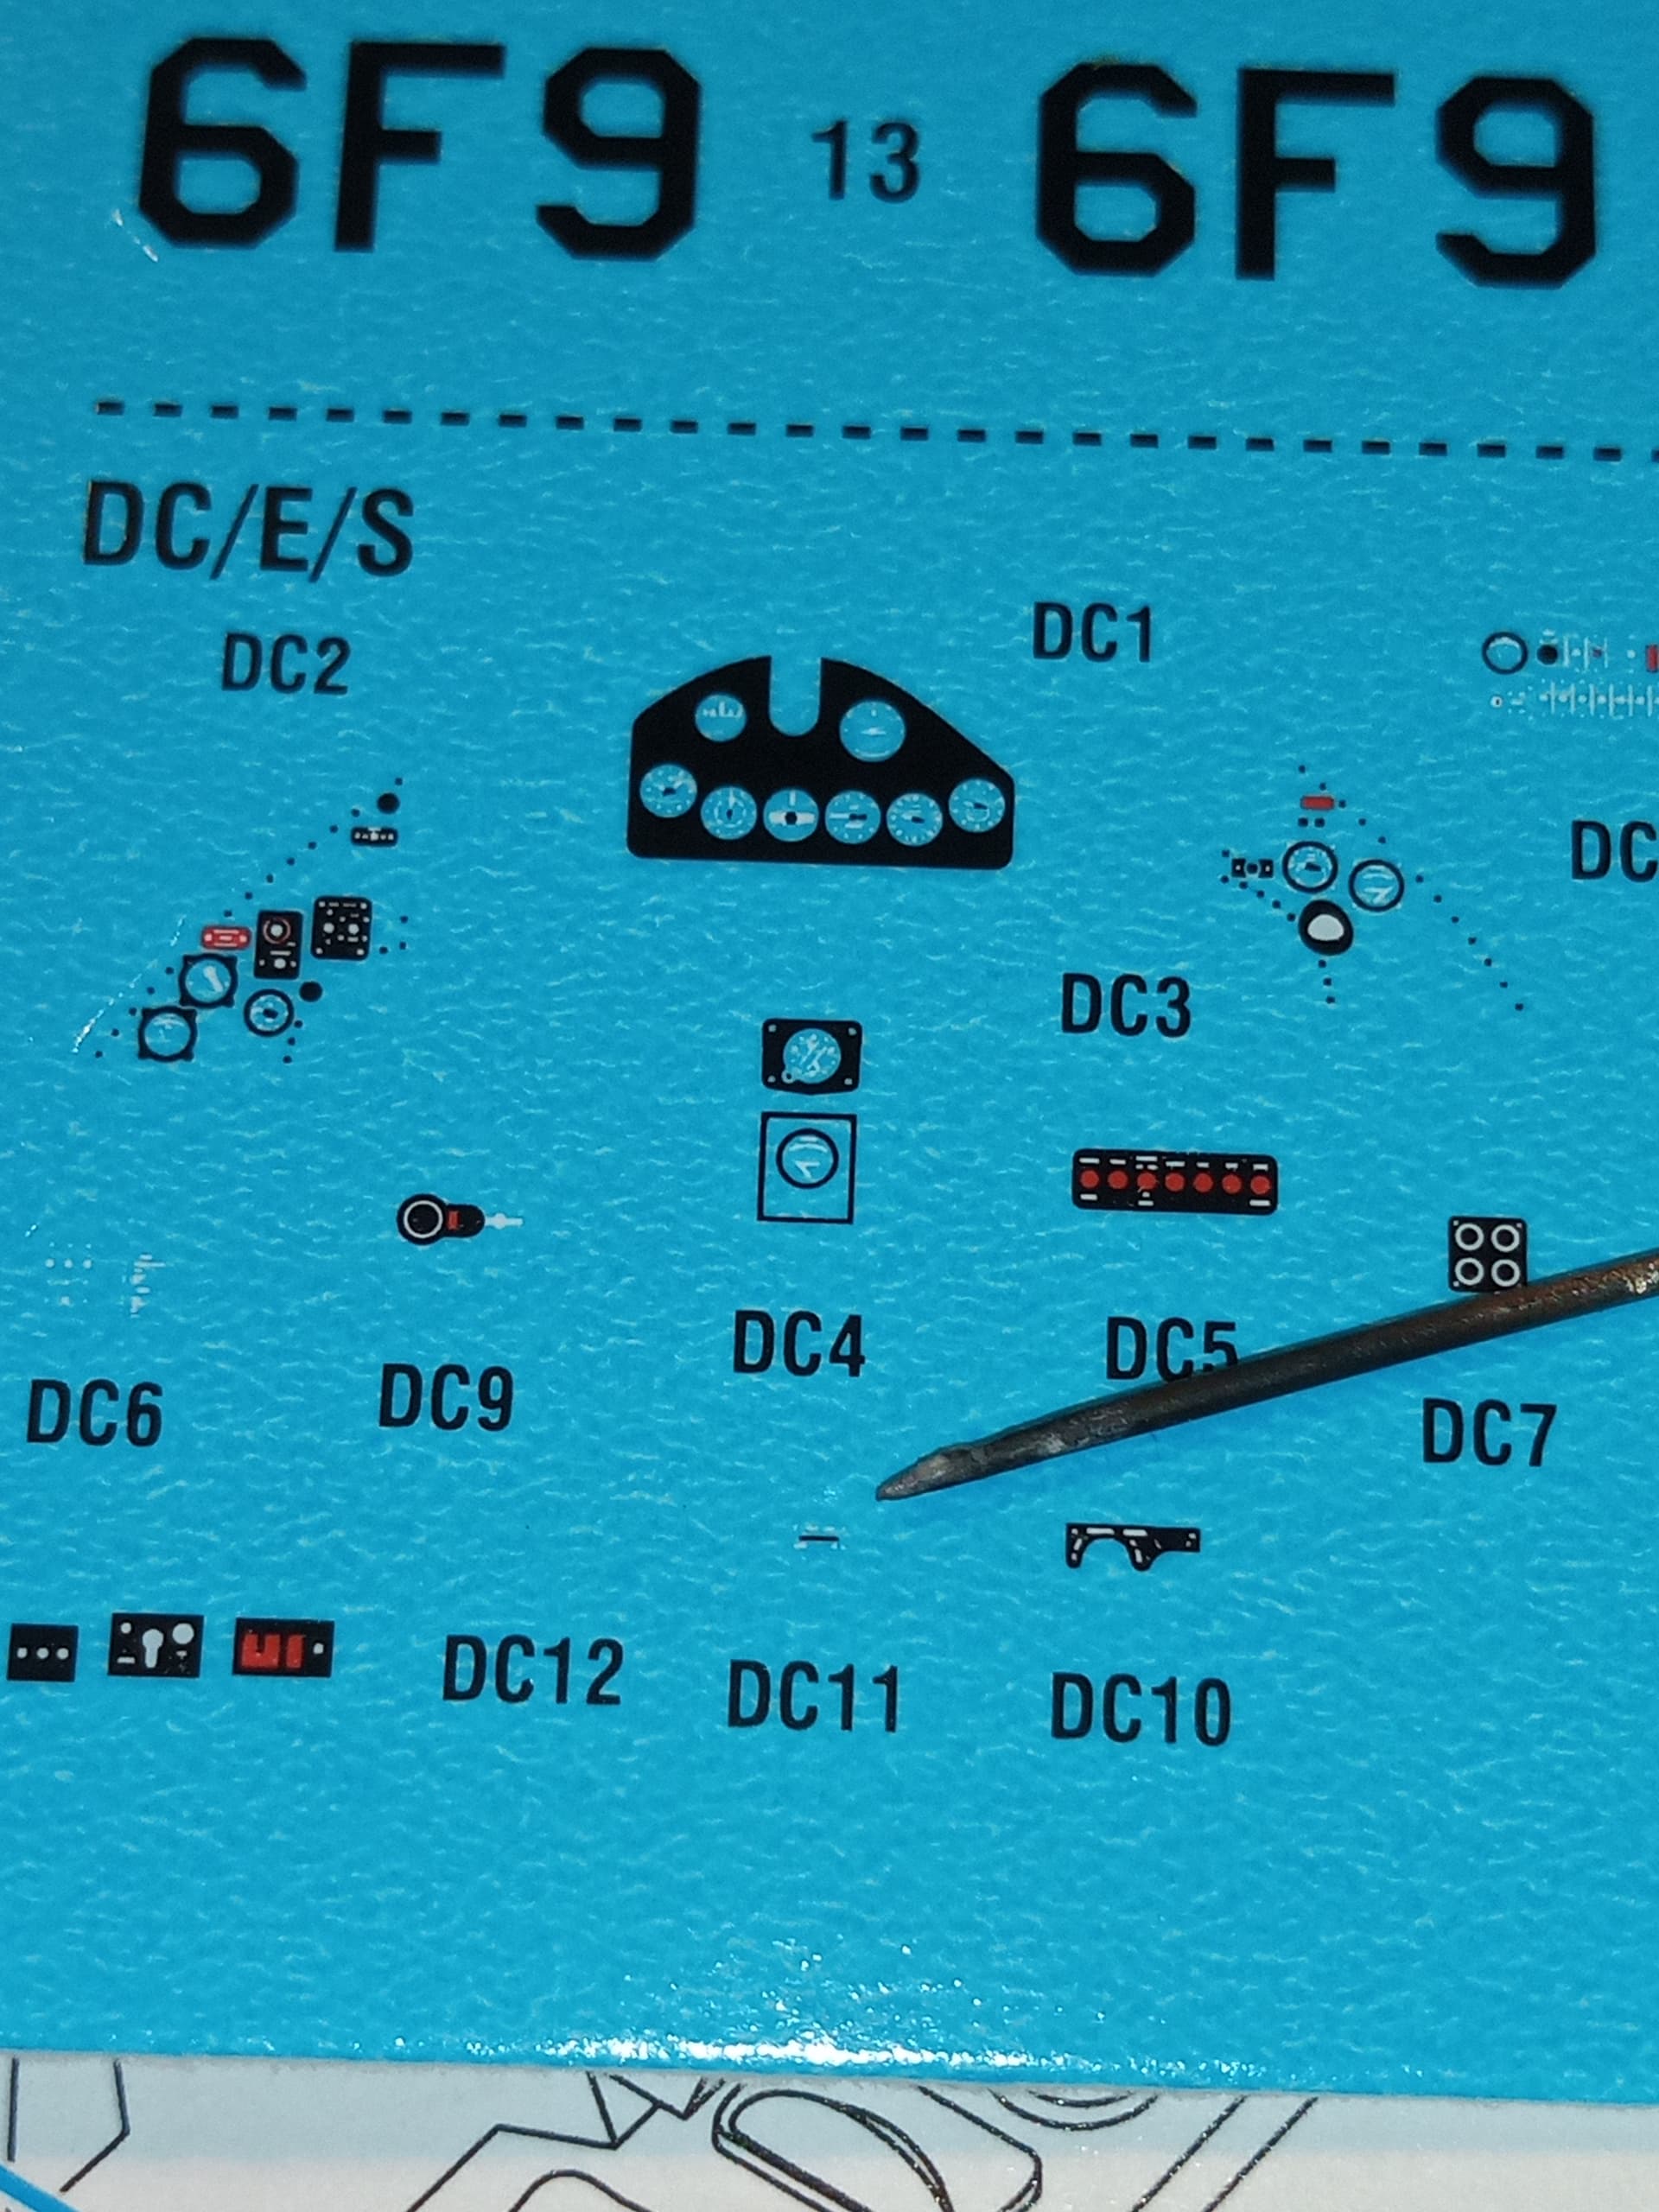
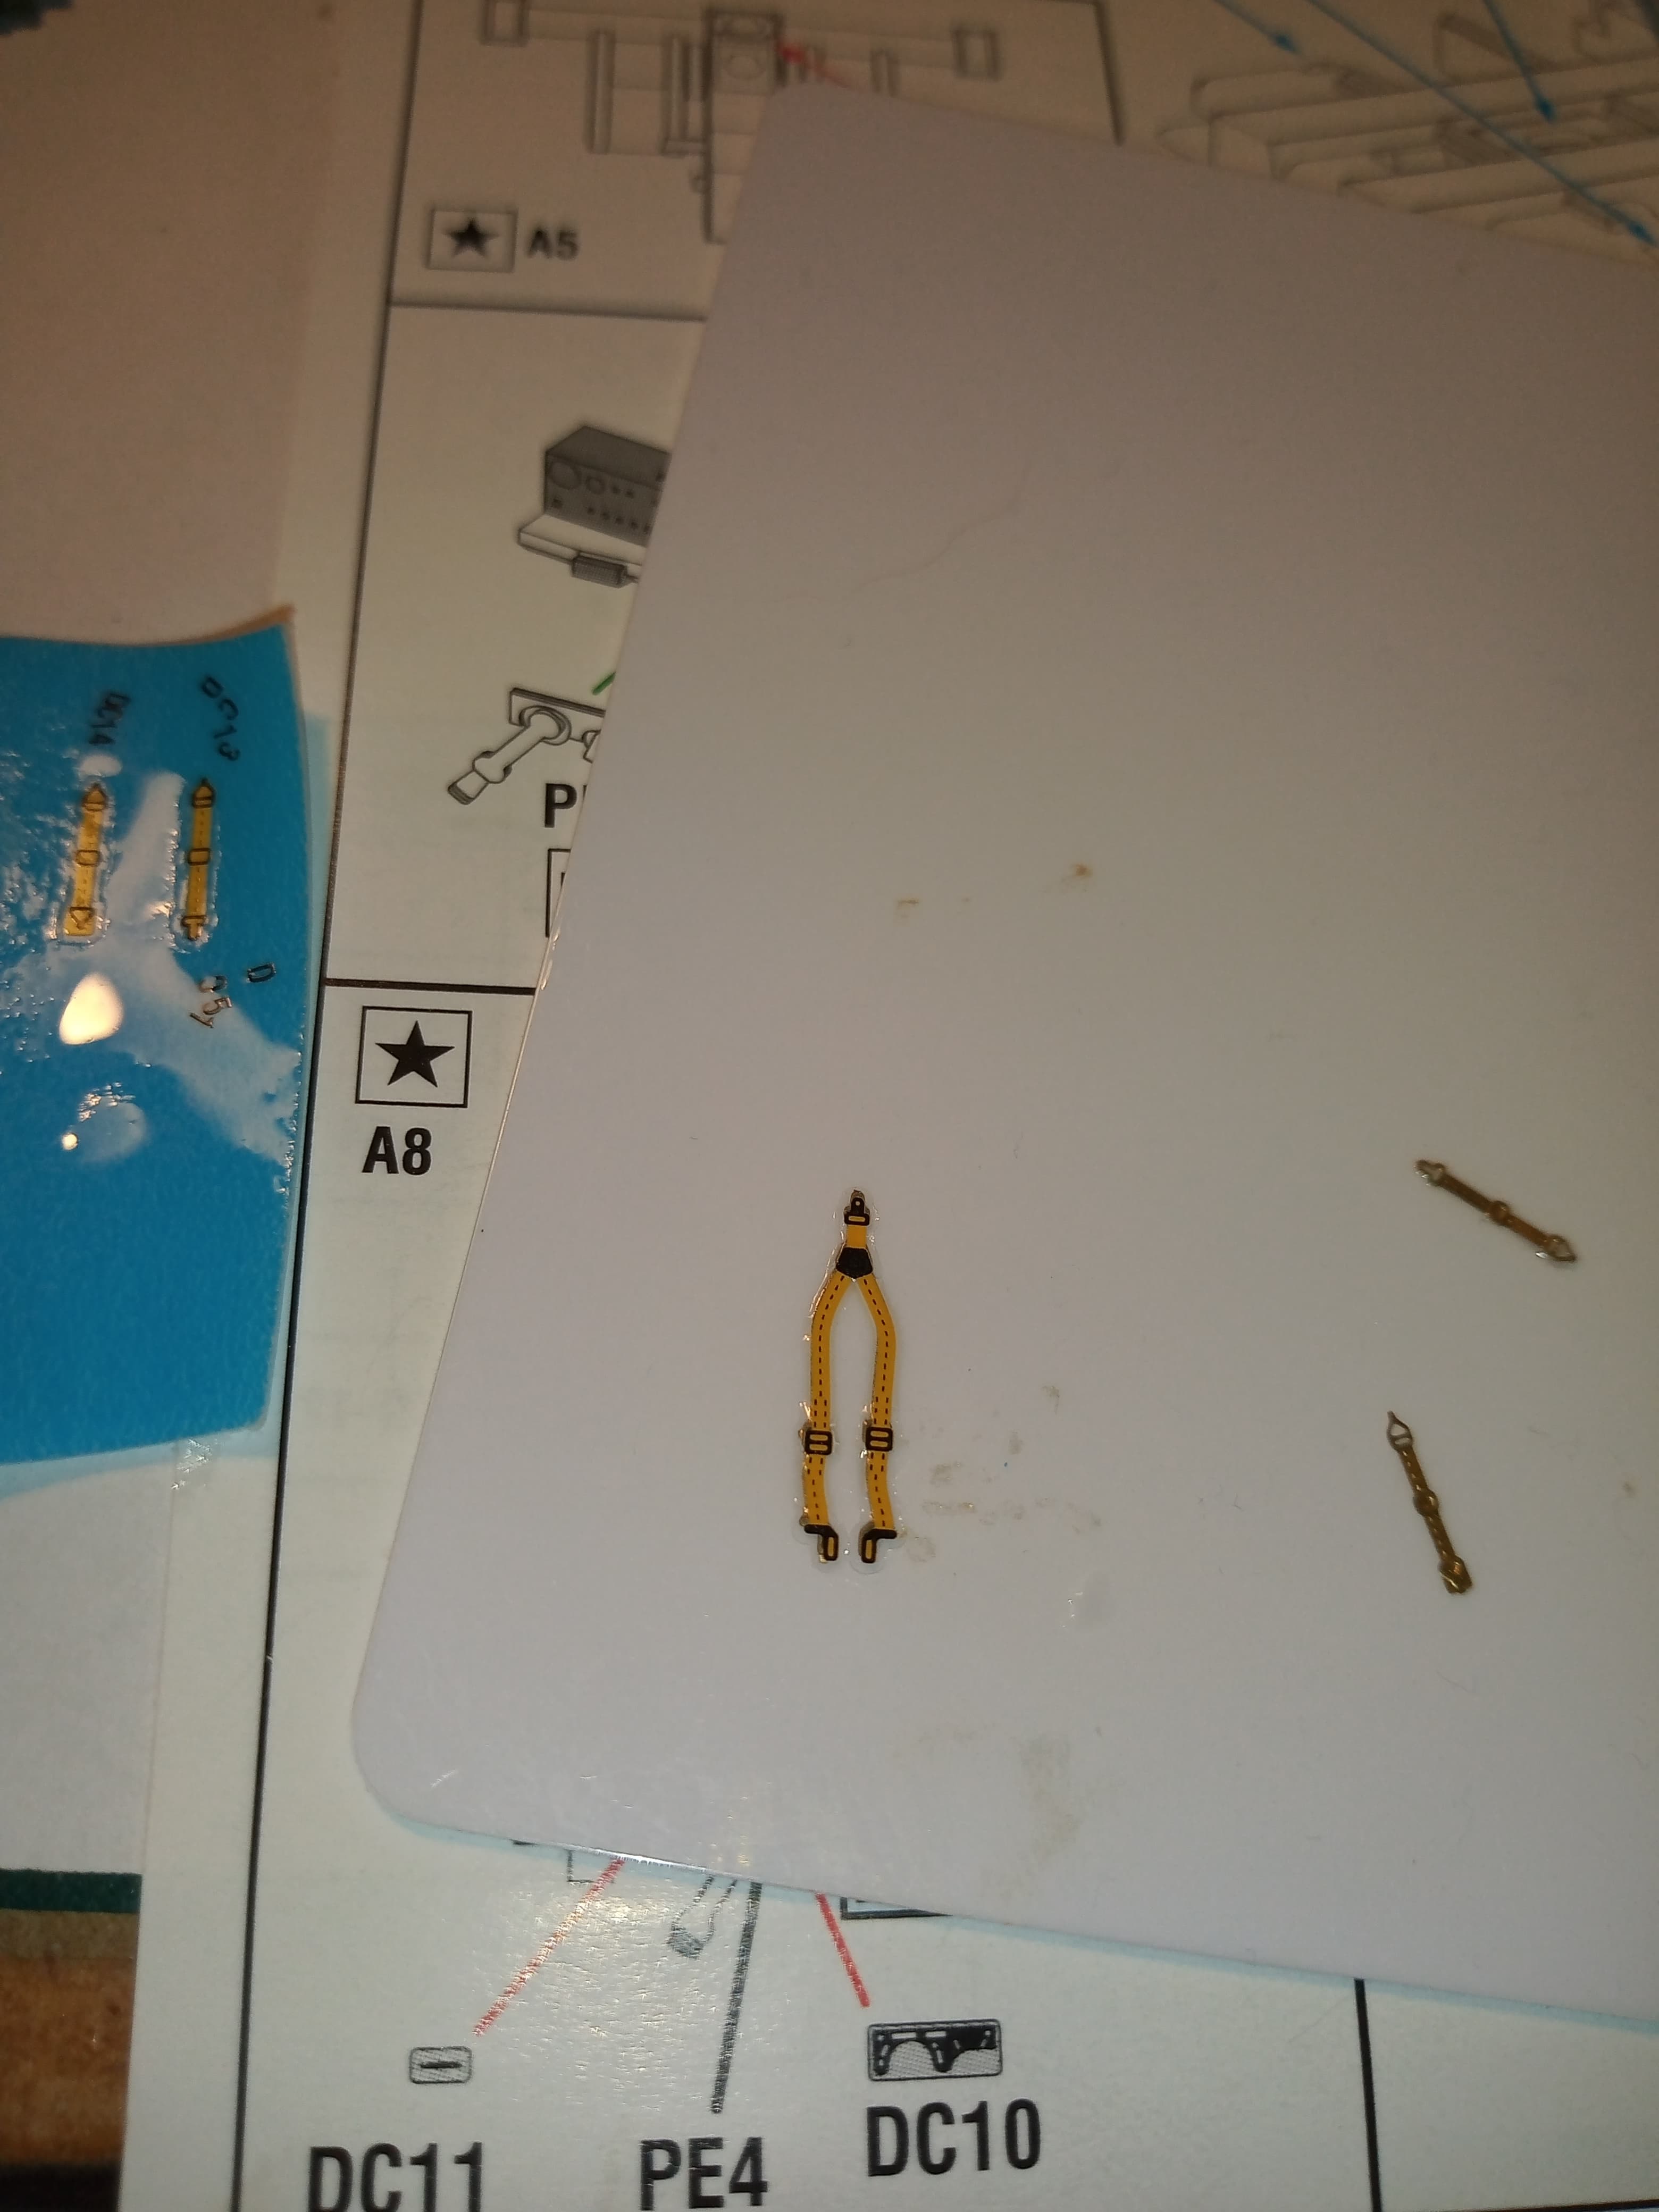
Matt, ha !! You think those bits were tiny… Check this whole new level of crazy out … The first 3 are the decals on the sheet, first one has a sewing needle point for scale.
And DC11 is an actual decal !!!
The E ones are for the engine, the others are for the outer aircraft.
This the cockpit decals on the various parts before assembly.
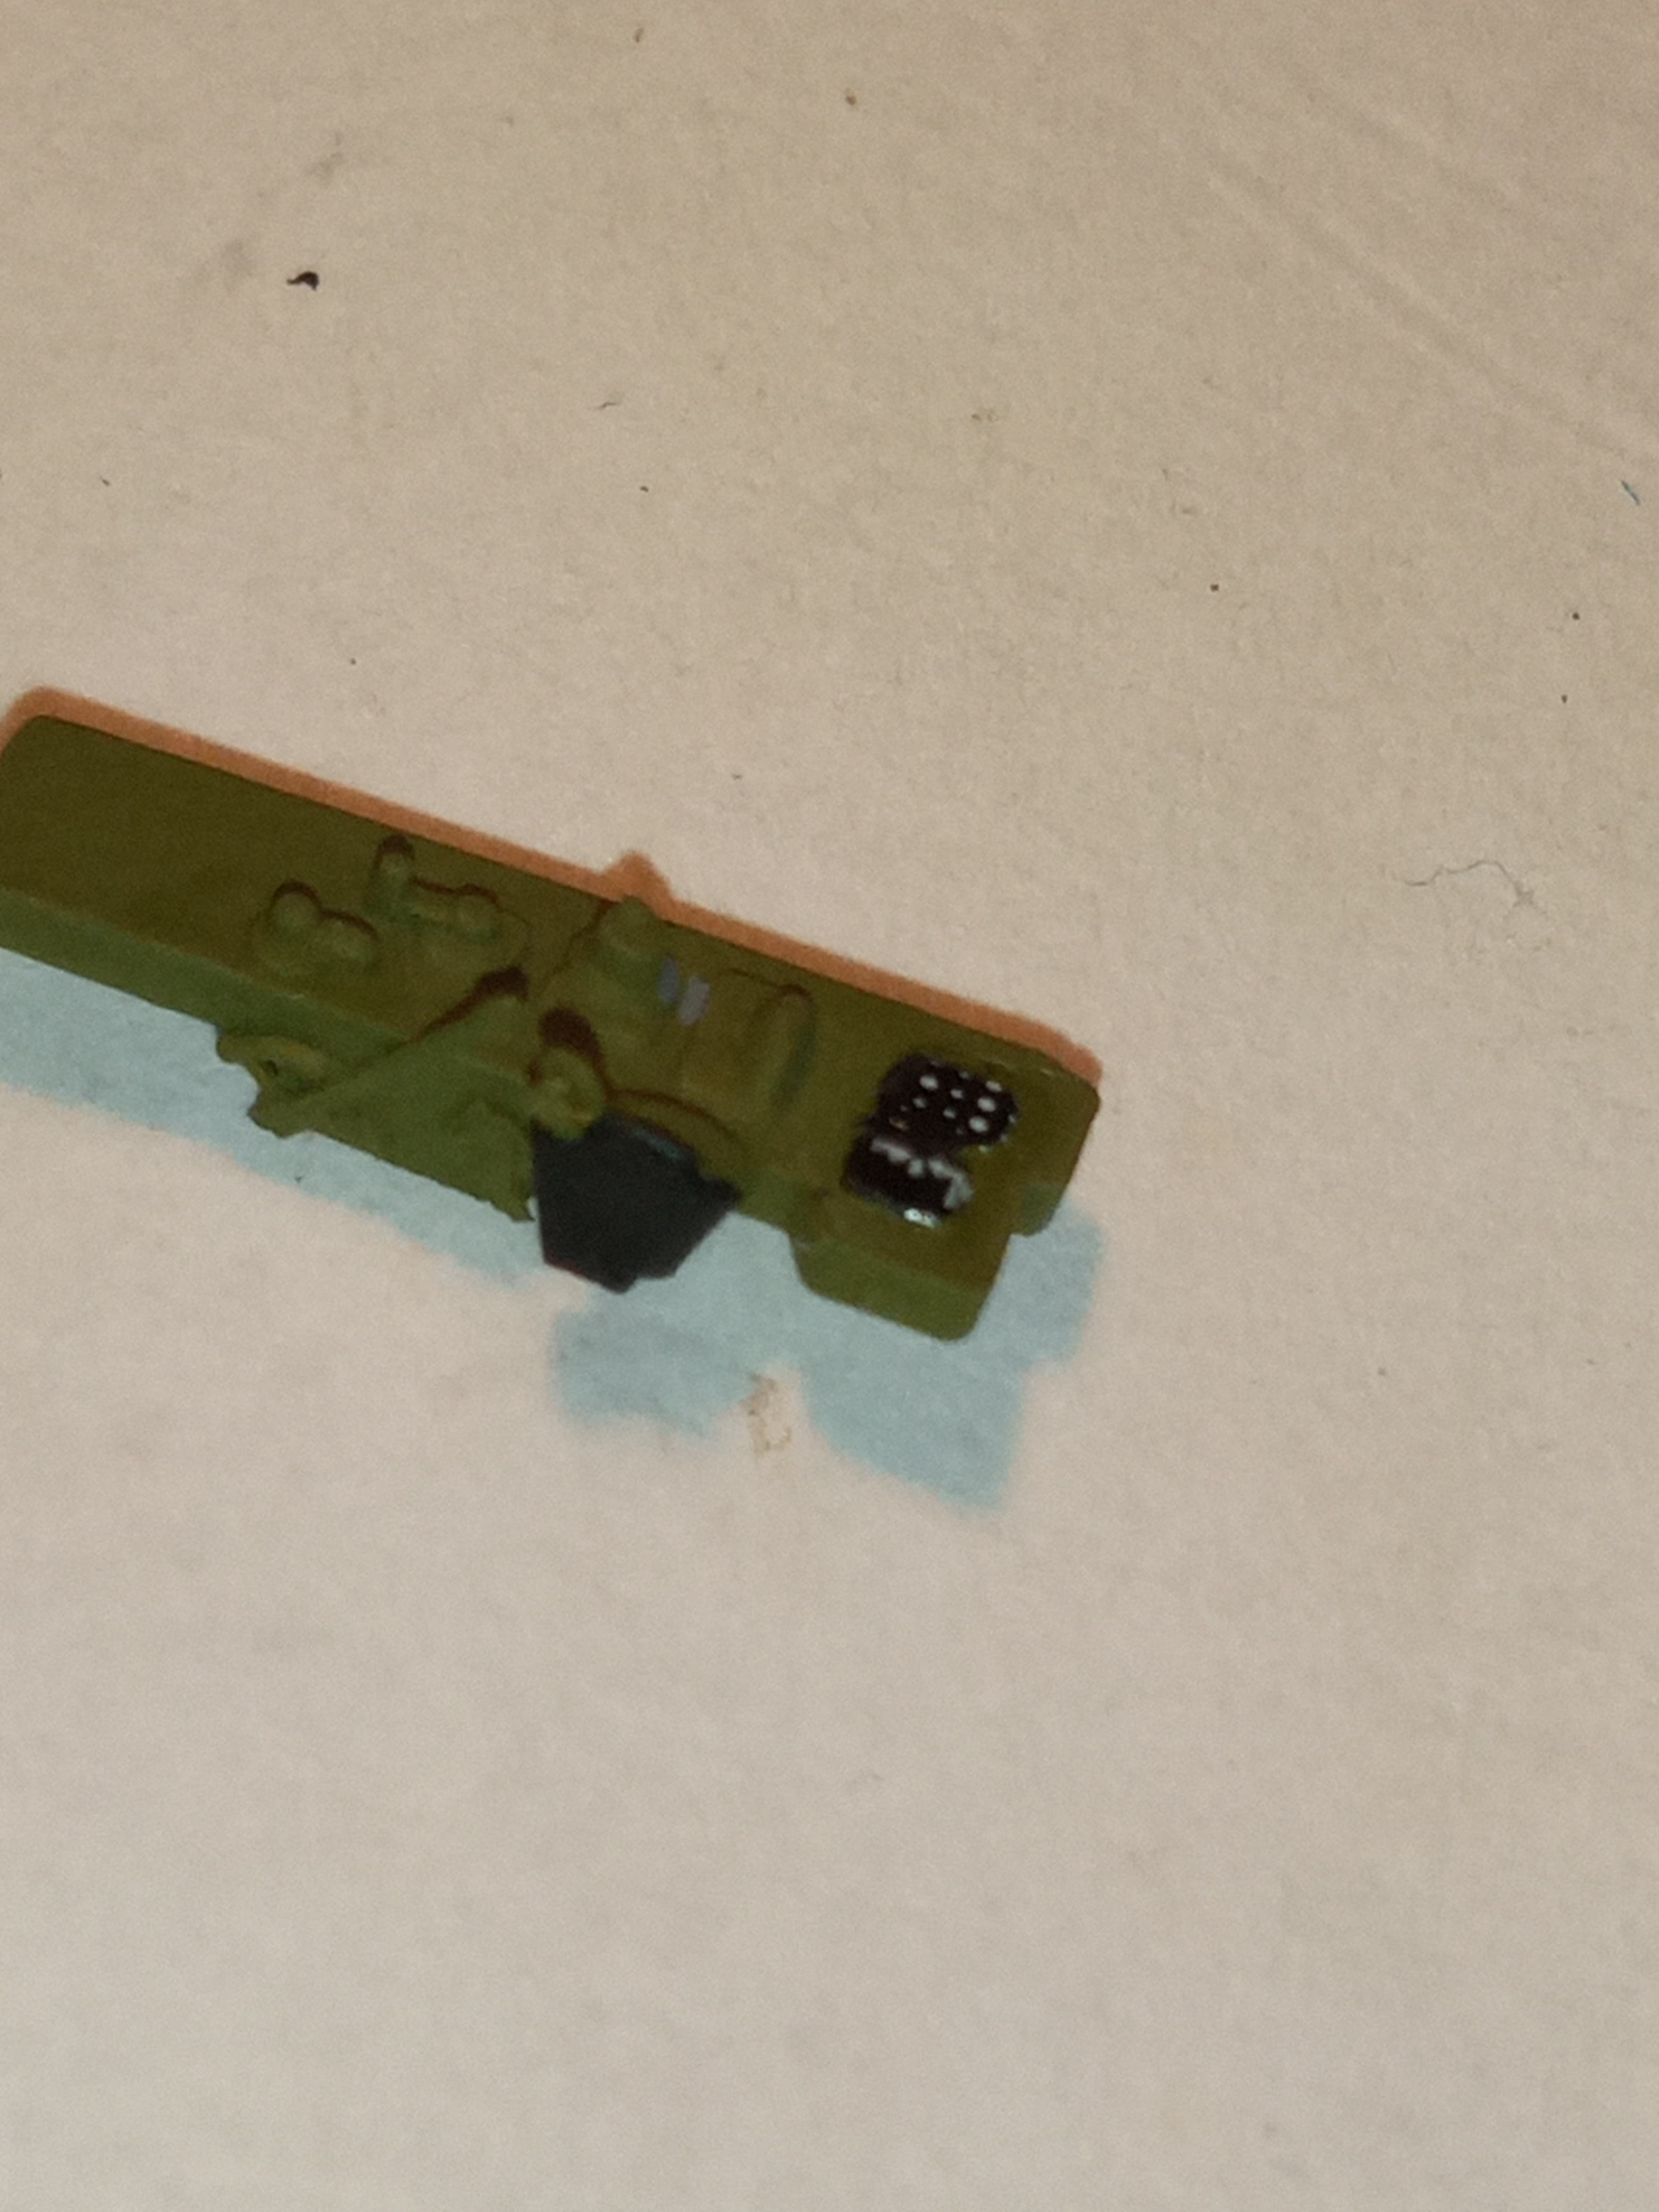
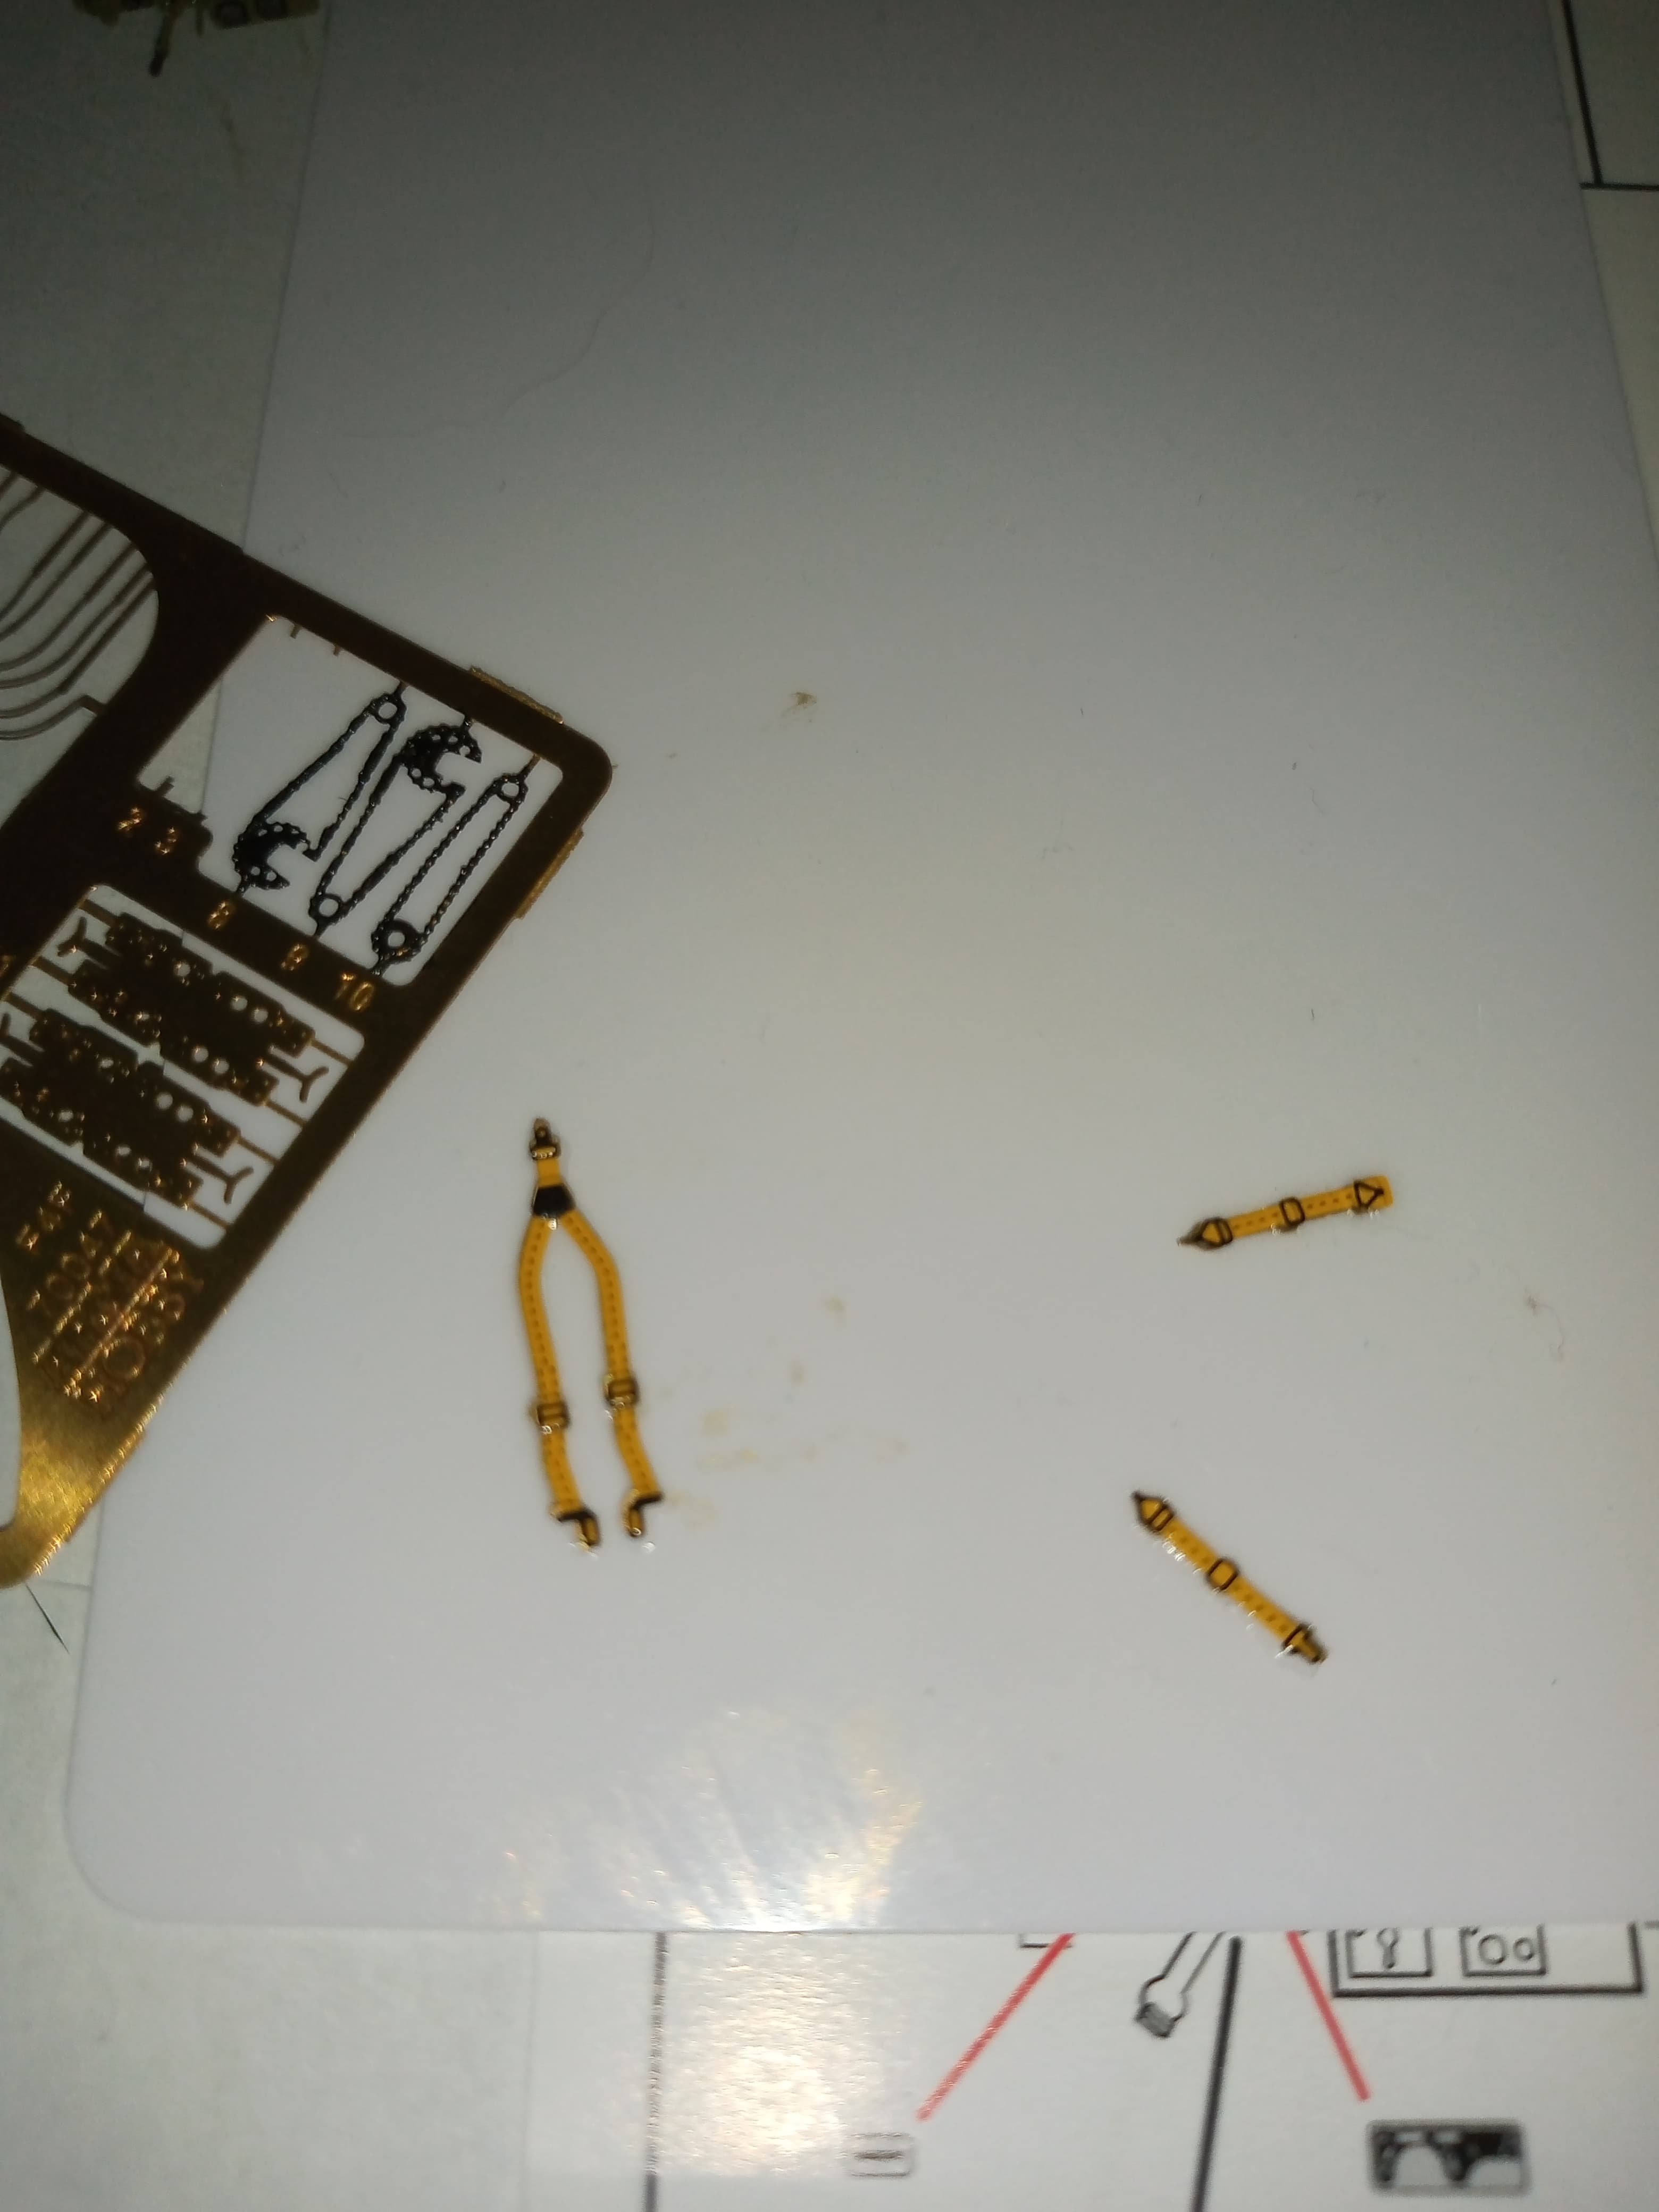
The next one is the PE seatbelt harness with the decal on top and the 2 side PE parts with no decals.
And all decals on, used micro sol and set for all of them.
And John @john41492 , just for you, yellow it is ![]()
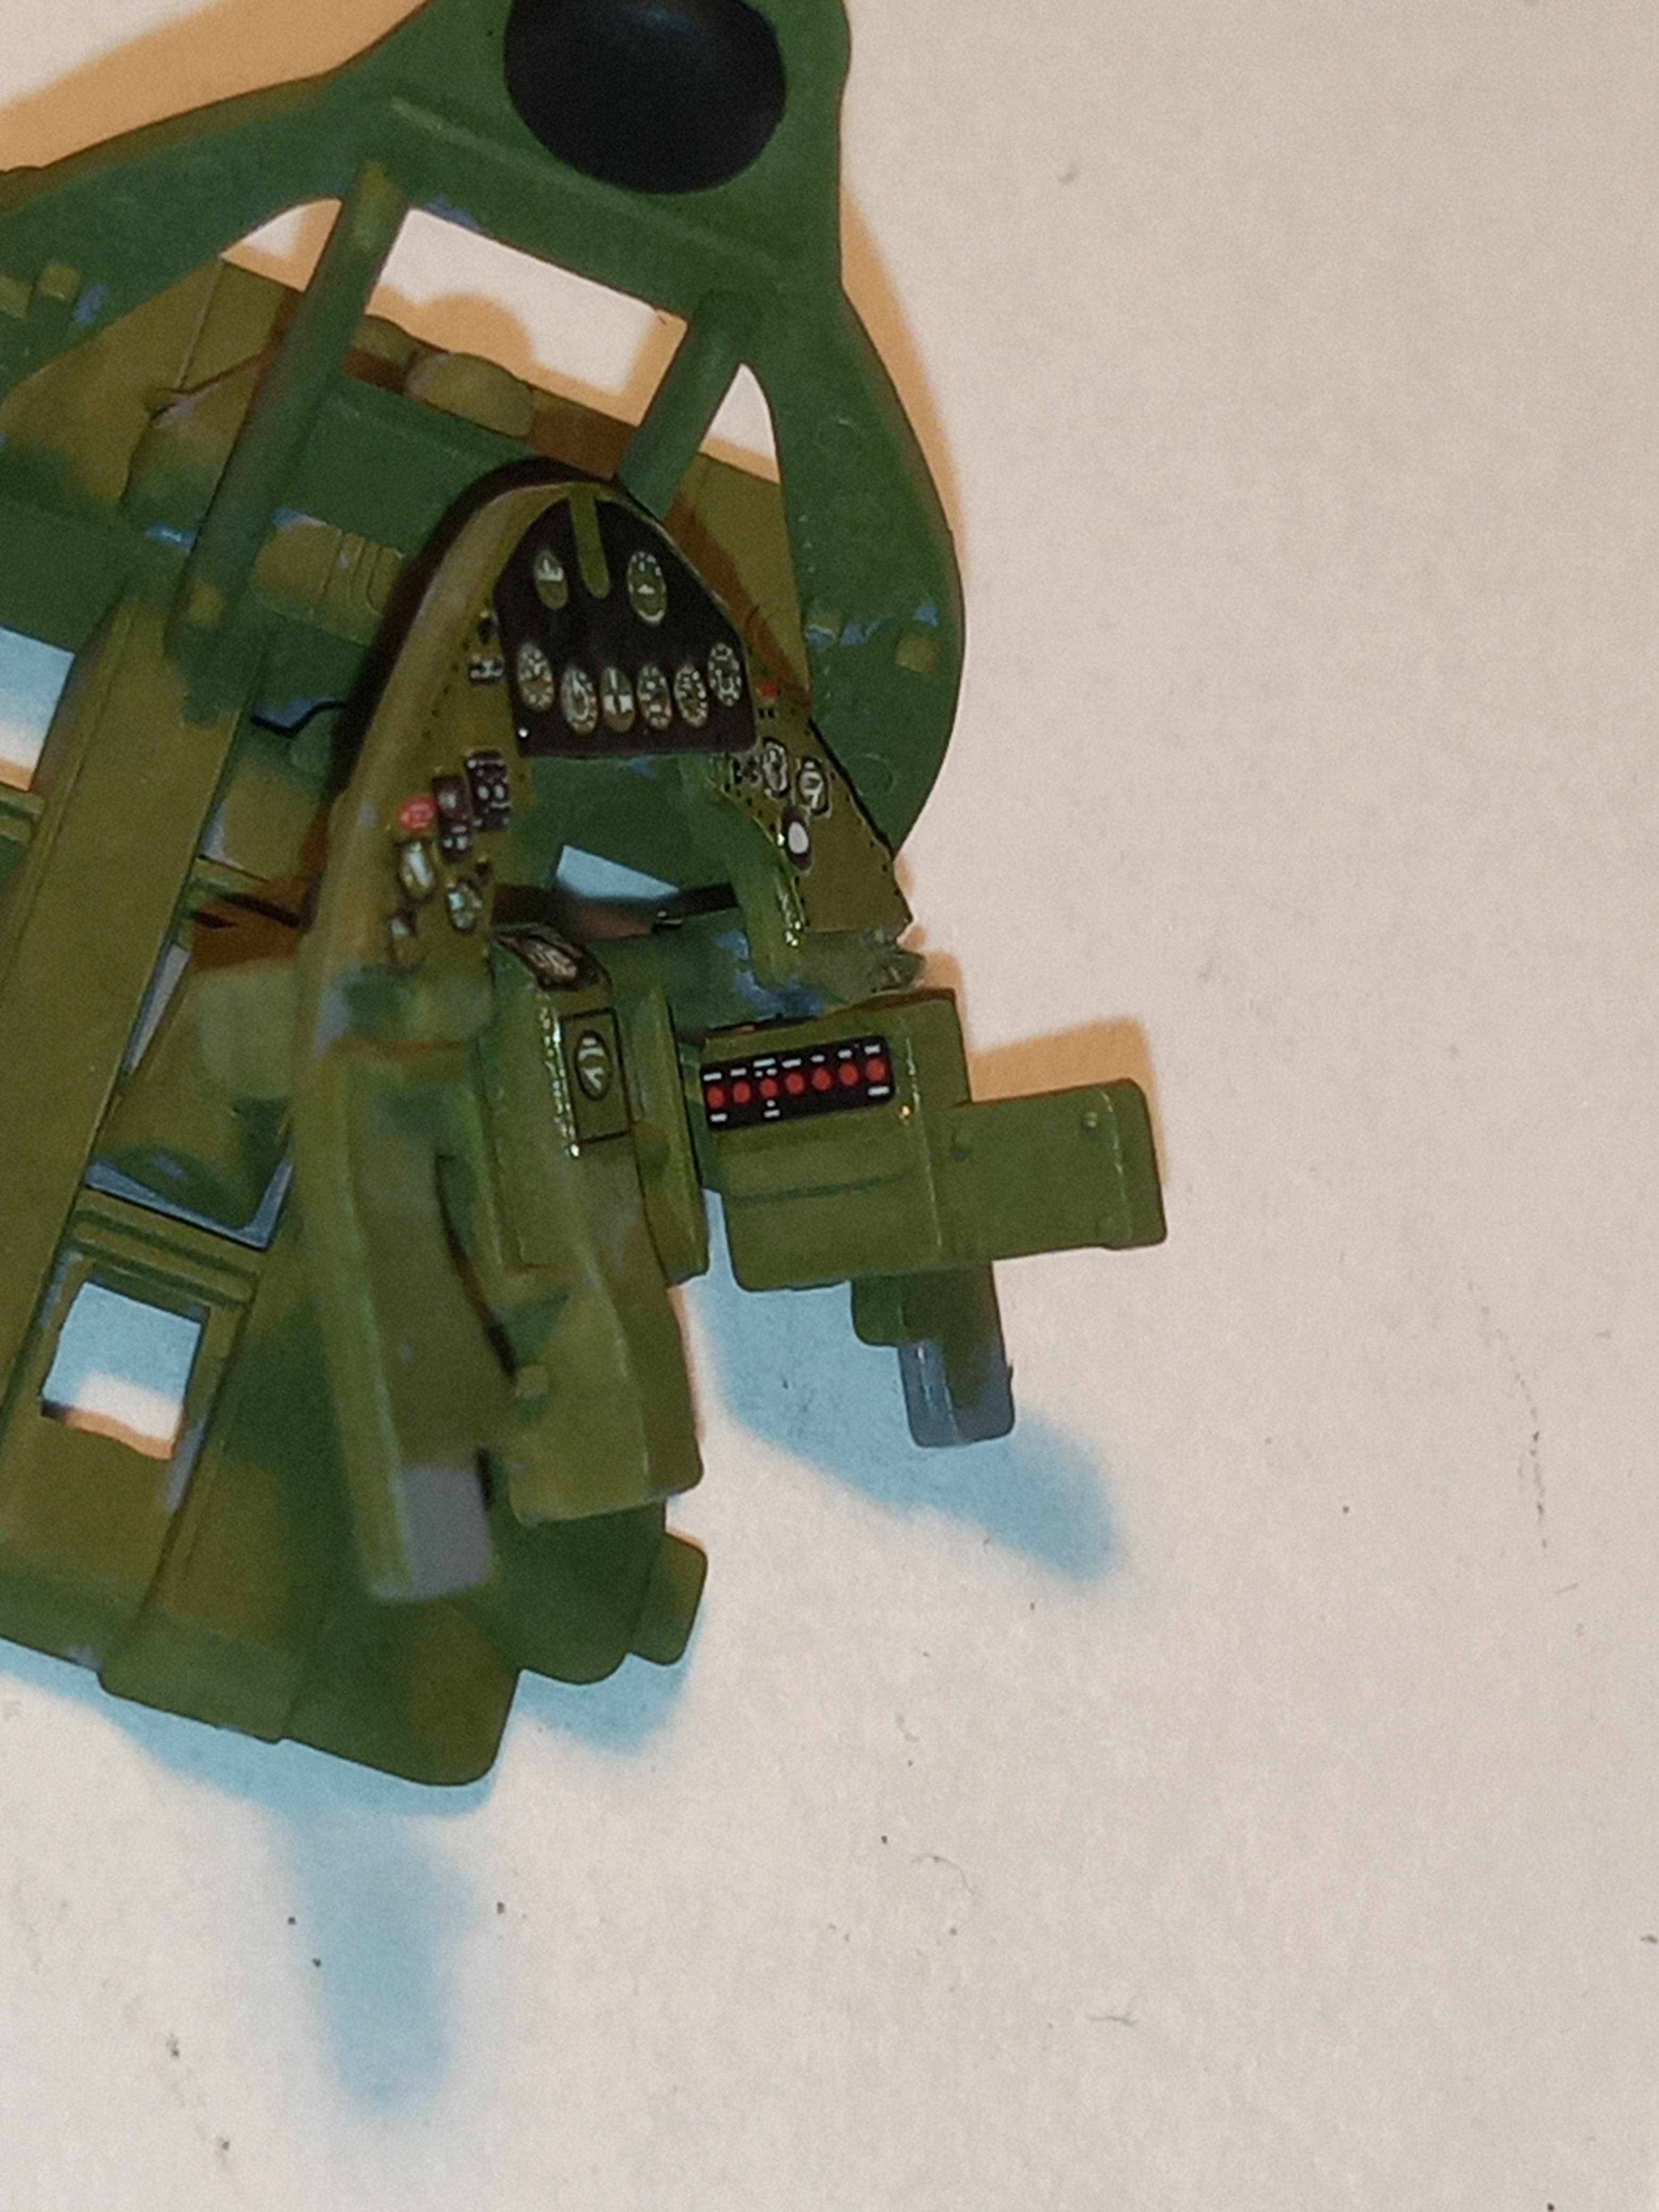
Harness on the seat.
Really pleased how that turned out and how they look. First time ever done anything like this and so small detailed.
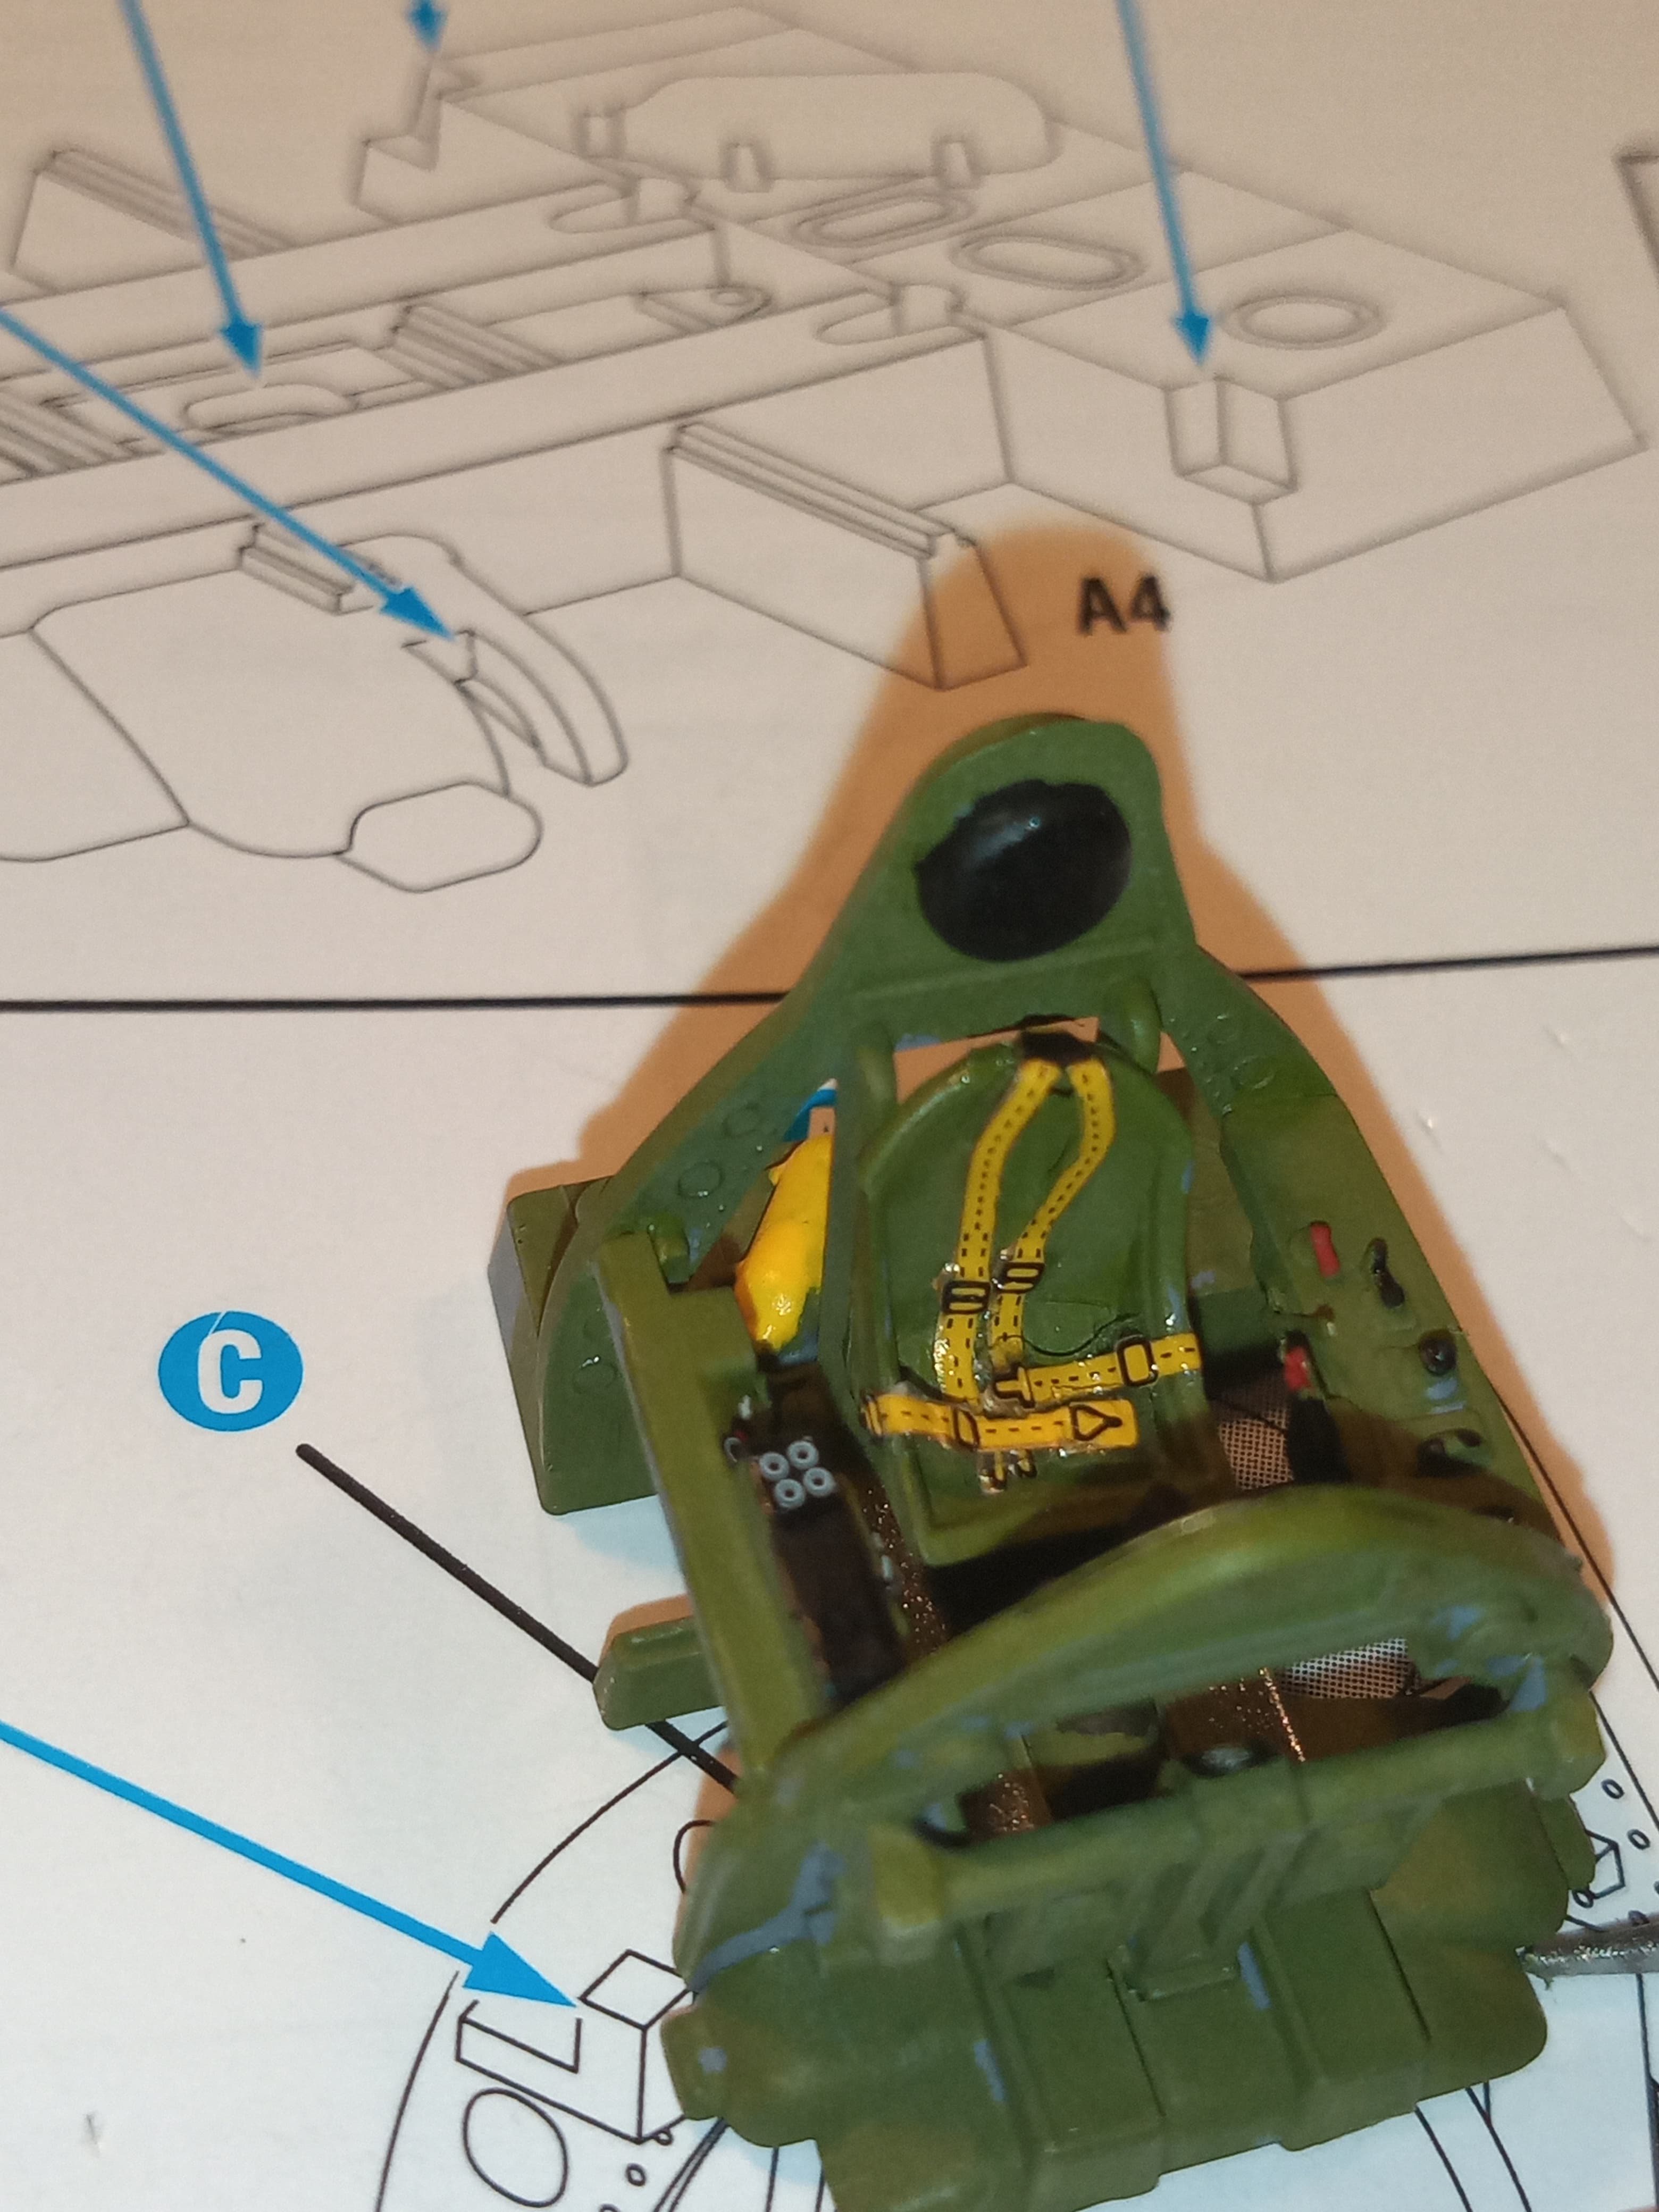
And with all the parts assembled into the cockpit frame.
I have to say, I love the detailing of this Arma kit… Are they all like this I wonder ?
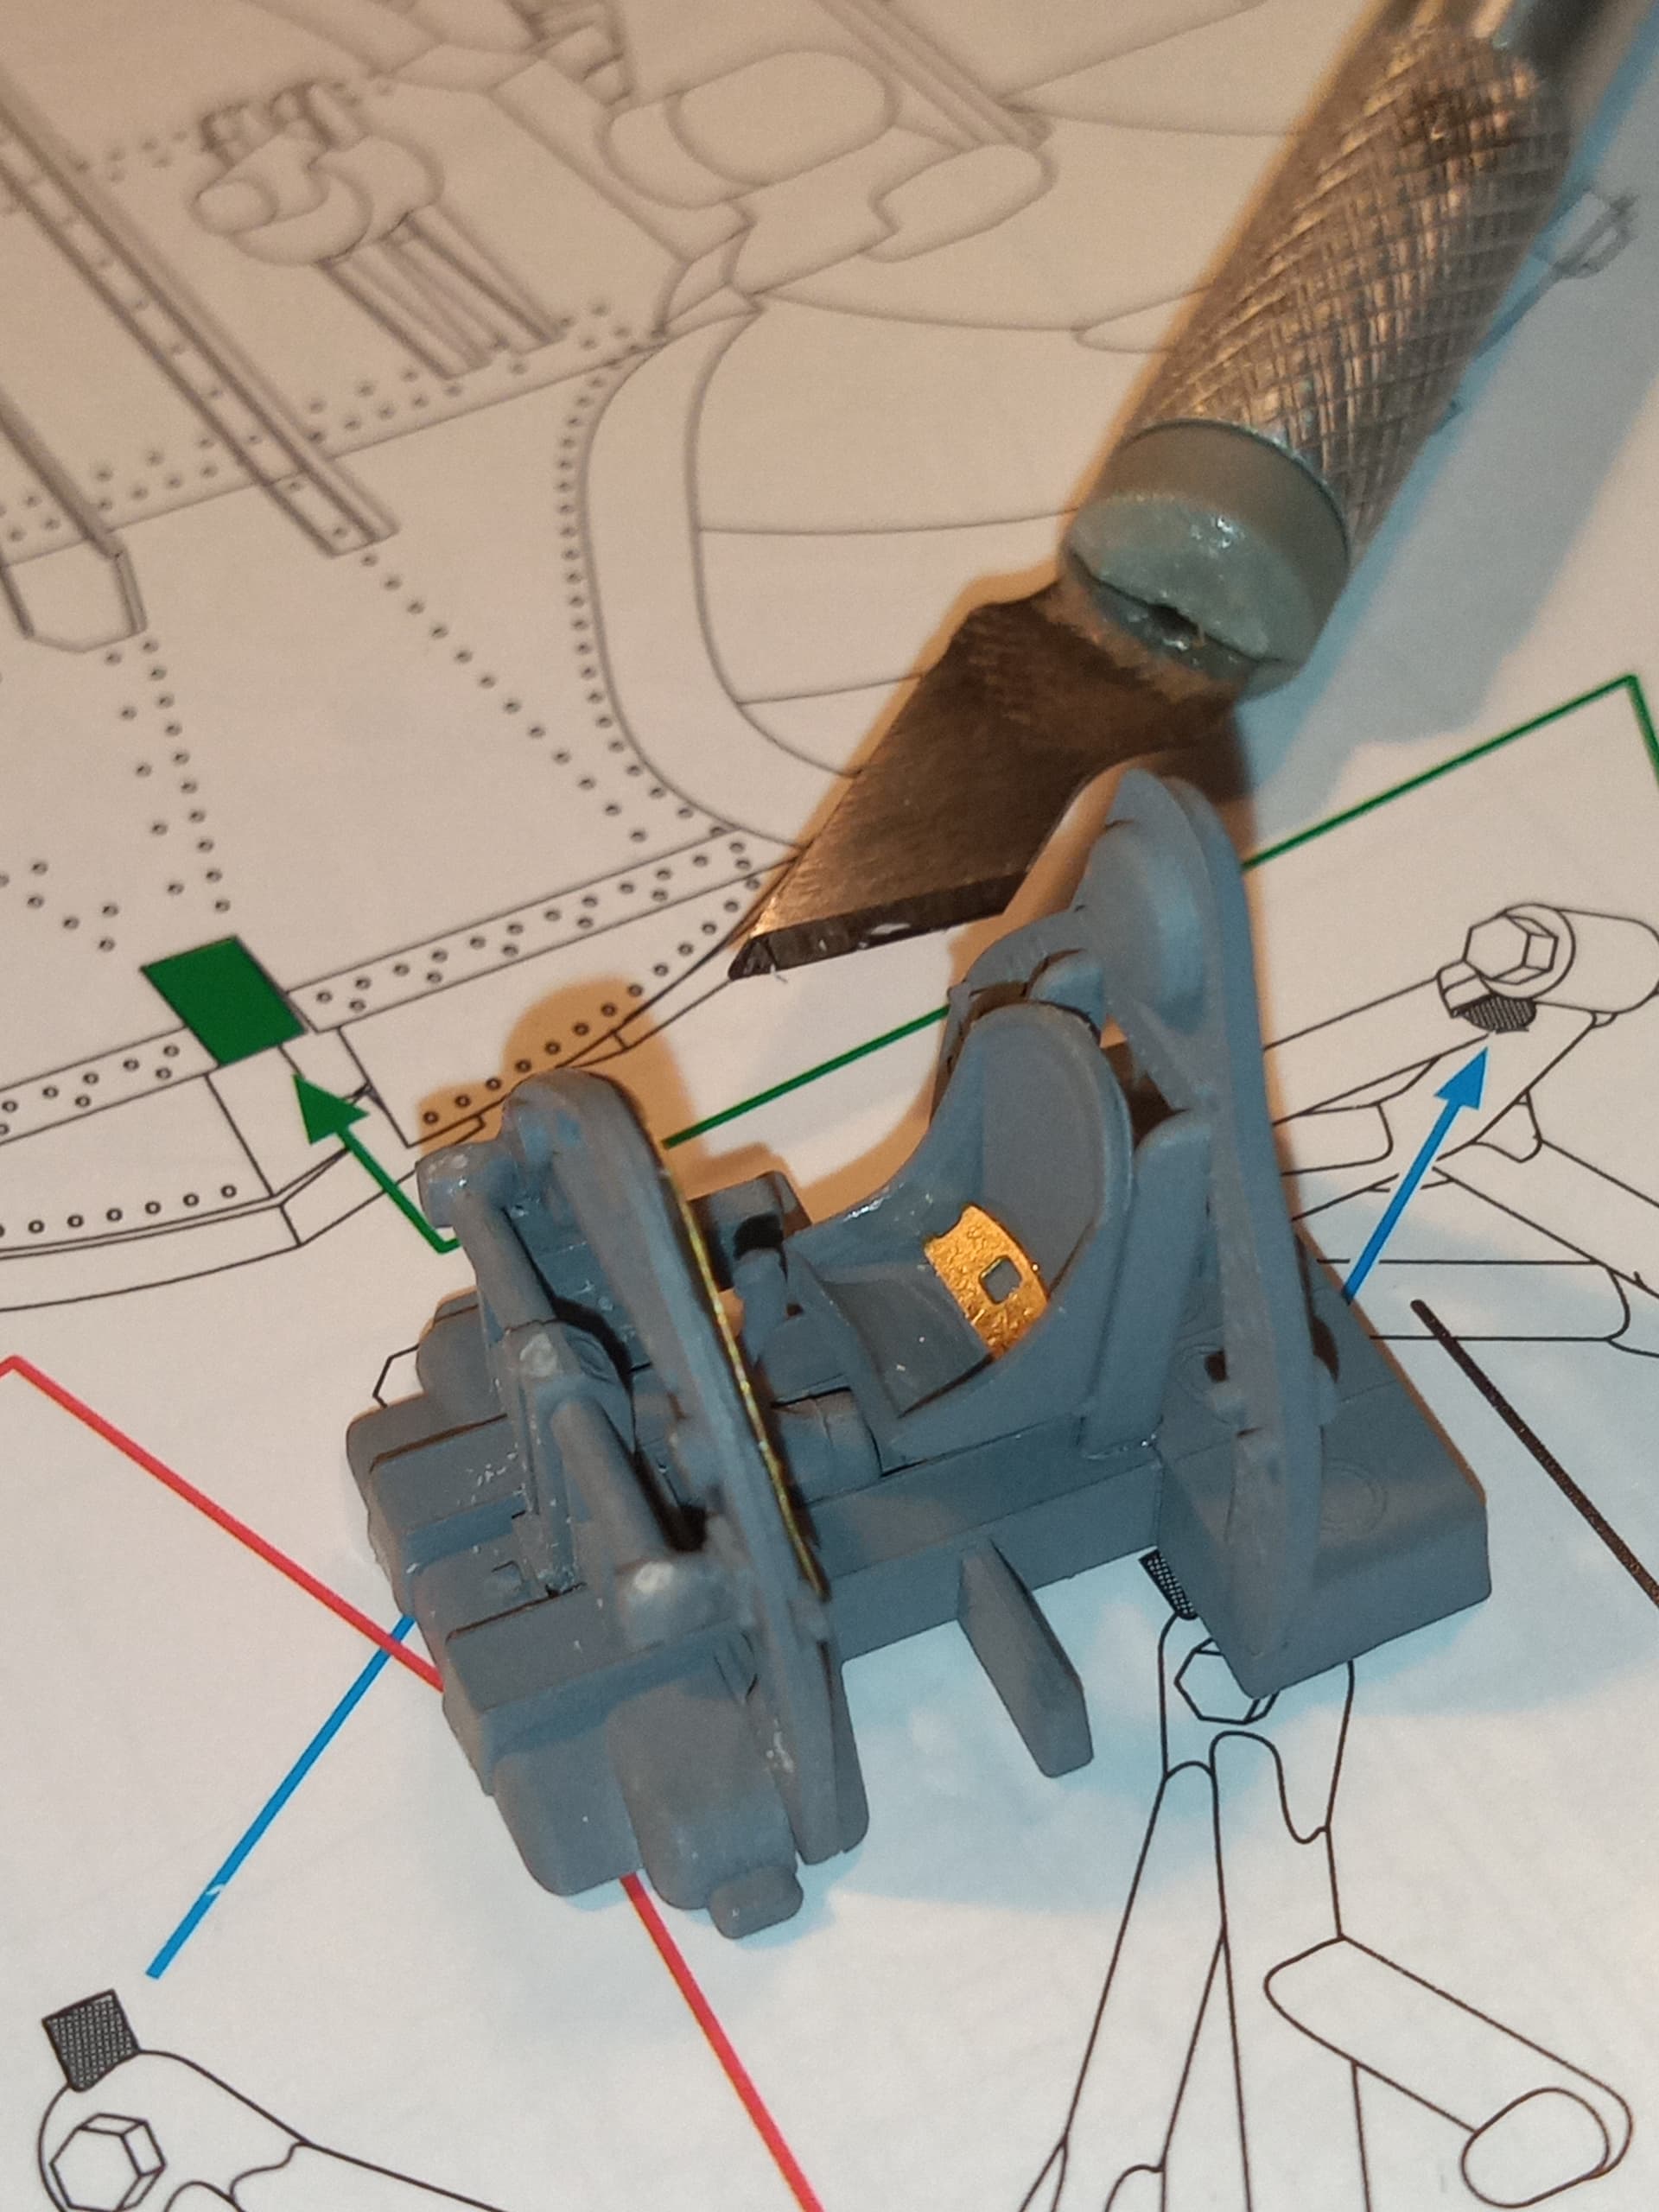
And this is the bulkhead Infront of the cockpit frame … this side has 3 PE chain mechanisms which I think would of been for the undercarriage?
This was a real steep learning curve using PE this small and even doing a tiny cockpit like this, but I think it looks ok. Hopefully the 1/48 FQY will be easier lol.
My eyes are bleeding. ![]()
![]()
Lol , tell me about it … I am just getting my focus back haha
Looks great John. I don’t know if all of their kits are like that but haven’t heard anything bad about the company.
Im pretty impressed to be honest, its all well detailed, loads of in depth idiots guides in the instructions for grey areas and how to make sure bits are positioned … recommended by what I’ve seen so far.
Congrats on getting that all together John, those are microscopic! It all looks spectacular together. I hope you had a nice relaxing whiskey after that session!
Thanks Matt & Ryan. The whole fit so far seems very good. I had to sand back a few locating areas, but that was due to me priming everything on the sprue before I started.
I love fiddly bit details, but this is small even for my taste!!! You put down a great result here!!!
Thanks Erwin, I am looking forward to the 1/48 F16 to give my eyes a break lol
I can imagine that ![]() I have some 1:48, 1:32 and a 1:24 aircraft kits in my stash…
I have some 1:48, 1:32 and a 1:24 aircraft kits in my stash…
Started on the landing gear mounts and engine.
Bulkhead in front of cockpit area. Attached is the upper mount for the landing gear… Just needs painting.
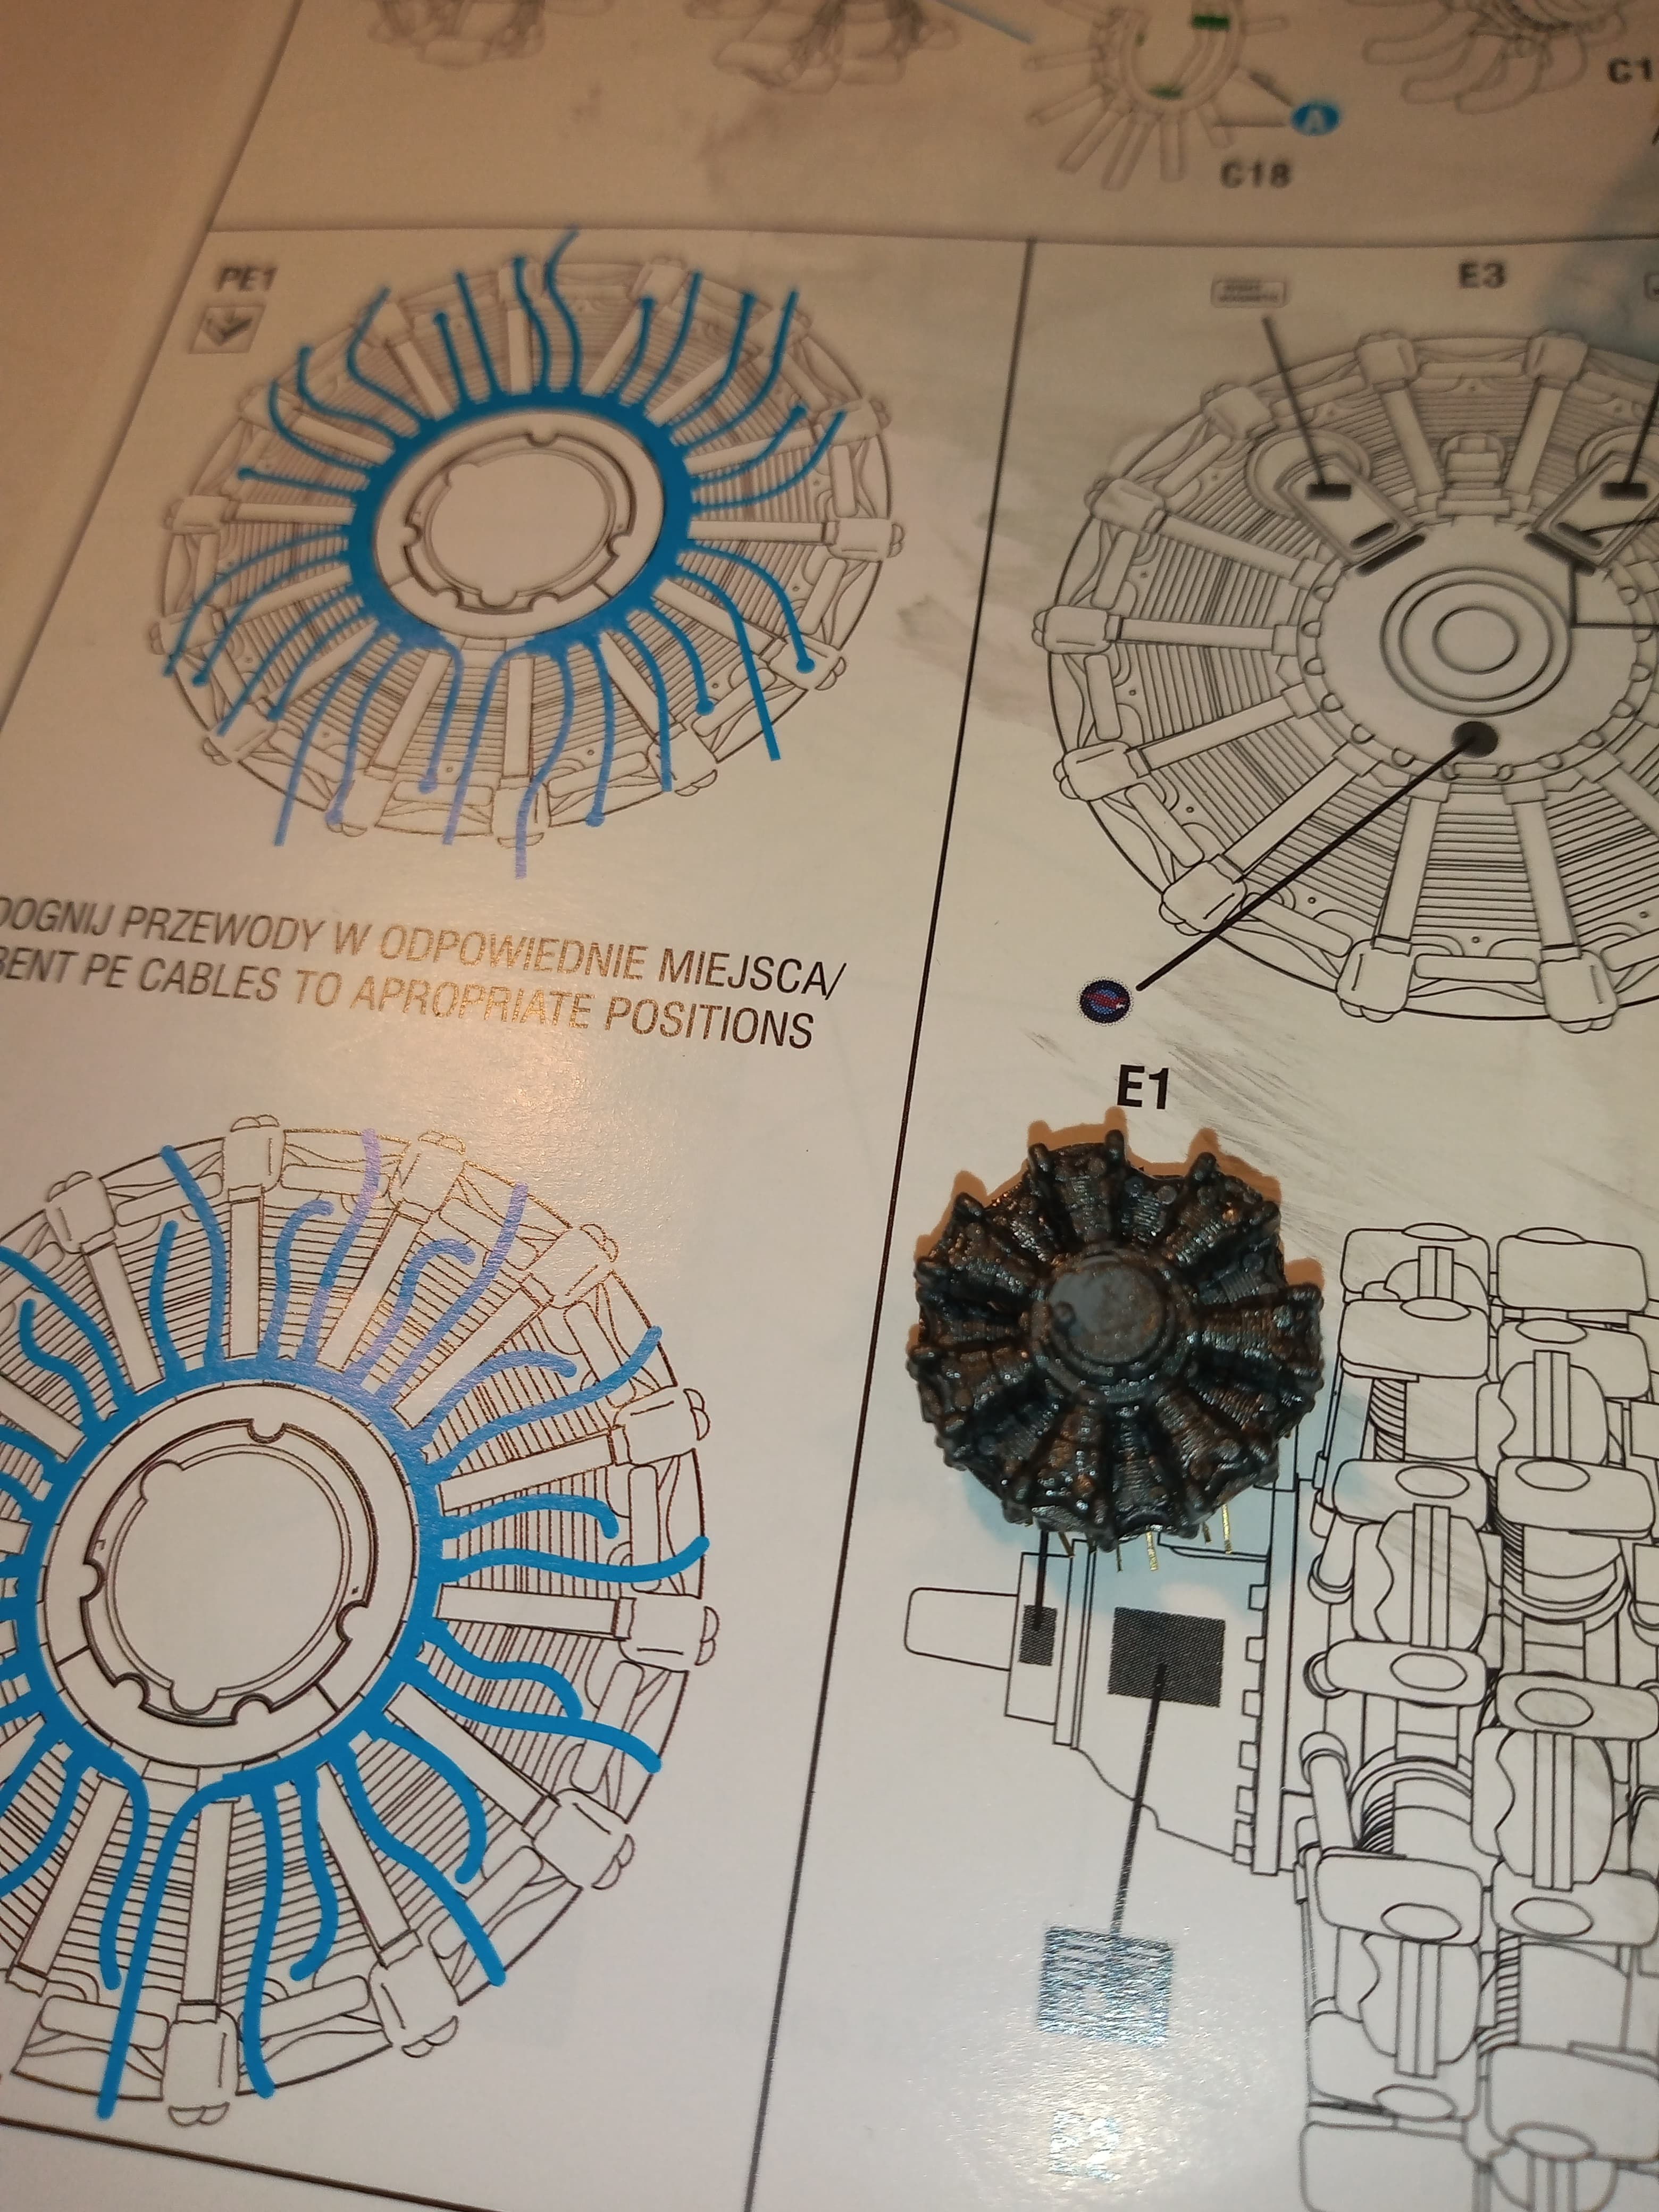
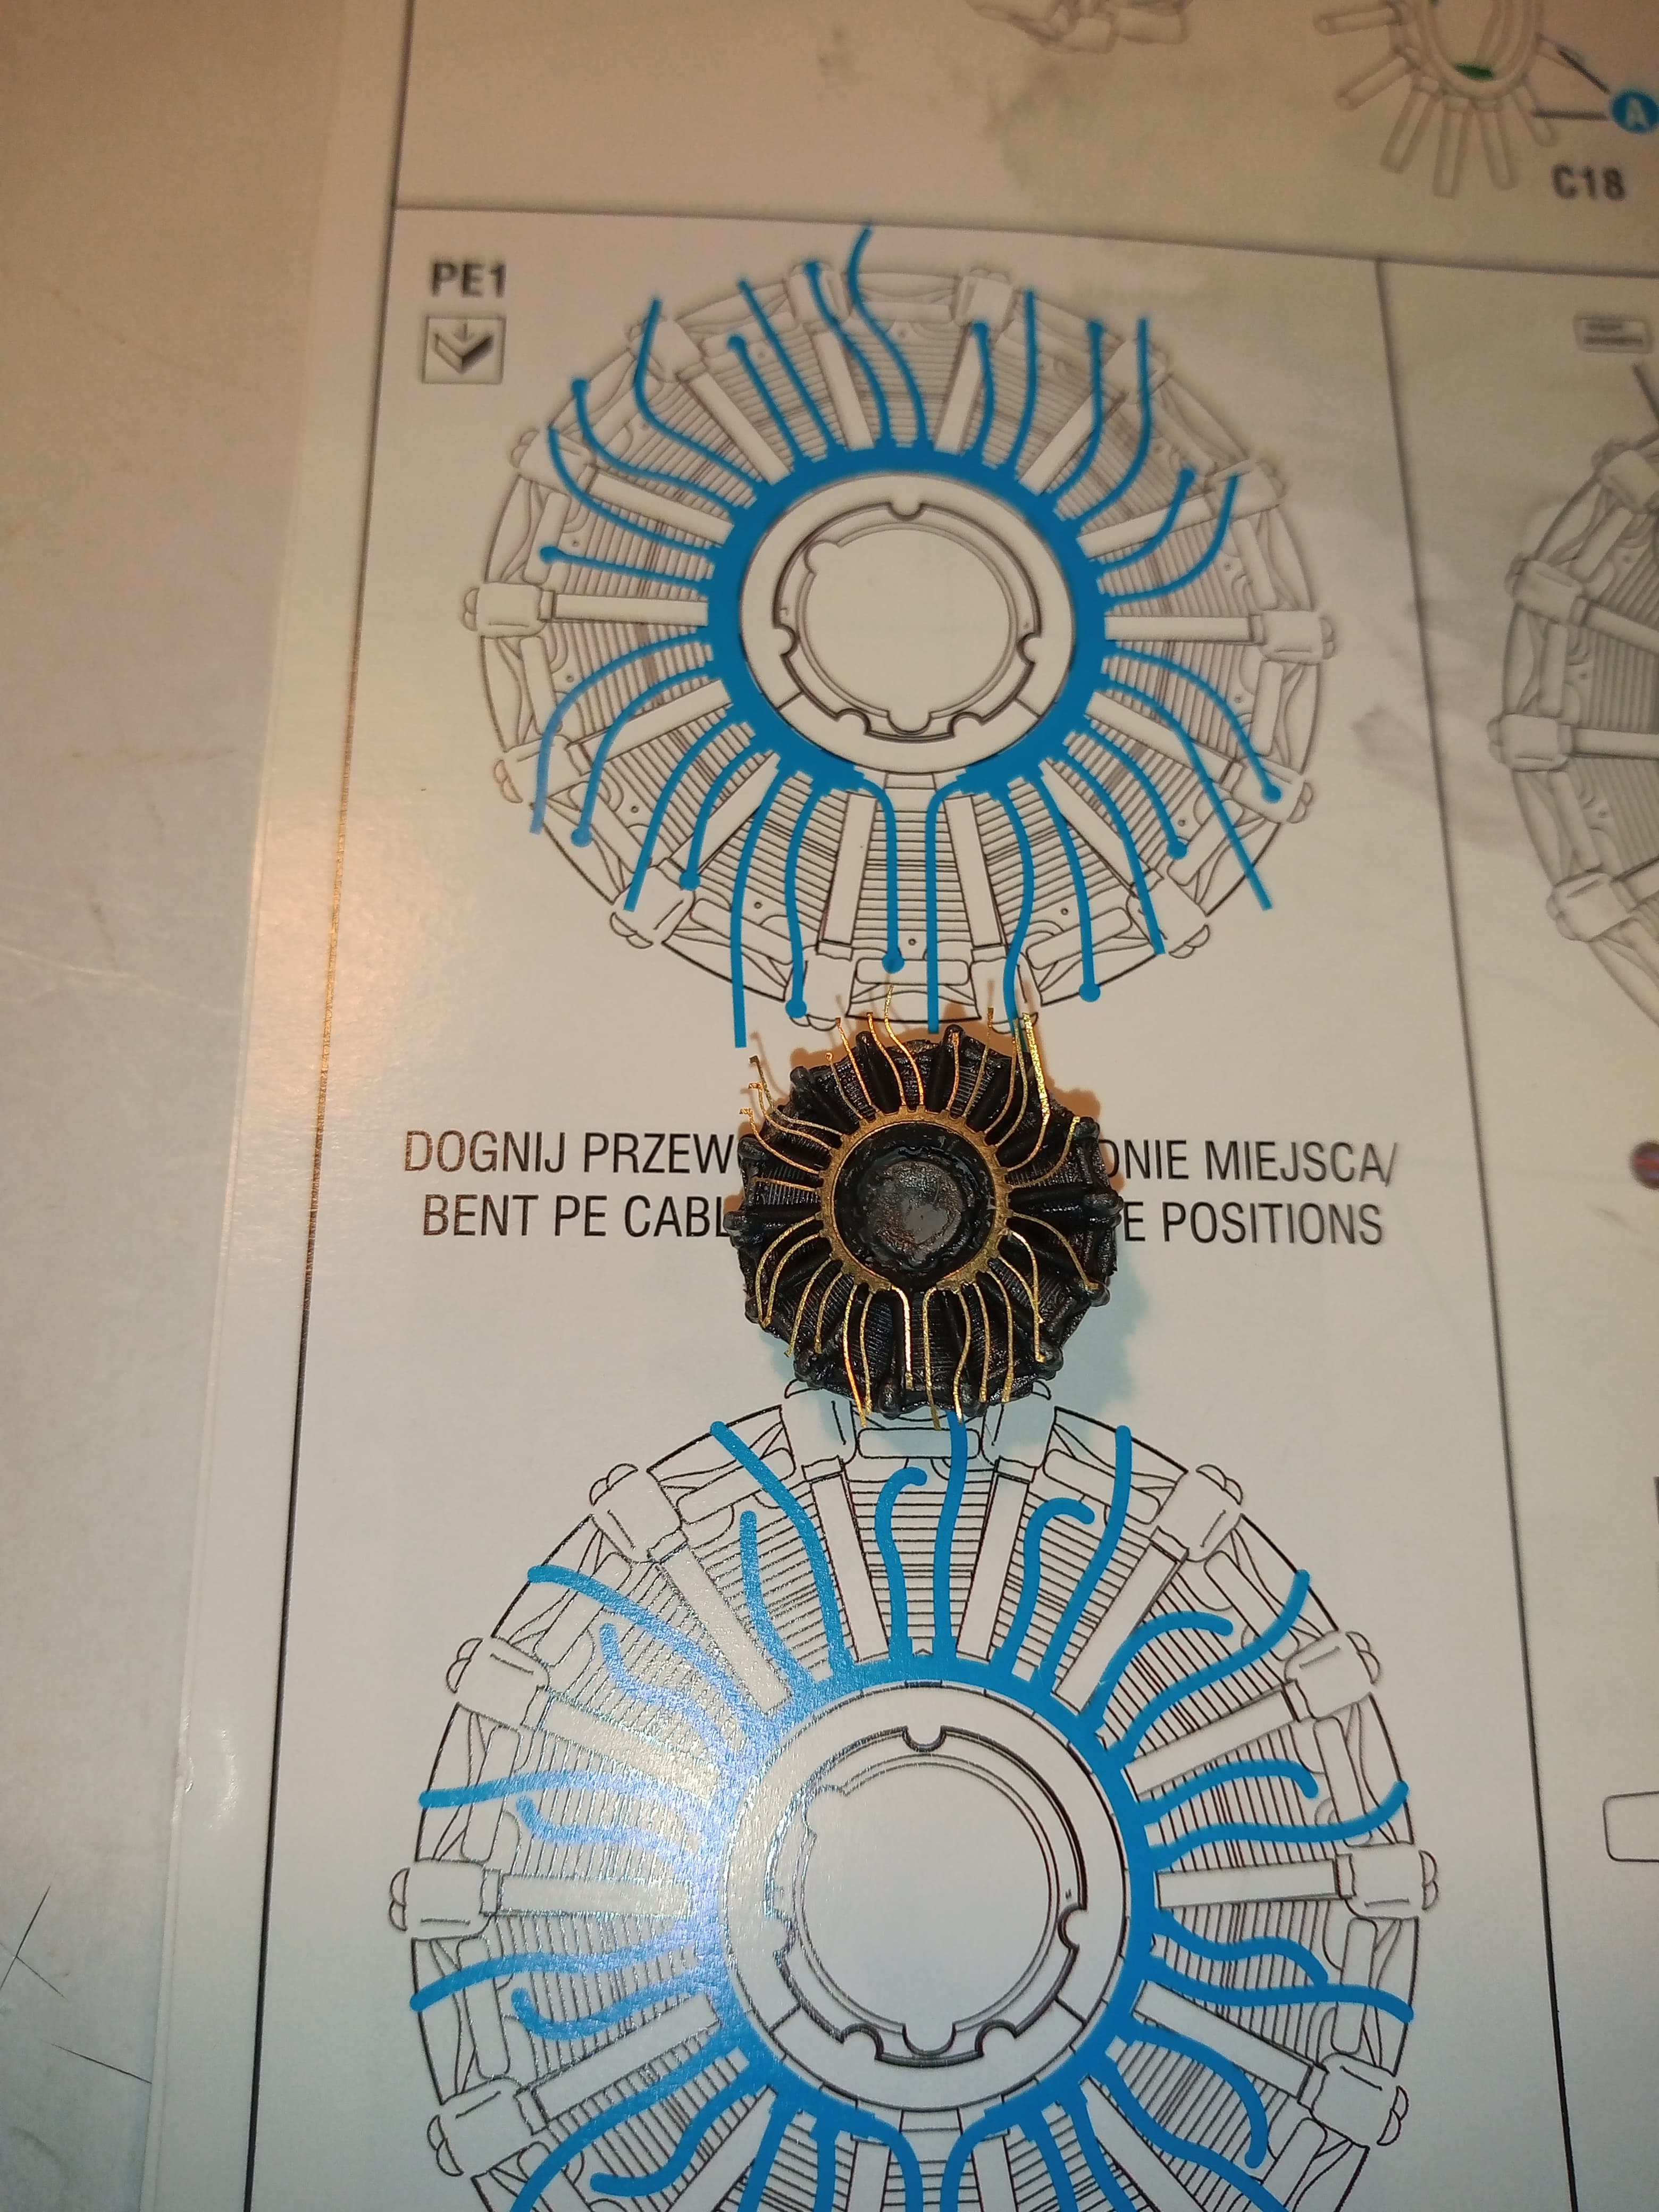
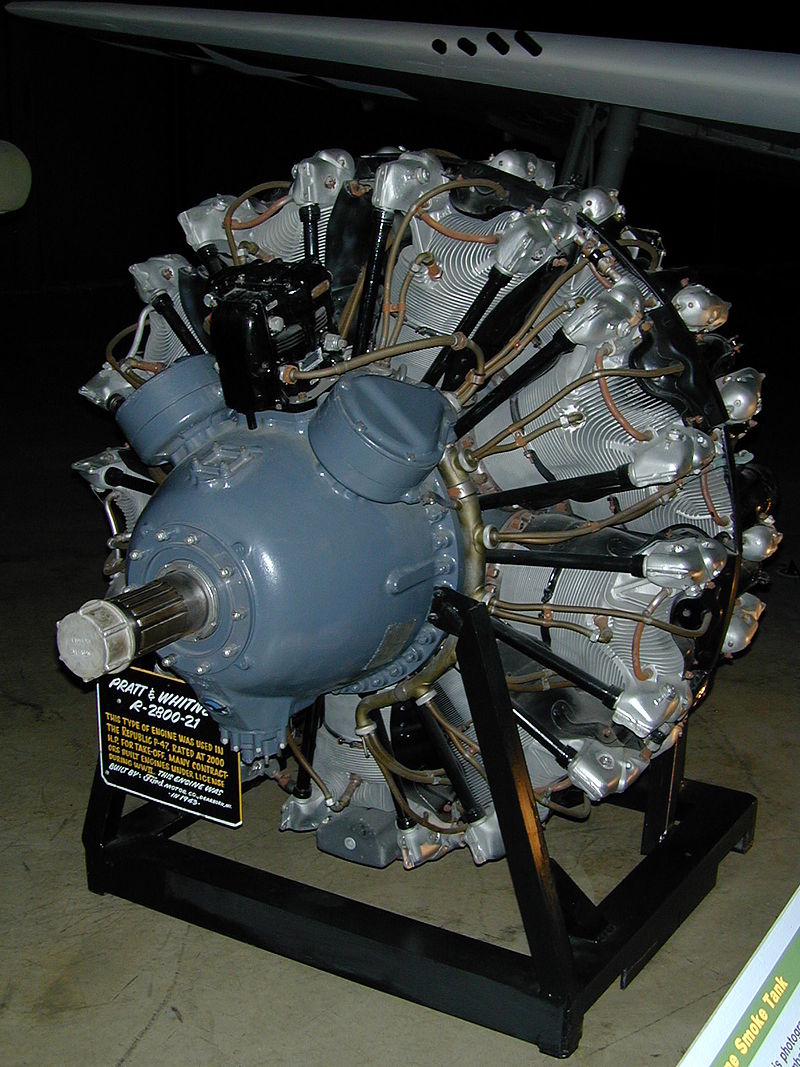
And the start of the engine
And the PE wiring loom in place but the ends are not secured yet, nor painted…not sure what colour they should be ??
Thanks Erwin, Thats very useful ![]()