Sorry you had the decal issues but I am actually glad this came up as I had forgotten what to do with old ones. I have a '65 Shelby GT350 kit with a sheet that looks as old as the original car and short of buying a new kit wanted to try and salvage them first.
No, I don’t have the skill yet to hand-paint pinstripes in 1/24 let alone 1/1.
Cured paint does not dissolve. Take your acrylic ‘water-based’ house paint. It can be thinned with water for spraying, etc, but after it is cured, leaving the garden hose on it will not wash it away…
Ah, John, that saucer is just a beautiful combination of colors and textures. You’ve taken what could have been a very vanilla model and brought it to life.
Thanks Matt, it has livened itself up now those decals are on. Im glad the Tamiya clear worked in protecting them or else it would of been going into the nearest black hole lol
Primed black with Mr. Surfacer Black and spray painted with Tamiya Matte Black.
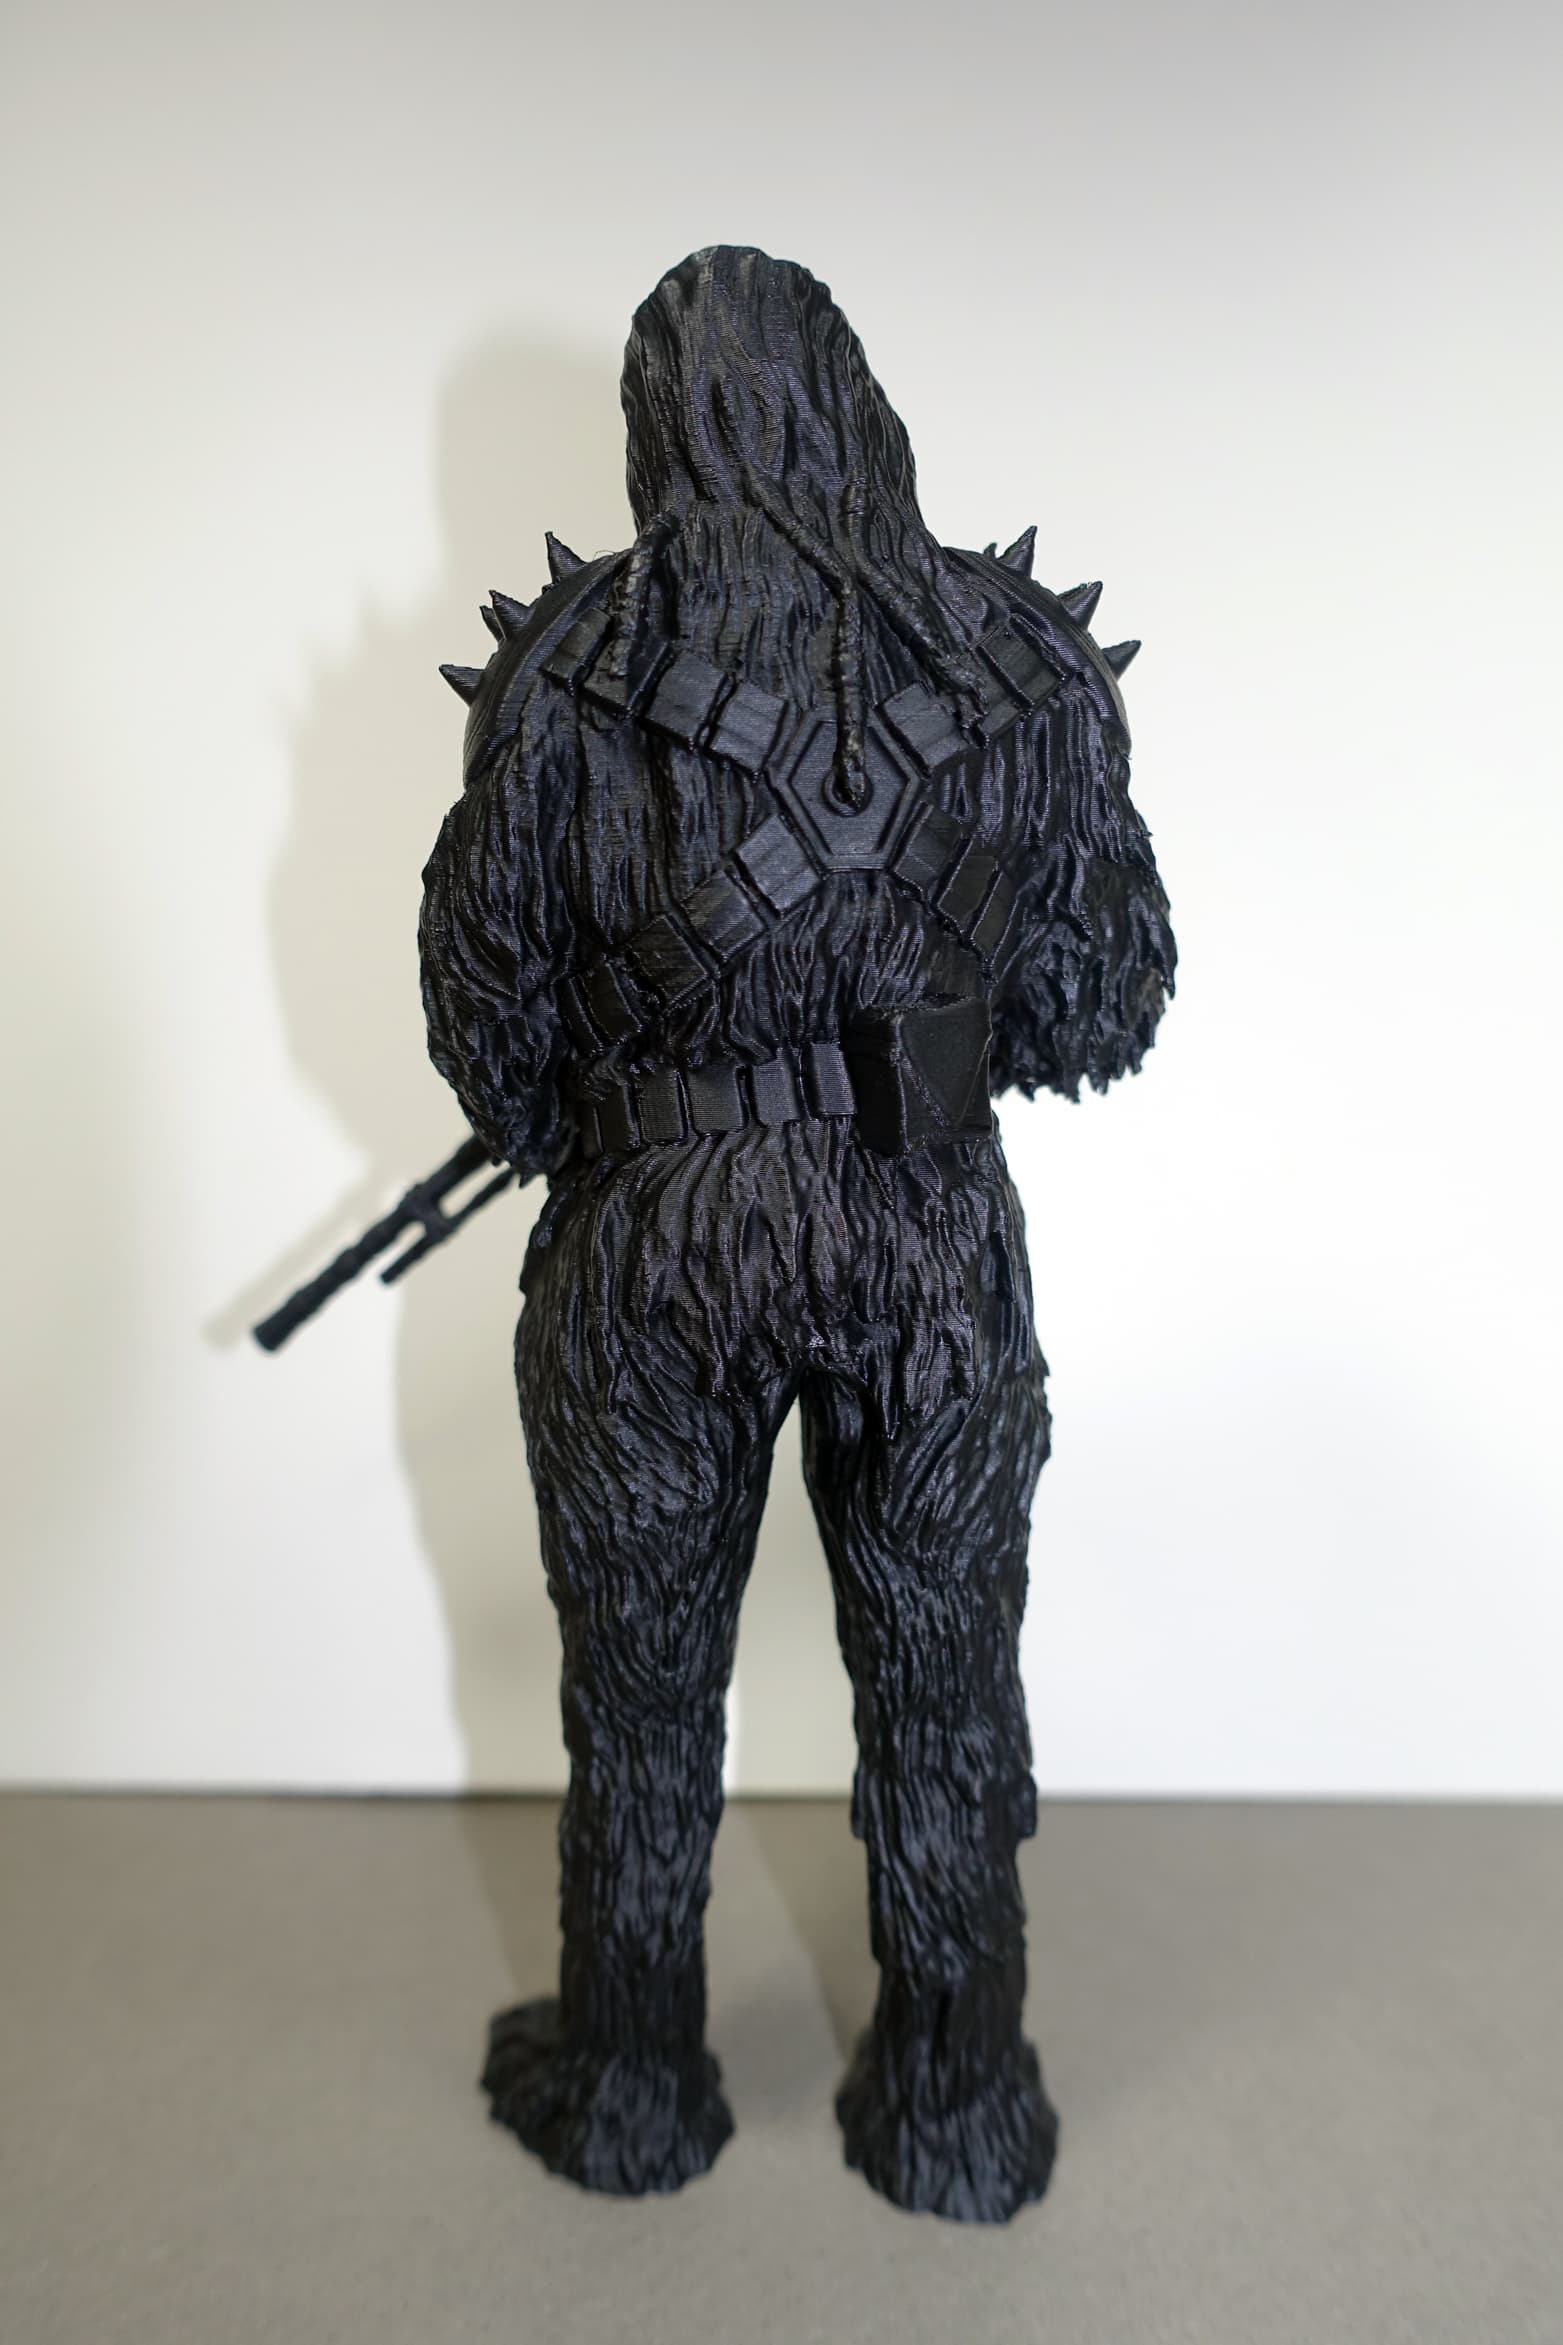
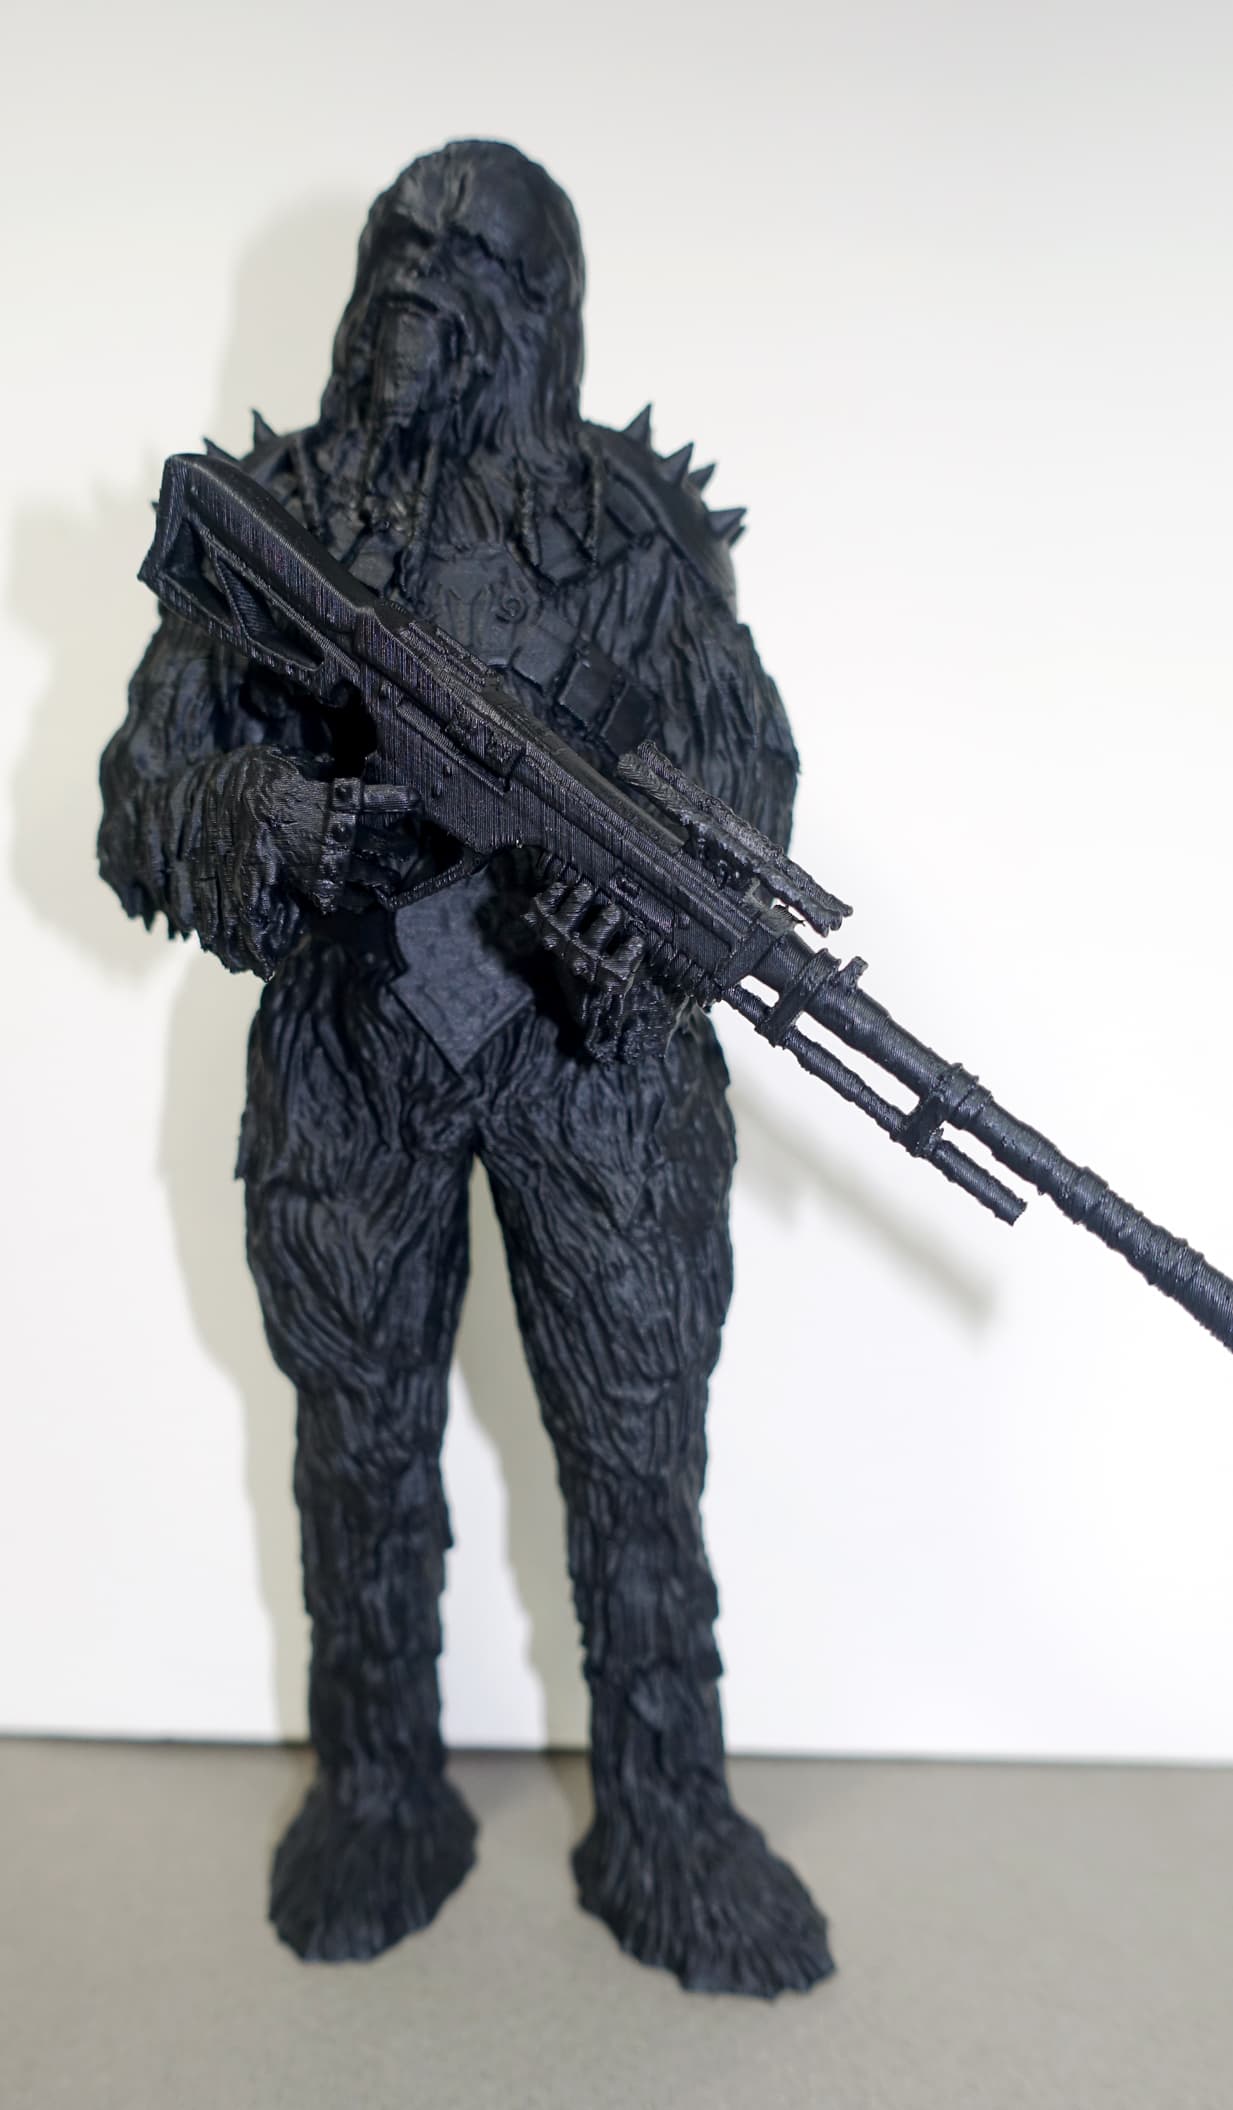
Krrsantan has a lot of gray hairs so I’ll paint and shade those in.
The print lines on the blaster rifle show. Can sanding them to make them less prominent in appearance, or should I just leave them alone? Would sanding down the print lines ever make them disappear?
I have no idea if they would disappear with sanding, but that would be a lot of close knit, fiddly sanding …maybe gently try the top side piece on the butt and see if that sands flat …
Otherwise I would leave as is …I know you primed it with Mr Surfacer, but would some gently built up 500 help it to smooth out ?
It depends on the material used to print it. Some cannot be sanded, they go fluffy instead. Try sanding the underside of the foot to see how it goes.
Otherwise, you could consider thinning Tamiya grey putty with standard liquid cement (not extra thin), to make a slurry you can paint on the rifle. That will fill the lines and cover the surface and you can carefully sand that on the major spaces. The scope and barrel? If that worries you, you may need to scratch build replacements.
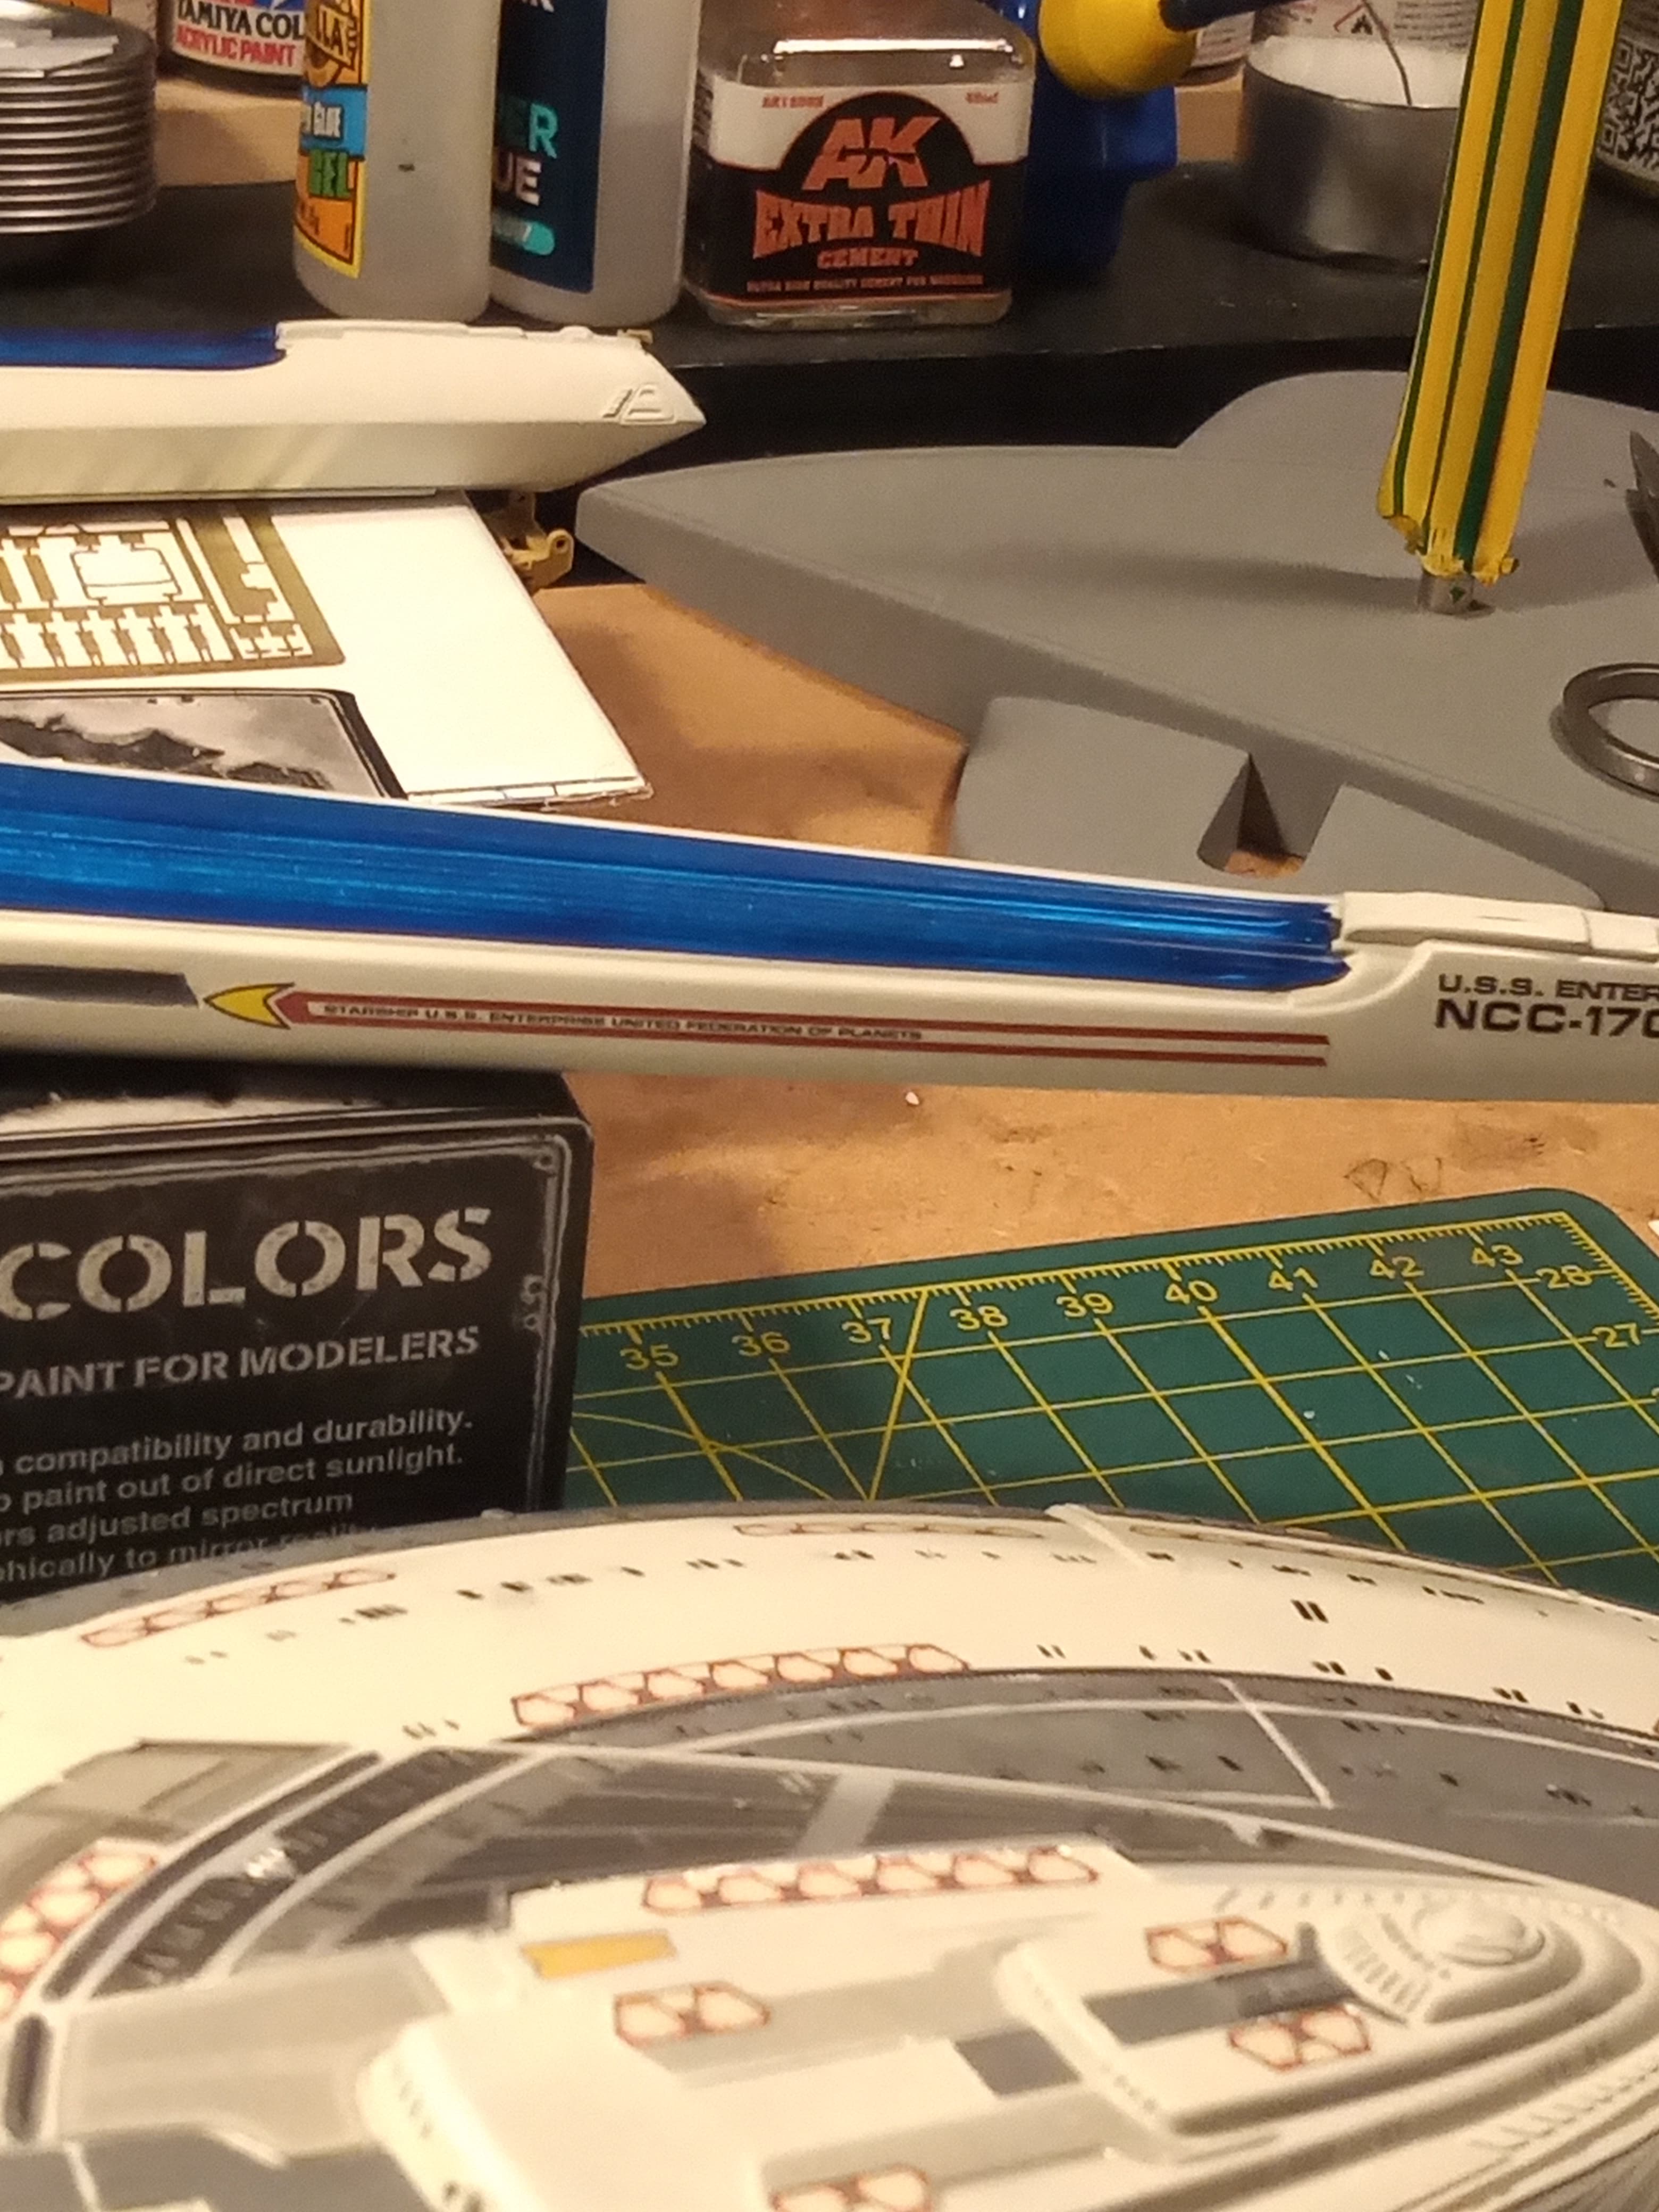
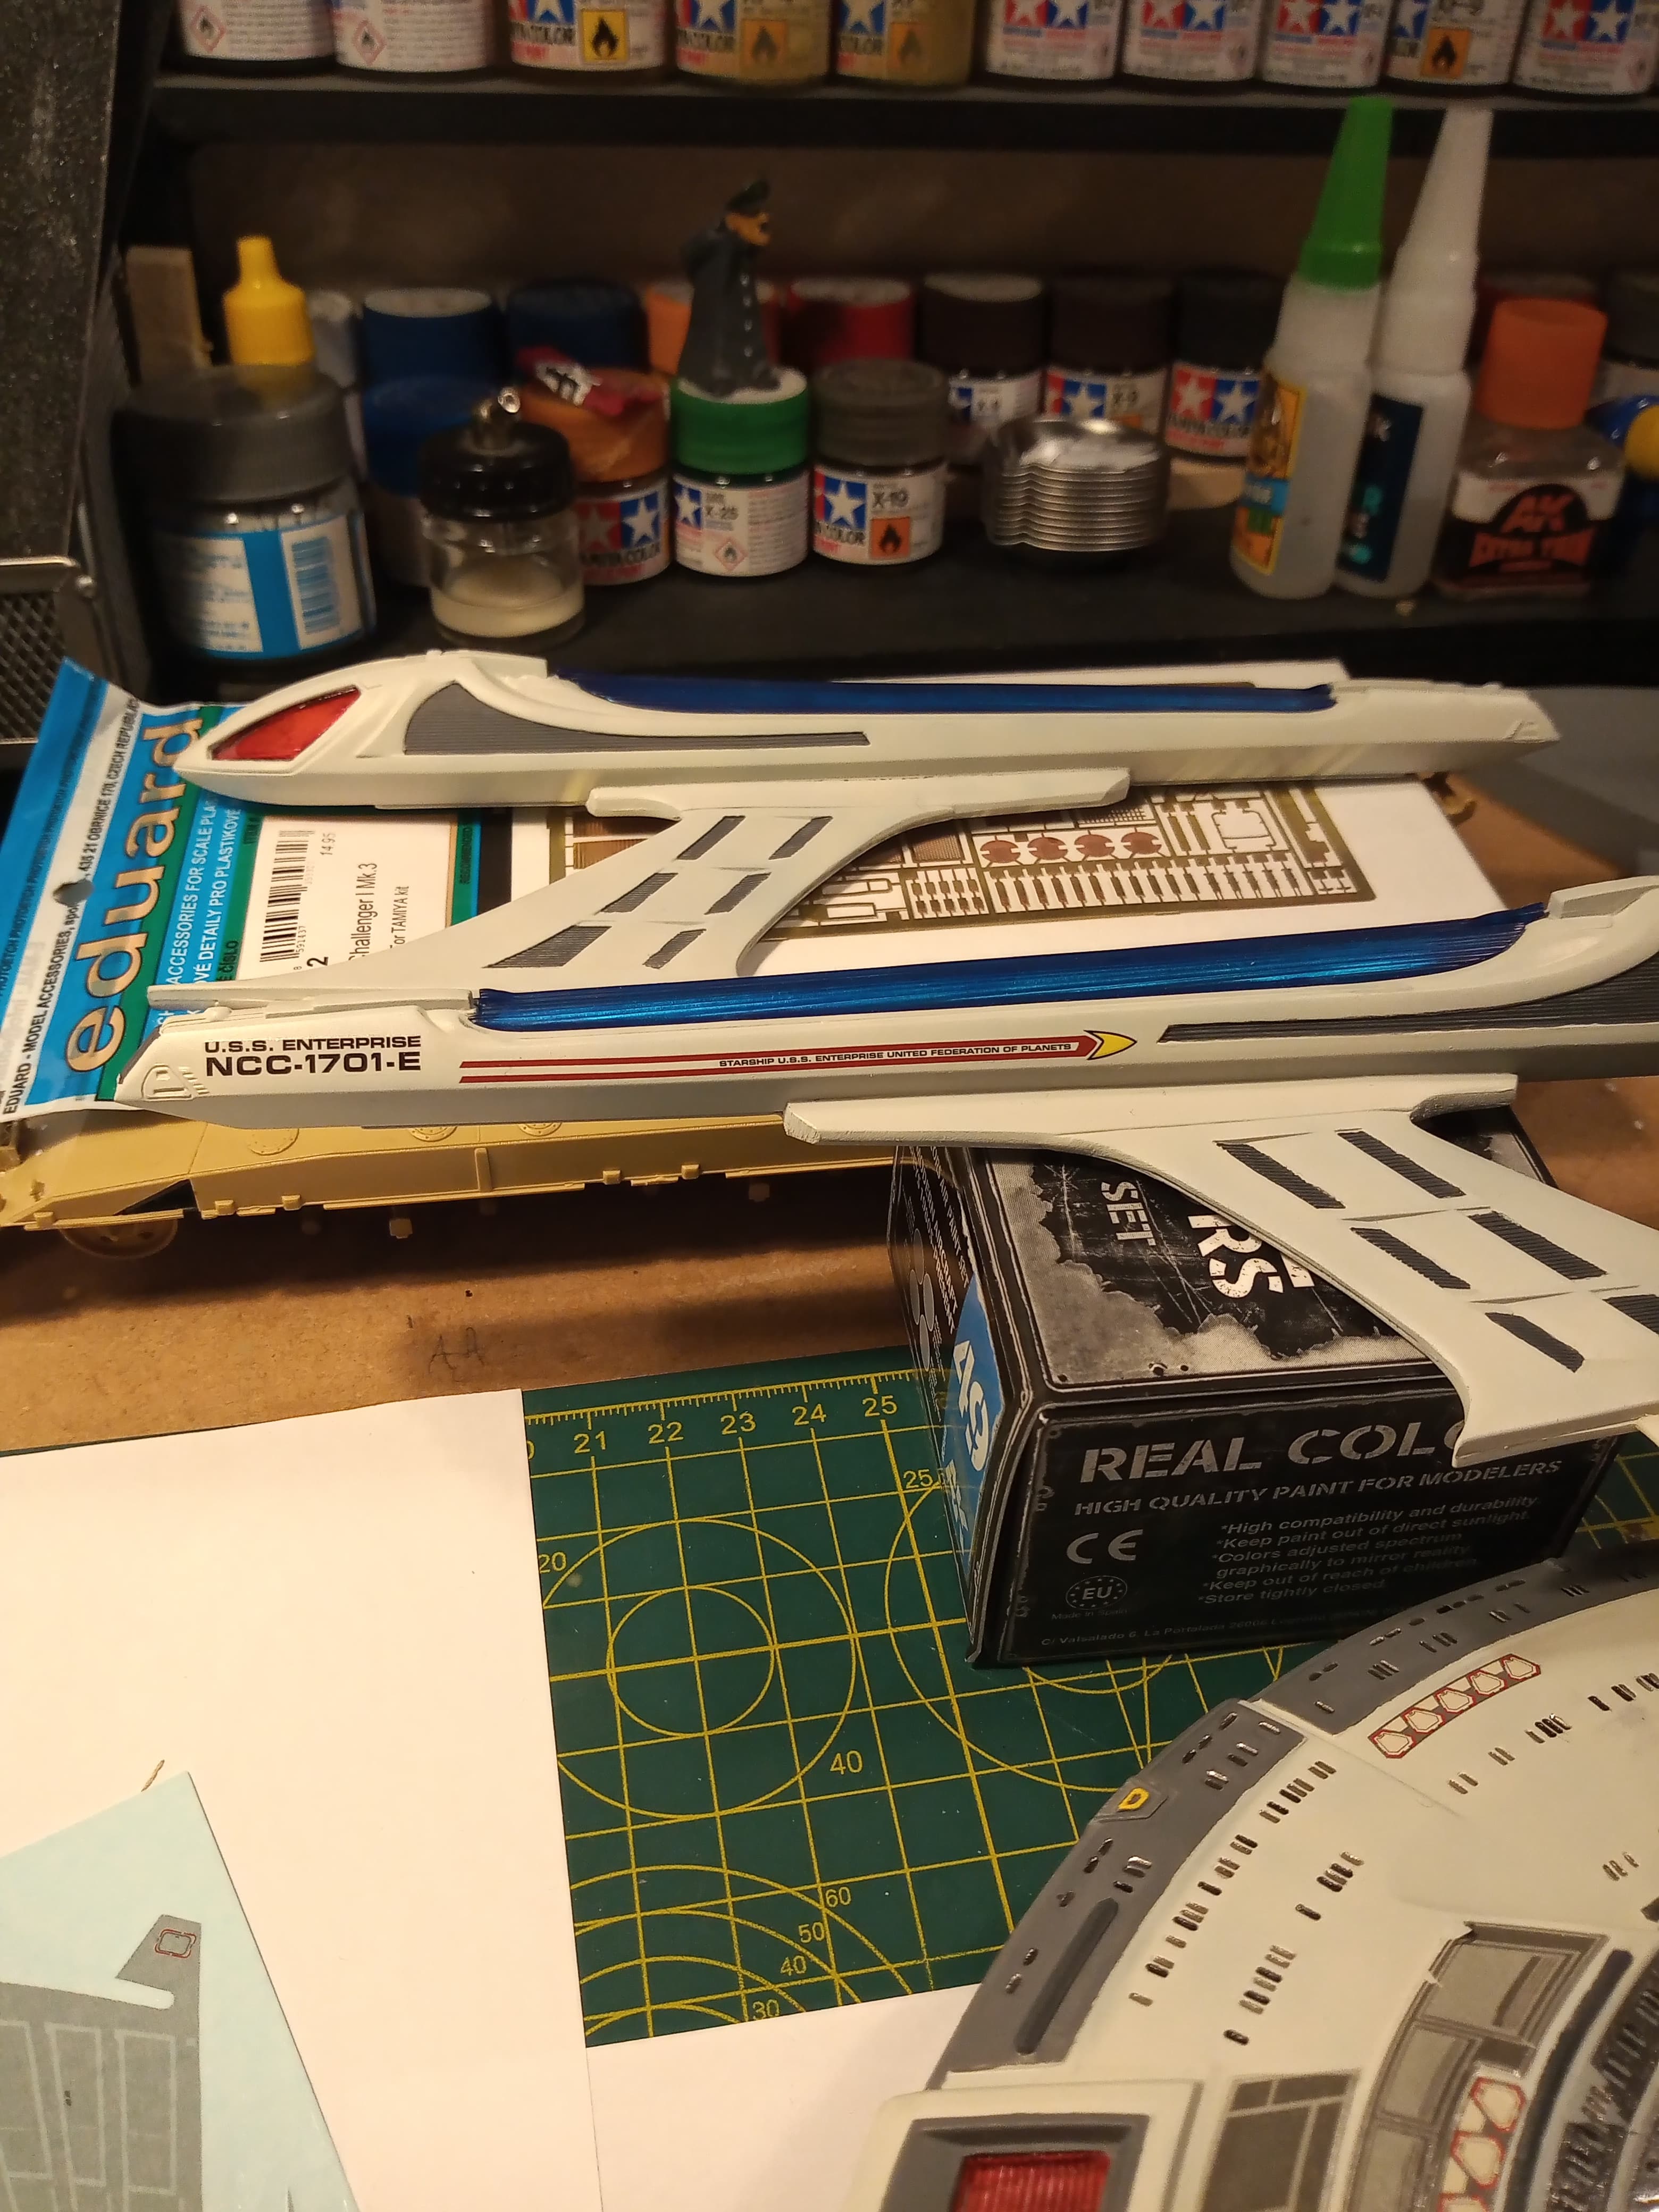
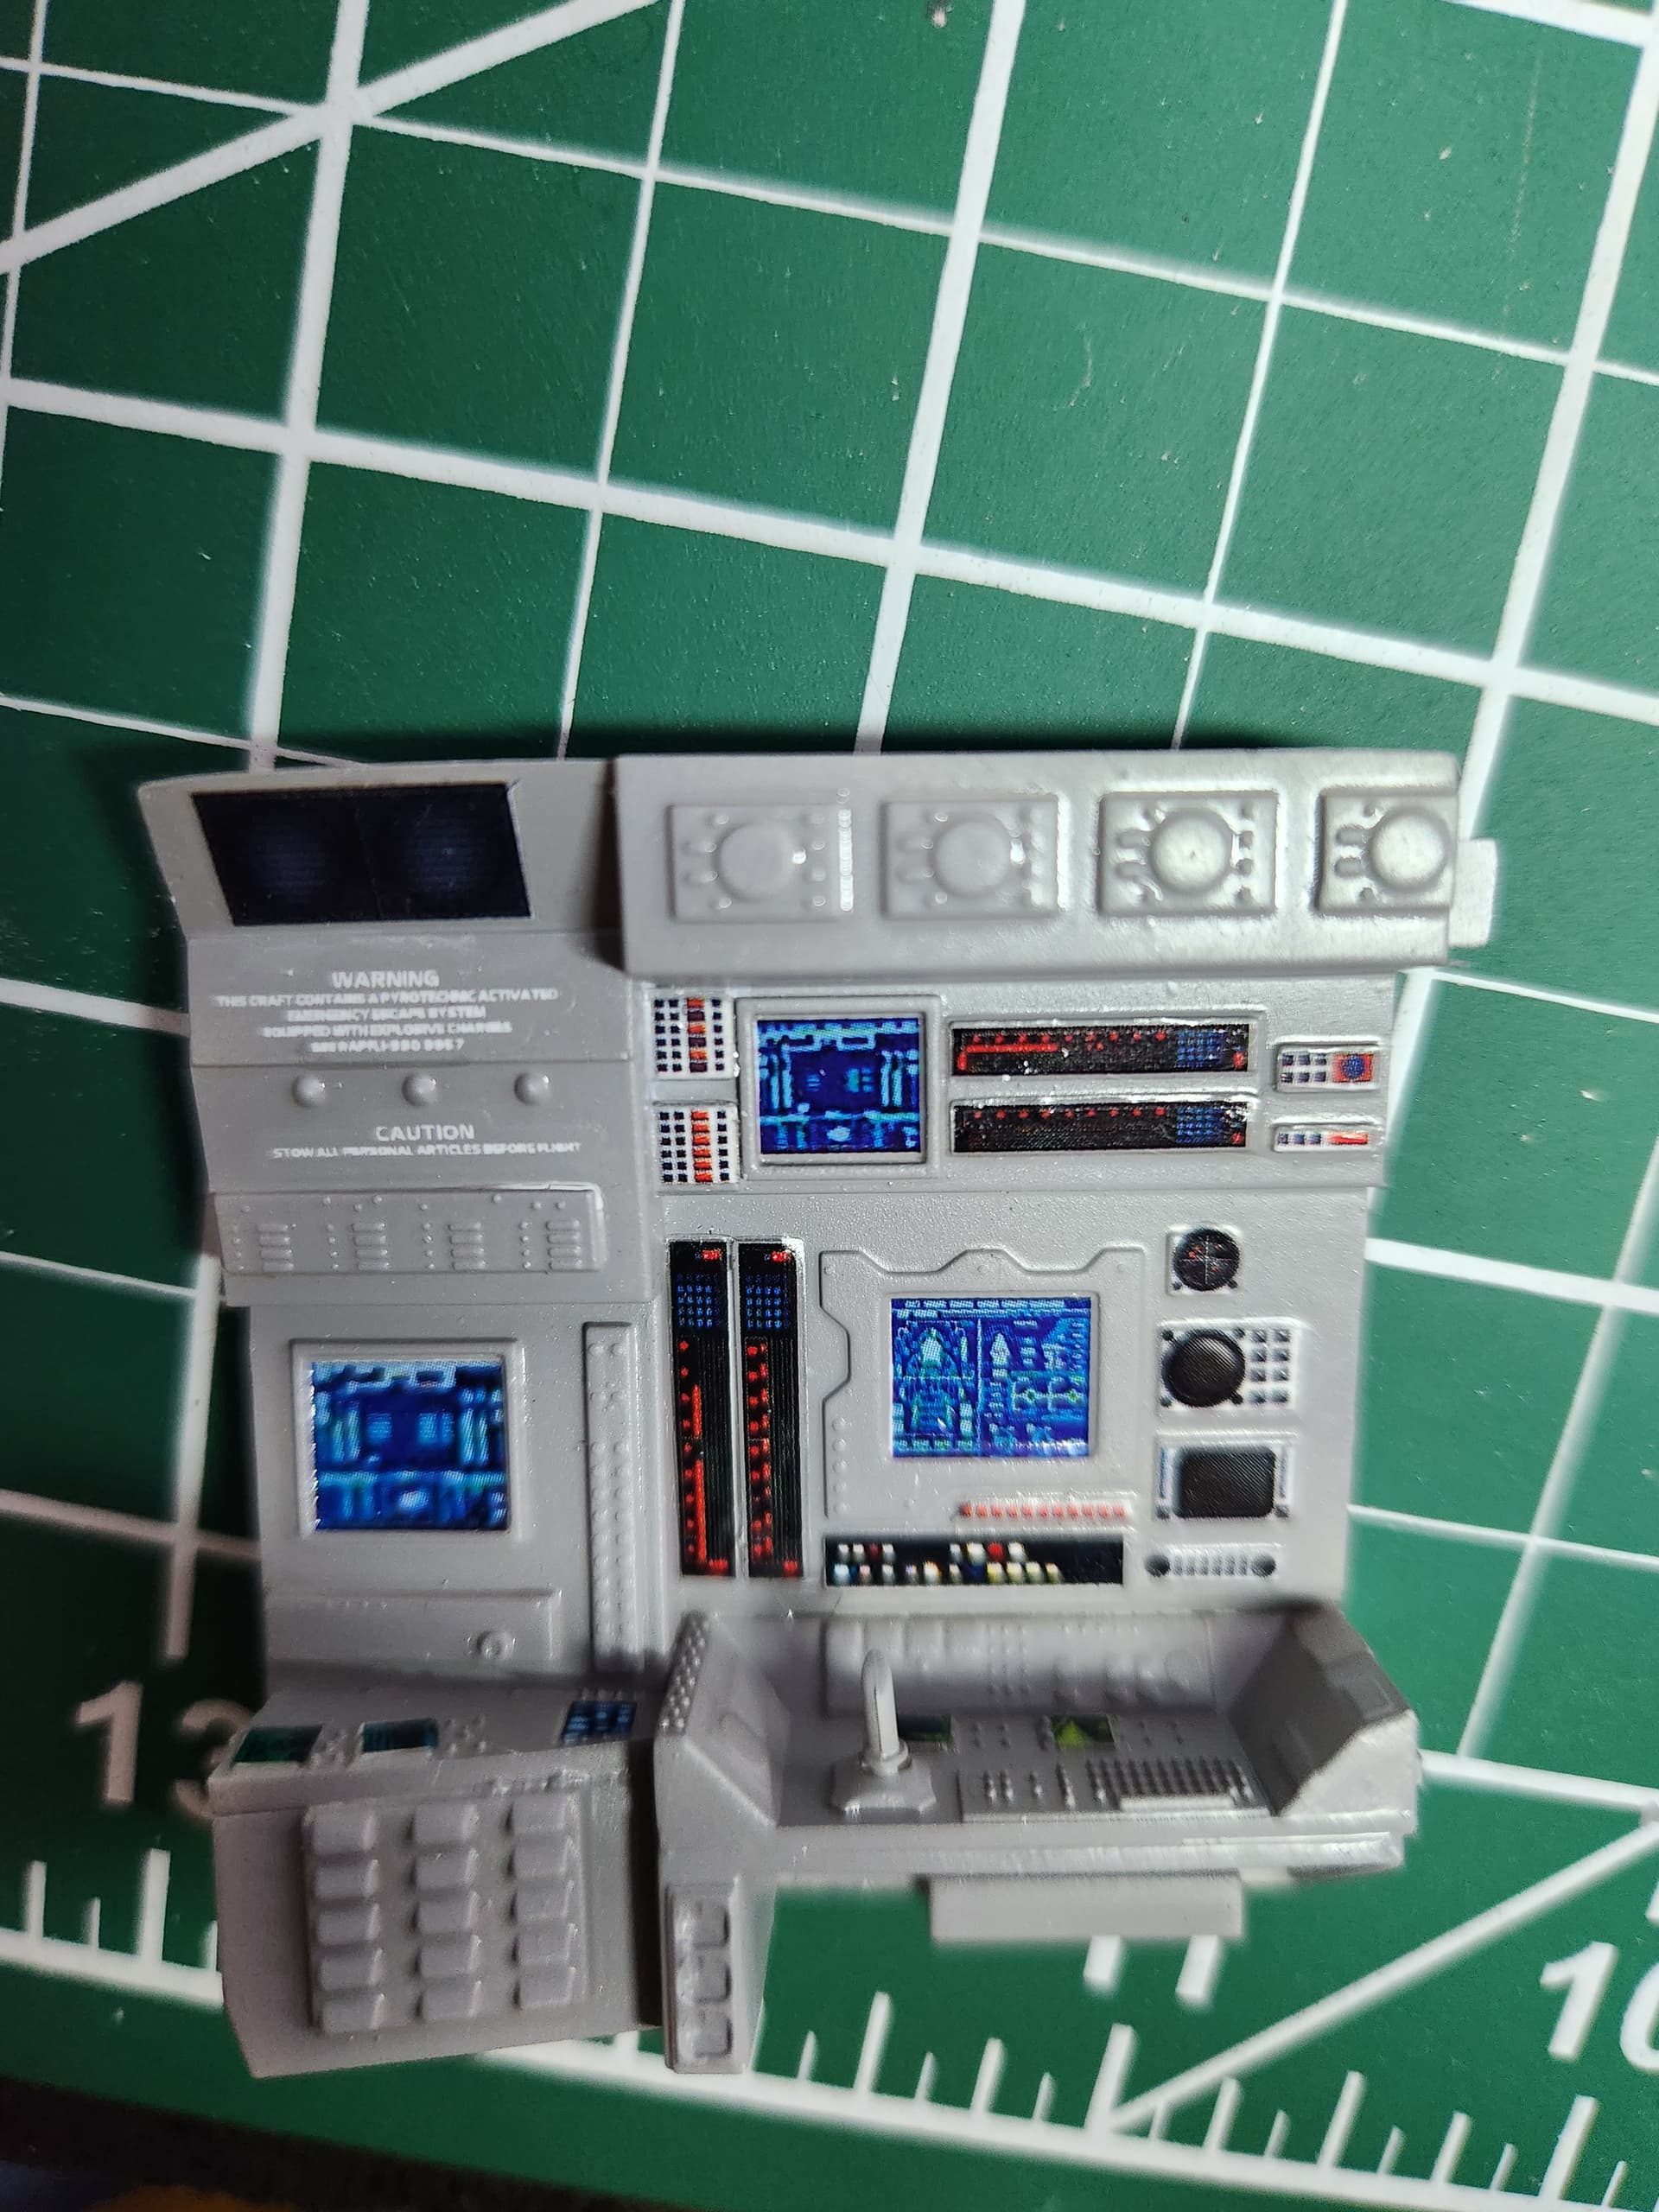
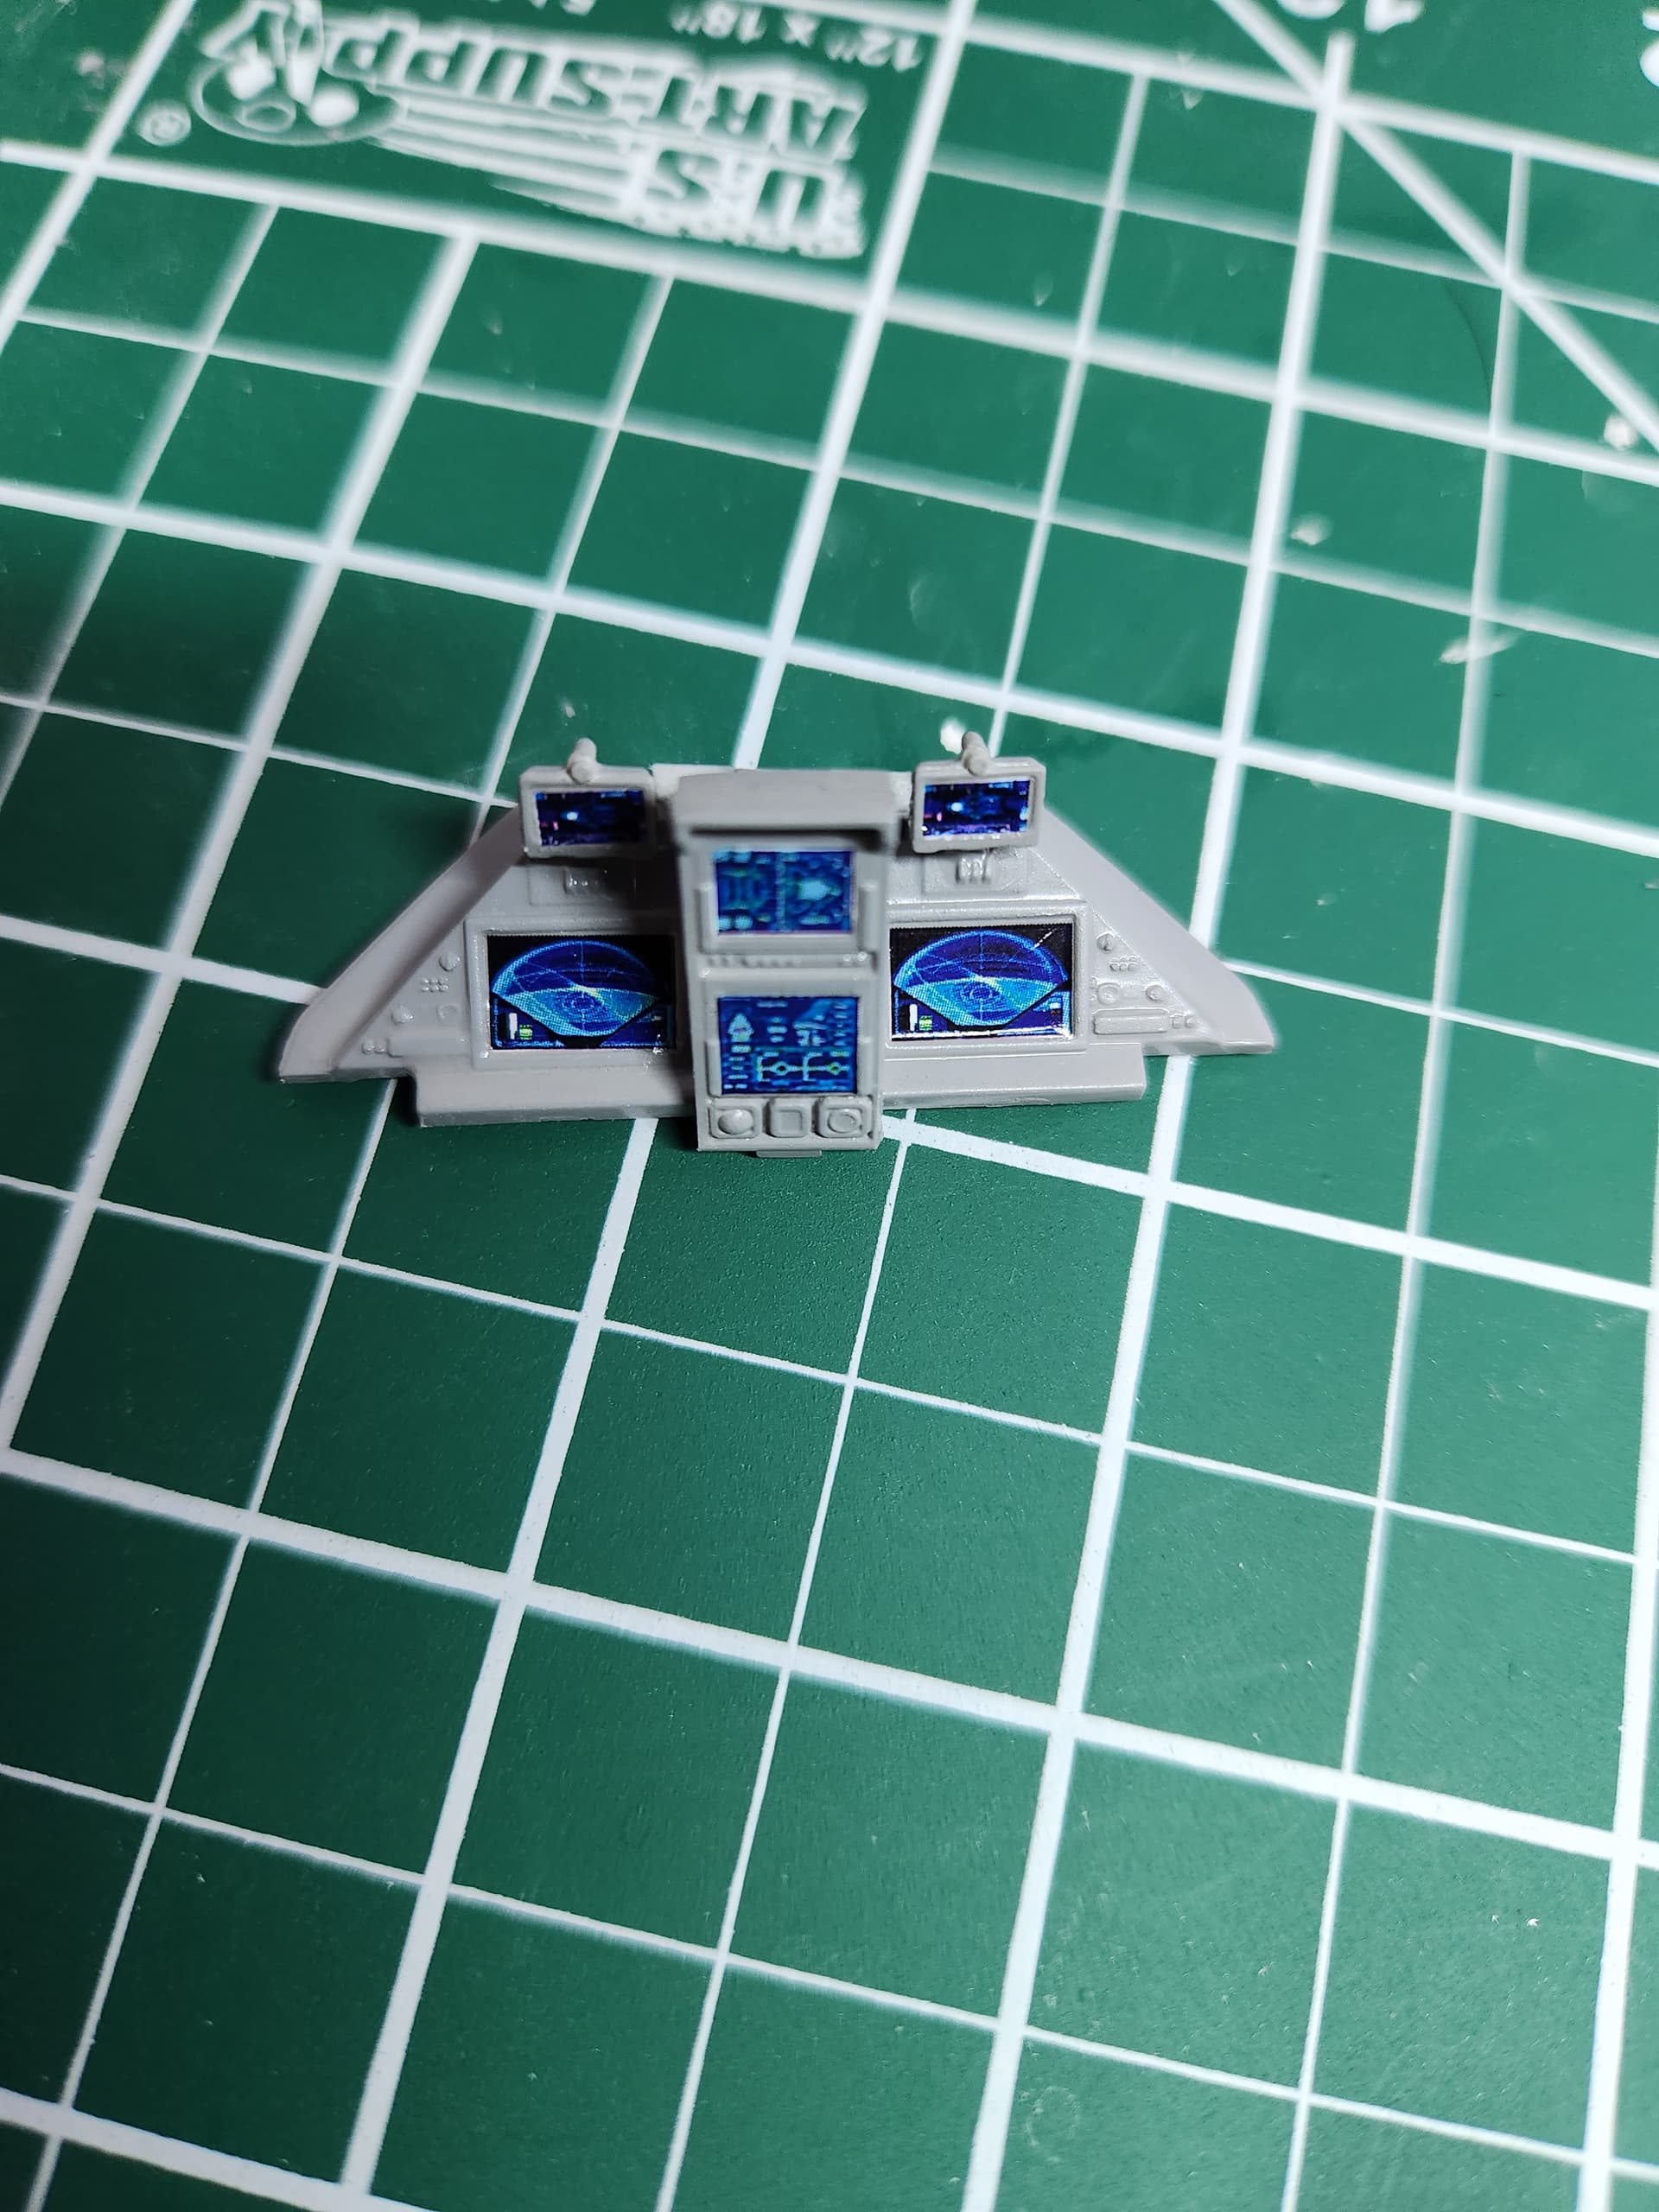
The underside decals are on… There were a few small splits but you won’t really see them as they sort of blend in with the cam grey underneath and just look like sections…
The decals are a shame, but I’ve tried to make the best of them… Only ones left are the big NCC 1701 E on the top and bottom and the 2 long starship enterprise strips on the main hull sides.
I have done another thin layer of Tamiya x22 over those just play it safe.
I have no idea if they would disappear with sanding, but that would be a lot of close knit, fiddly sanding …maybe gently try the top side piece on the butt and see if that sands flat …
Otherwise I would leave as is …I know you primed it with Mr Surfacer, but would some gently built up 500 help it to smooth out ?
I agree, John, and I think it’s best that I leave the blaster rifle’s print lines alone.
Krrsantan has print lines also, but the hair waves hide them. His gear also has subtle print lines. Krrsantan’s feet are perfectly smooth so I cannot test-sand there.
When in doubt, best to leave it alone and move on to other kits. This figure is very hollow inside without a robust support lattice so I don’t want to crack it open sanding or mishandling it, but it will work fine for this build campaign.
Thanks Peter … at least there aren’t 50 shades … that would be a very different type of Enterprise lol …
I was a bit worried by the greys and it having a monochrome finish but the AK Camouflage Grey was a great base colour, and the decals with their little bits of colour here and there and added a nice contrast to the overall look.
Your Krrsantan is going to look pretty cool once that light grey/off white goes on to his fur. I dont think the blaster print lines will be an issue in the end as the main focus will be him. Looking forward to seeing his colour go on.
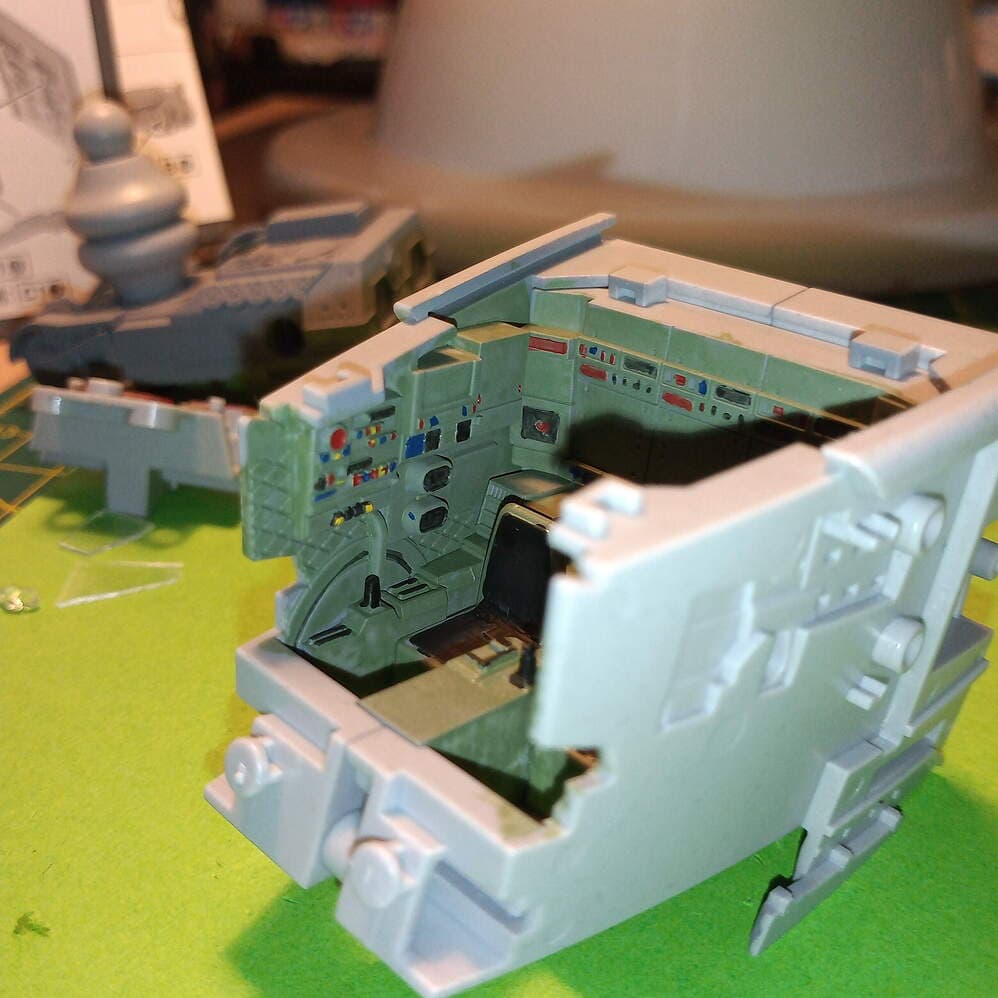
So I have the interior painted and decaled…what color wash do you guys recommend for the gray I used?
Black, darker grey, lighter gray or another color…can’t decide.
Also for the knobs and buttons…to use clear Tamiya colors…what is a better undercoat for the paint…a white or silver/ aluminum?
When I did the crew interior on my ATST ages ago, (and a complete waste ot time and effort as you cannot see a single thing lol) I just used Tamiya normal red, white, blue and orange on it … ?
With the Raptor you can see everything in the interior, the cockpit through the large bubble window, and the EWO station through the open side hatch.
I was thinking of my diorama for it on the hanger deck…with the arguing crewmen…but all the computers and Dradis screen will be on, so I will say that they left everything on for the computer and flight control diagnostic check.