@Armorsmith - wow sounds like the times have changed since my last IPMS Nationals. Thank you for the info.
When I was a qualified IPMS Nationals judge years ago - flashlights were rampant. Hosing the last cut of 5 or 6 models for 10 -15 minutes of group scrutiny under a flashlight was common. People were upset and complaining about it all the time.
That’s probably a good for the hobby overall change if the venue lighting is decent.
Funny even though I’m over the contest thing…I still keep my judging flash light on the work bench and inspect each step with it. When model is finished it gets inspected with lights in room on and lights in room out. With reading glasses and optivisor of course.
Next I’d have one of my close friends rip into the model doing the QC check.
They were usually pretty competitive if they QC back in the day. The fanaticism is just part of my process now I suppose. Once (24 years ago) that OCD approach really paid off with an Out of the Box Panzer IV winning Best of Show at a local contest.
Not to go off topic here but my judging philosophy is that if I have to look that hard to find a “flaw” then it’s not that important. But it is difficult at times to winnow out the winners. No system is prefect or will satisfy everyone.
I used to say 1 minute of engagement va a flashlight should be the max - that wasn’t well received…LOL. Of course my build philosophy catered specifically to deal with the then current IPMS judging philosophy. Result a lot OOB models and I didn’t build any of the stuff I really wanted to build like the frankenpanzer Vintage Italeri Pz IV G.
I think medal shows have an important place for that reason.
In any case, a good friend who passed away master modeler Dave Lockhart once said regarding shows “We pay our money and take our chances.” Basically as you said no perfect show or judging system:)
PS - one year at the IPMS Nationals it was pretty funny watching a group of outstanding modelers that were experienced judges go in circles for like ~30 minutes with flashlights between three models for 1st, 2nd or 3rd out of a group of ~35 models. They ended up asking other judges for help to split those hairs - really a comic in one sense.
Finally shining a big mag light into an optic revealed one model didn’t have paint behind the tinted optical glass. That one got 3rd. Somewhere under another model a period " . " sized shiney was found with the mega mag so that got 2nd. The other was naturally 1st.
They literally were pulling their hair to judge it all on basic construction. I was very happy with my 3rd place
The problem with judging is what to do if you have 4 or 5 outstanding kits that could easily place 1st on their own. Unfortunately nitpicking is the only way to separate the field. Indirectly it is a complement on your build if it comes down to a struggle for the judges.
@justsendit, Thank you Mike, I appreciate you taking the time to check out the build:) It’s great to know someone enjoys seeing it
Regarding judging, it can be very hard some times. Some venues have poor lighting and sometimes extra light can be a good nicely weathered models best friend.
I don’t have a a carpet.
Just a concrete floor with a slot under the workbench. Everything that falls goes under the bench. EFT!
So my flashlight is right there too.
In fact, there’s a bottle of wash under there as I type.
I was too tired the other night to retrieve it.
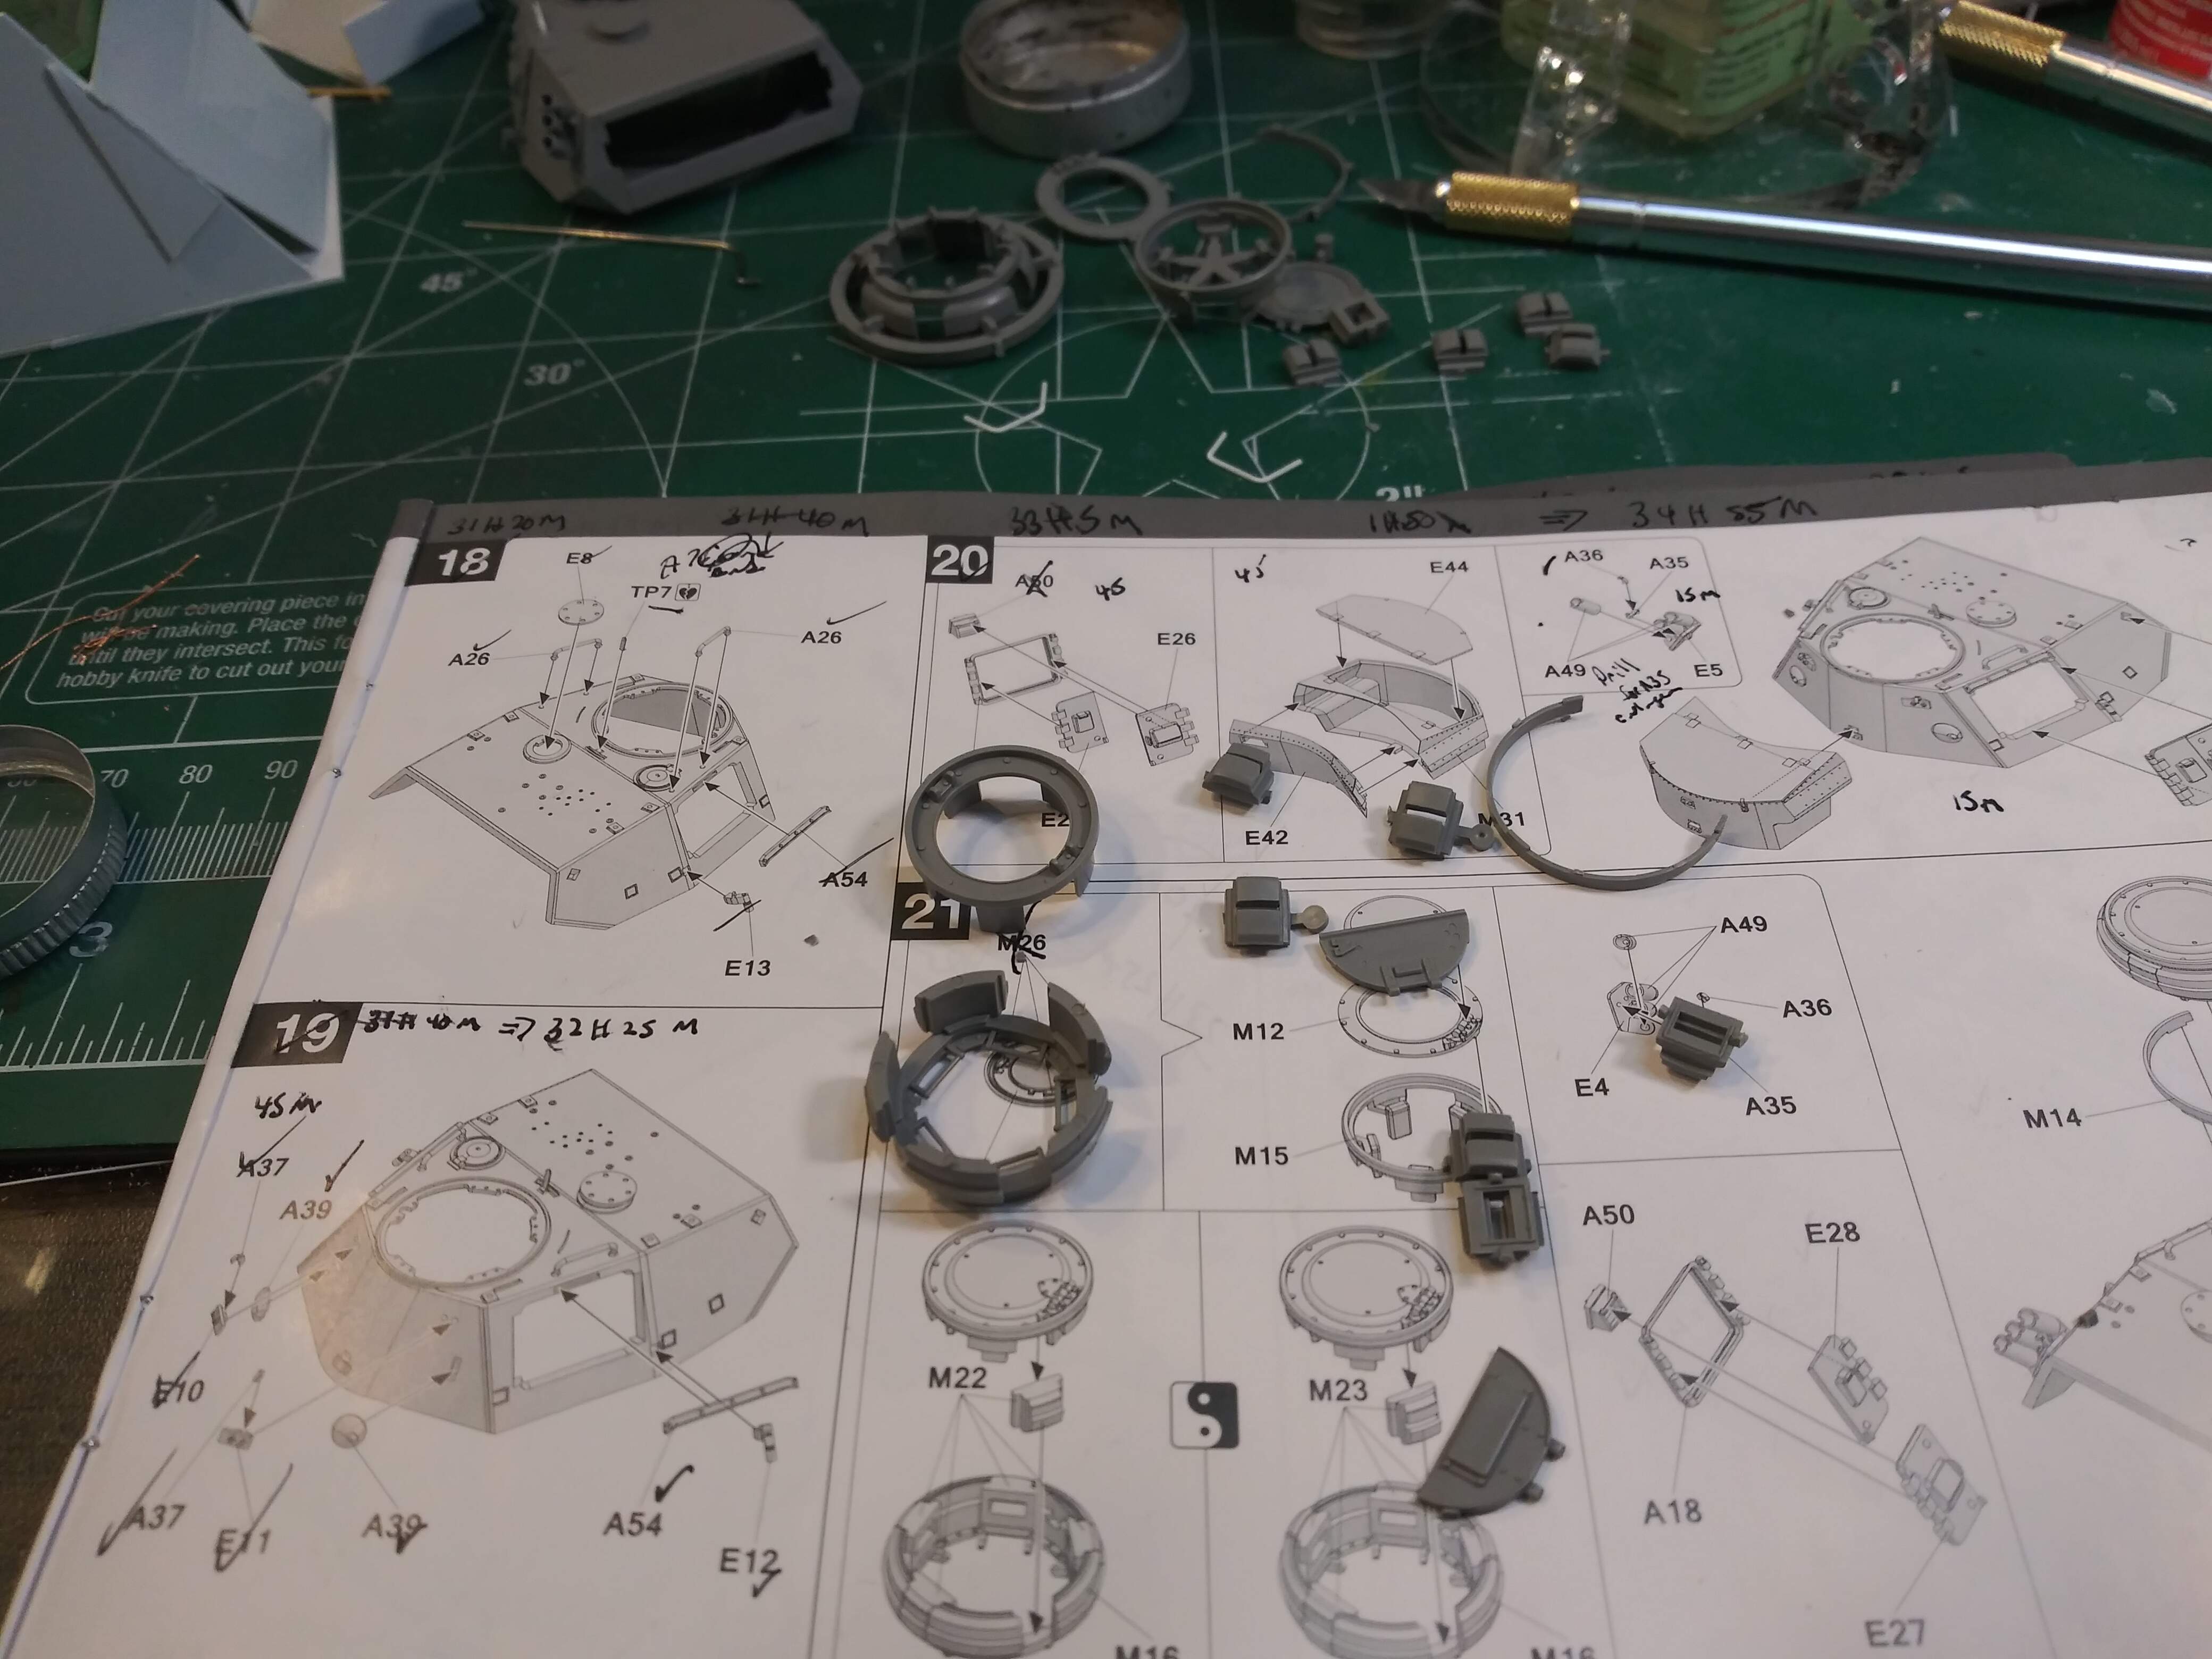
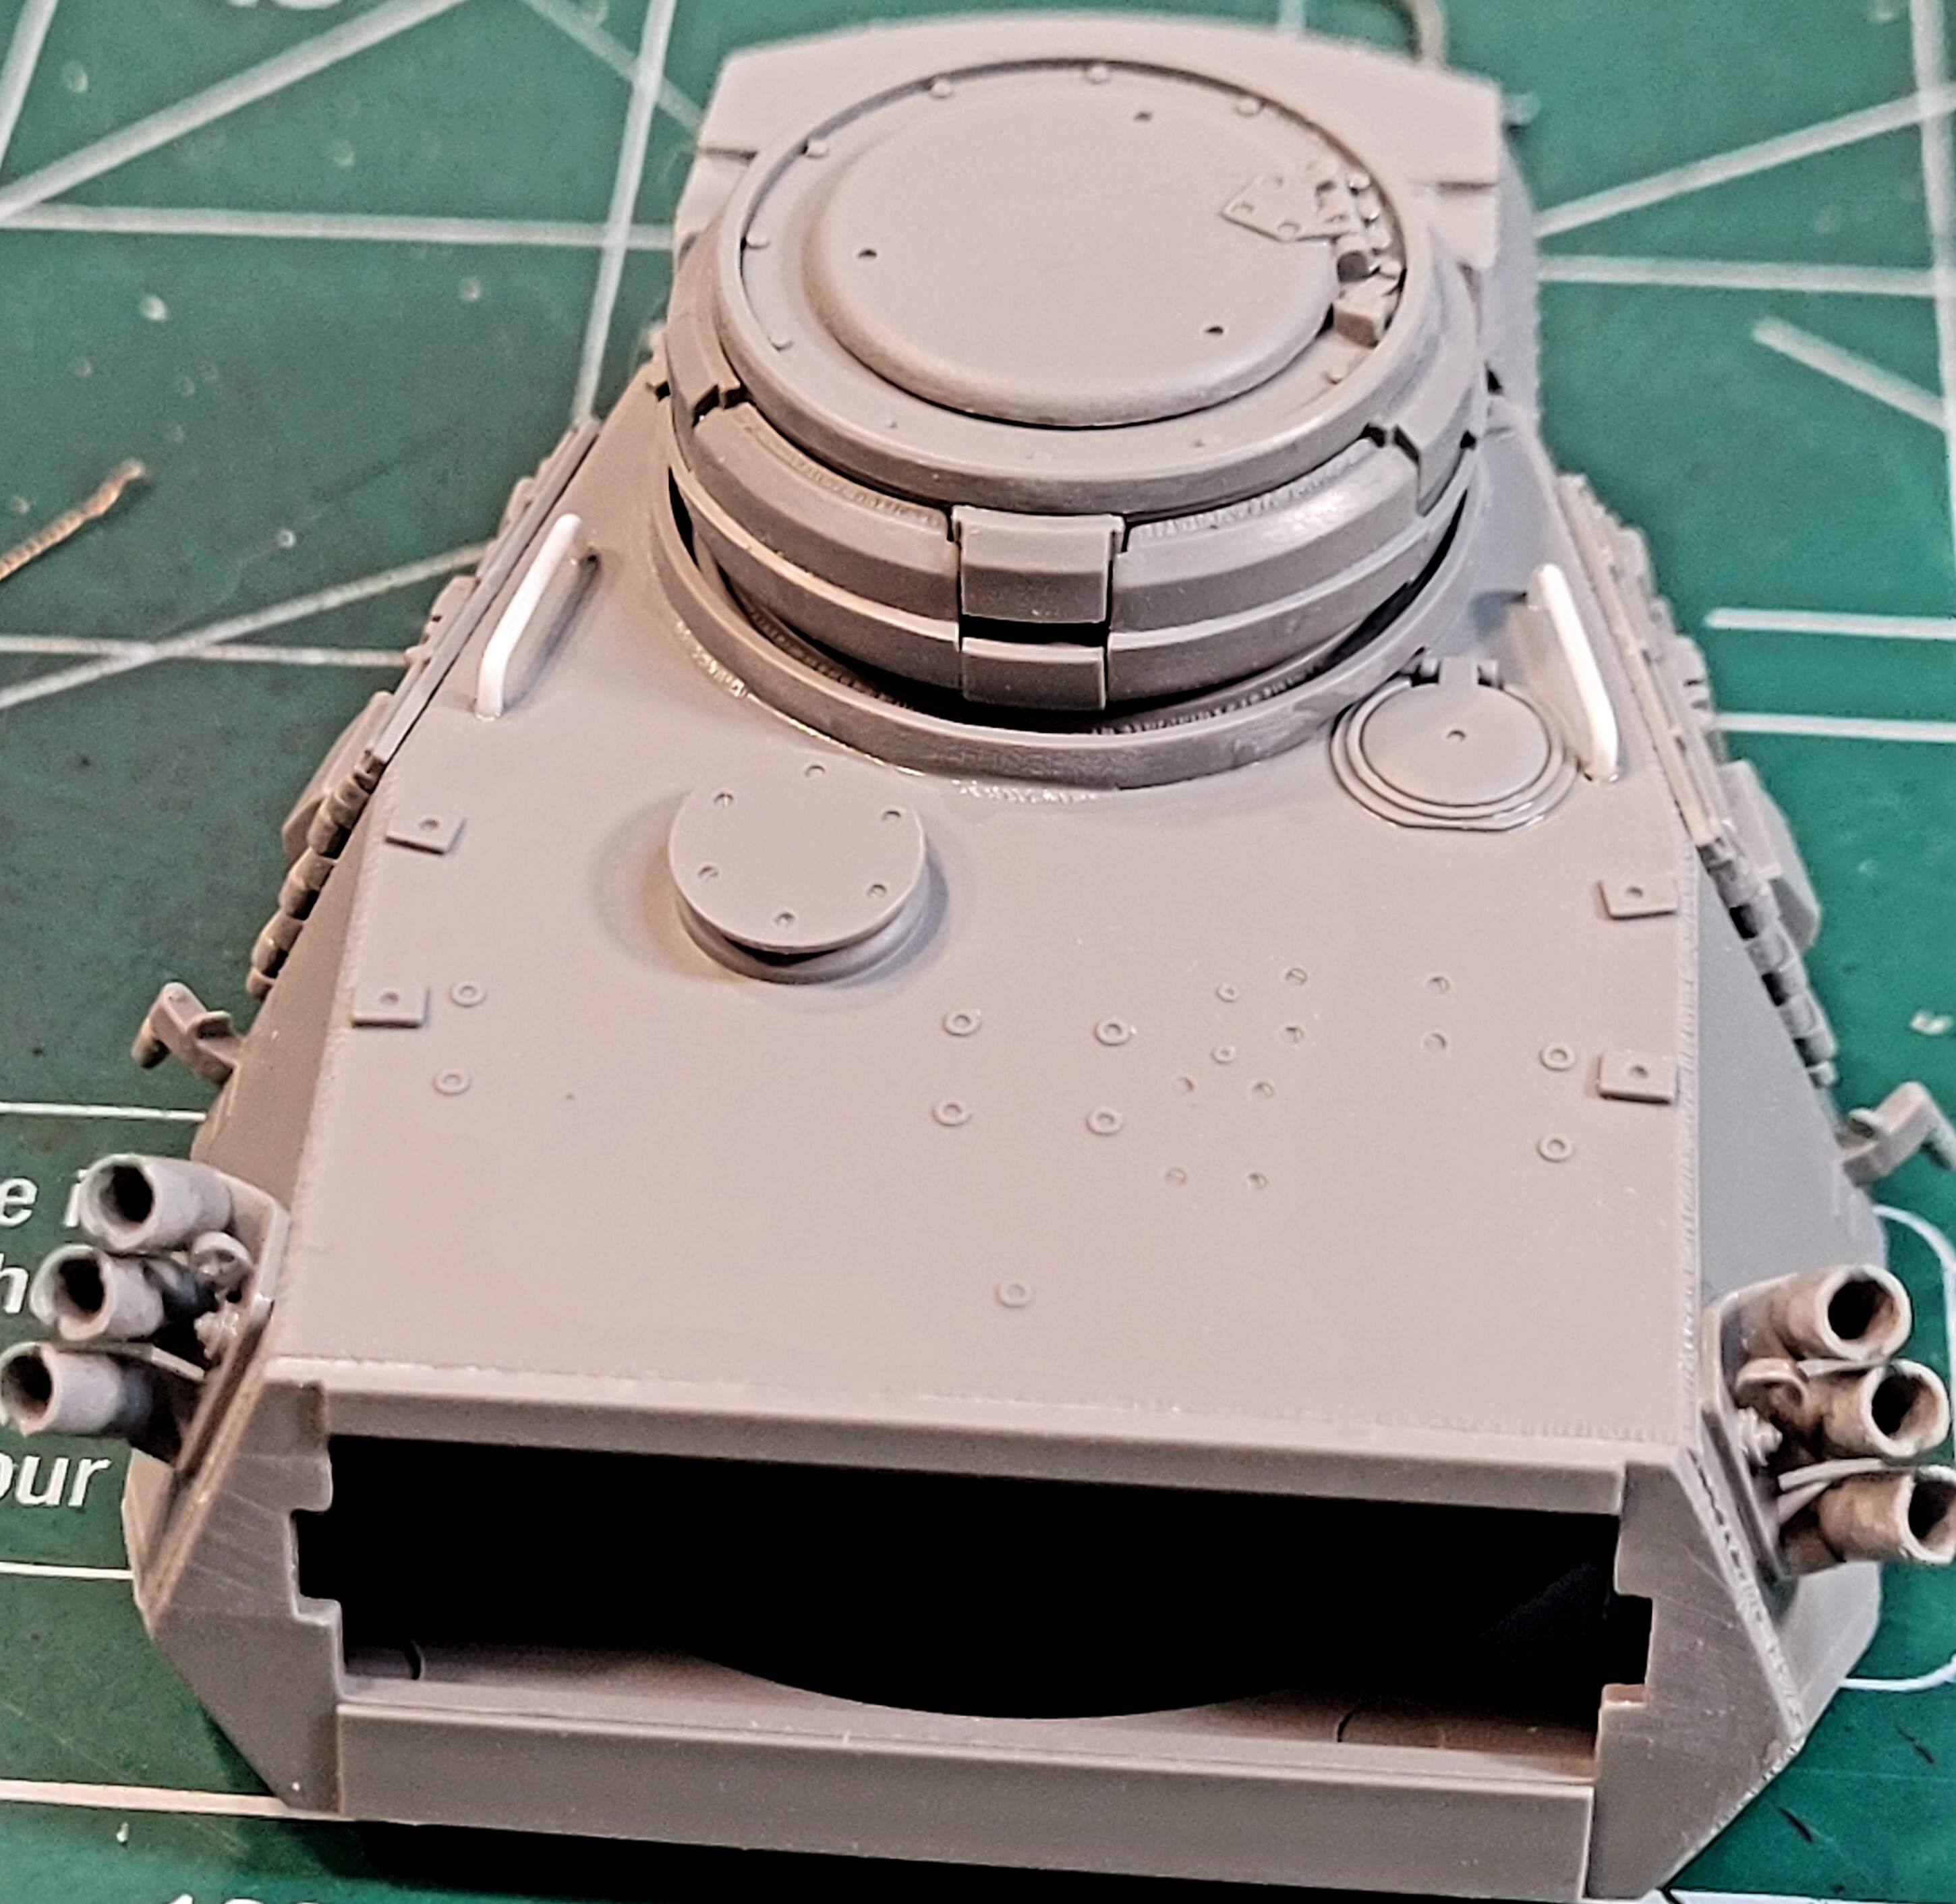
This was the best step of the whole model to this point! The cupola goes together perfectly! It looks good. Most enjoyable part of the build. It’s easy to properly clean up despite all the attachment points to various parts.
Dragon eat you heart out. Takom has a much better design that’s hassle free to assemble. A++
No update yet today because we’ve had a little mishap on the work bench thanks to my first experience with bifocals. Nothing too serious a brushfull of liquid cement got splattered in all the wrong places. Have some clean up to…
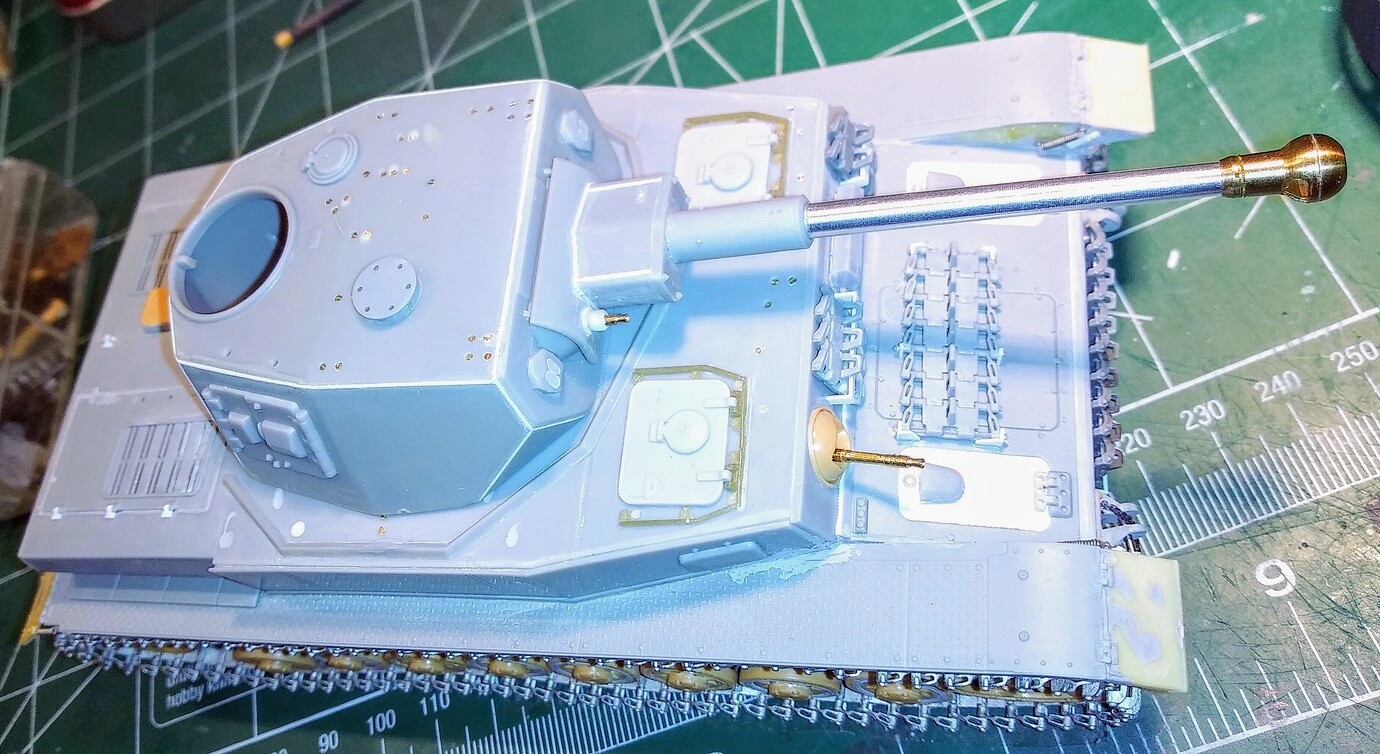
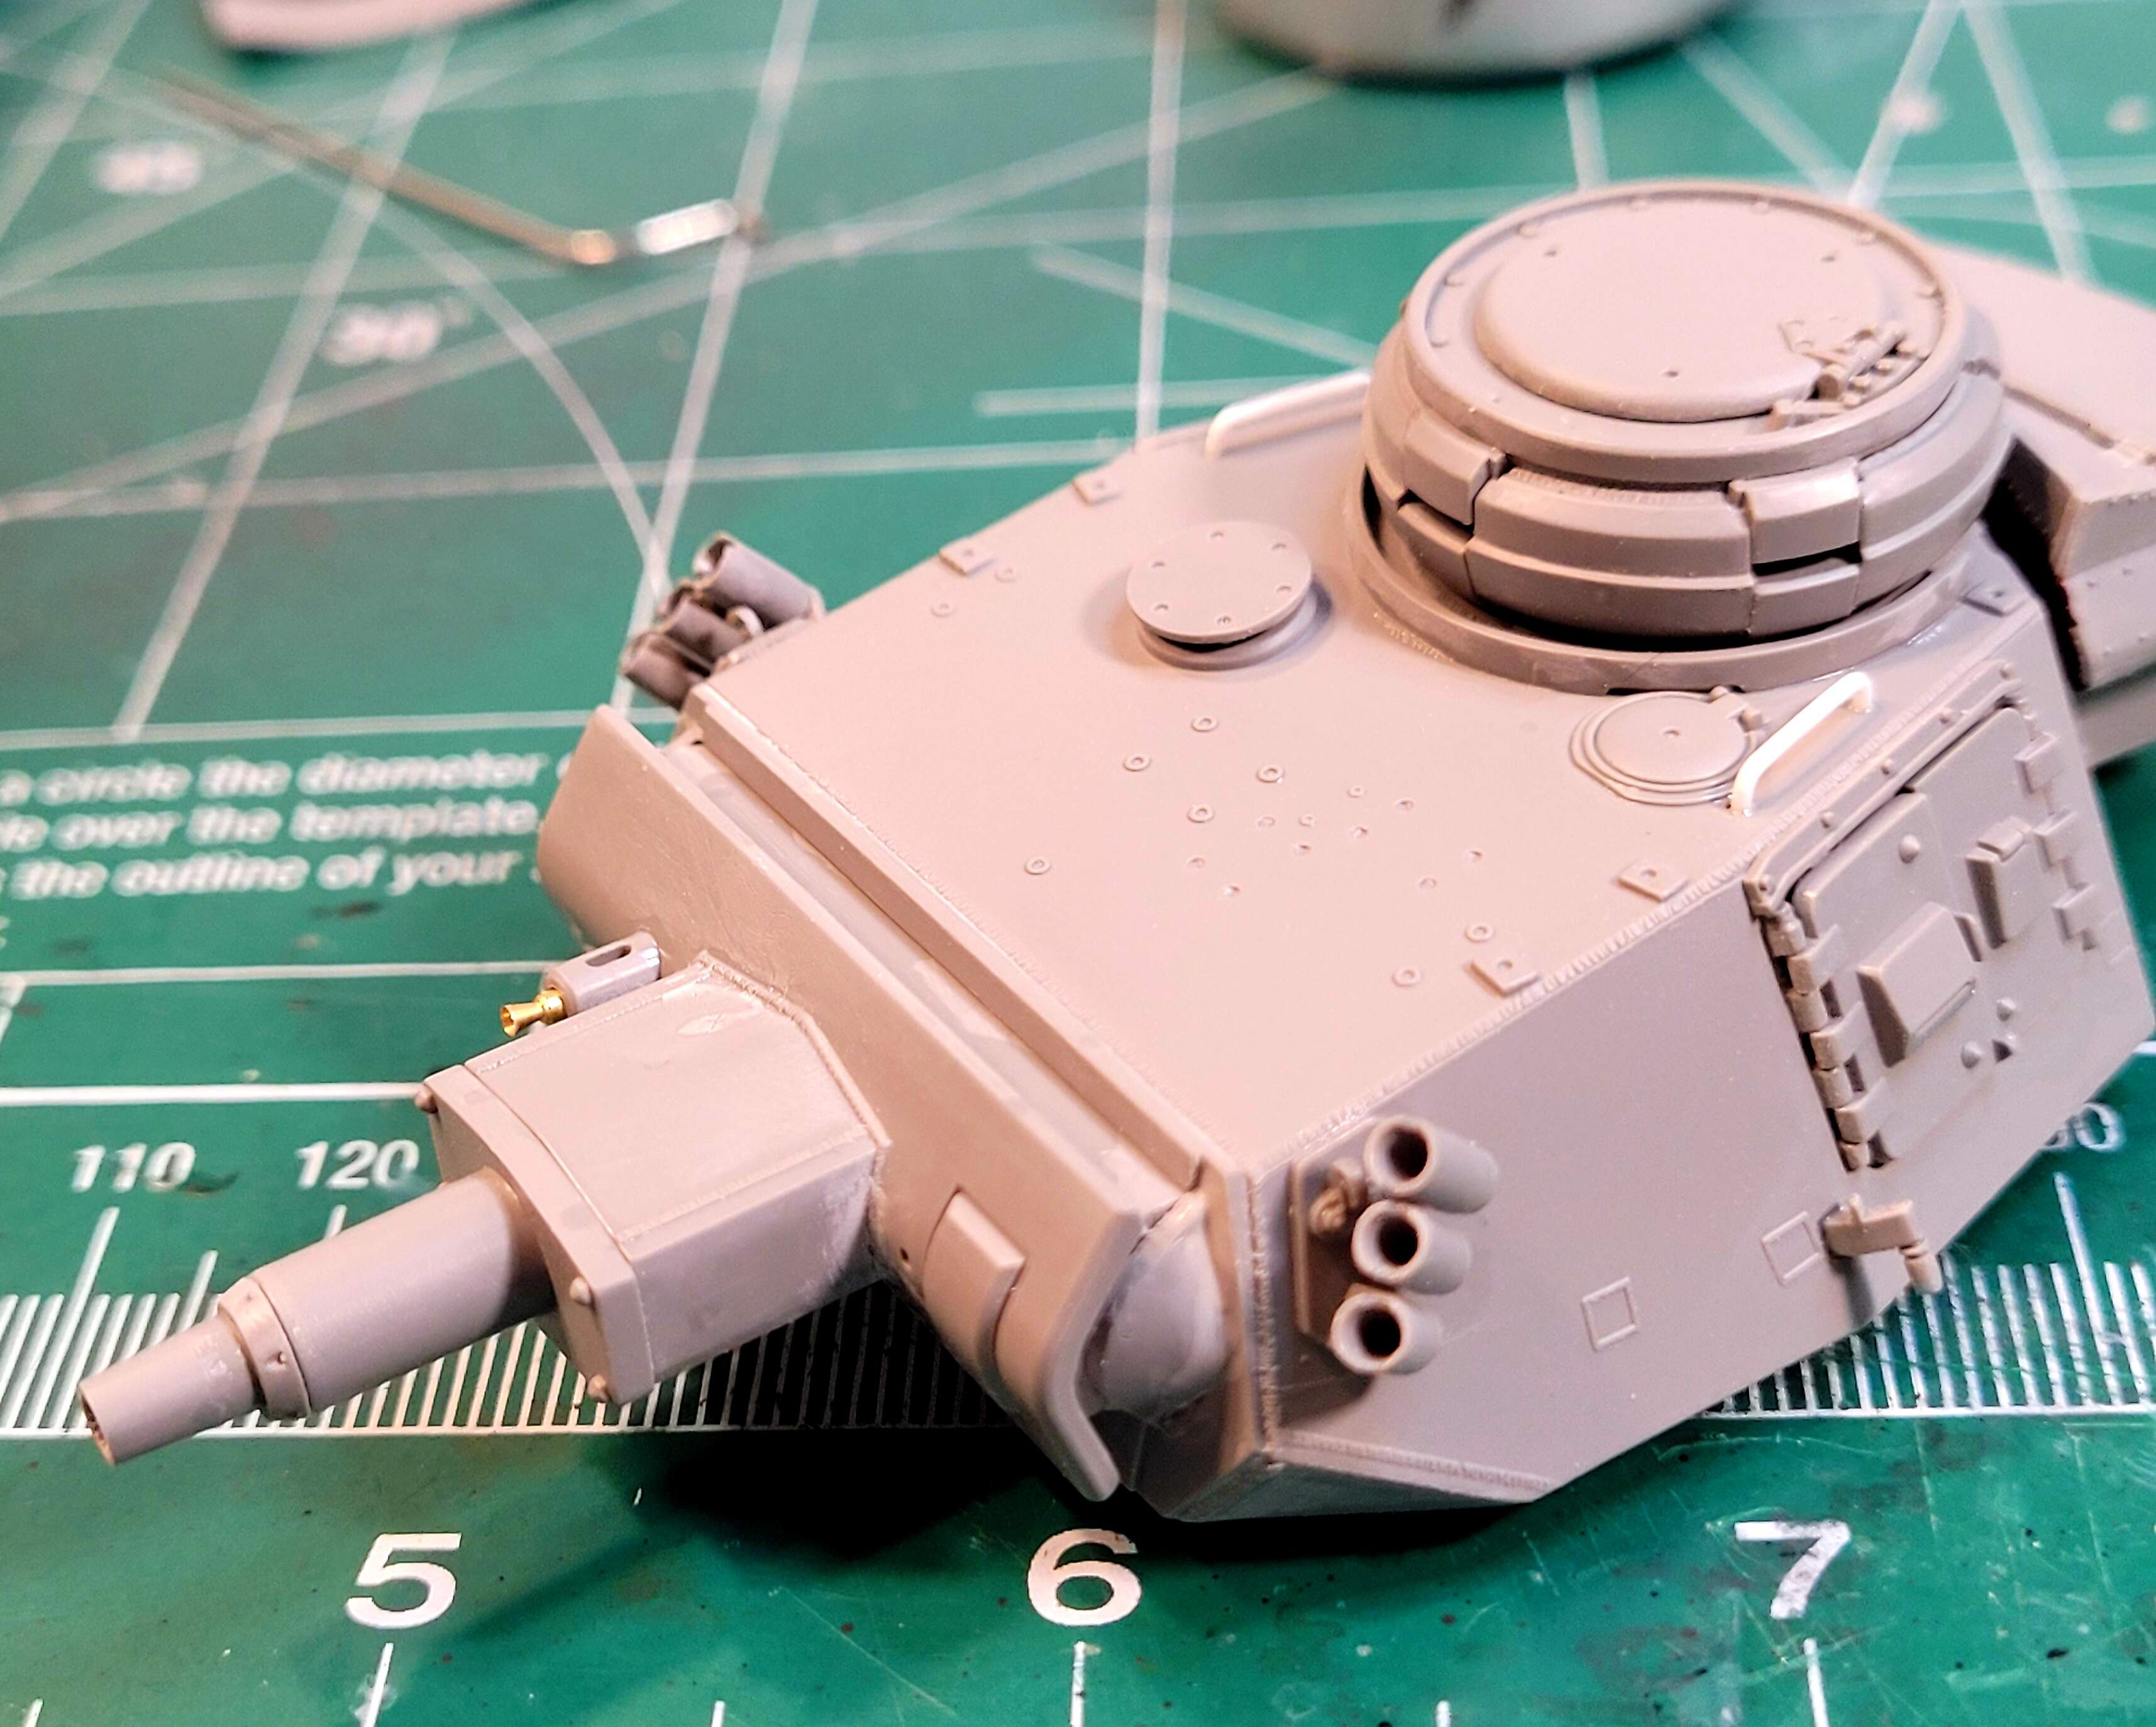
Step 22 starts with a fun option for the turret machine gun. A housing with a good slide molded MG or an empty housing. Naturally the empty housing is just perfect for an Aber turned brass MG34 barrel! Easy choice!
26.1 & 26.2 Everything proceeded well after careful part clean up. The rifling in the slide molded main gun barrel is very nice.
26.3 & 26.4 gun breach & shell case basket were skipped because the model will be buttoned up with all hatches closed.
26.5 Mounting the gun assembly to M7 and turret face.
This was where I fat fingered a brushfull of Tamiya Extra Thin into the recipricator housing and my problems began. The time for the step doesn’t include the three hours of sanding and filling with Stucco putty to fix the resulting melted marring in the recipricator housing. The discoloration is from the repair. I think it will be OK but the acid test will be the first layer of black for shadow painting.
Once repaired the rest of 26.5 went fairly smoothly. E31 & E36 required a little finess sanding and M7 got the tips of the alignment pins slightly sanded.
26.6 add breach, bask & exterior fitting was mostly skipped as only M5 the exterior fitting was added to the barrel.
Step 23 Putting the Turret Top, Bottom & Front together was previously completed. I wouldnt enjoy put the the assembled turret top together this late in the build.
Basically two steps remain.
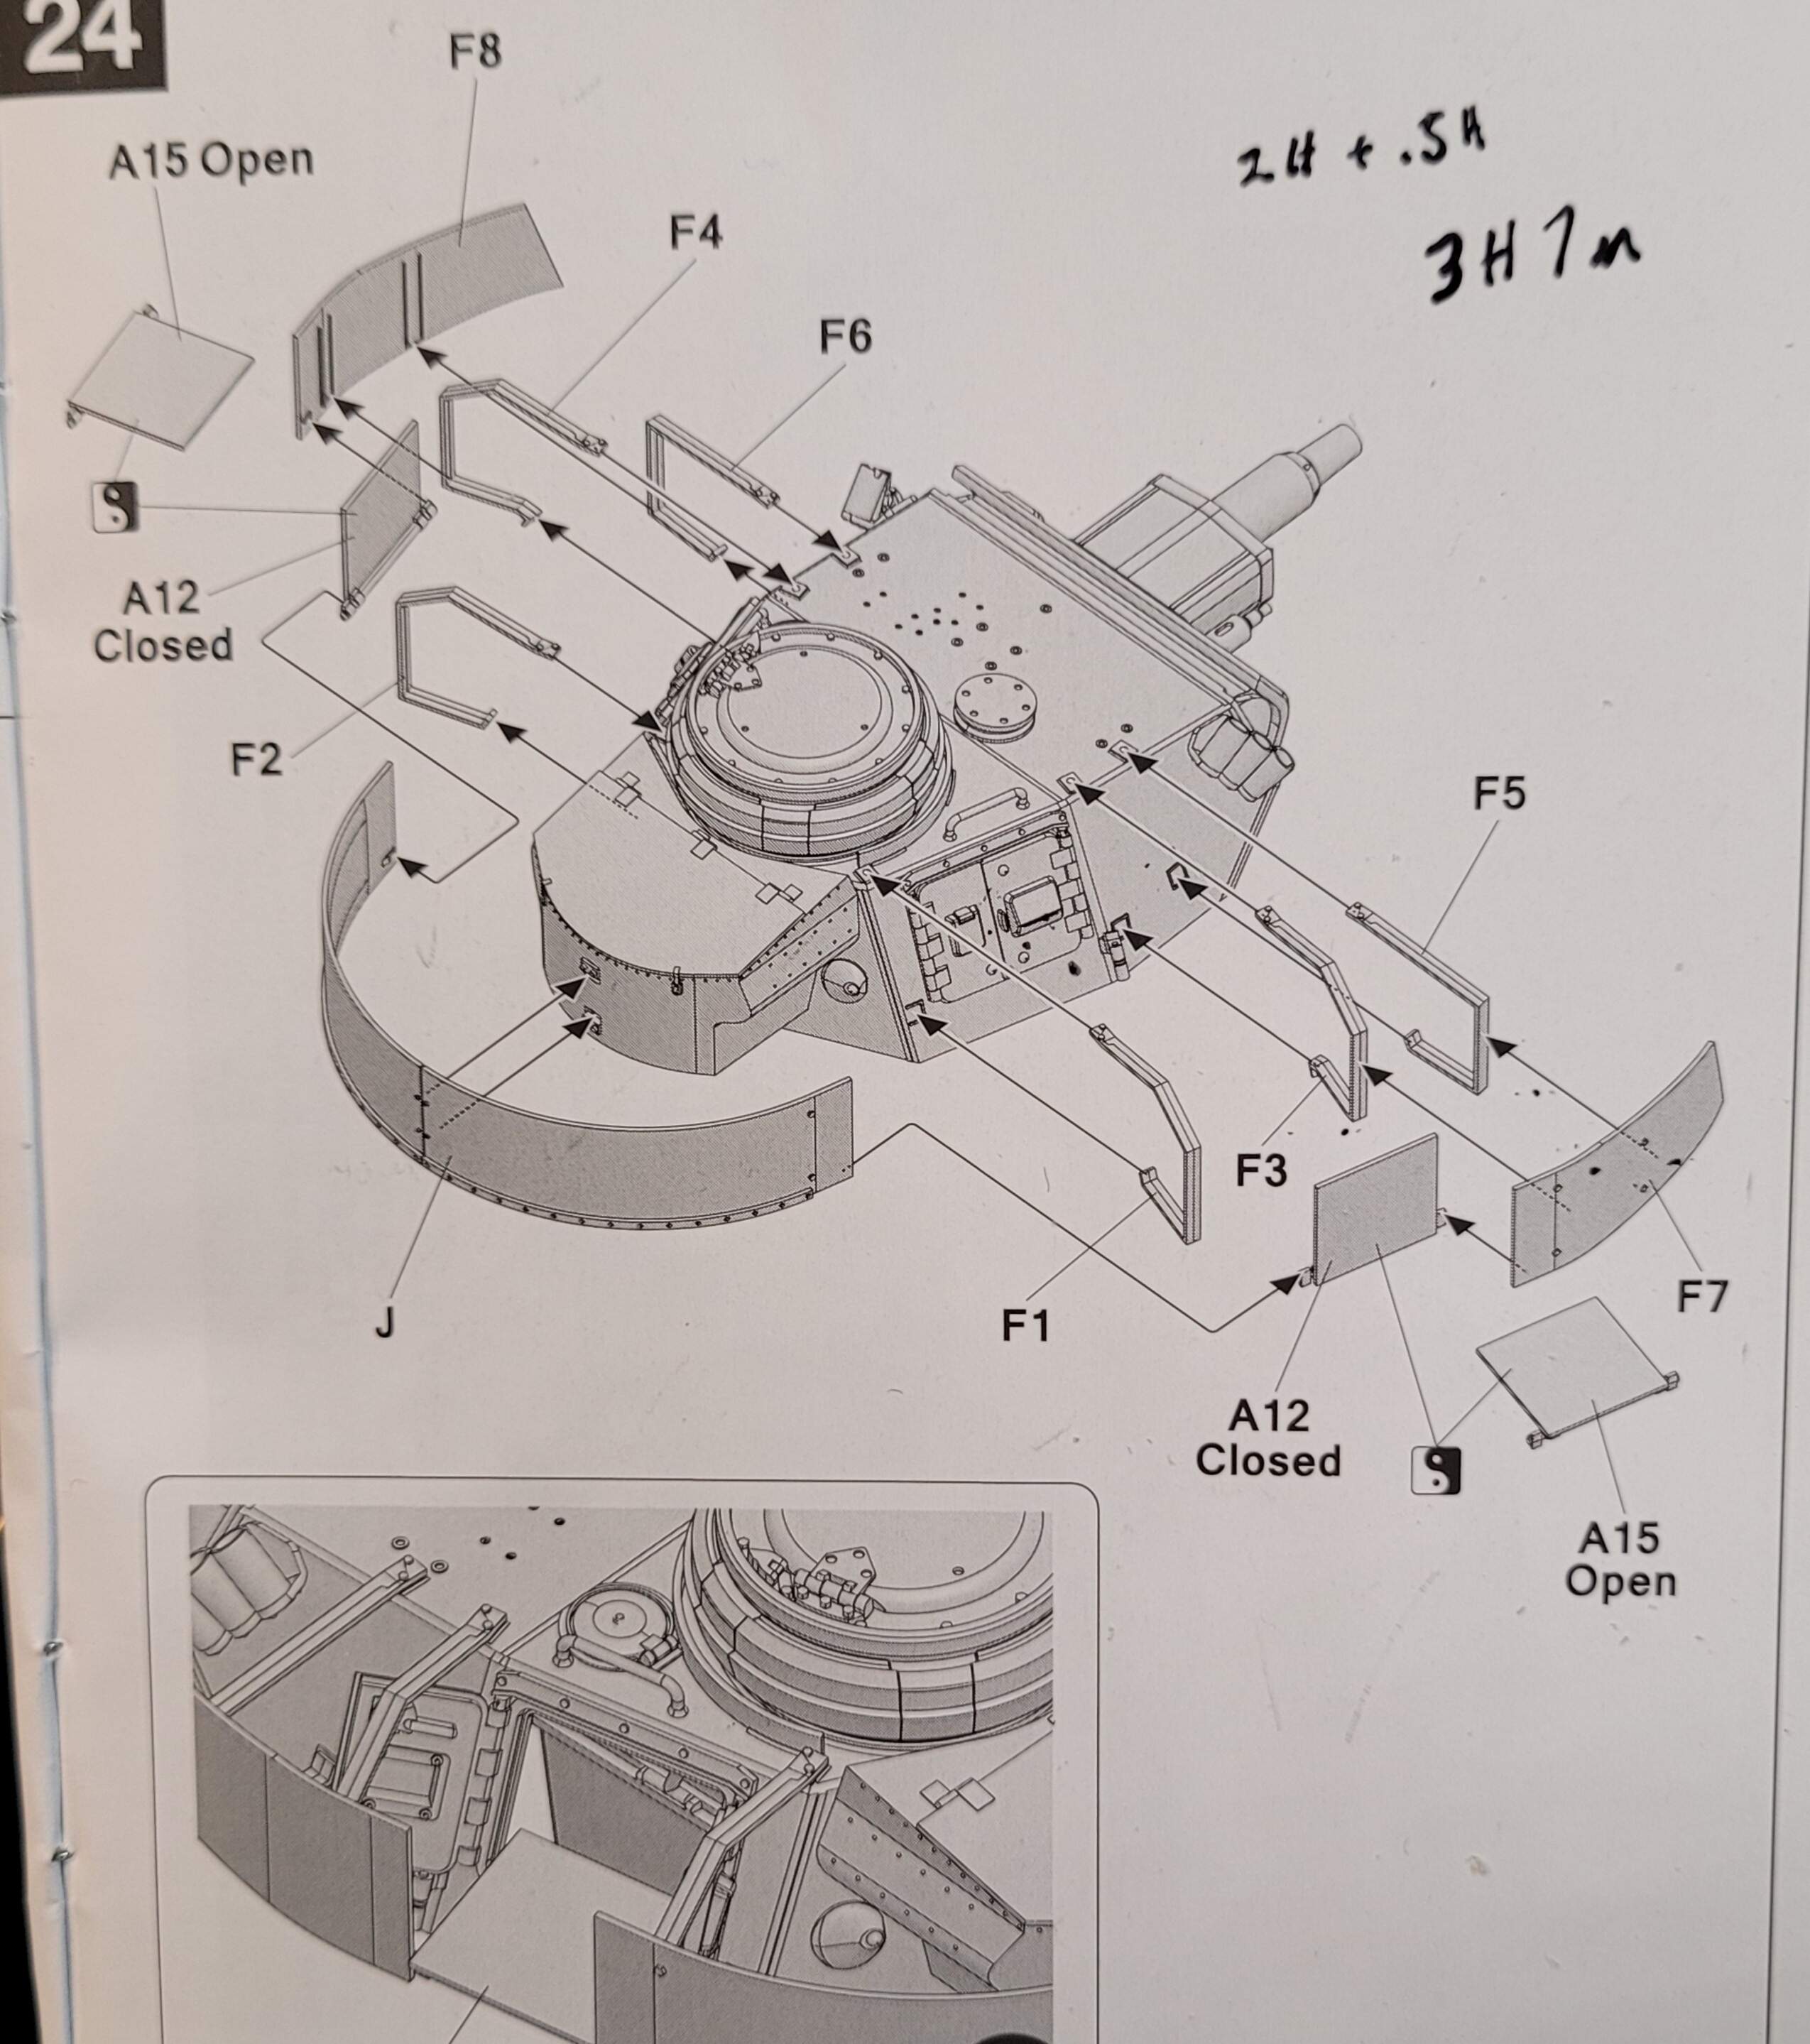
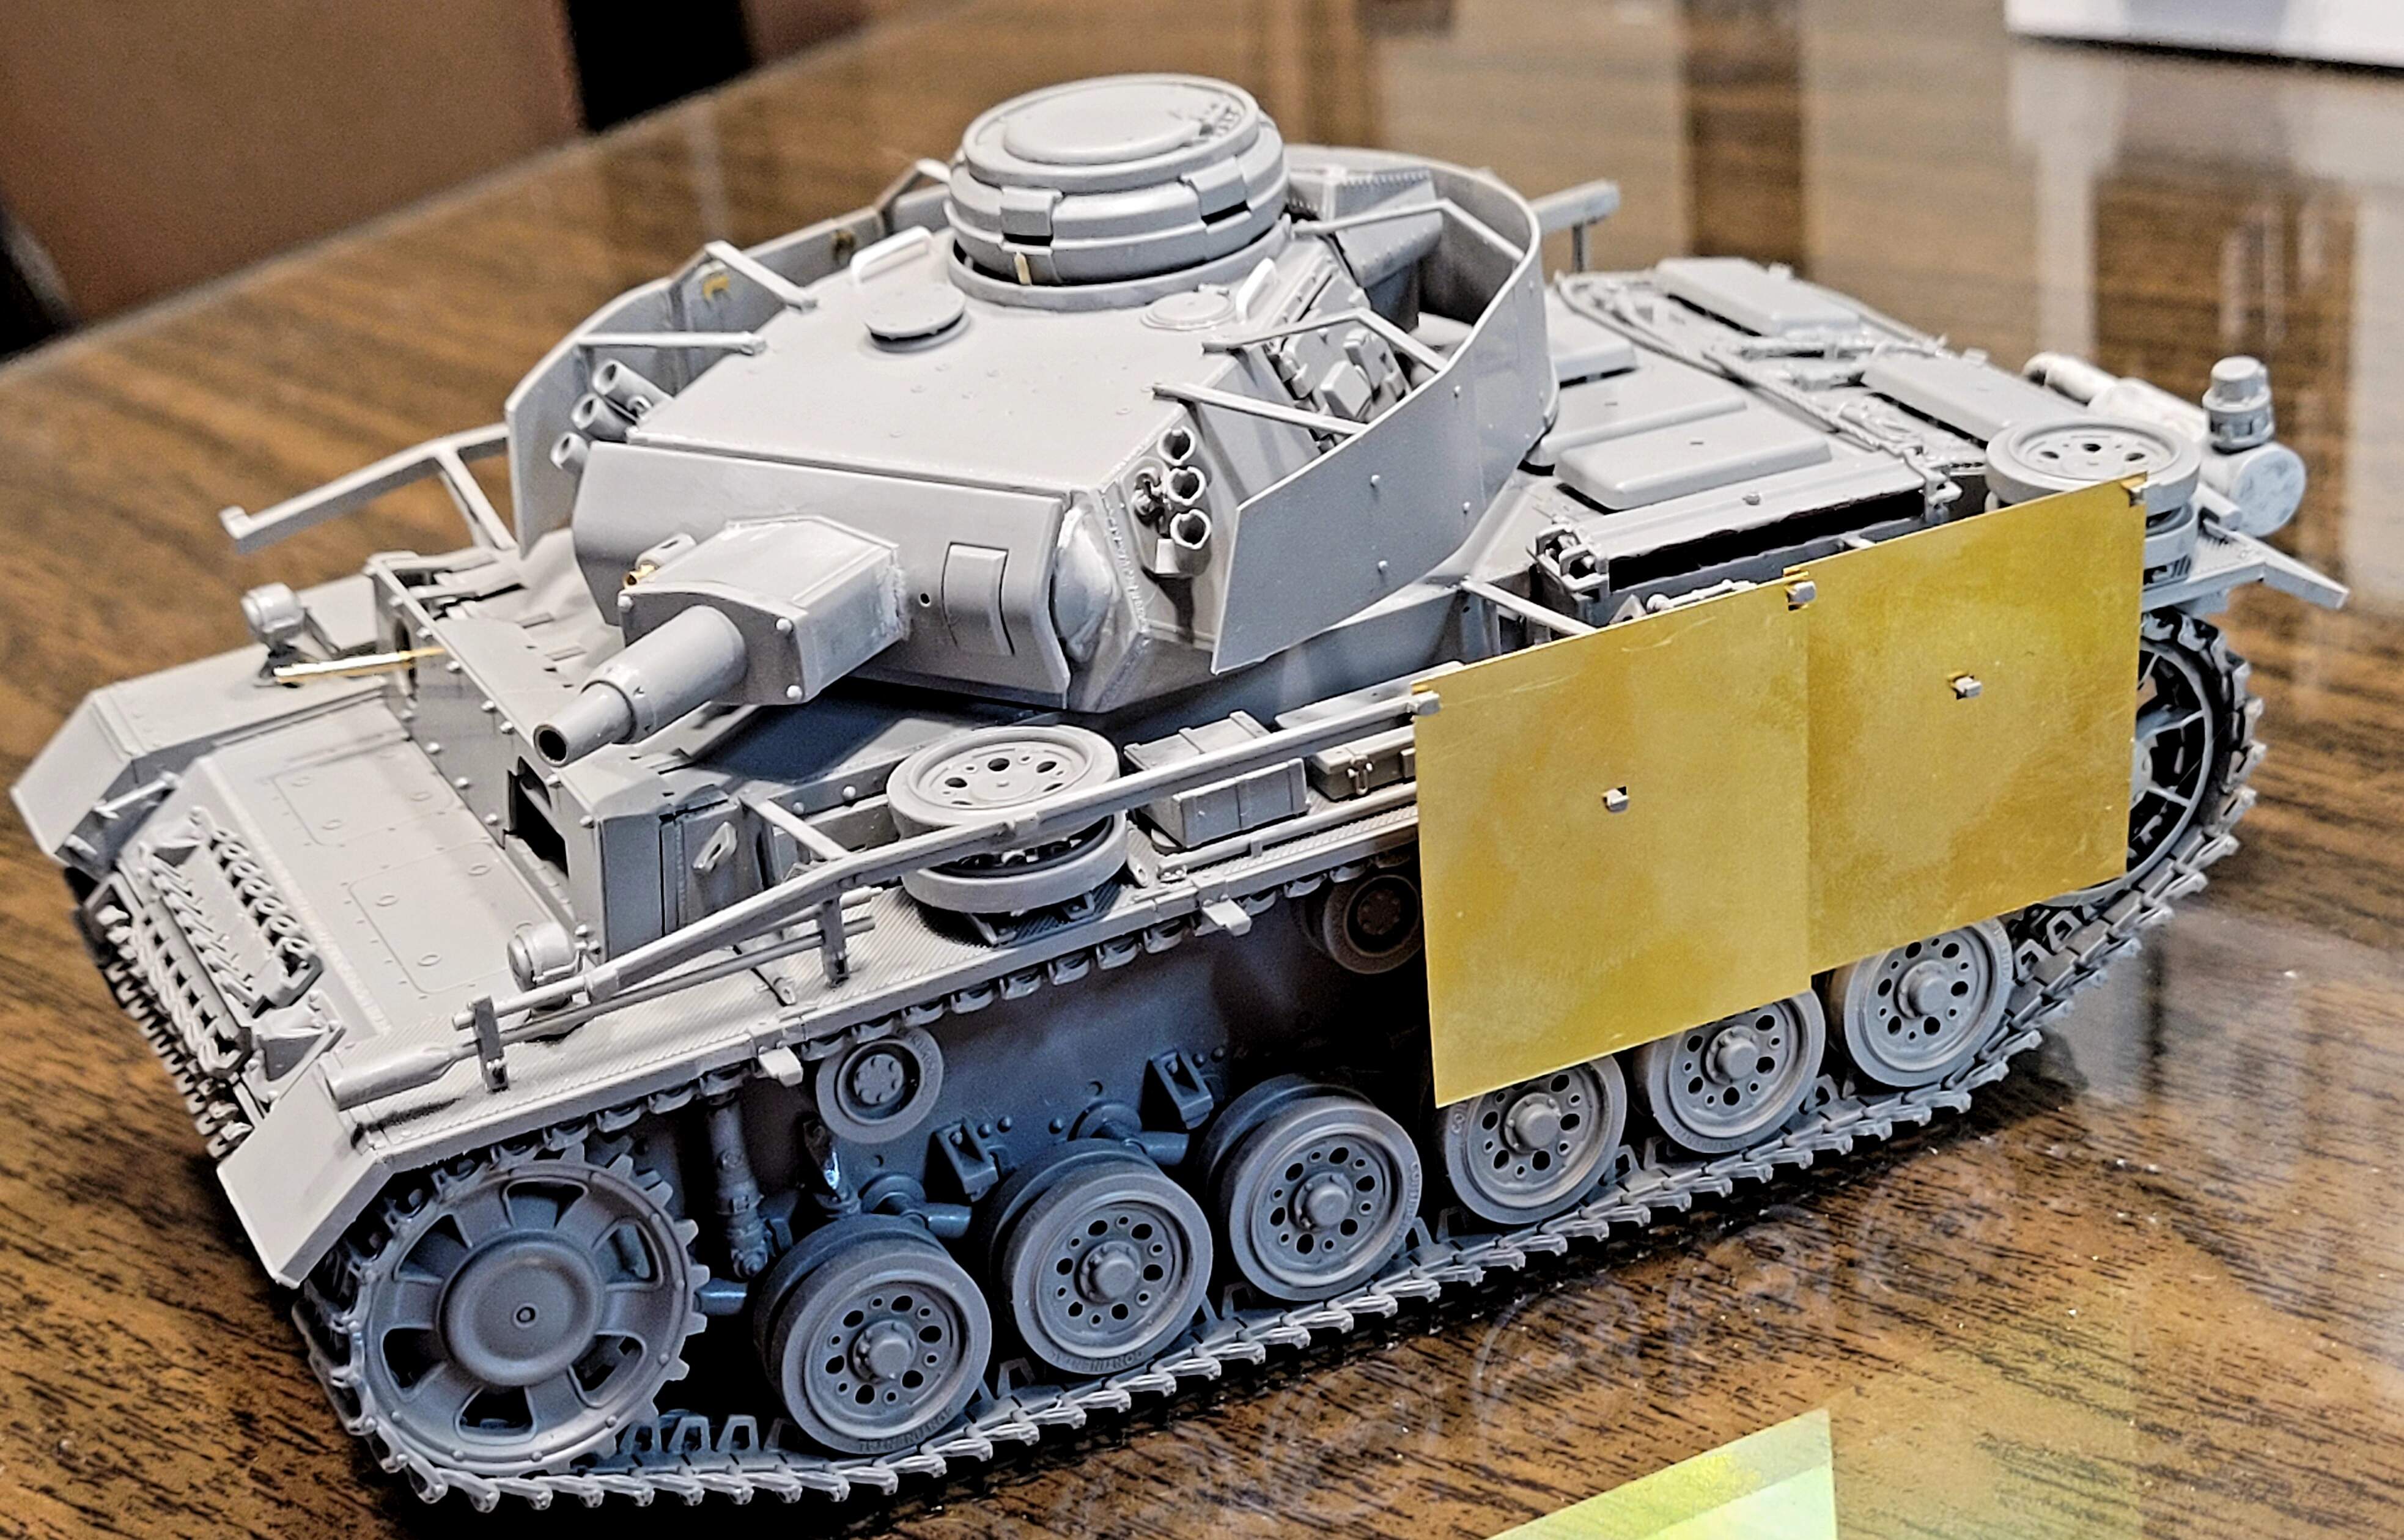
24 Turret Skirts
25 Placing Turret on Hull
Note I like Tamiya Extra Thin andxuse it in place of Testors LC for certain things but it seems pretty HOT for this soft plastic. It acts more aggressive on this Takom kit’s plastic than on the prior Tamiya, DML & Italeri kits I’ve selectively used Extra Thin on. Just my thoughts your mileage may vary
That’s good to know. Of course learning by doing it is usually I how I find out.
On the Bronco PZ IIIa, I have had to use 3 or 4 different glues depending on the parts to be installed. Typically, Tamiya green is what I use, but the plastic seems weird on the kit. For a lot of parts Tamiya Orange worked the best. And as I mentioned, the parts then really needed a good half an hour to cure before continuing. I have not had that issue before until the Bronco.
Marc that’s very similar to my experience with this kit. Four different glues etc Is the Orange Tamiya the standard/slower one? If so need to get some of it to try.
Step 24 in process <2.5+ hours and counting…>
There’s a lot of nasty part clean up in this step. Just the nature molding the turret skirts. The punch marks are shallow and mold seam easy enough to get.
The suck factor ramps up fast with five attachment points on each of the six fragile support braces. Mold seams have got to go on every side & face of the braces or skirt alignment will likely be a disaster.
Yes it is. I replaced the brush in the bottle with one from the green bottle.
Just make sure to let all the glue come off before applying. It can trick you and leave a huge drip on the kit.
Learned by doing
Step 24 <3 hours 7 minutes> total time 41hours and 52 minutes
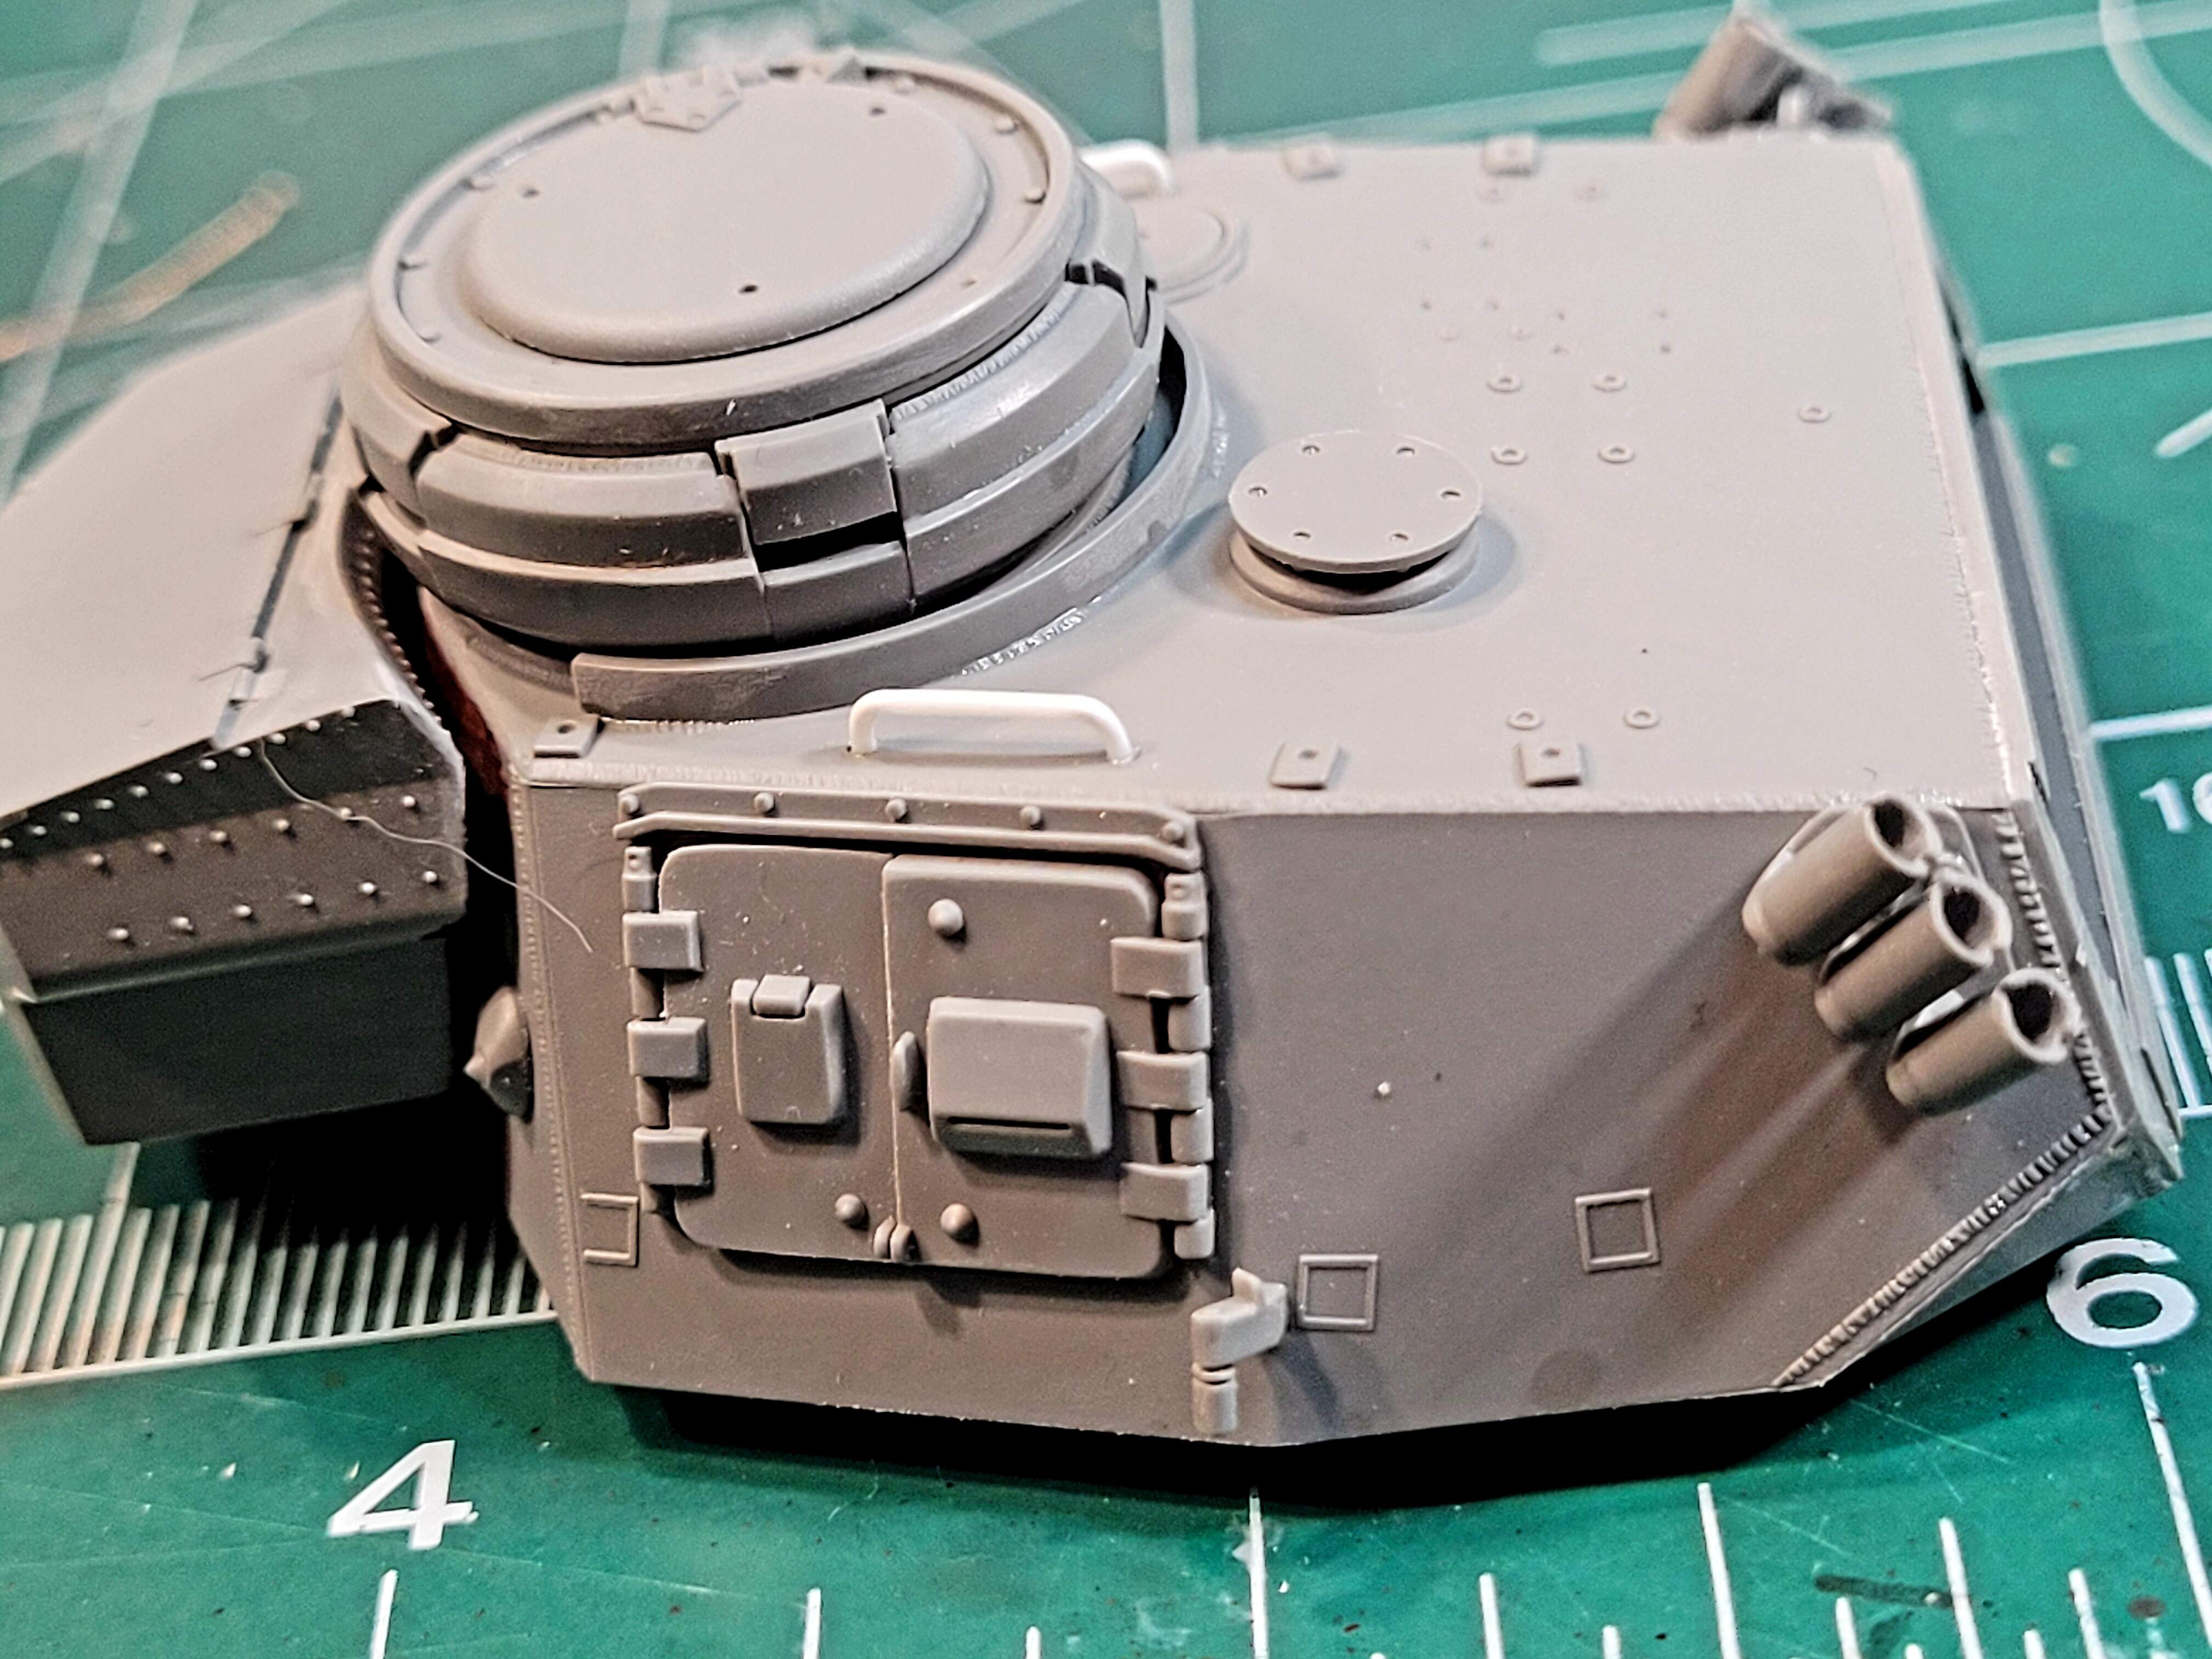
Key decision for the skirt side doors must be made: A15 “open” or A12 “closed” before starting assembly.
There are probably several ways,to approach the turret skirt assembly after all of the parts are cleaned. I gathered the skirt fit is fiddly and mediocre from online sources. One source mentioned the skirt hit the smoke grenade dischargers and the SGD’s should be left off until the skirt is installed. Now that would be some Epically Bad Lindberg quality fit for sure!
Naturally Takom’s instructions are very unclear on the order of assembly to the point of being absolutely worthless other than as a list of parts to use to build the skirt.
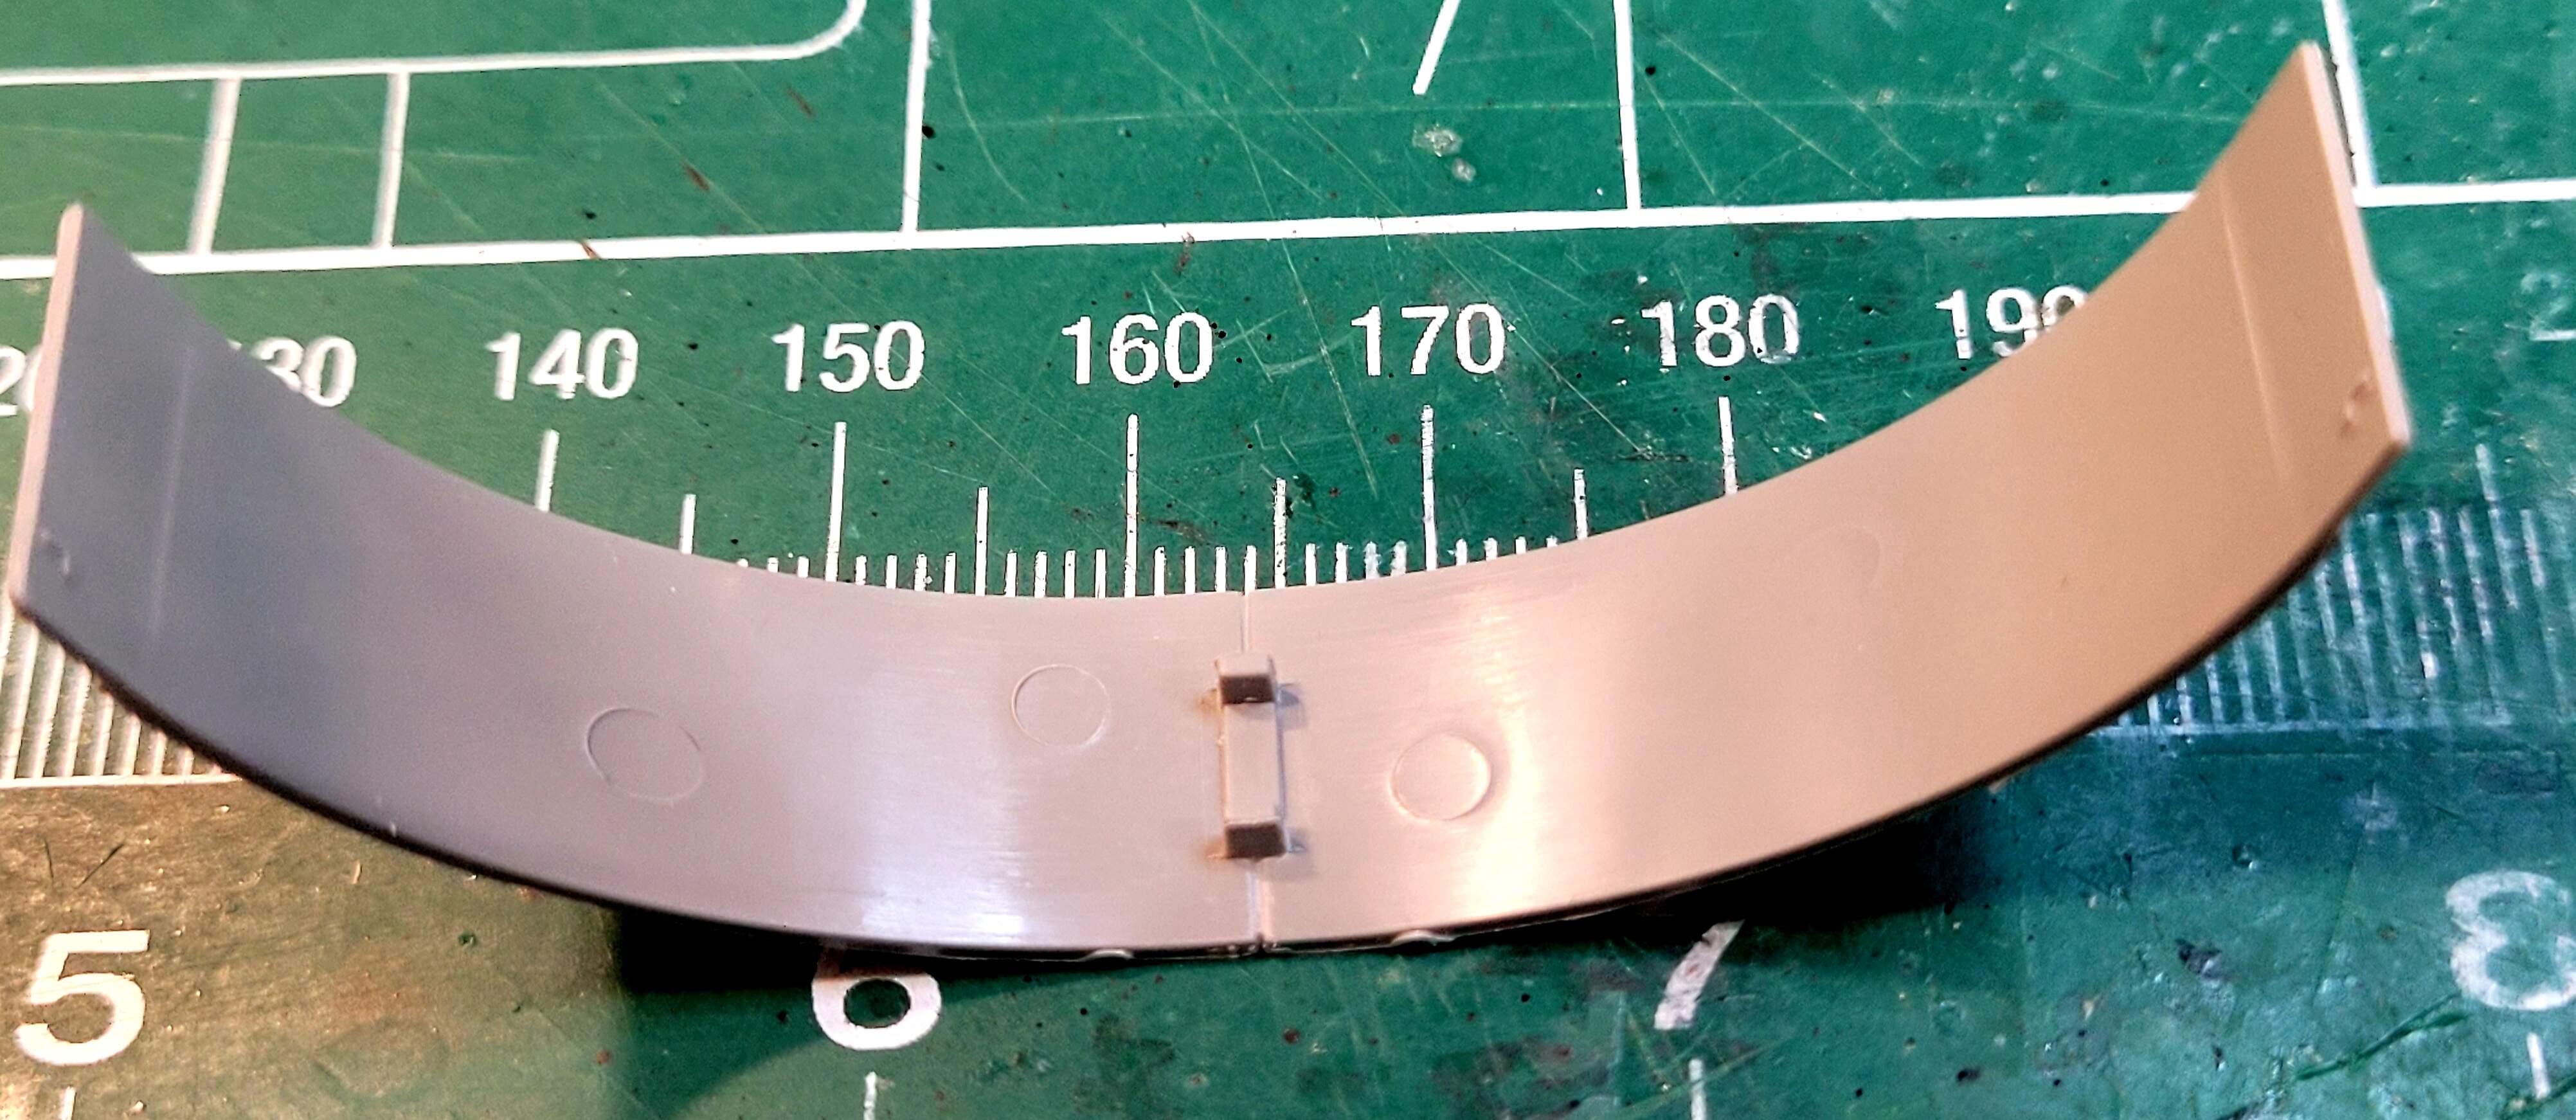
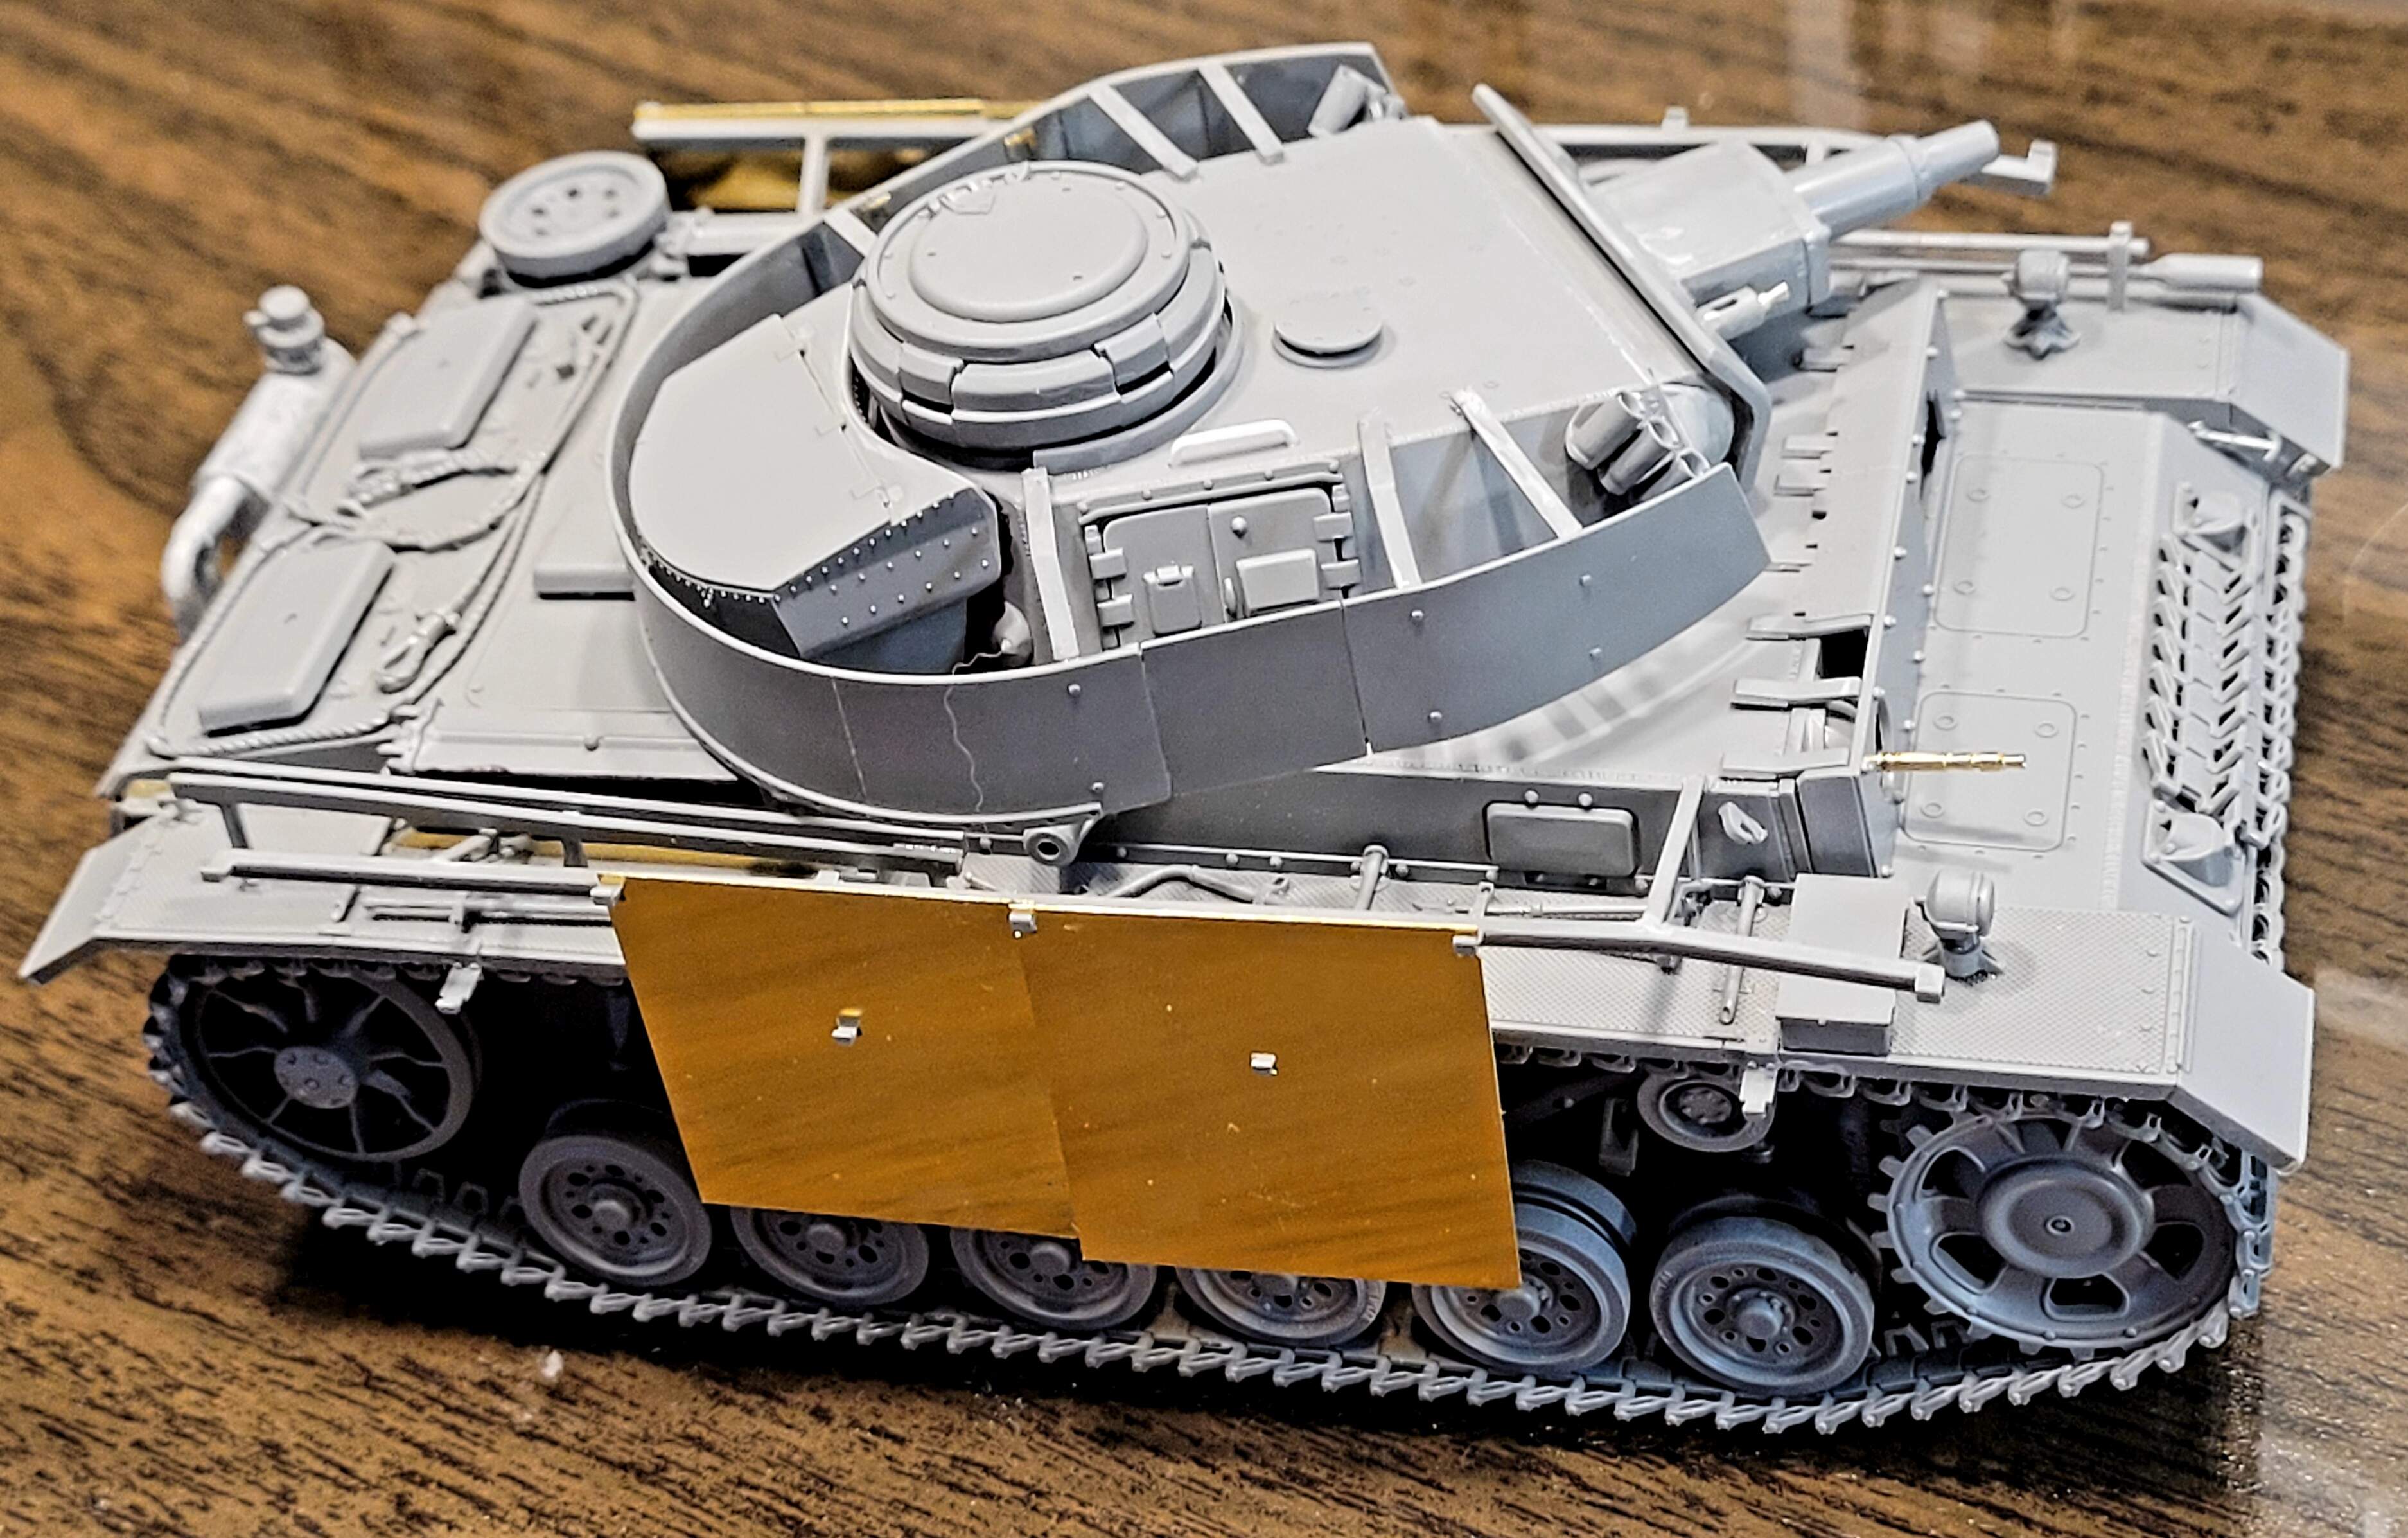
Drawing on experience building a lot of late war Pz IV turret skirts, I decided to treat this one just like a Pz IV turret skirt build. Build the horseshoe skirt then attach it to the turret.
F8 & F7 were assembled (Testor’s) with their braces and allowed to dry completely overnight. Next the closed doors A12 were tacked in place (Tamiya Extra Thin) to F8 & F7 and allowed to set up. Next J was tacked to the A12 doors with Tamiya Extra Thin. The horseshoe was built on a glass top to ensure all the bottom edges were straight and level as possible.
While the horseshoe cured, measured the distance between the attachment points for F6 & F5 on the turret top which was about 35mm. This was used to position the horseshoe so it set up very close to the correct shape.
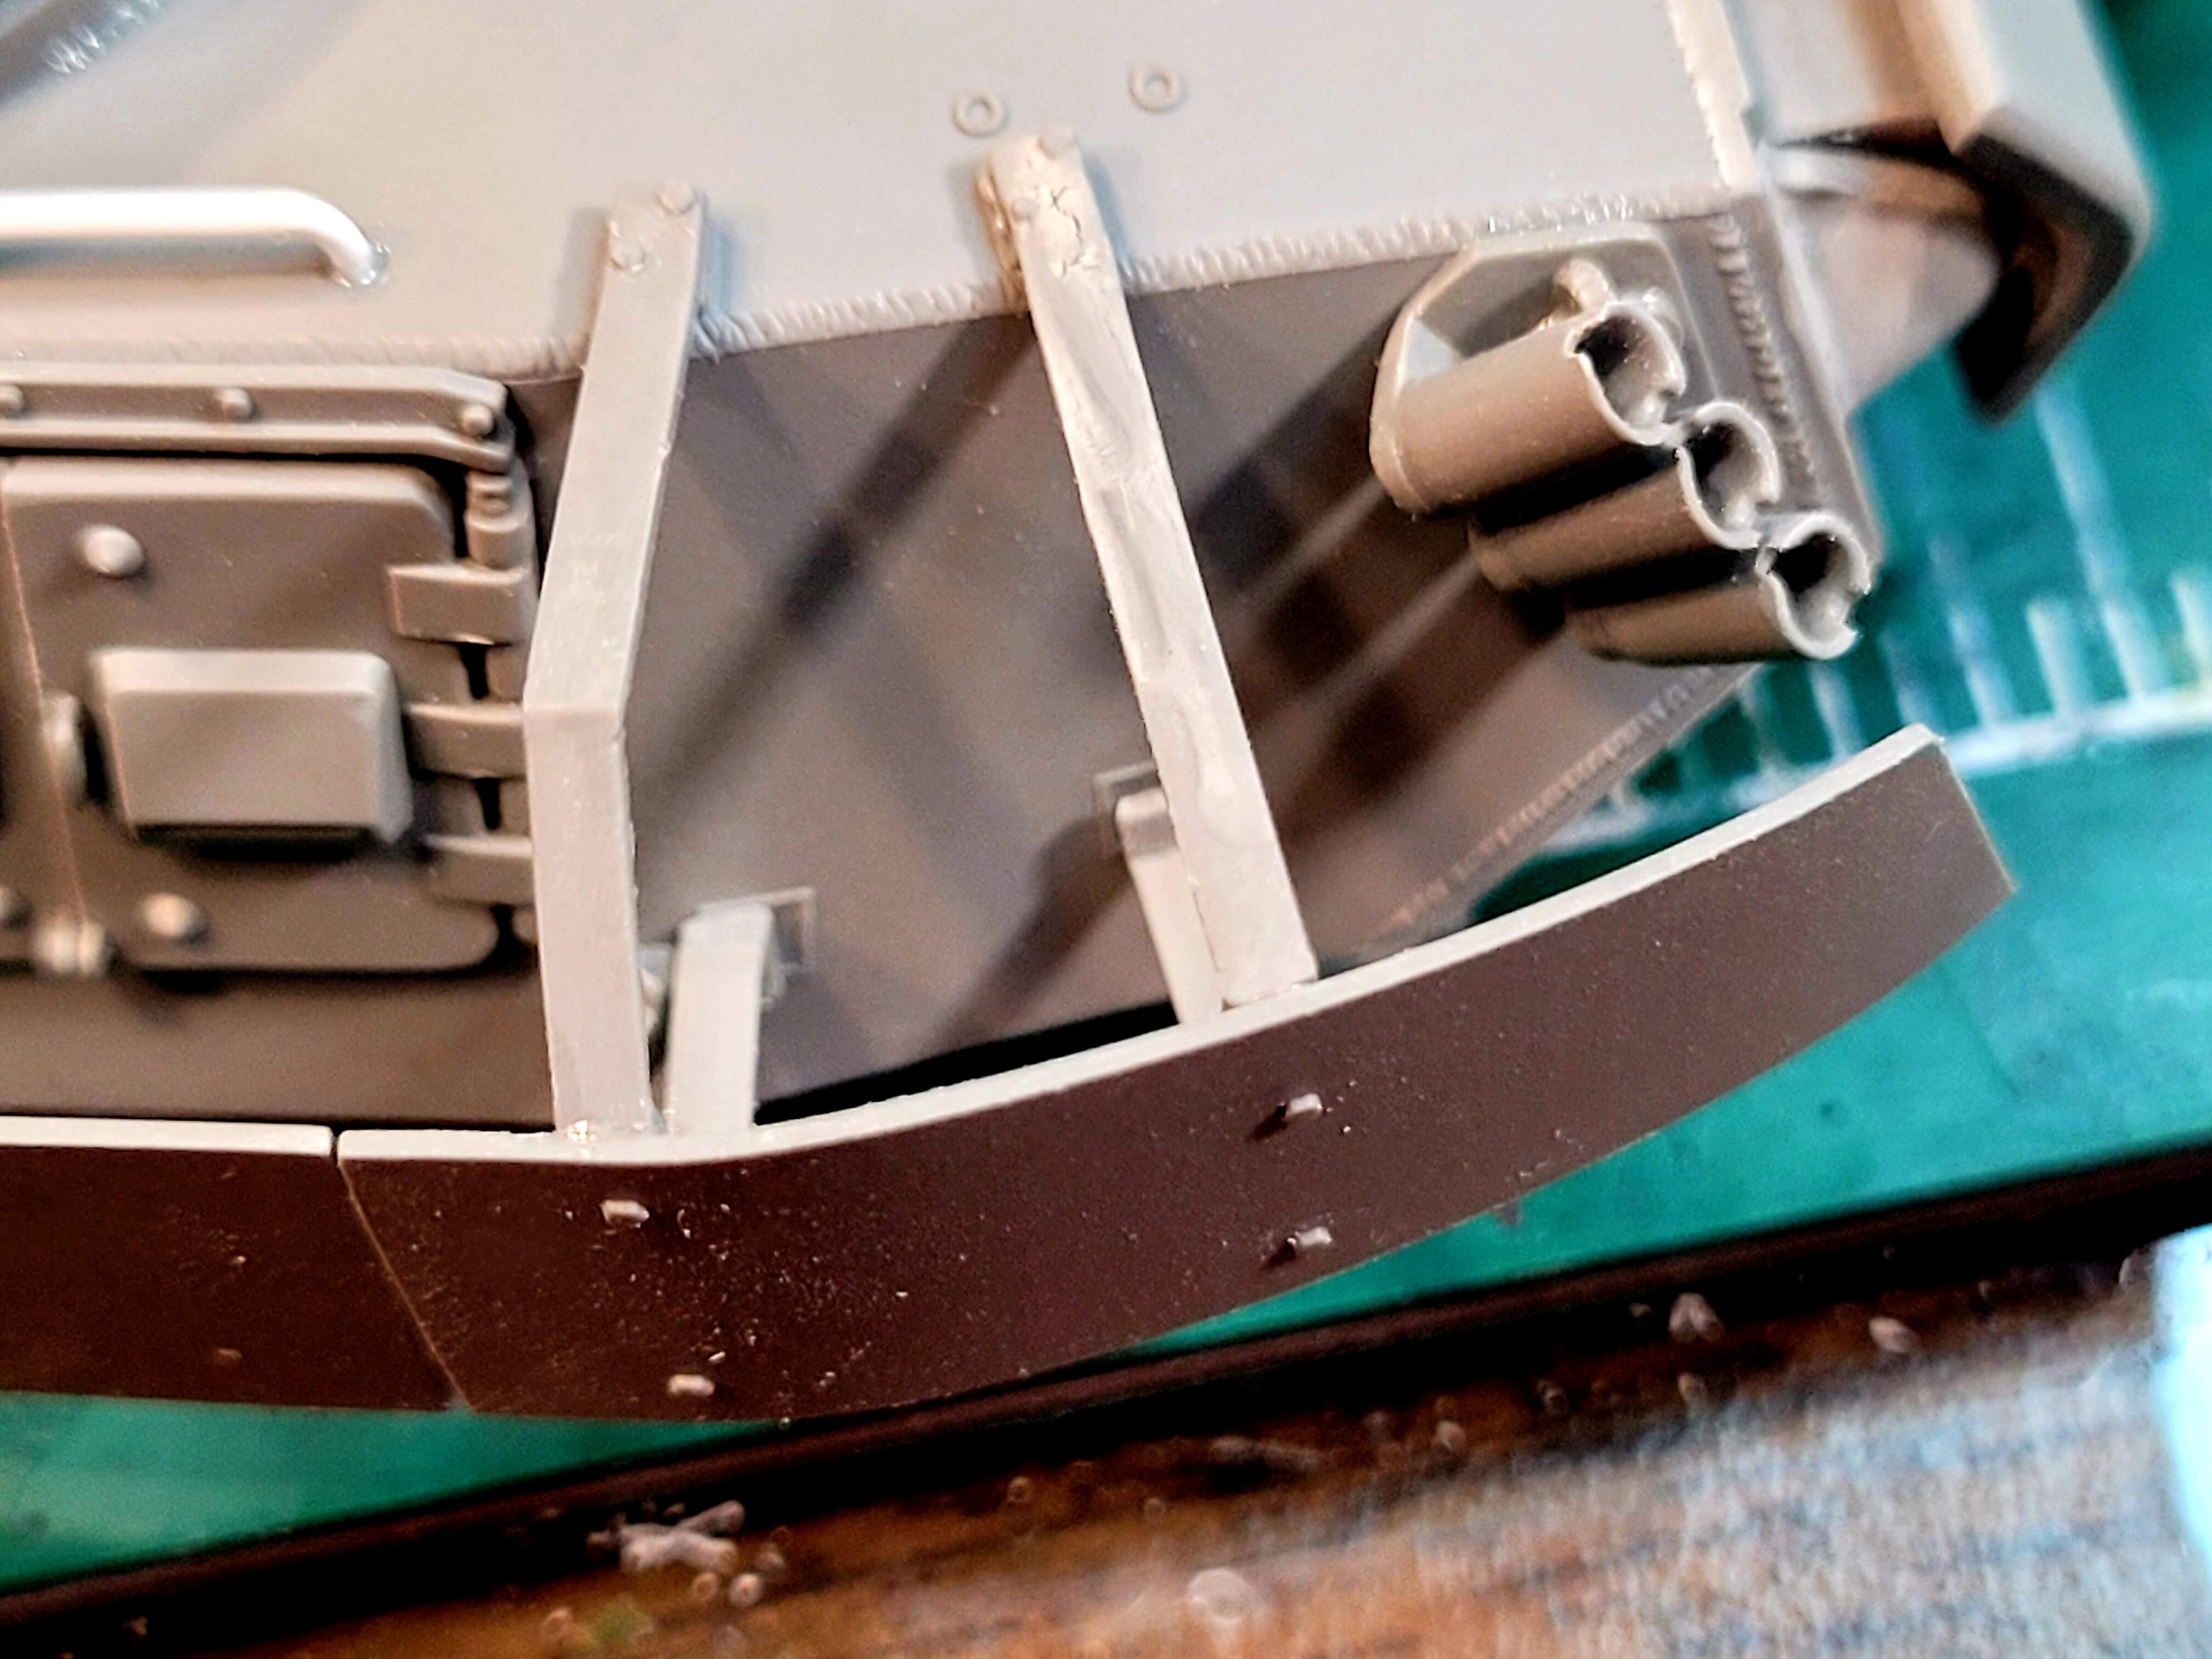
Ten minutes later I did the first test fit and the turret skirt came up about 1/8 inch to 3mm too short and the front edges hit the smoke grenade discharger!
It was instantly obvious what the problem was: those two long attachment supports in middle of the inside face of part J hit the stowage box.
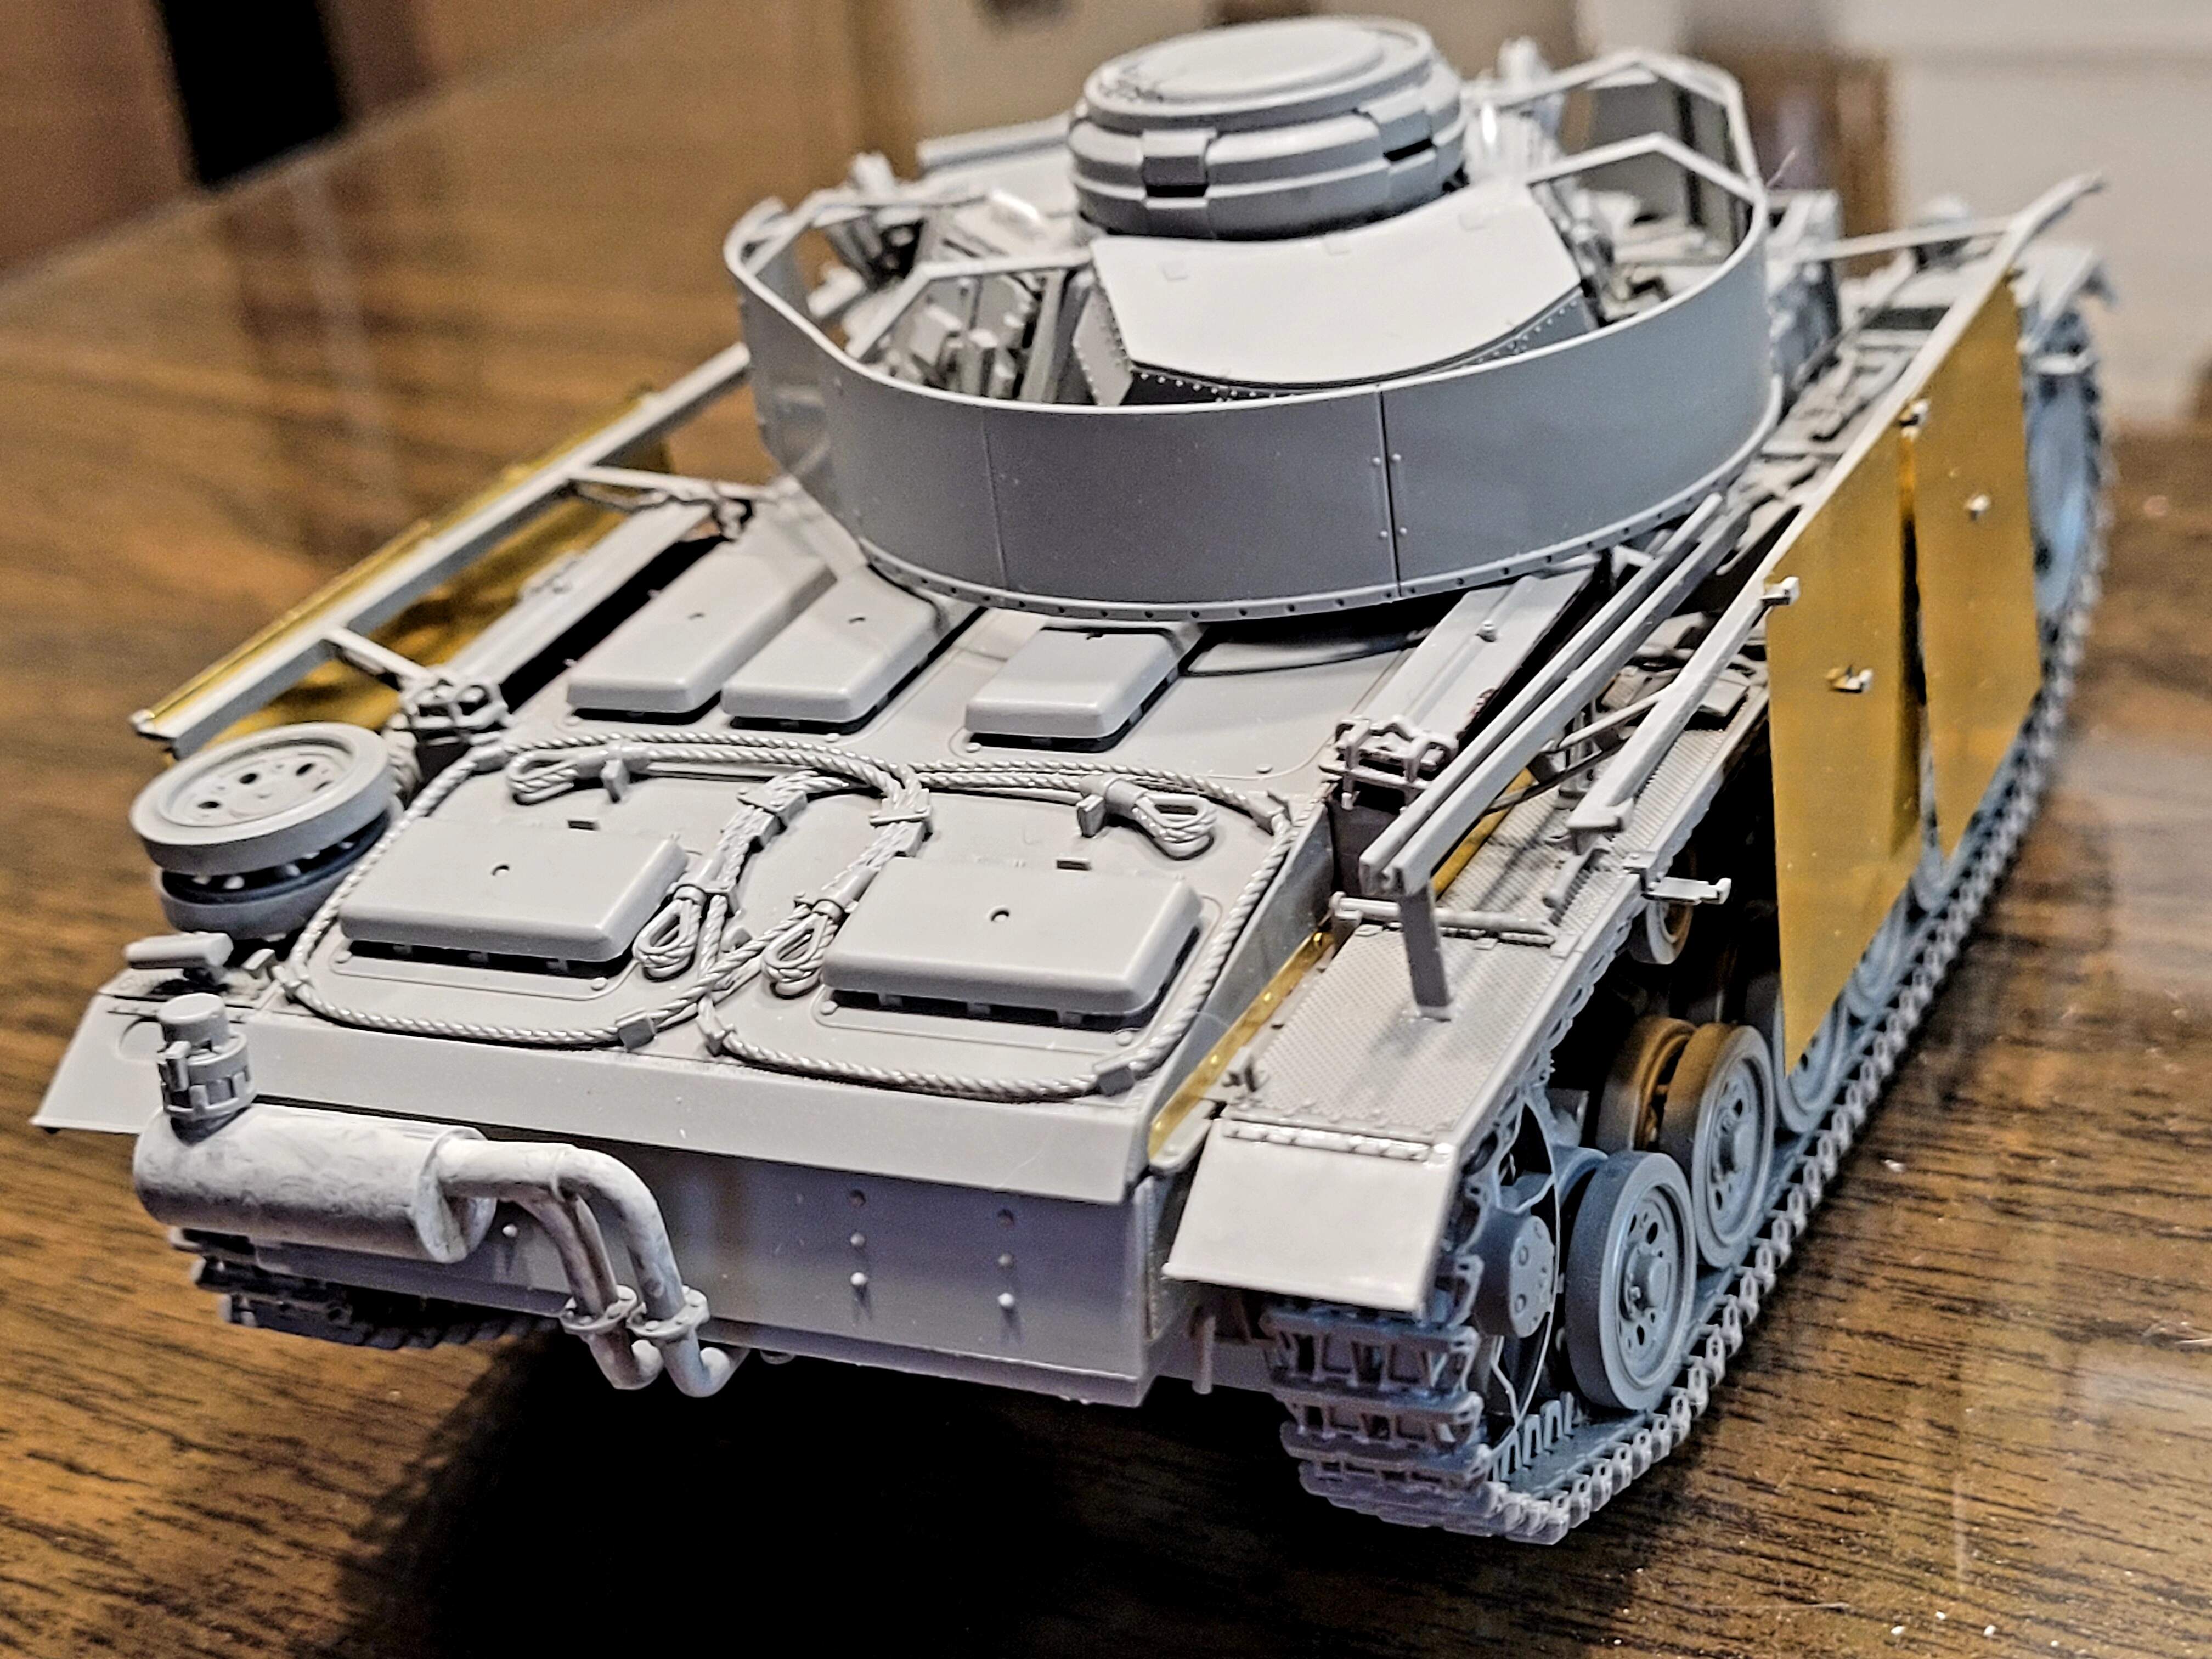
Tried again and the skirt fit nearly perfect. Less than .5mm off on brace attachment points. The top brace points were attached first then the bottom. The skirt didn’t hit the smoke grenade dischargers anymore either!
This was allowed to set up and dry for a couple of hours before adding braces F1 & F2. Both slid into place perfect on the first attempt. The tops and bottoms were attached and after they were dry the back was glued to the horseshoe.
@TopSmith Greg, that would be a very good approach to try as well I think.
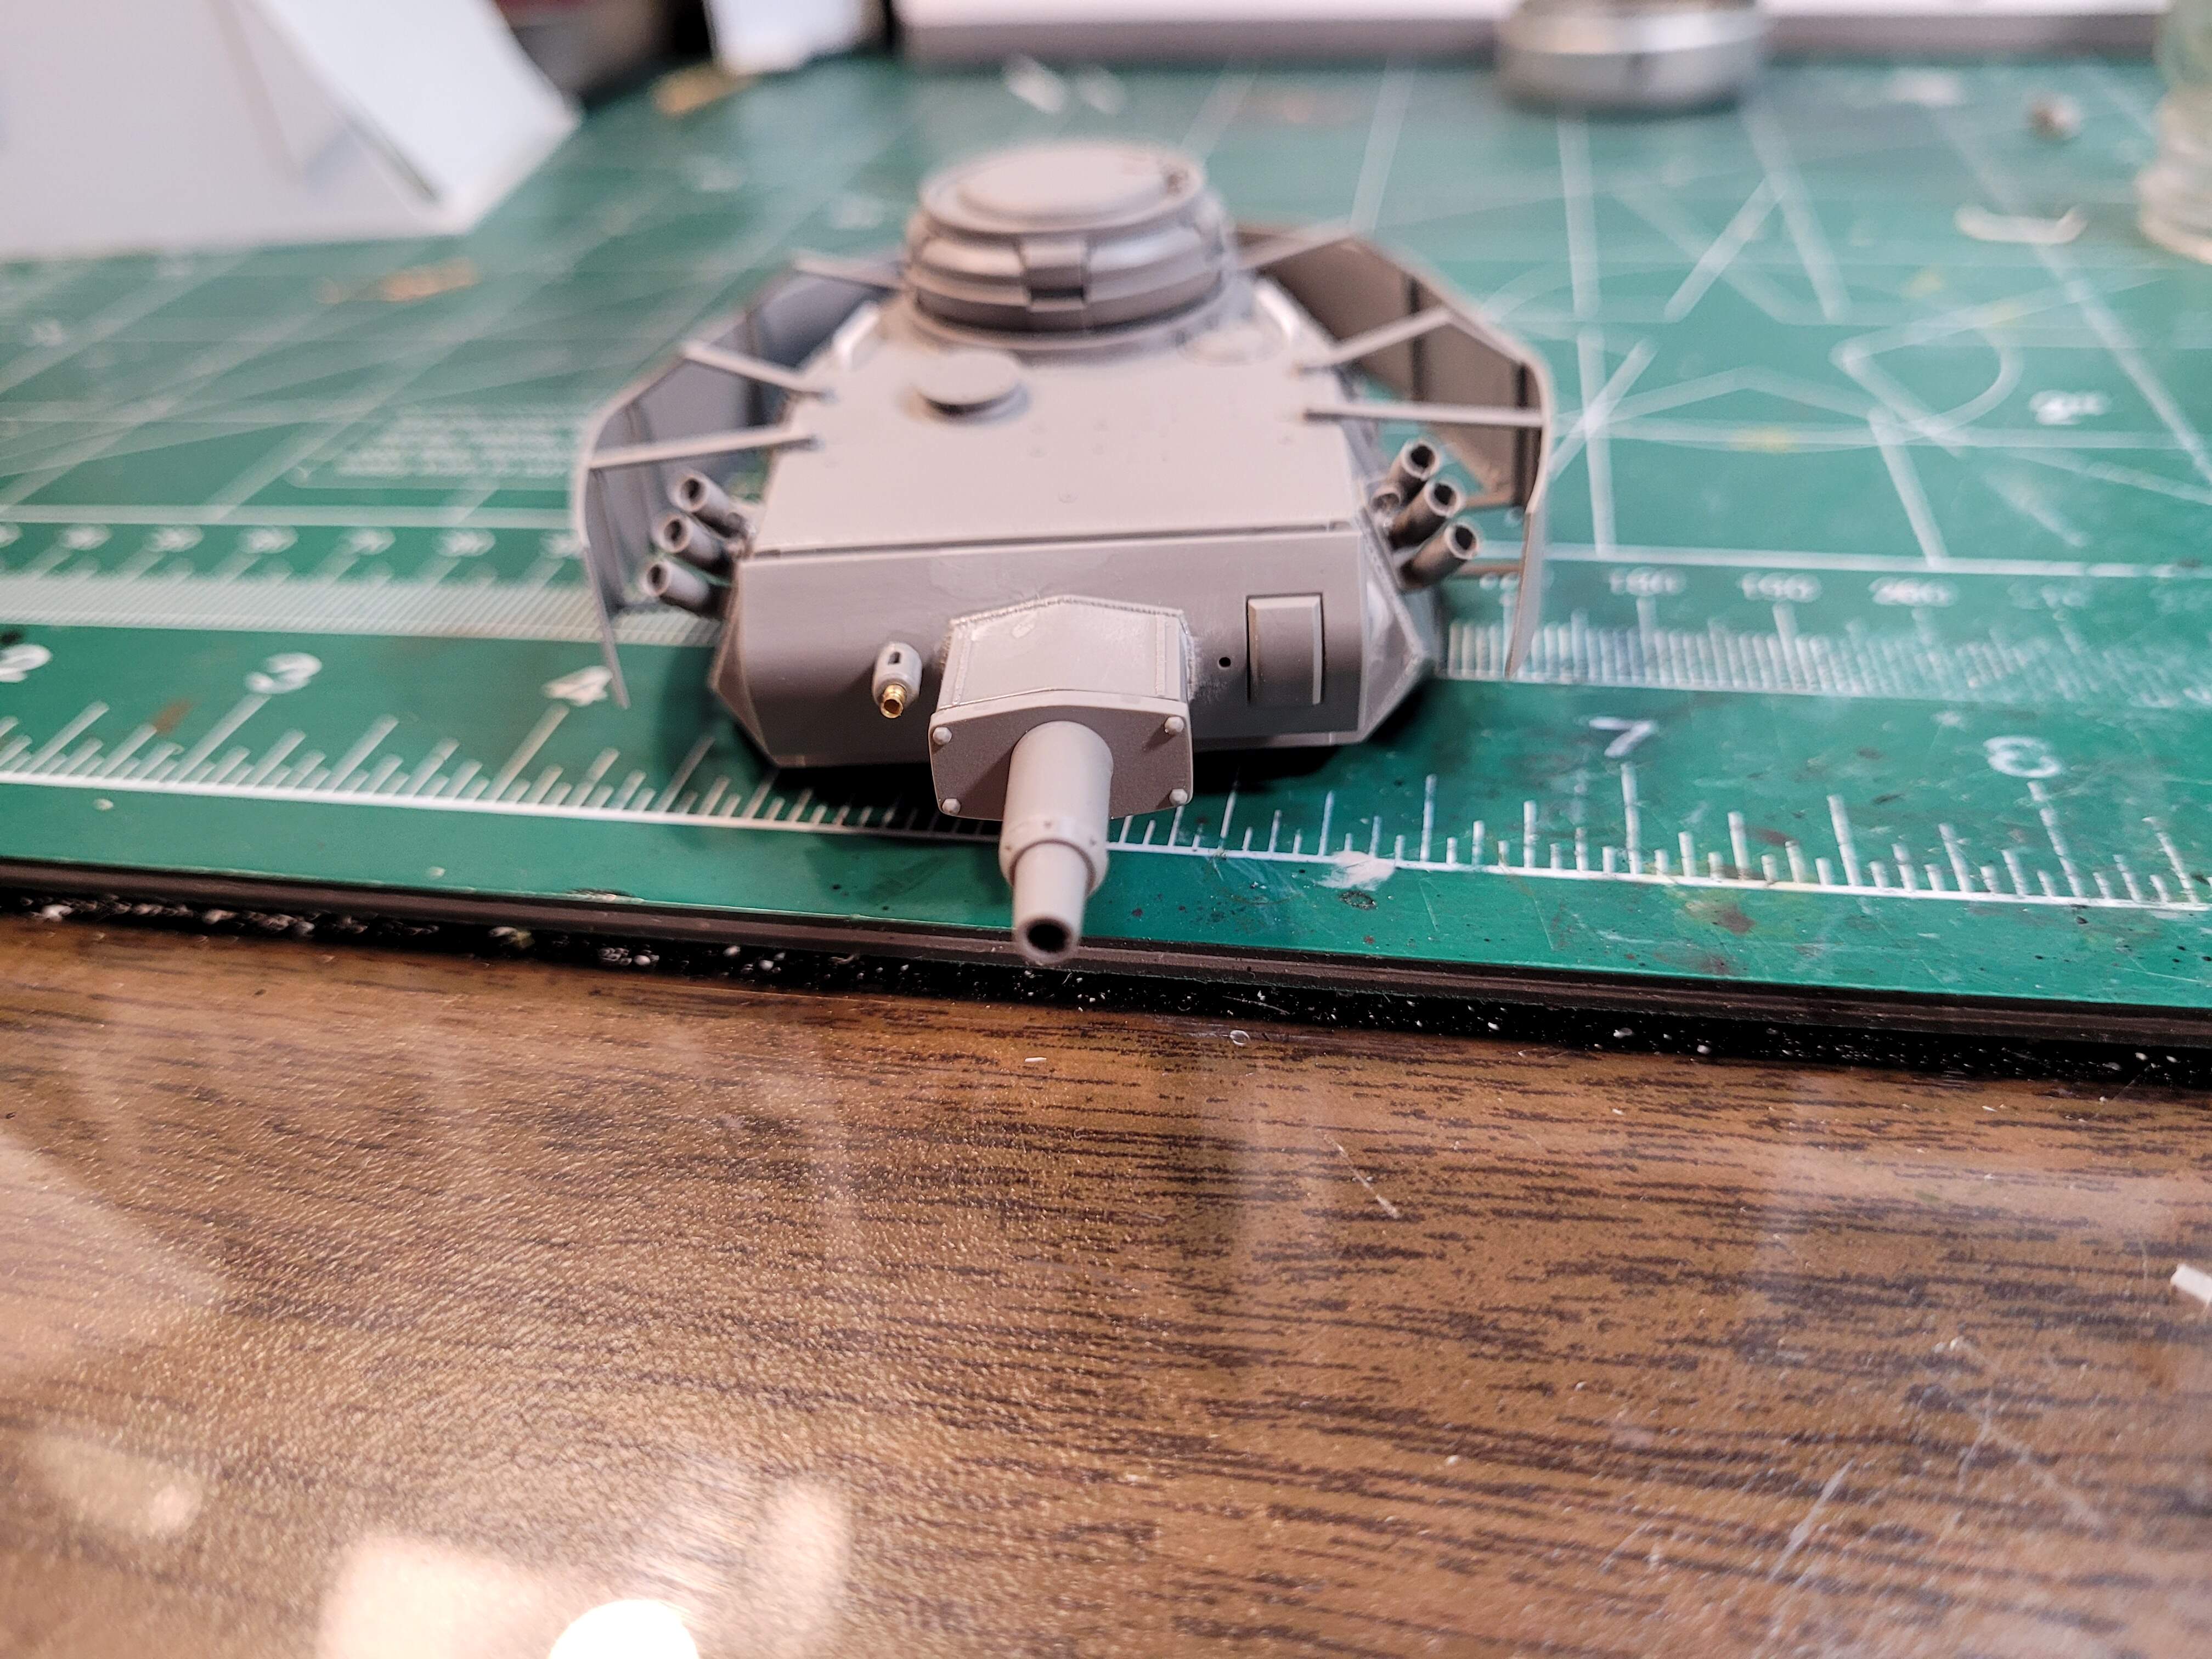
Step 25 <15 minutes> total time 42 hours and 7 minutes
Added the vane sight and a few other small bits. It’s ready to be washed and prepared for painting. Some parts aren’t secured to making painting easier… Hopefully it gets paint fairly soon:)


 out. Takom has a much better design that’s hassle free to assemble. A++
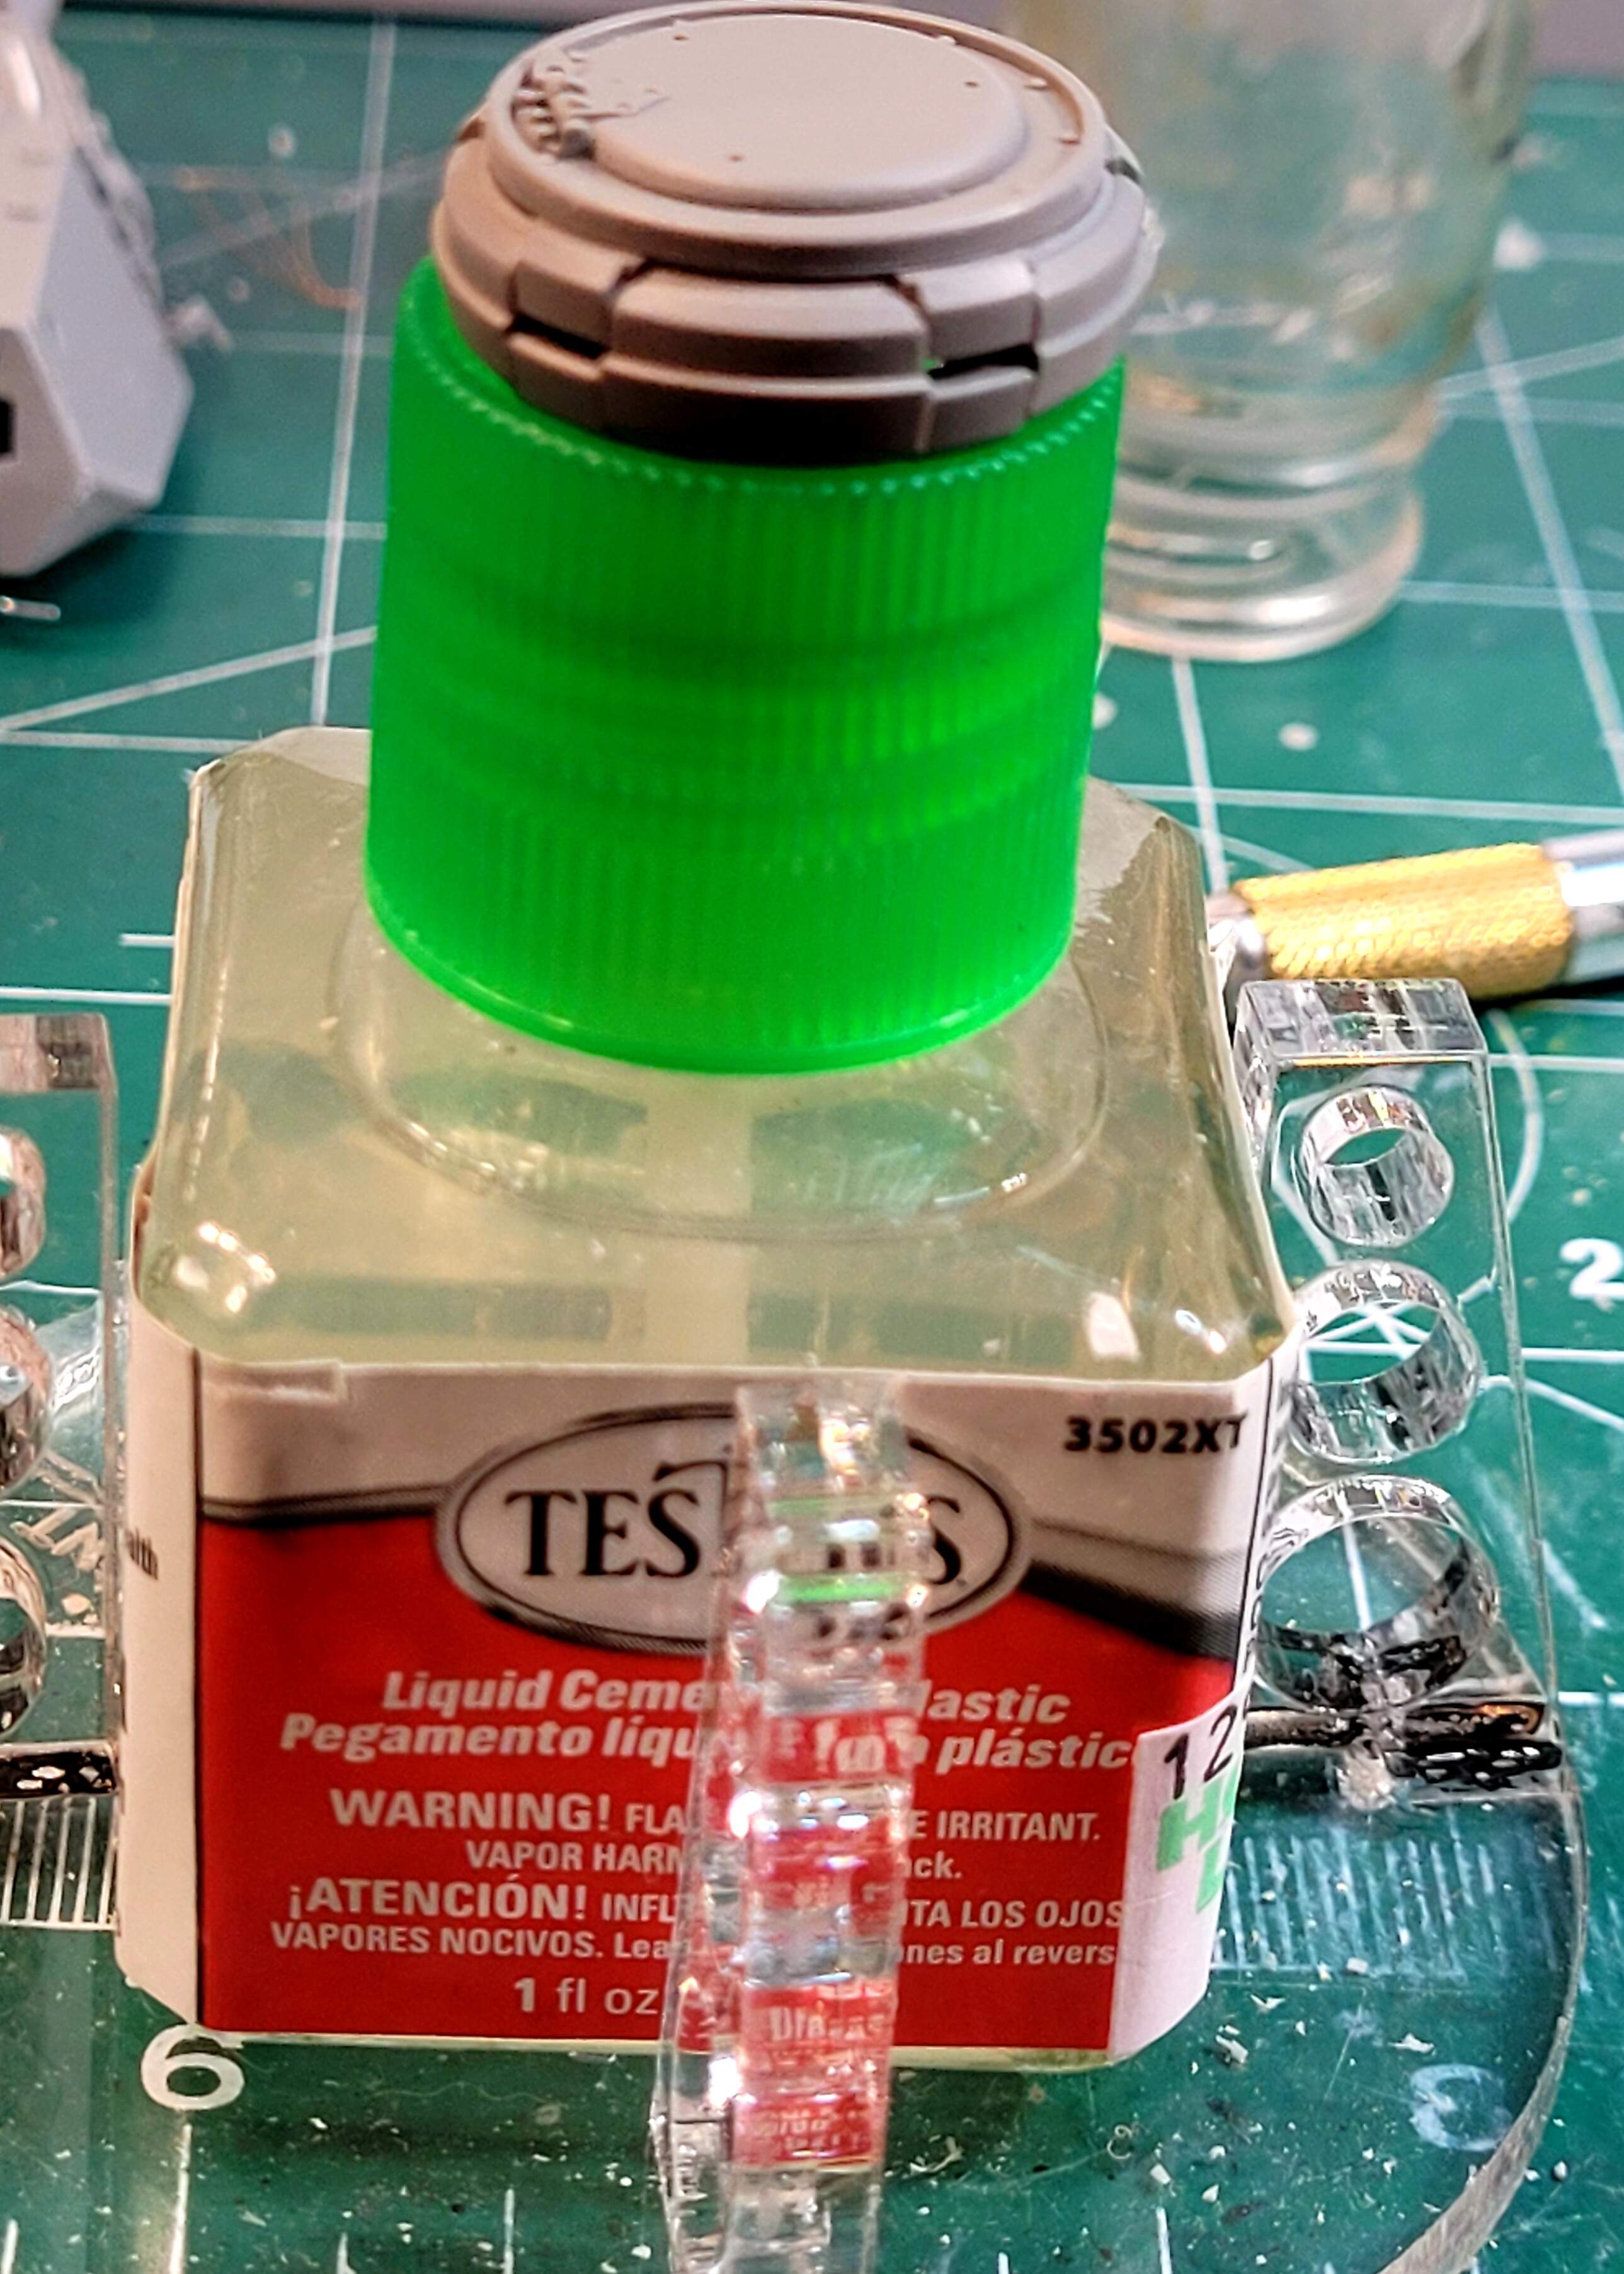


 for this soft plastic. It acts more aggressive on this Takom kit’s plastic than on the prior Tamiya, DML & Italeri kits I’ve selectively used Extra Thin on. Just my thoughts your mileage may vary