Some progress on the Frank Knox. I’ve been working on getting the hull ready for primer (almost there now) as well as starting the first level and bridge superstructures. Each level is loosely place here for test fitting, with no issues to note so far. Plenty more small parts and PE to add before I hit the paint shop.
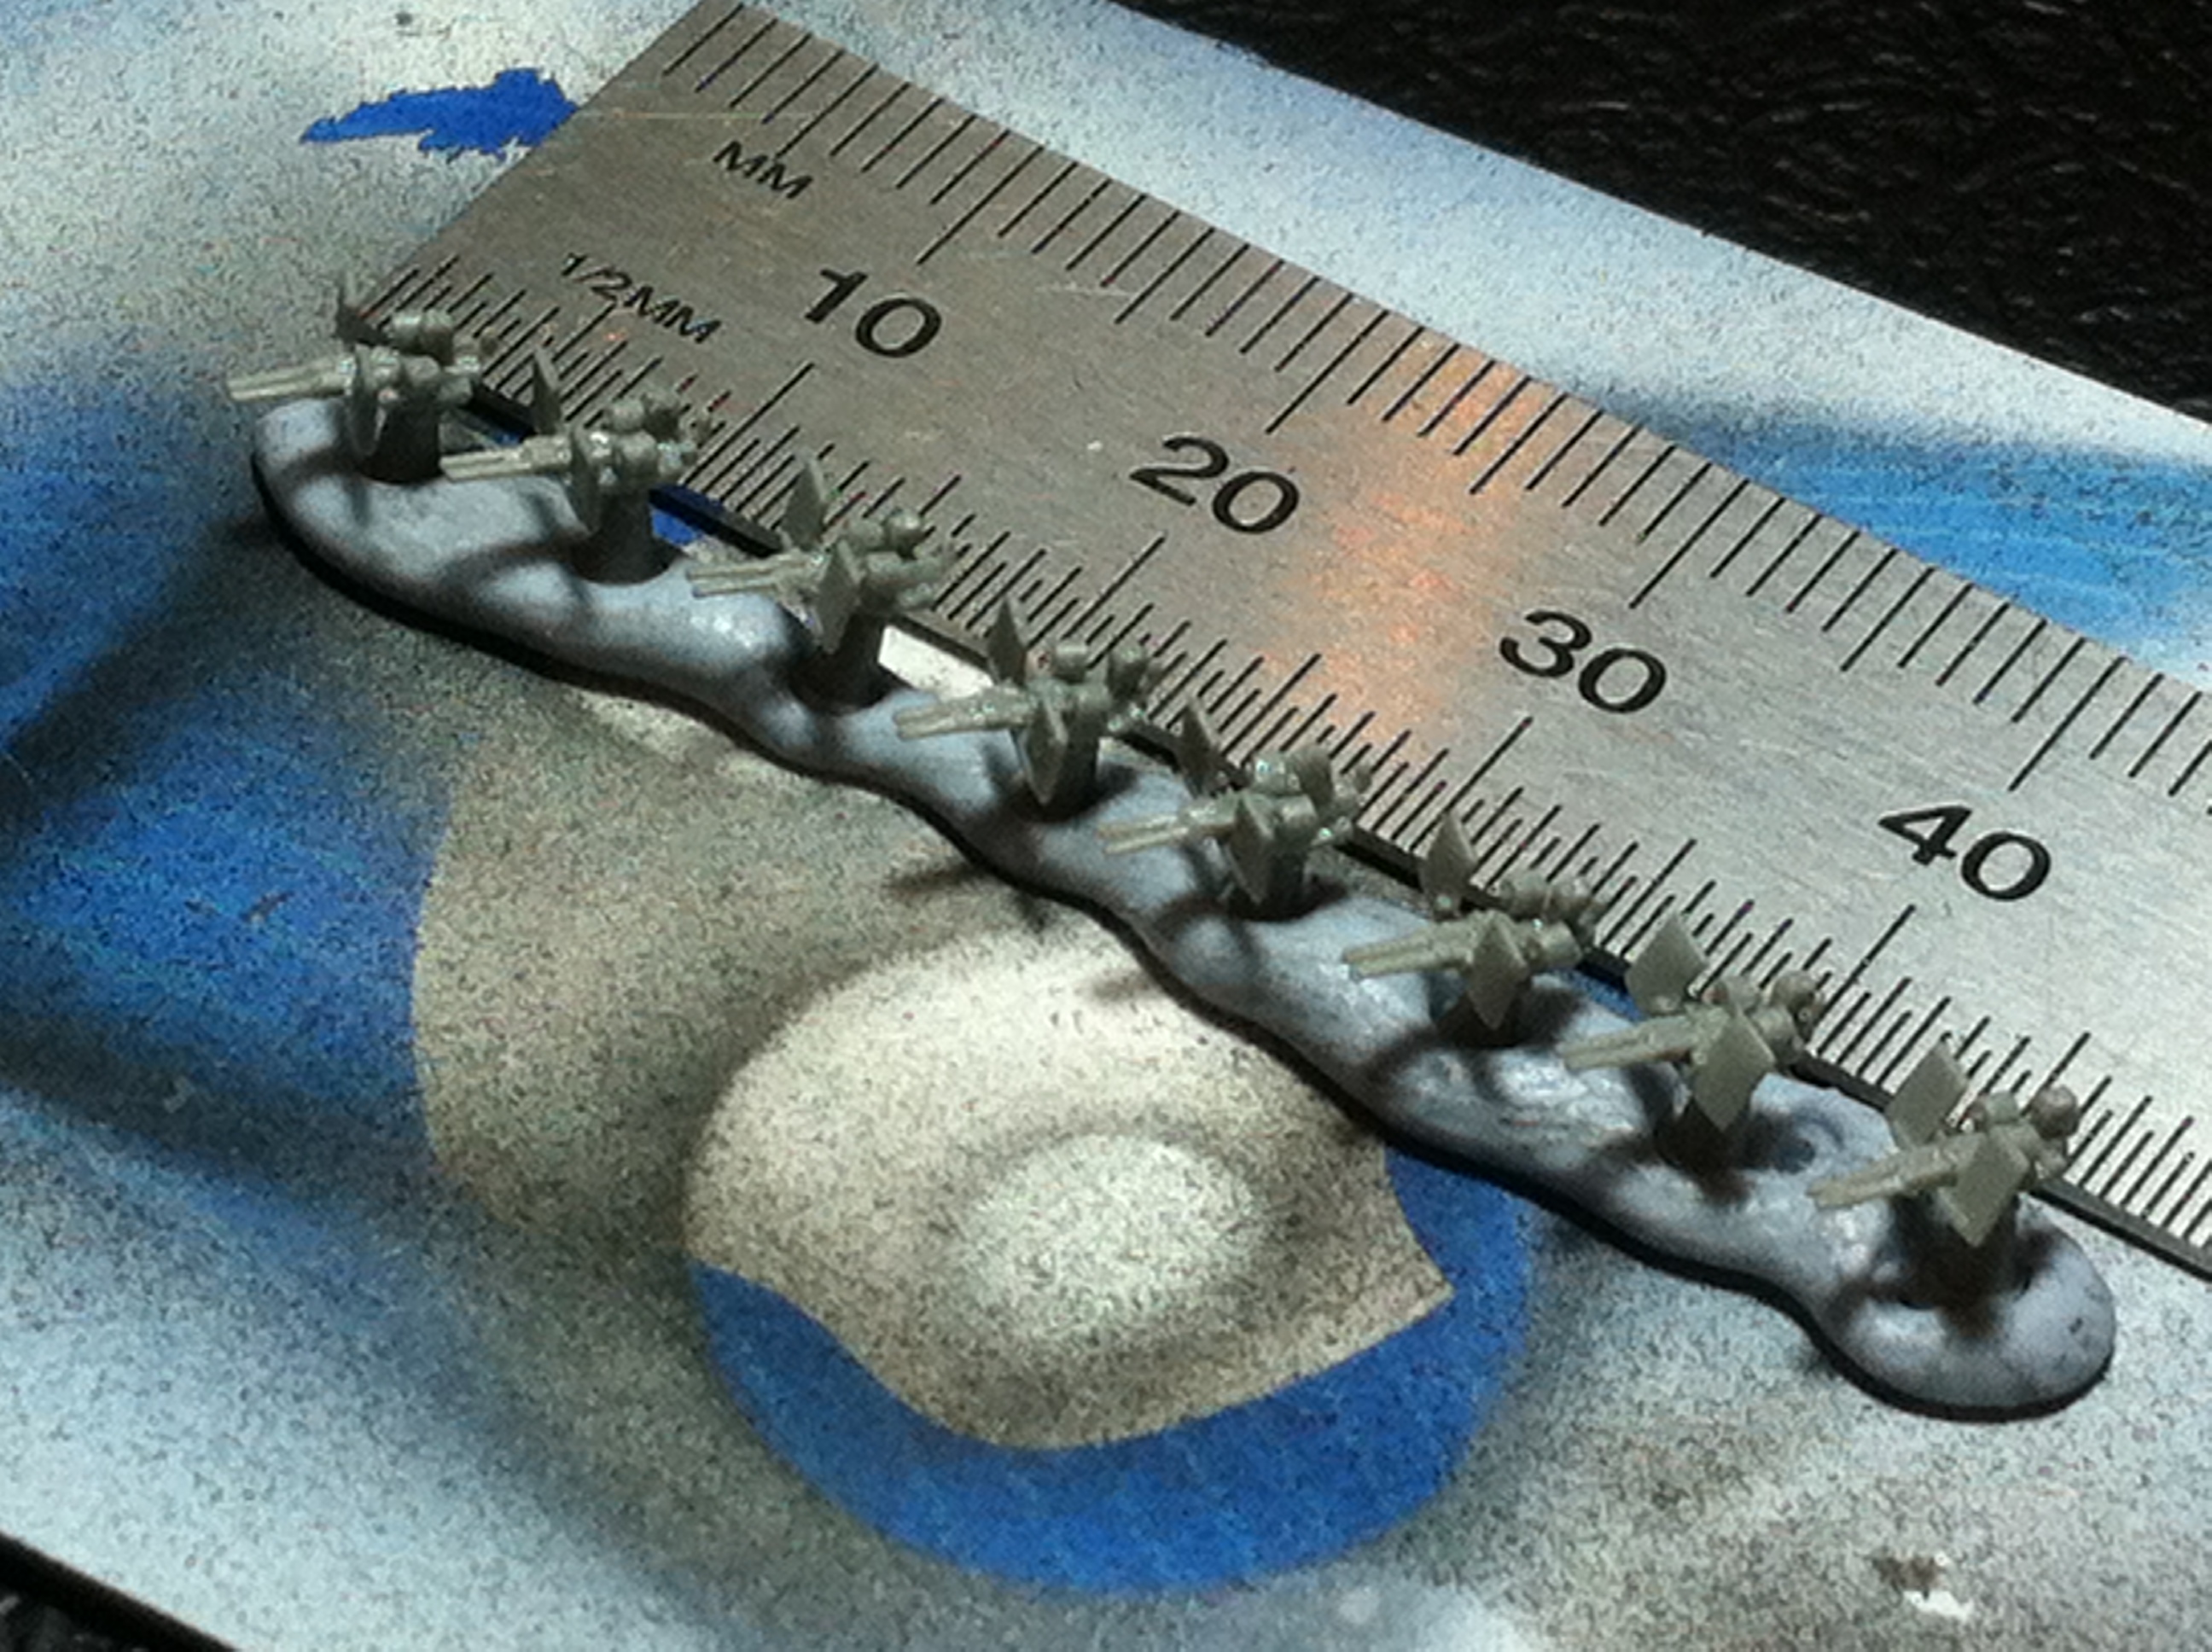
I’ve also built up the twin-20mm guns. There are 7 styrene parts in each set, with a couple of PE parts yet to add. I was cross-eyed and had tweezer cramps after this session!
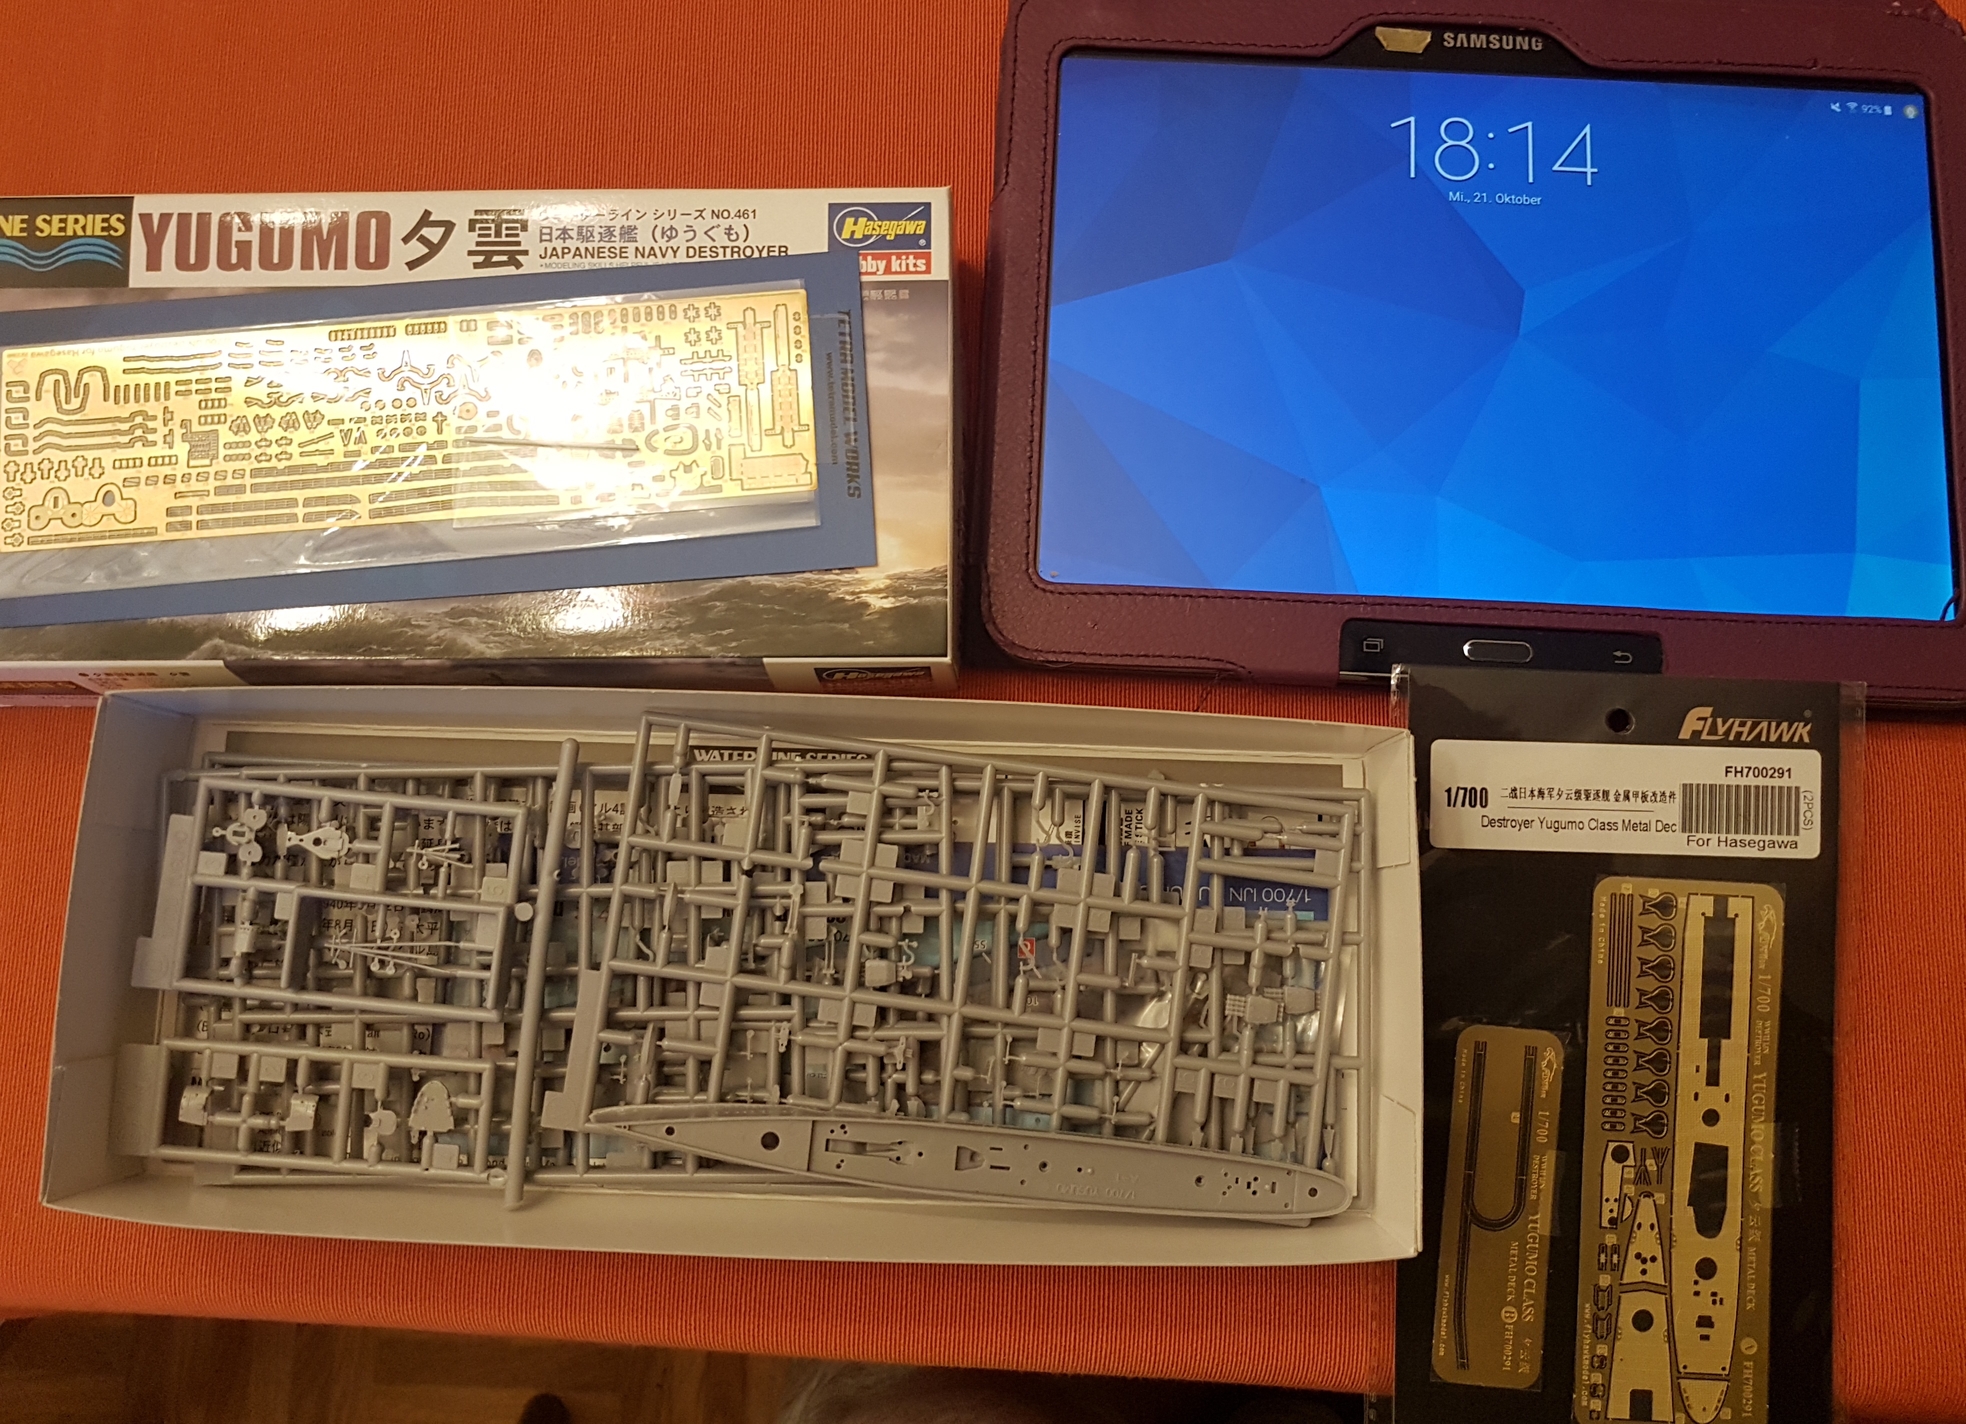
today arrived the Yugumo and the etched parts, so I can start.
But on first inspection it seems, that Flyhawk’s deck is too large for this model, the sides have an overhang…
Tetra’s set is very good, incredibly small in some parts, but extraordenary detailed.
Calling on the MSW hive mind! I have also posted this in my “Gearing Class Odyssey” thread.
I’ve found some discrepancies in the next stage and would love some opinions on which way to go. In the plan view below there are parts that are in different locations or completely missing when compared with the drawing immediately below it, and on the kit deck part, there are locating notches that don’t line up with either of the above drawings.
The main culprits are part numbers H23, H30 and R1.
What is the concensus when you strike these discrepancies? Do I go with the plan view which will also then line up with the decal placements, the “oblique” view which shows the placements clearly in 3D, or the locating notches in the actual kit part?
I’ve downloaded a couple of images of clean (unpainted) builds of the Frank Knox to see if I can make sense of the locations for the smaller parts. In the meantime the hull is now prepped ready for primer, and I’ve fitted the rudders and prop shafts.
I would go with the parts placement with the locating notches and not just the view drawing. Really would want to use all drawings to place all of the parts. These drawings are really just guidelines on building the kit. You are force to figure out what goes where and what to use and not to use. Good Luck.
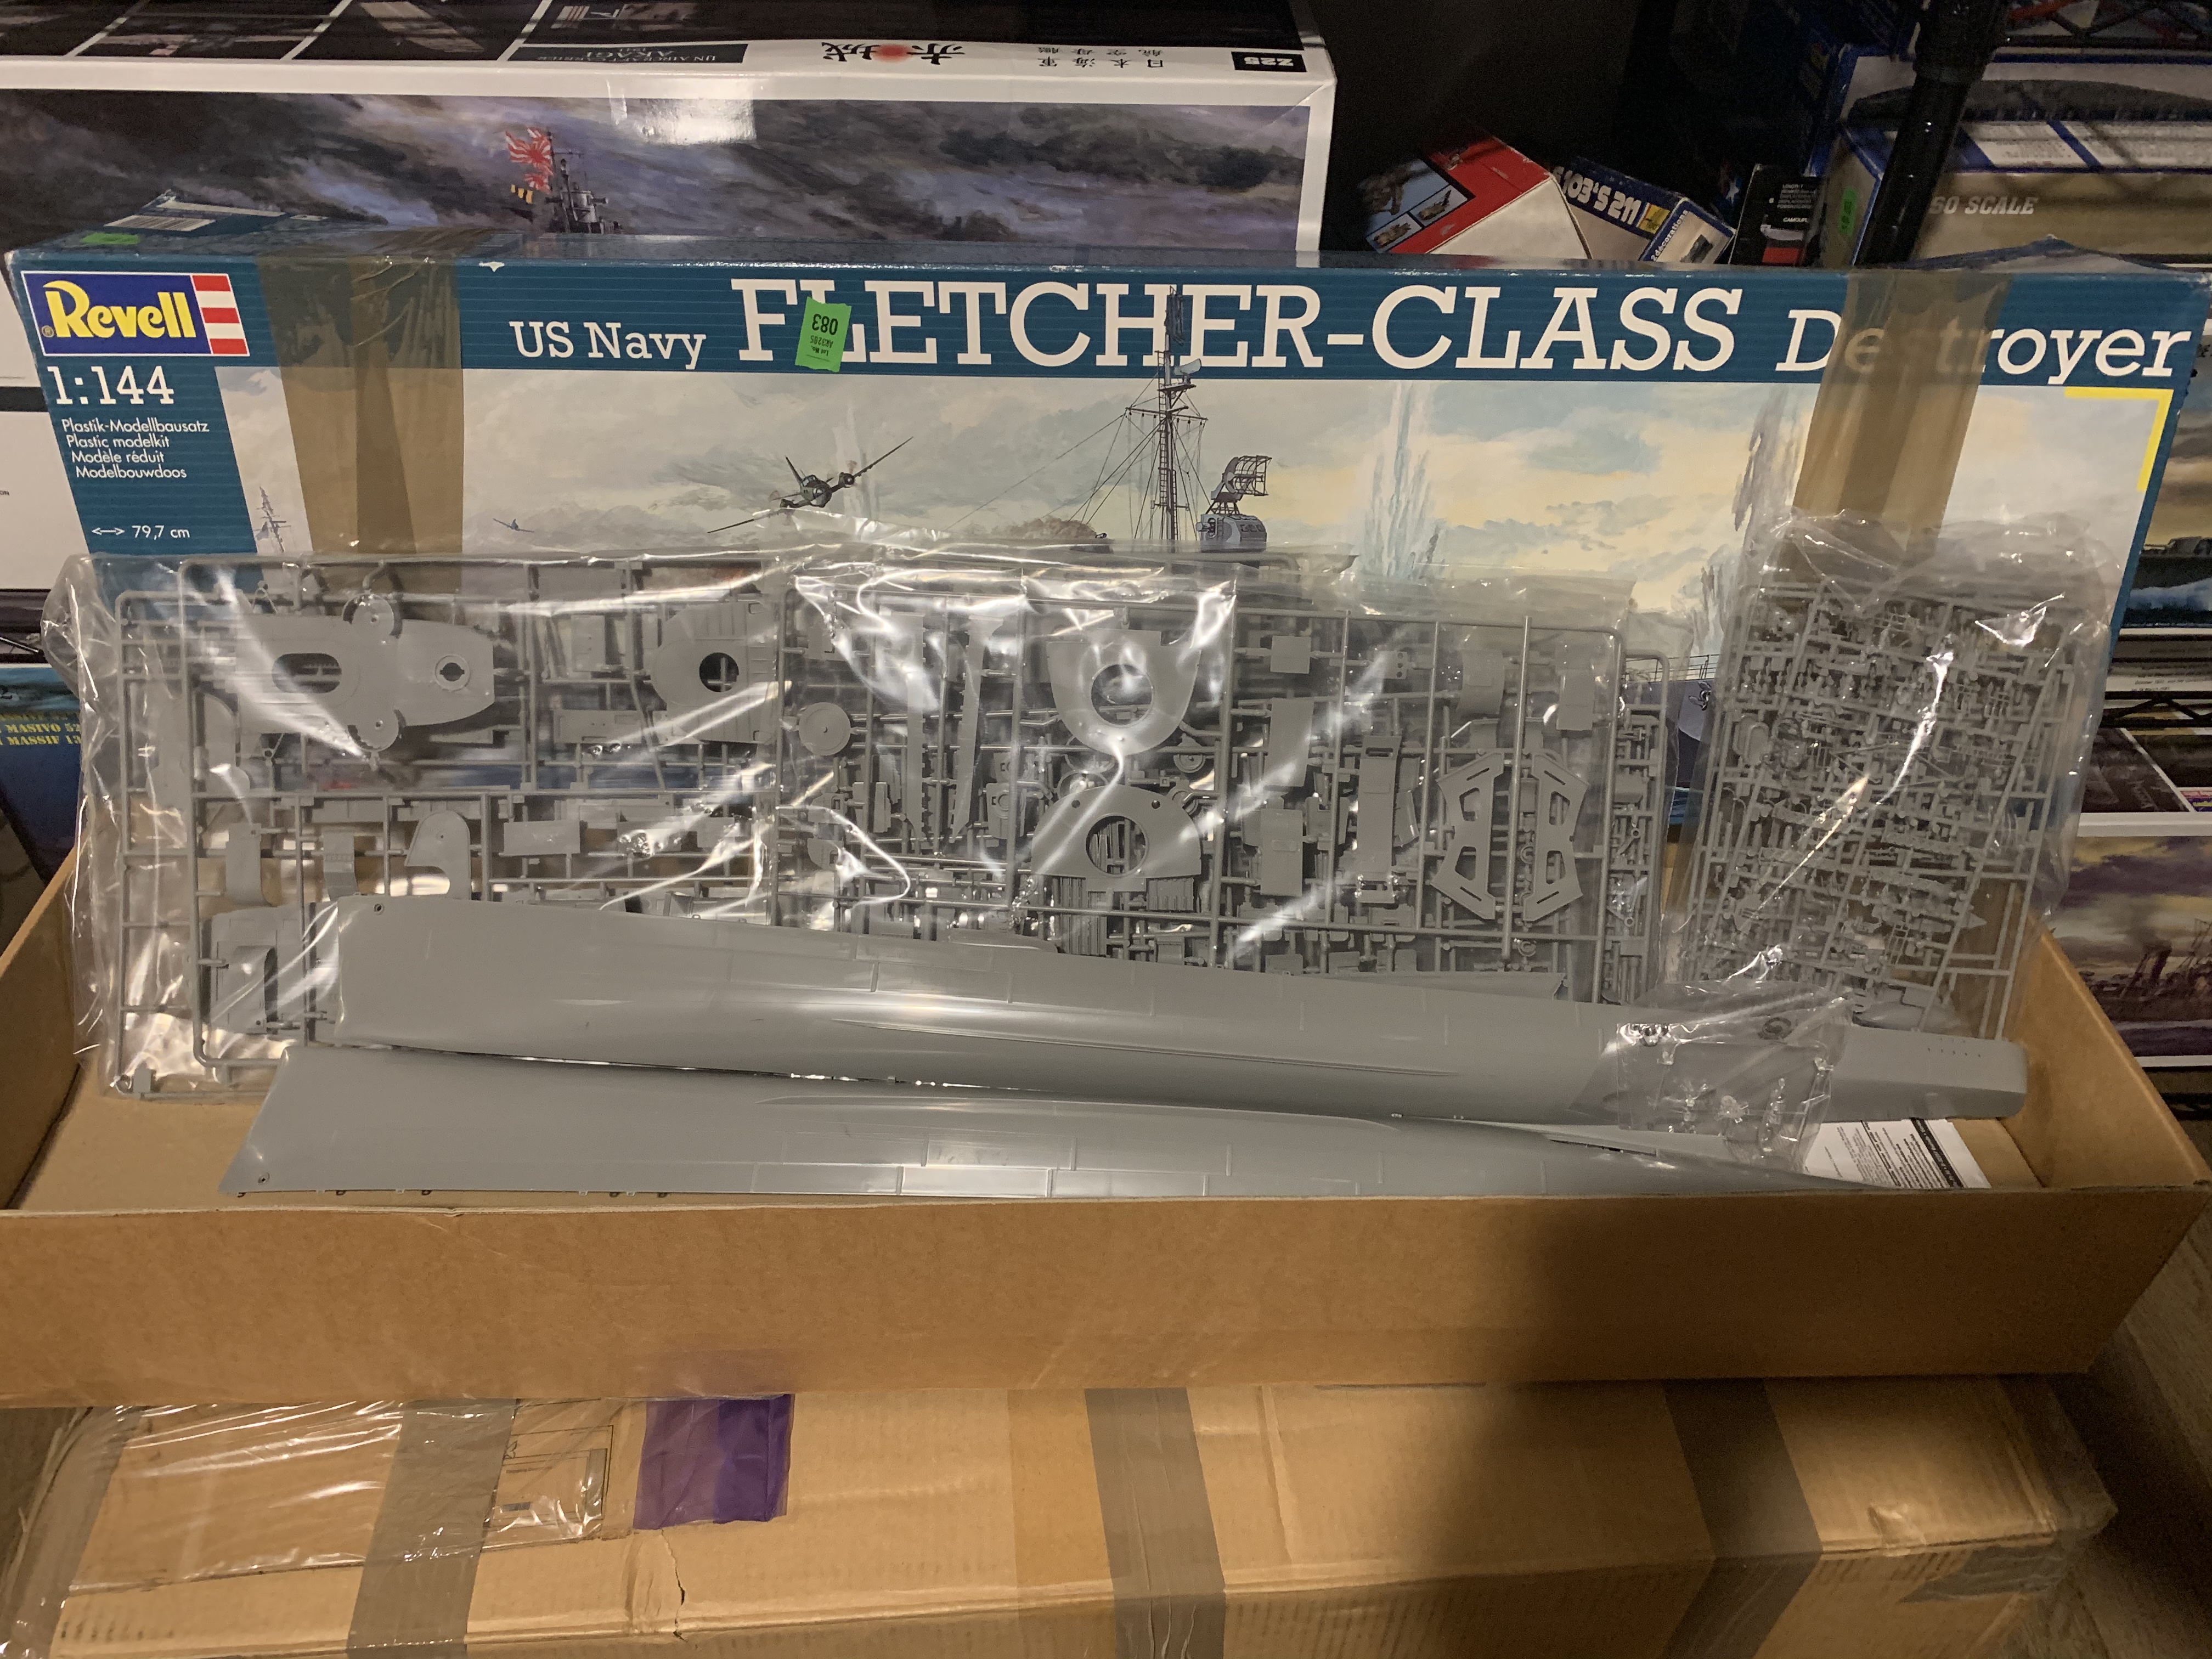
So I have run into a decision point. I currently have four builds in progress, limited time and an overwhelming urge to change out my initial submission. With this being a year long campaign I should be able to finish the Tama and still have time to build my submission but I want to change from my 1/350 Dragon USS Buchanan Gleaves Class Destroyer to building the Revell 1/144 USS Fletcher
If I move forward with this I’ll build it as either the USS Hoel or the USS Hermann, both participant of the Battle of Leyte Gulf
So in anticipation of going this route I’m providing my pre-start photos
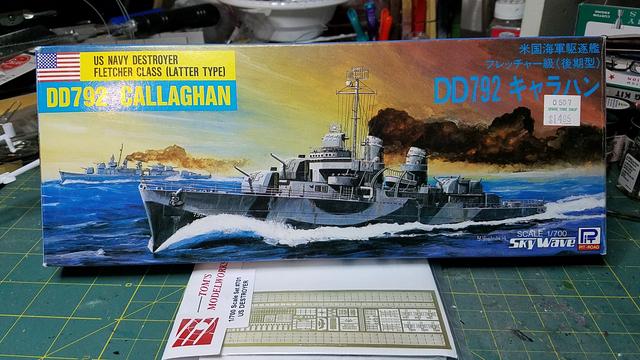
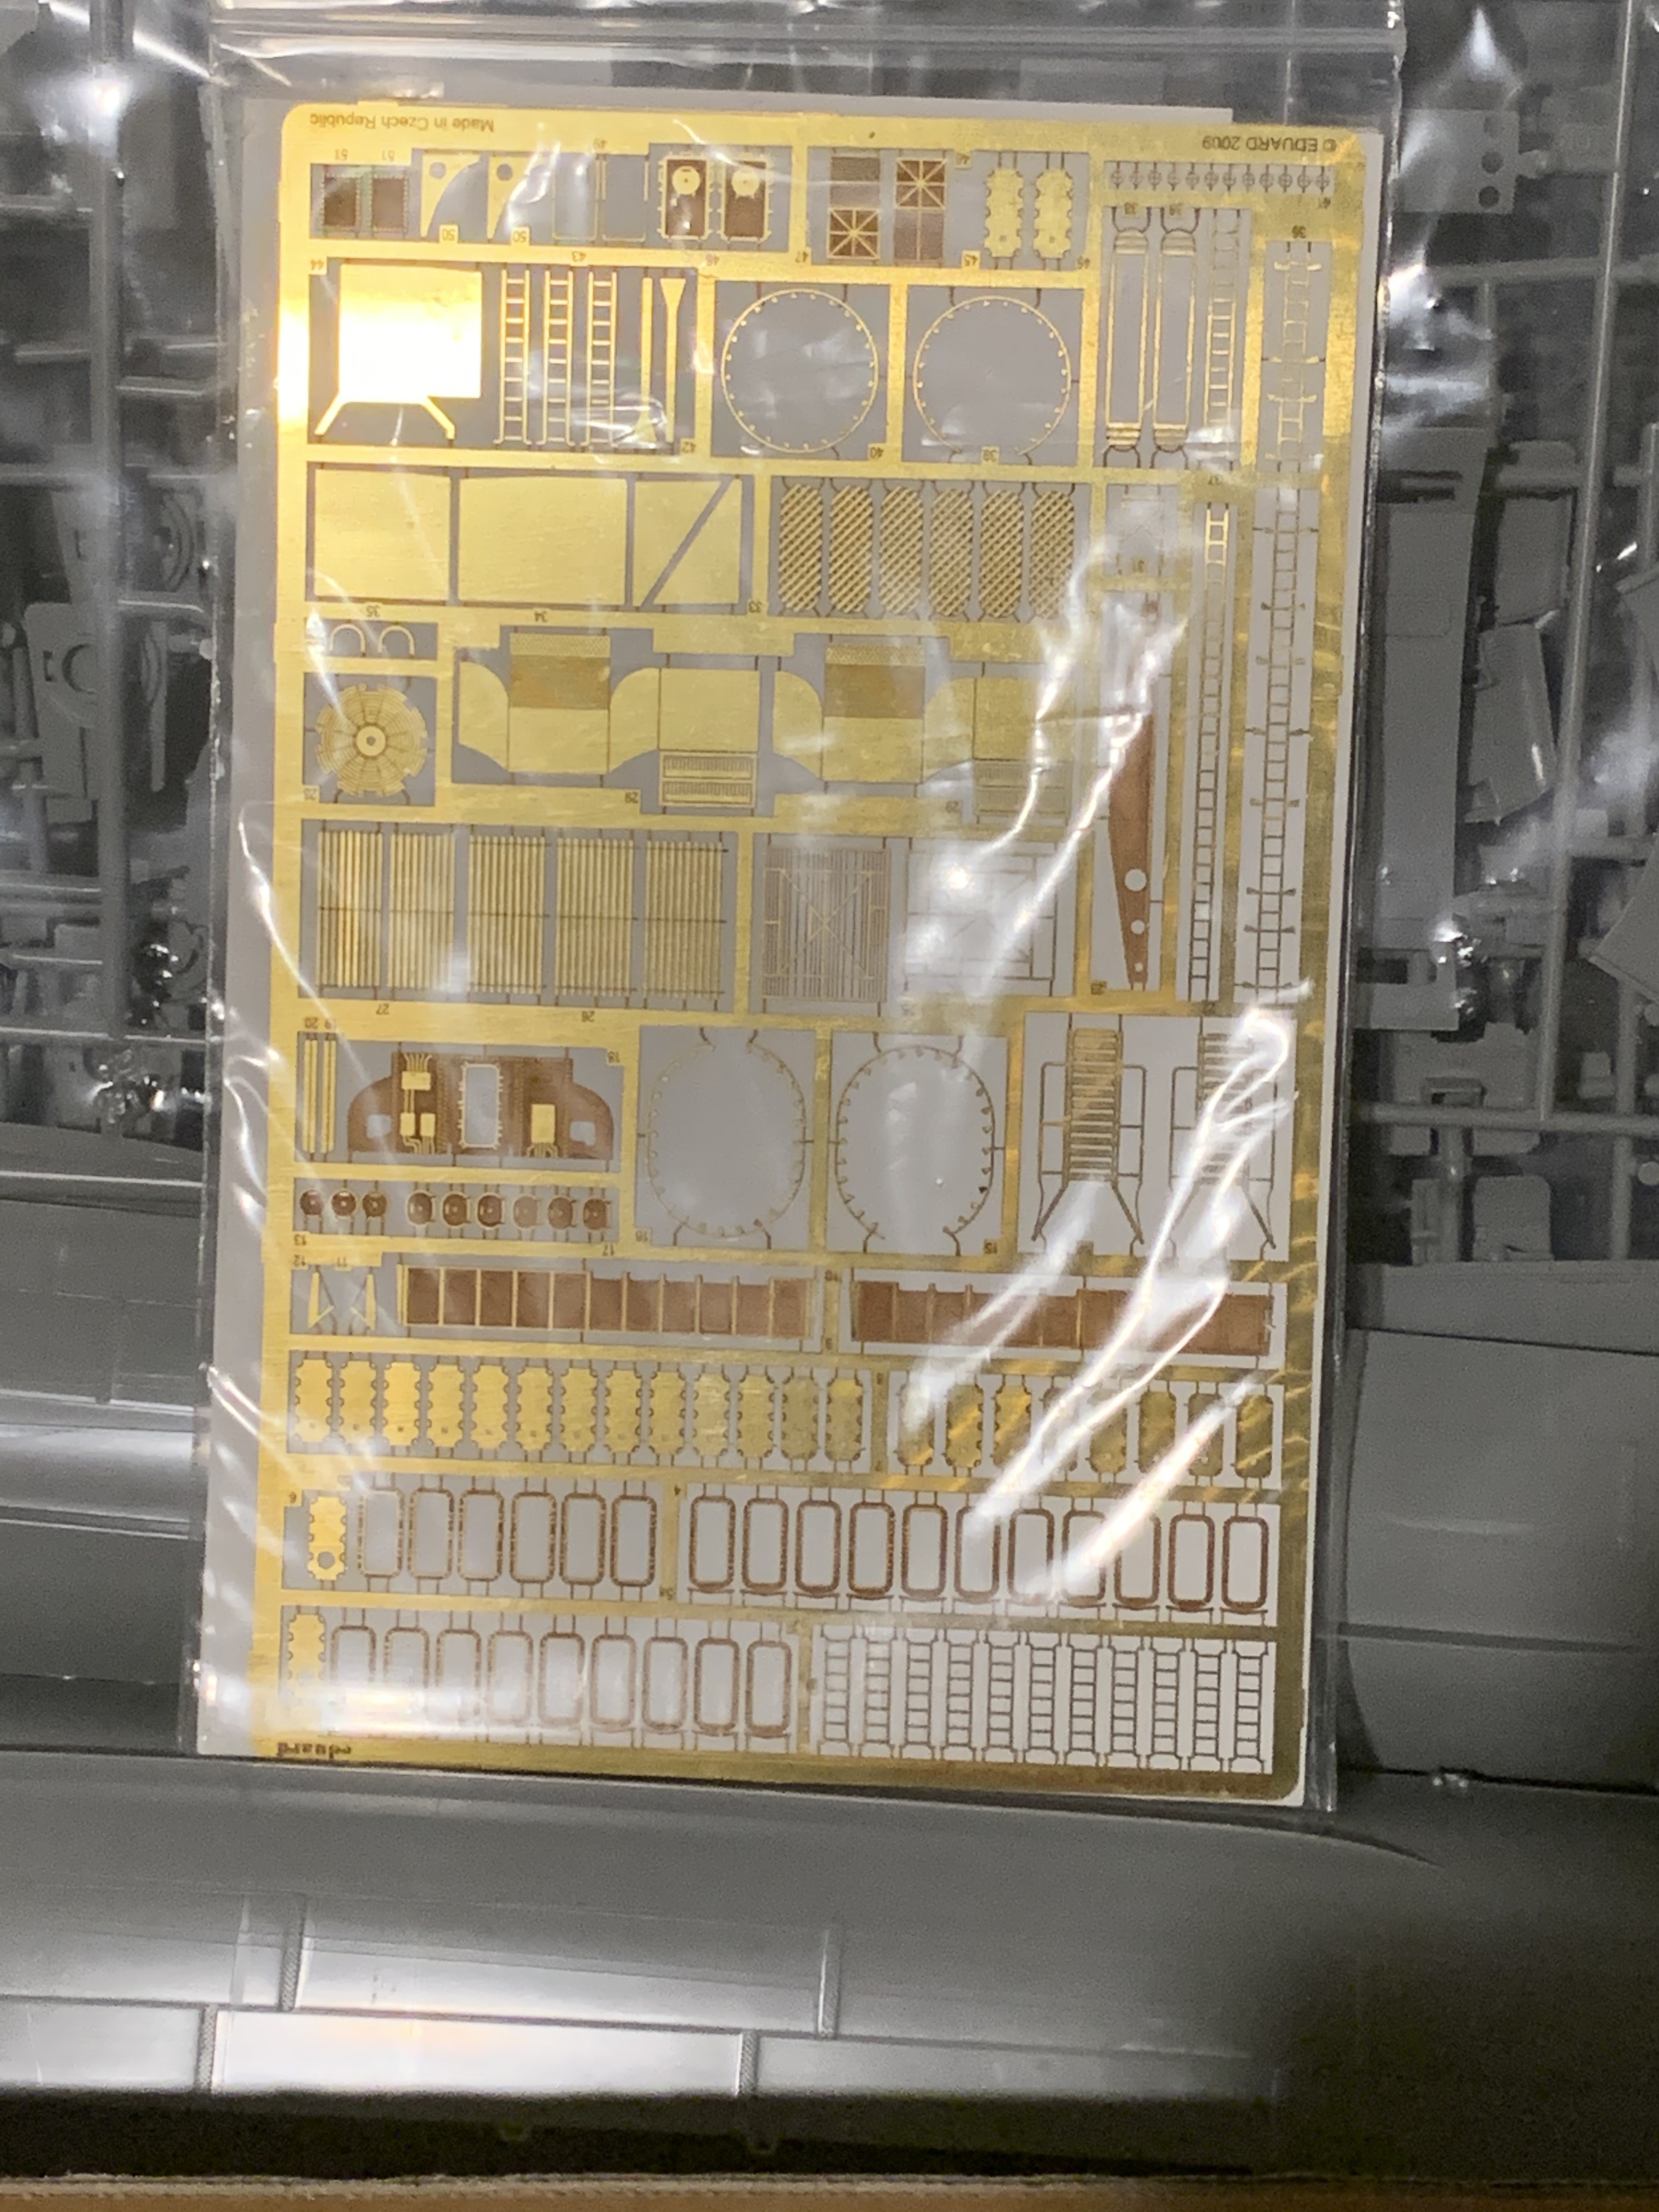
Speaking of Flertcher-class destroyers, I’m joining with the Skywave/Pitroad 1/700 kit of the USS Callaghan DD-792 with the Tom’s Model Works US Destroyers P/E set.
The plan is to build it as the USS The Sullivans DD-537. Although my mother’s maiden name was Sullivan, I do not believe that I have any connection to the Sullivan brothers other than the name, which is very common in Ireland.
Now, I already have a problem. Not being an avid ship builder, I do not have an extensive paint stash for these kind of things. I usually build automotive subjects. I want the do the USS The Sullivans in Measure 22. What are good Model Masters or Tamiya equivalents to Navy Blue 5-N, Haze Gray 5-h, and Deck Blue 20-B? I have Light Ghost Gray, would that work for Haze Gray?
You’re not wrong there Rory! I’m working through sub-assemblies and just found a section calling for parts that aren’t even included in the kit! Luckily I also have the Chevalier stashed away, and found the correct parts in there, so they have been “borrowed” for the greater good!
Hasegawa’s Yugumo is a really nice kit. Small, and some parts are very fragile, but it’s 1/700.
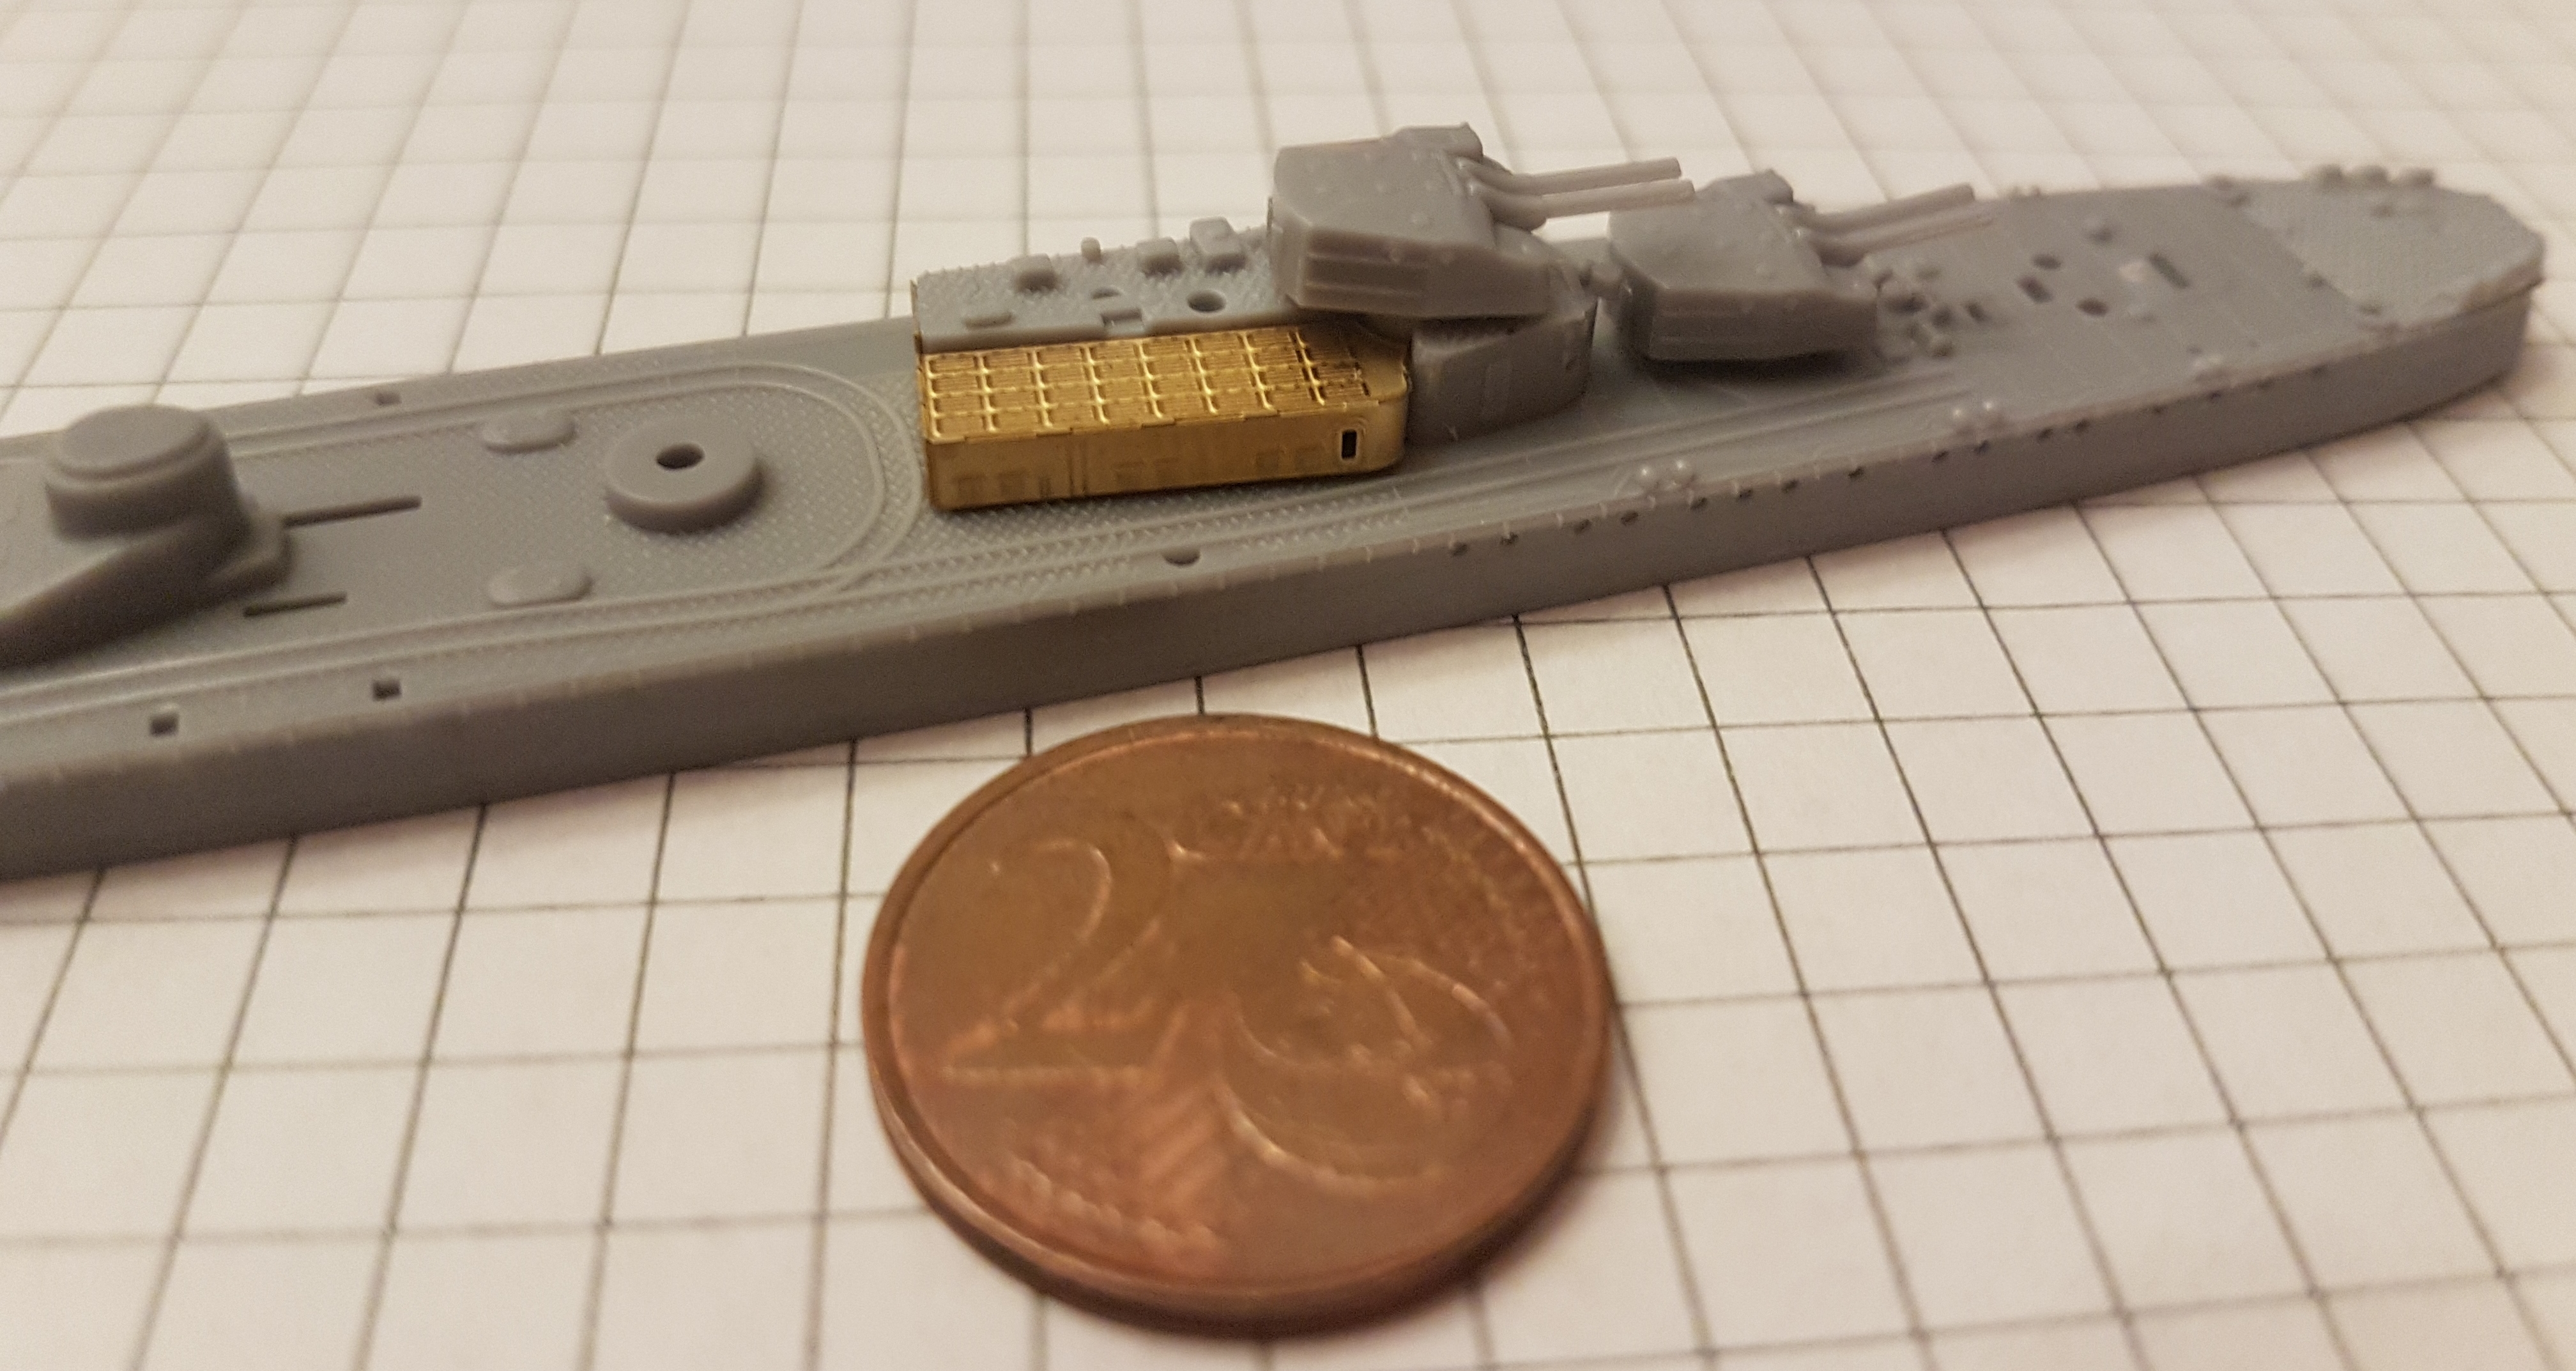
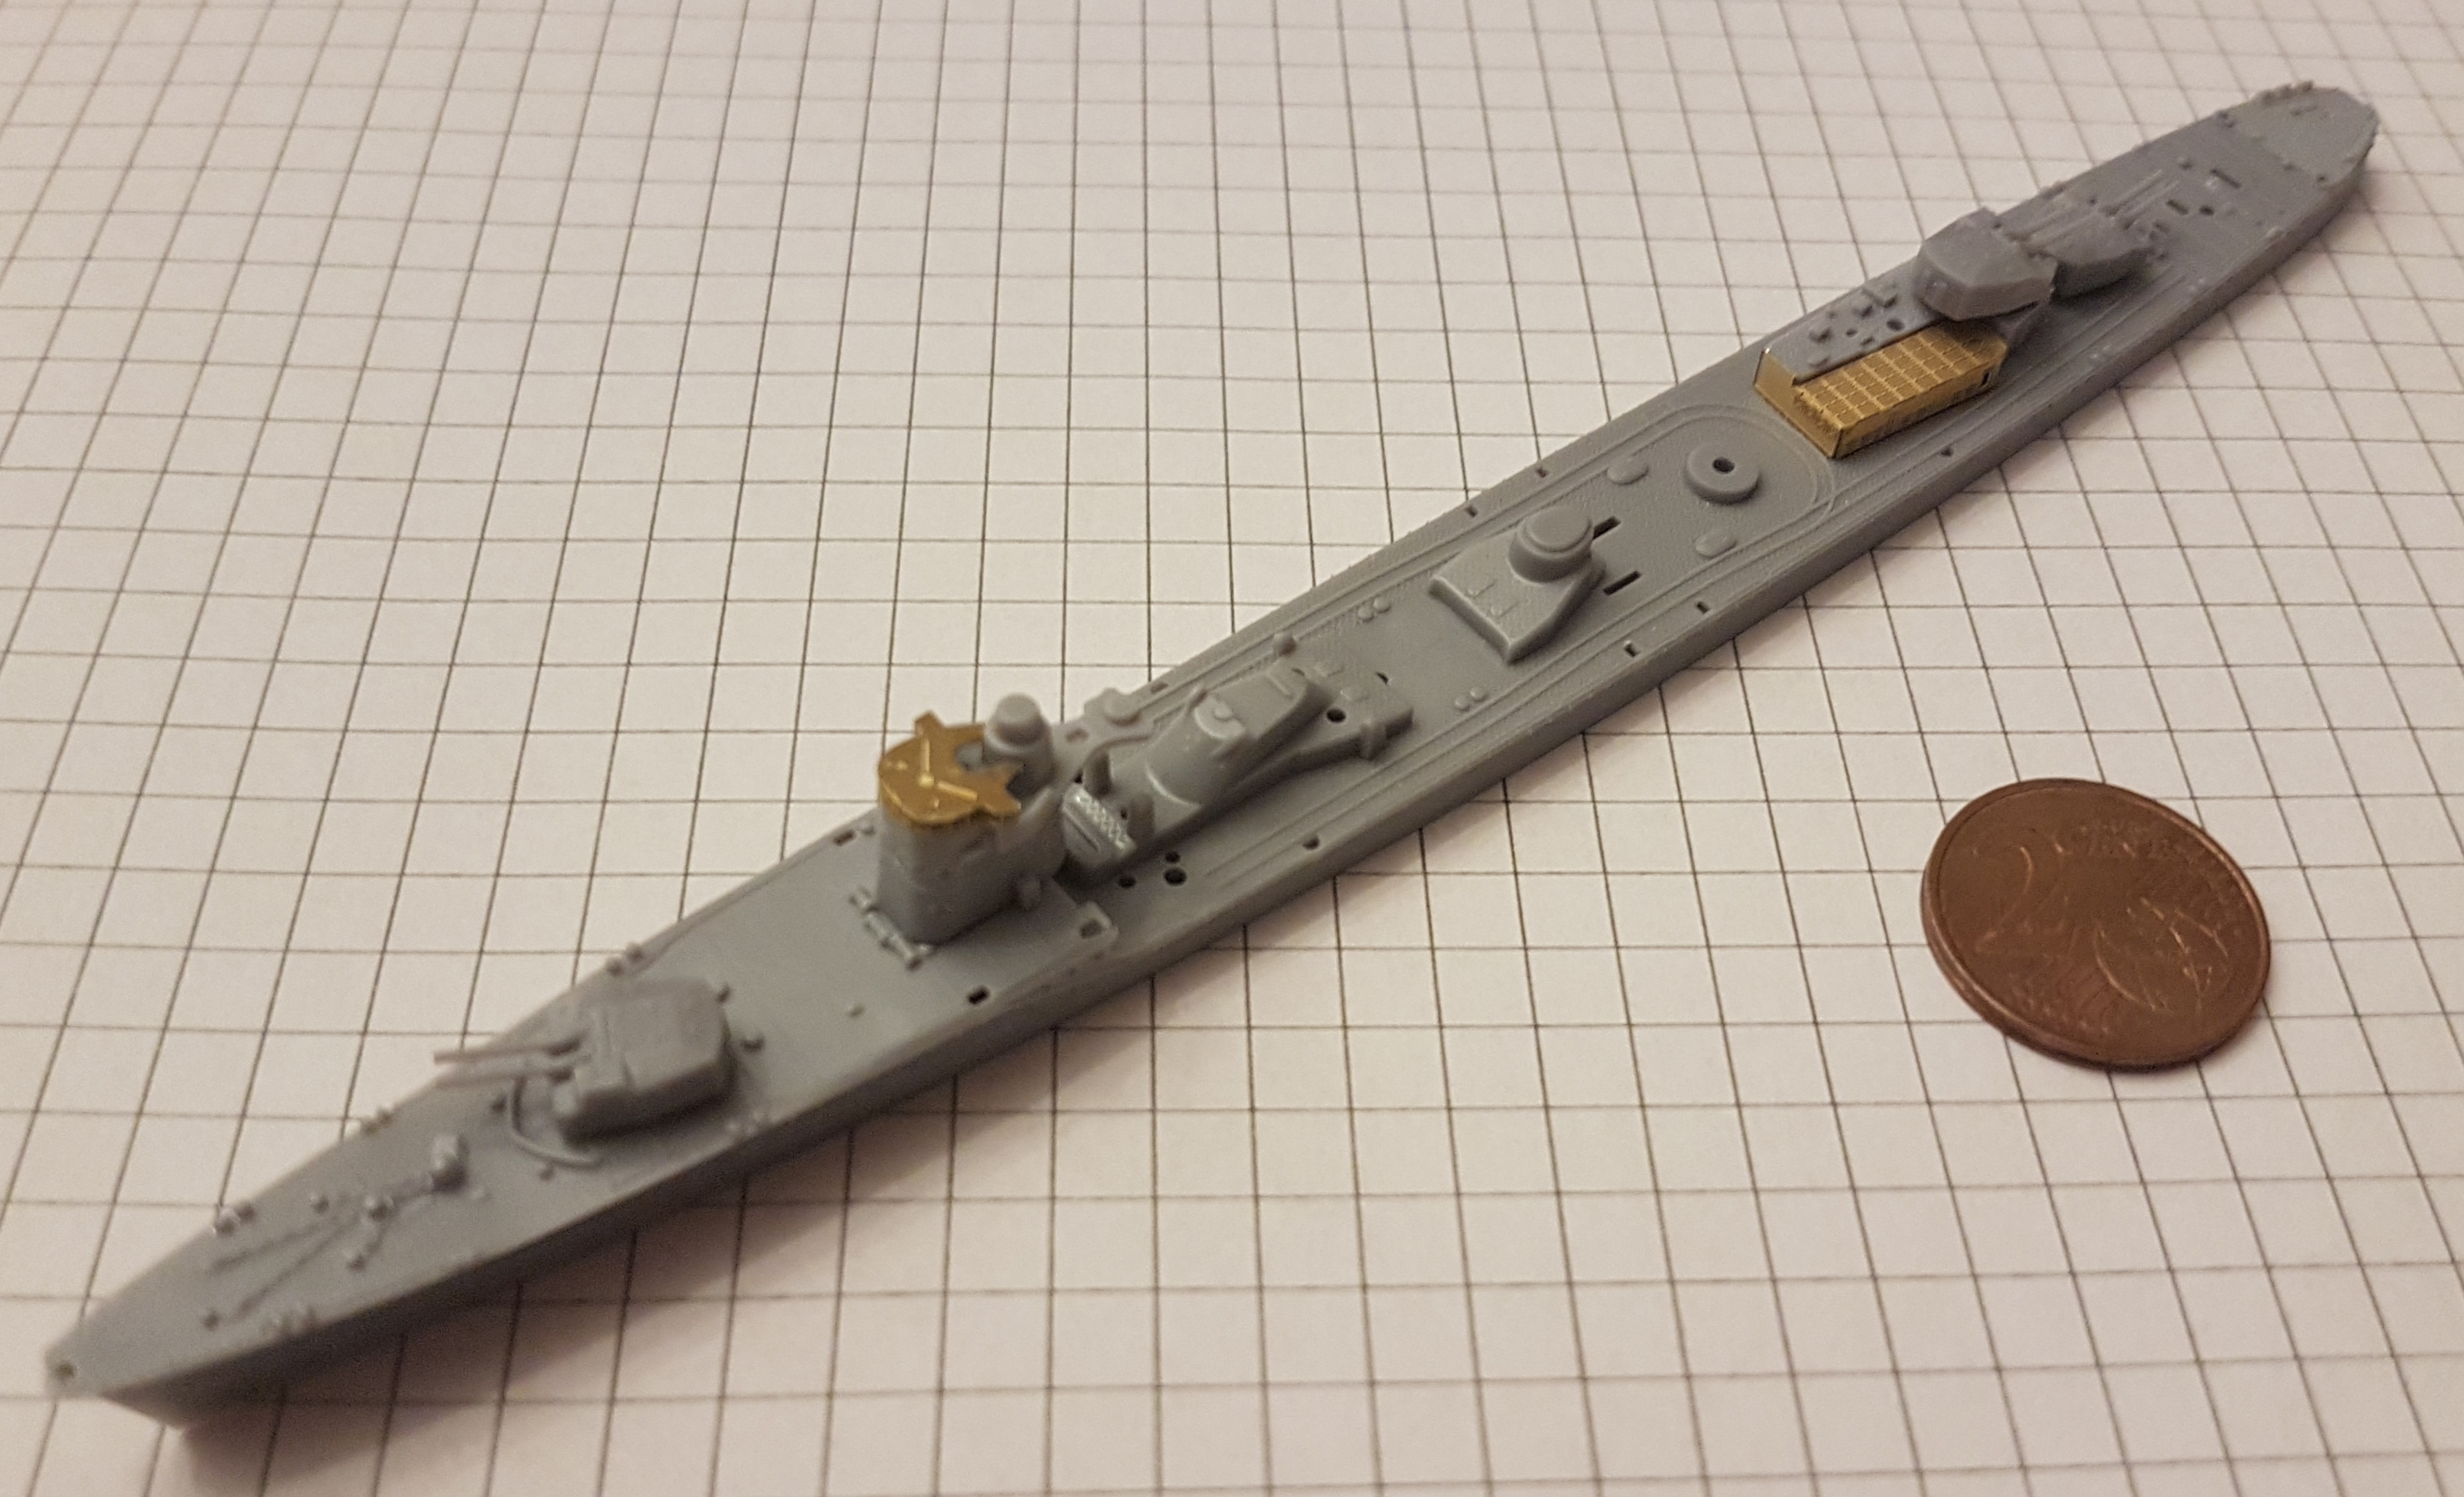
On Tetra’s fret, there’re all tiny bits to produce a convincing model. As this is the first time I work with such small parts, I hope I can keep up with the high standard you all show here.
Some pics (bridge, turrets and the aft deckhouse are not glue yet to ease painting)
In one of the pics you can see japanese 25mm-triple AA, just to show. I accidentally fotographed the wrong ones, as Yugumo only had 25mm-twins.
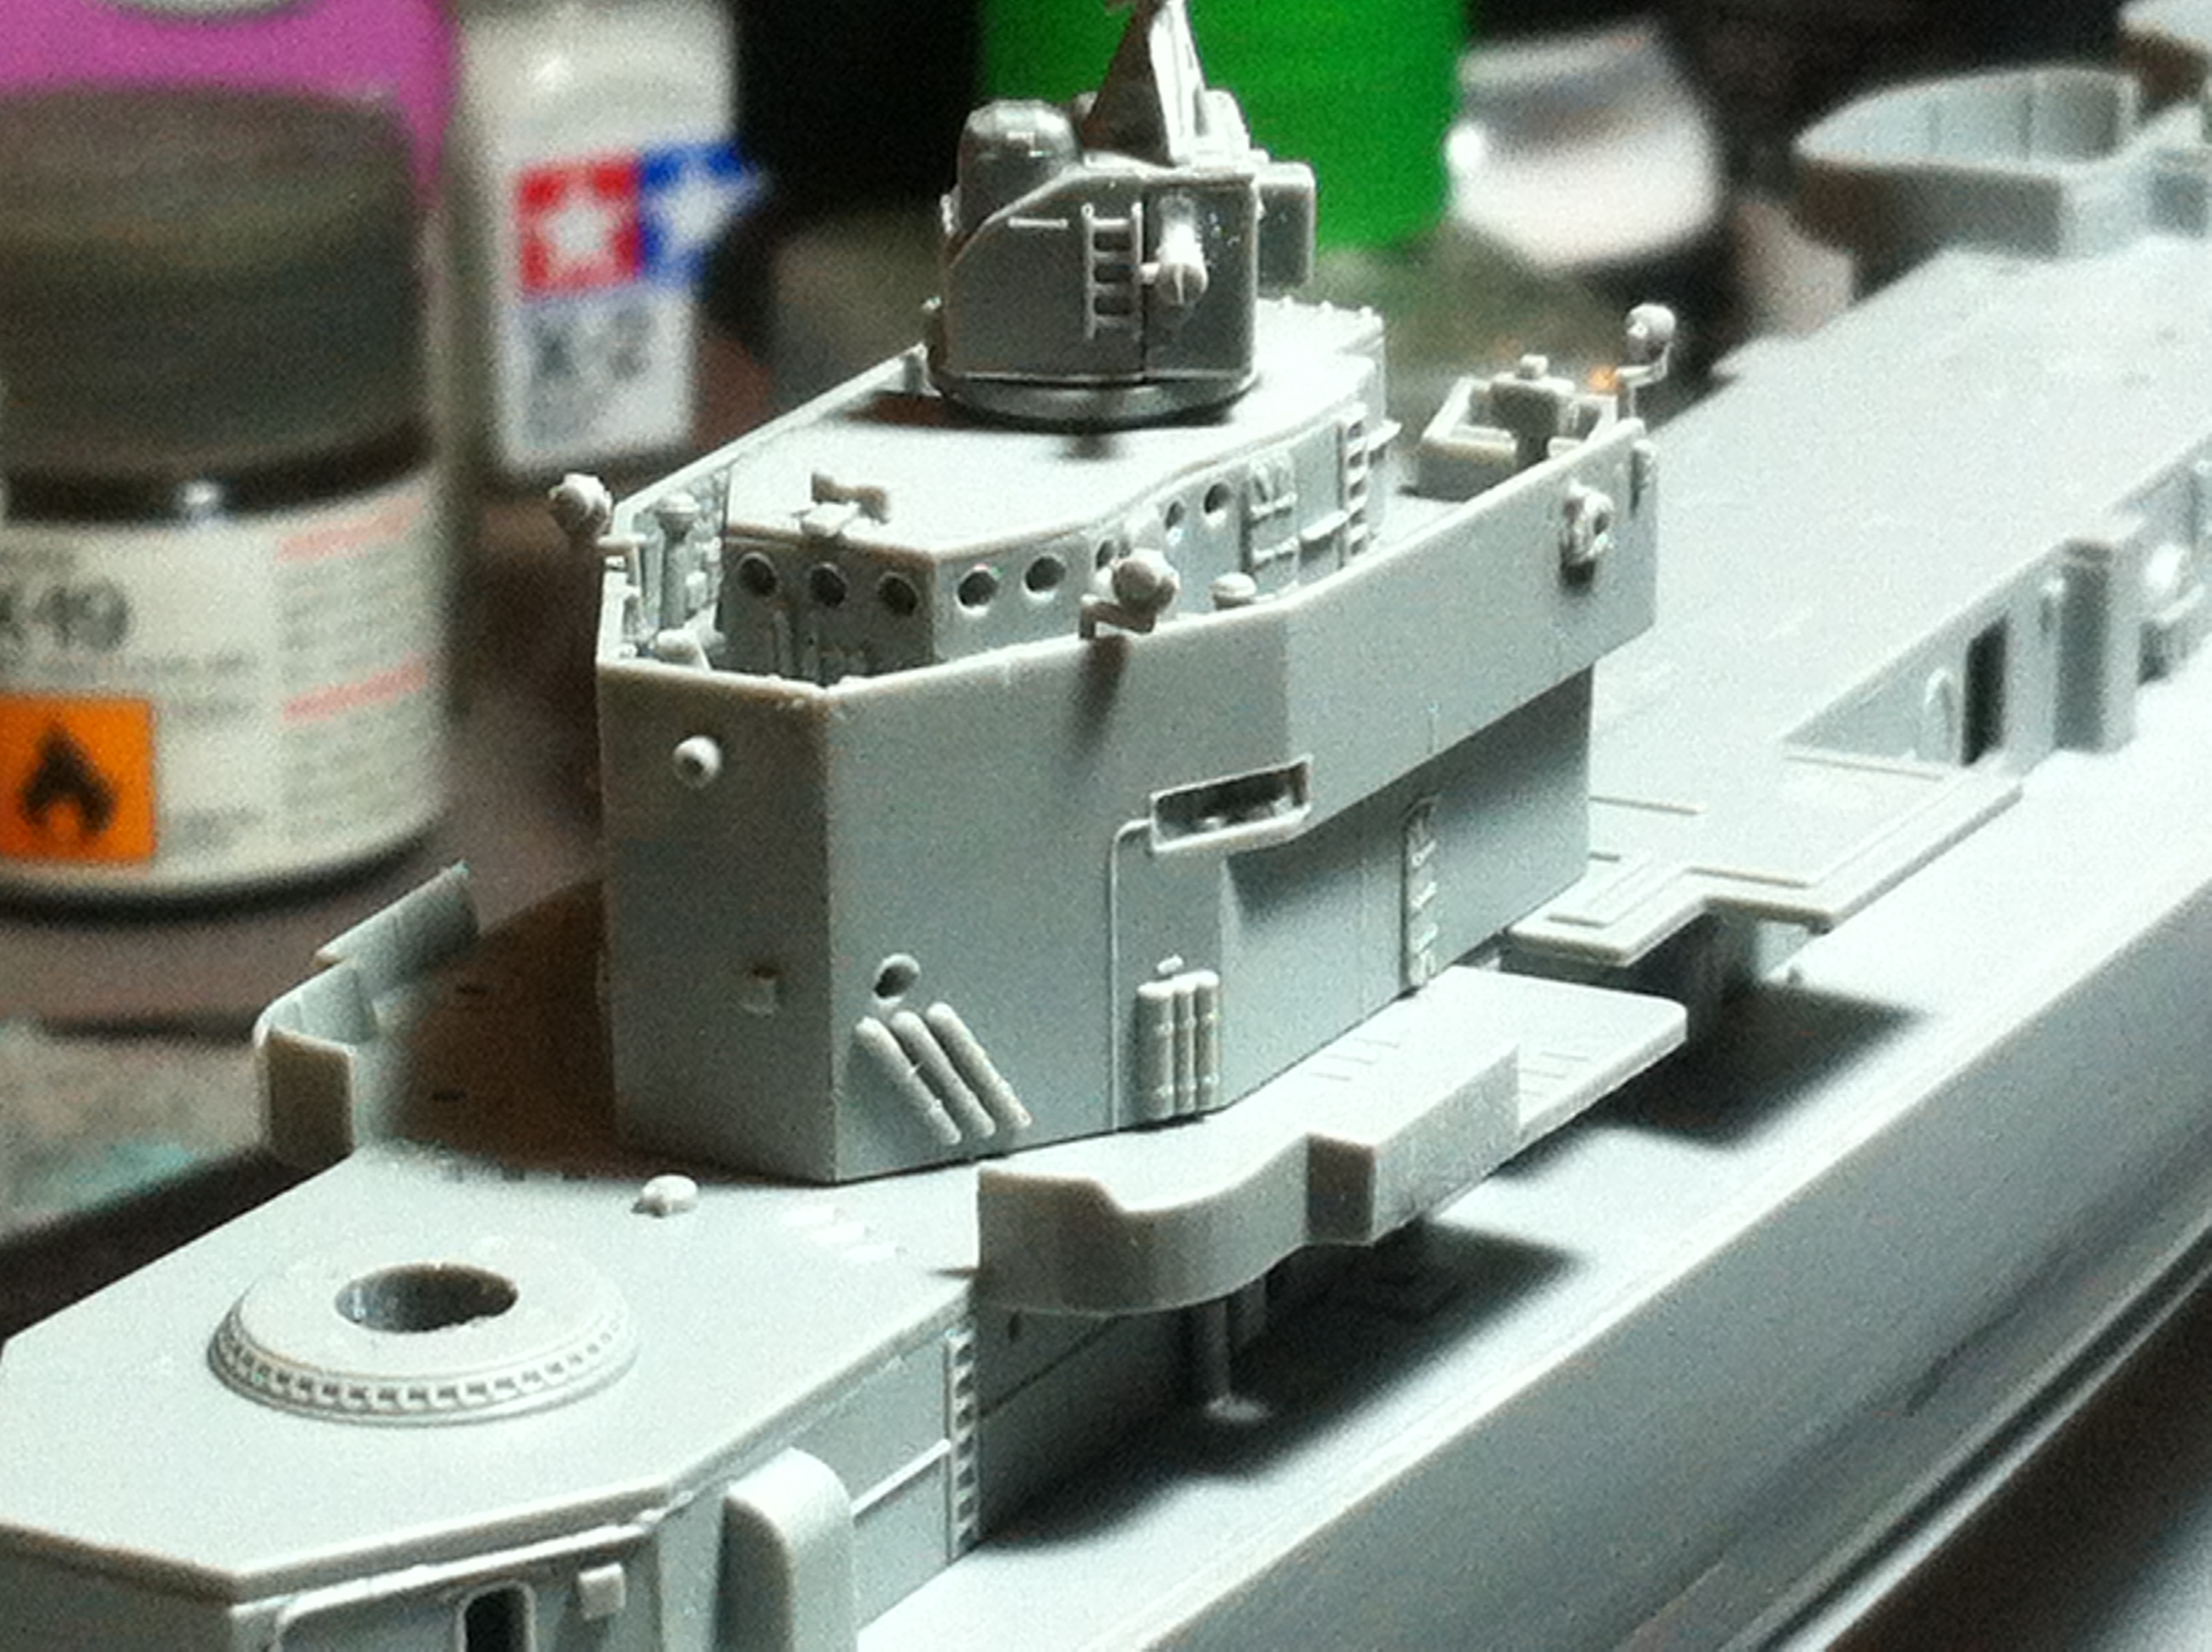
Alex, your IJN DD is looking very good indeed! I especially like the photoetched torpedo reload structure… really fine detail compared with injection molded plastic!
Tim, thank you for your kind words.
Yes, detail is much finer with PE compared to the kit parts, but on the other hand Hasegawa did a good job with the new molds. And one could also produce a nice model by just adding some railing and rigging.
But as I’m a fan of PE, I’ll use as much of it as I can. For the PE I will make an applicator for CA-glue out of a needle and a hair!!! That should make sure, that I use the right amount of glue…, the learnIng curve is very steel.
It’s pretty cool, to see many modern ships in this campaign, which aren’t seen so often.


 Wow, this site needs a better laughing emoticon as well as a good wave.