Ok, I have come to the conclusion that Dragon have a big tub of 1/350 WWII USN sprues, and they just pick a bunch at random and throw them in a box.
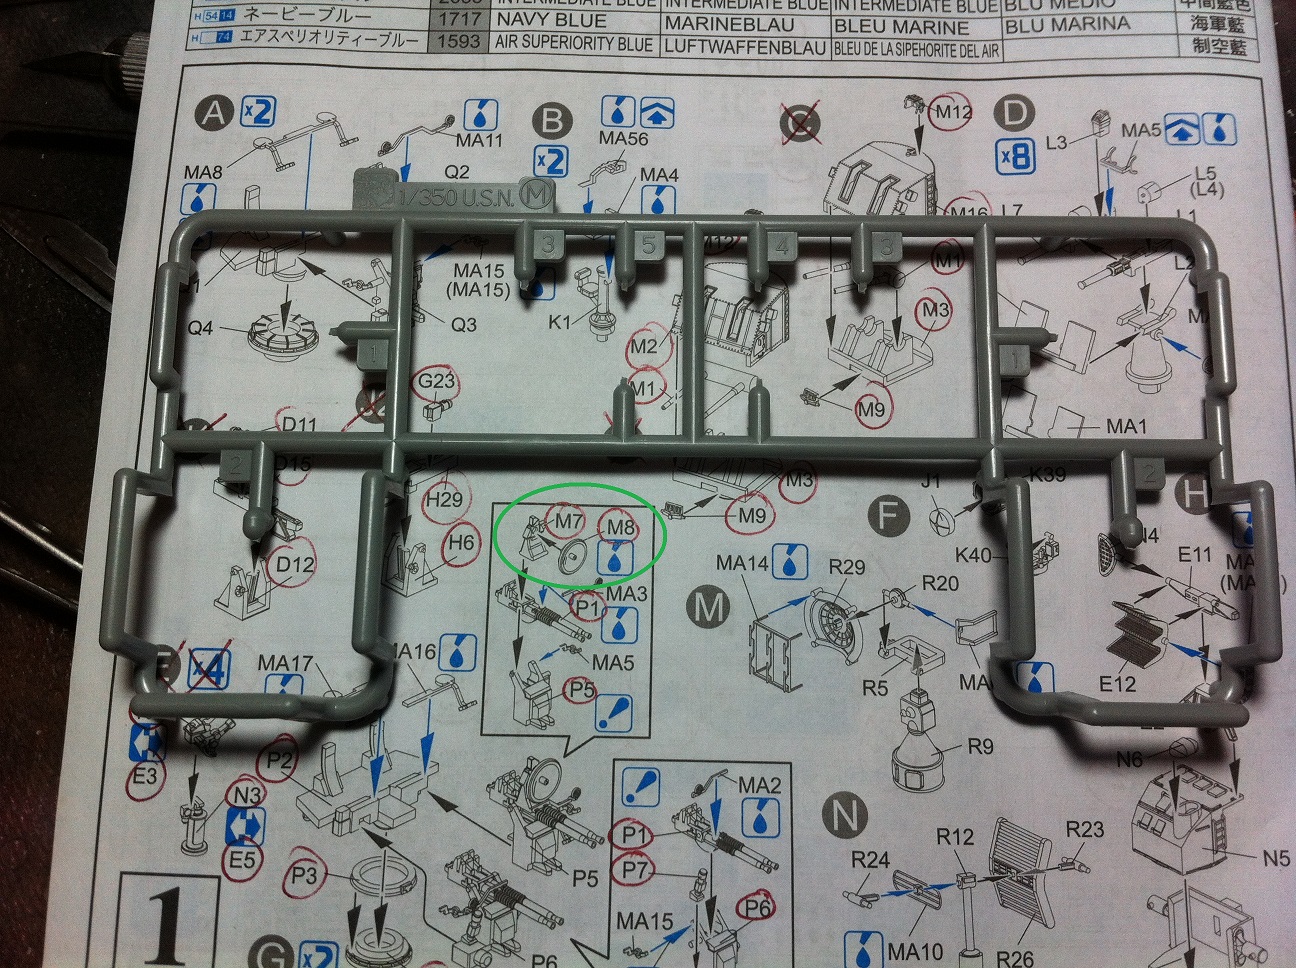
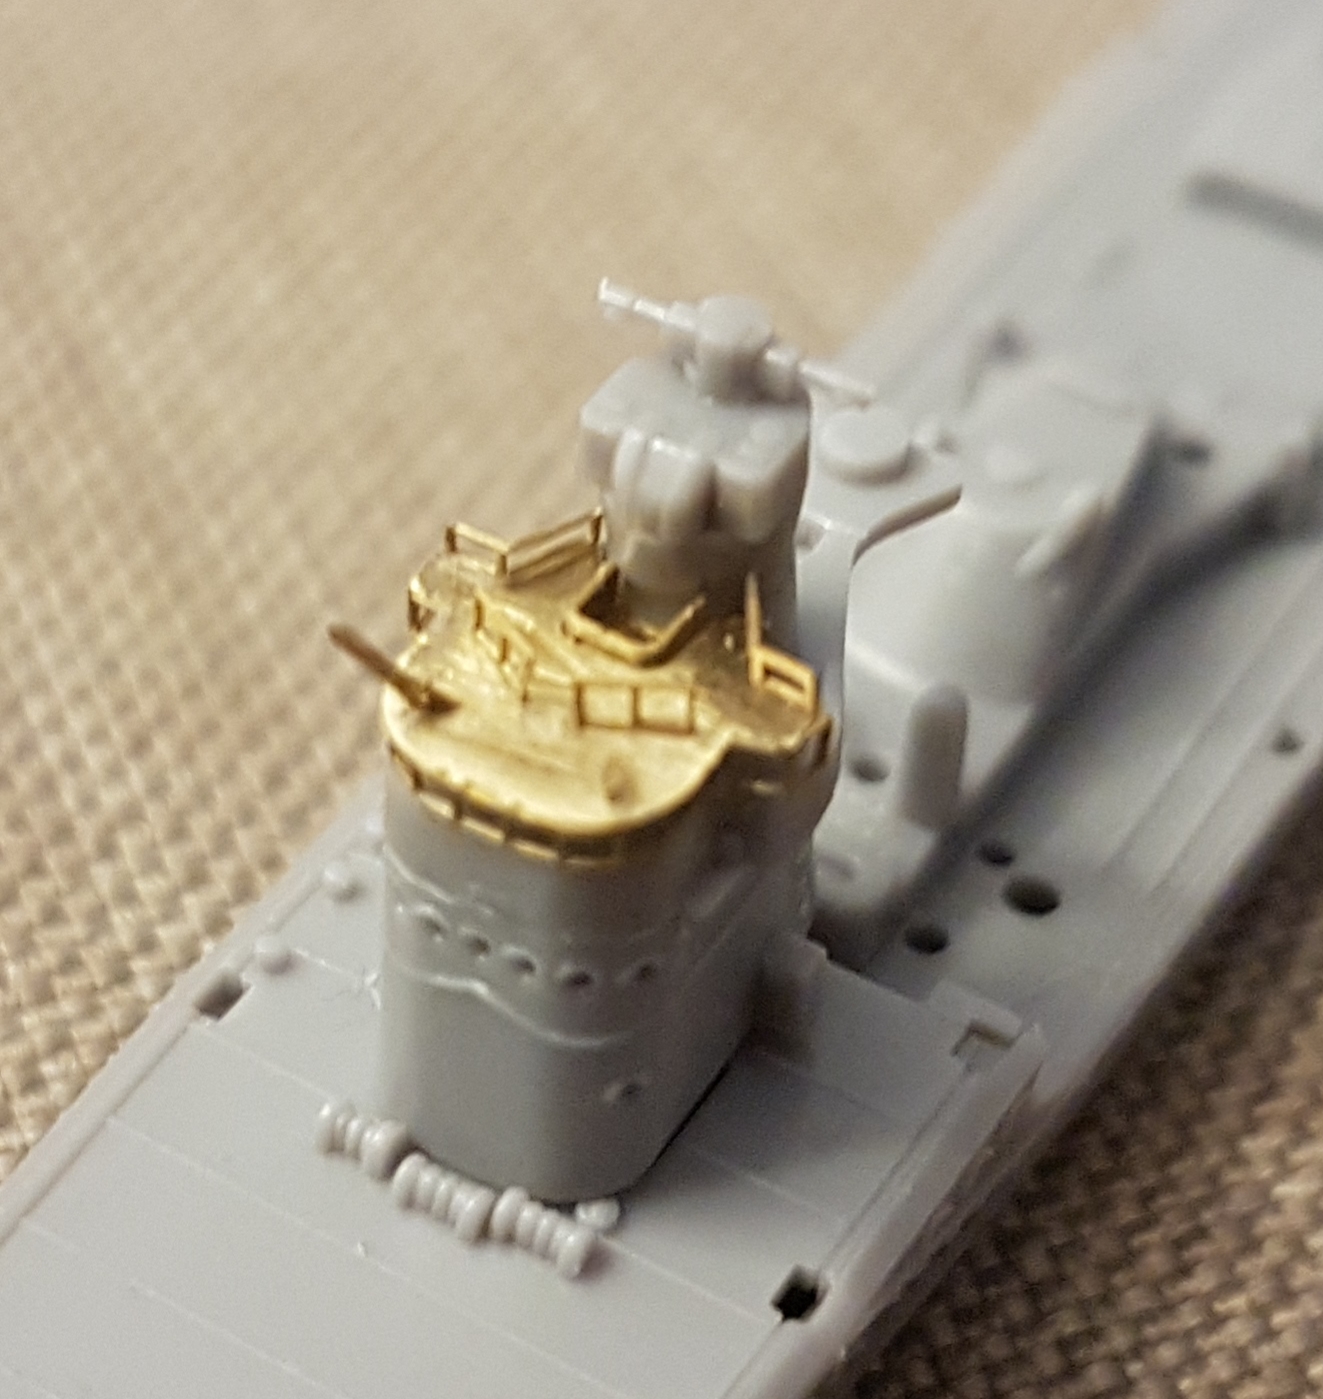
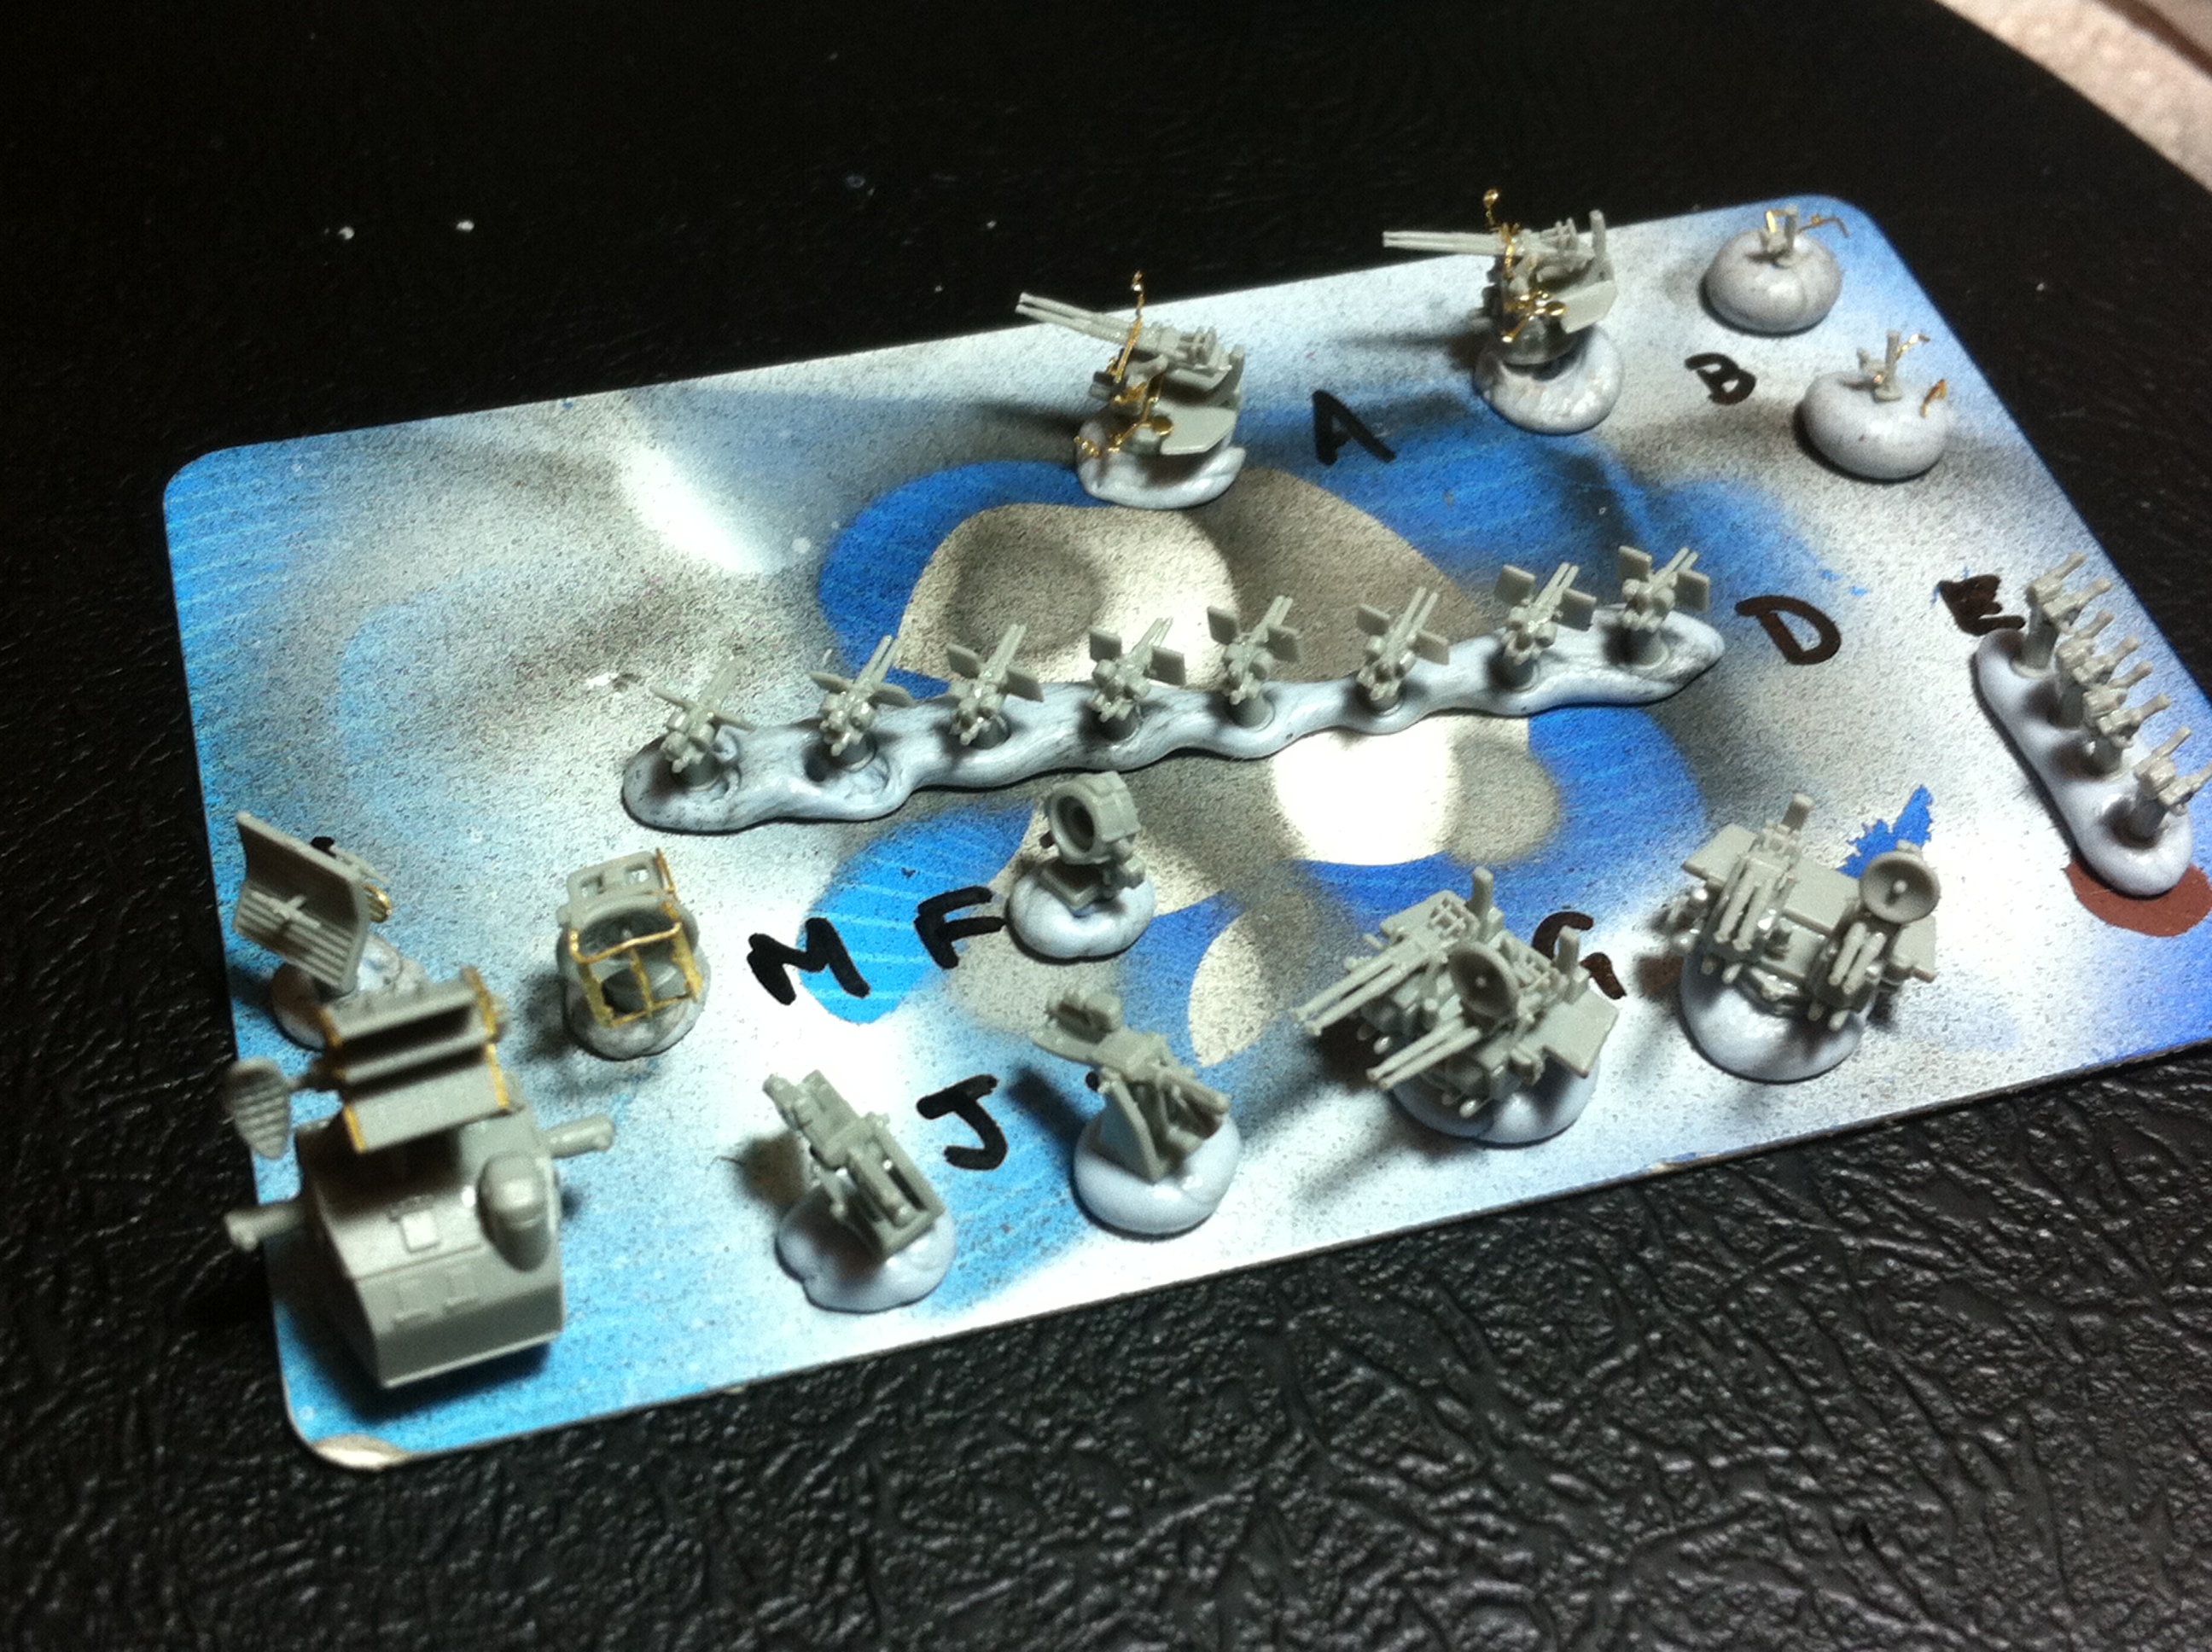
Working through some more sub assemblies, and item “G” (possibly a quad-40mm?), of which there are two required, calls for part numbers M7 and M8. Now, Sprue M only goes up to part number 5, and I have already used all of these parts which are the main gun components (see image below).
So, what choice do I have but to once again go and raid my unstarted Chevalier kit to see what I can purloin. I check the instructions first, and to my great concern, these parts look to be not included and not required for the same quad gun assembly. Instead the 3 quad guns only have a PE ring sight on both sides. Not to be so easily defeated, I decide to scan the Chevalier sprues, knowing now that the instruction manual and the actual kit contents are unlikely to bear any real resemblance to each other.
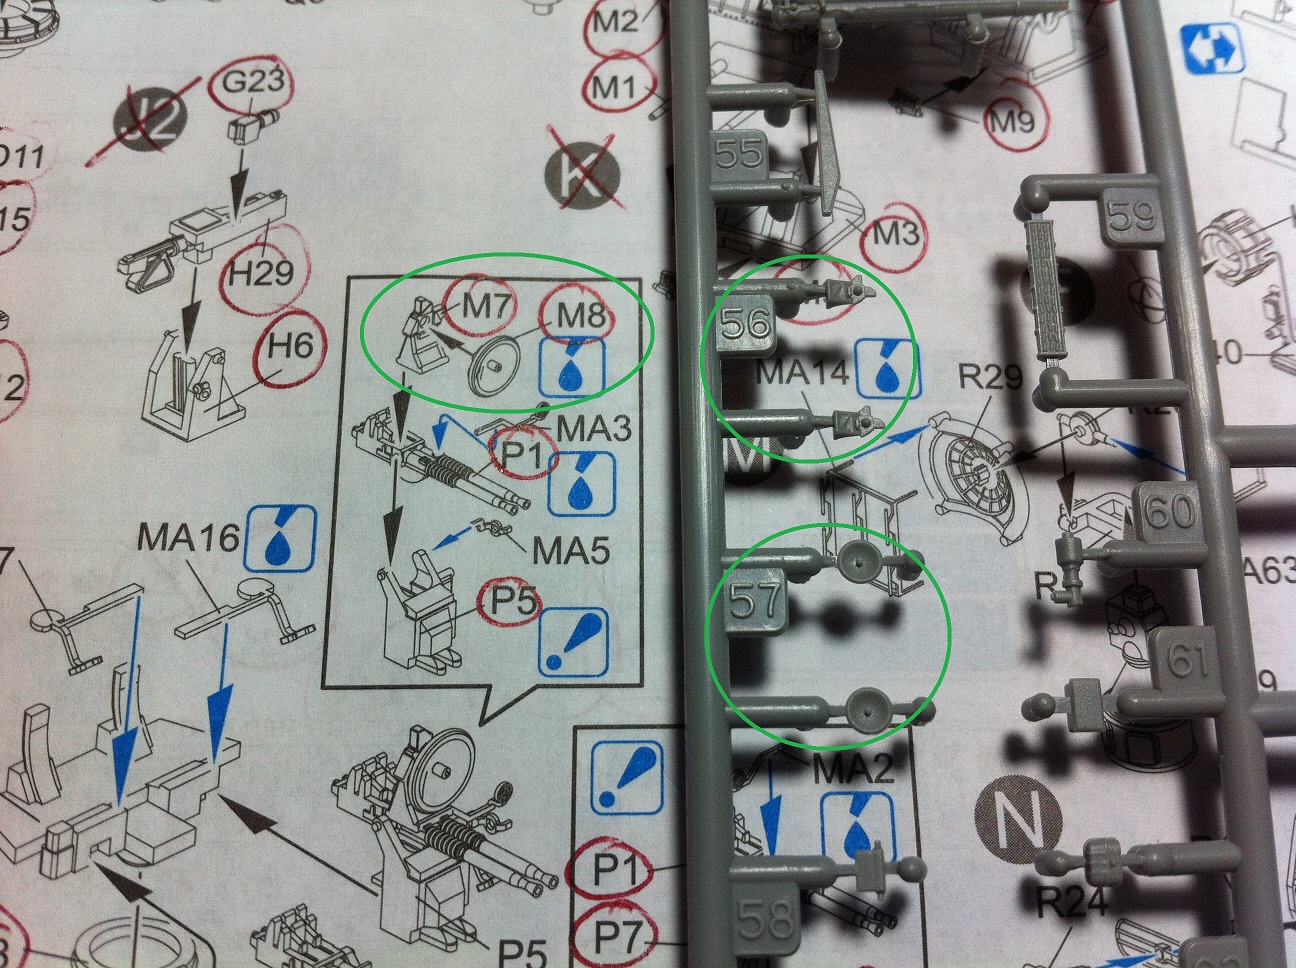
Lo and behold, what do I find? I find 2 sprues labelled “H” which are completely different from Sprue H in the Chevalier instructions, but parts H56 and H57 are exactly what I am looking for.
Work can now continue, but I’m thinking that if this continues, when the time comes to build the Chevalier, it will either be a bare hull like an oversized rowboat, or I will have enough spare parts from the Frank Knox and Gearing to make it look like the Yamato!
Interestingly, what should be Sprue M in the Frank Knox kit is labelled (on the Sprue) as Sprue H in the Chevalier kit, with very different part numbering, but the other Sprue H is in there as well!
Anyway, the bottom line is that between the three kits I seem to have all of the parts required, I just need to do some shuffling of sprues. If that’s the worst they can throw at me, I will be ok!
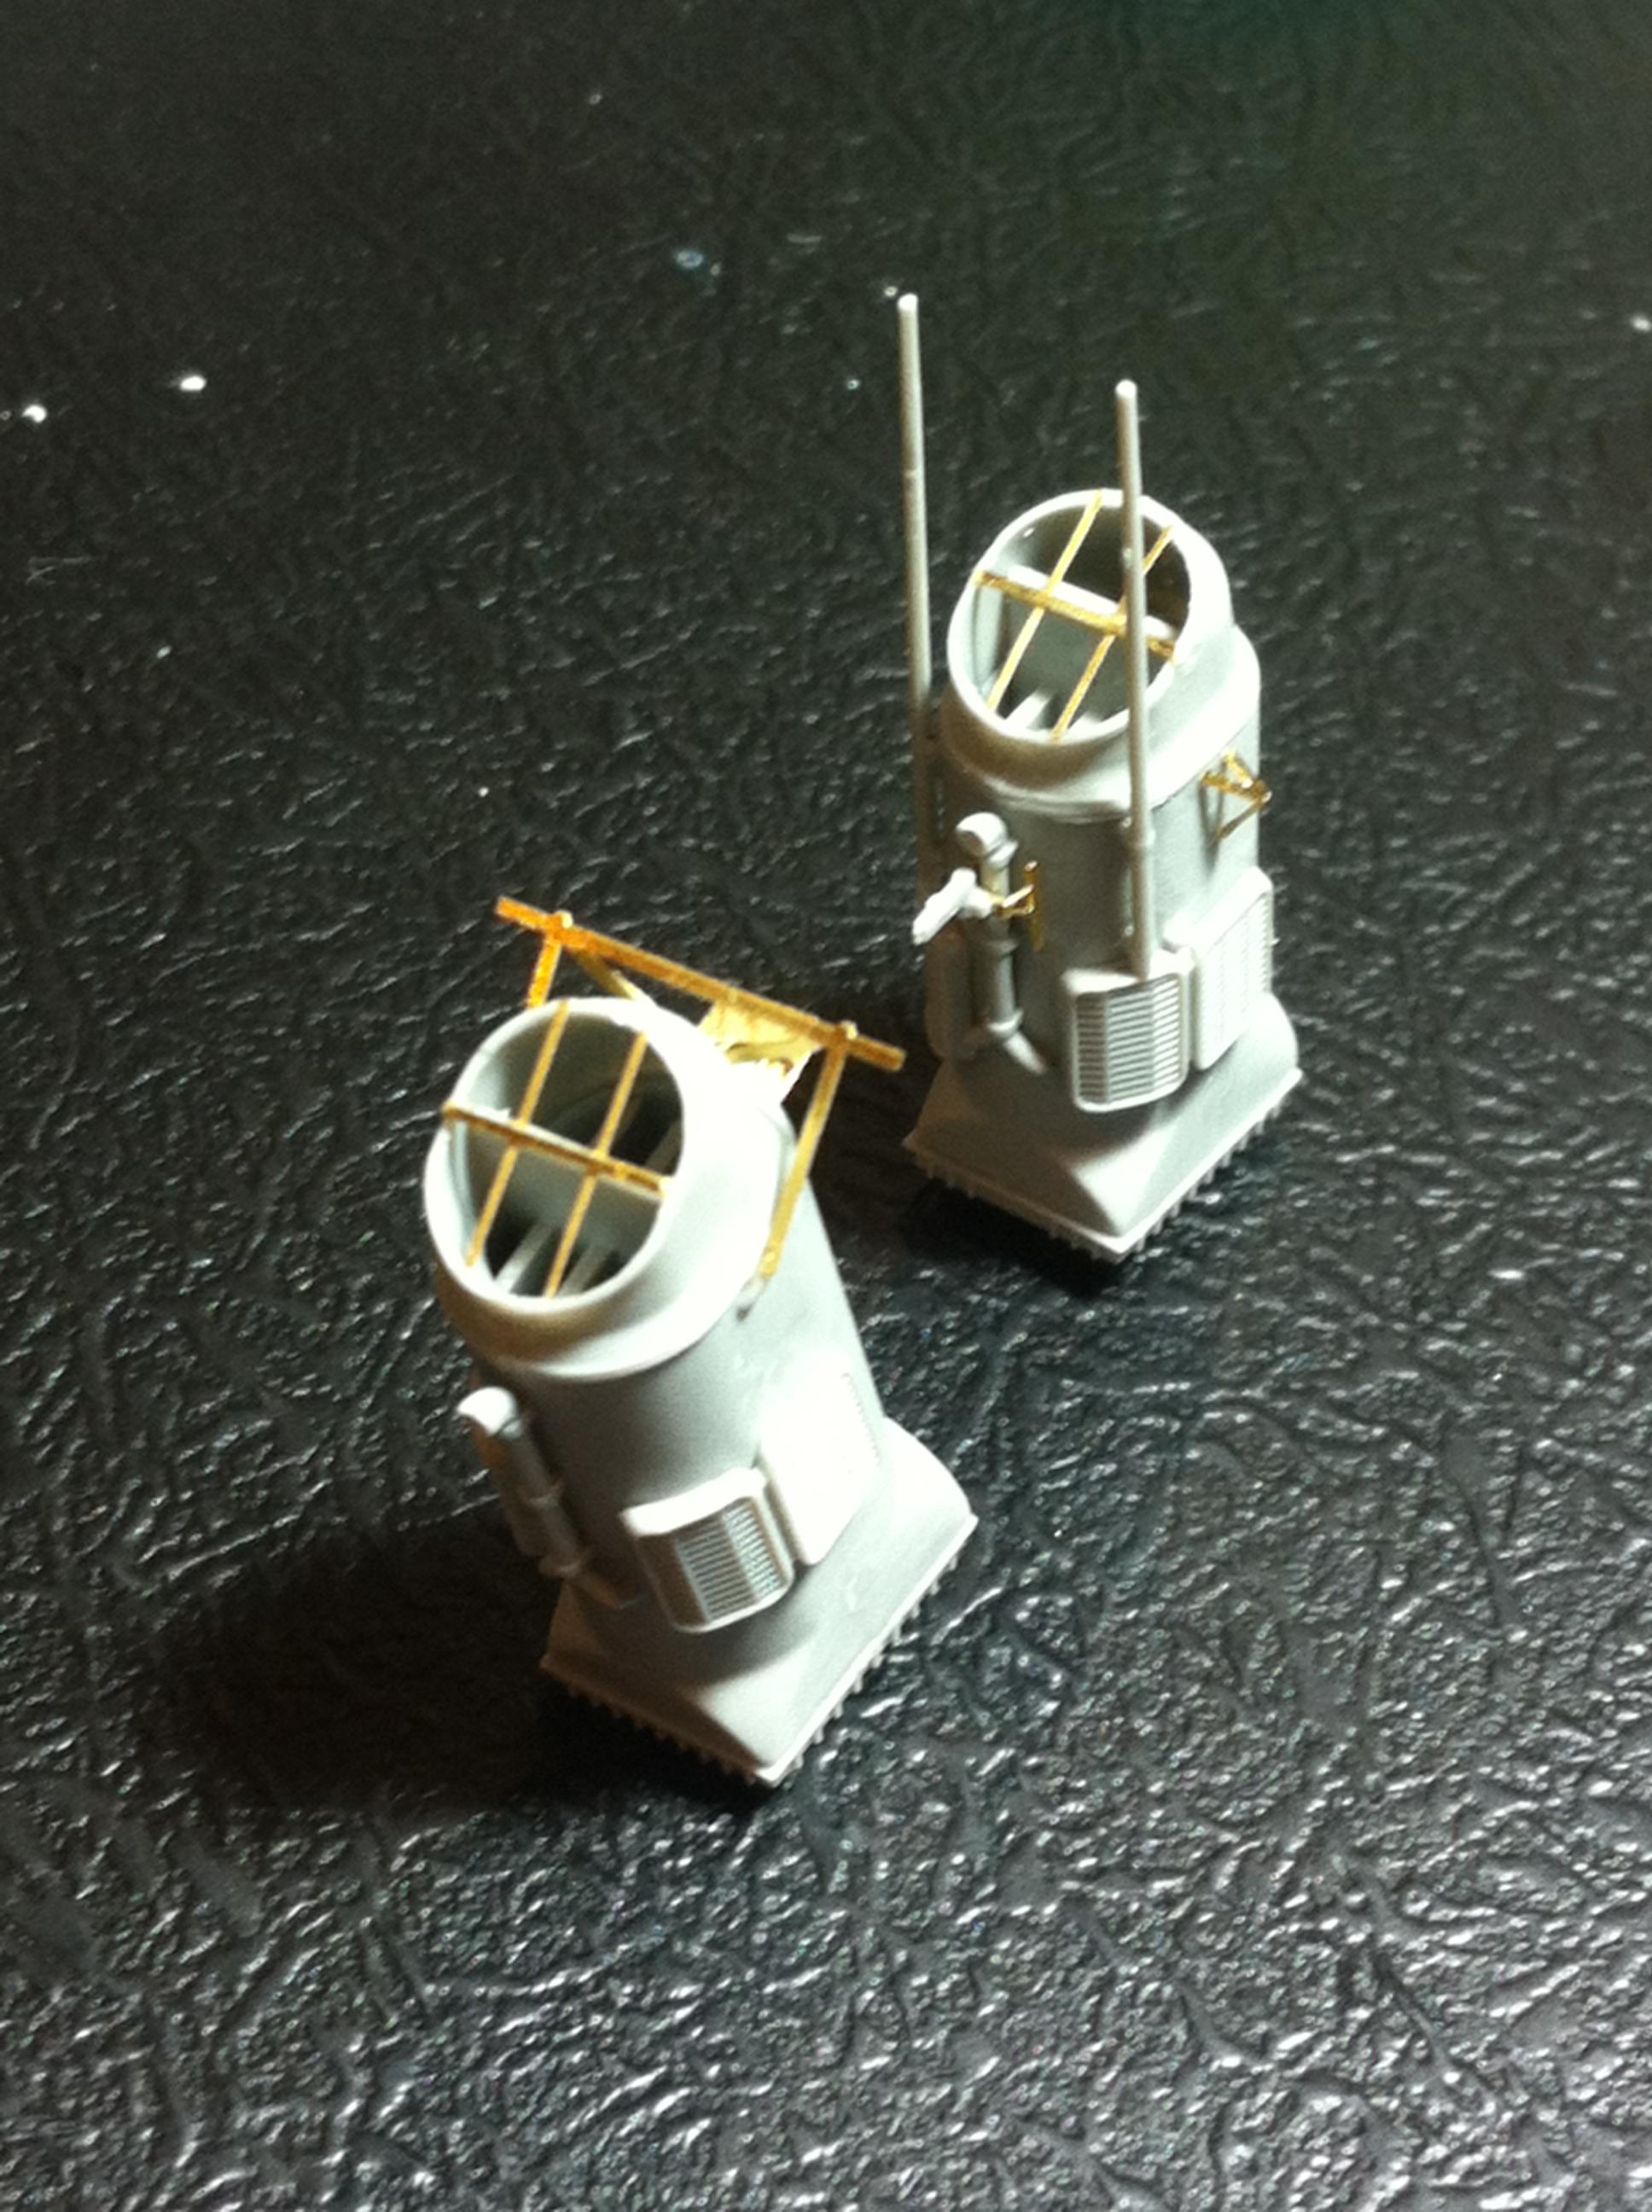
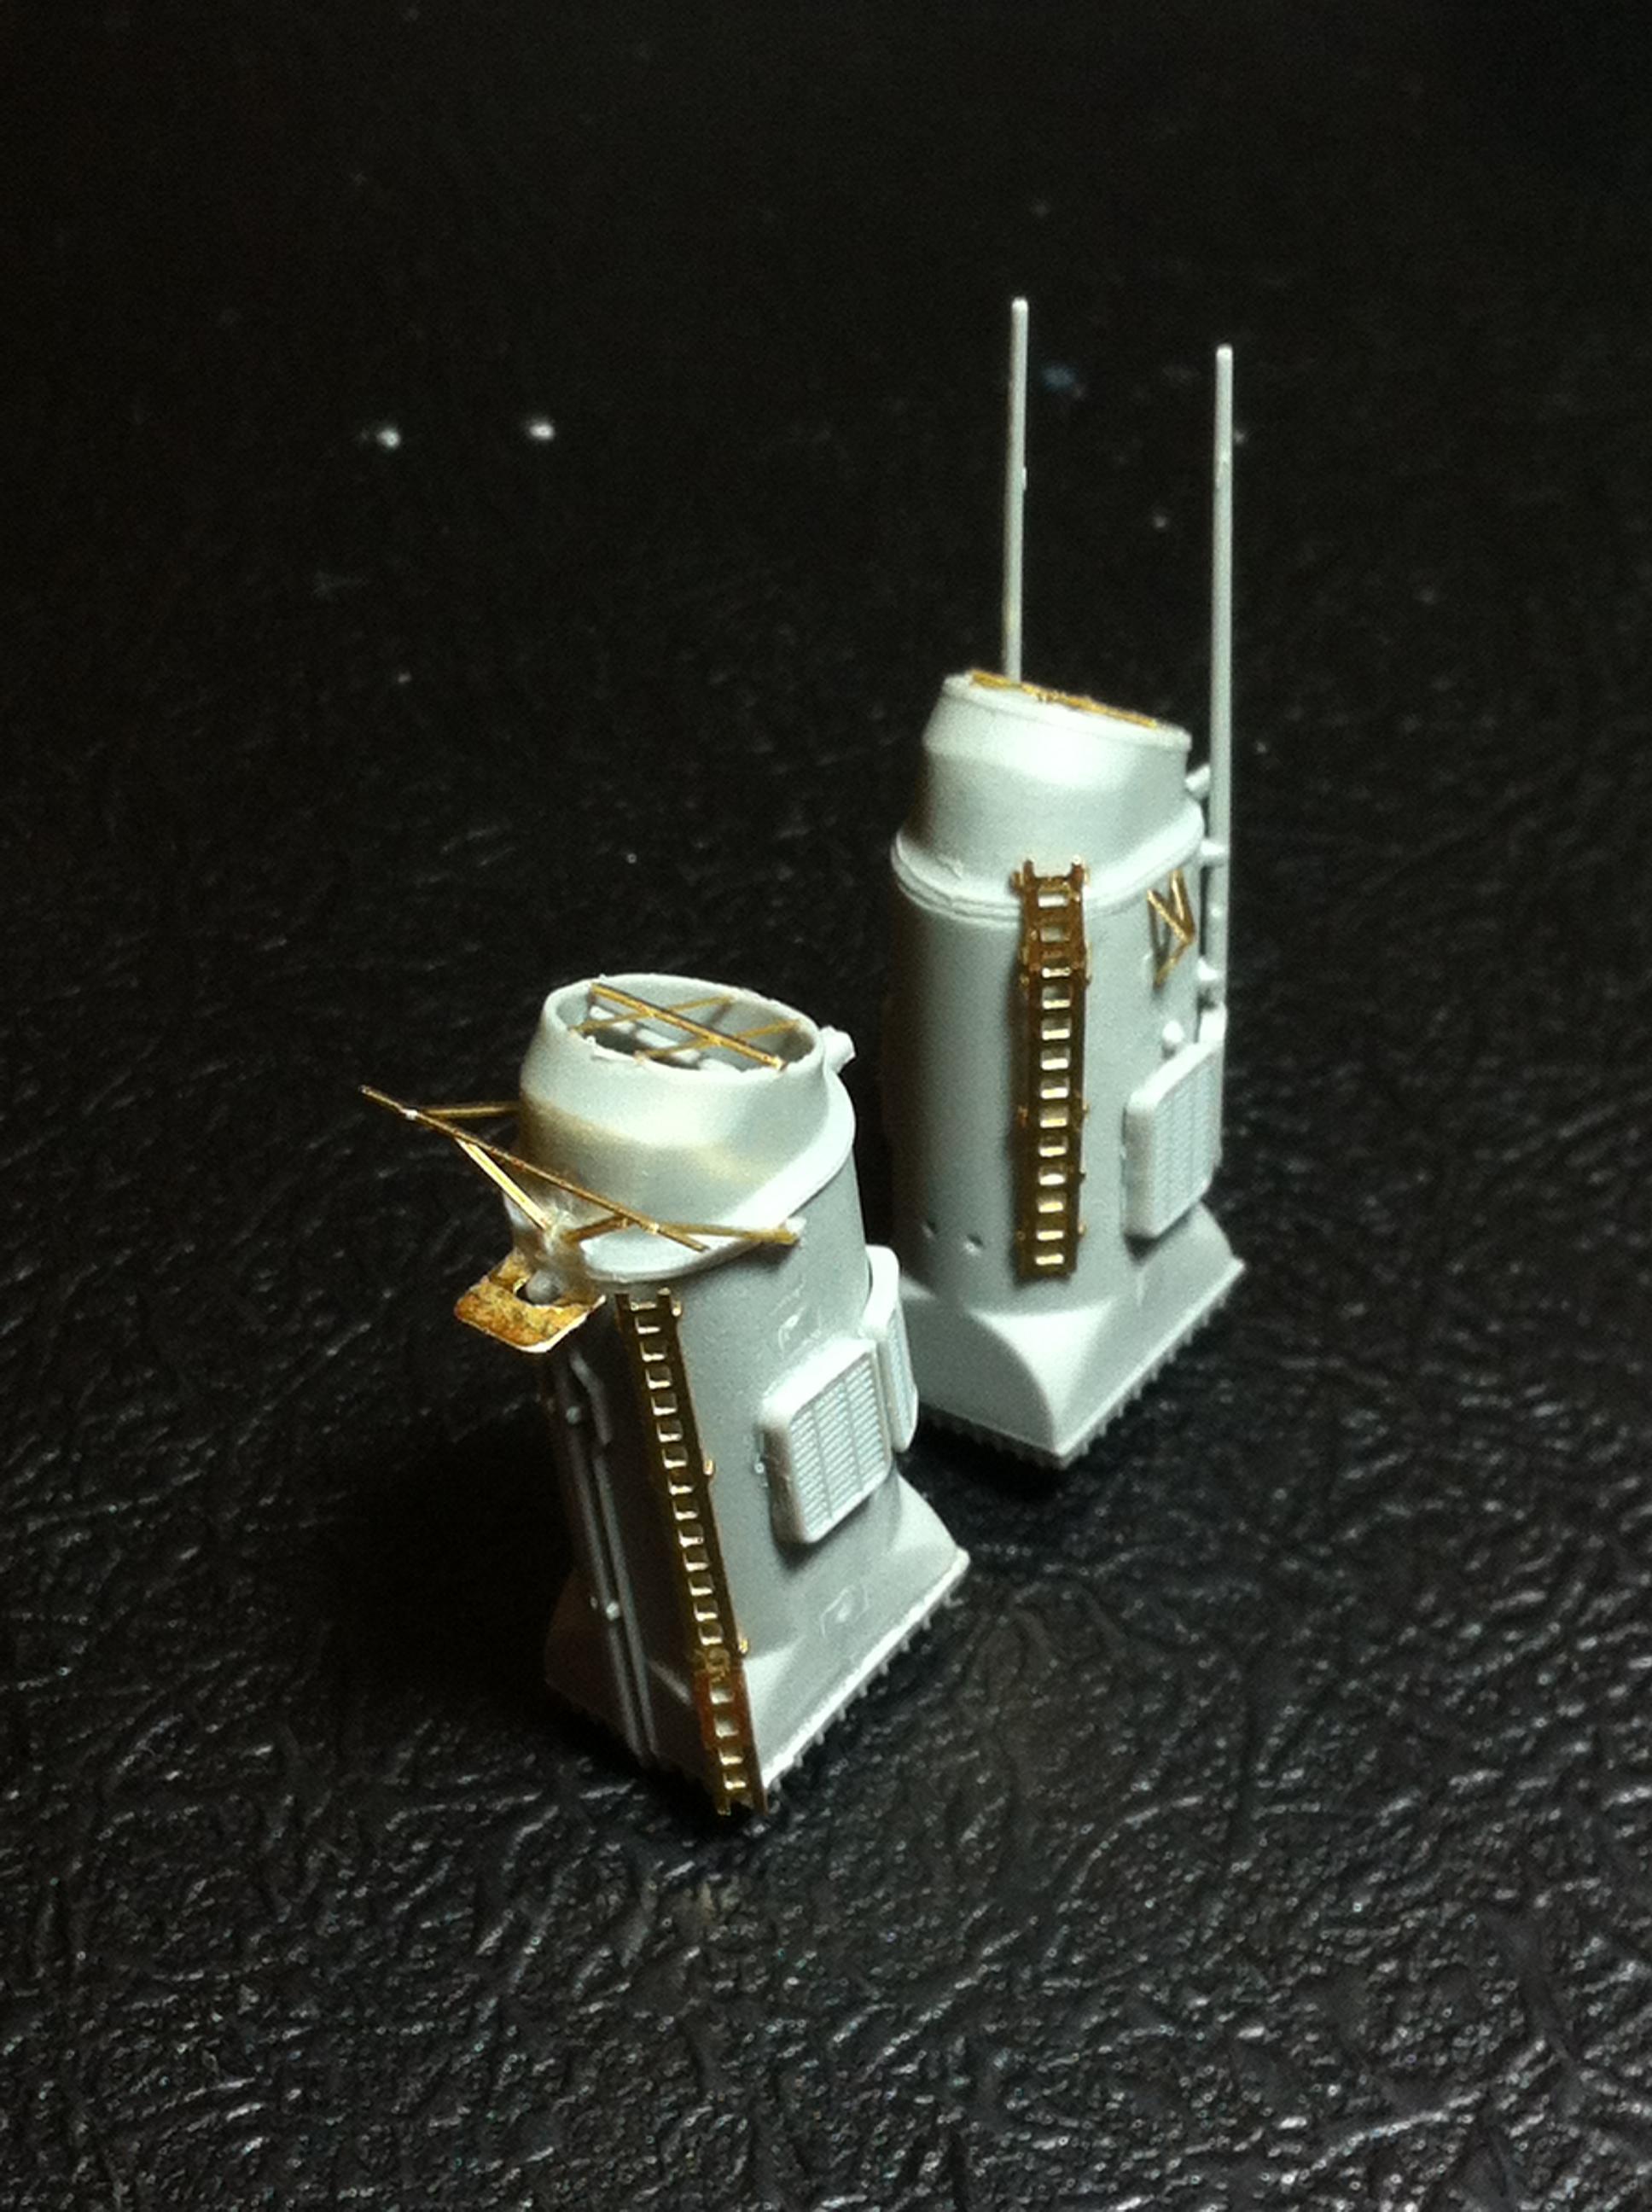
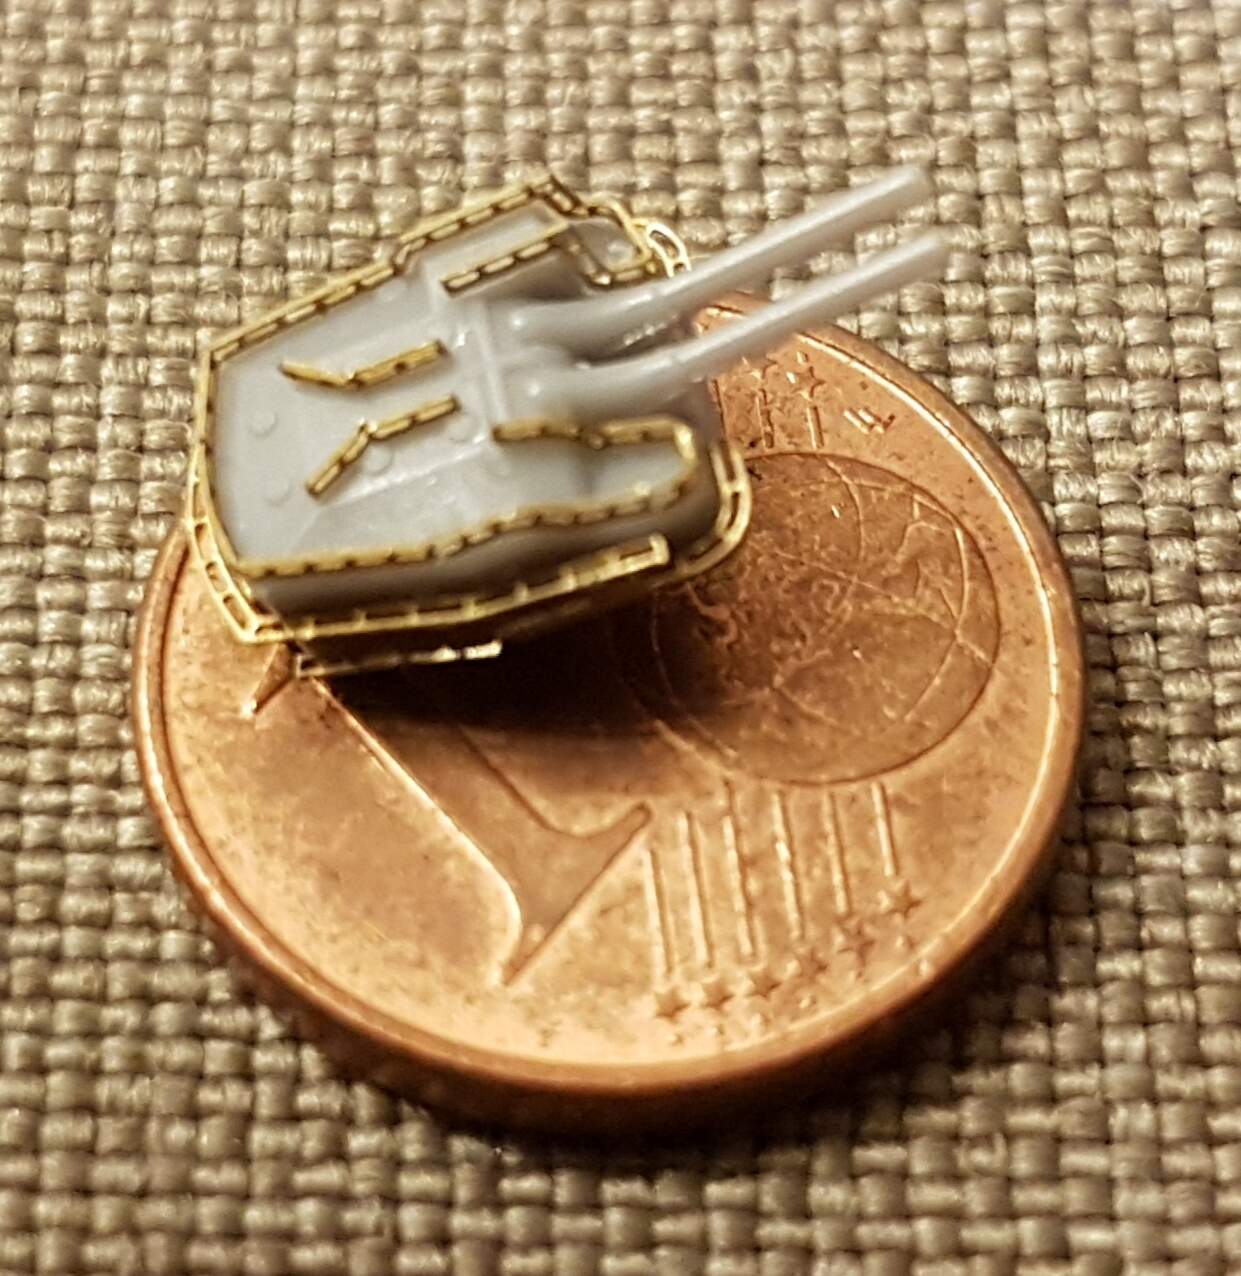
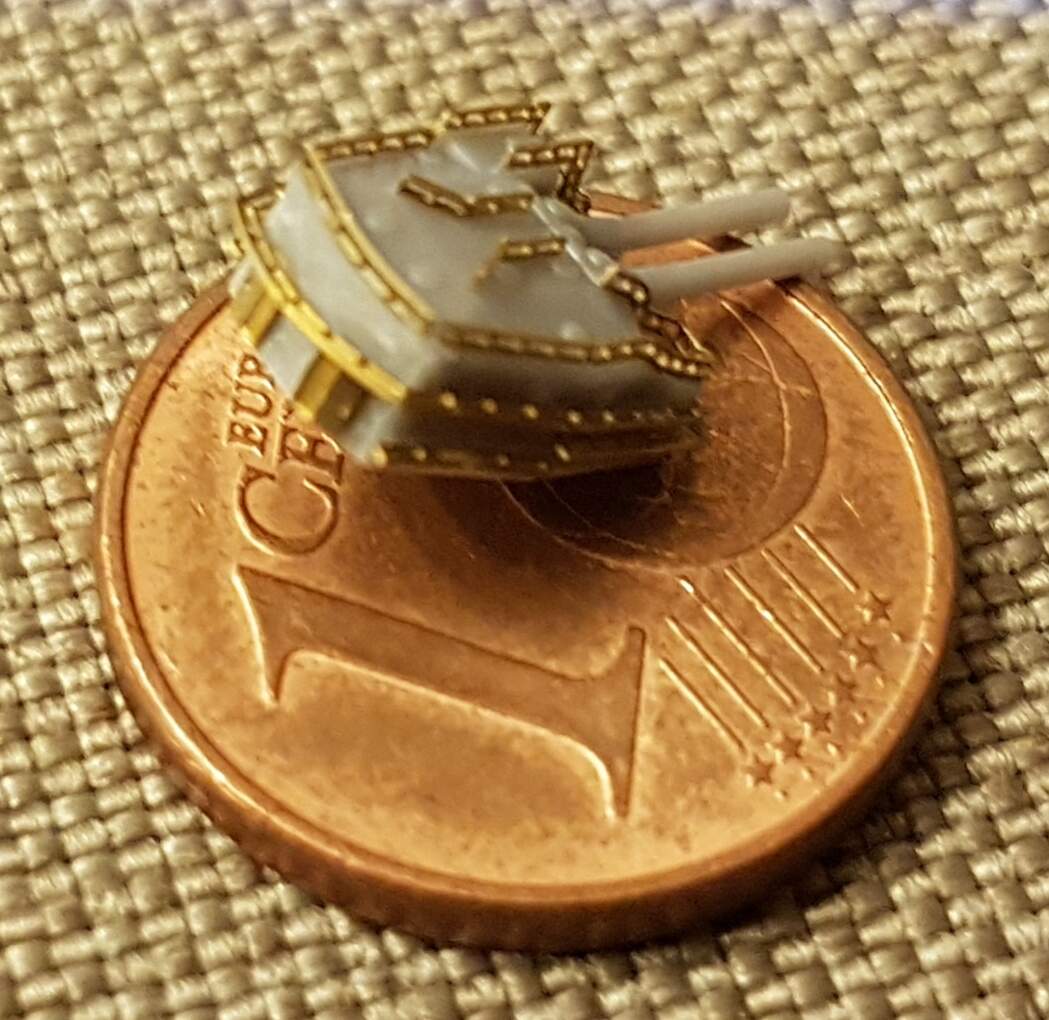
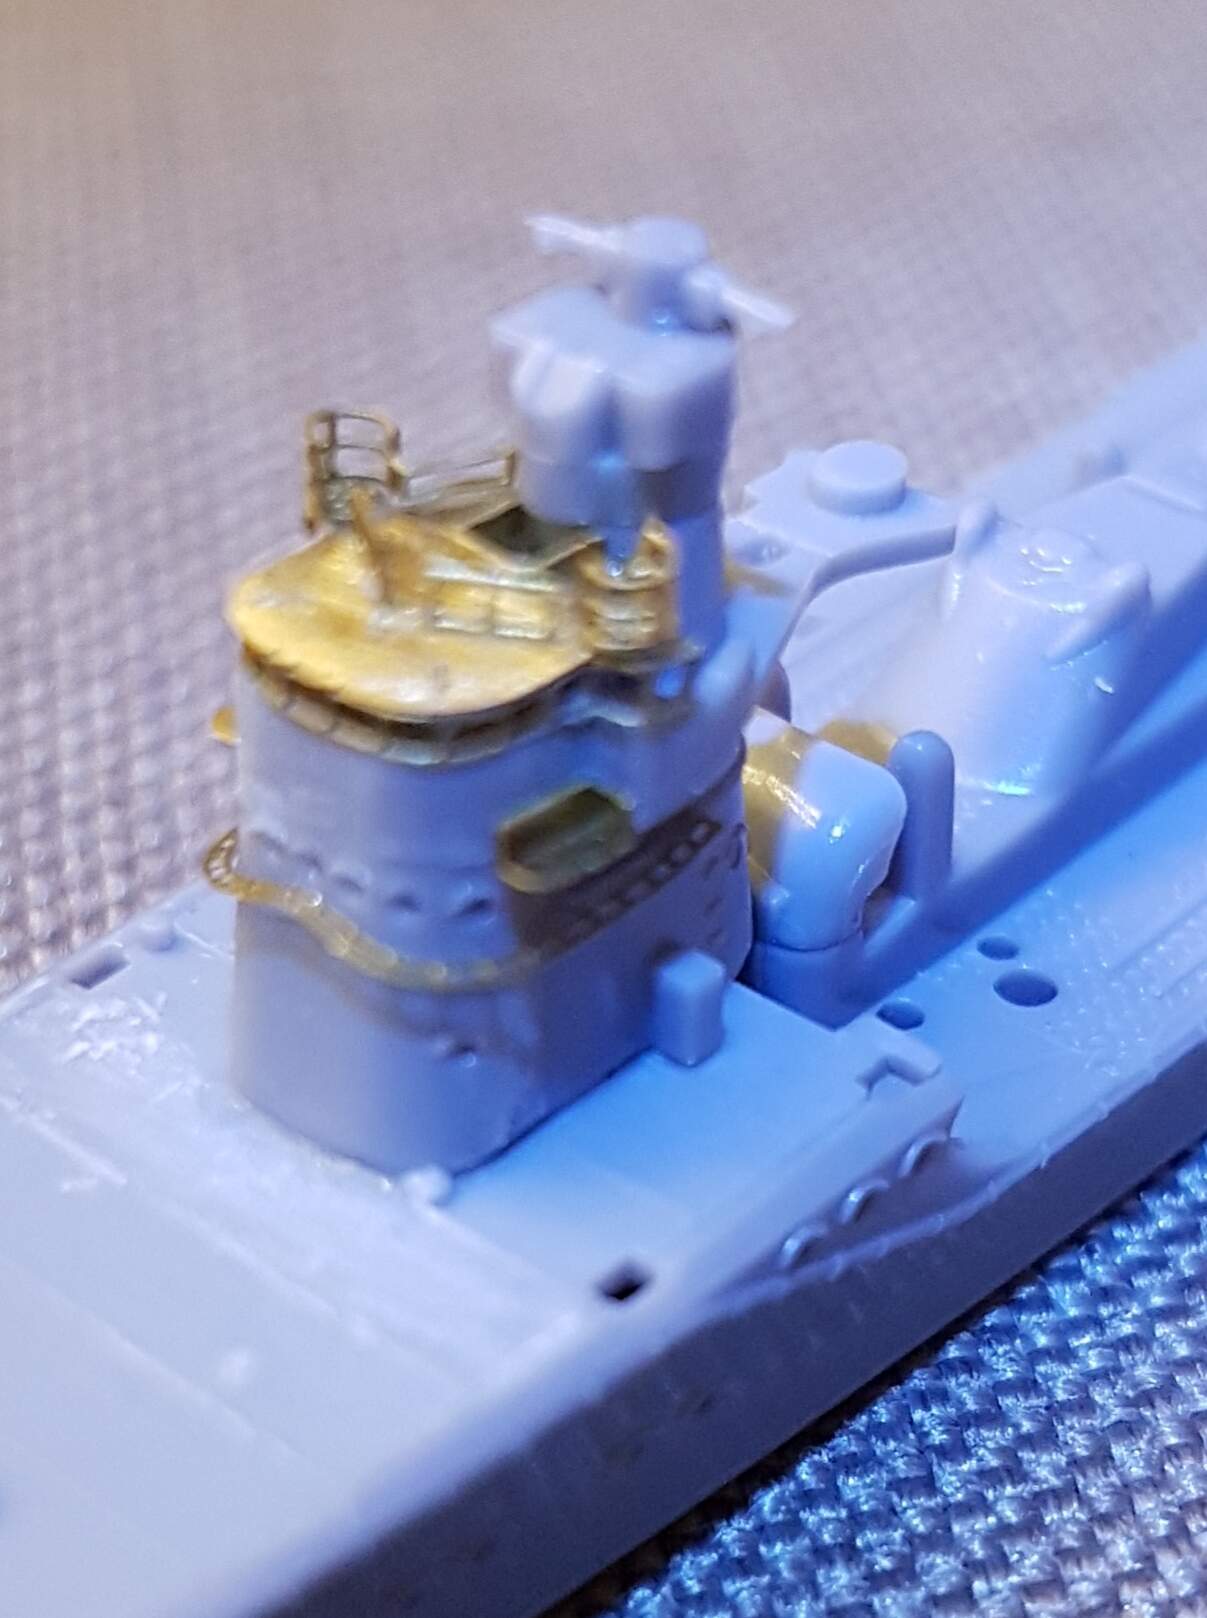
in the end the bridge of Yugumo was finally finished. It was real fun for a coffee-addition like me to glue parts to the bridge’s roof, which are merely 5mm long. Sorry, in the pics I forgot to put a Cent coin or a matchstick near to the model for size comparison.
Taking tiny assemblies and adding tinier brass bits. When your main gig is 1/24 and 1/12 cars, this 1/350 stuff is tricky. Patience, deep breaths, maybe a sip of that bourbon will help. Yes, I’m sure it will.
yes, the change of scale can sometimes be demanding, but when I look at what you build, I come to the conclusion that you don’t need Bourbon…, only for the taste of it.
Nice and clean funnels you made.
After spending quite a bit of time contemplating which kit to build I decided on my original submission. Not because I do not want to build the 1/144 Fletcher but because I realized with all the other builds I have going on at the moment that I would not be able to spend the required time to due the kit justice.
So last night I got a start on Dragon’s 1/350 USS Buchanan DD-484. As mentioned in an earlier post I intend to build her in her 1944 configuration which will require some scratch building and modifications.
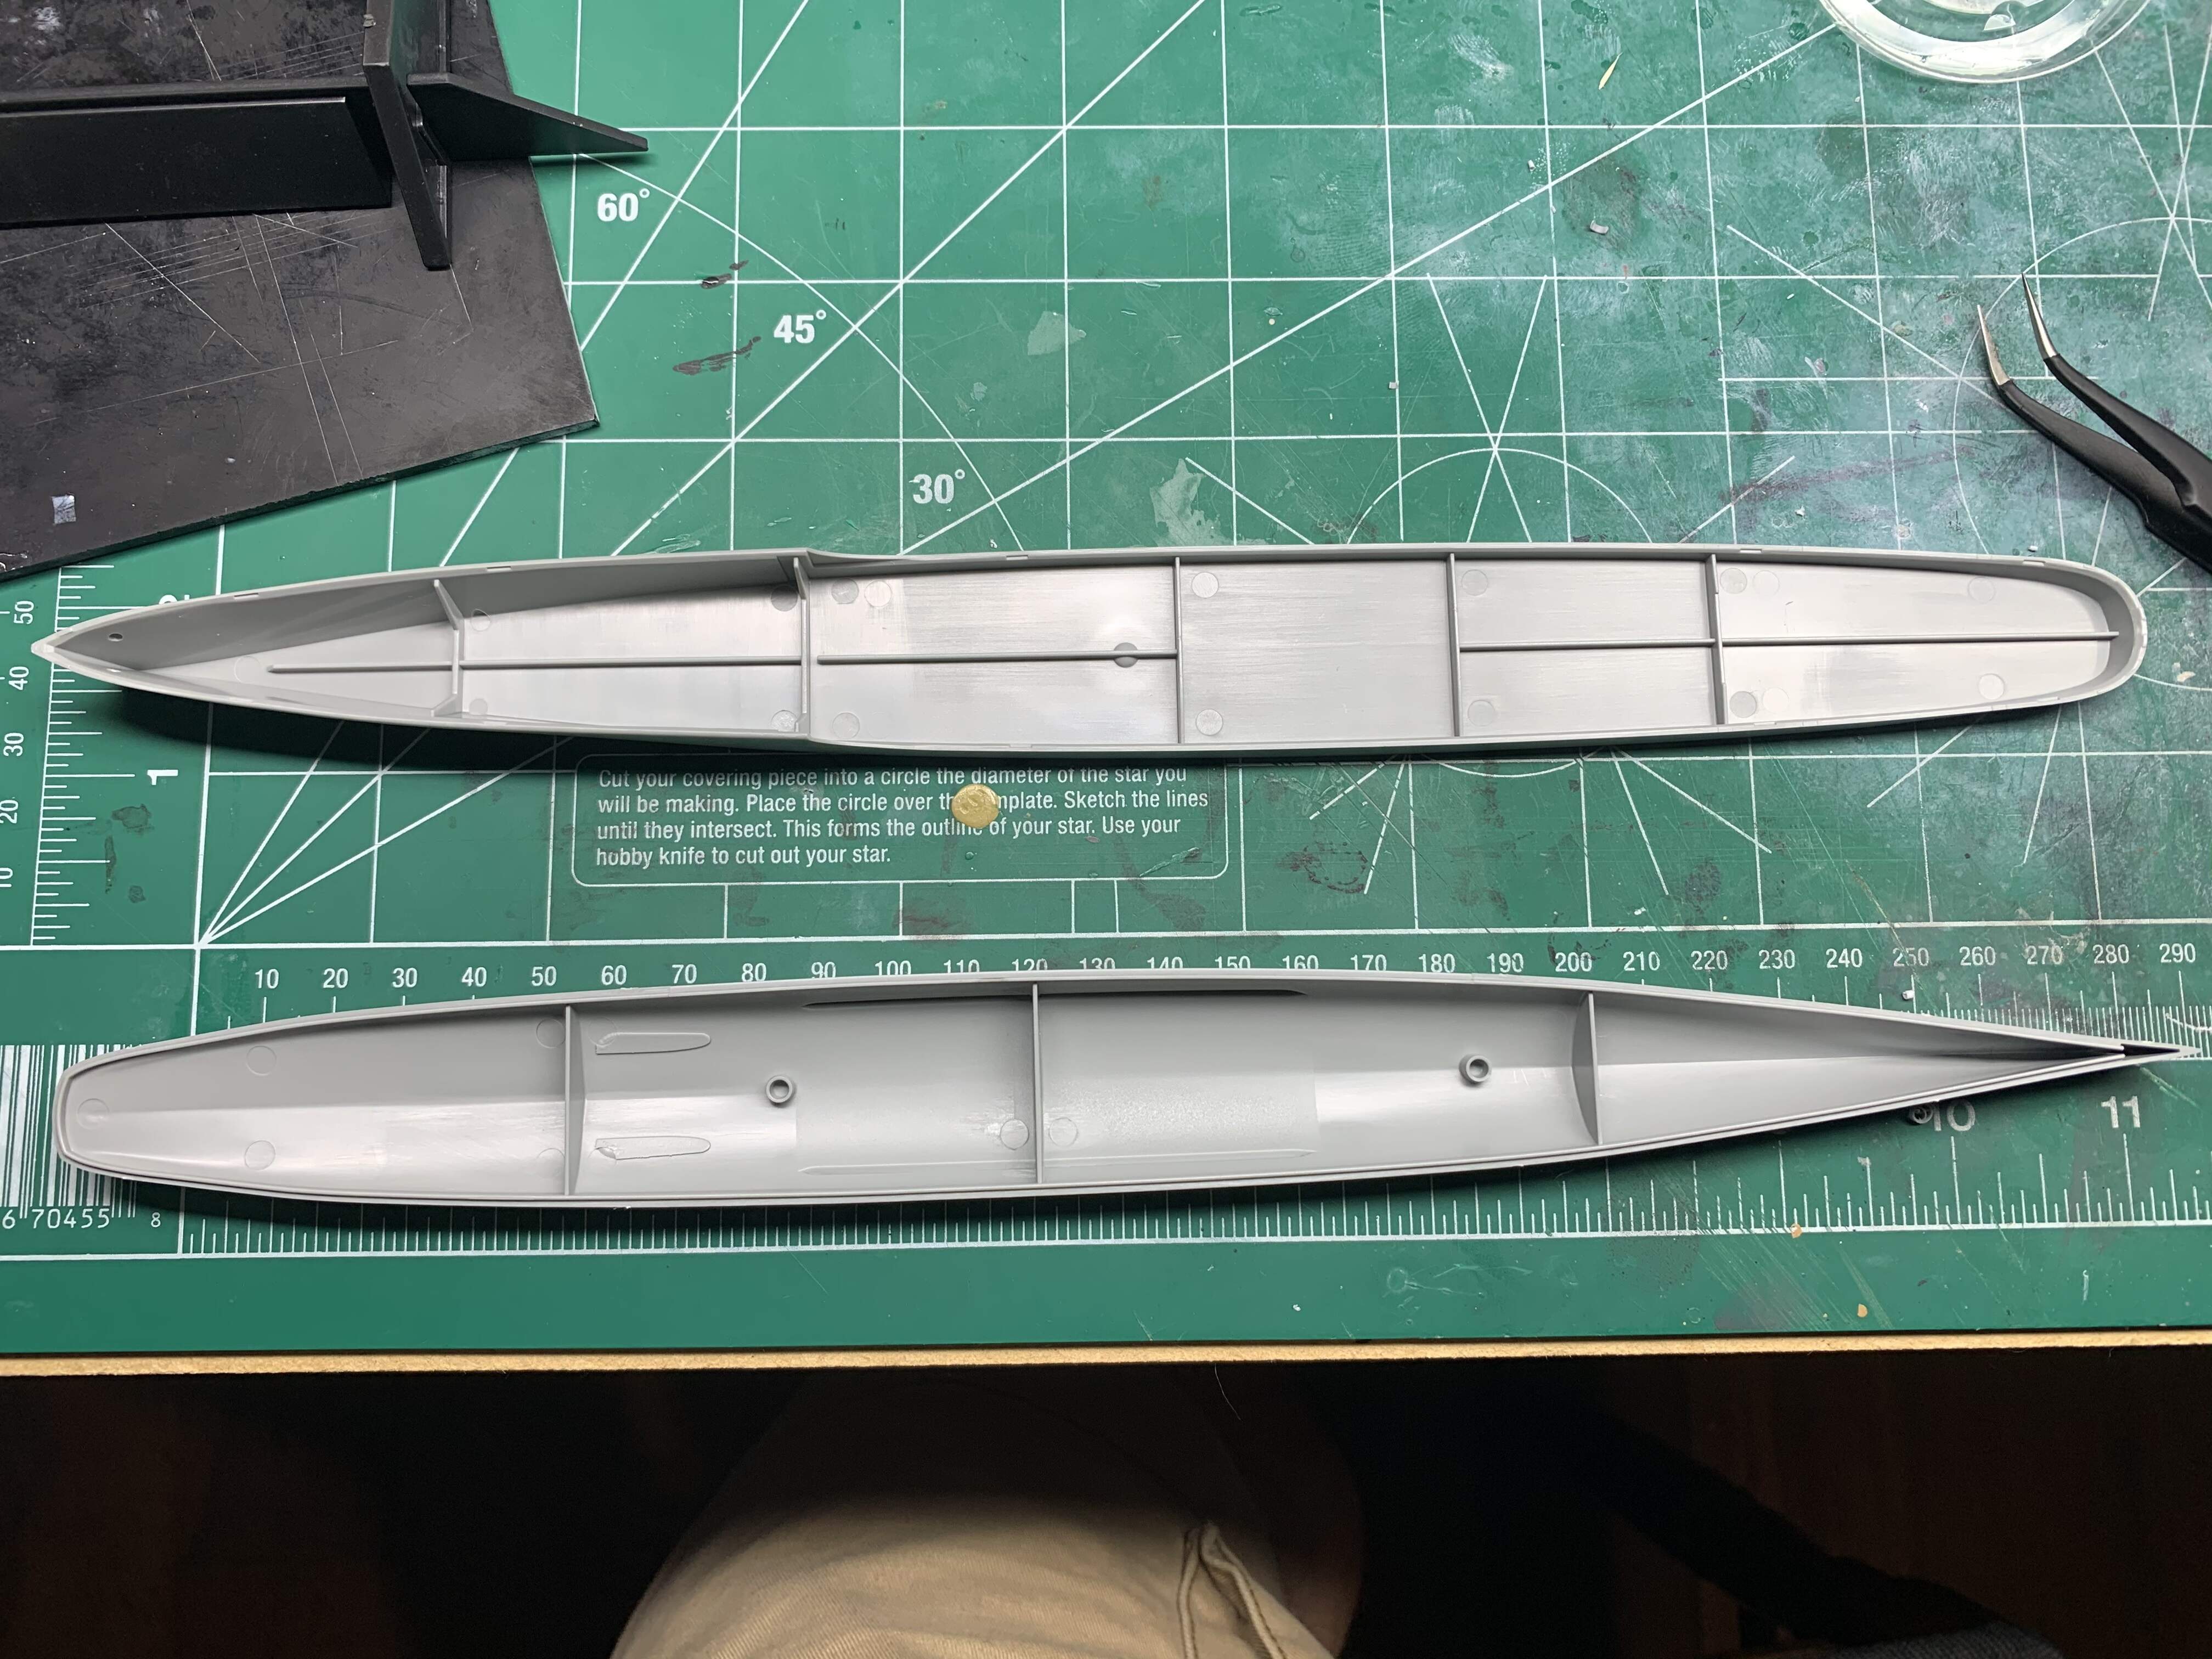
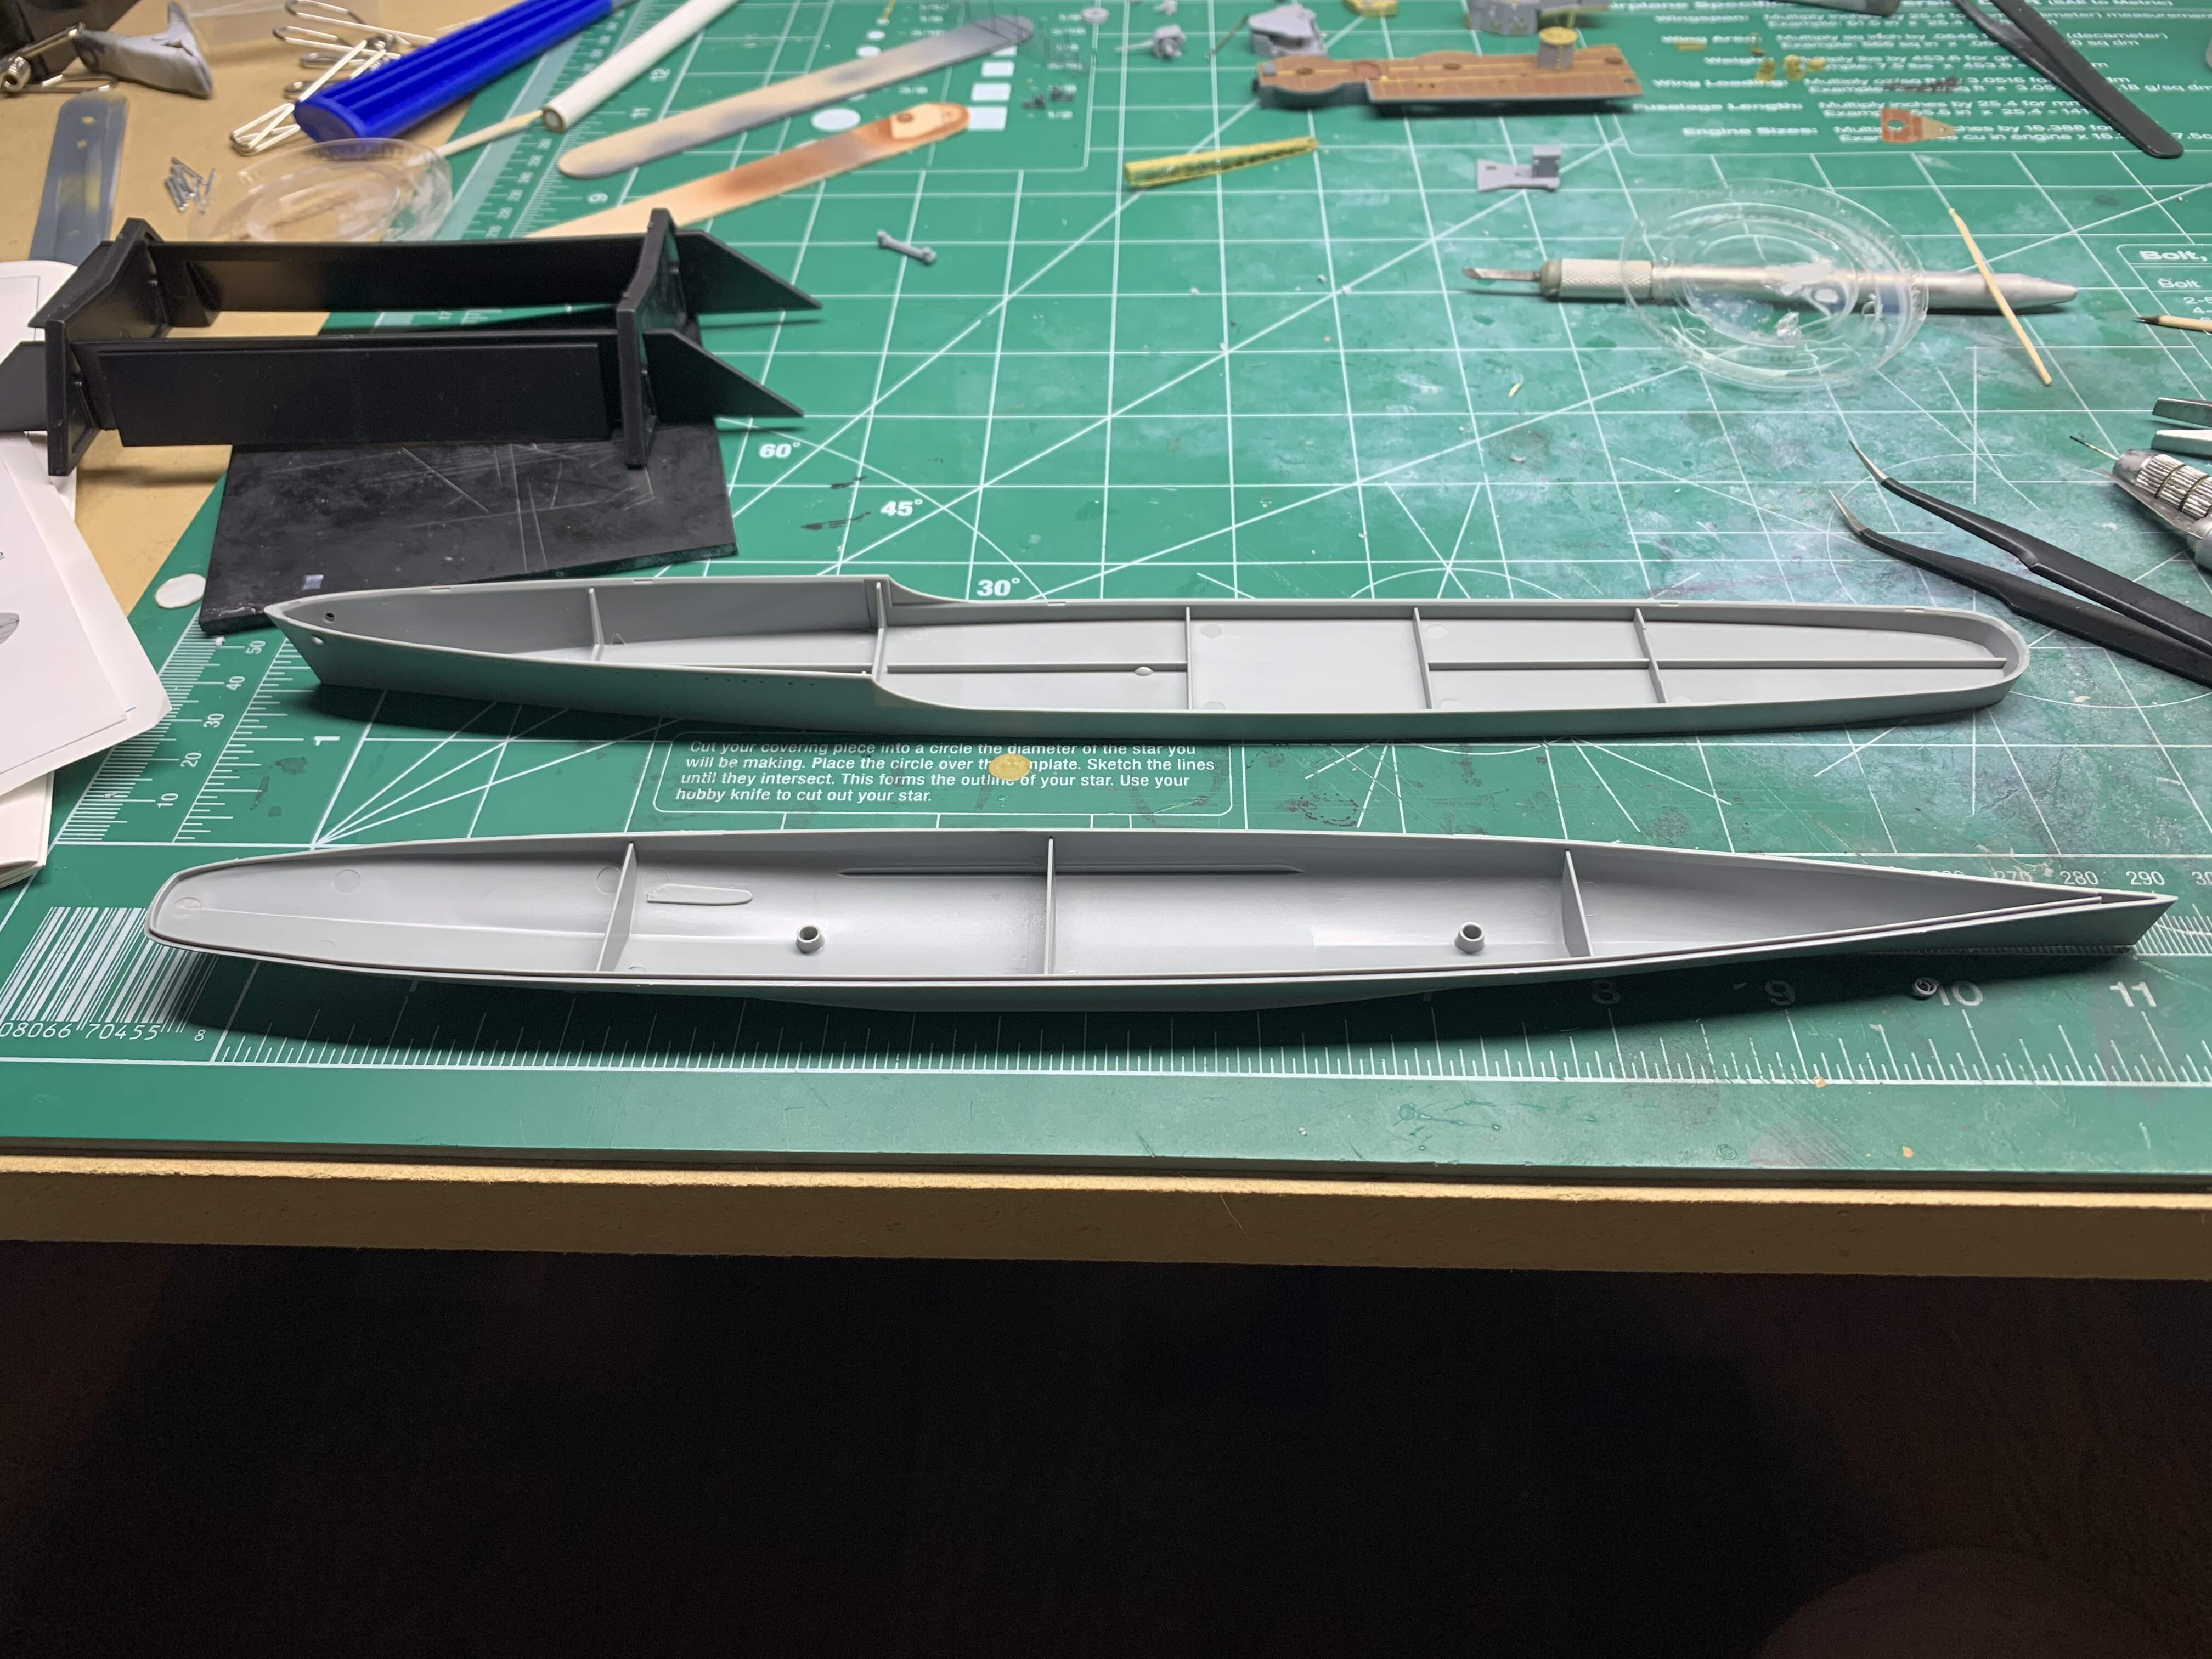
The lower part of the hull was not connected to any spruces which was nice and kept it clean, however the upper hull was connected to a spruce which has left some cut marks that need sanding
Even if it wasn’t connected the fit was not 100% so sanding would still be required to get a clean joint
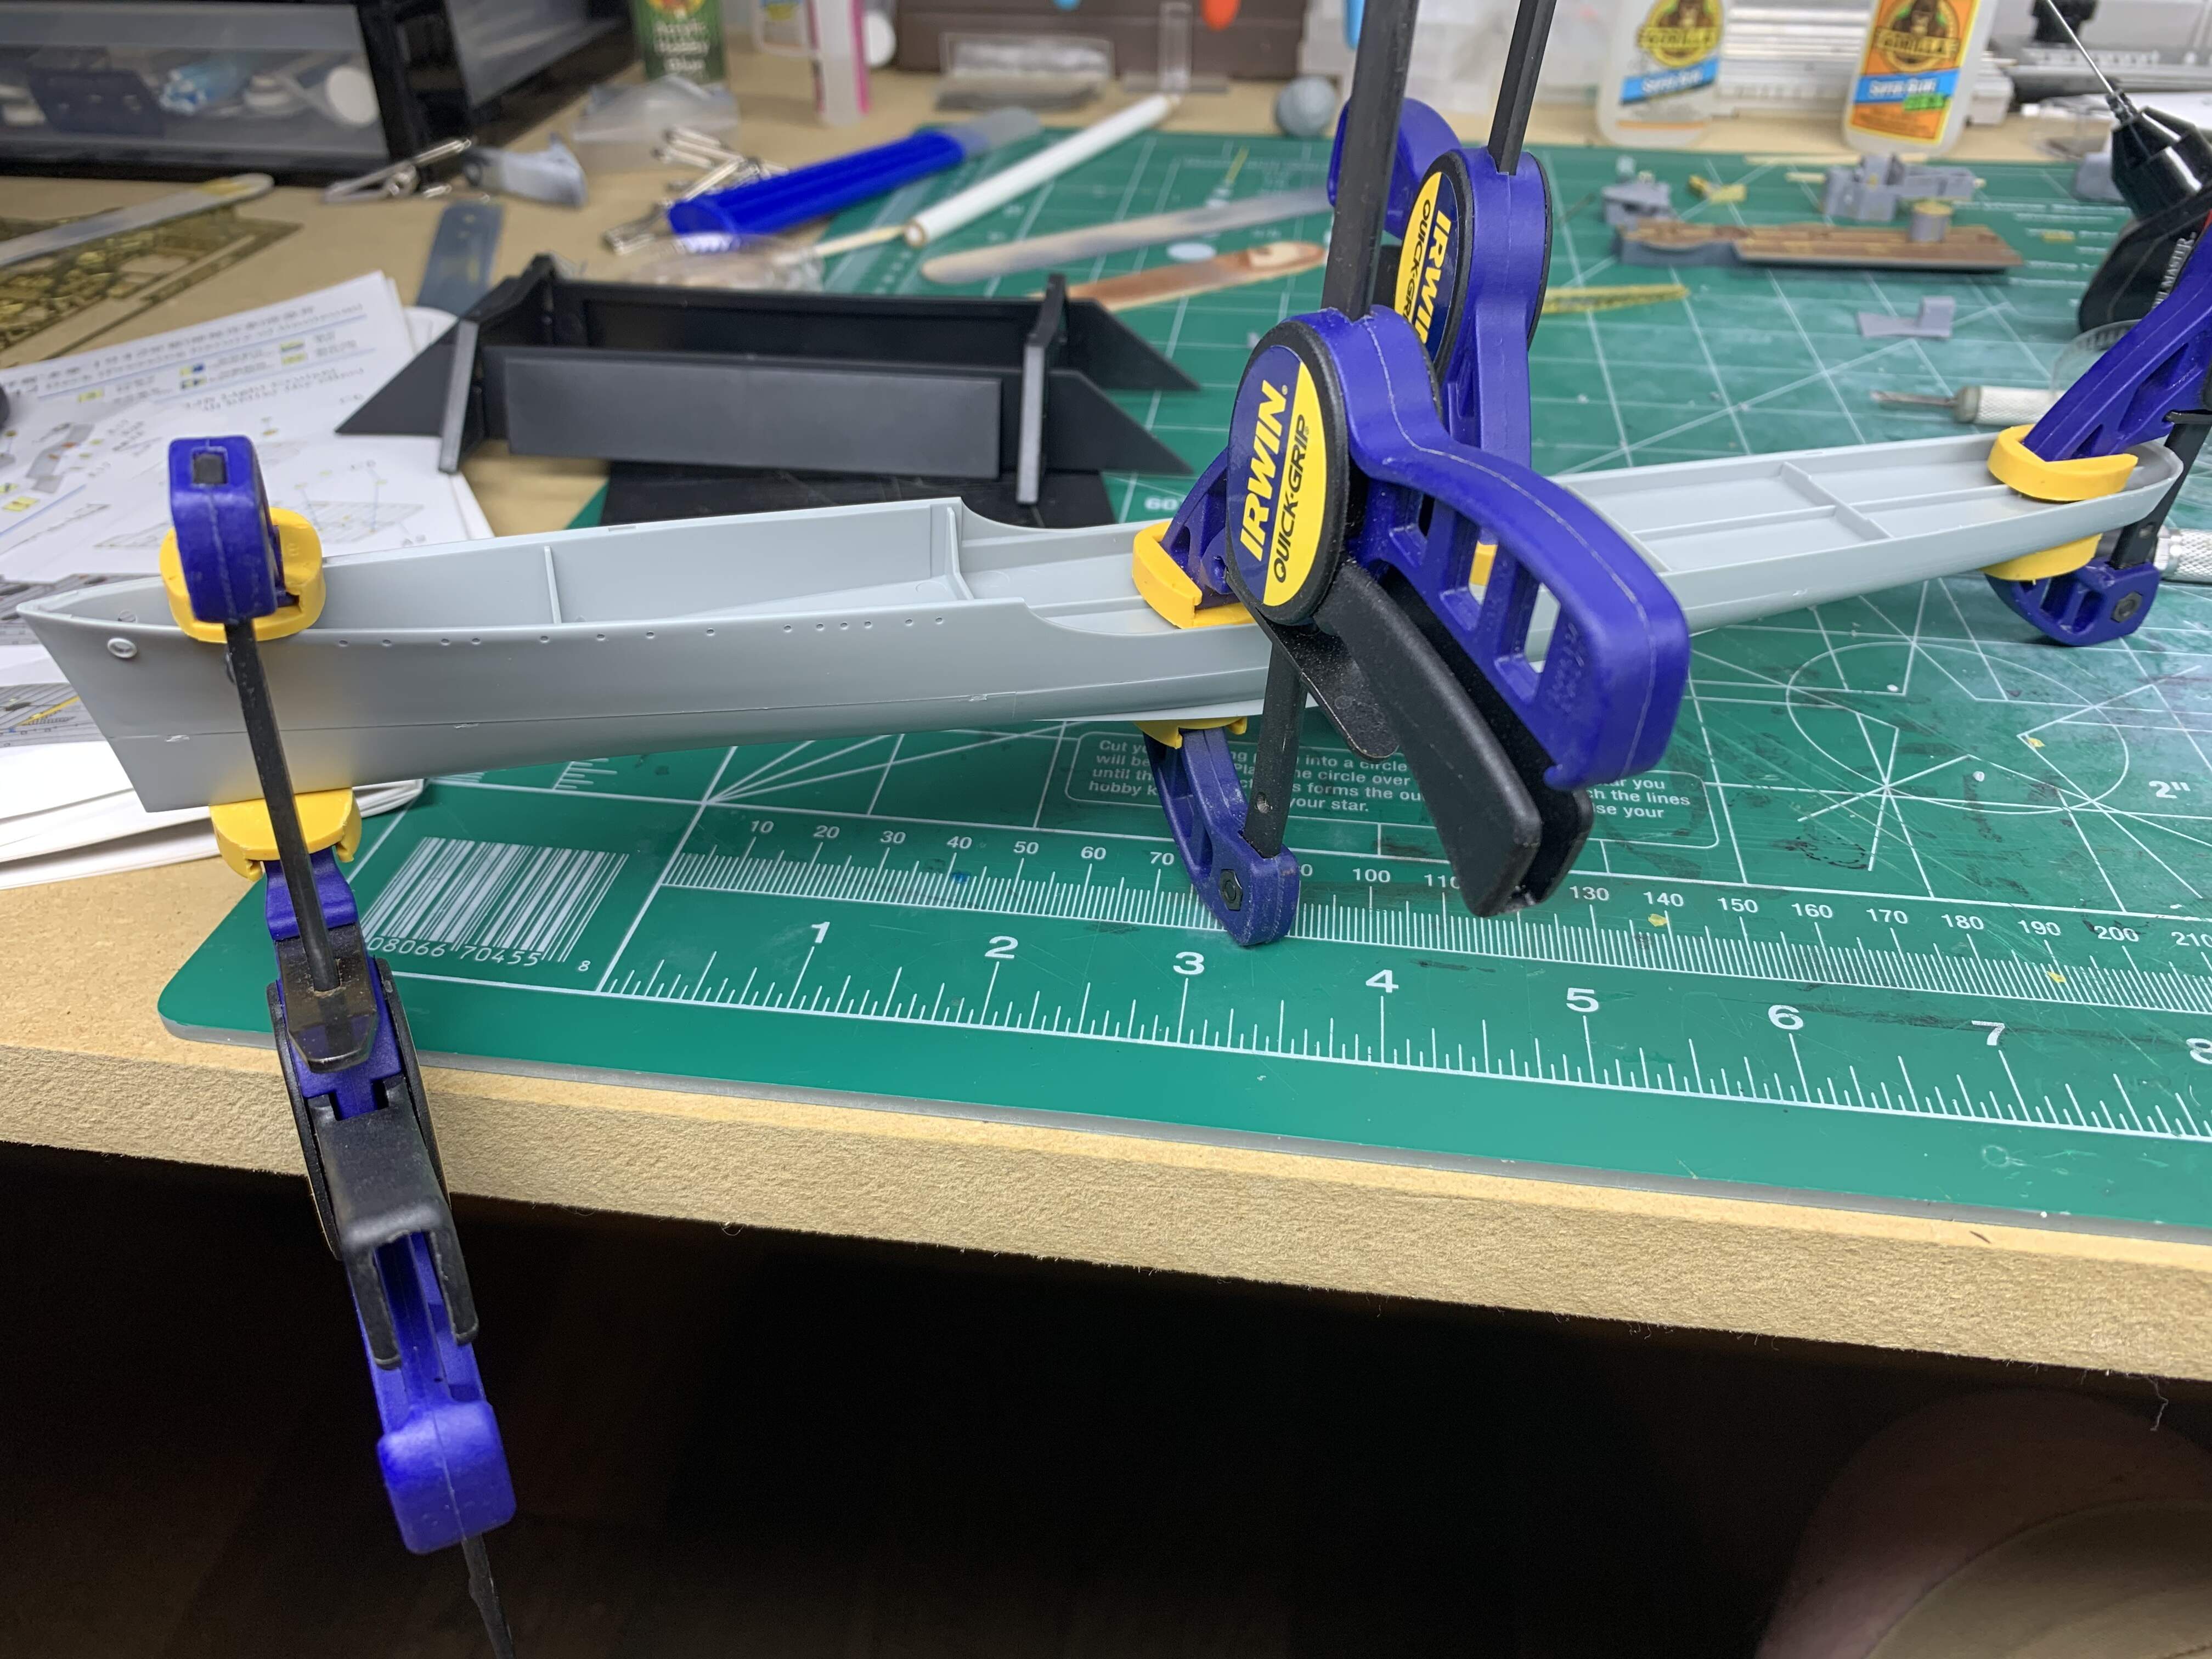
Due to the minor fit issues I had to use some clamps to put the upper and lower hull together
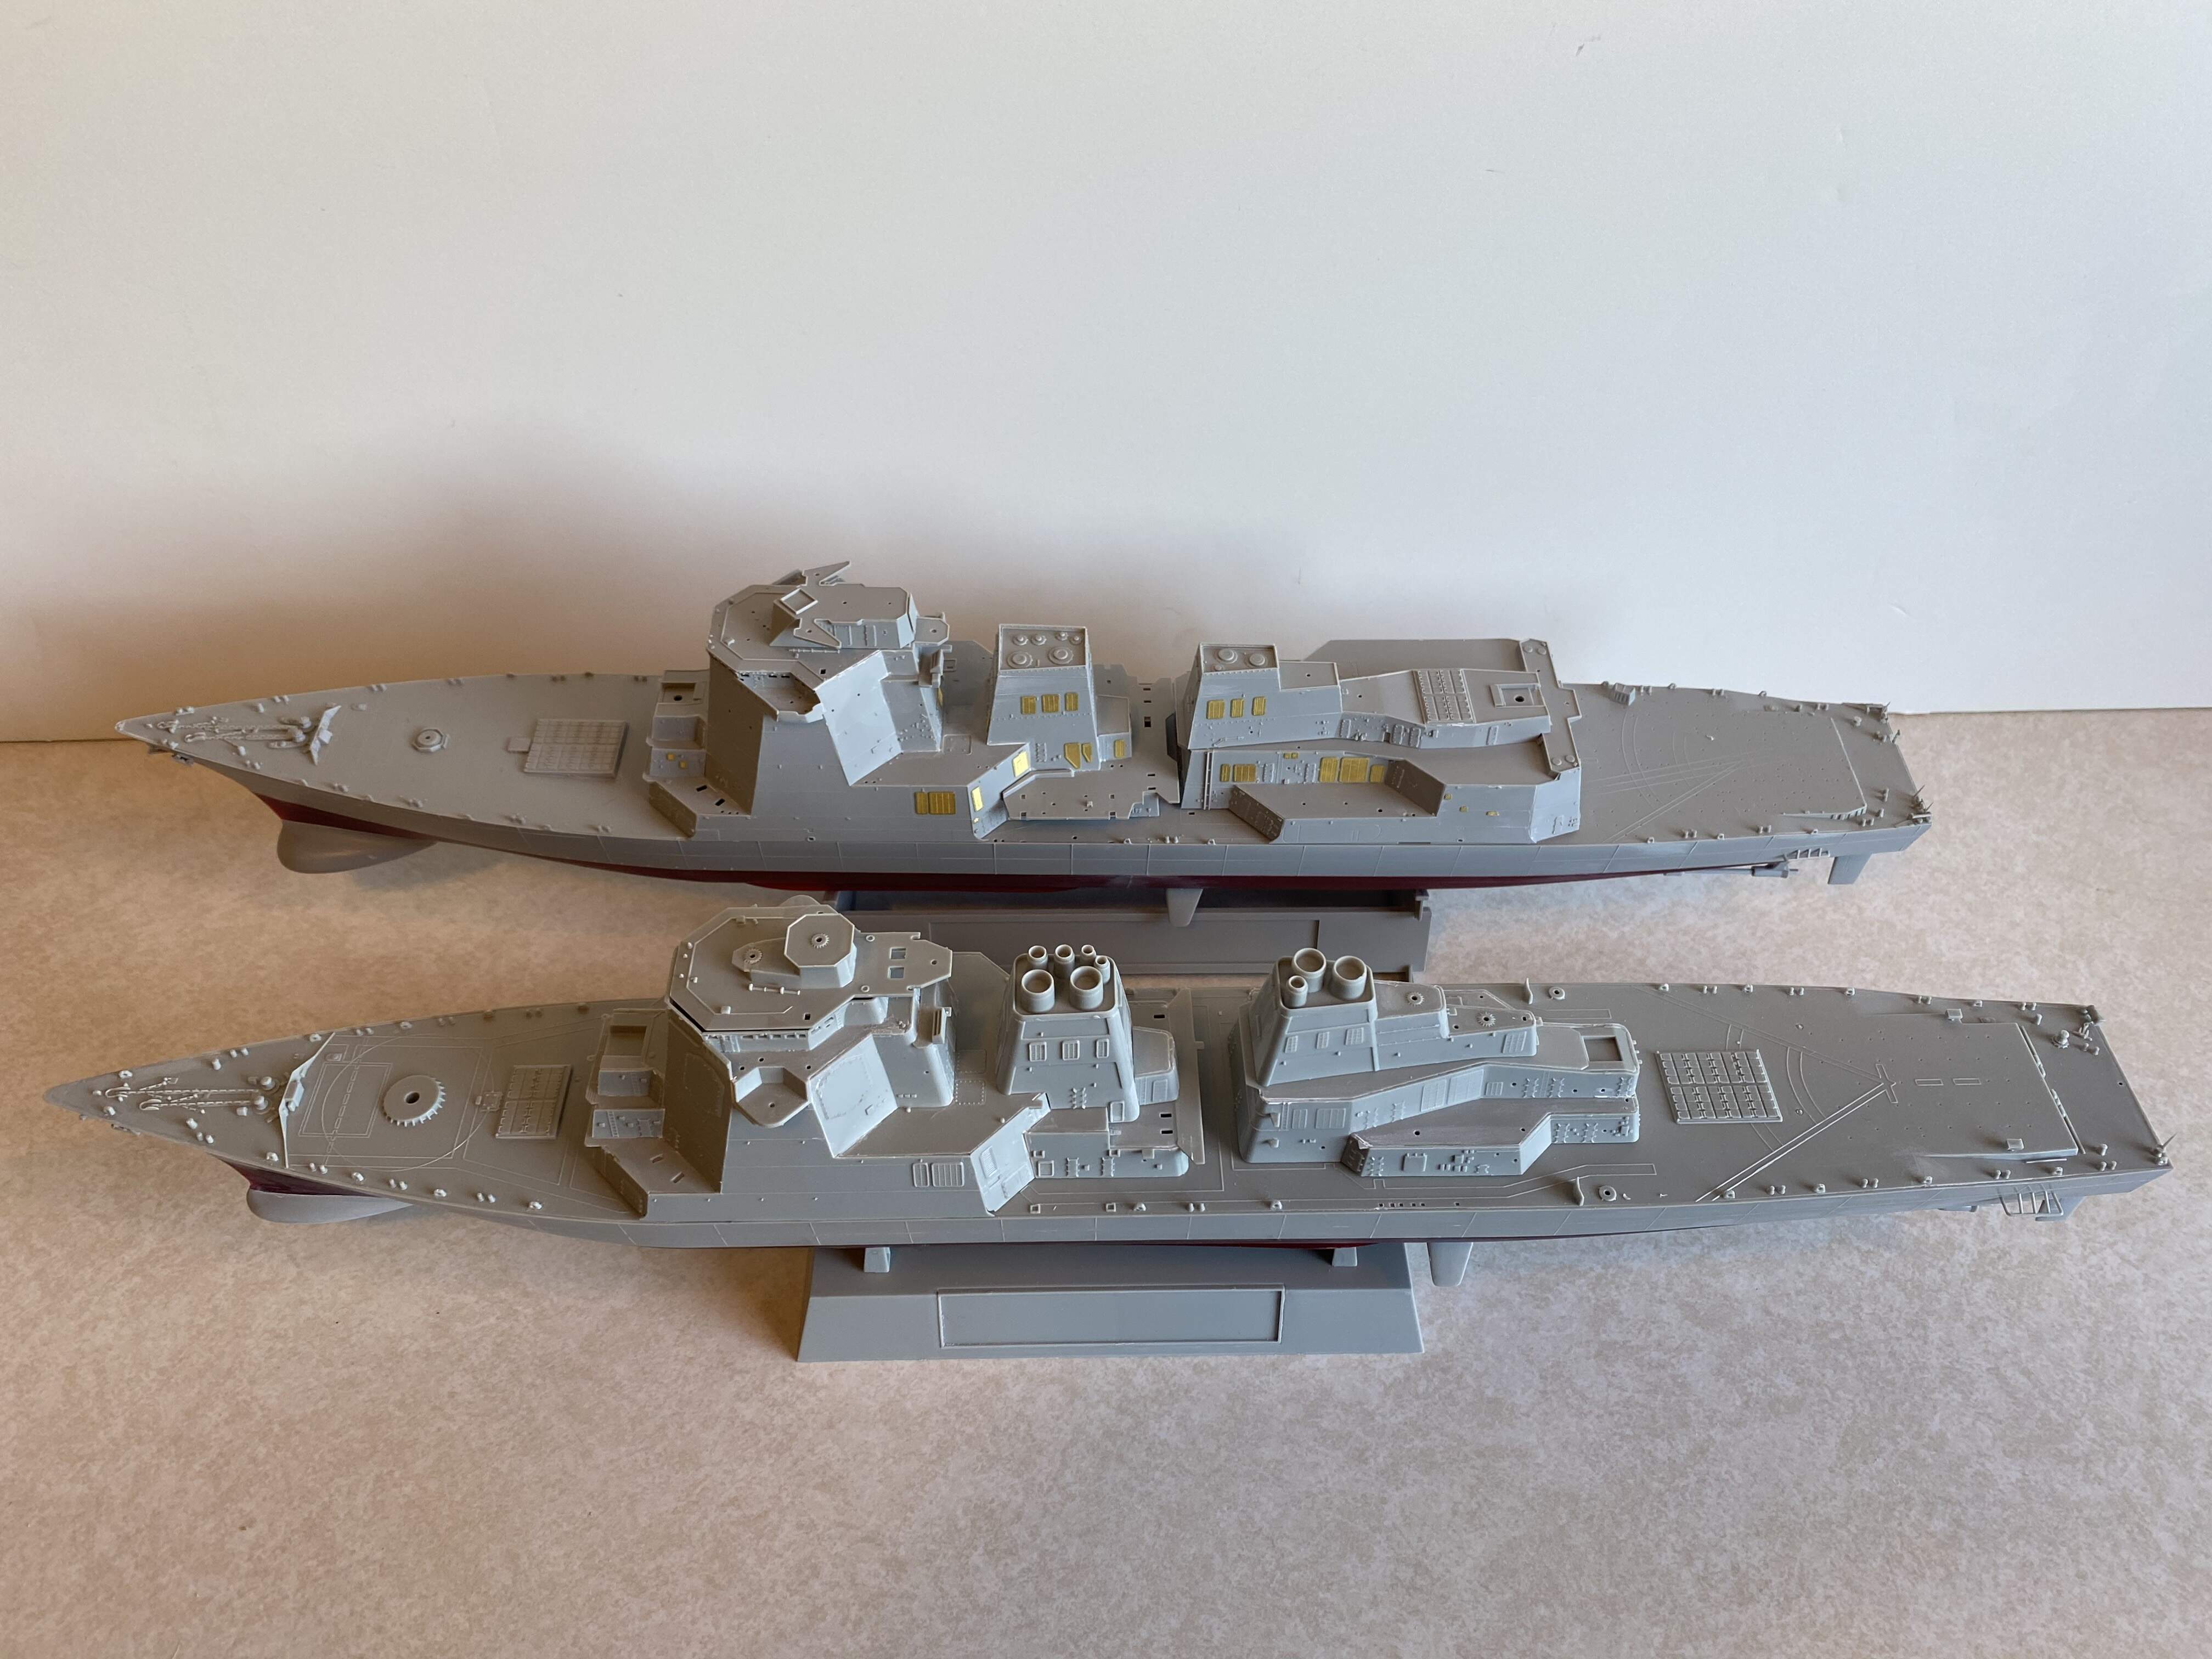
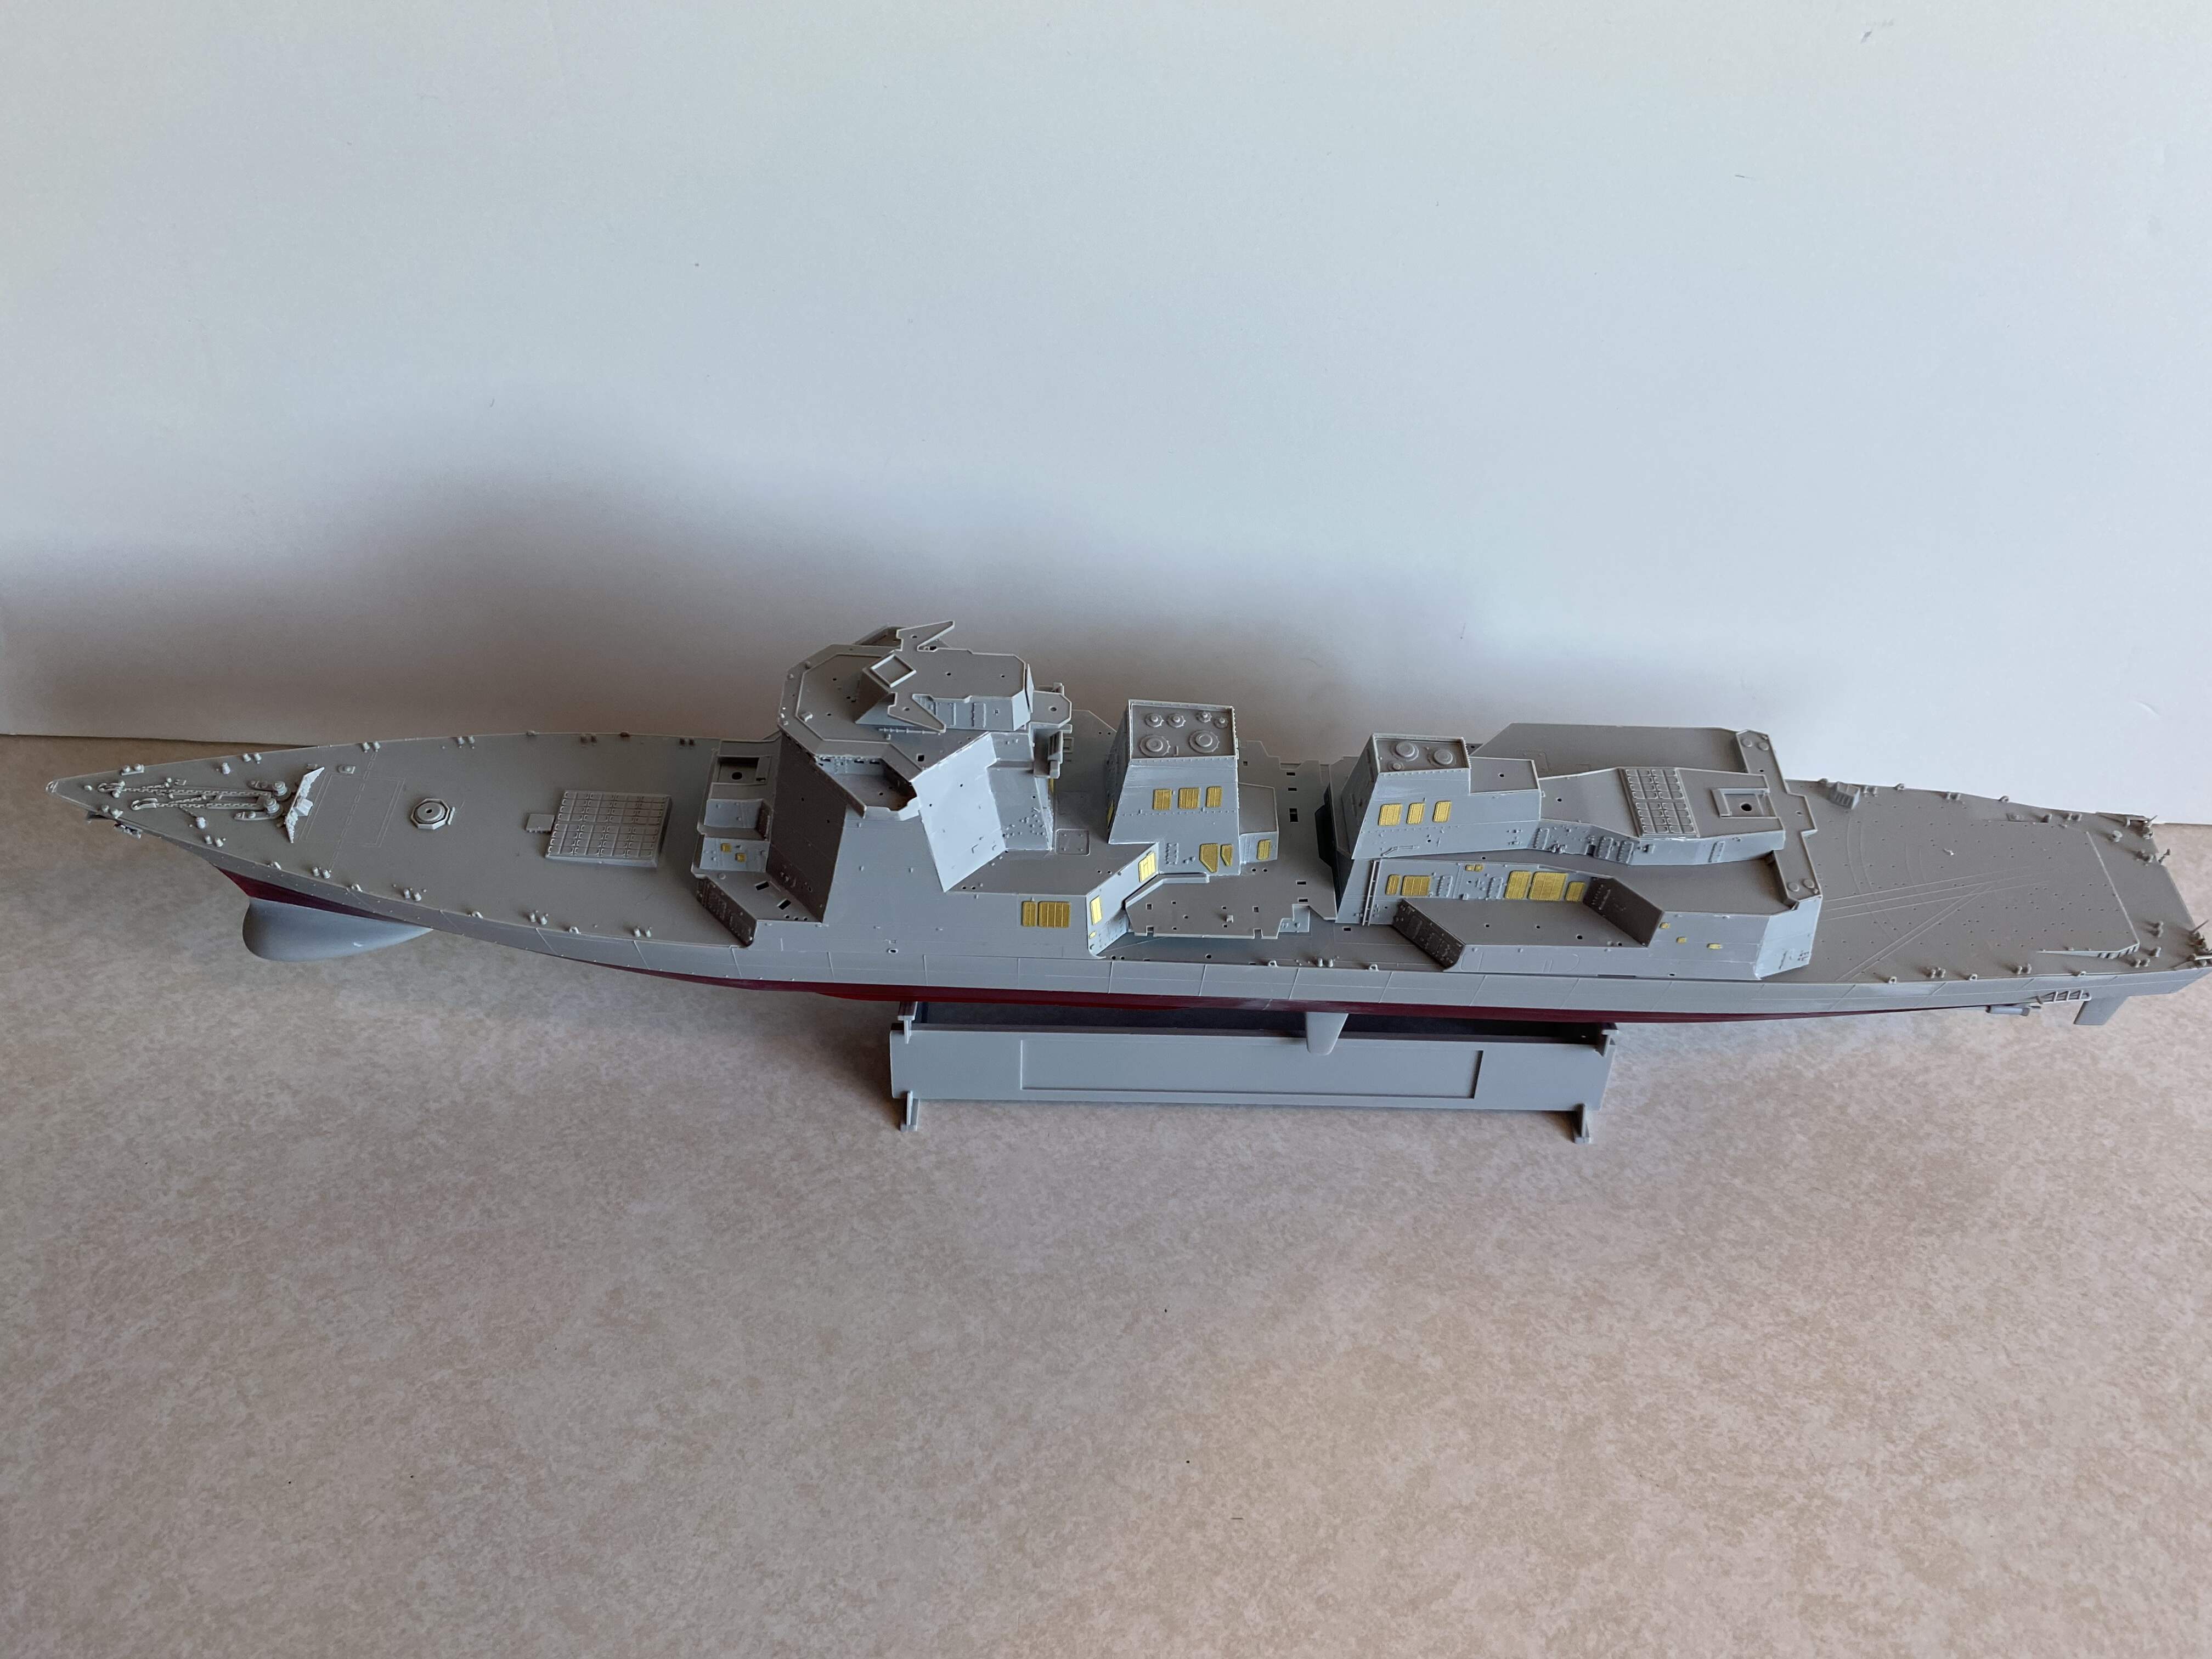
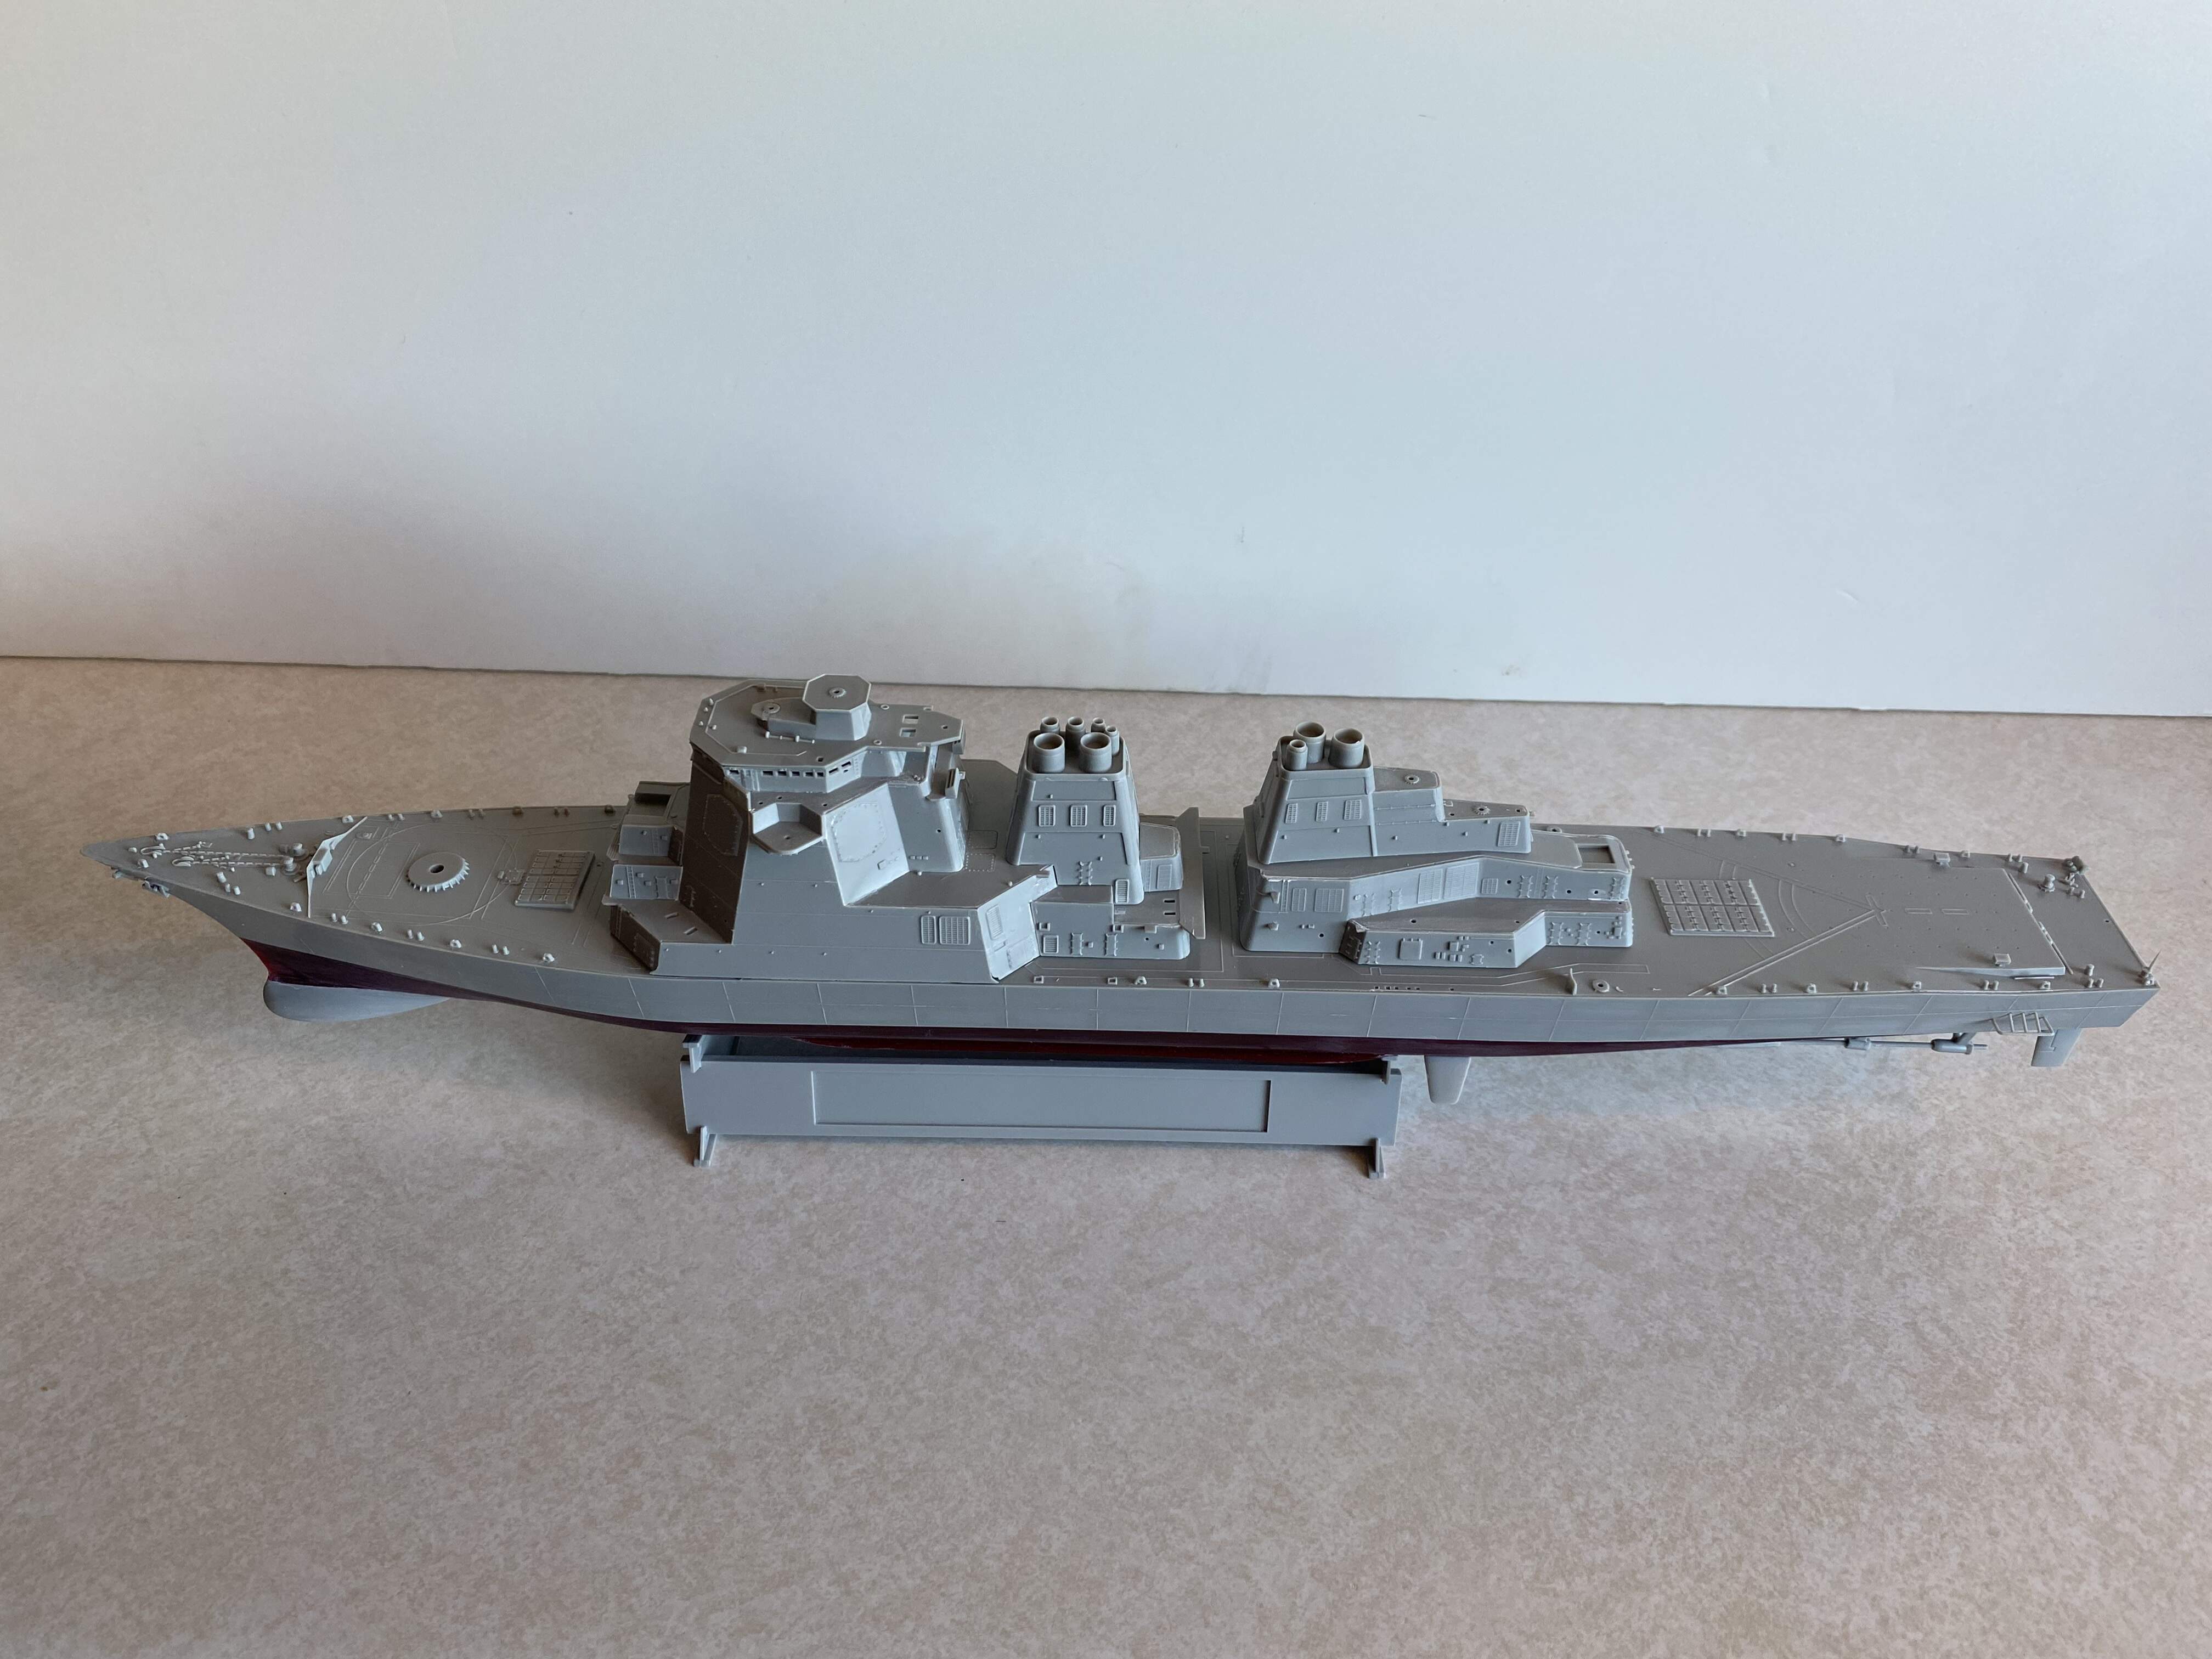
Update time. Basic superstructure is built on Myoko and Atago. I did not enjoy building these for the most part as they are complex shapes that did not have many locater tabs to keep them in place.
A large amount of putty was needed in the corners and where lots of the plates joined with each other.
Ultimately, I worked through it and they look pretty good. Non of the various sub structures are glued down.
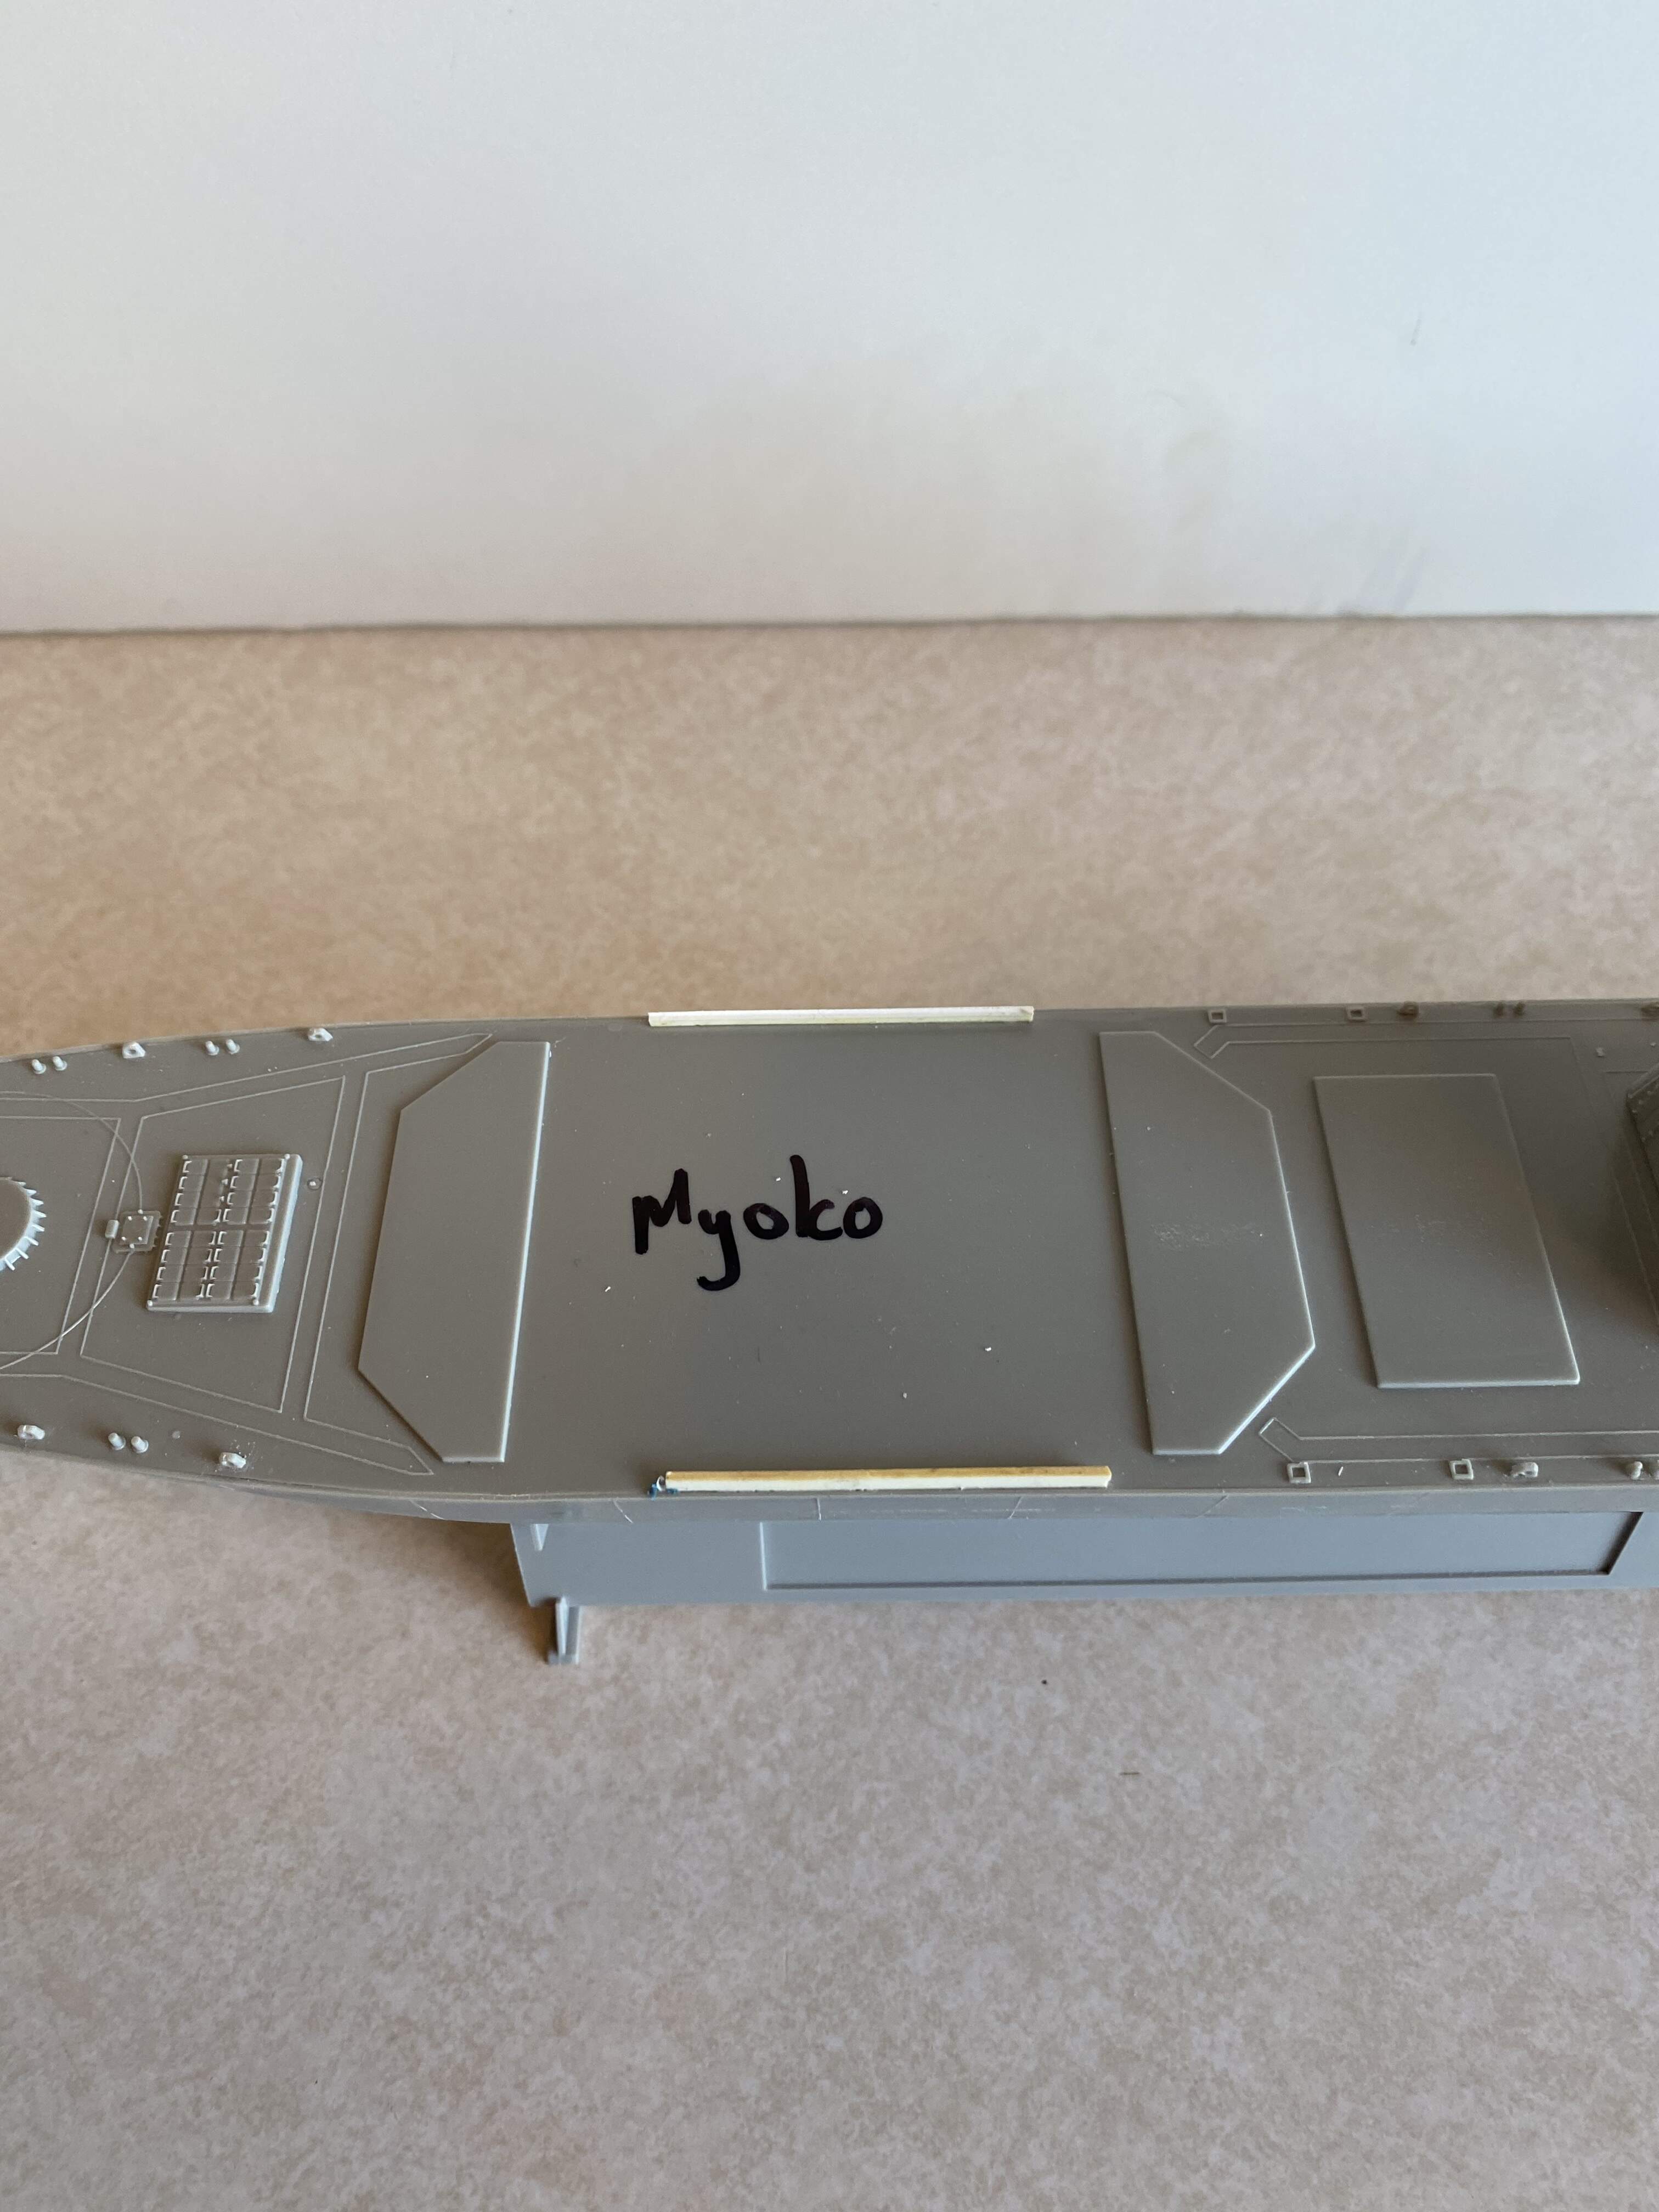
Myoko needed to have some plasticard installed on the deck to assist with lining up the forward superstructure. This will ensure the hull blends into the superstructure.
McRunty - very nice - really like how you adjusted for the fit issues and the work around for alignment. Will have to keep that in mind myself in the future.
Russell - I know what you mean about real life - I am pretty much on a 11 hour day two weeks straight sort of schedule which leaves little time for the family and even less for the bench…
Mark - that’s awesome - we can do a comparison between the two different configurations!!
Any suggestions for brass railings on modern USN (Arleigh Burke) destroyers? I can’t really tell from GMM or Tom’s web pages which ones would work. As it is, I’m like 0 for 2 on ship’s brass, so I’s hate to pay 2-3X for brass than the ship itself and then have another bust.
after some time without working on the Yugumo, I managed to finish the first turret. It took about two hours, 'cause the handrails are very tiny.
And now I know what lies ahead of me, so the next two turrets will be more accurate. AT least I try to make them look better.
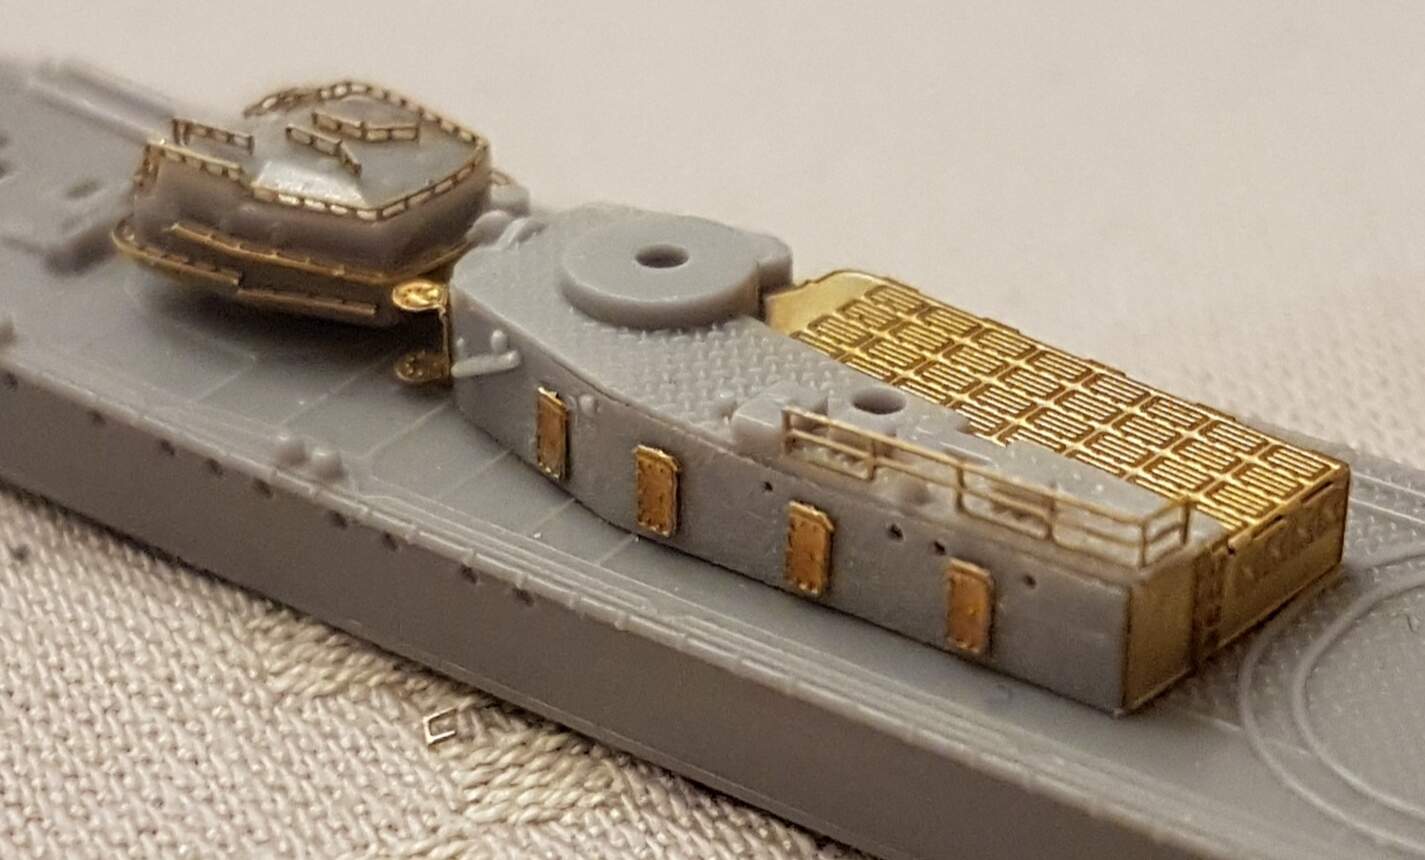
On the aft torpedo storage somehow I lost a part on which the aft masts rests. It will be made from scratch, but first i’m in search of some good pictures of this areas.
And the bridge is also finished. The cable cutters on the roof will be replaced by some etched parts from a set for Hyuga which has some leftover parts. Maybe I can get them to fit.