Looking good Torsten 
1 Like
Thanks guys! Glad that I’ve passed your quality control, Magnus!
As promised, here are the photos of the swedished build … 
SAAB J 21 A-3
3. Squadron, Flygflottilj 9
Swedish Air Force, 1948
Kit: Pilot Replicas 1/48
Used paints:
Vallejo 71073 Metallic Black
Vallejo 71120 Dark Ghost Grey FS36320
Vallejo 71294 US Forest Green FS34079
Revell 09 Antracite
Revell 15 Yellow
Revell 45 Light Olive
Revell 90 Silver
Revell 99 Aluminium
Revell 302 Black
Revell 310 Lufthansa Yellow
and a mix of Revell 83 Red Brown with Black and Steel for the exhausts
The final coating was again made with a 70/30 mix of Revell Clear Gloss and Clear Matt. The best clear varnish that I’ve used so far. The landing light was covered with Revell Color Stop, similar to Humbrol Maskol but less aggressive. The pitot tube of the kit was crappy, so I used an Evergreen profile. But I believe it will take the first chance to run away from the kit. Okay, I still have a bit of Evergreen. Demasking the canopy was no problem. I was looking where the position lights are and found them on the fuselage and not on the wings. You can also see the blue light on the original aircraft in my post 1069. Funny side effect is that FS34079 looks brownish in all my photos here though it’s a green paint. Maybe it’s because of the light of my bench lamp. In daylight it looks green. The decals are from Cartograph and were amazing to apply to the build. I think the Tre Kronor decals are huge. Were they really that big? The J 21 is my 7. SAAB aircraft now. I still have 3 more in my stash …


Again I want to thank everyone here who has followed my work with comments and/or likes and I hope you’ve enjoyed it. It’s always great to know you at my side! Thank you!
Now I will concentrate working on my Leopard C2 build but I will soon return with some wingy thingy.
Happy modelling!
Torsten

12 Likes
The Swedished version looks great Torsten!
Congrats on another great build!
Looking forward to the next wingy thingy 
1 Like
Thanks, Russell! Glad you like it.
Not sure what plane comes next, I have a few in my stash. But I also have signed in for a campaign, starting in March, so maybe I go for that build first … 
2 Likes
@BlackWidow It looks more than enough Swedish to me! Nice build of one of the most odd designs we ever had in the Swedish Airforce. And as you all probaby know, SAAB even managed to do a jet version of this! Not very successful but equally as odd as this one and it flew for a few years in the SWAF that one as well.

Magnus
2 Likes
Dear friends,
life in the past months was not easy for me and kept me away from my bench for a long time. I had to take care about other things and model building became priority 95 or less … 
And when I had time to do some work at the bench I worked on my Takom Leopard C2 which is finally finished now, except for some other antennas and some dust.
Finally I’m back here at my good old bench works with a new project, which I hope I can start soon. Some of you might remember my Spitfire Mk. II dual build from October 2021. Long time ago enough to start another Spitfire build, don’t you think so? This time it’s another part of Eduard’s Spitfire Story Southern Star, which includes a Spitfire Mk. Vb and Mk. Vc, as usual in 1/48 scale …
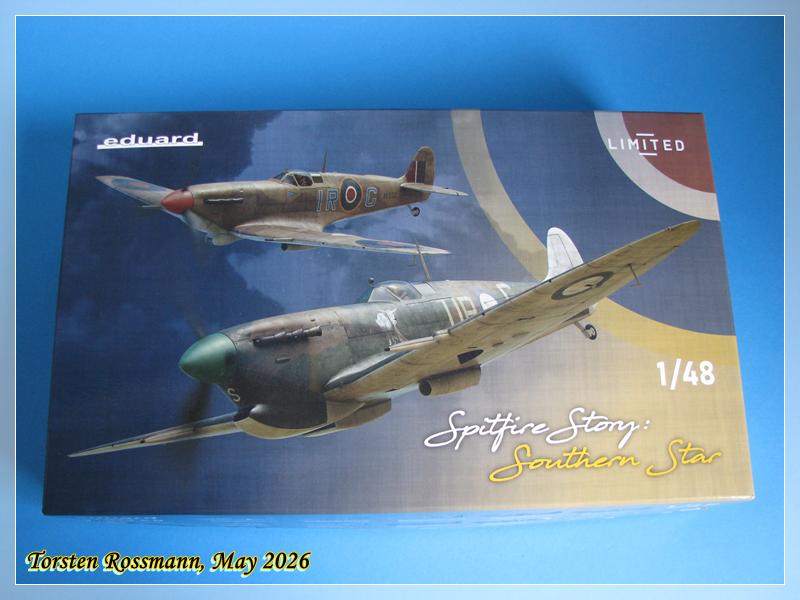
Let’s have a look what’s in the box …
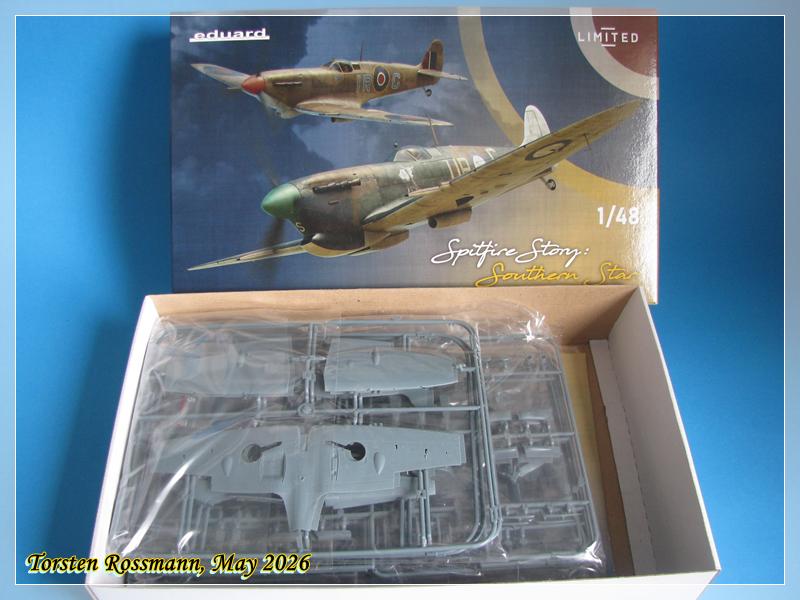
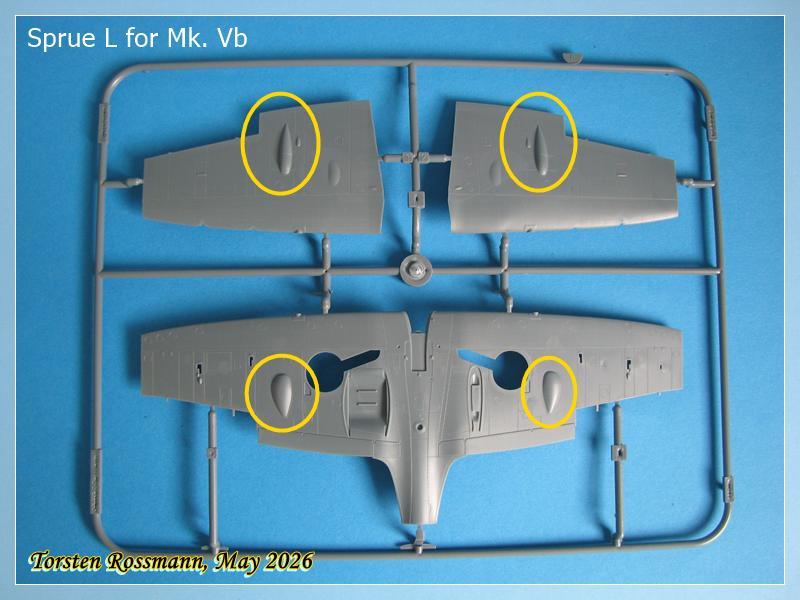
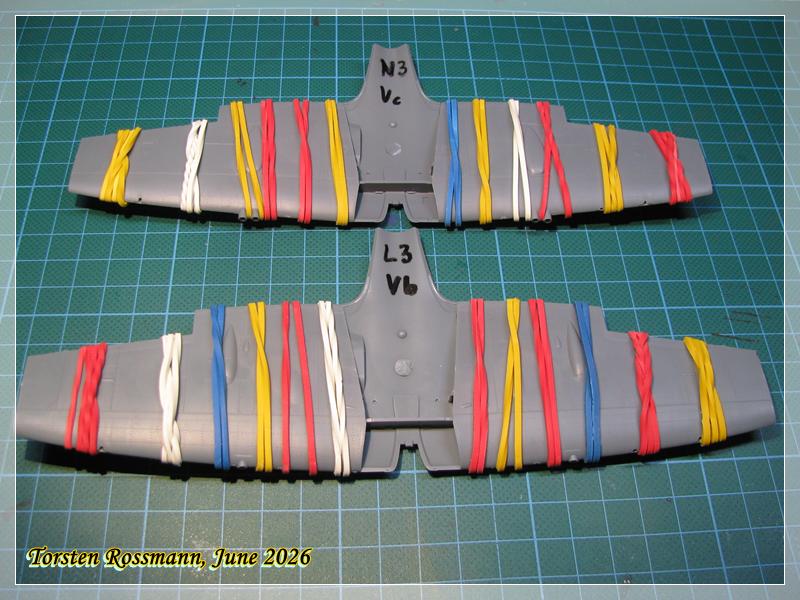
Both builds have the same sprues, except for the wings. Spitfire Vb wings are on sprue L …
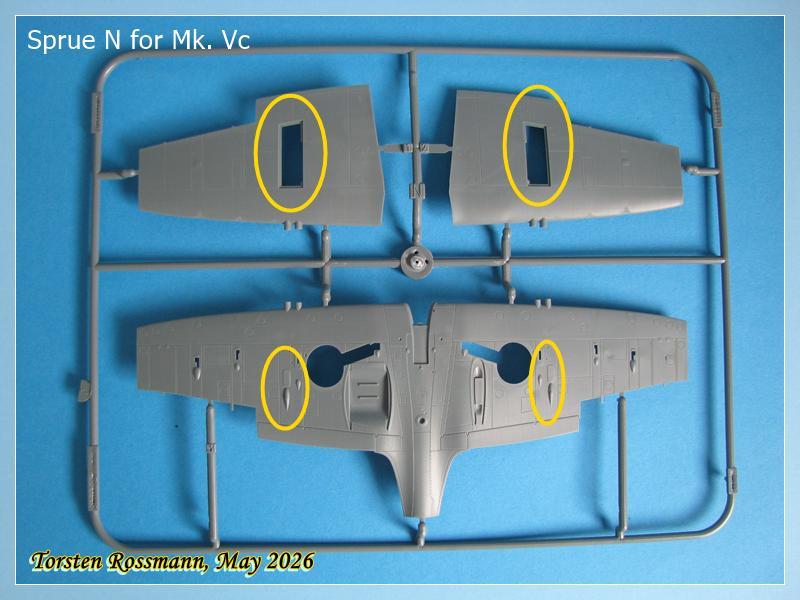
… while Spitfire Vc wings are on sprue N …
All others are the same for both builds …
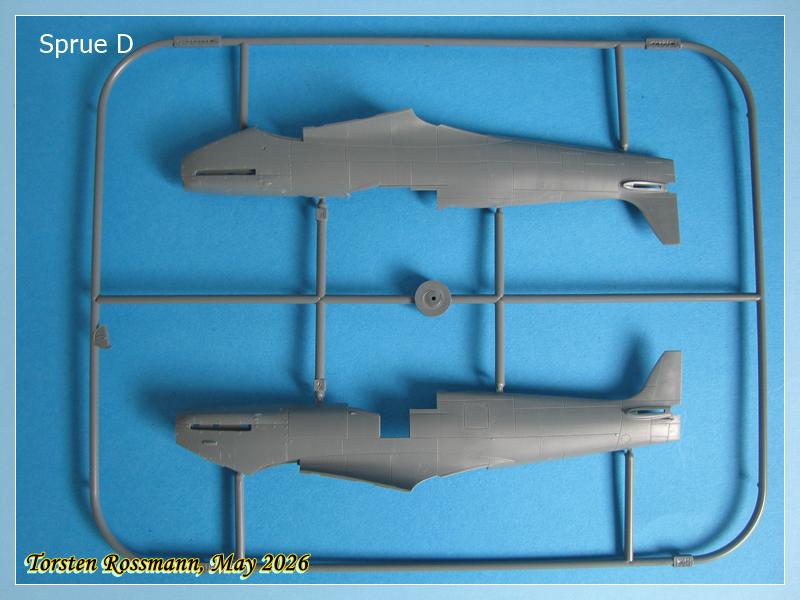
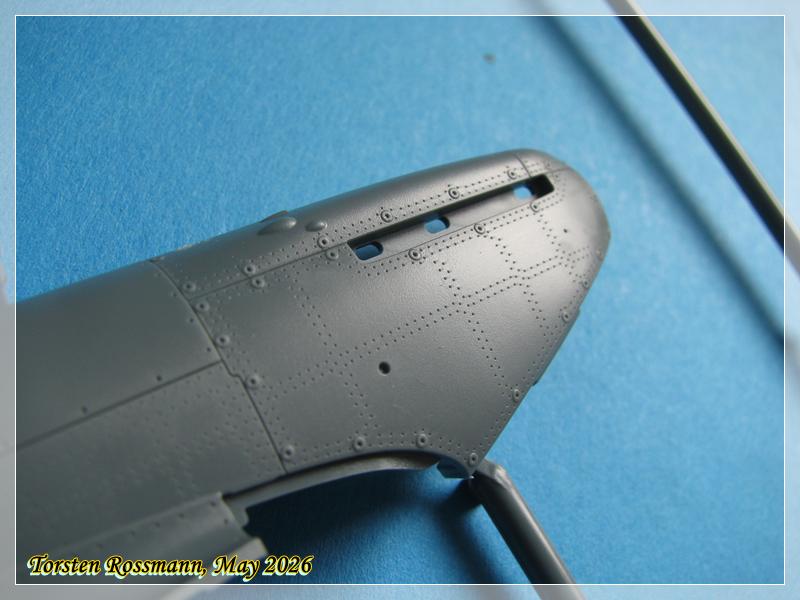
… the rivets are again nicely done … 
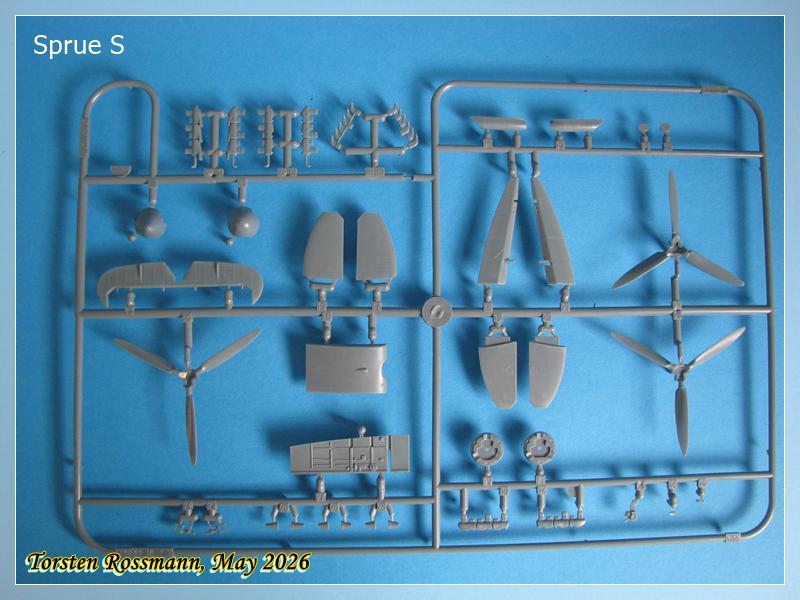
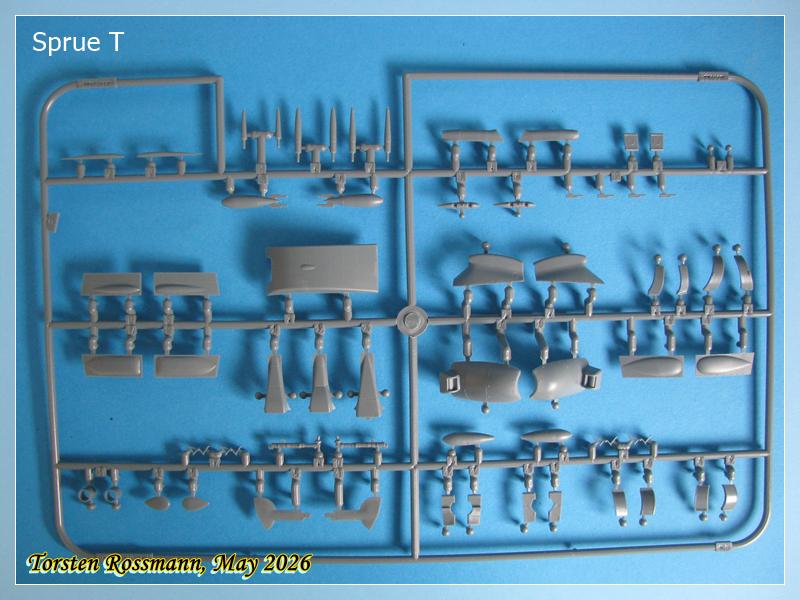
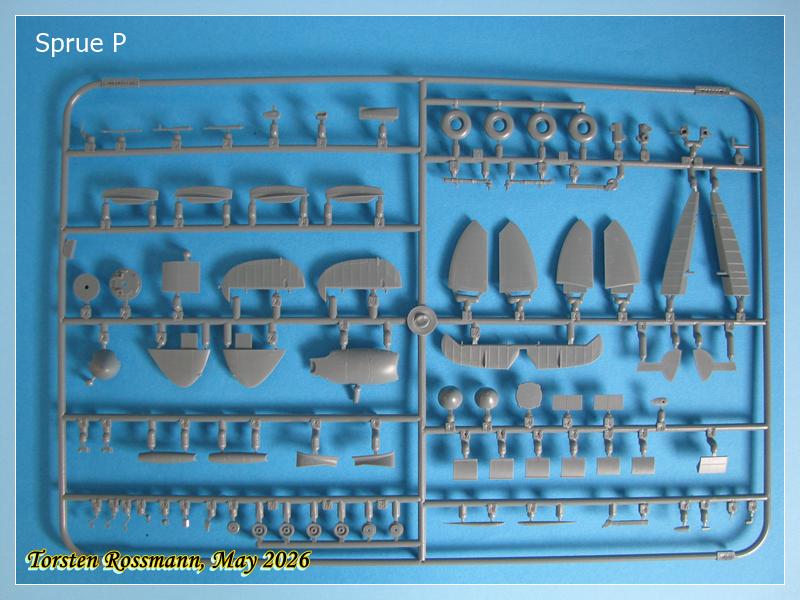
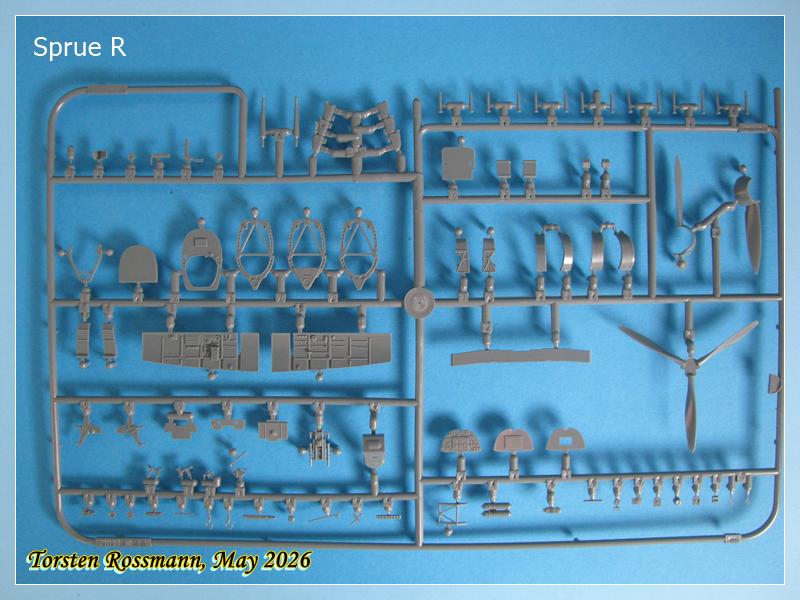
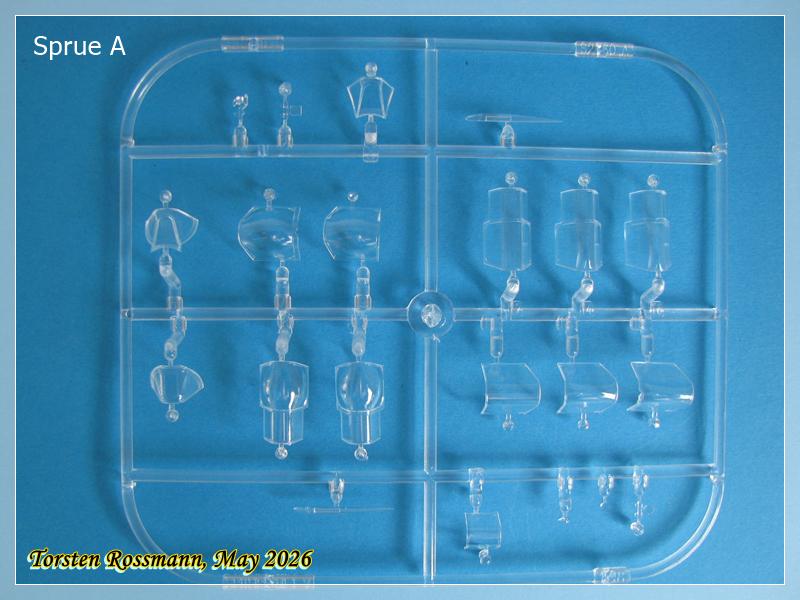
As usual for a Profi Pack, masks and PE parts are included, plus Brassin parts for a clipped wing Vb, which I will build …

… a closer look at the PE parts …
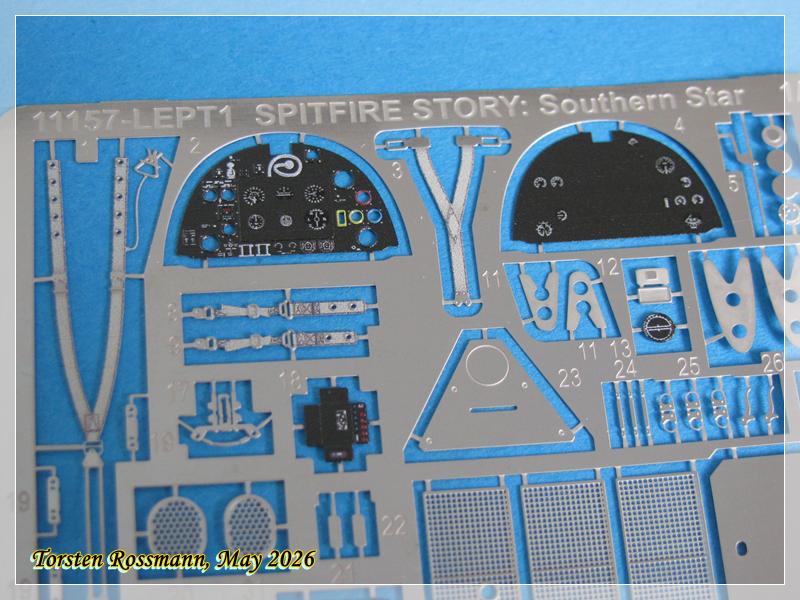
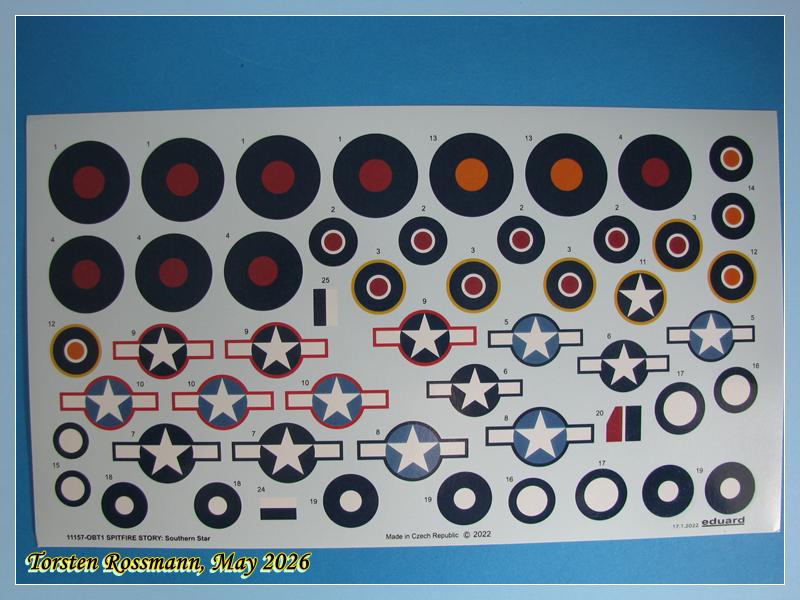
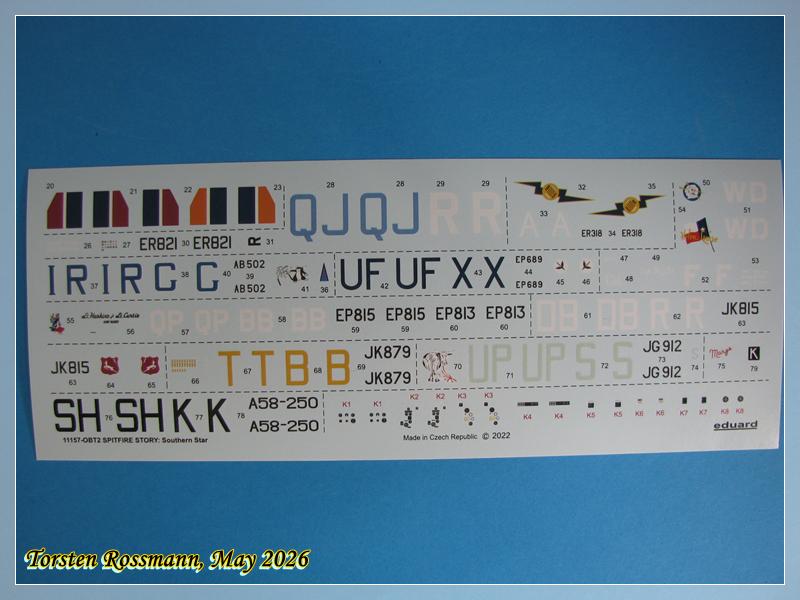
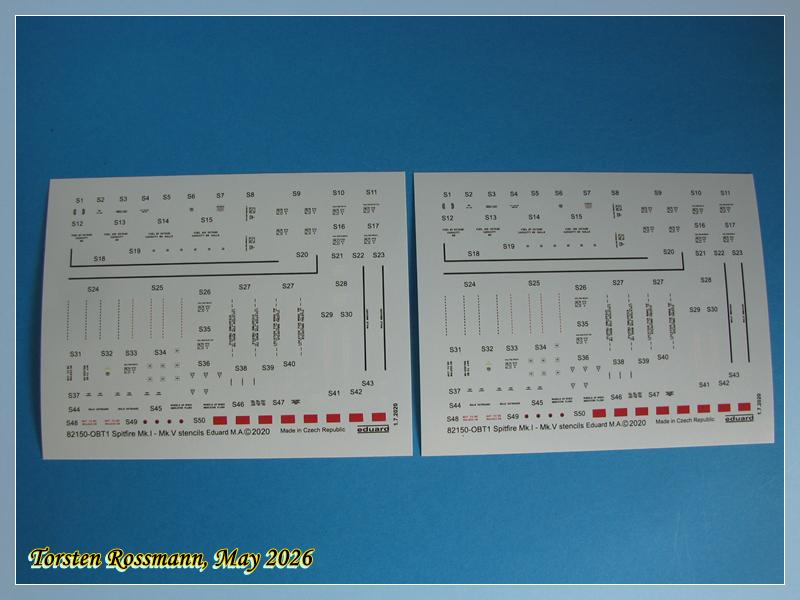
… also the decals are well printed by Eduard …
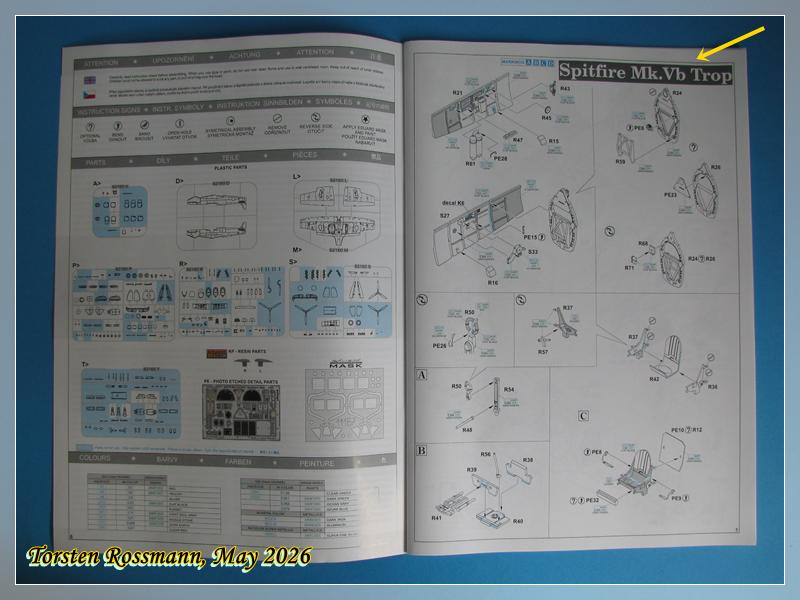
The building instructions is again a nicely done little booklet …
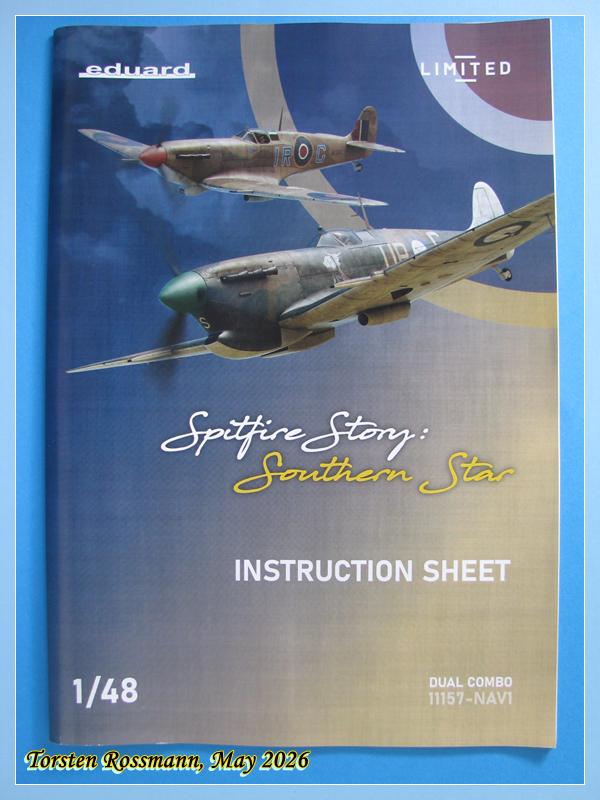
… with a foreword from Vladimir Sulc …


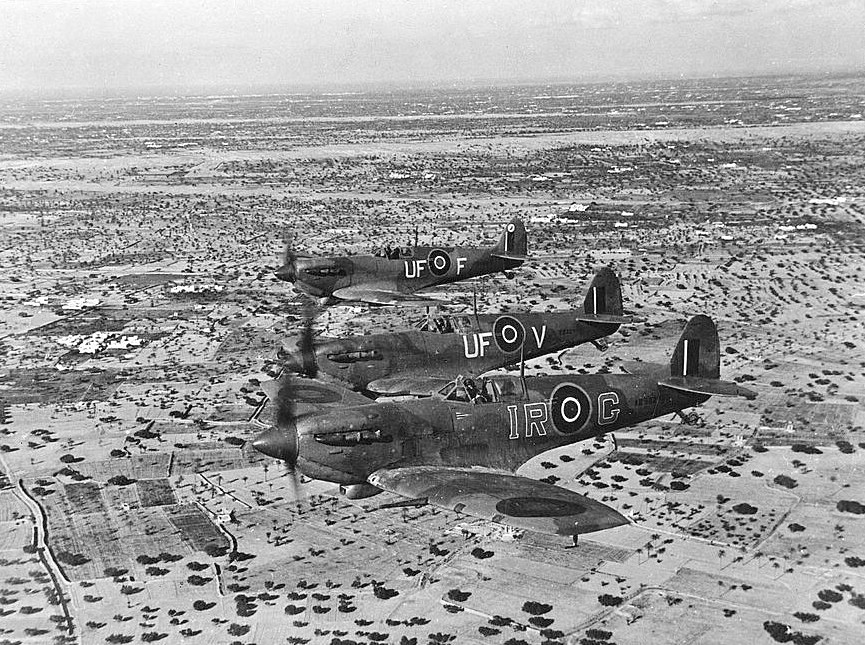
This dual combo offers 4 options for the Vb and 6 options for the Vc. So not easy to pick a favourite one but finally I made the choice for this Vb. Famous Ian Gleed’s last Spitfire AB502 from April 1943 with clipped wings and Aboukir filter …

… during research I found this nice photo of him in AB502 over Tunesia …
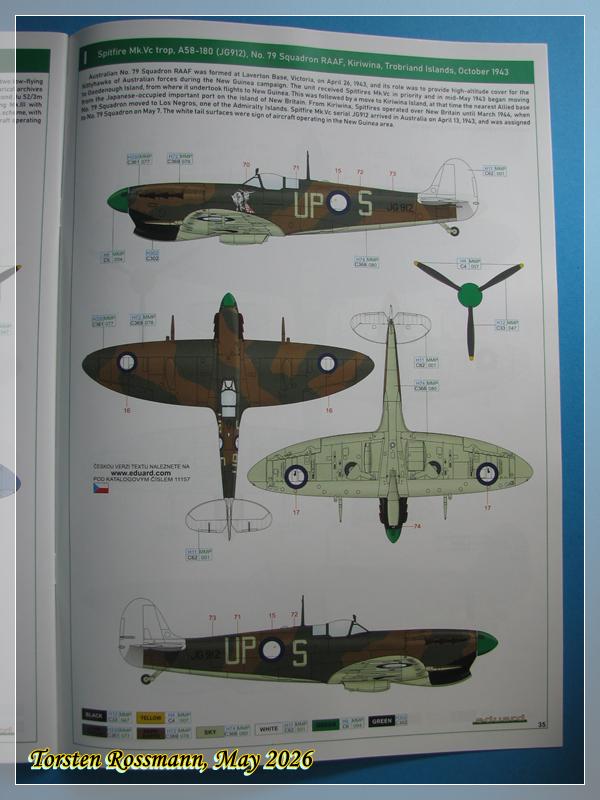
The Vc will become again a “Flying Wombat” as I picked this colourful JG912 with Vokes filter from the RAAF in October 1943 …
Though I might get two overtrees later because there are some other really tasty options to build. But I guess I have chosen two colourful Spitfires this time.
It would be great if some of you guys would accompany me again through this build. It’s always great to know you out there. I hope I start soon.
Happy modelling!
Torsten

9 Likes
Present! 

—mike 
1 Like
Good to have you back at the bench Torsten and on a dual spitfire build at that 
Yes, indeed it has been a while since your last spitfire build-wasn’t that on the old site? Either way it’ll be good to see you build these two up.
1 Like
Good choice Torsten.
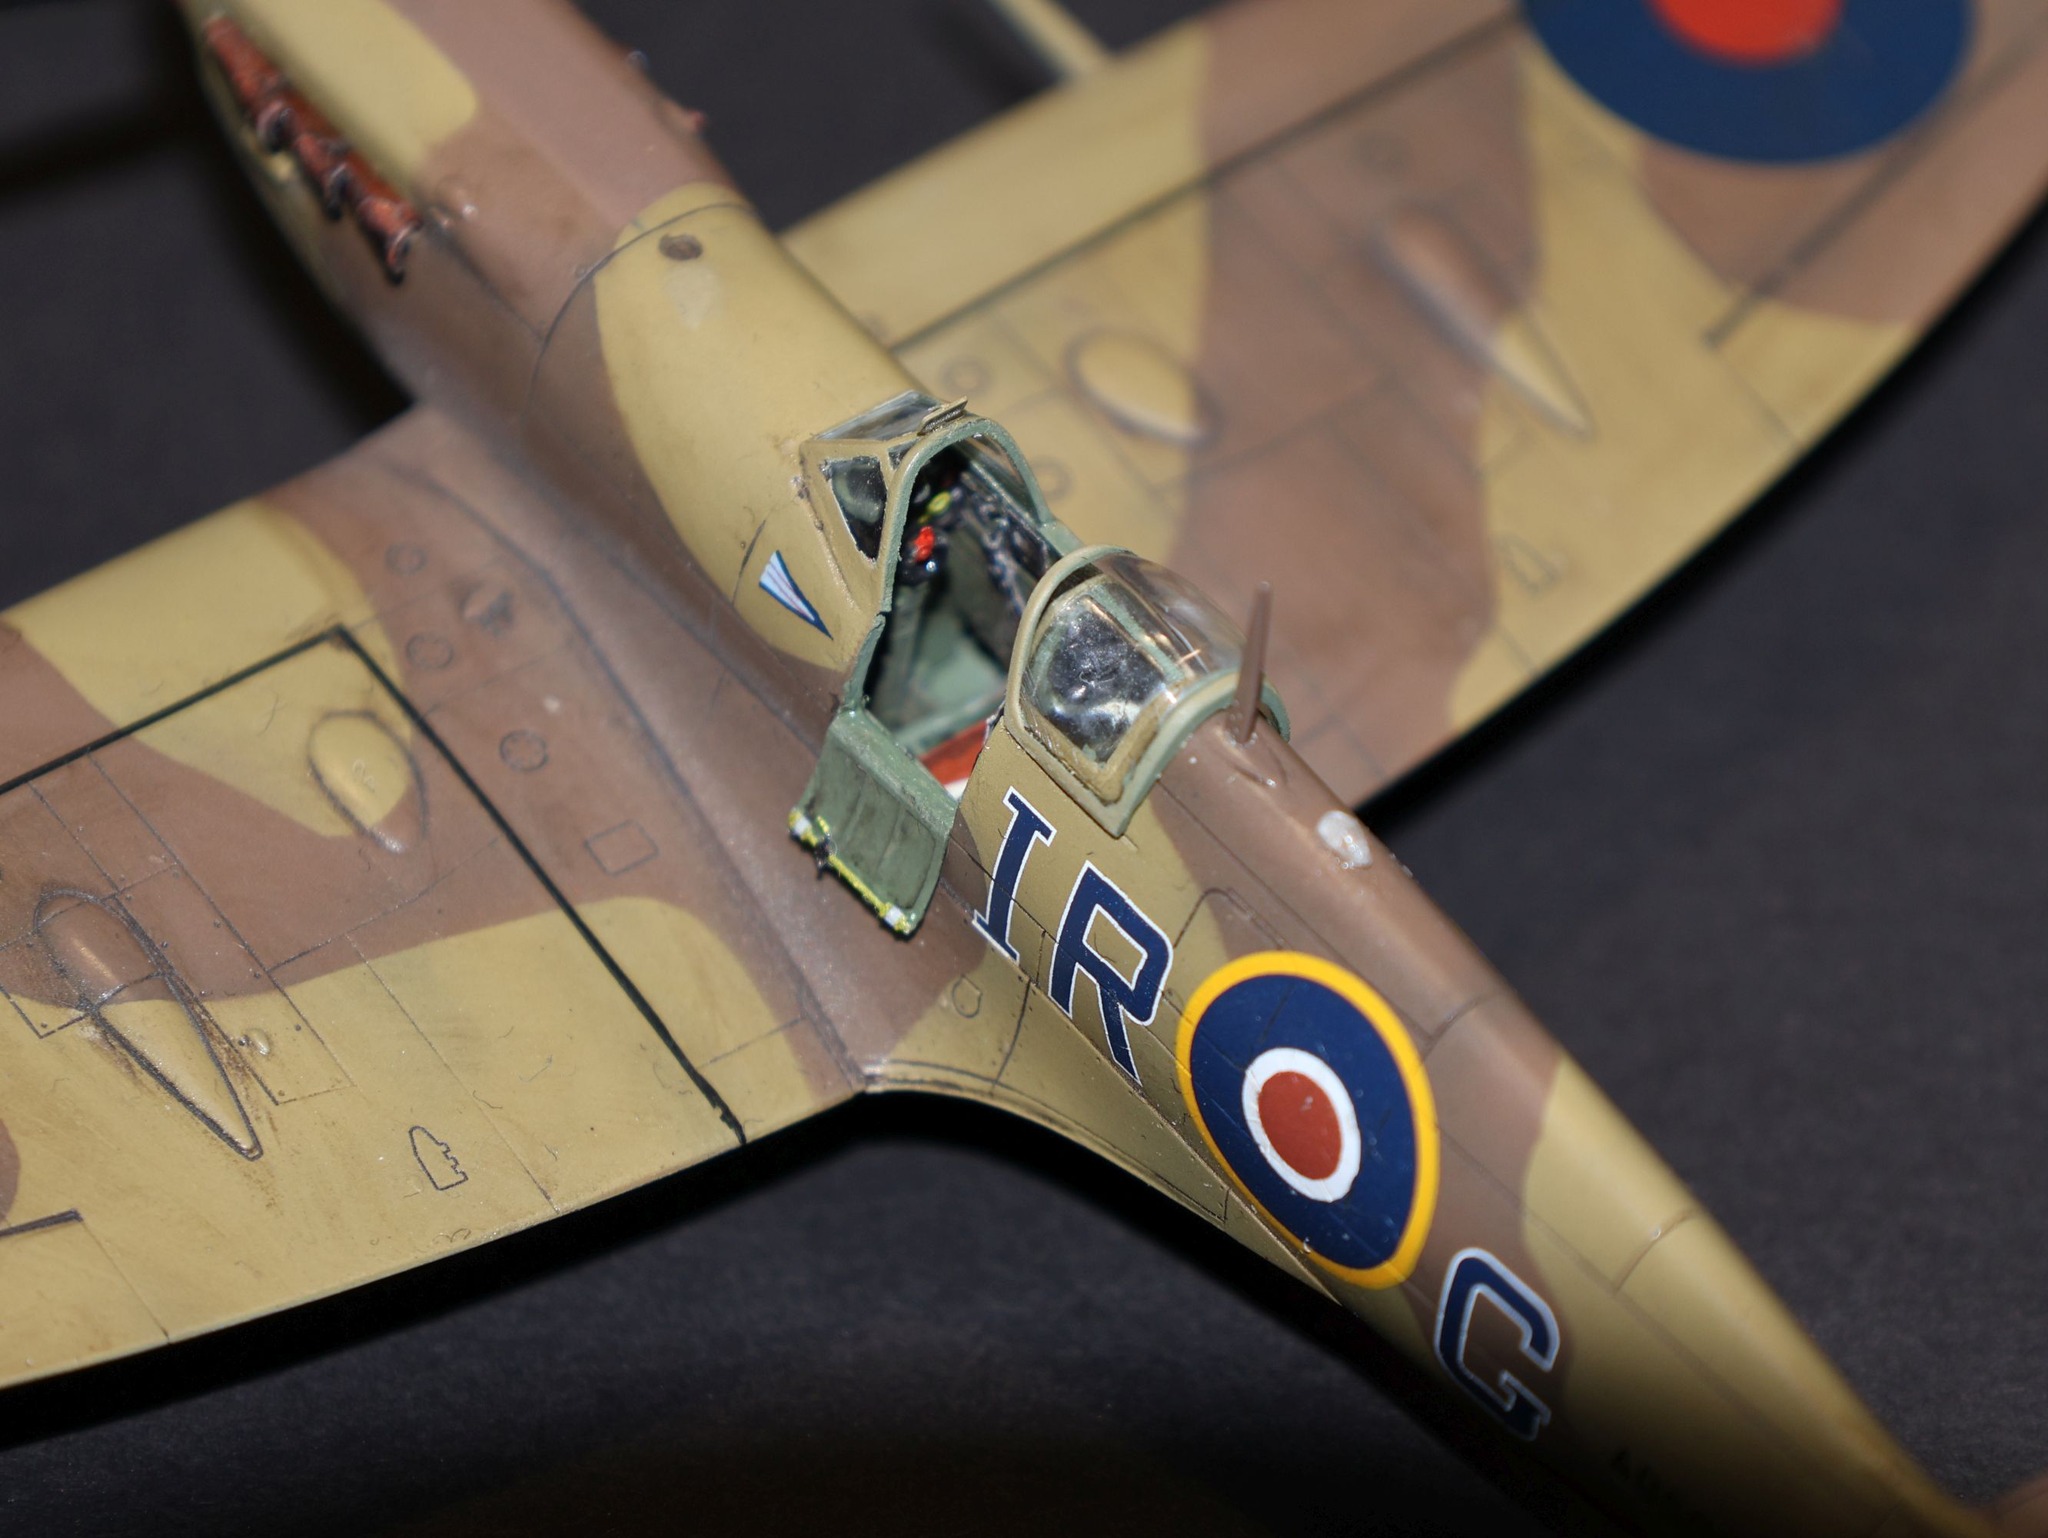
I built Gleed’s Spitfire twice but in 1:72nd scale. One was Revell and Italeri hybrid, the second is Tamiya set:
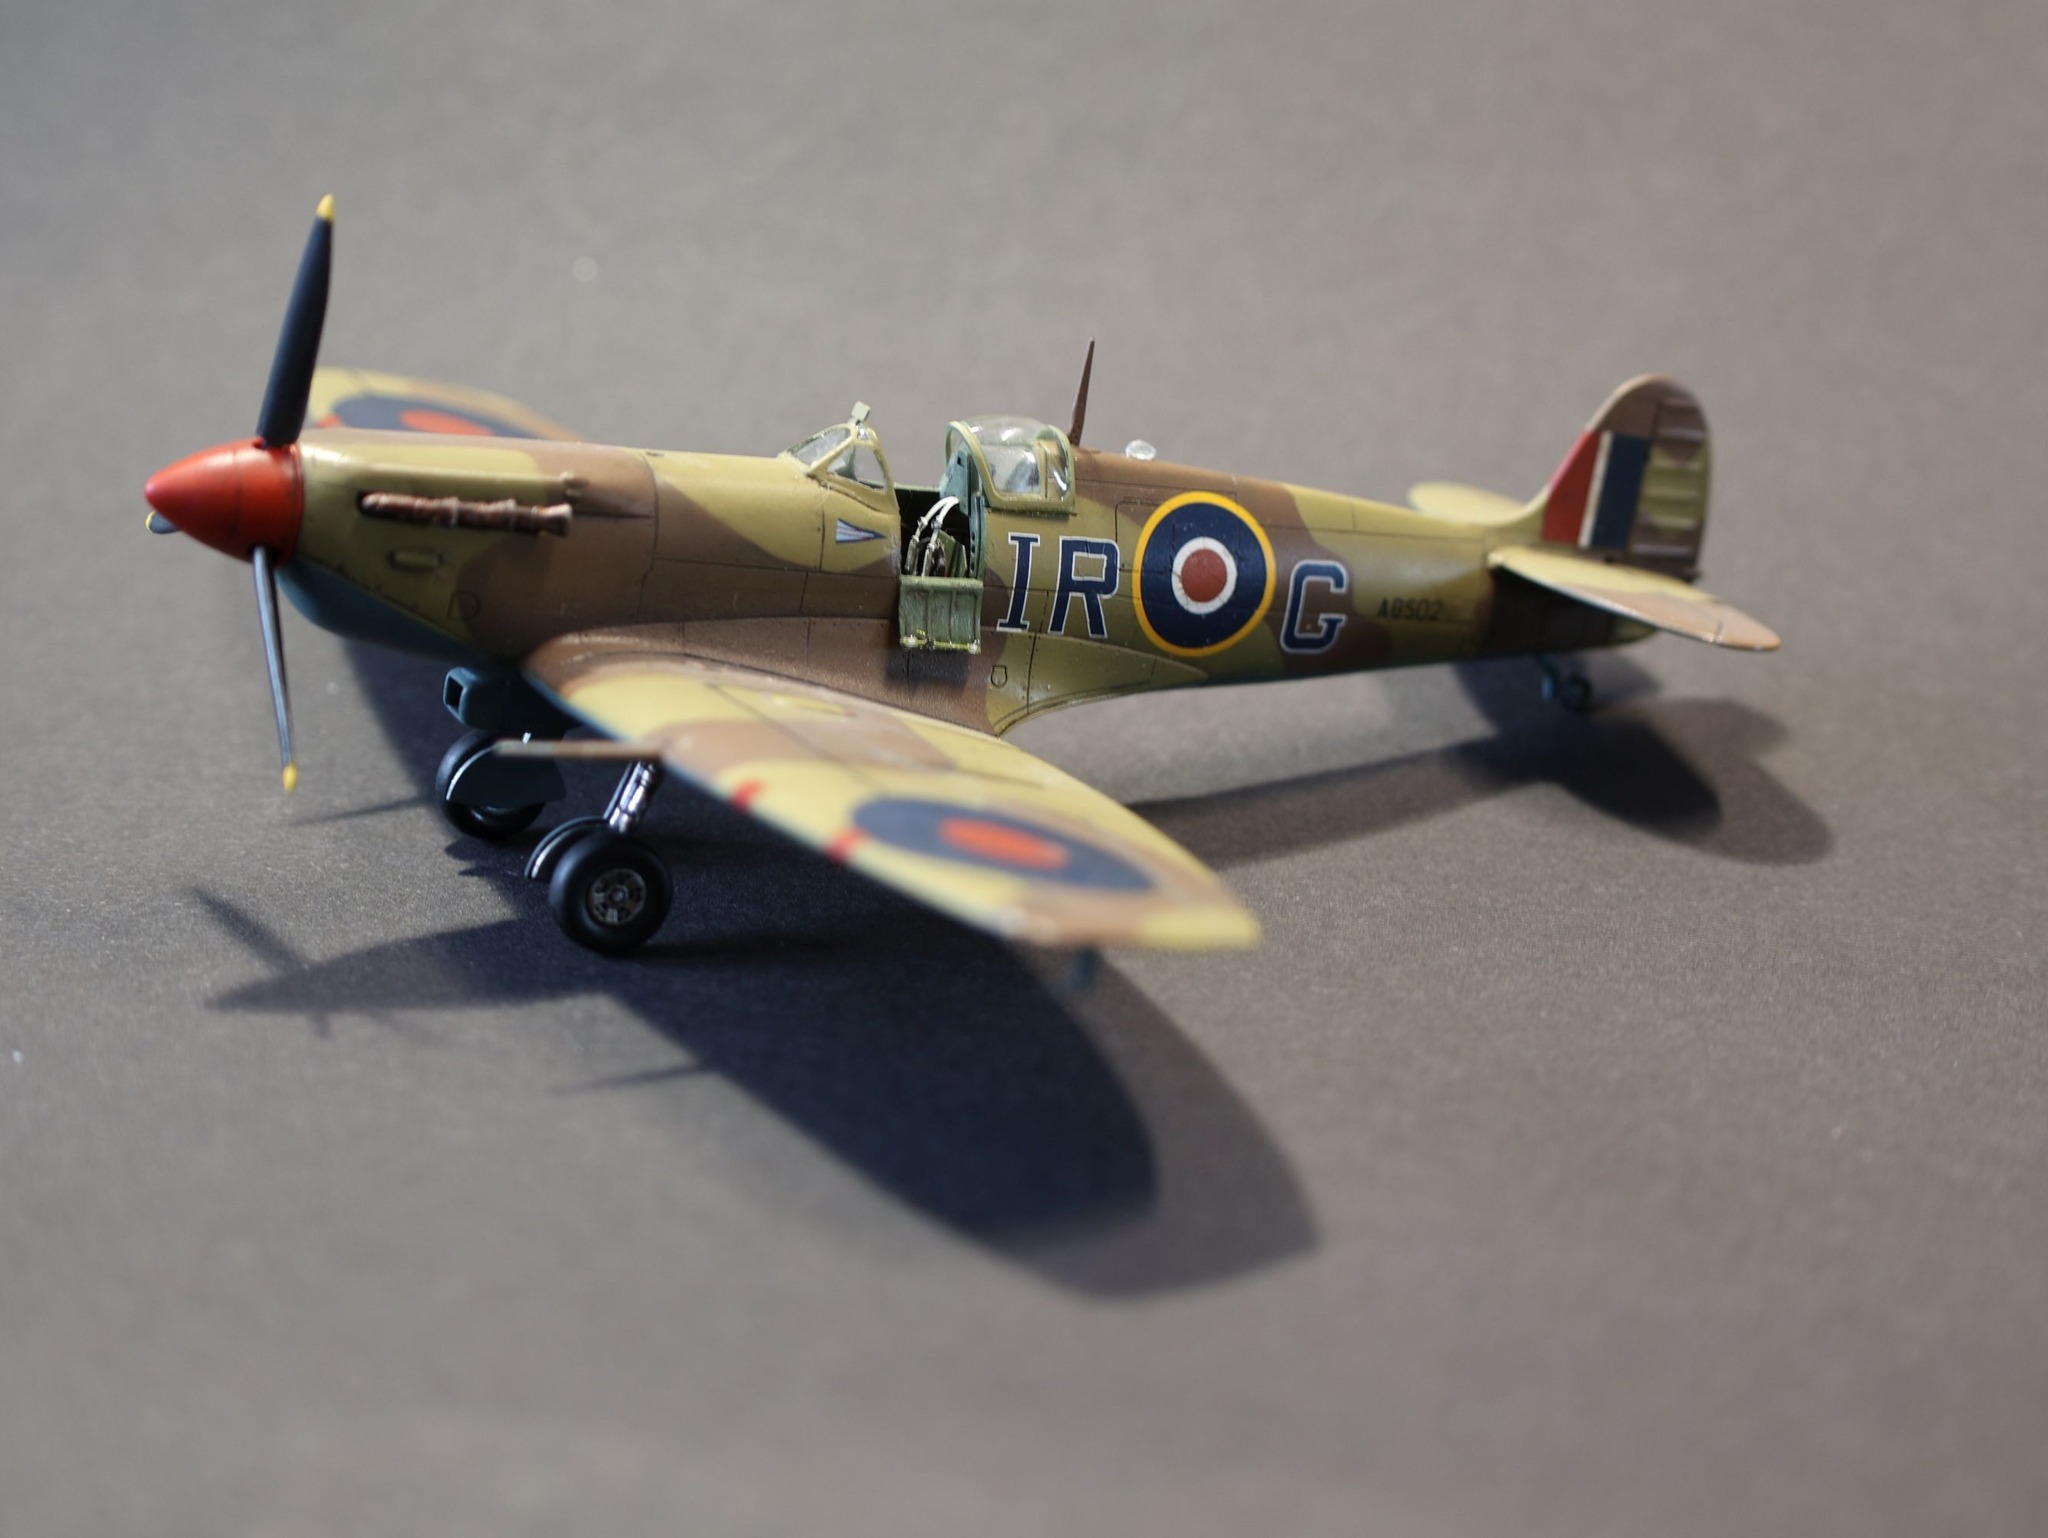
9 Likes
Thanks for your welcome back, guys! Though I’ve not really been far away from this forum, just not so present in this thread for the last months.
Andy, your Gleed Spit looks great as all your builds as far as I have seen them. Many, many years ago I built the Tamiya Mk. V Trop in 1/48 but I can’t remember which pilot it flew. It was back in my brush painting times, loooong ago …
Russell, in fact I’ve finished the Eduard Mk. II in October 2021 here in this thread. So it’s time to build some more. Have many Spits in my stash …

Will start with the Mk. V this weekend …
7 Likes
Hard to believe the new forum has been up and running for more than 5 years now: how time flies 
2 Likes
So true, Russ! And this thread runs practically right from the start when Jim went online with the Kitmaker Forum. Never thought this thread would give me so much fun and is widely accepted by the community.
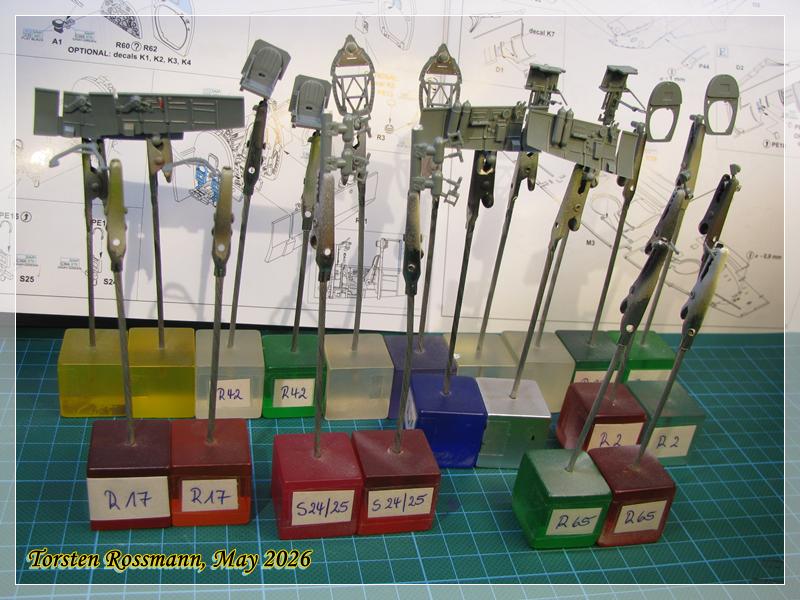
Anyway, progress! Even if it’s just the start. In the last few days I assembled the first parts of the cockpit. They are now ready for paint. I also checked if I have all needed paints around. While the RAF Vb will be painted with Vallejo, the RAAF Vc will mainly get Revell paints.
A bunch of clamps at work waiting for paint …
Now follows a little break for a long weekend which I will spend in Hamburg on the other end of Germany.
7 Likes
I guess, not many of you have followed my last build of the canadian Leopard C2 but maybe would like to see it. It’s not completely finished yet. Will add some better antennas later and some street dust with pastel chalk. But other than that it’s done …
Leopard C2
2nd Troop, B Sqn
Lord Strathcona’s Horse (Royal Canadians)
Kit: Takom 1/35


As I don’t often build tanks it was planned as a long time project for me and I started a build blog last year. With all the fantastic help of the armor guys, especially from Anthony and Jason, this blog turned has out like a little encyclopedia of the C2. Simply amazing! Thanks again for all the help! 
Check it out if you like:
Leopard C2 Canada - Armor/AFV / Modern - KitMaker Network
9 Likes
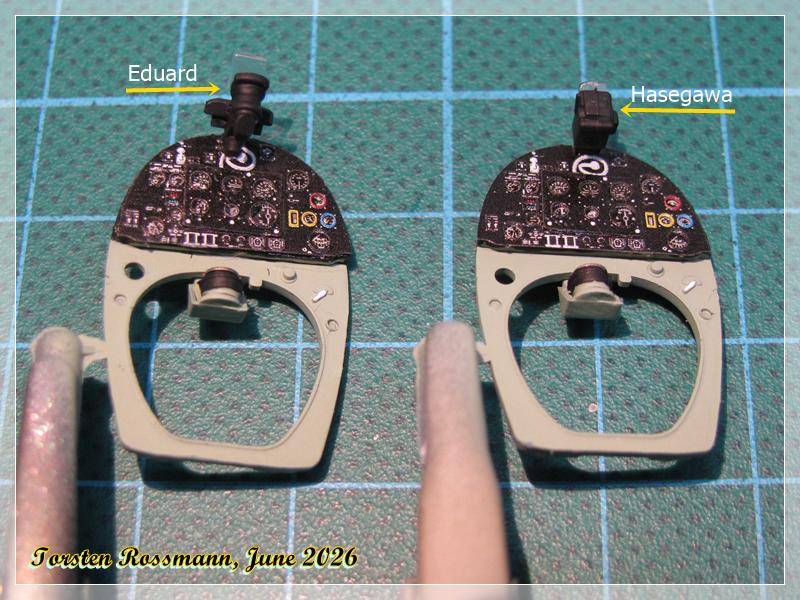
Time for another update. In the past days I have painted the various cockpit parts. The instrument panels have 3 PE parts each. Unfortunately I’ve lost one gun sight to the evil carpet monster but found another one in a surplus from an old Hasegawa Spitfire. The difference of 30 years in molding technic is clearly visible …
Further progress in the cockpits. The seat belts consist of 4 parts each. Had some problems with the CA glue first but now it looks good to me …
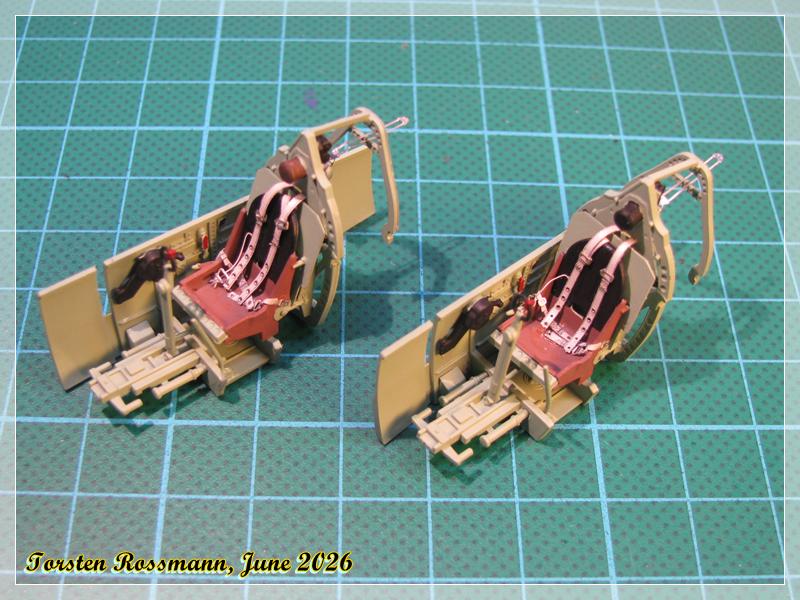

All parts are in place now …
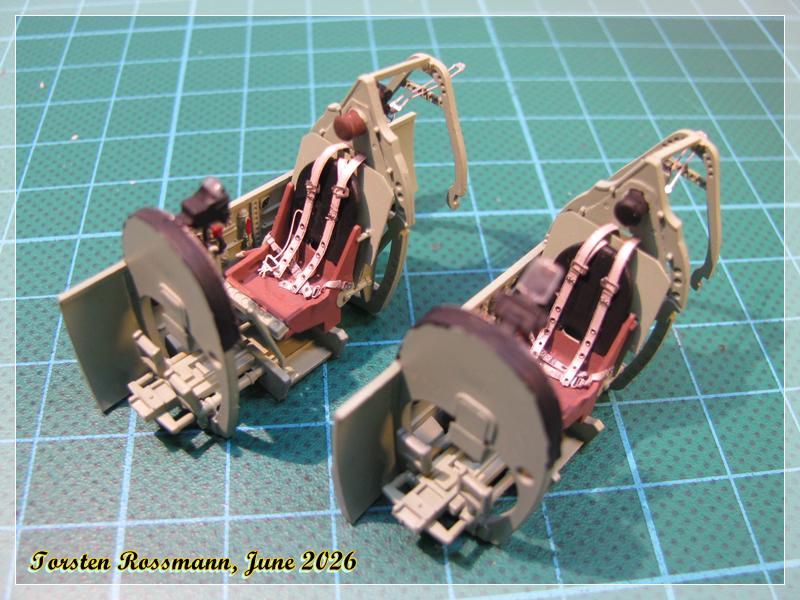
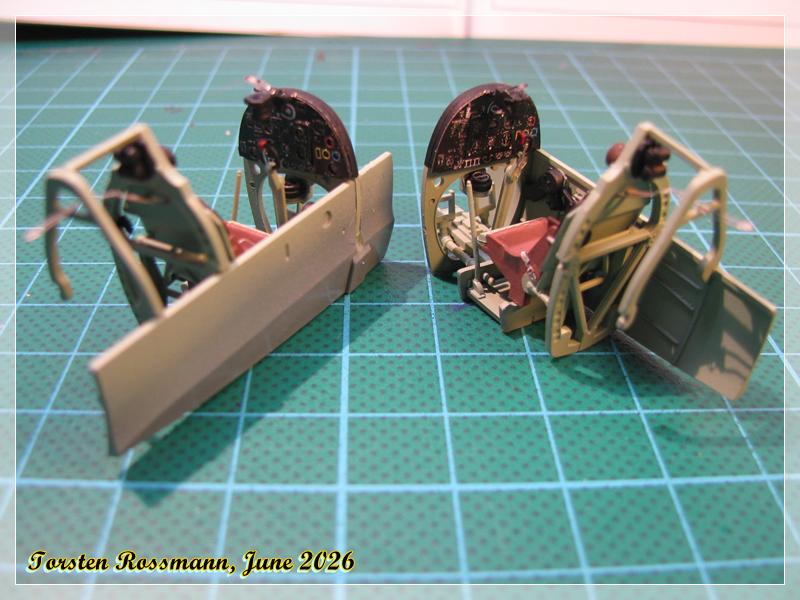
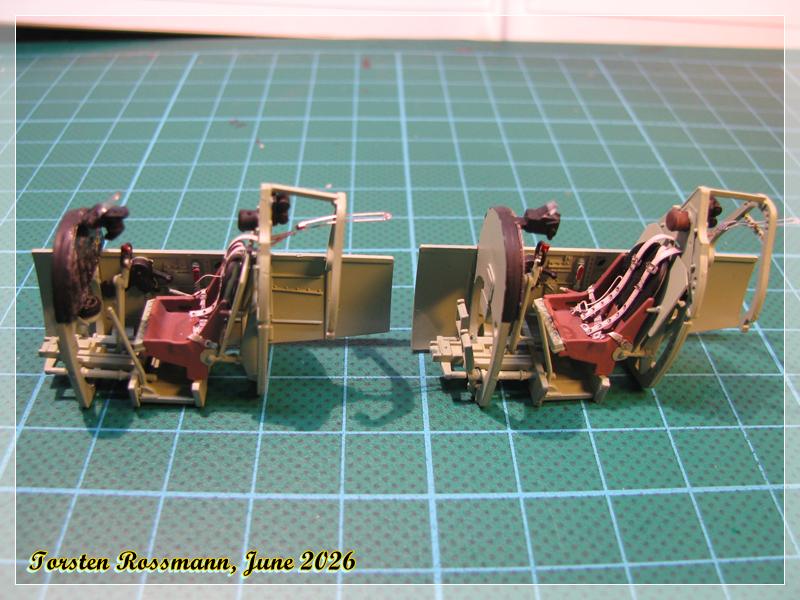
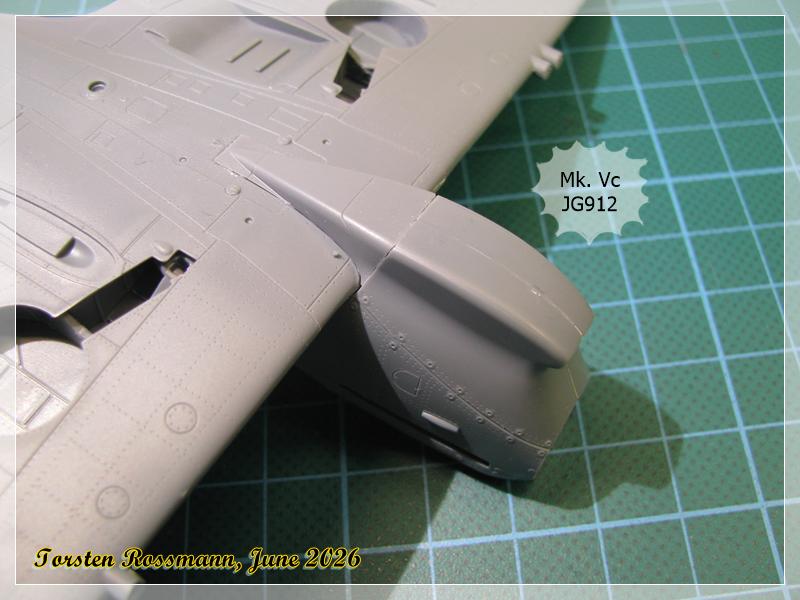
I also started working on the wings. Here some differences between the Vb and Vc undersides are visible. Don’t know what the holes in the Vb wings are for but I’ll find out later …
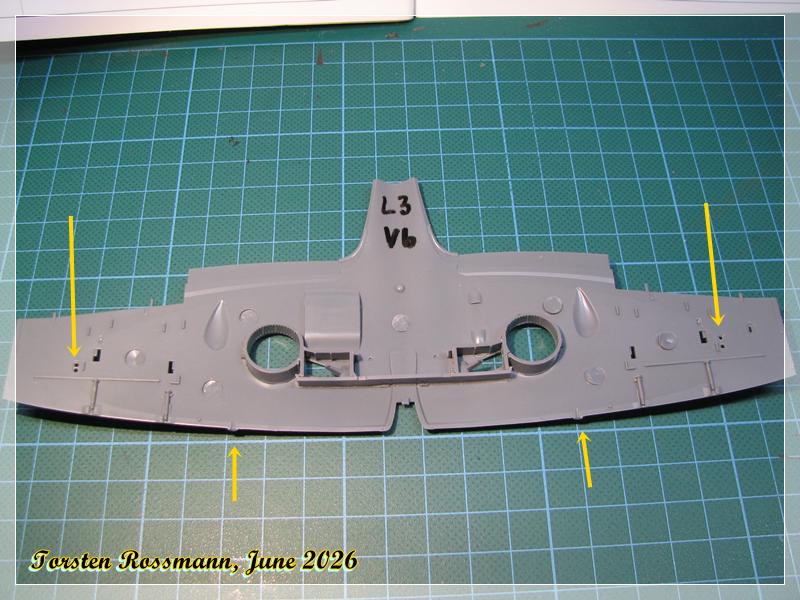
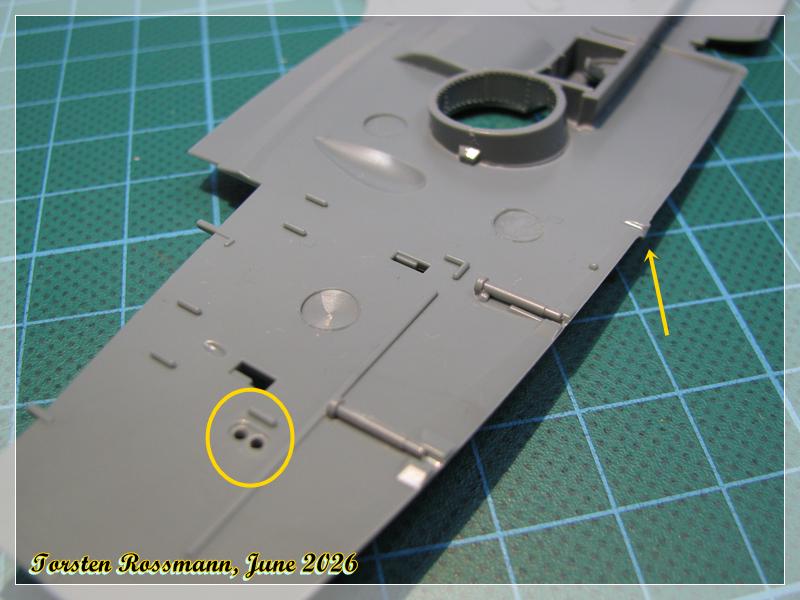
While the Vb had only one 20 mm cannon, the Vc had two of them. Though AFAIK only the South Africans used these …
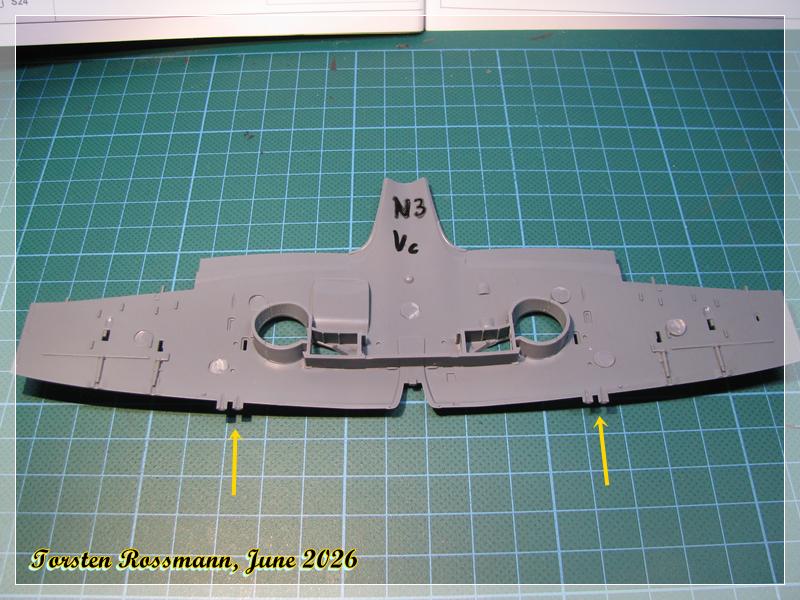
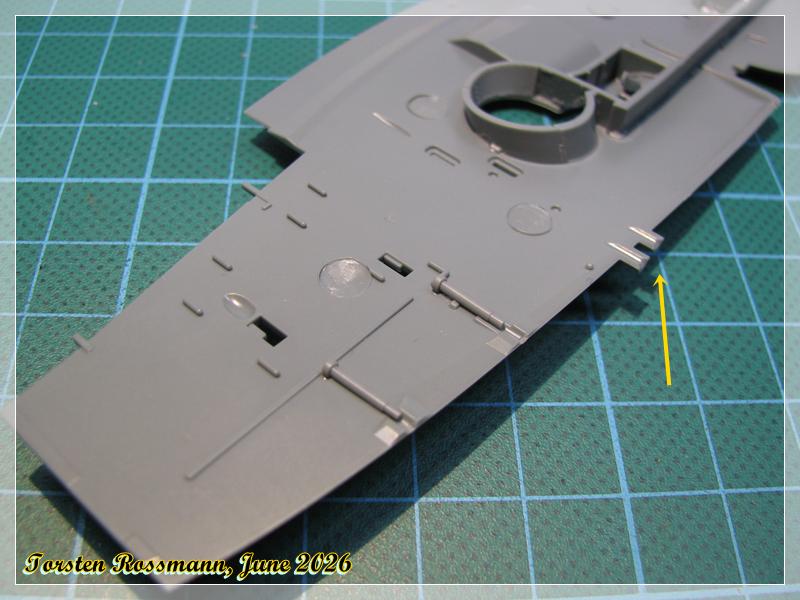
Next steps will be attaching the cockpits to the fuselages and more wotk on the wings.
Have all a nice week!
Torsten
10 Likes
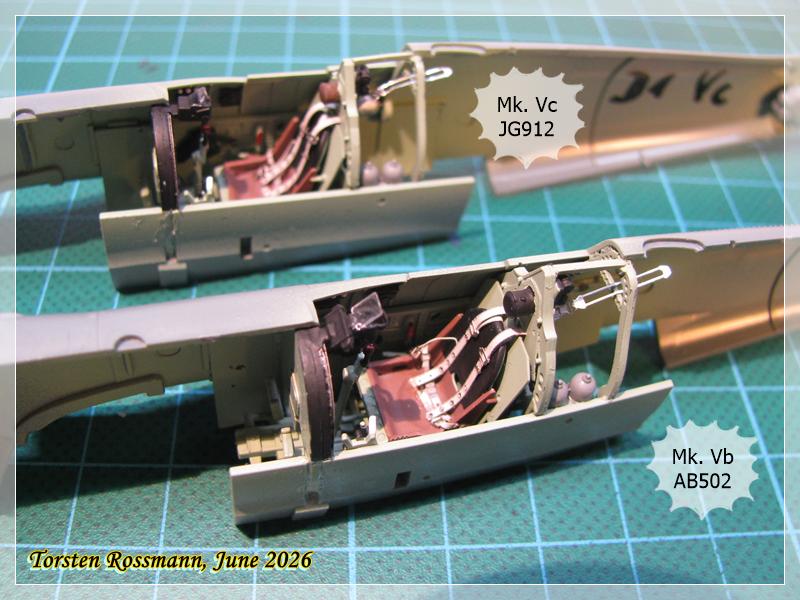
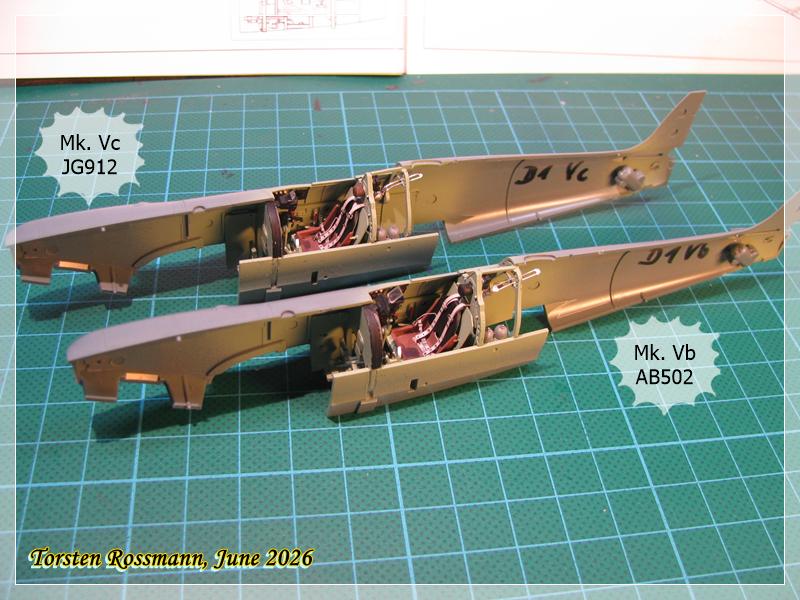
In the past days I did more work on the Spitfires. After some test fitting the cockpits were assembled to the fuselages. Fitting is very good, no problems at all …
Next step was assembling the wing parts. All these rubber bands remember me of Peter’s @petbat comment on my earlier Mk. II builds about mummies …

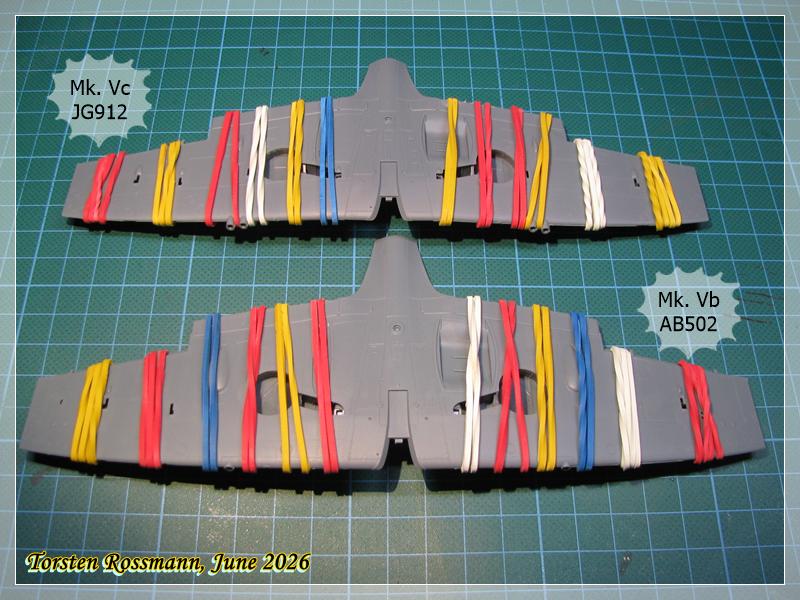

Then the fuselages were closed. Have used ethylacetate. Fitting is good. The seams were easy to sand. Both Spits will get open canopies and cockpit doors.
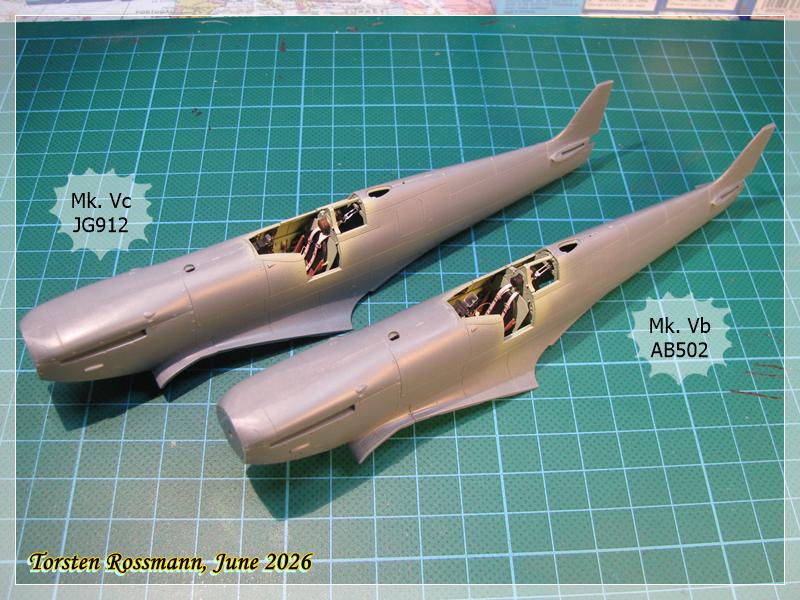
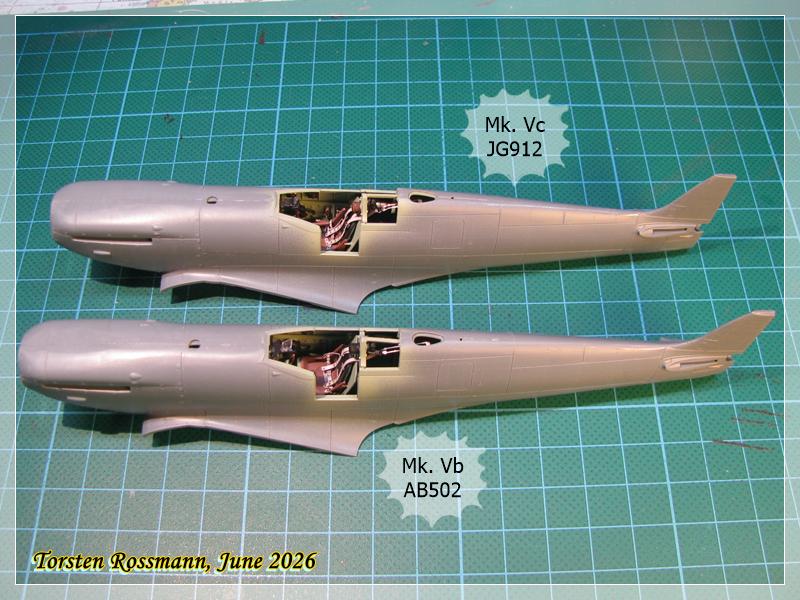
Sanding the wing seams was done in a few minutes.

Finally today, while watching the football world cup match Germany vs. Curaçao, wings and fuselages were combined. Needed some dry fitting but in the end it worked. I’ll leave the rubber band on until tomorrow.
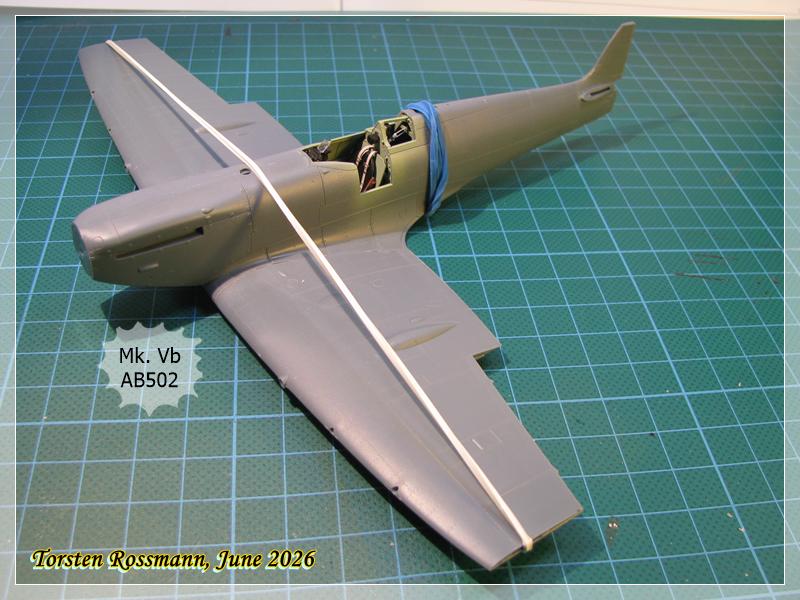

Stay tuned for the next update and have a great week!
Torsten

10 Likes
Just a quick update before I’m off(line) for a week. First I assembled the dust filters. On top you see the Vokes filter for the Vc, below is the Aboukir filter for the Vb …
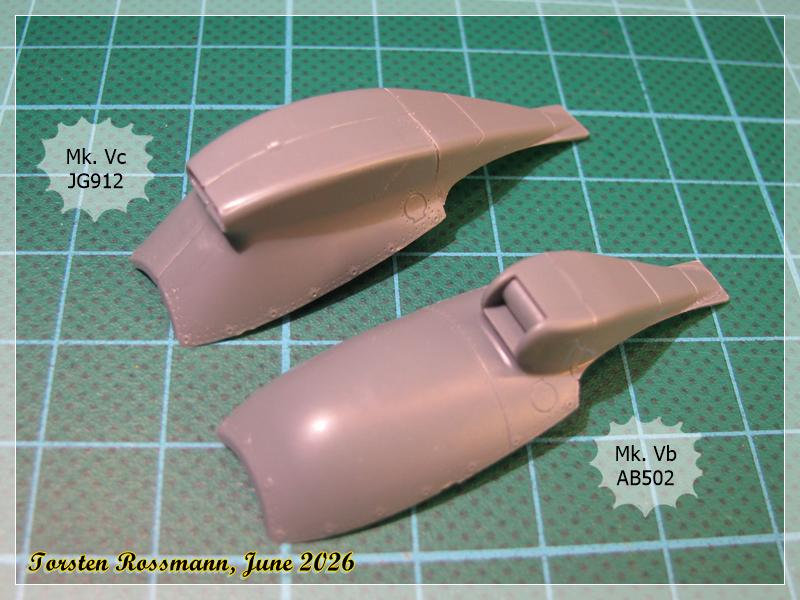
… and added to the builds …
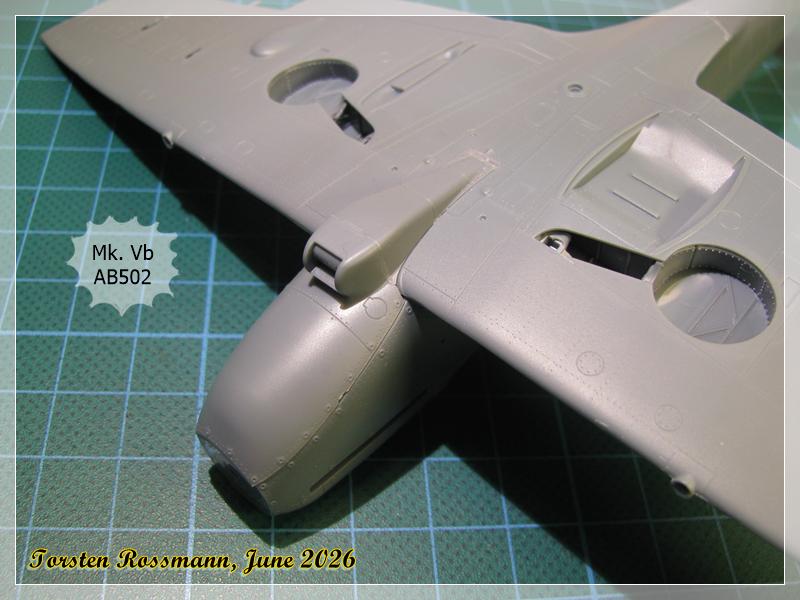
… the Vokes filter still needs a bit of sanding …
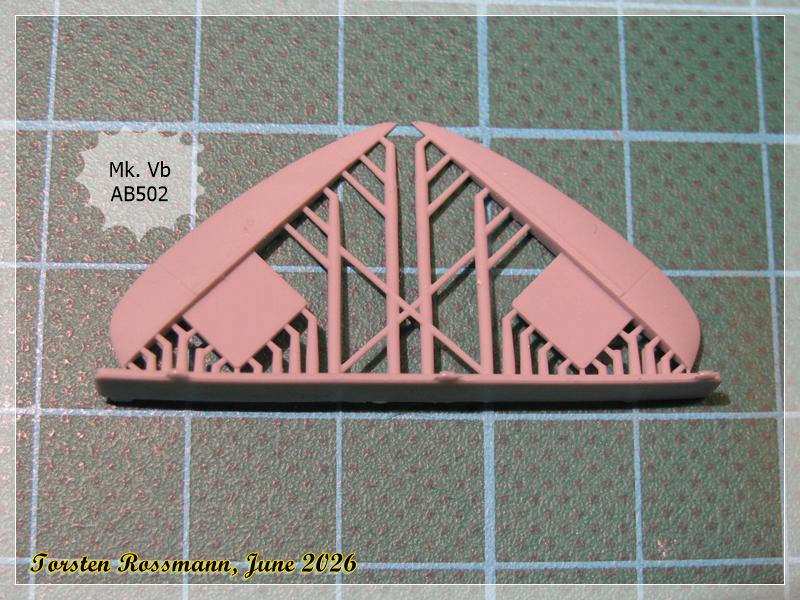
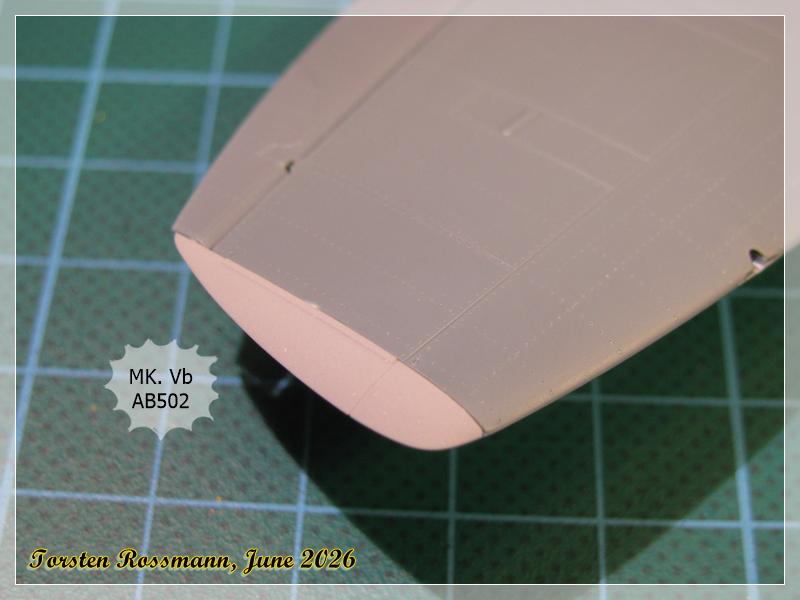
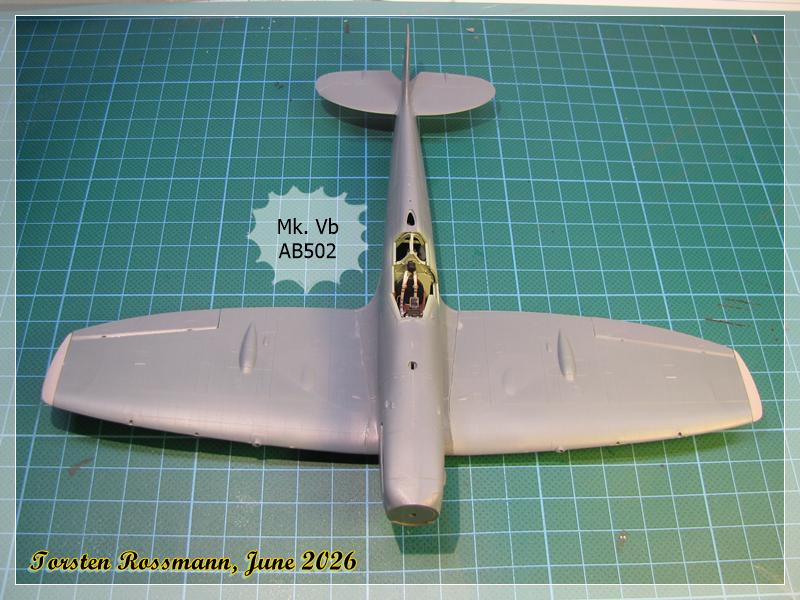
The end parts of the clipped wings for the Vb are 3D printed Brassin parts …
… and fit well to the wings
Vc has the ordinary wings …

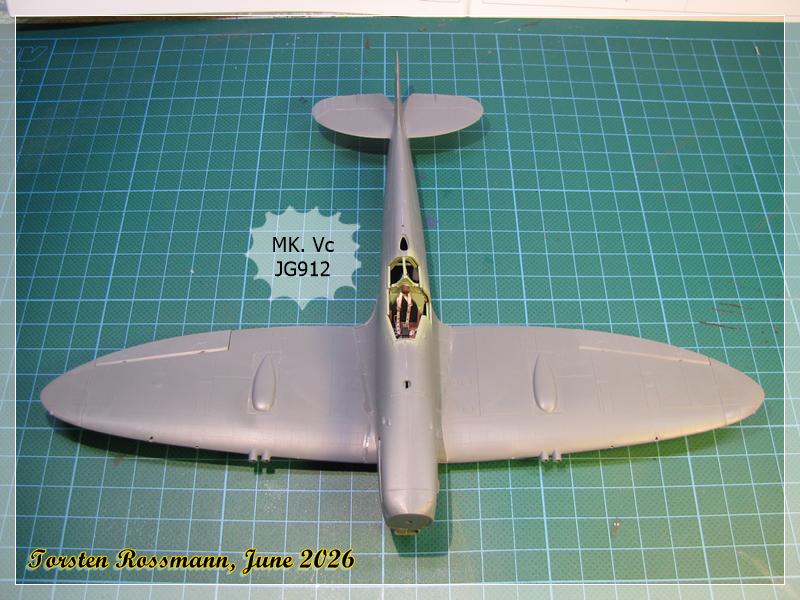
Meanwhile I’m working on the wing undersides at the various coolers but nothing worth to show yet. I’ll let you know. Have all a great summer weekend. Here it will be up to 40°C in the next days. No problem for me.
Torsten
11 Likes
Great Stuff Torsten
Seeing the Eduard Spits come together nicely has me thinking that my next build will be of the same albeit a different scale…
Stay cool in that 40°c heat 
1 Like
Thanks Russell! Still nice warm over here …
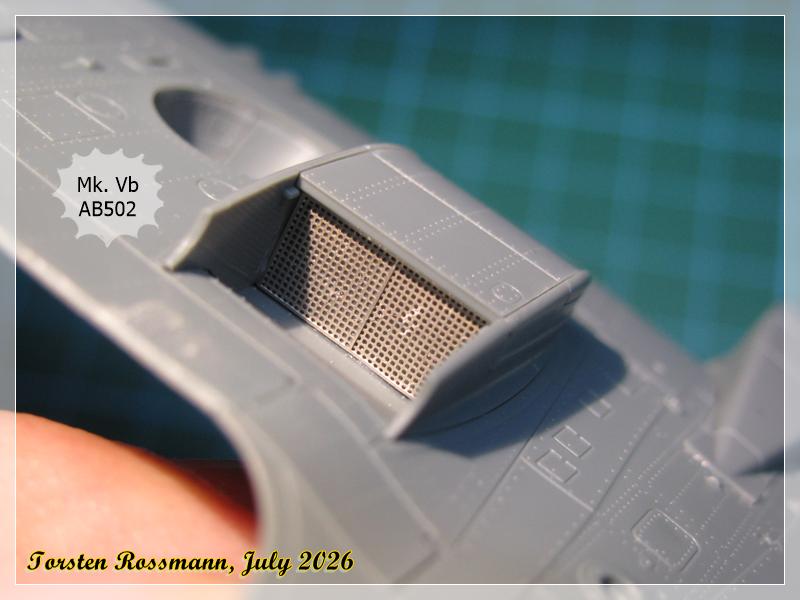
In the last 2 weeks it was too warm for painting, so I started a new little armor project, a Saladin from Dragon. Just building, not painting. So I made only little progress on my Spits but I came a bit further close to painting. Here you can see the differences on the wing underside at one of the coolers (which one is it?) of the Vb and the Vc. But there won’t be seen much of it later … 

This week I took care about masking the canopies. Fitting of the Eduard mask is perfect …

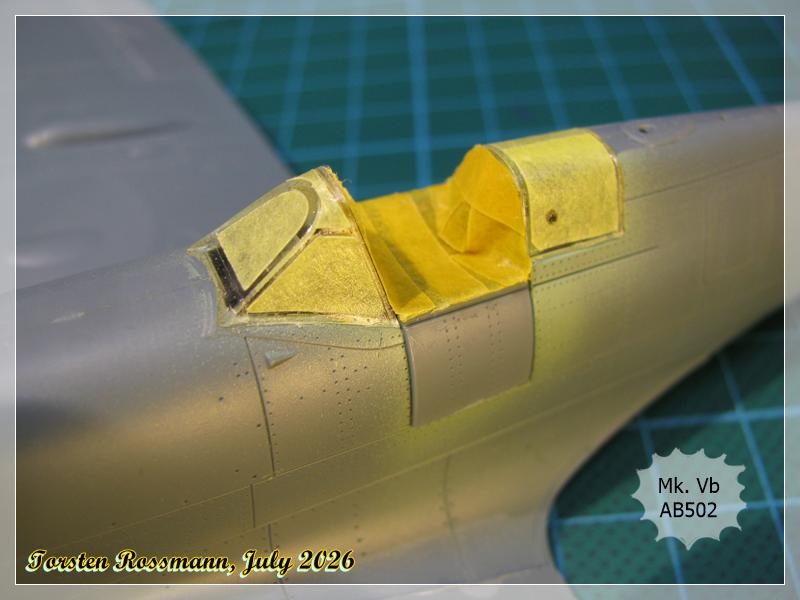
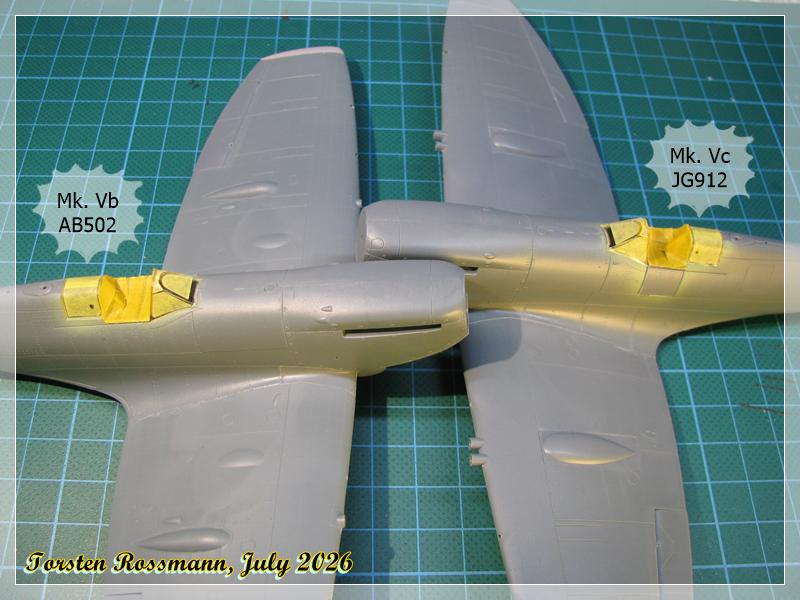
Have used Ponal White Glue for it. The cockpit door is not the correct one. It’s just one to make painting easier. The door for the finished model will be a different one and open.
Further I have prepared some parts on clamps for painting which I hope I can start in the next days. Though it will stay very warm over here in the Southwest (around 35°C), which is not as hot as in France and Spain.
And now for a good beer! Cheers guys!
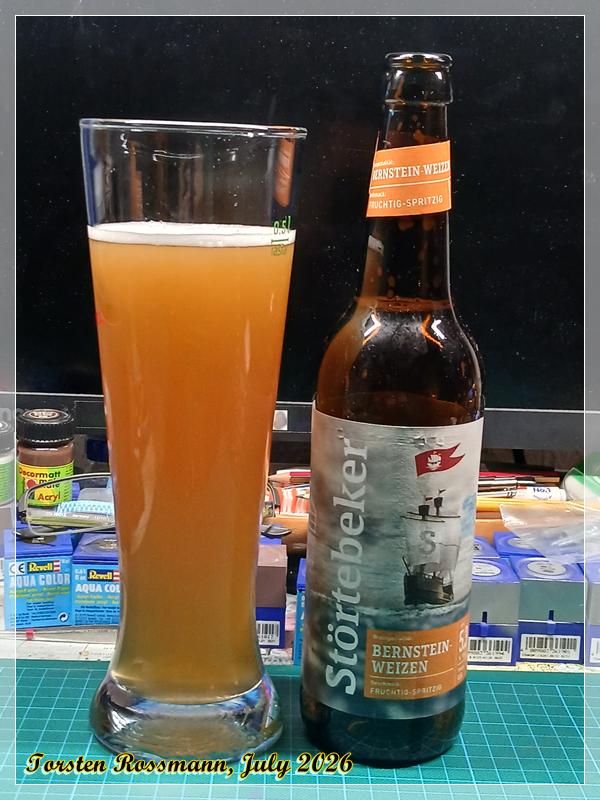
9 Likes
Got some more work done on my Spitfires in the past week. First white primer over all …

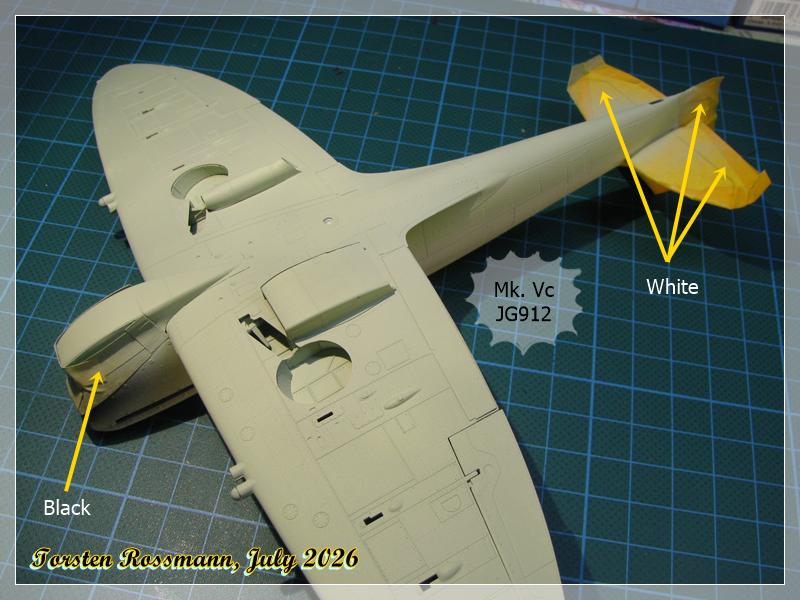
First paints are also already done. While the Vc has already got Black (Vallejo 71057), White (Revell 301) and Sky (Revell 59) on the underside and waits for masking it all …
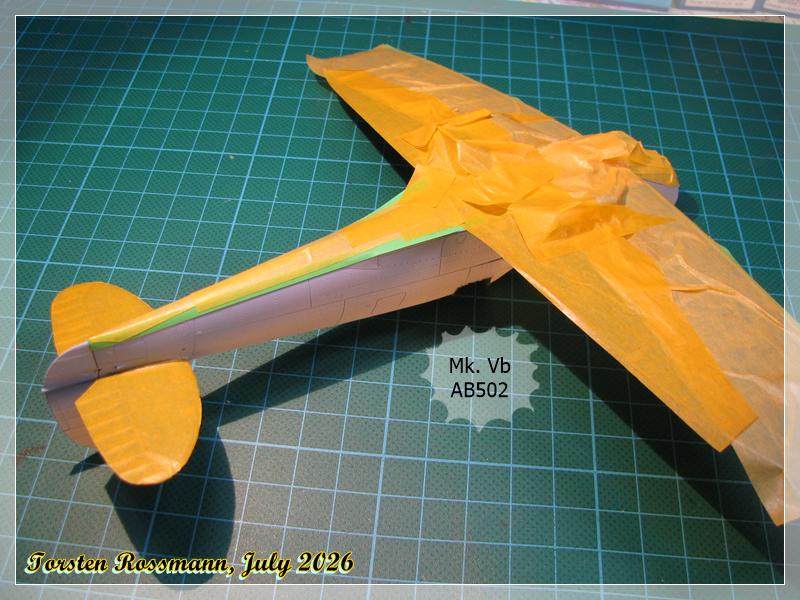
… Ian Gleed’s Vb has already got the masked Azure Blue (Vallejo 71108) on the underside and waits for further treatment …
Fresh from the paint bench this morning, Middle Stone (Vallejo 71031) is done …
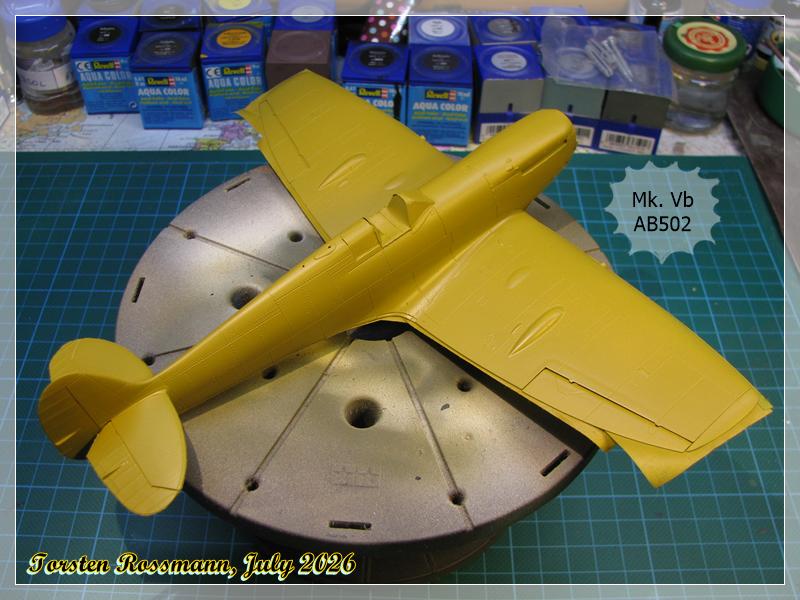
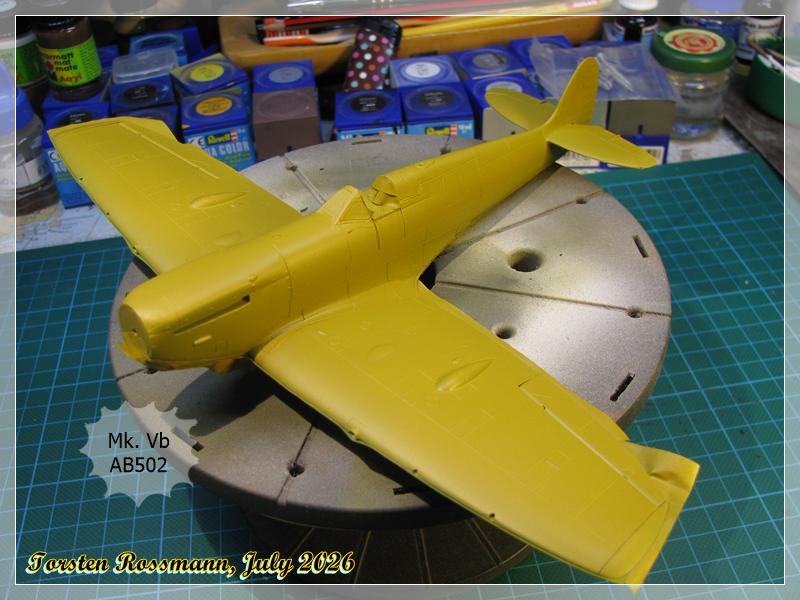
I let it all dry now thoroughly and have a look at my work tomorrow if there are any touch ups to do. Middle Stone is not easy to get opague. But for the moment it looks good. Next camo here is Dark Earth.
Have all a great weekend!
Torsten
9 Likes
Hi gang!
Another small update from the Spits. Meanwhile the Aussie Vc has got the first upside camo, Dark Earth (Revell 83), which looks slightly different to Vallejo’s Dark Earth, imo …
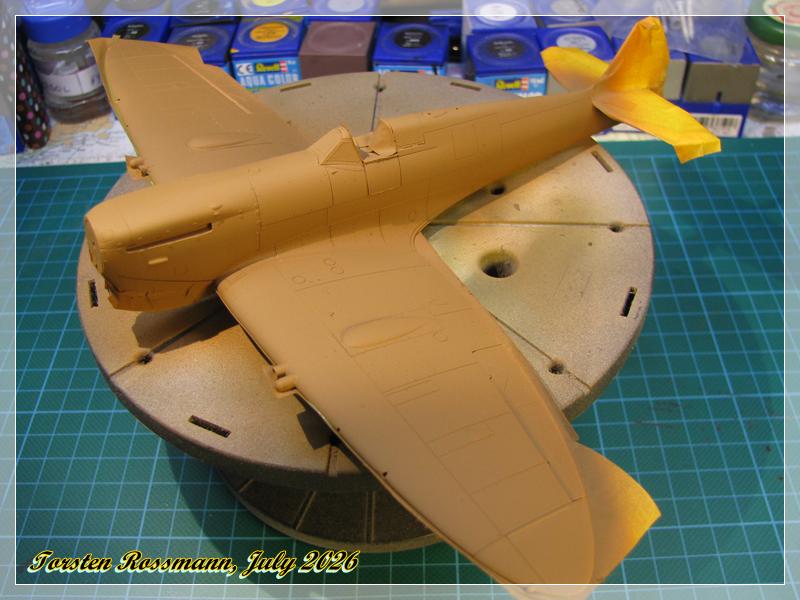
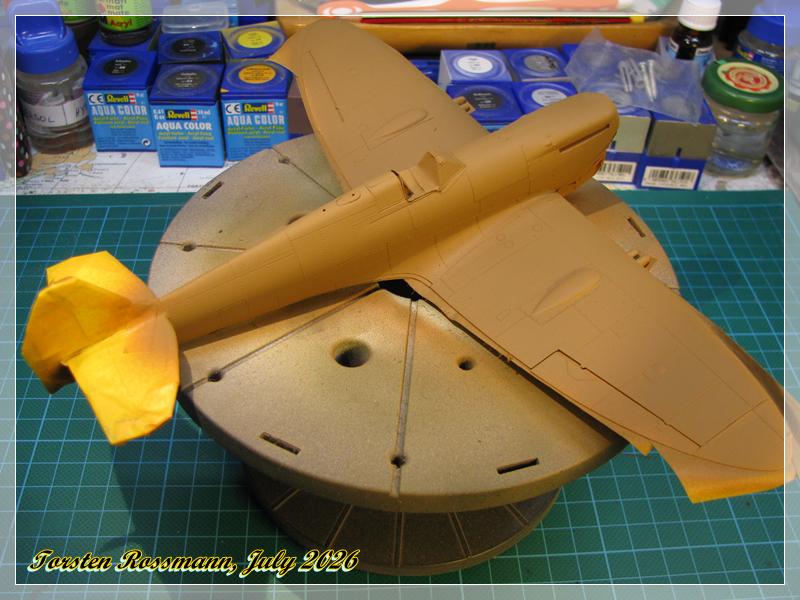
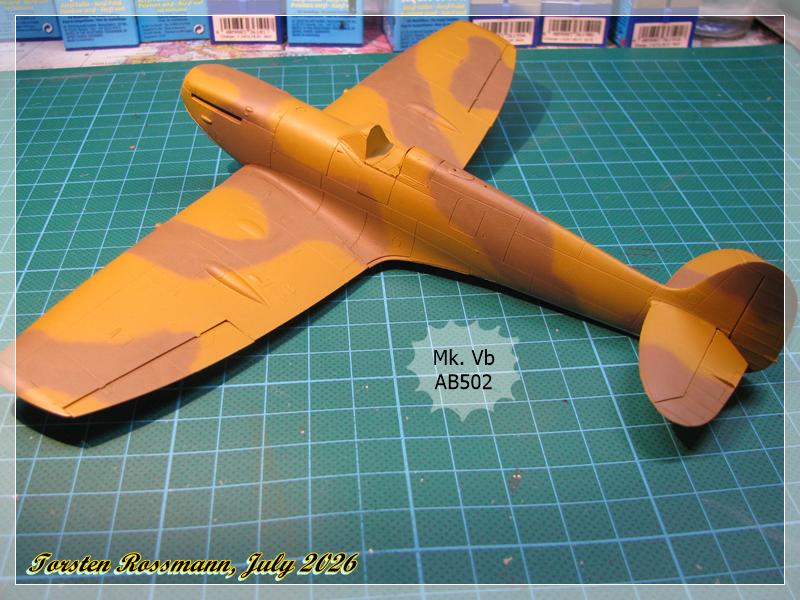
Yesterday I finished the upside camo of the Vb with Dark Earth (Vallejo 71323). Also did some minor touch ups with Middle Stone where the overspray was a bit too much. Camo is sprayed free hand as always and I’m really pleased with the result …
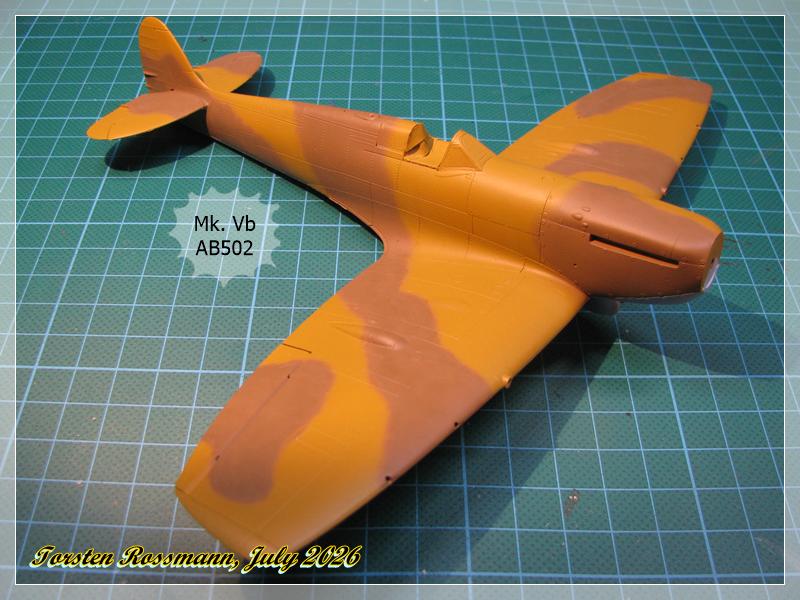
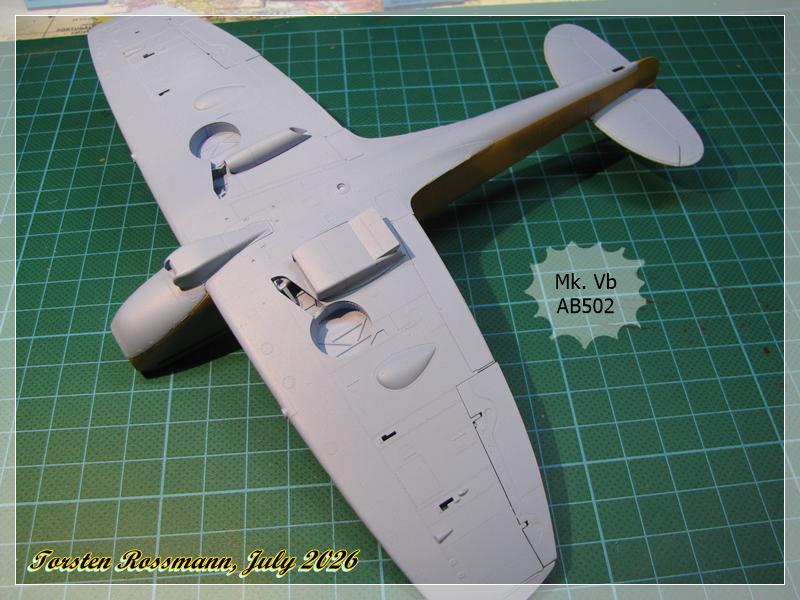
… and for the sake of completeness the underside of the Vb in Azure Blue (Vallejo 71108)
Next step is Dark Green on the Vc. Already working on it but it will take some days because it’s not easy to get the colour opaque …
Will let you know!
Torsten
9 Likes