Trumpeter 1/32 scale Mig-29 SMT

Addiction: a strong inclination to do, use, or indulge in something repeatedly, says the dictionary. So there’s the proof; I am addicted to building 1/32 scale cold war jets. A fumbled attempt at building GWH’s 1/48 scale Mig-29 SMT got me back to my favourite scale, and missing you guys got me back here. I’m going to feed my addiction and hope you join me for the highs and lows.

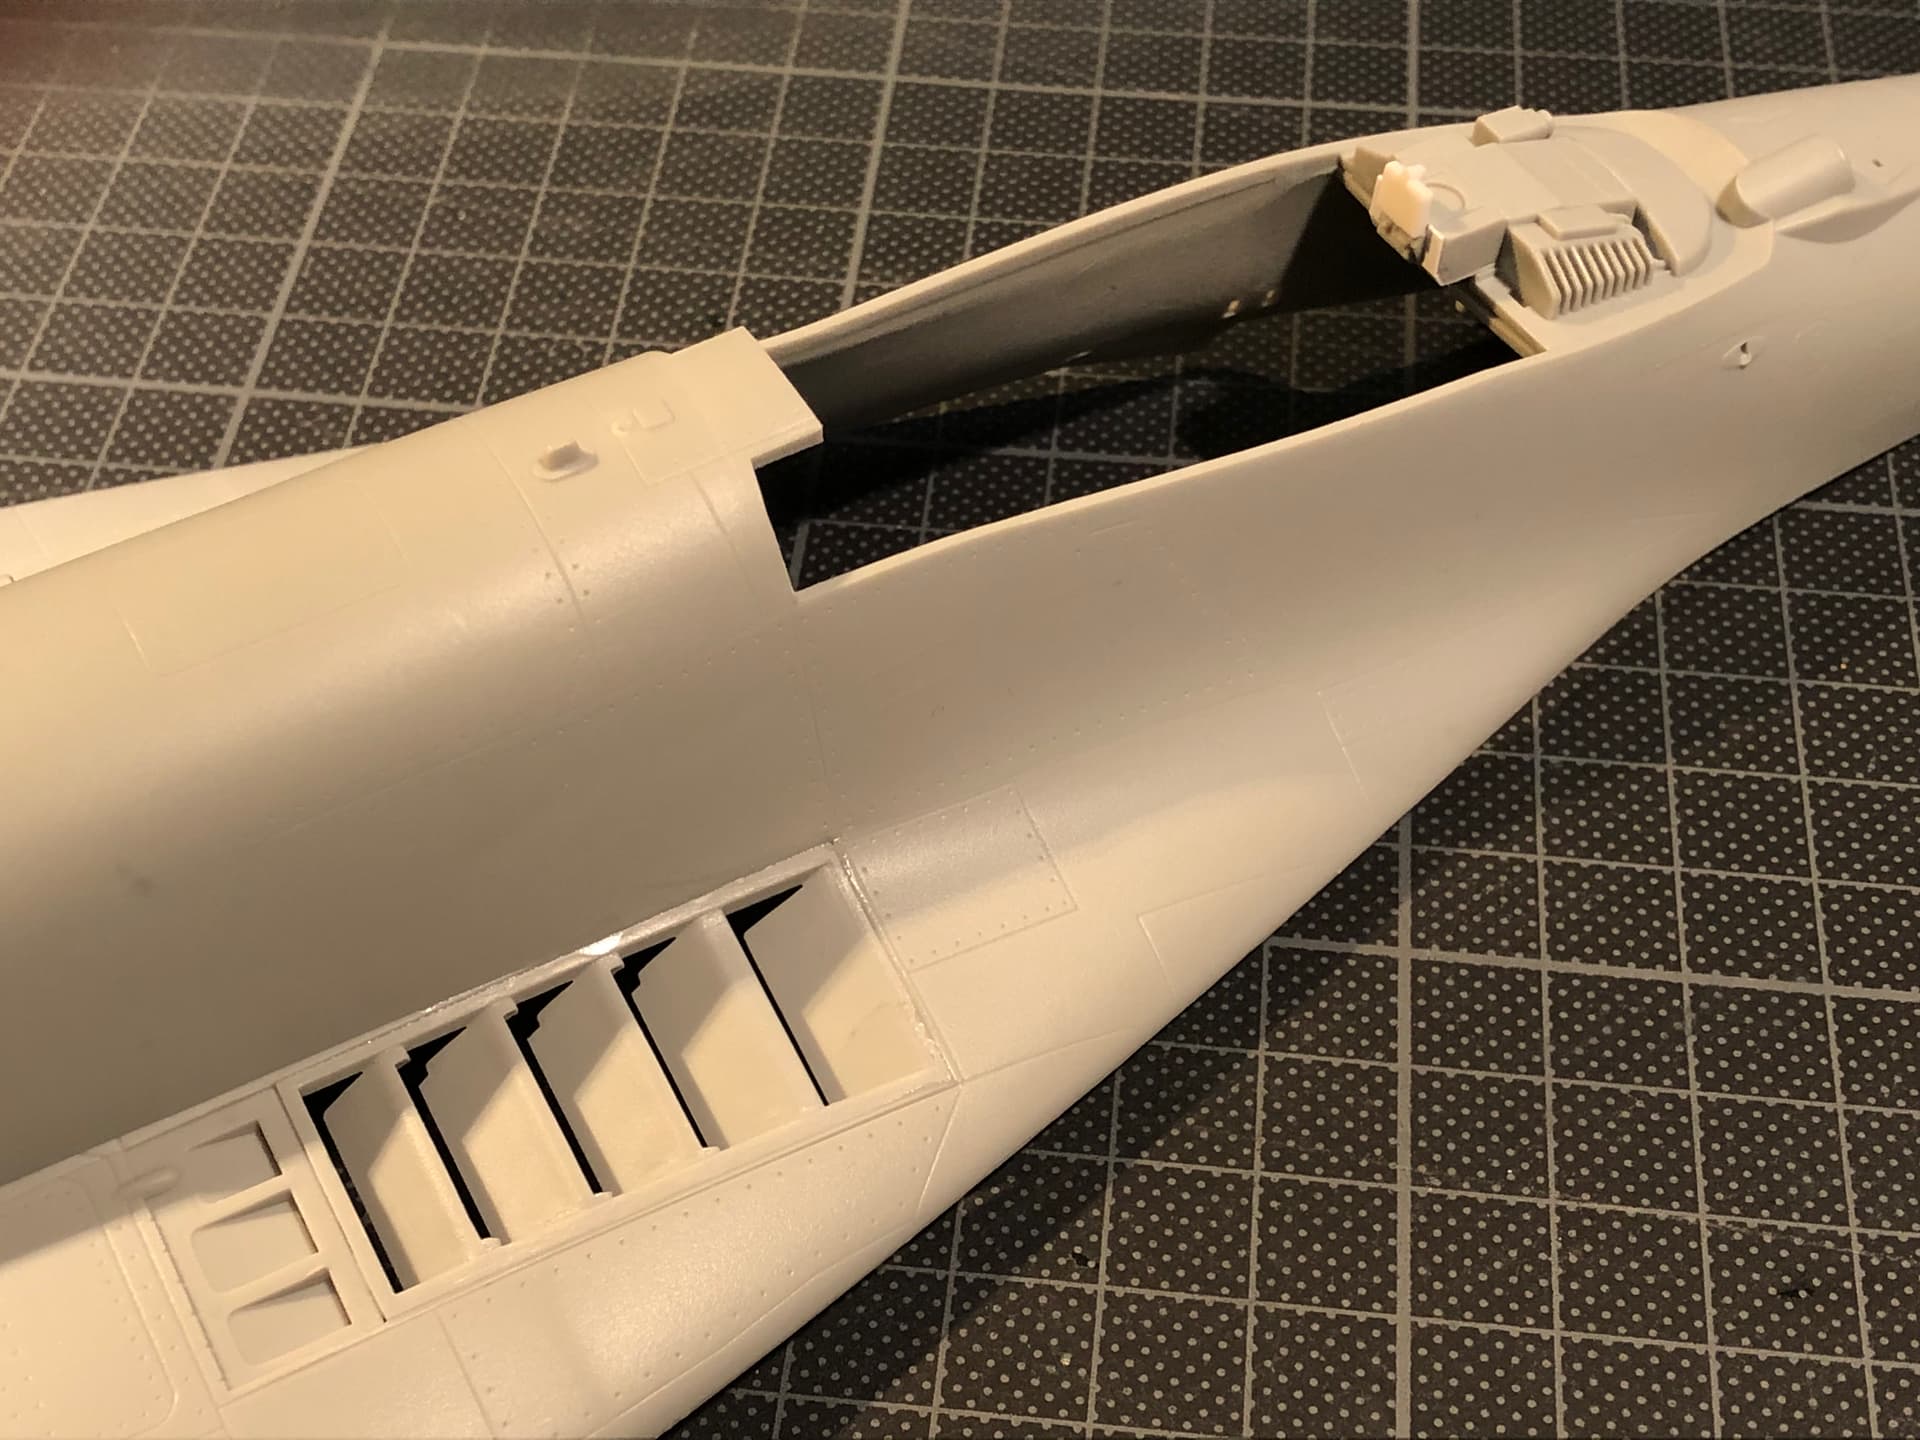
Why the Mig-29 SMT? Well it’s old enough to offer great weathering potential and young enough to look cool. Trumpeter’s kit seems solid if not inspirational, and there’s plenty of scope to add my own details by scratch building. The SMT is not strictly Cold War, but it traces its heritage back to 1982 and the Mig-29a, so that’s good enough for me.

My last jet - Italeri’s 1/32 scale F-104 - was a two year extravaganza of super detailing that tested my patience and endurance but is now the pride of my collection. I won’t be going that far with the Mig. No detailing areas that are hidden when the kit is displayed, in the interest of maintaining the tattered remains of my sanity, personal relationships and bank balance. Some scratch building here and there is my limit this time.

Here’s some mood music to set the scene.

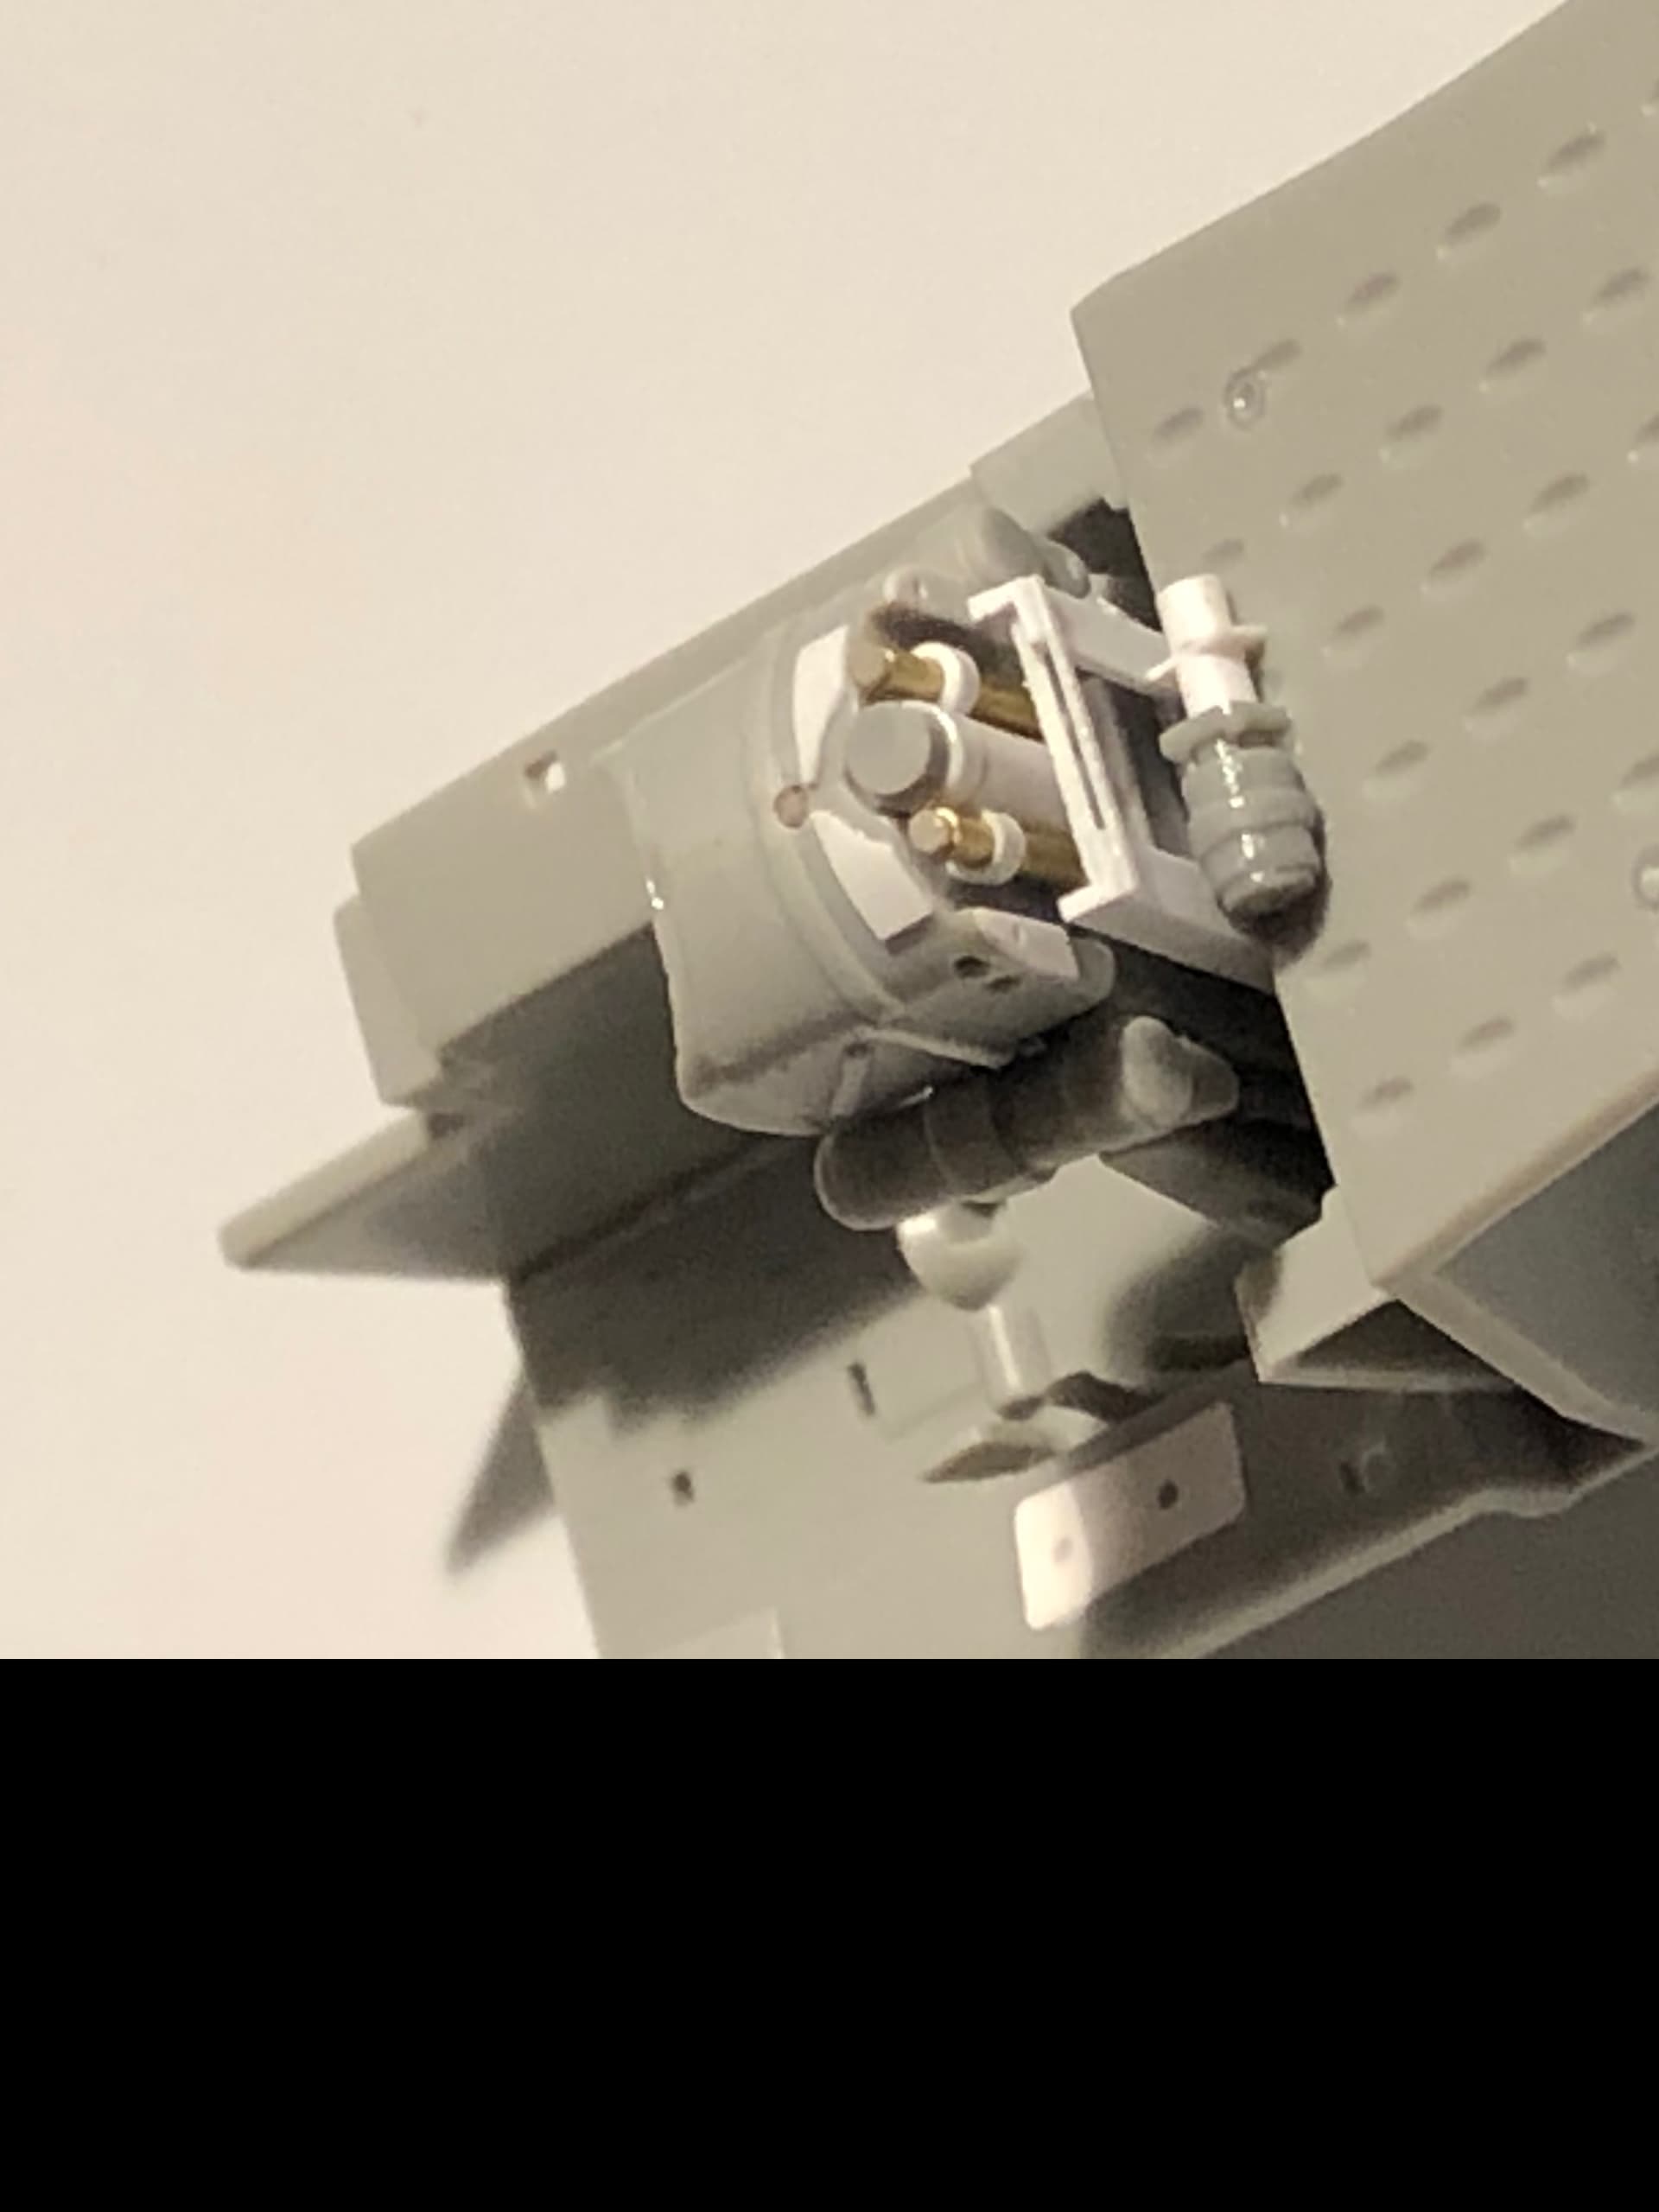
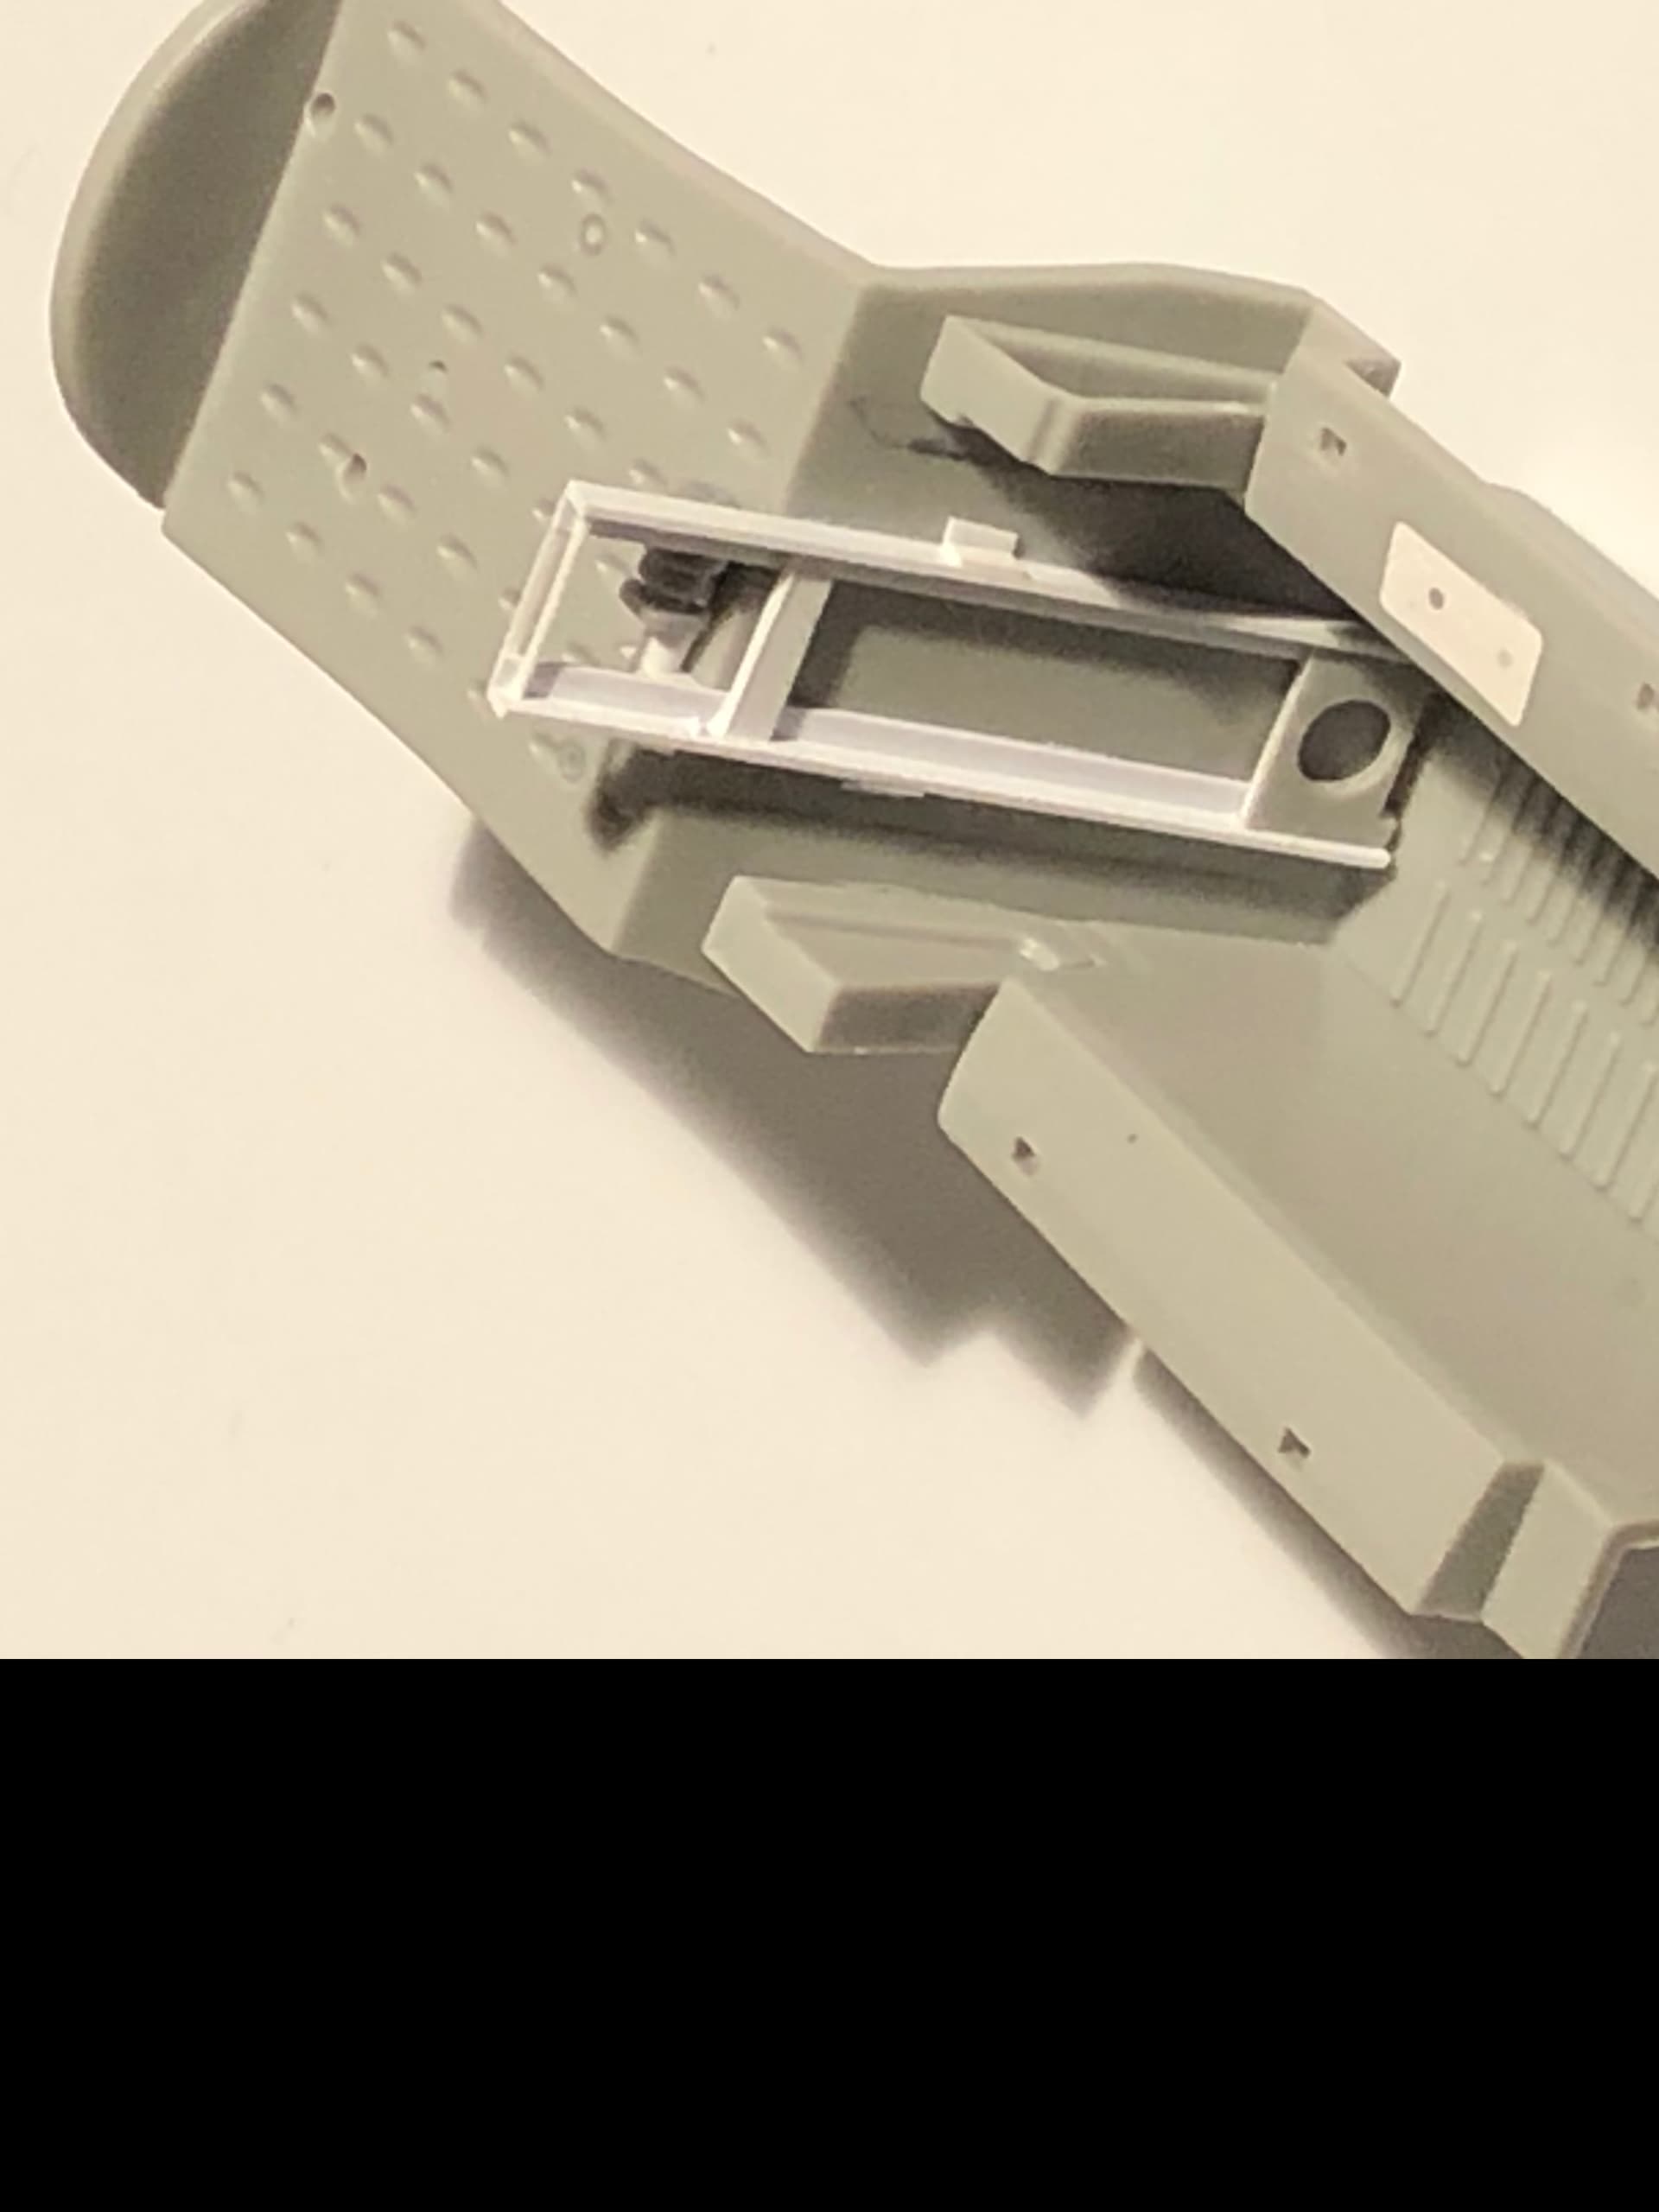
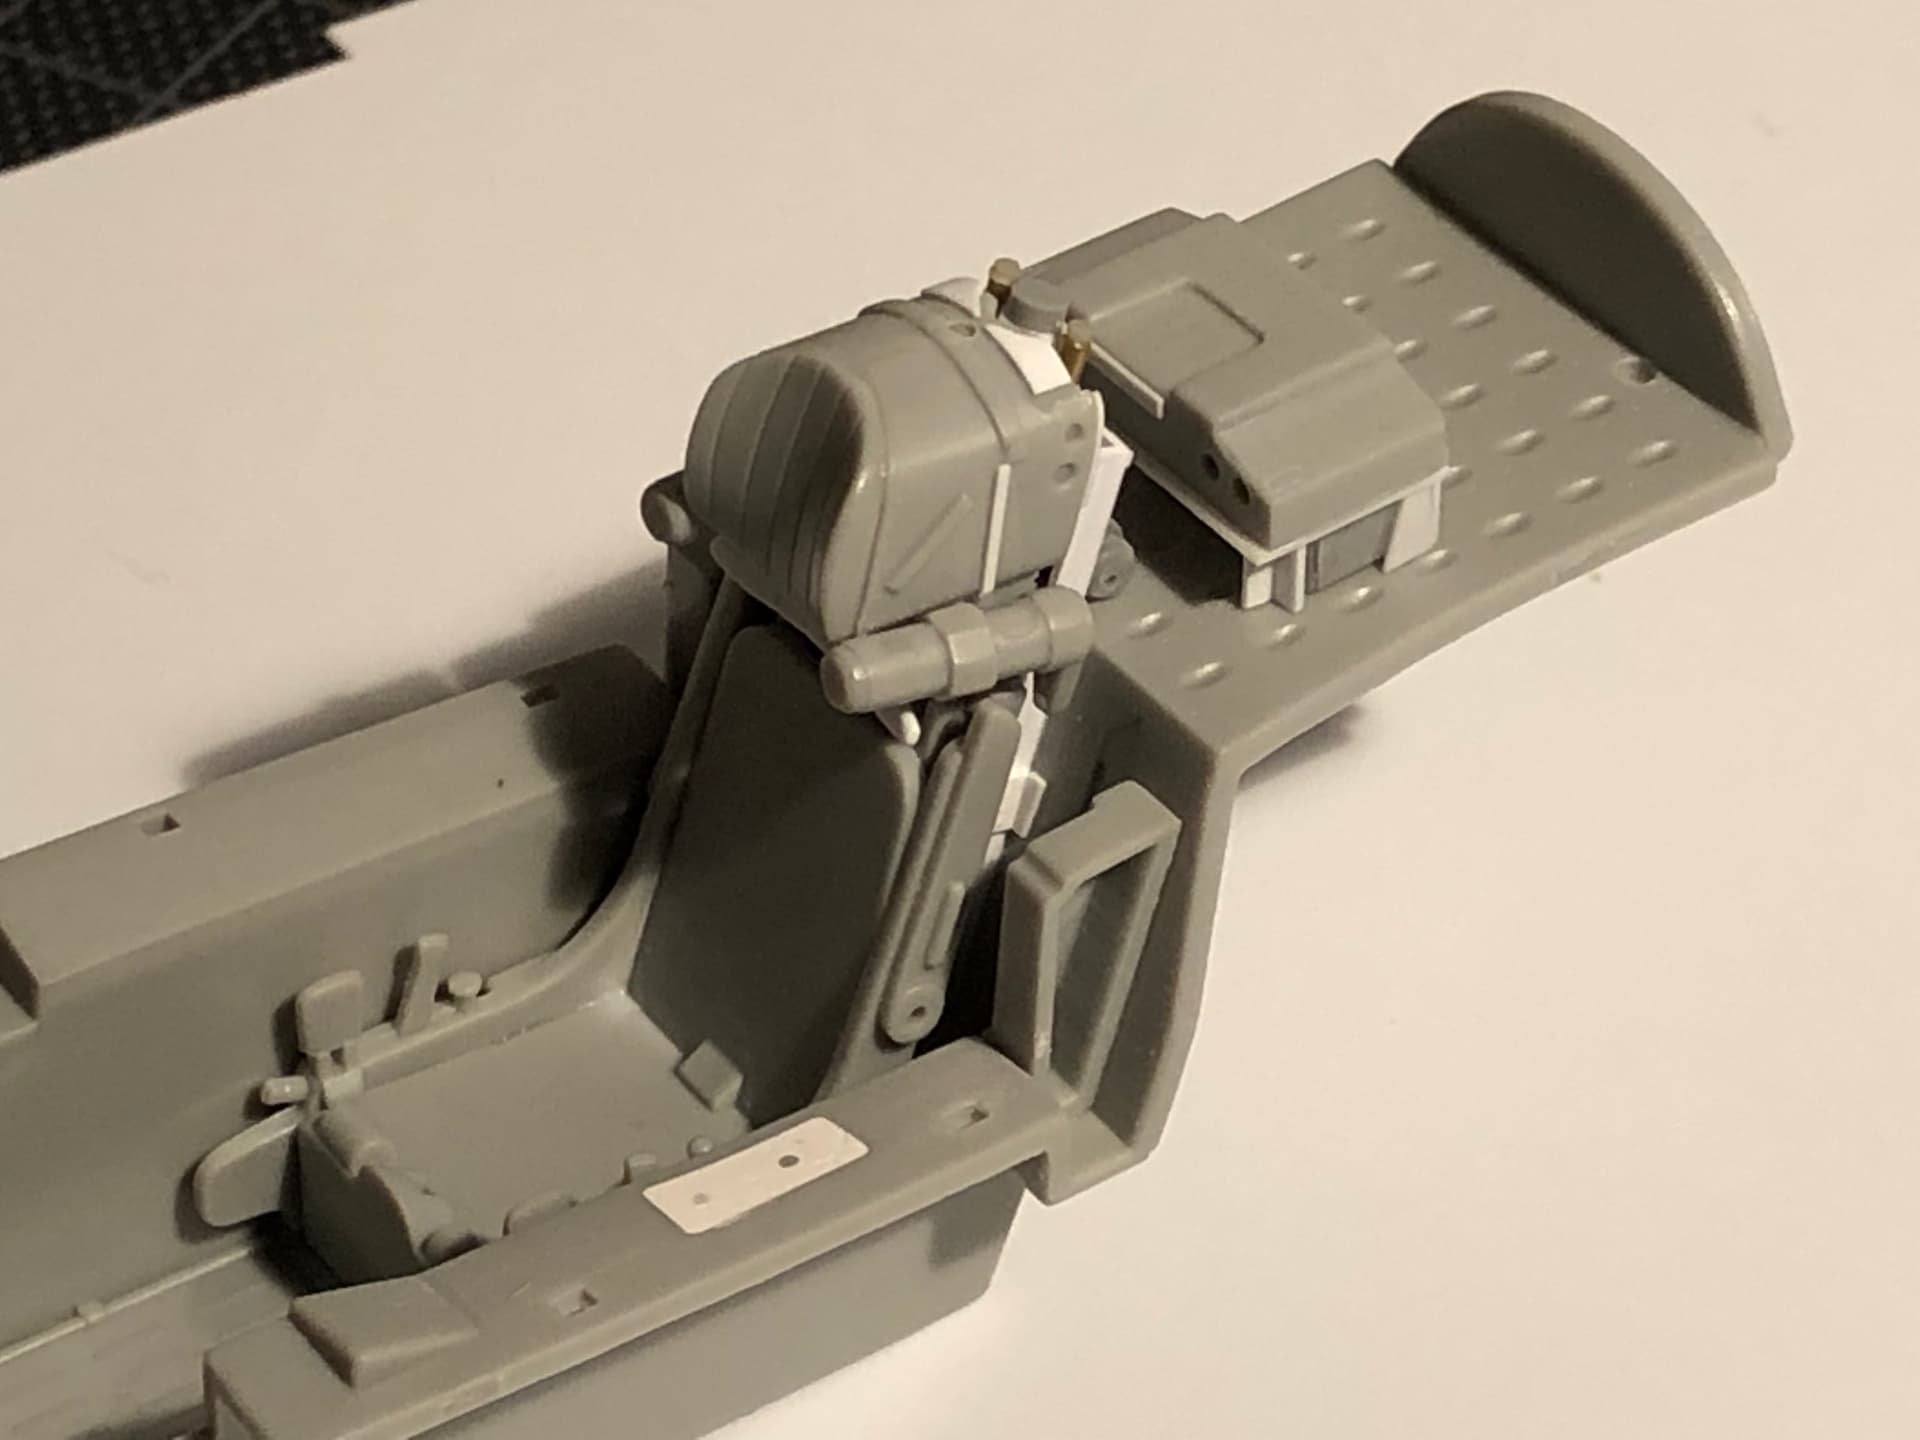
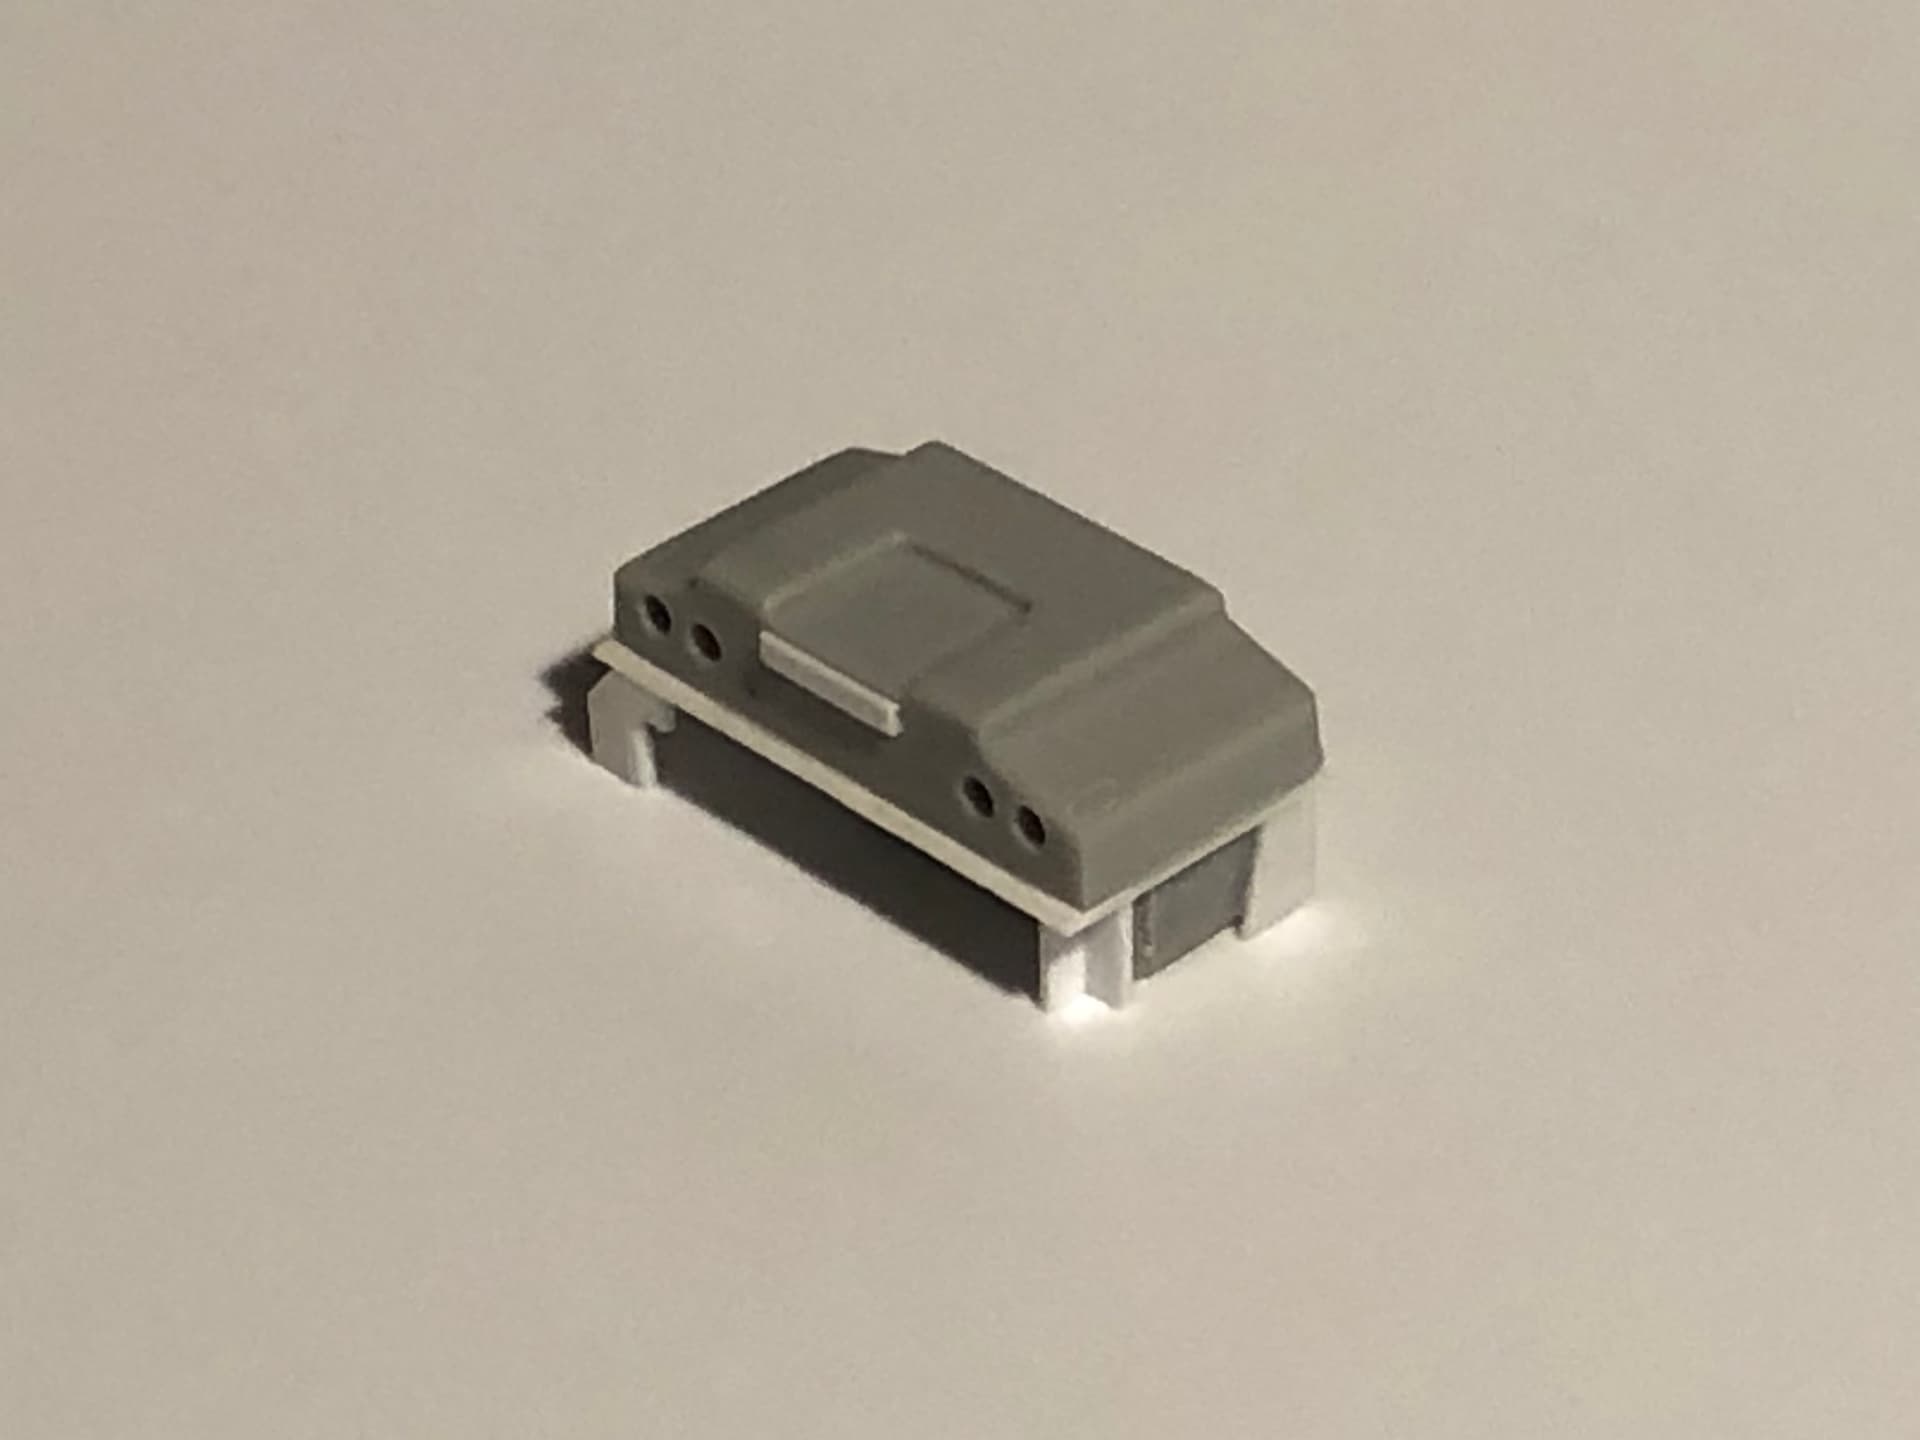
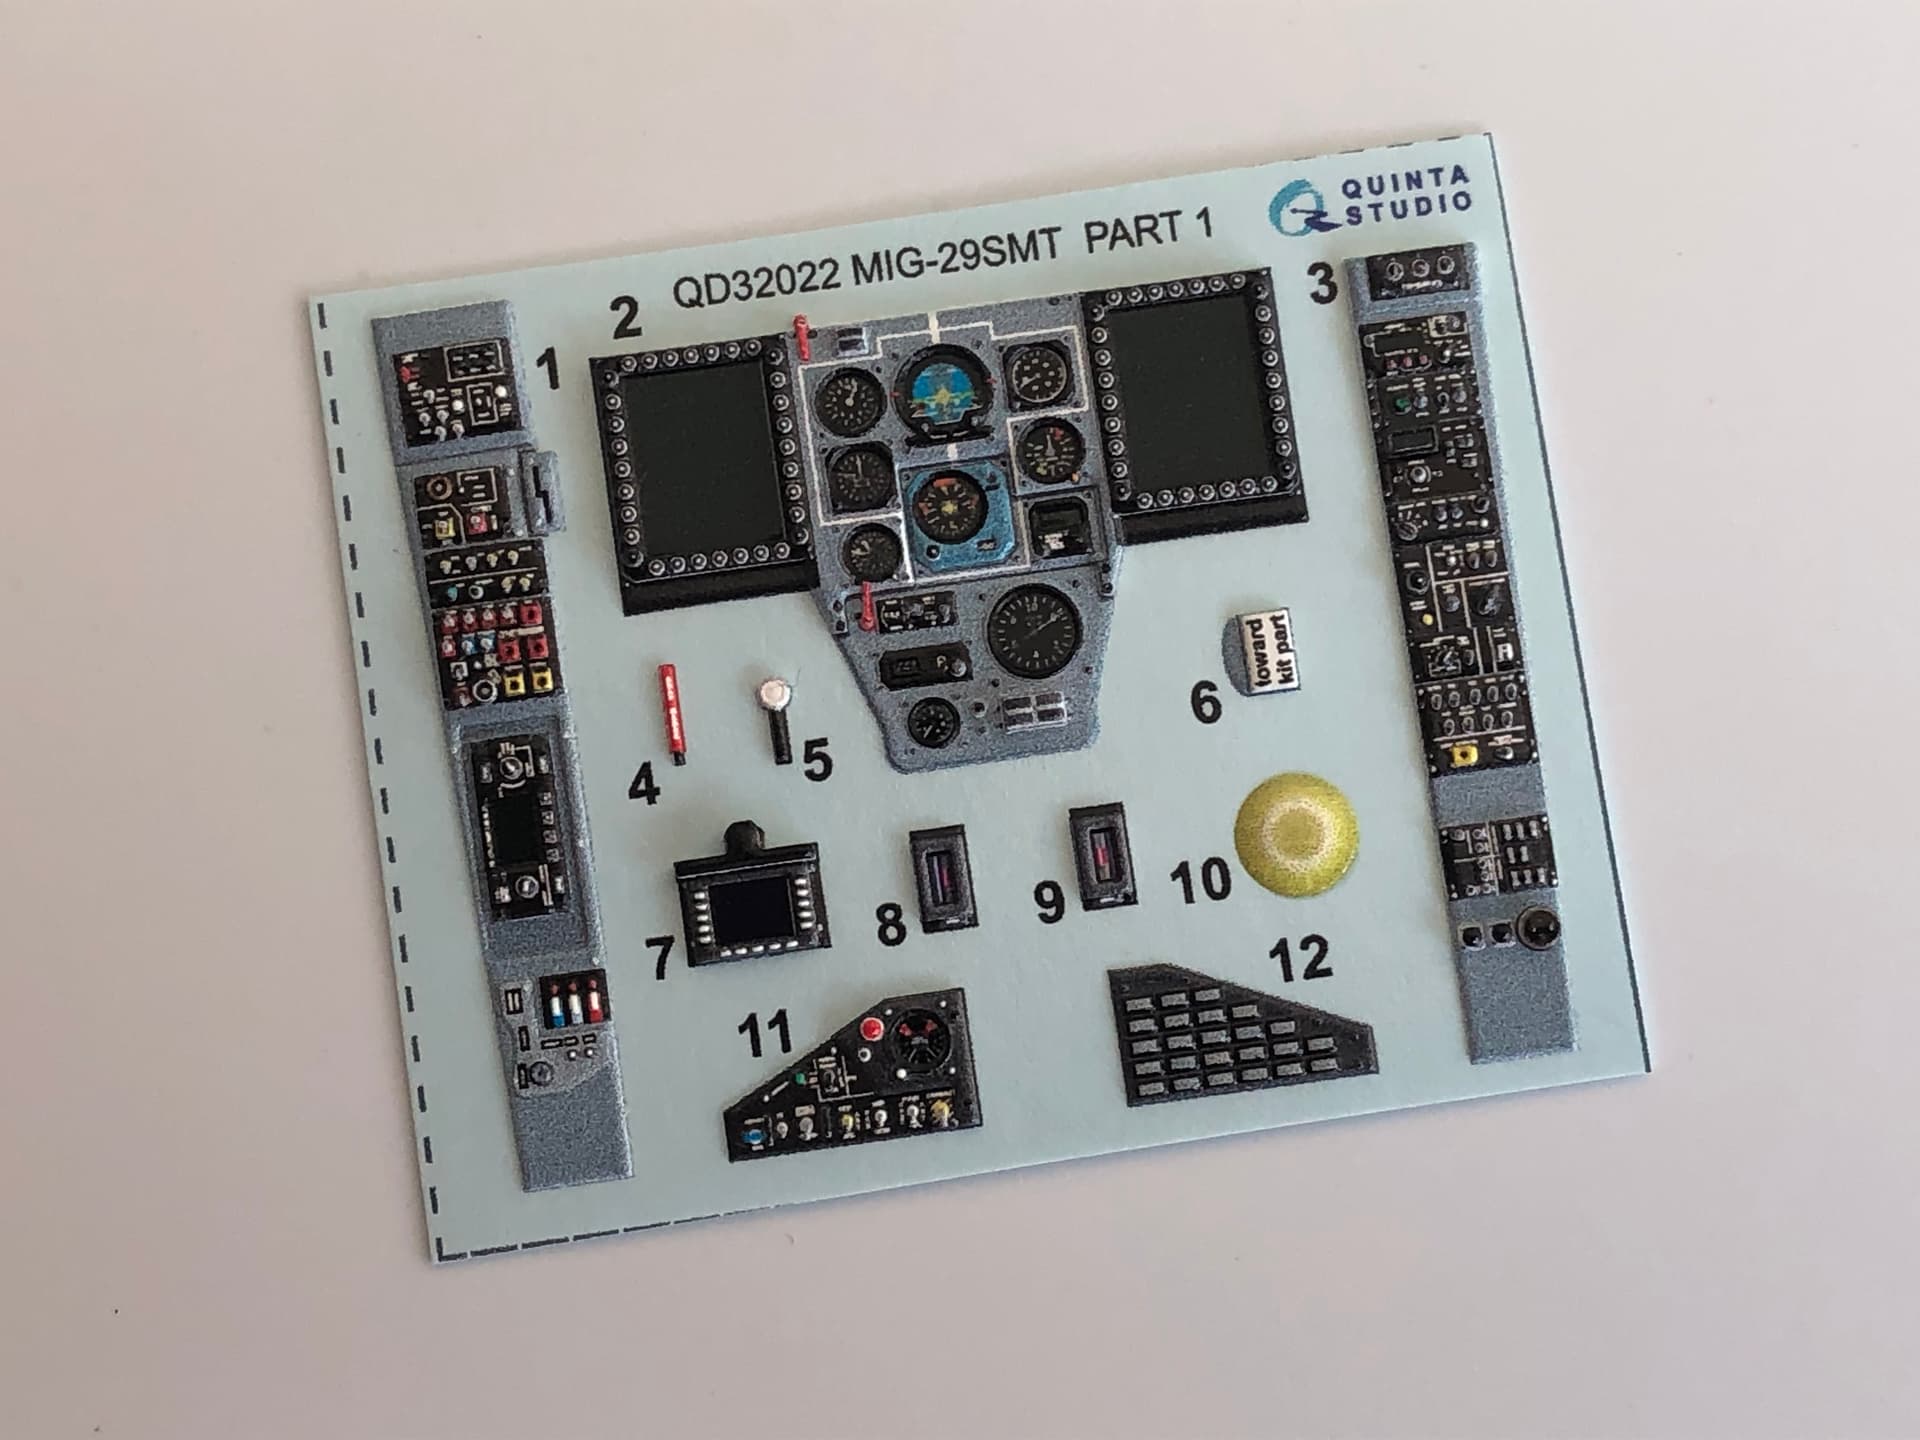
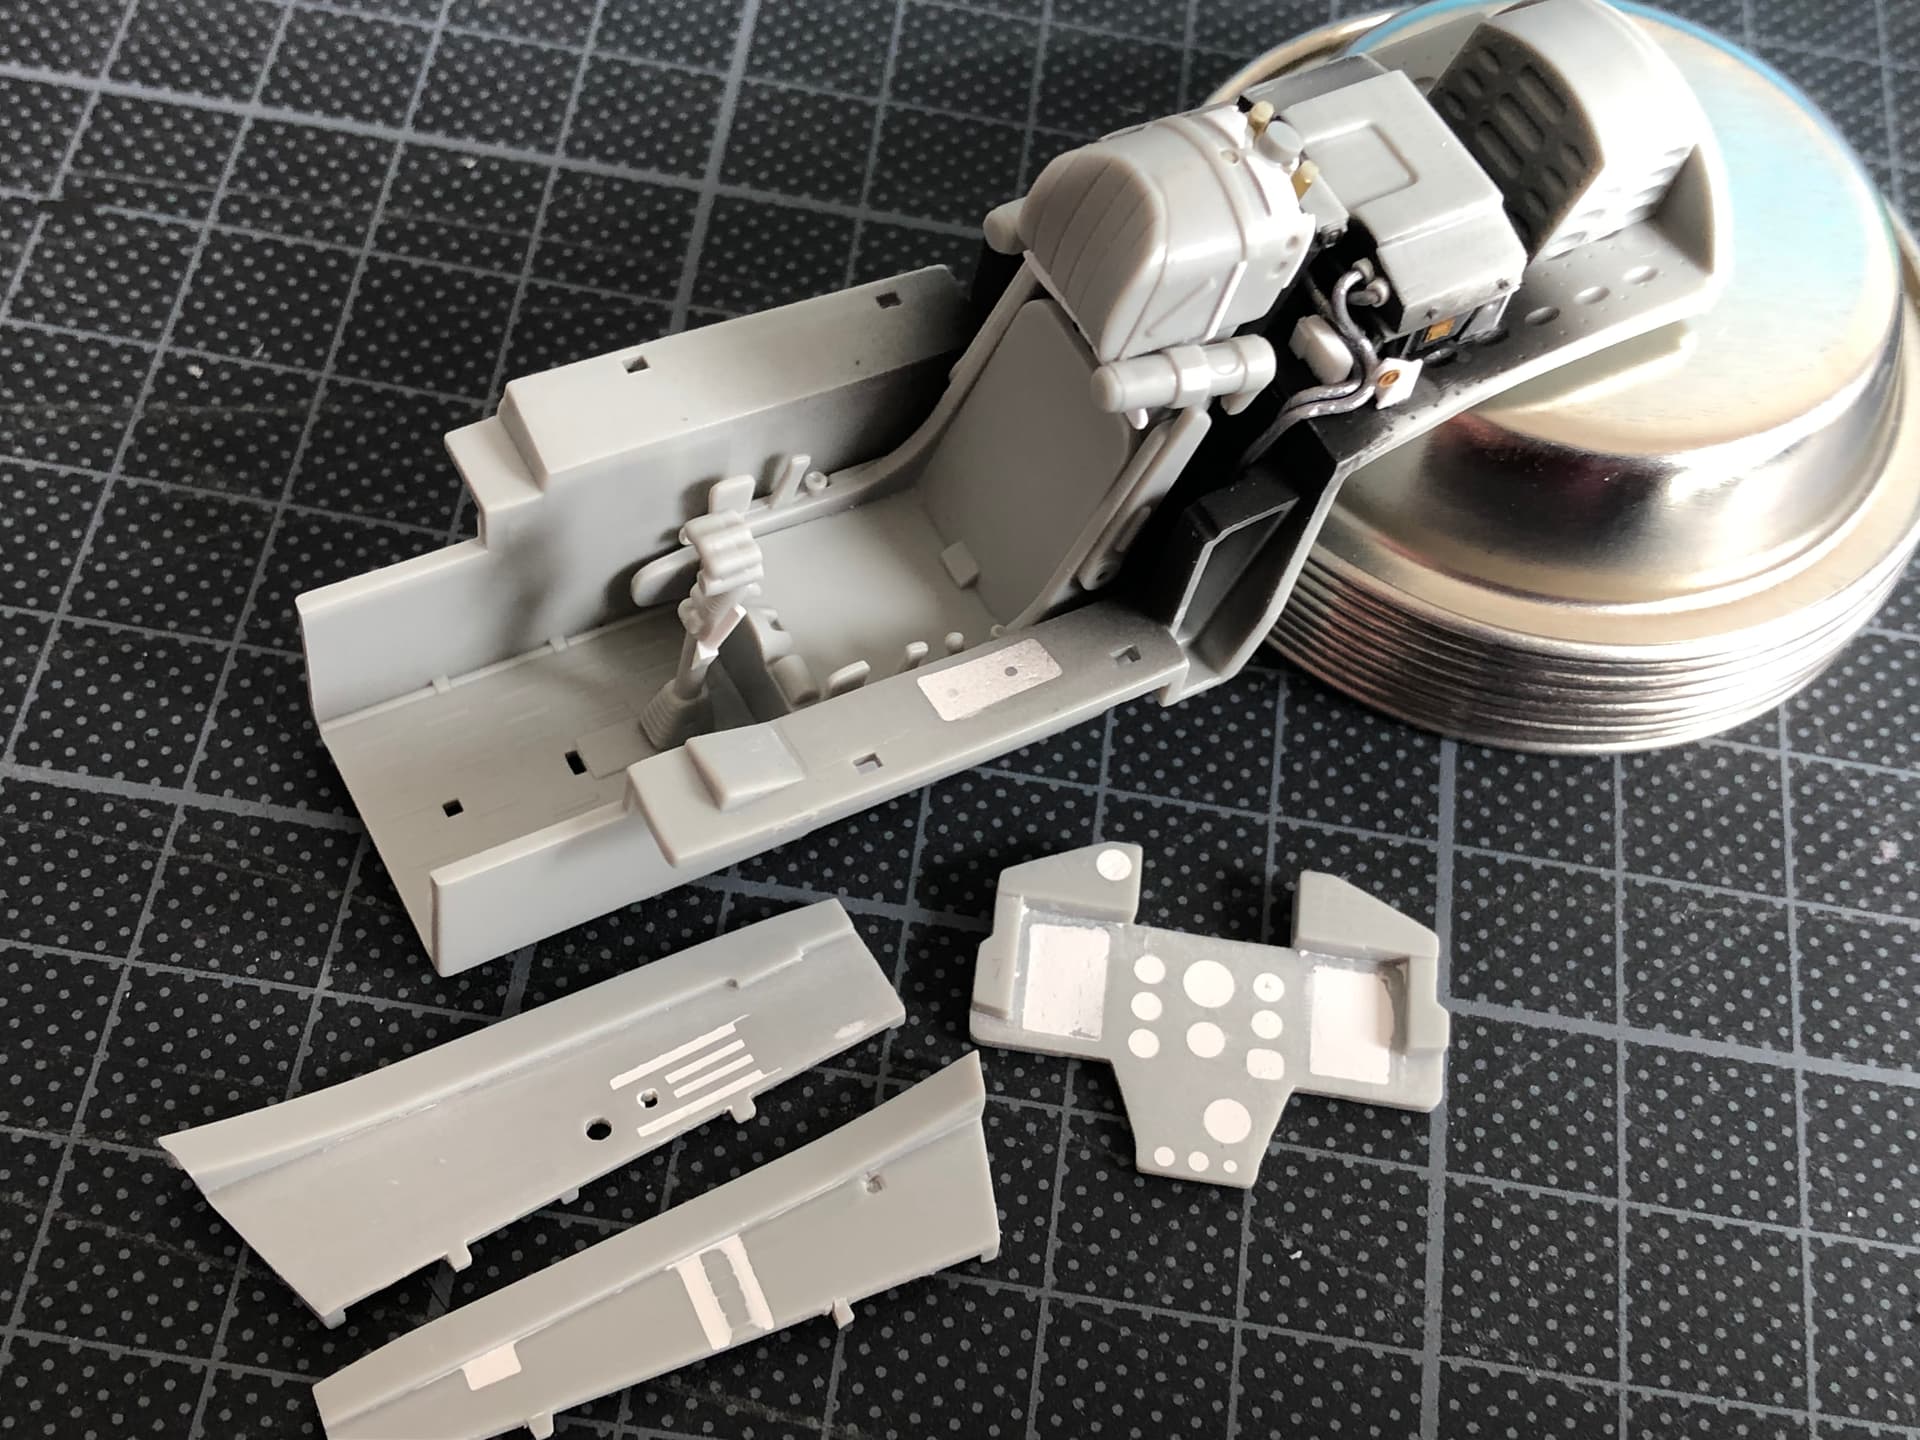
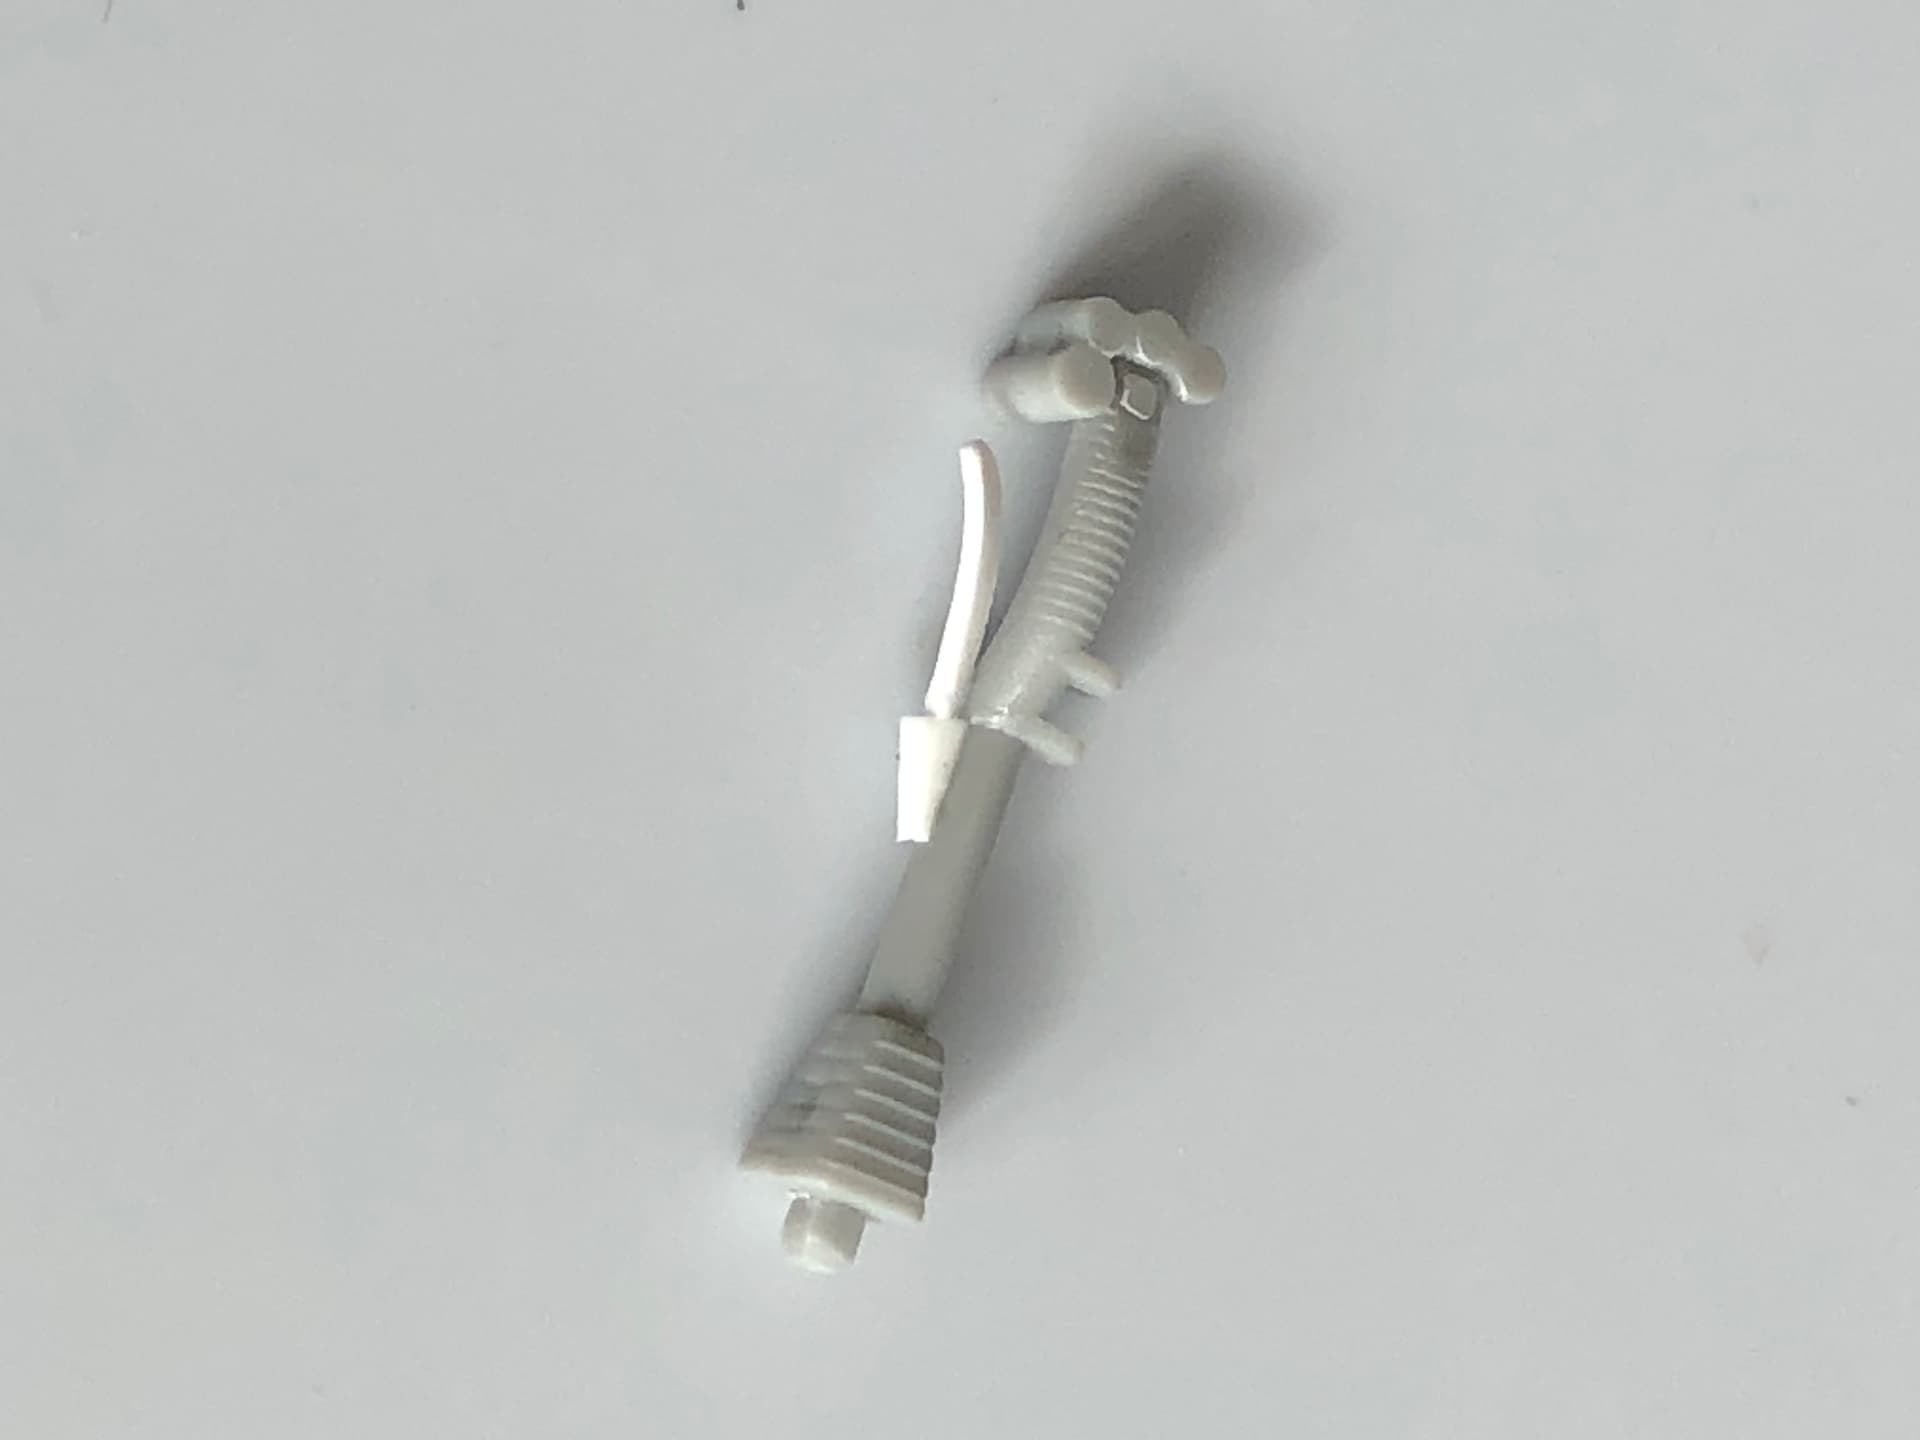
Next step - the cockpit.

Happy modelling guys.

3 Likes

Ugh, sorry. I just fixed the tags.

1 Like

Well I remember the 104, it was a masterpiece. Somehow I think your addiction will lead to extras beyond your best intentions (I’m sure there are all sorts of AM out there) so looking forward to your build of this MiG29.

cheers
Michael

1 Like

Thanks so much Michael. Yes the lure of adding detail has already got me. I’ll post some early shots of the cockpit and seat soon. In the meantime thanks for dropping in.

Uh this will be one to watch, although not a fan of the 29 (I prefer the big Sukhoi) watching what you do with this kit will be the reason for me following.

Definitely one to watch particularly with the winter and the long nights coming :smiley:

Hey guys,
It’s great to have you along. Thanks a million for saying hello. If this build is anything like the last one we’ll get through a whole winter, but I hope not to go that far. Actually, didn’t Napoleon say something similar about his advance on Moscow?
Part two coming up.

What’s the first thing you do with a new kit? Maybe you eagerly tear through the packaging to get at the goodies in the box? Perhaps you put it in your stash to be brought out when the time is right? My first step (after getting everything out and having a good look) is research. Every kit is a compromise, and I like to understand where the manufacturer made theirs. With a modern jet like the Mig there are lots of reference photos on line, so it’s a relatively easy and fun job. In fact it didn’t take long to realise that while the Trumpeter kit is crisply moulded, the details have been compromised a good deal.

Looking at photos of the complex cockpit, jammed with all sorts of enticing detail, I decided the kit needed help. Help will come in two forms - scratch building, and a set of Quinta extras. It’s easy to see that the top of the seat and area immediately behind it are the most eye catching, so resisting the urge to go further, I’m concentrating my efforts there.

And, here they are. A mix of kit parts, scratch built additions and parts taken from the spares box got me to this point. These are the foundations on which tubes, wires, more little details and pipes will be added. I can’t vouch that these extras are 100% accurate but they are closer than the kit and will give the impression of a busy, utilitarian office.

By the way, I’m sorry about the quality of some of the pictures. I was keen to get something posted but probably should have waited until the sun was up to take them.

Here’s some post-cold war nostalgia for you too. Remember the feelings when the Berlin Wall fell and the cold war seemed to end?

Happy modelling guys. I hope you are enjoying your own builds.

And sorry about the odd angles too. I tried rotating the image before I posted, but somehow that didn’t work.

1 Like

Great work so far Steve :smiley:

Thanks Tim. I’m looking forward/slightly worried about blending the Quinta details with the scratch building, especially when it comes to painting. The Quinta stuff is pre-coloured, shiny and very new looking. I understand it is made from vinyl. It looks that way, and it will need some work to fit in with the worn aircraft I’m planning.

Has anyone tried weathering Quinta products? The challenge - it seems to me - is toning down the vivid colours without losing the lovely detail. Maybe a filter is the way to go, but what type - acrylic, enamel, lacquer? Any advice would make an old man very happy :slight_smile:

With thanks again.

1 Like

Here’s a look at the Quinta instrument panel. Amazing detail is evident but not so much the shiny finish.

2 Likes

Hi Steve,
Can you clear coat it be fore trying some filters. You certainly would want to test it on the spare material to see how it sets. Other than that those parts look pretty good. Certainly more depth on the Eduard IPs I have used before.

cheers
Michael

Hi Michael,

Yes, great idea. Thanks so much. Maybe even a tiny hint of grey/brown in the varnish will tone things down even more. I’d love to experiment but there aren’t any spares so I’m going to have to jump right in. I’ll go with acrylics to stay safe and show the results when I get there.

Thanks again for the suggestion.

Bye for now,

S.

1 Like

This rather motley collection is where the cockpit scratch building and preparation stops. The black area is primer, applied early to cover hard-to-get-to areas under the circuit breaker. My camera (and my photographic skill) struggled not to make it pitch black. There’s detail in there that can’t be seen. It would have been possible to add or refine details in the lower part of the cockpit tub, but I kept my resolve and didn’t go there.

The details on the instrument panel and side consoles have been removed, and recessed areas filled and sanded fairly roughly in preparation for adding the Quinta details later. I added the missing lever to the joystick too. I don’t know what it does but it’s a prominent feature.

One last check to make sure there’s nothing missing, and then I turn my attention to the instrument panel coaming. I want to get as much construction done as I can before breaking out the primer again.

Happy modelling guys.

6 Likes

Great start - very nice details added.

Looking forward to see more :slight_smile:

1 Like

Hey Jesper, thanks for looking in. Here’s a little bit more.

This kit is teaching me lessons. Possibly, seasoned builders of Trumpeter kits have discovered them already, and will shortly be falling about laughing at my naivety. Even so I thought I’d share them in the interest of improving our collective knowledge and giving us all a smile.

Lesson one: the kits parts are almost, but not quite, a very good fit. There’s always a little something to fix, fettle or sand to get what is eventually a good alignment. Getting that good alignment is compounded by lesson two.

Lesson two: the kit parts are almost, but not quite, entirely without locating pins or other guides to placing parts correctly. There are some, but not nearly as many as I’d like. Often a good deal of experimentation and dry fitting is needed before gluing just to make sure that bit really does attach to the other bit there.

Lesson three is a consequence of lessons one and two. It is: think a few steps ahead because this tricky blighter may have some bigger surprises down the road. Expect the unexpected as Donald Rumsfeld might have said, had he not been so obsessed with knows and unknowns or worrying about real Migs, which apparently did go together quite nicely and in some numbers too.

With that I mind (I mean fit issues, not Donald Rumsfeld’s knowns) I’ve been playing with some of the major components. I turned my attention first to the upper wing/fuselage and started attaching parts, carefully applying lessons one to three. I had to scratch build part of the HUD too, which as supplied is right for an earlier version but not the SMT, and won’t take the Quinta details.

That seems like a lot of words to get to some modest progress, but hey, who is going to listen to all this if not you guys?

A few shots might prove I actually did some modelling too.

The kit comes with the option to have the secondary intake doors either open or closed. Mine will be open, which means the main intake doors will be closed. The fit of these parts was, well…. see lessons one to three.

Happy modelling gents.

3 Likes

Really nice progress and the cockpit does look great. Still keeping tabs on this and looking forward to the next installment :+1:

1 Like

Looking good Steve.
I am not sure your three lessons are limited to just Trumpeter though. I think they could apply to a lot of model manufacturers.

cheers
Michael

1 Like

Good evening gents,

Thanks very much. It’s great to have you looking in.

Michael, yes you’re right of course.

Happy modelling guys. More progress soon.

1 Like