Trumpeter 1/32 scale Mig-29 SMT

Hello folks,

Here’s a bit more progress. The cockpit tub and ejector seats have been primed, prior to painting. I must admit that I don’t always prime, but this time, with lead wire, photo etch and some brass tubing to cover, primer felt like a good precaution.

I’ve also assembled the front landing gear leg, which builds up nicely. Next I’ll add some extras like tubing and missing bolts etc. The lower half is metal which offers a great opportunity to polish it up and get a very realistic looking fork leg. You can’t see it here because I’ve masked it ready for painting but trust me, I’m a modeller :slight_smile:

Some more exciting painting and weathering is not too far away now.

Thanks for looking in.

Happy modelling guys.

P.S. I’m sorry about the photos. They look fine on my computer but seem to have a problem with orientation when I post.

3 Likes

And finally there’s some paint down.

These days, I paint cockpits and interior details using techniques borrowed from figure painters. This is step two of the process. Having primed in black and then highlighted the upper areas in white to create a map of the highlights and shadows, I added thin layers of the base colour, building up from the top down The deepest shadows and recesses hardly have any colour at all.

The ejector sear has been painted using the same technique but the differences are less noticeable because the base colour is dark. As you can see I haven’t painted it black, despite the fact that black is the colour of the real thing. I’ll be adding pin washes and other highlights that I hope will tone it down but even so the result I’m aiming for is not pure black. Let’s see how it goes.

In the meantime here is a little mood music.

Happy modelling guys.

4 Likes

Looking good - nice work on the cockpit :slightly_smiling_face:

Indeed, progress is looking great.

cheers
Michael

Thanks guys,

It has been a while since I posted; work on the kit has been slow as other things took priority but finally I’ve been trying out the Quinta details. I have to say that I have mixed feelings about them. The detail is beautiful, but trying to integrate the printed vinyl with a colour modulation approach hasn’t been easy, and I had to trim the sidewalls to get a good fit. I’ve tried using oil washes to get a colour match, but it’s not really worked the way I like it. Once the cockpit is installed and the upper parts including the fuse box behind the seat have all the Quinta parts added I think it will look OK. For my style though, I’d rather sacrifice a little of the detail to make the paint work harder.

Here’s the progress.

Happy modelling, and have a great Christmas if you are celebrating.

3 Likes

Gotta say Steve, first off well done thus far it’s all looking great… And for me, those Quinta decals look terrific… They make it look like a real cockpit with that 3d effect… Great job :+1:

They do don’t they :smiley:

Hello gents,

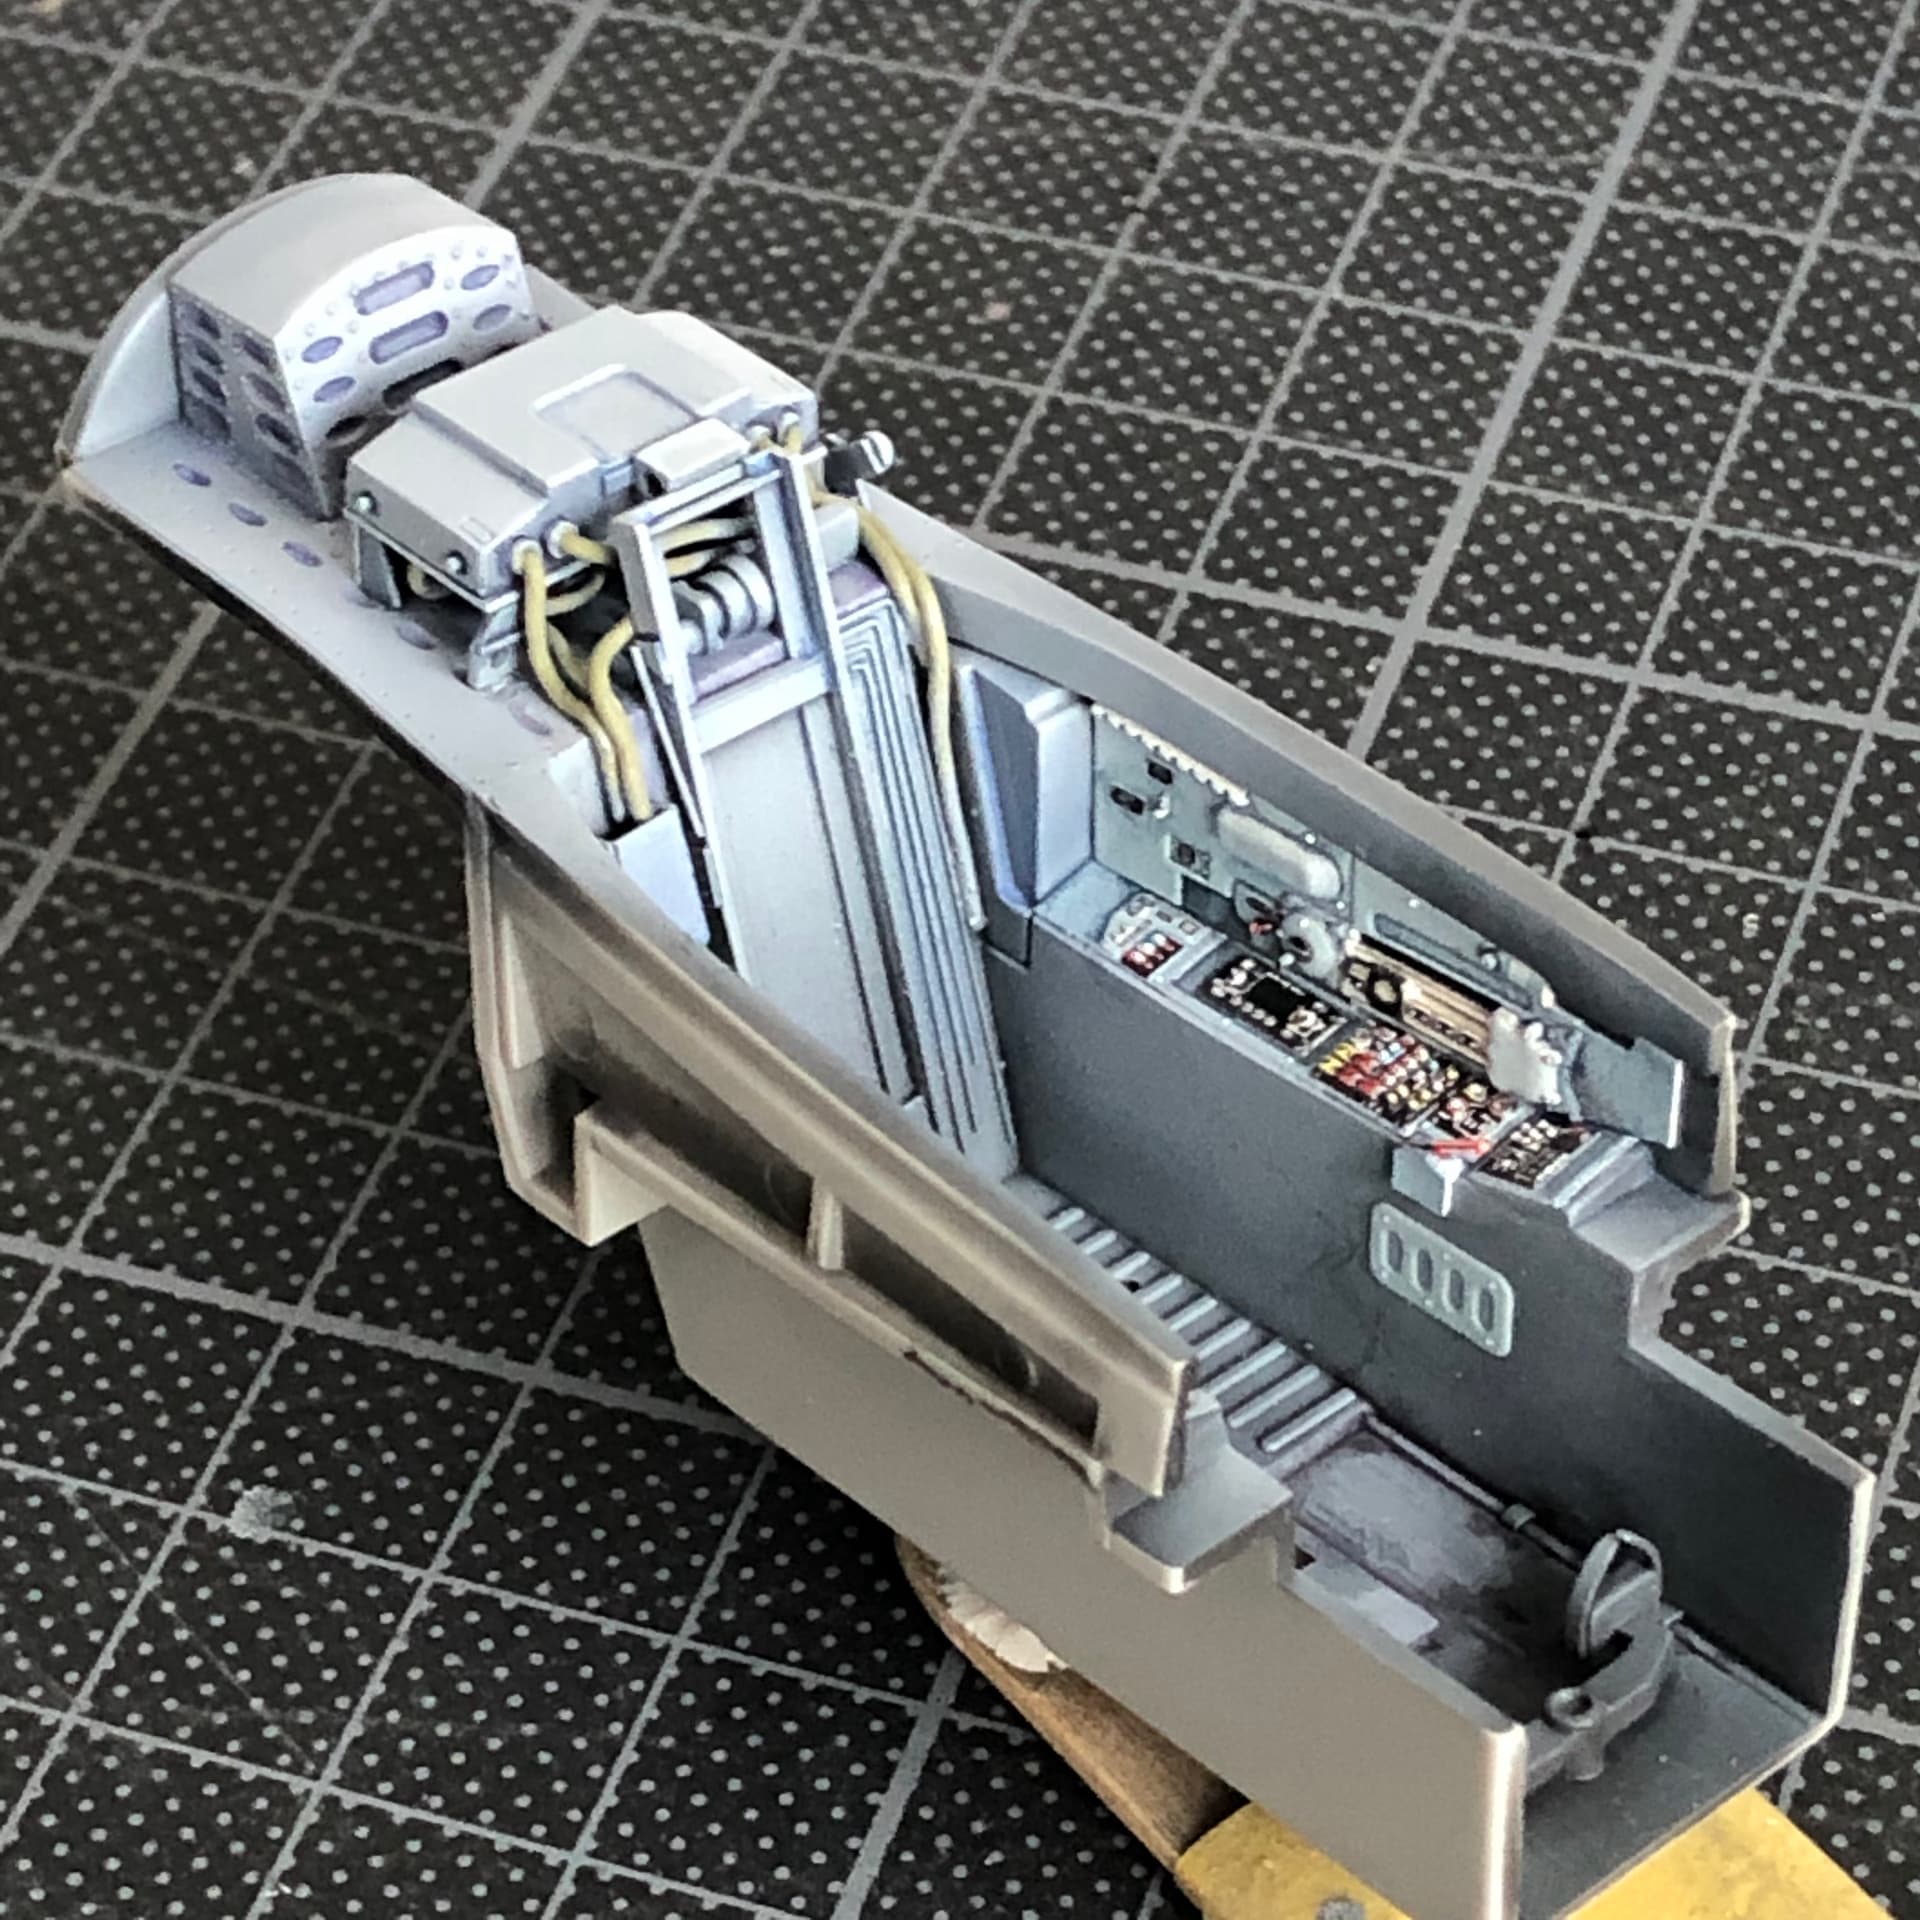
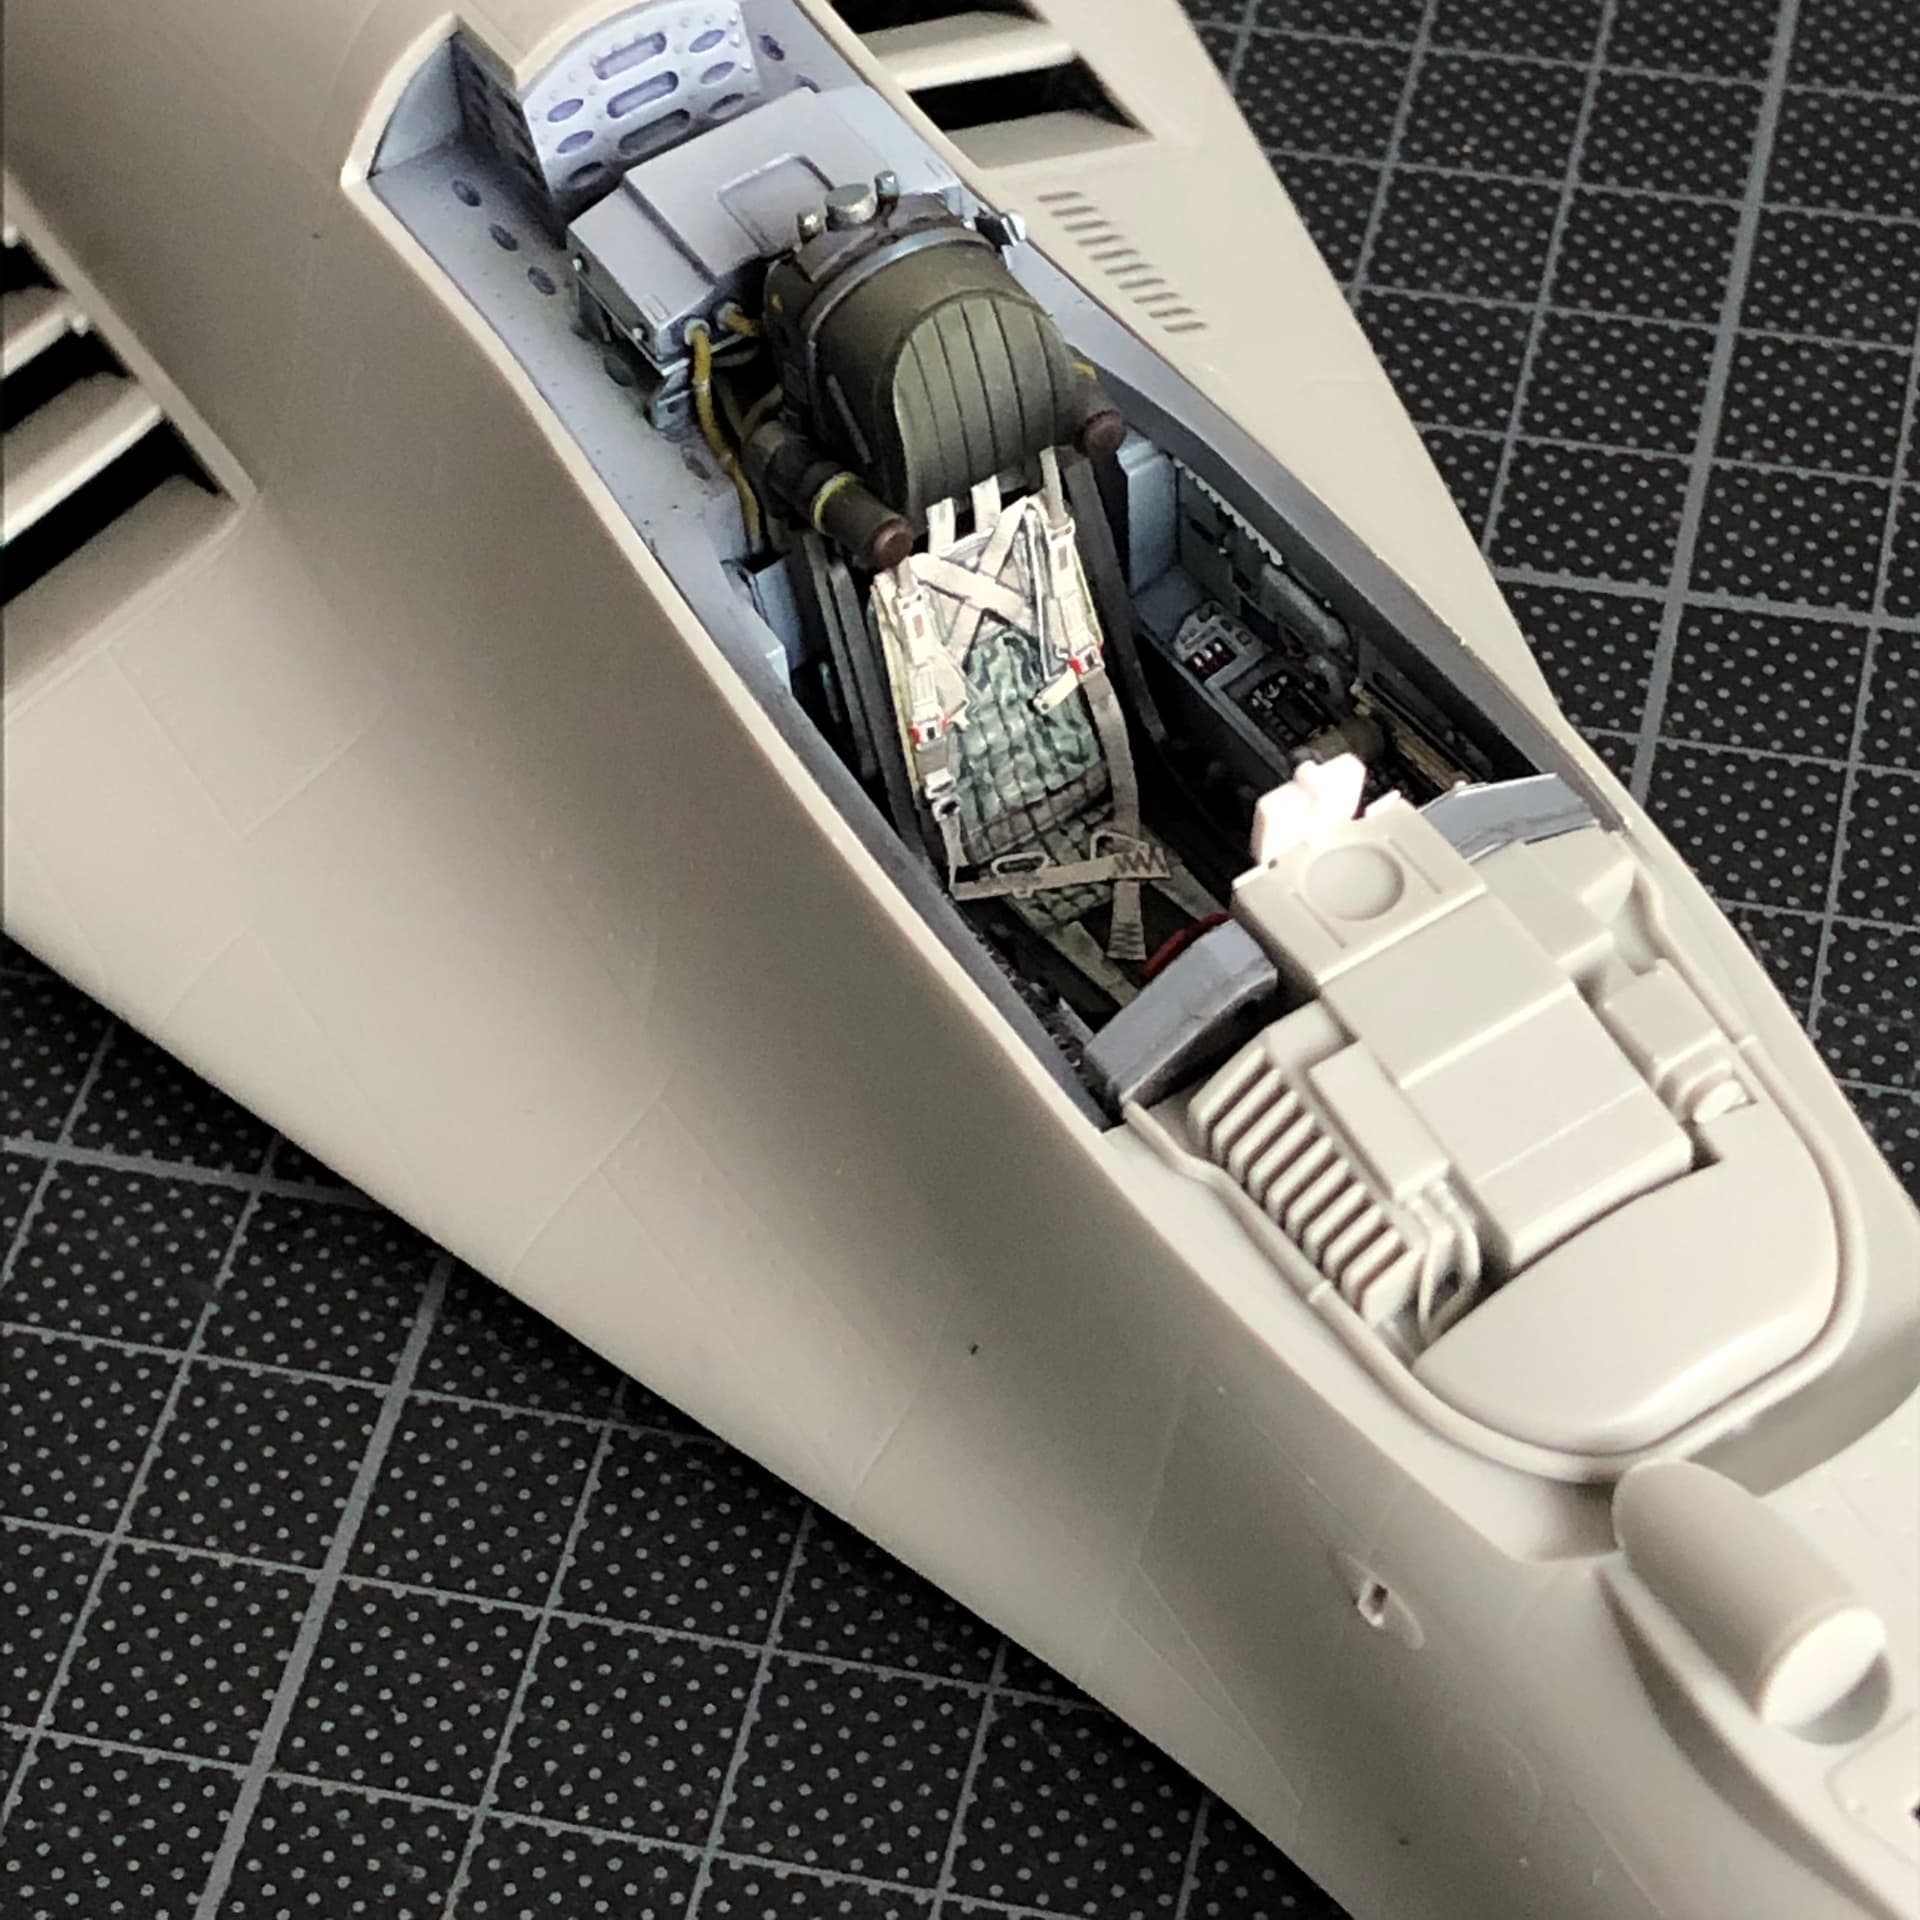
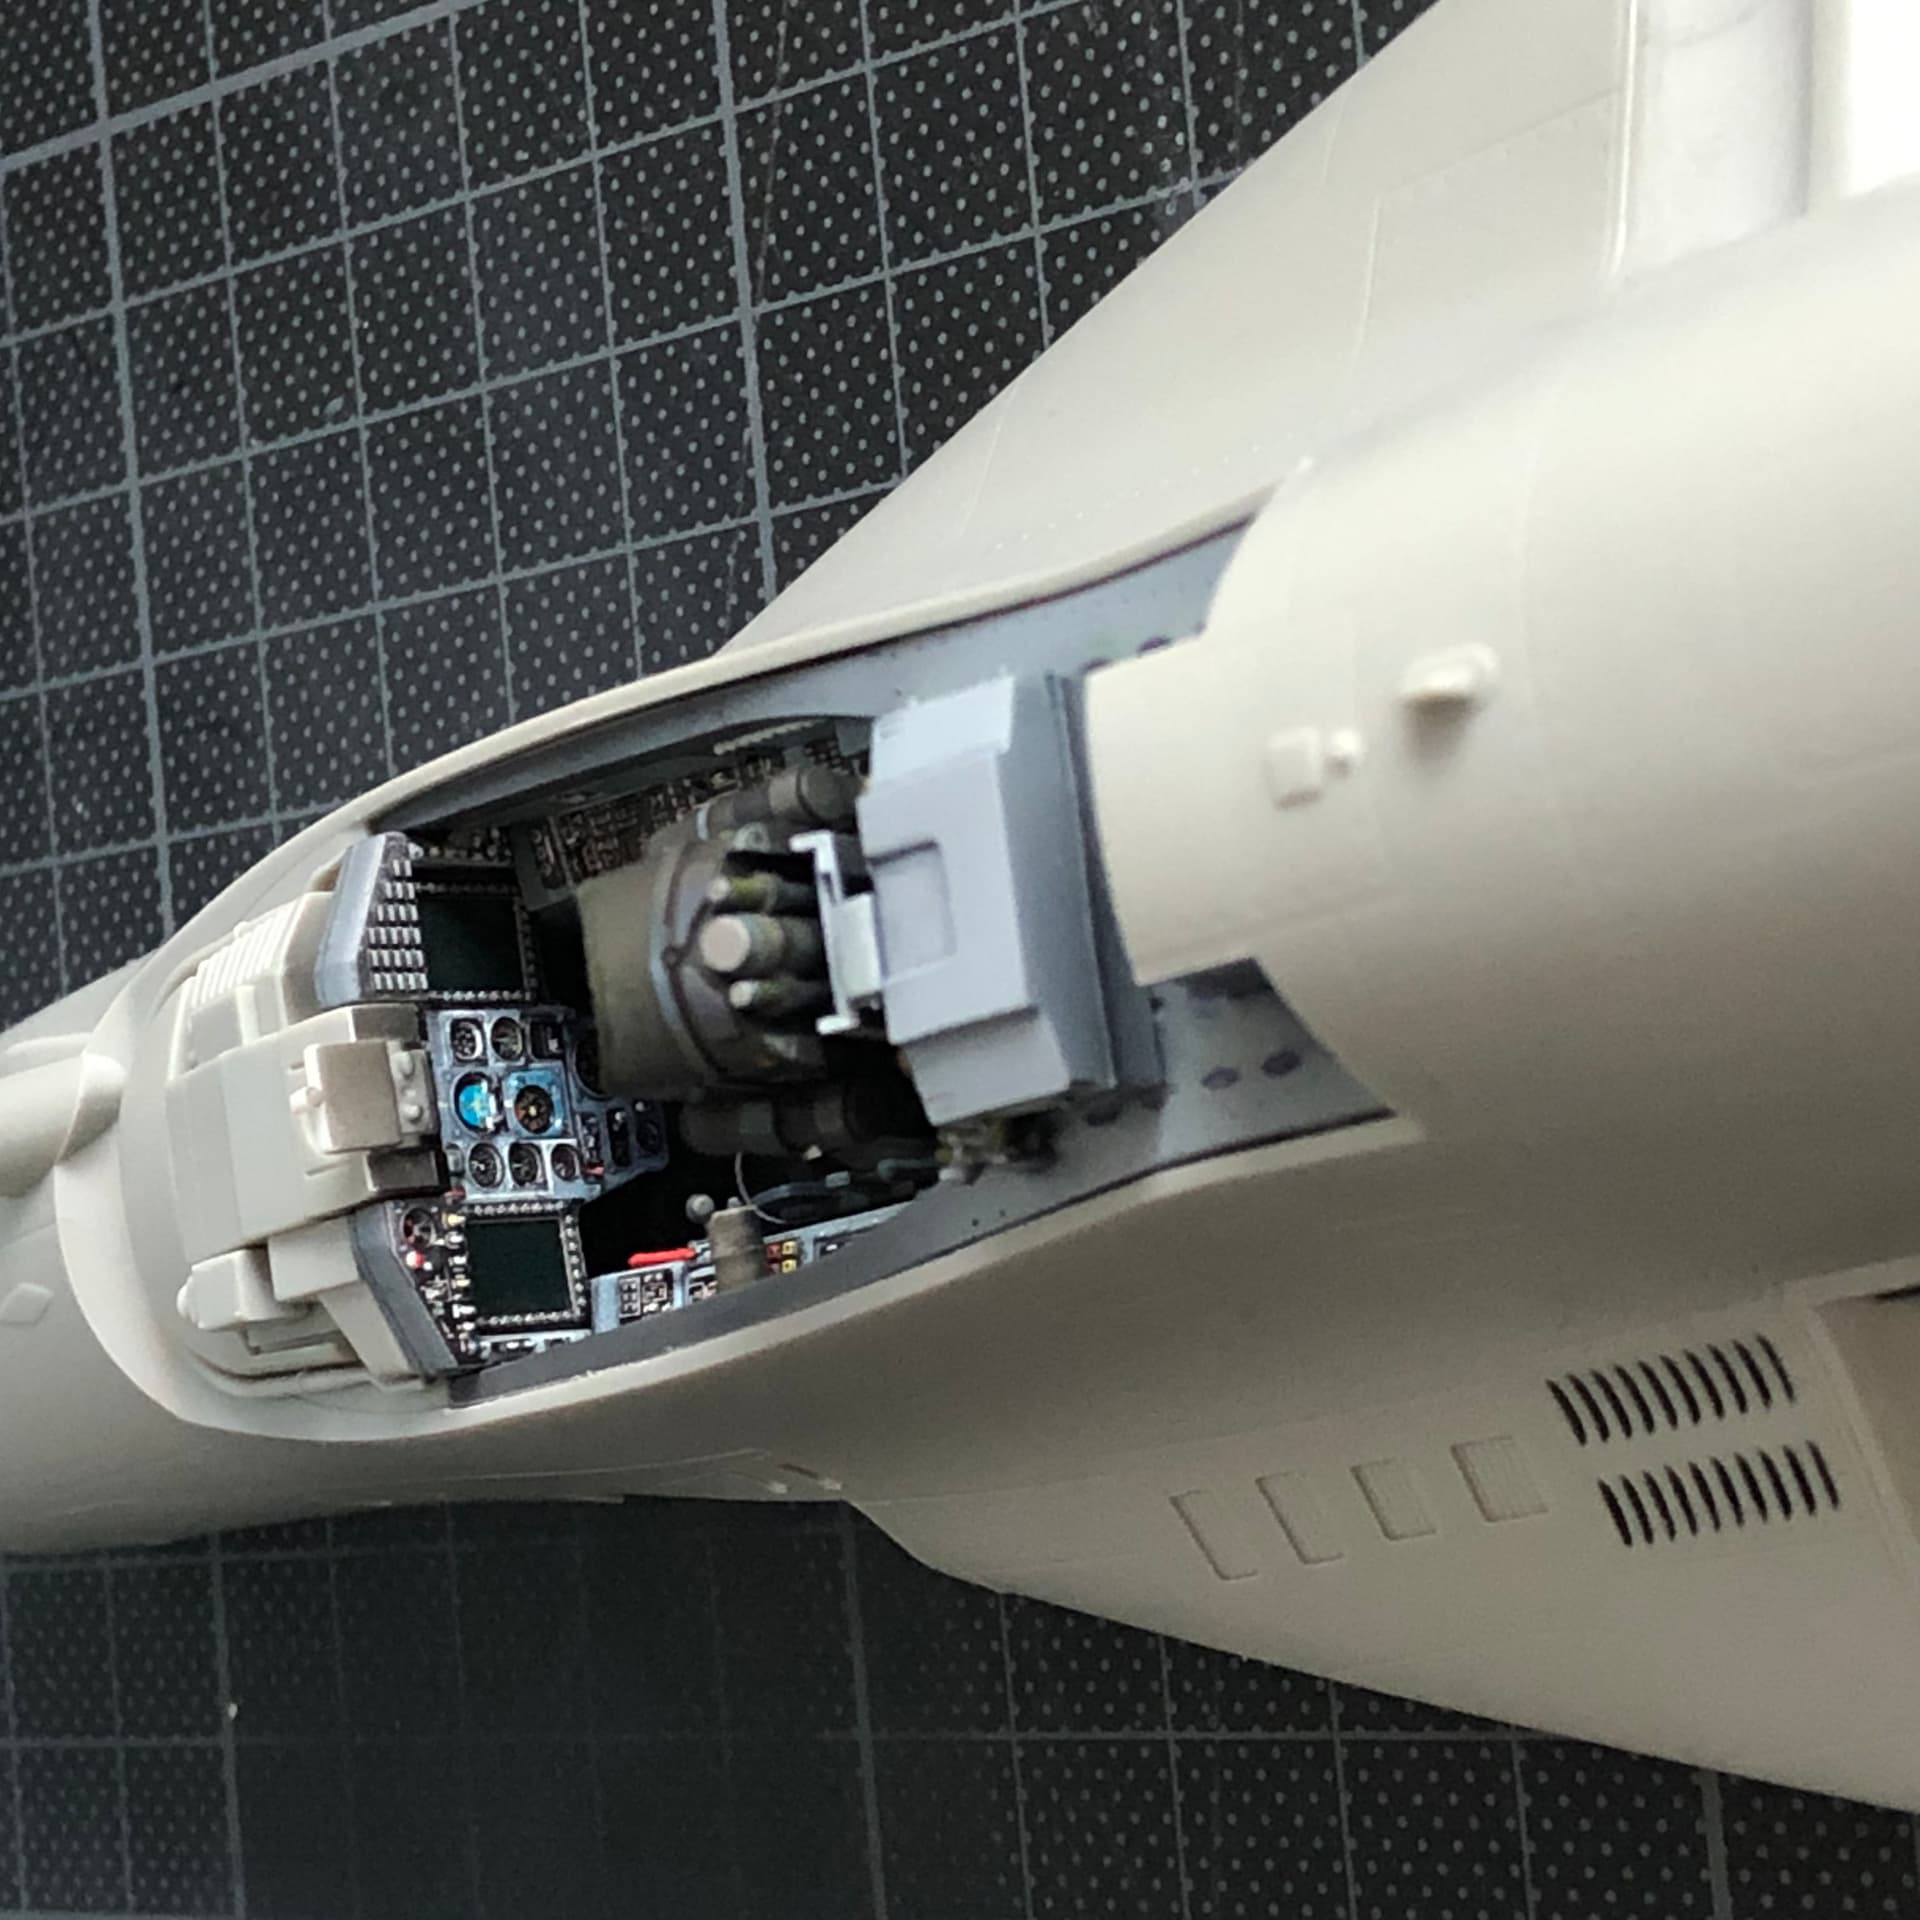
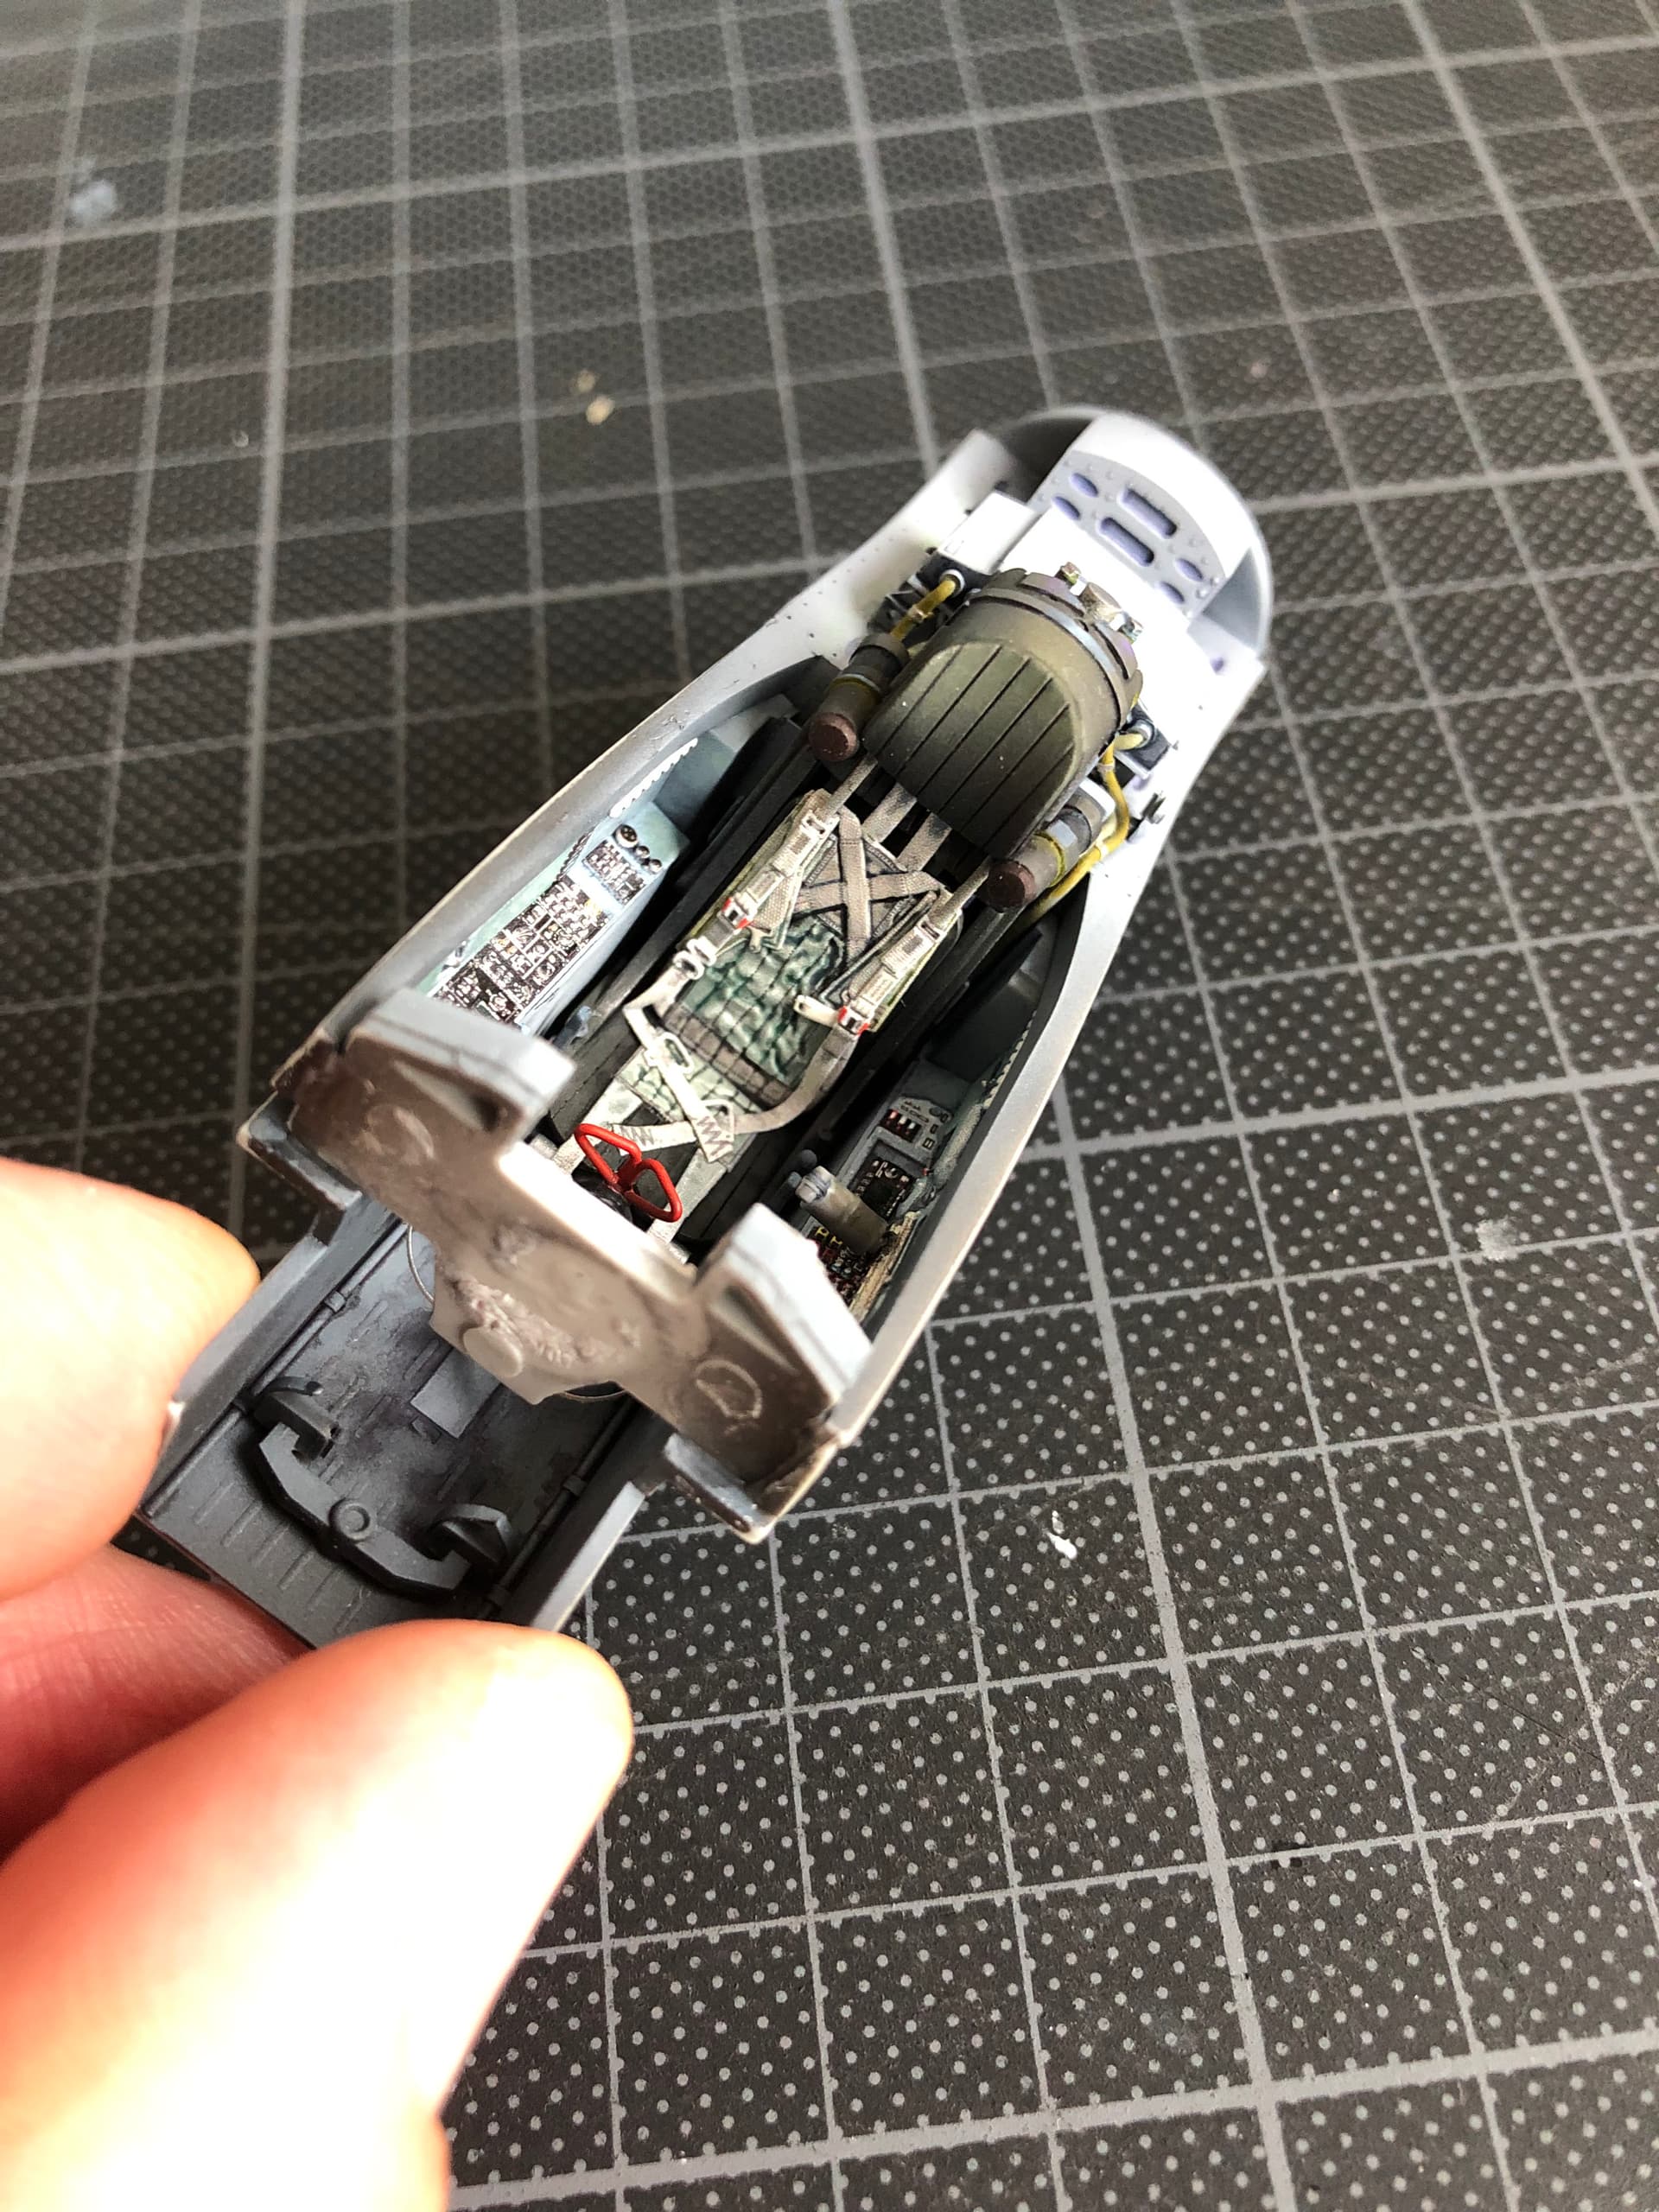
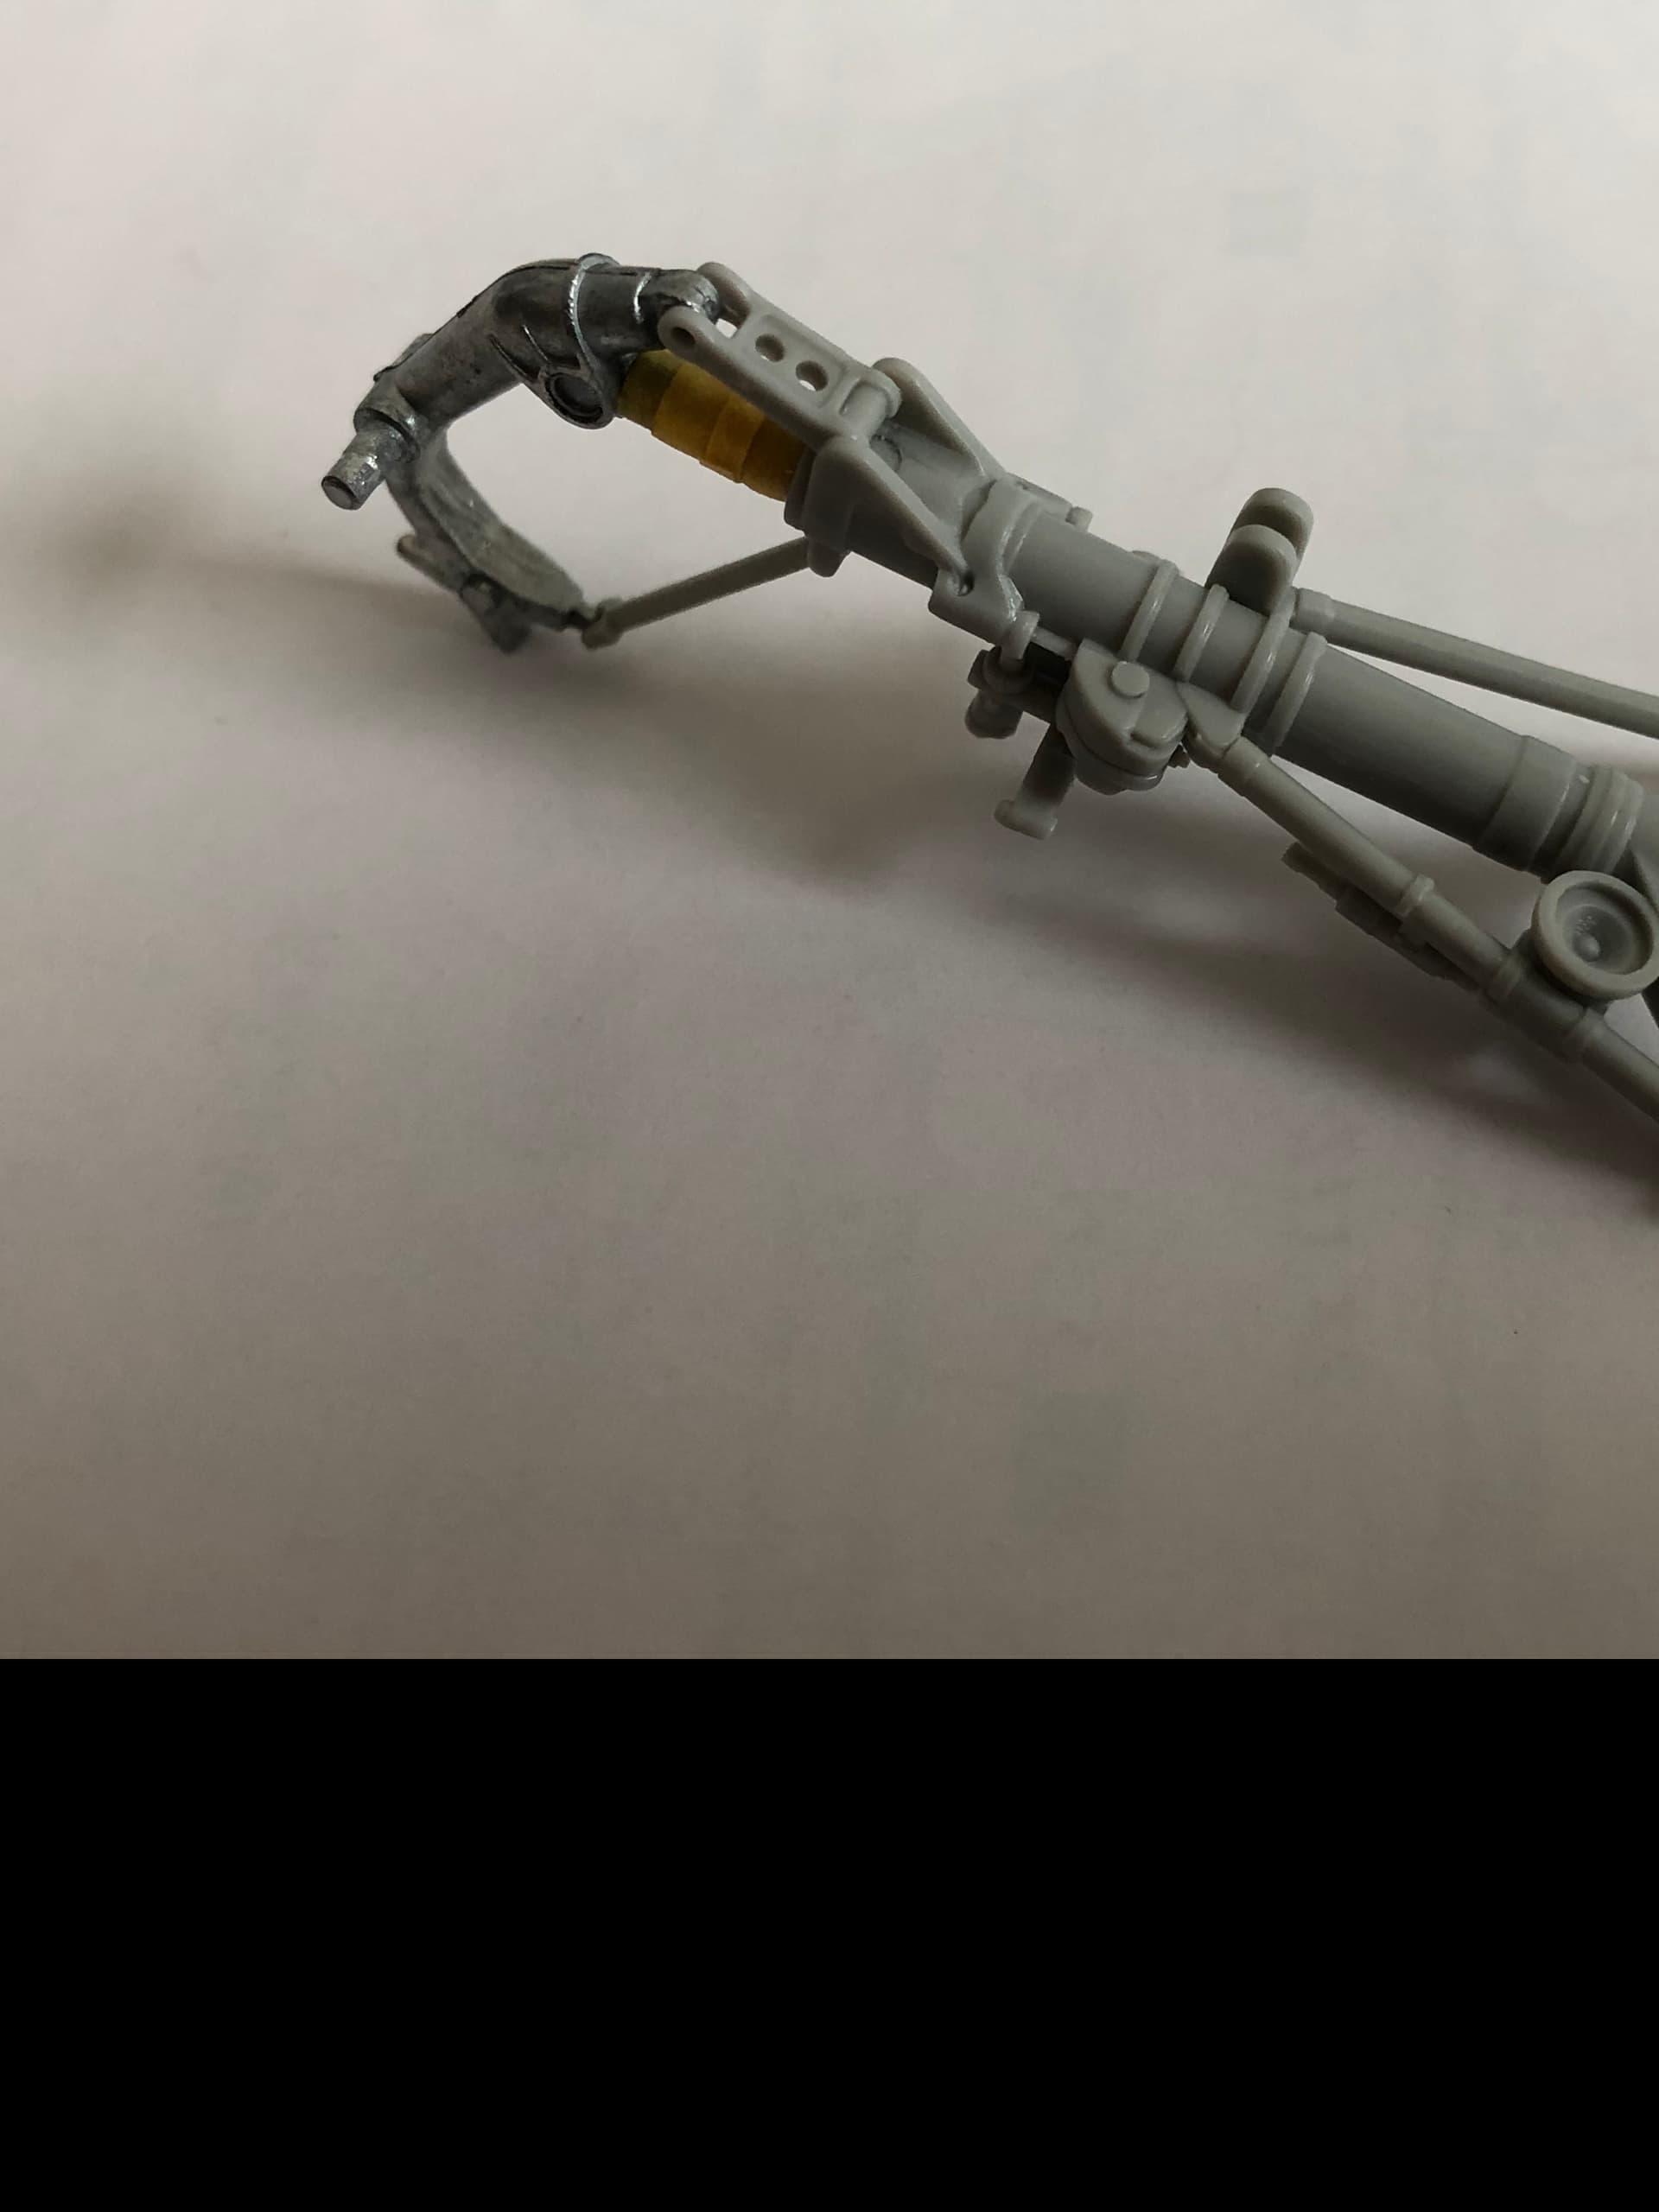
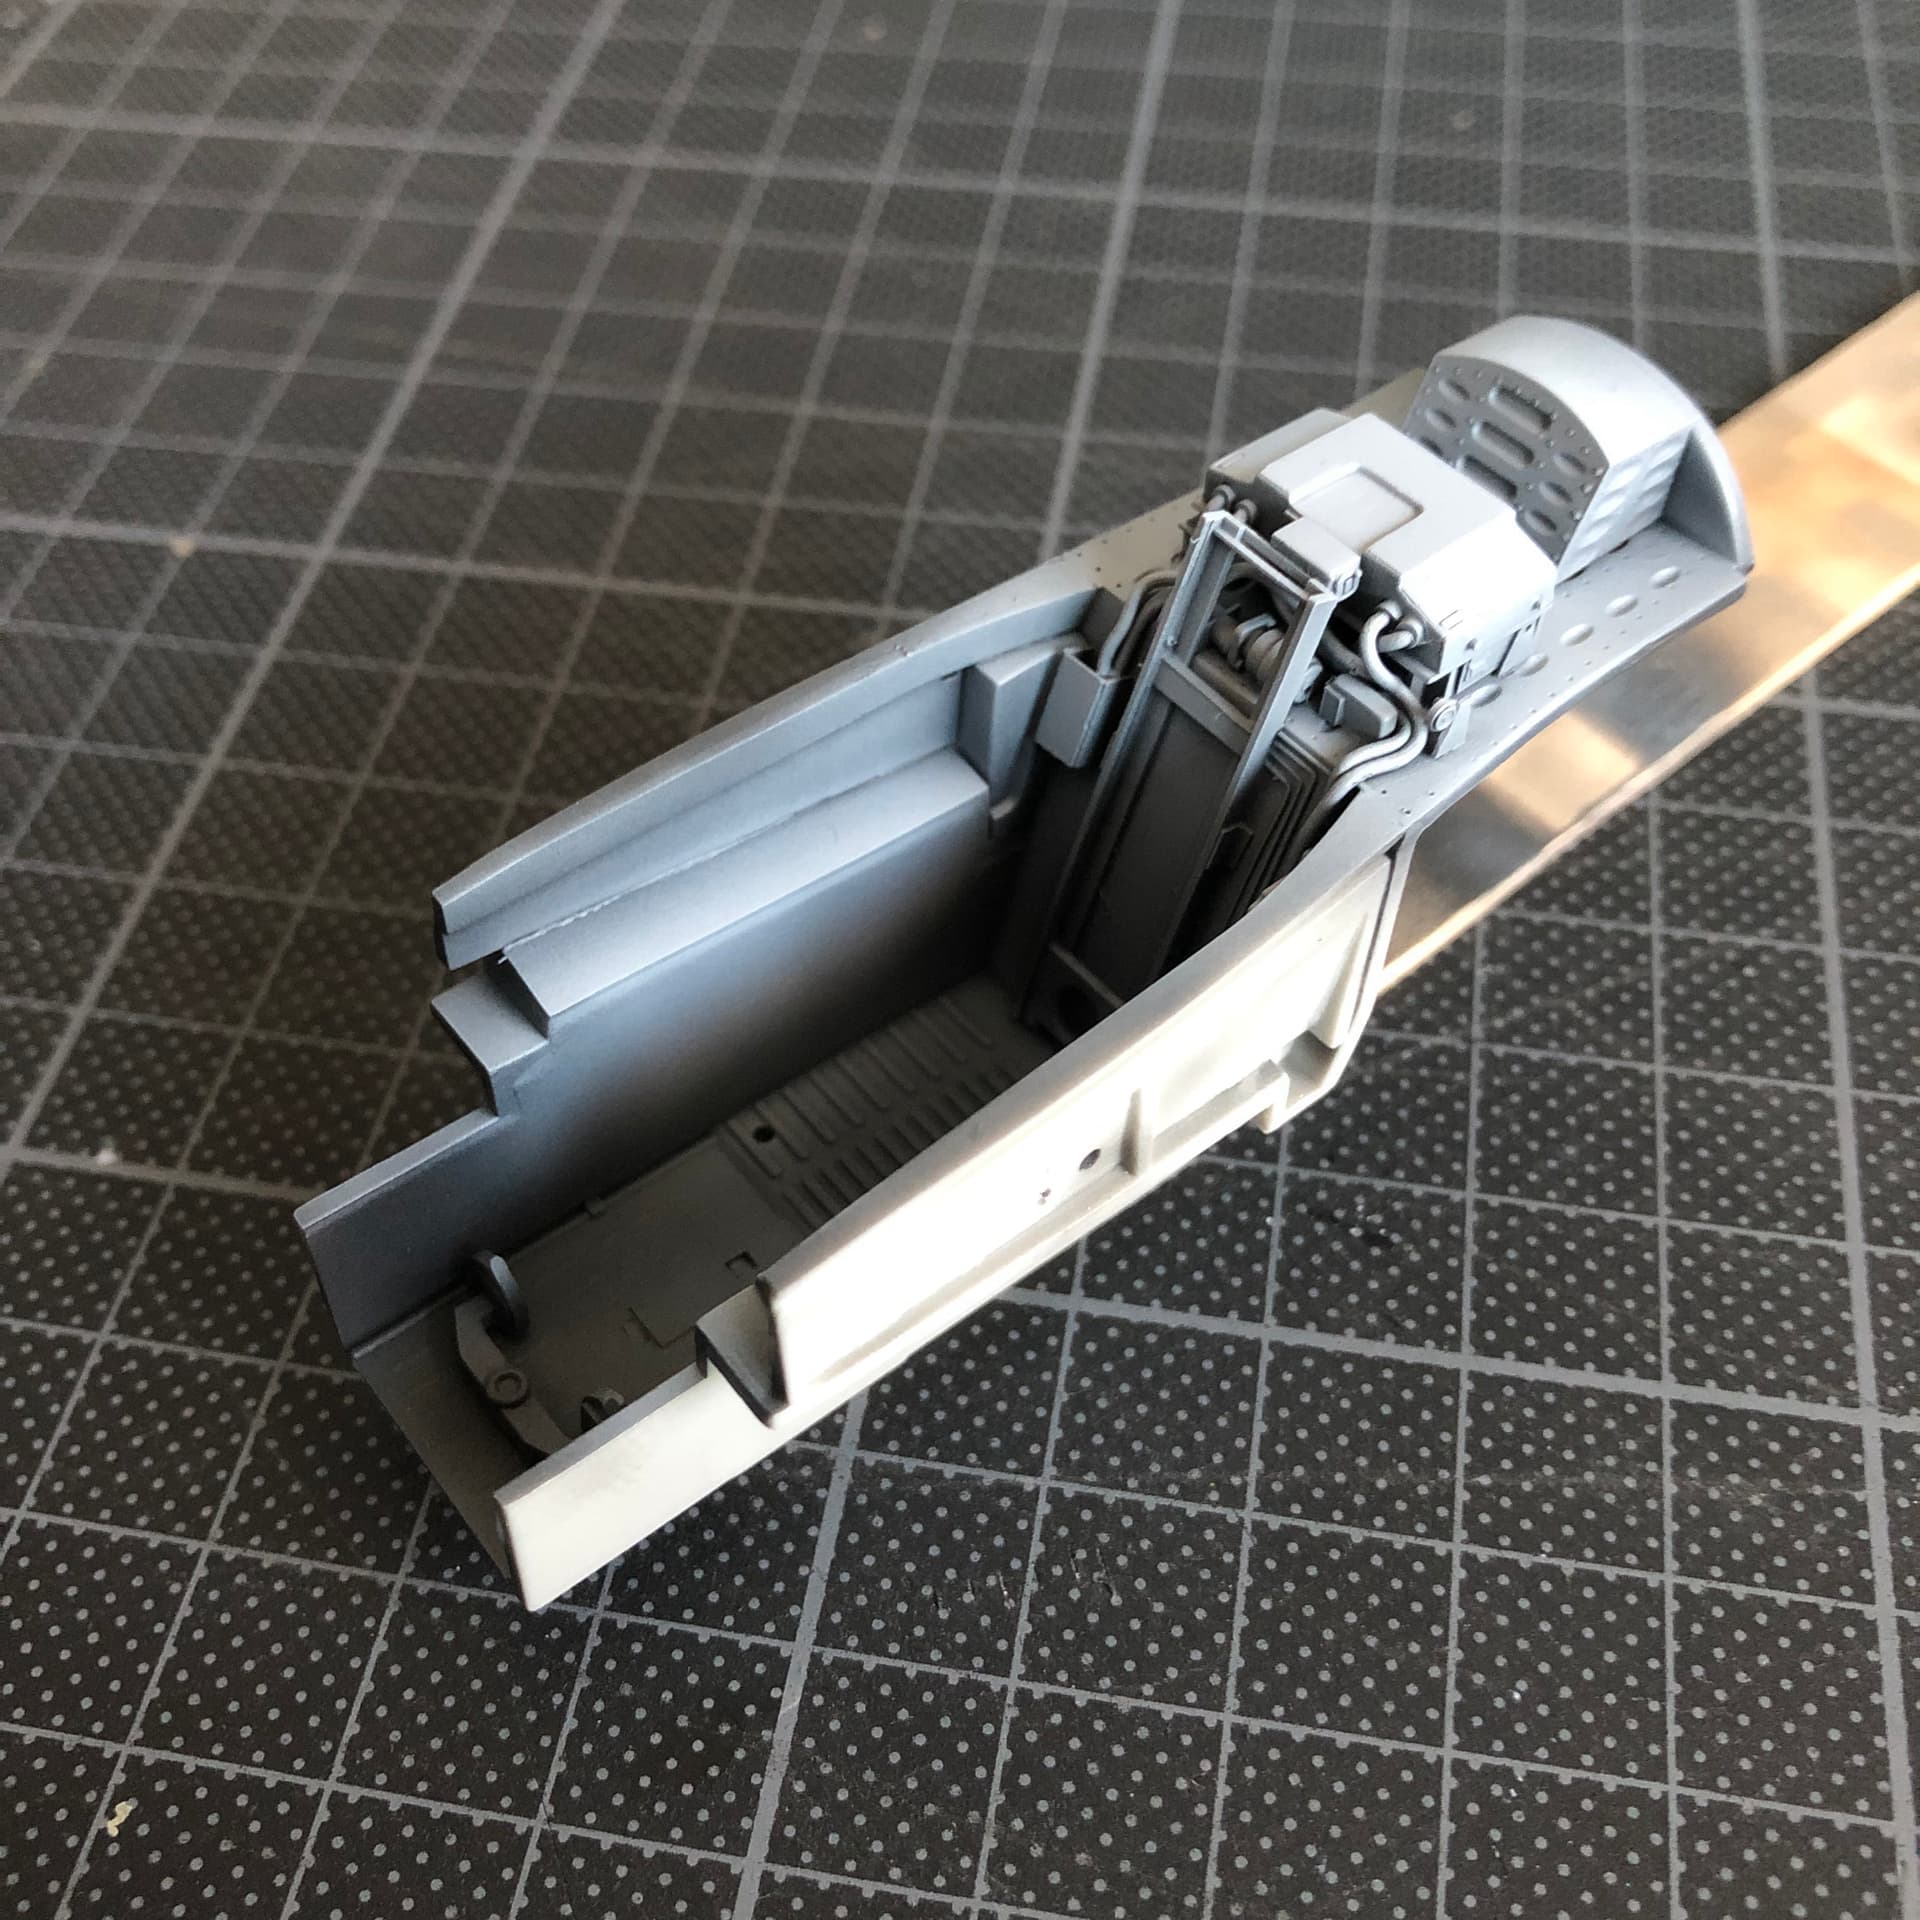
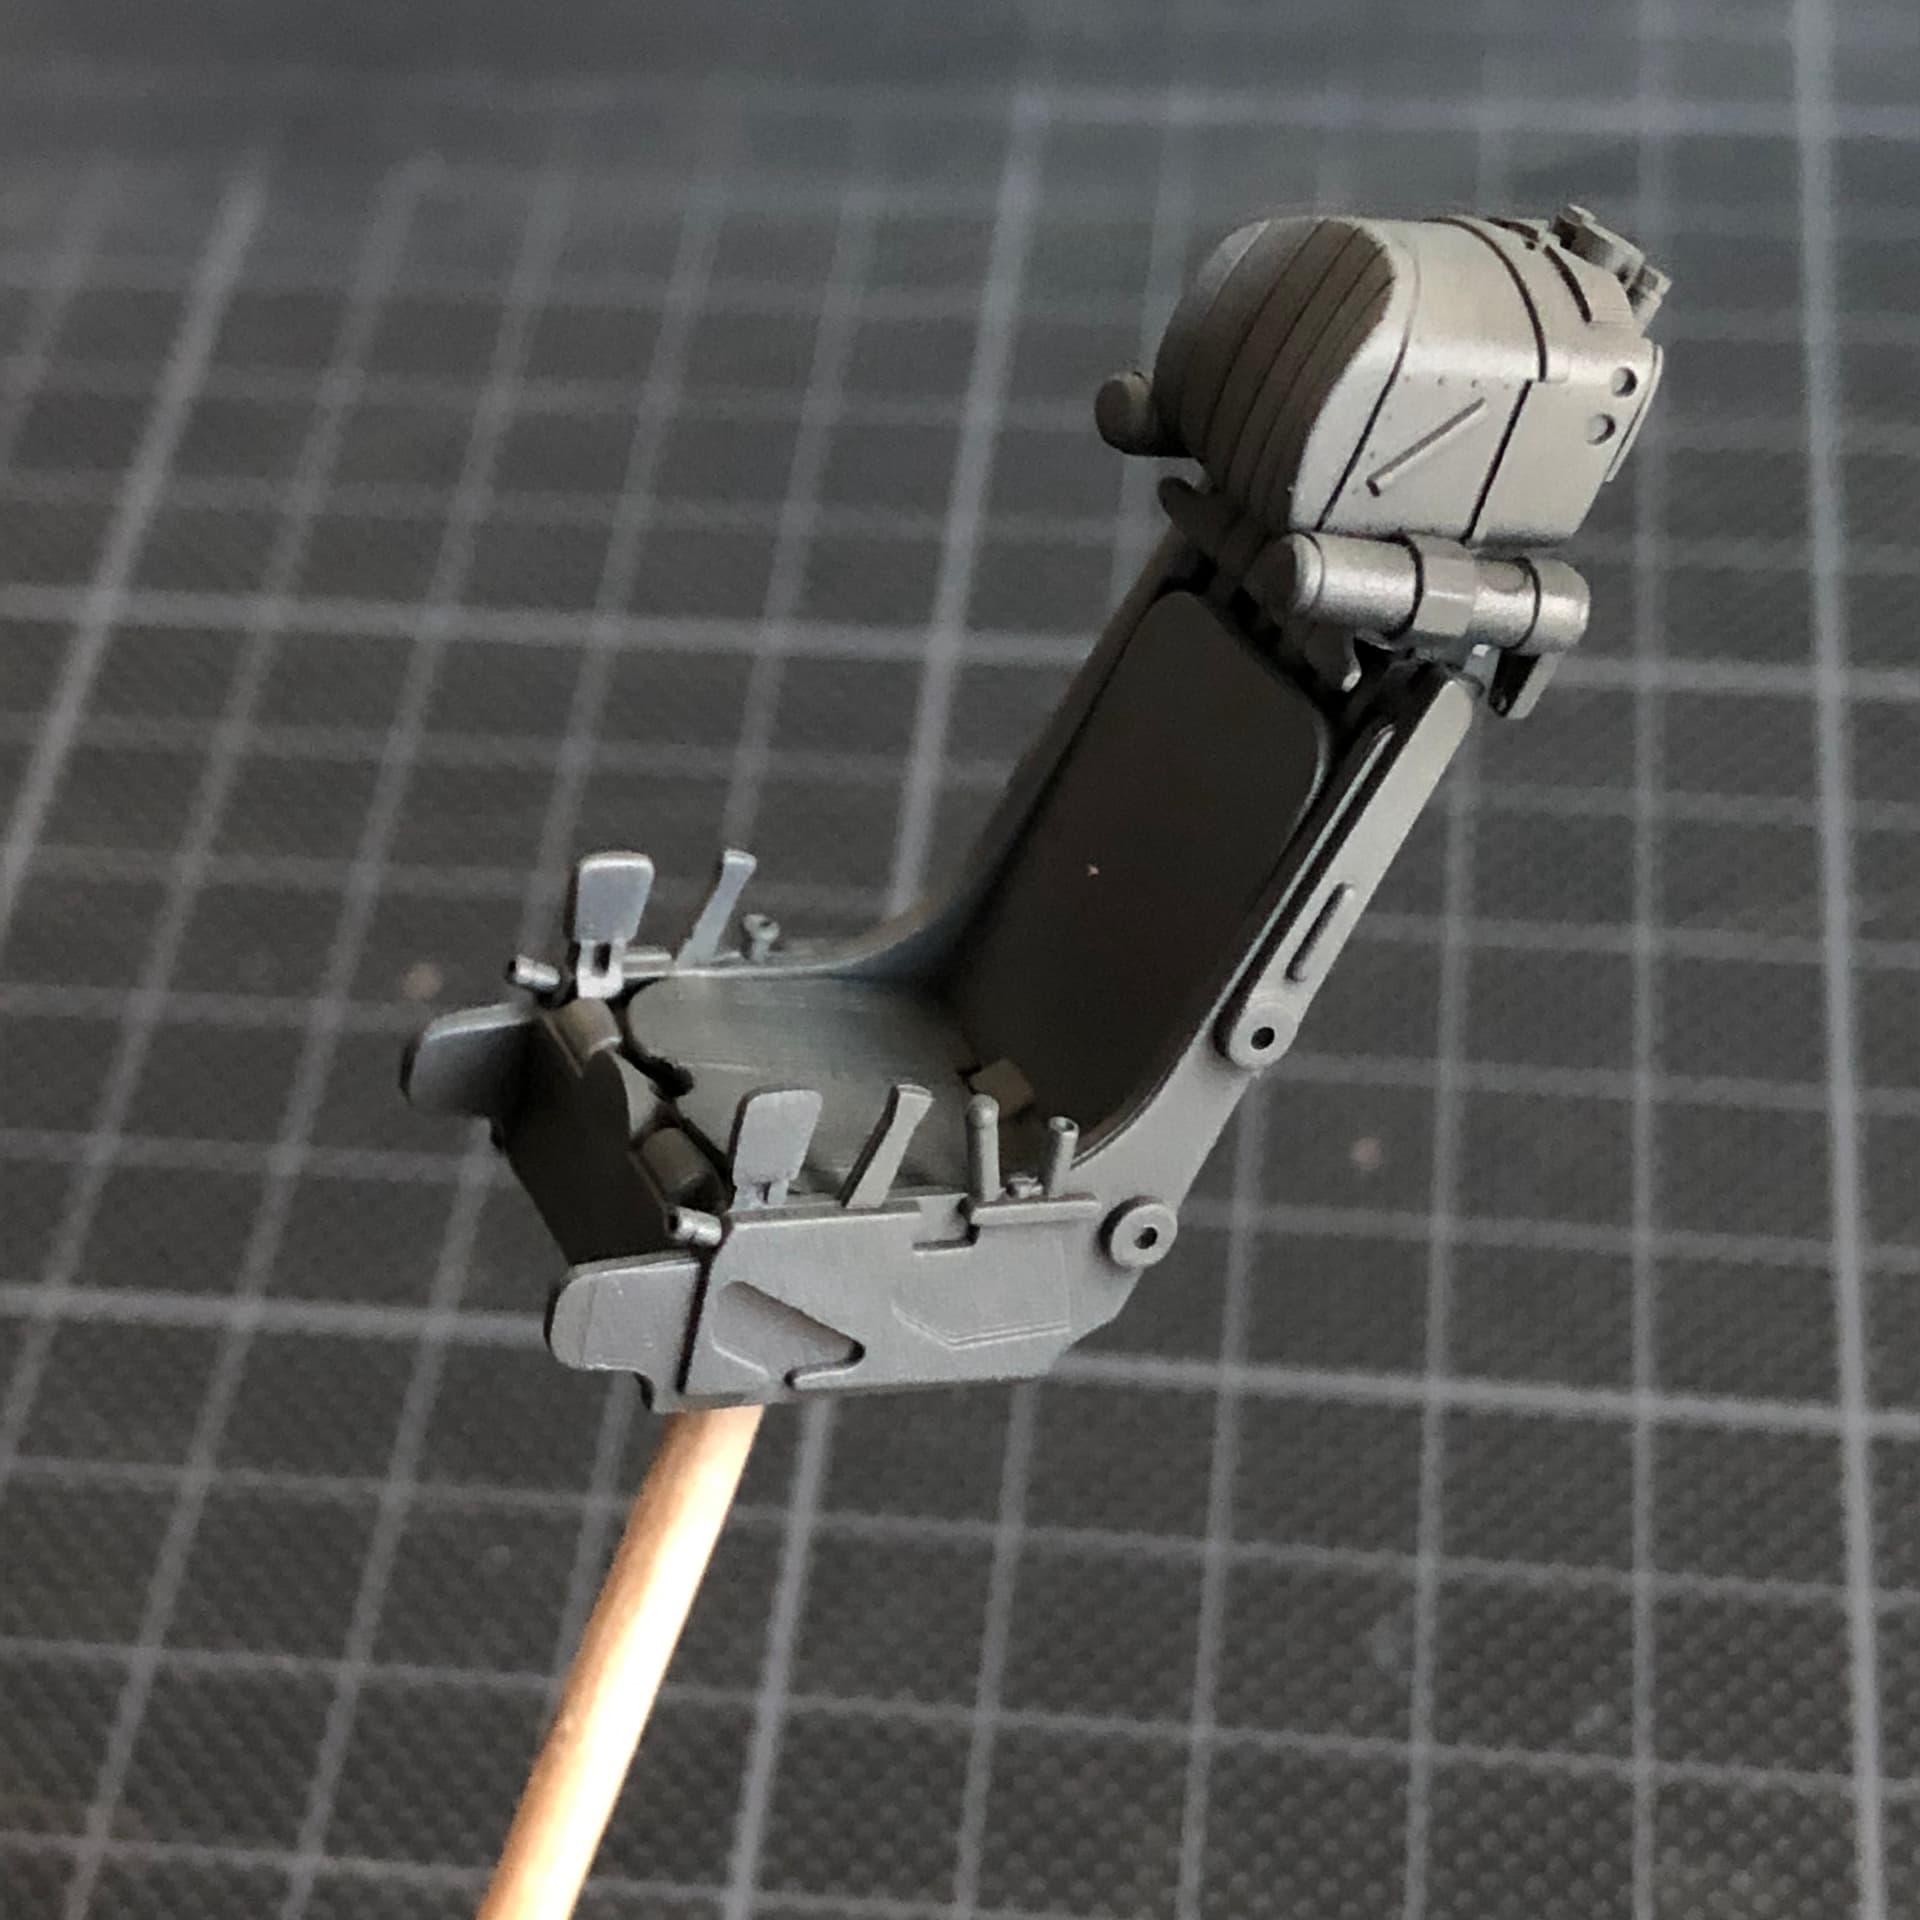
Thanks very much for dropping in. Yes, it’s all looking very, er… cockpity. There’s a little more to do, such as adding the Quinta details to the circuit breaker box behind the ejector seat, and placing the joystick. Even so, I think the end is in sight now, for this part at least. With the cockpit tub and ejector seat just pushed into place, you get an idea of the finished look.

I’ve been reflection on using the Quinta 3D parts, and I here’s my personal experience in case you are going to use them too:

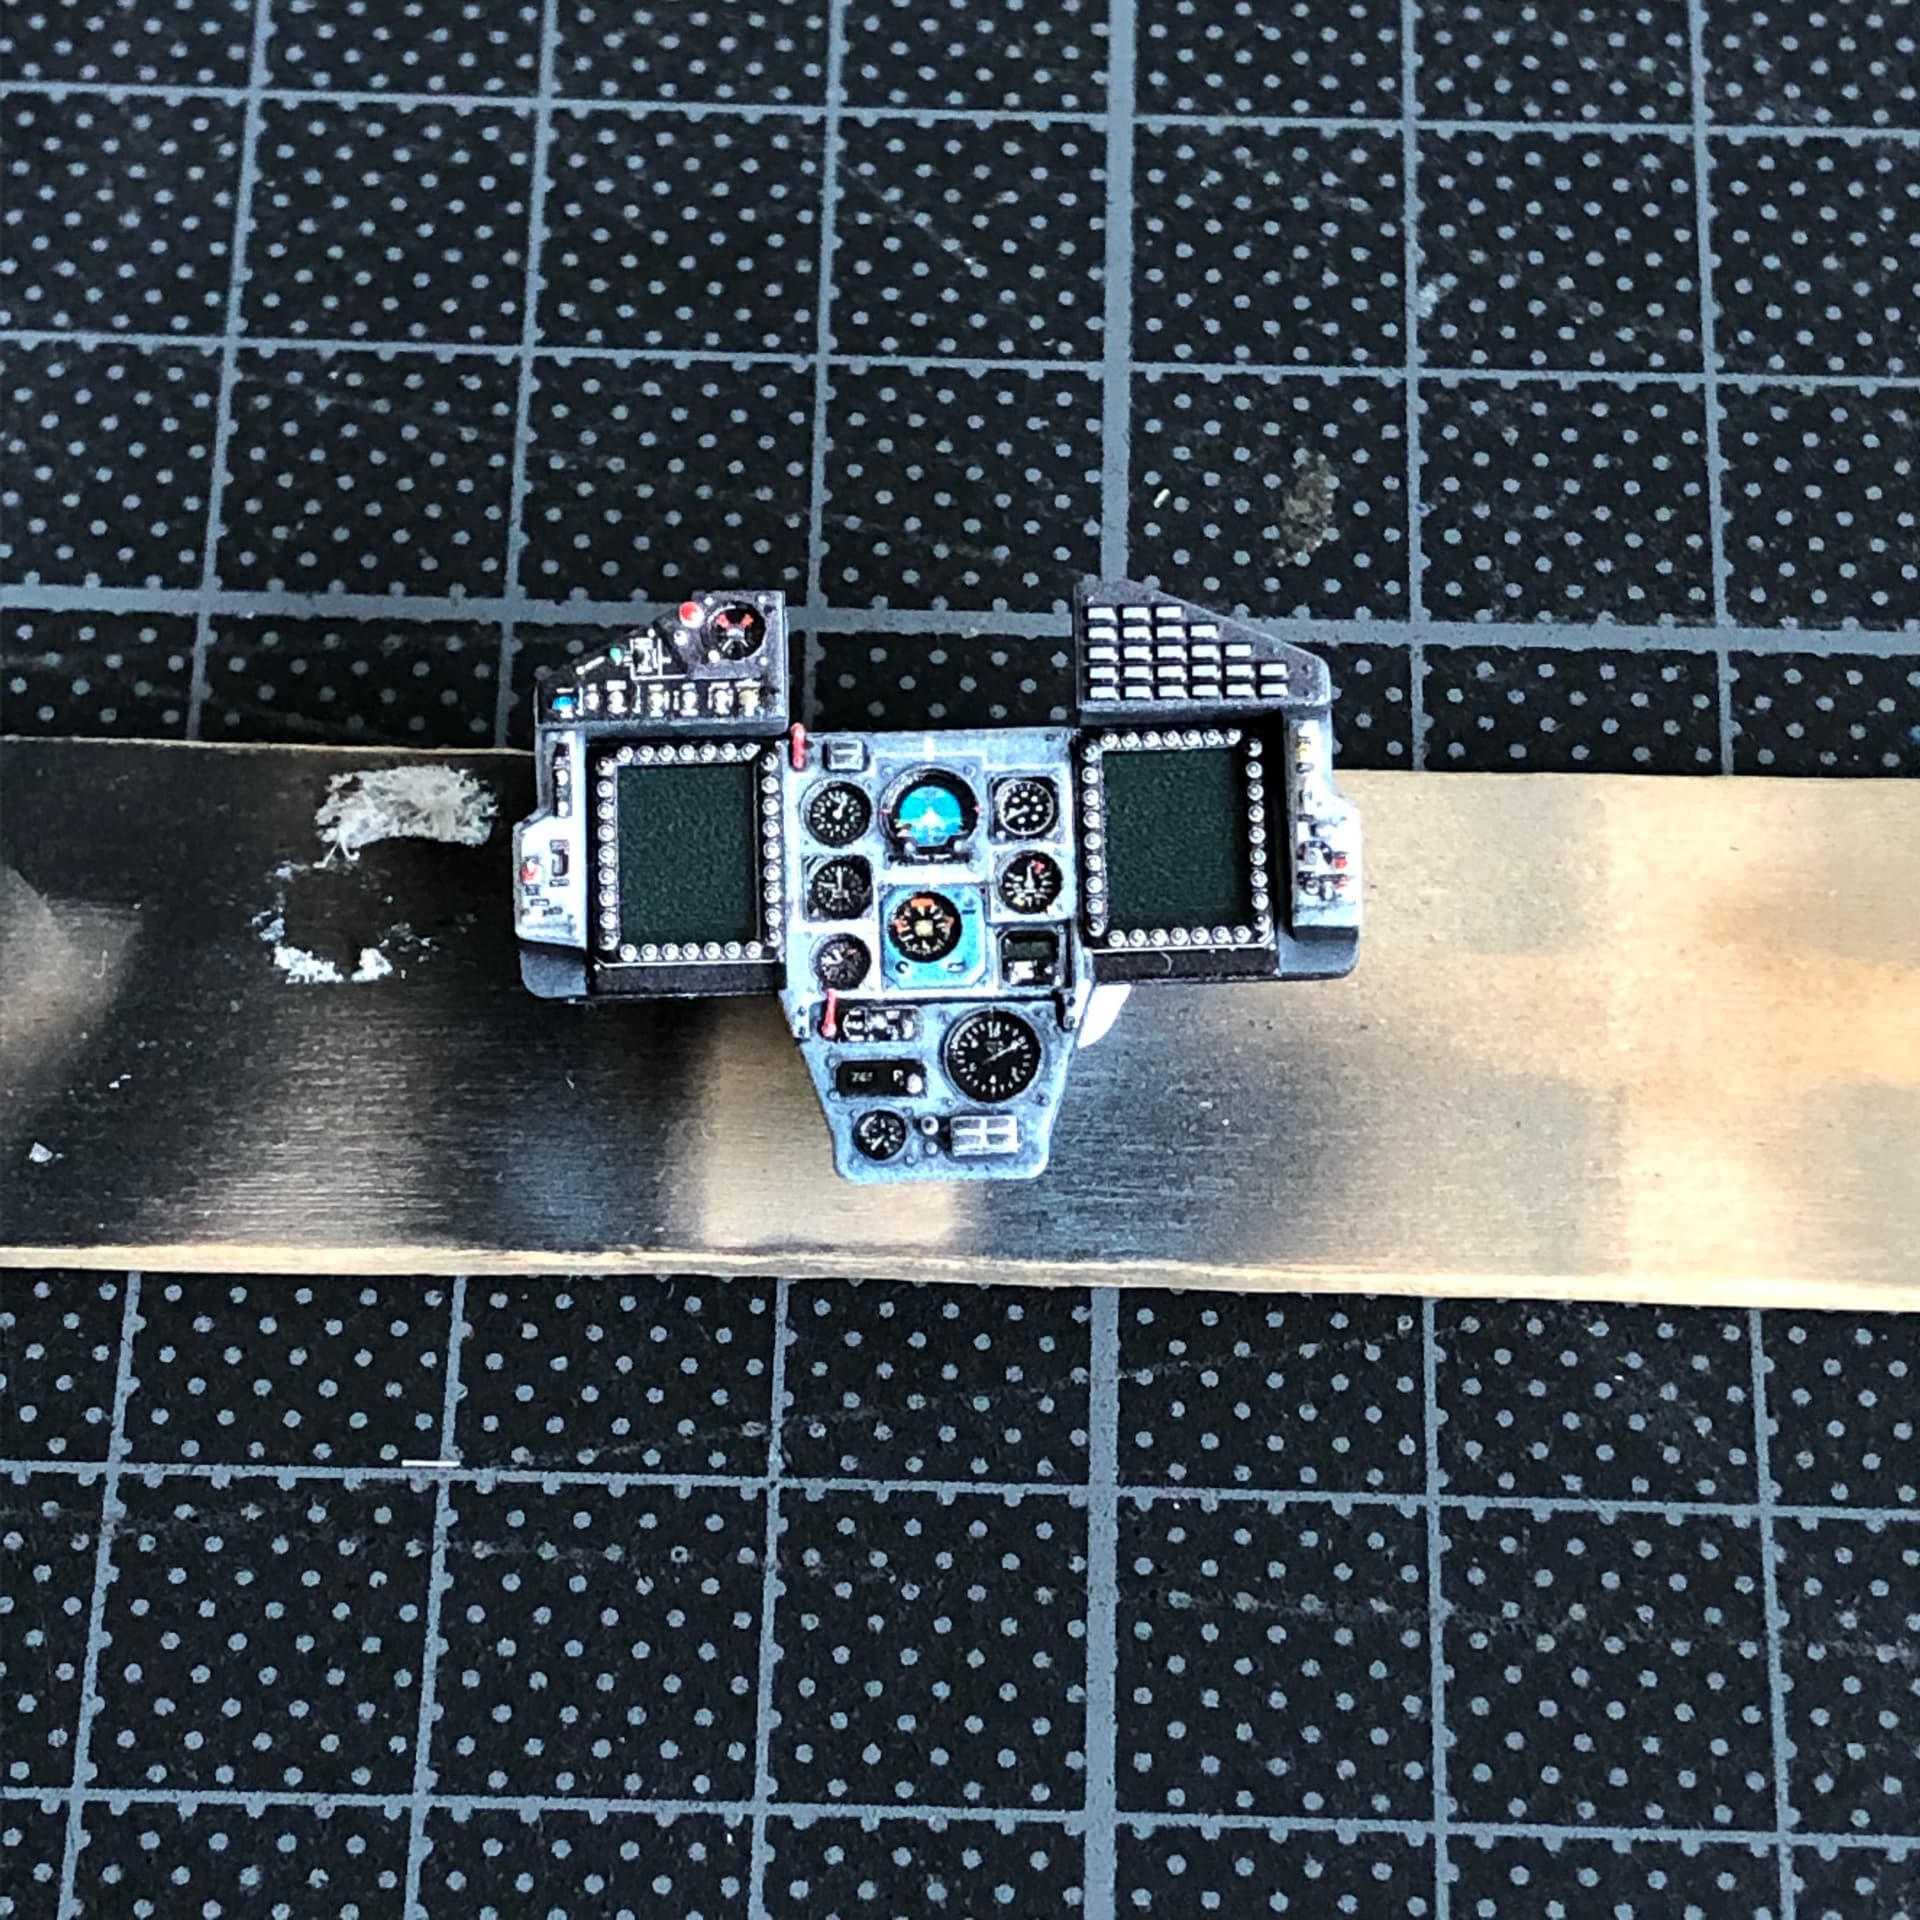
The level of detail is extraordinary. It takes some magnification to appreciate the smaller details, and from naked-eye viewing distance they really do add a busy feel. From that point of view they’re a step up from, say, coloured photo-etch or a combination of moulded plastic and decals.

The colour sometimes misses vertical surfaces, for example there are buttons with a red top but white side. You can see the same inside the dials too.

The vinyl material sticks well with PVA glue. I used PVA on all the parts even the smallest. The only exception was a tiny handle where I used CA instead. No problems either way.

The parts behave like a thick decal. They are very flexible, floppy even, and sit very well on smooth surfaces. The same flexibility applies to the small details of course.

Parts can break, particularly those with thin sections. I had a couple of pieces fall apart - maybe it was me being ham-fisted - but the vinyl is definitely more fragile than plastic or PE.

They take oil washes well. The shiny surface really helps oils to flow around details, and oils will tone down the shine once dry. I found this helped to integrate the Quinta parts with the painted areas. I didn’t try acrylics, but I think water based products might bead up on the shiny surface, so maybe a varnish first would help.

Finally, the fit. Generally it is very good and matched well to the kit parts. Even so, in places where dials but up against each other at an angle, the dense detail can actually prevent a good fit. Some trimming was needed.

So, would I use them again? Honestly, for my style, I probably wouldn’t. I really enjoy painting and weathering, and while there’s no doubt that the Quinta detail is phenomenal, I didn’t find the process satisfying. I also had to compromise my plan to go big on the colour modulation in the cockpit, just to end up with a coherent look. I’m not saying this is a bad product - the opposite is true - but for my preference I want to use paint techniques more.

Here’s a look:

5 Likes

Hi guys,

Happy New Year to you. I hope 2022 is treating you well.

My modelling New Year started with a diversion. I’ve been thinking about detailing cockpits and it led here:

I’ll be back to the Mig-29 shortly.

See ya soon.

1 Like

Hi guys,

It’s been a while, I know. That experiment with the SU-17 cockpit got me hooked on building it, so now I’m going to try and progress the Mig and the Sukhoi at the same time. I’m usually a ‘one-build-at-a-time’ guy, so as I said on the other thread - wish me luck!

I have some progress to post here. It’s coming soon.

Happy modelling, chaps.

Good morning guys,
Under the world circumstances right now, I don’t have the heart to continue this build. It’s going on pause.
I hope you stay safe and well,
Steve.

2 Likes