USMC Mk. 23 Truck from Trumpeter

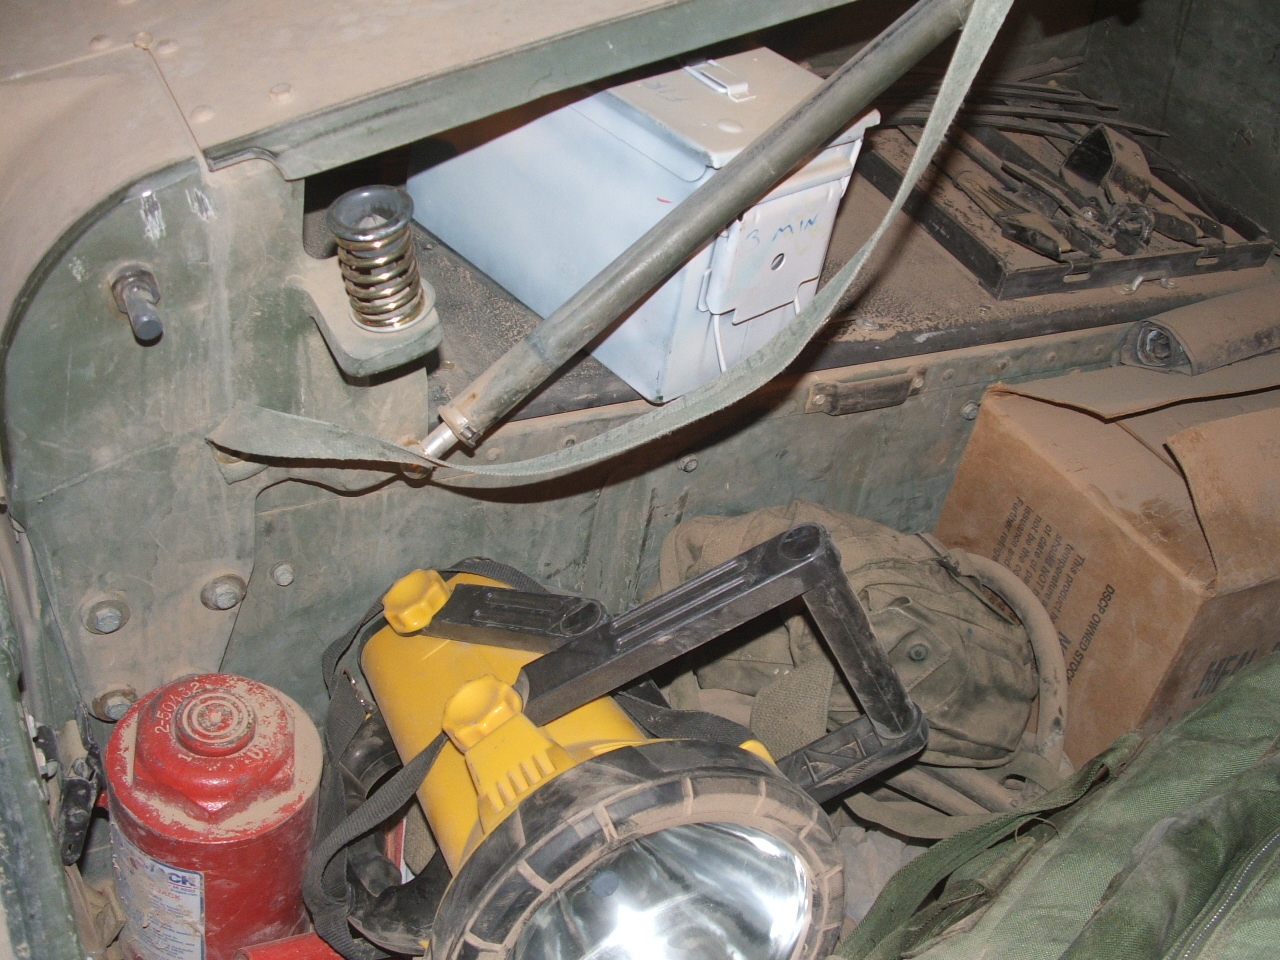
We were several hours away from maintenance through Indian country. We carried a bottle jack and a bumper jack. Two is one, one is none.


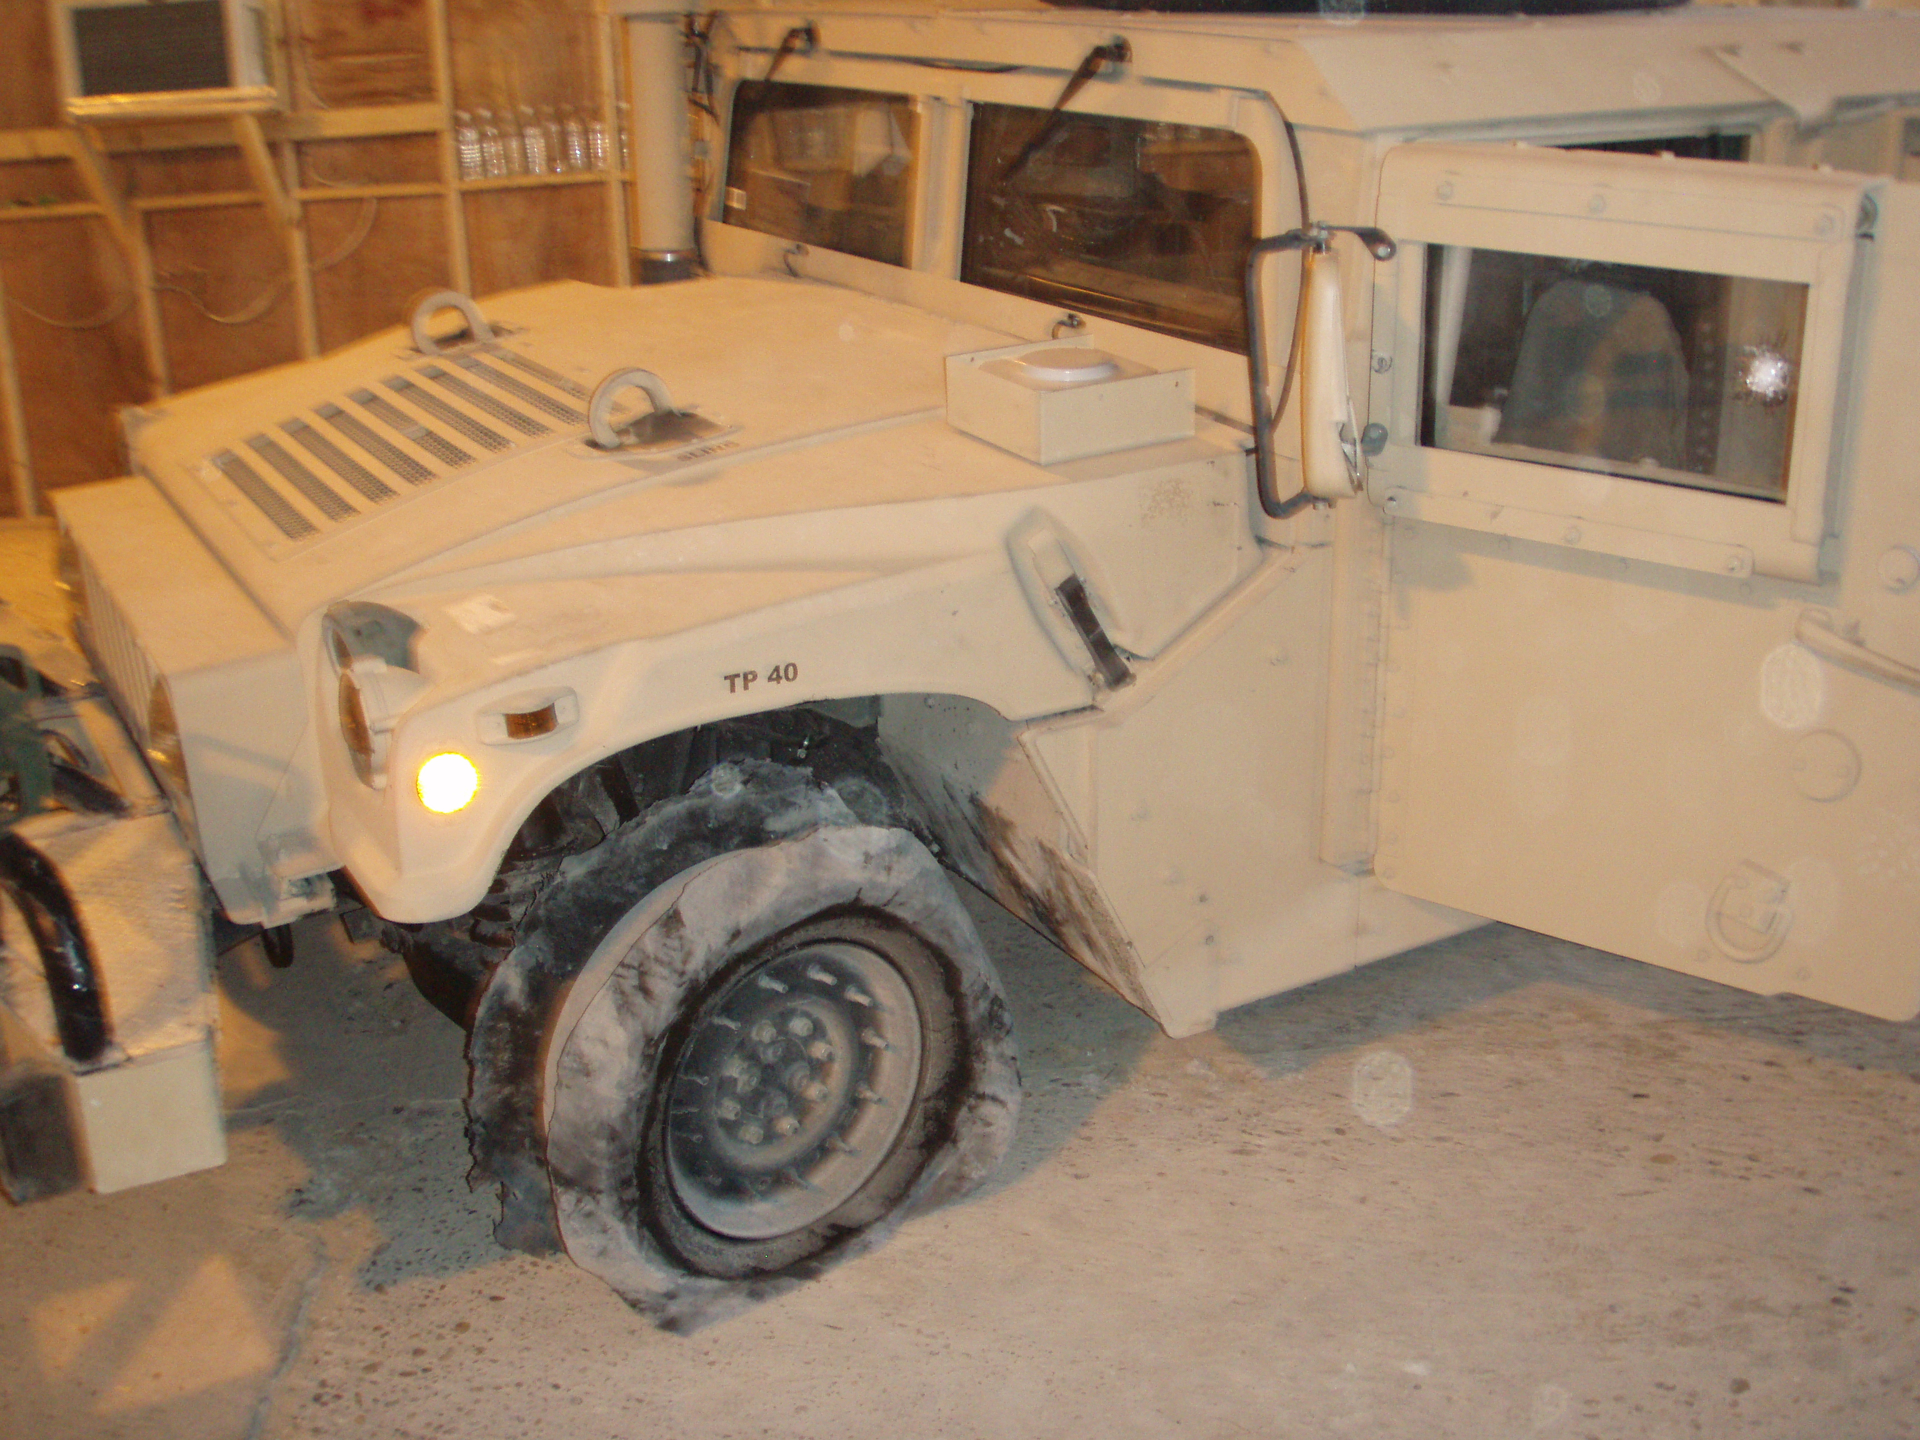
I have posted a photo before of one of our run-flats, which was in pretty gnarly shape - the result of some shenanigans. I’ll see if I can find it.

I’m going to suggest a bottle jack somewhere on your truck, and maybe some lengths of four by four.

Ah - found it!

14 Likes

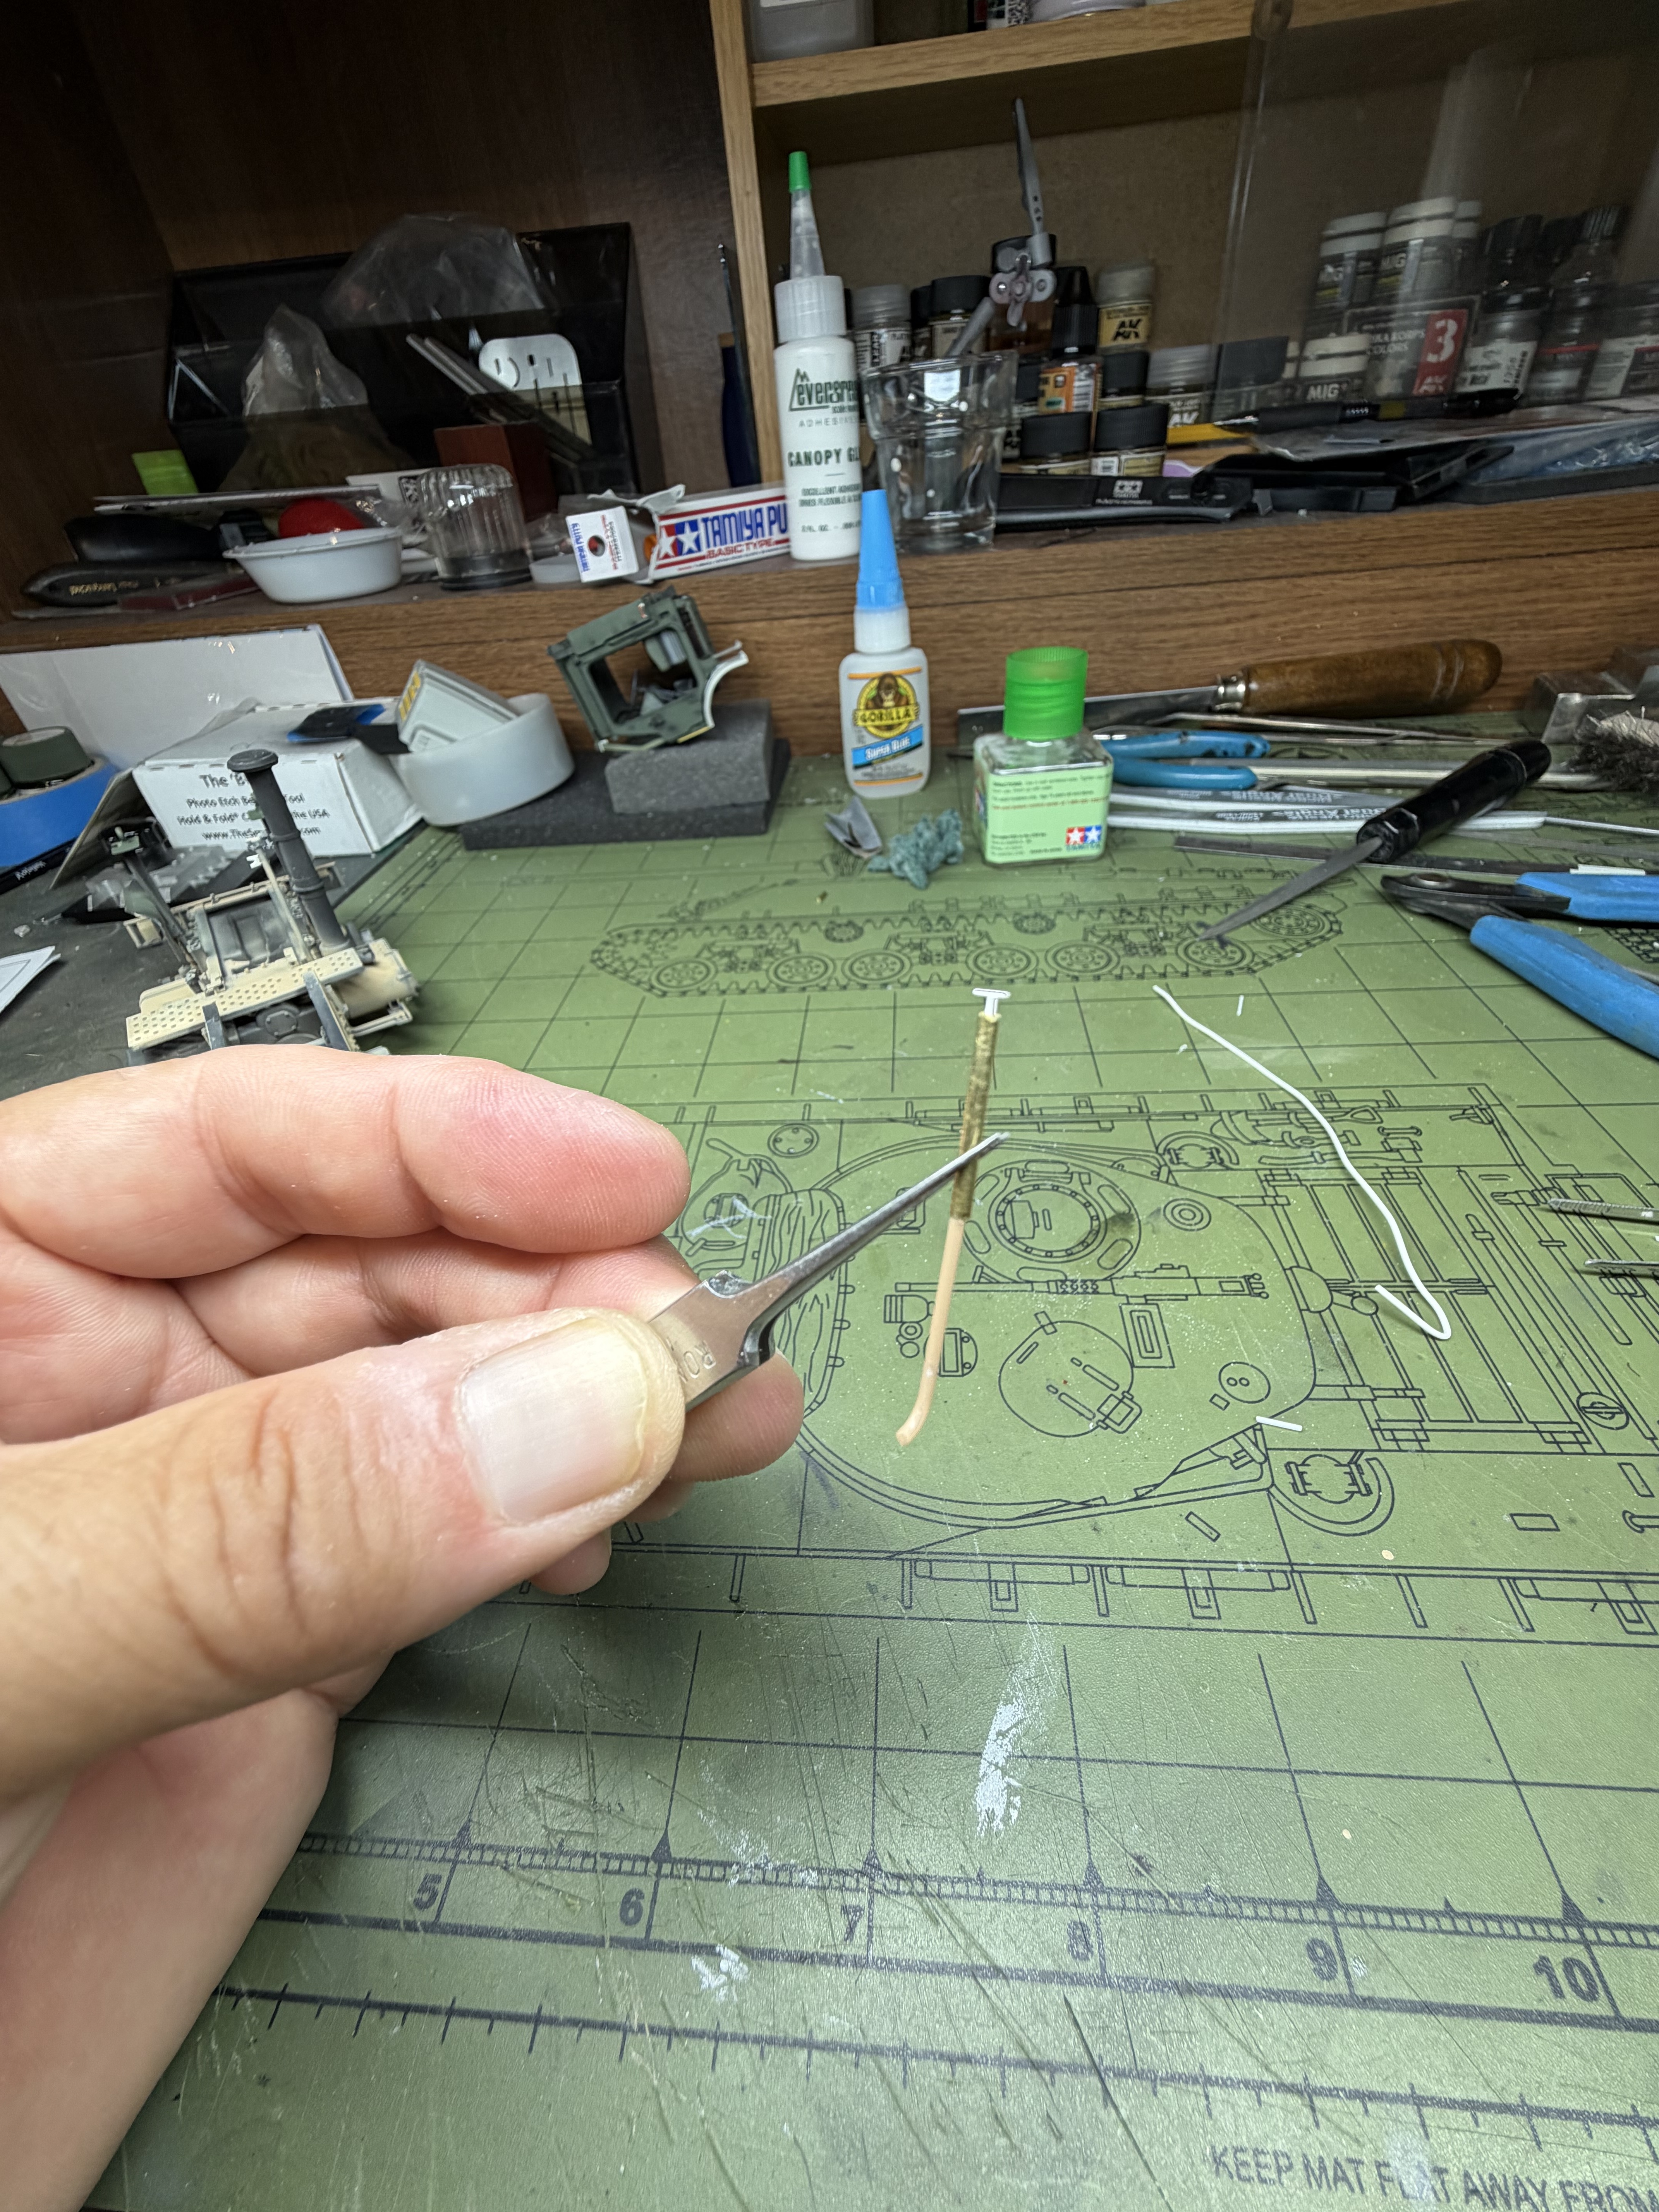
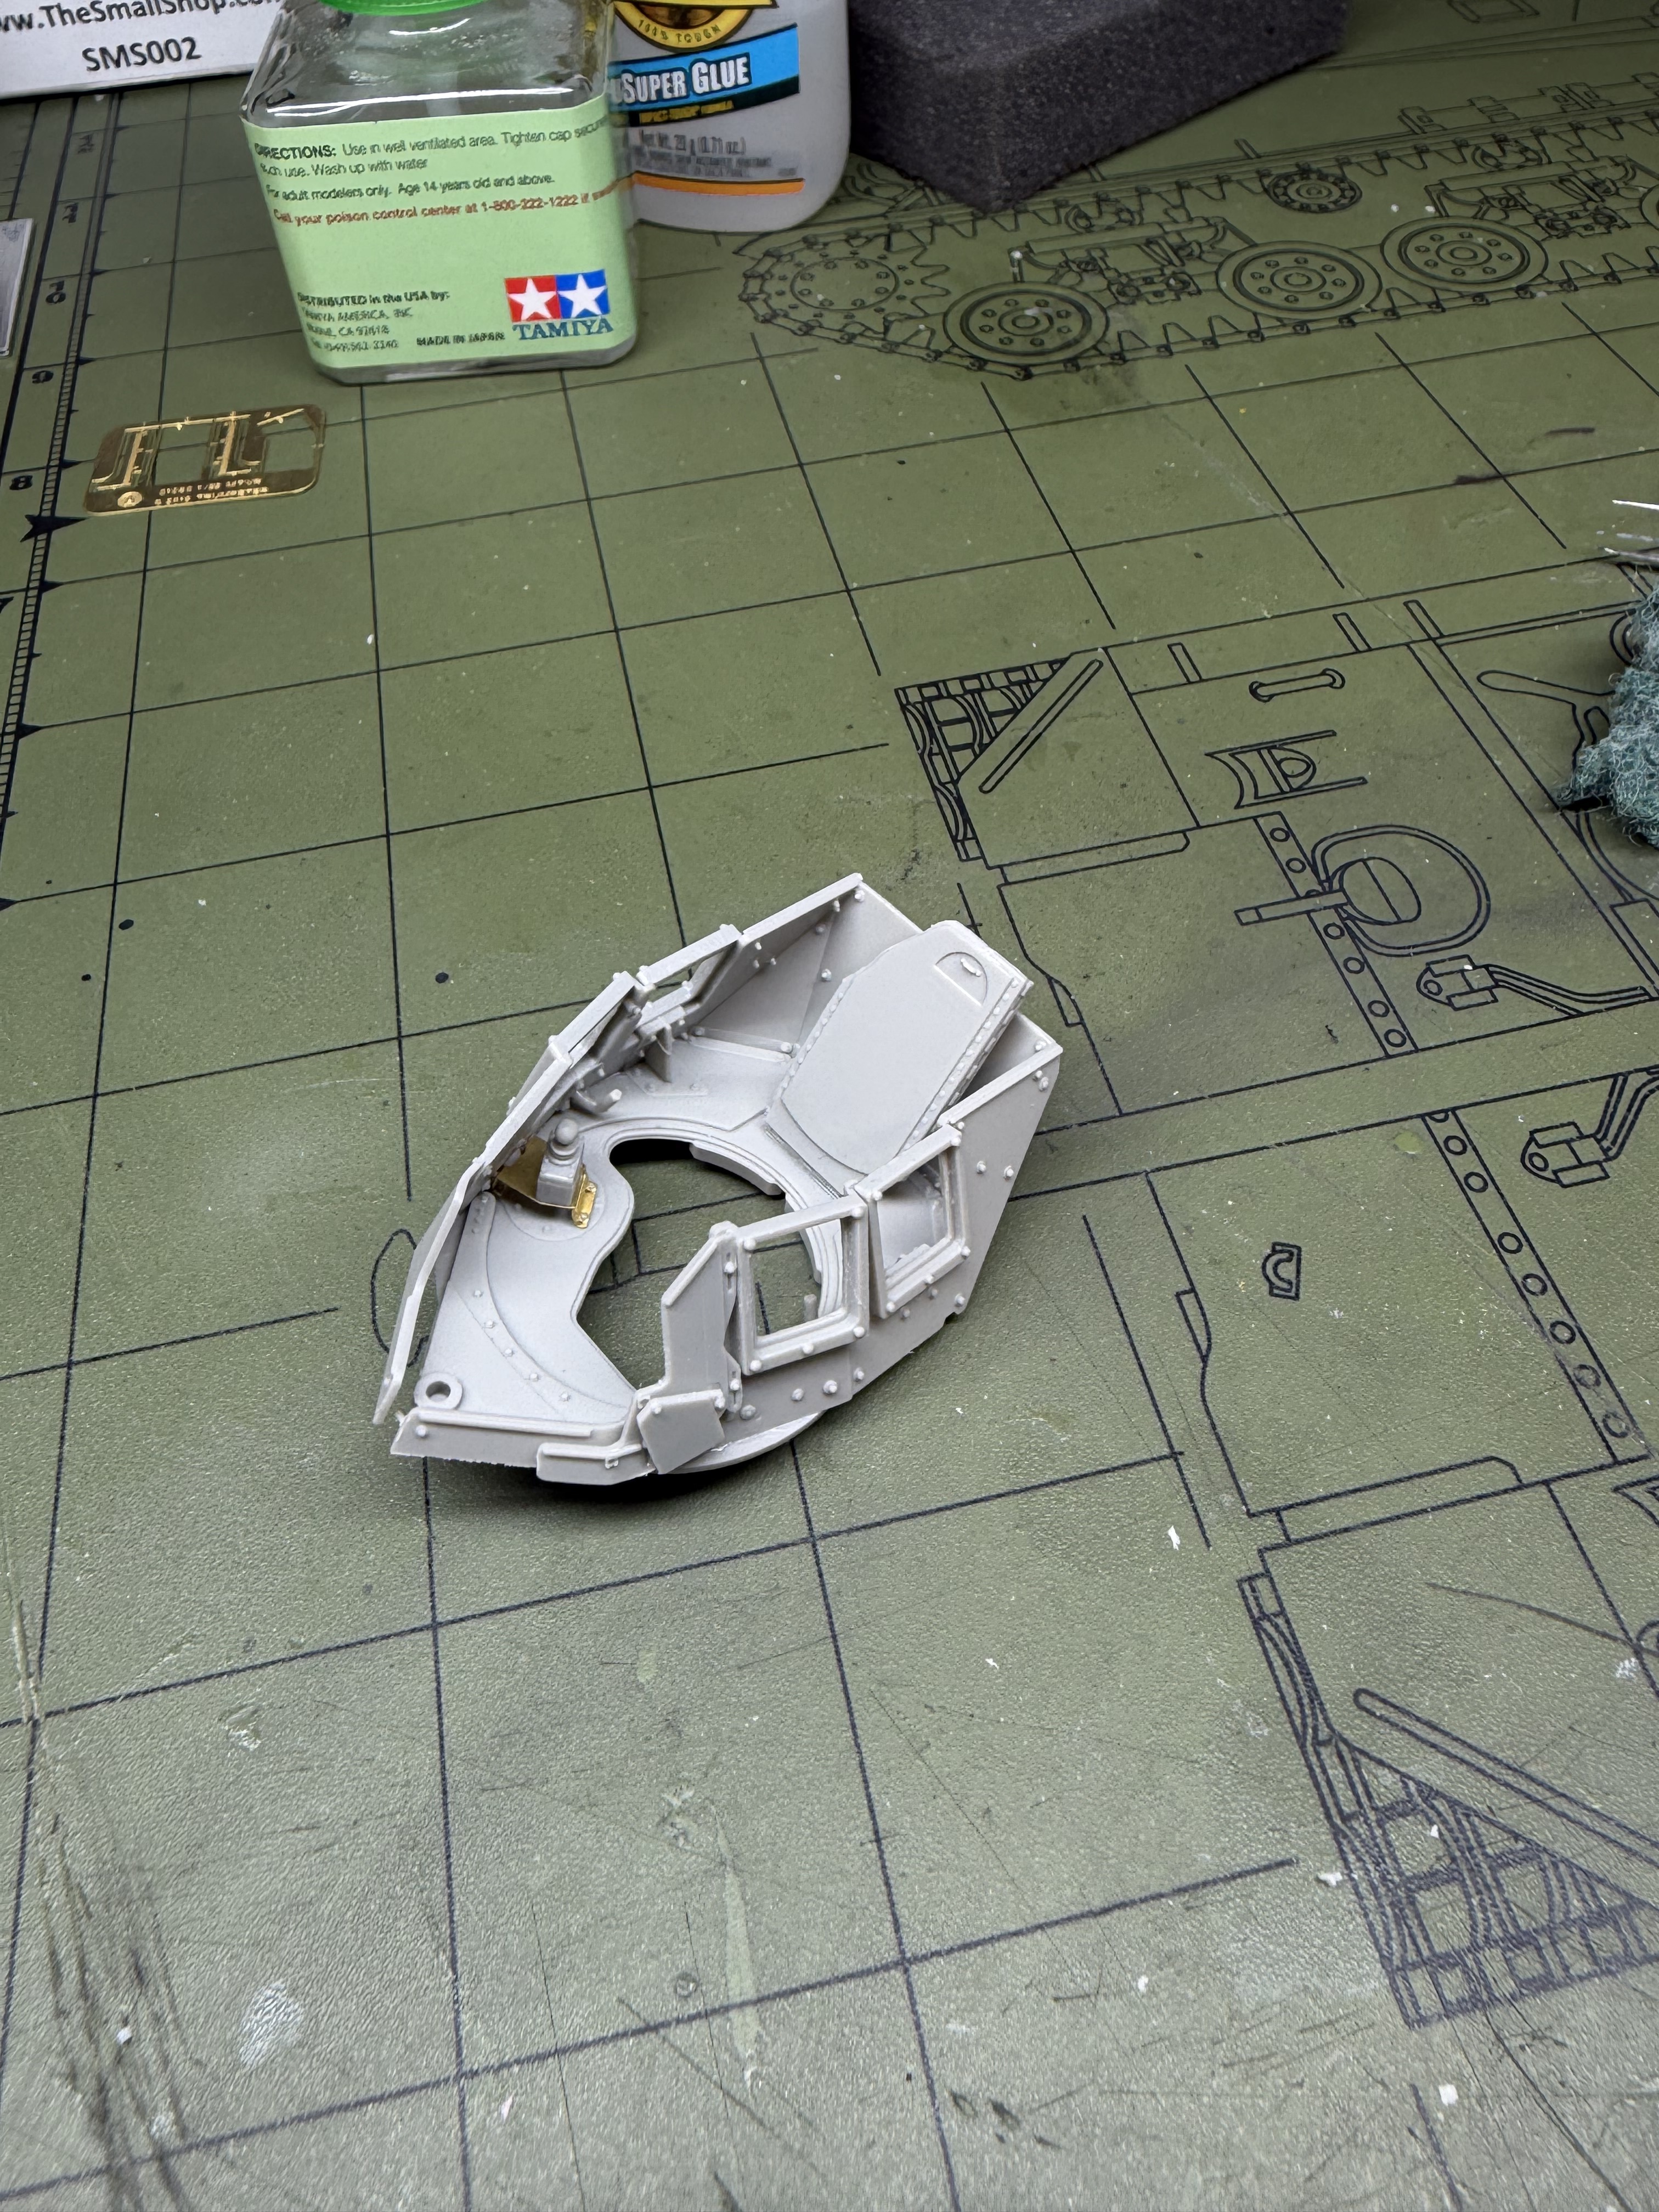
As with many truck kits, most if not all of the plumbing and wiring is missing. I’m not going crazy with brake lines on

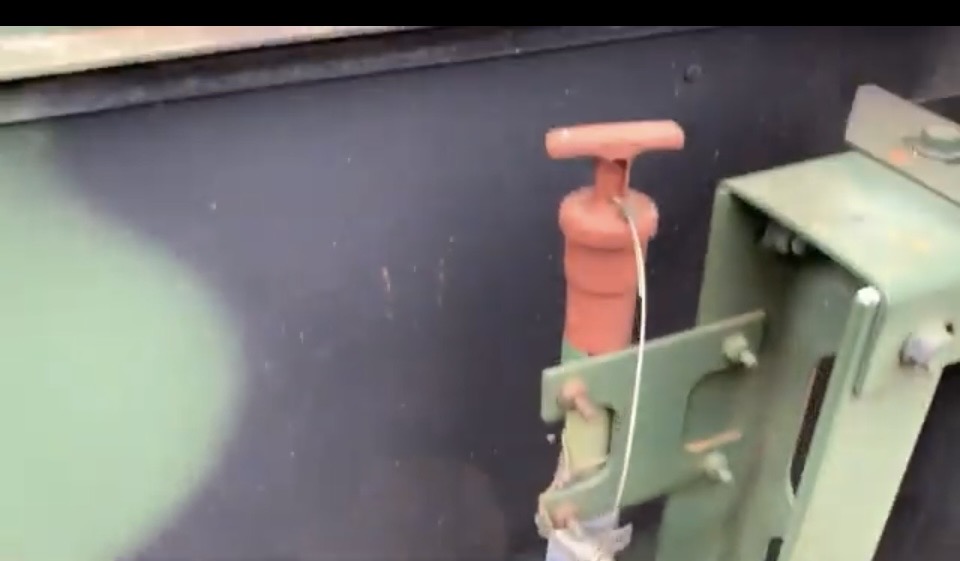
this thing, far too many but I’m going to add the transmission dip stick which sits behind the cab next to the air cleaner pipe along with some other tubing next to that. Apparently this trucks engine etc are vented. I’ll also add cables to the water purge next to the battery box as well as from the two small boxes on the back of the cab drivers side. Easy enough.

9 Likes

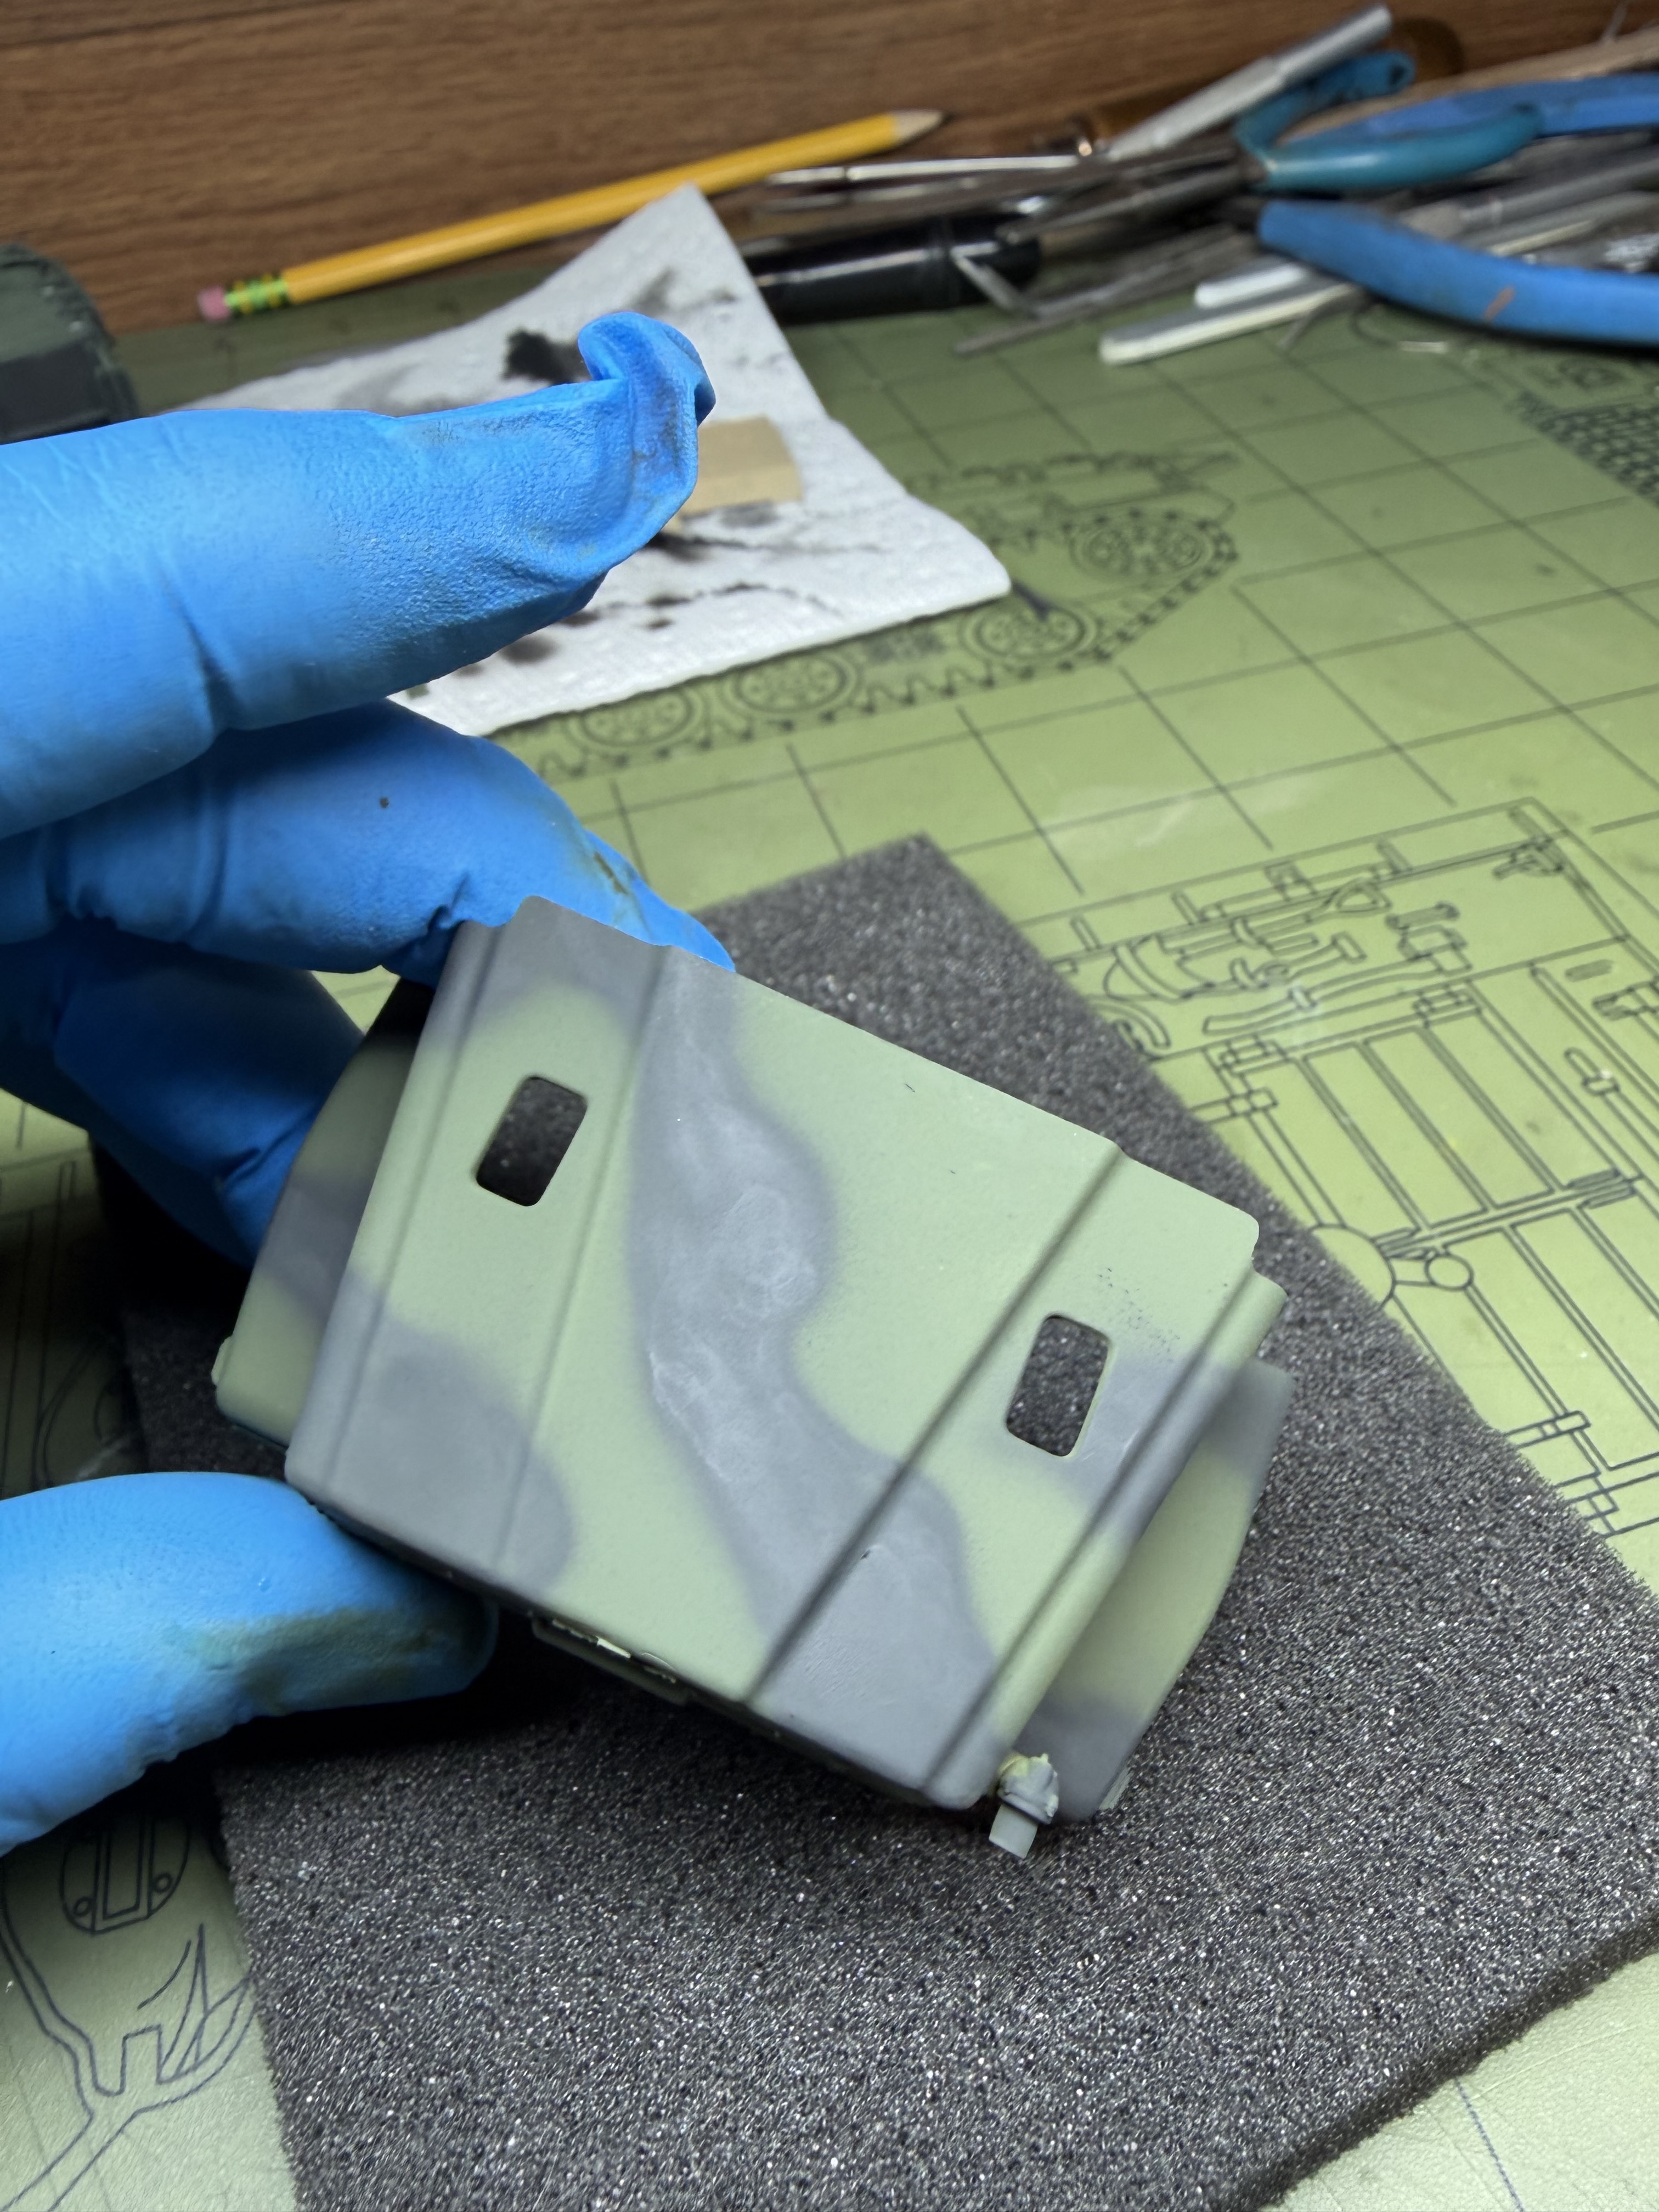
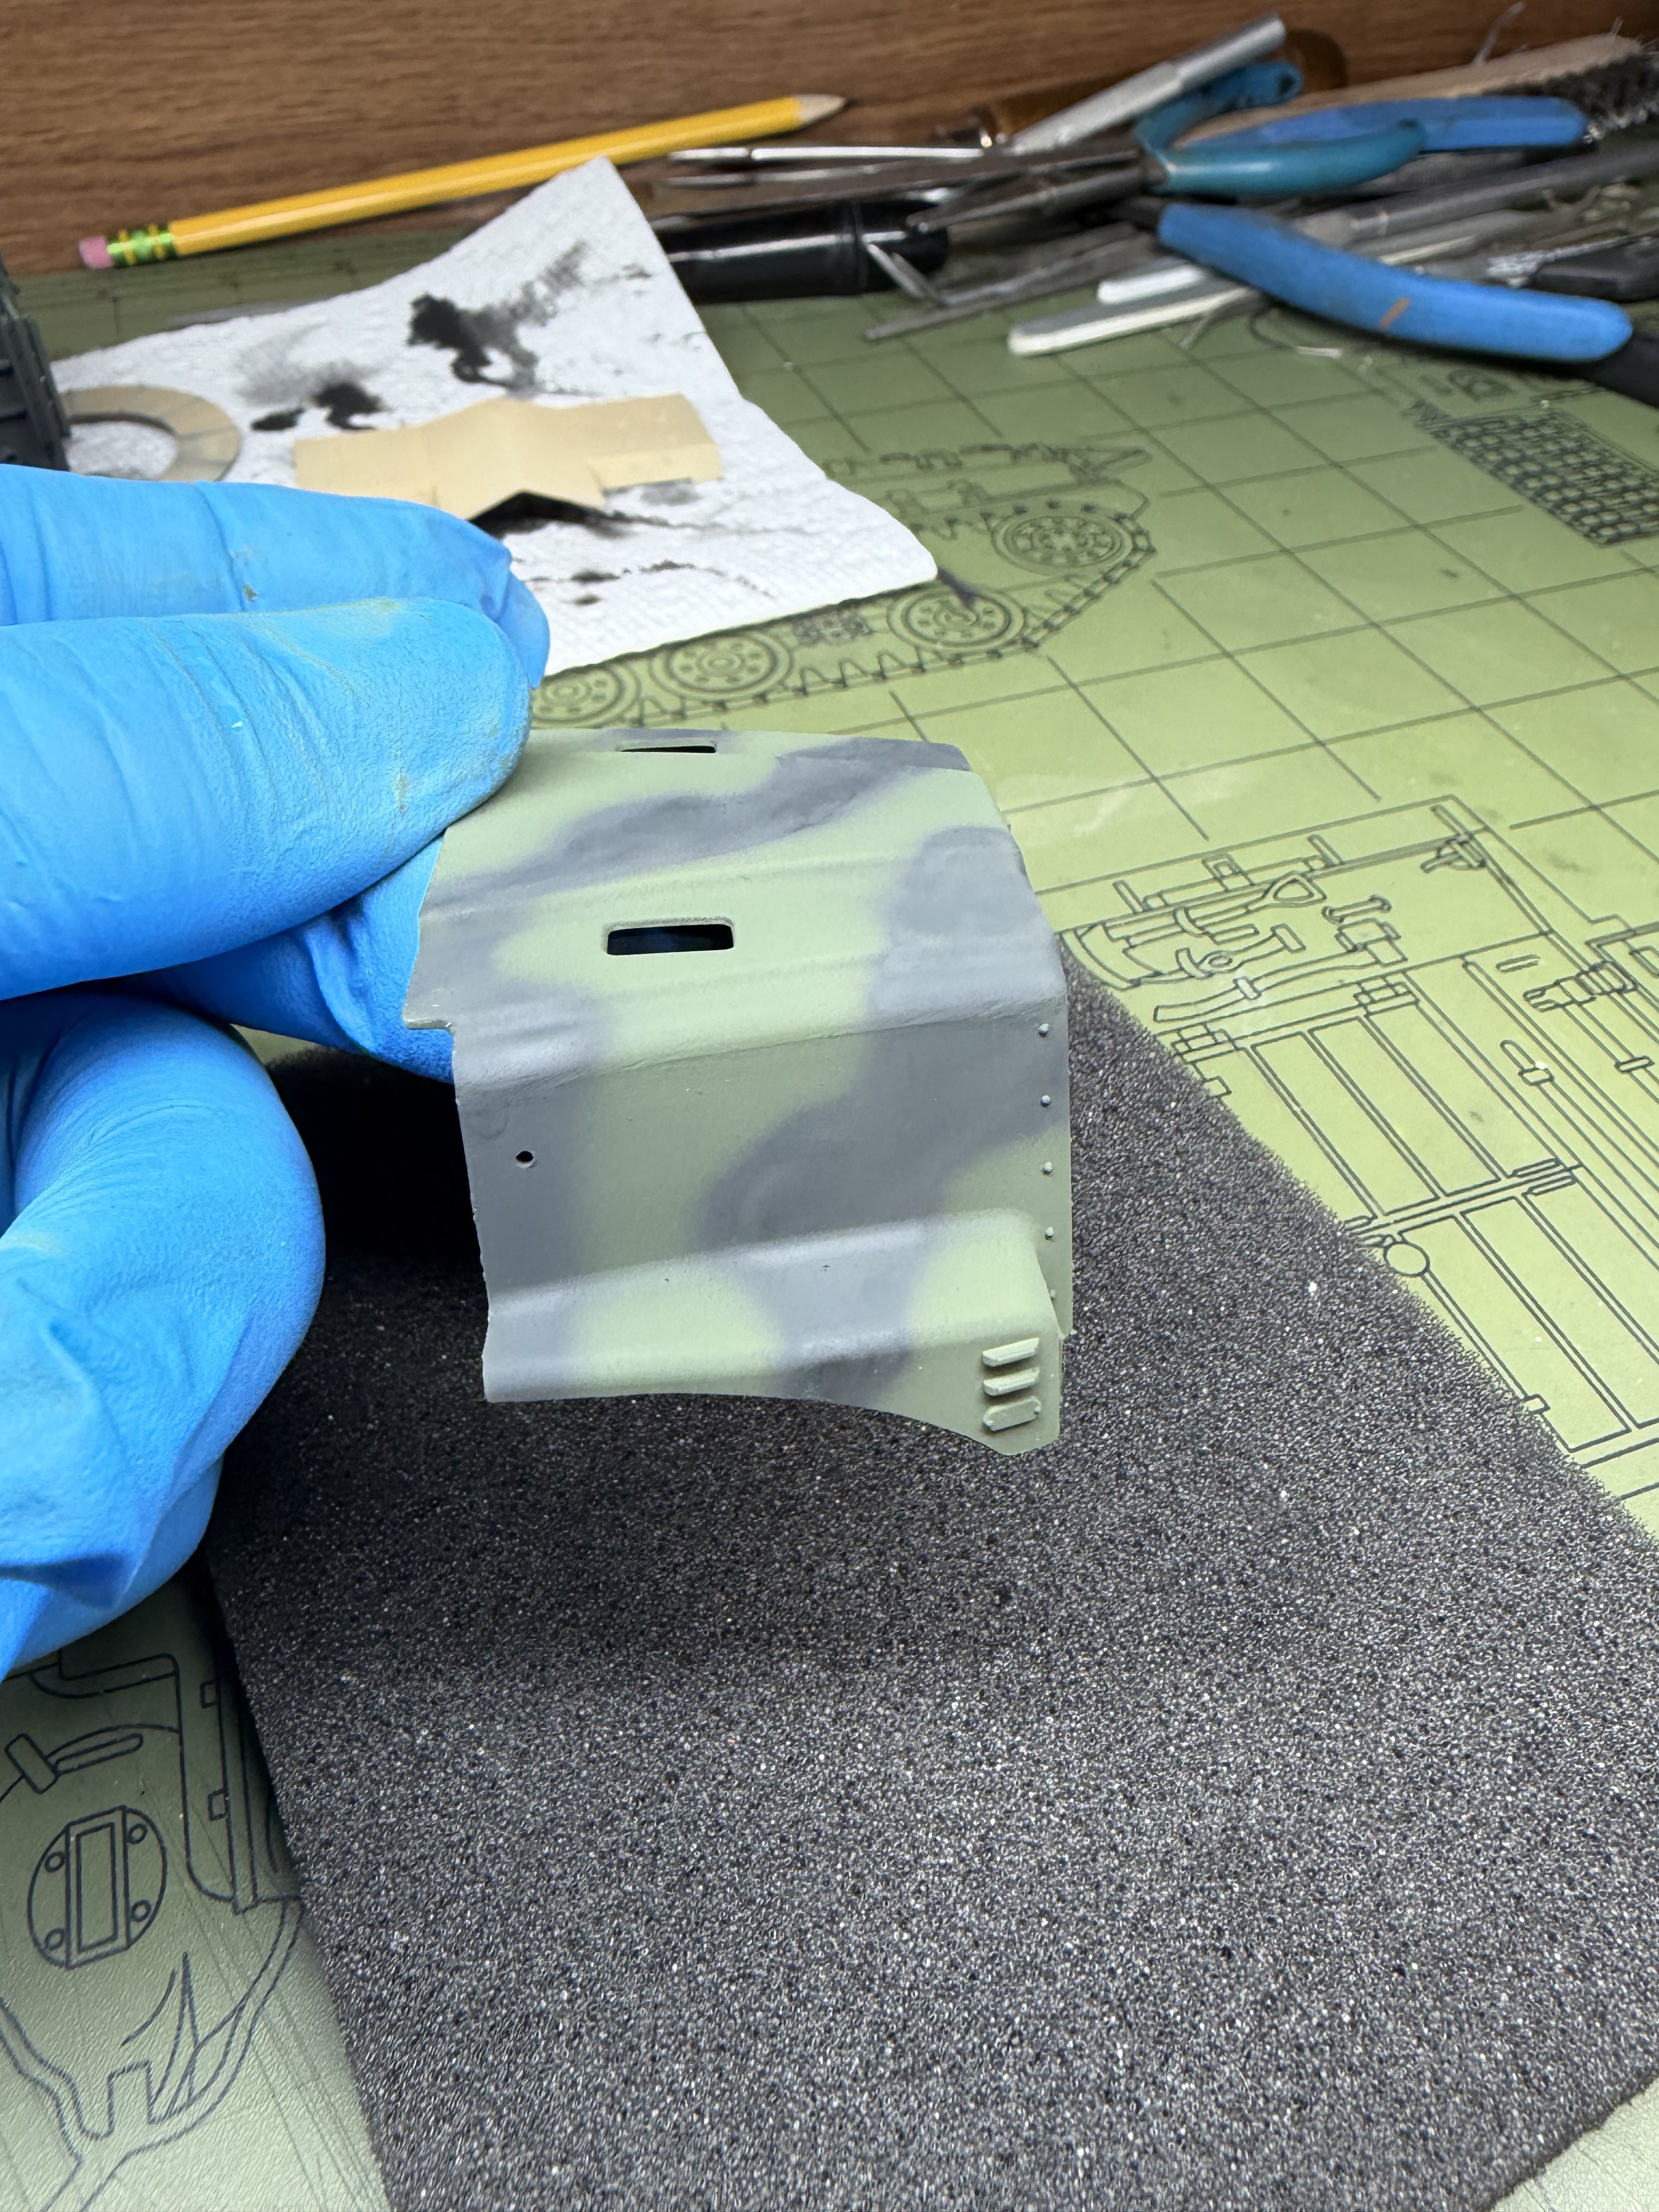
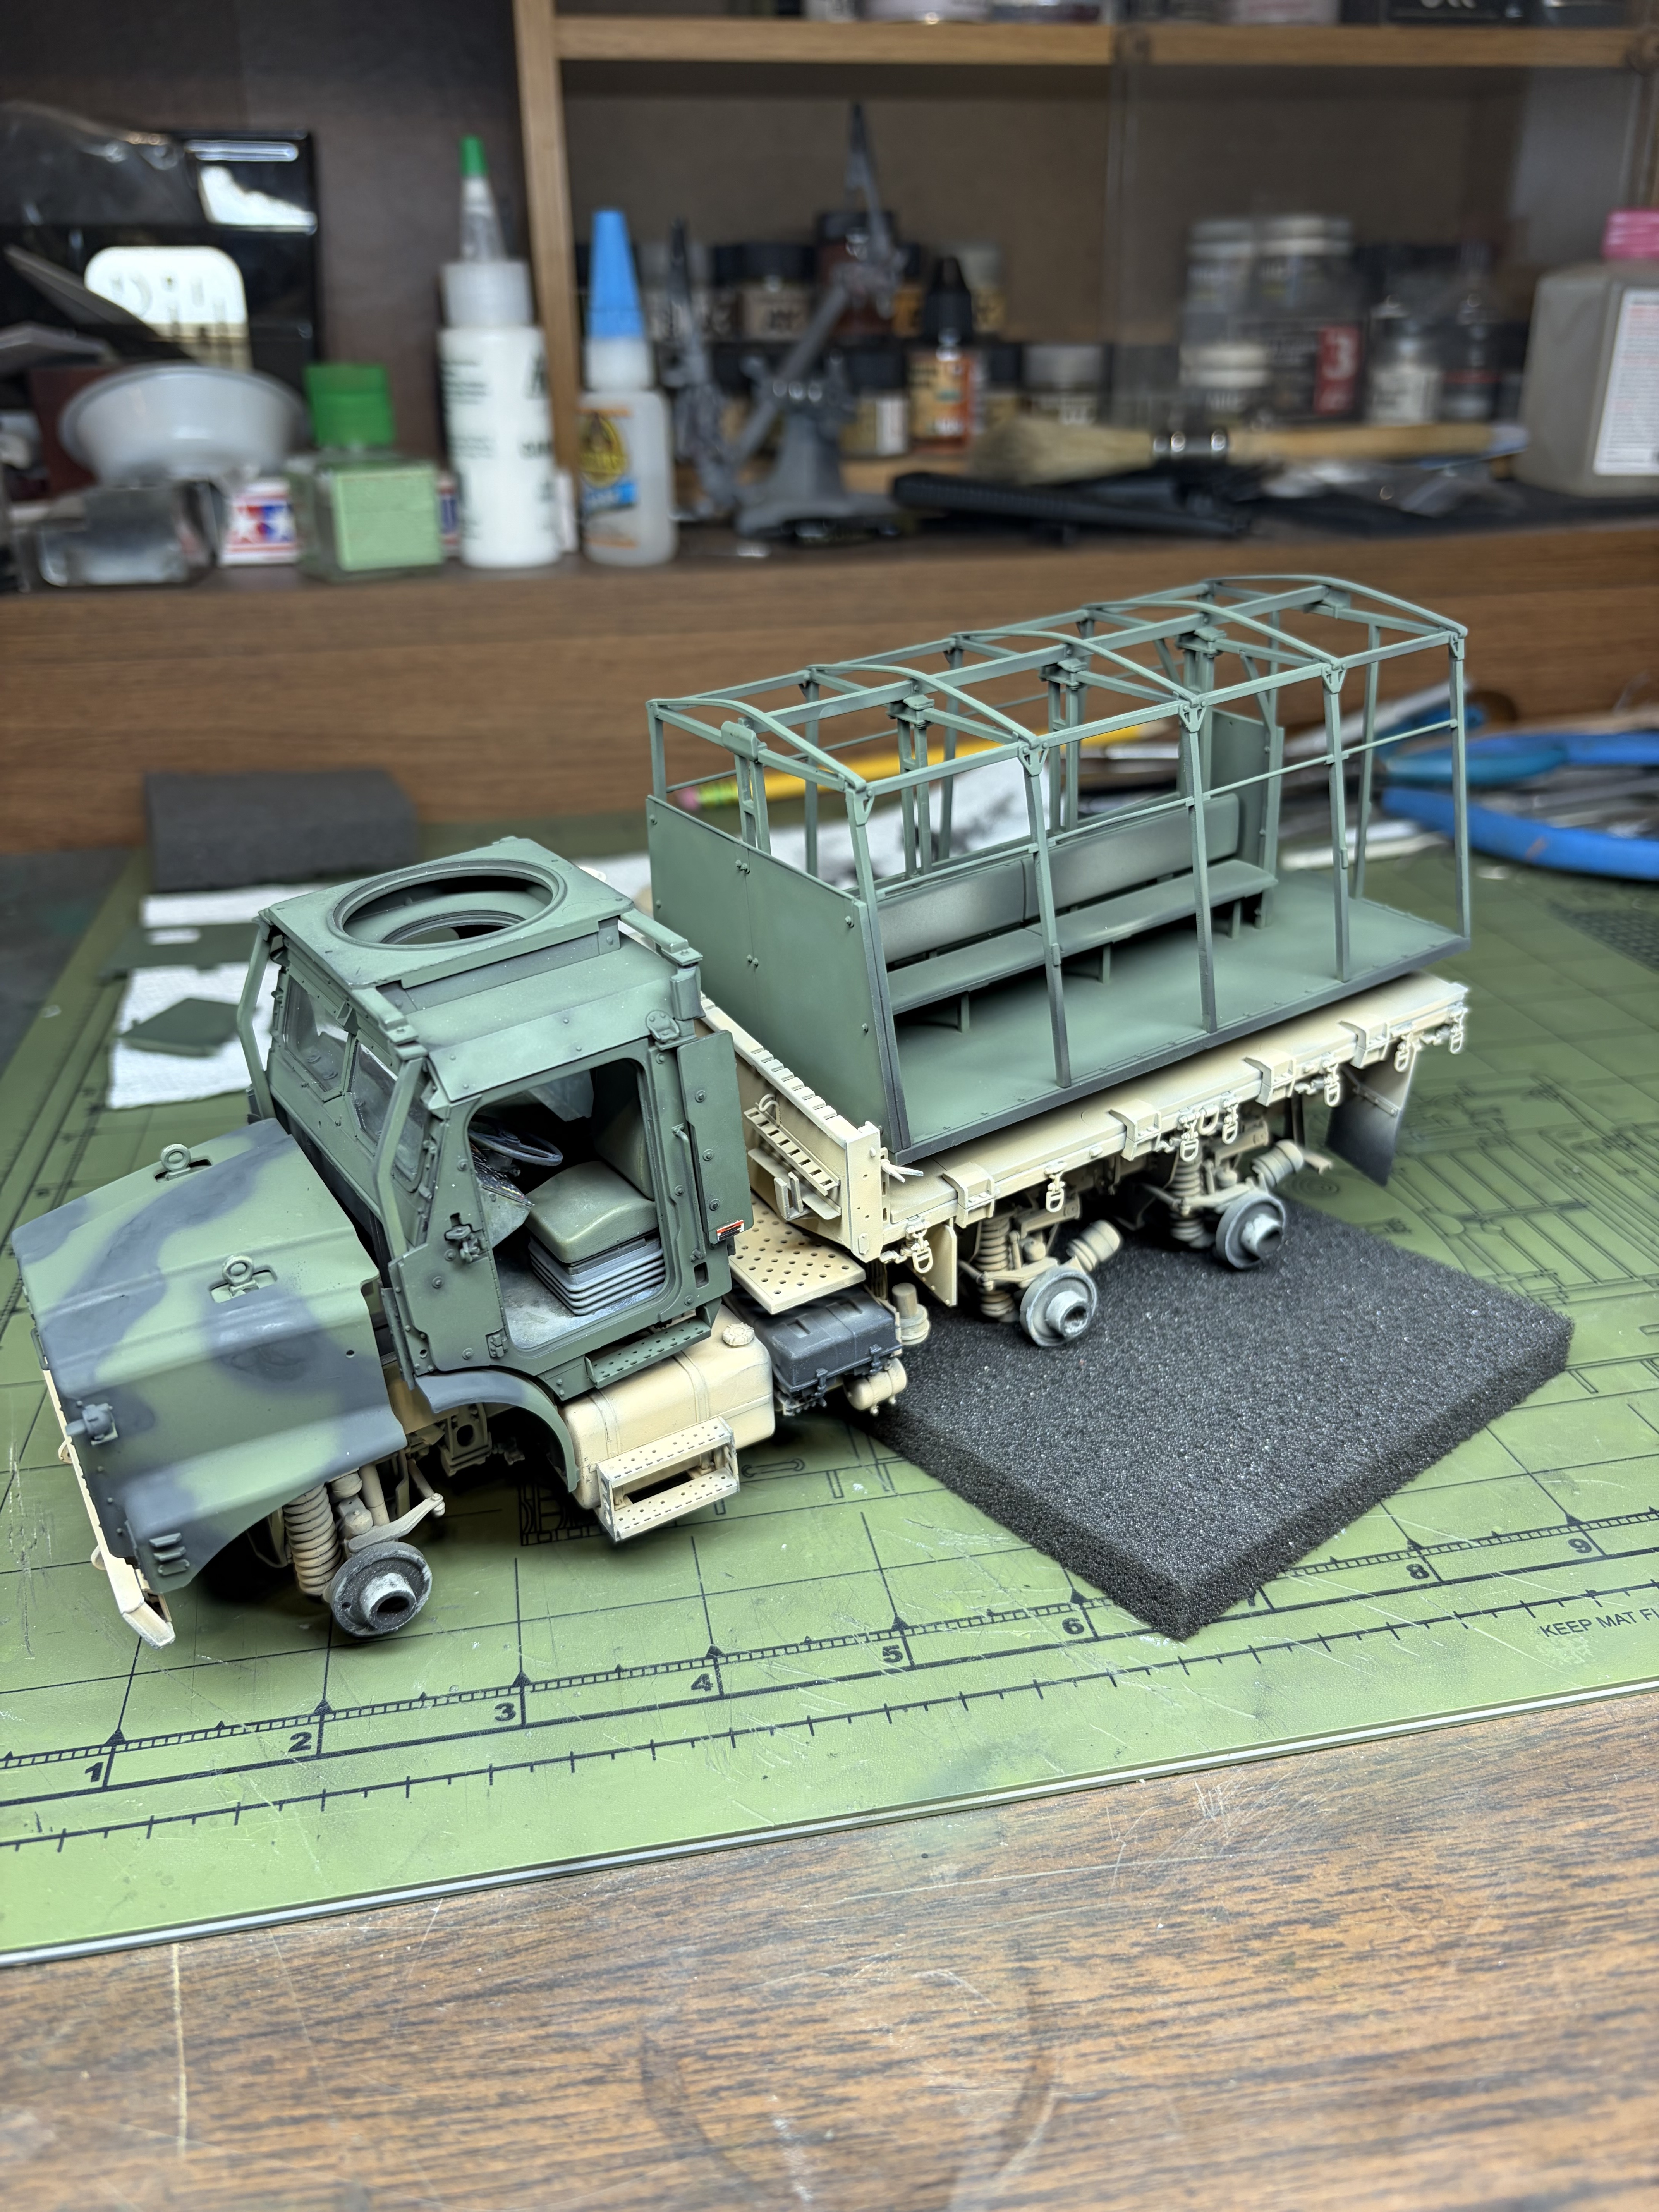
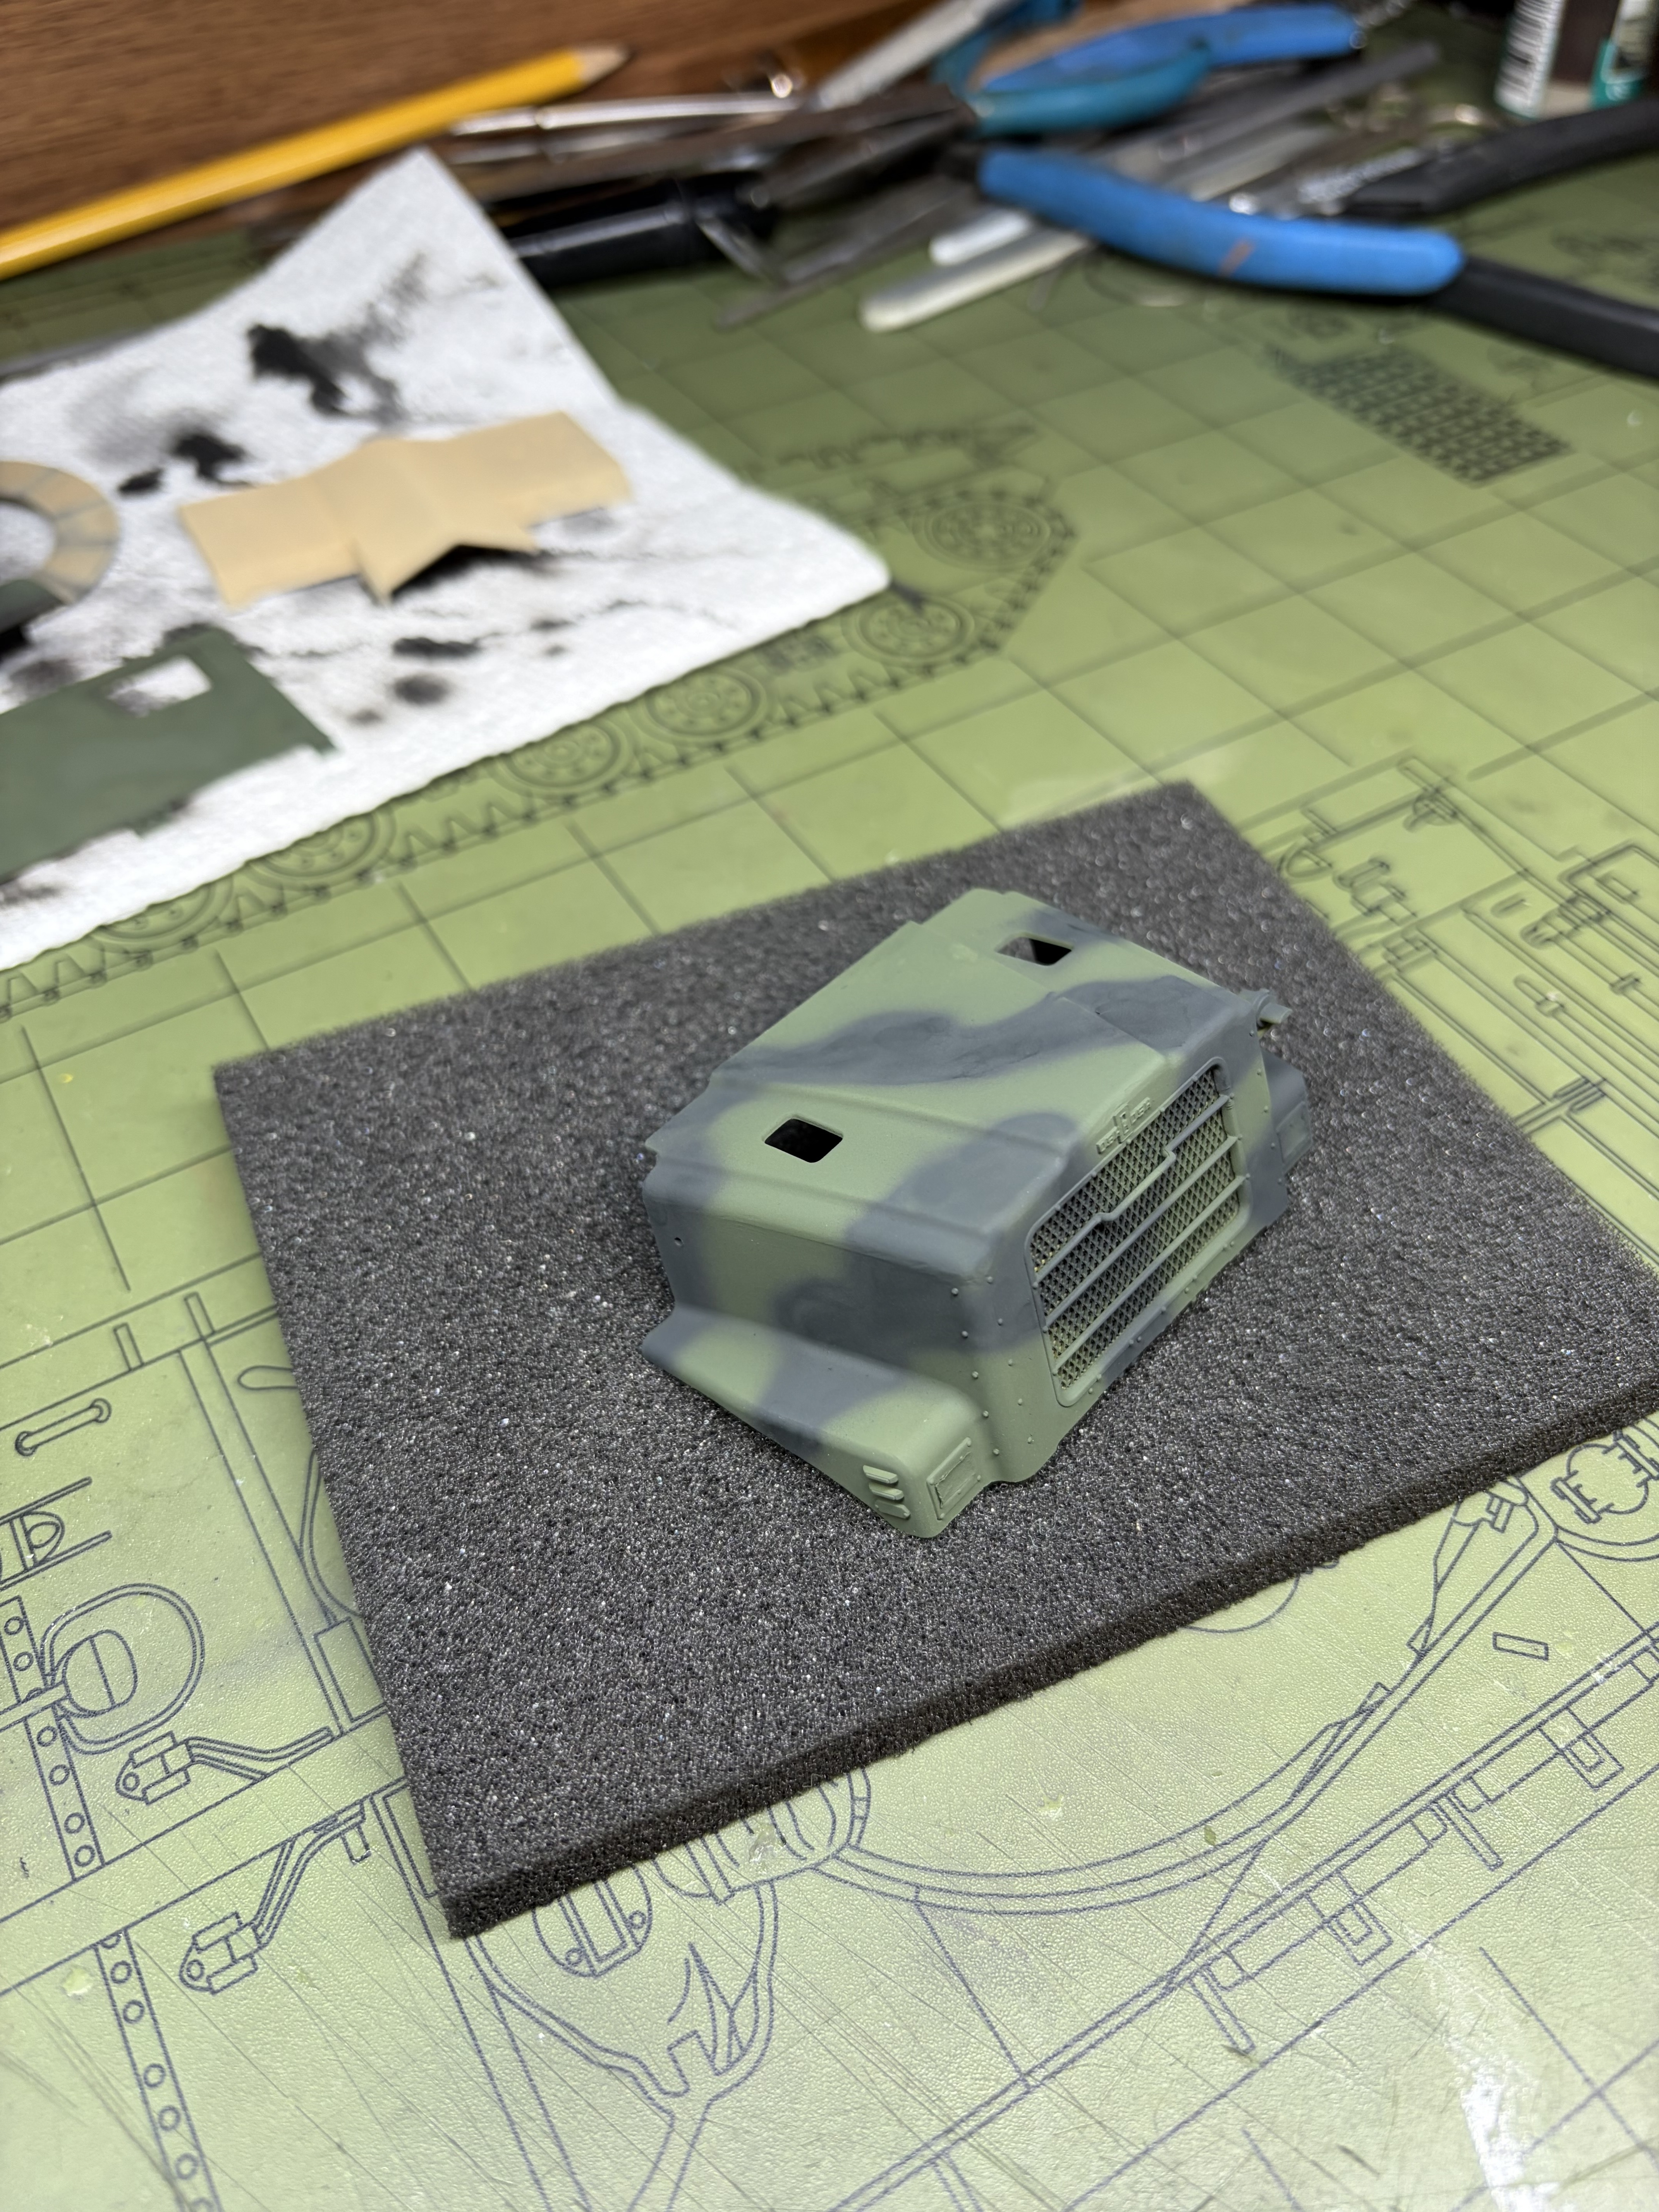
Getting more painting done. Still have to do the NATO brown on the hood and front fenders.

15 Likes

I like the faded black.

2 Likes

Tamiya NATO colors. I forgot I have my new stash of AK Real colors but decided to use up the Tamiya stuff first.

1 Like

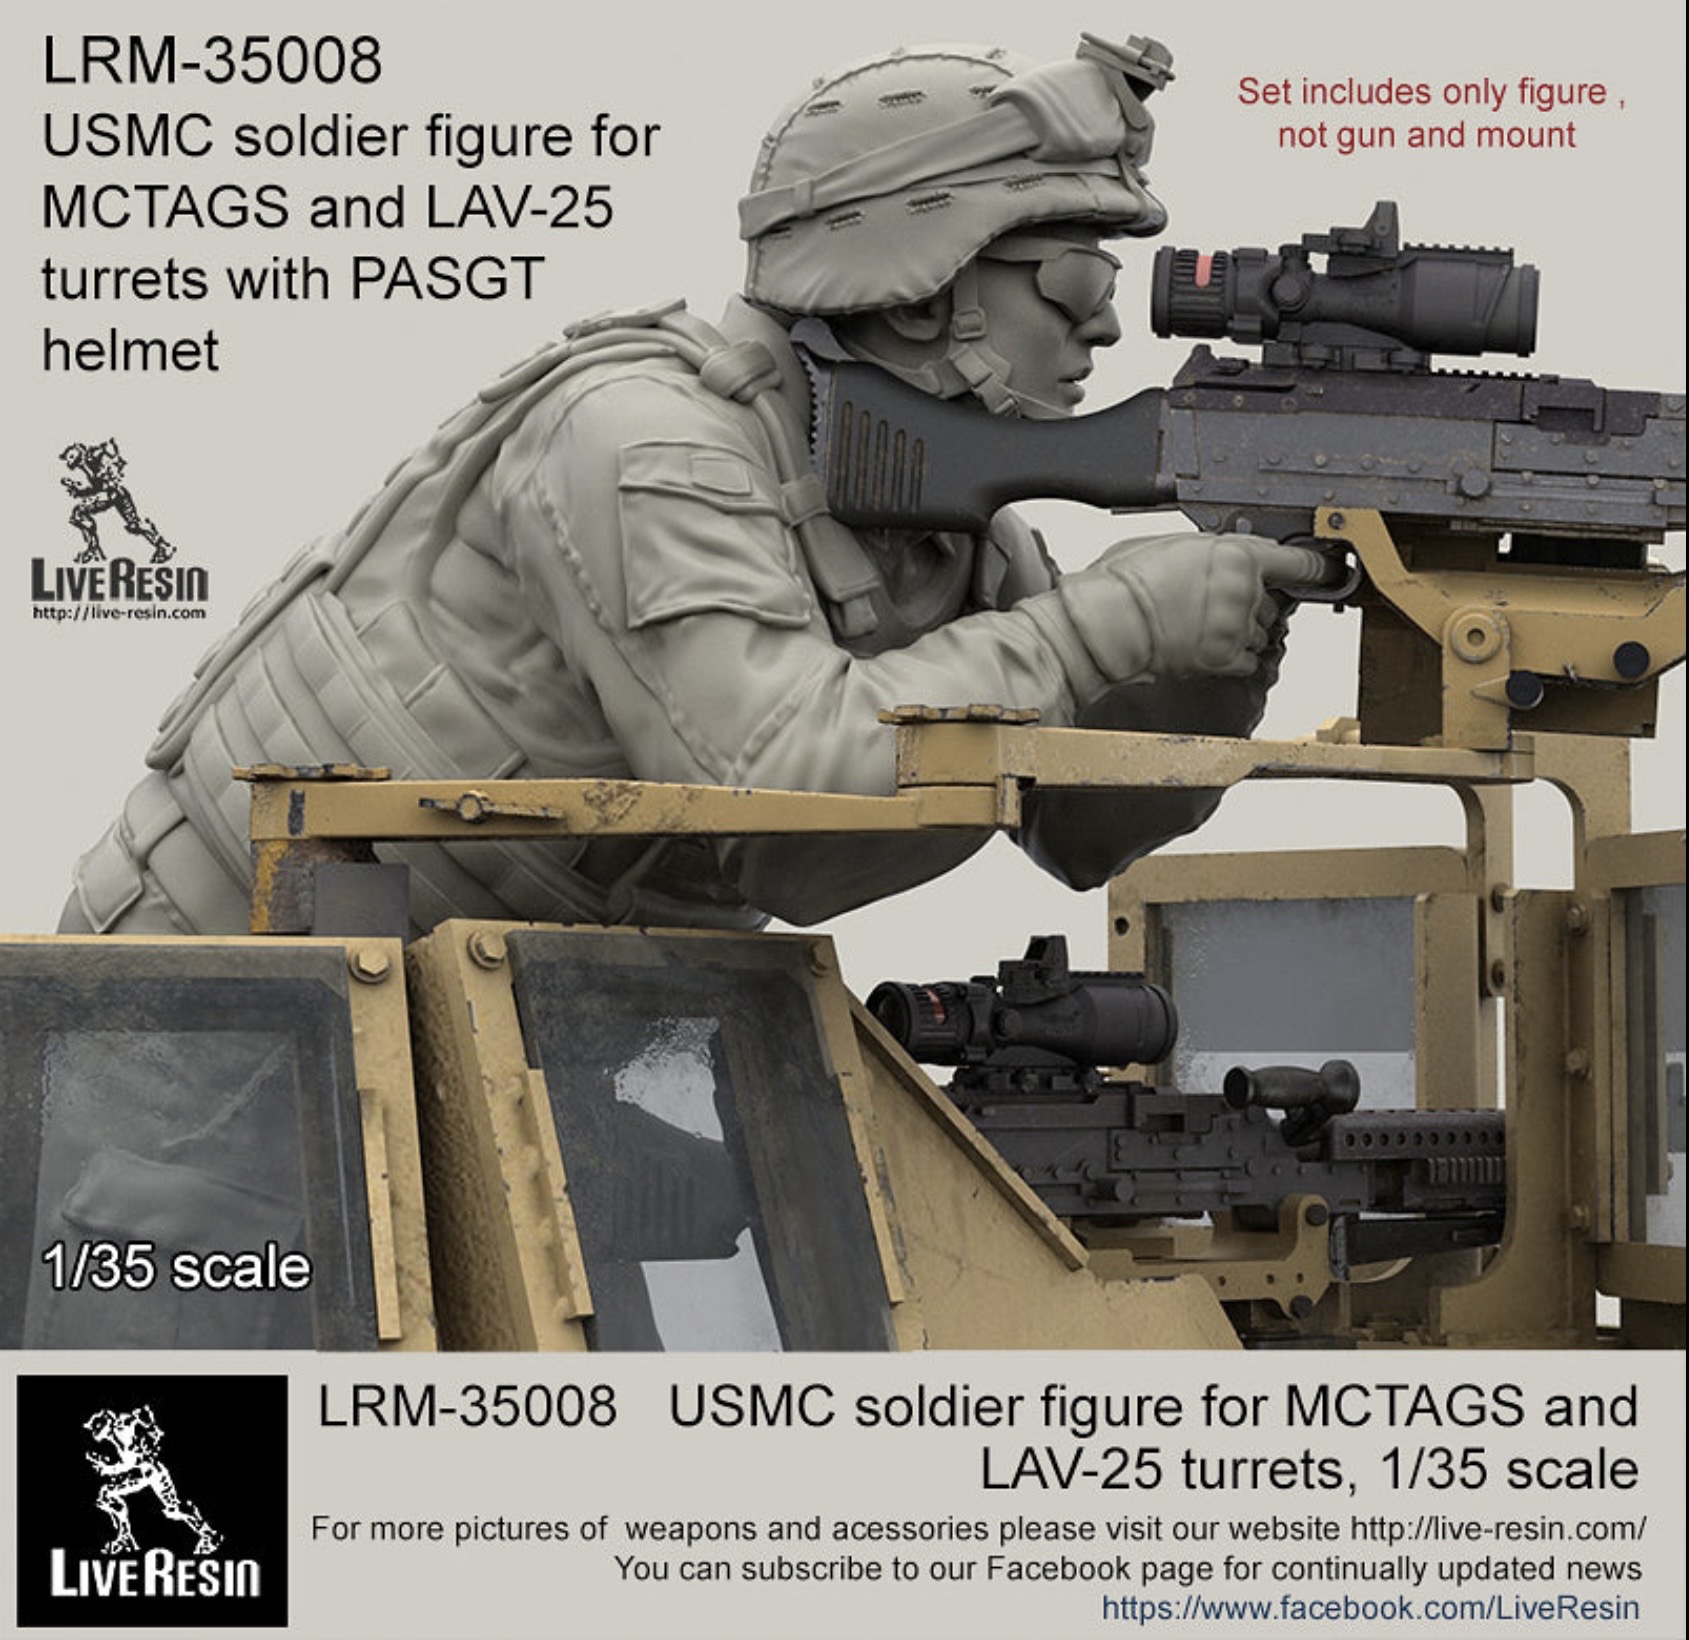
I have ordered this guy,he is more like the figure that would have maned the gun.

2 Likes

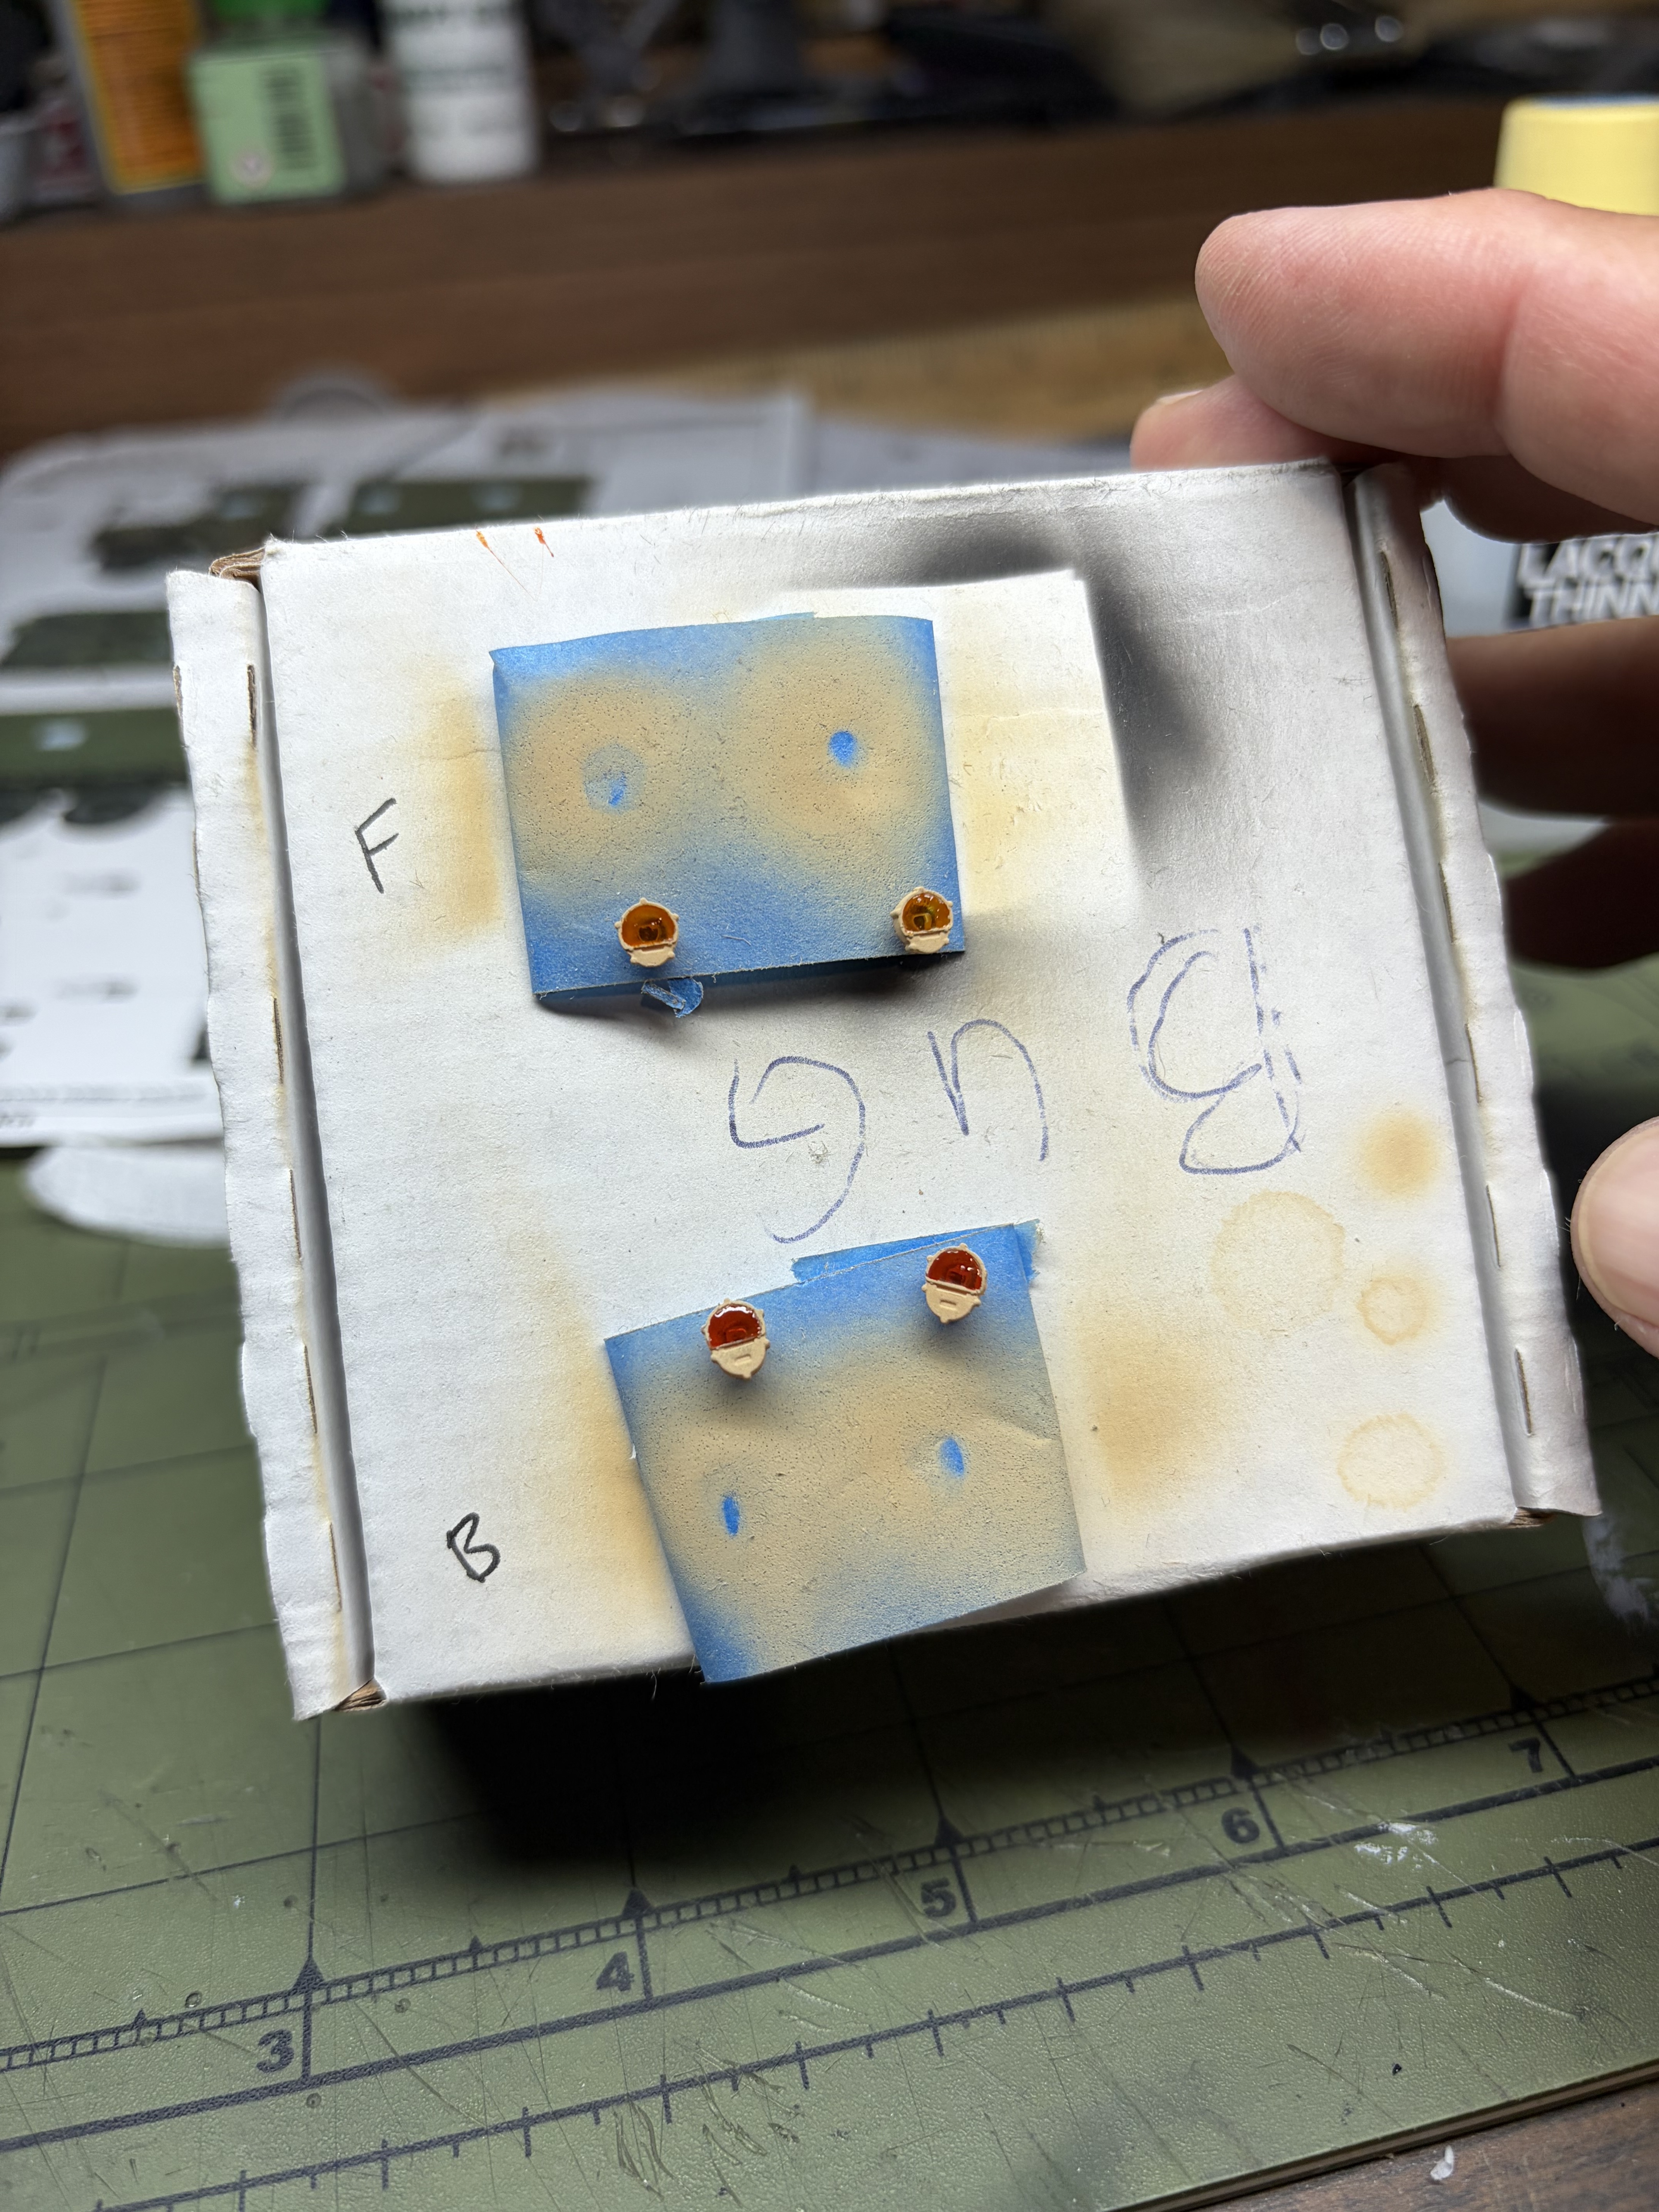
Front and rear service lights done, just have to mount them when they’re dry. I used Tamiya clear orange and red.

6 Likes

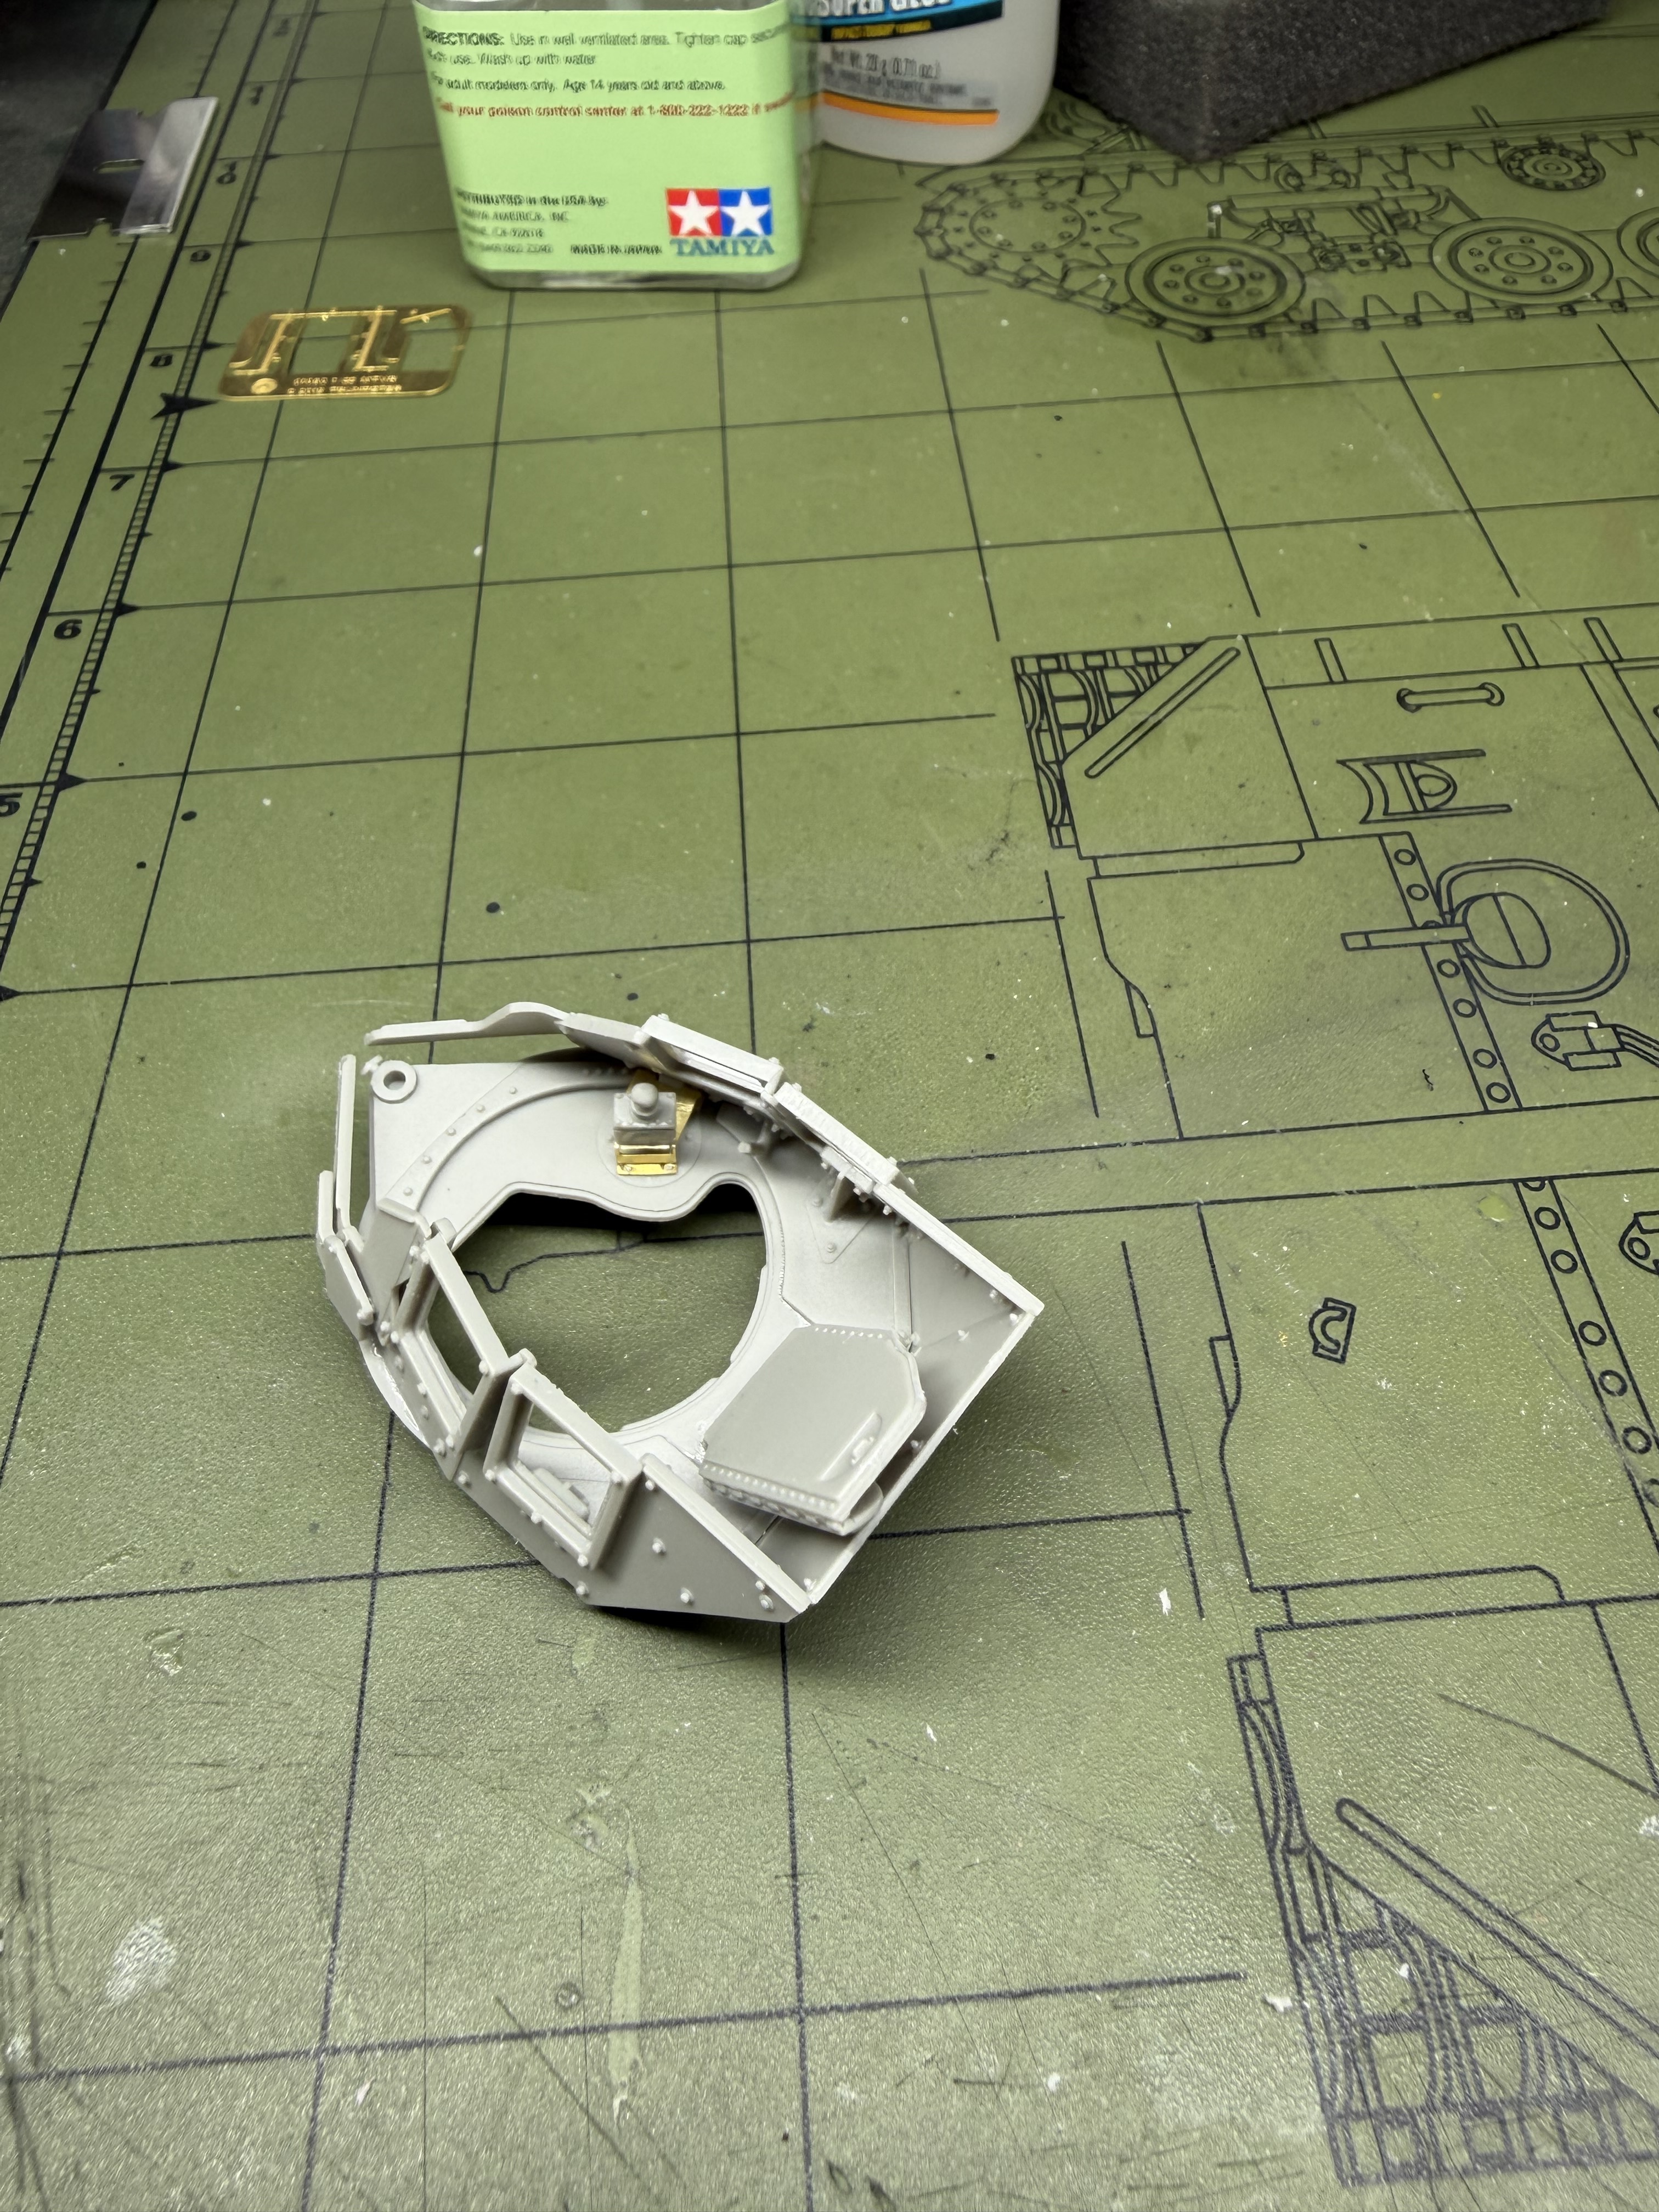
This gun turret is a model unto itself. I’m about halfway done.

8 Likes

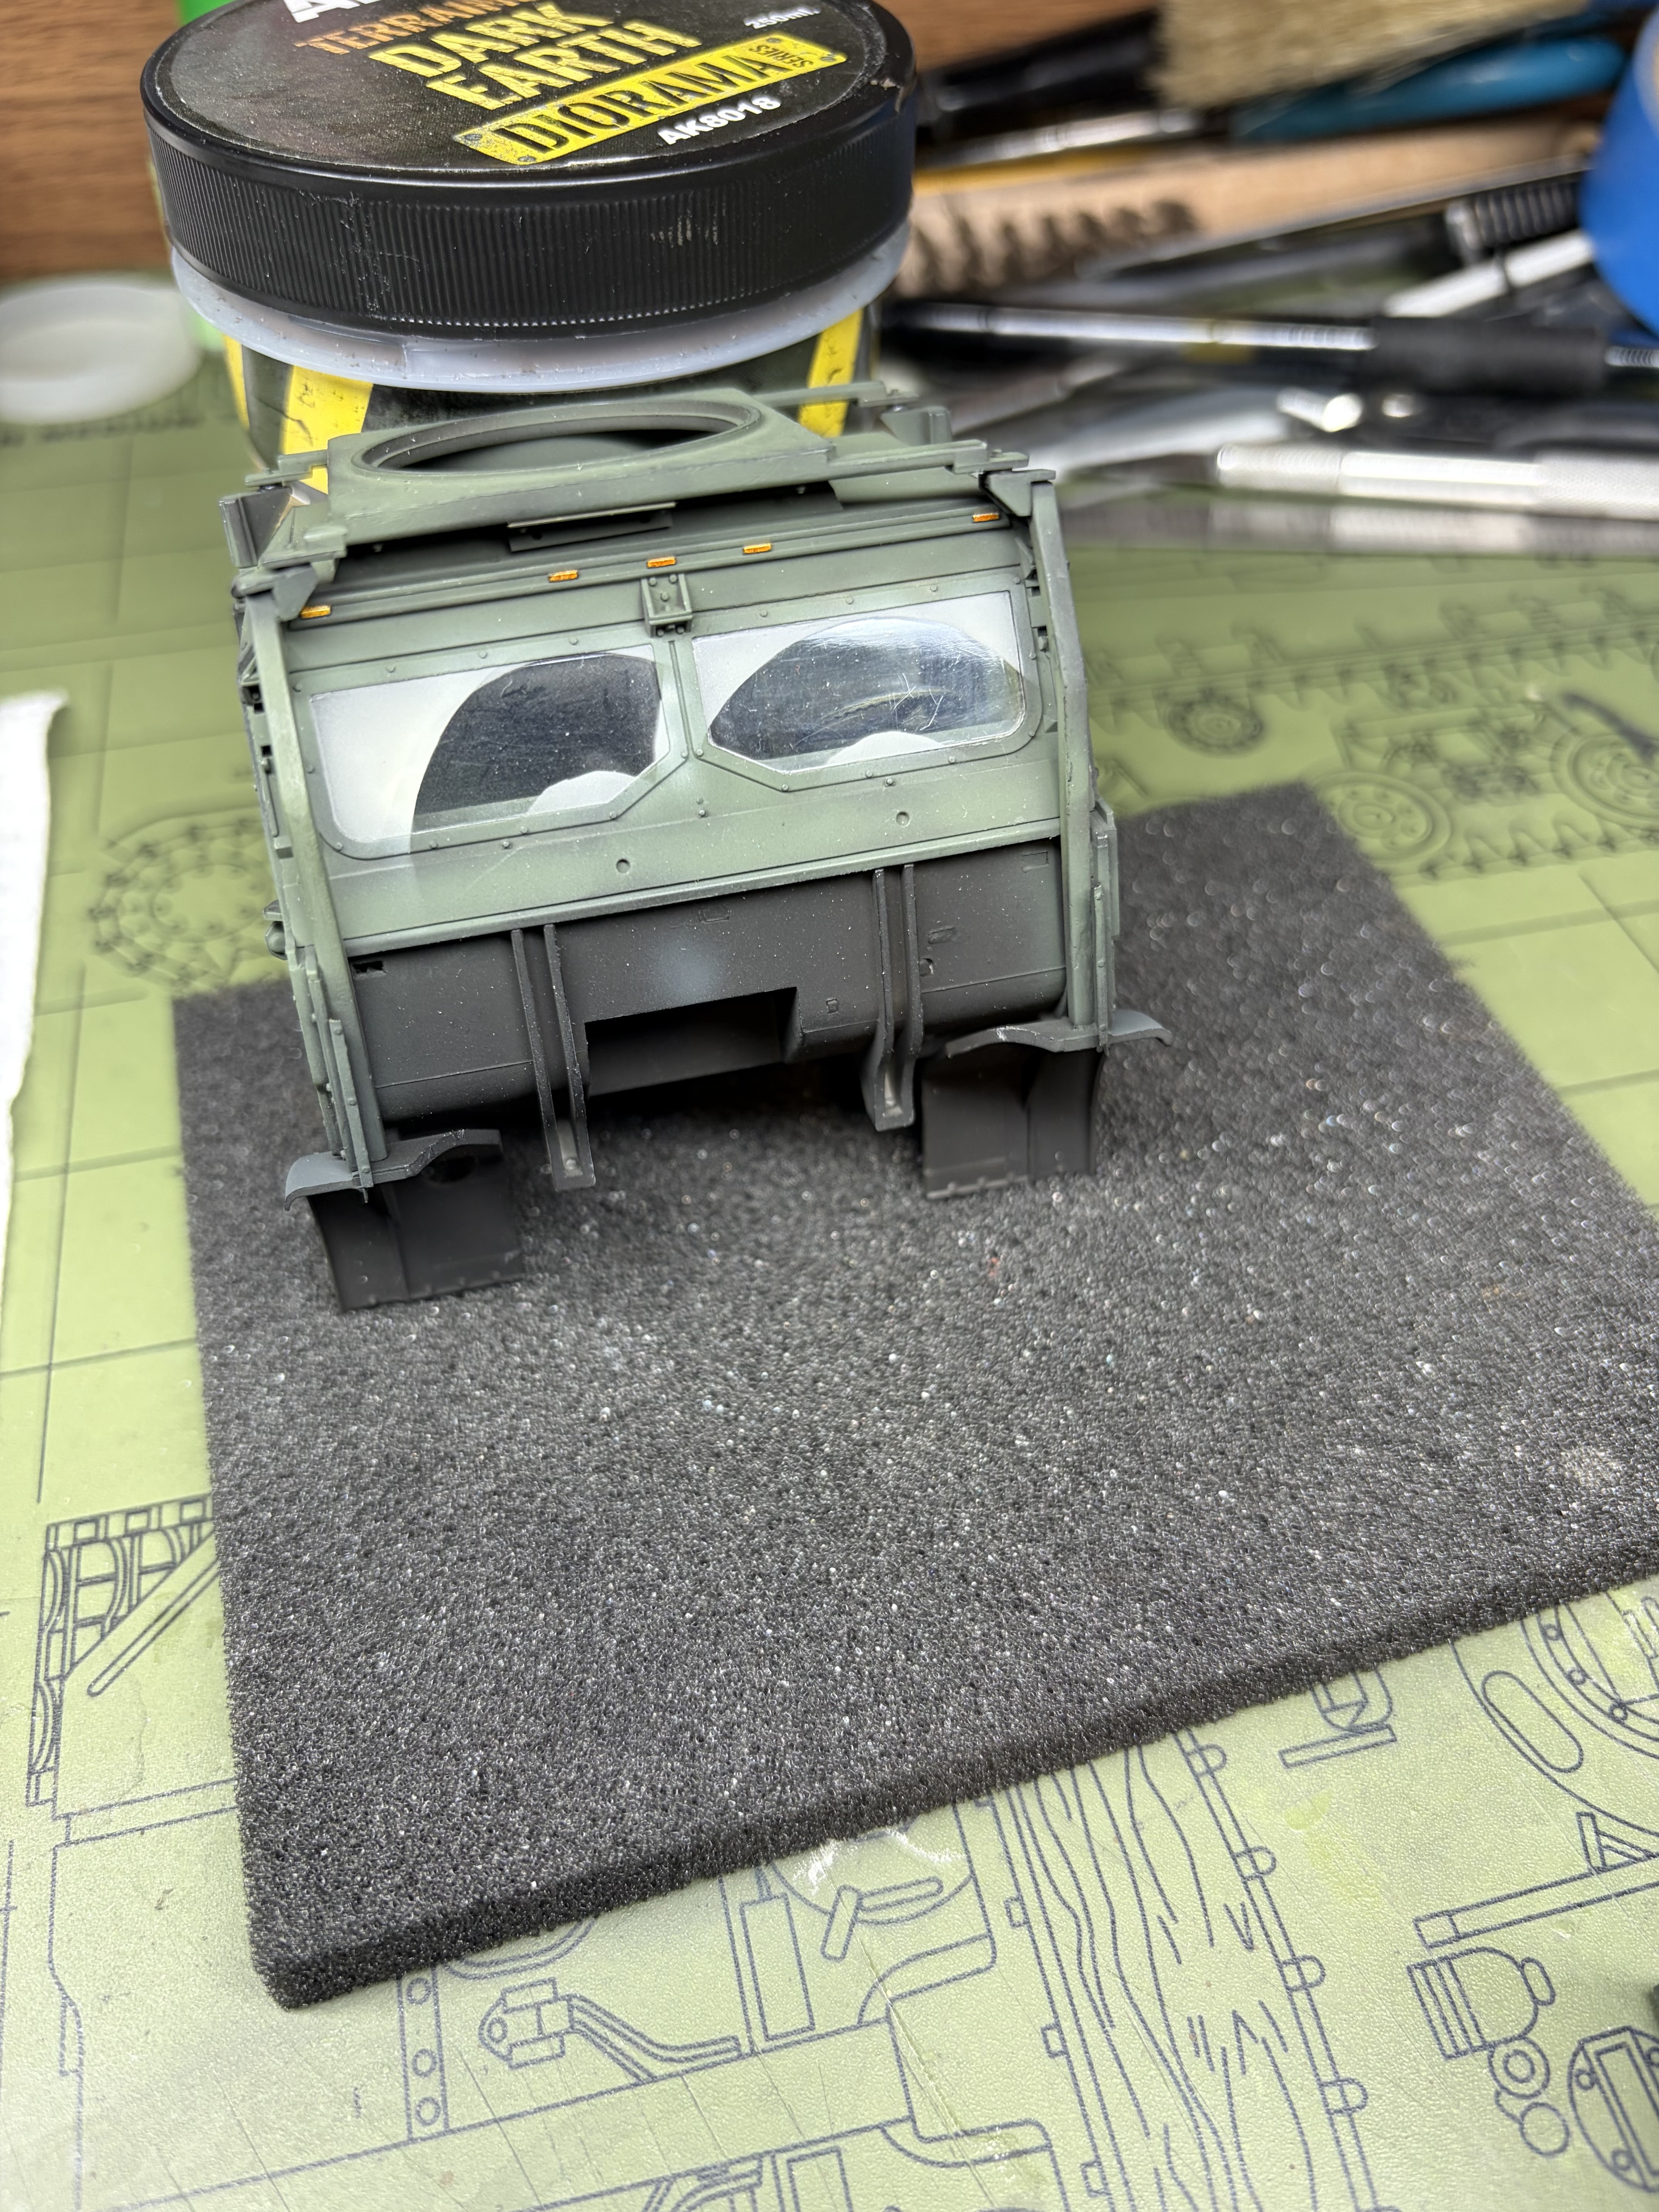
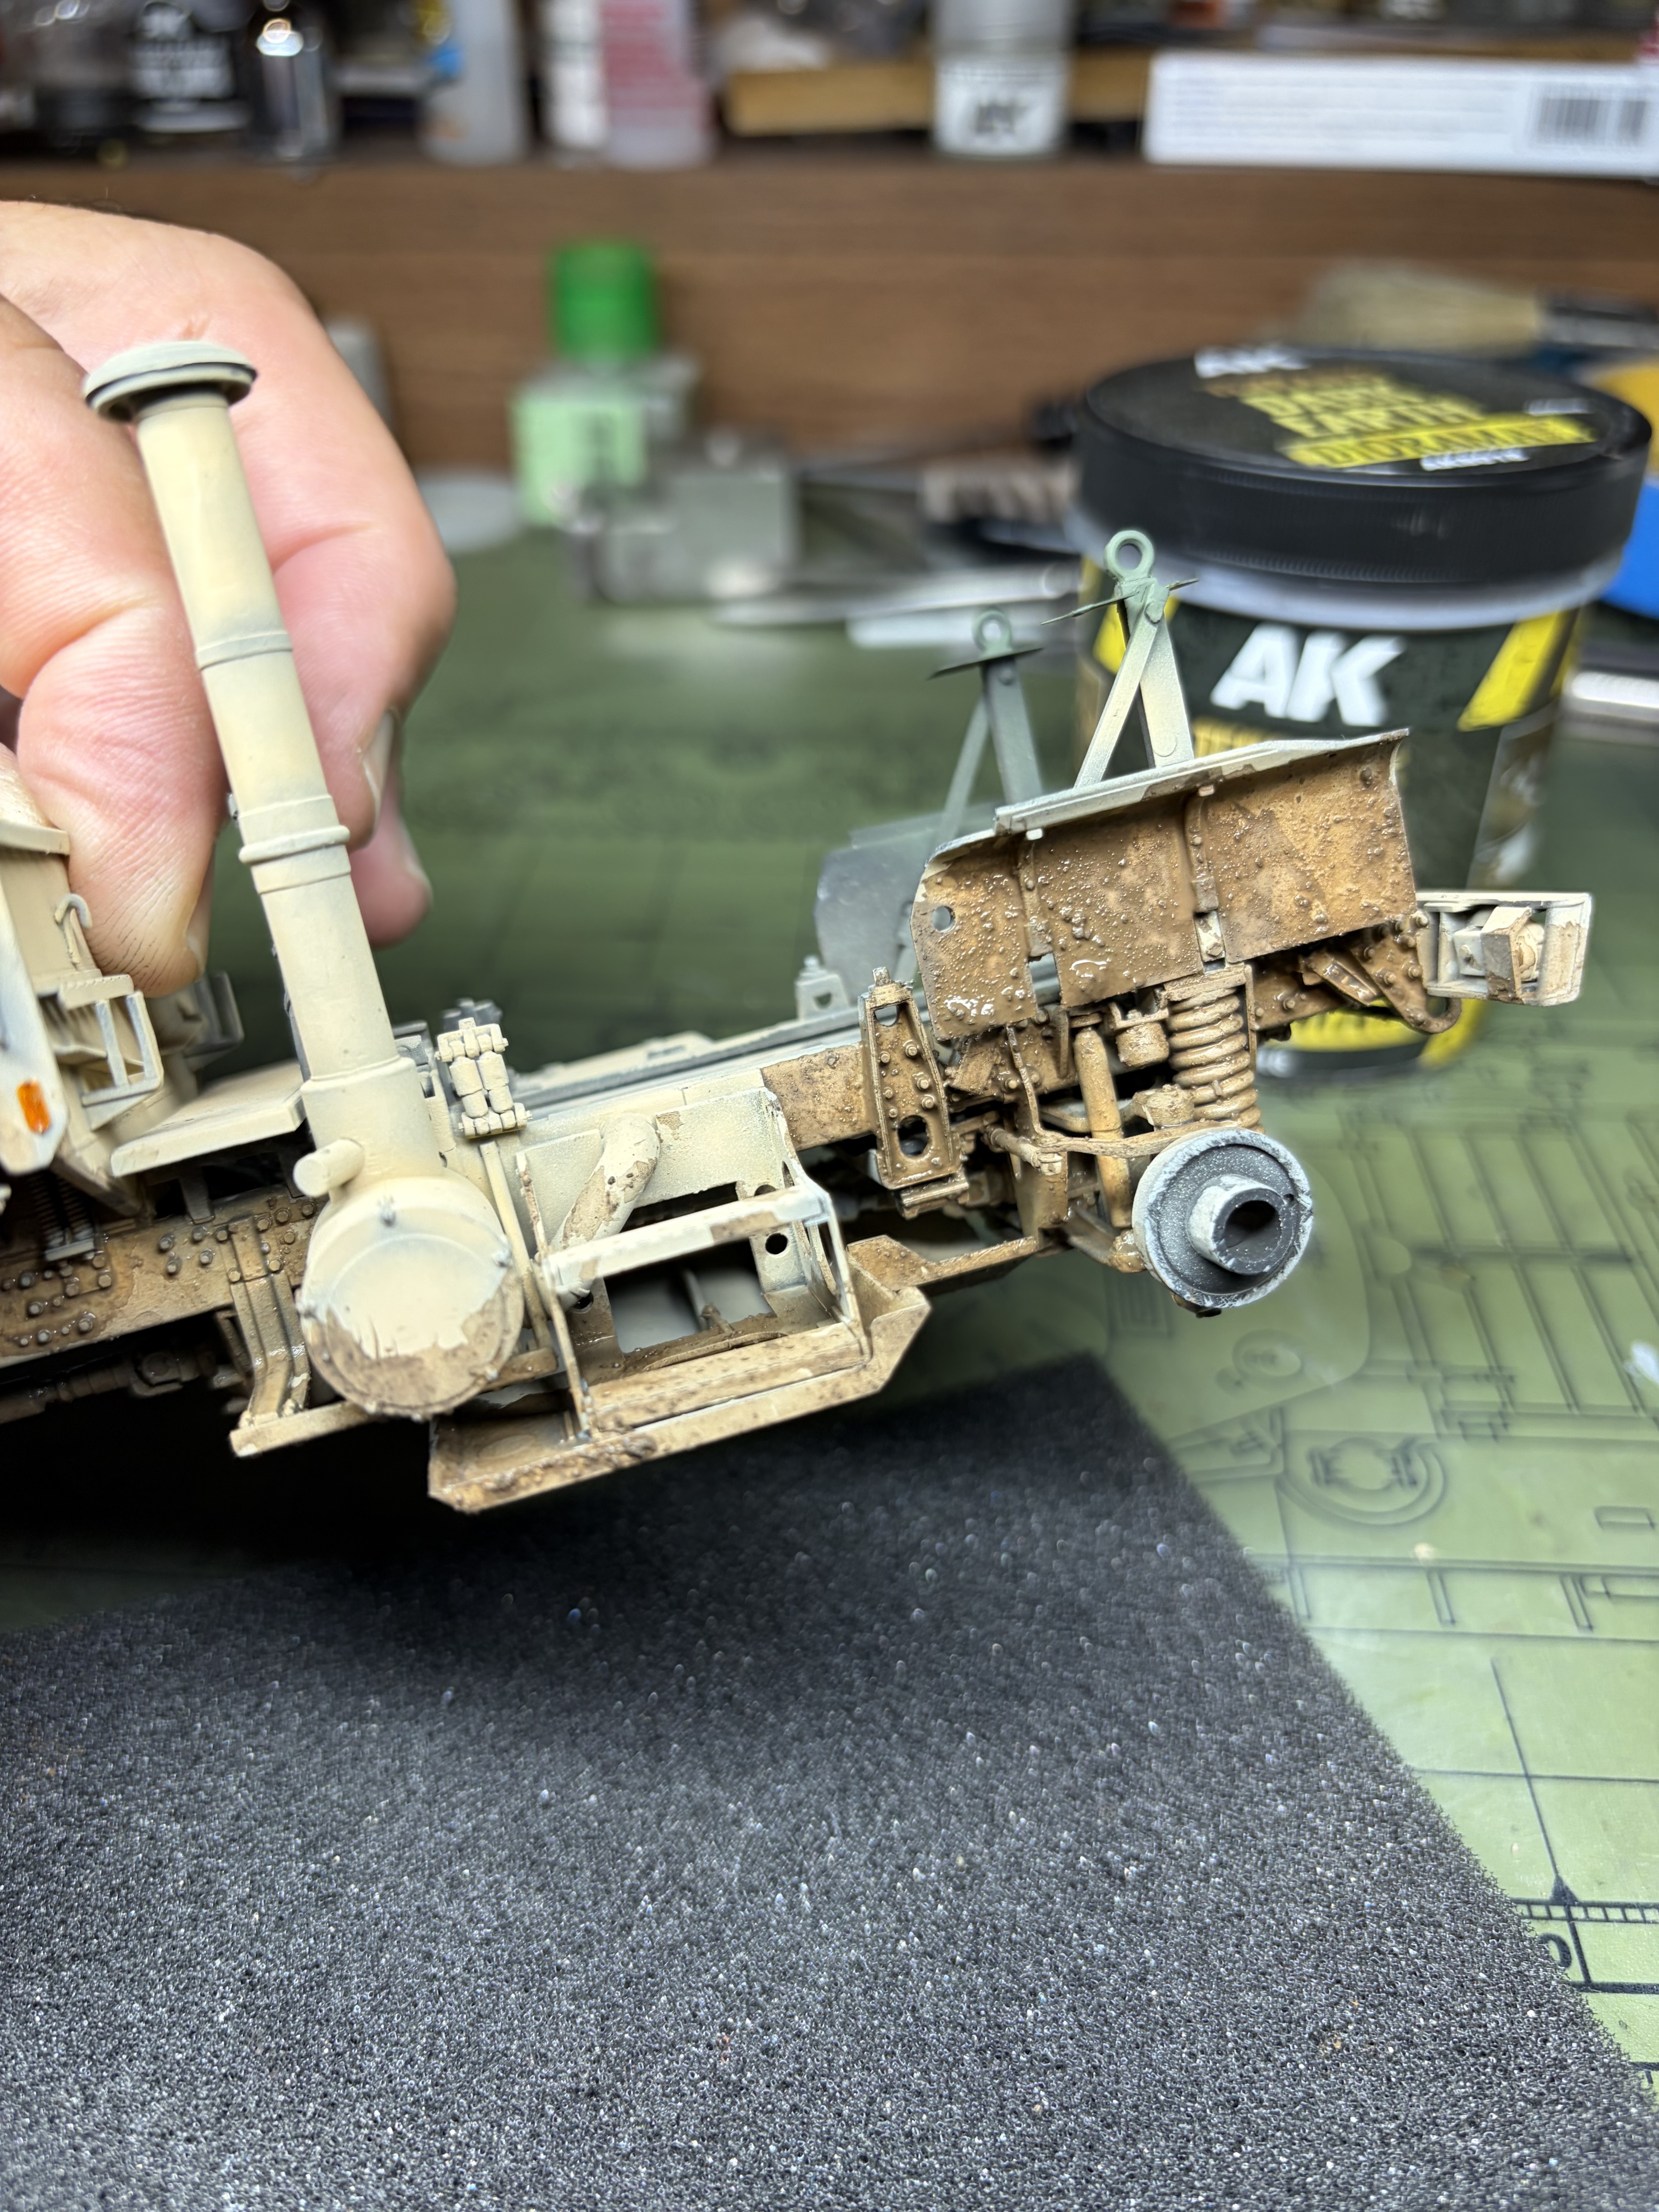
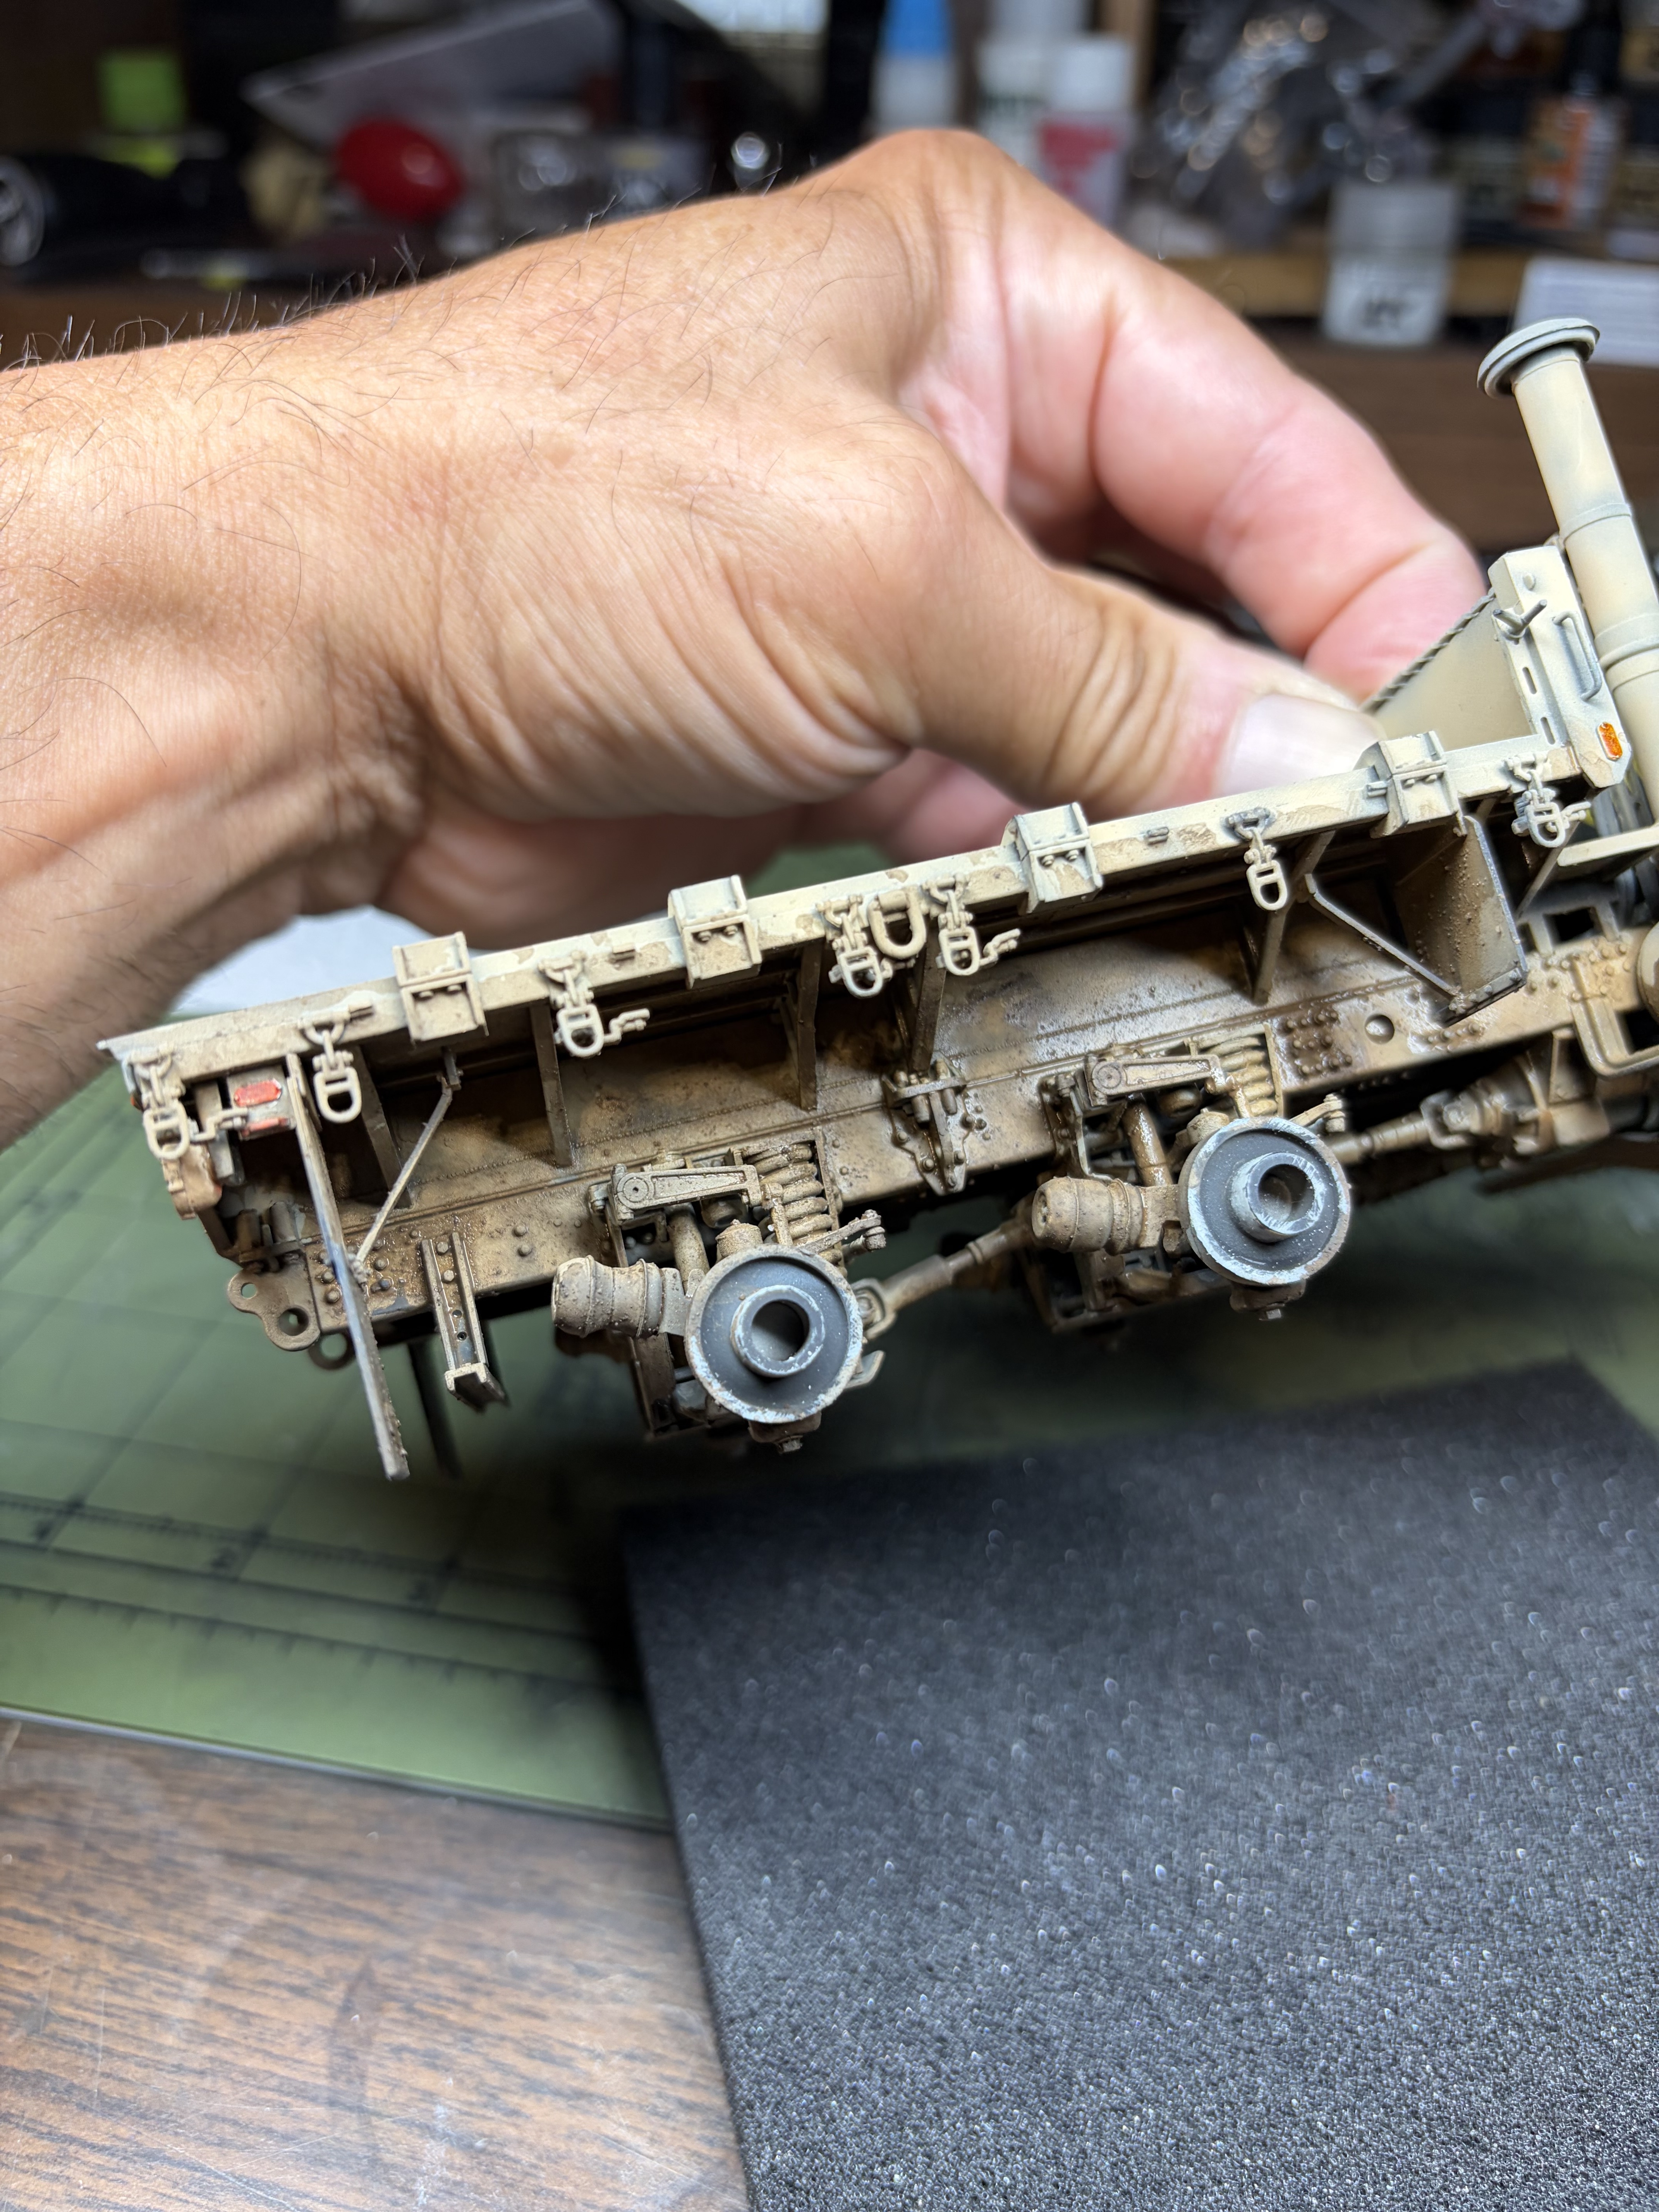
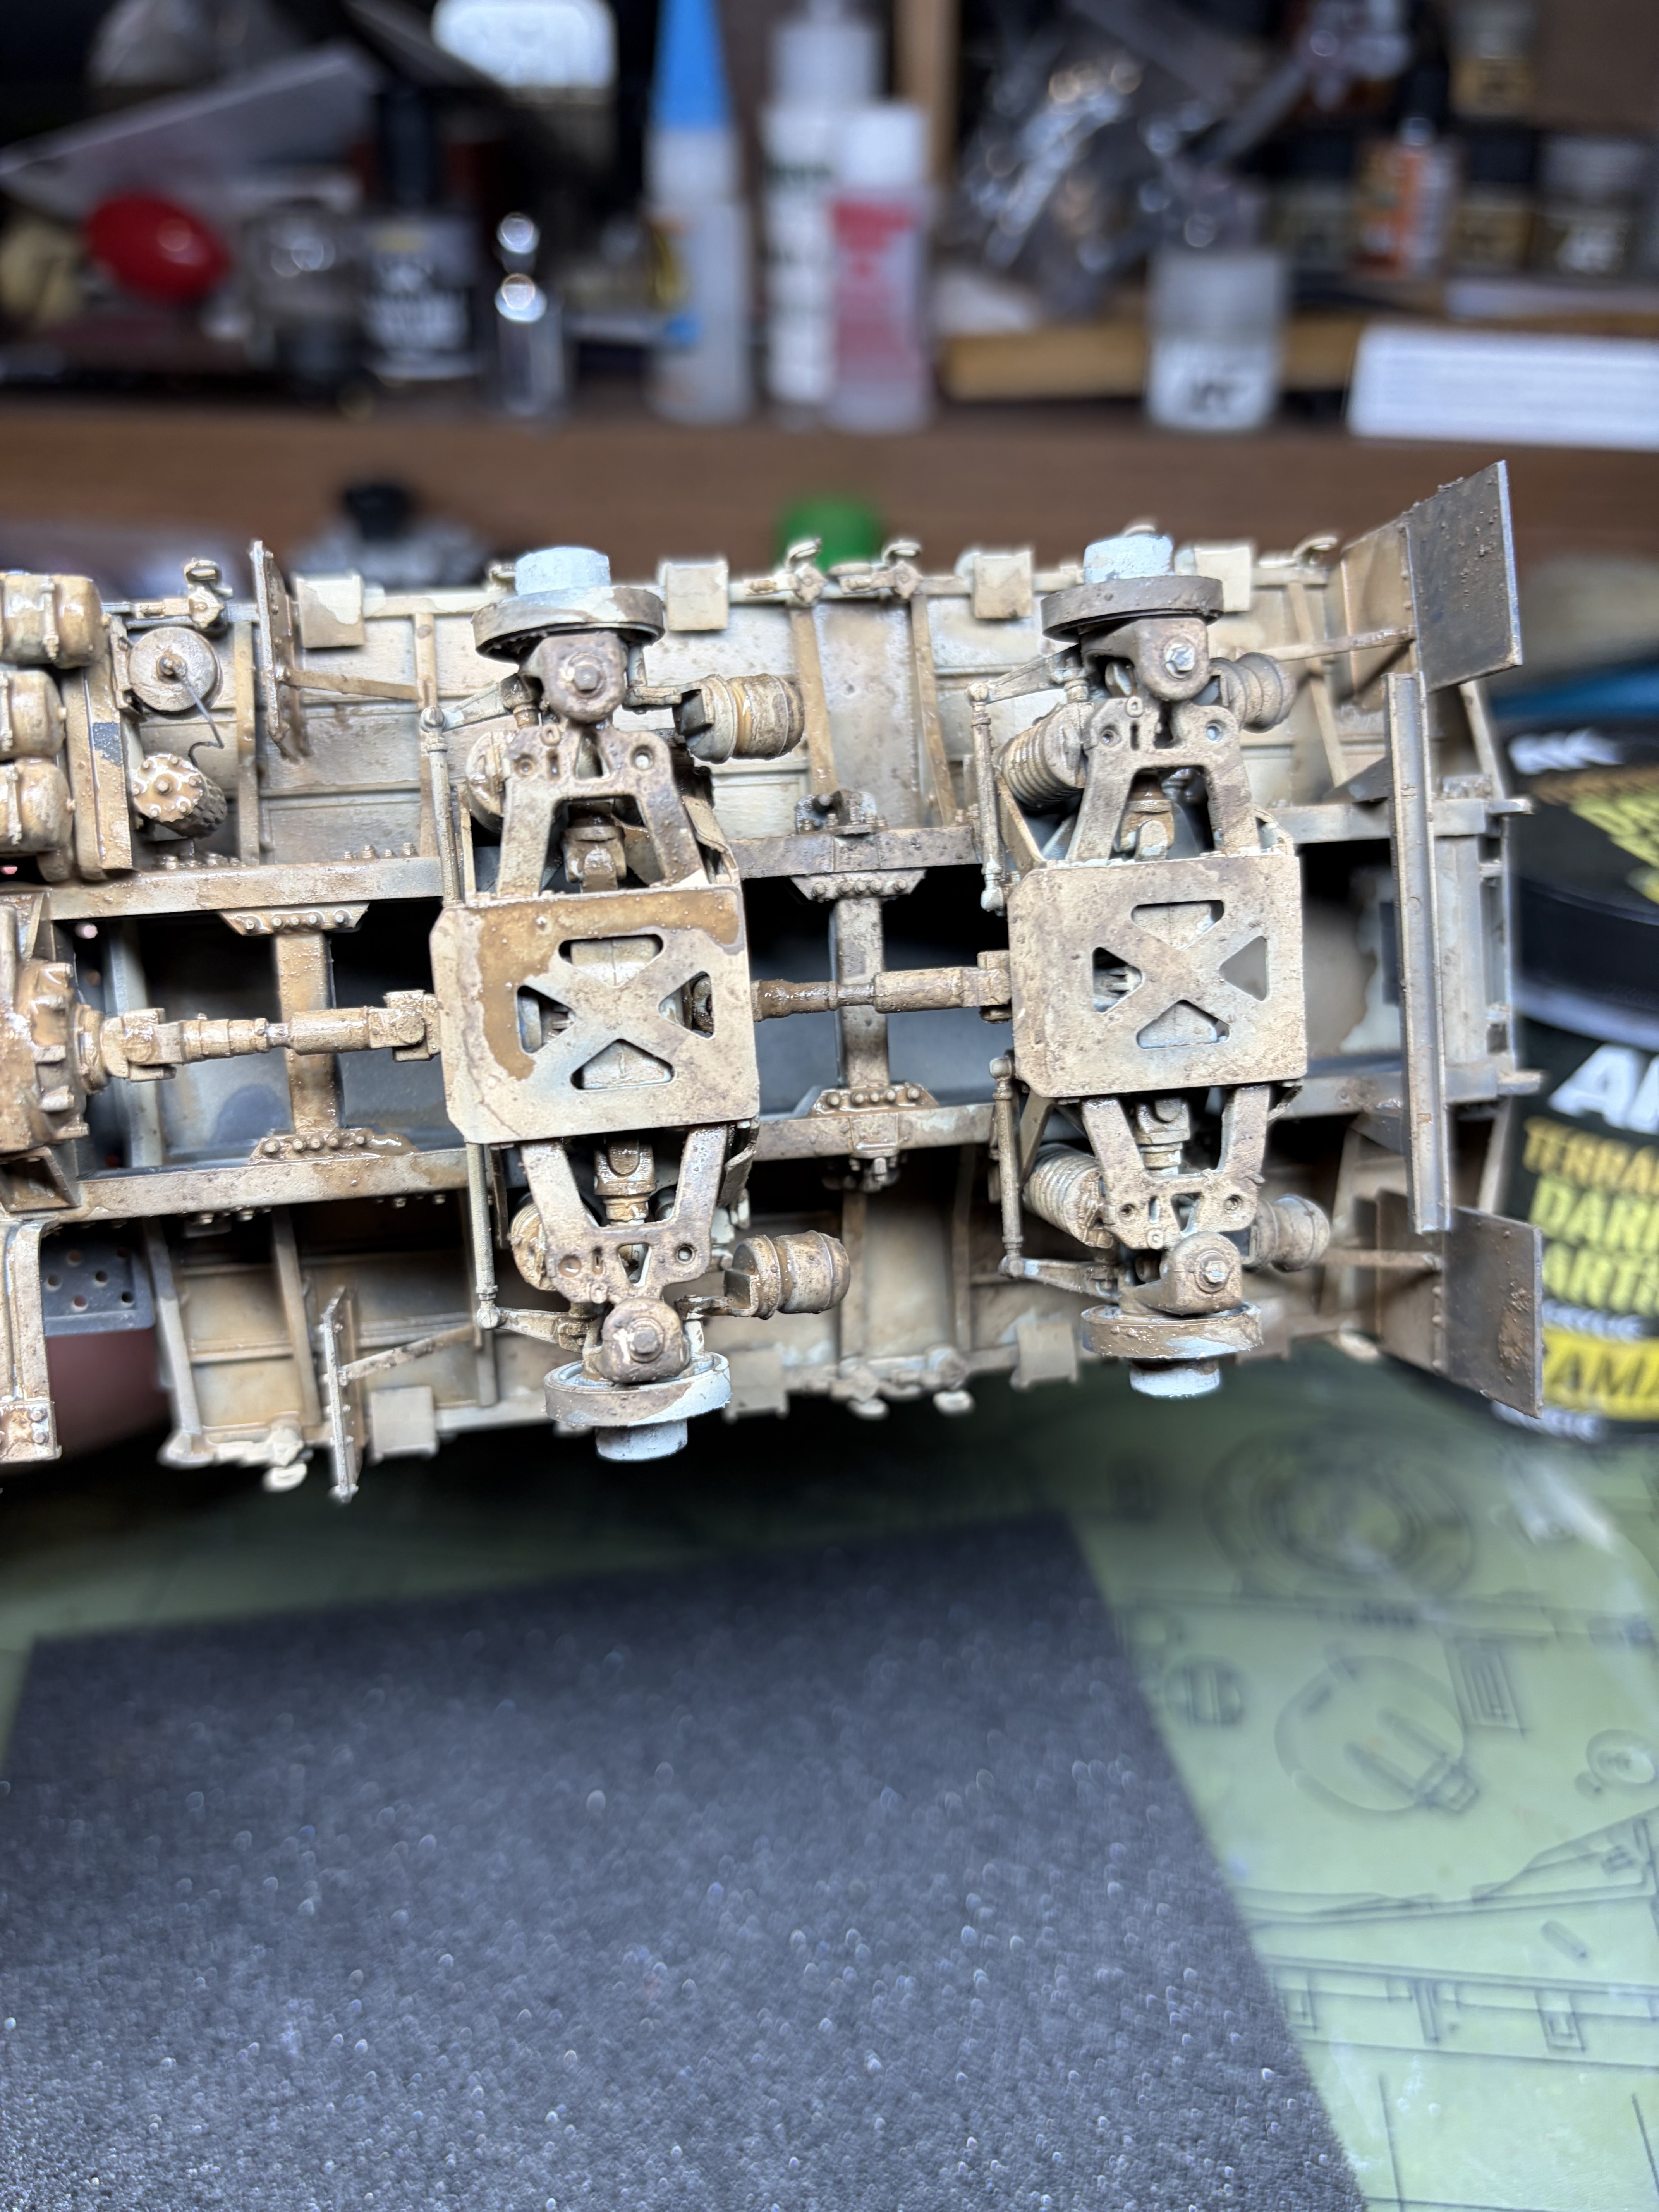
I started doing some weathering on the chassis; I want to do as much as possible before assembling the major components so I don’t break anything off the cab etc. I used AK Dark earth and spread it all over the bottom of the under carriage. It thins with water and has a nice gritty texture. I’m going for dried mud and dust. I’ll go over it later with Tamiya buff or deck tan. I also gave the tires a light dry brush with gray oils, they’ll be getting dust treatment as well. I sprayed dust on the windshield too. The MCTAGS turret is base painted and awaits a wash.

9 Likes

Thanks Uncle for the correction lol…,

1 Like

My intrusive thoughts kept asking what live mud would look like as opposed to died mud …
:grin:

1 Like

More rigid and definitely a different color? :squinting_face_with_tongue:

1 Like

Really great weathering on the chassis. Very inspirational!

Thank you, it’s just the beginning phase and I have a way to go still. I will have to make adjustments and touch up of course.

Looks like it is coming along nicely. Great job so far.

1 Like

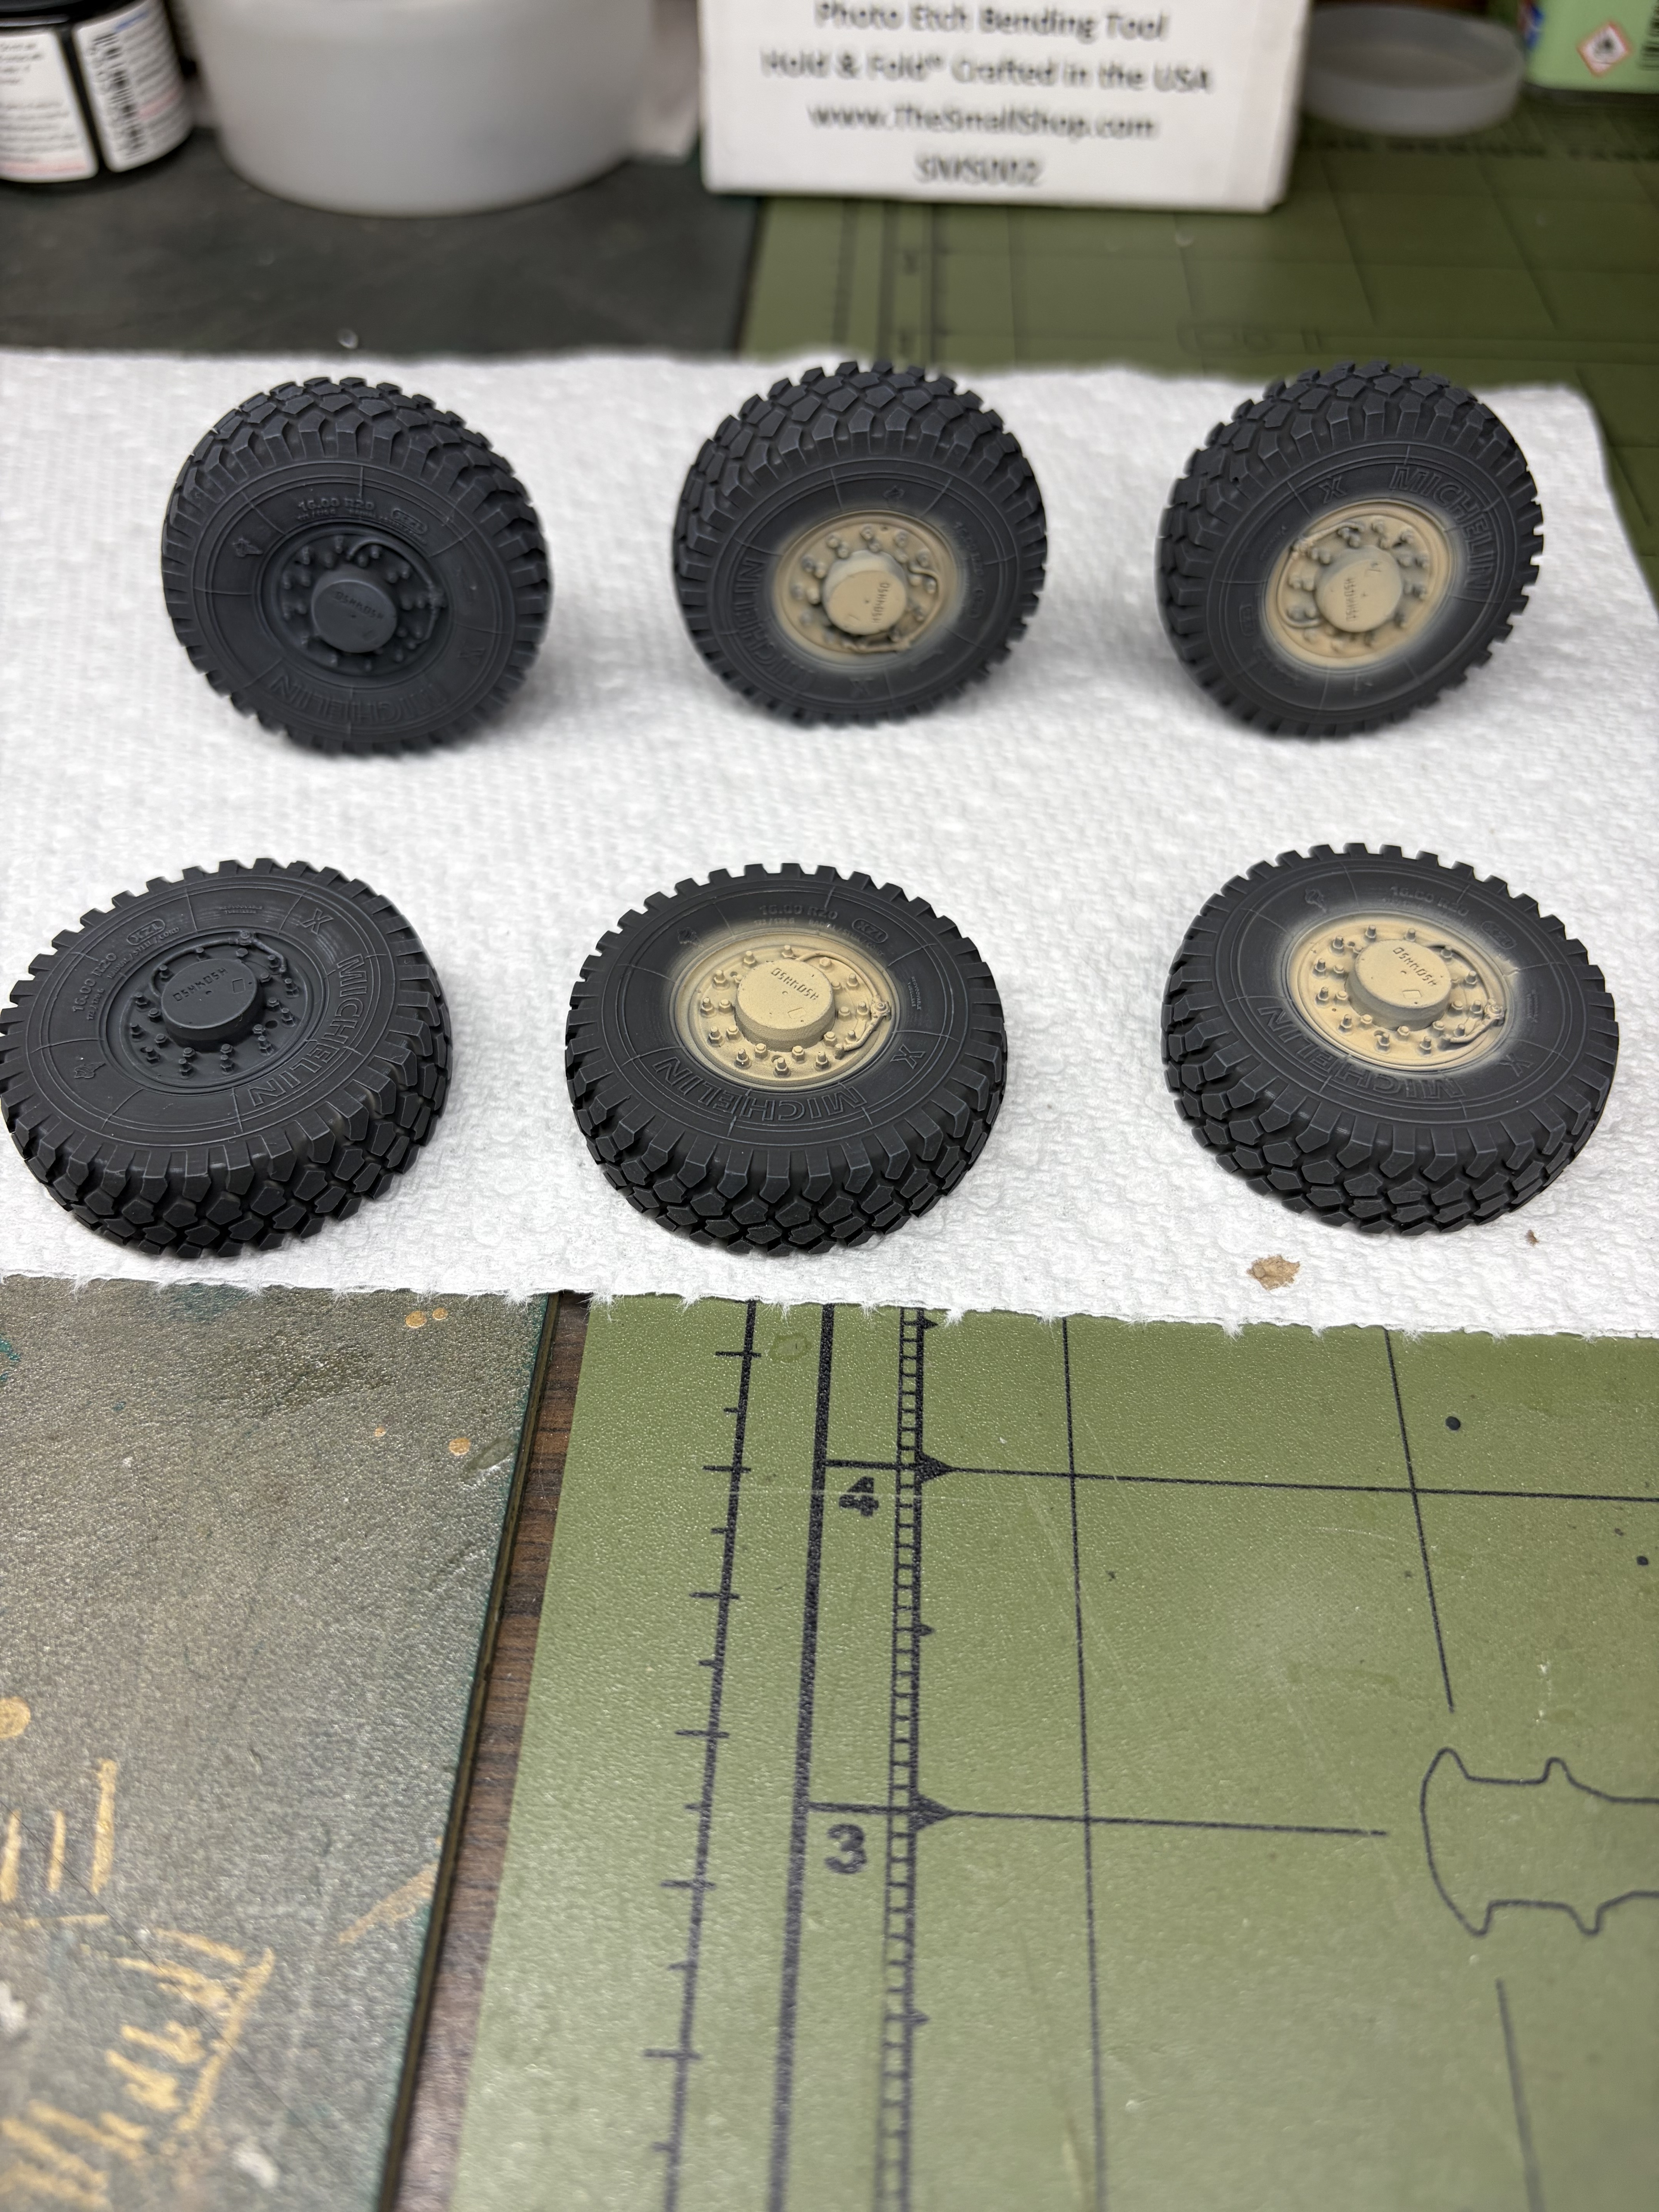
Oh I almost forgot, I gave up on the kit wheels. I initially thought it would be easy to remove the seam on the kit tires but found it difficult to get in between the treads. So I bought the Michelin tire set from Panzer Art. They’re excellent
1 Like

Did you try these?

I remember trying to fit them into one of my knife handles. They are very small - I didn’t use them.

Fun is cutting the last remnants of the tire flap off the wheel with your bayonet. Talk about ill prepared.

that way you can try and finish the 148 mile drive back to camp provided you can bum enough diesel from other units to get there.

All while an angry Lt stews about not having a spare.