So here we are… A Vdub Beetle… Not my usual area of building but hey ho… Onwards and upwards.
The base kit is the Revell 1/24 VW Beetle Limousine 1968.
It will be OOB apart from decals I will need to make at the end.
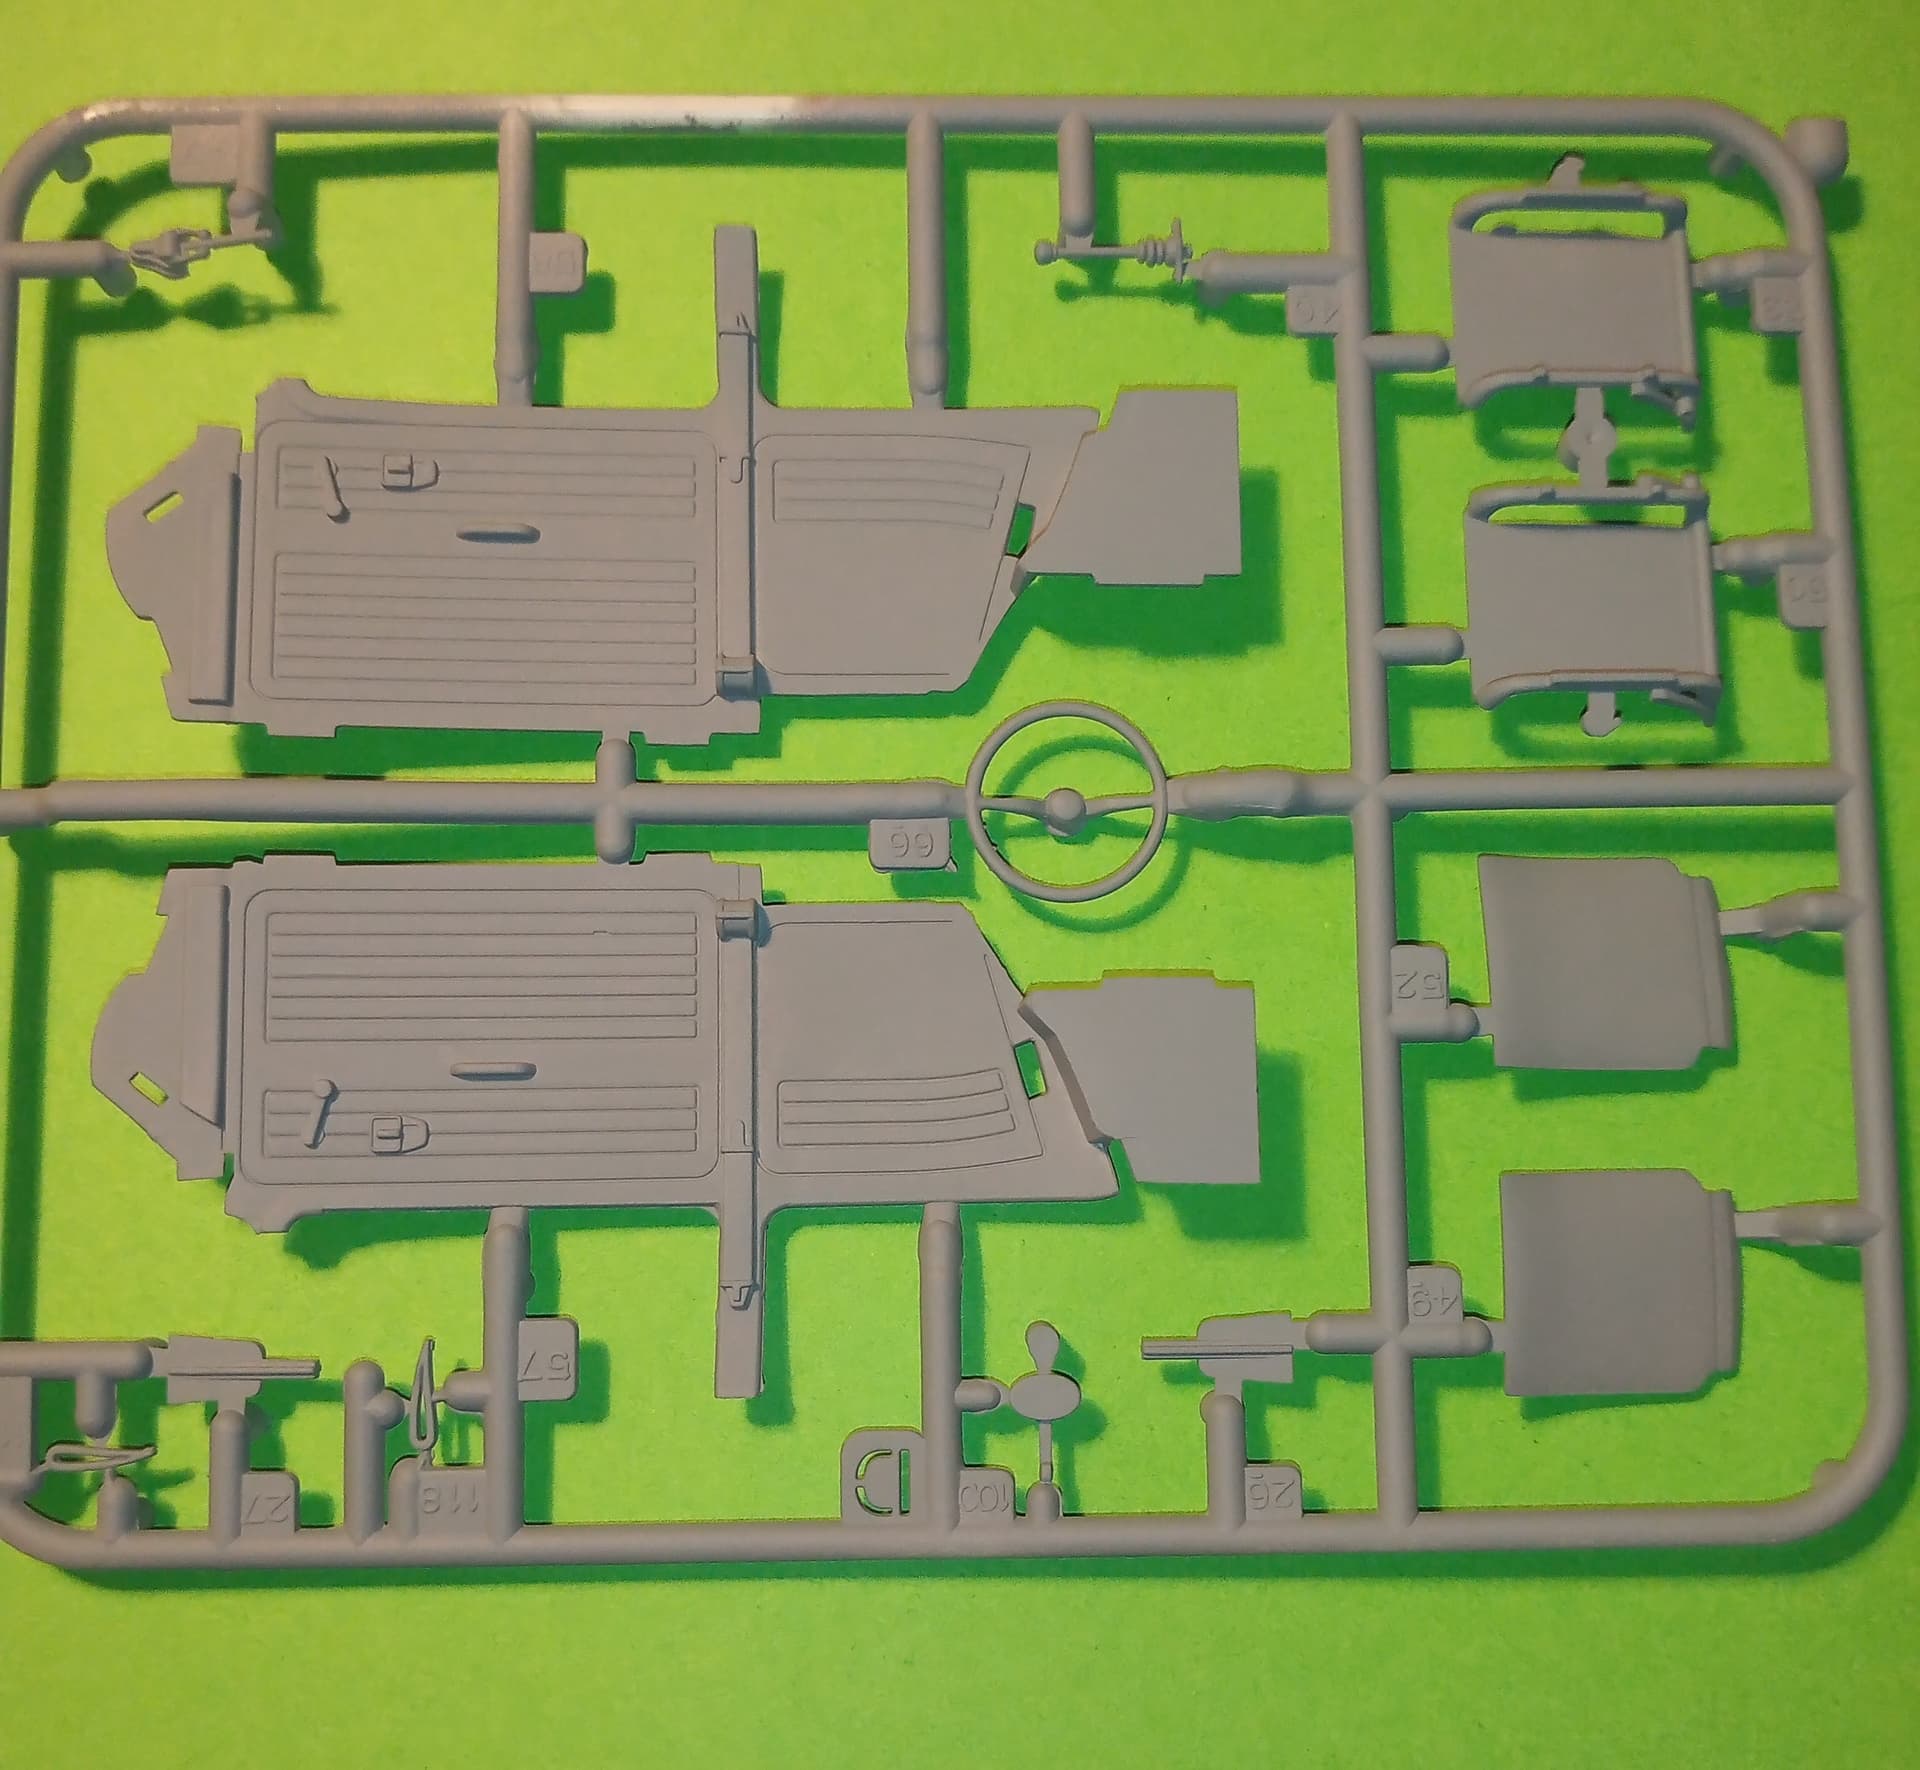
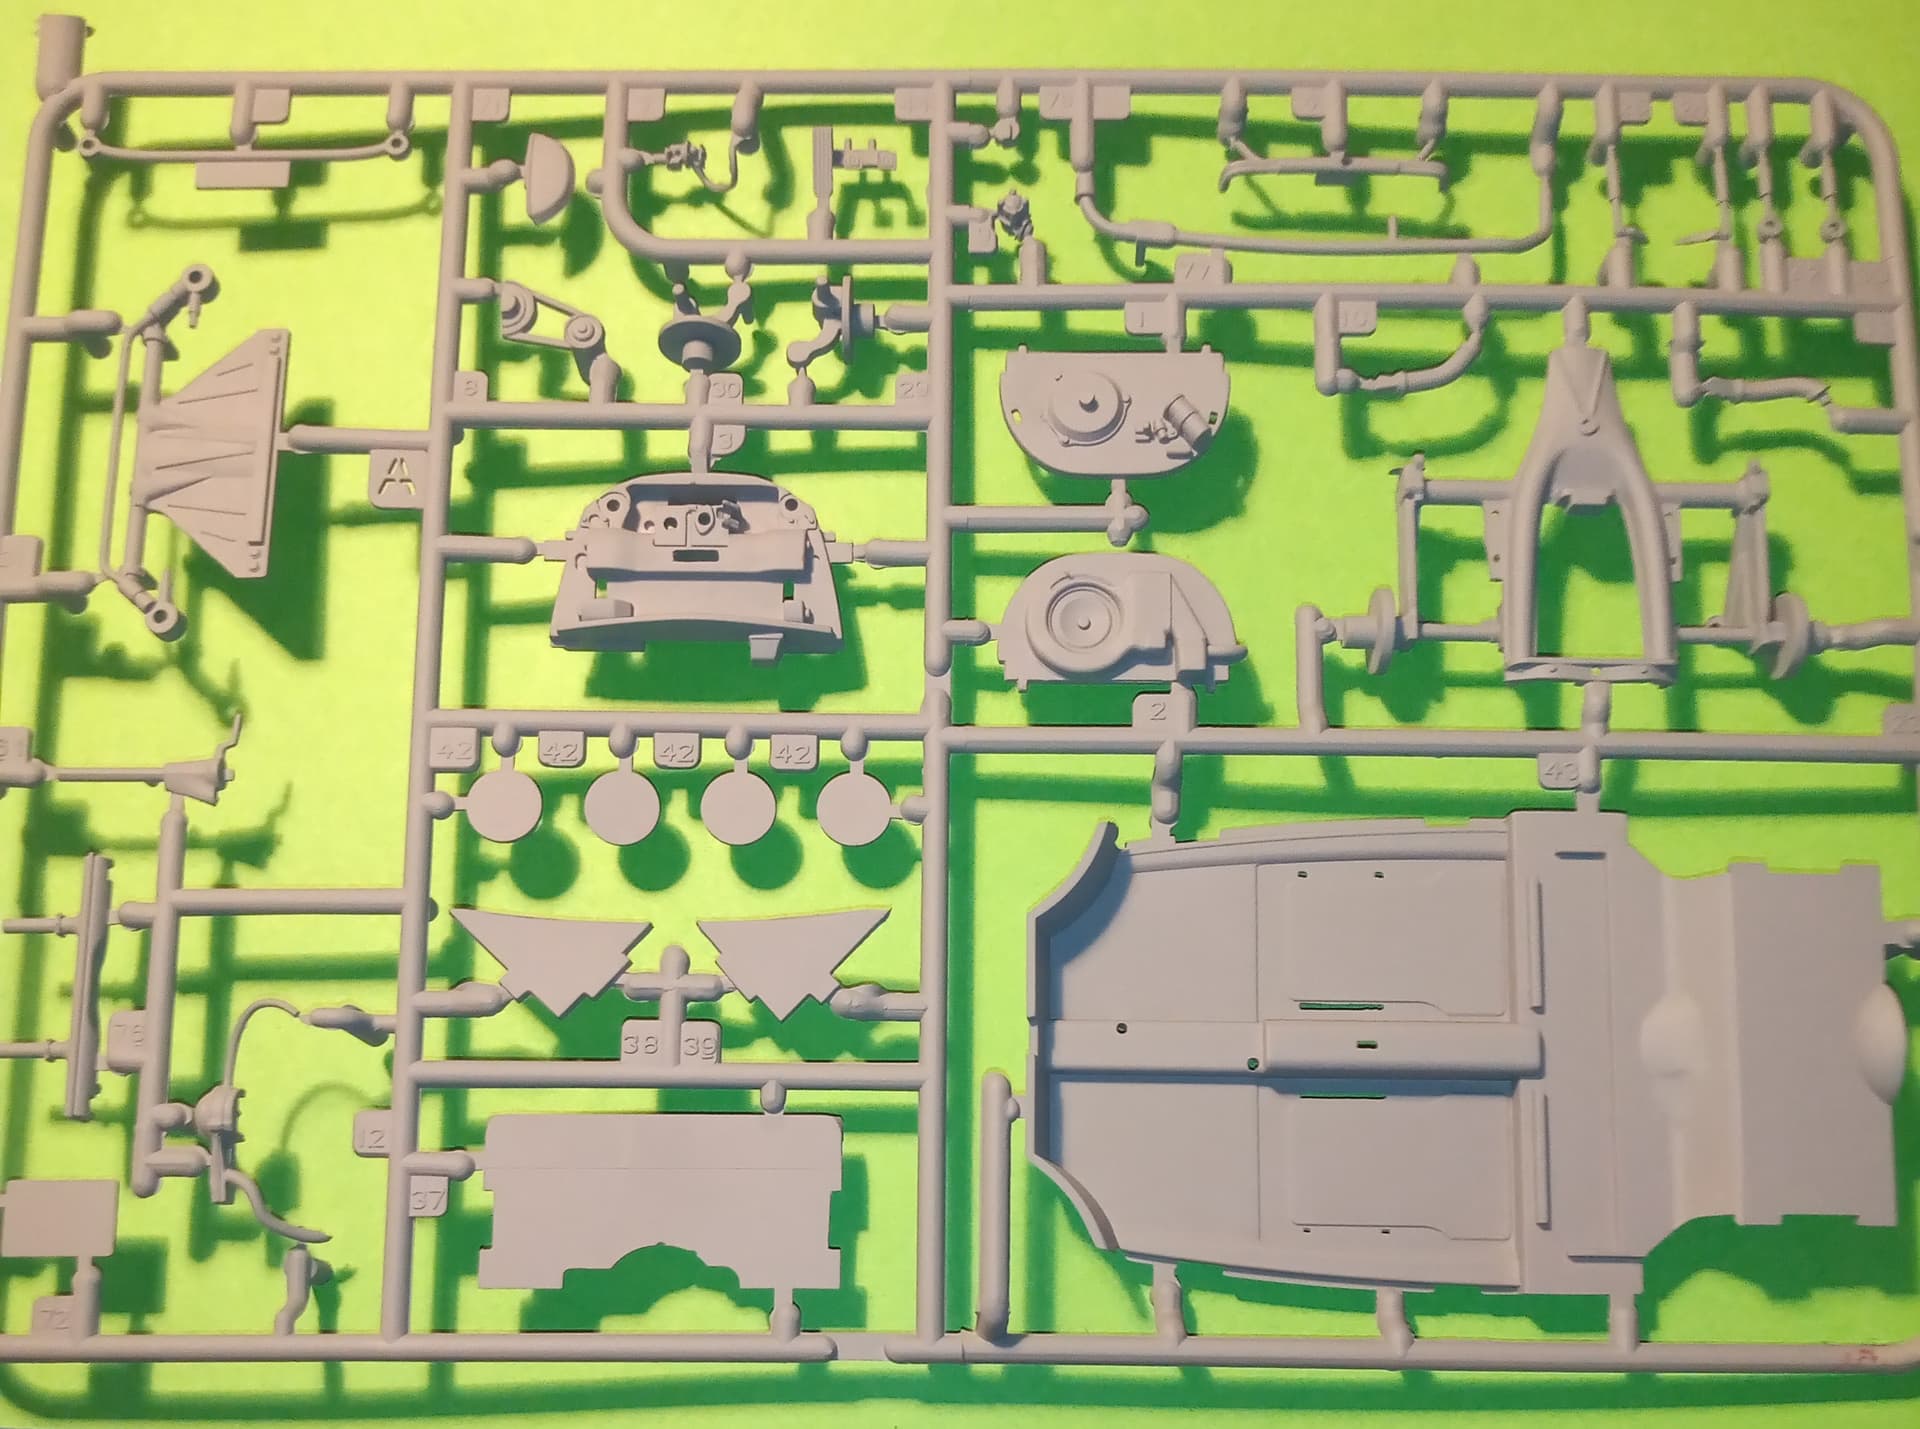
There are 6 normal plastic sprues. 2 chrome effect sprues, and 1 clear parts sprue plus 4 rubber wheels.
Initial look at those seems good. Pretty well detailed and it has a detailed engine which you can have the boot working up or down. Also has the option of 2 steering wheels and GB or European steering sides.
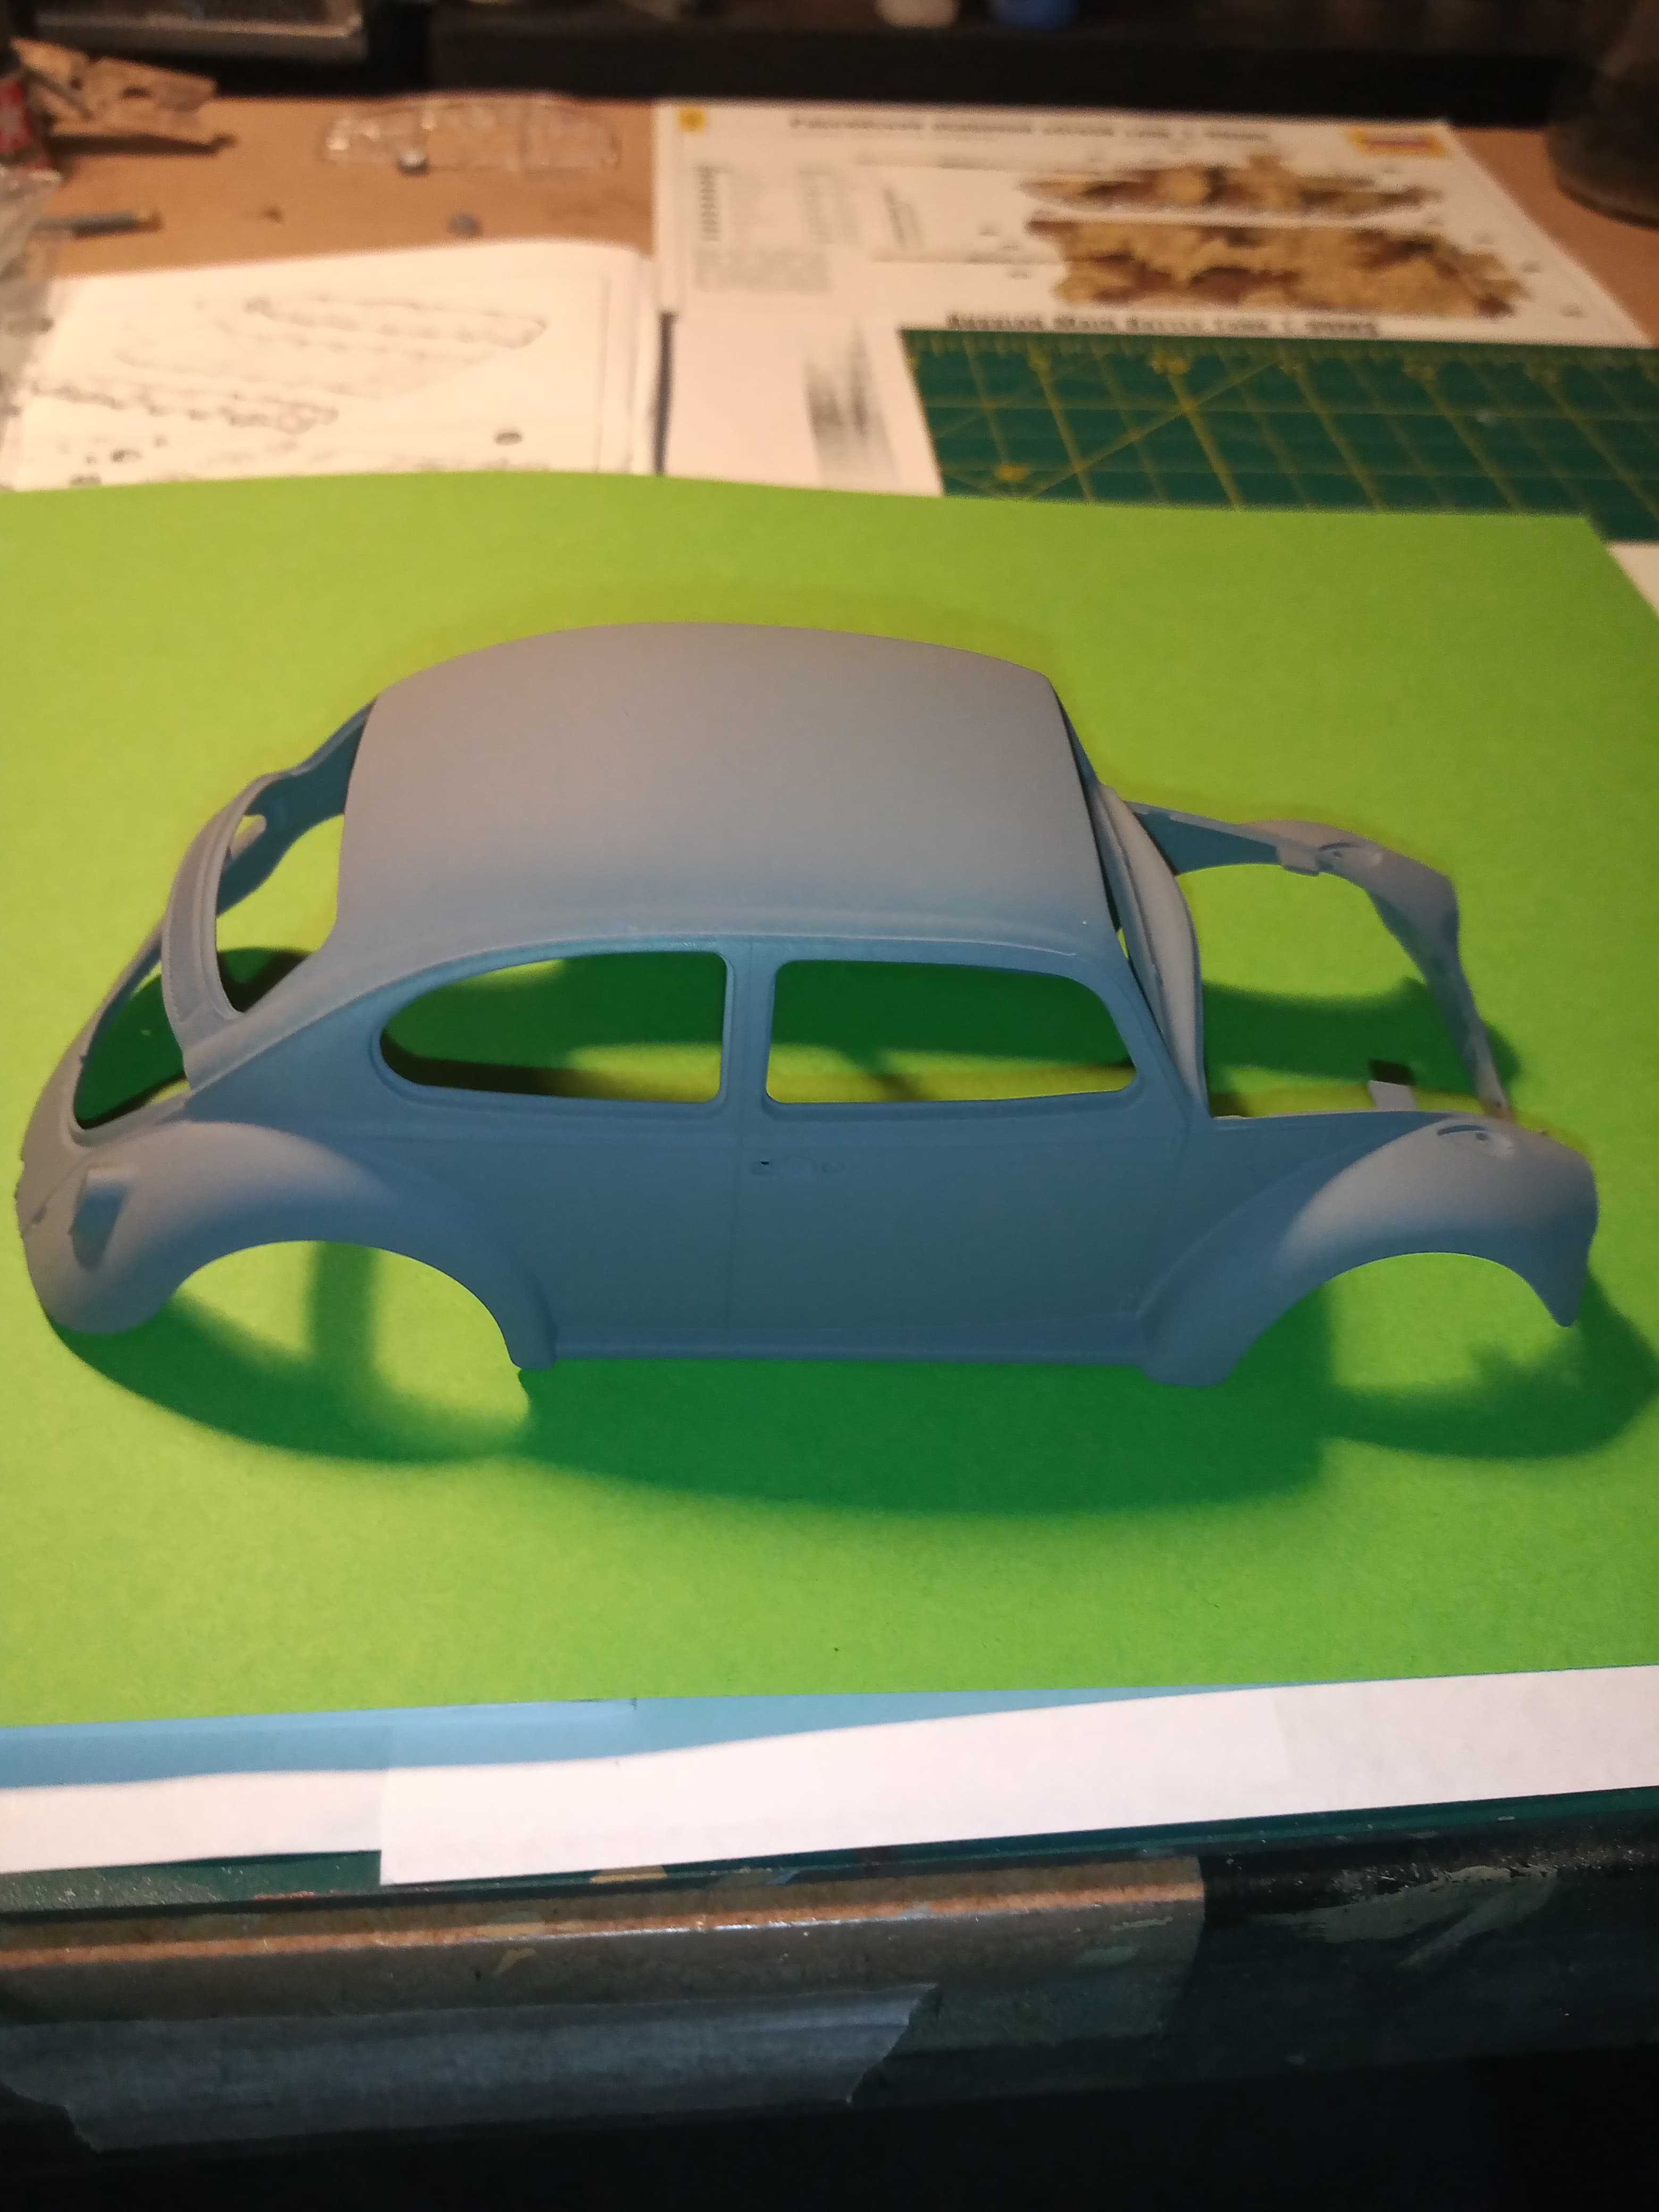
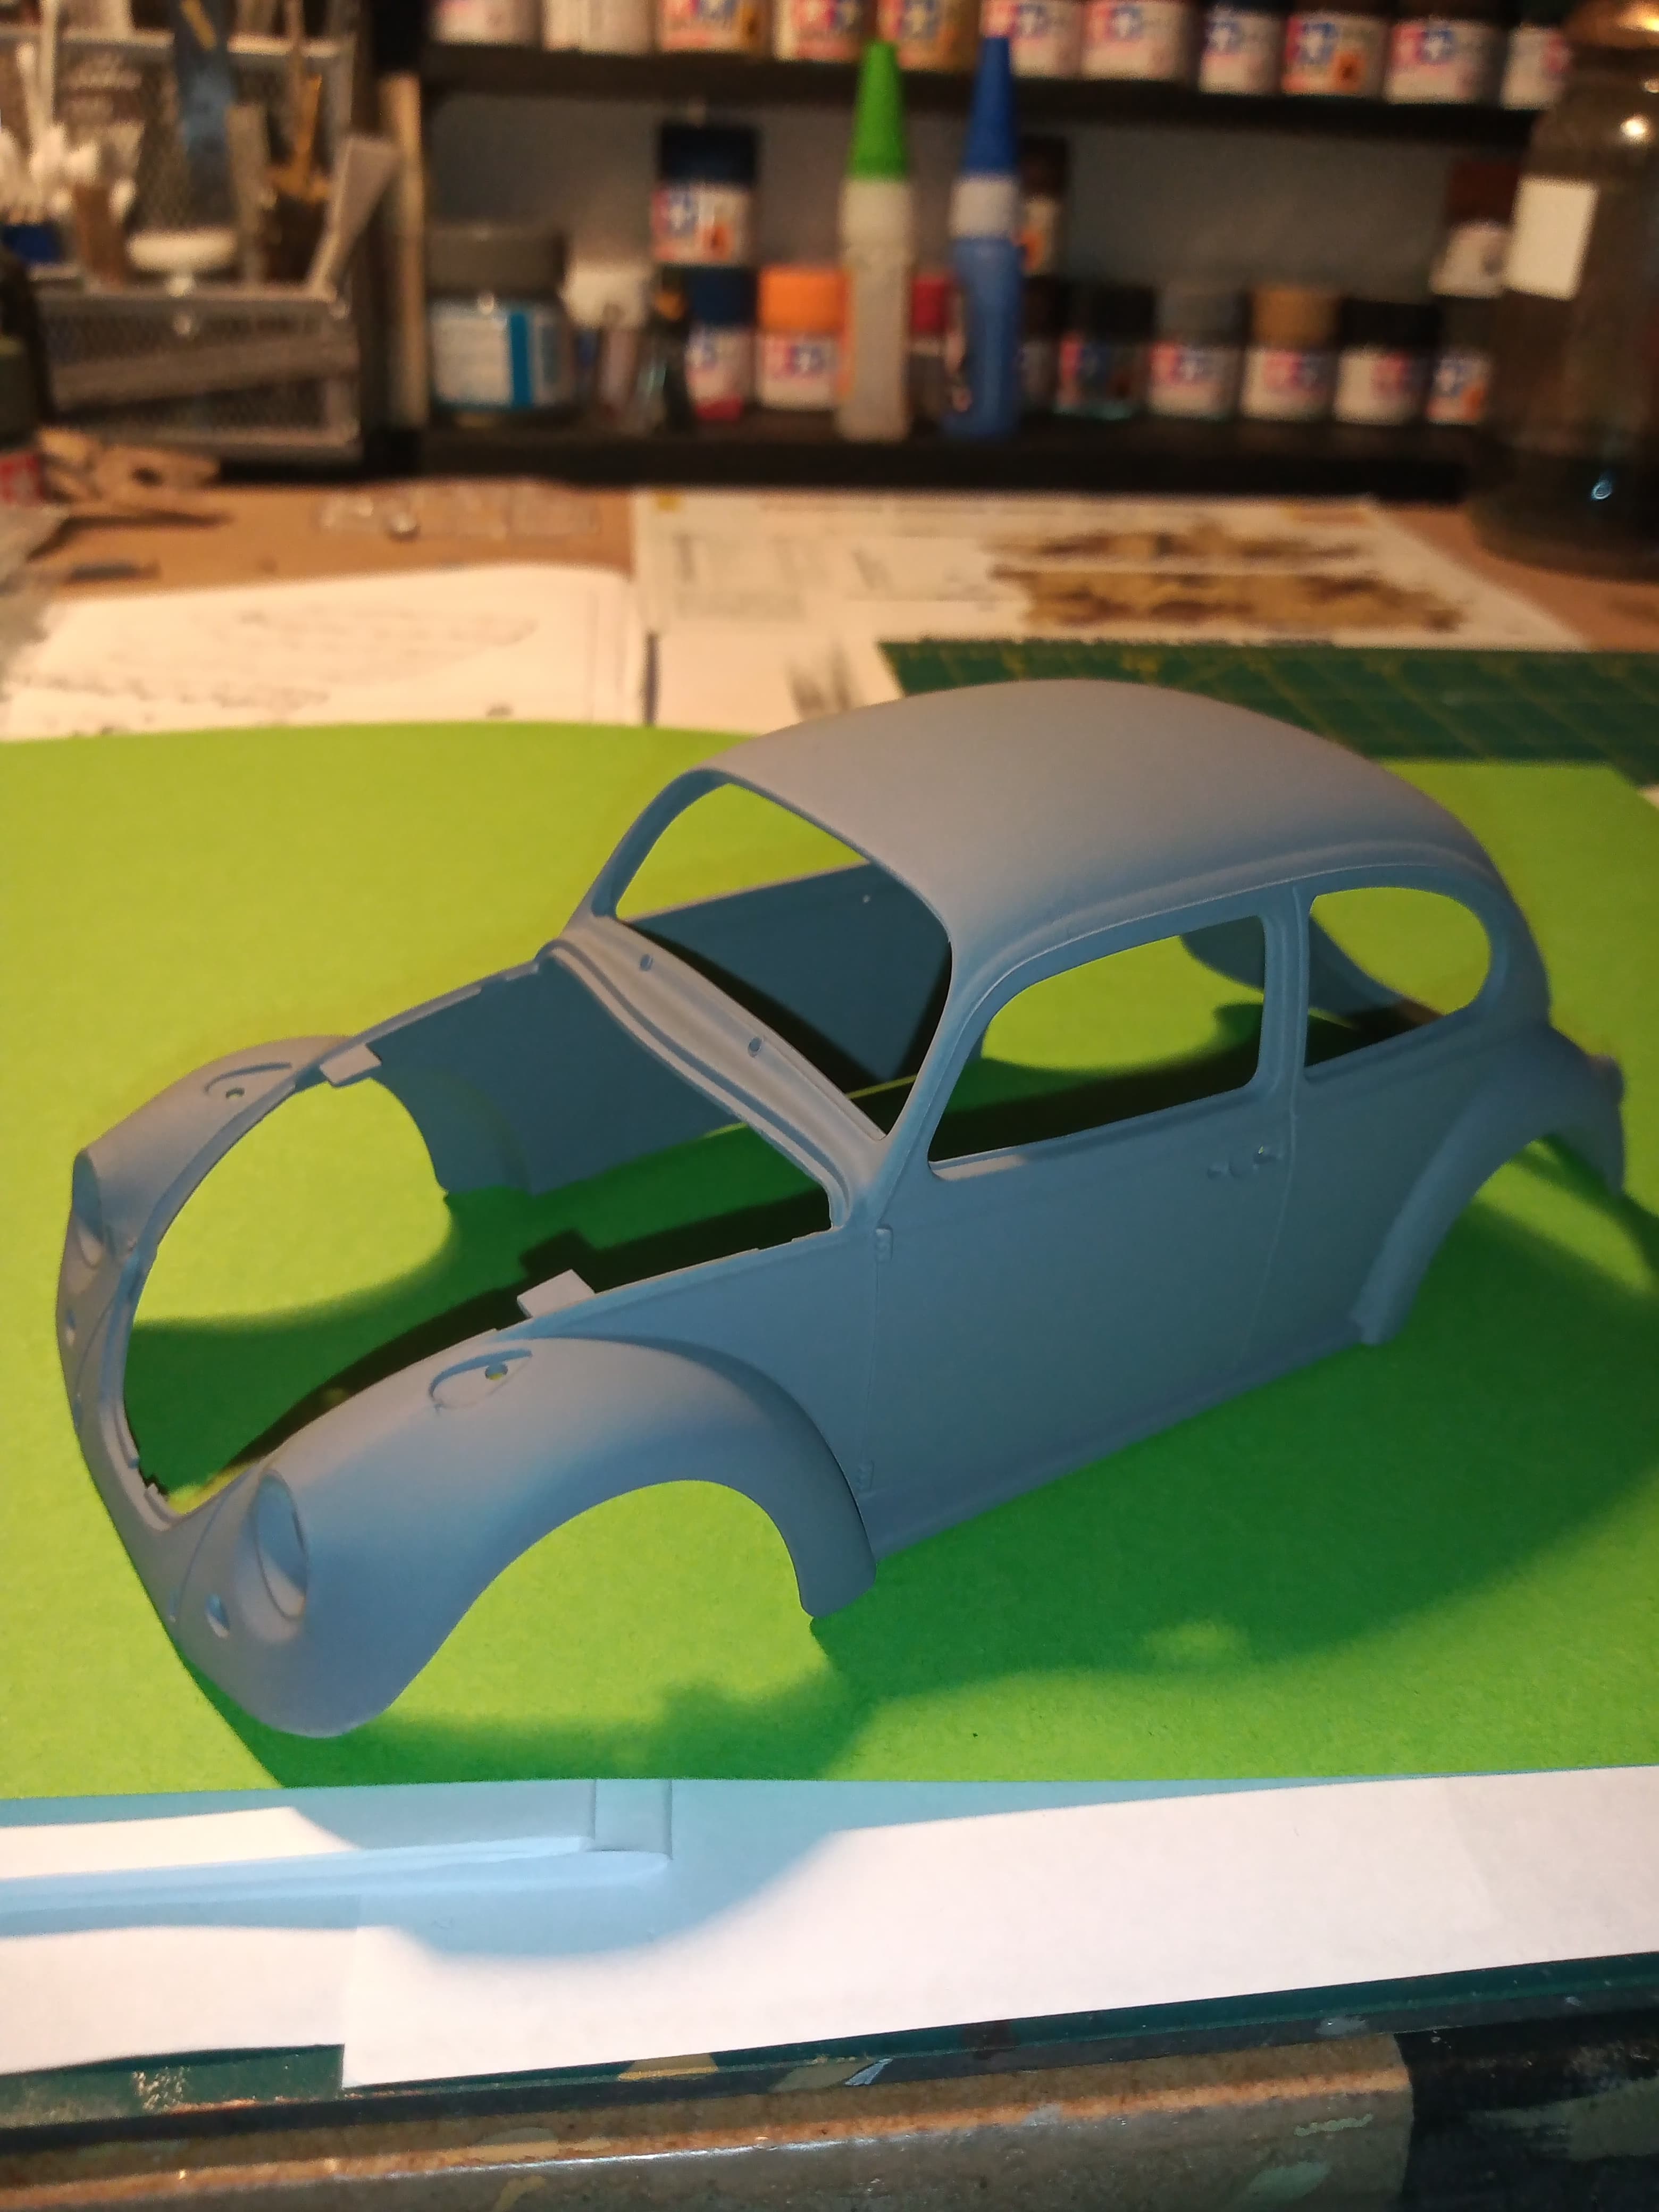
I have primed all the normal plastic parts on the sprue as I will be doing a lot of the interior painting as I go.
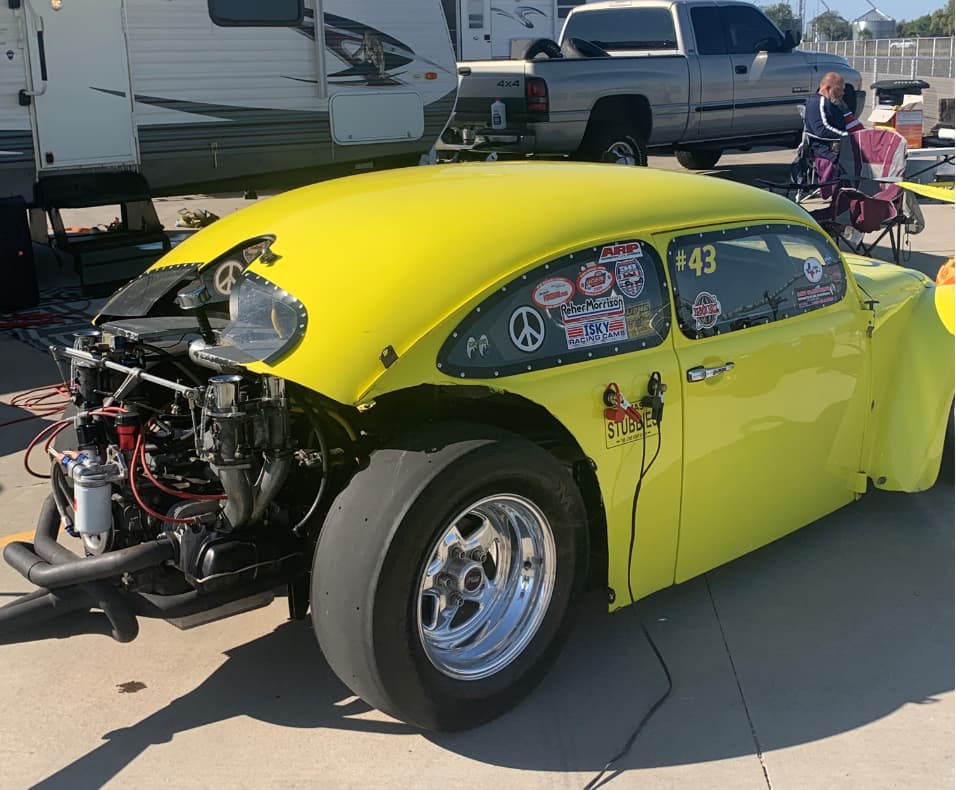
Now so you know, this going to be a fun build. It is from actual images which will be shown at the end and this year of Beetle may not be 100% correct as per the images, but the concept will become self explanatory at the end and what I’m trying to capture.
I will also be posting updates in the Auto section so those guys don’t get left out but linking this build thread into that one…
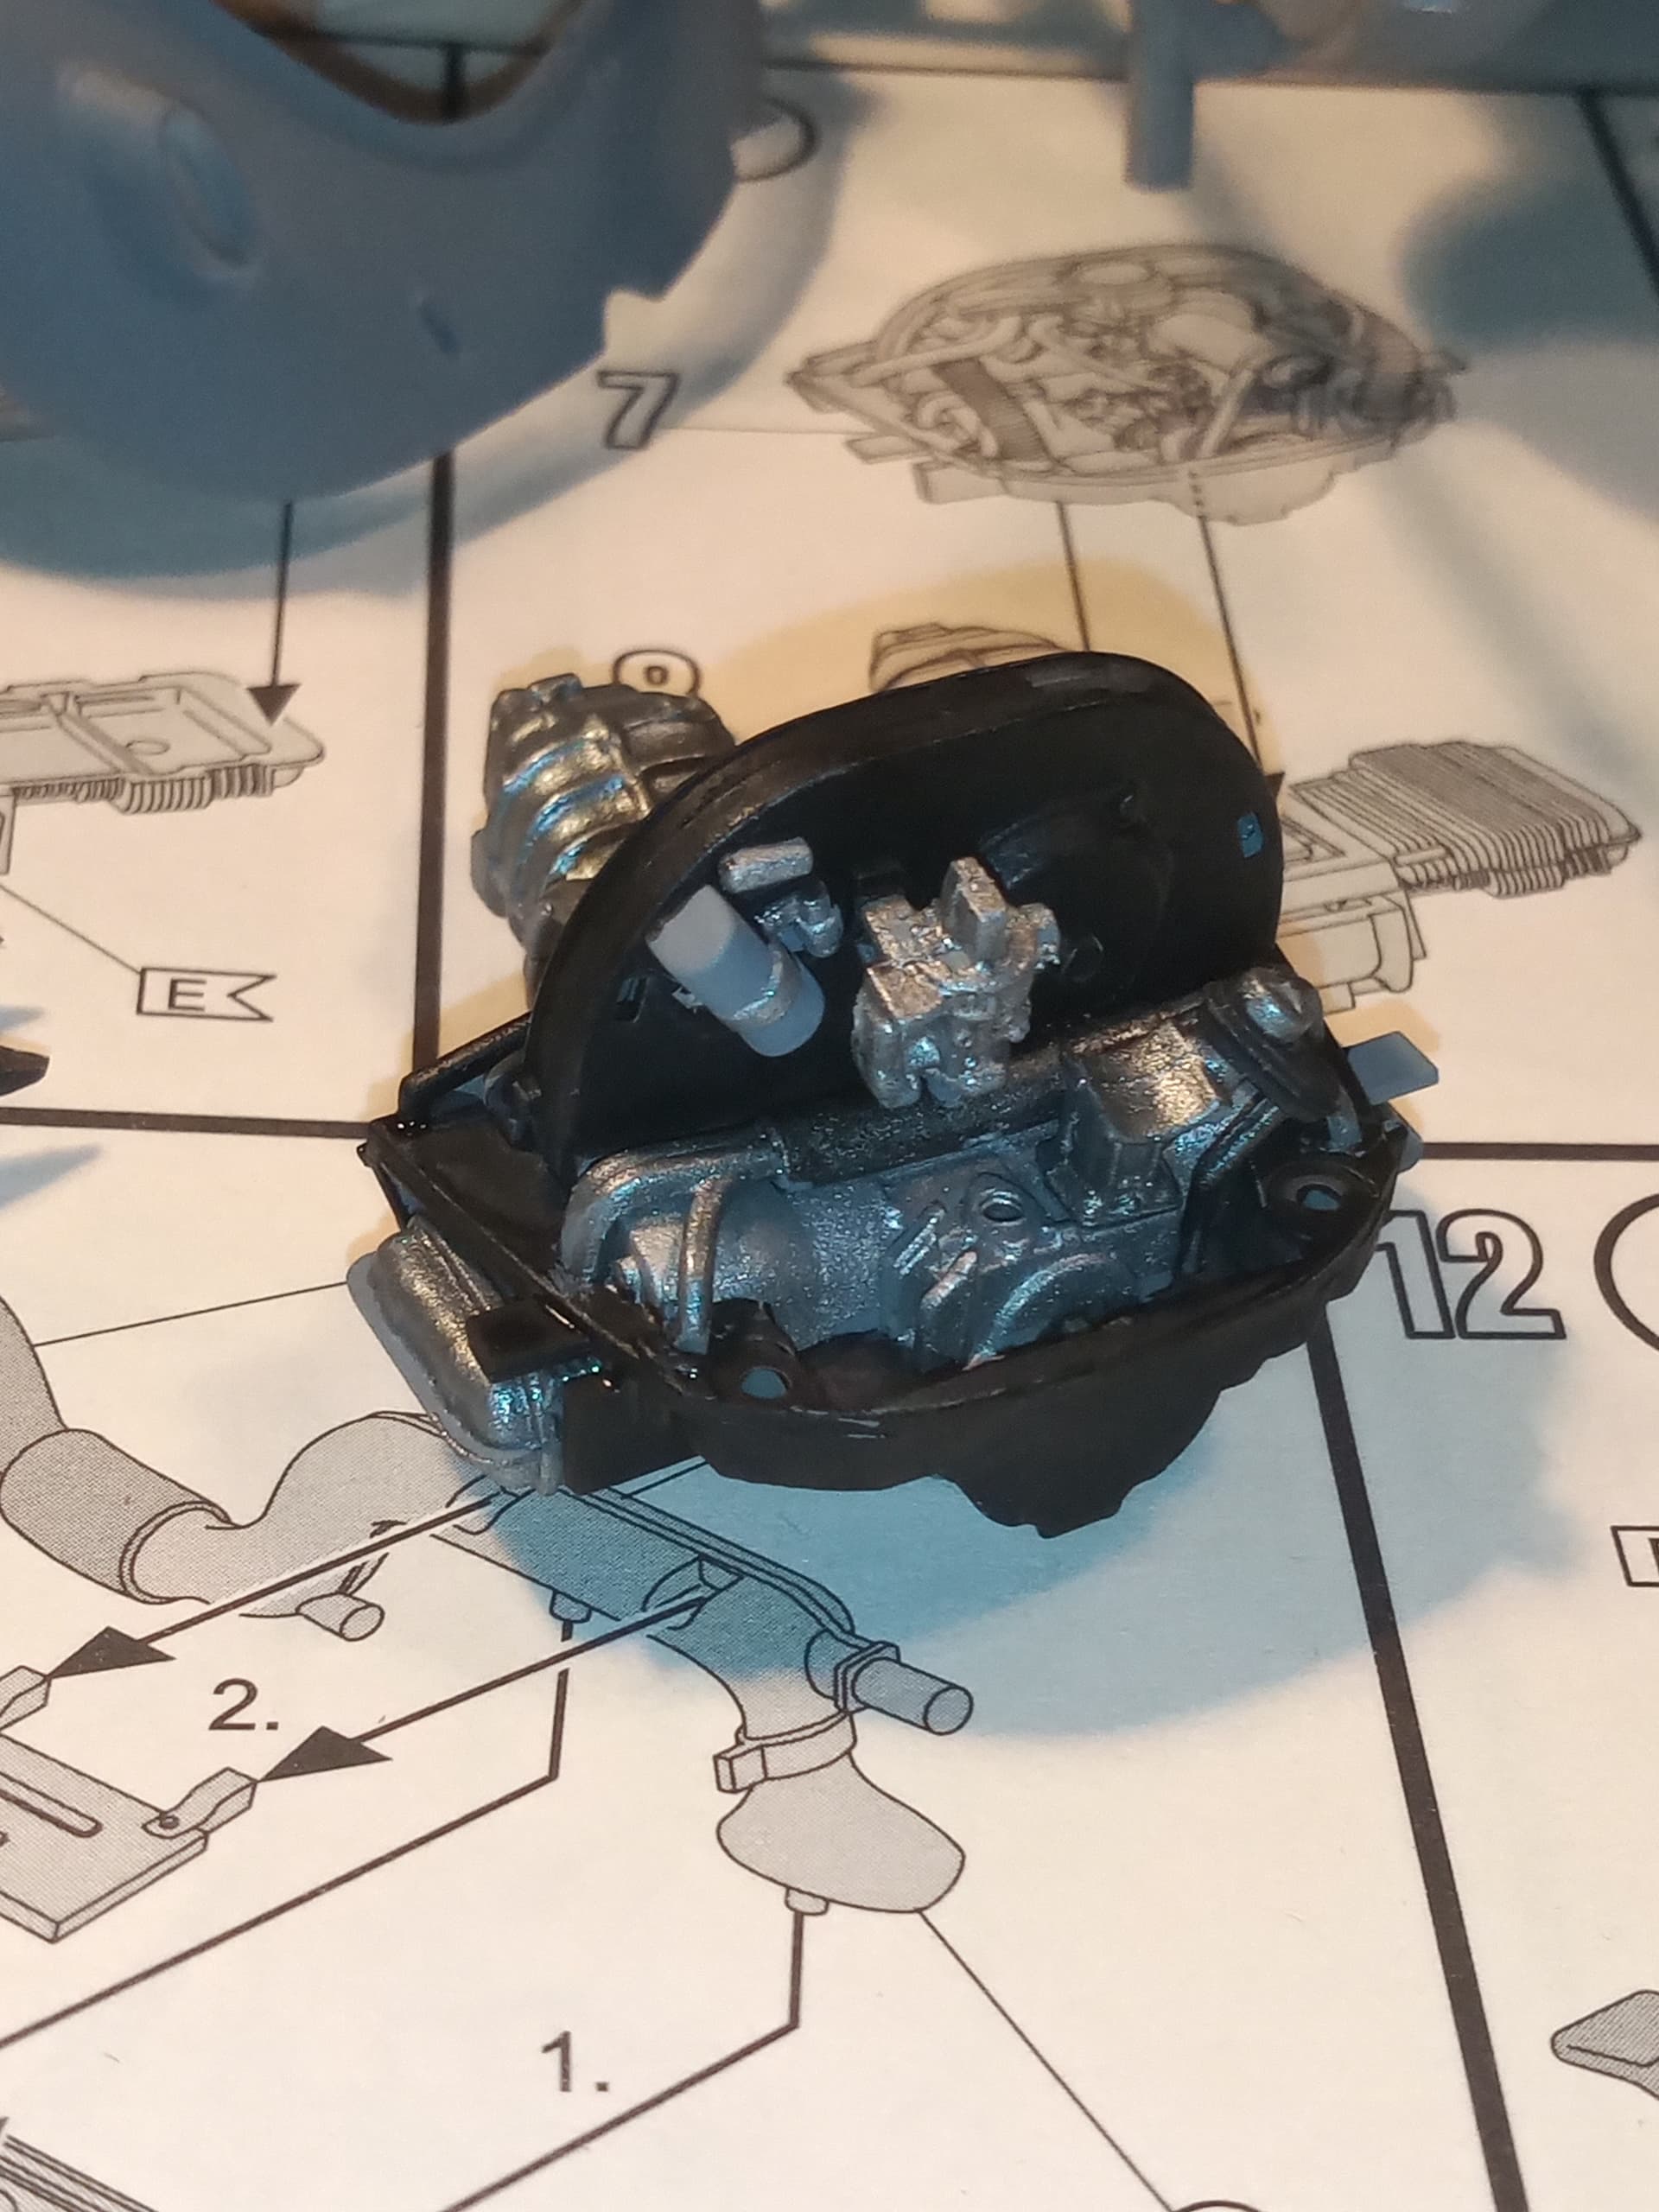
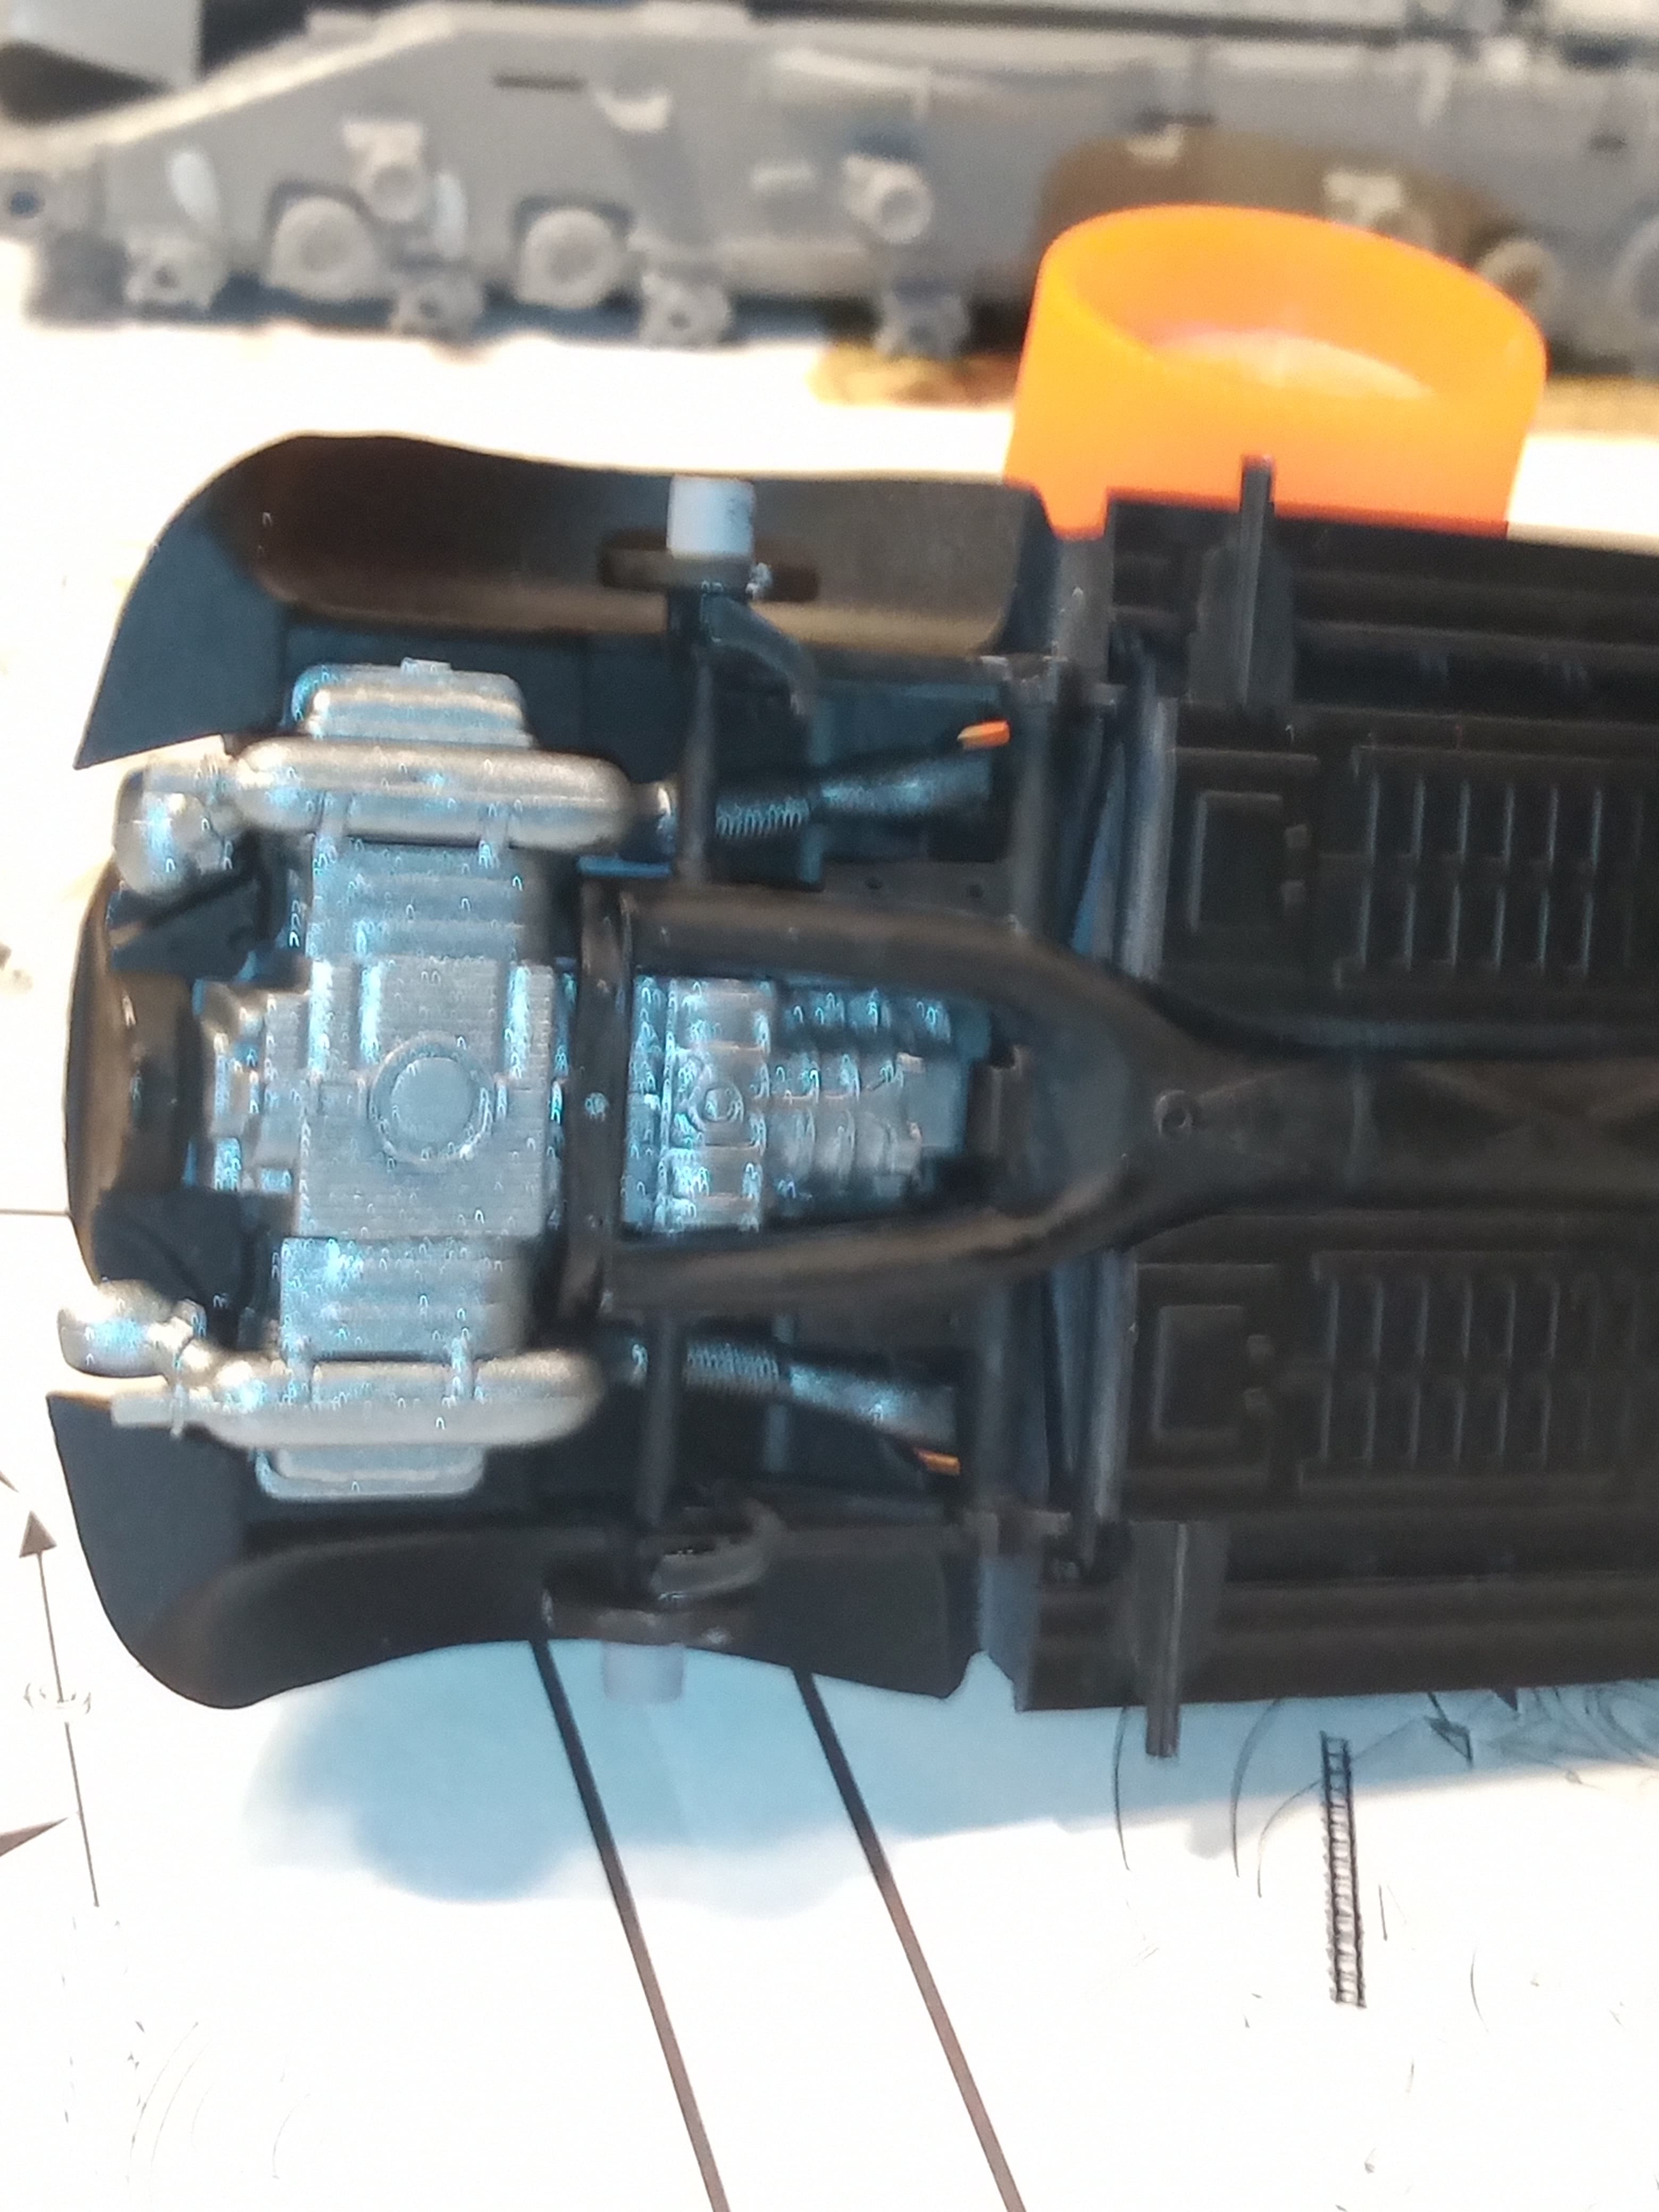
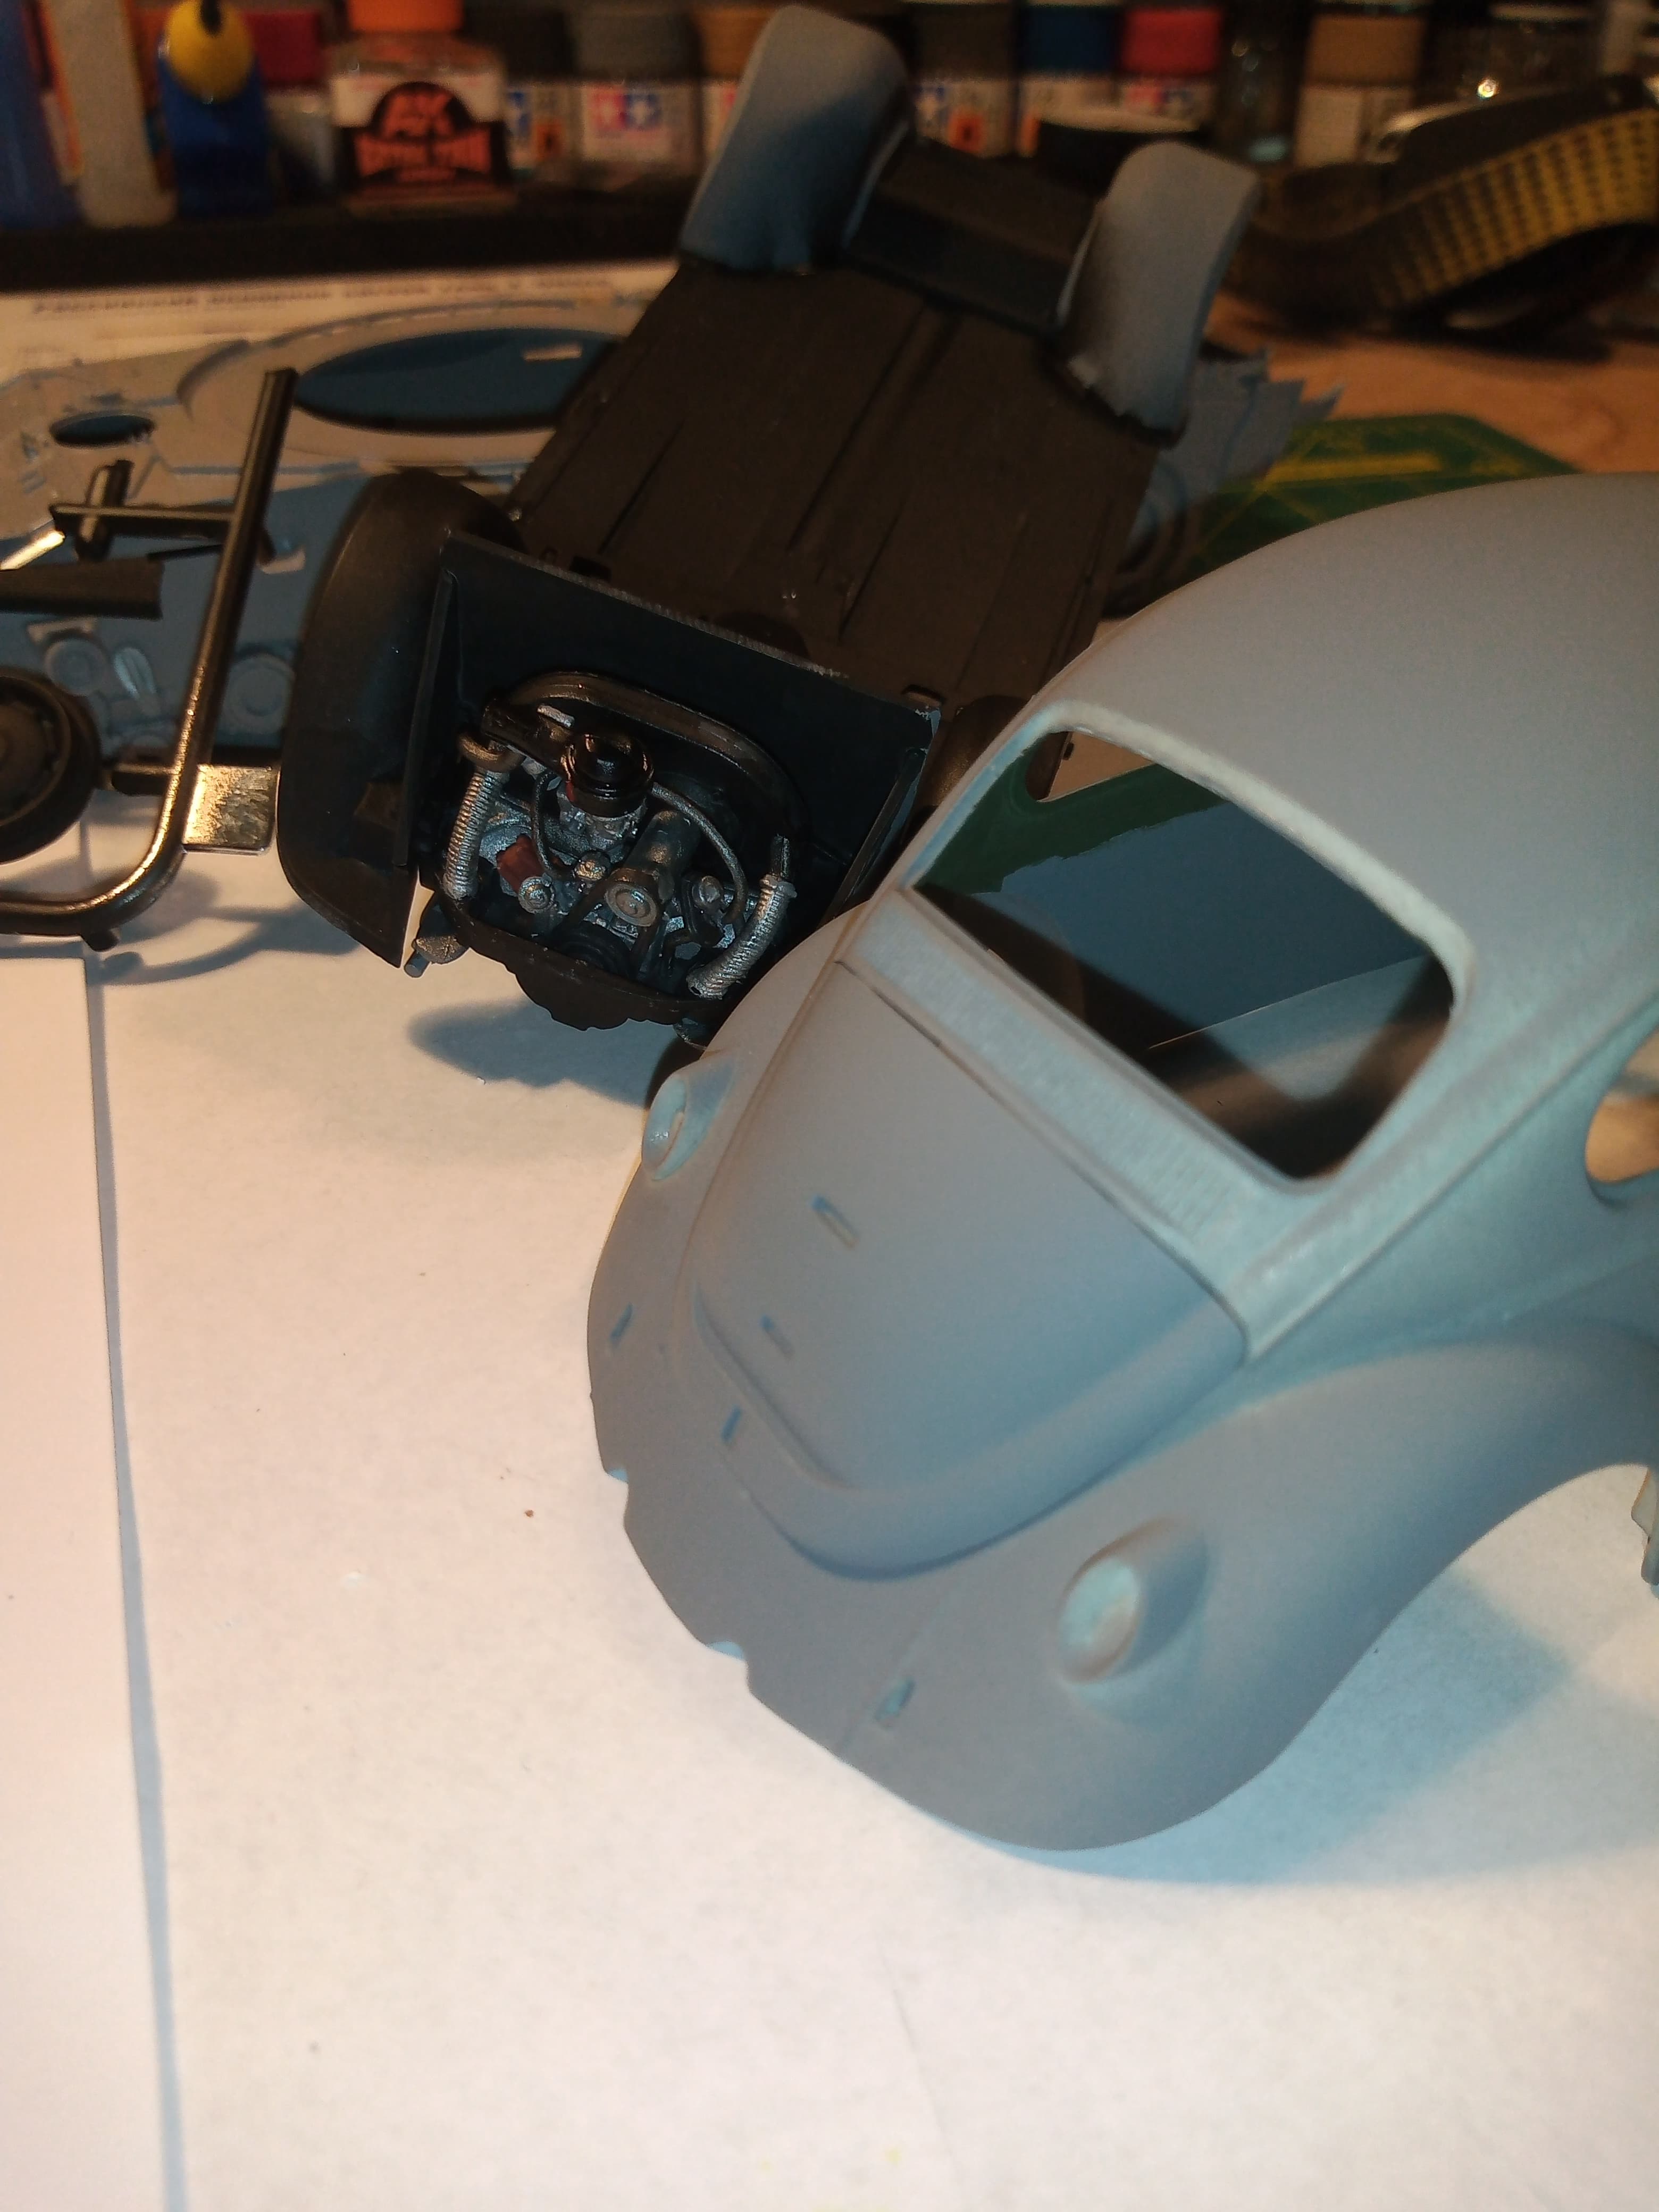
I am really throwing the engine together as I want to get onto the underside and interior as that will be very on show through all the windows … Once the engine cover is down, the engines never going to see the light of day again.
If it was, there is plenty of scope to add wires throughout the engine bay which would really enhance it.
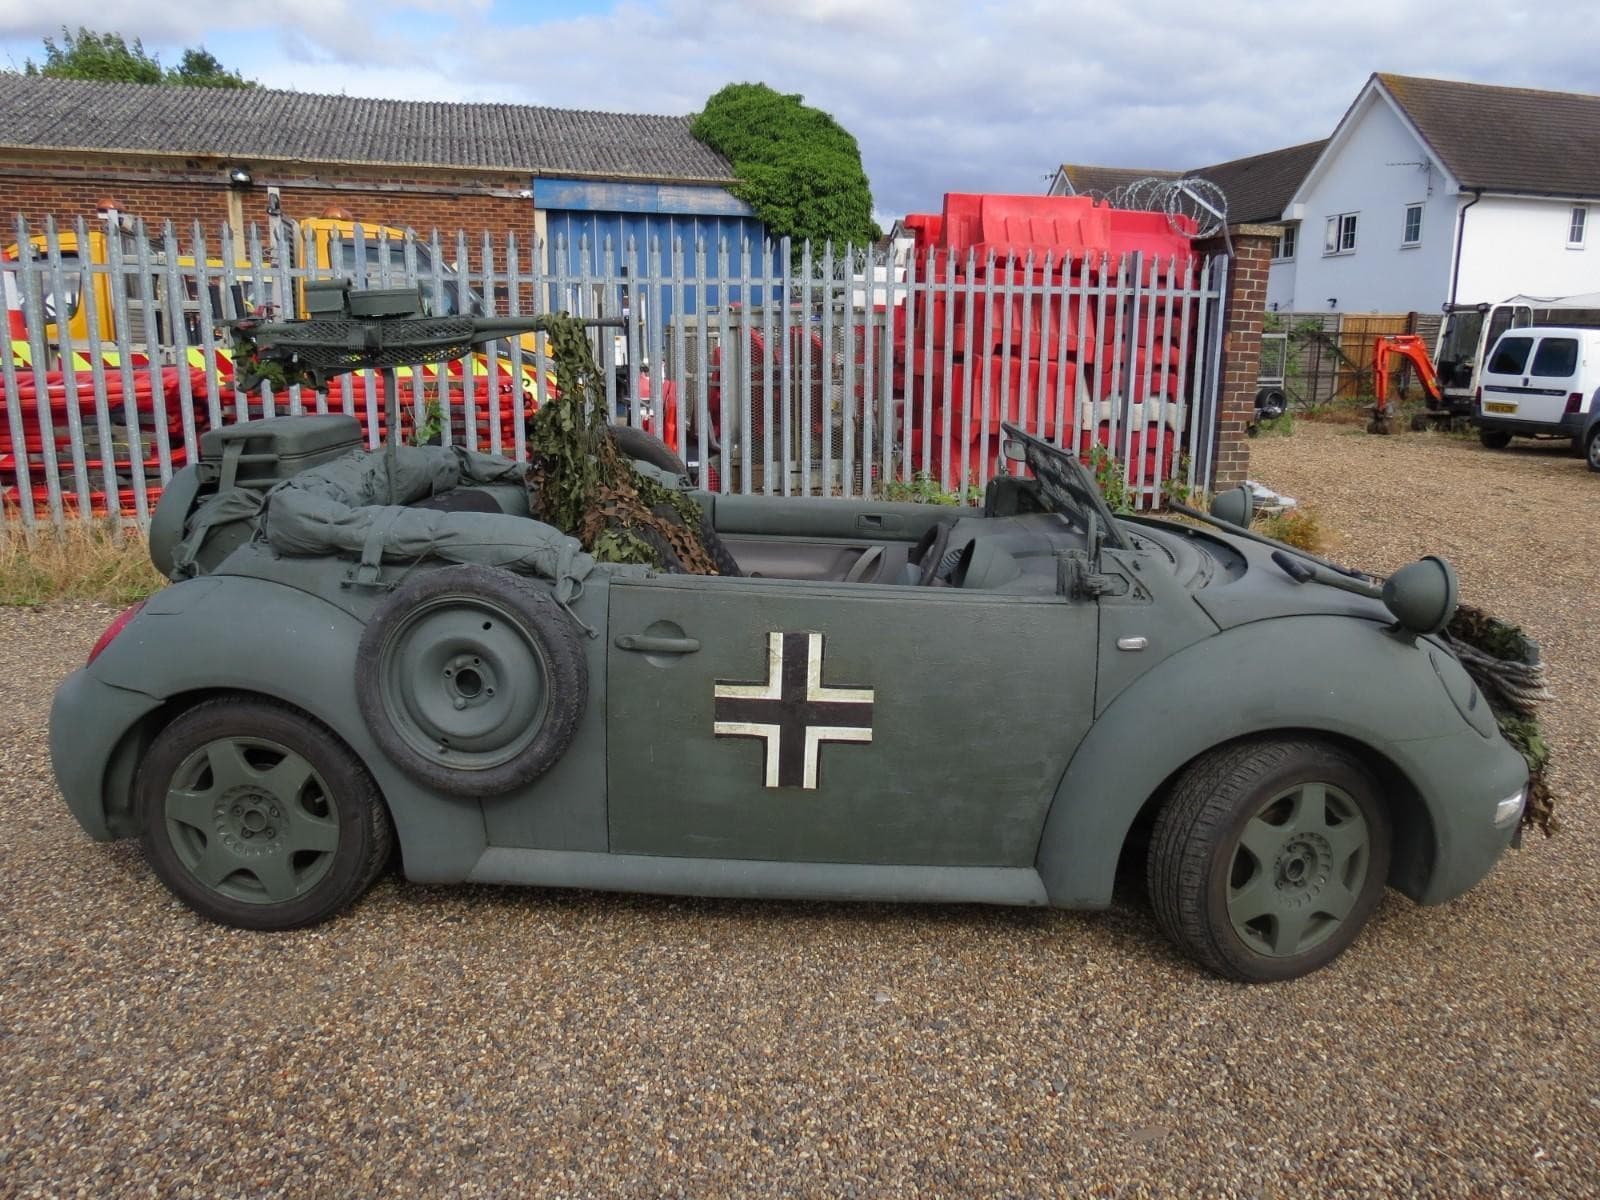
That looks quite cool @petbat , when we were stationed in Windsor, we had a guy (admittedly a bit eccentric) who had an older type VW, probably 70s, done in NATO 3 colour, and the modern German crosses on the doors… It turned a few heads lol …
Well Rob @18bravo … It is a nice little kit, and tonight I did make a bit of an effort on the engine, and will tidy up a few bits later today, so I may just do the engine cover so it can be opened or closed.
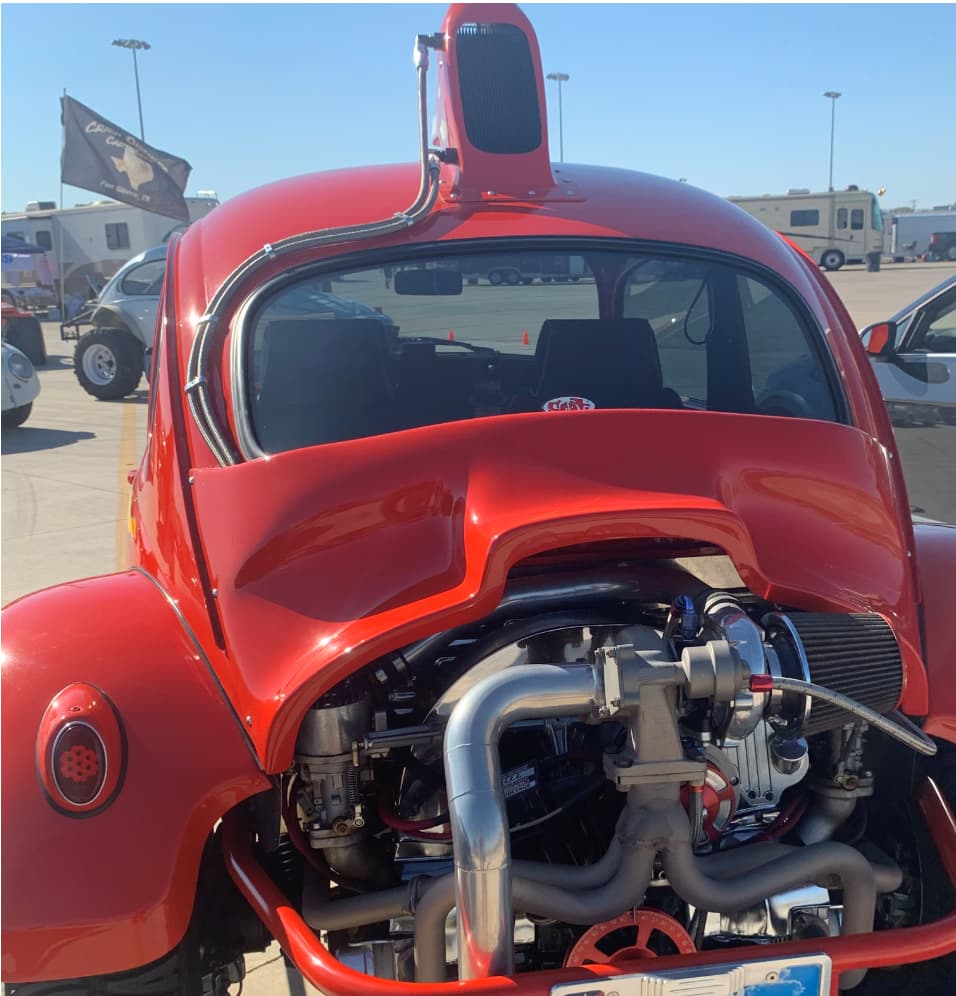
I can imagine the Vdubs on a drag strip are pretty pucker twitching… But fun to watch…
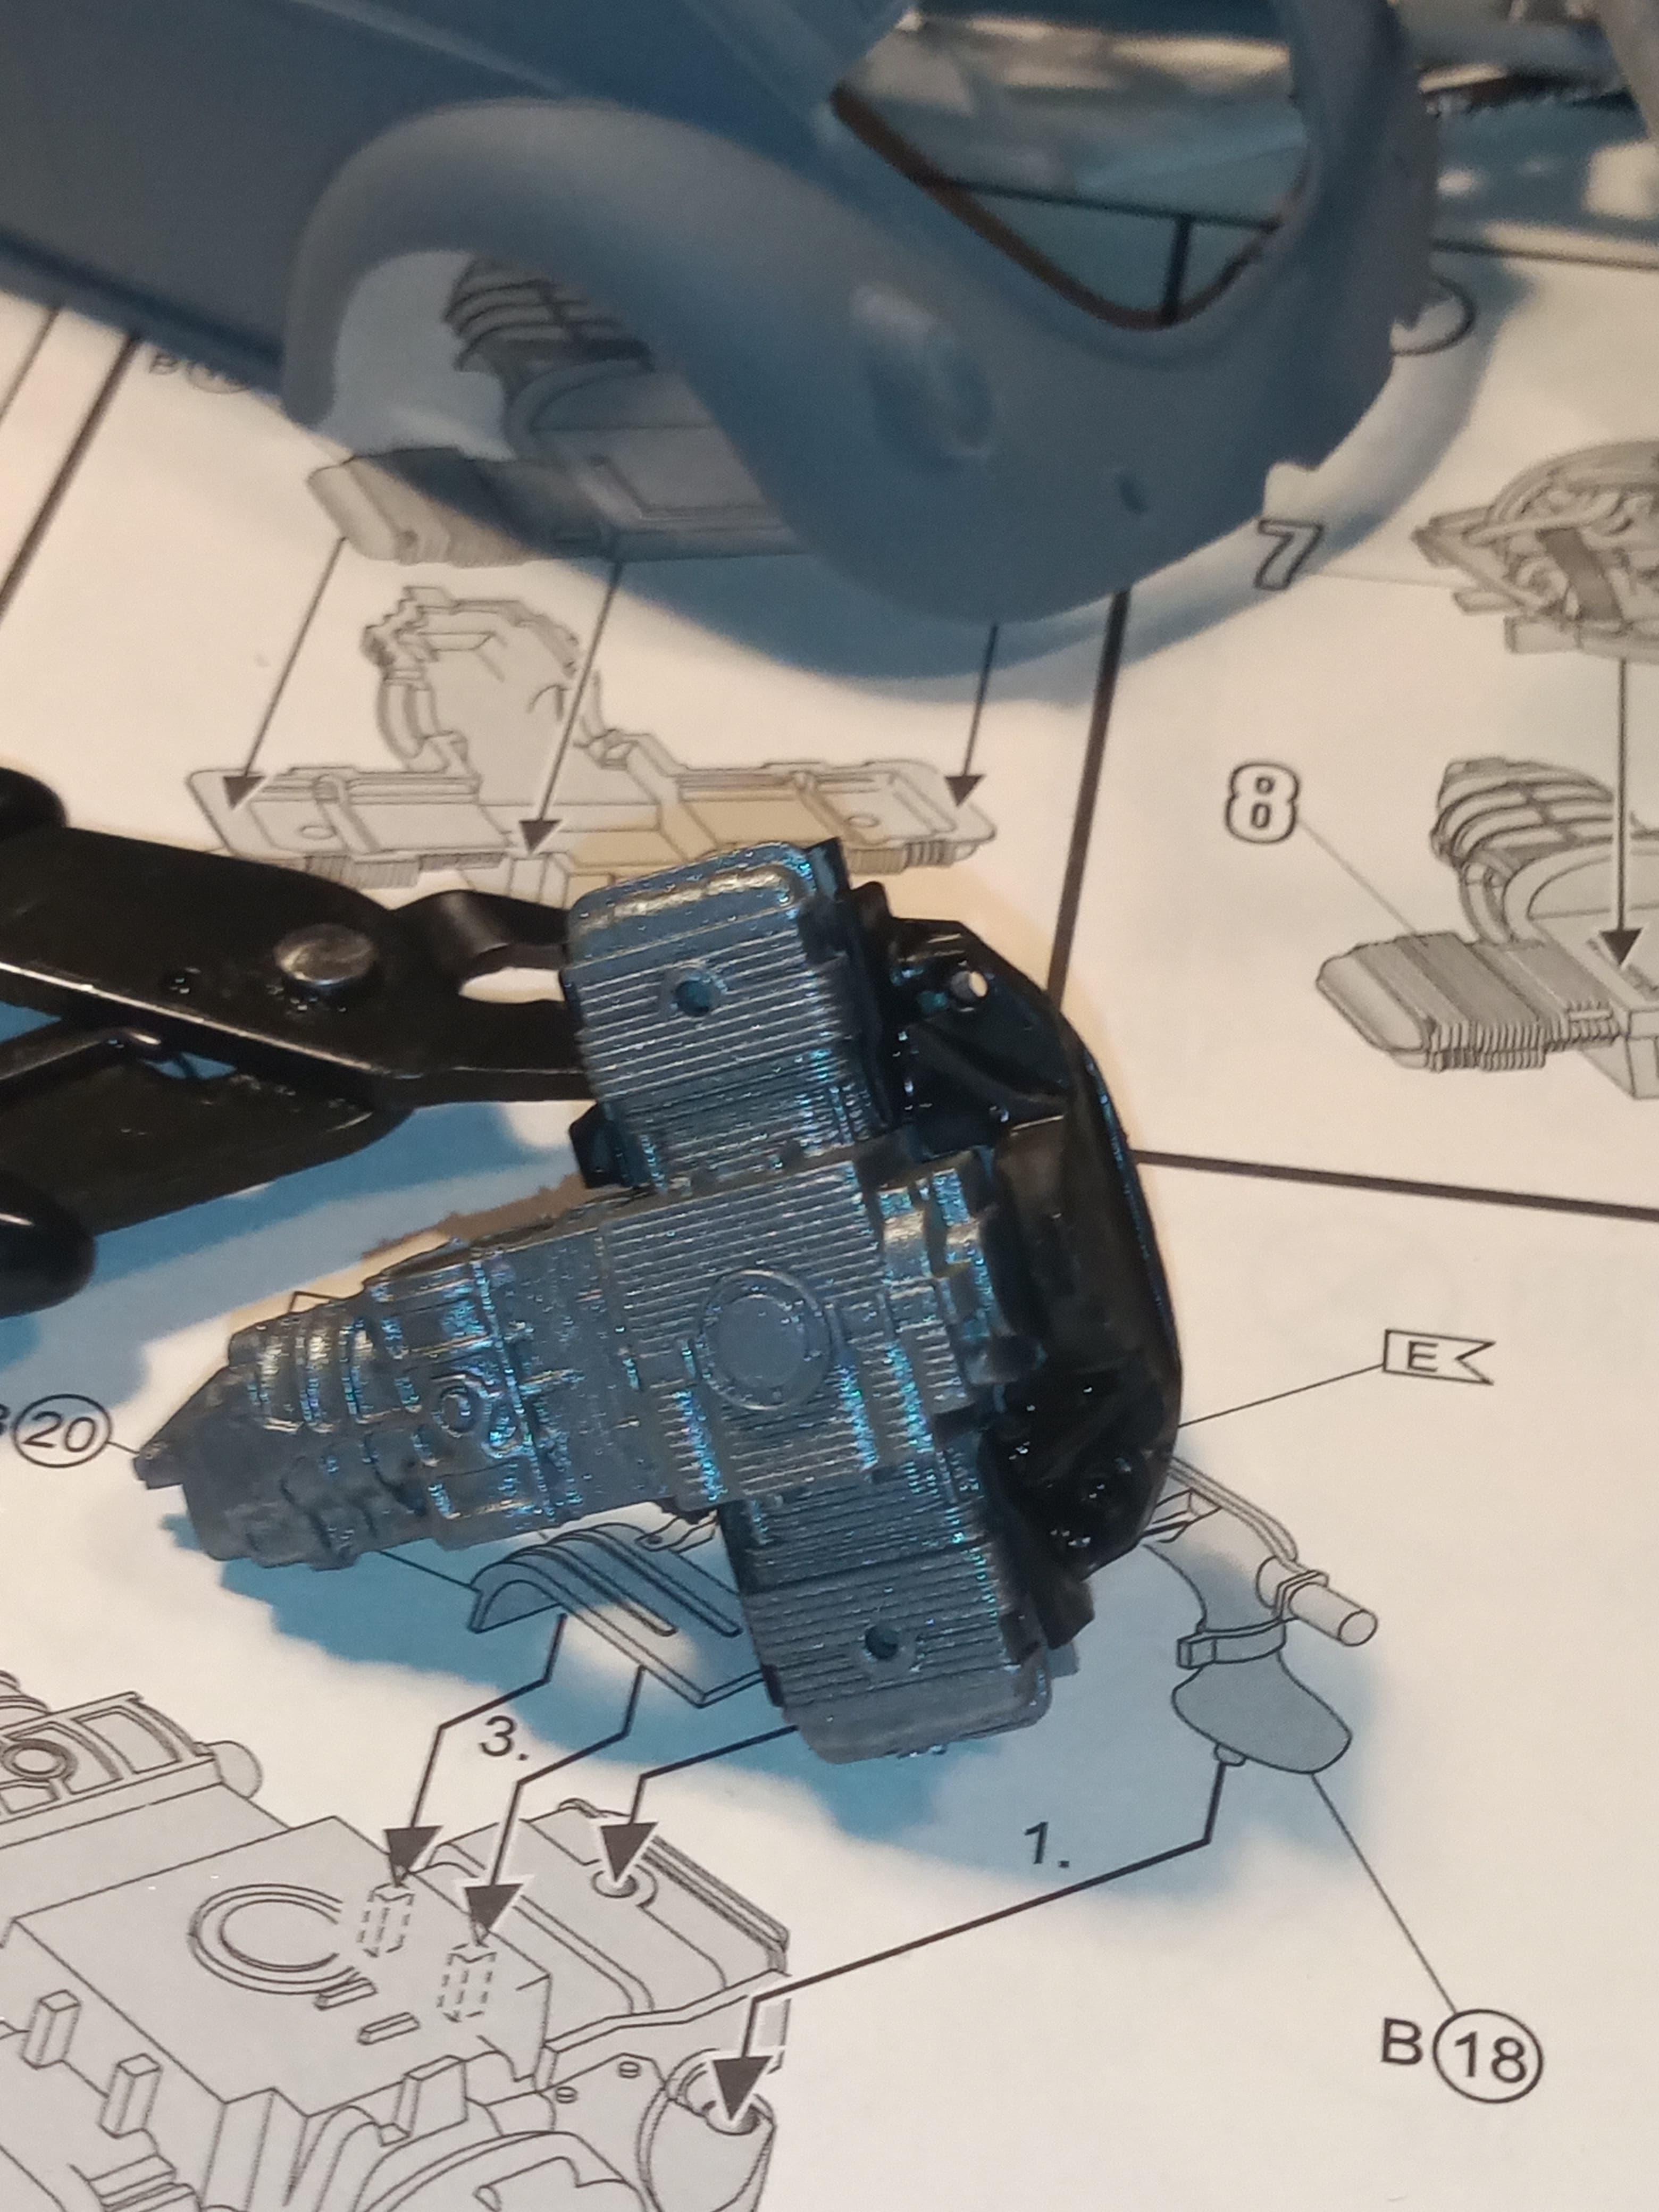
Did a bit of painting on the engine and floor pan. Also did the front and rear suspension and steering sub assemblies.
Like I said before, it’s a pretty nicely detailed kit and with a few wires here and there the engine would look really good.
There are a few little issues with it, for instance, on the left and right air trunking ( I think that’s what it is) it as connections at either end, but if you follow the instructions, when you try and fit them you can’t, there is no give or free play, so you have to end up cutting one of the connectors off and glueing that flat onto the surface, not a show stopper, just a pain …
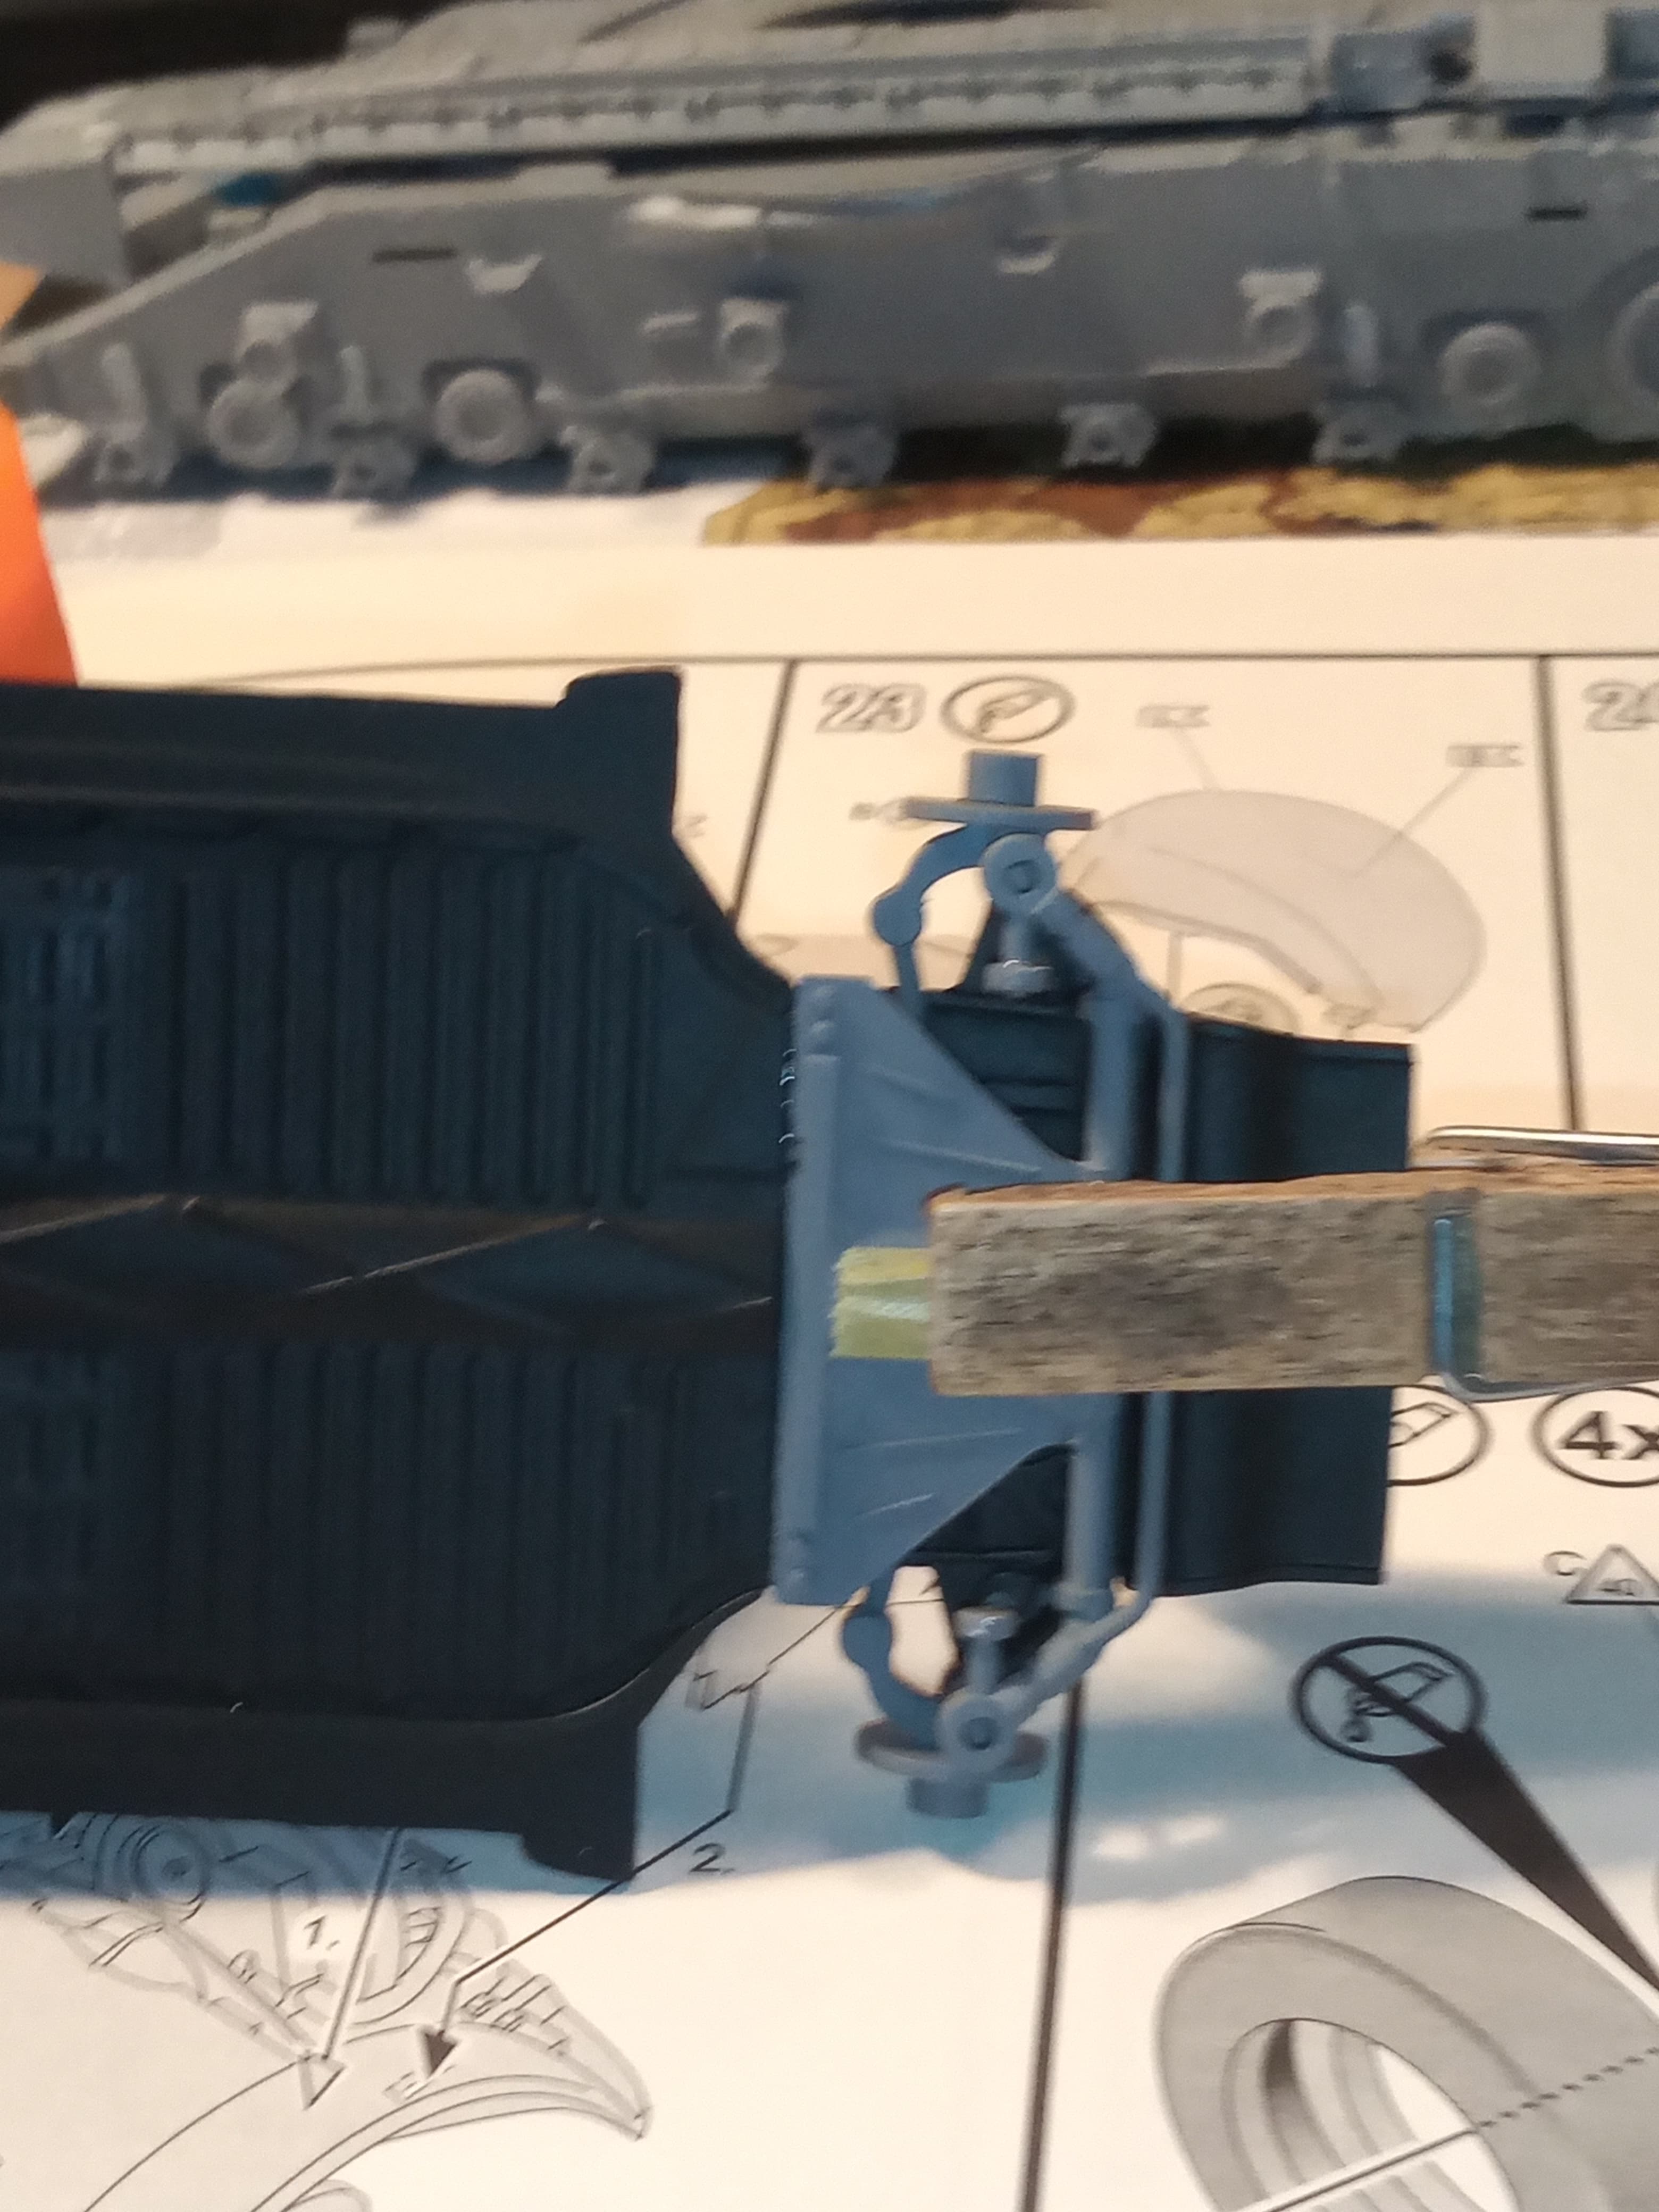
The rear suspension assembly went on fine and there were no issues with it.
The front built up fine and I have done it so the steering is moveable… The clothes peg is just to keep the front joint in place while the glue sets as it kept raising up a bit.
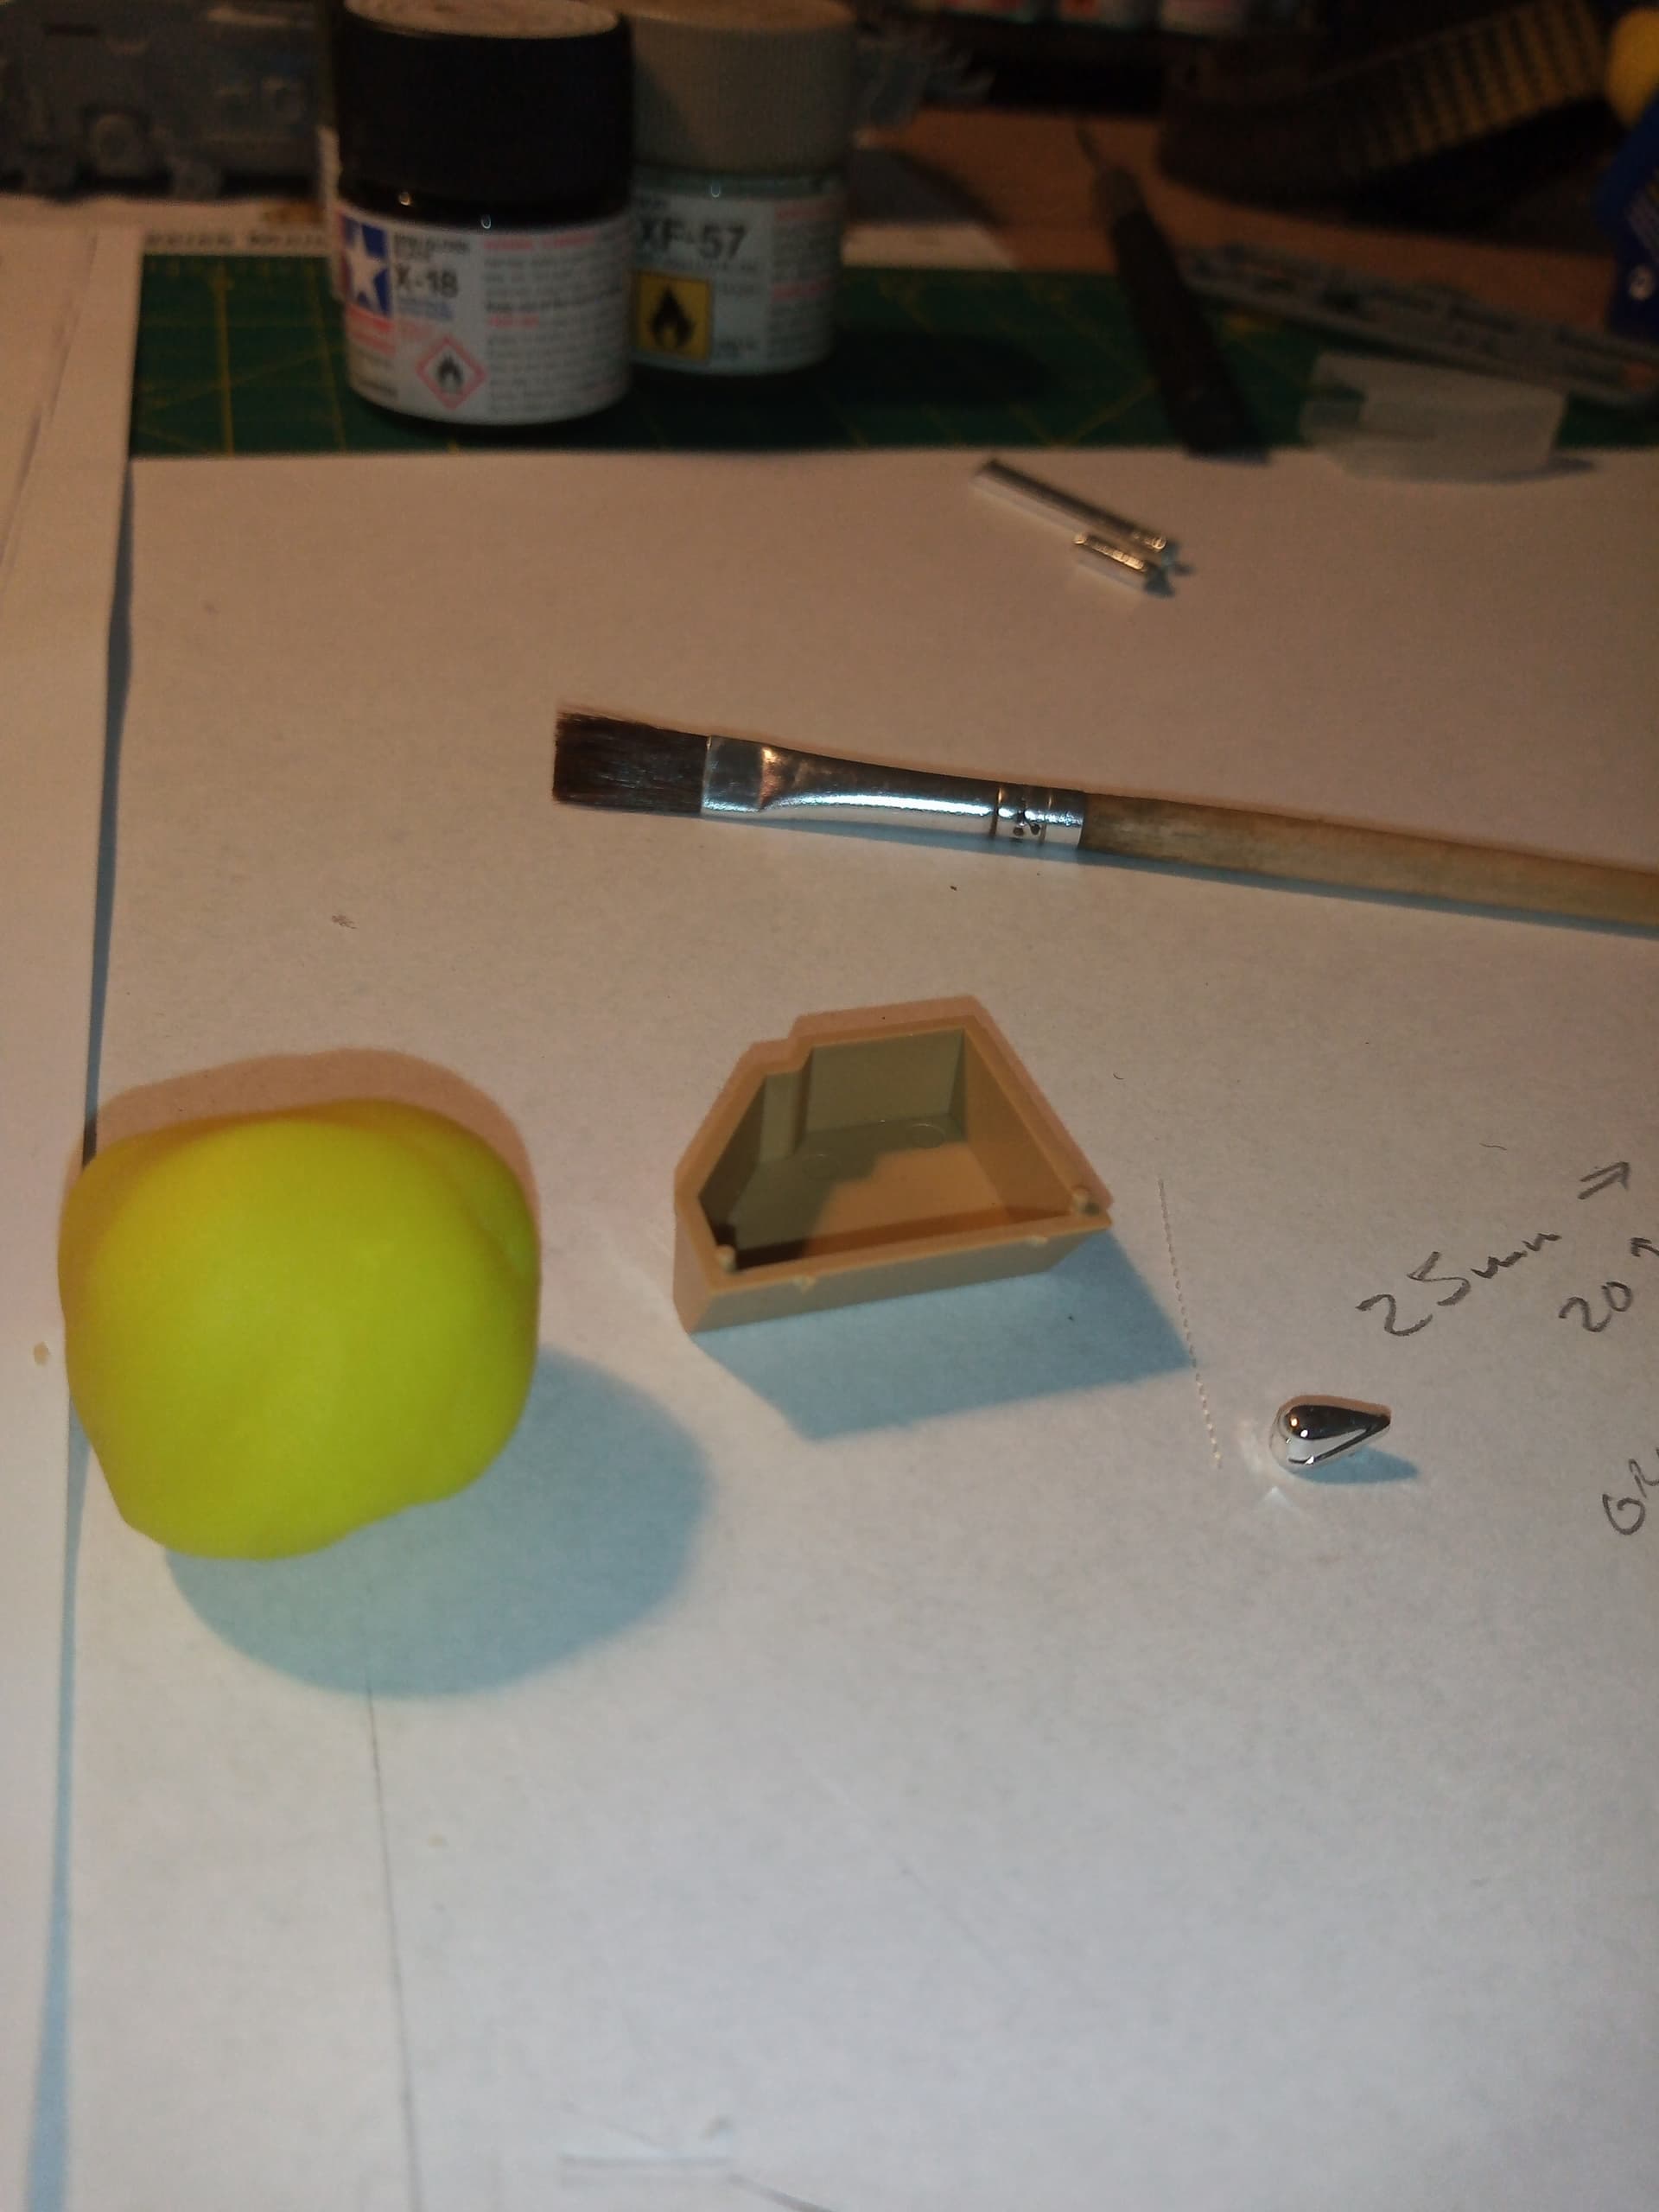
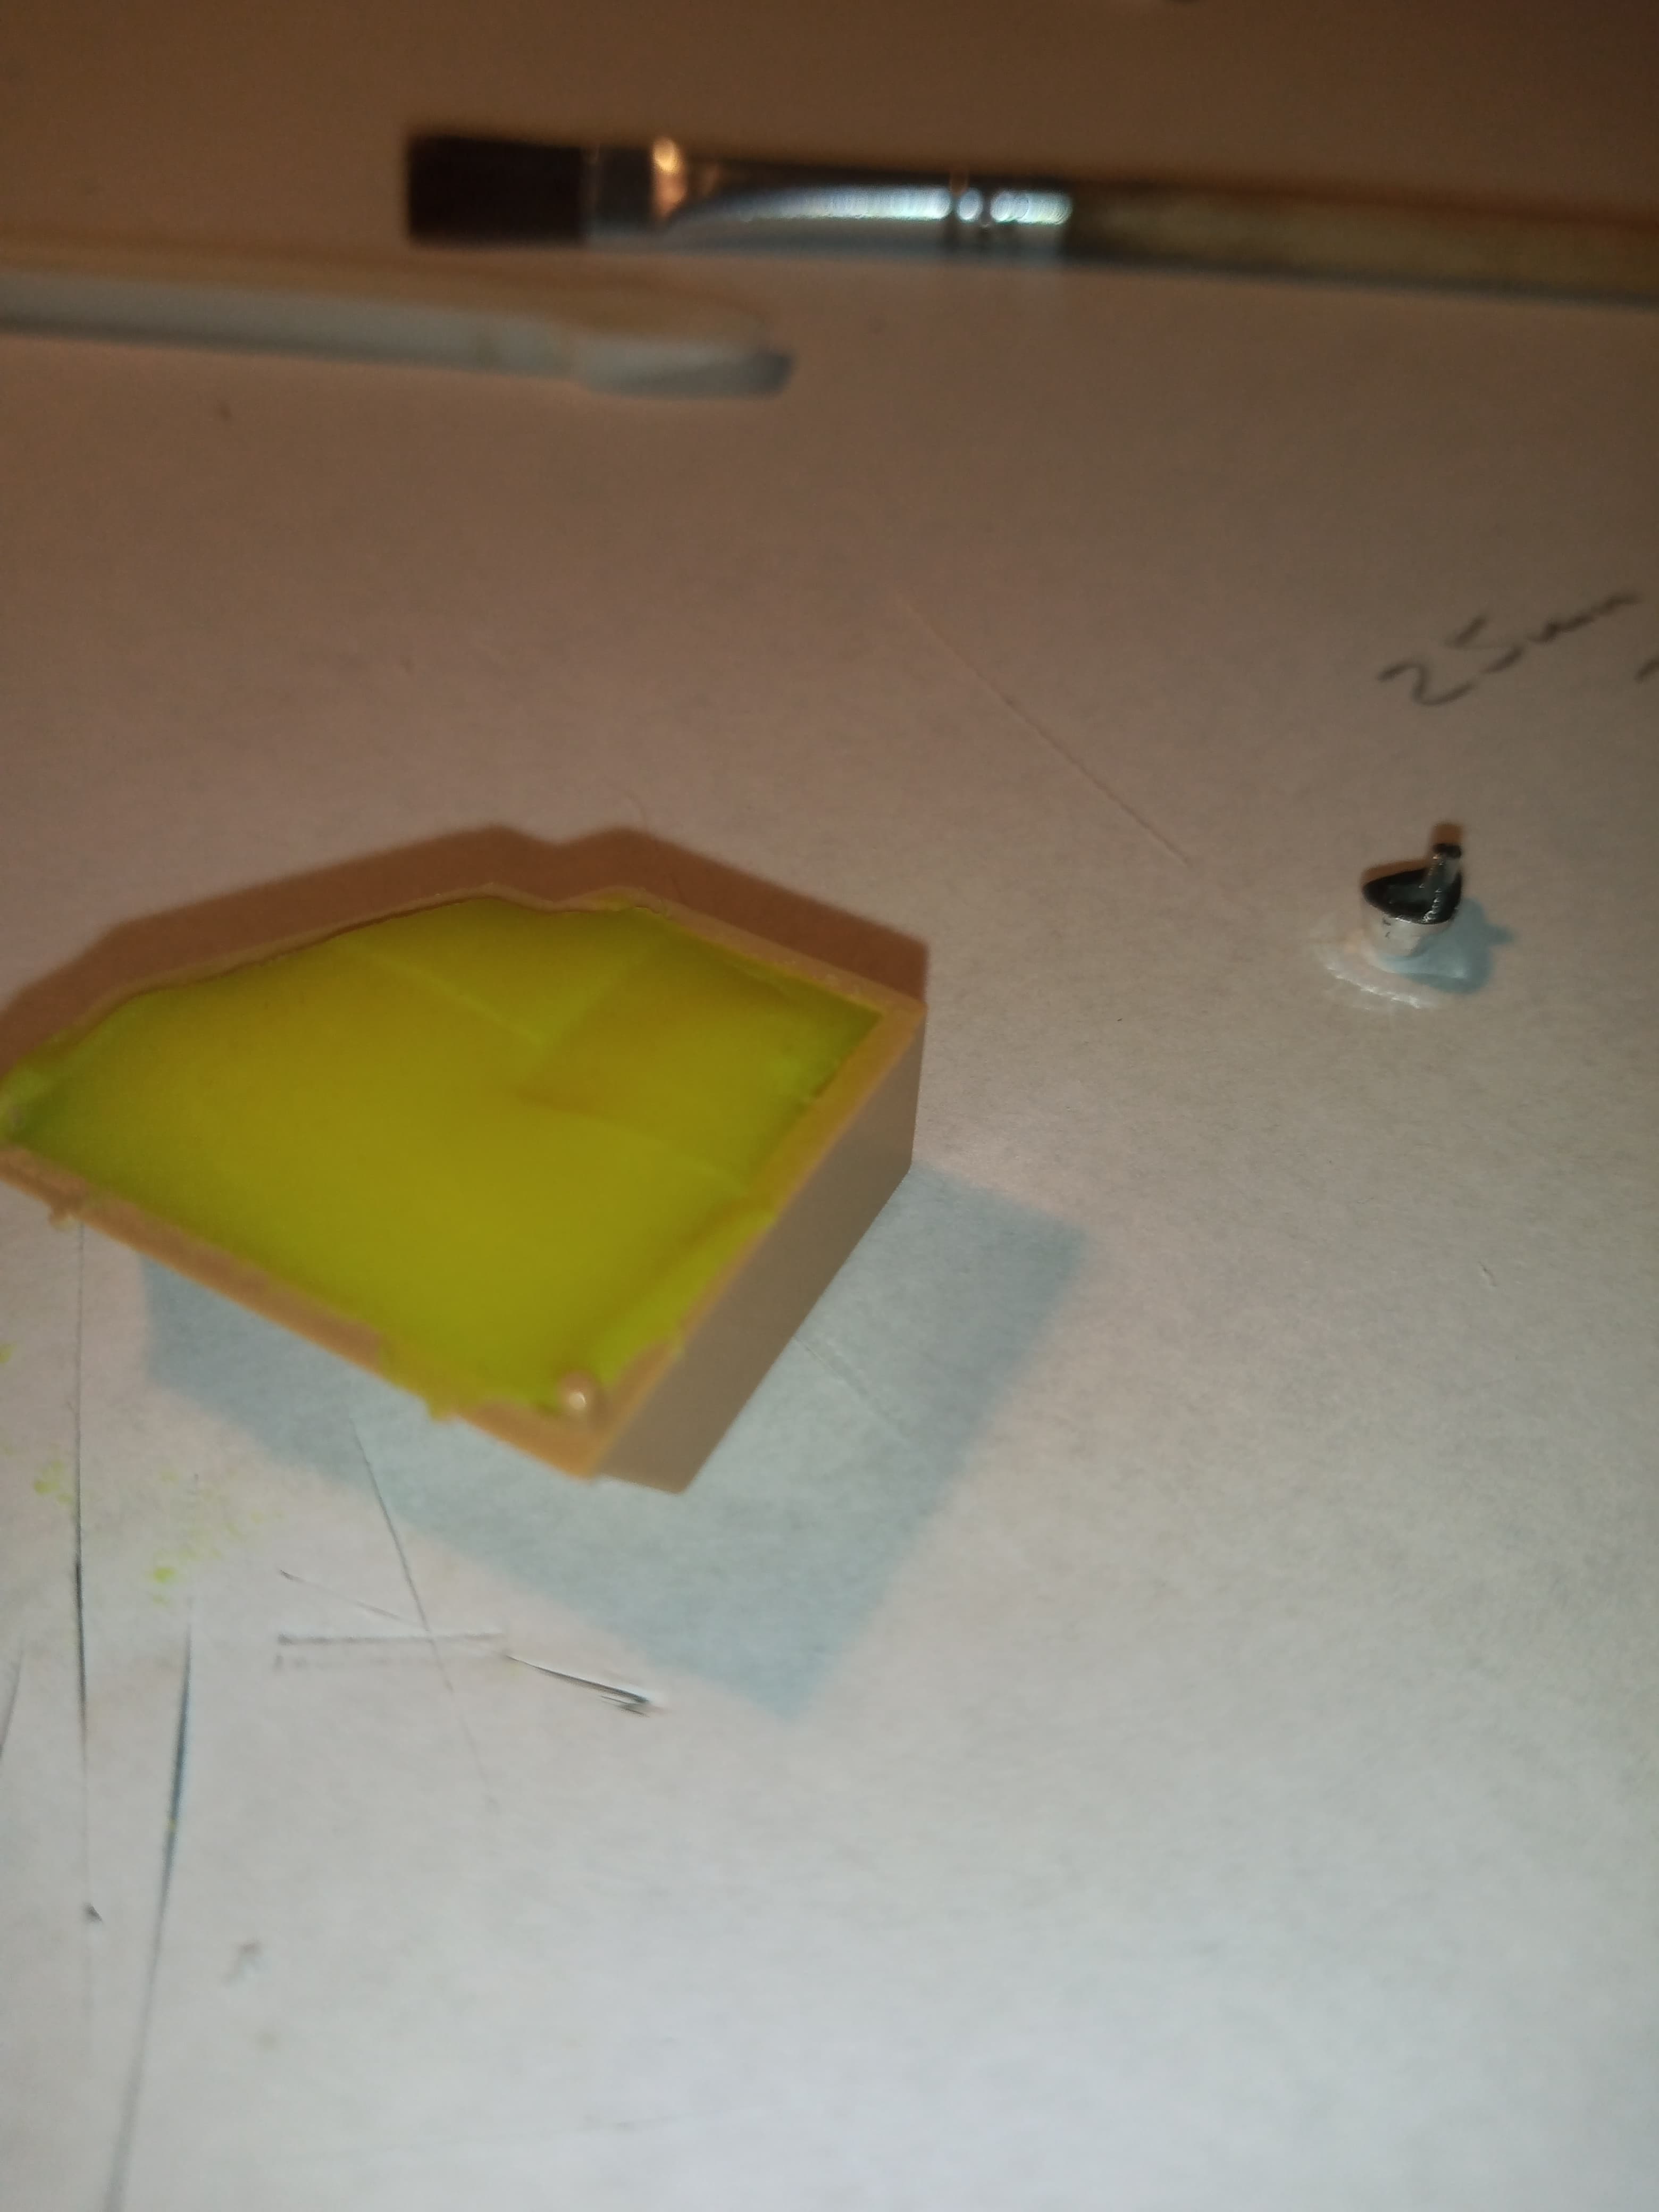
Was just checking the sprues and to my absolute delight, I realised one of the front wing indicators was missing… I have only opened that chrome sprue bag today, so I can only imagine it disappeared off the face of the earth at the manufacturer’s… Bugger.
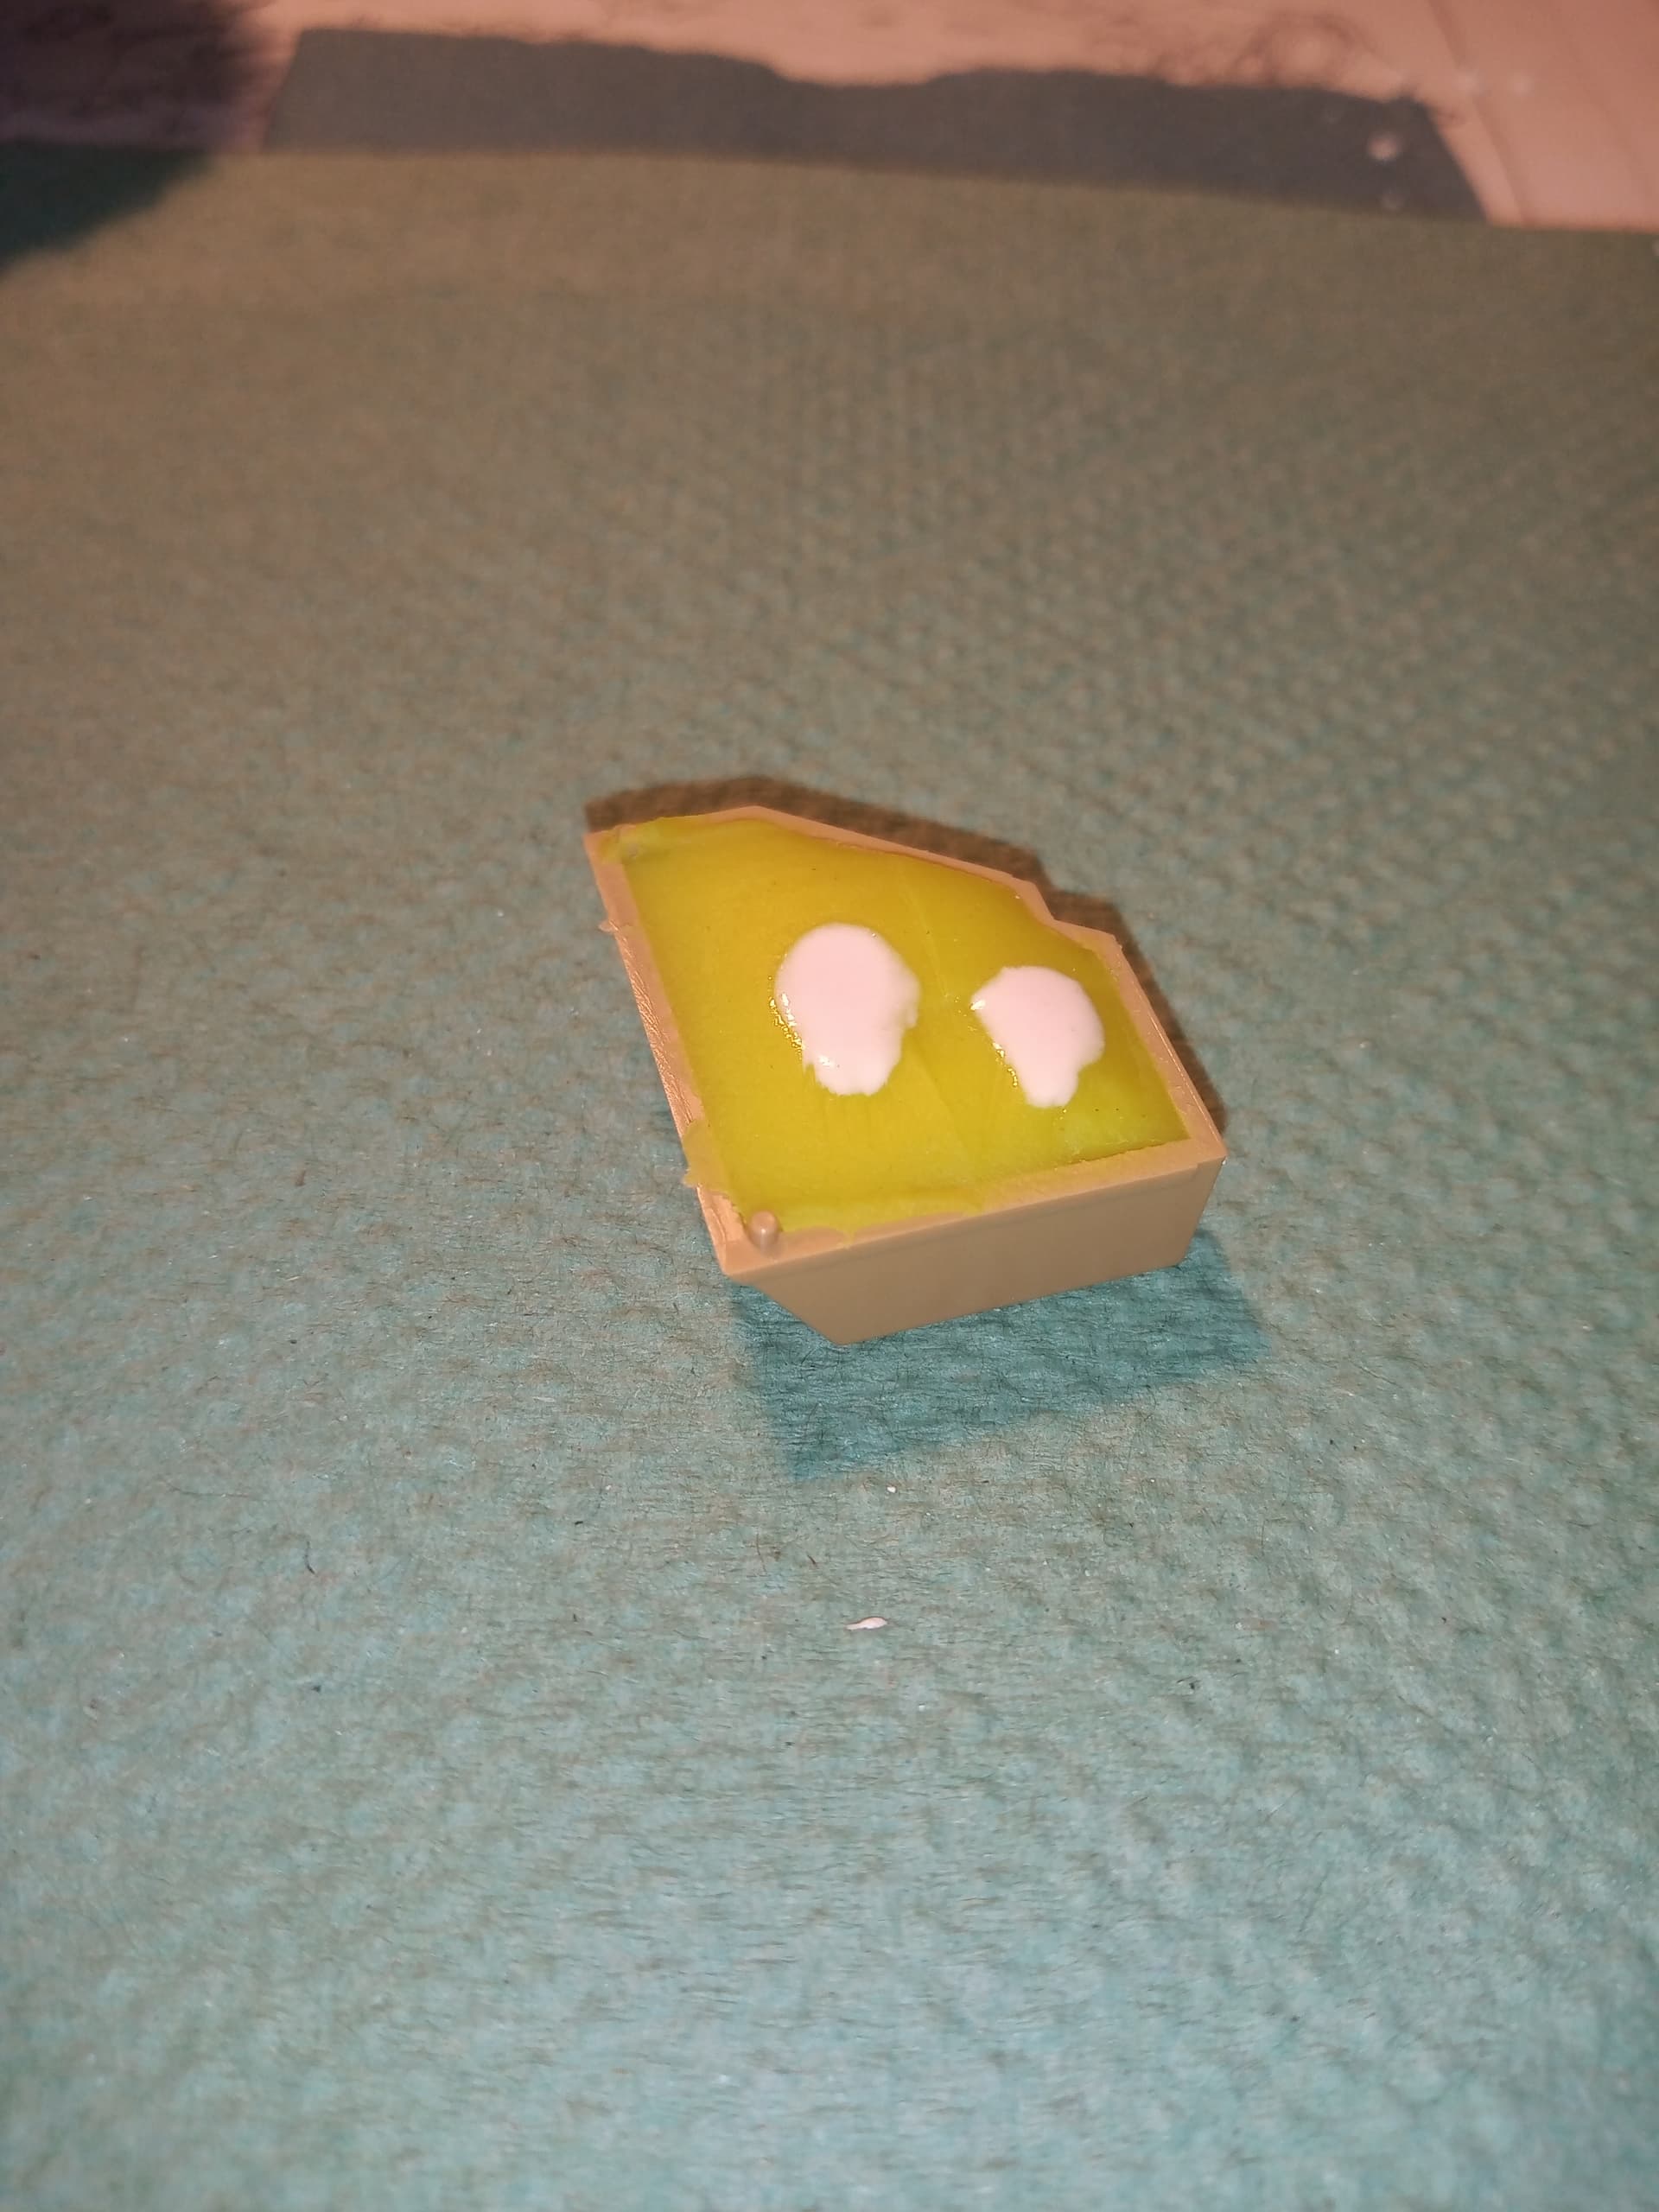
Plan A is to make a mould of the one indicator I still have.
Using an old spare Panther stowage box as the support, filling that with play doh
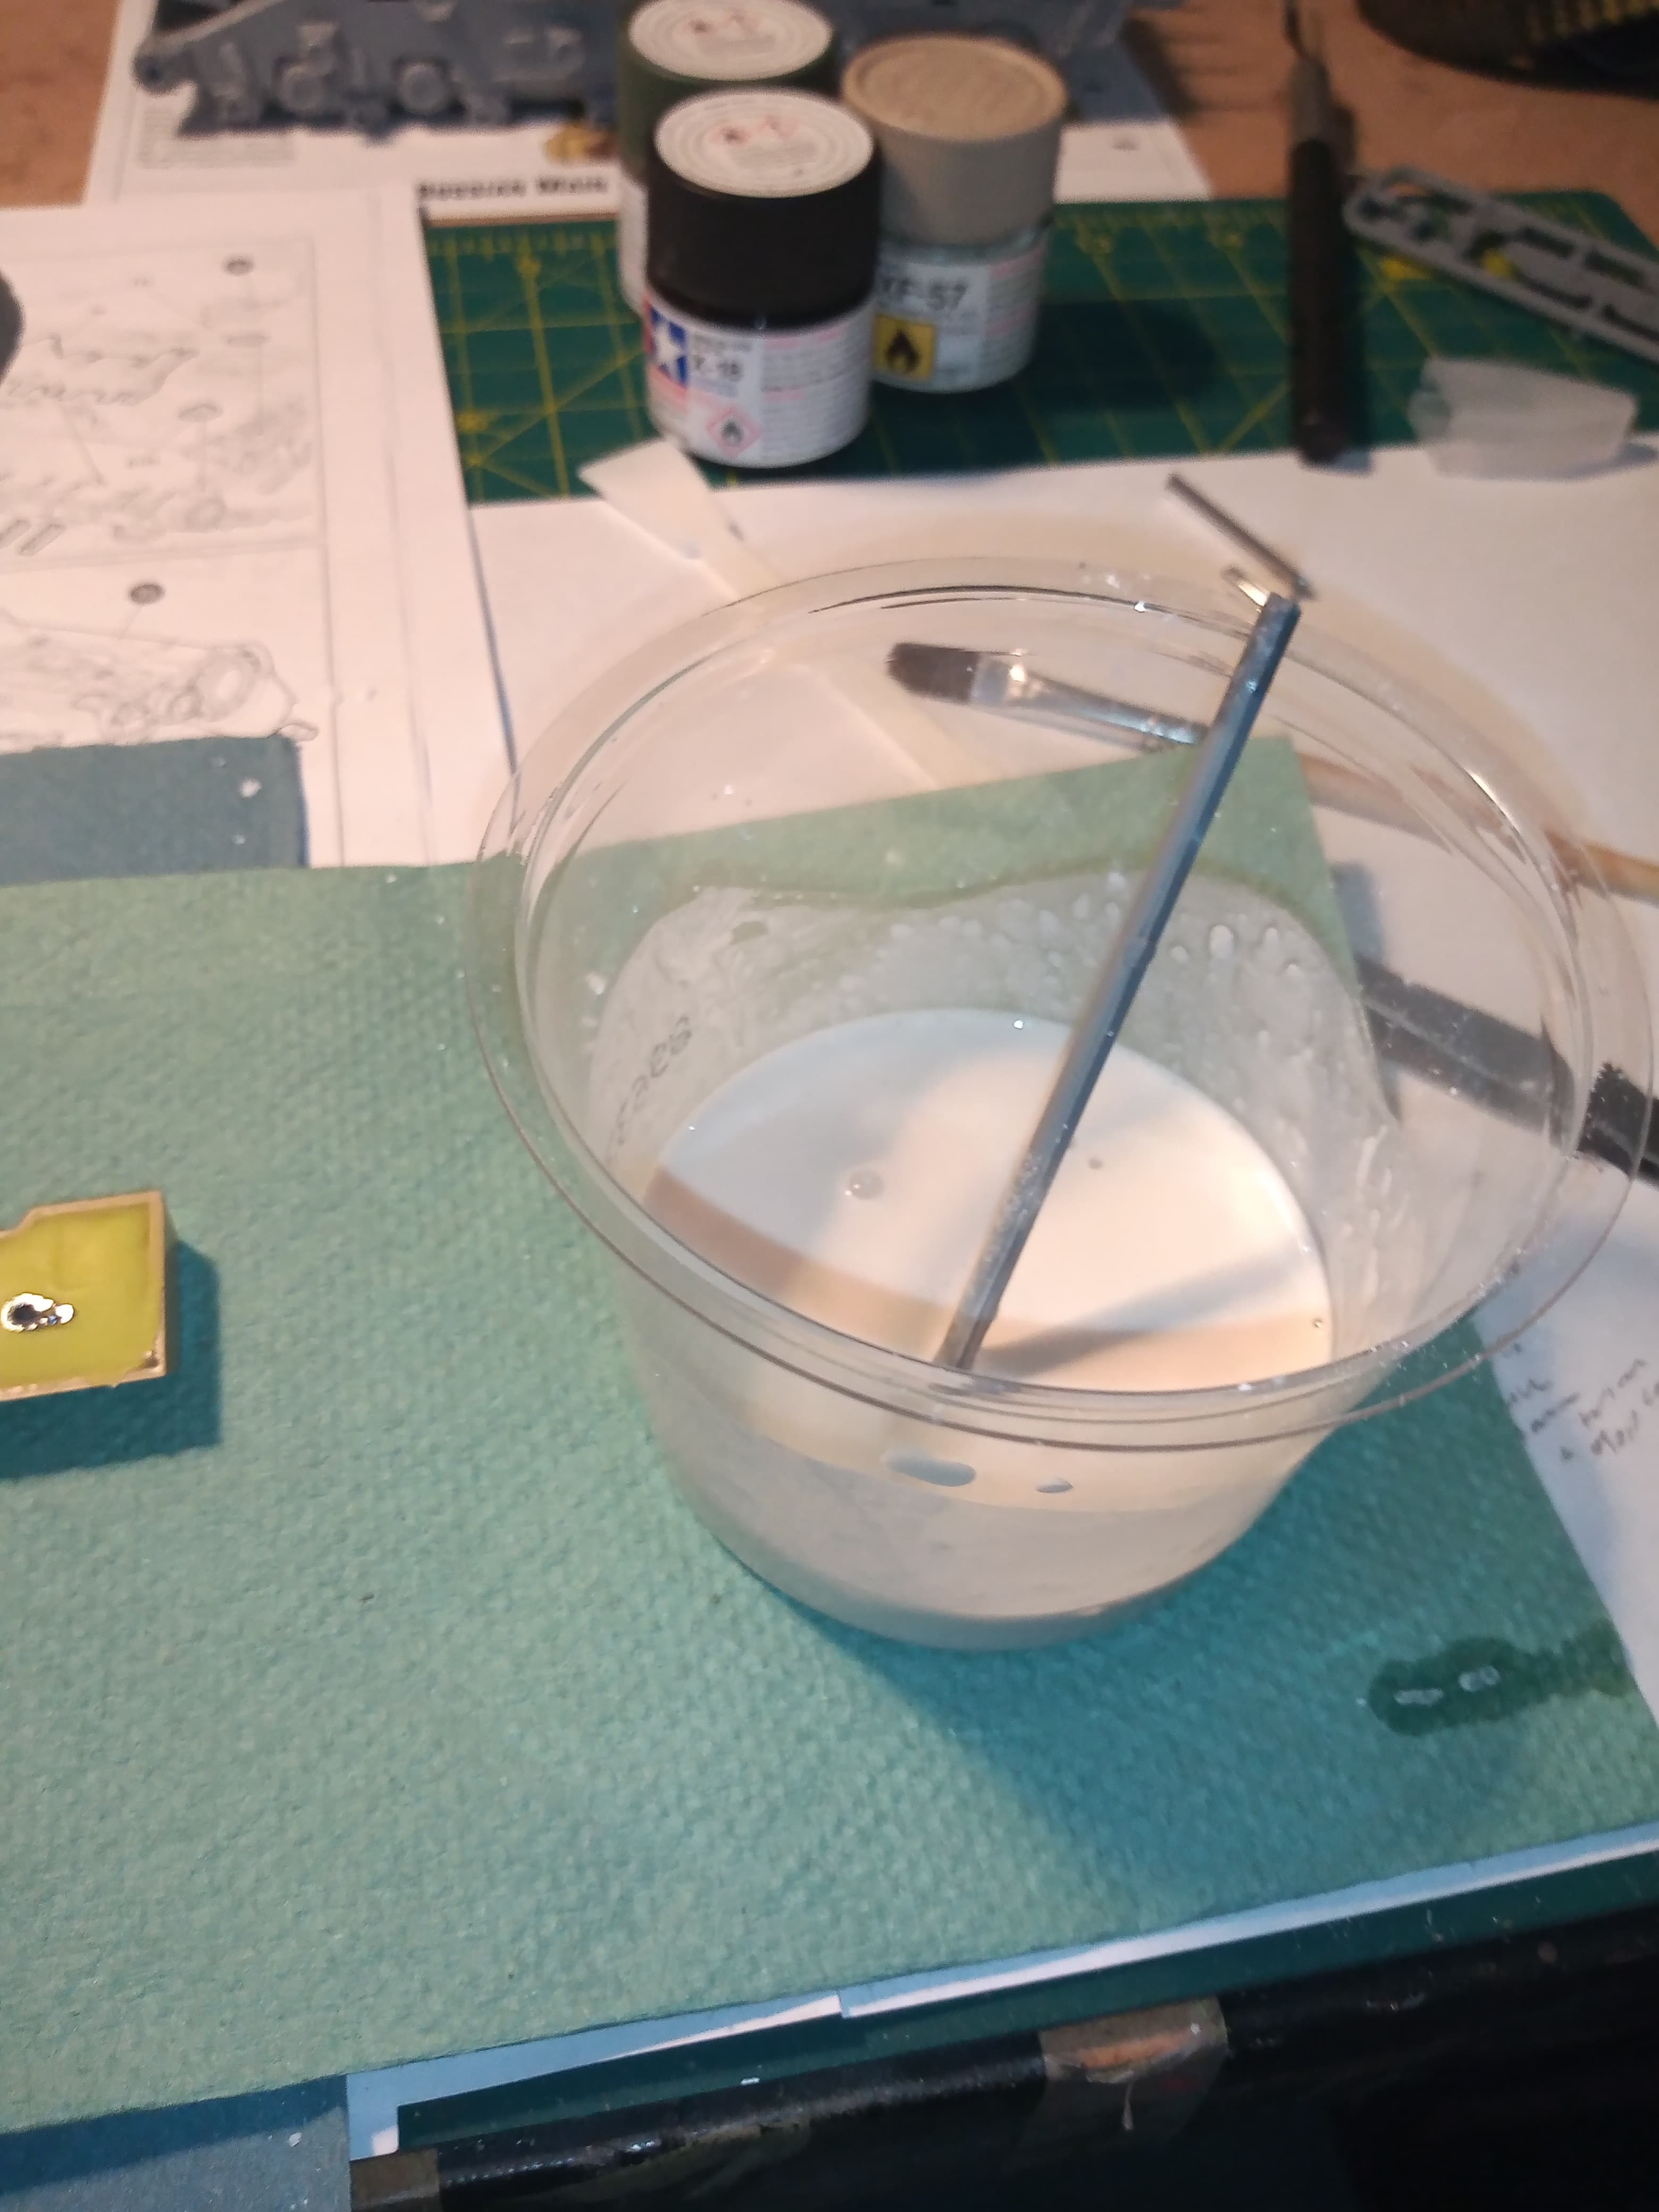
Ah you’re a genius Johnny boy, this just might work!
Lacking resin, you might also try CA glue or clear parts cement, although they may take a day or so to dry.
I did fit the boot so you could open it to see the engine, but having done that, when I tried to open it, the inner bottom surface on the boot lid hits the mid to upper part of the body… So it won’t open.
Anyway, may try and look at that with fresh eyes tomorrow.
Also put a coat of Matt black on the chrome wheels and running boards as I didn’t like the chrome…I will leave a few bit of chrome, but most will be painted out.
Simple two part putty works well for these type of castings. White bathroom silicone can be used as a mould making agent (the white stuff does not stick to your part like all the others do) and the two part putty is pushed into that when cured. Just make sure the mould has fairly thick walls away so that when you press in the putty, the walls are strong enough to push back into shape.