Hi all - after two back to back Model Factory Hiro builds it’s time for something a bit more simple .
Japanese aircraft are one of my great interests.
I was delighted when FineMolds came out with their Mitsubishi Ki -15 / C5M series a couple years back .
( Allied code name “Babs”)
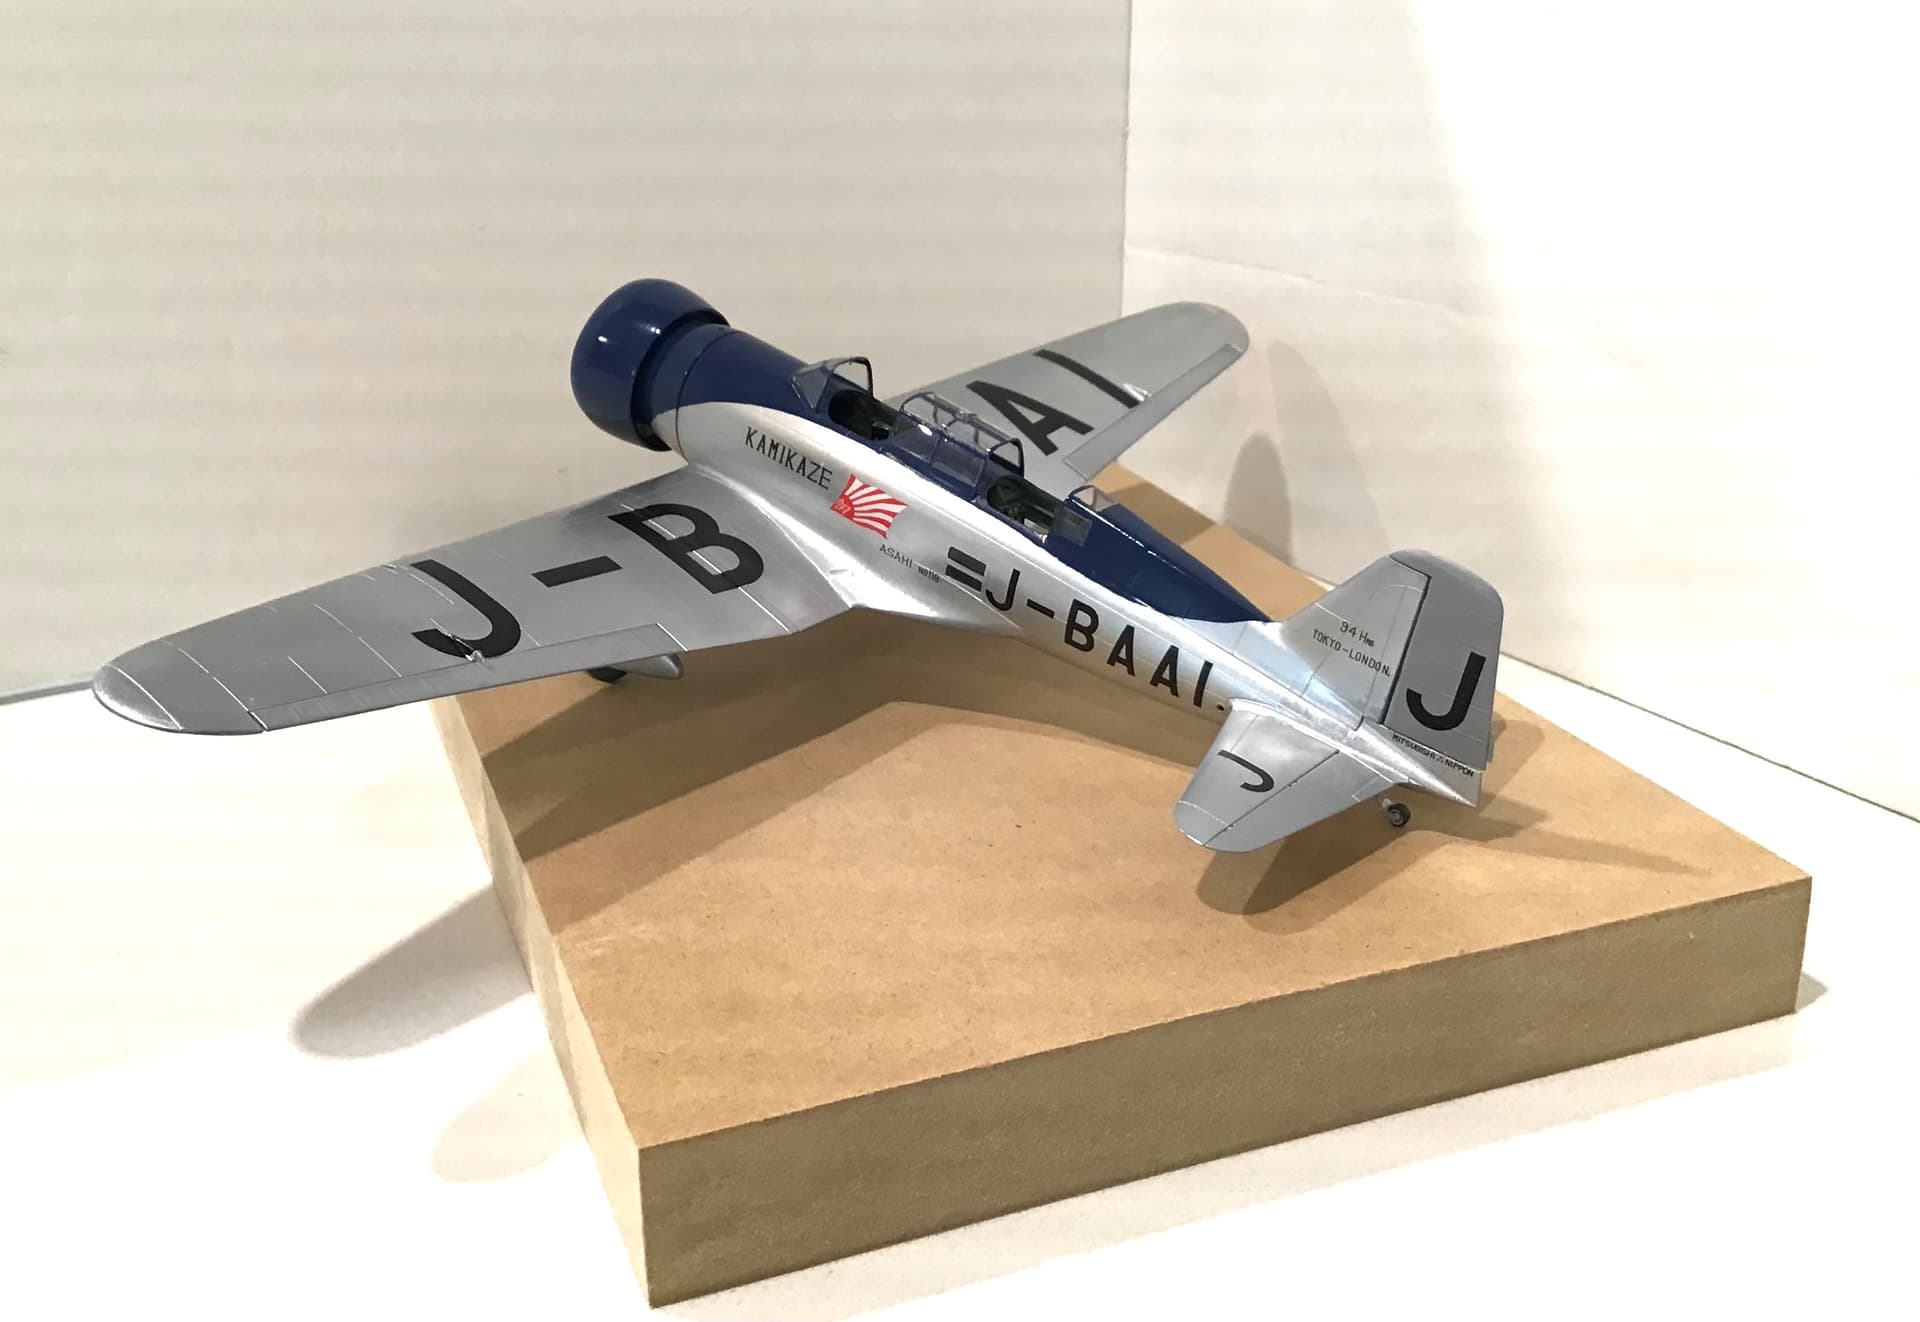
This is the civil version Karigane ( Wild Goose ) flown by the Japanese newspaper Asahi Shimbun for the World Record Tokyo to London flight in 1937.
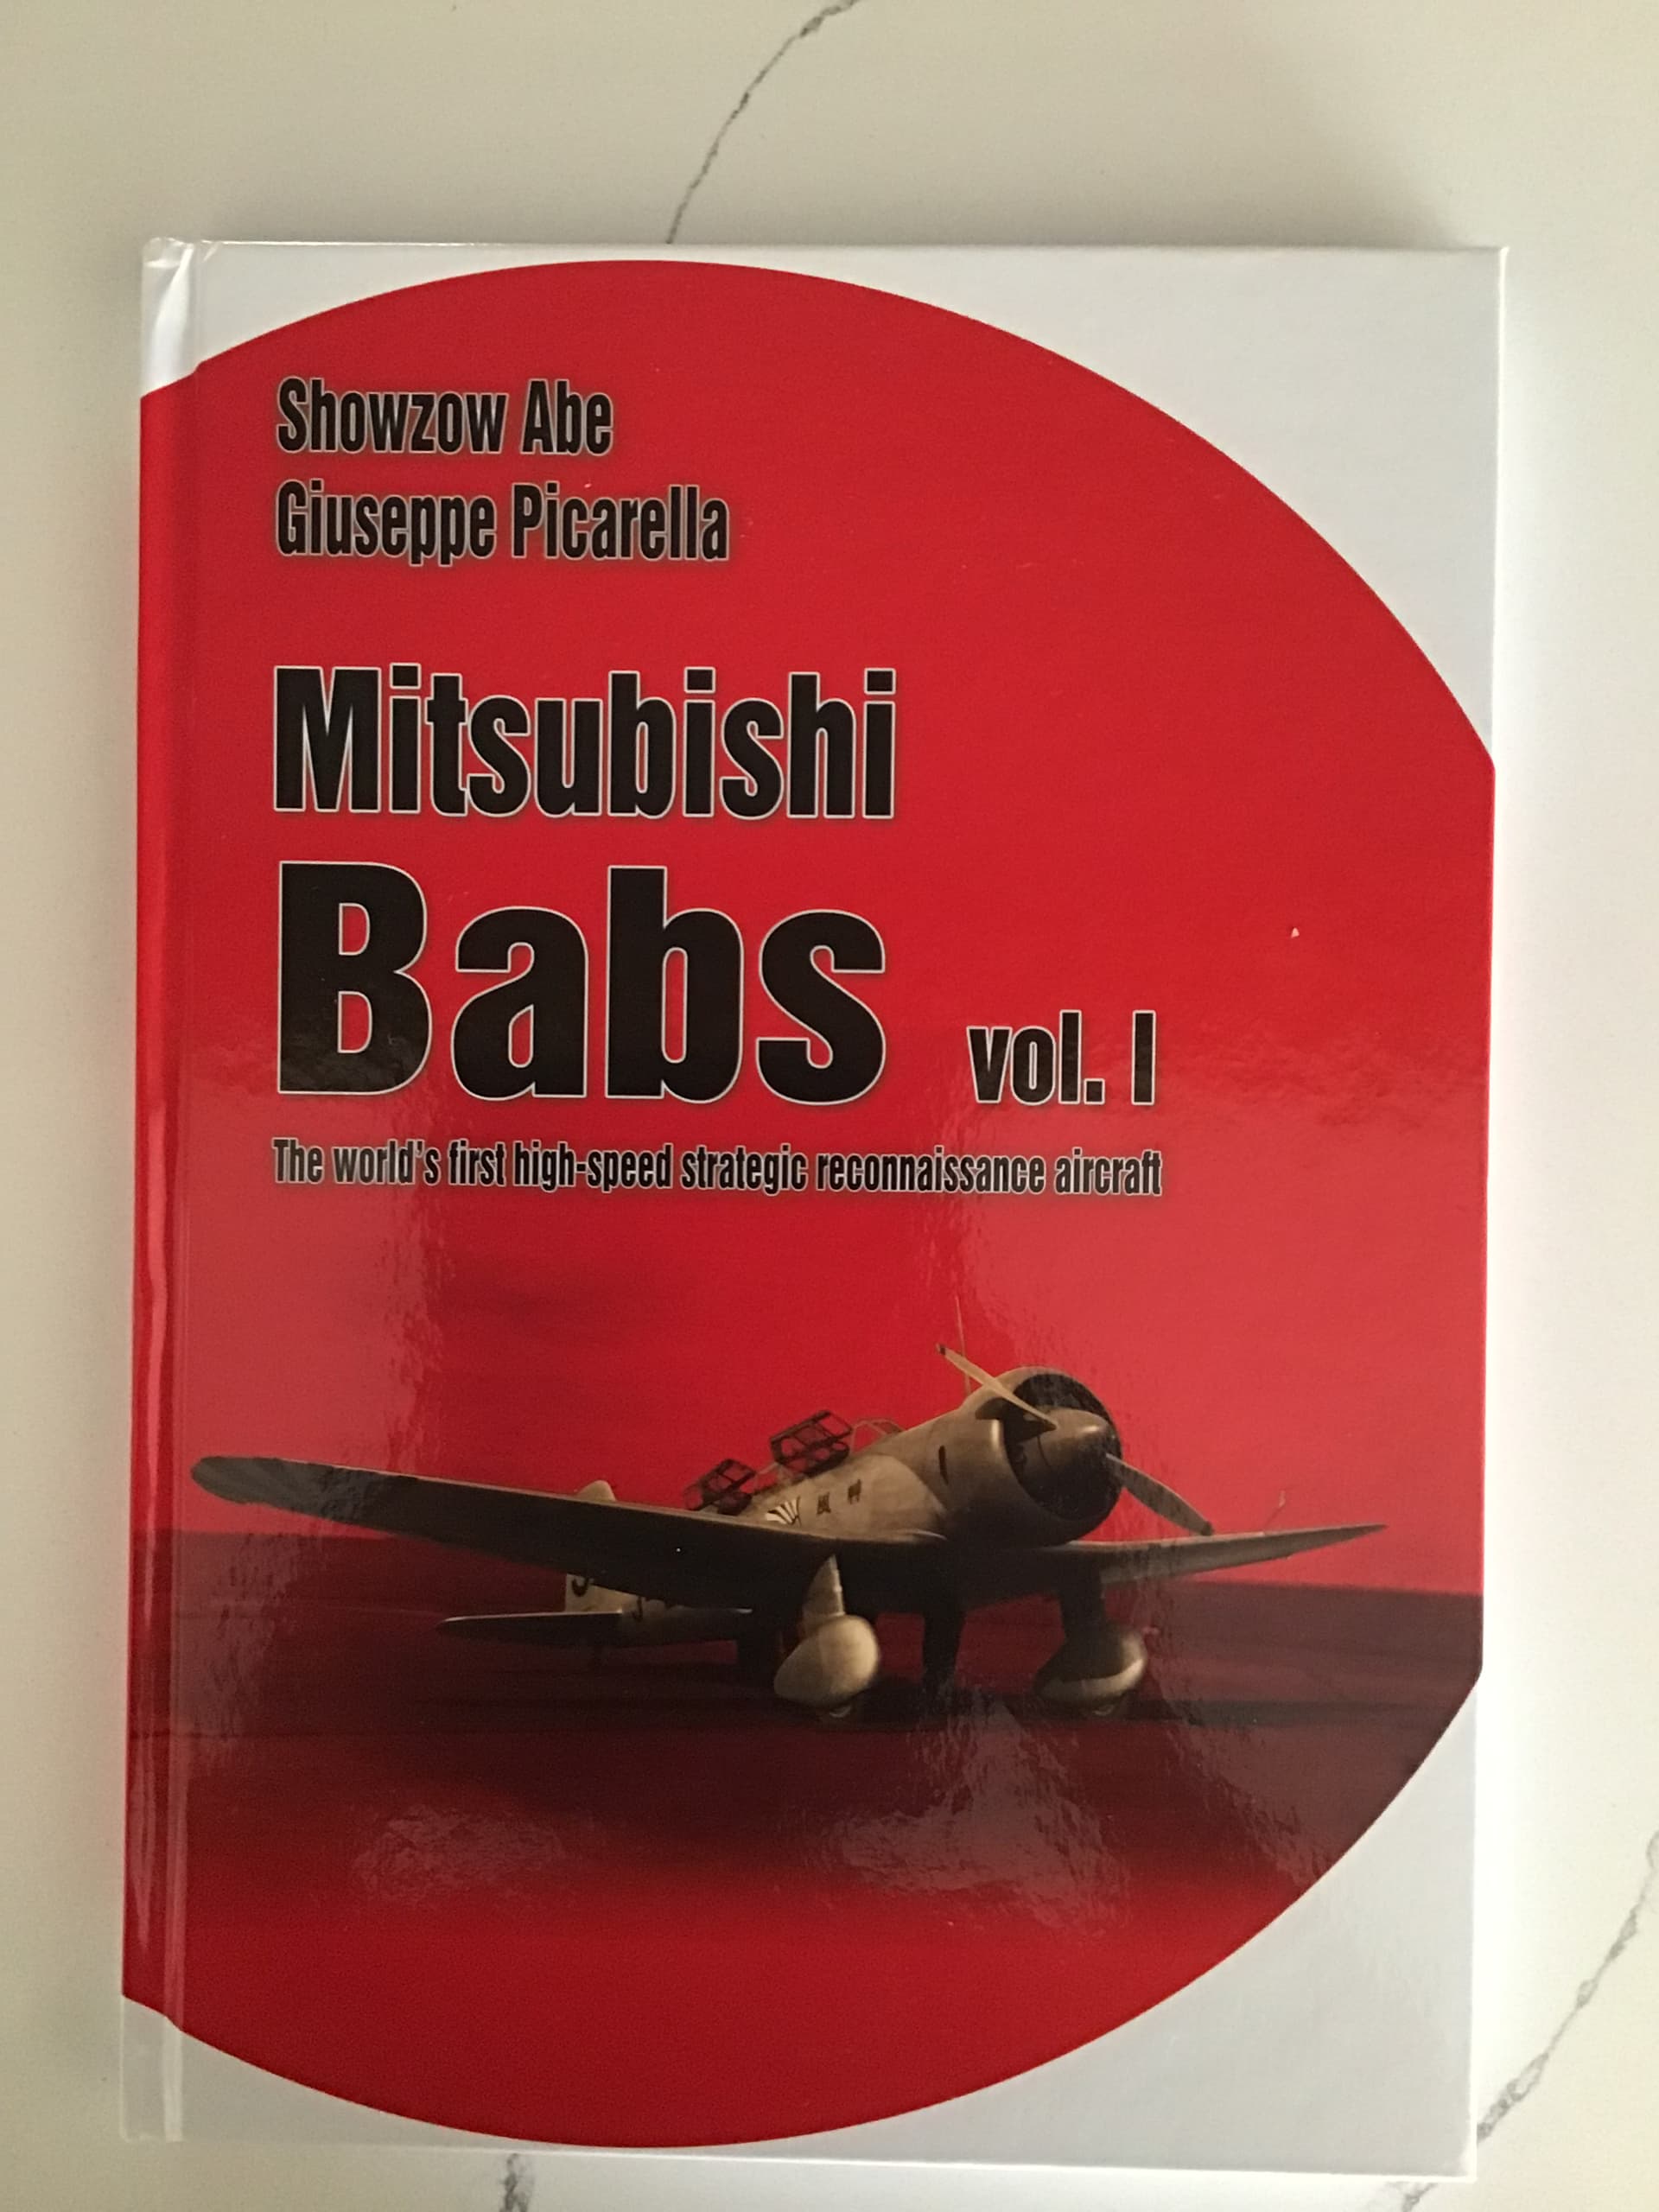
It will be mostly OOB but I have ordered a vac canopy from Dead Design. For reference I will be using the just published Babs book by Picarella & Abe .
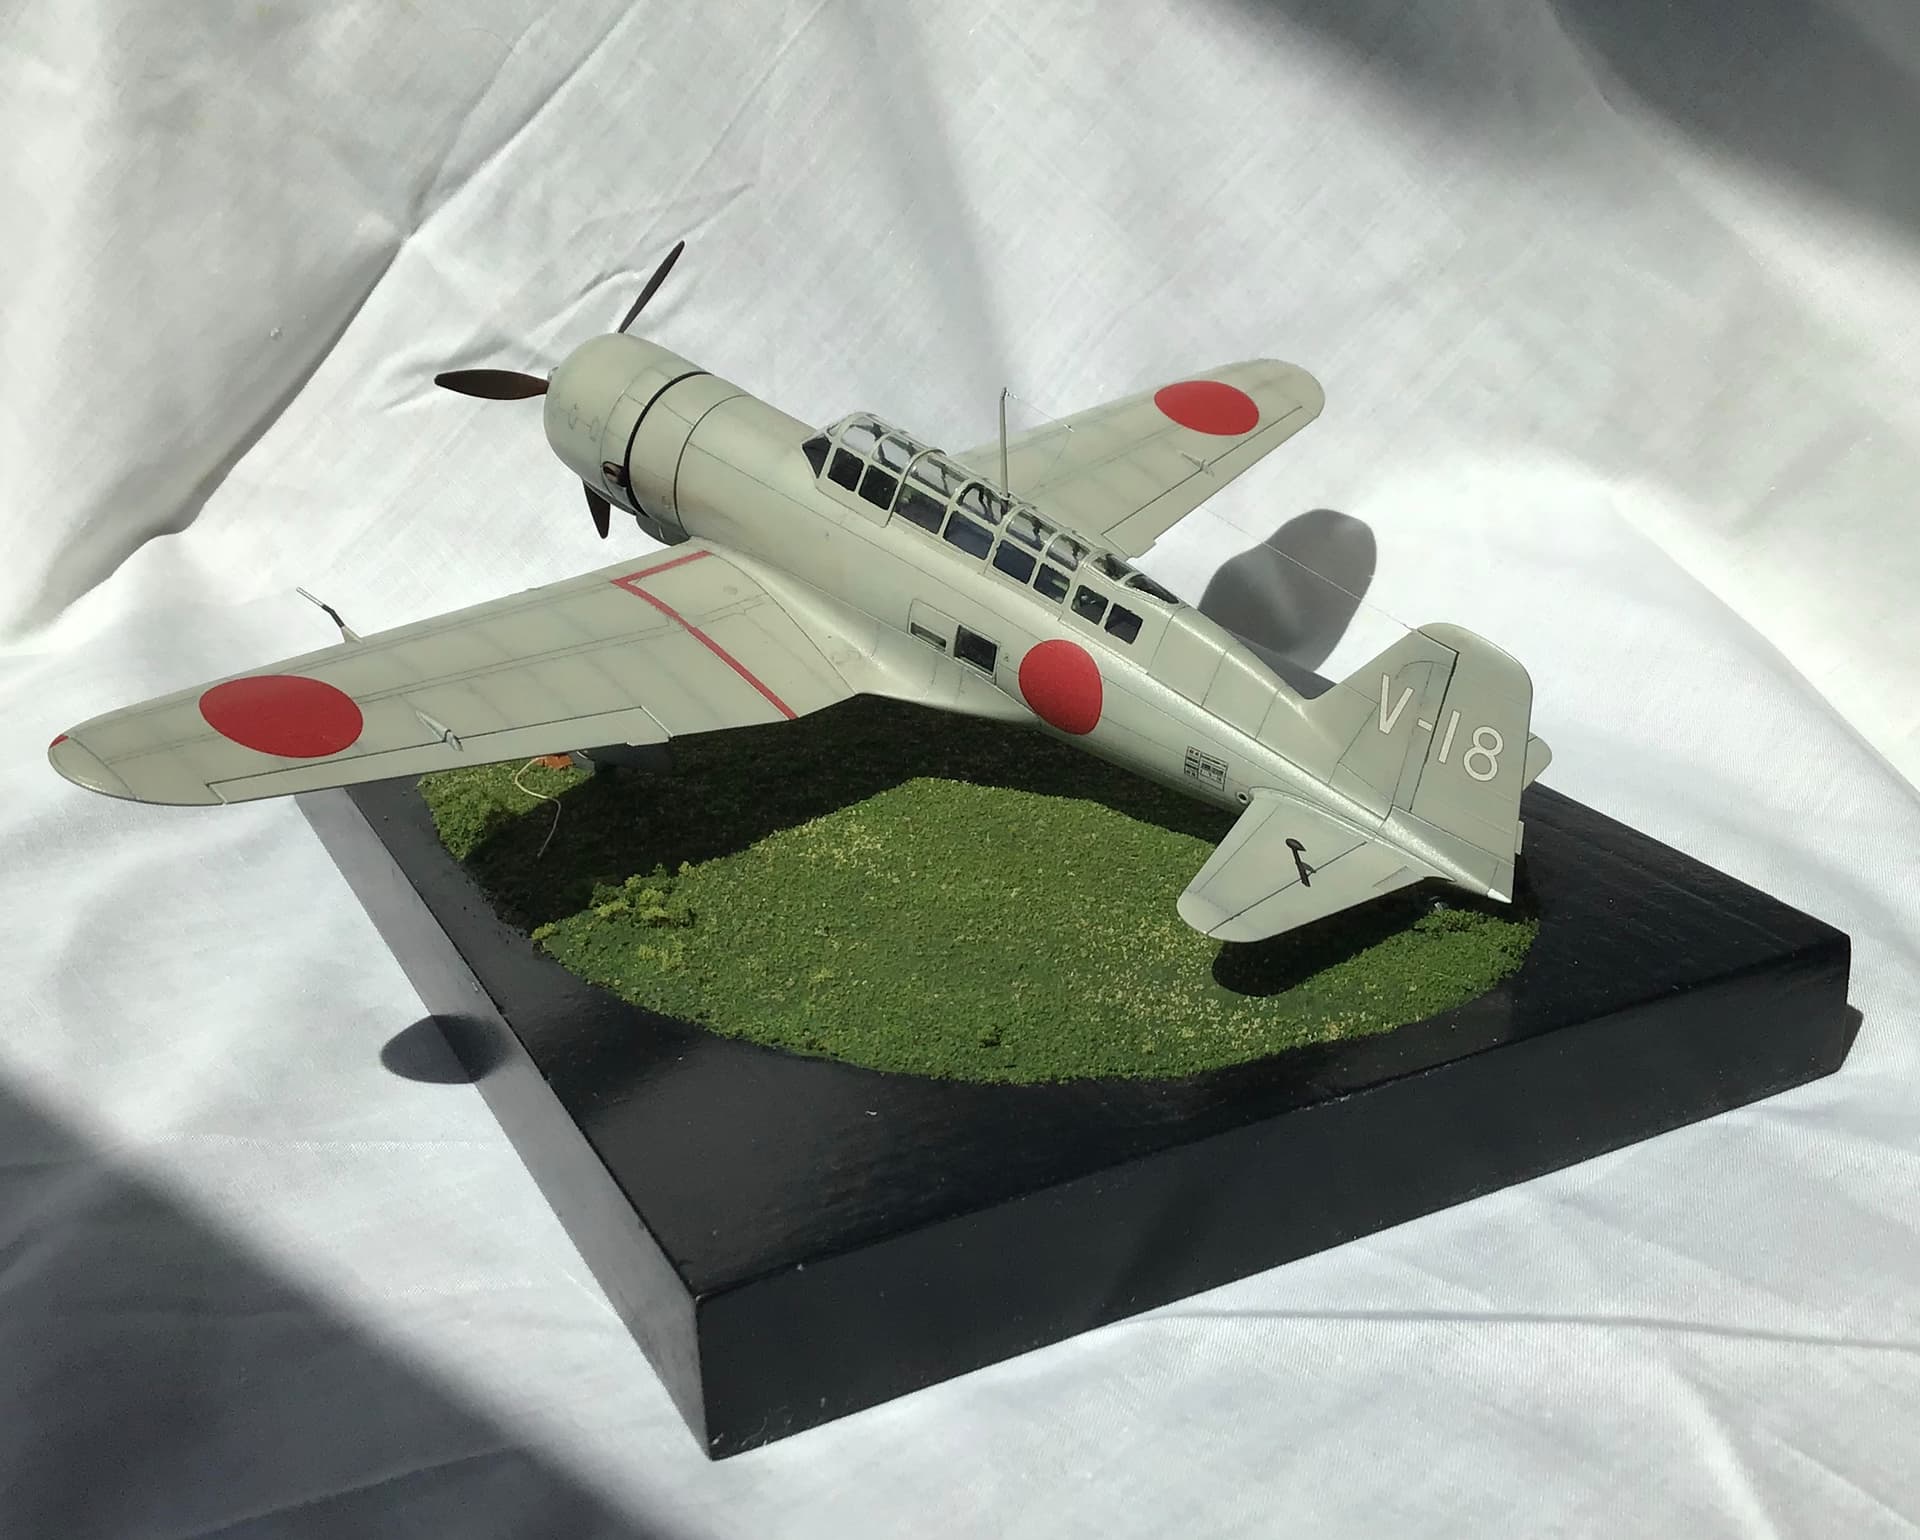
Here is the later IJN variant C5M I built a while back -
I really like these FineMolds kits - they are world class.
More to come…
Cheers- Richard
8 Likes
Interesting.
I had no idea about the record either.
Looking forward to seeing how it all goes together.
1 Like
@litespeed
@phantom_phanatic
Thanks for the interest gents.
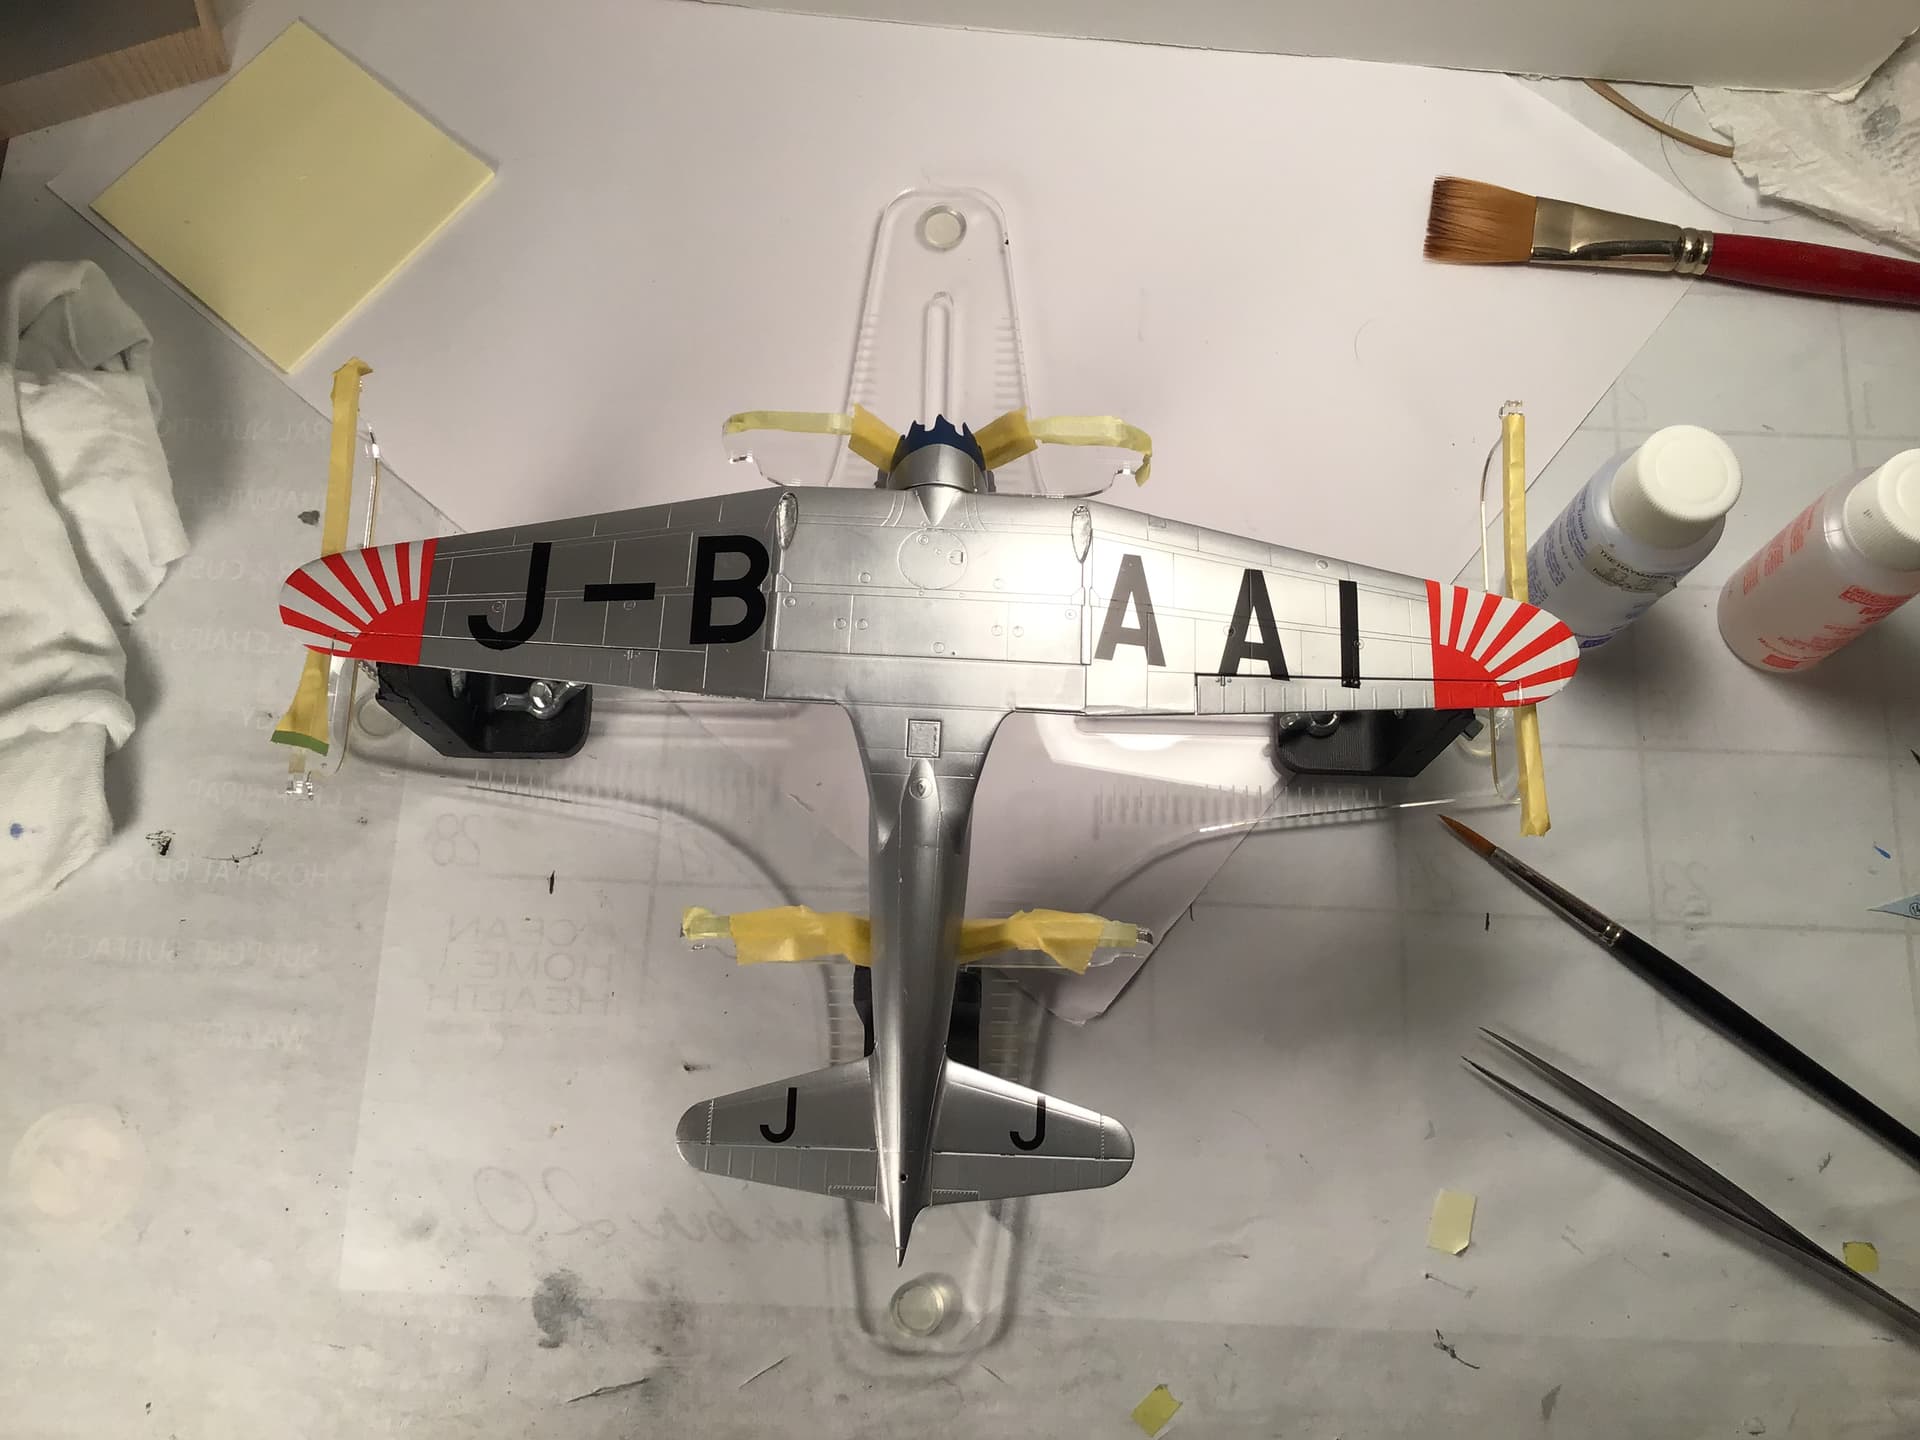
I should clarify that “ Kamikaze” was the name given to the aircraft by popular vote by Asahi Press readership, named after the divine wind that sunk the Mongol fleet attempting to invade Japan in the 1200’s and has nothing to do with it’s later connotations regarding suicide attack. Asahi operated a fleet of aircraft , including a near identical sister ship to Kamikaze named “ Asakaze “ ( Morning Wind ).
There was much string pulling done in order to acquire what was a new high performance military aircraft - Imagine the Washington Post or the New York Times asking to buy an F 35 for a publicity flight !
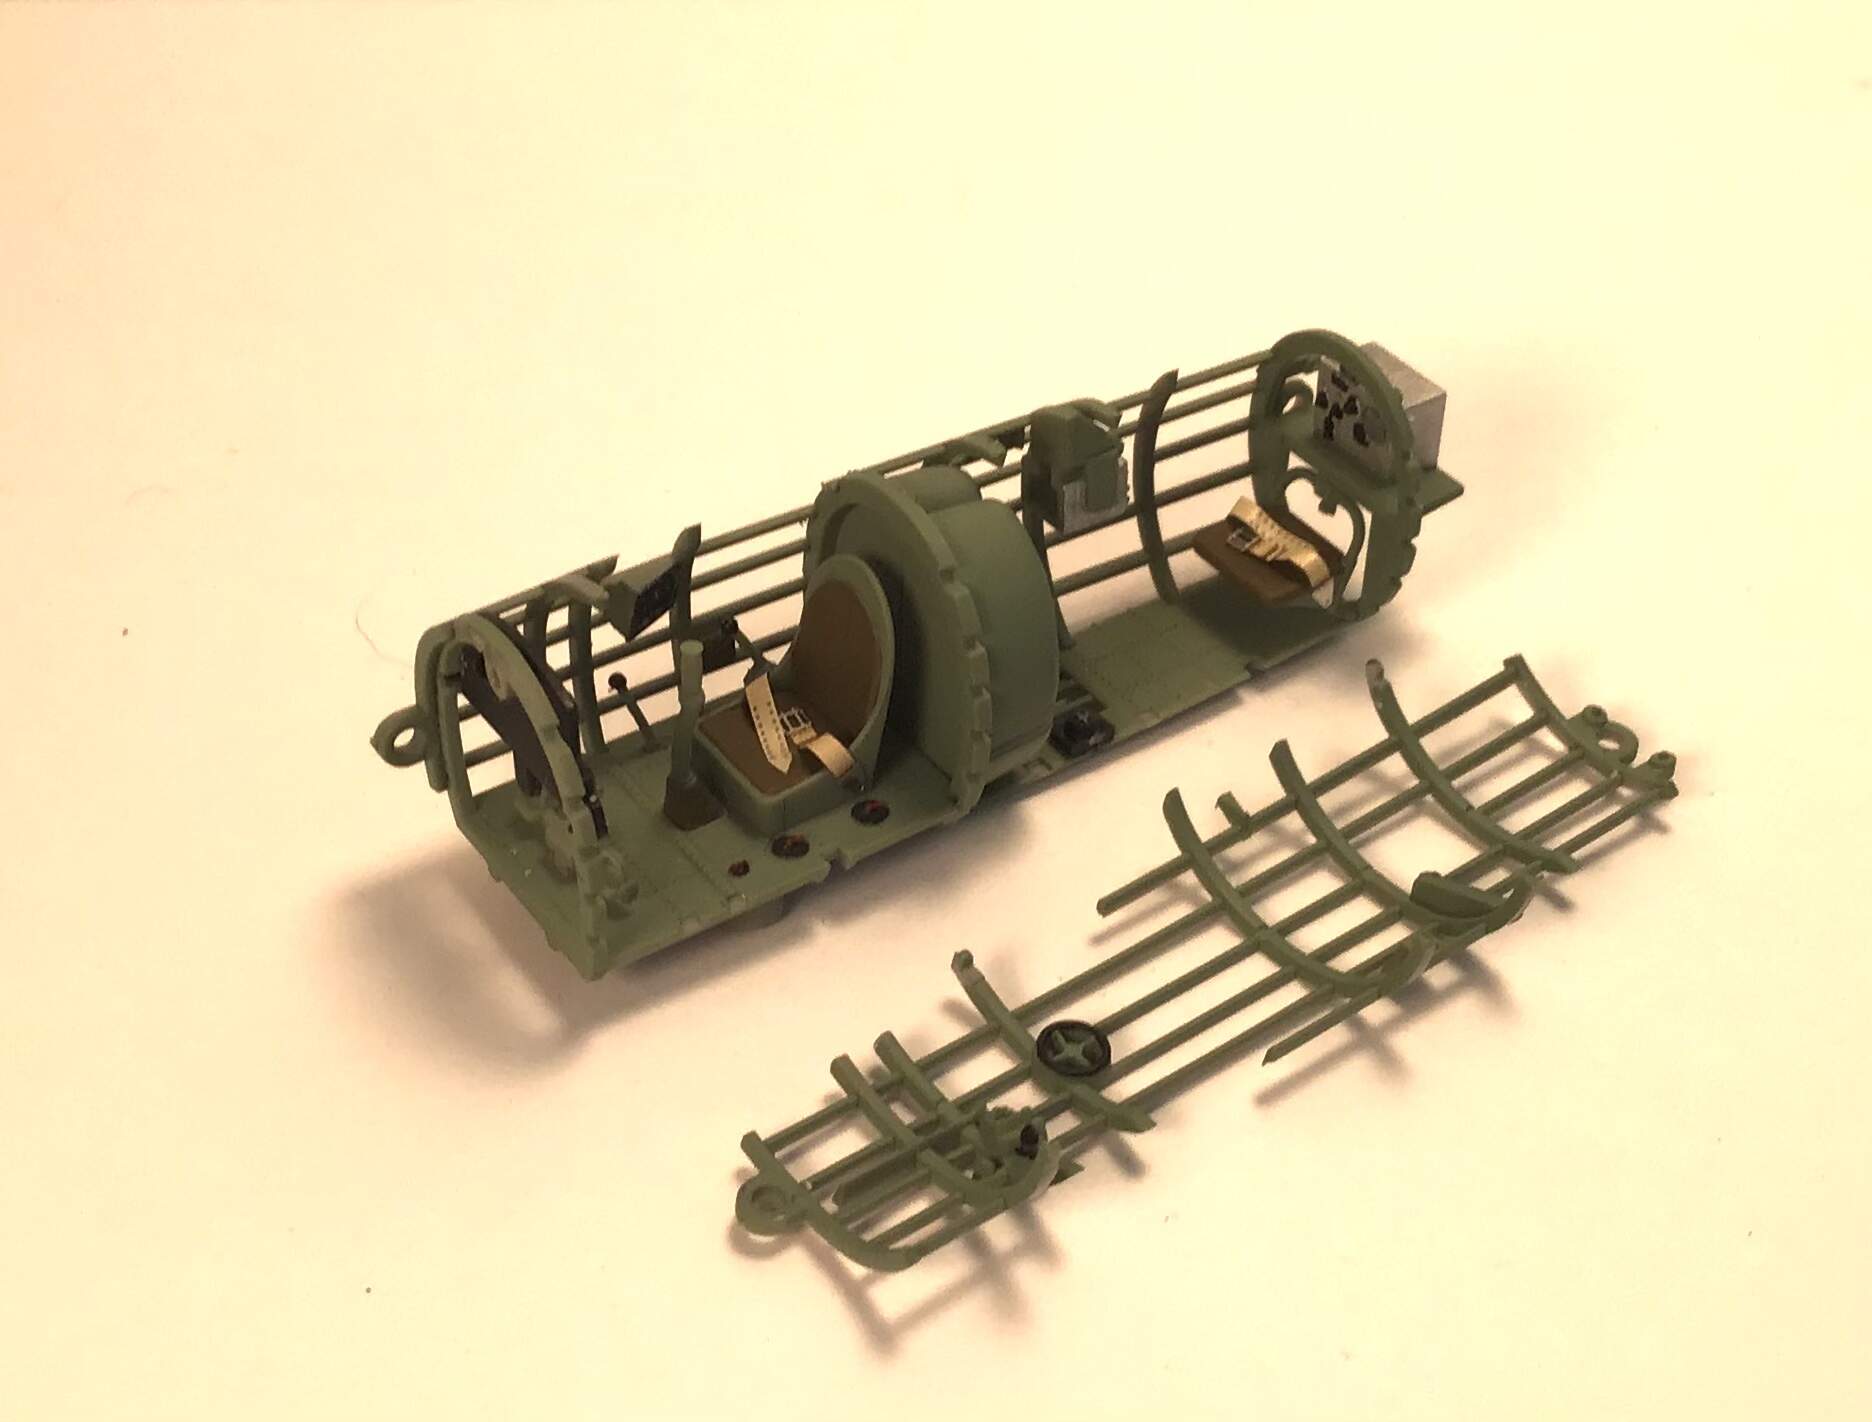
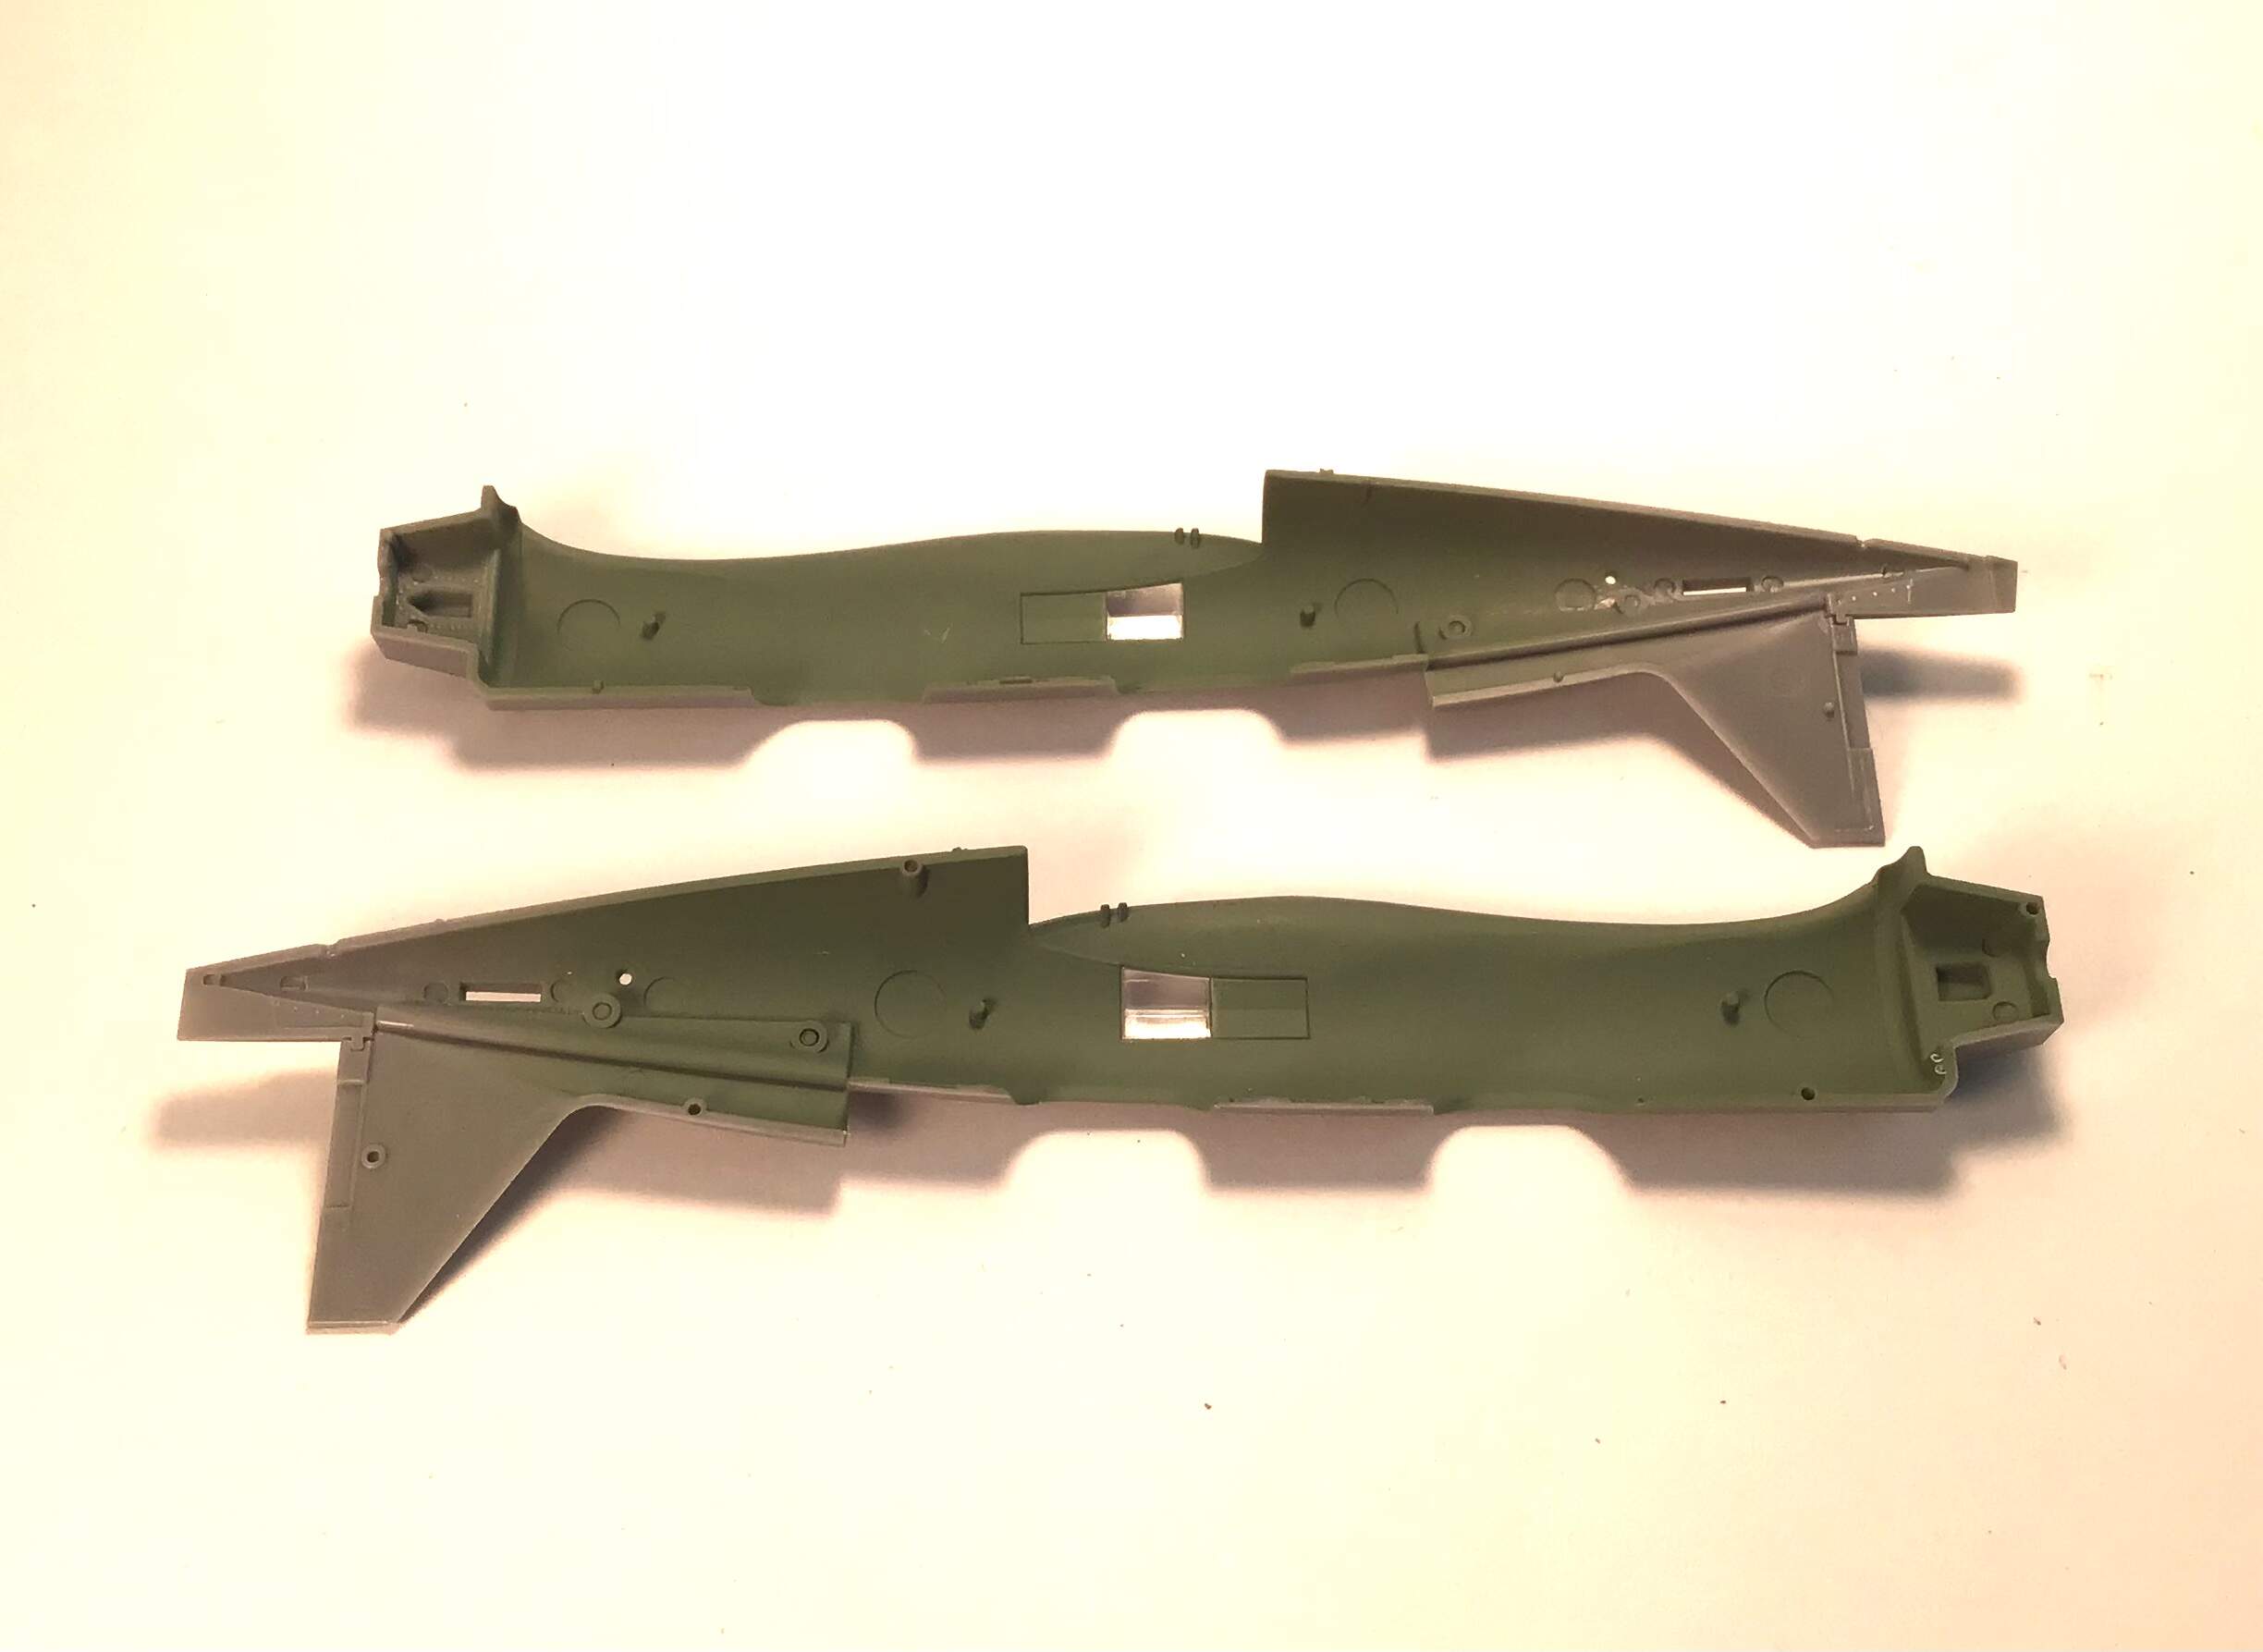
I’ve made a start with the cockpit ( How unusual ! )
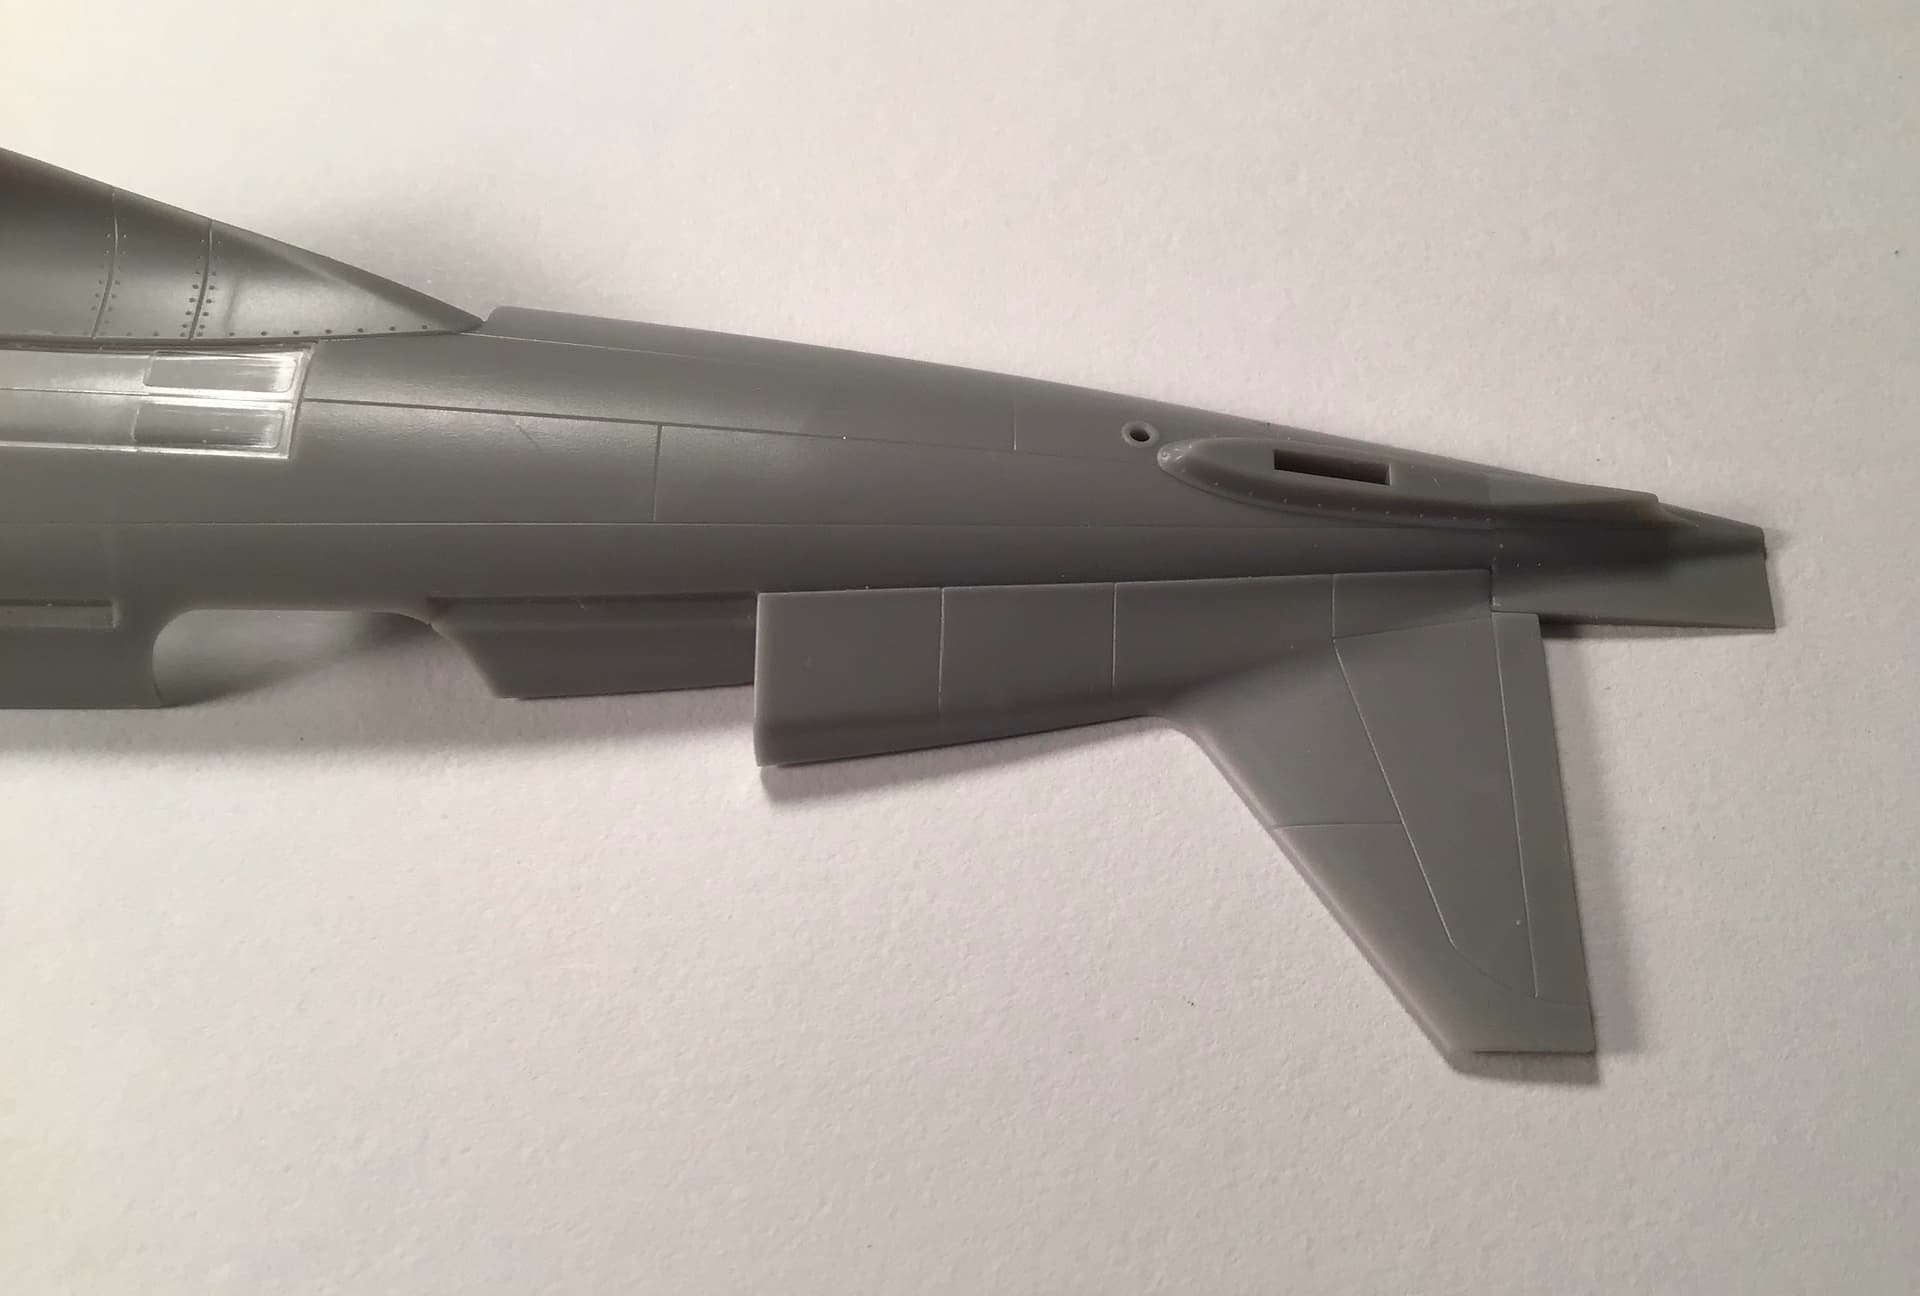
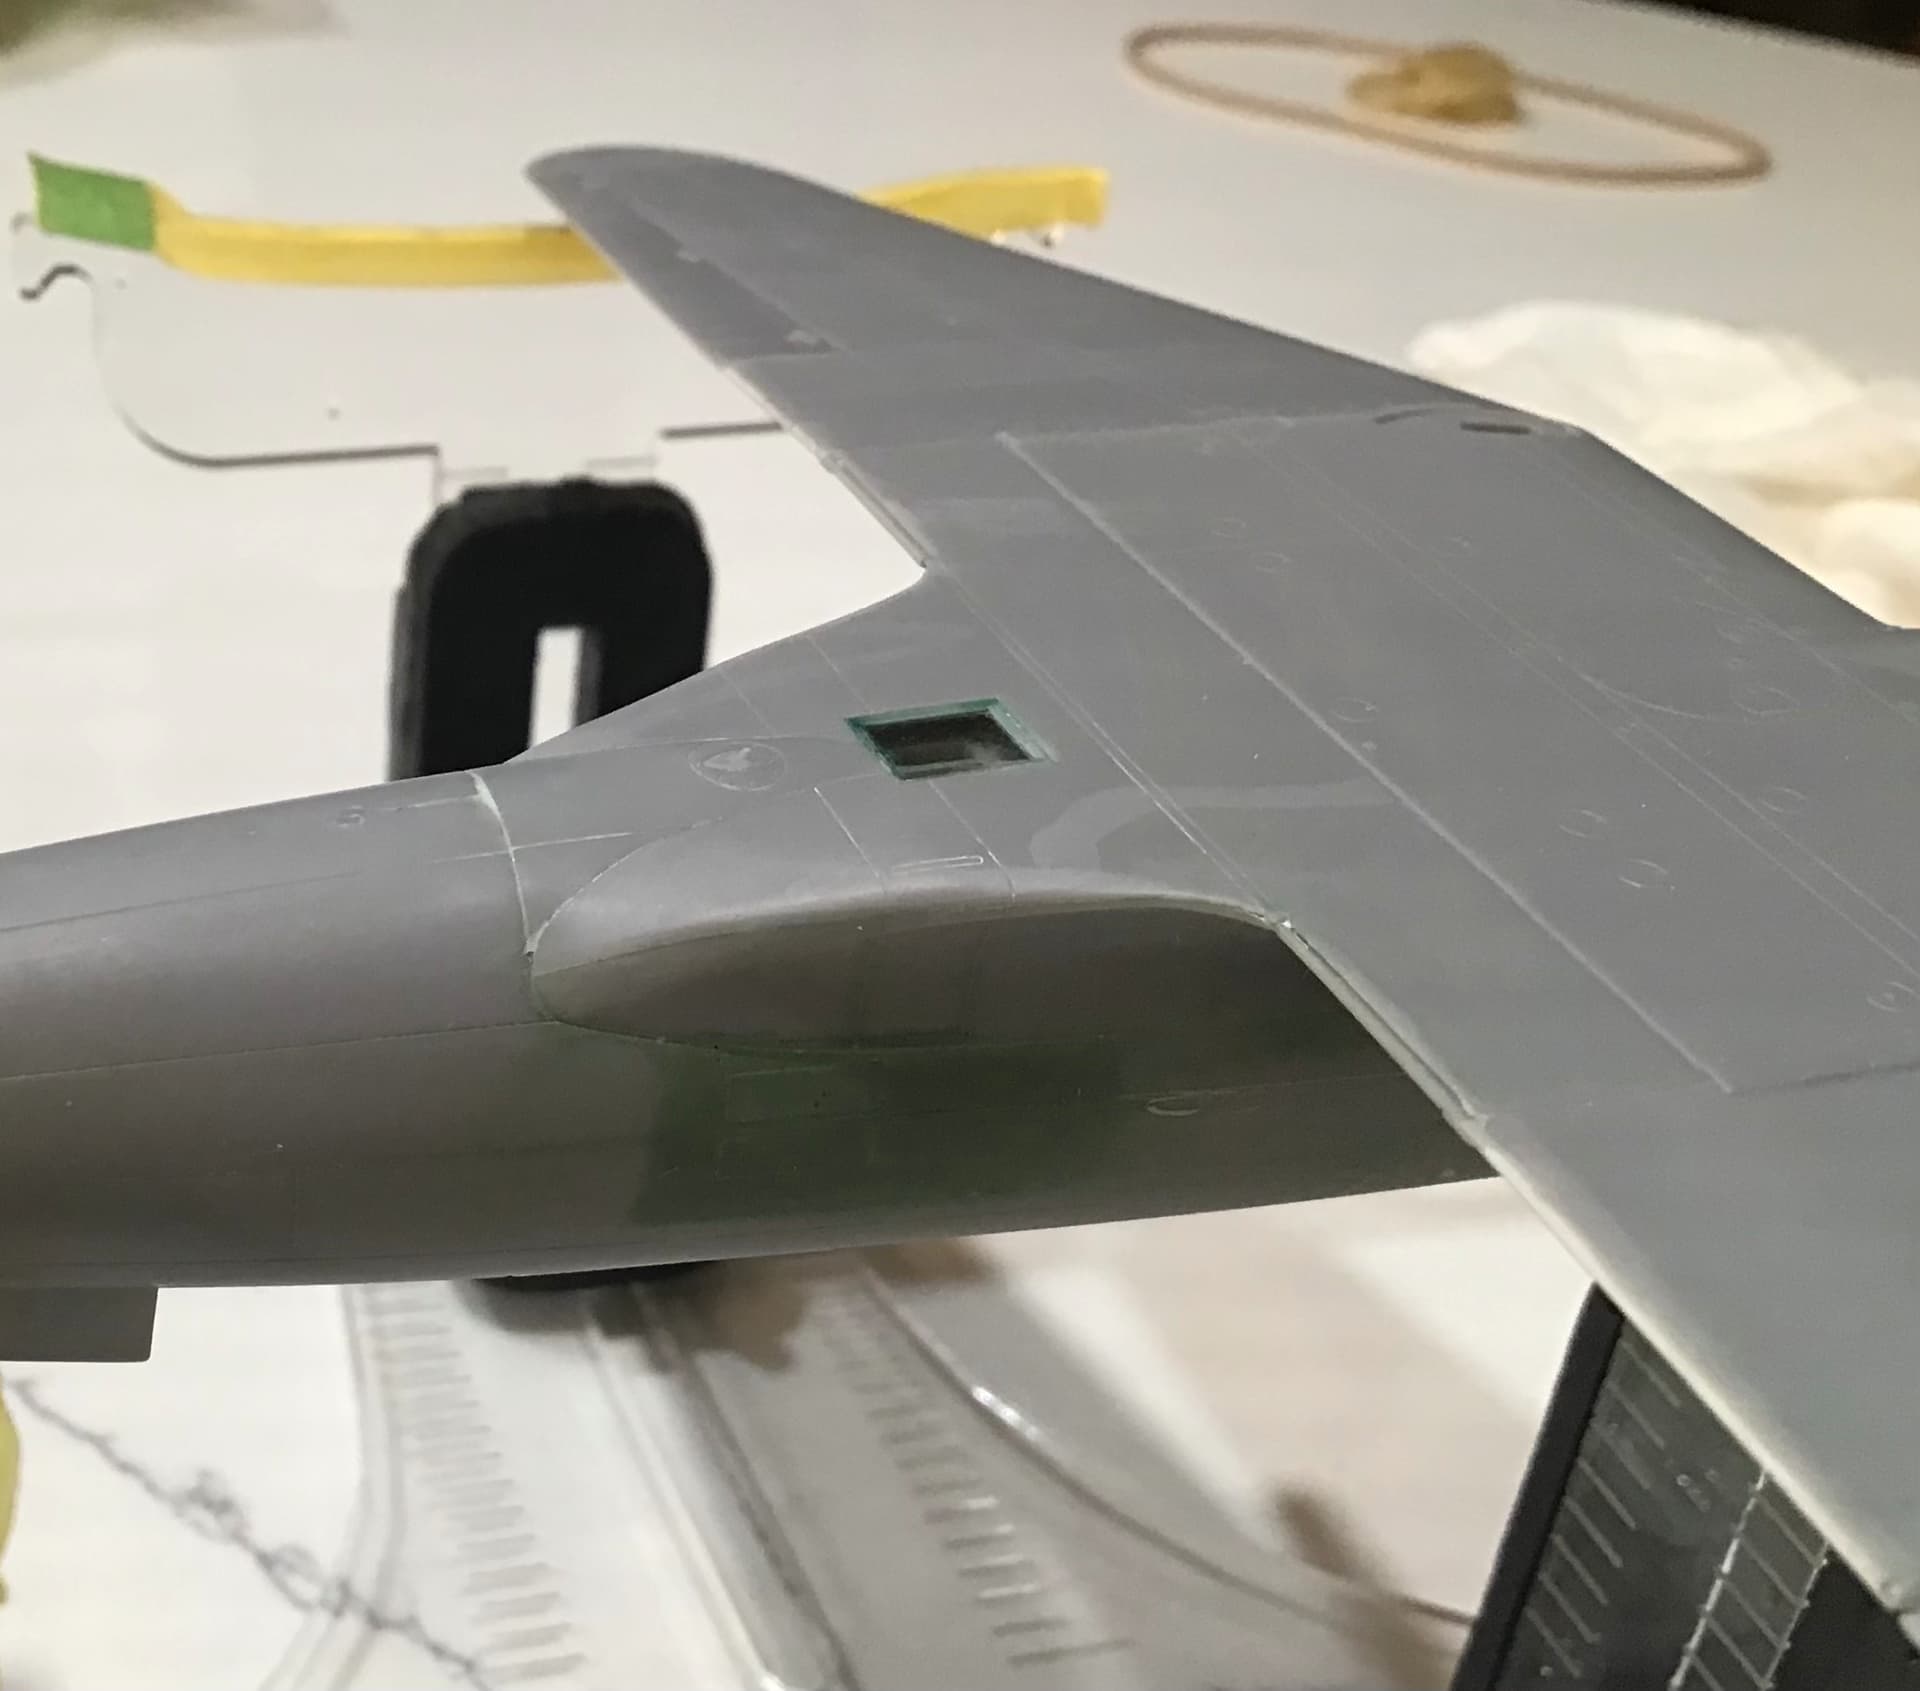
and wing and fuselage. The wing is supplied in full span upper and lower halves with a one piece spar to insure dihedral and left and right tips .
The fuselage spine and vertical stabilizer are inserts
to accommodate the different canopies used on different versions - no worries here as they fit beautifully. The interior fuselage has some huge knockout pin marks . The forward and after ones are well out of sight after assembly and the central ones are largely hidden by the central fuel tank but I filled them just in case .
Thanks for looking !
Cheers- RT
5 Likes
‘Kamikaze’ caused quite a stir when it arrived it Britain for its record breaking flight. There is great photograph in the book of the crowd at Croydon airfield when ‘Kamikaze’ arrived. I would highly recommend the book by MMP on the Babs 
Looking forward to seeing your progress Richard
1 Like
Interior done and ready to close fuselage .
The true color of the interior seems to be open to conjecture. Most agree that it was either Aotake - the transparent blue/green coating or Mitsubishi interior gray/ green . I chose the latter because I am lazy and had the color on hand . Vallejo Model Air 71.126 IDF/IAF Green is a nearly dead match for Tamiya Mitsubishi Cockpit Color so that is what I used. ( It also comes close to British Interior Green)
I elected to no weathering for two reasons …
- This was a virtually brand new aircraft at the time of it’s record setting flight and was immaculately maintained . The only two people that were allowed to fly it were the pilot and navigator chosen for the trip - more on this later .
- As noted above , I’m lazy.
Here is the cockpit , OOB except for Eduard IJAAF seat belts .
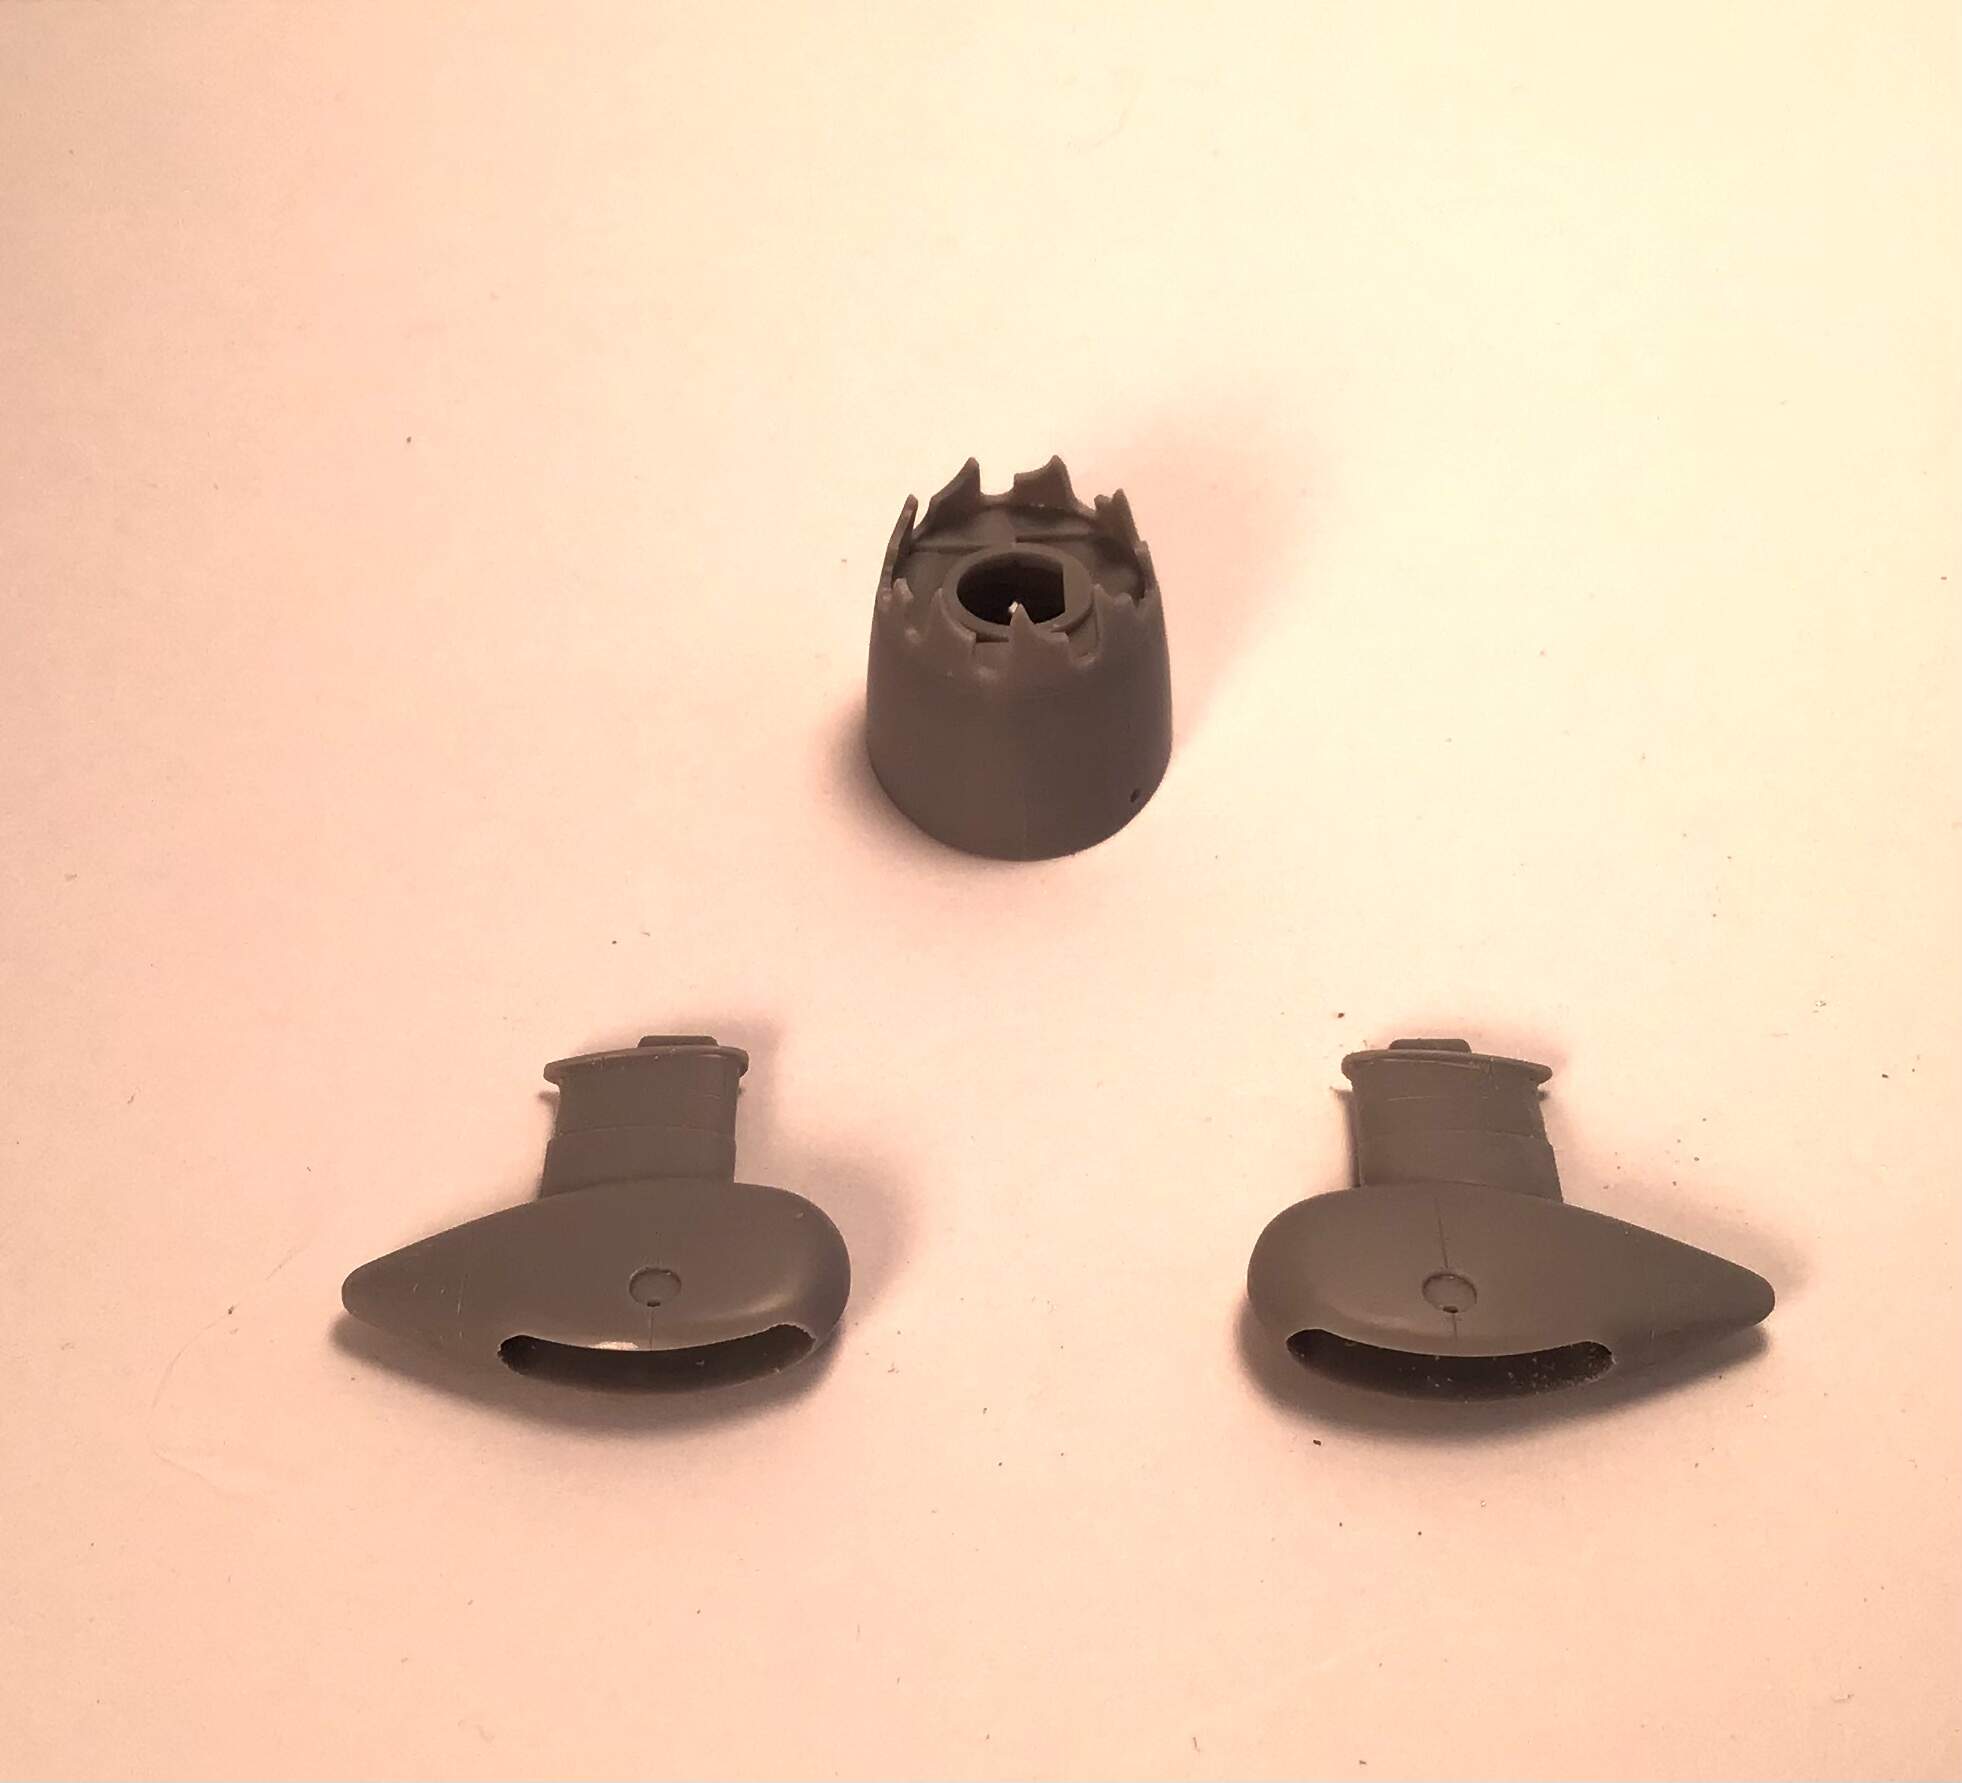
Also built up the nose section and landing gear spats …
More to come…
Cheers- RT
4 Likes
Interesting plane and history! Looks good so far.
1 Like
I’ve got the fuselage together now - fit is just beautiful. Take a look at the centerline seam .
No filler here - just Tamiya Extra Thin and clean up afterwards with a file and 1500 sanding pad.
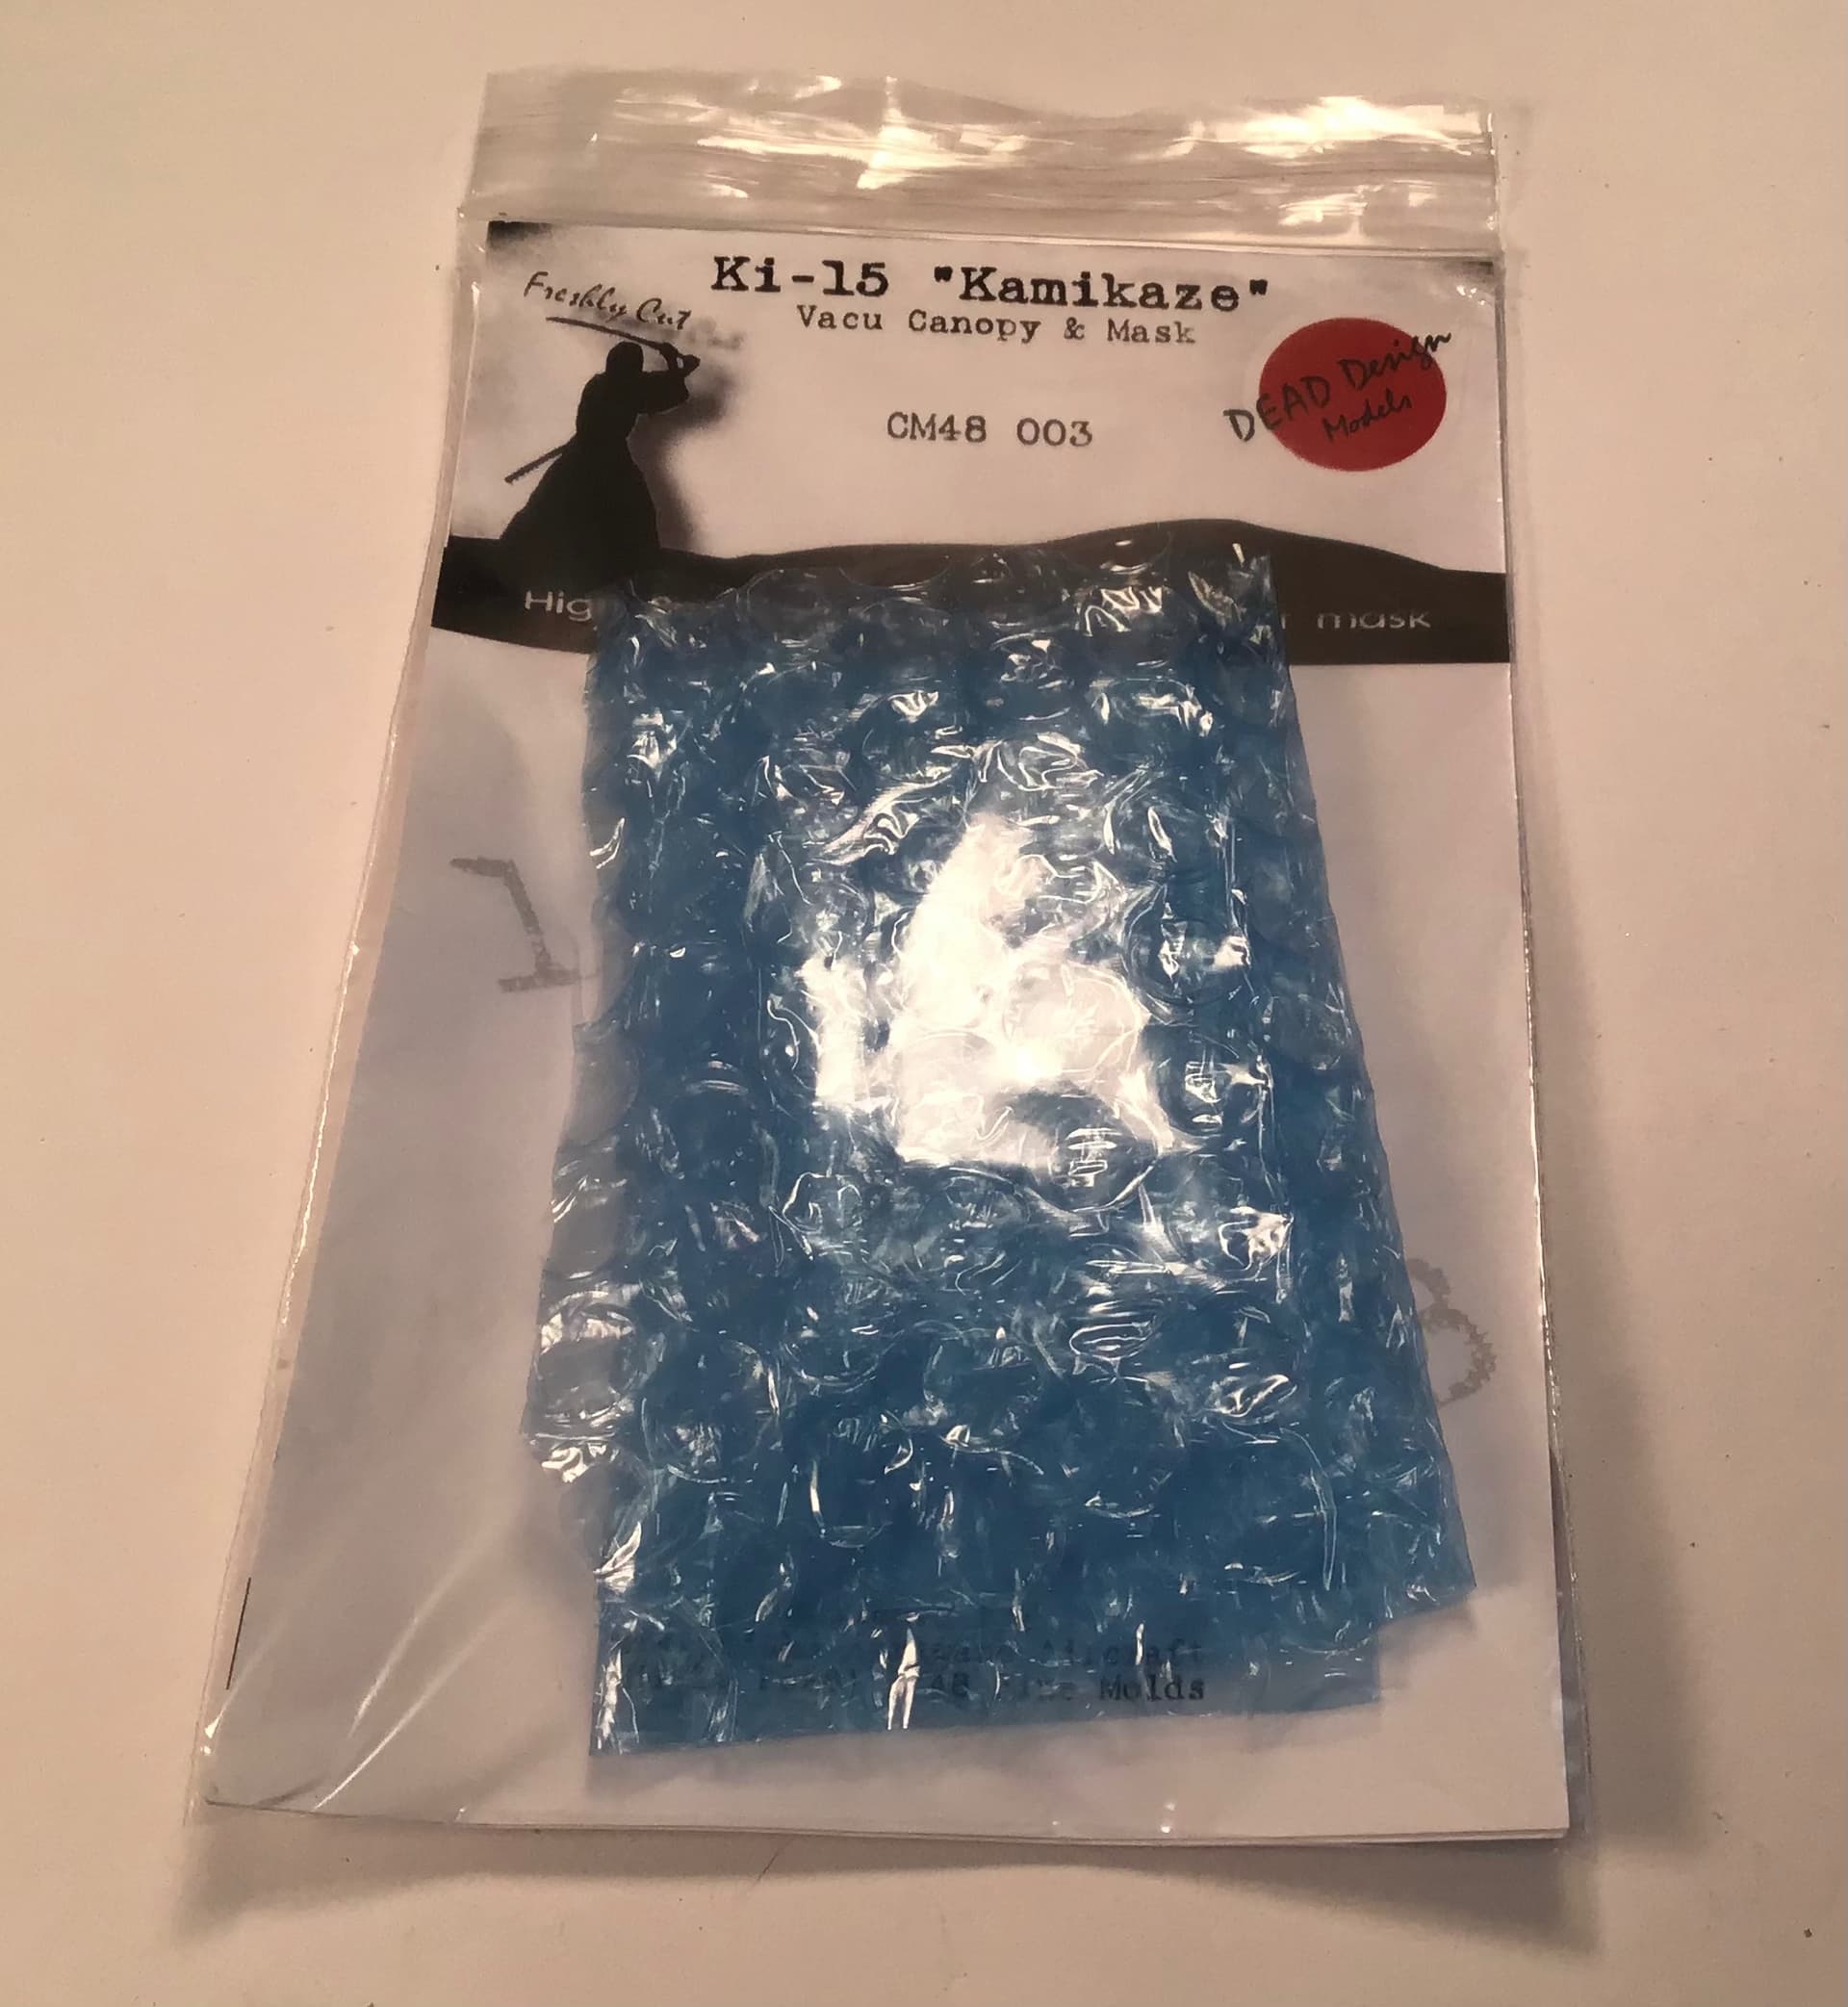
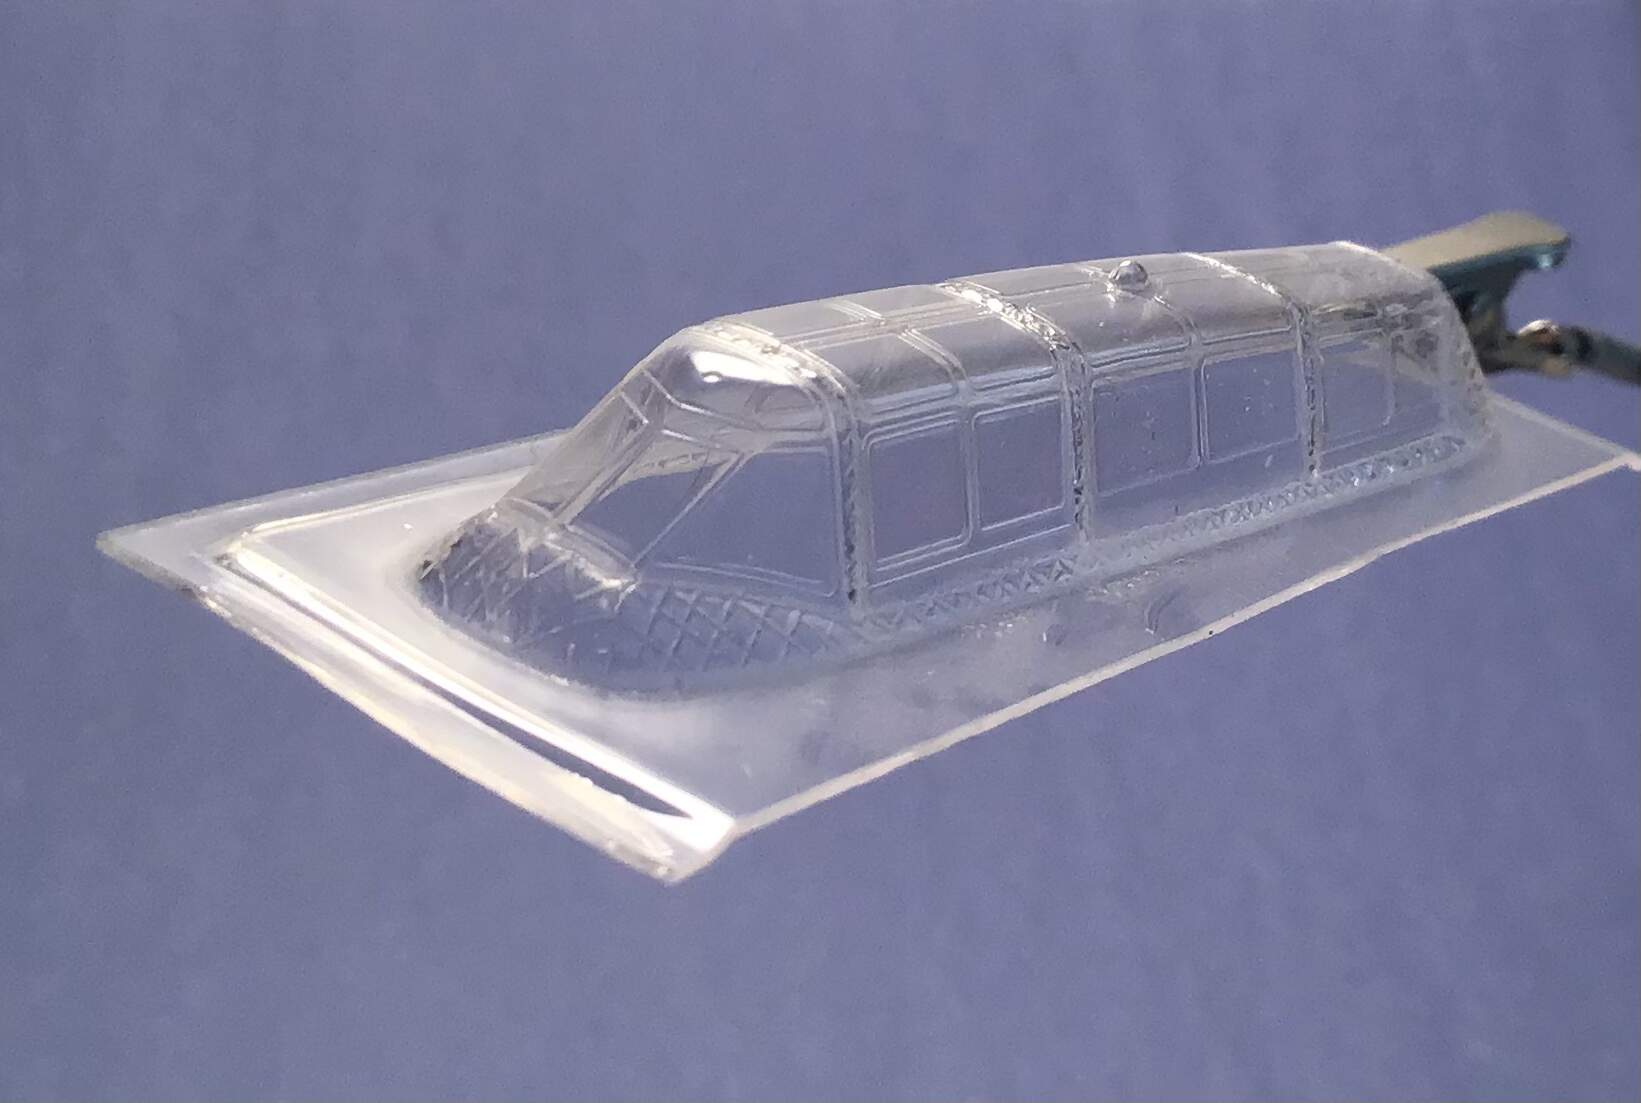
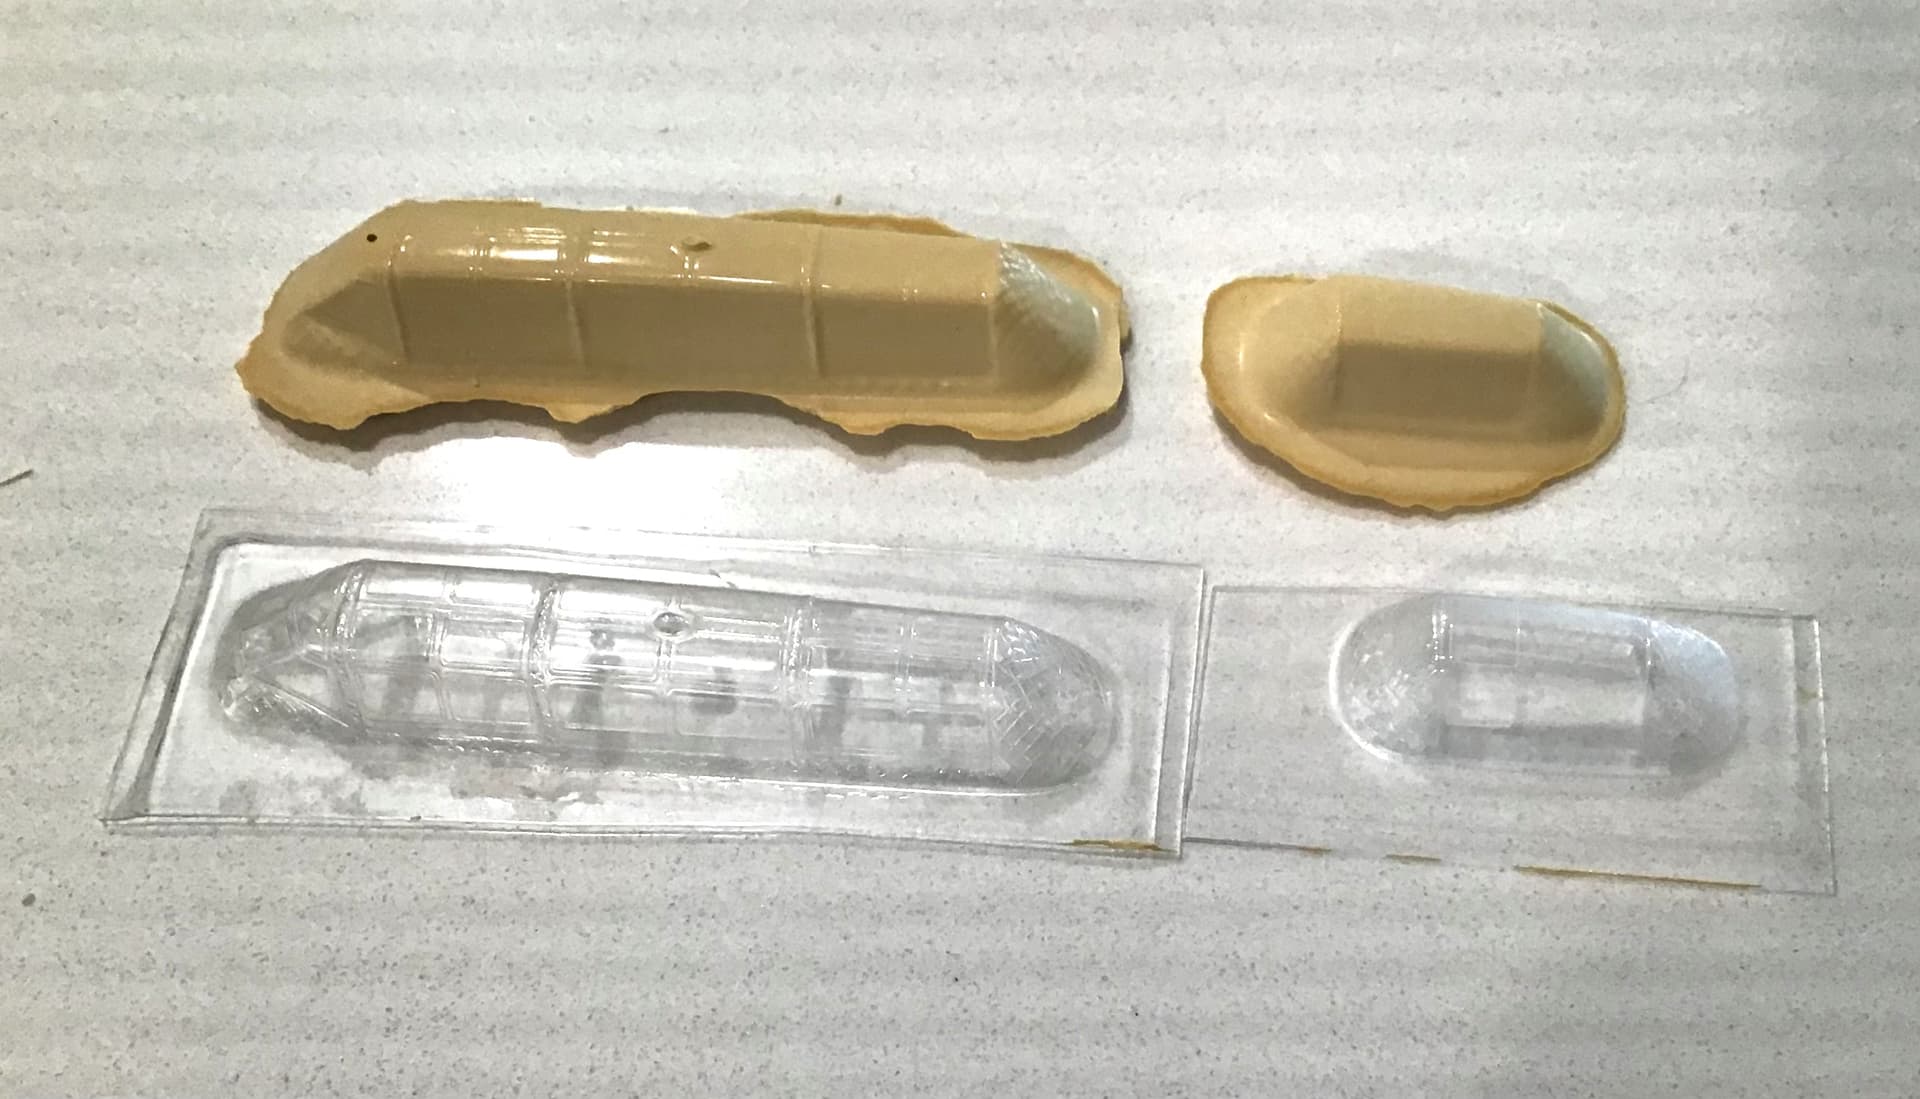
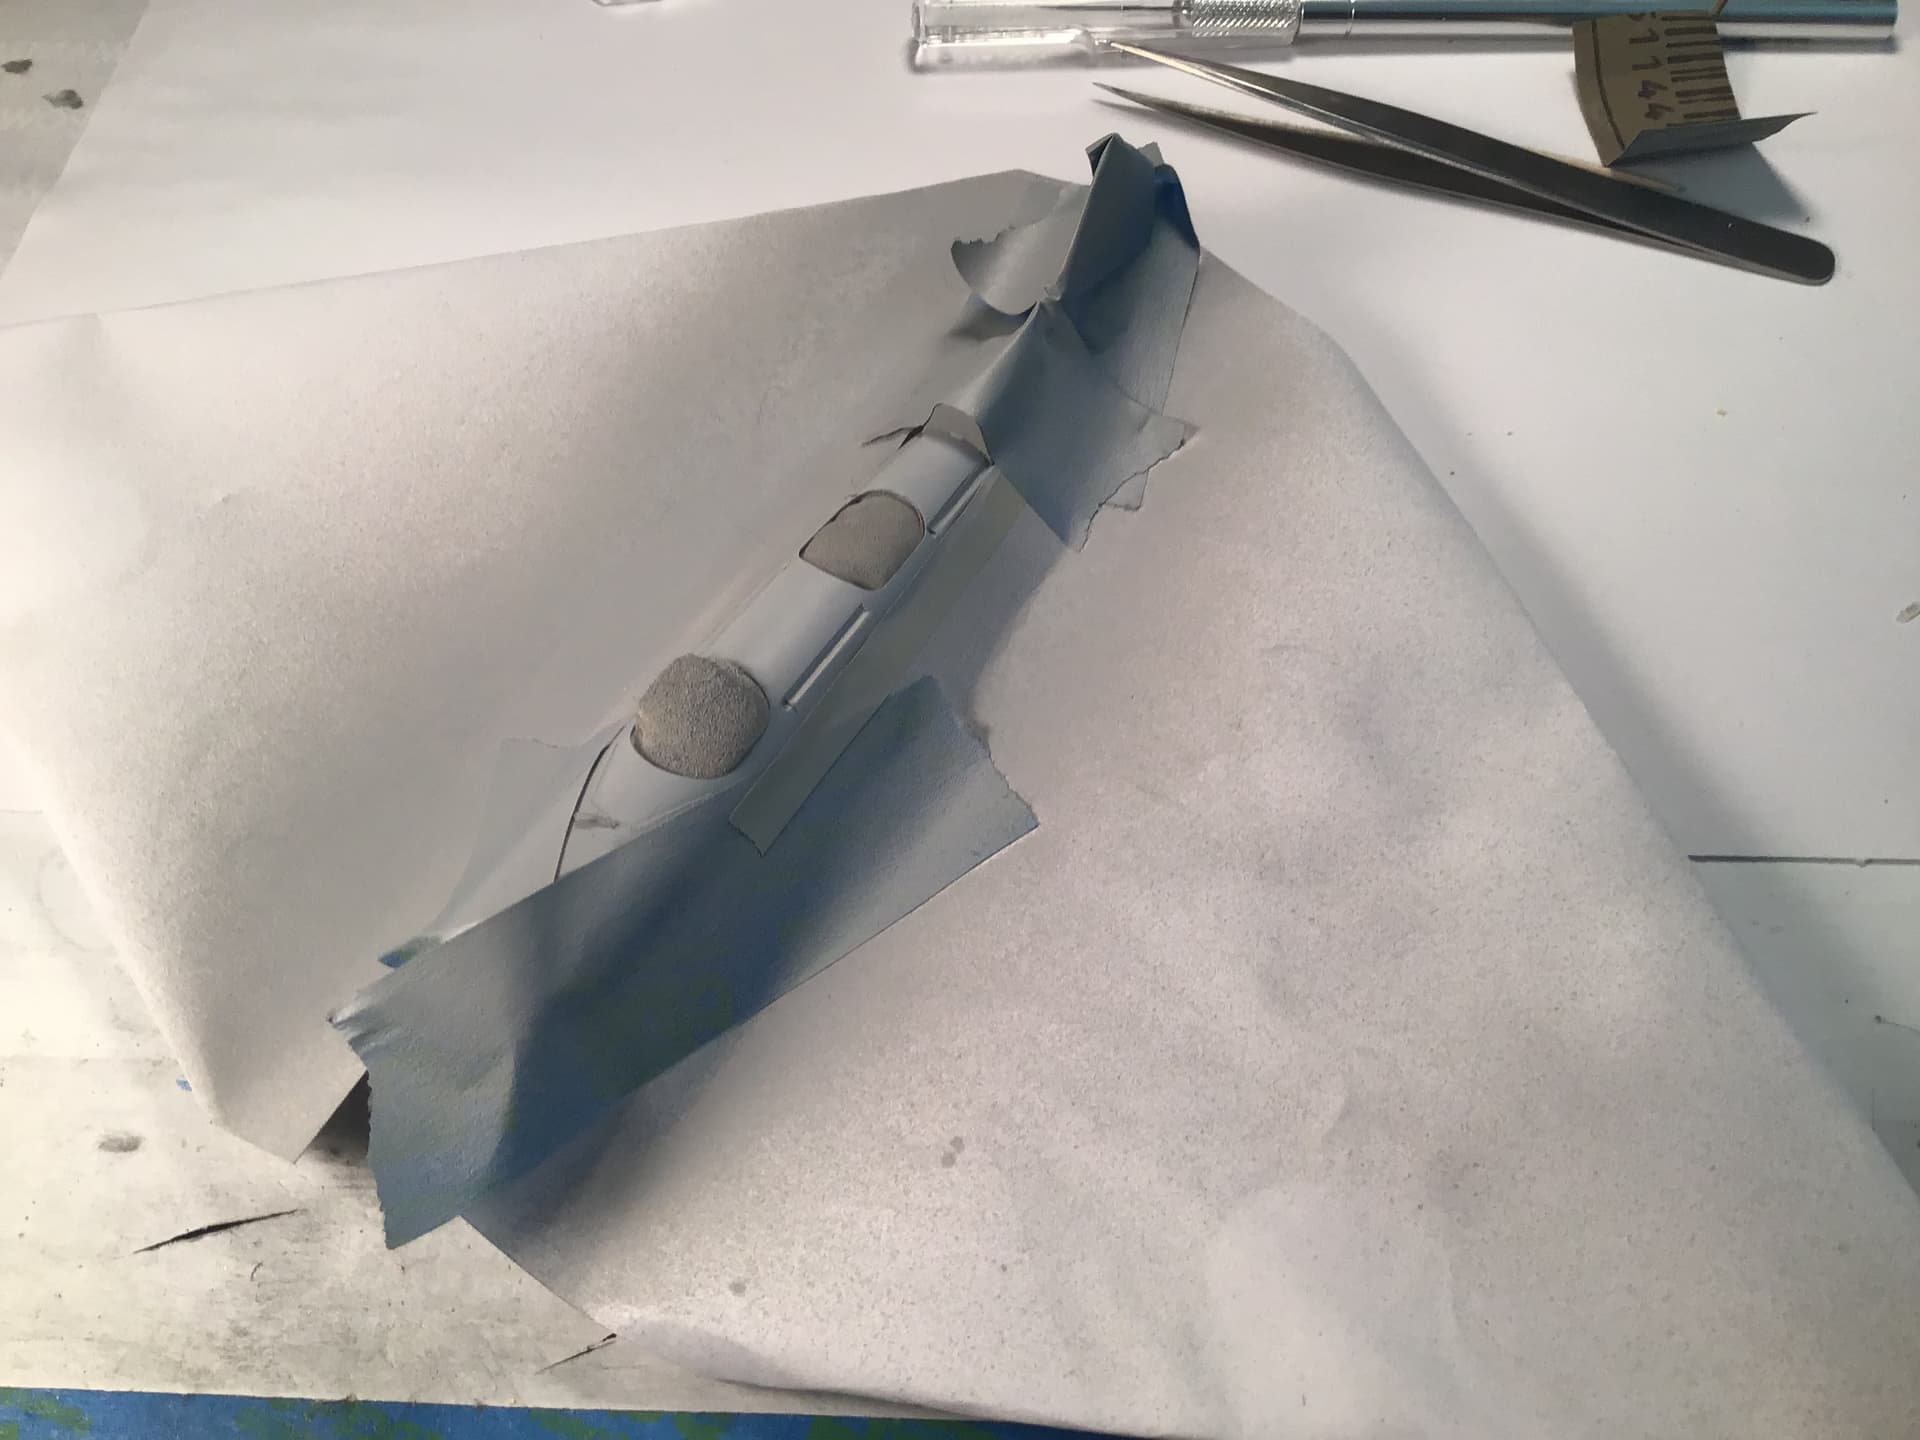
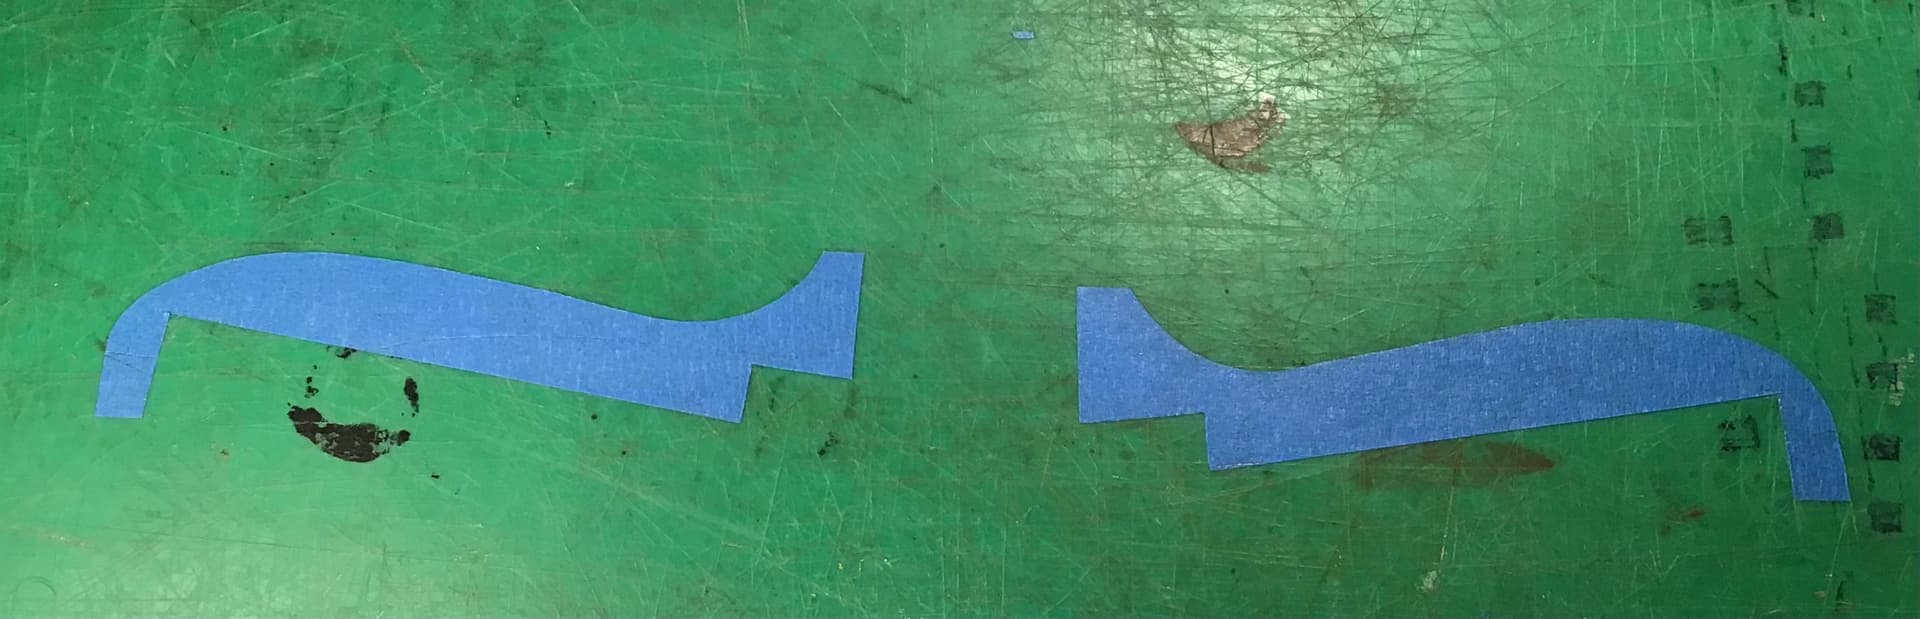
The vac canopy arrived today from Dead Design in the Czech Republic. Ordered from their site just under two weeks ago so pretty quick considering the state of things these days.
The only vac canopies I have been really happy with are those from Rob Taurus . This is my first from Dead Design and at first glance they look very nice indeed - sharp detail , thin and crystal clear.
So clear in fact that in the photo of the separate rear fixed section what looks like crazing is actually the cross hatching in the matrix viewed through the canopy. They come with die cut masks for the vac parts as well as the remaining kit clear parts - side windows , landing light cover, etc. , wheels / tires and a nicely numbered instruction sheet.
All in all I am very pleased-let’s see how it fits .
More to come - Happy modeling !
RT
5 Likes
The glazing does look very good. Will make a big improvement to the look of this already excellent kit
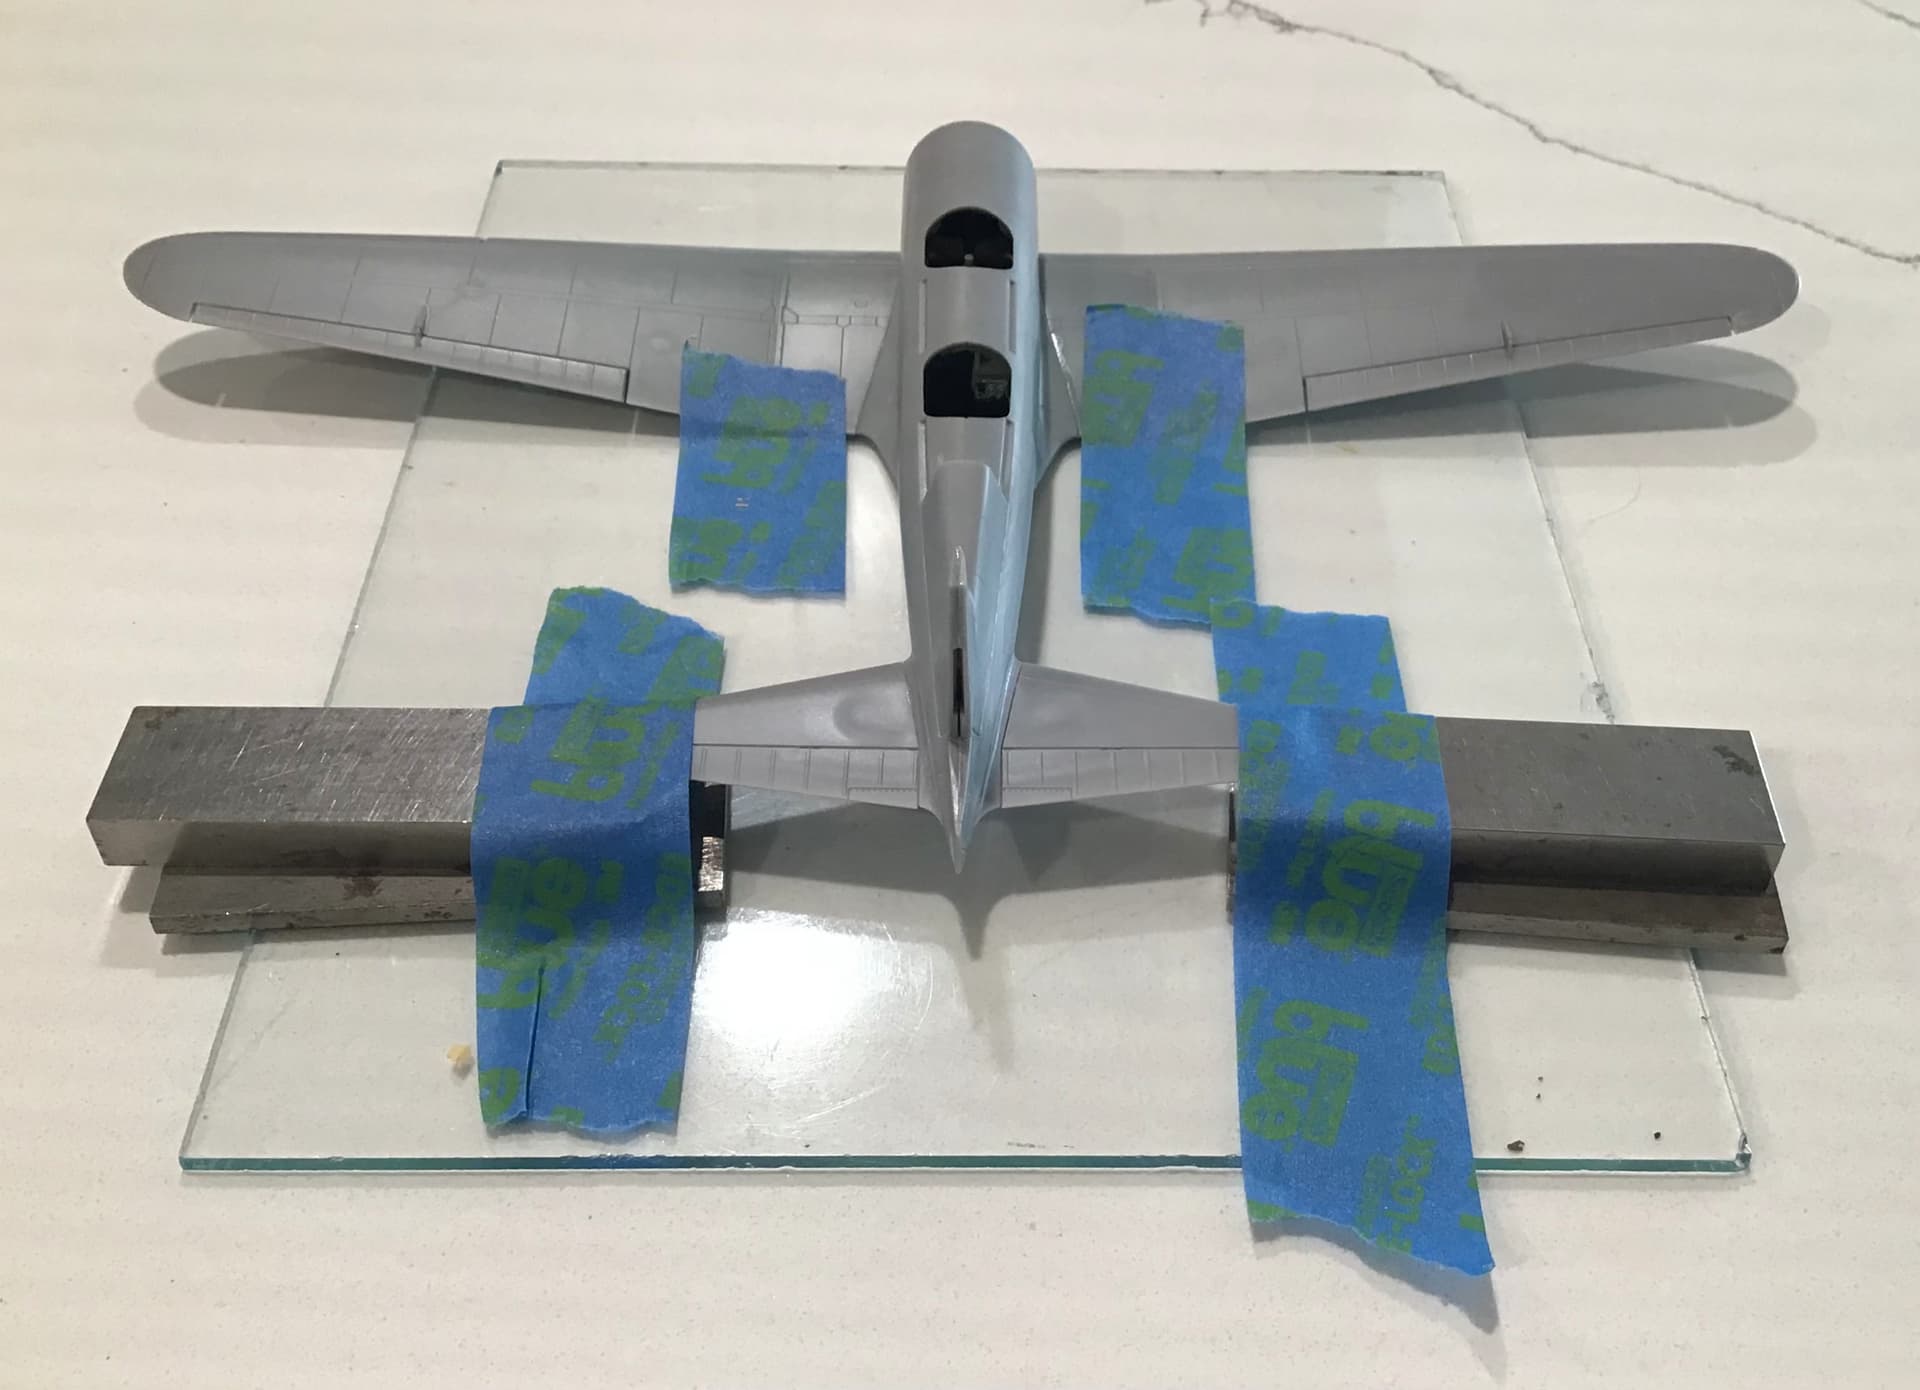
I’ve joined up the wing and horizontal stabs/elevators to the fuselage. More kudos to
FineMolds for their engineering. Fit is beautiful even at the usual trouble spots - wing root fillets , cowl/wing/fuselage intersection, ventral intersection of rear of wing to fuselage. What you see in these pics is no filler except for the tiniest wipe on the ventral joint of rear end of wing to fuselage. All the rest is just Tamiya extra thin cement and light dressing of joints with files & sanding sponges.
Here it is with stabs glued up on the glass plate with machinist blocks to keep all square.
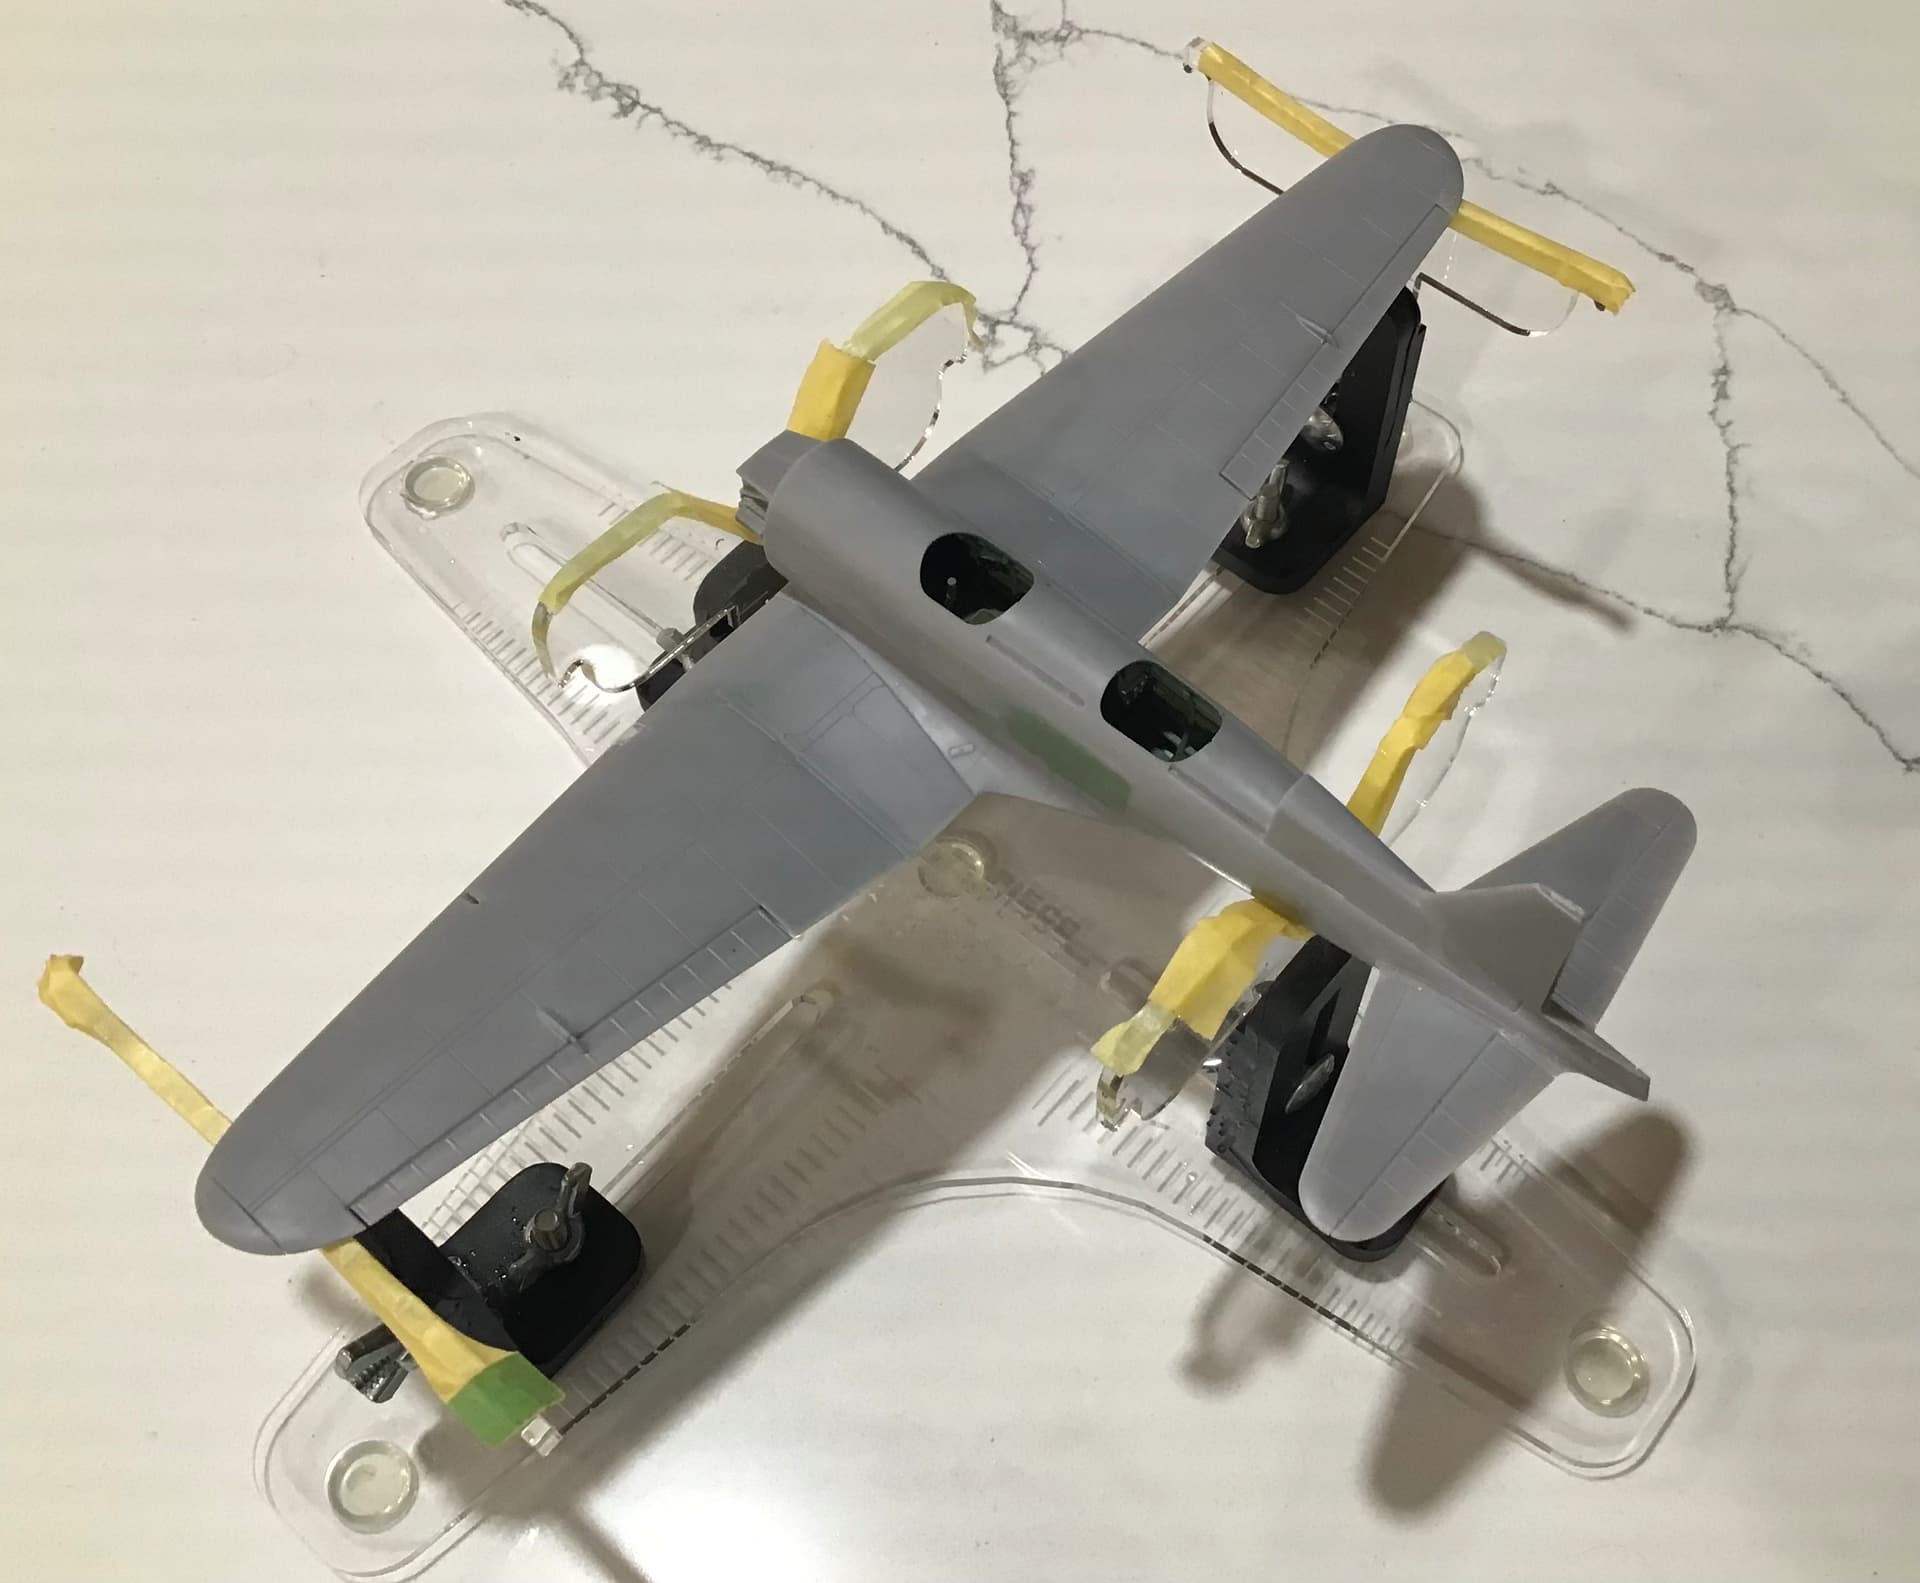
… and here in the Bechmate Jig , a very handy fixture and named by our very own AussieReg !
Attaboy D !
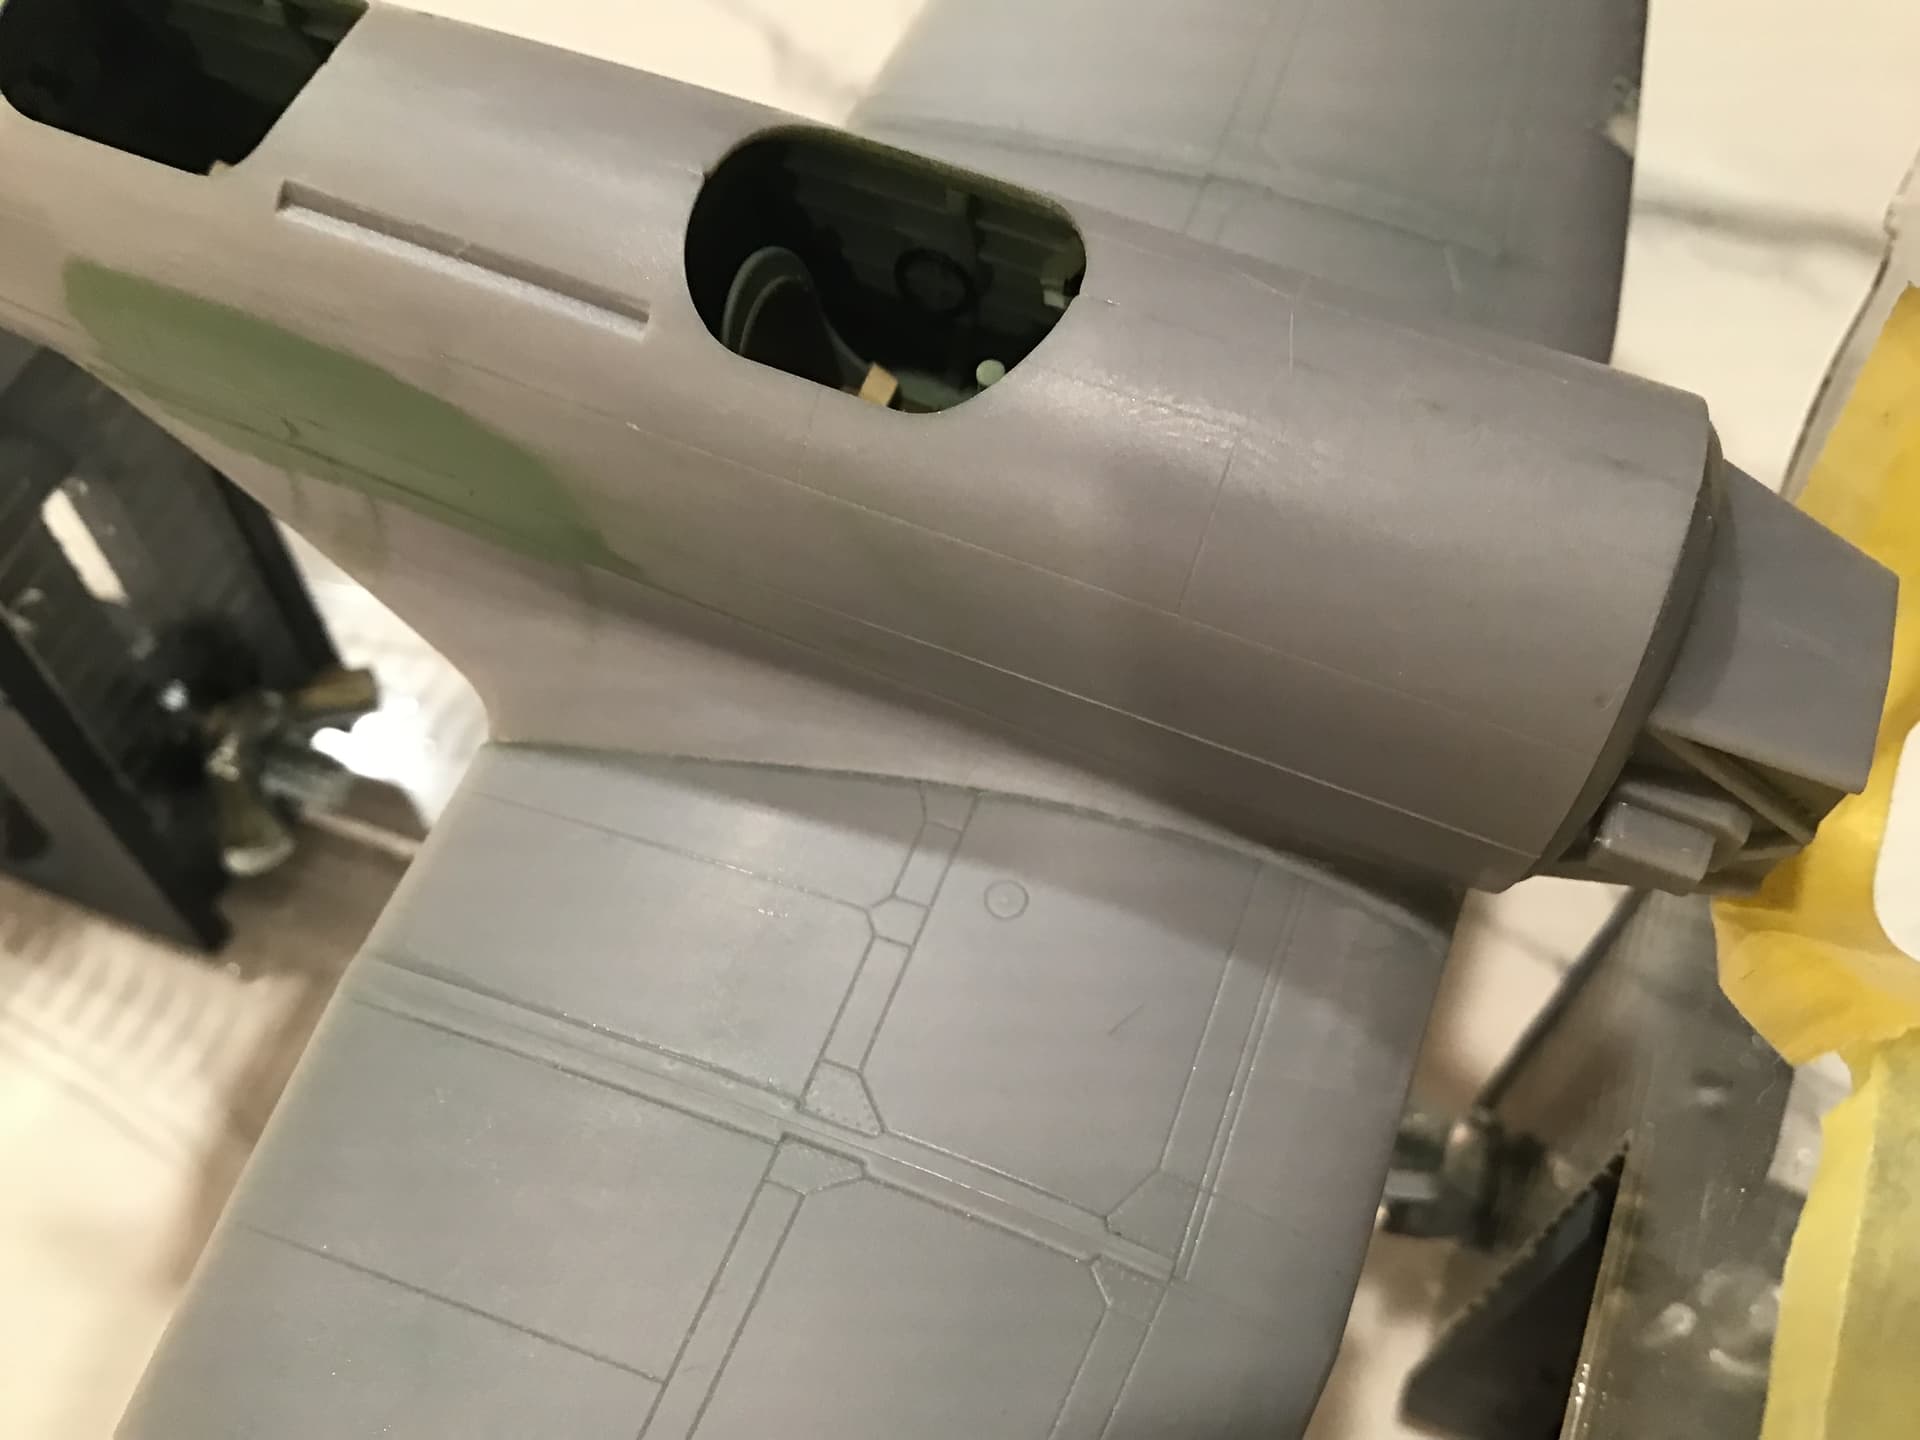
… some close ups of the wing / fuselage joints - again , no filler except for the above mentioned tiny wipe …
I like to make male and female molds of vac canopies. The male mold to aid in removing them from the matrix and the female to support the canopy inverted for edge tune up after it has been cut free from the matrix . I use a plaster based product called Durham’s Water Putty. Simply mix with water to a pourable consistency and pour into the canopy for the male mold and around the canopy for the female unit .
Still some work to do on the female molds - they need to be carved away to the edges where canopy meets fuselage - more on that next post .
Thanks for looking ! RT
4 Likes
Work continues on the vac canopy. Here are the female plaster molds carved away in order that the bottom edges of the canopy that meet the fuselage can be worked to fit.
Canopy sections all cut from matrix and fitting begun . This canopy had bifolding sections for cockpit entry rather than sliding- this was done as it was a cleaner aerodynamic shape when buttoned up , producing less drag than the overlapping sections of a sliding canopy. The early Ki - 15 canopy was also lower than the later variants.
I plan on showing these in the open position so the fit between fixed and operating sections is not critical.
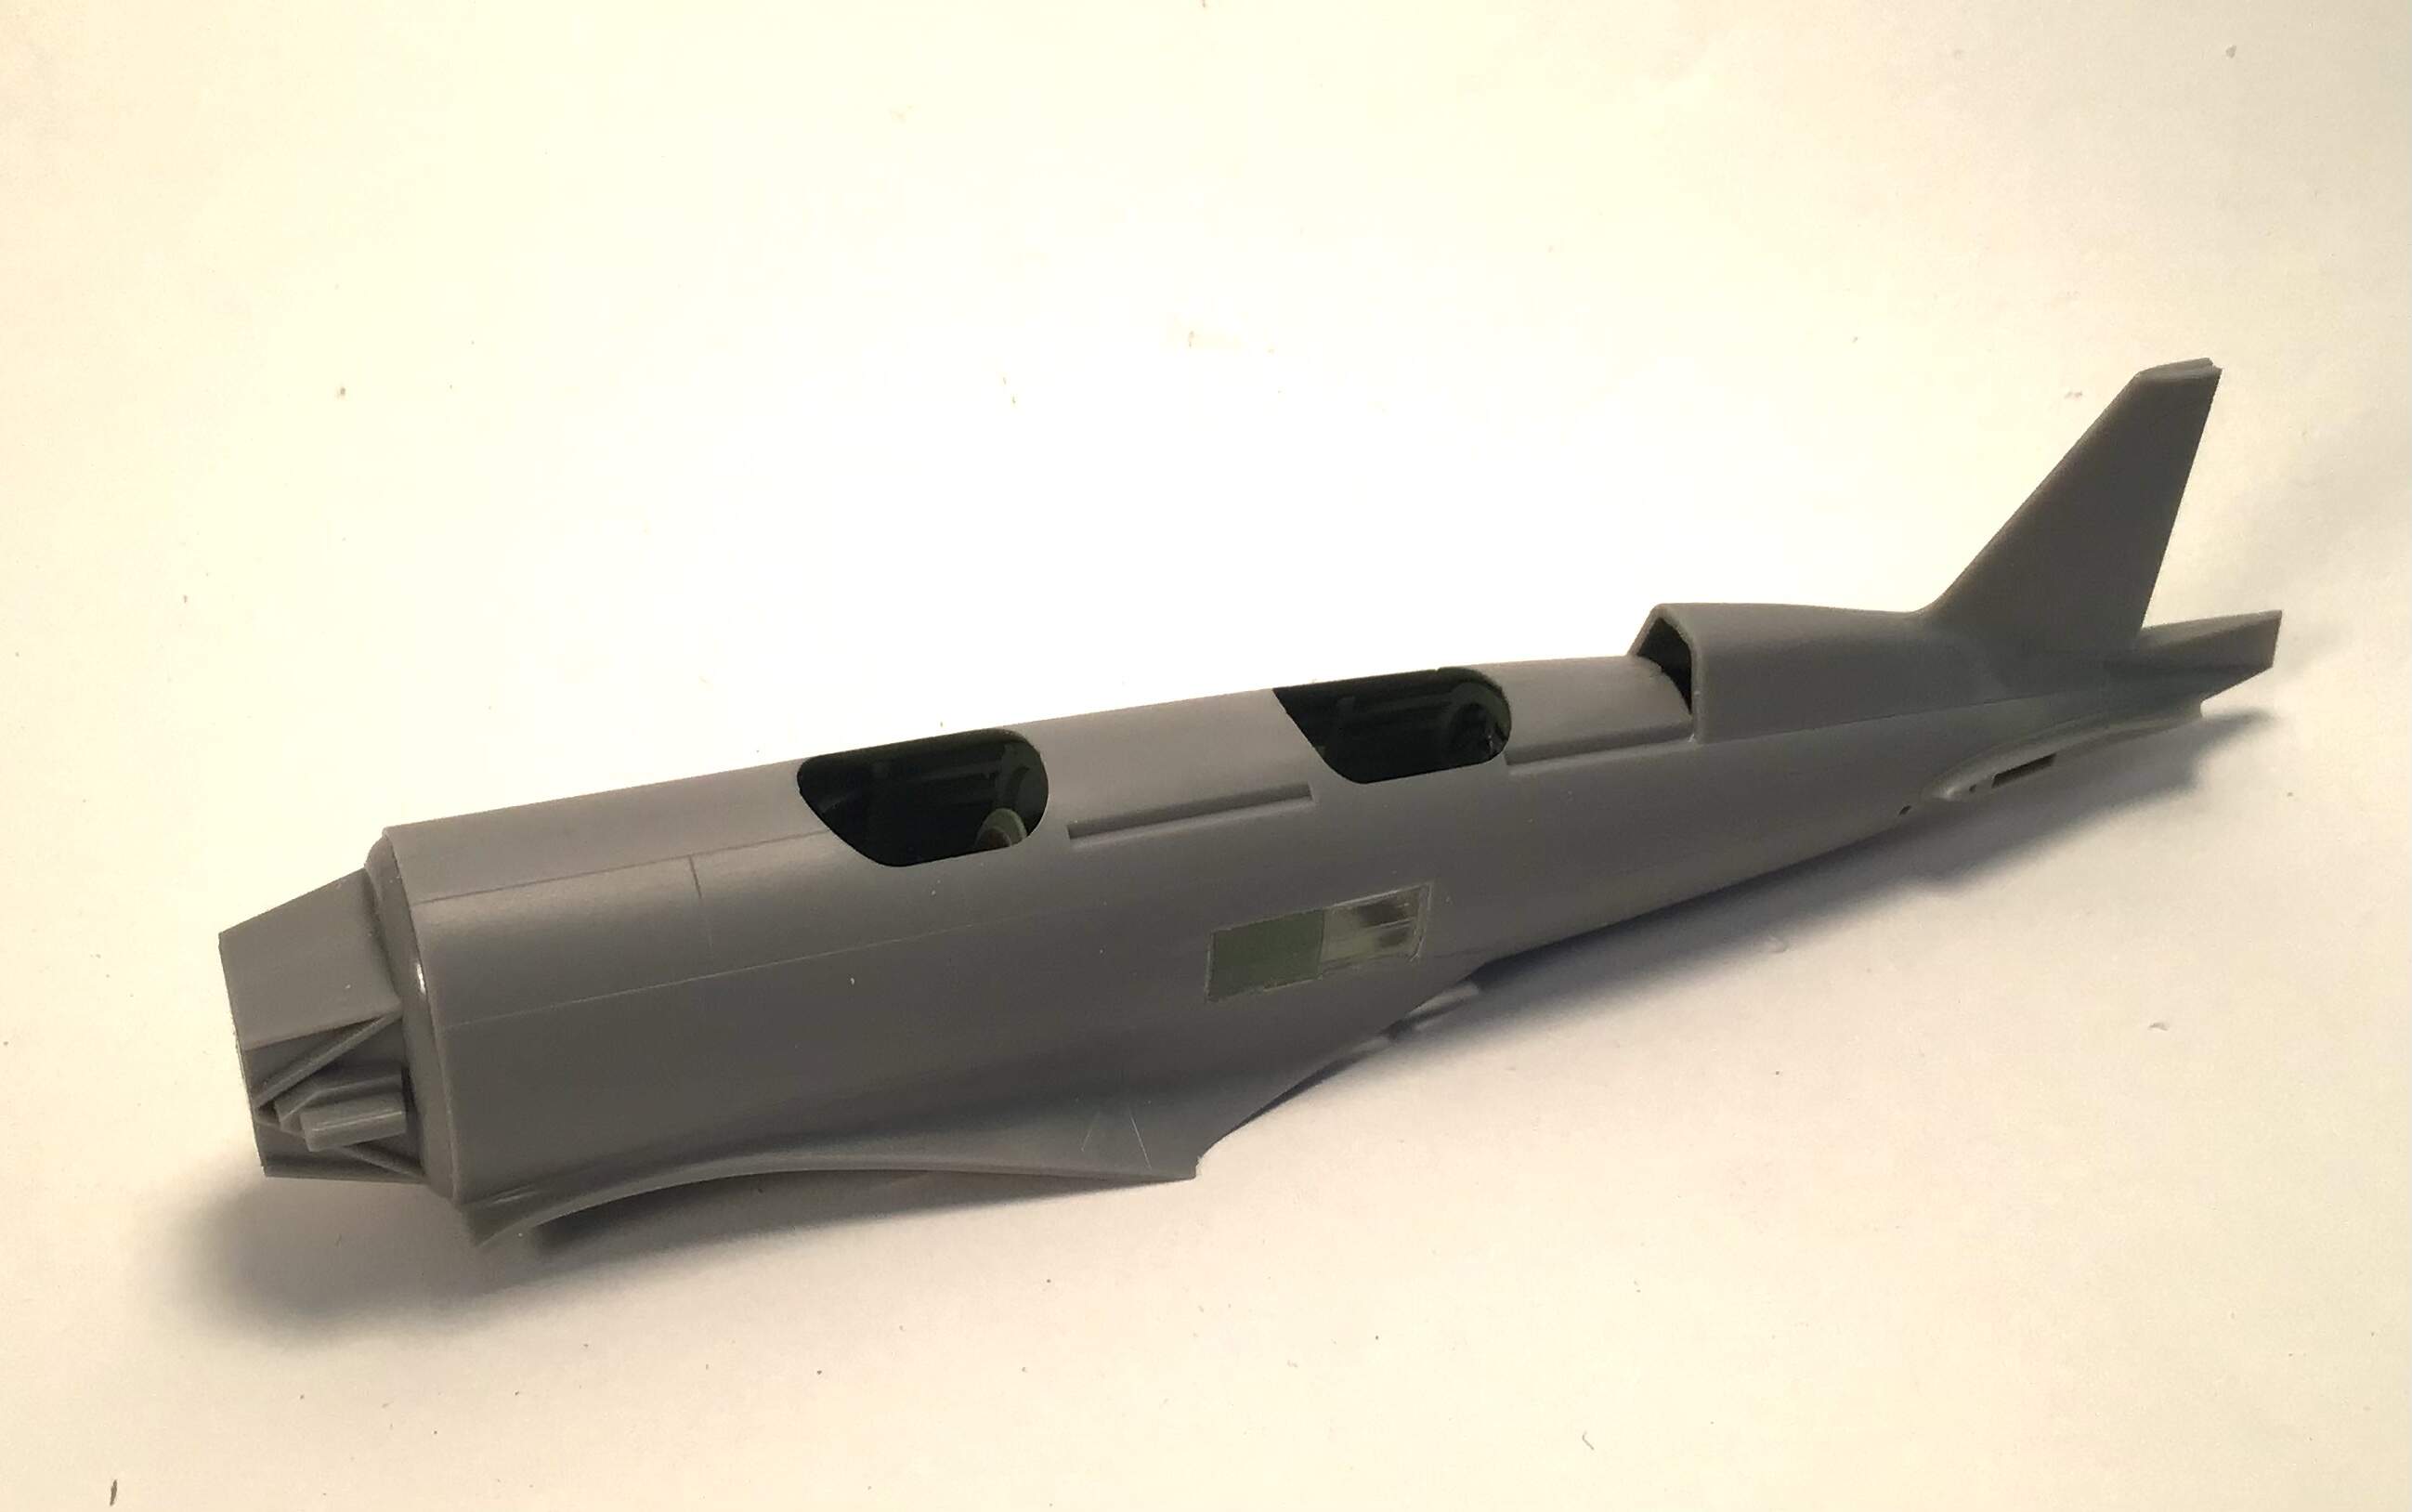
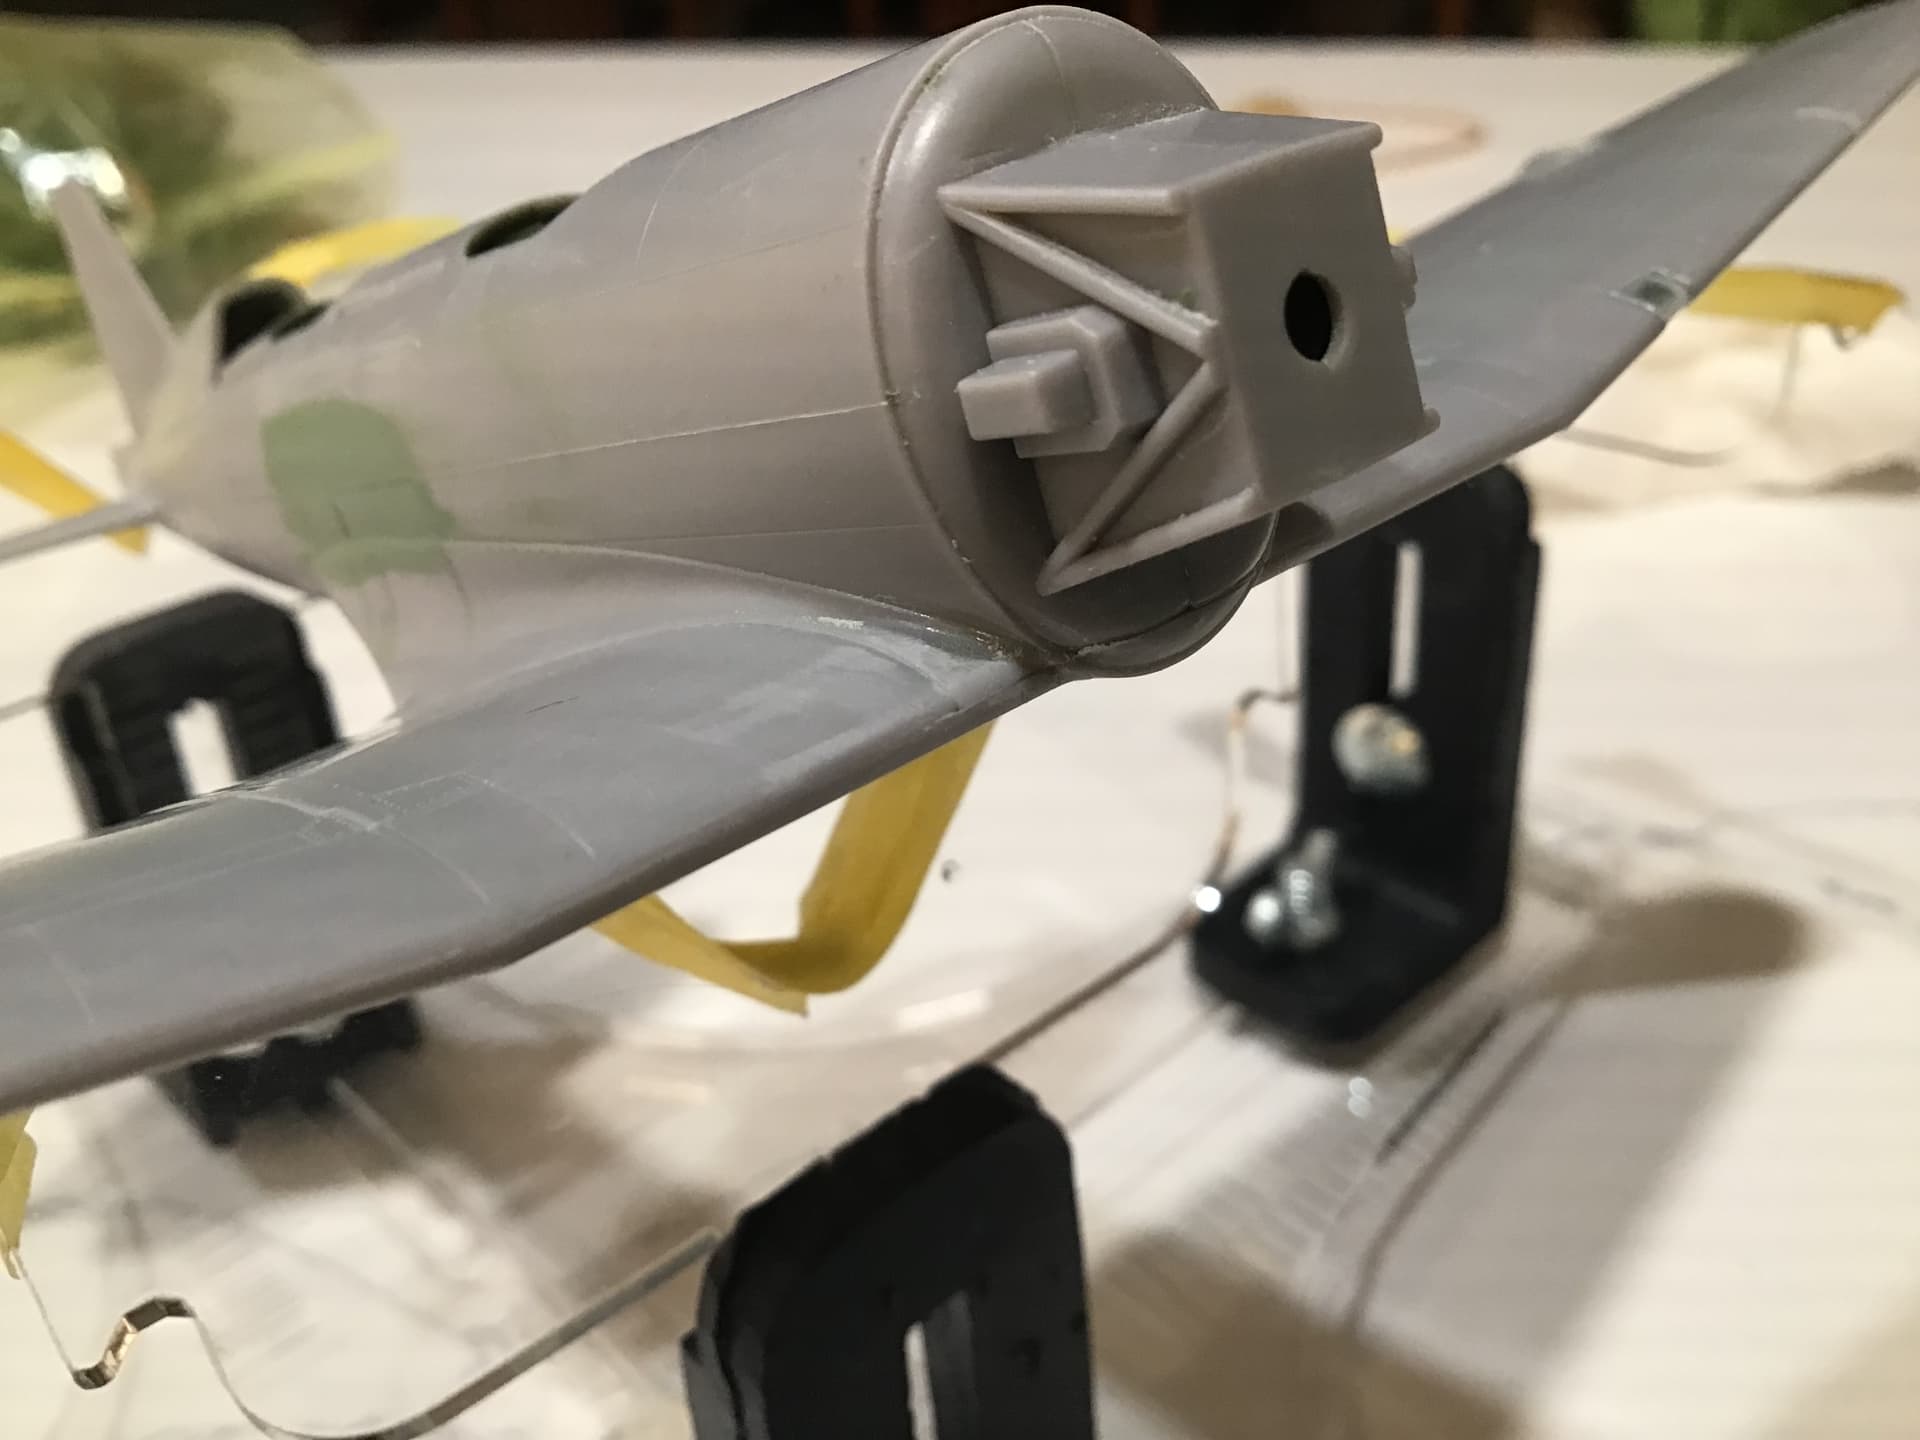
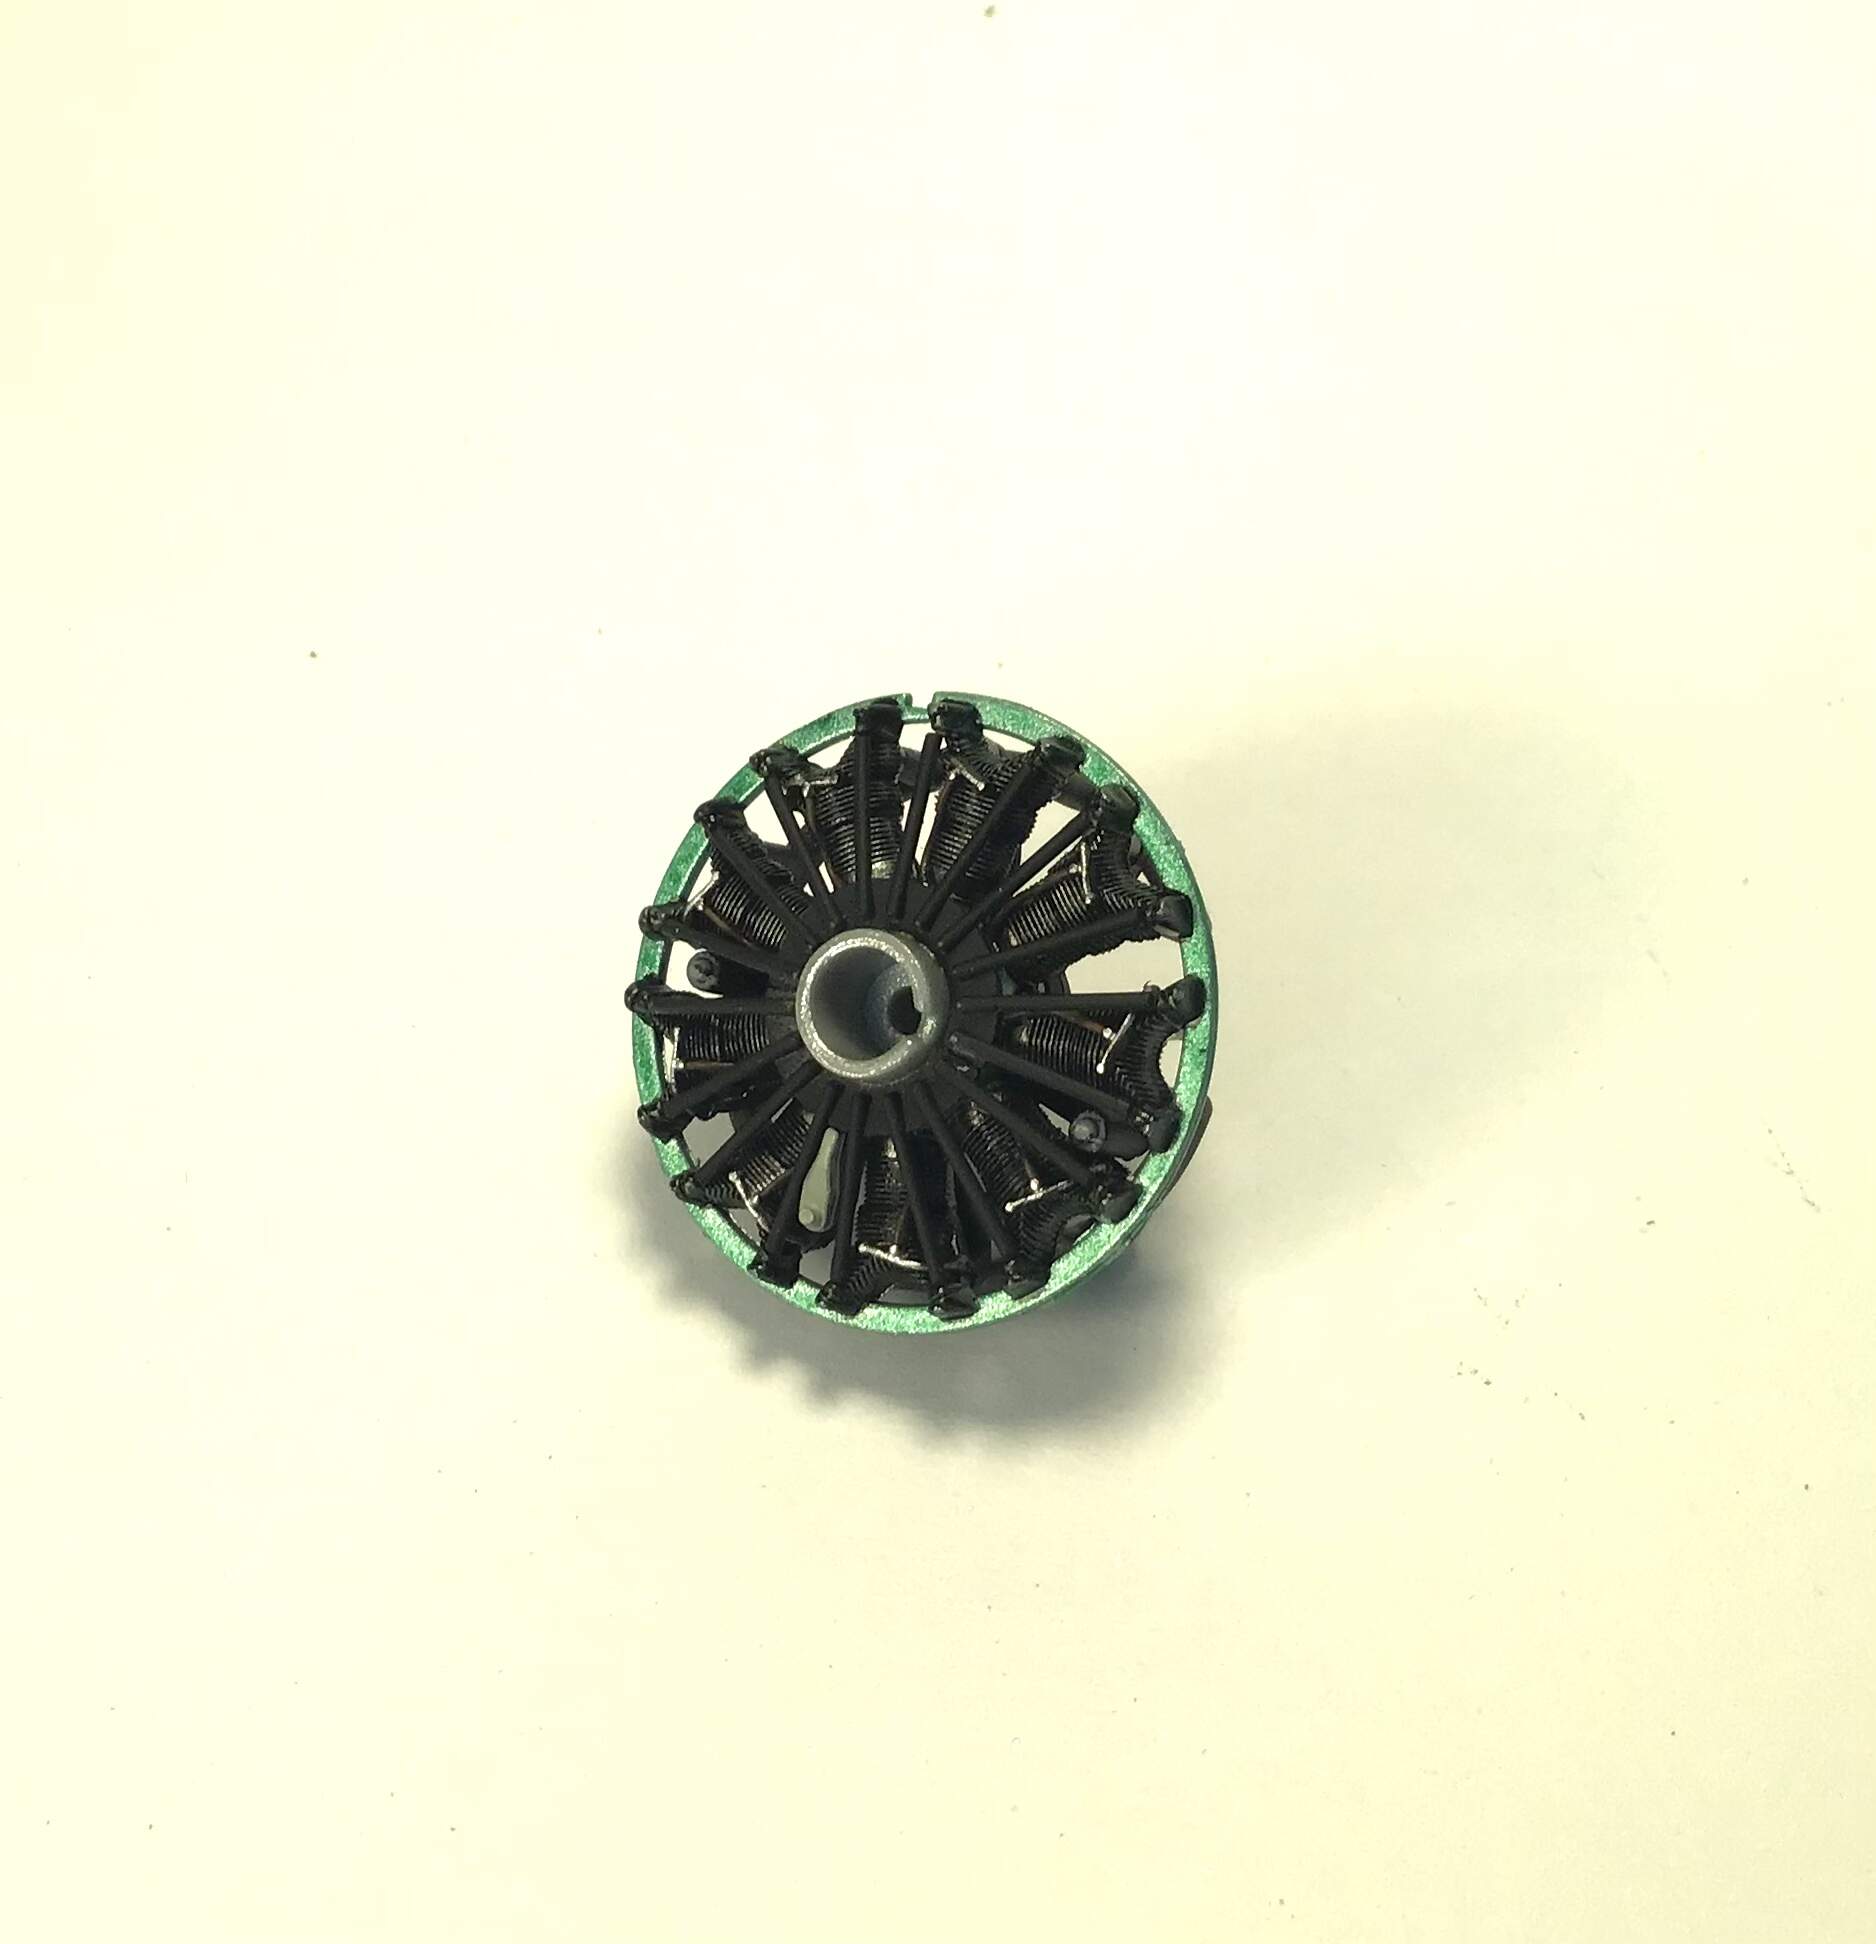
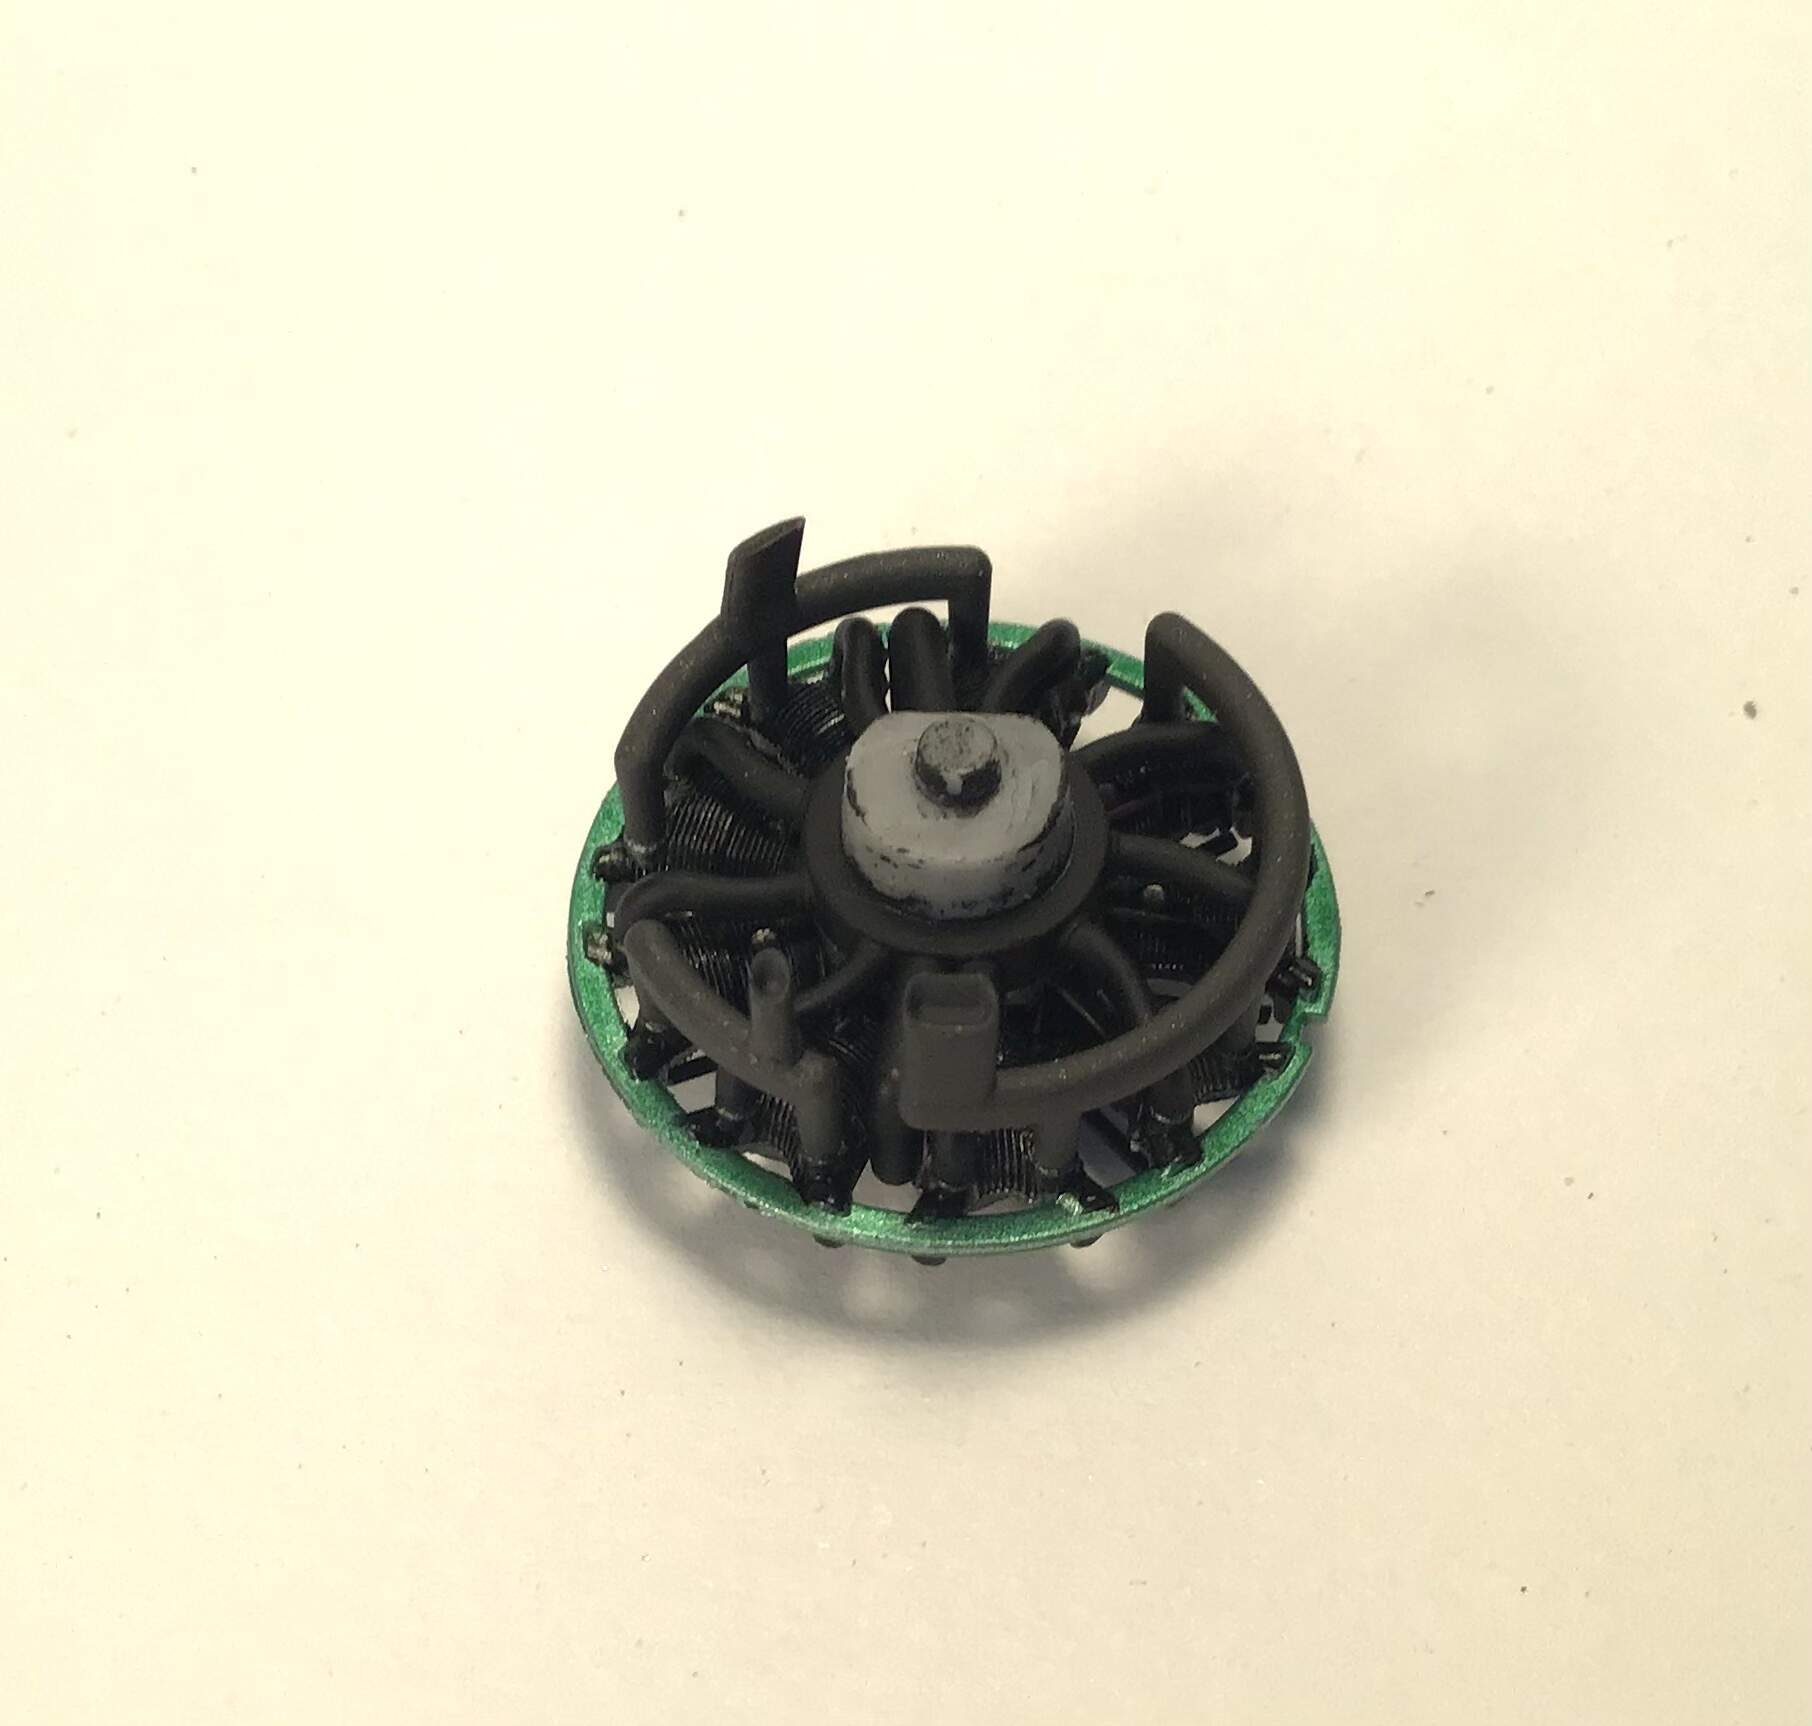
Here is the Nakajima Ha 8 single row radial engine.
In what happened more than once , Mitsubishi designers had to use their competitor’s engine as Mitsubishi did not make a suitable product.
This must have been a hard sell to higher management.
Just about ready for primer & paint .
Thanks for looking- RT
6 Likes
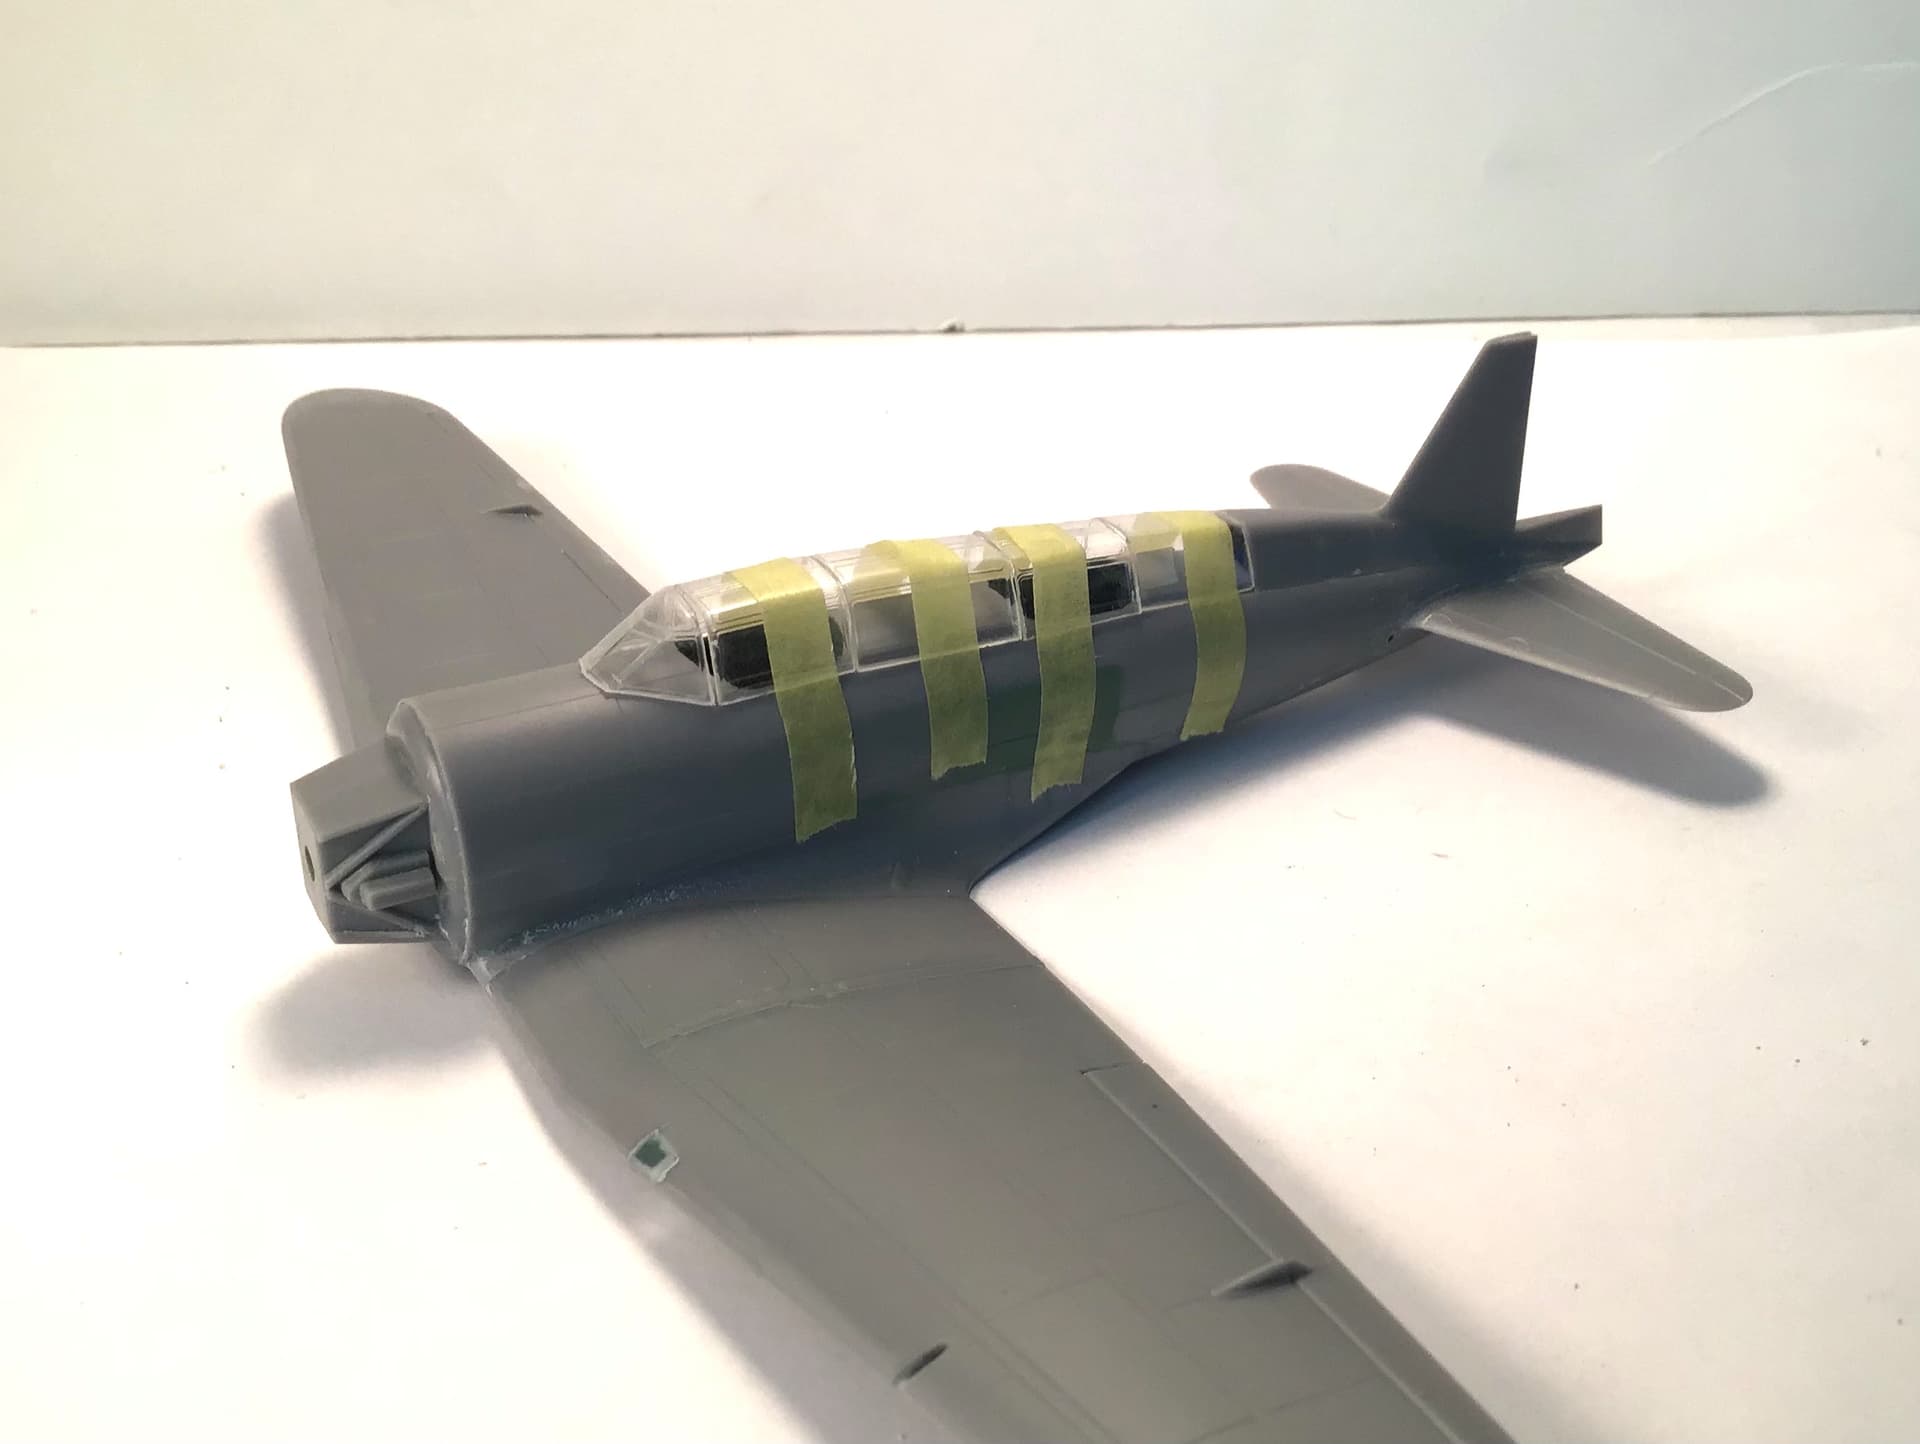
Cockpit area decking masked at canopy attachment points, primed , sanded , hit with one coat Alclad high shine aluminum then one coat Gunze 328 gloss blue . I accidentally deleted the photos of the silver and blue … oops.
Windscreen and fixed canopy sections installed with epoxy and faired in with Tamiya surfacer.
Primed with Tamiya rattle can Extra Fine Light Grey primer .
A little touch up here and there but not too much …
After rubbing out with 3000 sanding pads airframe will be shot with Alclad High Shine Aluminum.
More to follow…
Cheers- Richard
6 Likes
Airframe and various components sprayed with Alclad II High Shine Polished Aluminum. Fabric control surfaces done with Alclad II Dull Aluminum.
I had trouble after masking for the Dull Aluminum - the tape marked the Polished Aluminum here and there. I let the Alclad cure for two days and stuck the tape down twice on the cutting mat to take some of the stick away but it still marred the finish.
I was able to save it by making plain paper masks with no adhesive for the control surfaces and re spraying the Polished Aluminum.
I also made the masks for the fuselage sides in preparation for painting the blue upper surfaces & nose . This time I overcoated the Alclad with two coats of Tamiya Gloss Clear so I hope to avoid marring the finish - fingers crossed.
Cheers- RT
4 Likes
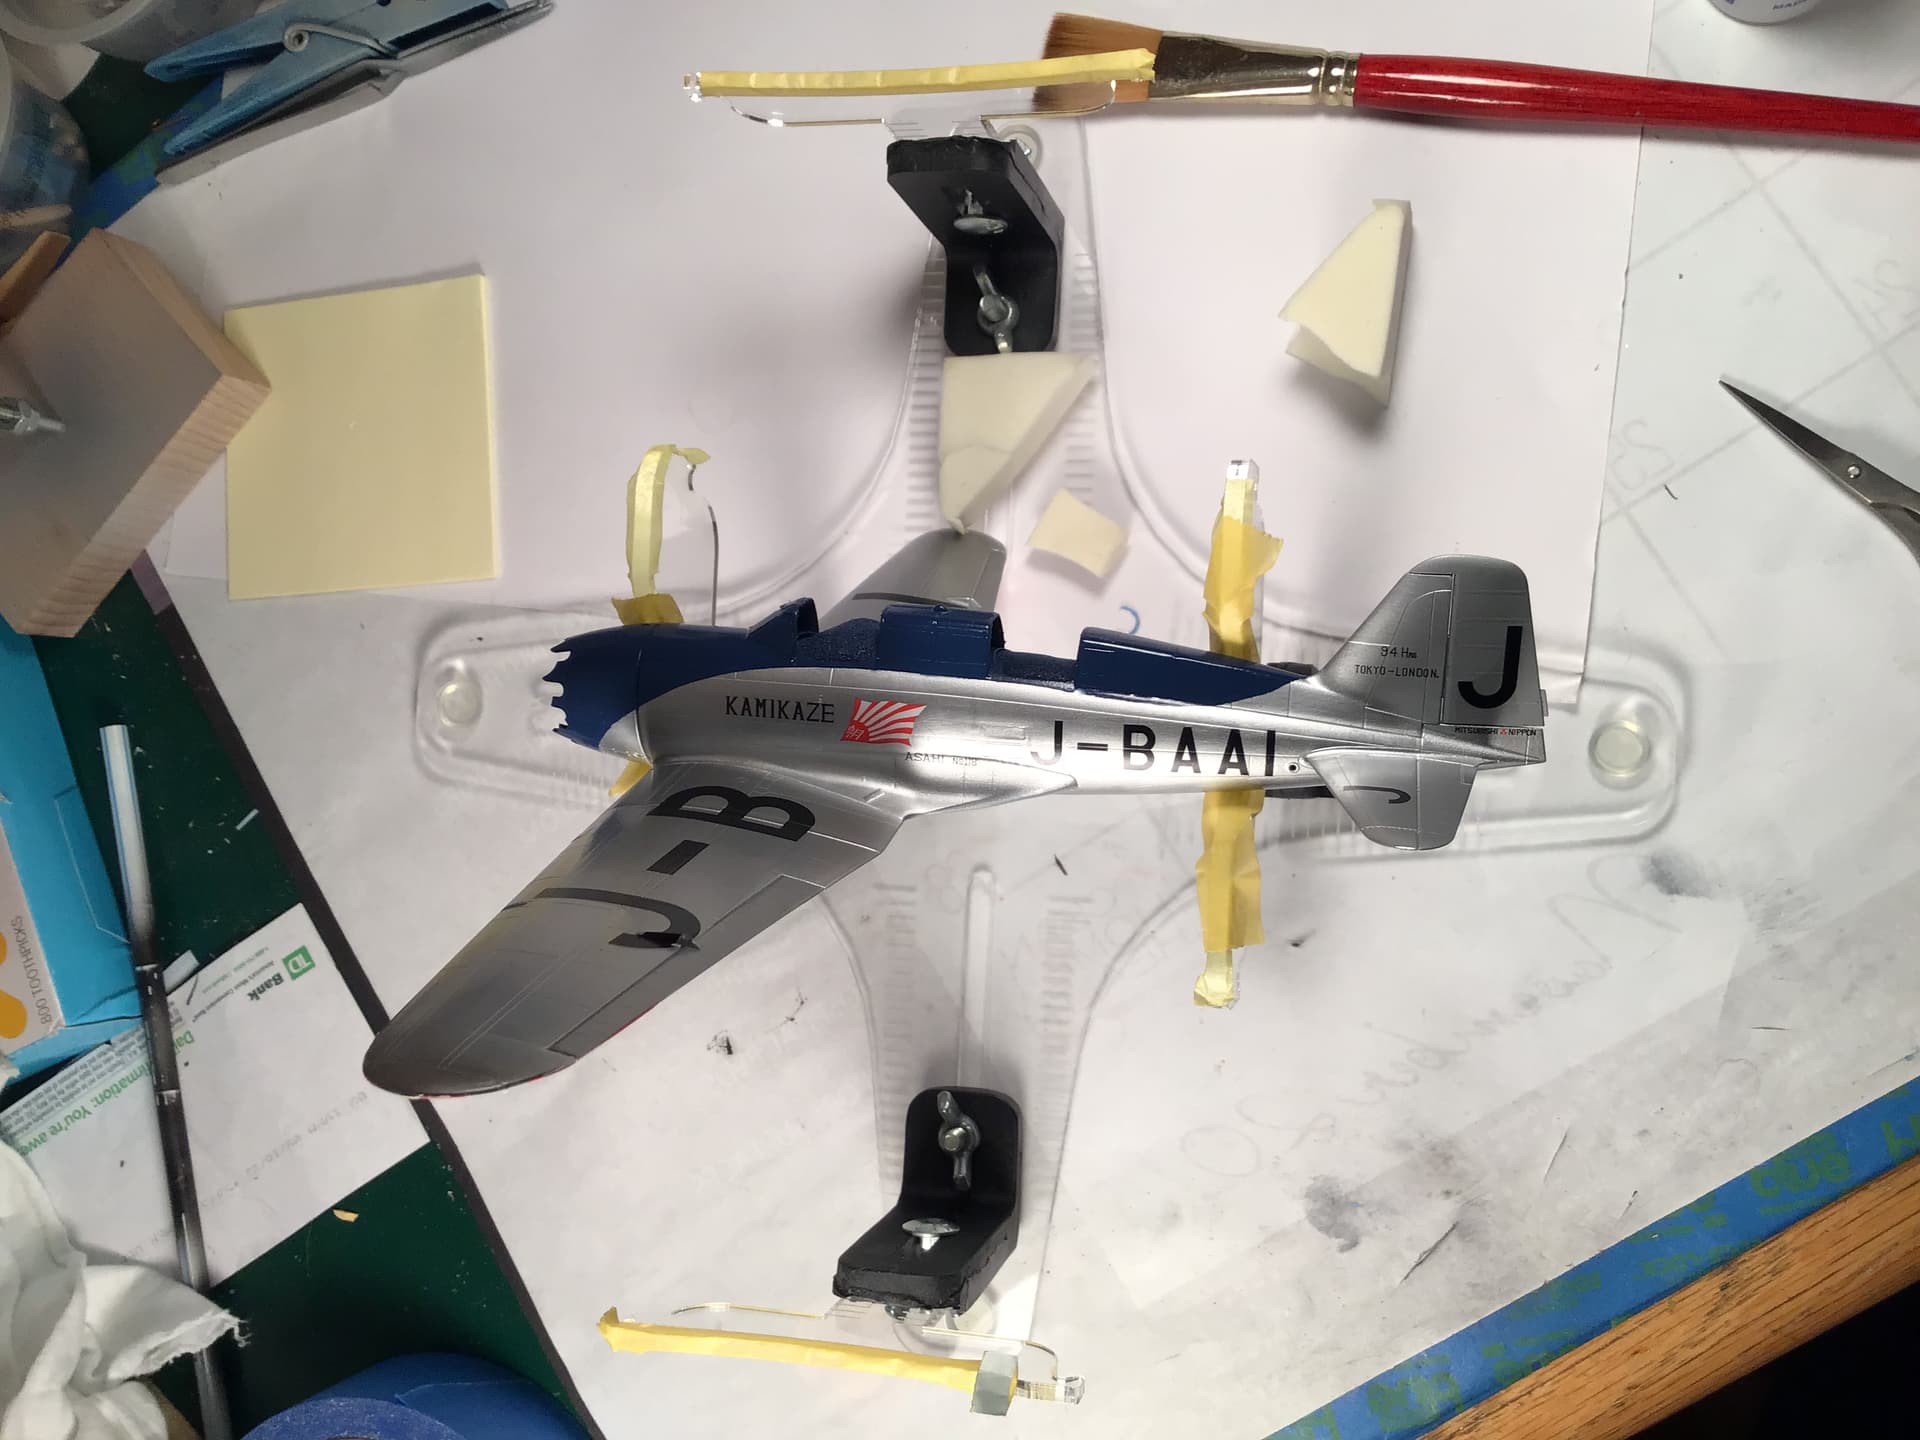
Thanks Tim - always leery of tape on Alclad . It is a joy to spray and hard to beat for representing shiny aluminum . I should have known better and sealed it with a clear overcoat before masking the control surfaces but I wanted to keep the number of layers of paint to a minimum. At any rate , I’ve sealed all with two coats Tamiya clear gloss thinned 50/50 with Mr. Color leveling thinner . Worked fine and now the blue is laid on and decals can begin.
Thanks for looking in - Richard
1 Like
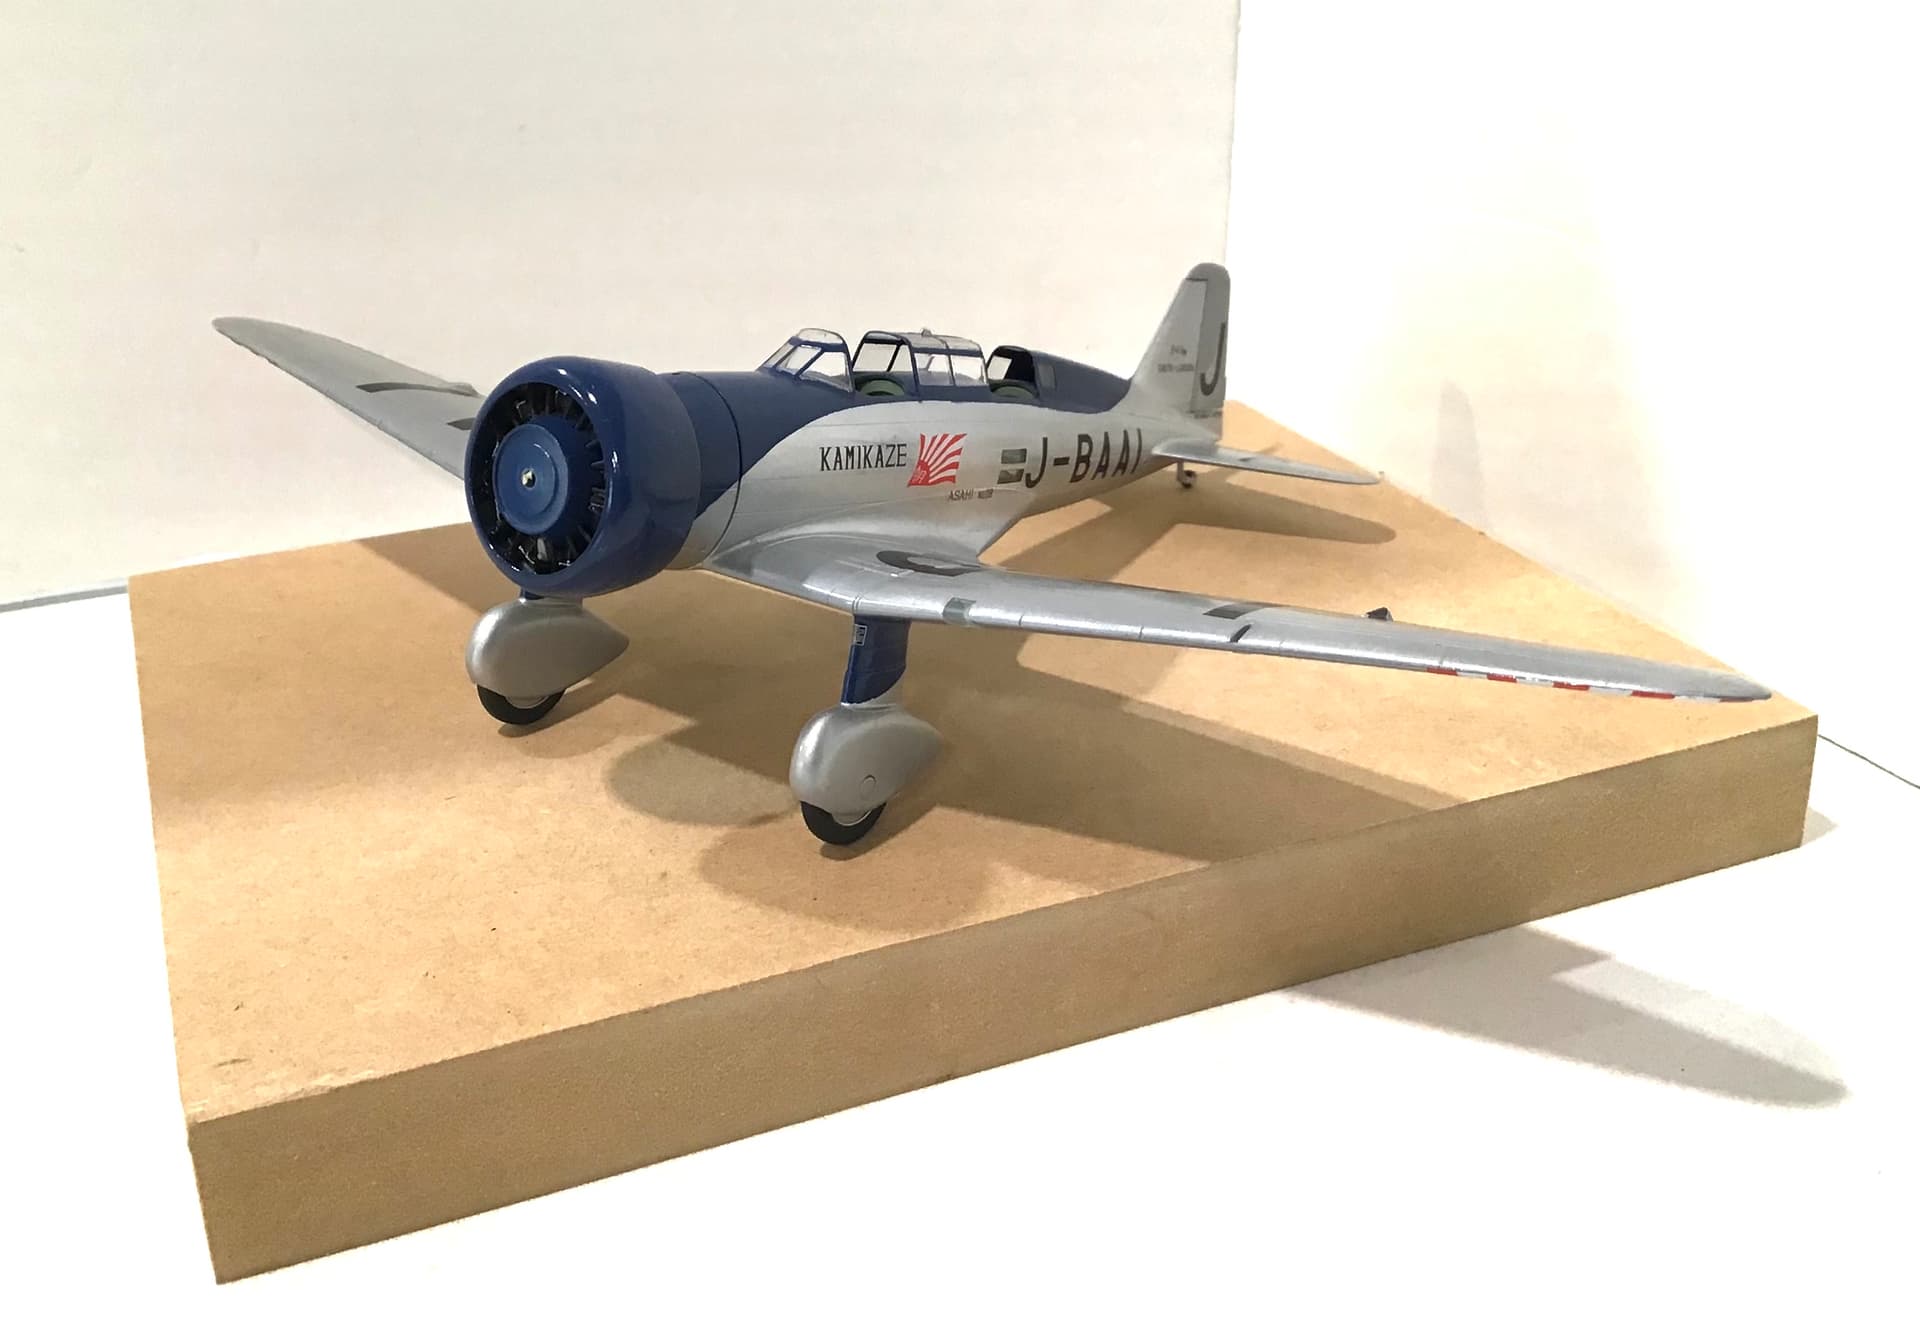
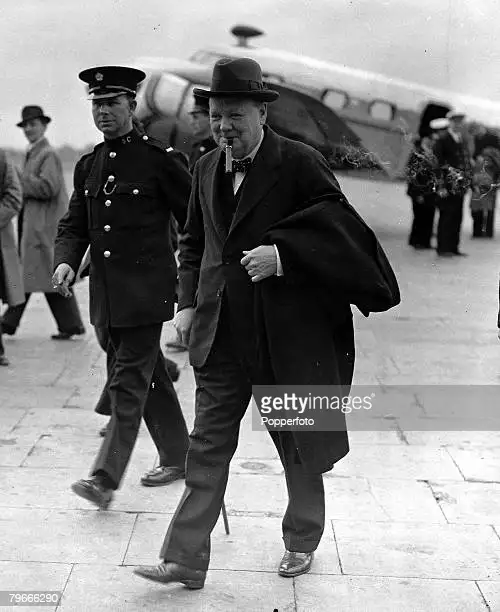
Nearly done with aircraft and beginning the base . I found some pics of Croydon Airport from 1937 so will use these as a guide for representing the hard stand.
I need to determine the size and material/color of the pavers in the hard stand area . Hmm - anyone know Winston Churchill’s shoe size ?
Thanks for looking- Richard
6 Likes
Looks fantastic Richard, the rising sun on the wingtips looks particularly striking
1 Like
So it seems Mr. Churchill wore a size 9 1/2 shoe - that puts it in the realm of 10 1/2” or so .
Using dividers and adding a smidge to allow for perspective foreshortening I make the pavers to be 3 Churchill feet in length and two in width or 32” x 22 “ . Close enough.
I laid out a grid on paper at 1/48 scale ( 1/4 “ = 1’ )
so base will be something like this - grass / turf in the front and pavers for the rest …
More to come…
5 Likes
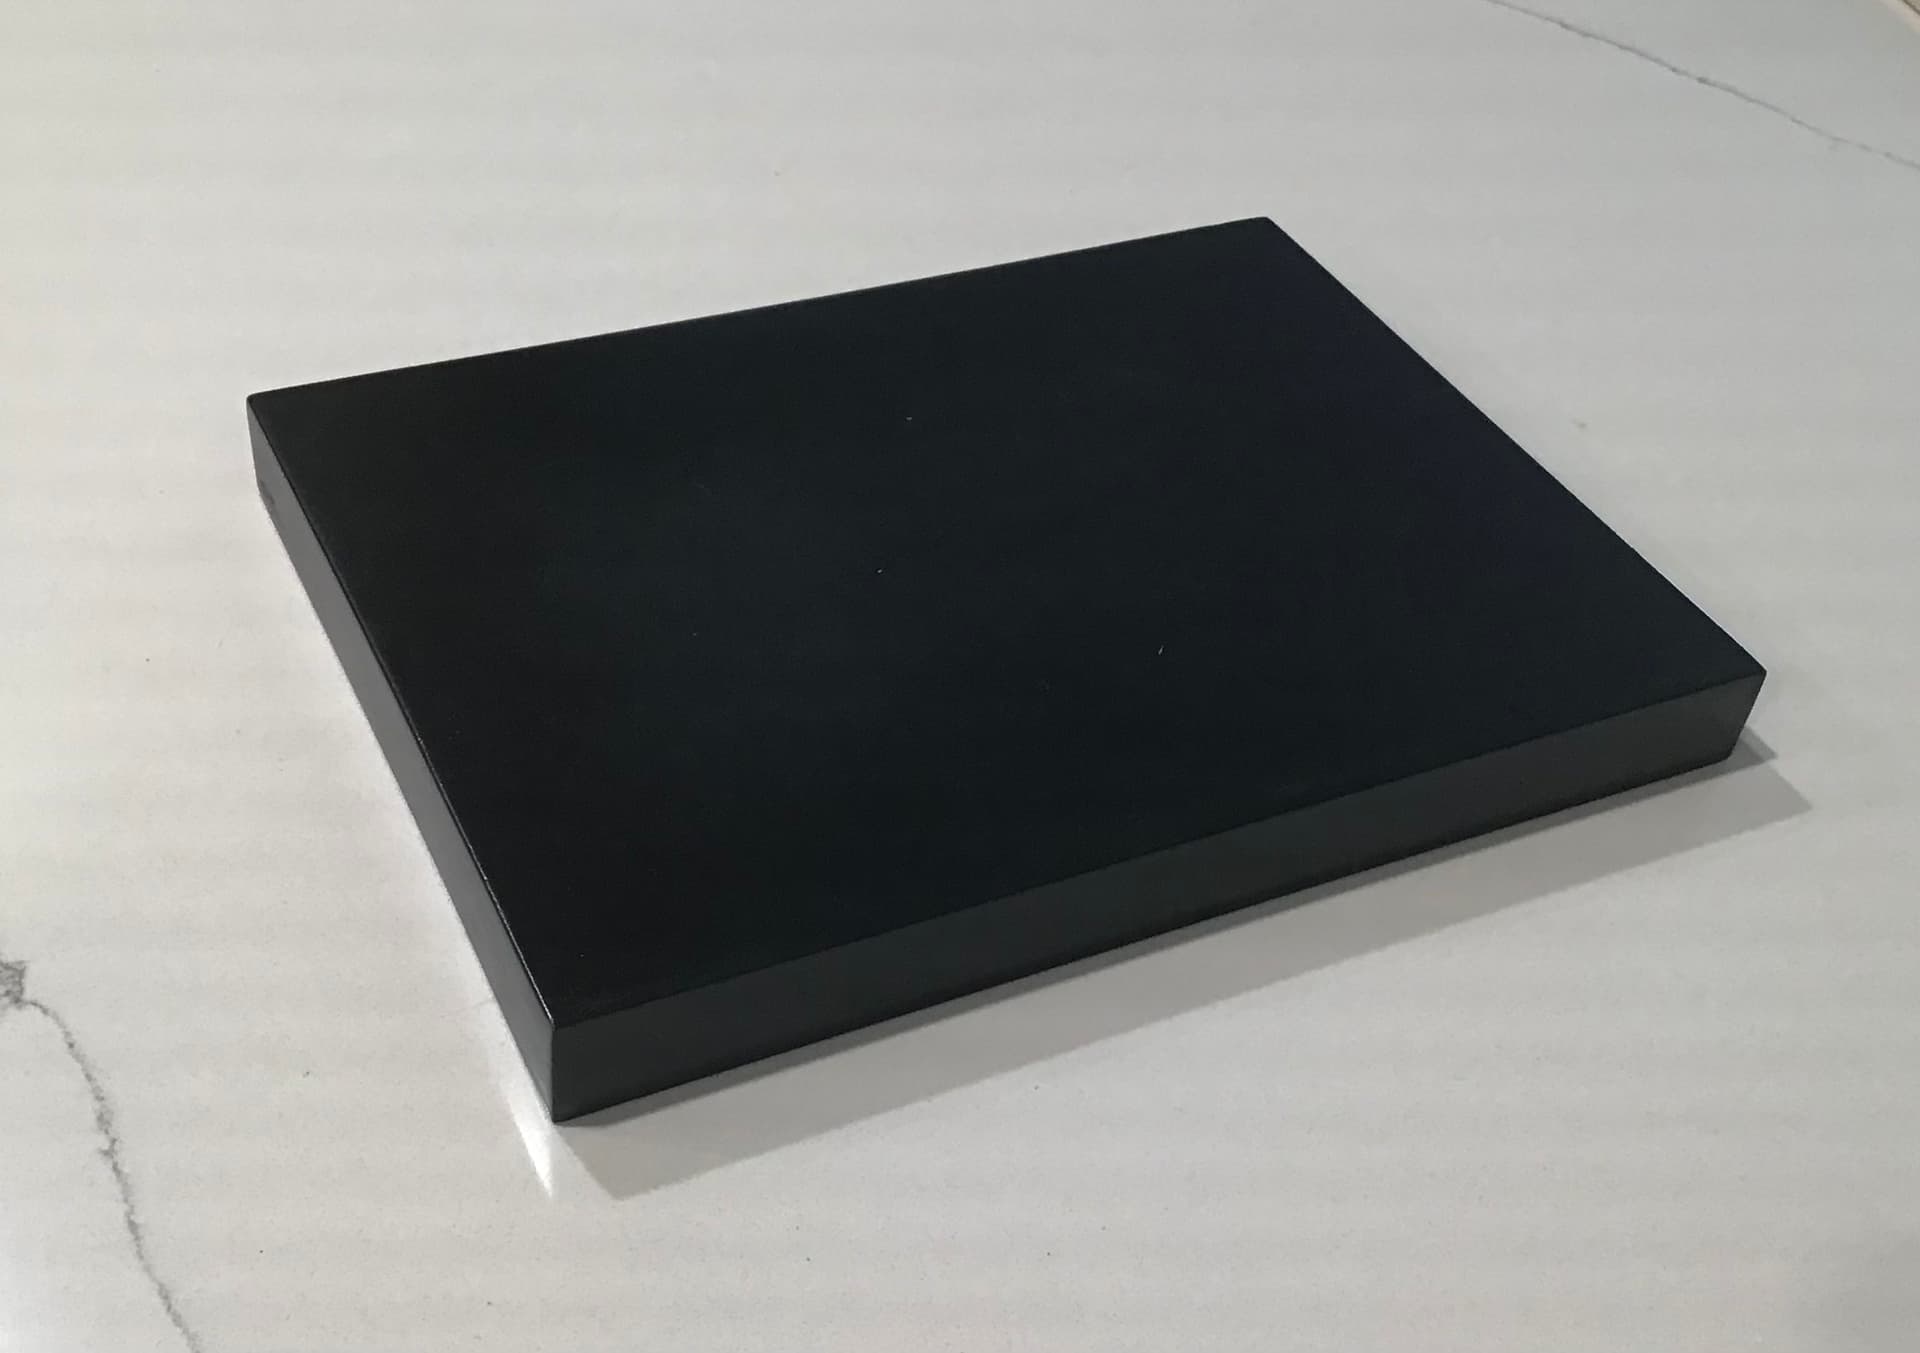
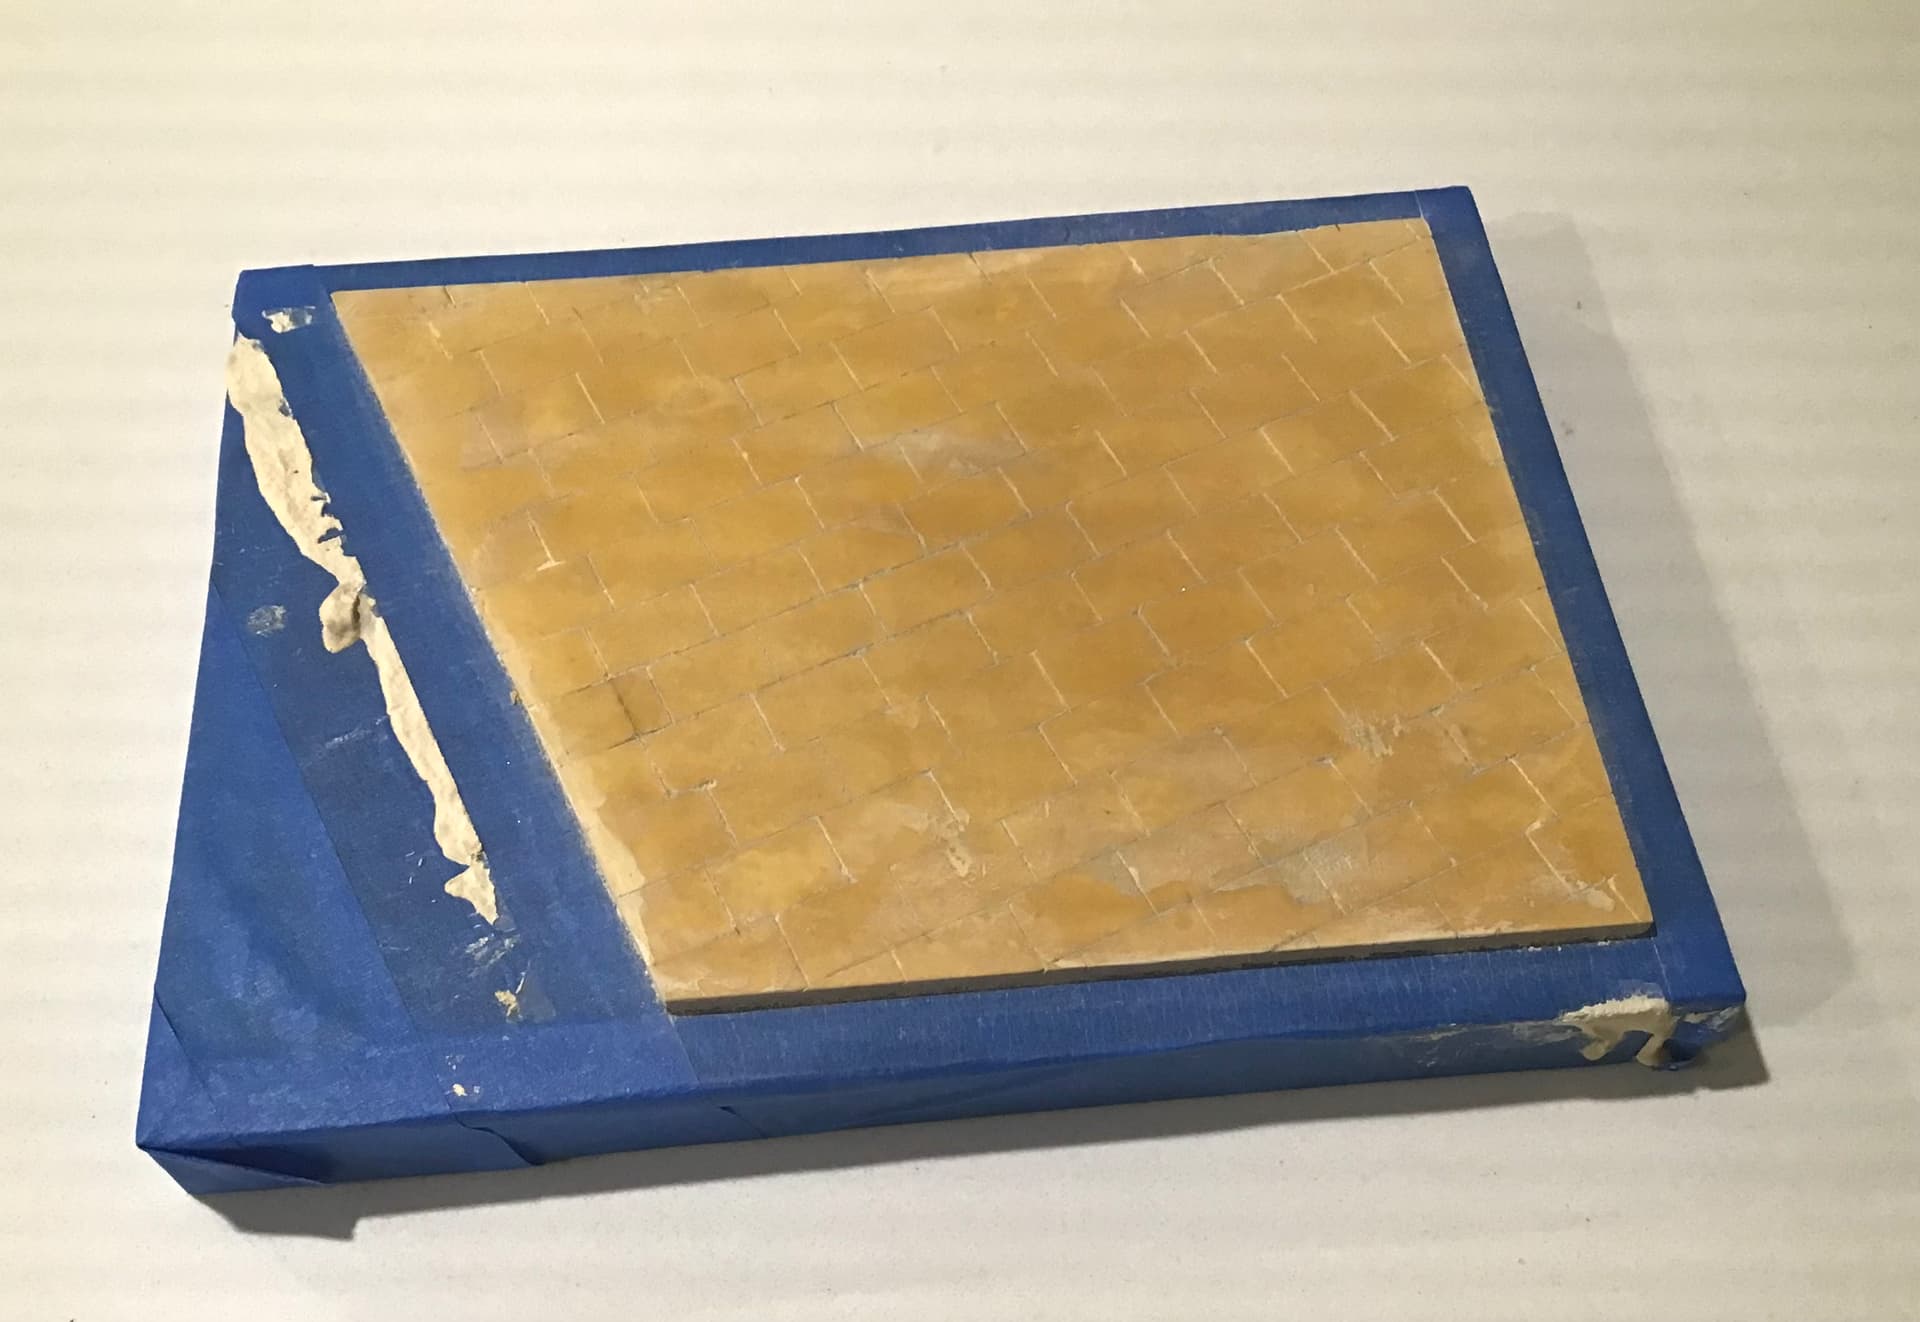
Short post to keep this alive - I’ve been busy with real life stuff but have been working on the base a bit -
A piece of MDF cut to size , primed with pigmented shellac and sprayed with two coats satin black…
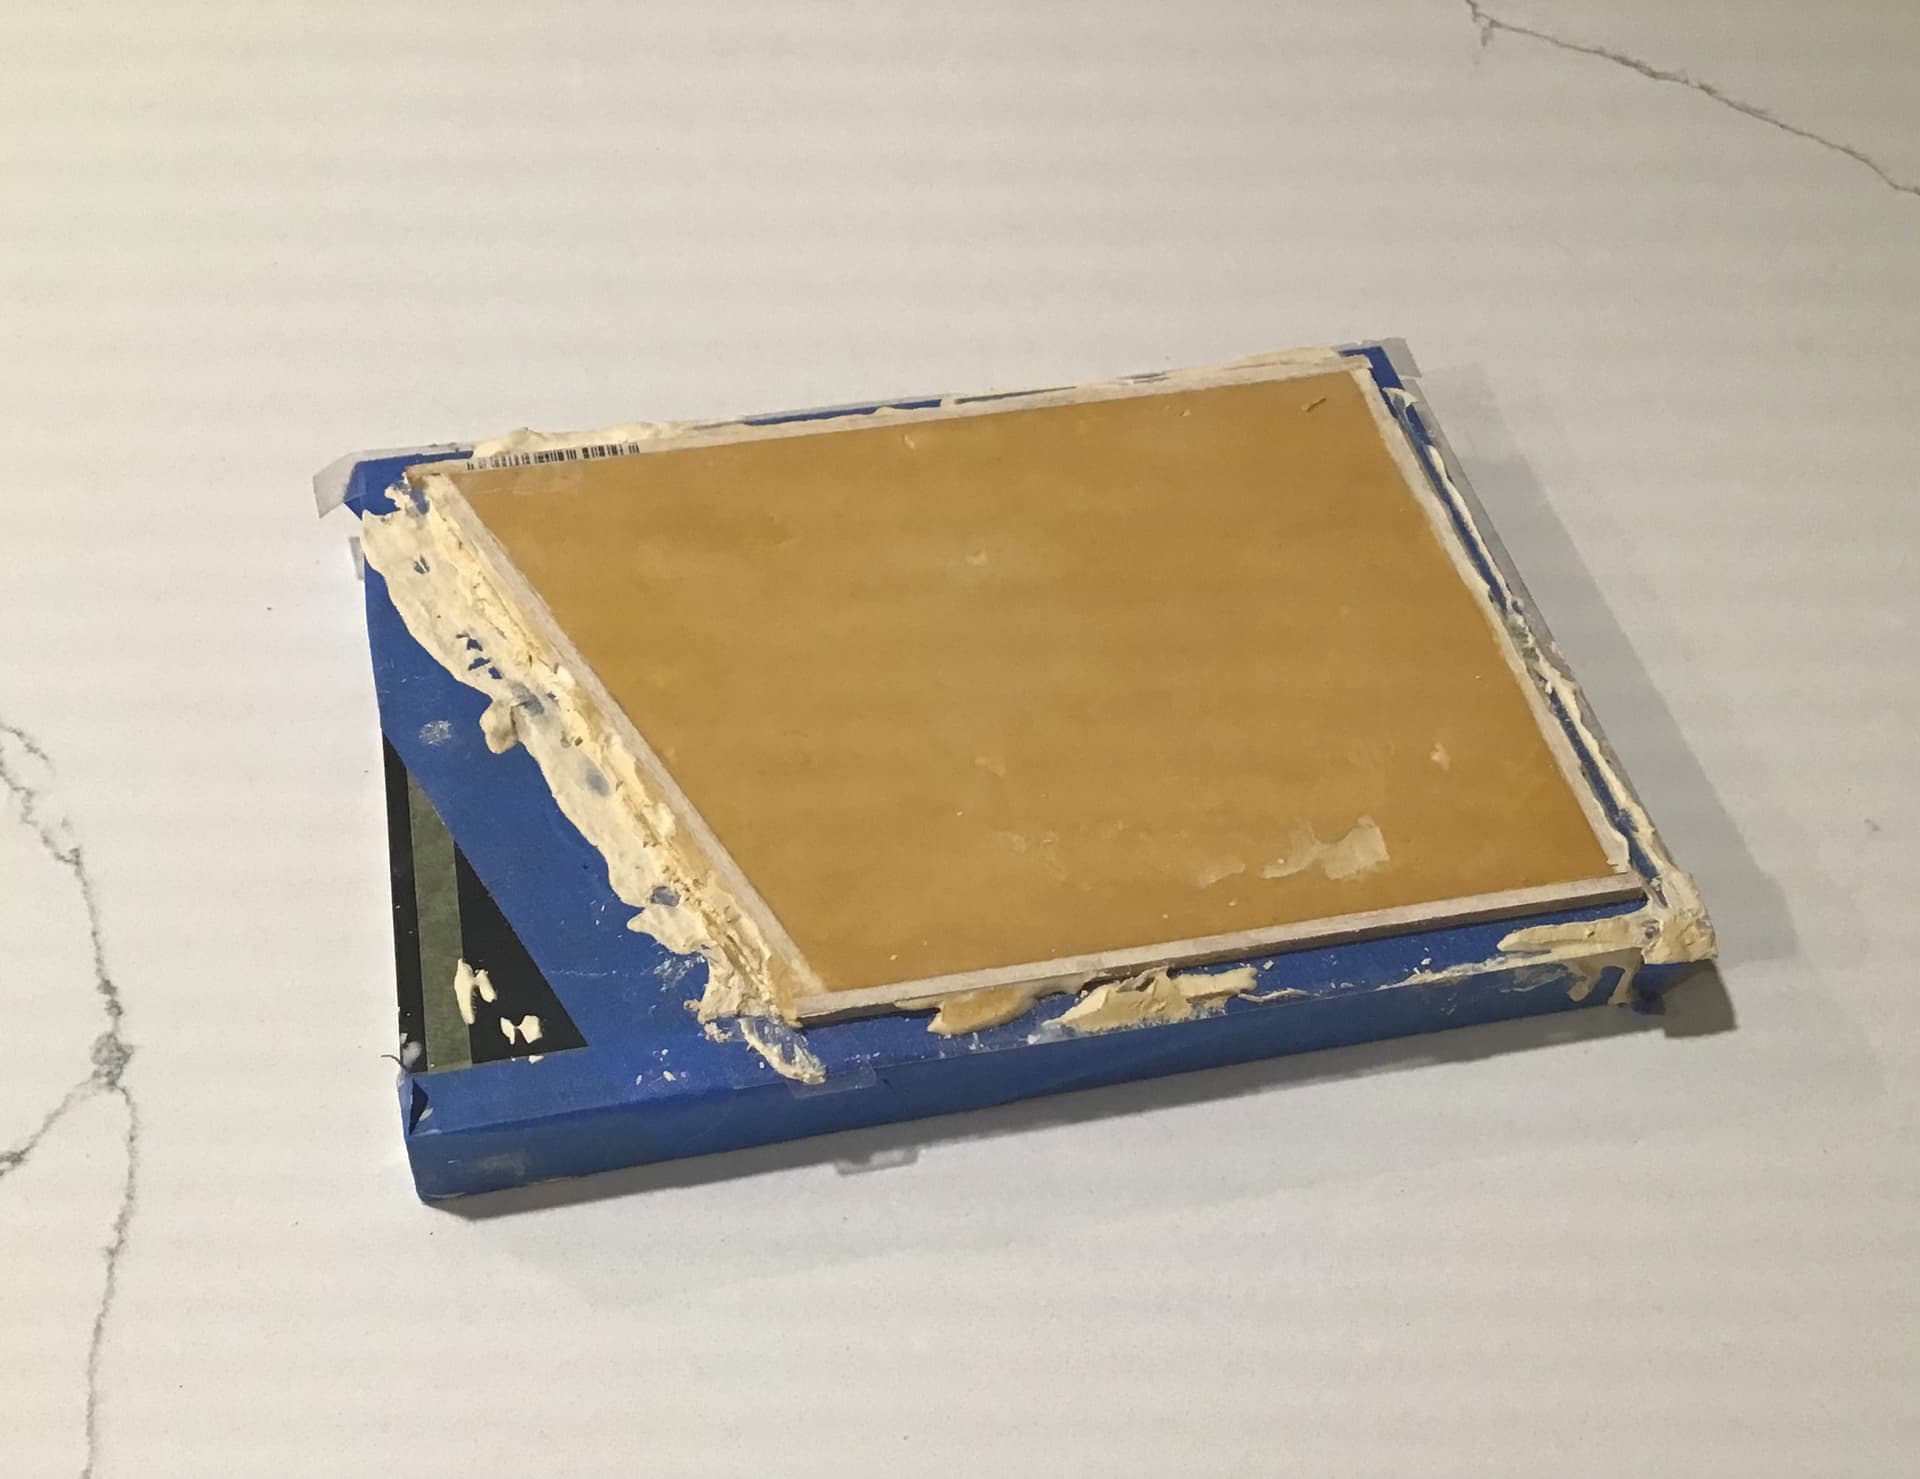
Edges masked and top masked with border.
Double sided tape laid on border and temporary curb of 1/8 square balsa put down …
Durham’s Water Putty mixed to a just pourable consistency and poured on base …
Curb removed and pavers laid out and scribed in with
#11 blade …
Next up - painting base and ground work…
3 Likes