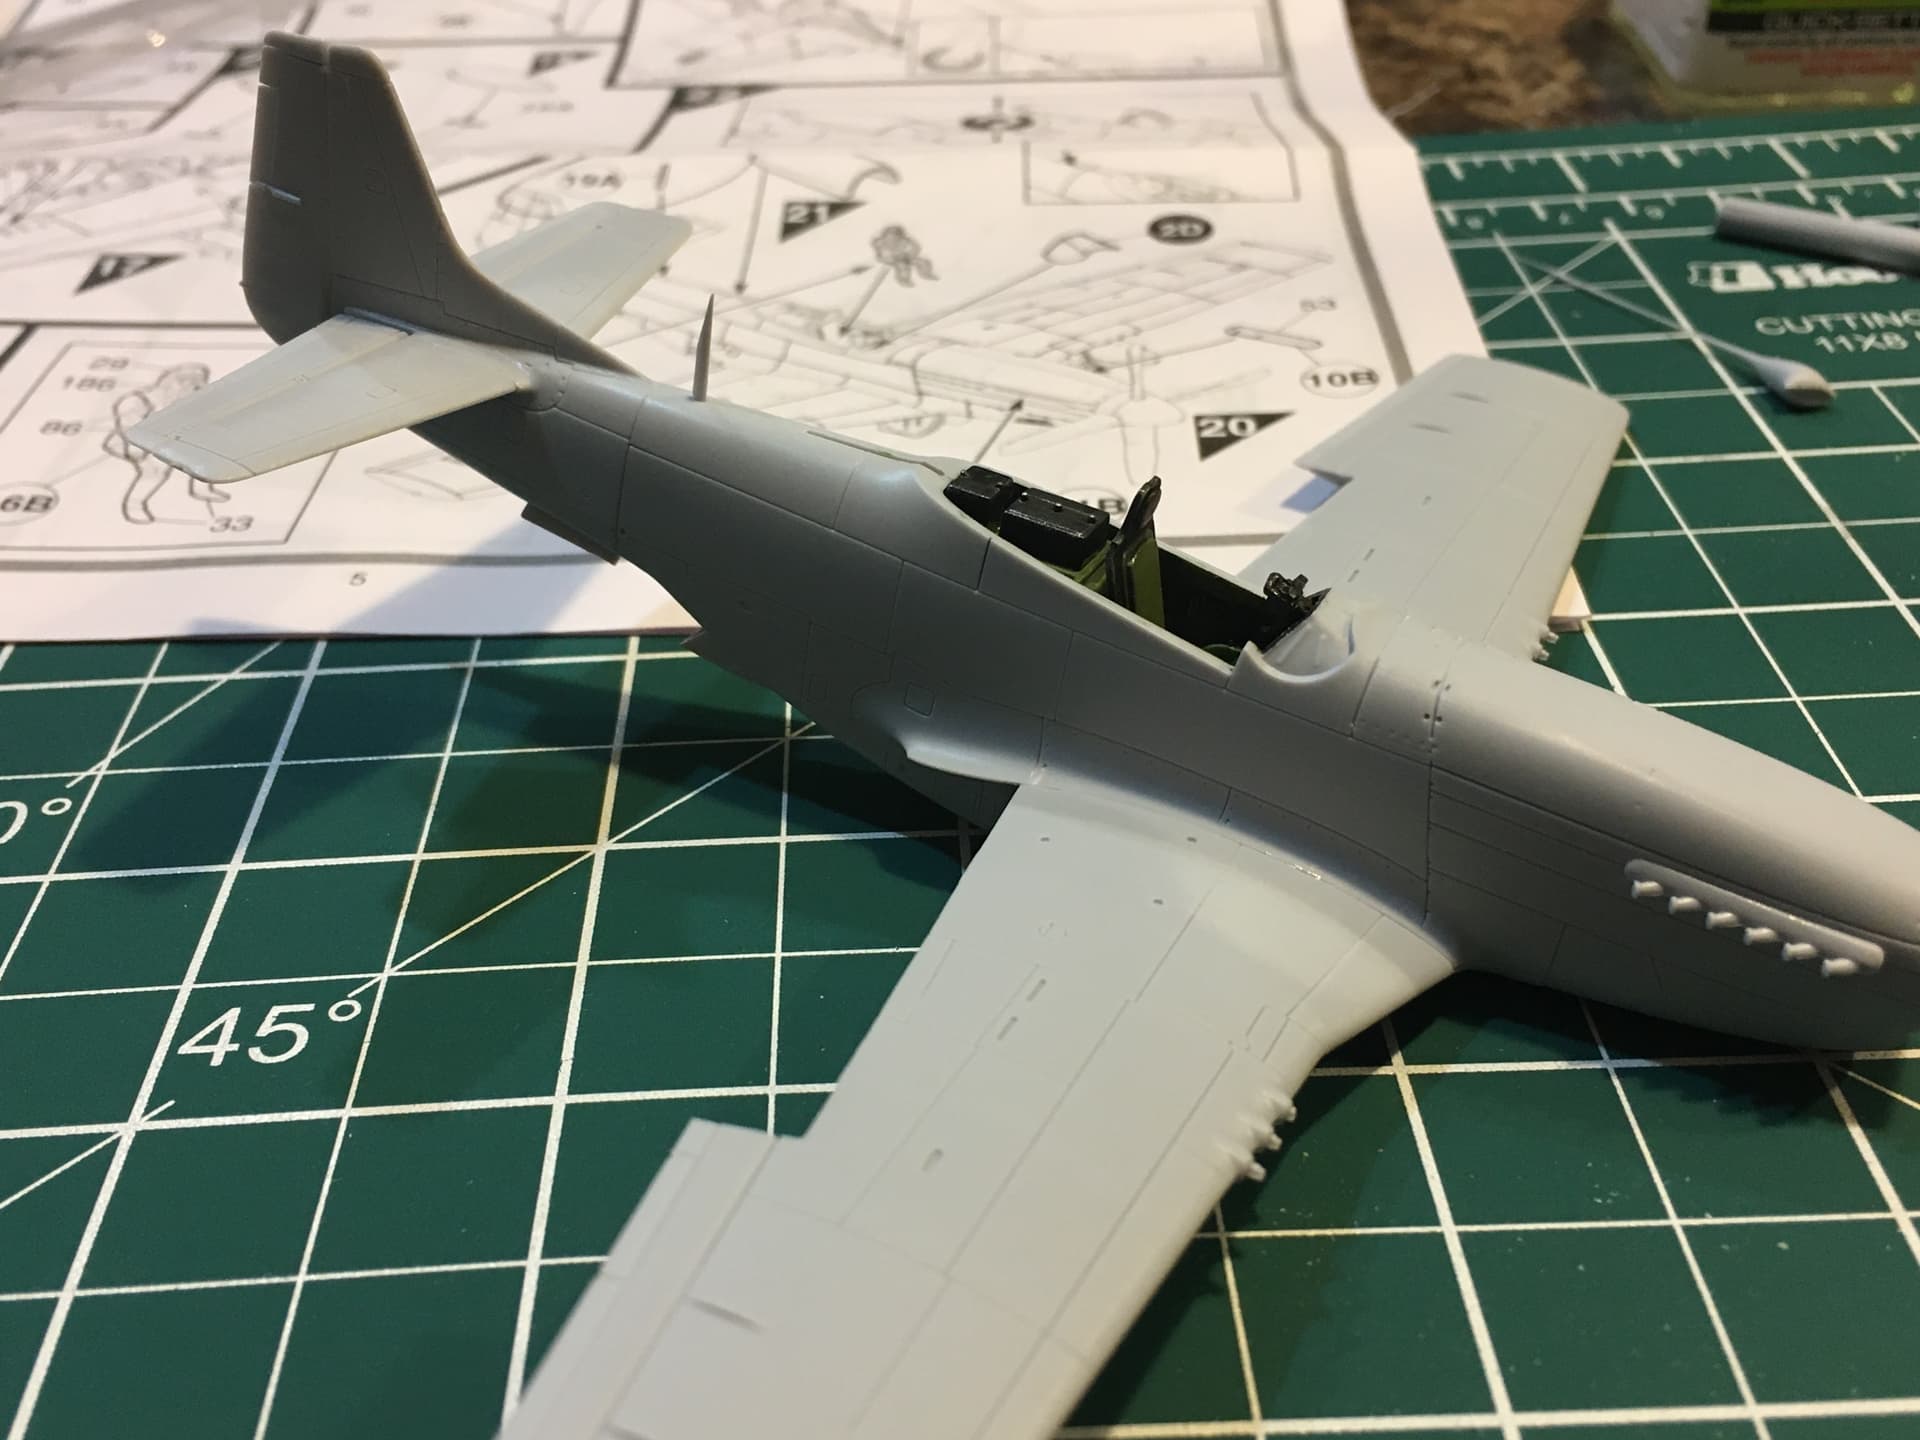
Got a little work in today. Mostly parts cleanup on all the little bits and pieces that make aircraft modeling so fun.
The antenna mast (?) was horribly molded with lumps and other marks all over. I tried to finesse it but eventually broke it.
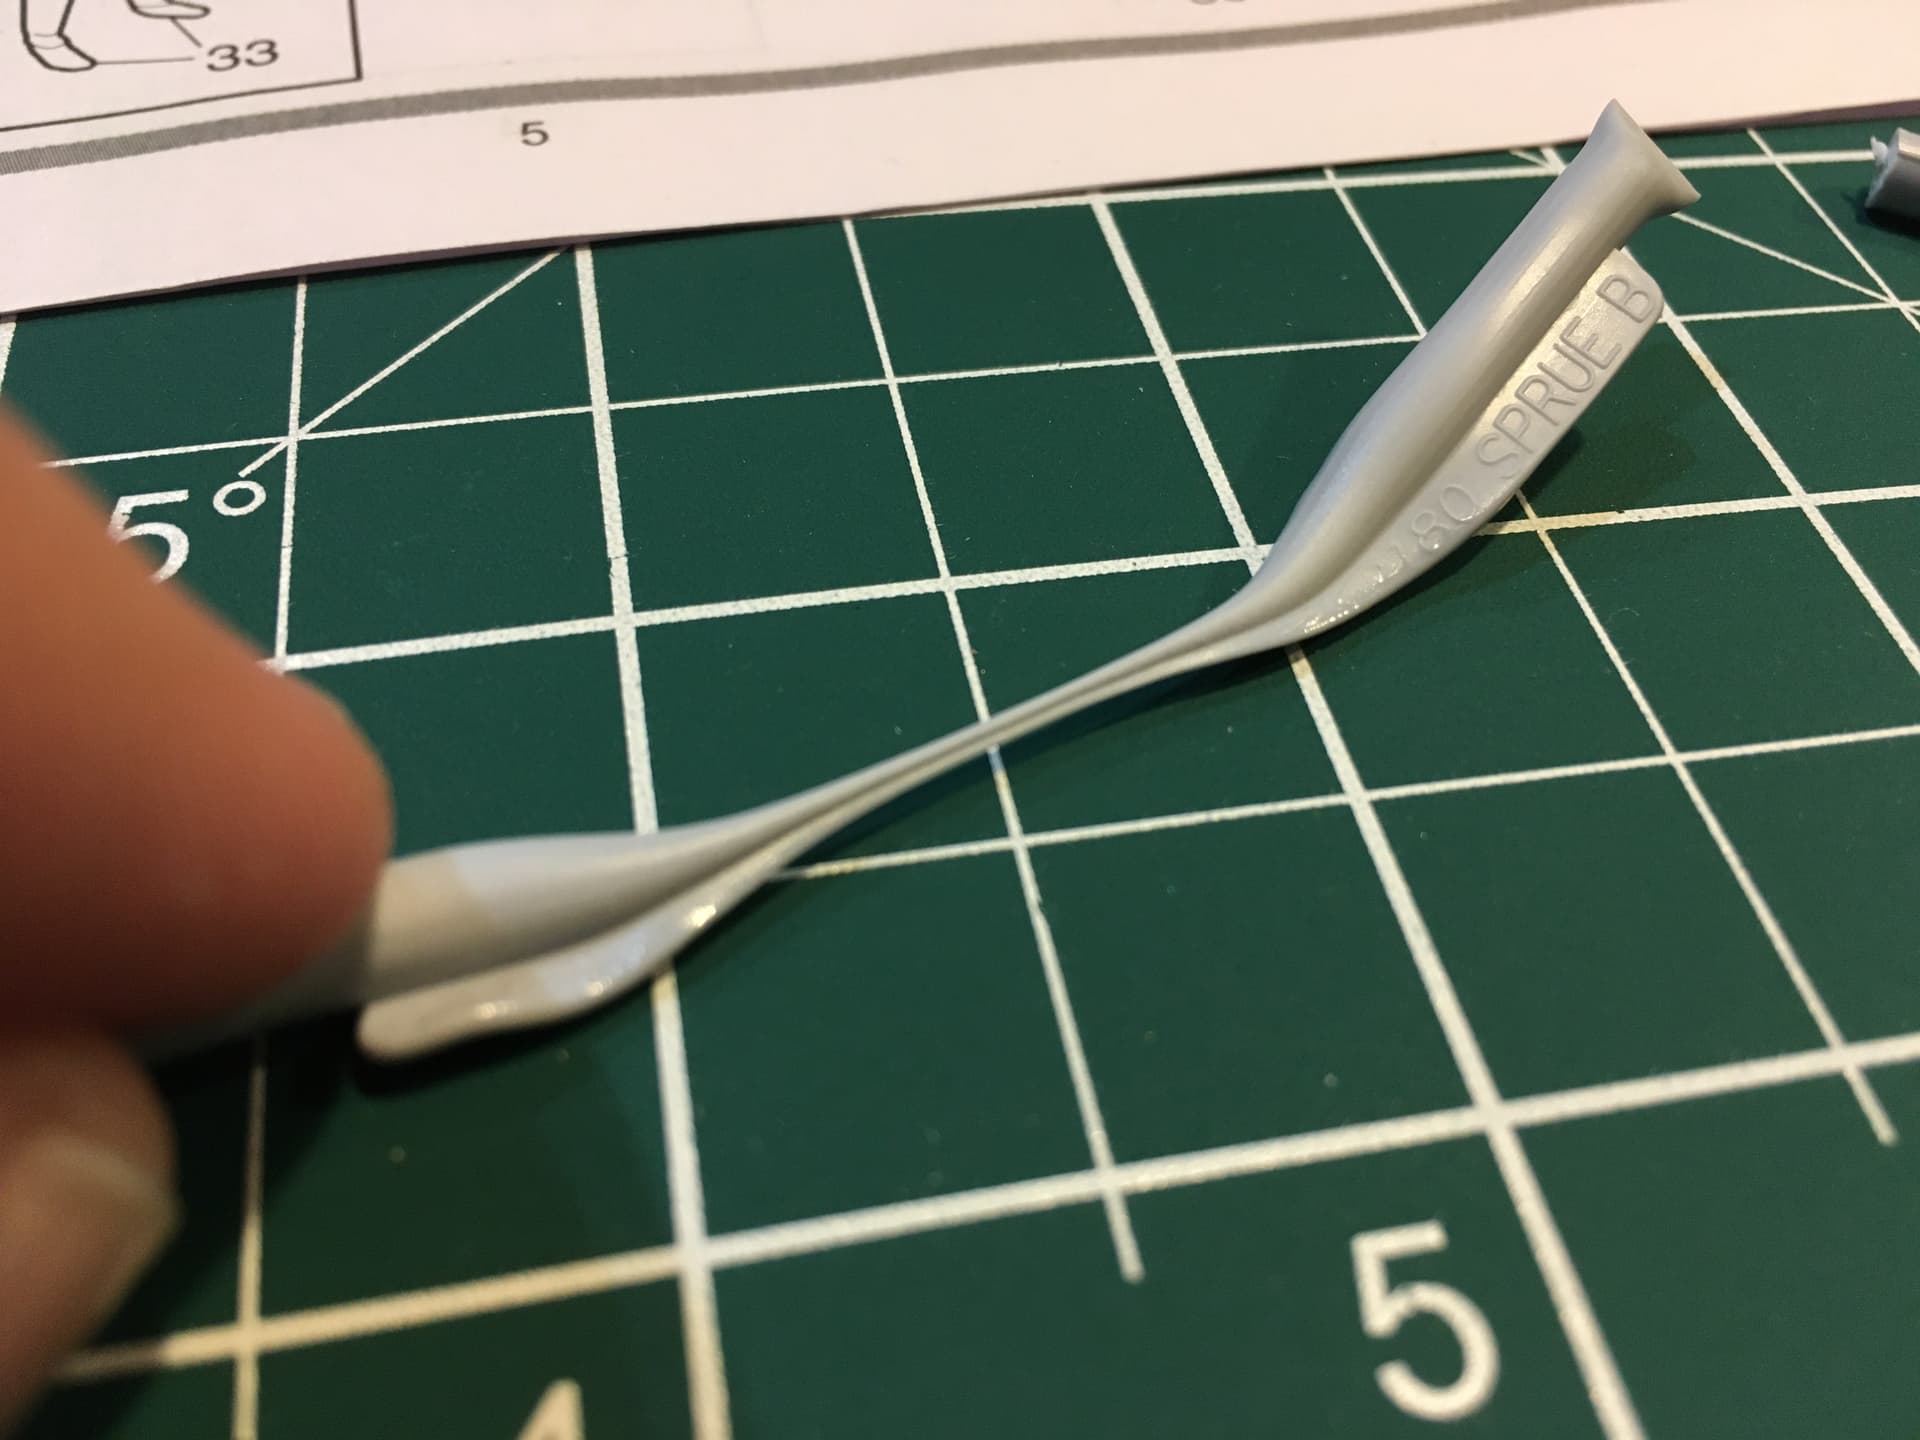
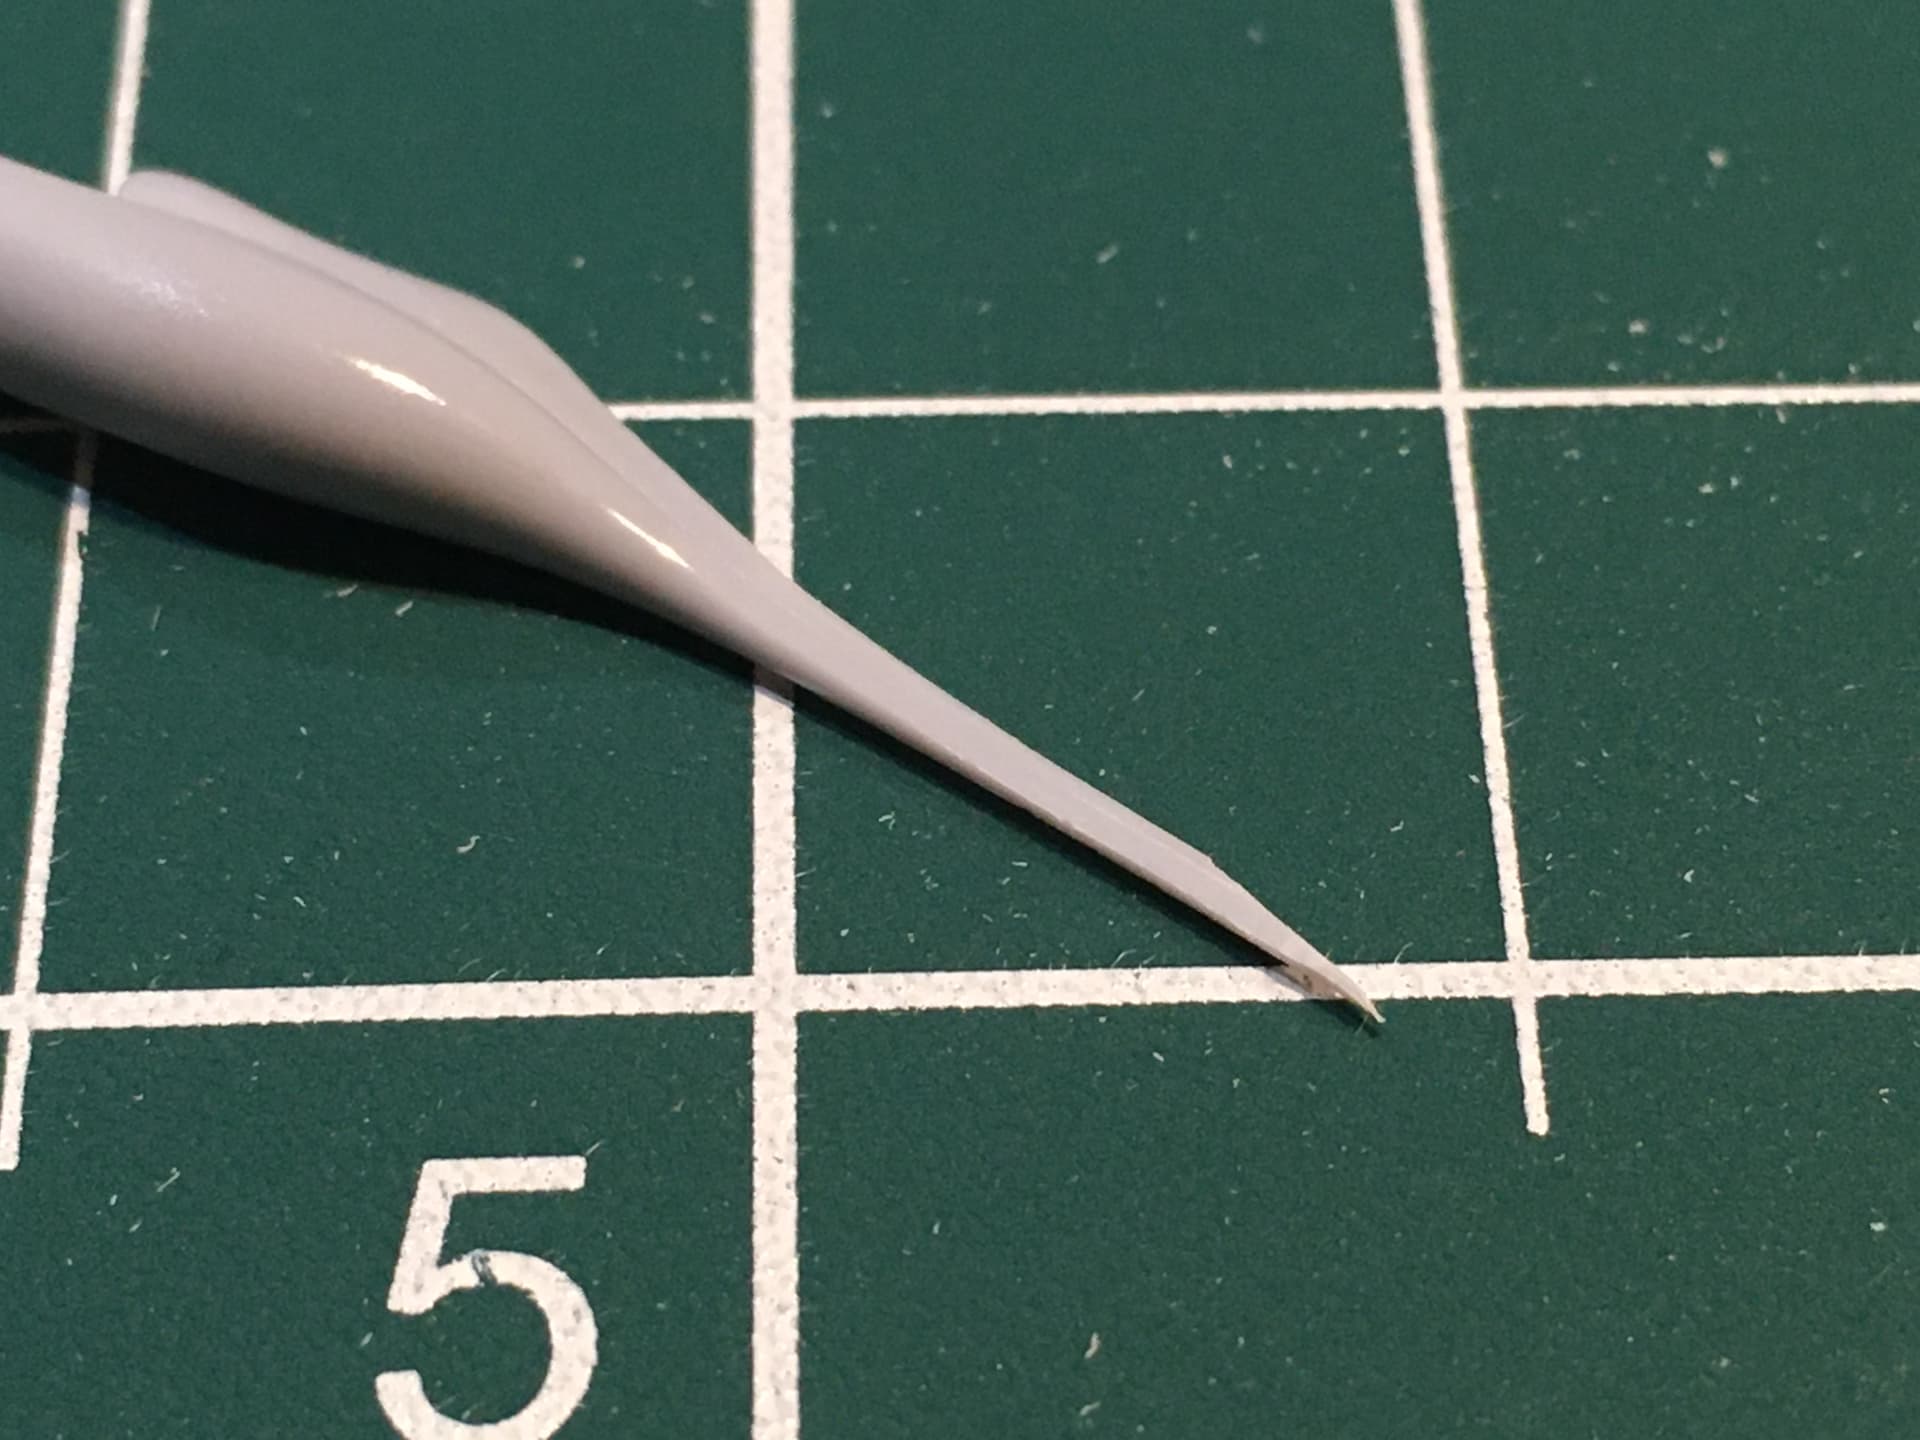
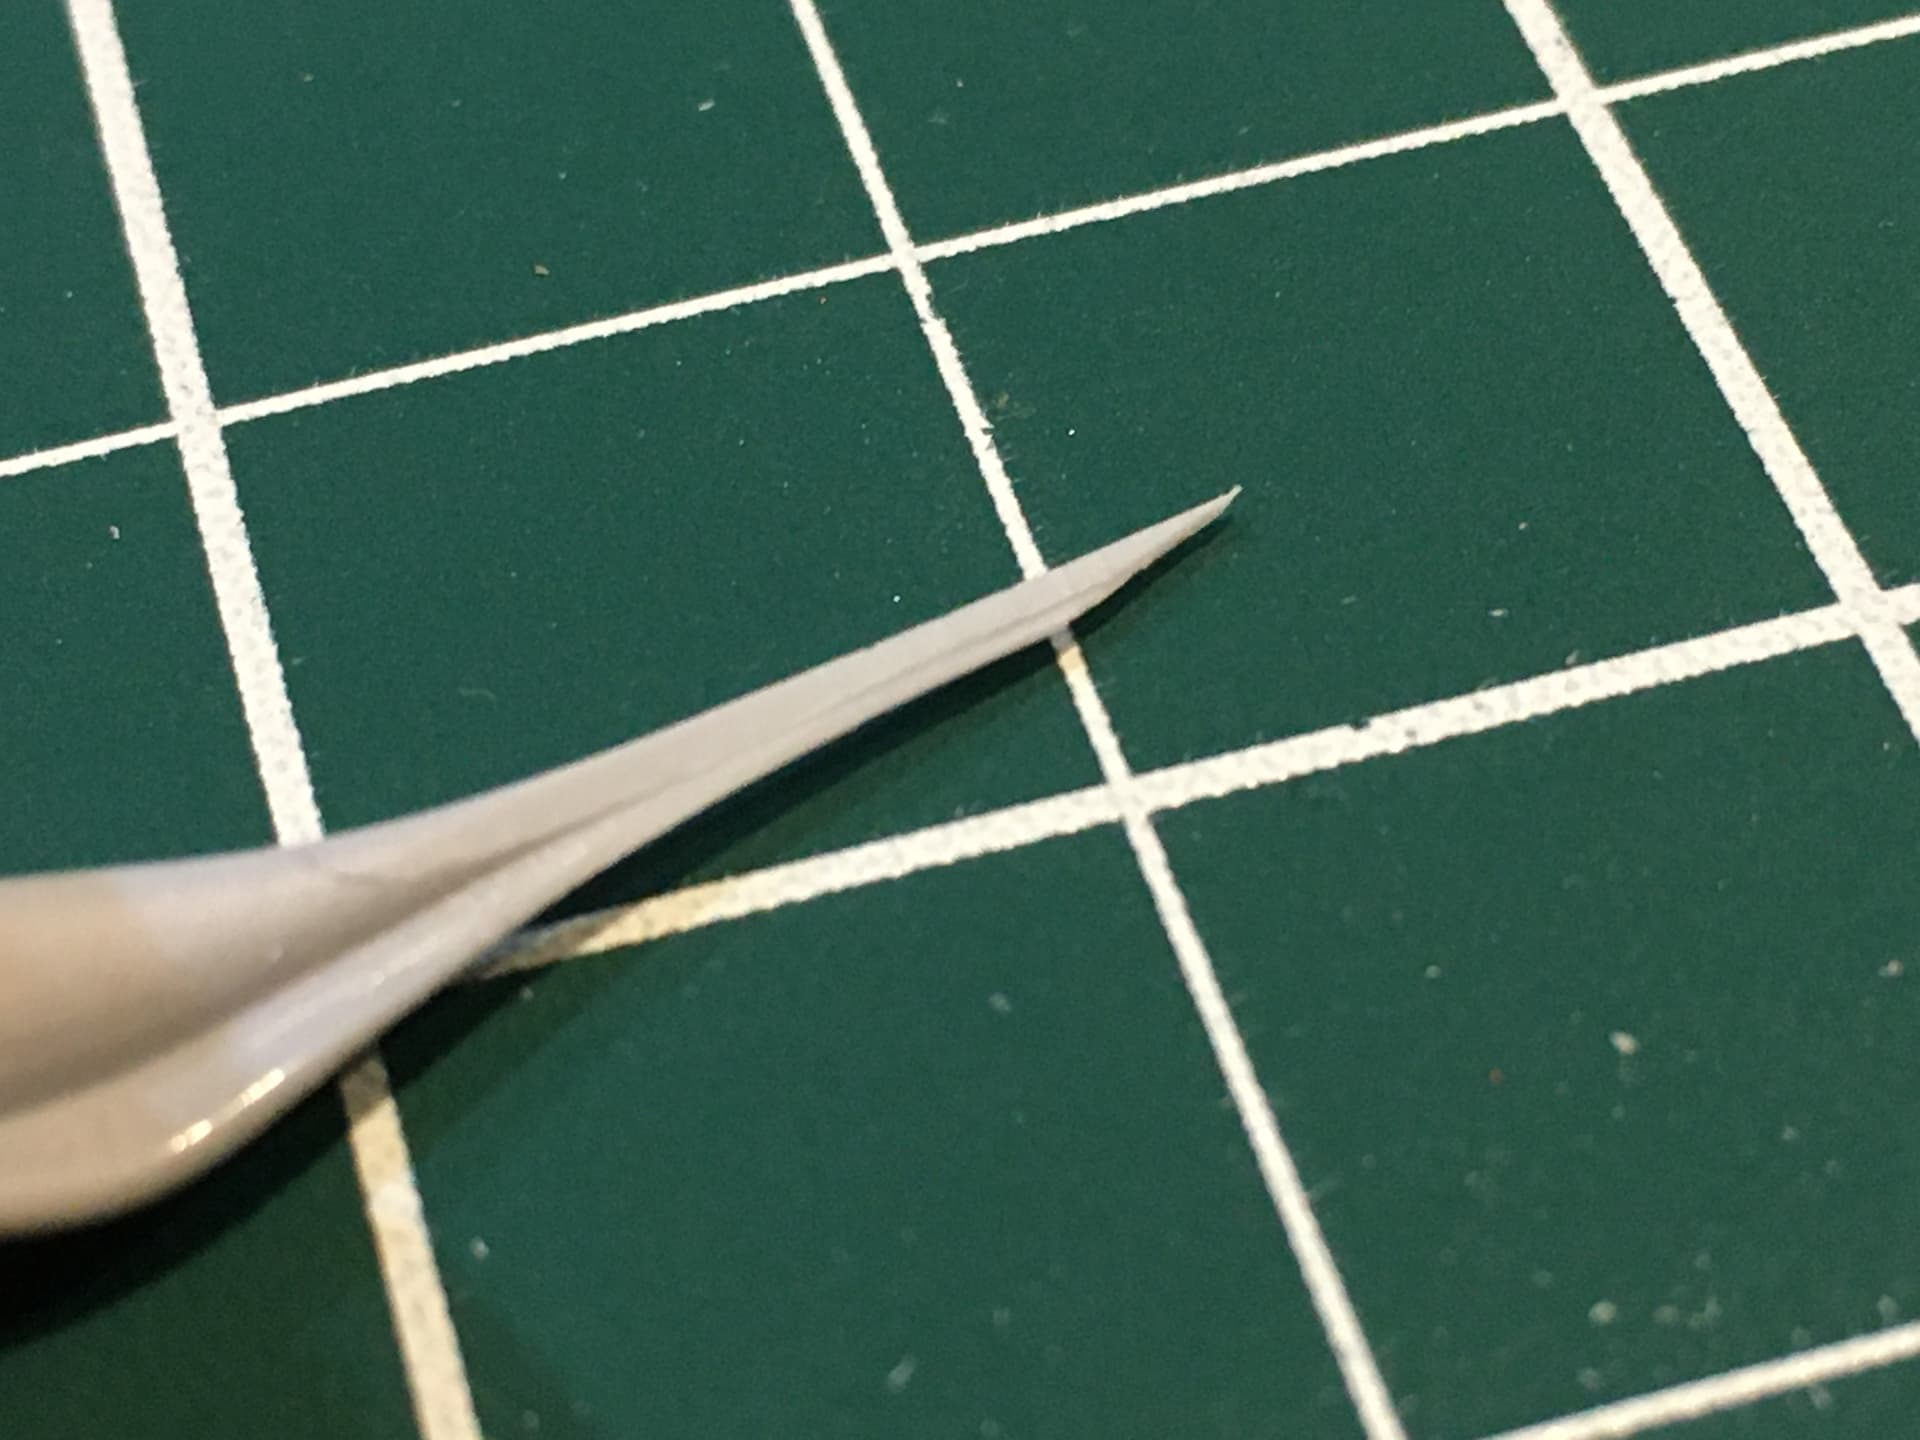
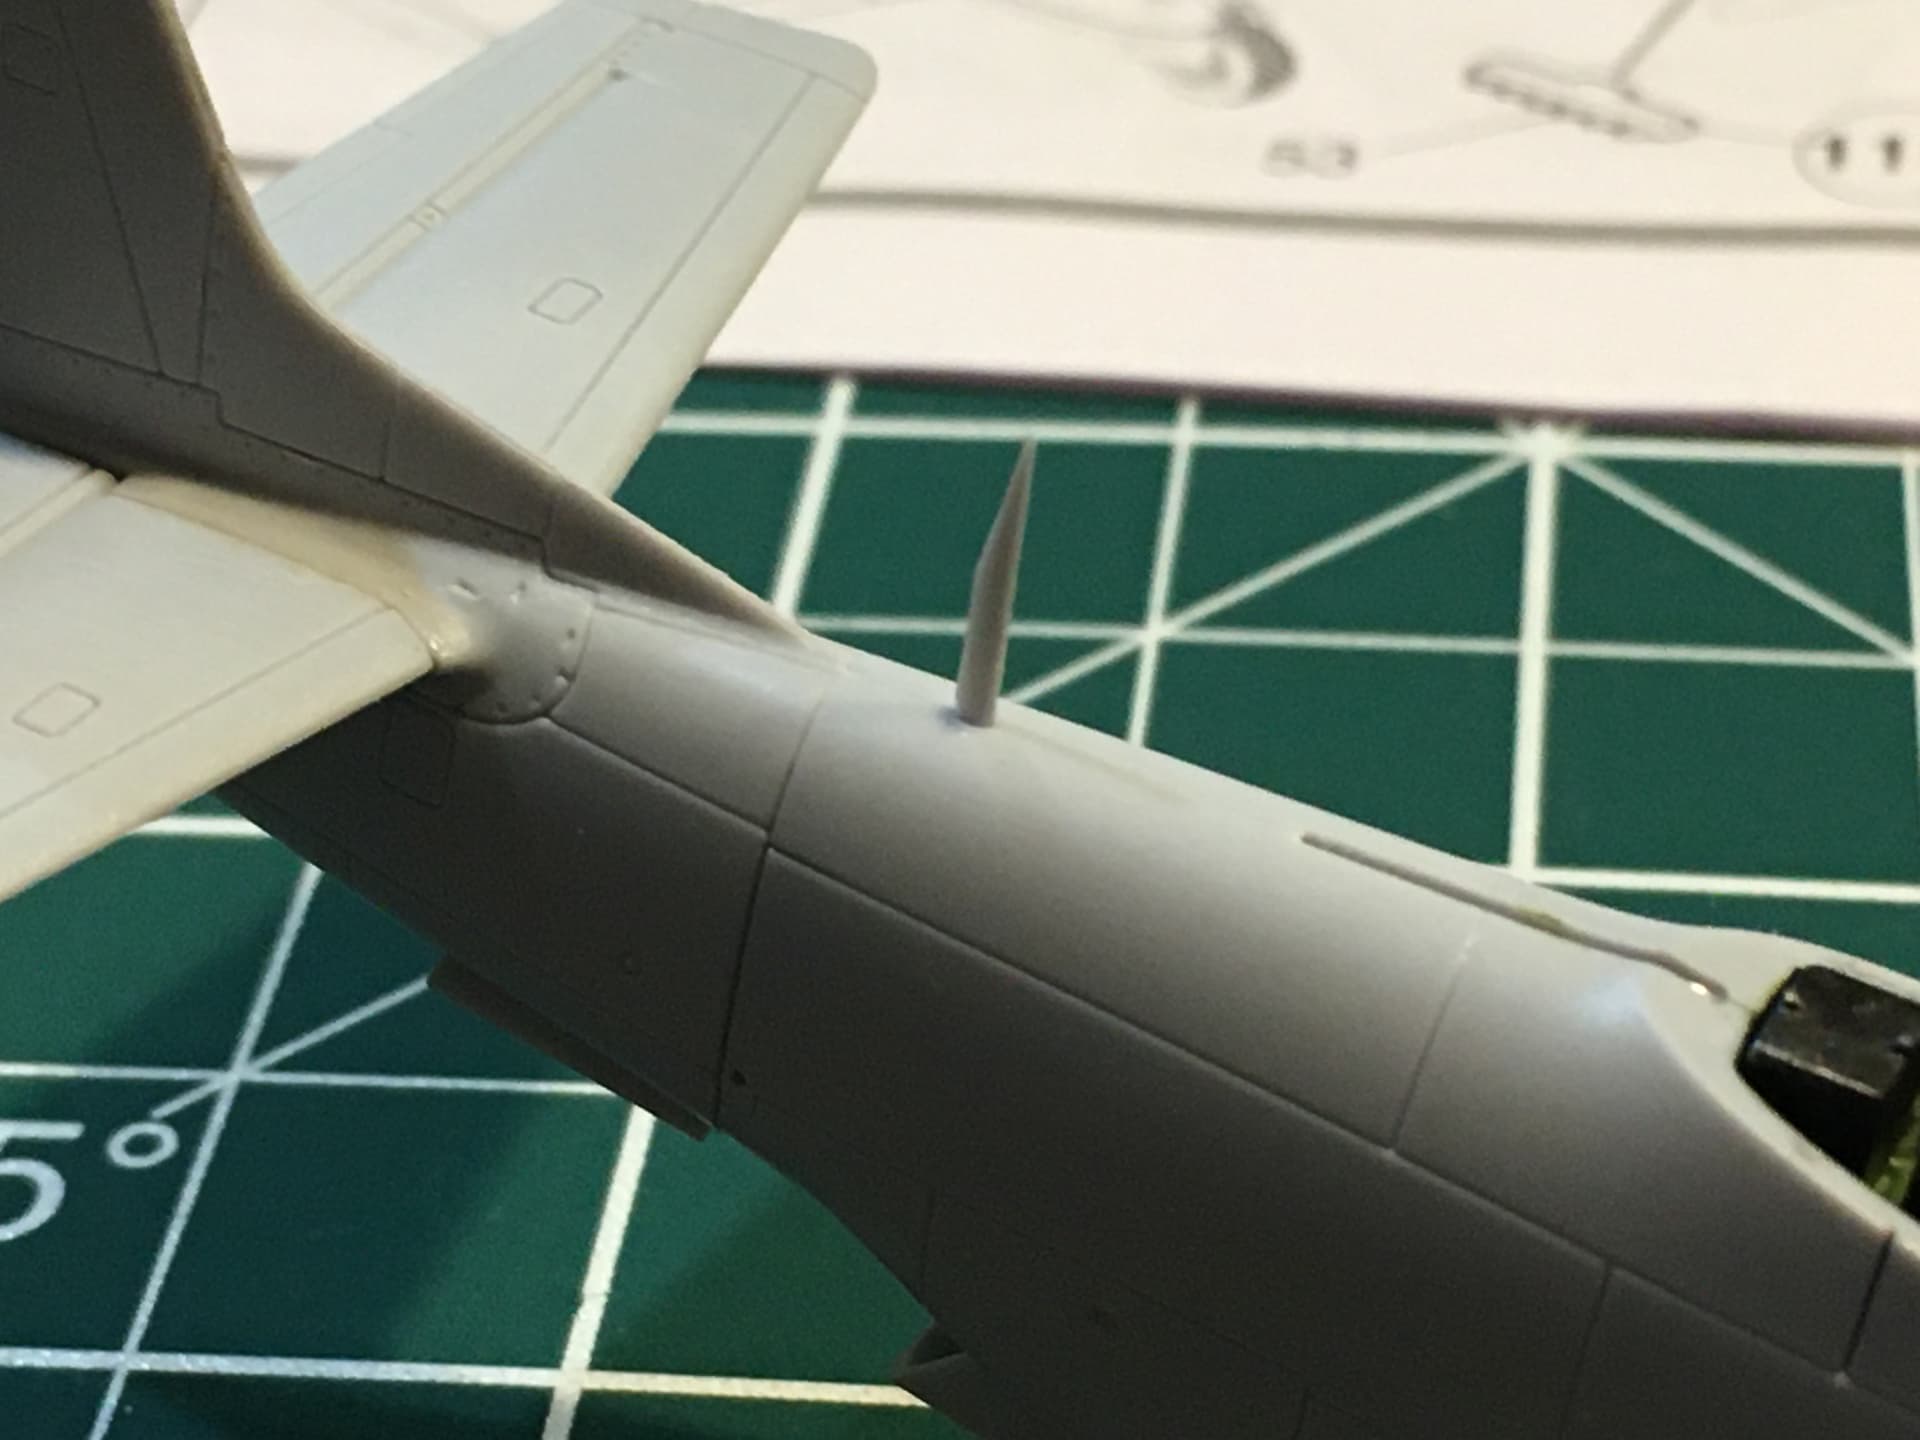
That mast is such an obvious part of the P-51 that I felt I couldn’t just skip it. So I made a new one from stretched sprue. Fairly happy with it, though upon checking my references it seems a bit wide and the angle on top should be steeper…I was going off memory.
Stretched a section with a “flag” on it to end up with a wider piece.
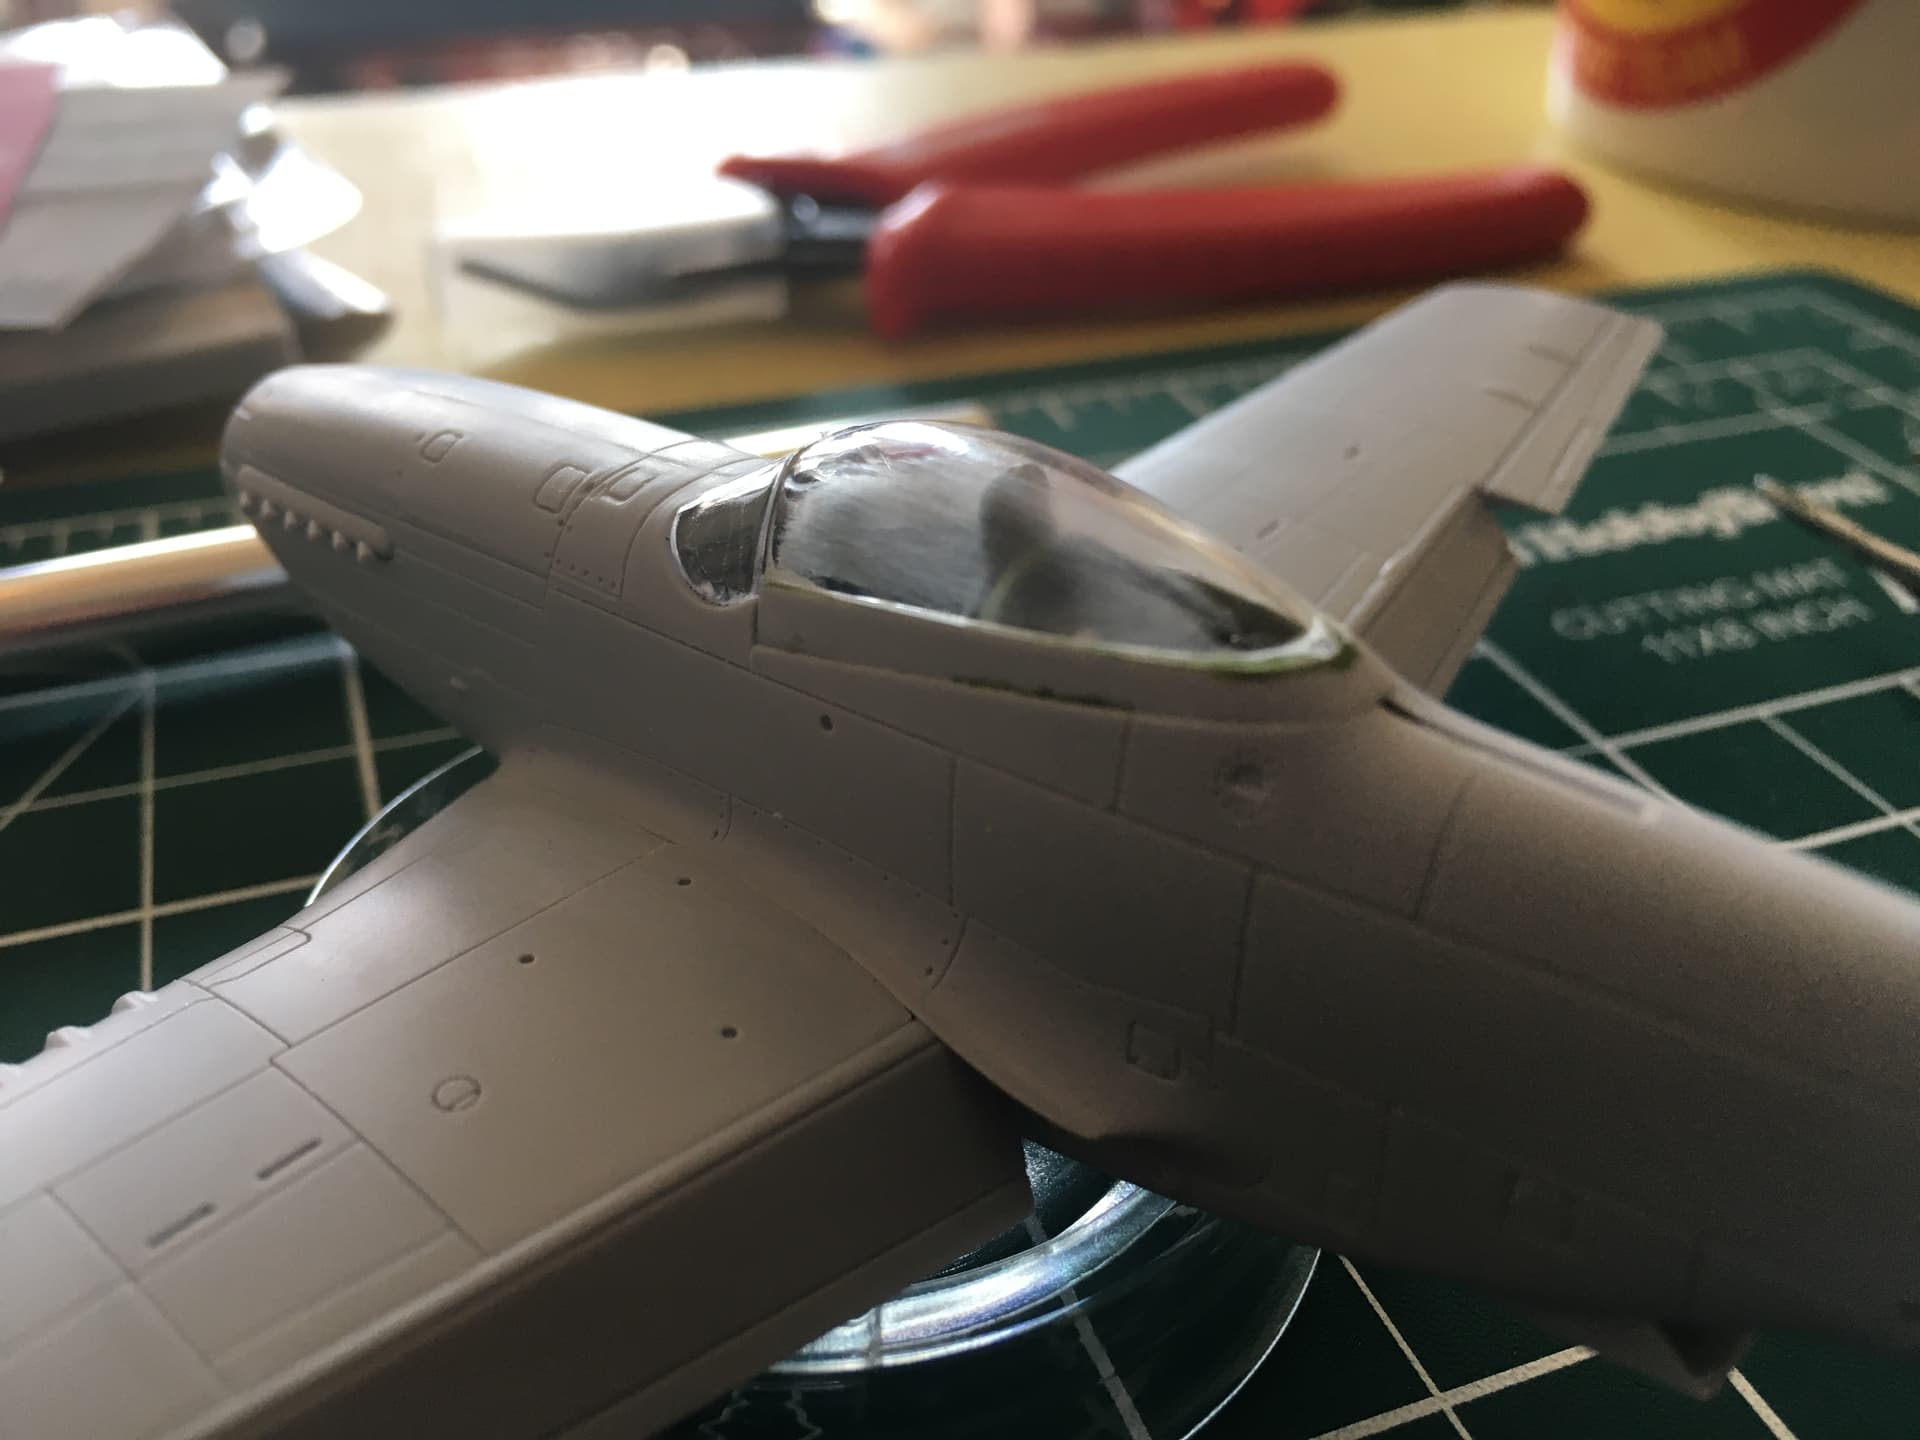
Used Tamiya extra thin on the canopy. No fogging but I ham-handedly got glue on the bubble in a few places. Started to sand them out but apparently 6000 grit sanding film isn’t enough to get back to clear and shiny.
Now I have this.
Questions:
I assume polishing compound and a polishing wheel is next?
Would it be a bad idea to mask and paint and fix the canopy afterwards?
There is another canopy in the box but I have a feeling cutting this one off will do more damage than what I’ve already done. I don’t have high expectations for this kit as it’s my first one in almost ten years, but I’d like to have a clear canopy!
Use Blue Magic polishing cream - do it by hand , not with dremel or any other power tool . Power tools generate too much heat and you will craze plastic. Cut some squares of white cotton t shirt material and squeeze some Blue Magic on them . Let it dry so solvents evaporate. Rub out scratches with the cotton squares using your fingertips .
But fear not! All is not lost and it is salvageable!
There are some great videos on Youtube showing how to use very fine grits of sandpaper progressing to Tamiya polishing compounds, from guys who work with canopies with moulding seams down the centre and how to go about removing them and making them crystal clear again which should work just as well for your canopy!
PS. This is a nice kit from Airfix, but watch out for the landing gear as it’s very fragile and easily broken and/or bent!
@Russelle thanks on the landing gear. I’d noticed they seemed flimsy…I’ll abandon my plan to glue them on without the doors to help hold the plane up during painting! I doubt they’d survive that.
Yep, definitely leave off the landing gear until after painting and when doing final assembly add them on then.
PS a little liquid mask applied in the mounting holes with a tooth pick is a great way to stop paint building up in there. Use a fine needle or pin to hook it out after painting will make it so much easier to fit the landing gear…
Still making occasional progress here. Been distracted by group builds.
Newbie mistake: didn’t occur to me that Mr. Color clear gloss would need to be thinned . So….took a few steps backward.
Will probably try to smooth it one more time before sawing the canopy off and using the spare. Or grabbing another kit from HL….this one would make a great paint testbed!
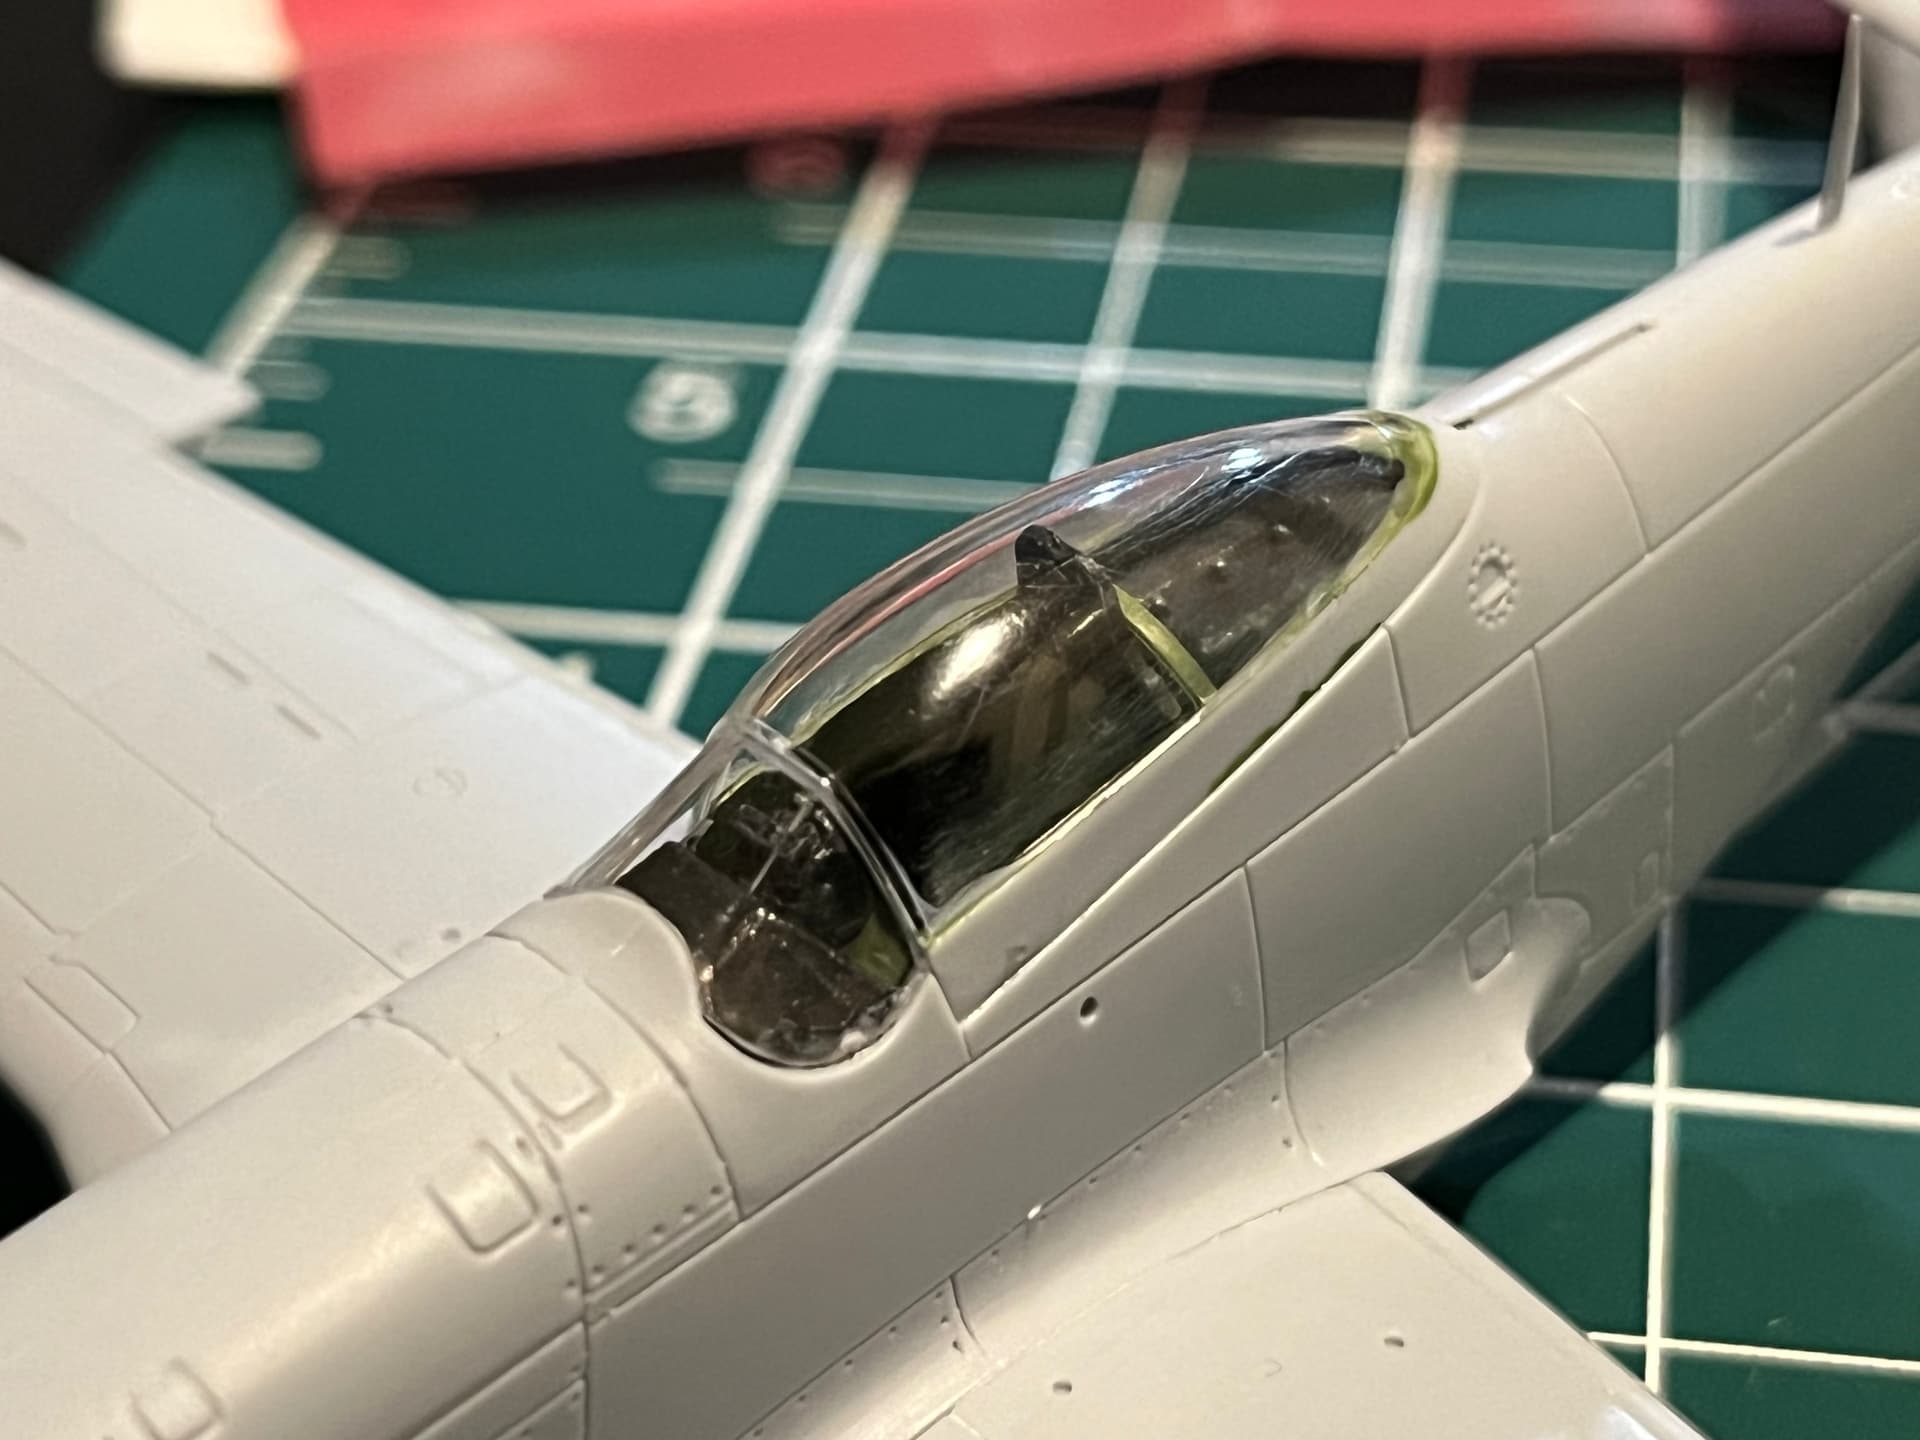
Tamiya polishing compounds arrived. Was able to get the canopy reasonably clear.
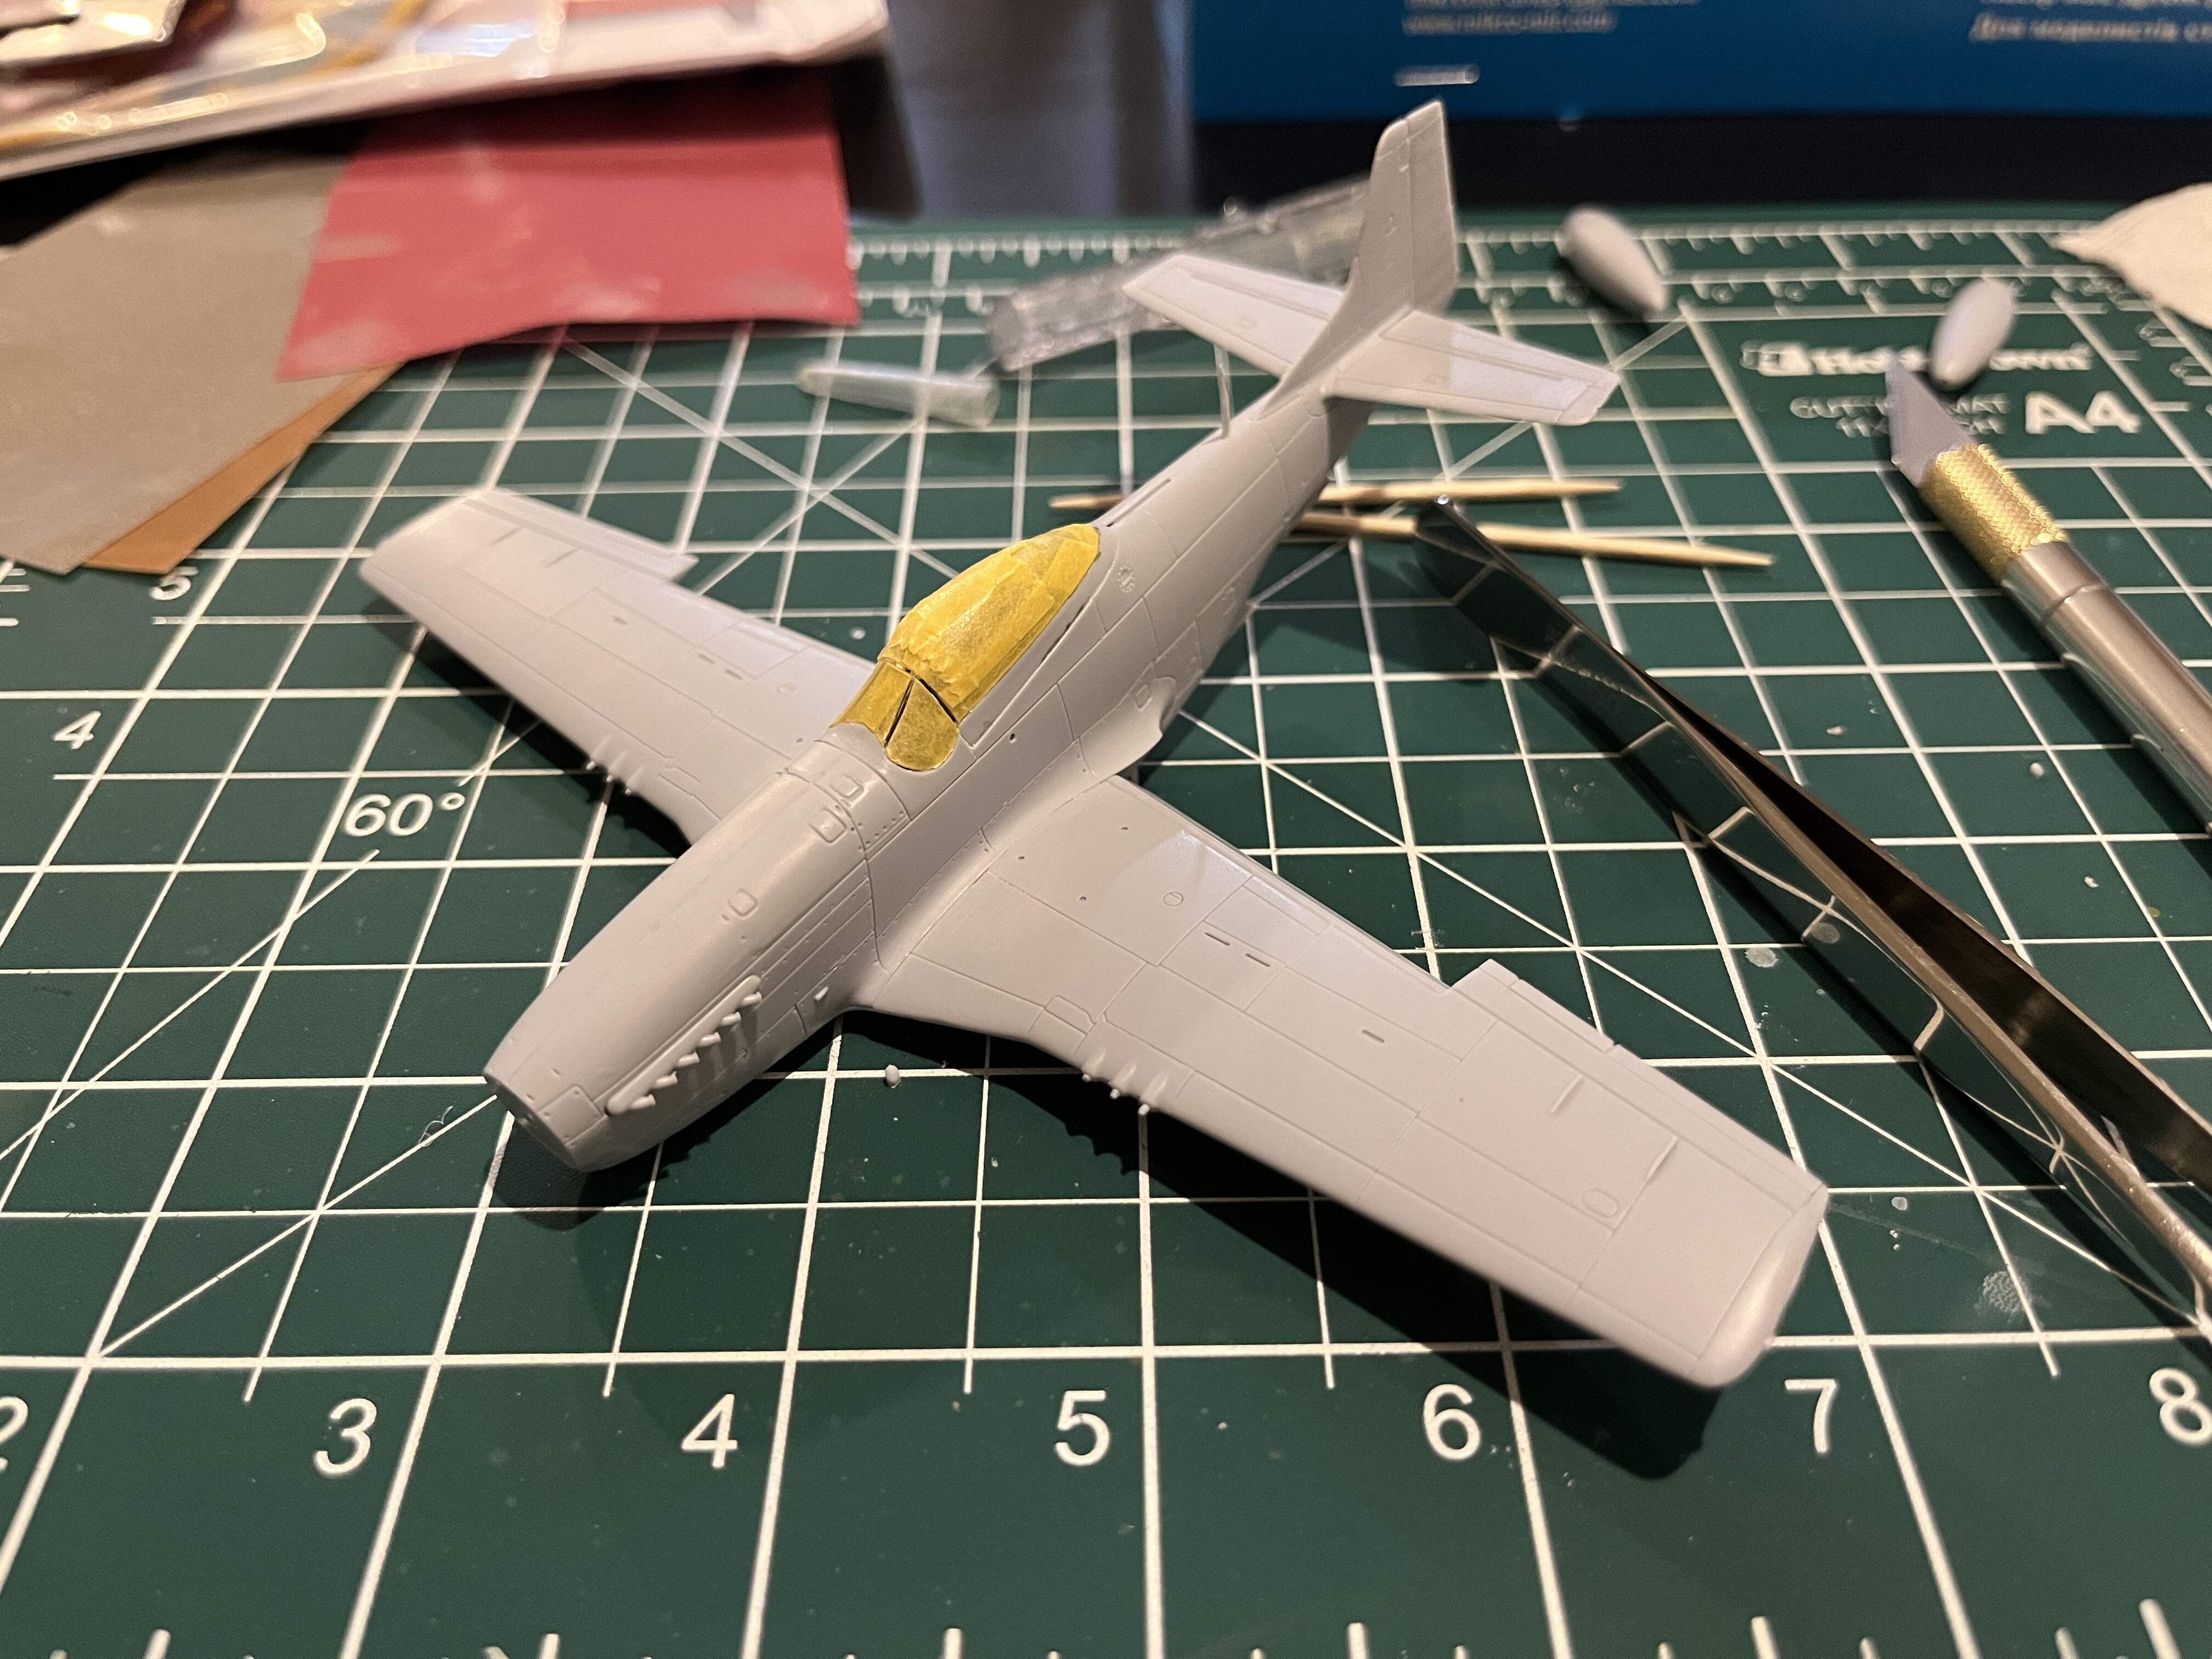
Masked and ready for the black basecoat now. Unfortunately with all the problems, I’m just going to use the kit decals and save The Brat III for another build.
Hang in there Spitfire. Modeling is all about patience, I am sure you know that. DO the best you can and use the model as a learning testbed for the next one. I think you are making the right decision about the decals. Perhaps you’ll have an airbrush by then and get a more satisfying finish for your natural metal job.
Thanks @mrintense56. I’m definitely learning that on this build. Also learning that watching experts use their techniques online does not mean you’ll be able to do the same thing on the first try! This stuff is hard.
Got a cheap airbrush for Christmas so hoping this turns out better than last builds.
Yes,regarding watching online, it’s a wonderful resource that has allowed me to get better, but like you I realized there’s more to the technique than duplicating what you see in the videos or blogs. It’s also about knowing which technique to use and how to use it to duplicate the effect you’re after. Some of this can be gleaned from the video, but most of it comes down to practice. The thing I always remember is that we all start out as beginners in everything we do and it’s those that that persevere and practice who become experts.
As for the airbrush, I believe they all work well enough to do the vast majority of painting we do in modeling. It will make a difference in yours as you start using it.
Hi spitfire. are you using alcad for your metal finish? I have found that a black basecoat is not really needed unless your doing chrome or going for a factory fresh ac.i spray it over grey primer so as to get a more weathered look and still i think it is too shiny. try a comparison on some scrap first and see. i also seen tamiya bare metal used with good results.
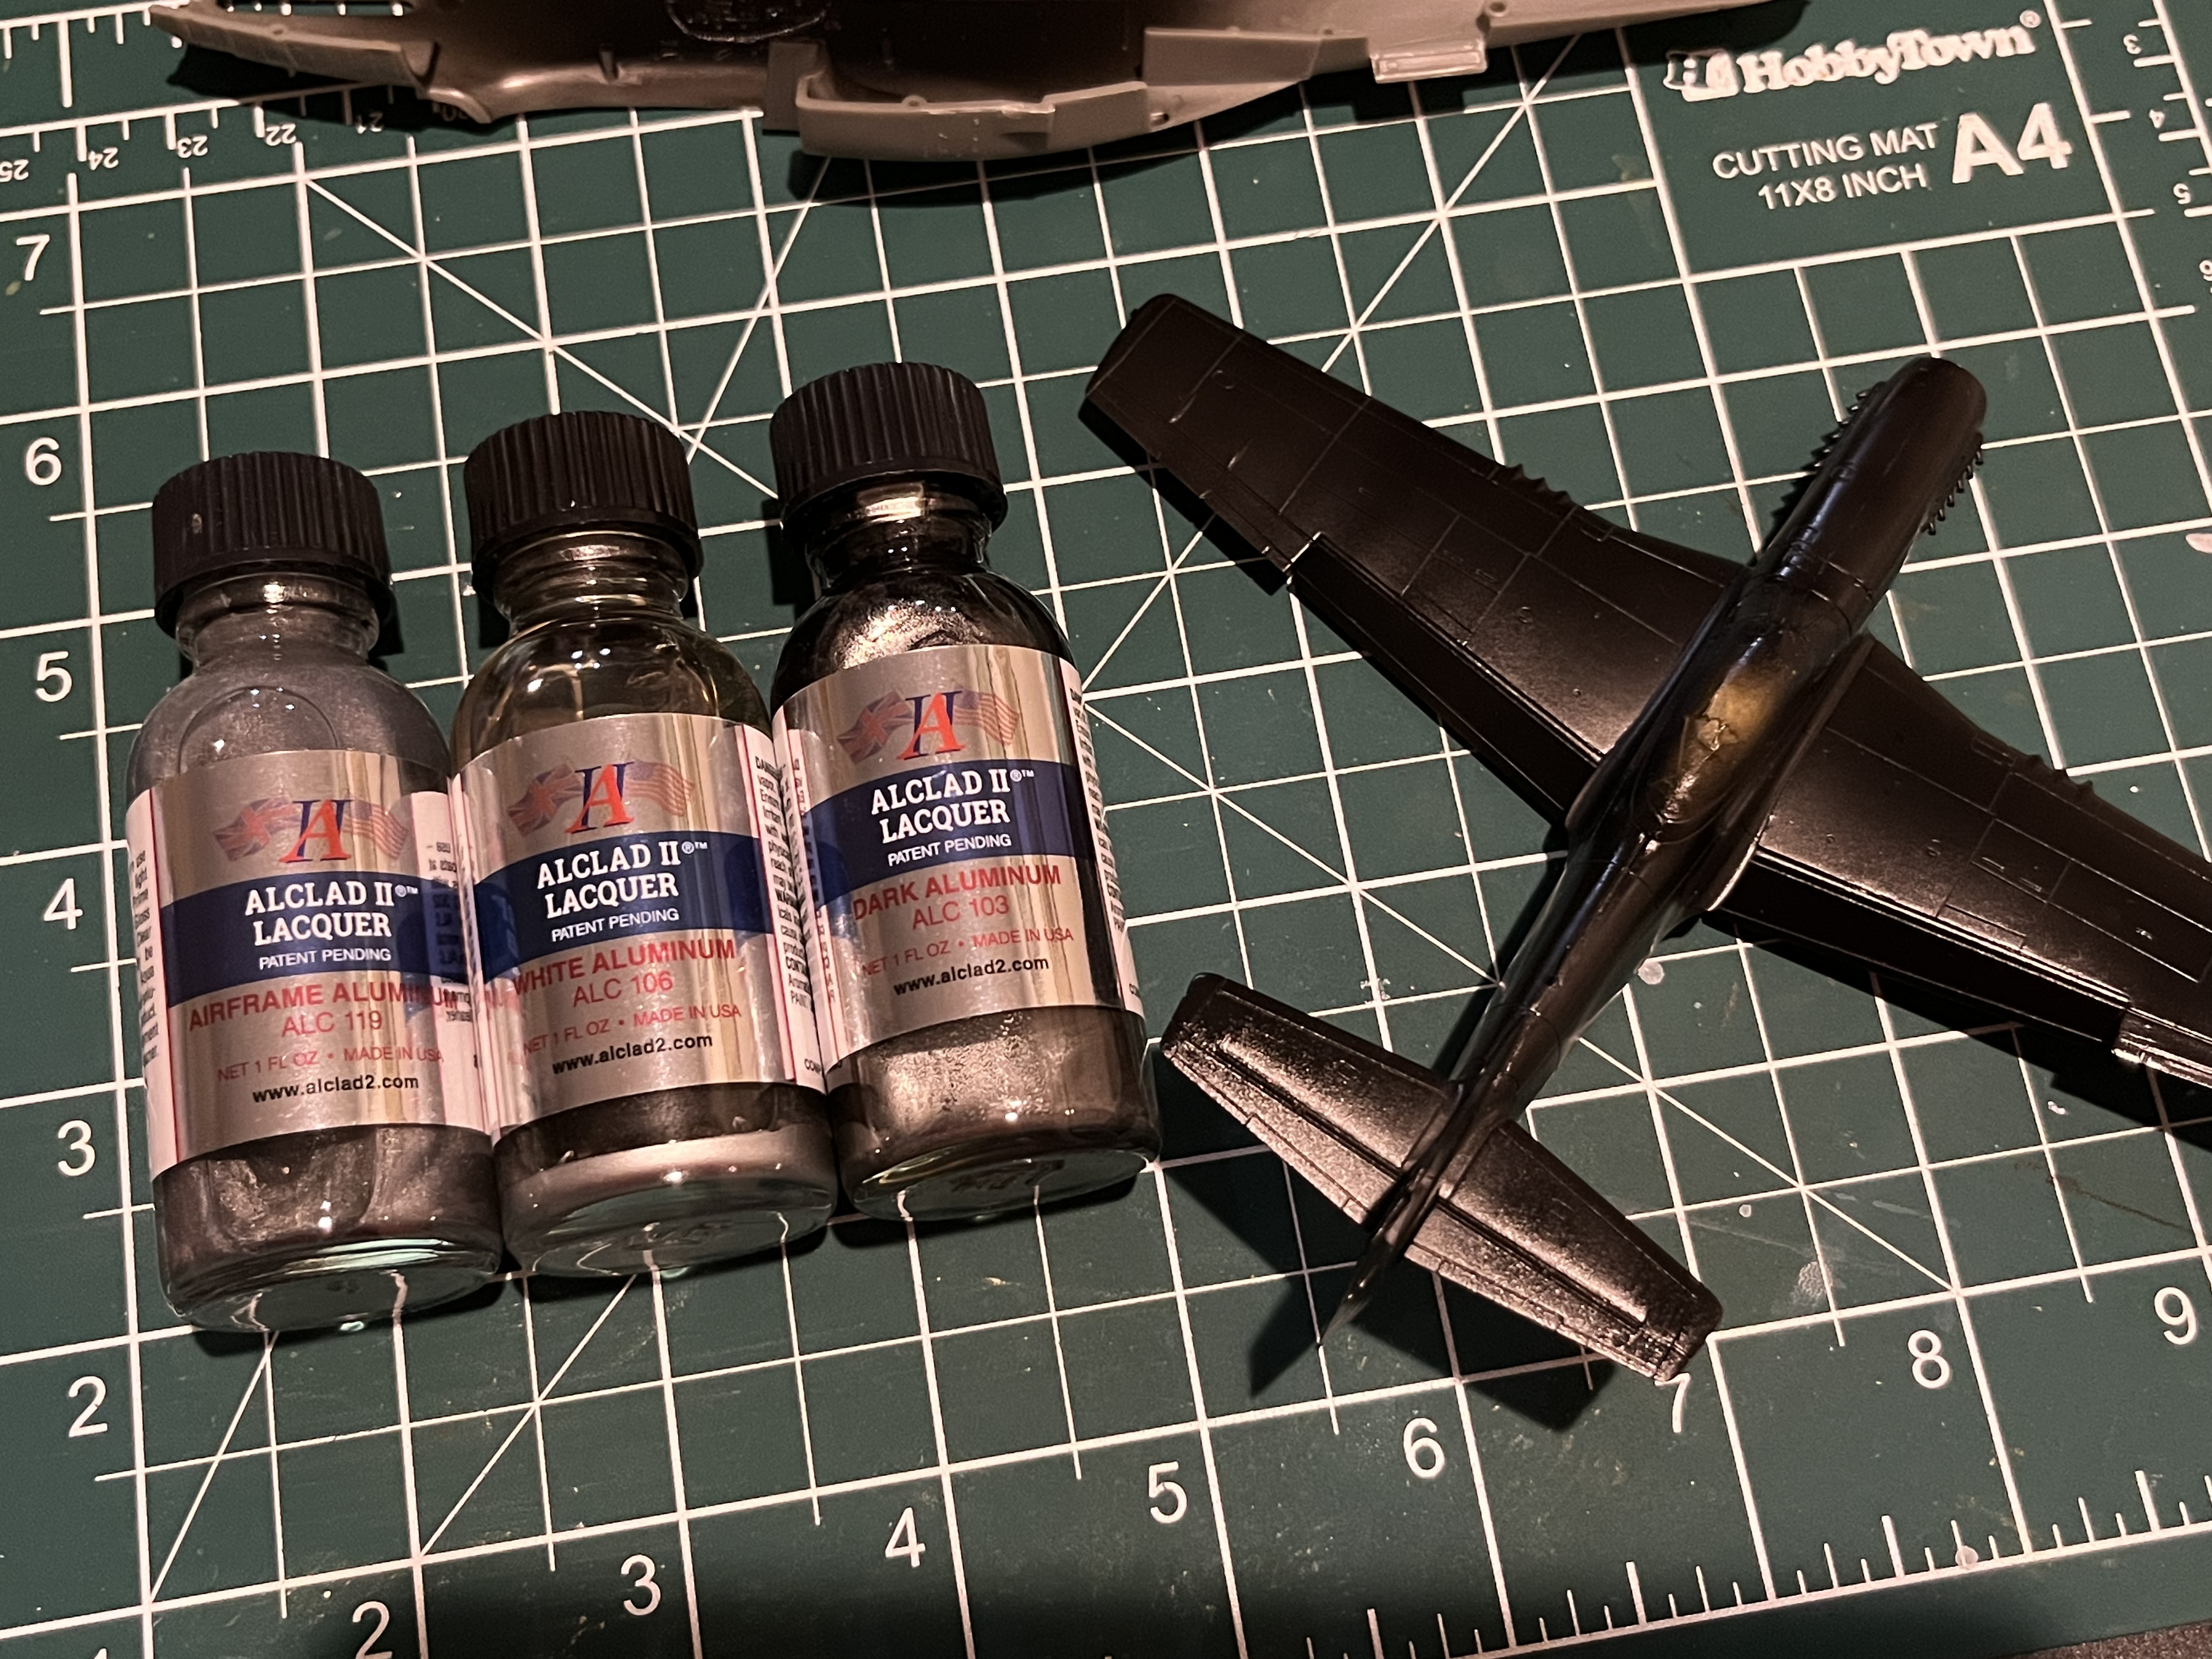
Used Mr. Color GX2 as an undercoat for the Alclad. I’m going to wait at least a week before trying the Alclad. Will use white aluminum for the wings and control surfaces (elevator, rudder, and ailerons…not the flaps though), airframe aluminum for the fuselage, and dark aluminum for the exhaust panel and as a mix for some random panel shading.
Should be a good challenge. Never used any metalizer paints before.