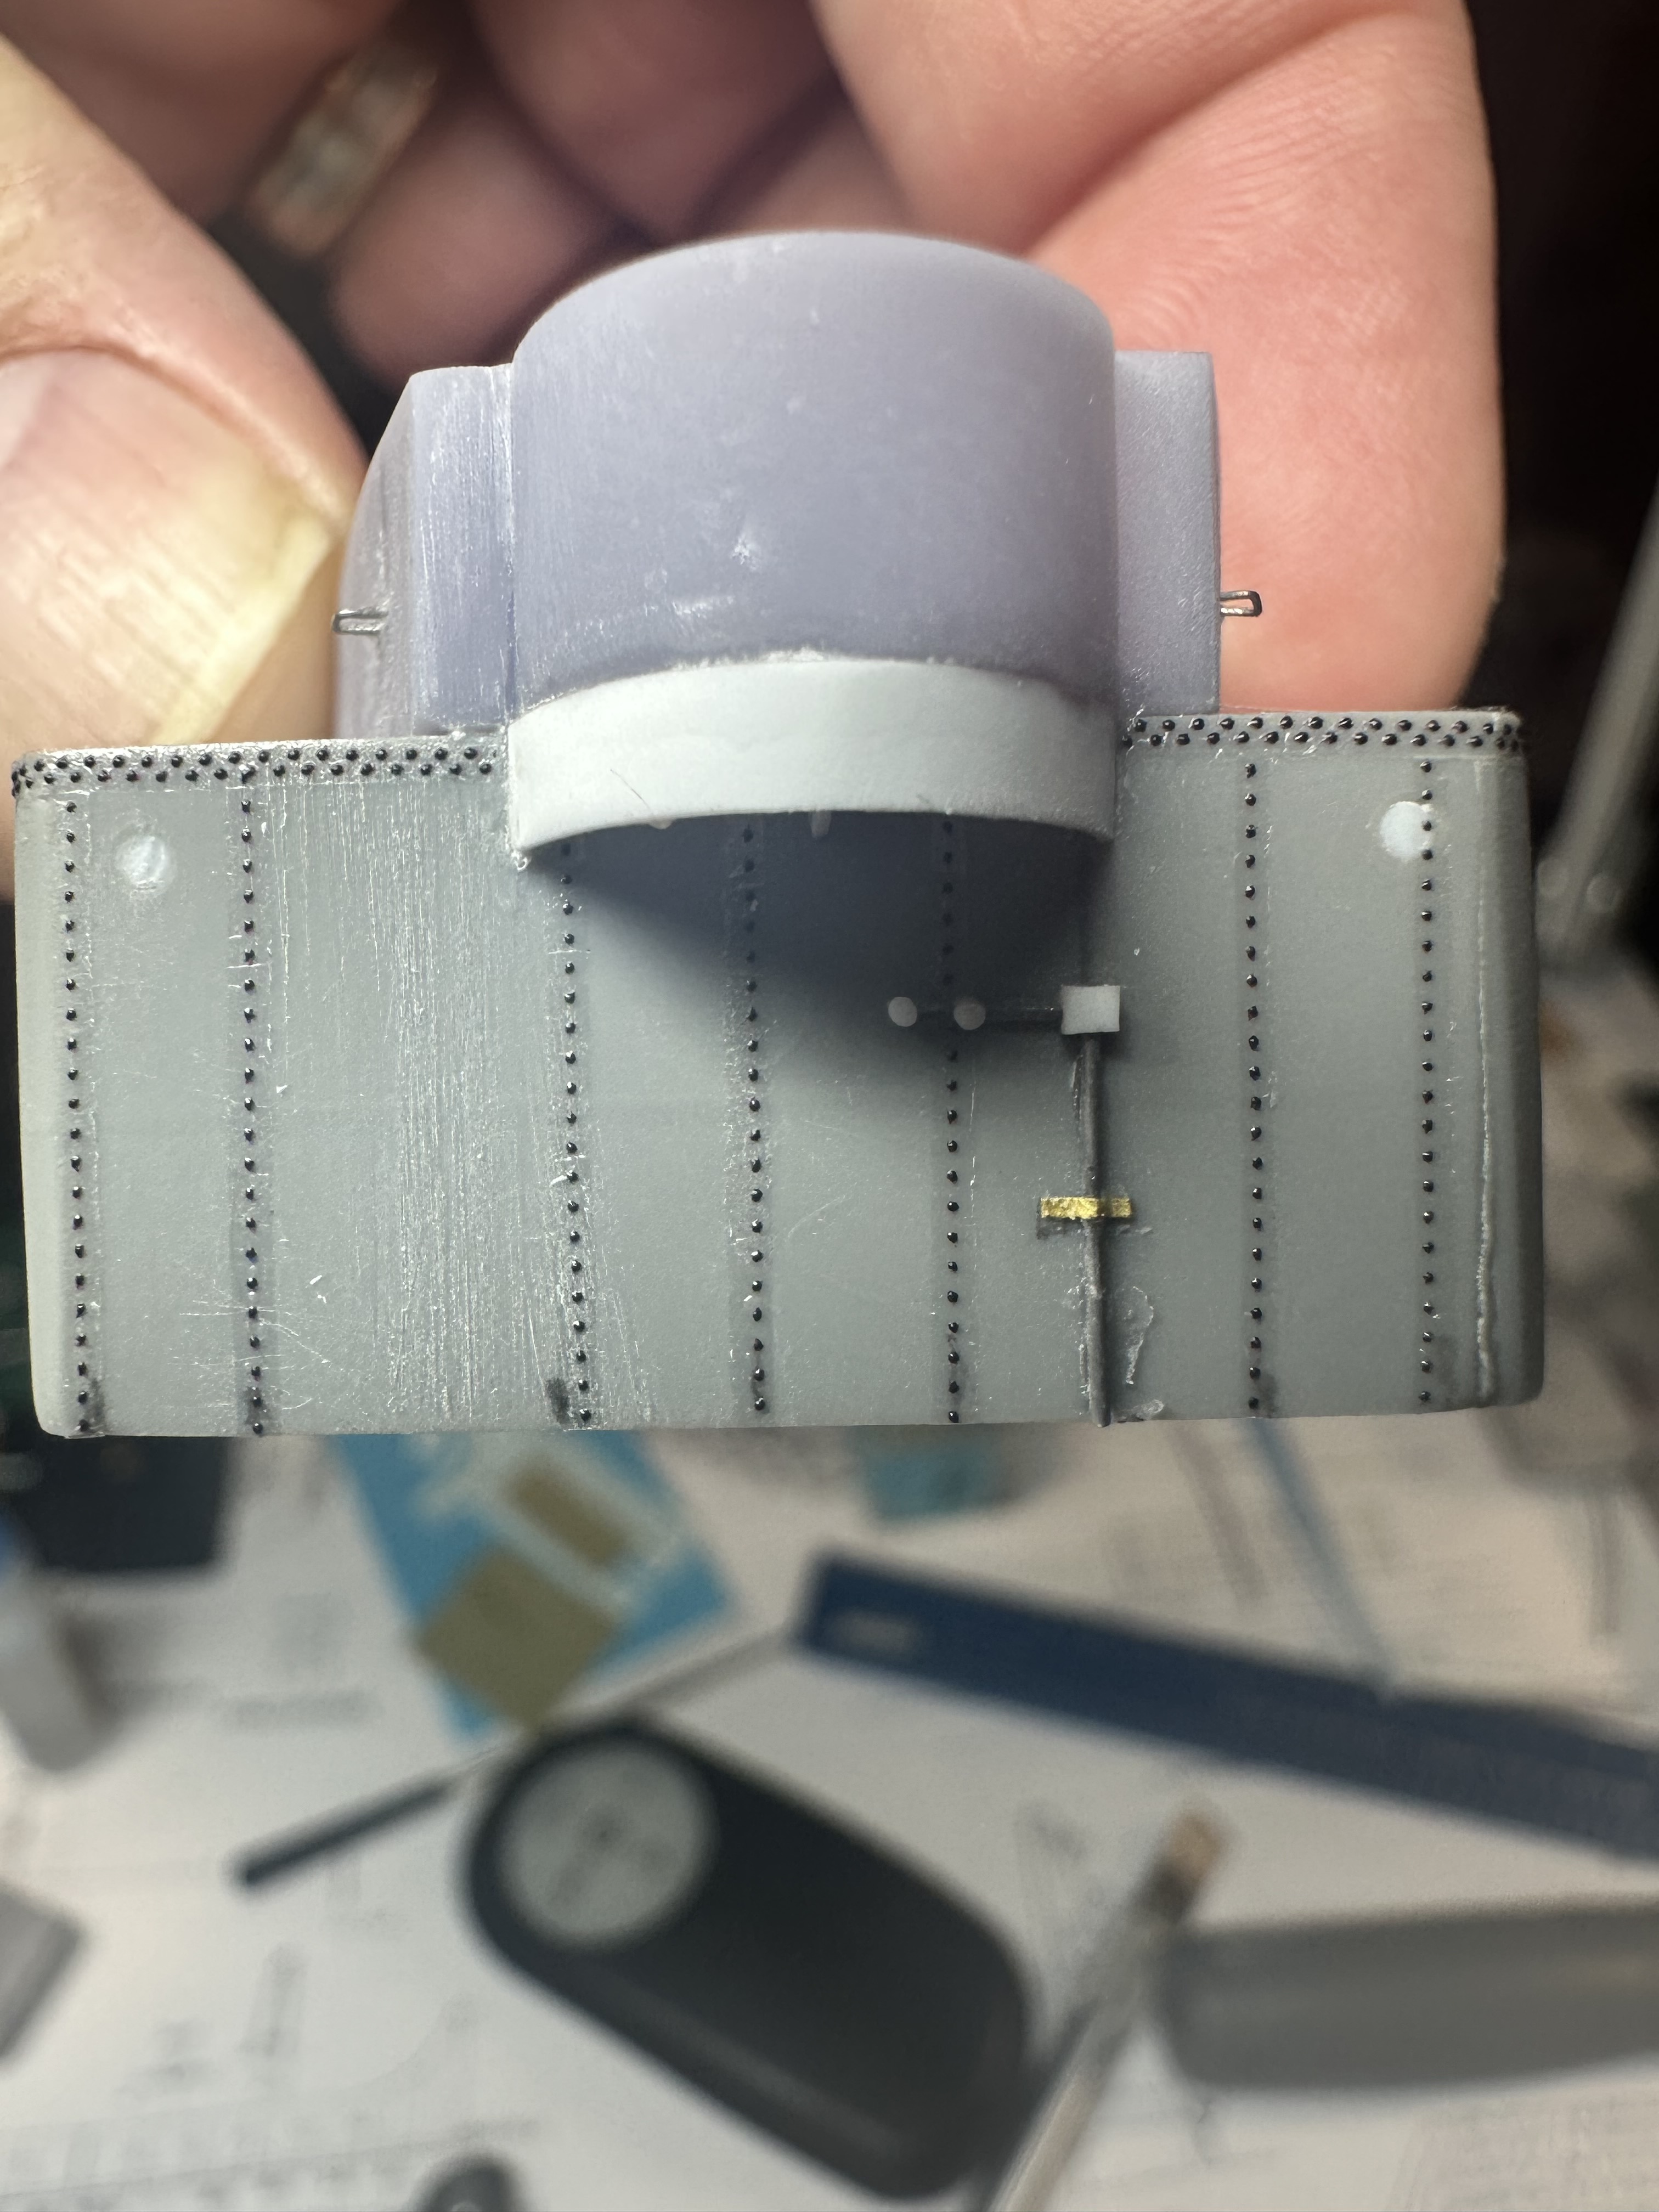
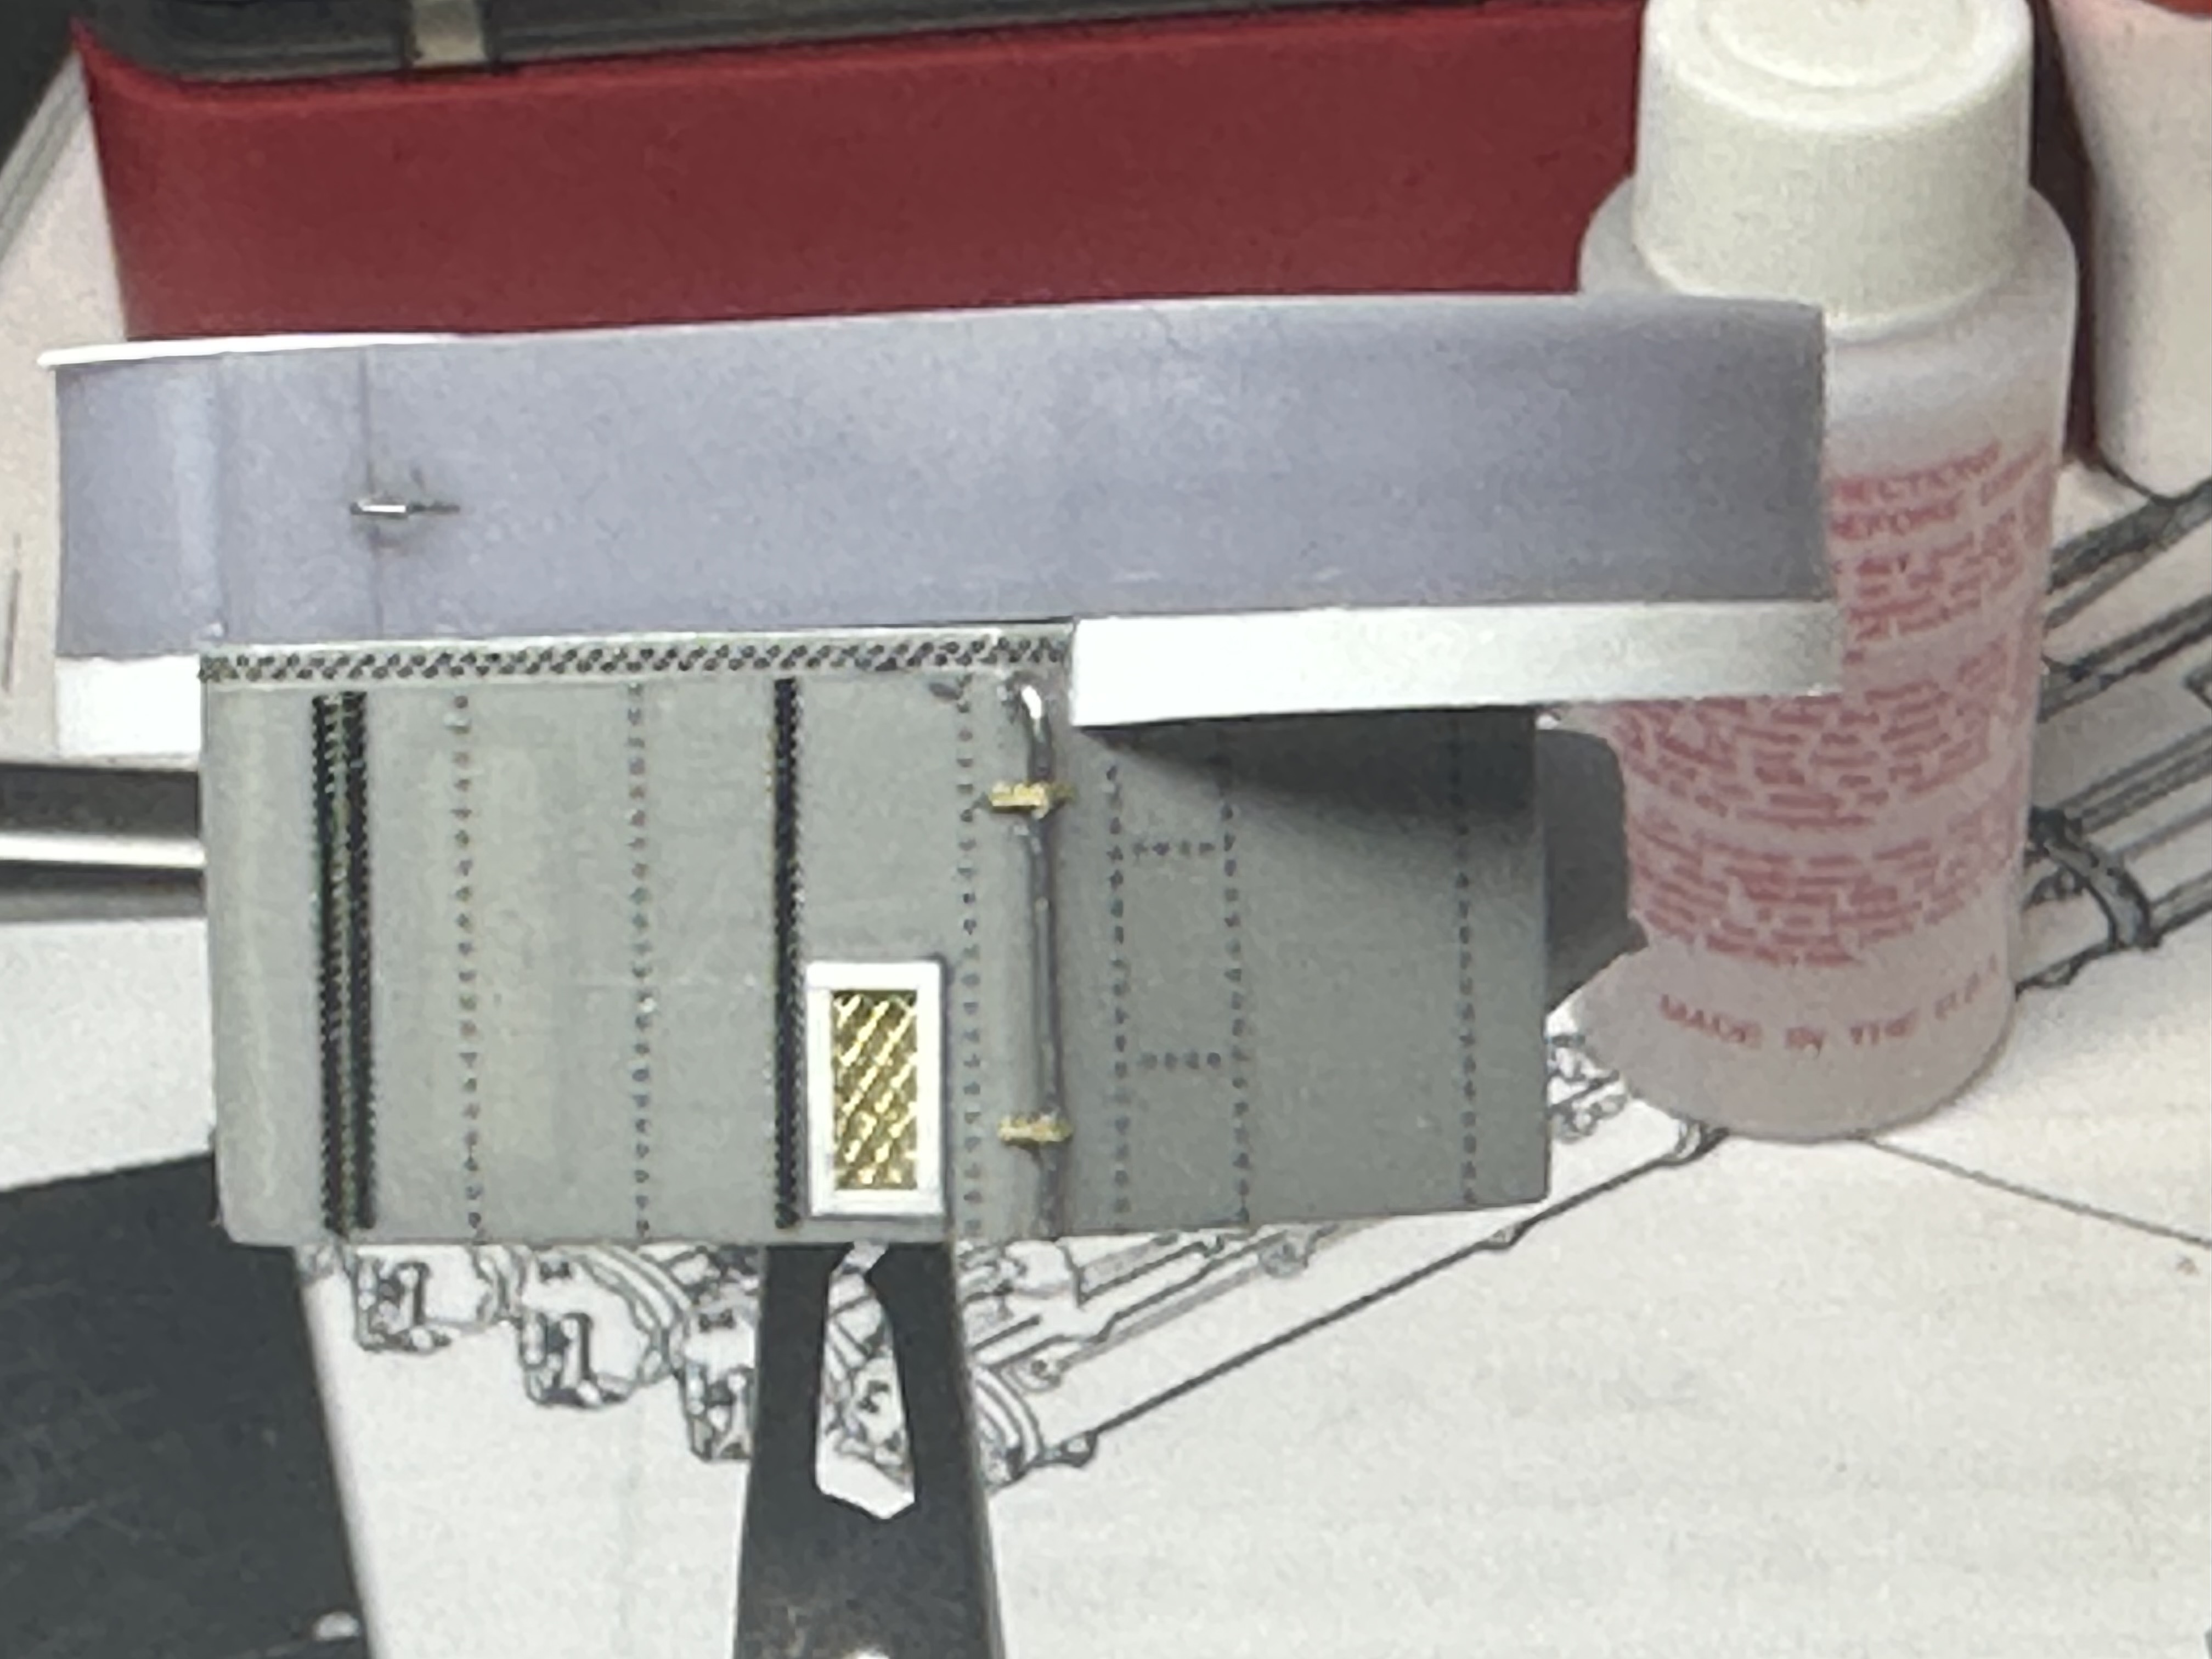
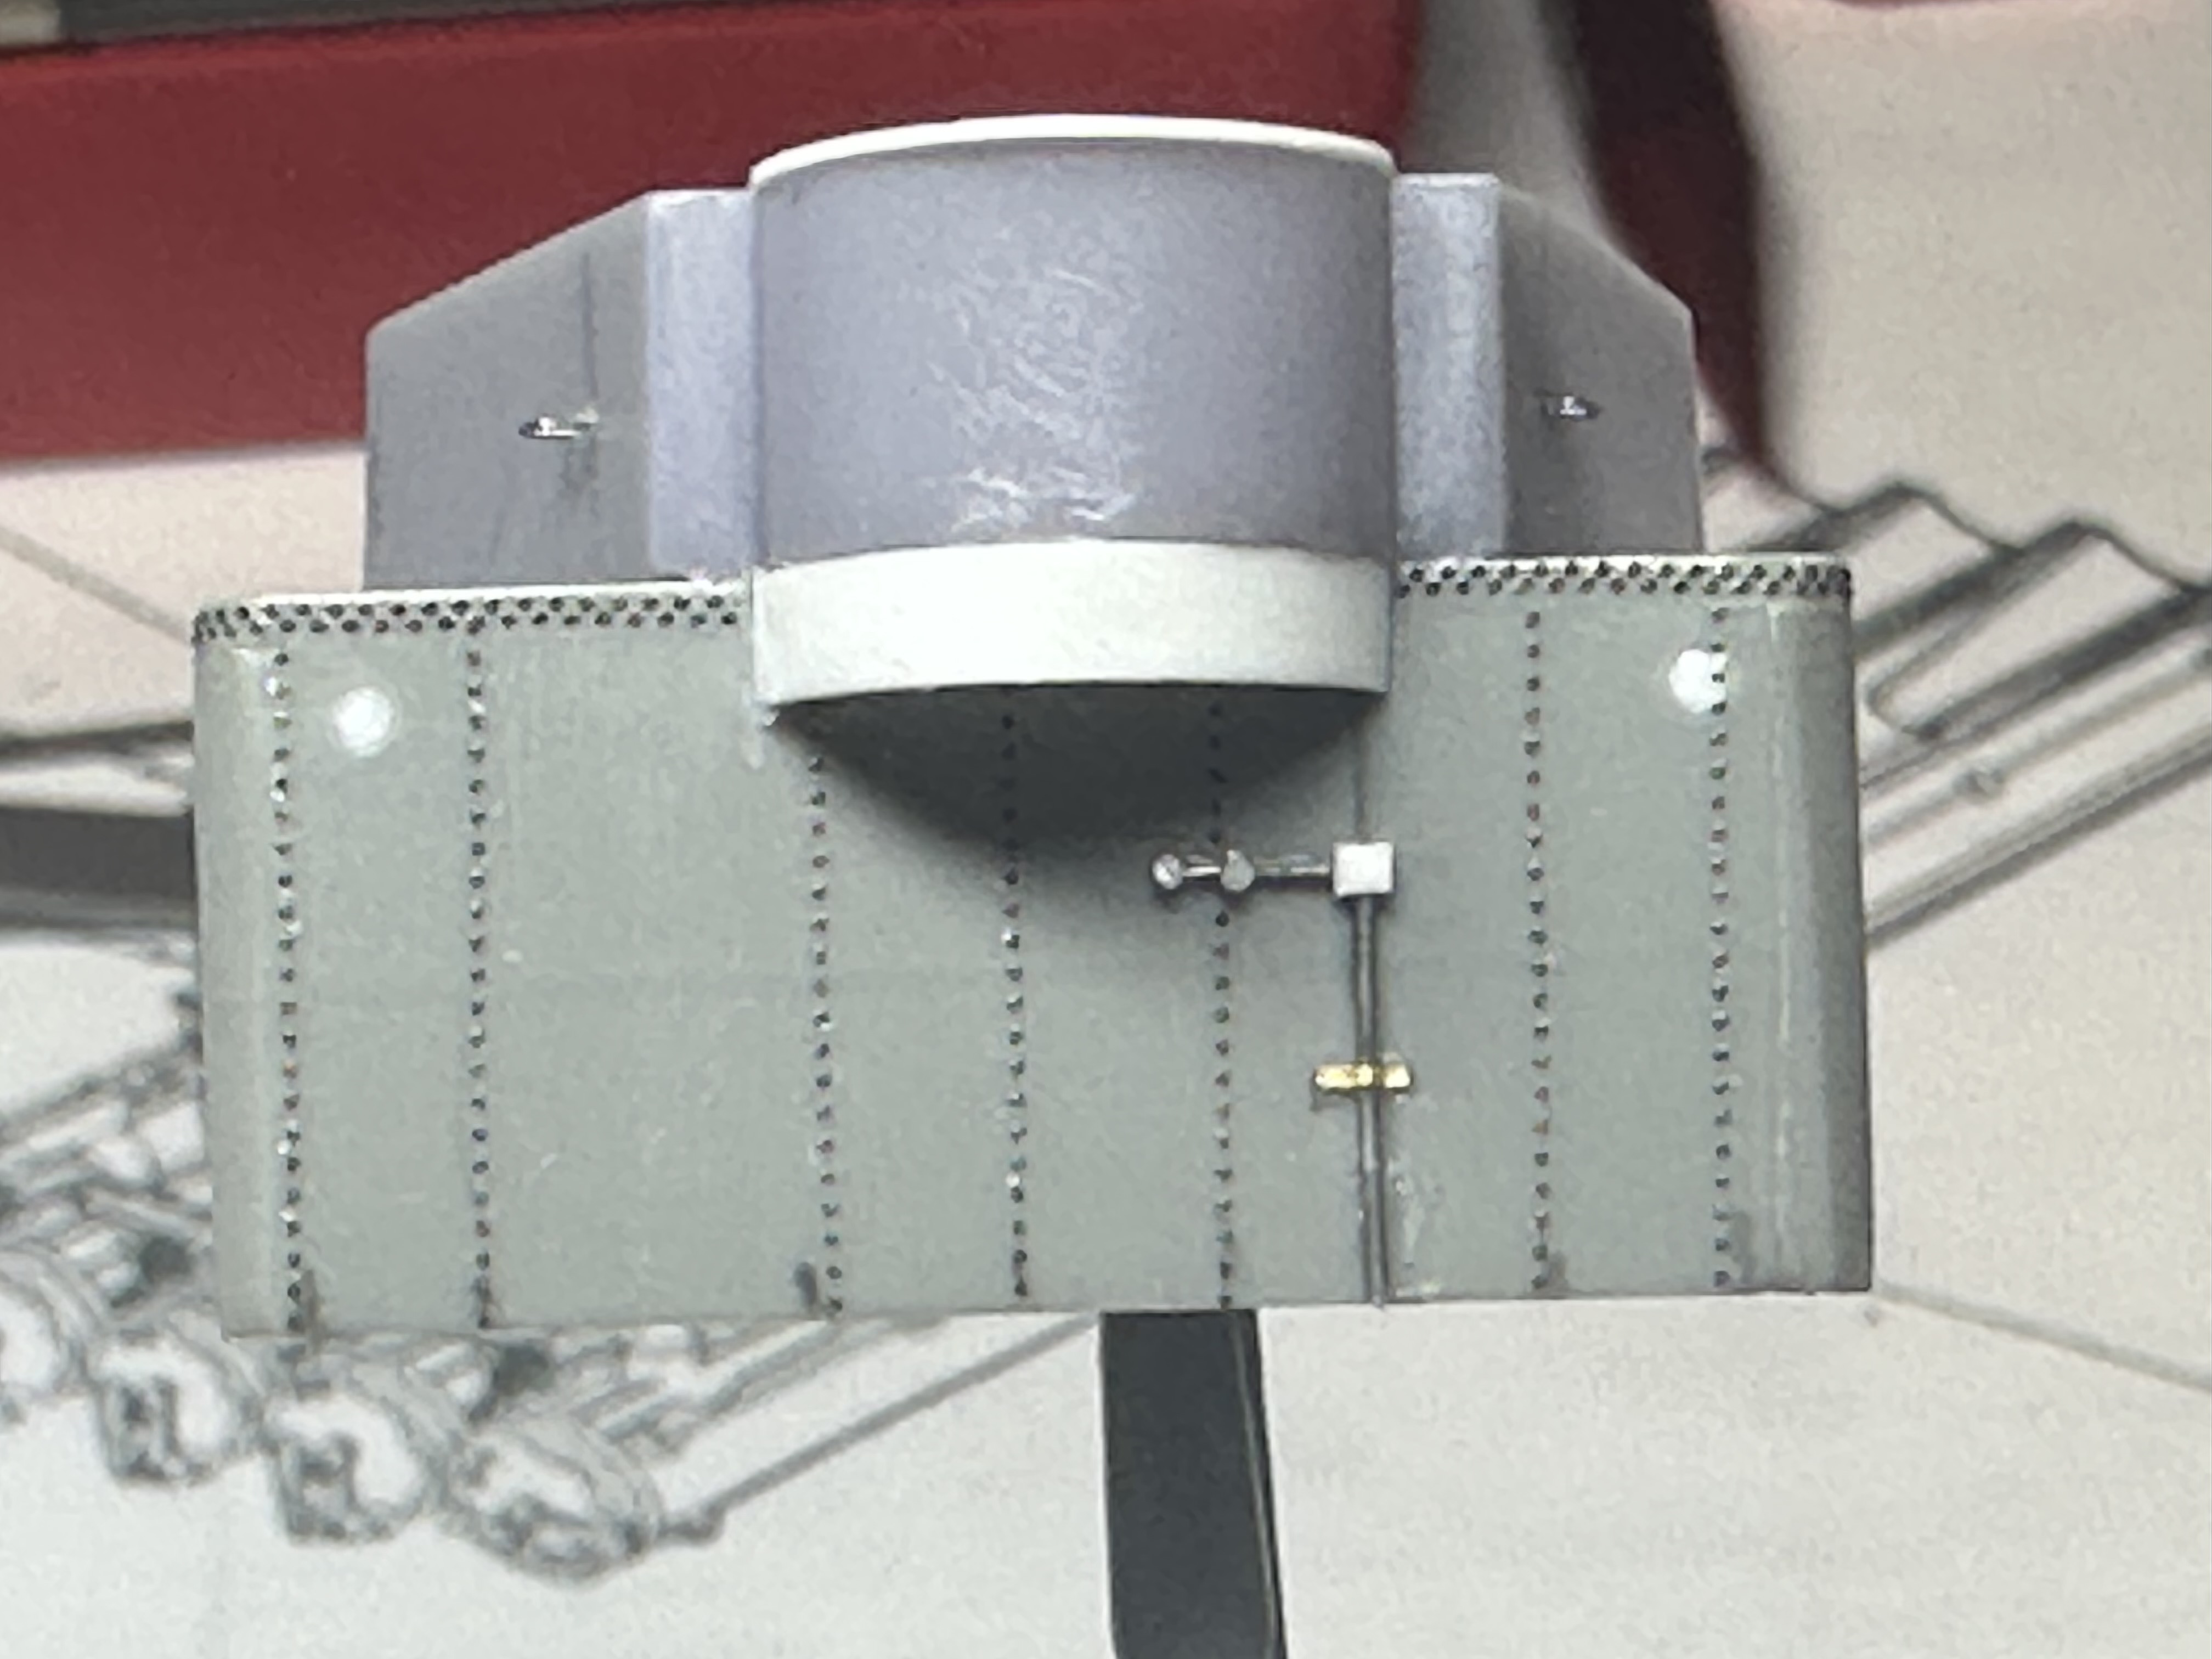
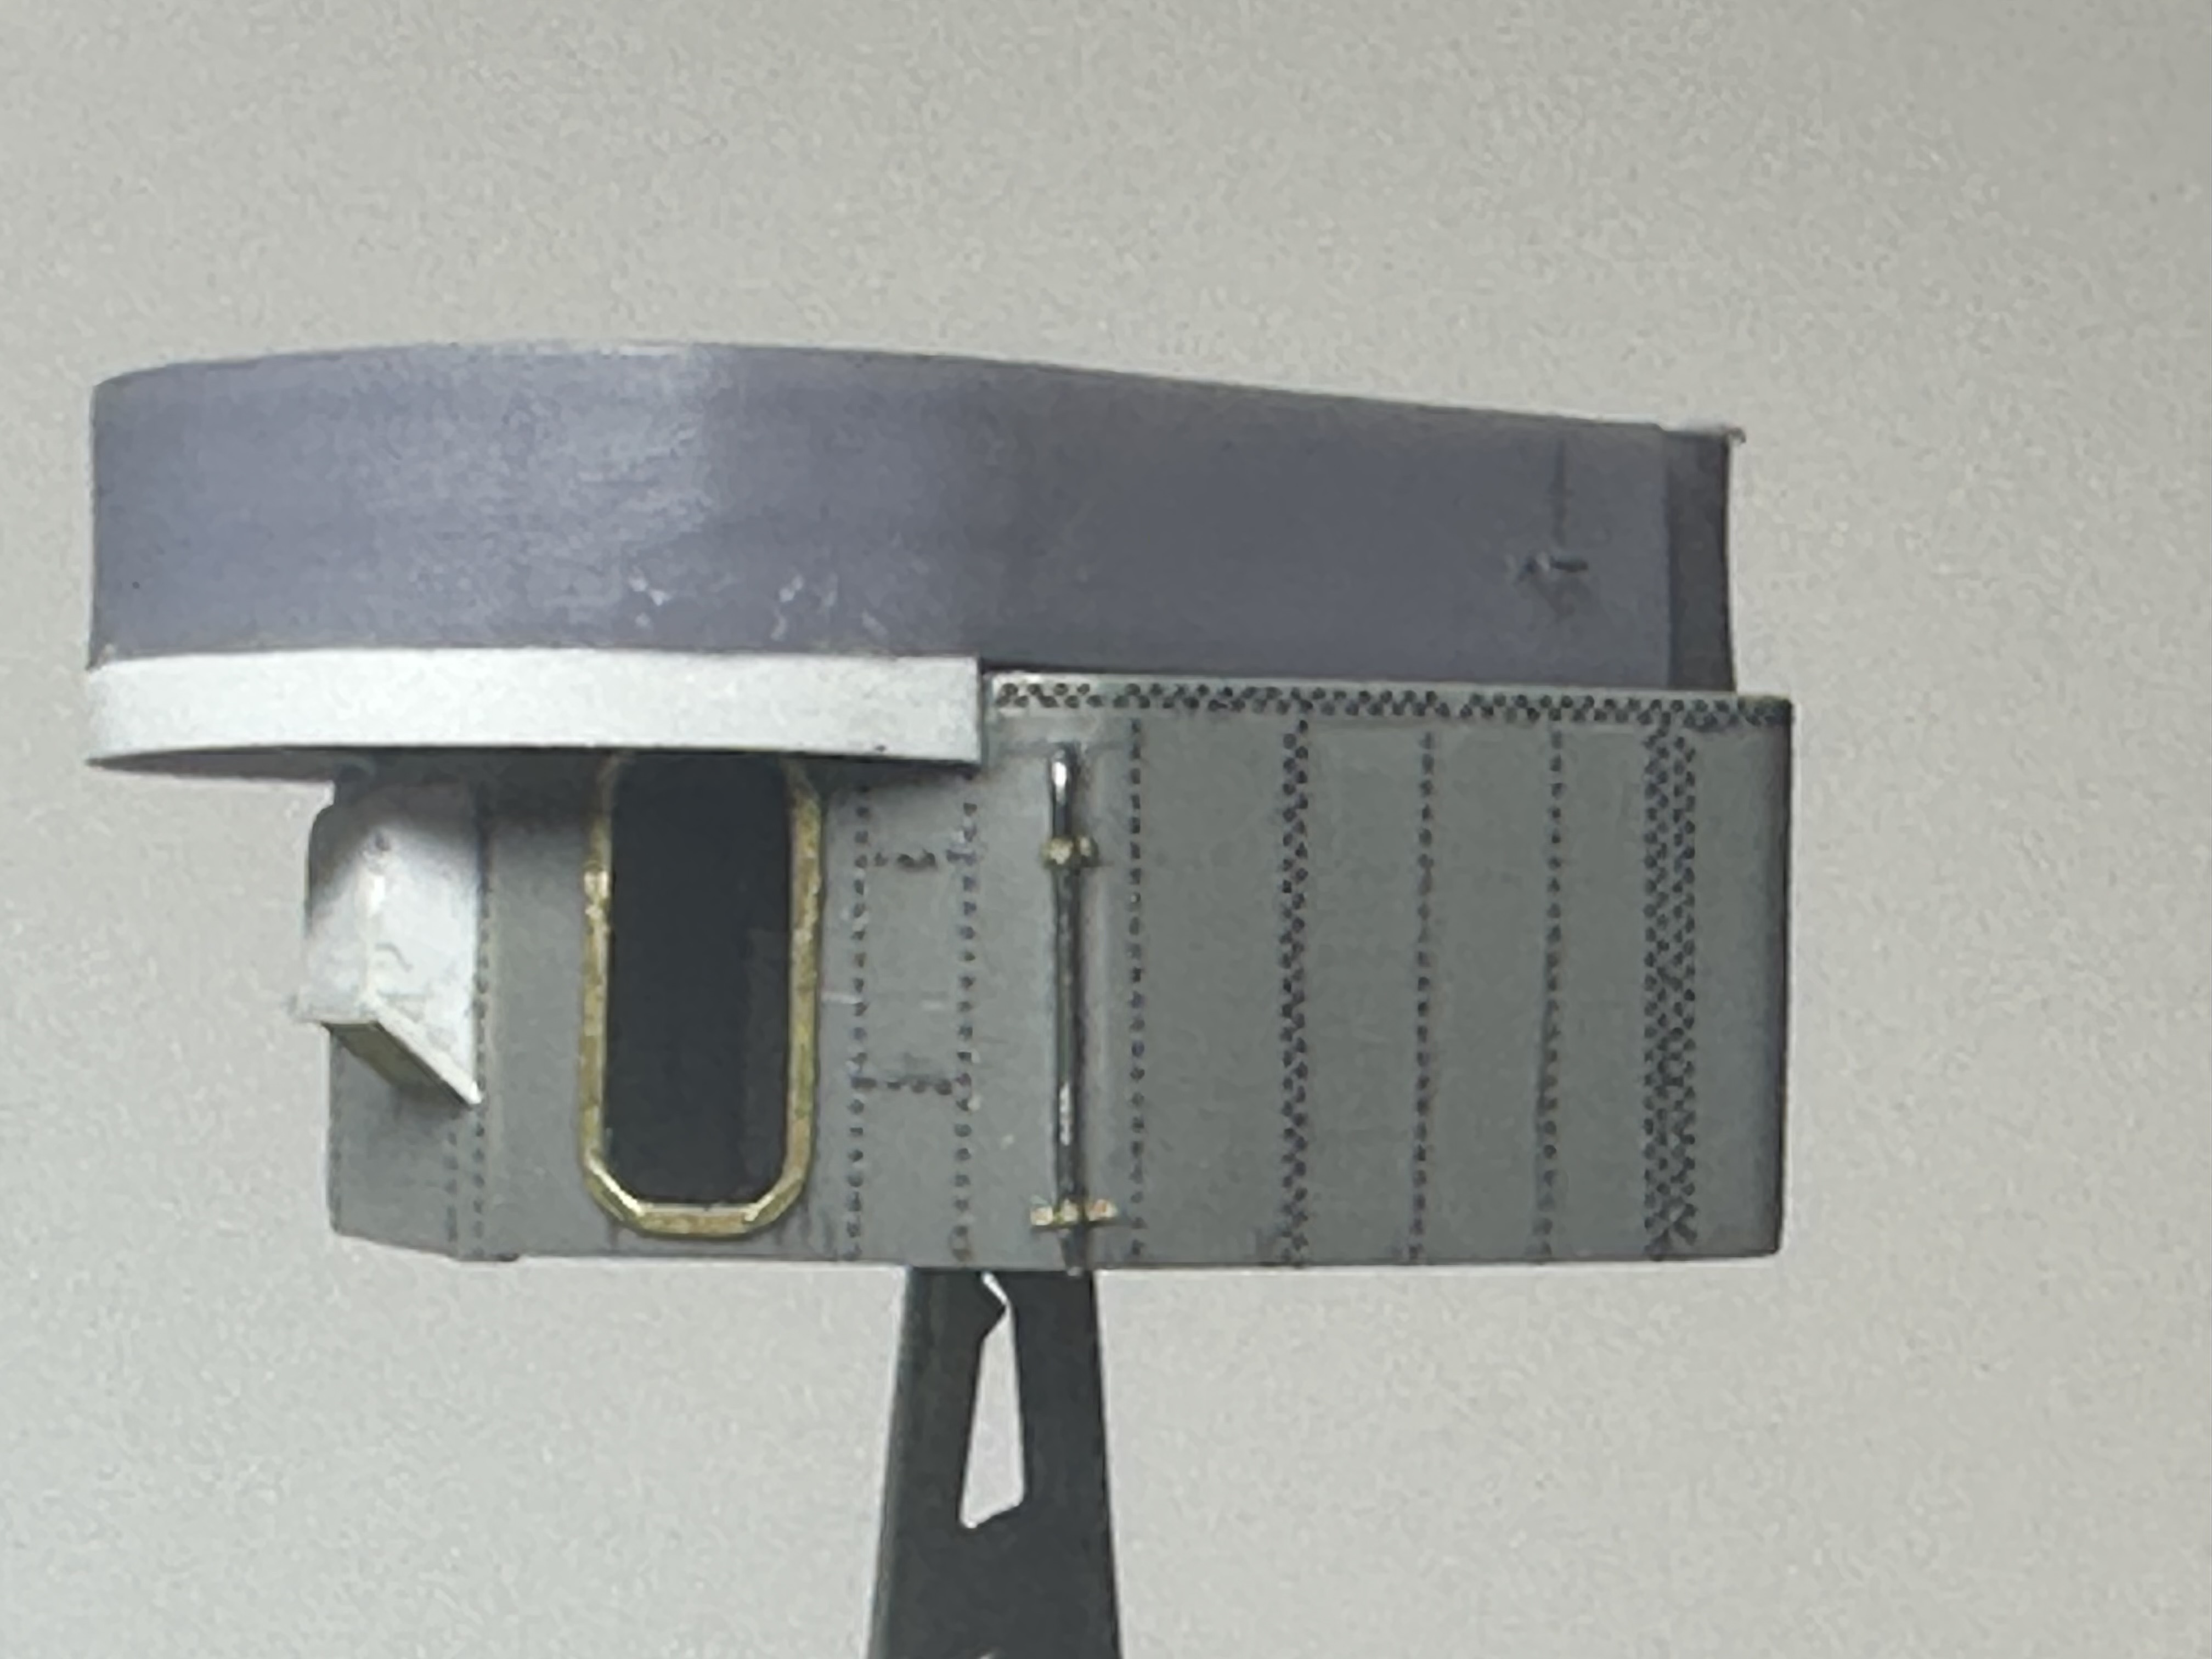
1/144 Fletcher Class Destroyer: USS Hoel (DD-533) 1944

Hey all, - as promised here are the pictures of the 3d printed items from Distefano

20mm Gun tub for the stern
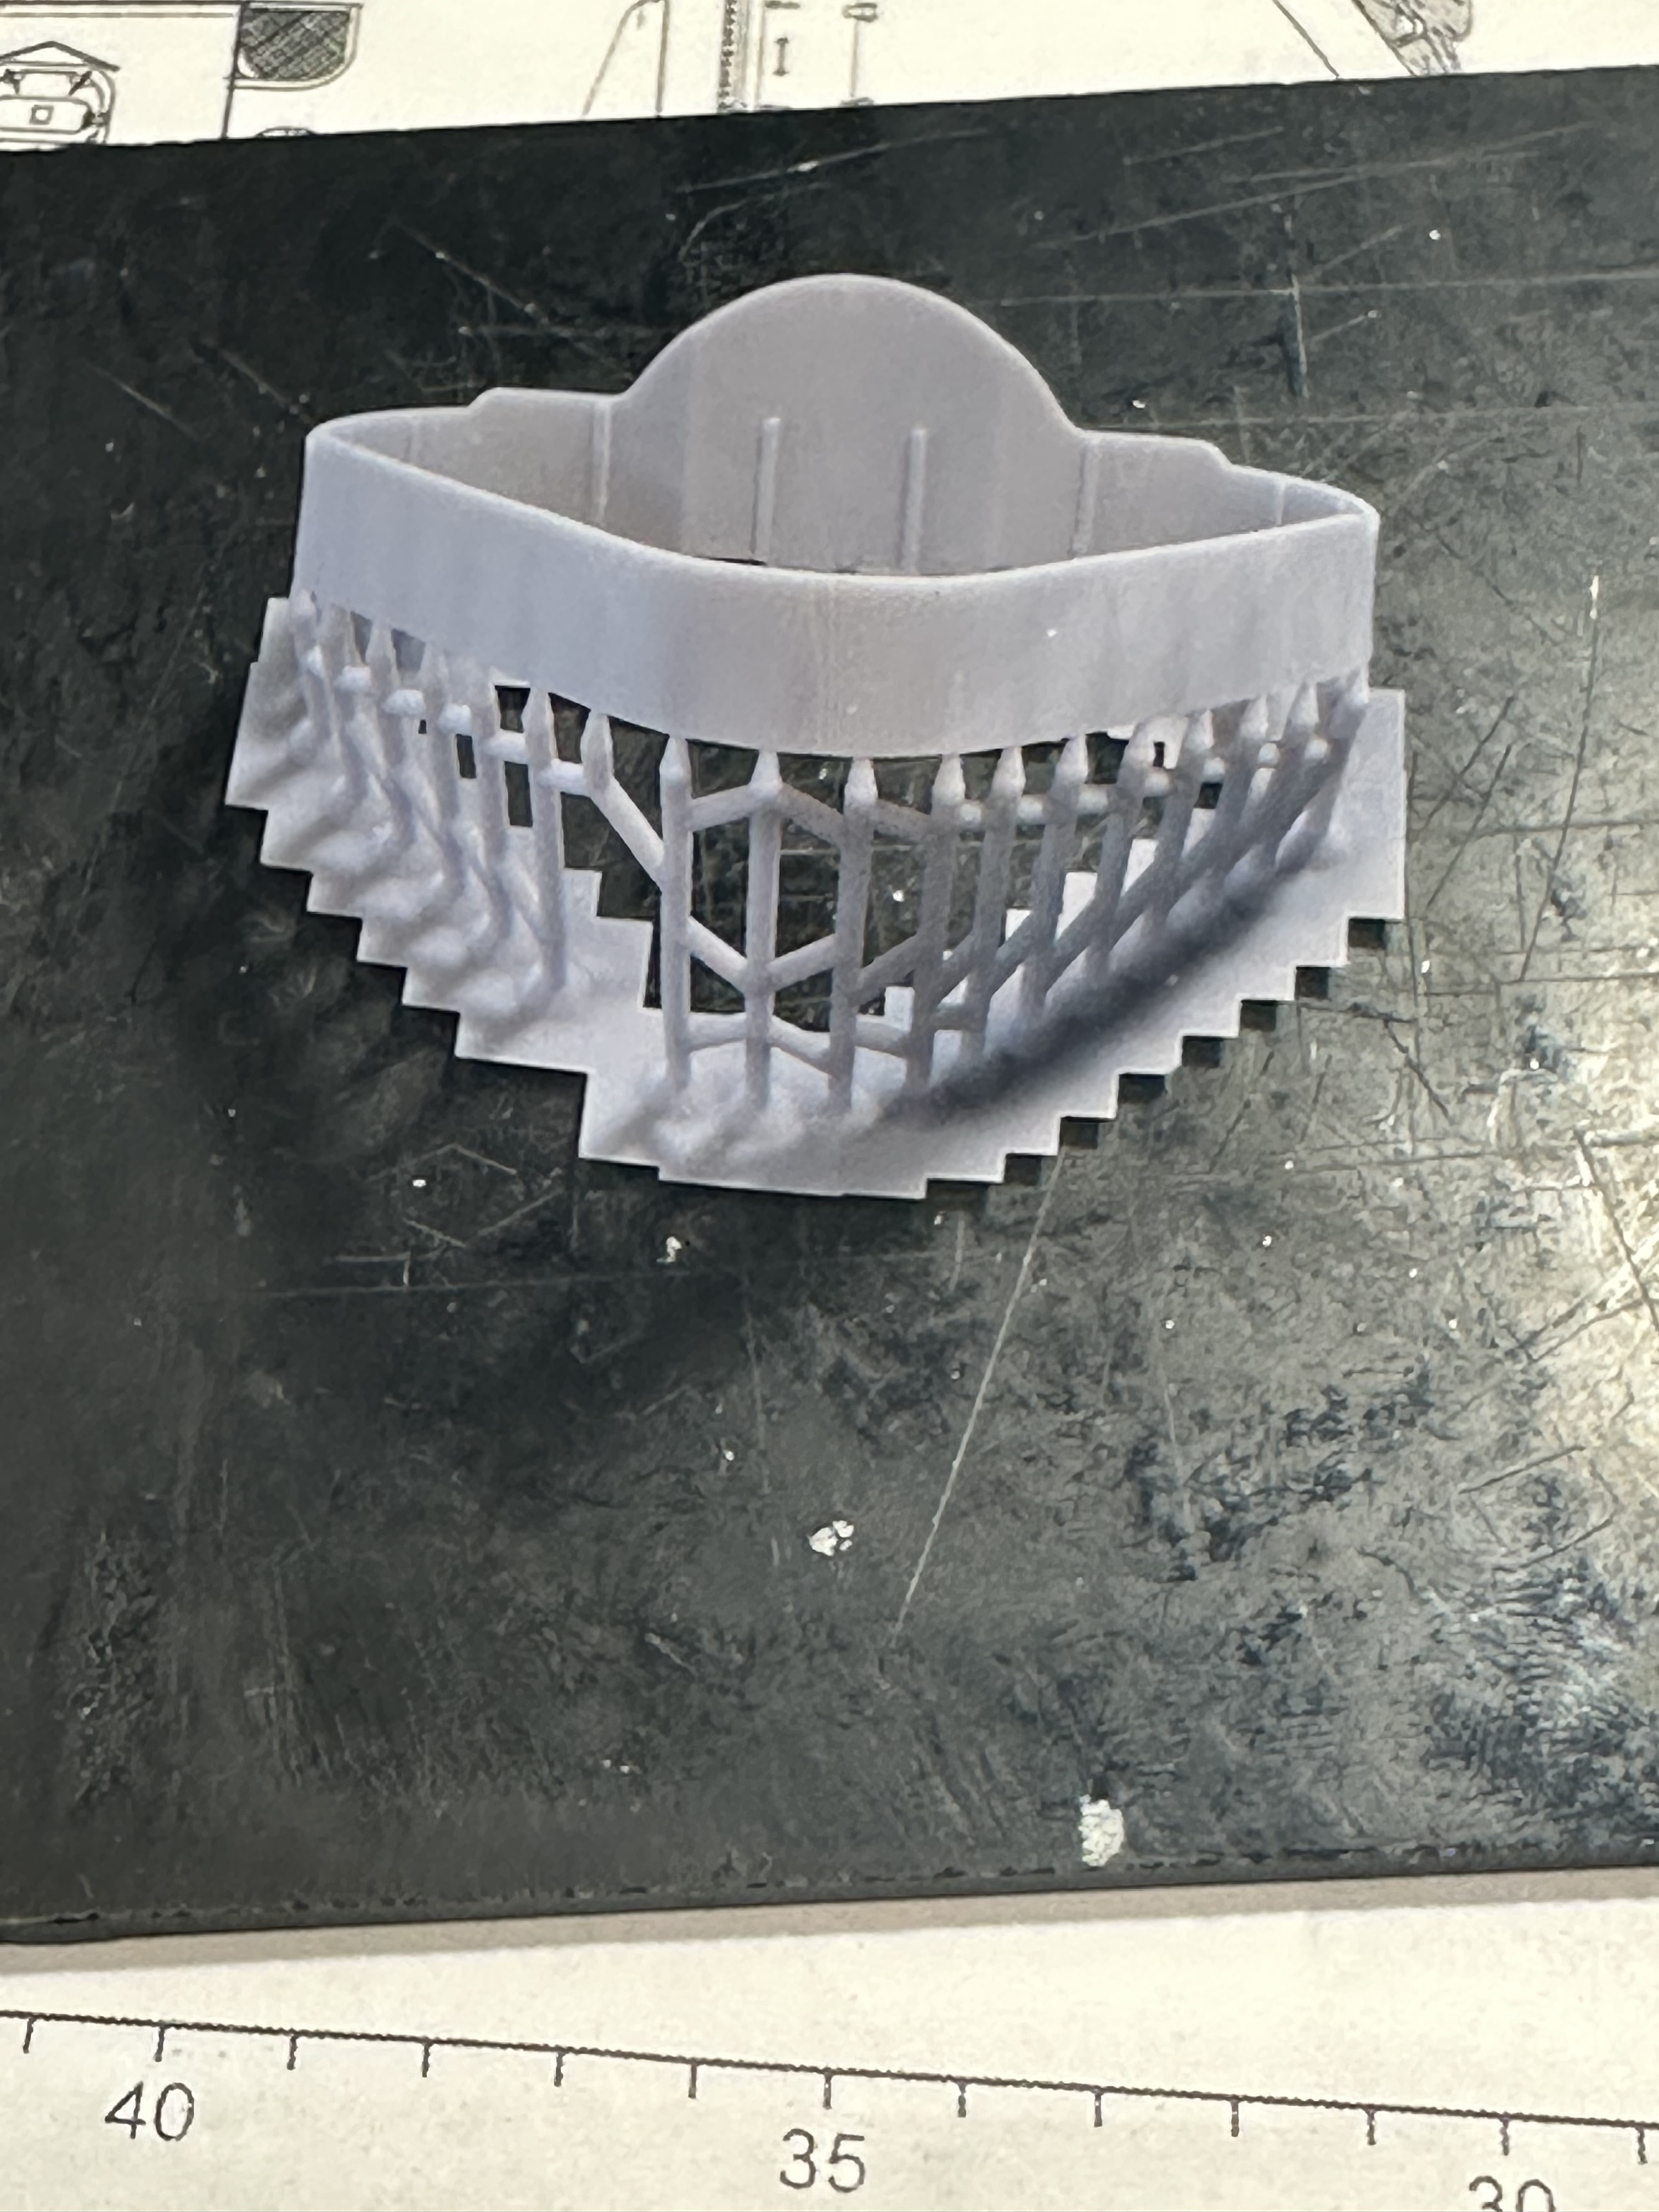
40mm Gun tub and MK5 Director position for the midship
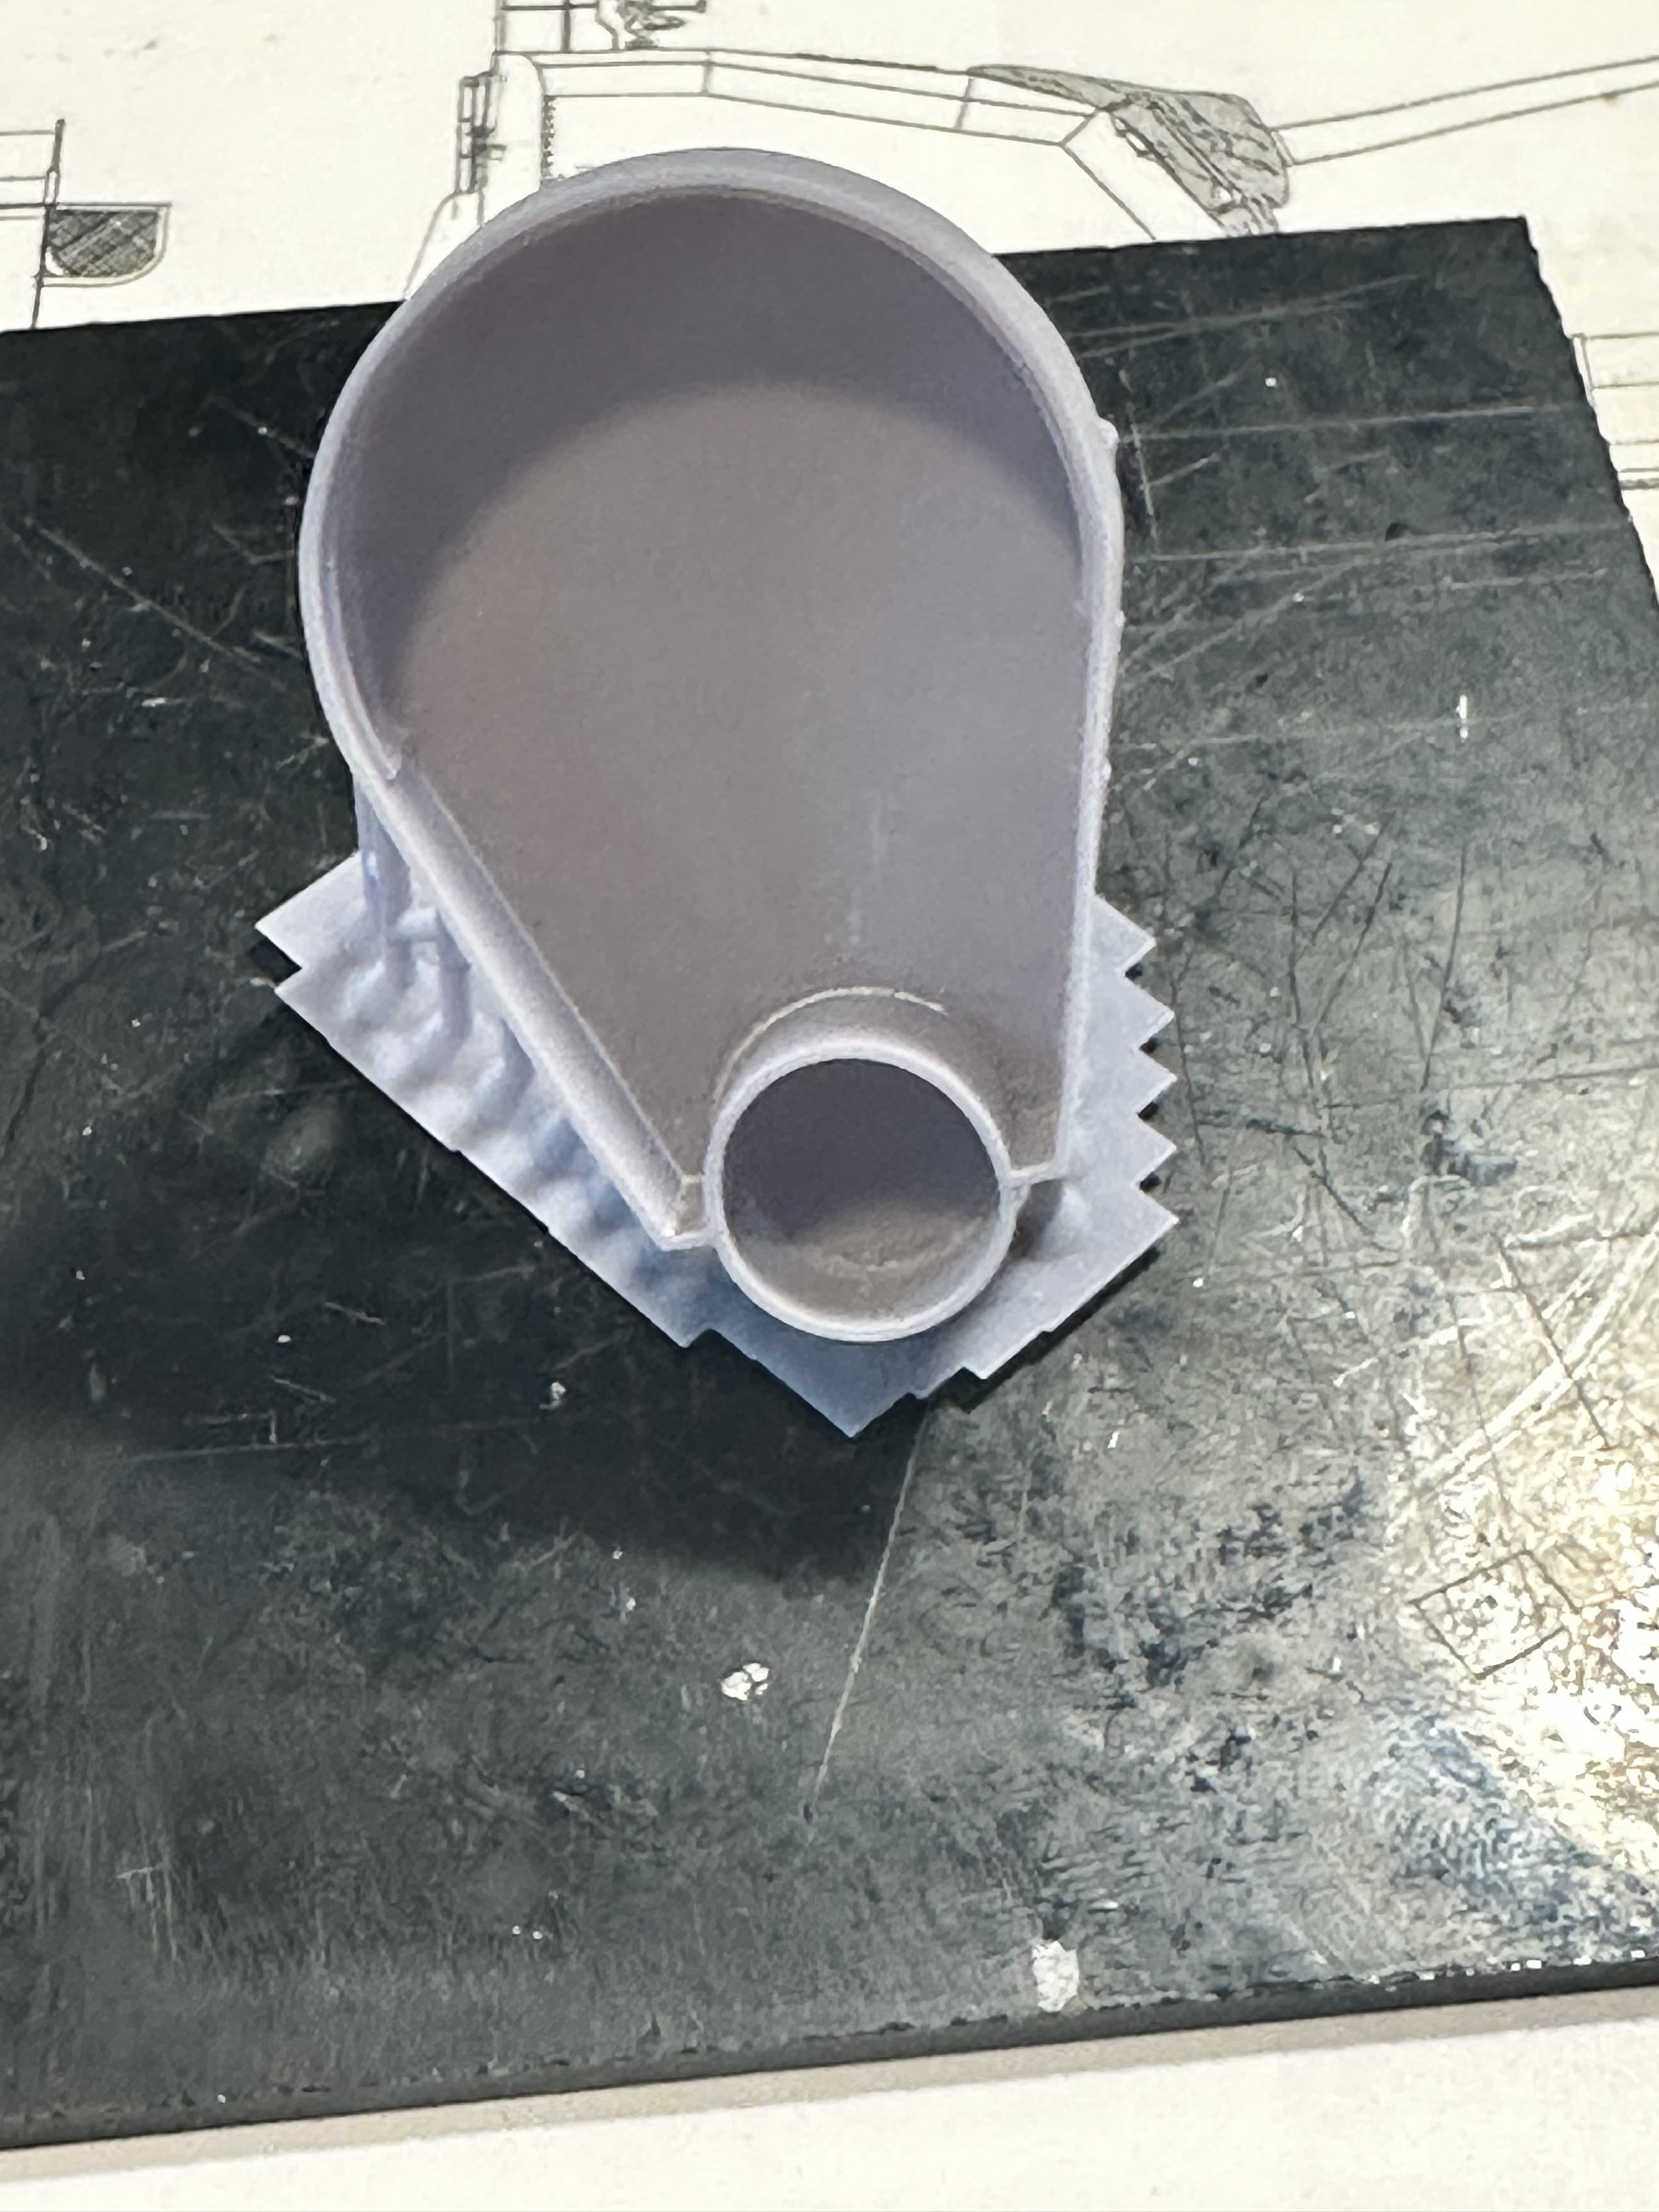
40mm port and starboard gun tubs - kinda plain and I am sure the shape is wrong - but will verify with plans
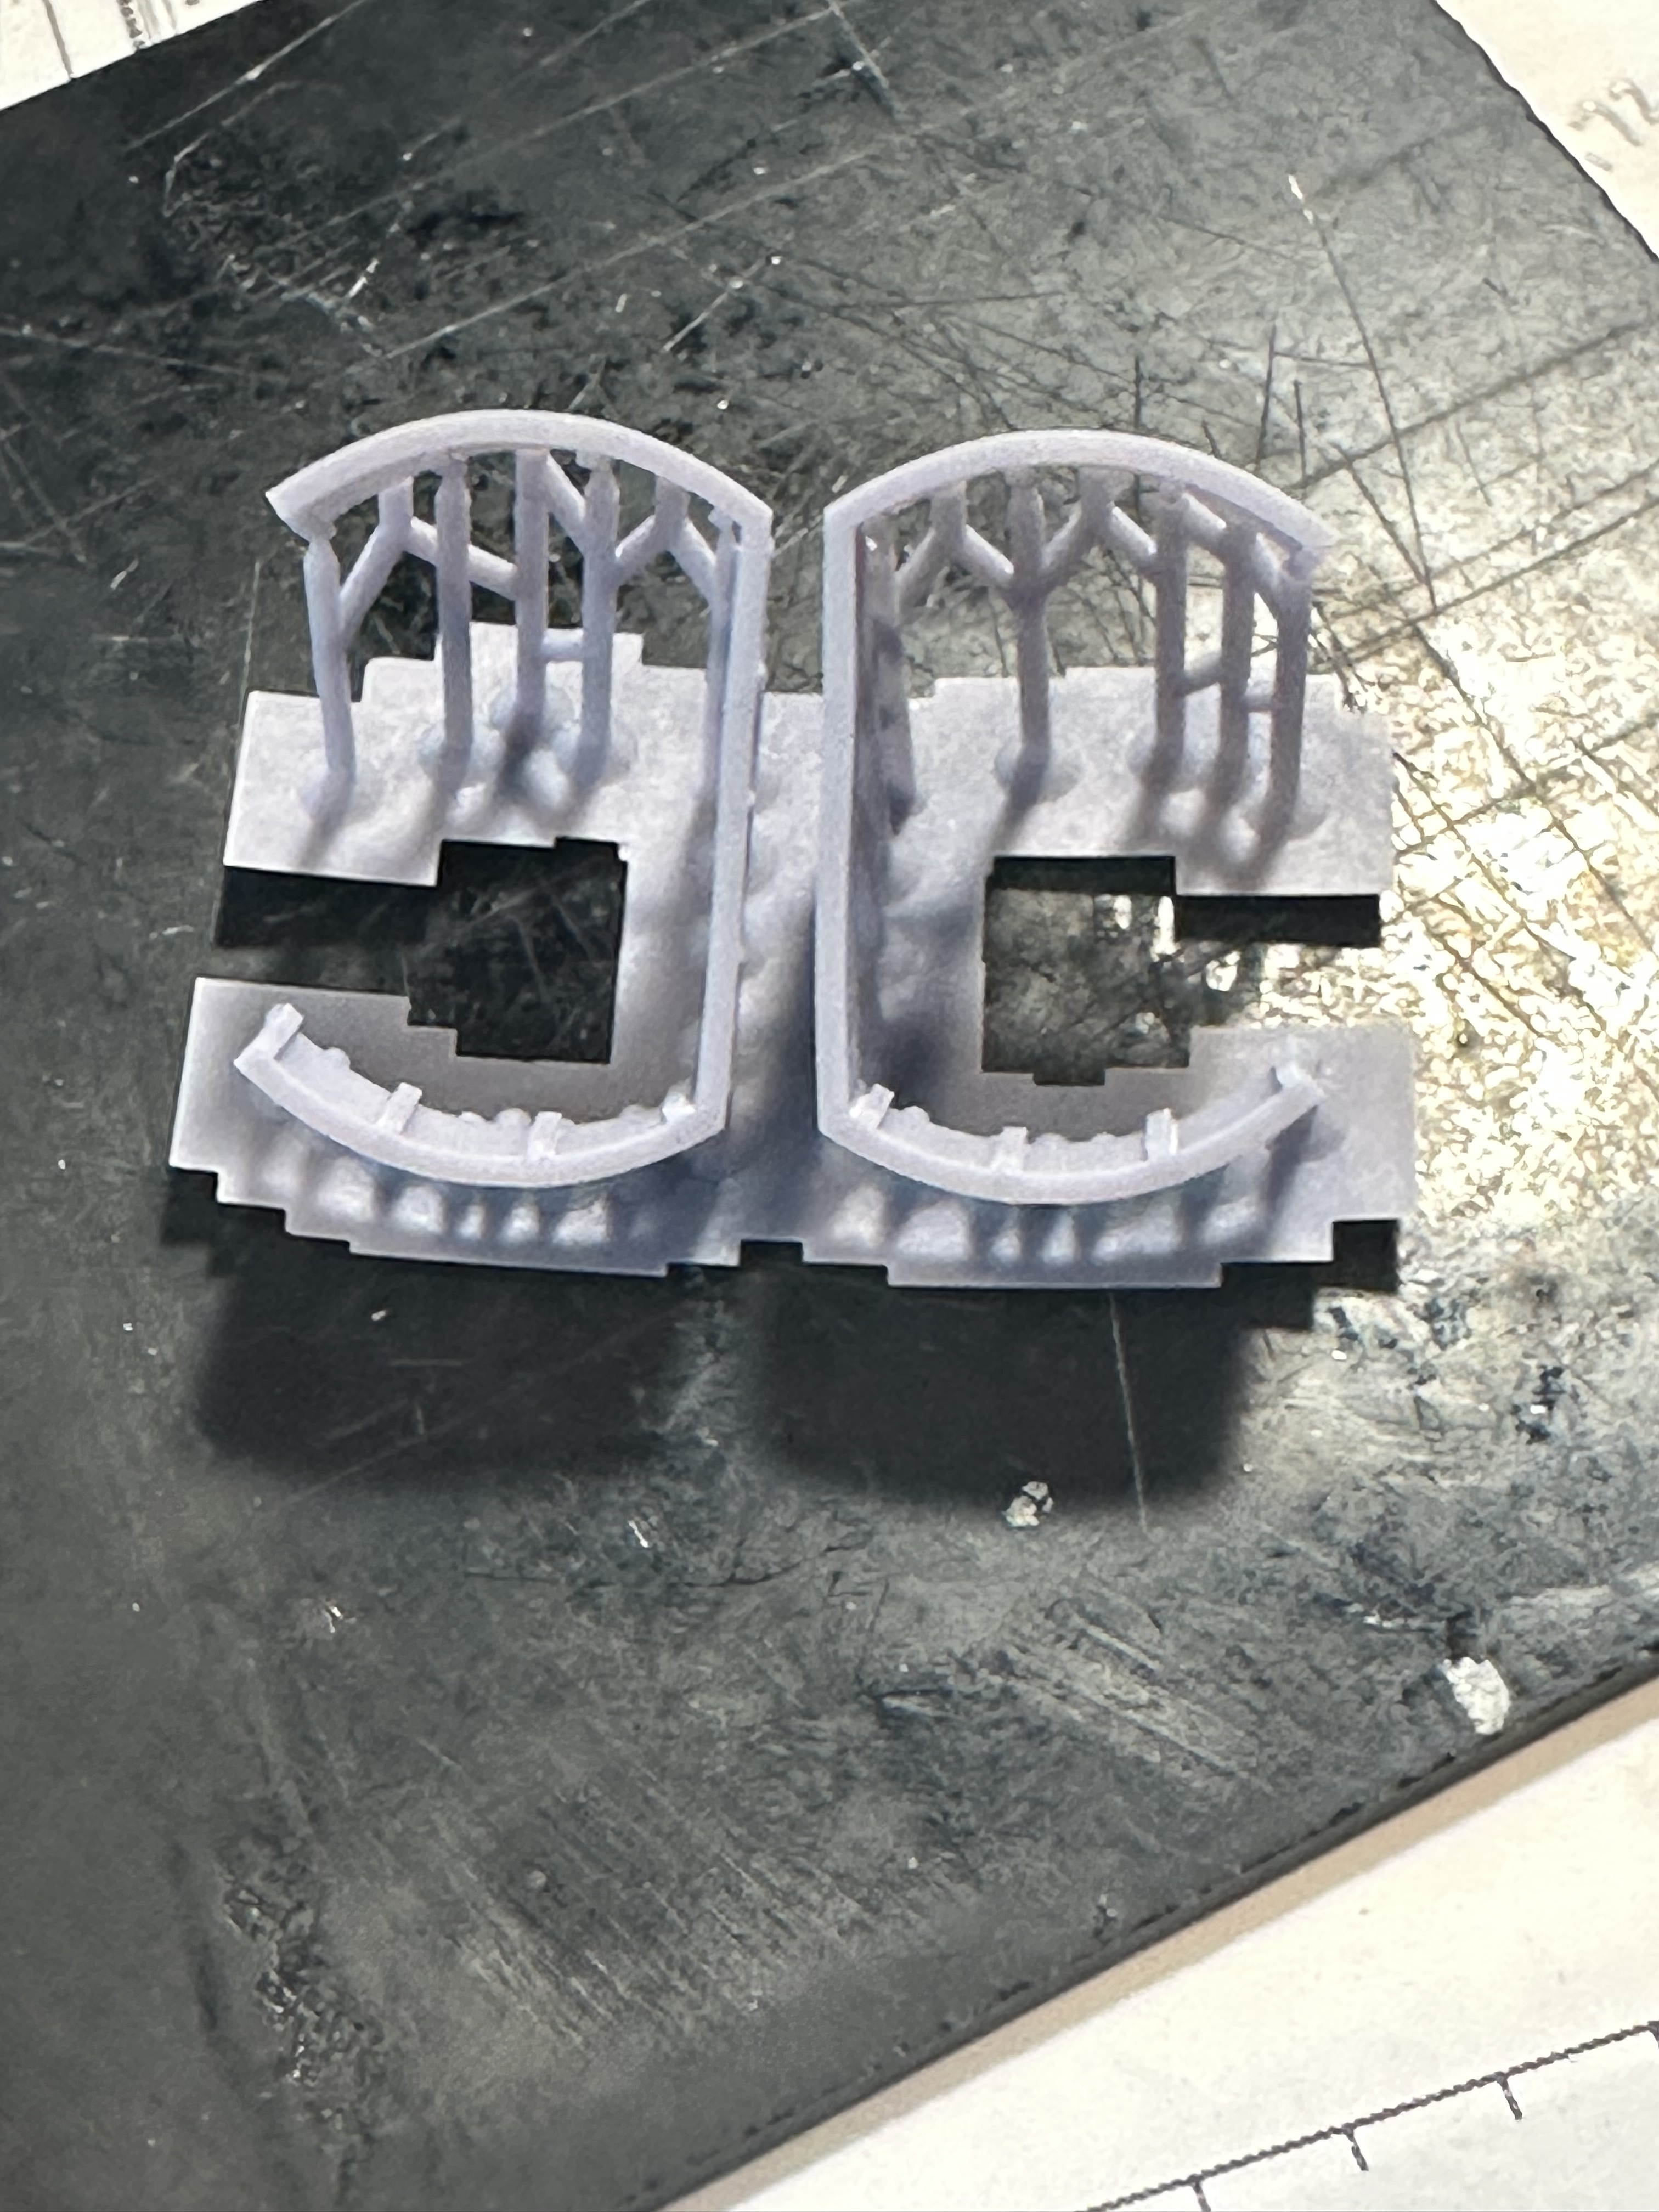
More MK51 40mm Gun Directors - not sure why i ordered so many
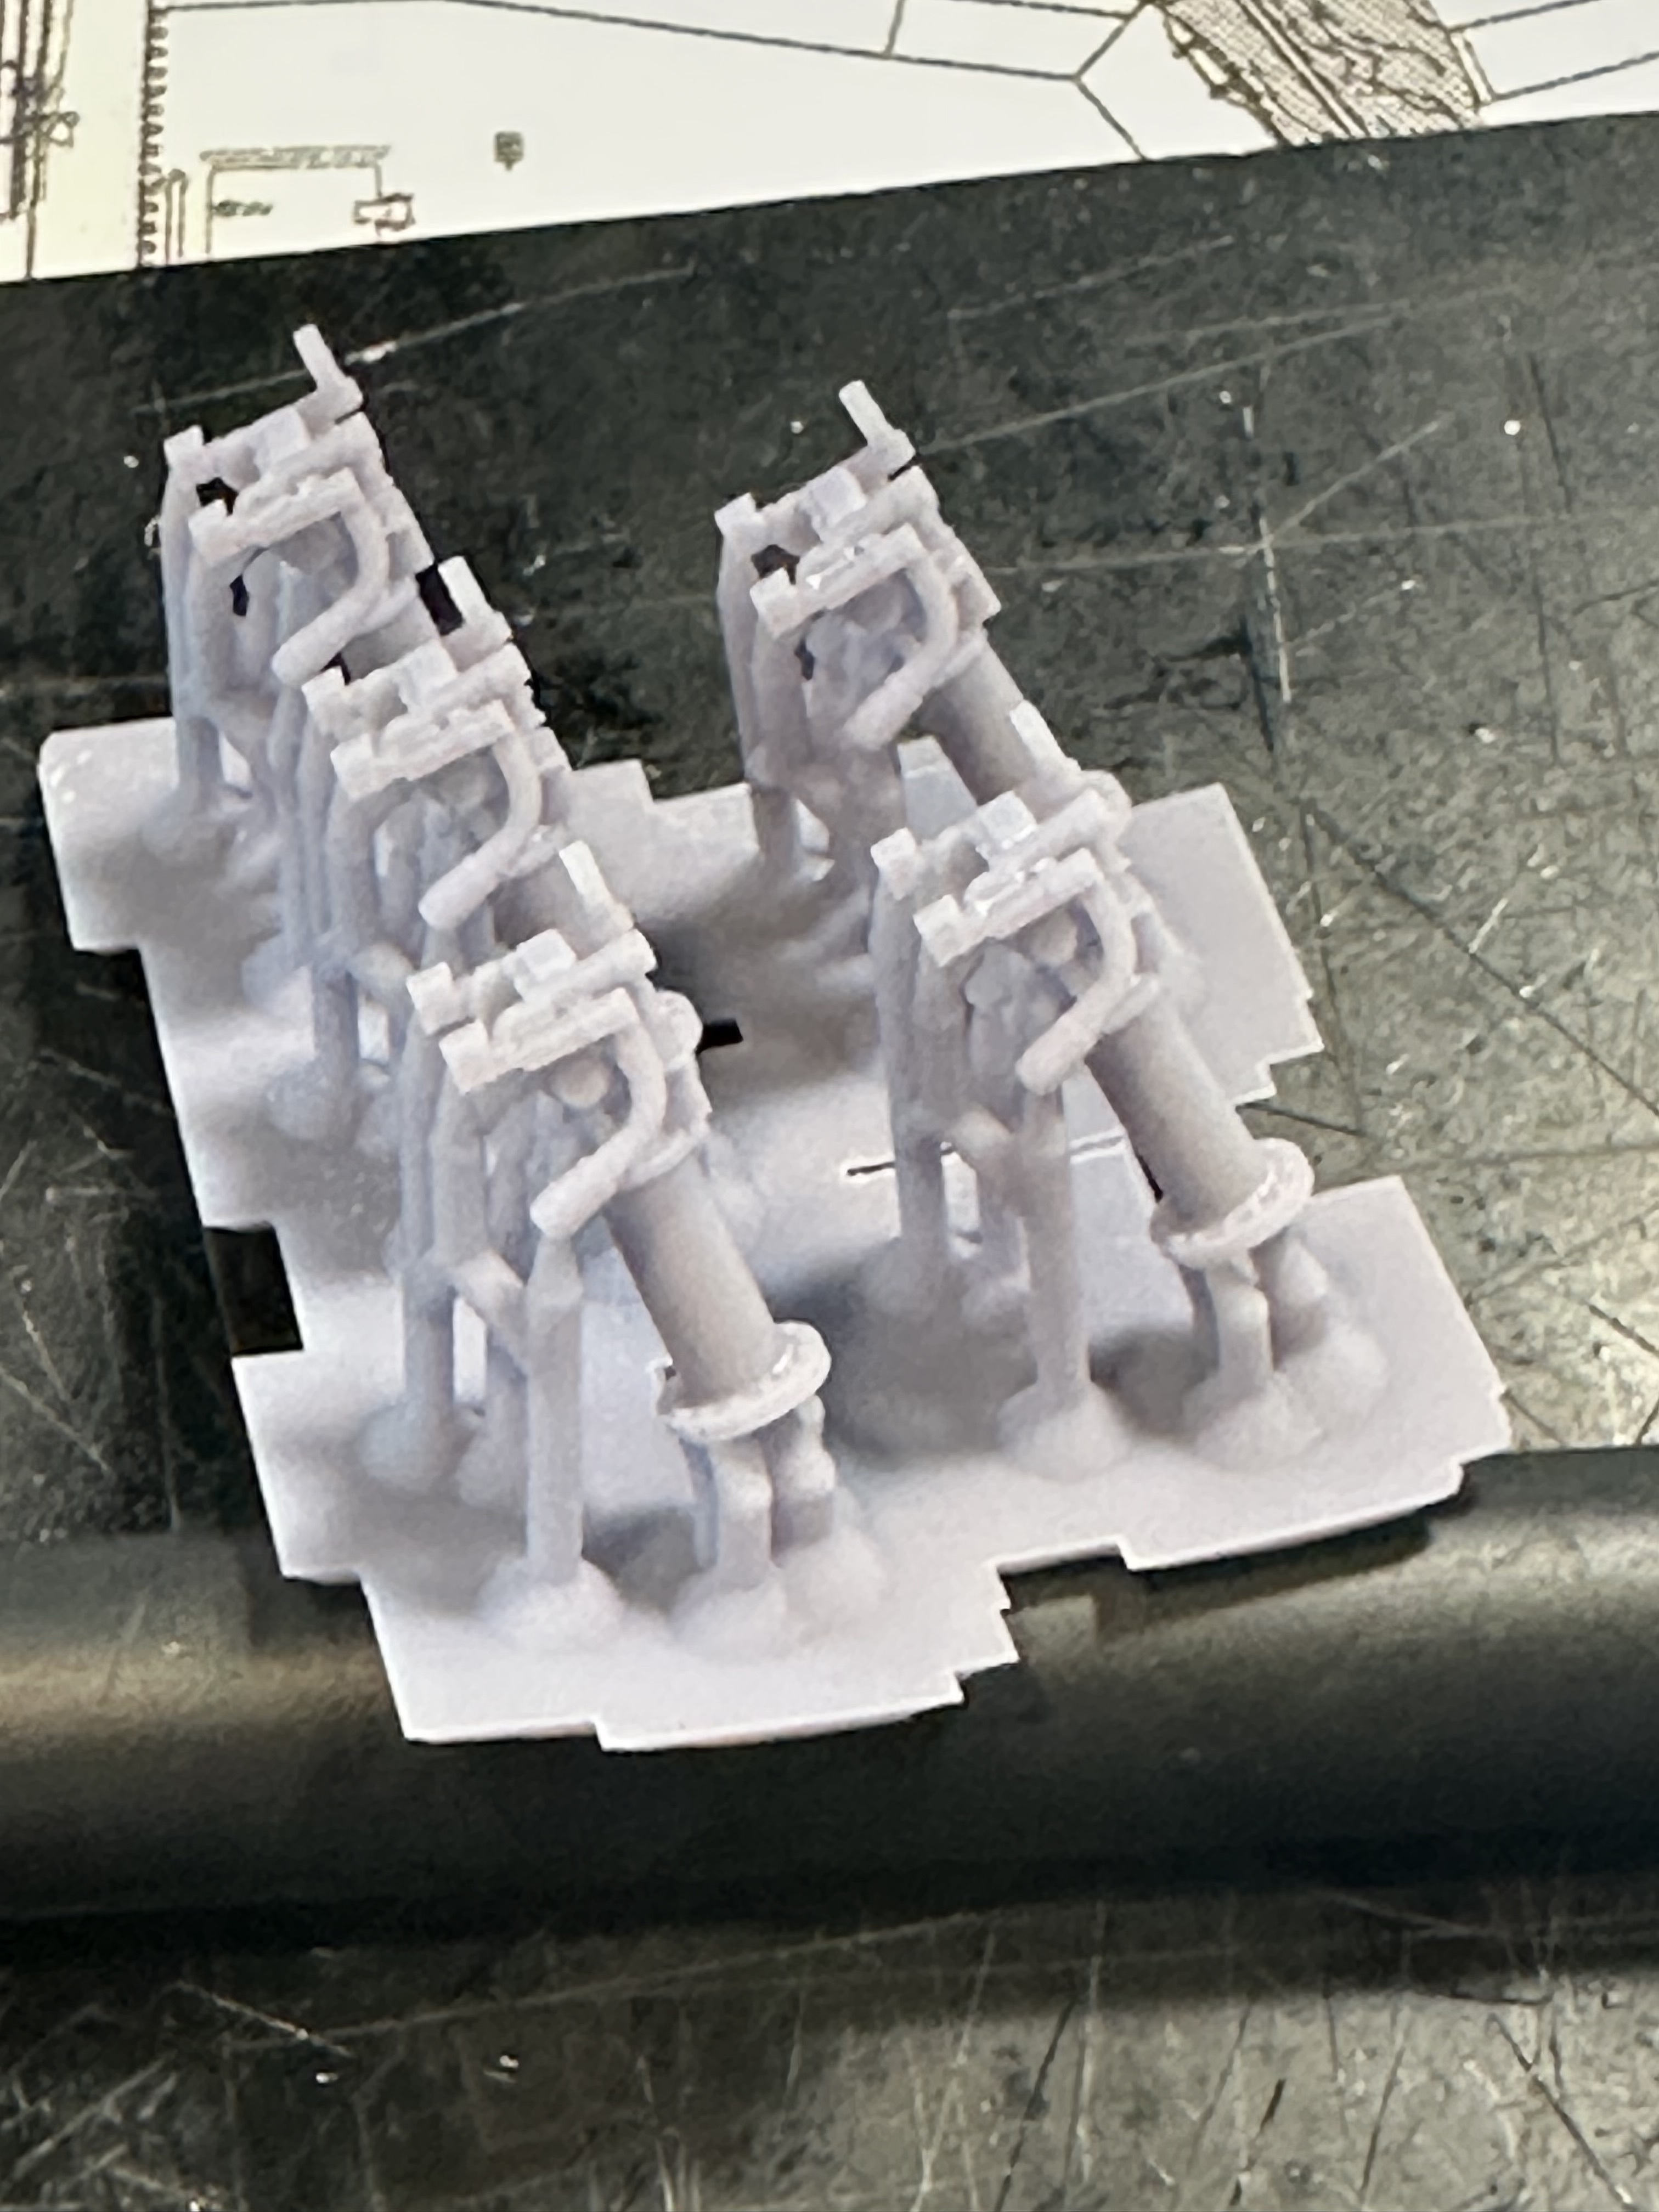
Skylook out chairs with binoculars -
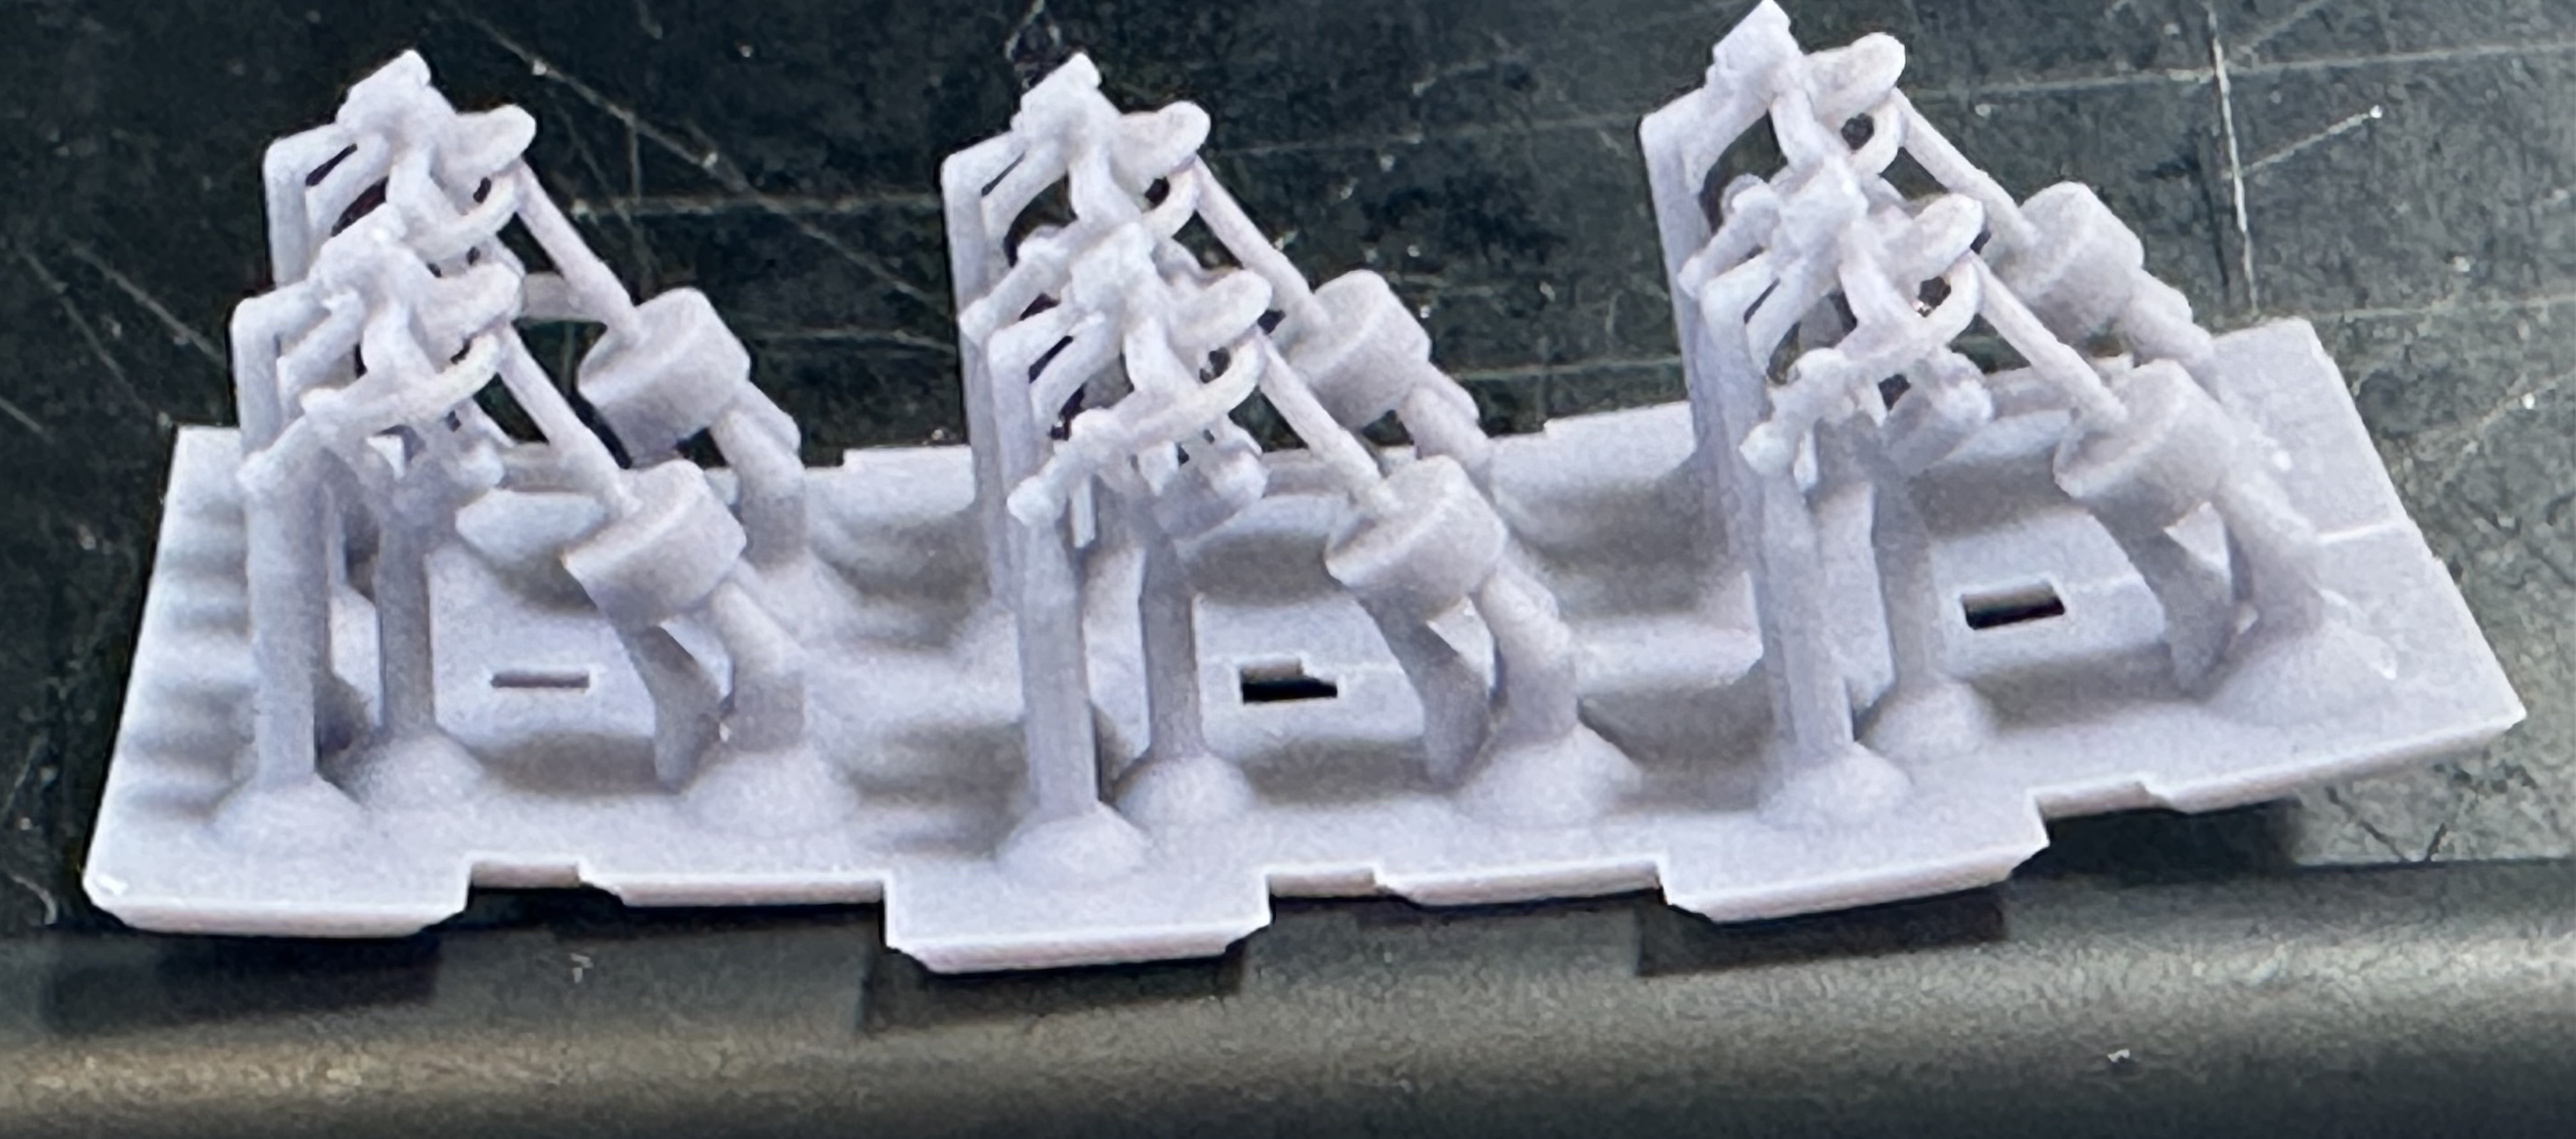
Aft Smoke Screen system

Flag Bags - ordered before I saw that Model Monkey had them printed in the square bridge - probably wont use these
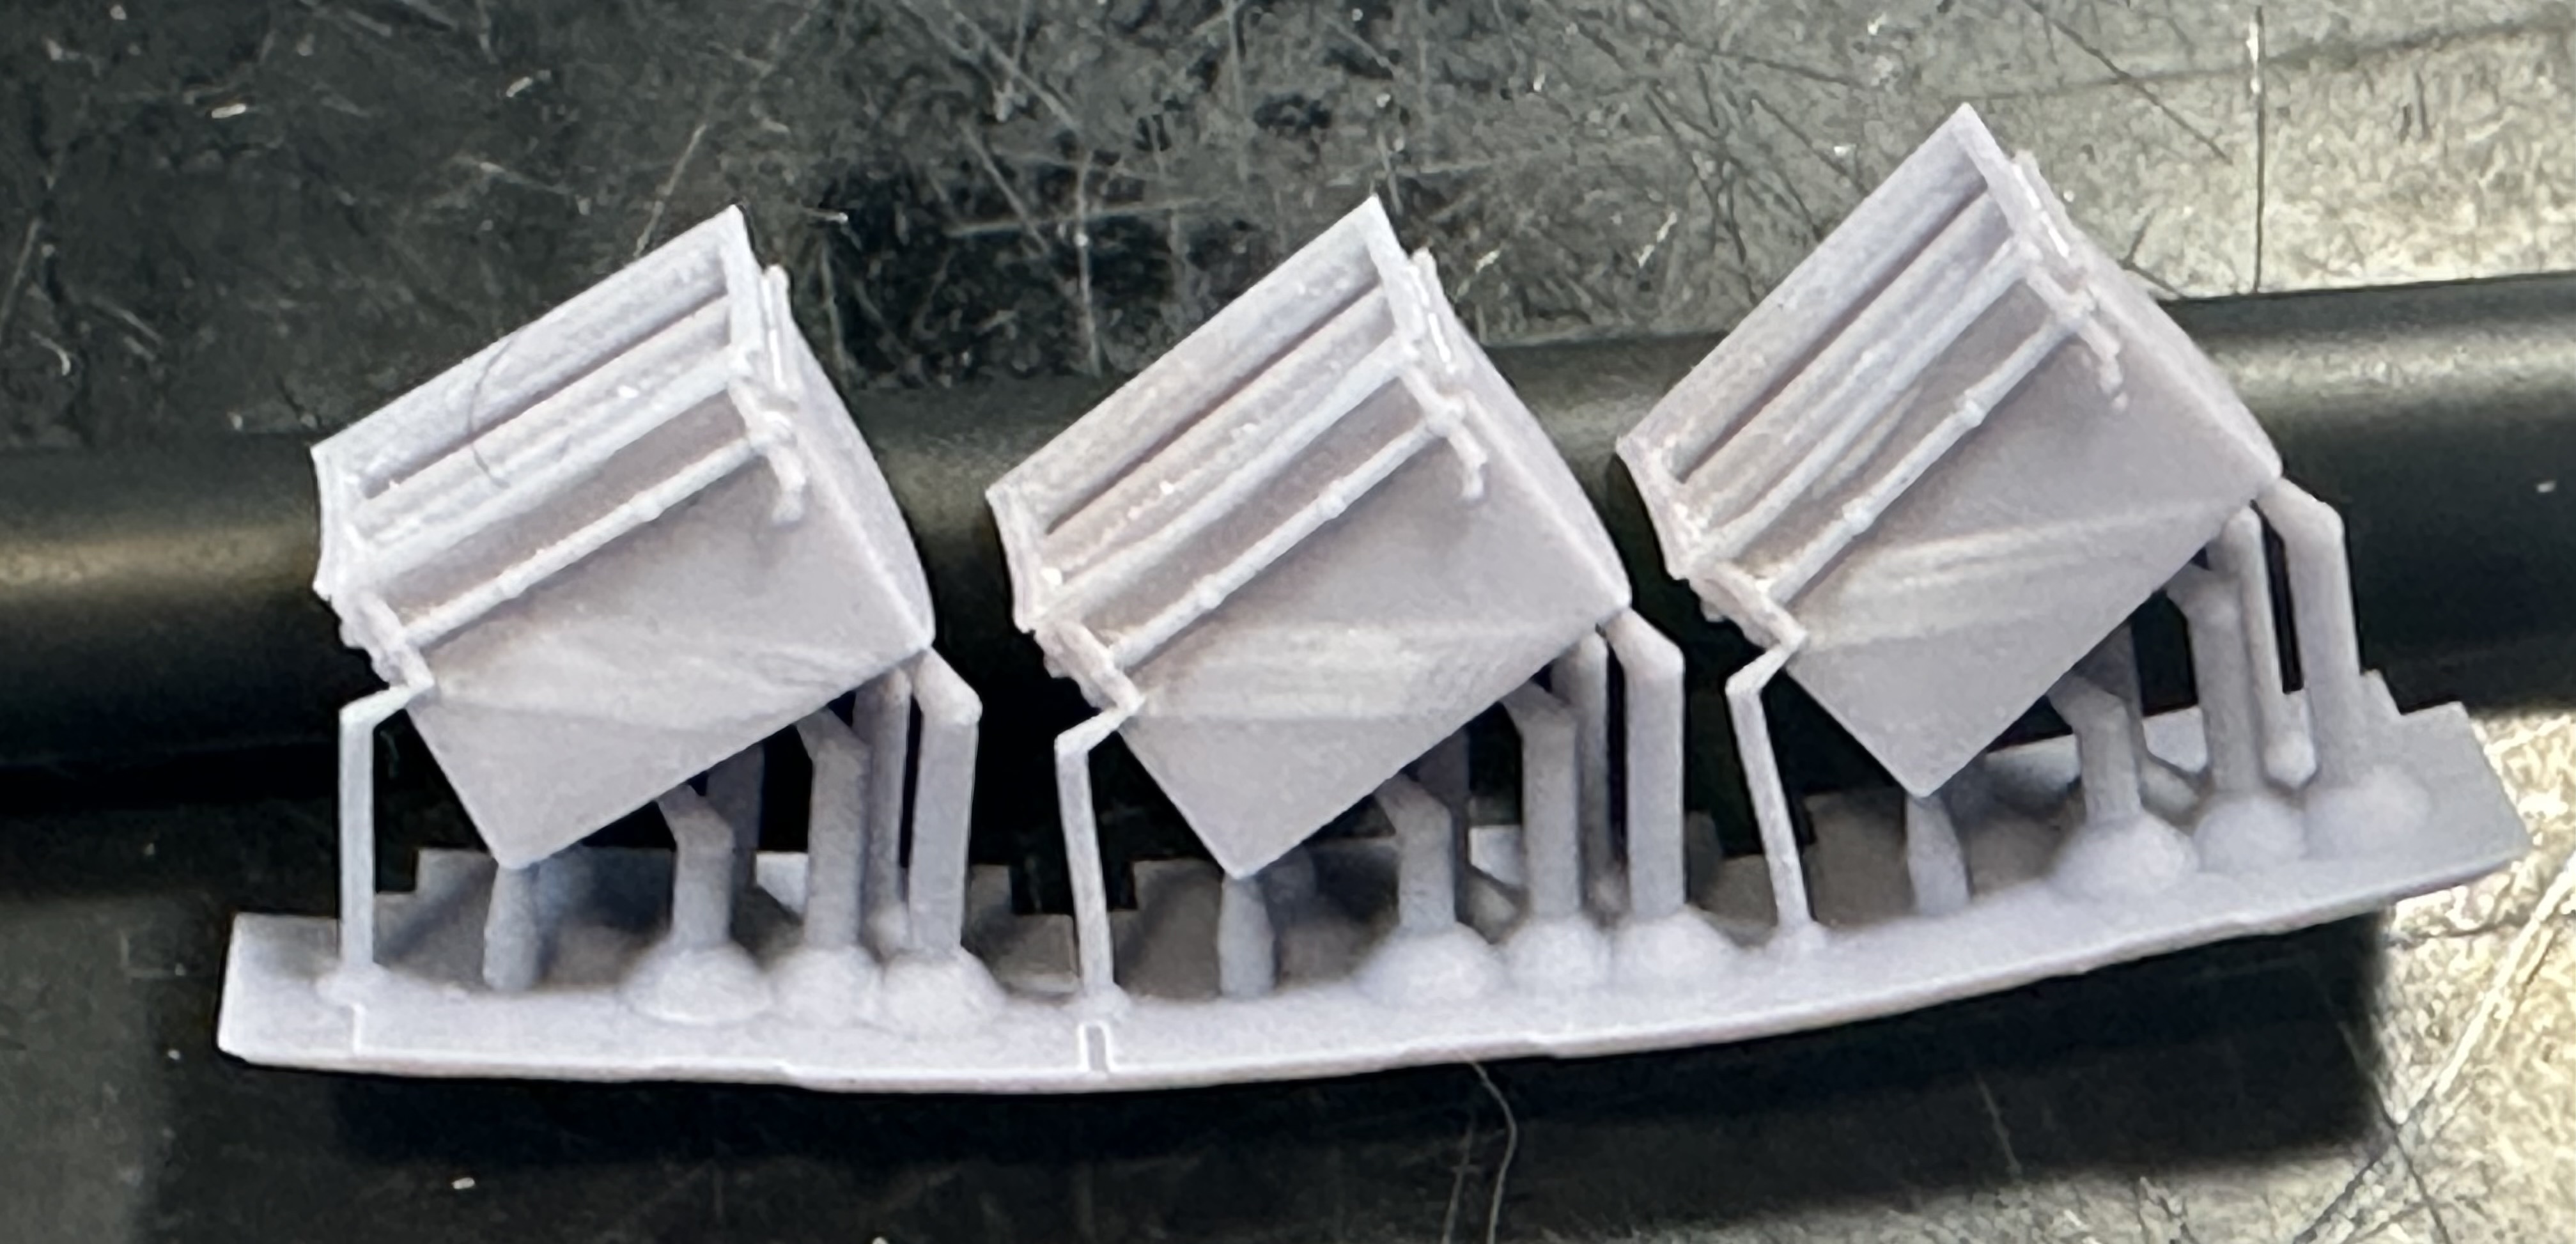
So there rest is from Black Cat - contacted Benjamin and he was able to upscale

Here are the gun barrels for the 5inch guns

Reels and Fire Hoses
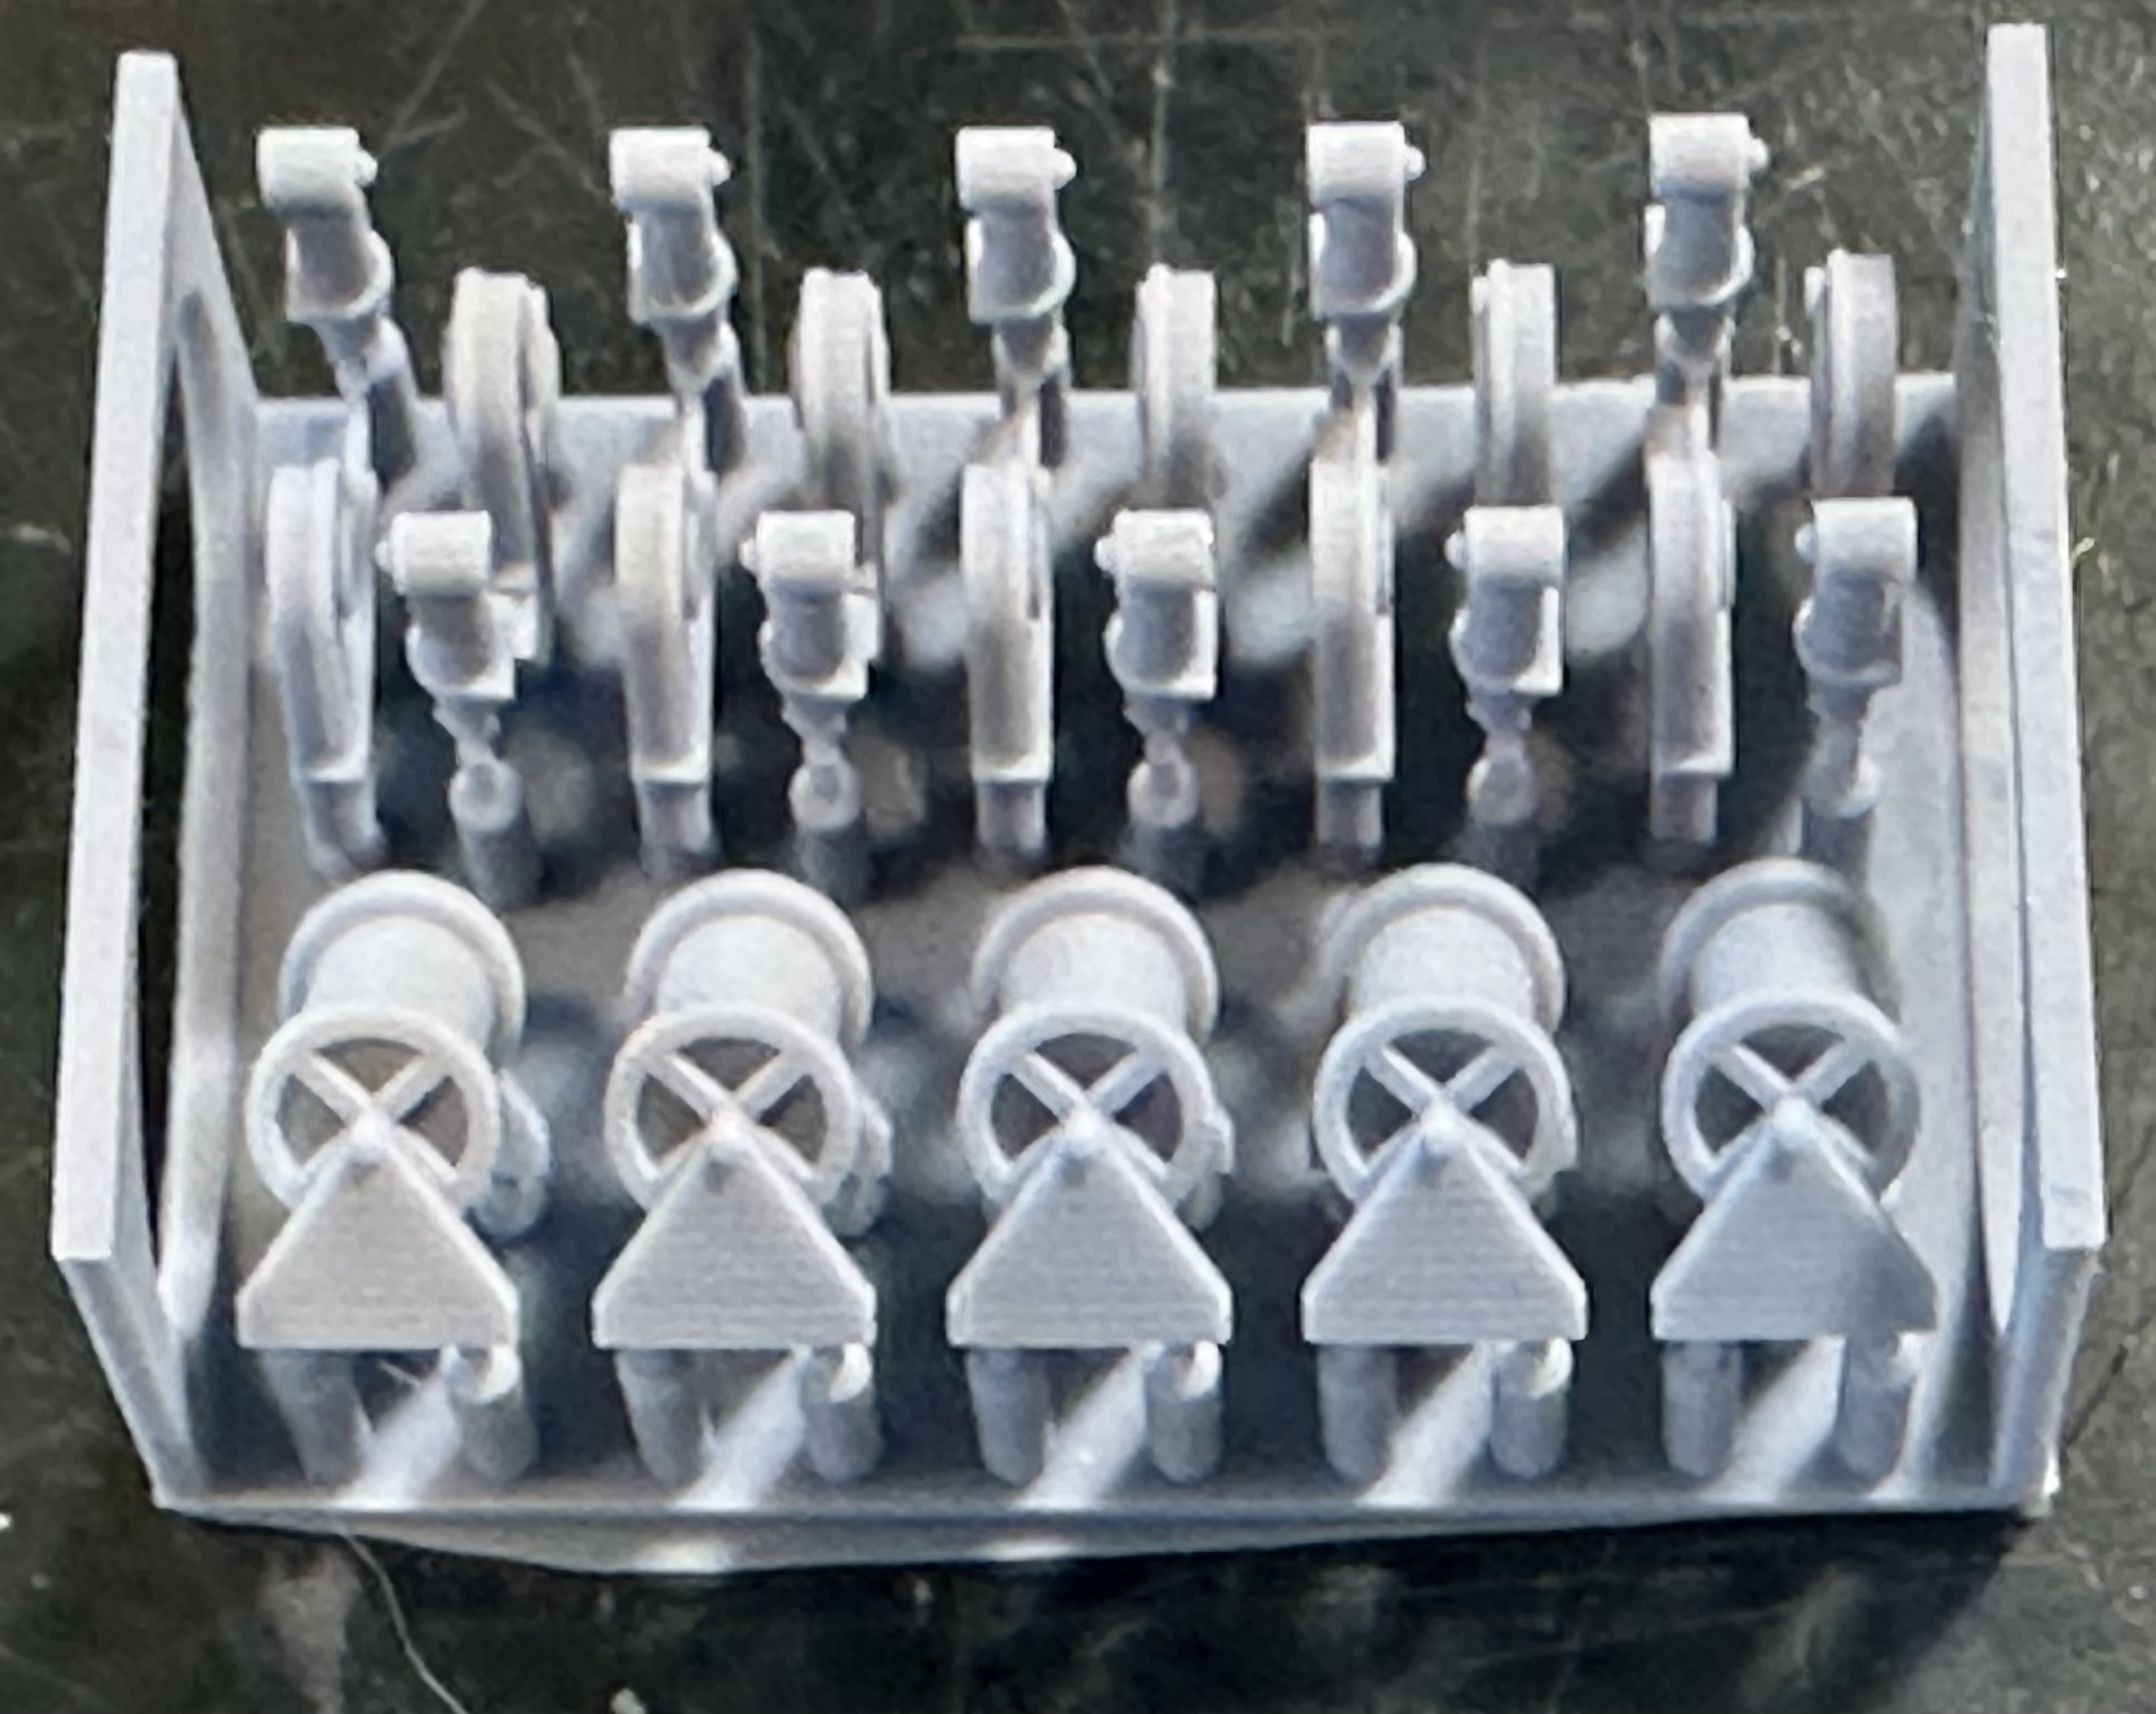
Here are the 18inch mushroom vents and the hatch covers - they look great
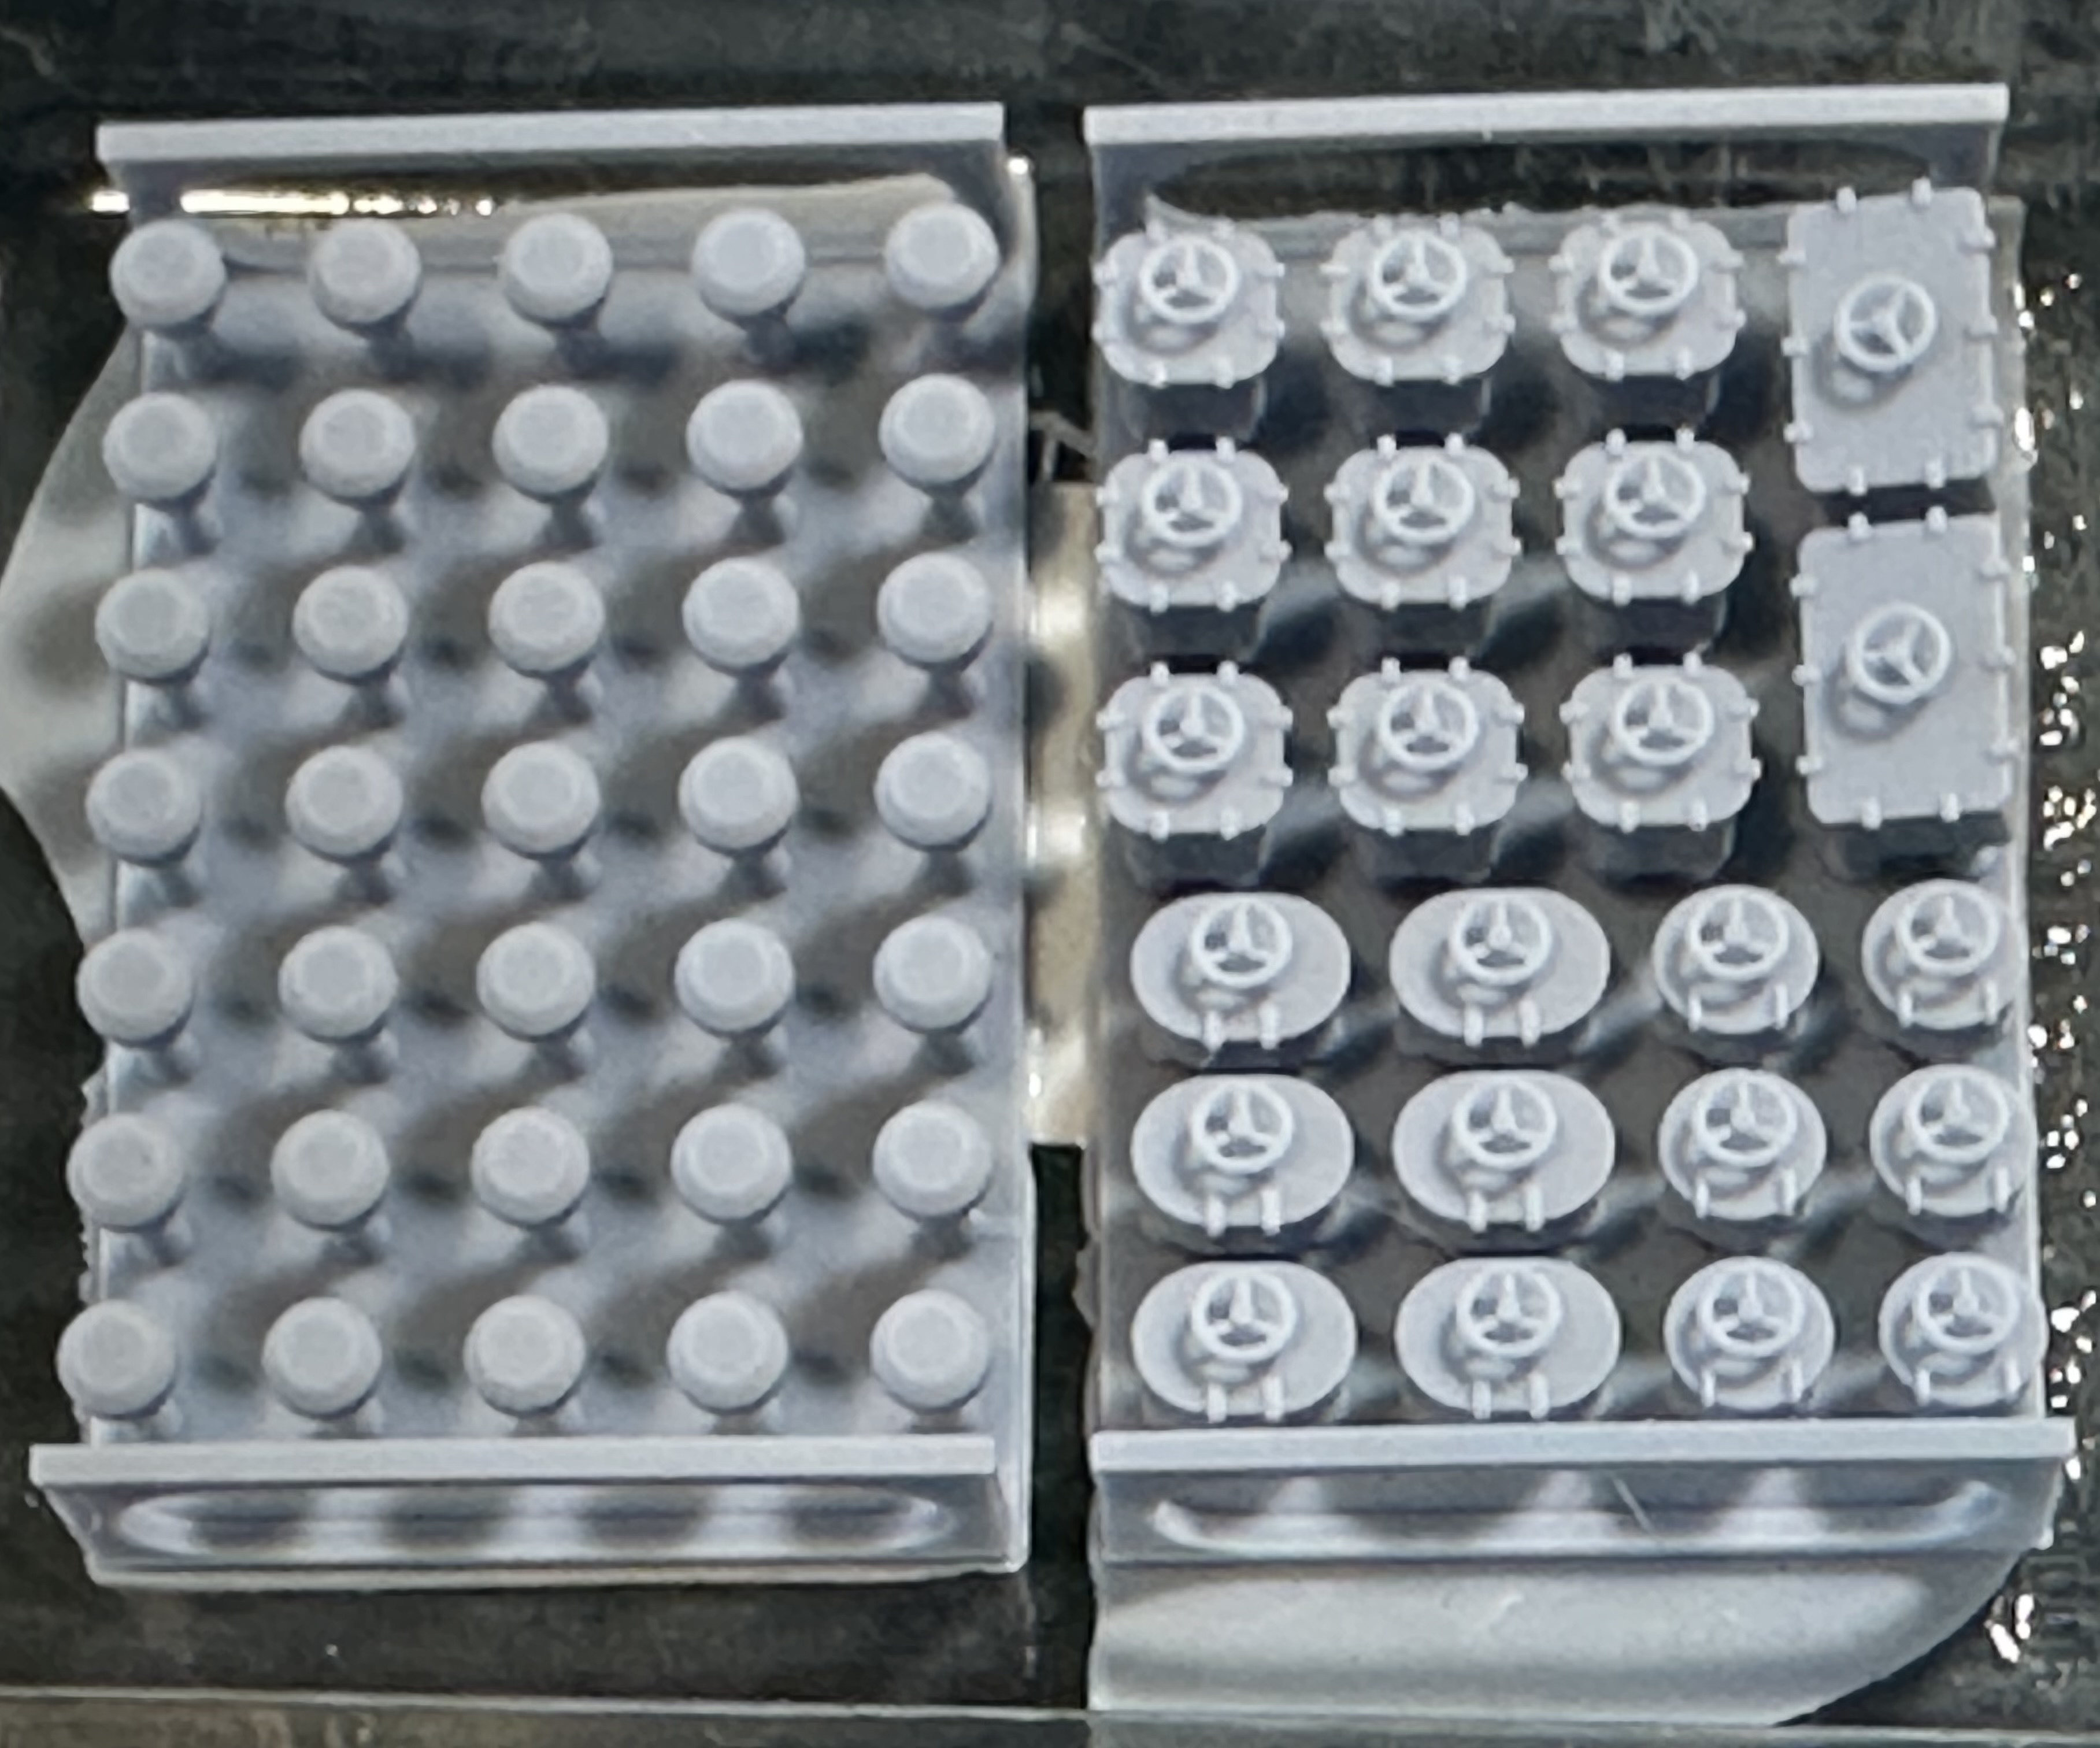
Anchor Chain
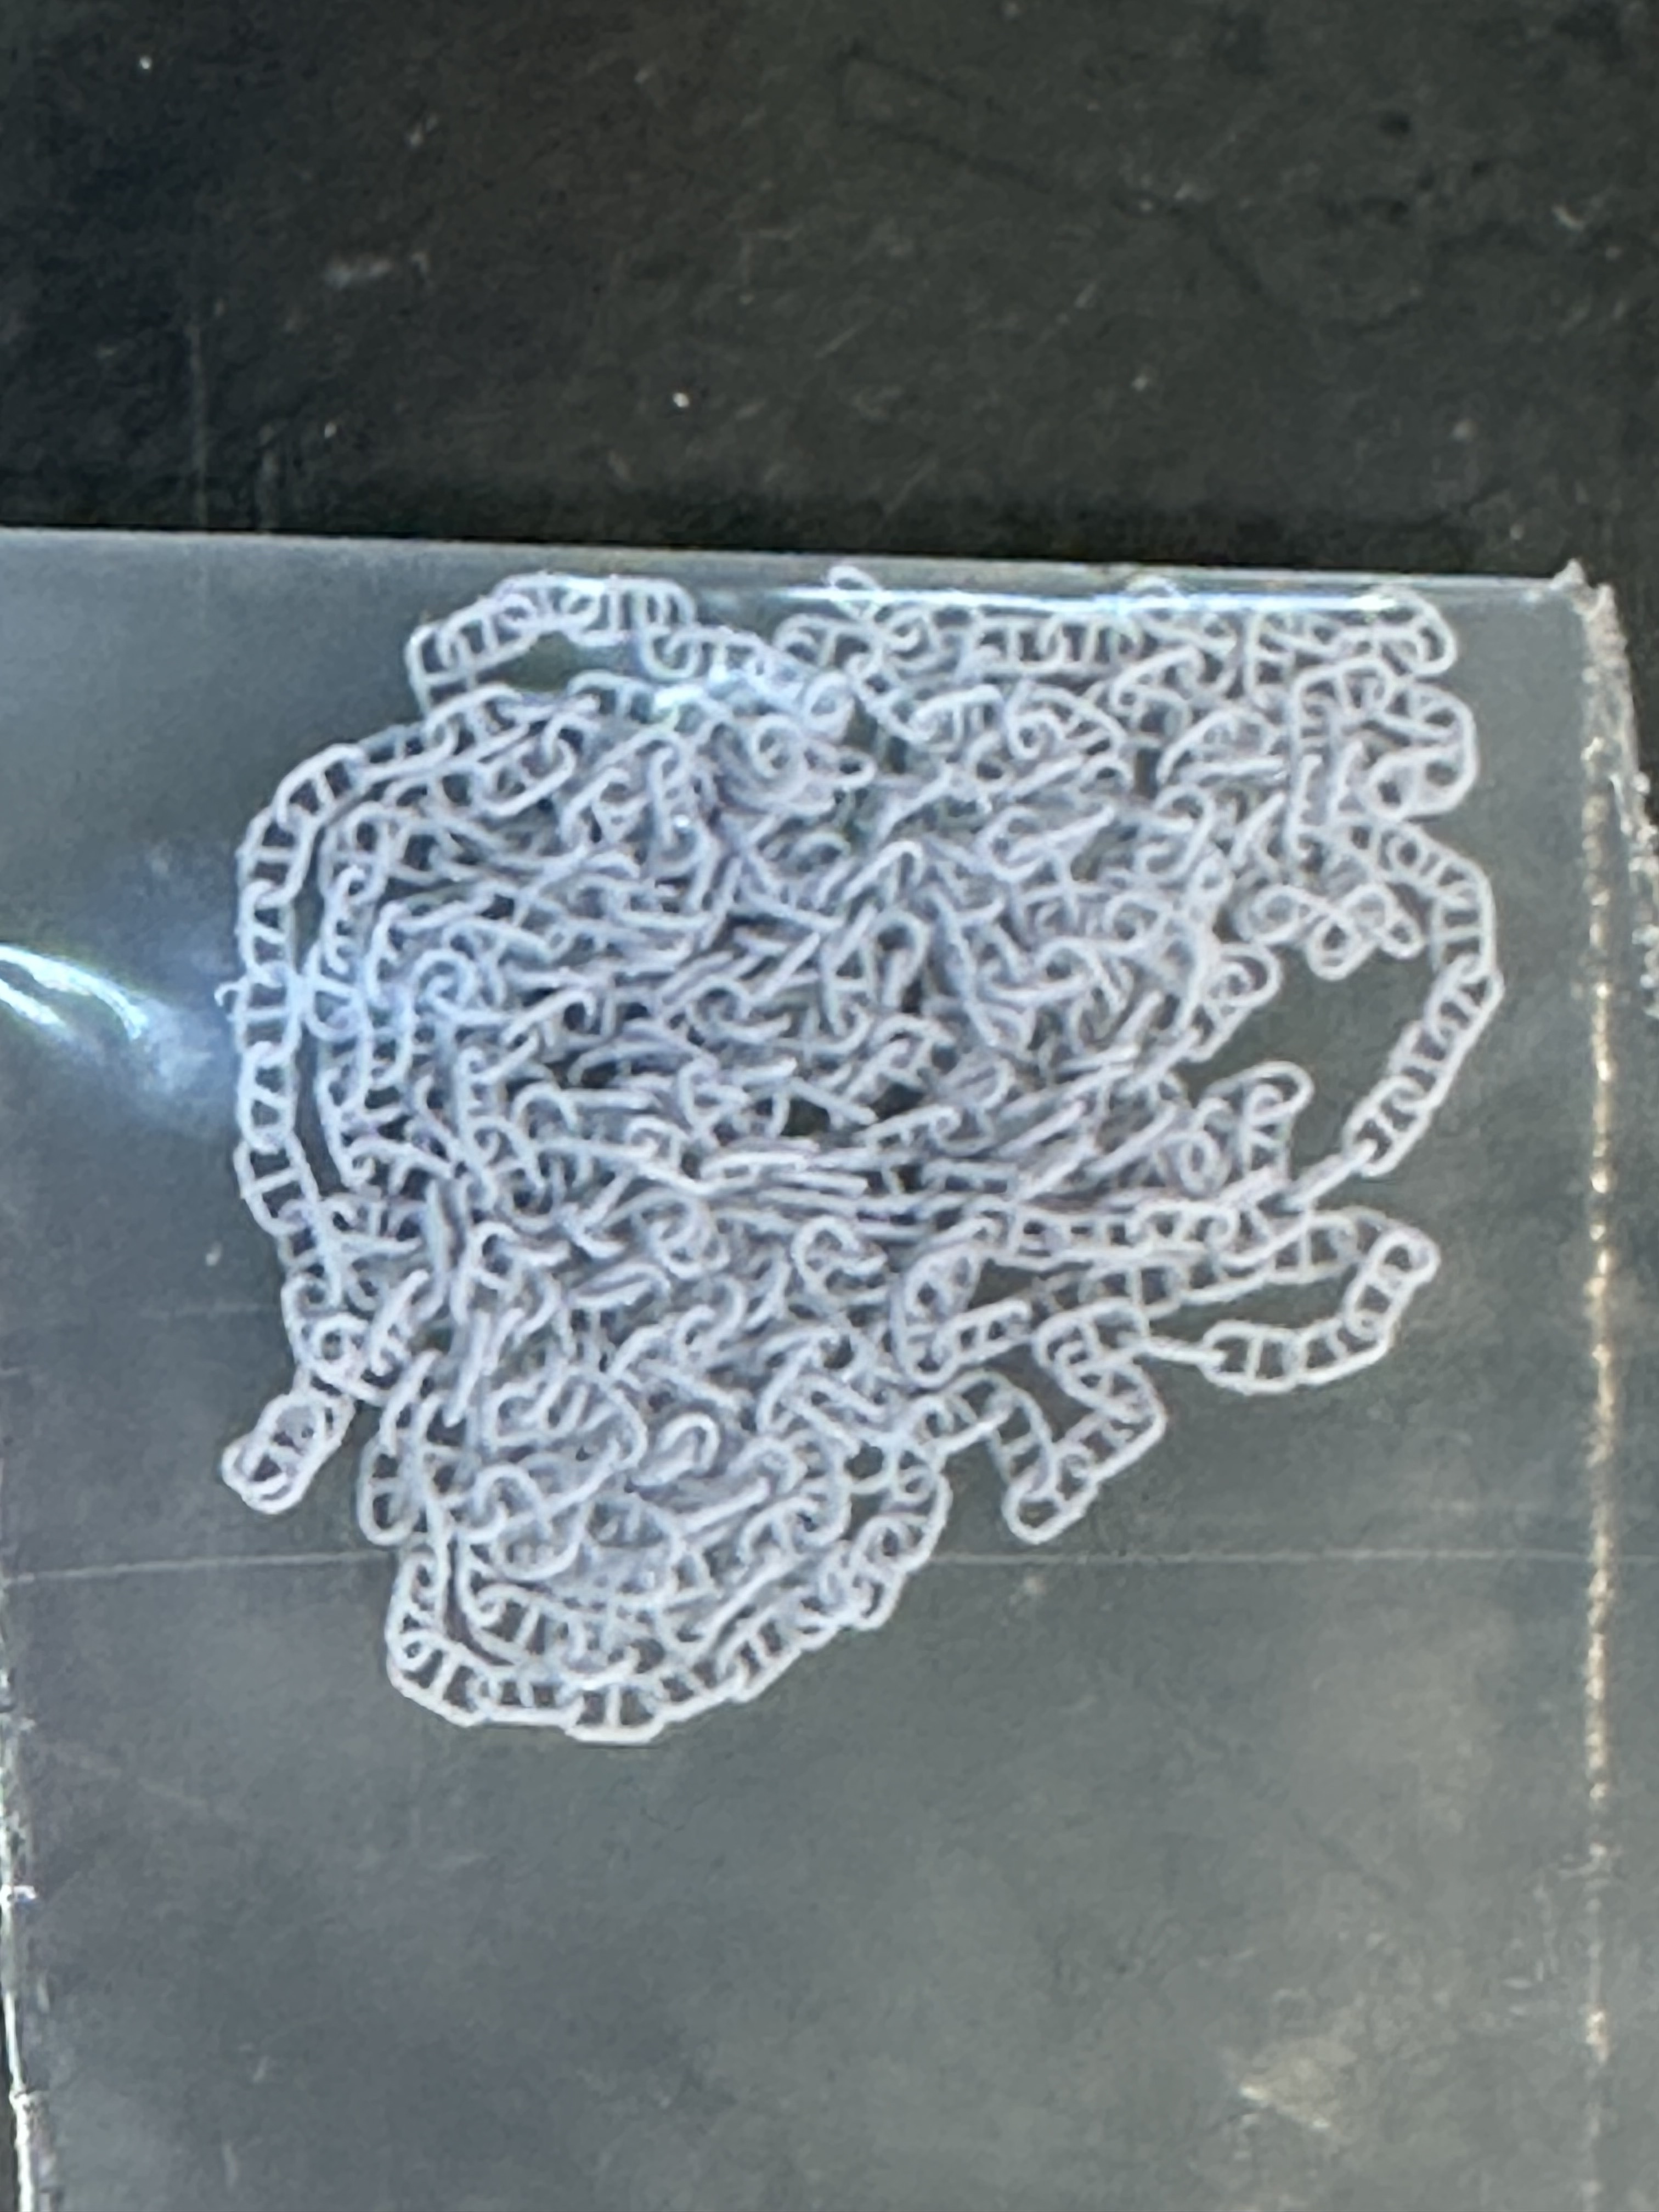
Hand wheels and MK 6 depth charges (sems to be a size difference between the Black Cat and Distefano MK6 depth charges - will need to measure and see who is accurate)
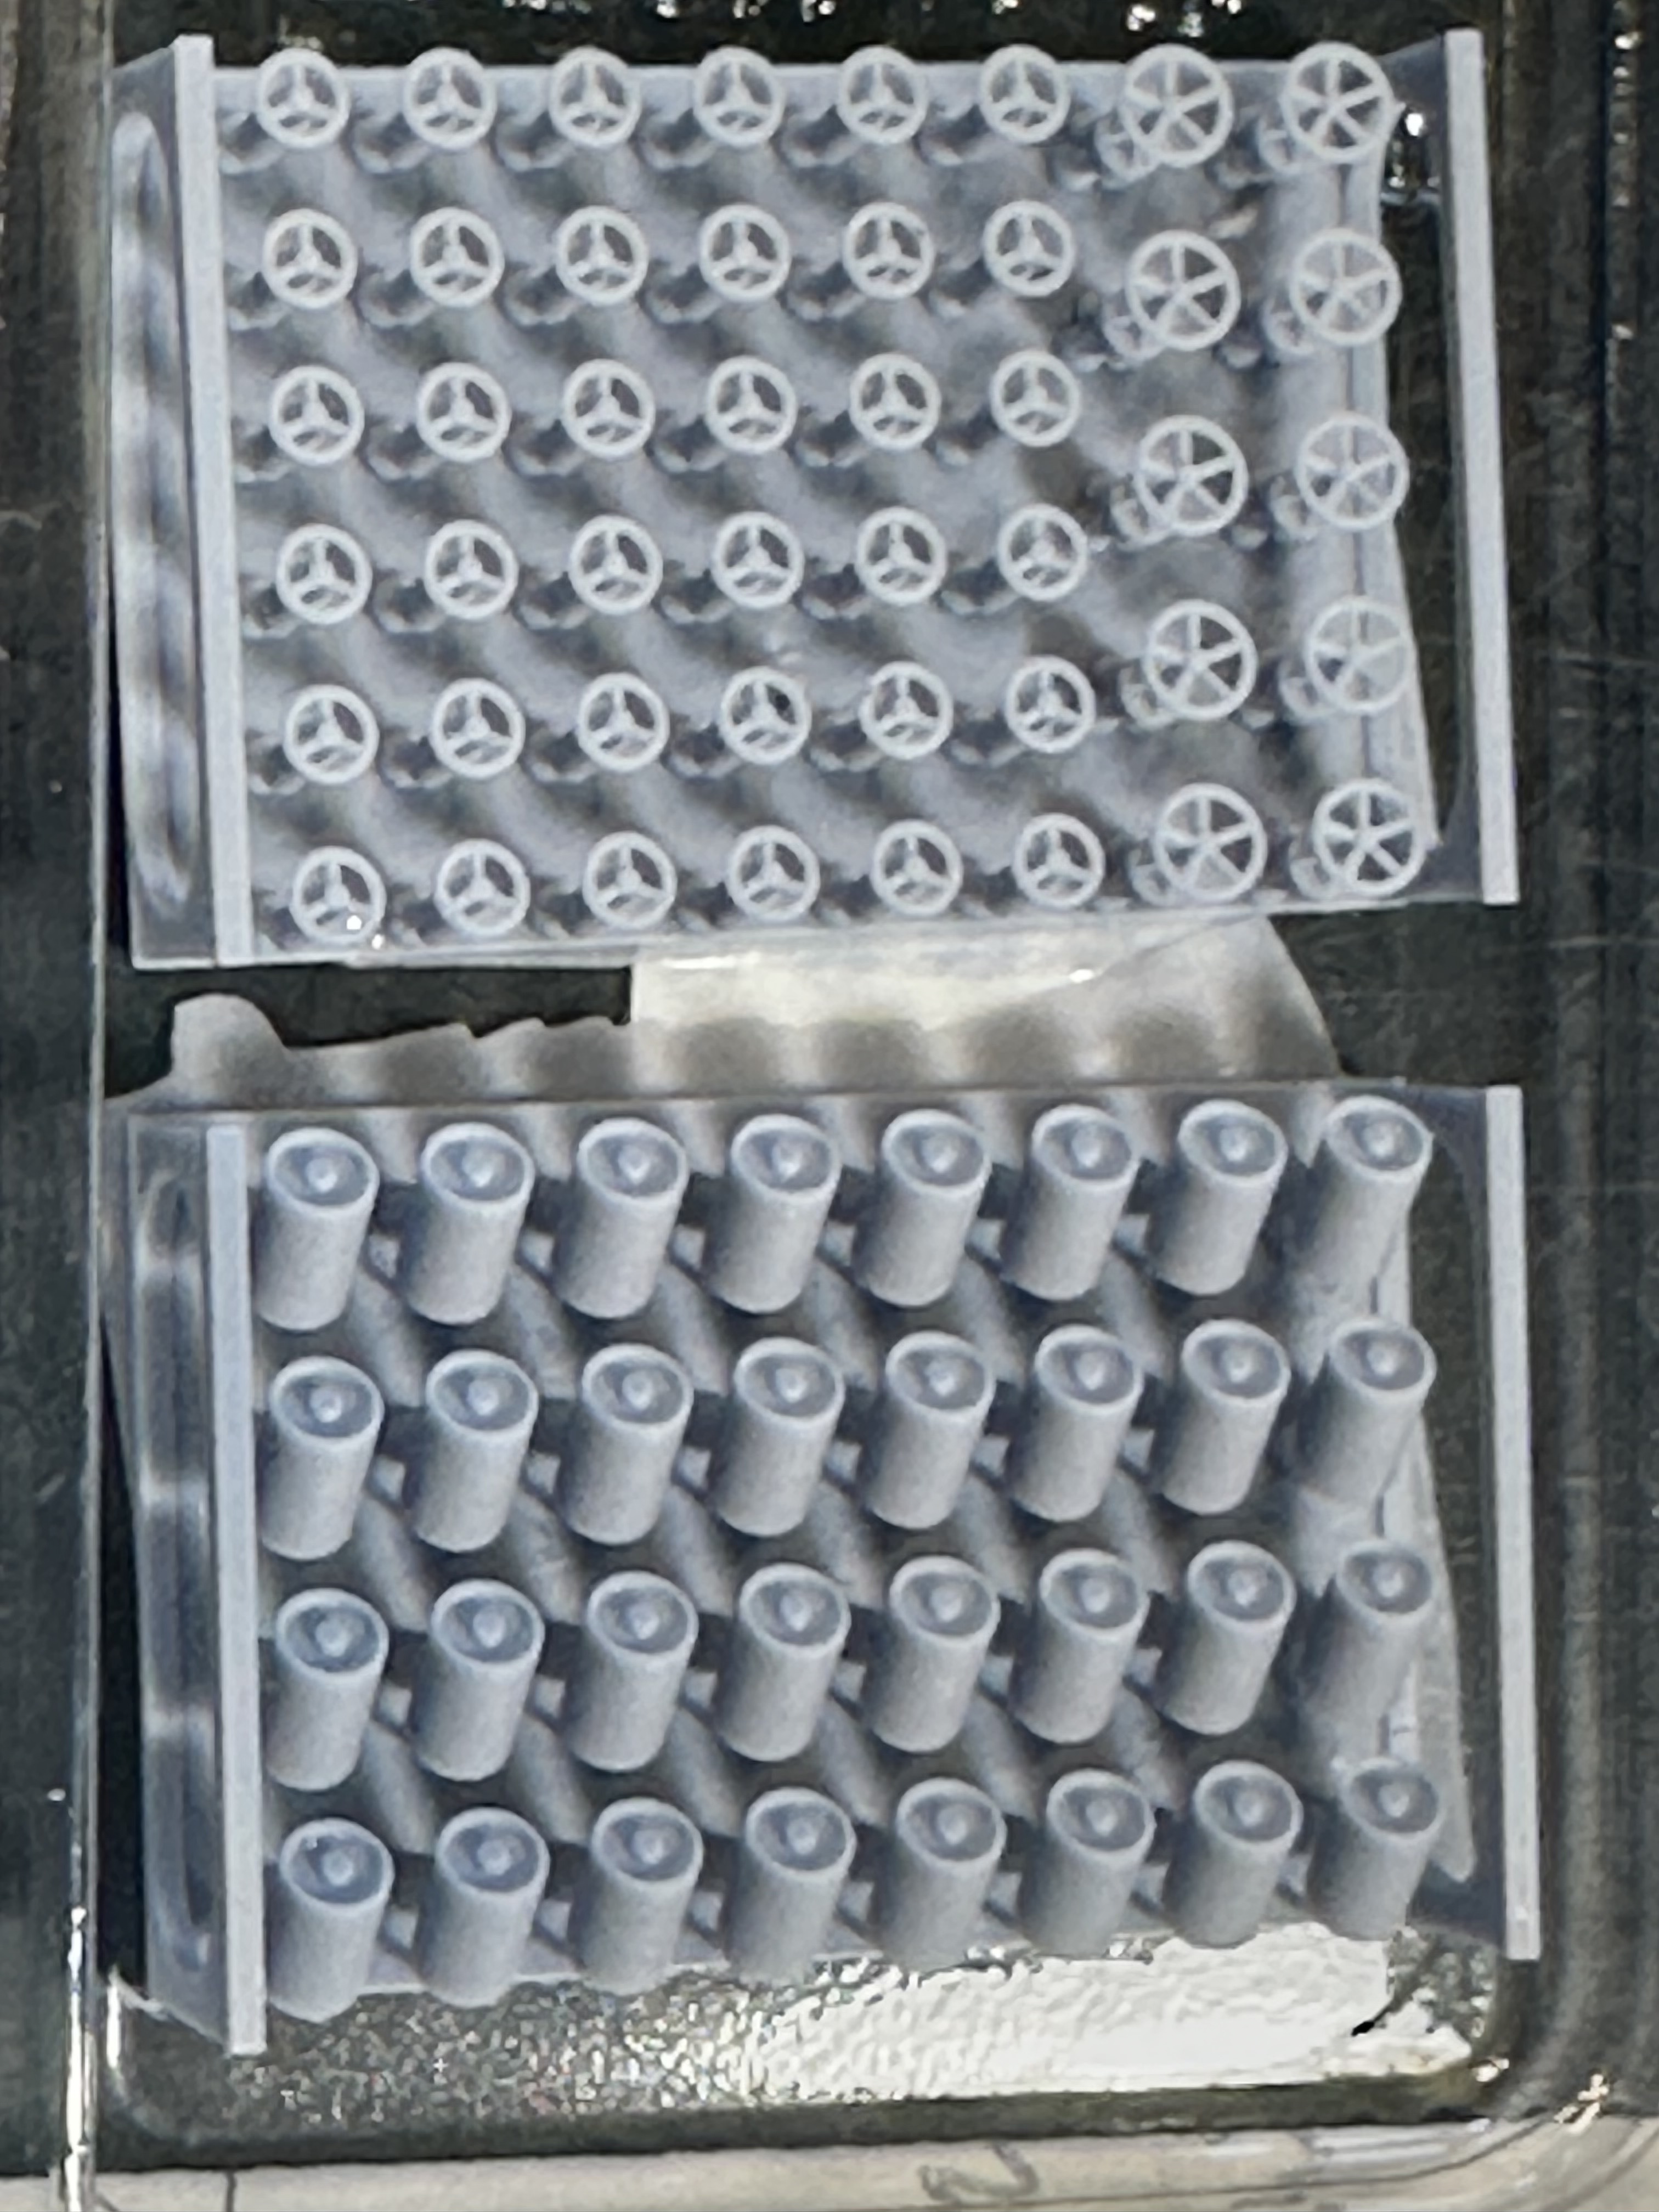
Wanted to display a couple of the 5inch main guns with open hatches so I order some open MK30 5inch guns for accuracy. Also are the 36 inch searchlights and deck lockers

Well that about sums up all the aftermarket except for some handrails - but after you have seen one picture of hand rails you’ve seen hem all

Really grateful that Benjamin was able to upscale the Black Cat aftermarket - not too impressed with the Distefano though which is disappointing - so recommendation is either Model Monkey or ask Benjamin to upscale - you will be able to find a majority of the conversion items between the two of them - use Distefano as a last resort

Now it is time to get down to business!!

Stay Tuned cause the ride is about to begin!!
8 Likes

Hey all,

While I have been waiting on the after market items to arrive I have been somewhat productive on the build, figured I would finally start providing updates

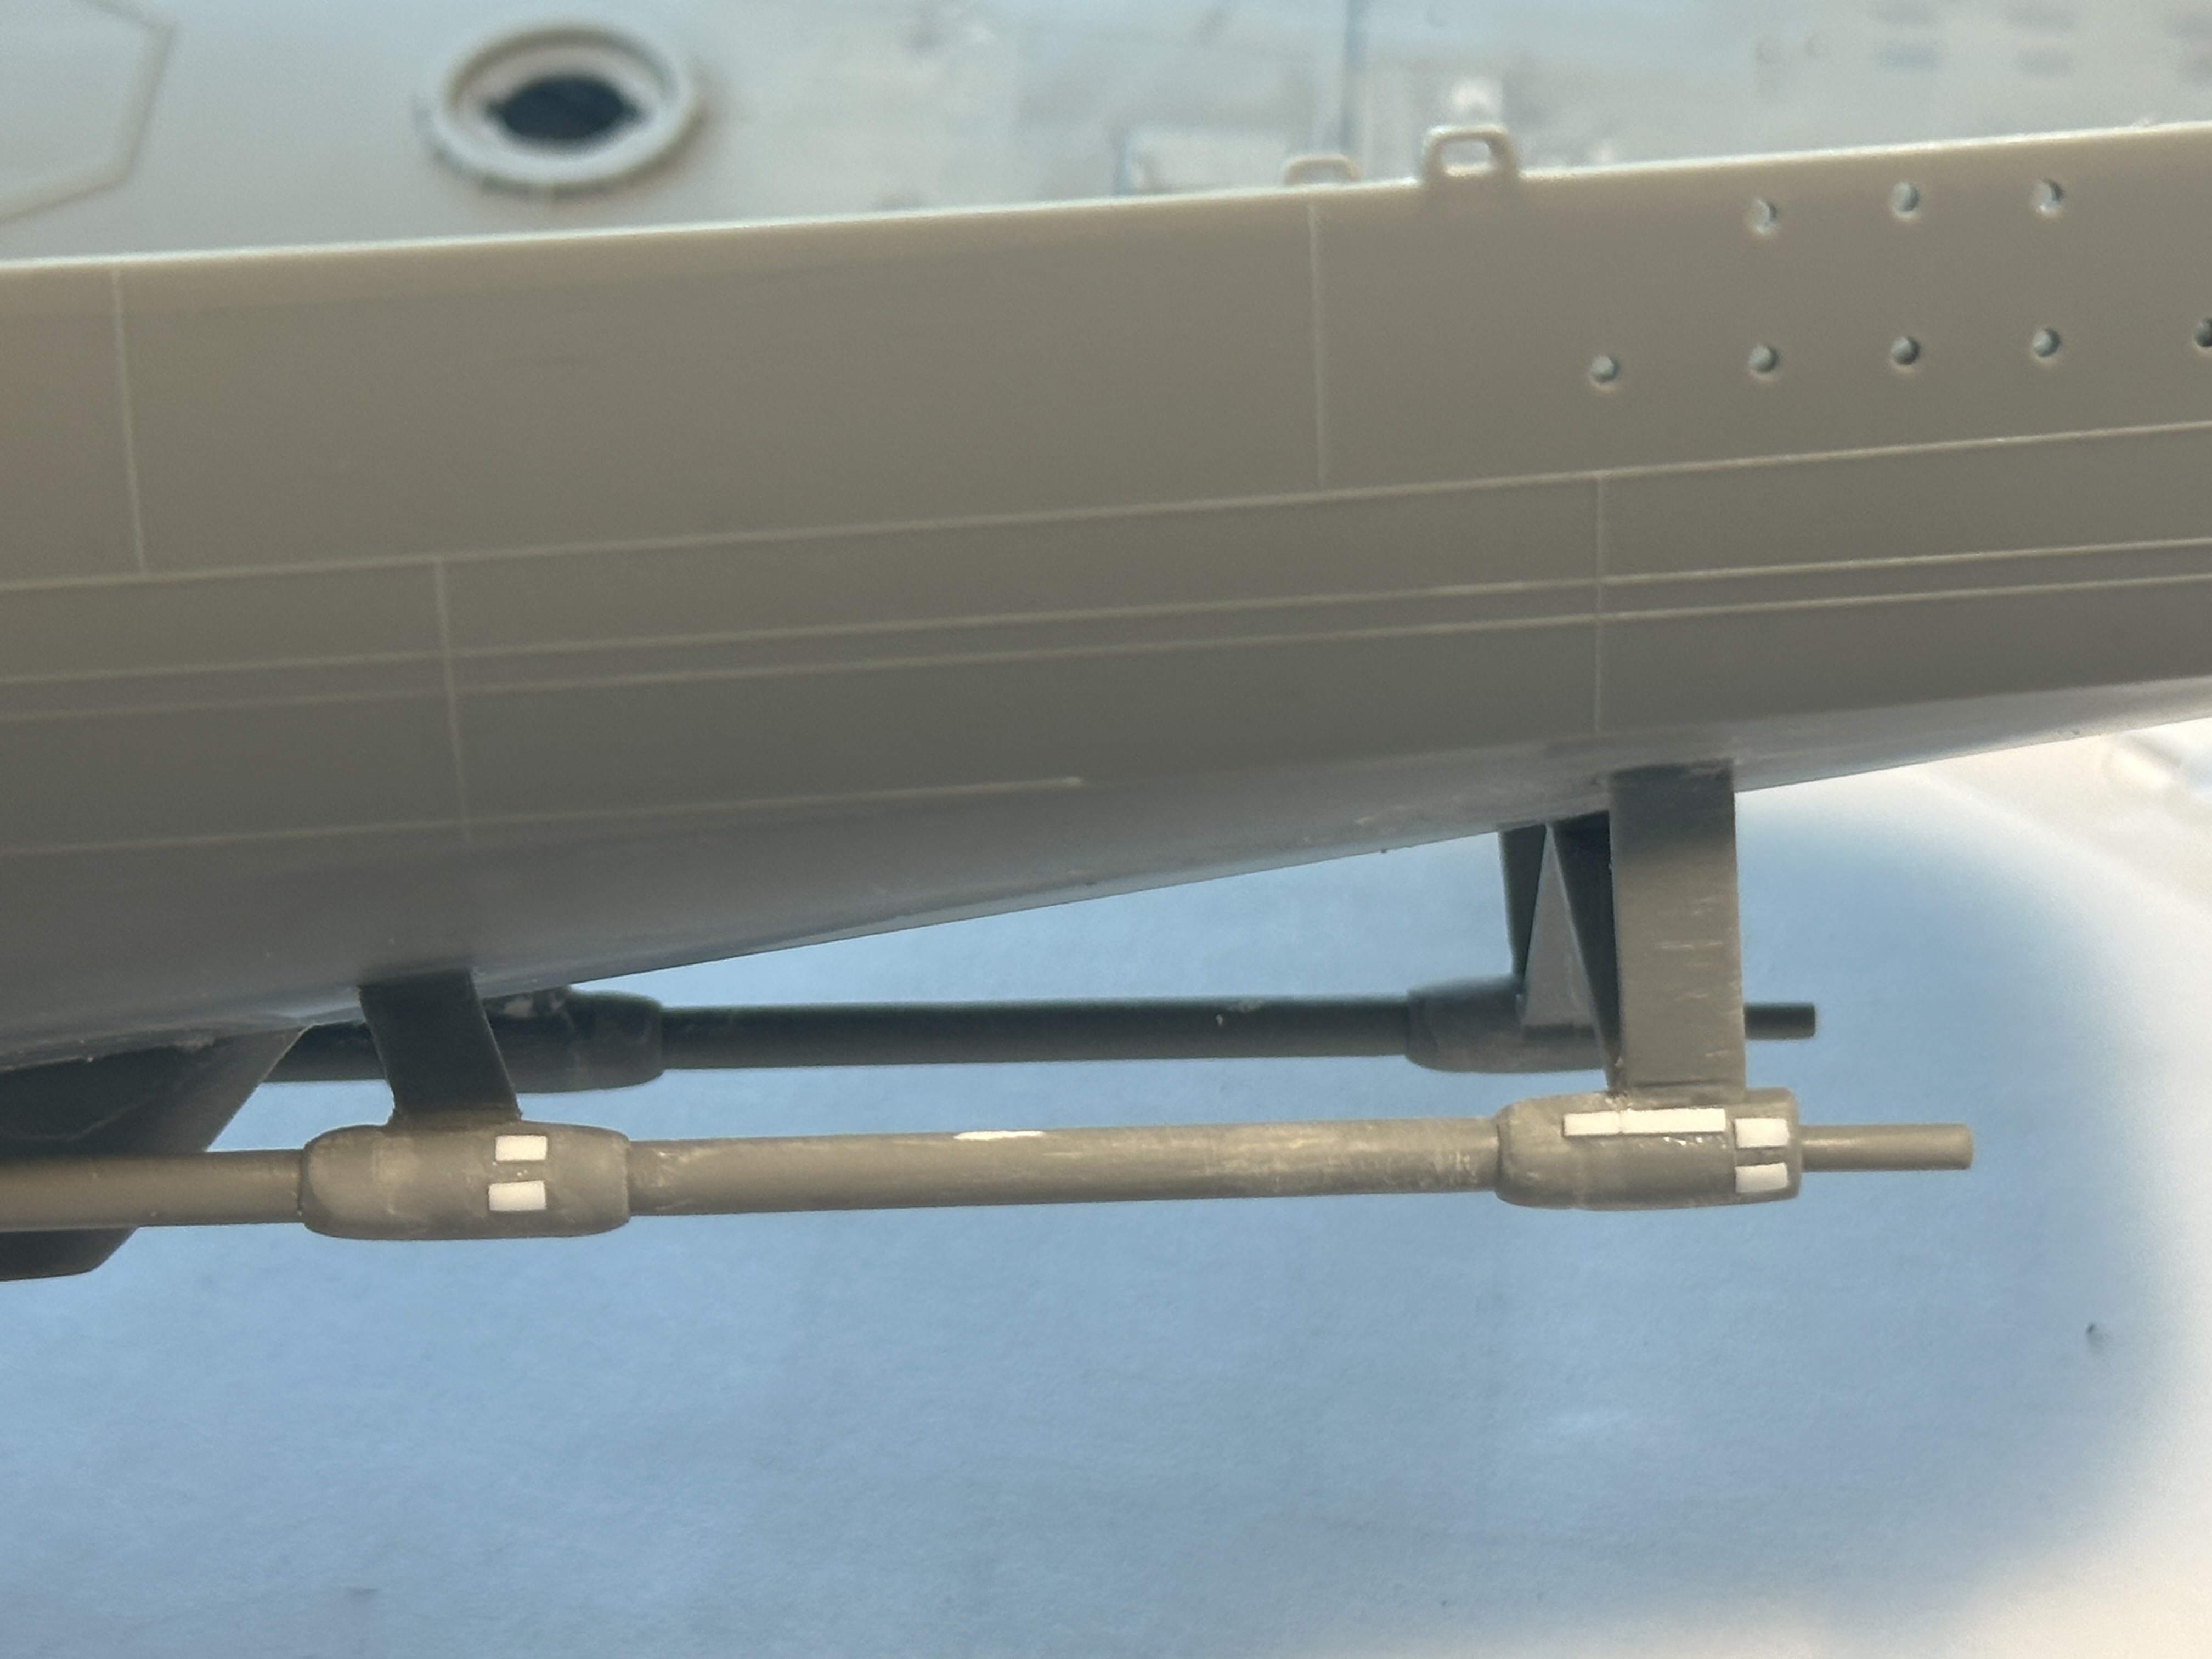
Looking at the Plans for the USS Johnston, I saw that there was some detail to the props missing - have the Archer rivets that I am going to try and add but no guarantees - the previous attempt resulted in a lost rivet.

A little more on the props and shafts - will add the props at a later date along with the rudder - kinda scared to add the rudder as I know in my clumsiness I will knock it off more than once

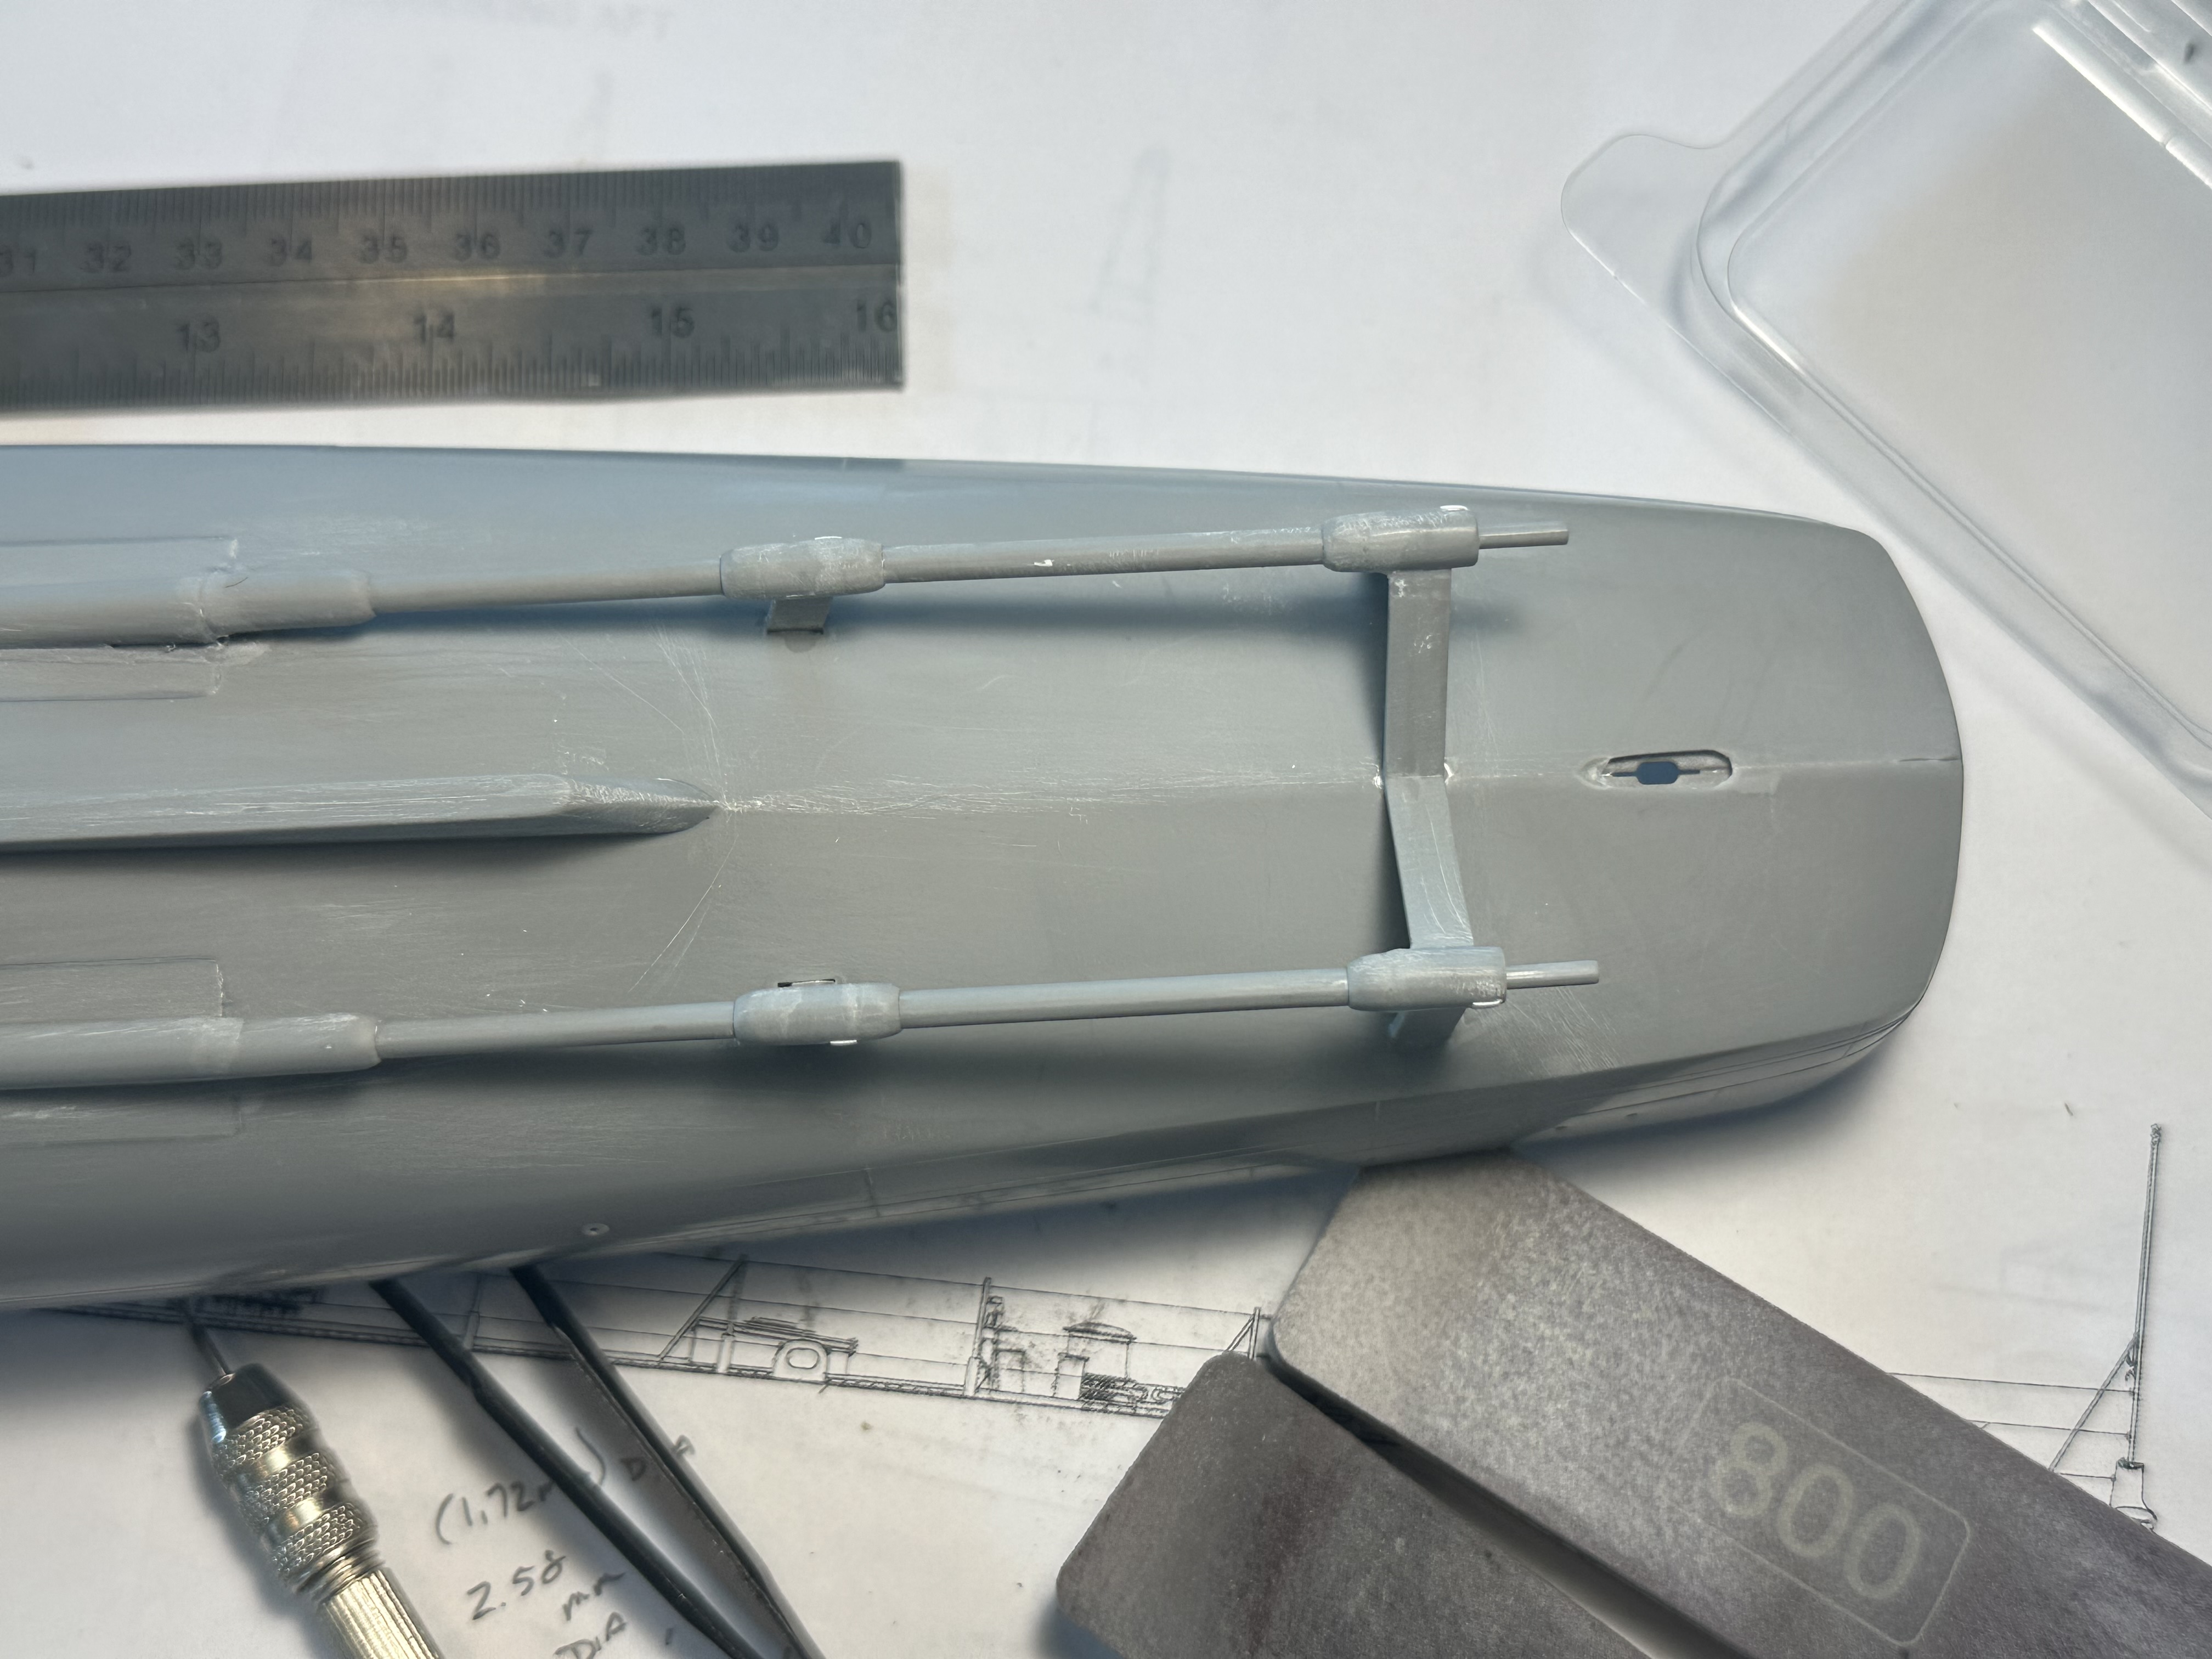
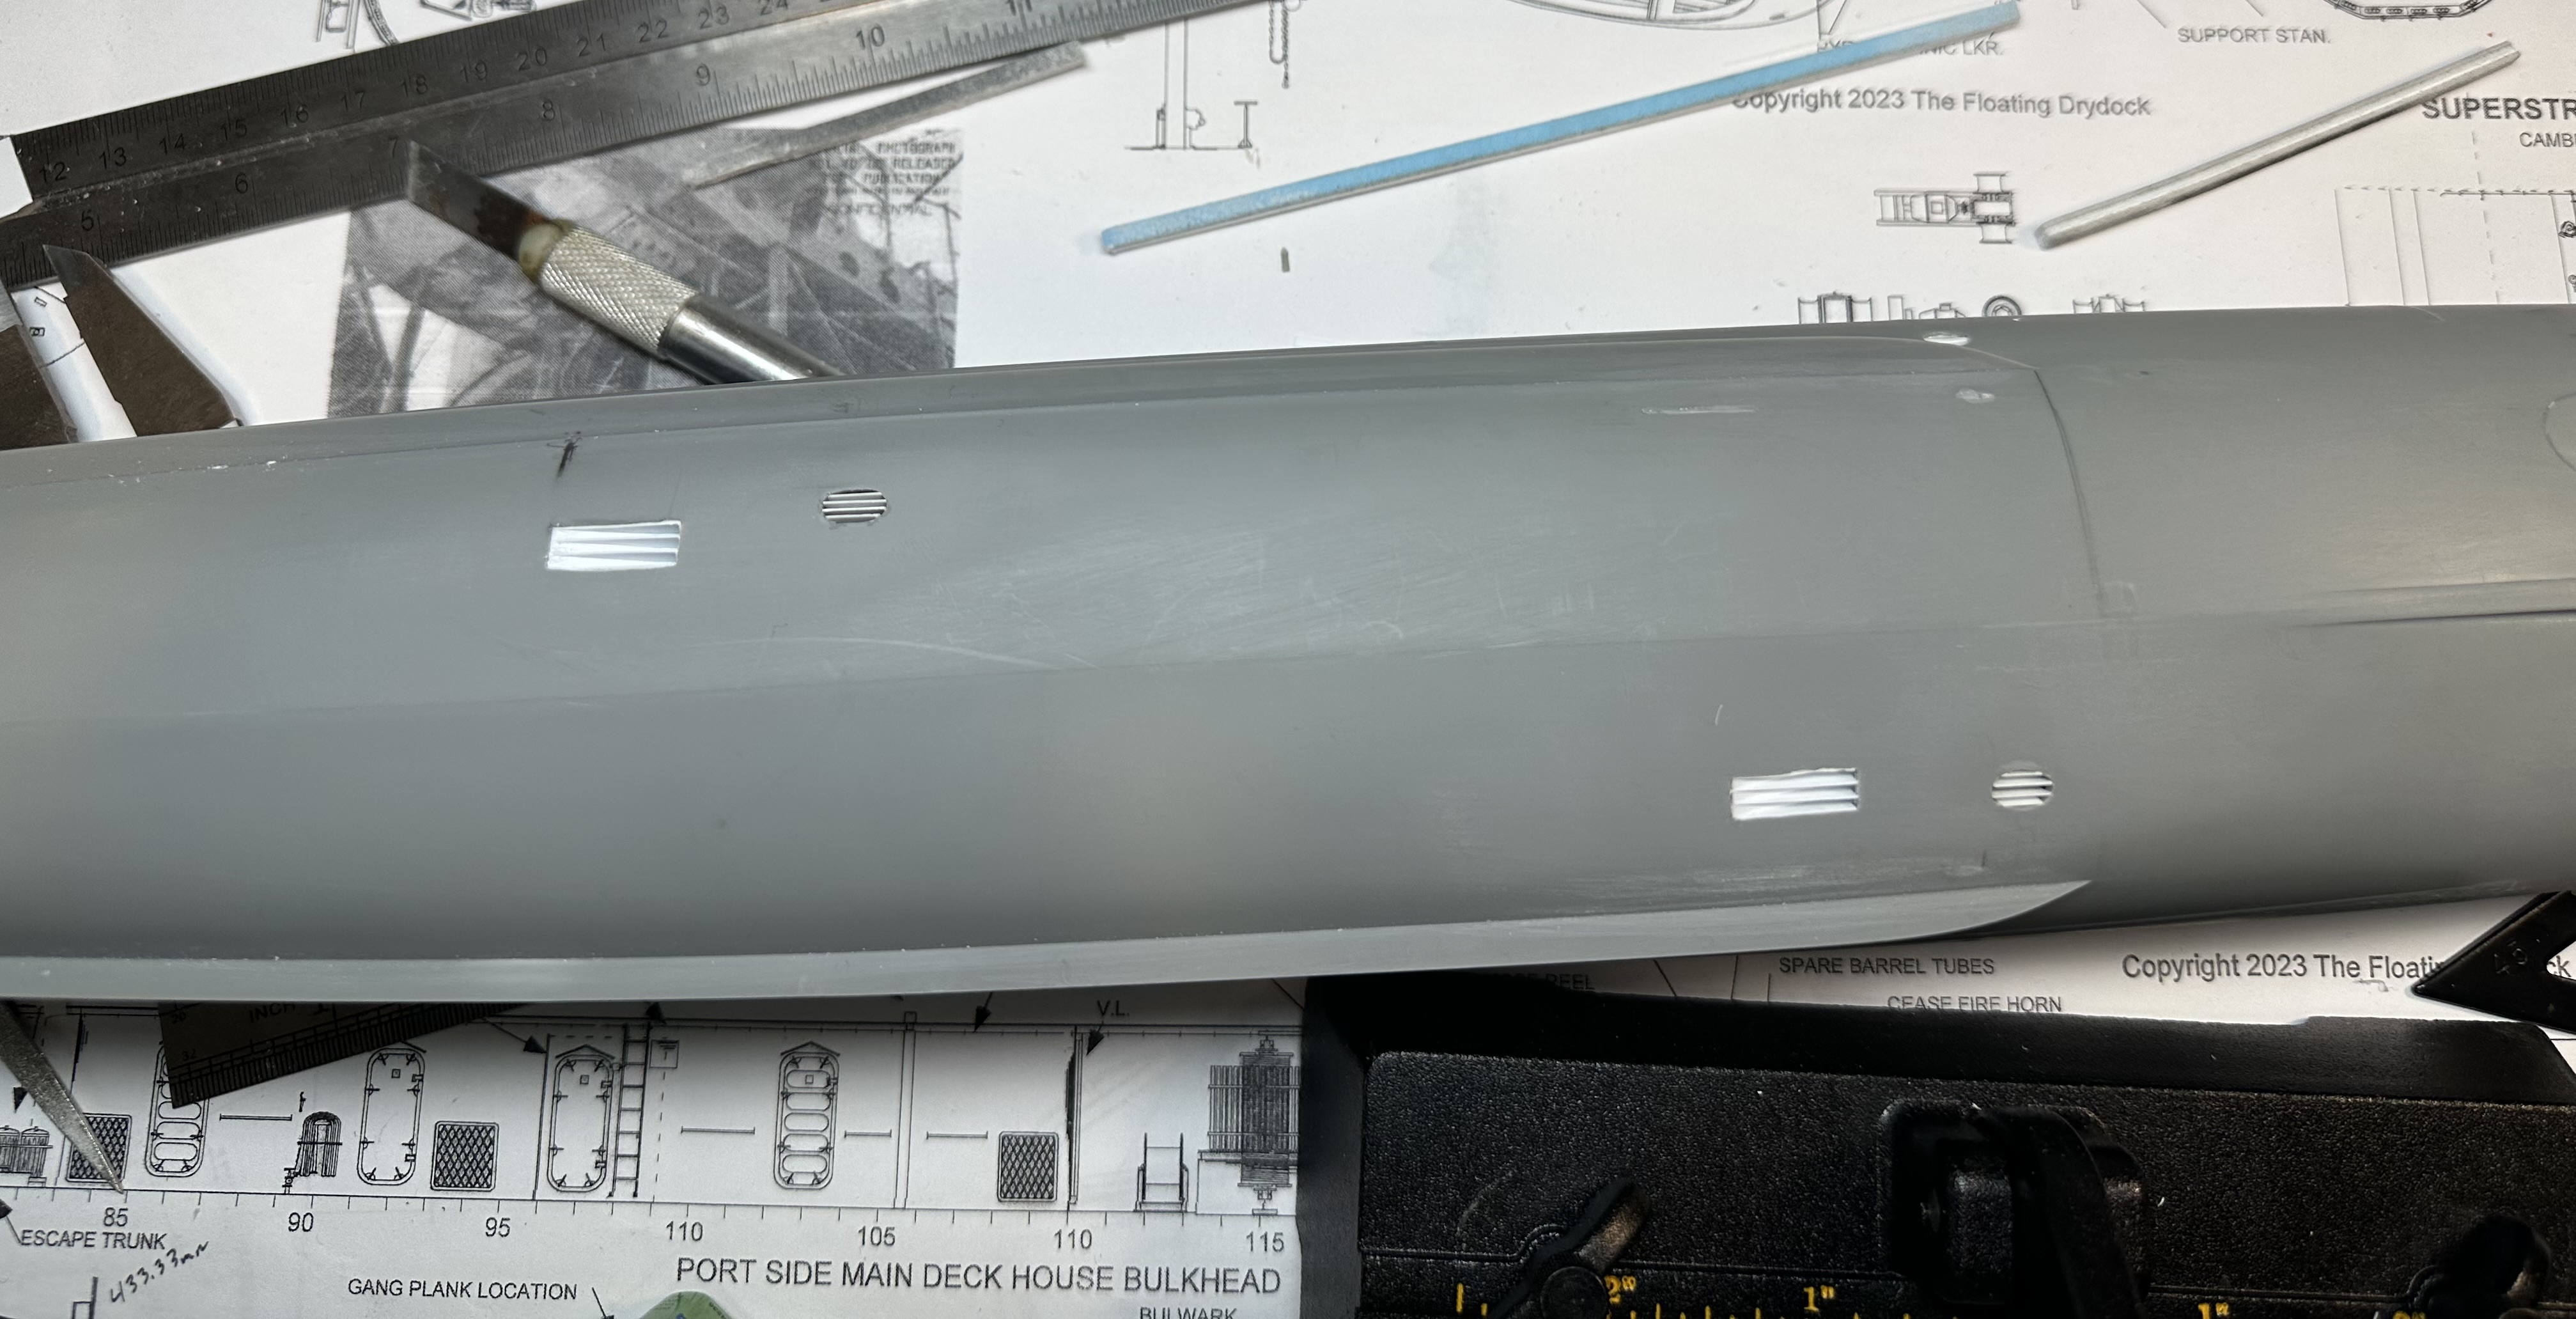
The plans show a lot of shapes on the hull without explaining whether or not they are intake vents of what they are - so I figured I would just cut out the shapes and add them - right wrong or who knows but it takes away the flat plain shape of the hull - attempts to get more detailed information have not produced clarification

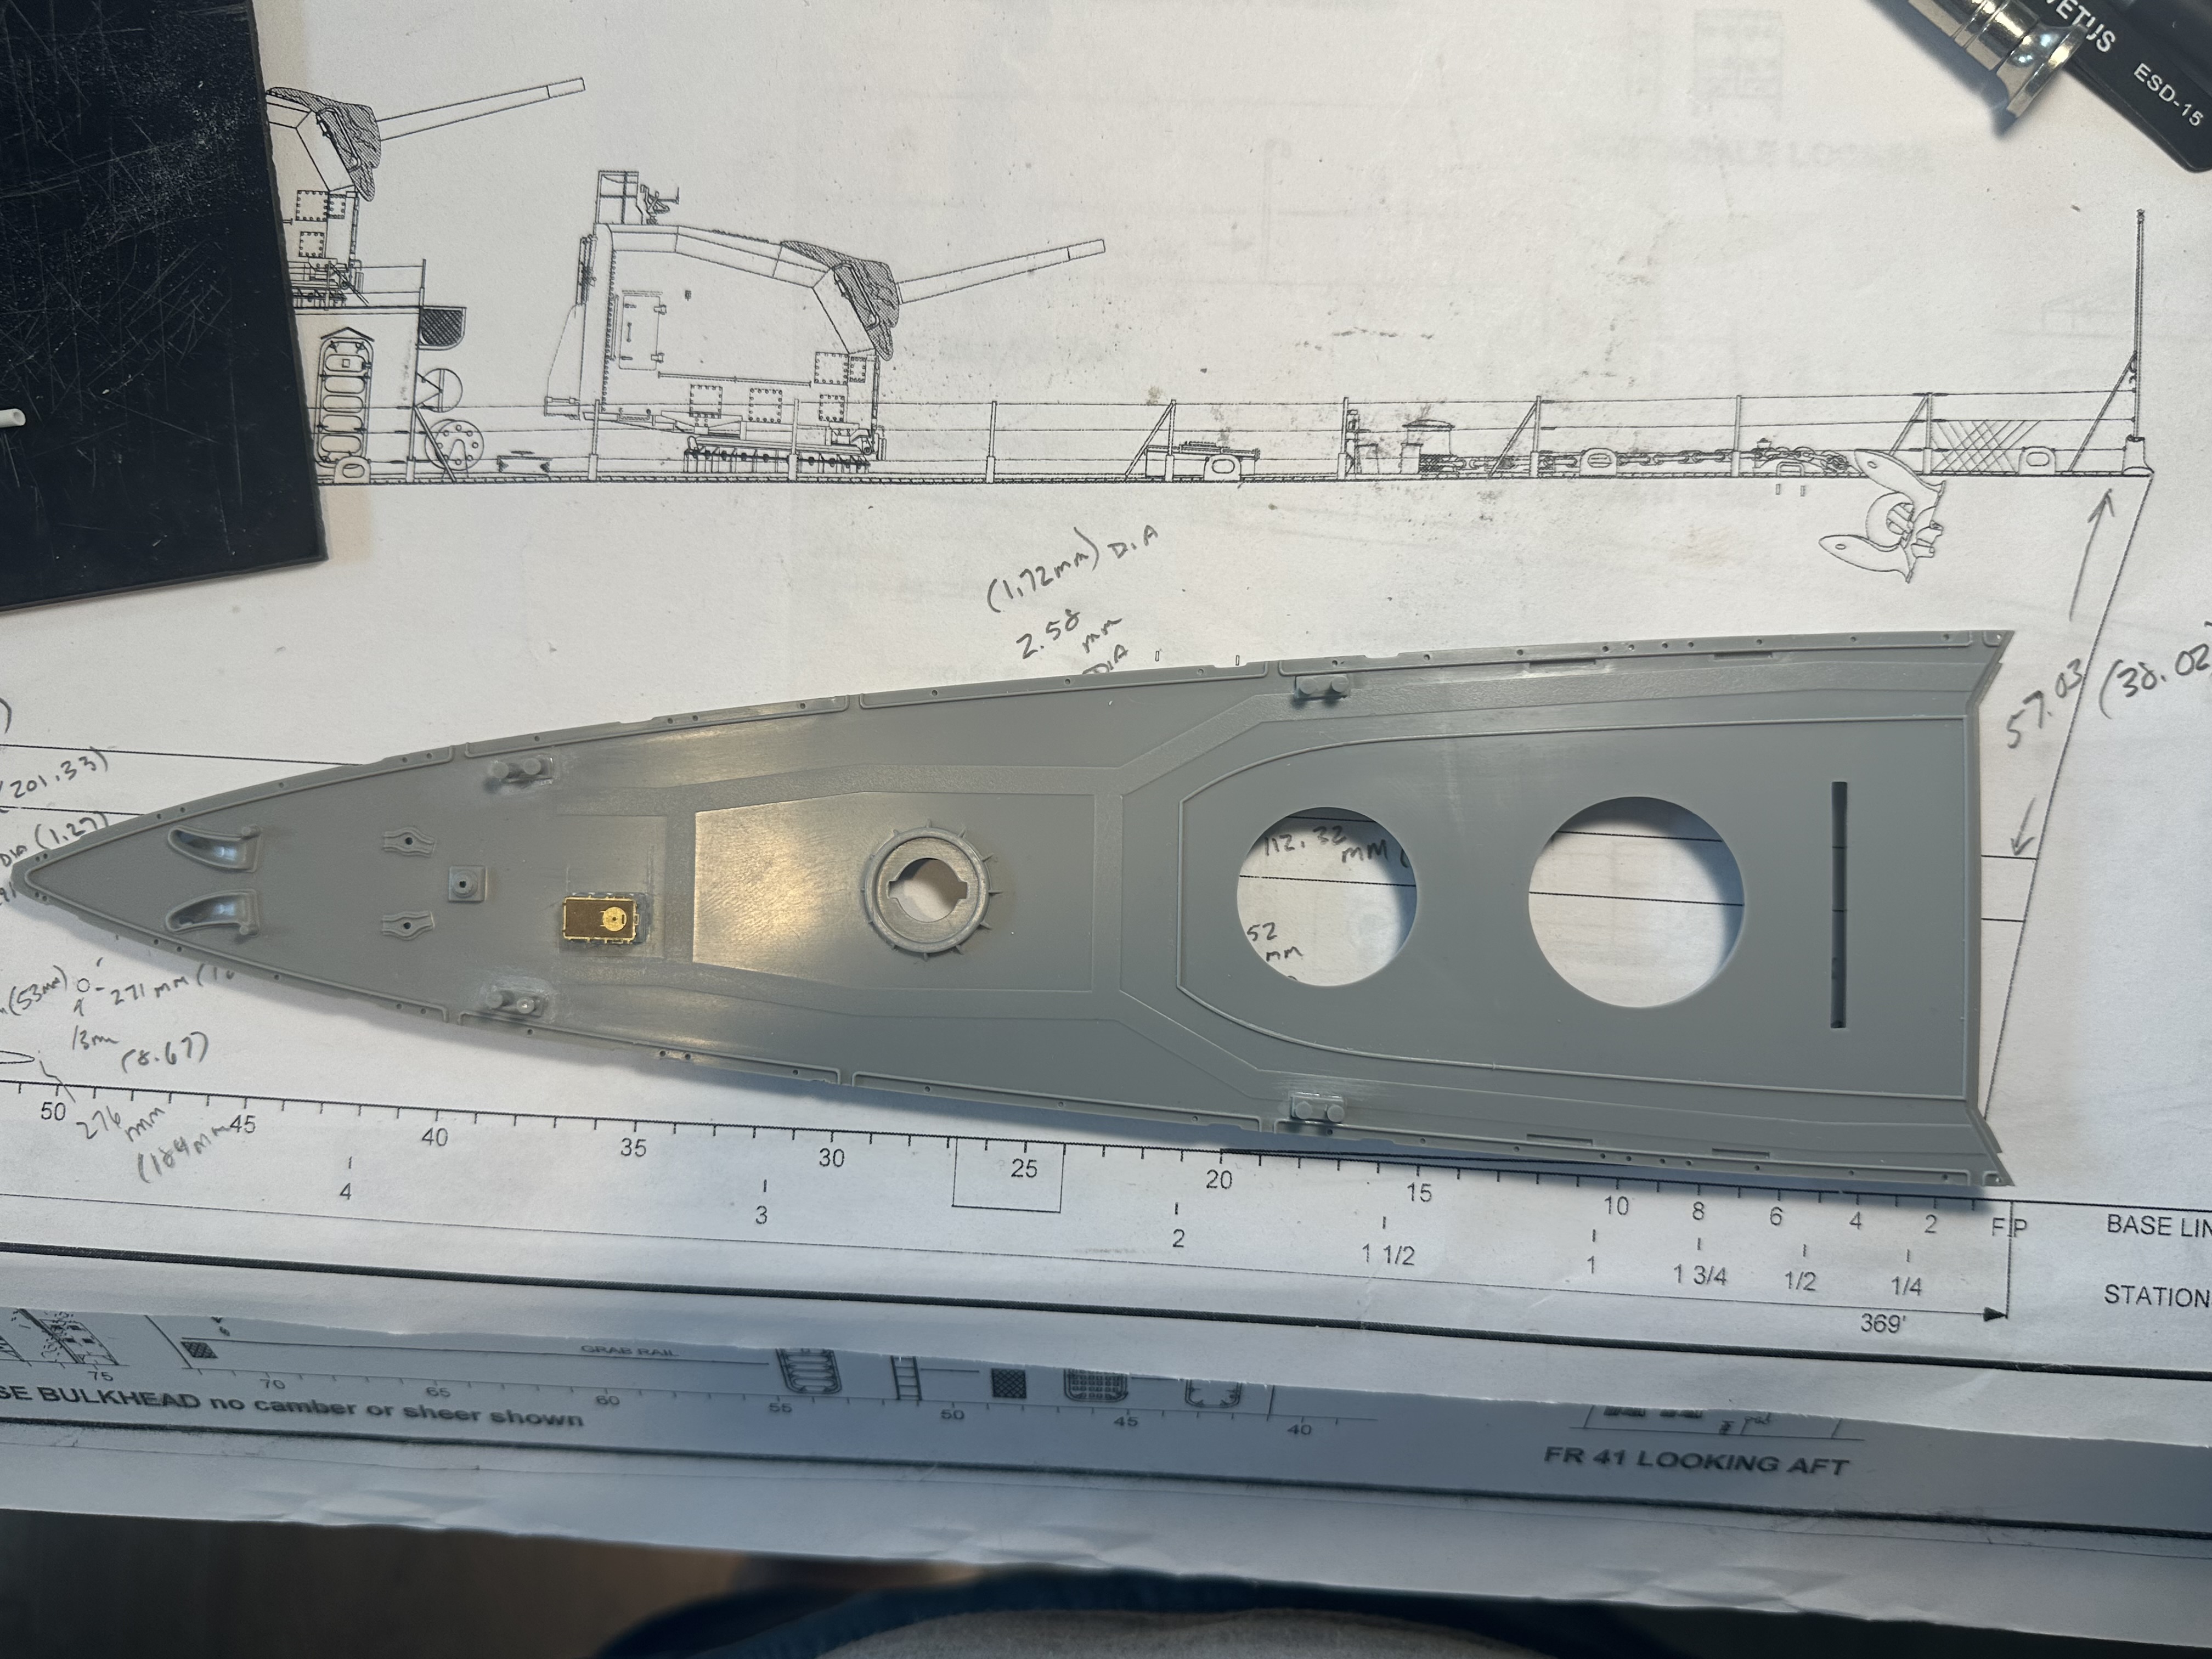
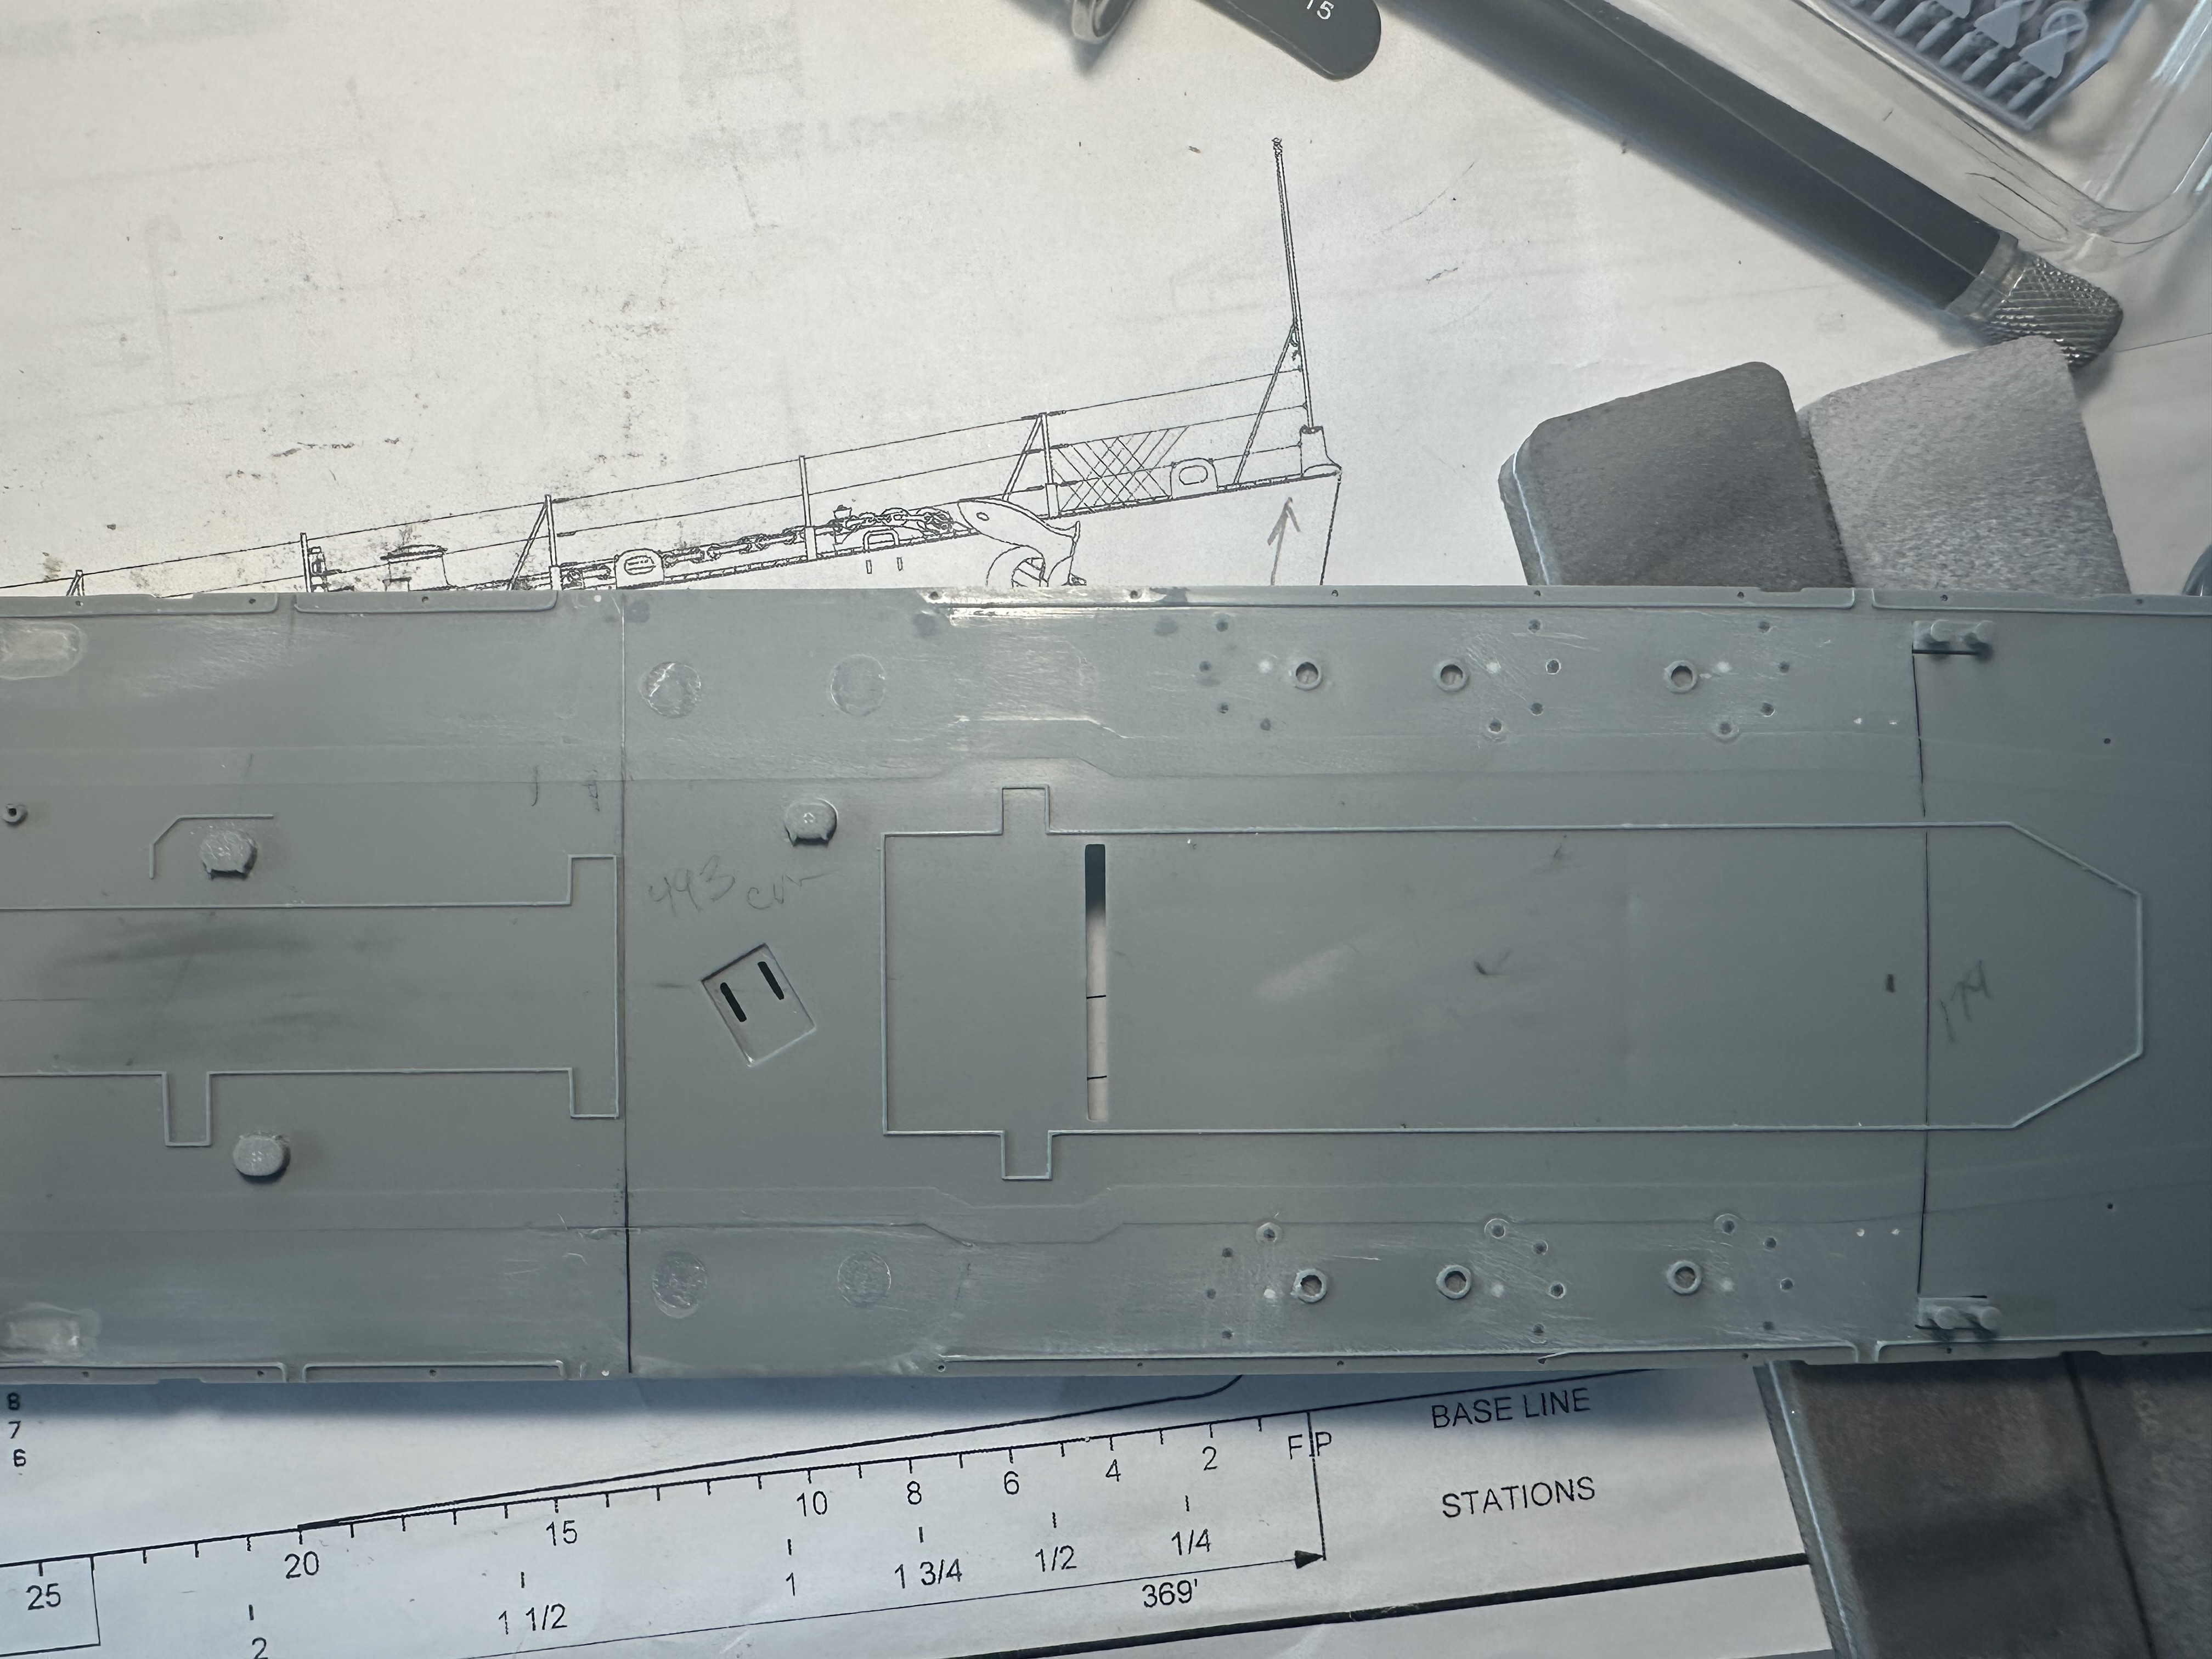
Here is the forward deck - as you can see I did add the Photo Etched Hatch cover, not sure if I will keep this or remove the hole thing and replace if with the Black Cat 3d printed hatch - the Black Cat seems to be missing something plus i want to open one of them -

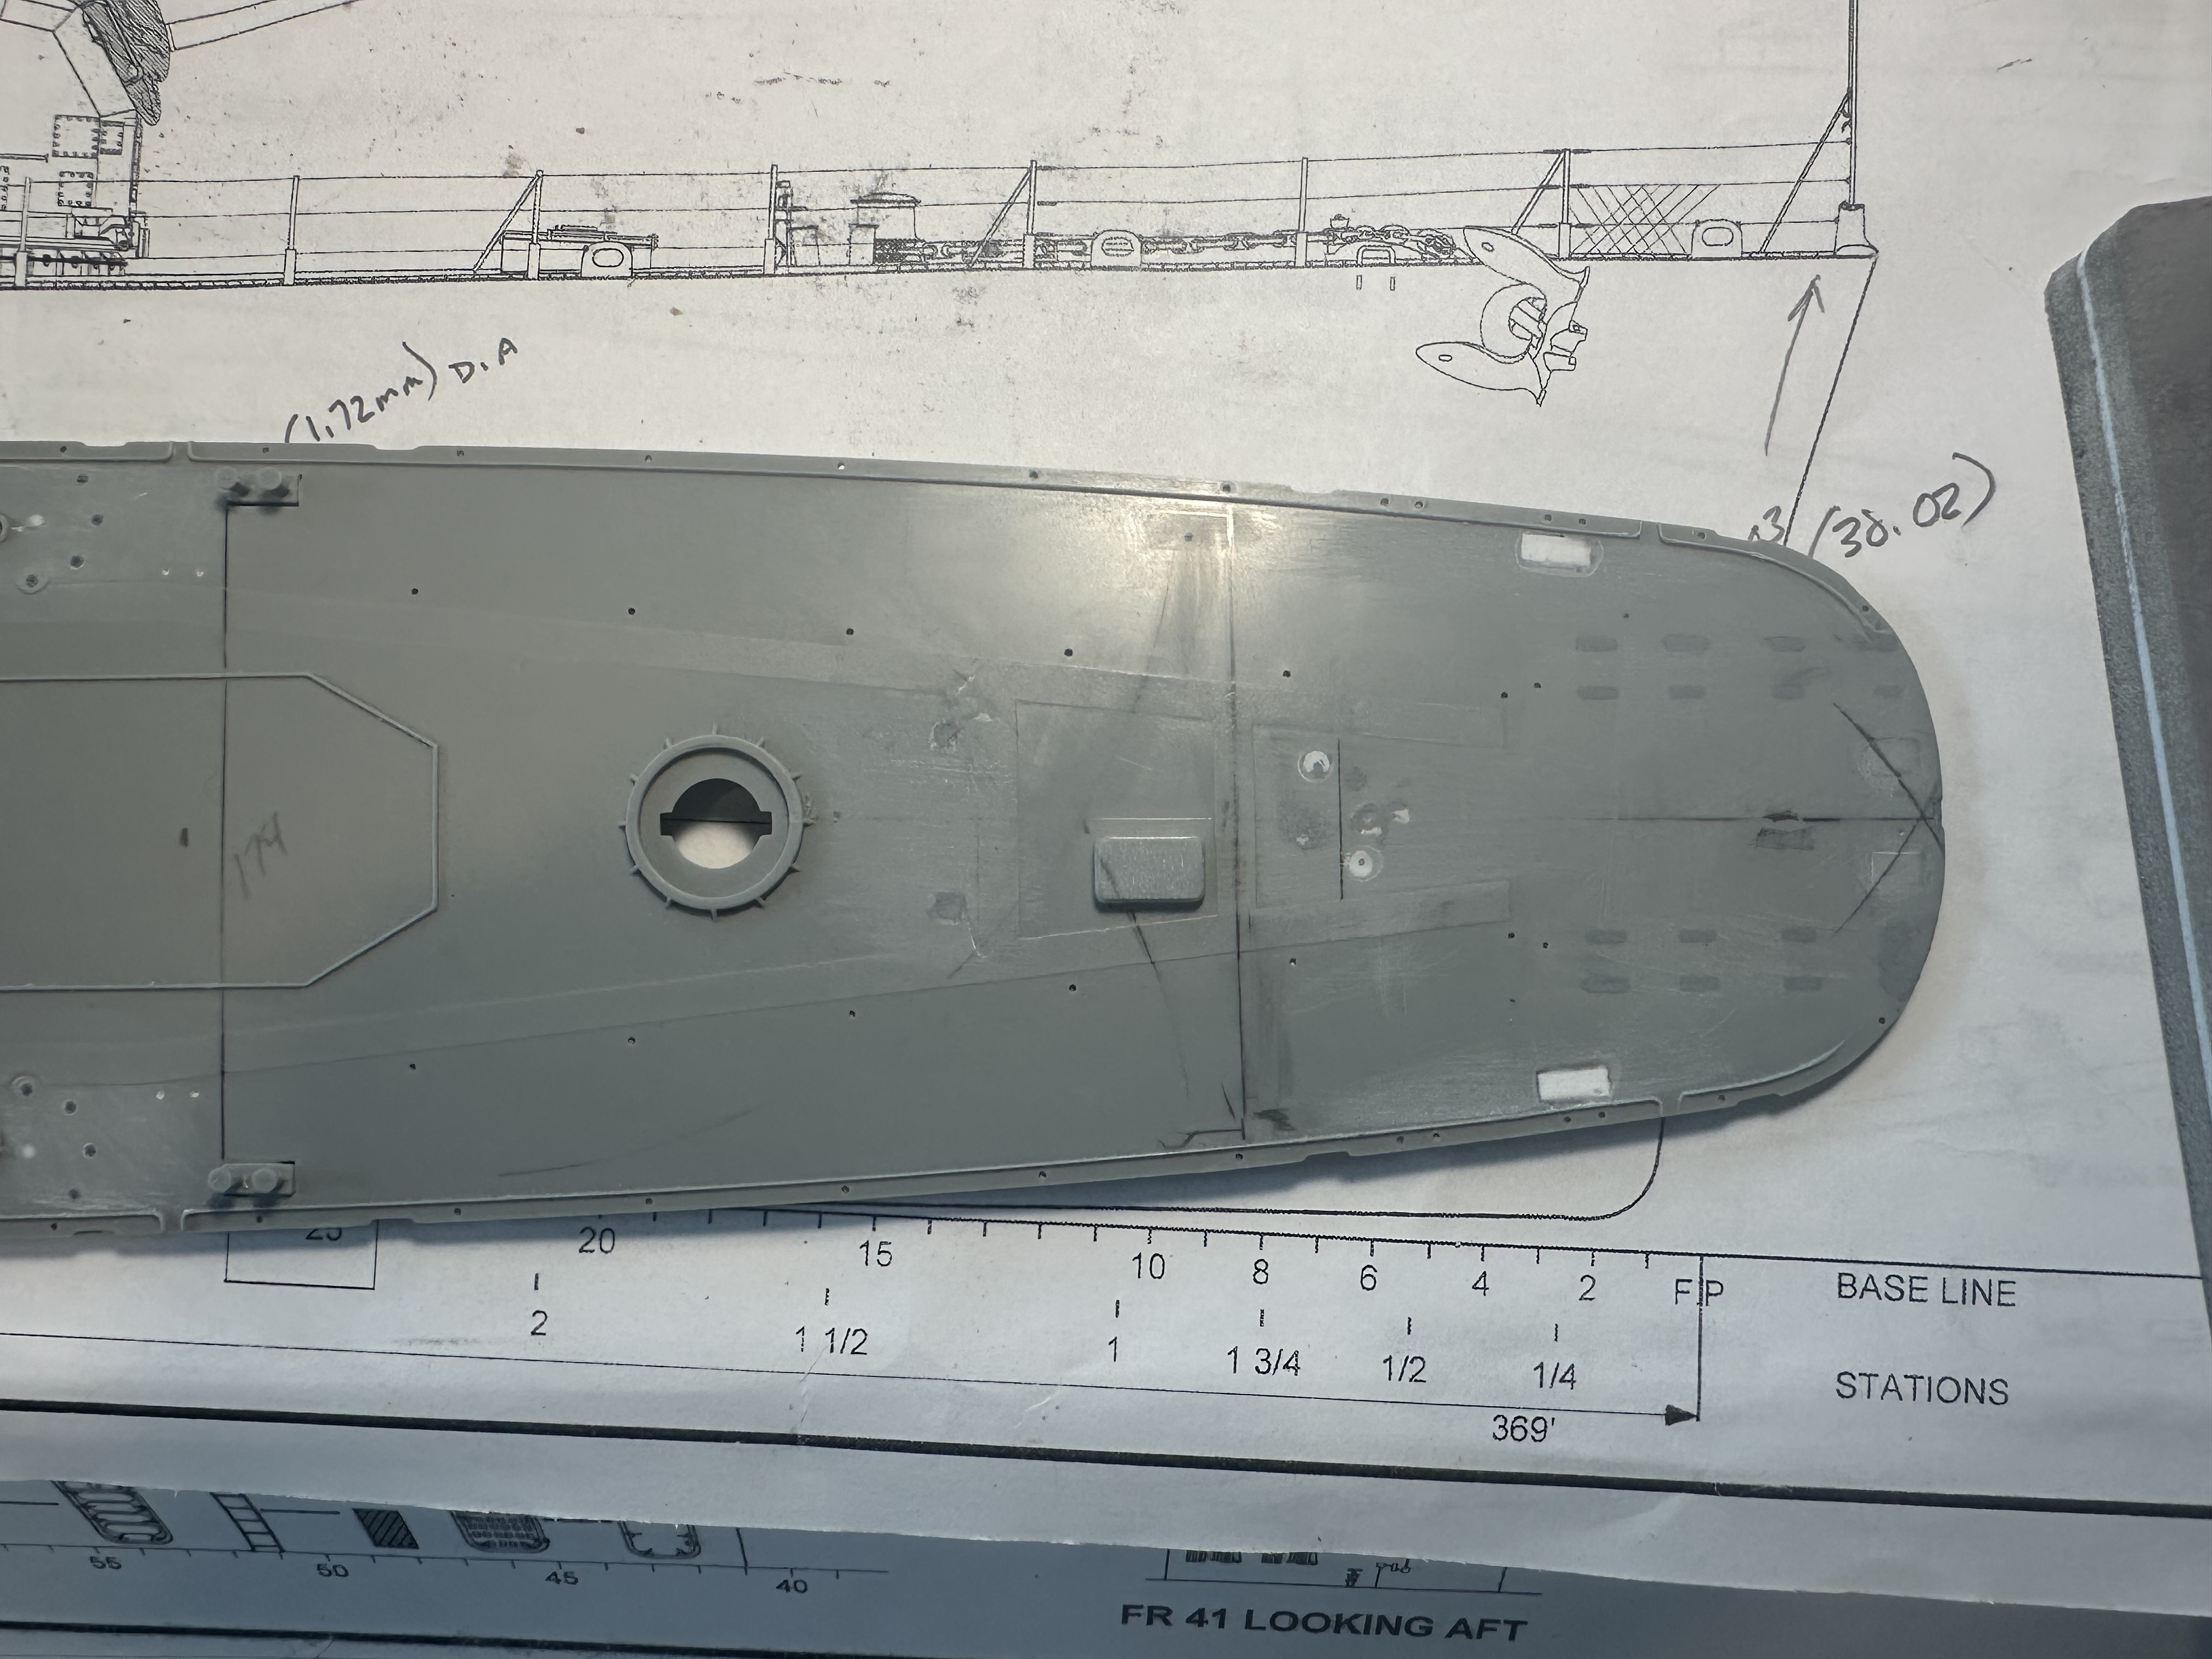
After looking at the plans and measuring things out it was clear that the bollards were not in the correct position for a 1943 Square Bridge Fletcher, so here I am filling in the spots - i had to sand down the kit provide bollards so that they would not be too high as the new location wont have the recessed spot

Mid deck, had to remove the splinter shield for the 20mm as it is replaced by photo etch and cause it shifted towards the bow - will have to measure out all the escape scuttles and move as necessary, that is the next step in this journey. I will open a couple and want to have that done before mounting to the hull

Pretty much the same here as the previous portion of the deck

After mounting the deck to the hull ill remove all the closed chocks as they are also in the wrong places. I have 3d printed to replace them

well that it for now - more to come soon hopefully

6 Likes

Hey all

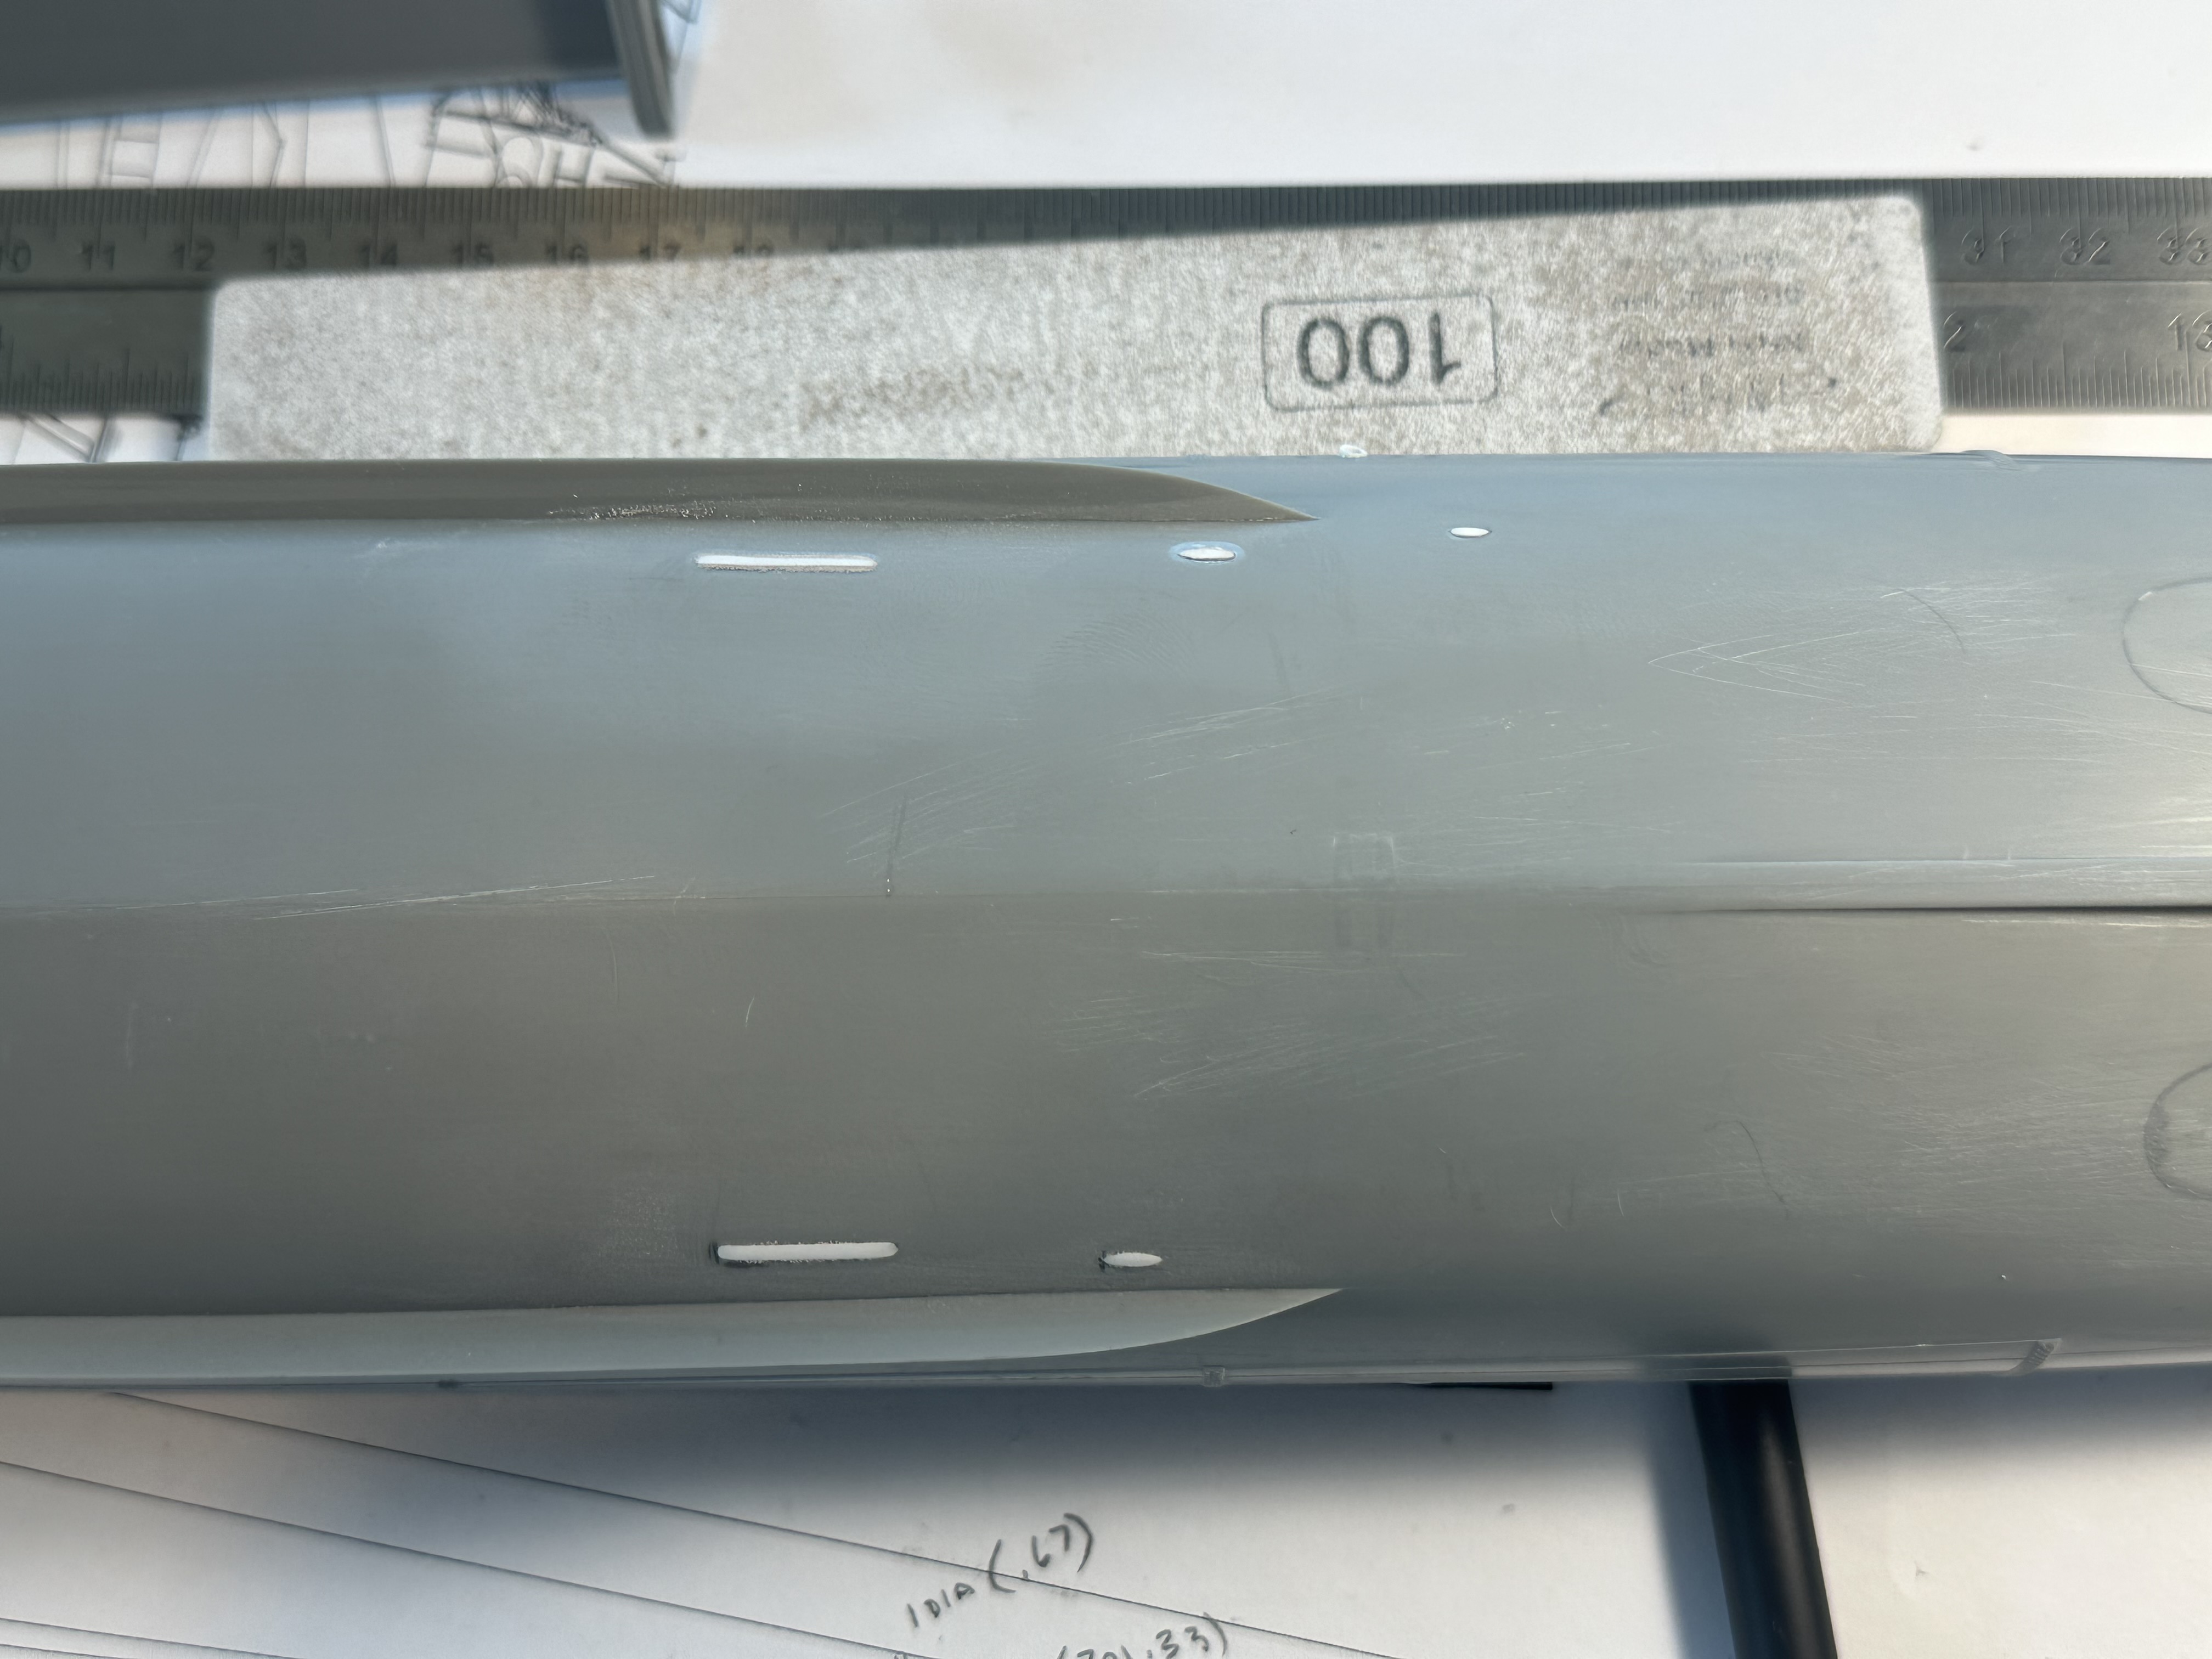
I thought I was done with the hull but as it seems my instinct were right in that there are some induction and scoops along the hull

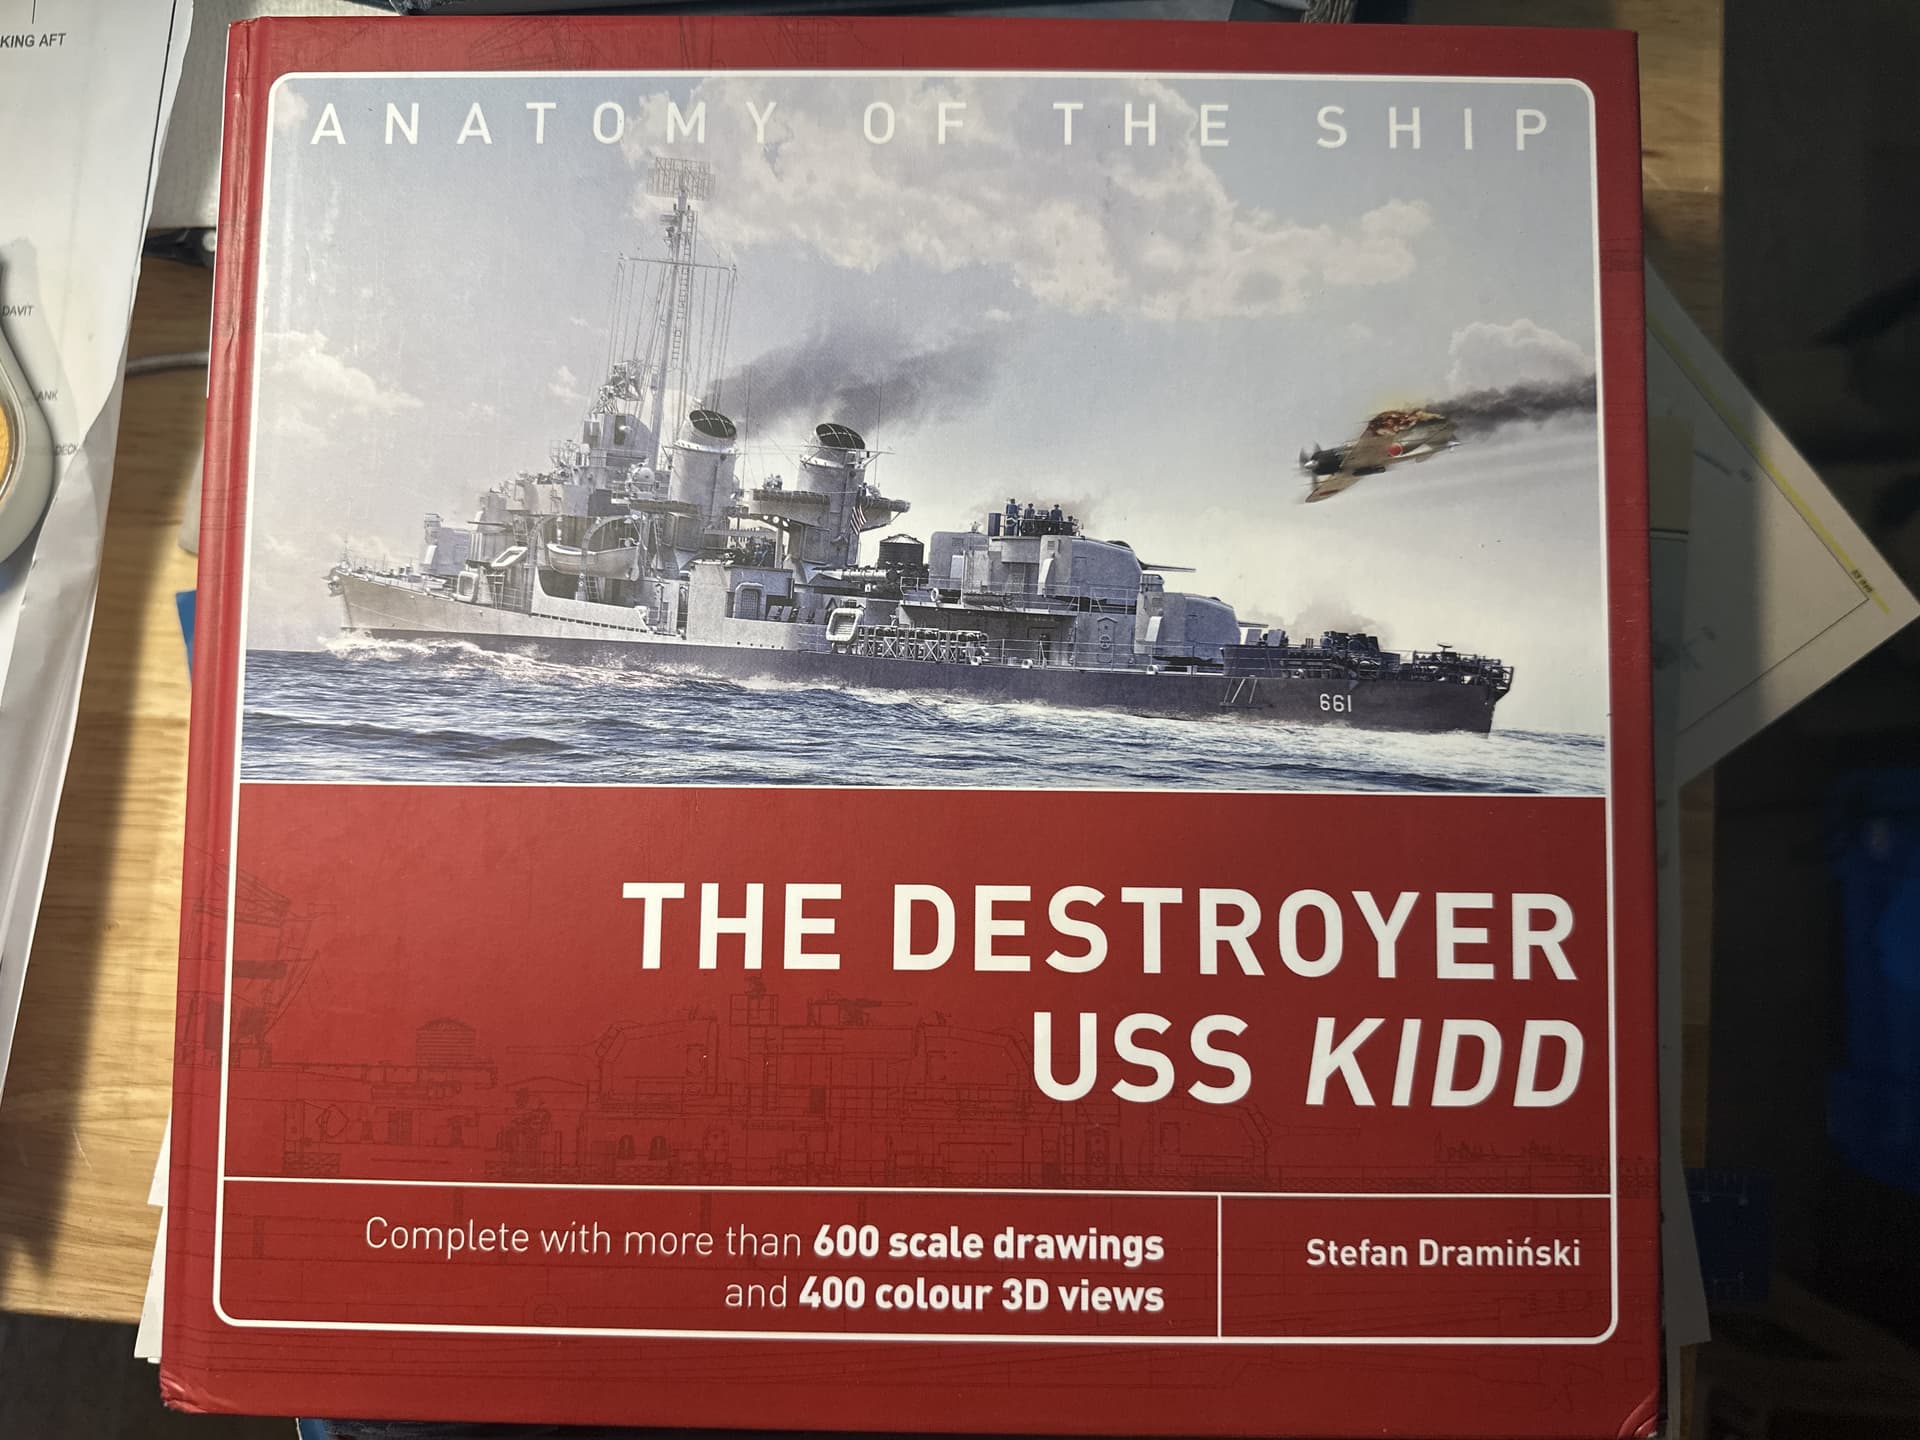
None of the books or plans showed these in detail until this book arrived yesterday. And to top it off the port and starboard side details are off set cause they are linked to the forward and aft engine rooms

So now back to the hull - but before that I figured I would expand

I know in some of my previous builds I have caused myself to be paralyzed from progress due to over analyzing and adding detail to my builds - I know I am doing that with this build as well but due to the size I am not sure i can get around it.

I wish I had this book when I started as it has all the details I wished I had and now that I do have it I think I will be sanding down the hull and adding the hull plating which is missing below the armored belt - the hull is a smooth as a baby’s butt -

While I am at it I will also add the condenser intake scoops for both engine rooms - since I am at it I might as well go all in - so there you have it folks - stay tuned for what will be madness cause the next step is now to sand down the hull.

Stay tuned for madness!!!

3 Likes

Those building doldrums are as bad for us as it was for those tall ships with no wind :wind_face: but we won’t go hungry always a bright side. Look forward to your progress.
Thanks Joe - hope to have an update, if small sometime this week - efforts in detailing the hull are moving forward now

1 Like

Lovin’ it!

Have popcorn in hand.

And thanks for the kind comments!

My goodness, the amount of aftermarket items for this kit is amazing and I don’t even want to know what the cost was. However, this will be the most detail ship of this class on the net. A must follow along and see how she goes!

1 Like

Hey all,

First off - happy new year - I do hope that Santa brought you all some styrene and placed it gently under the tree.

Model-Monkey - I have a second 1/144 Fletcher in hand and will be submitting another order soon - just not sure how soon

Stryker45 - yea, lets just say I might have gone a little over board but now that I have it in hand I am trying to move forward.

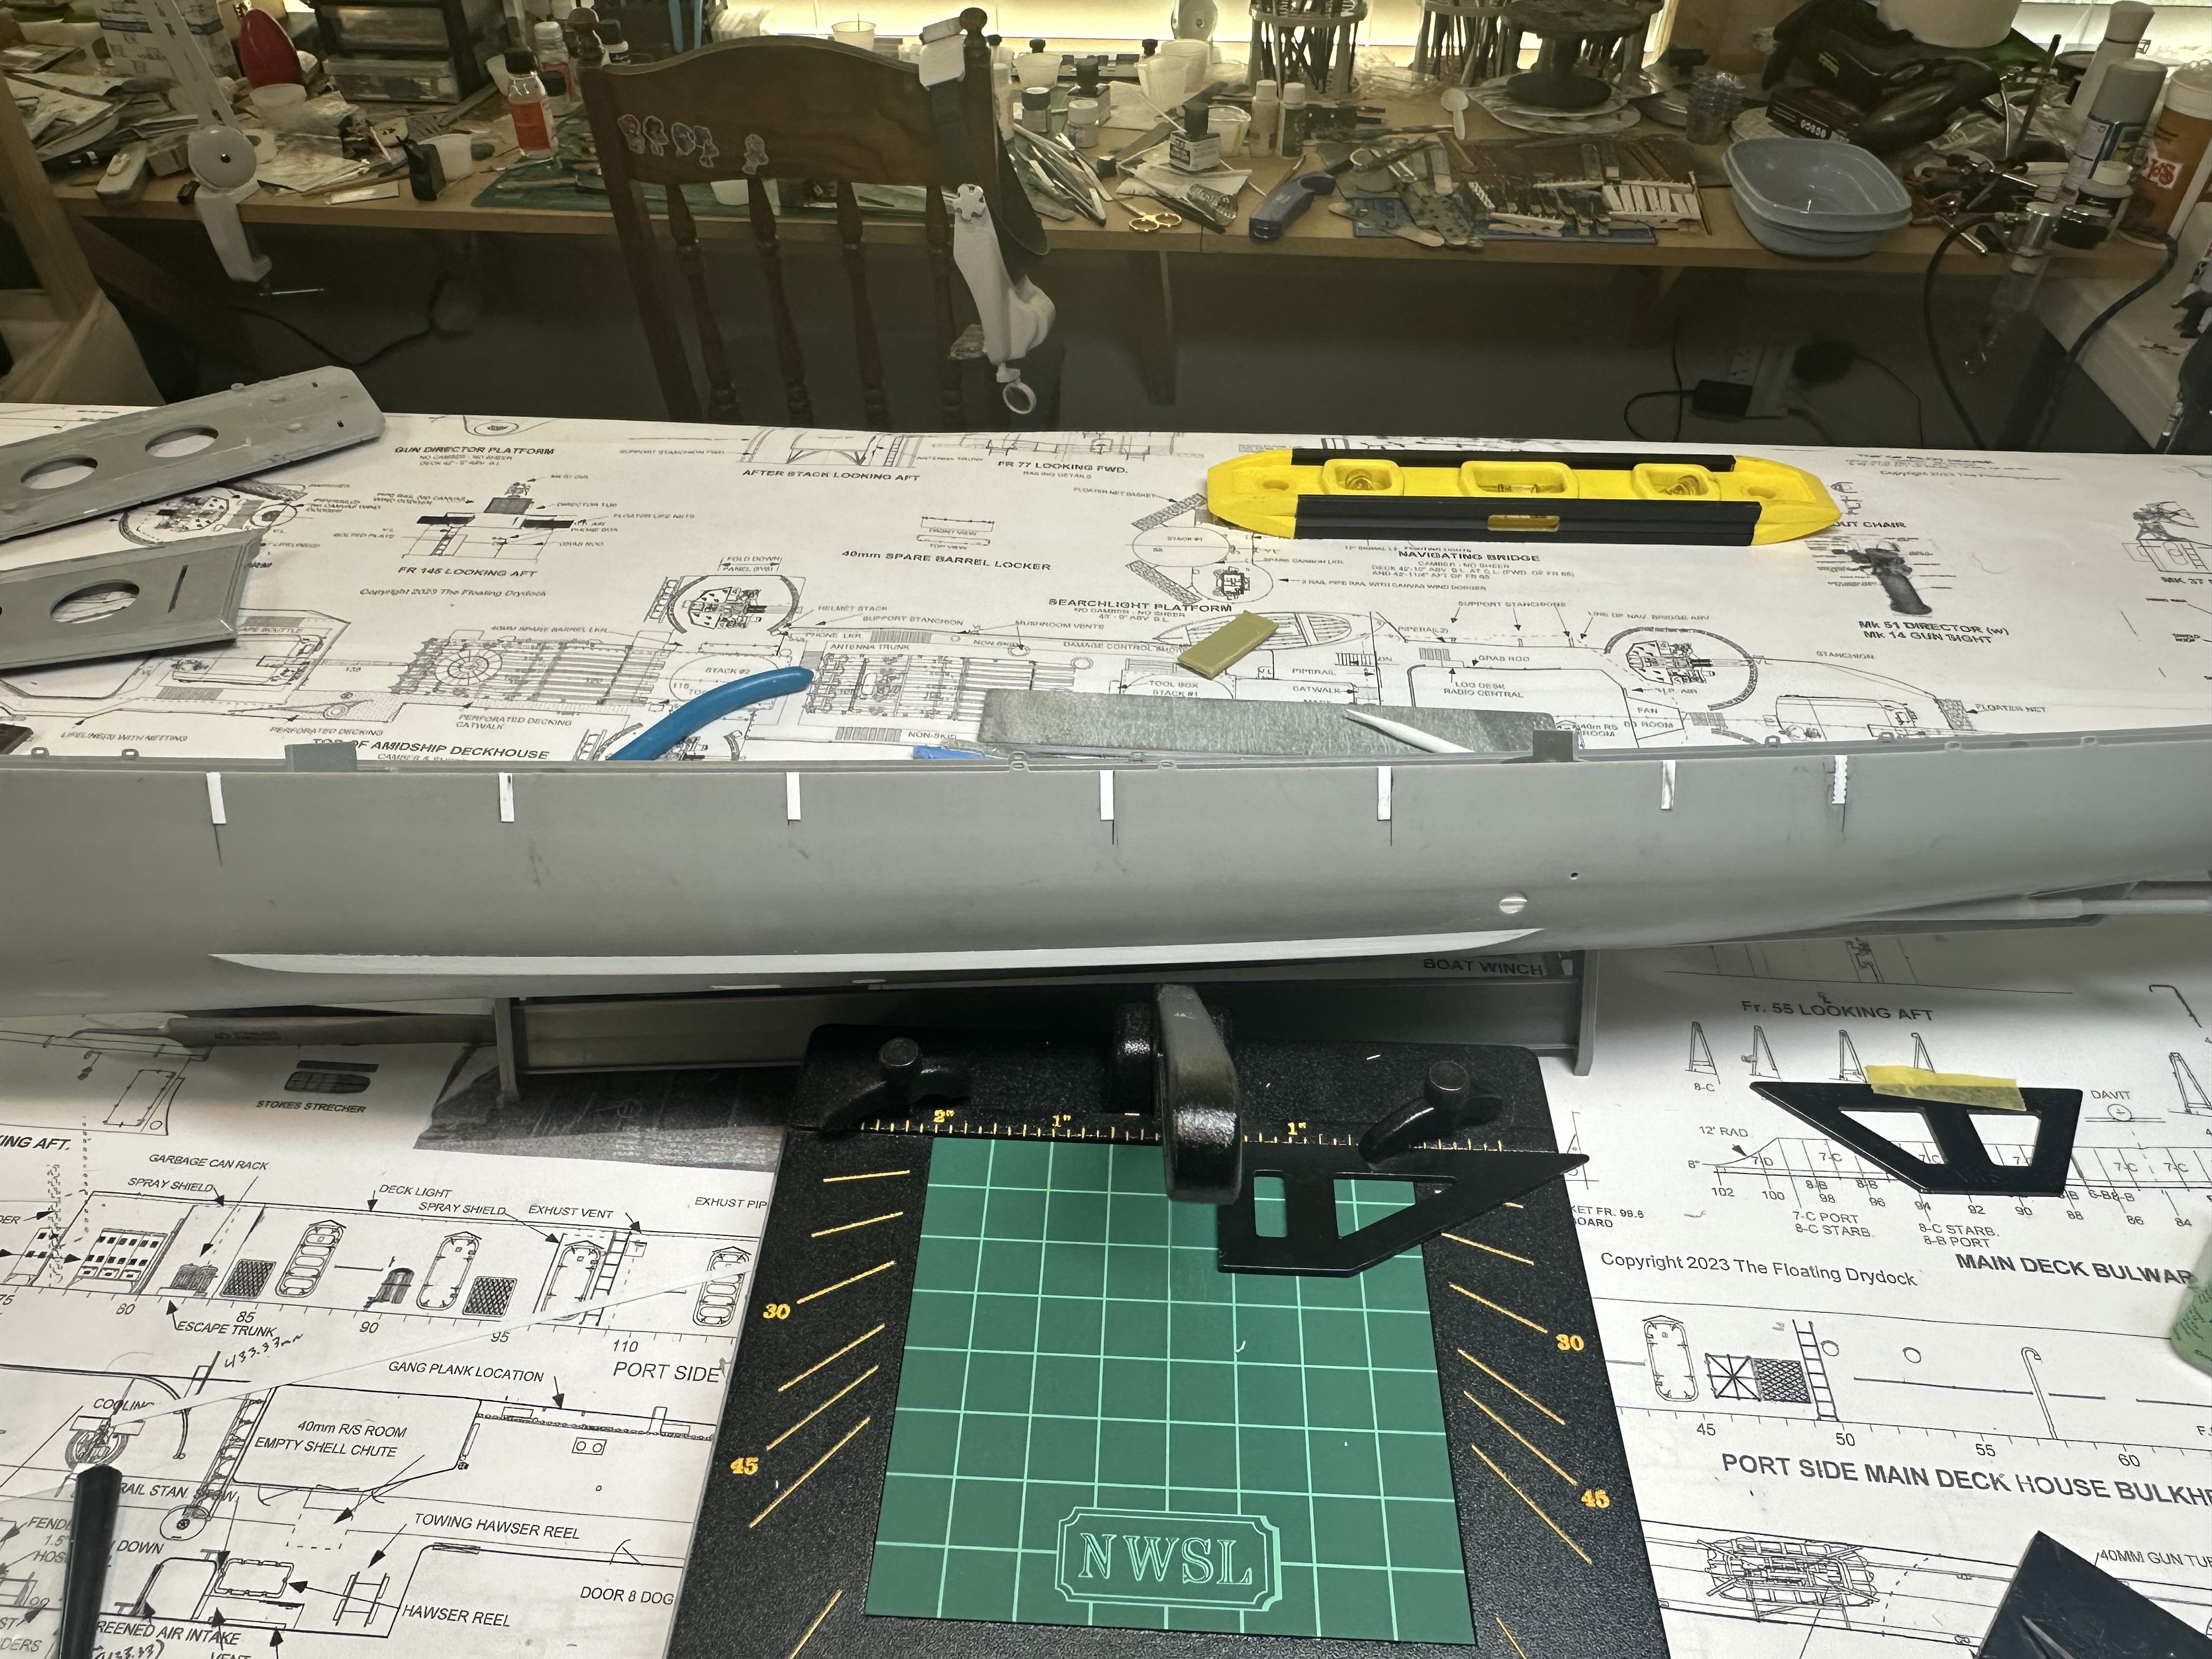
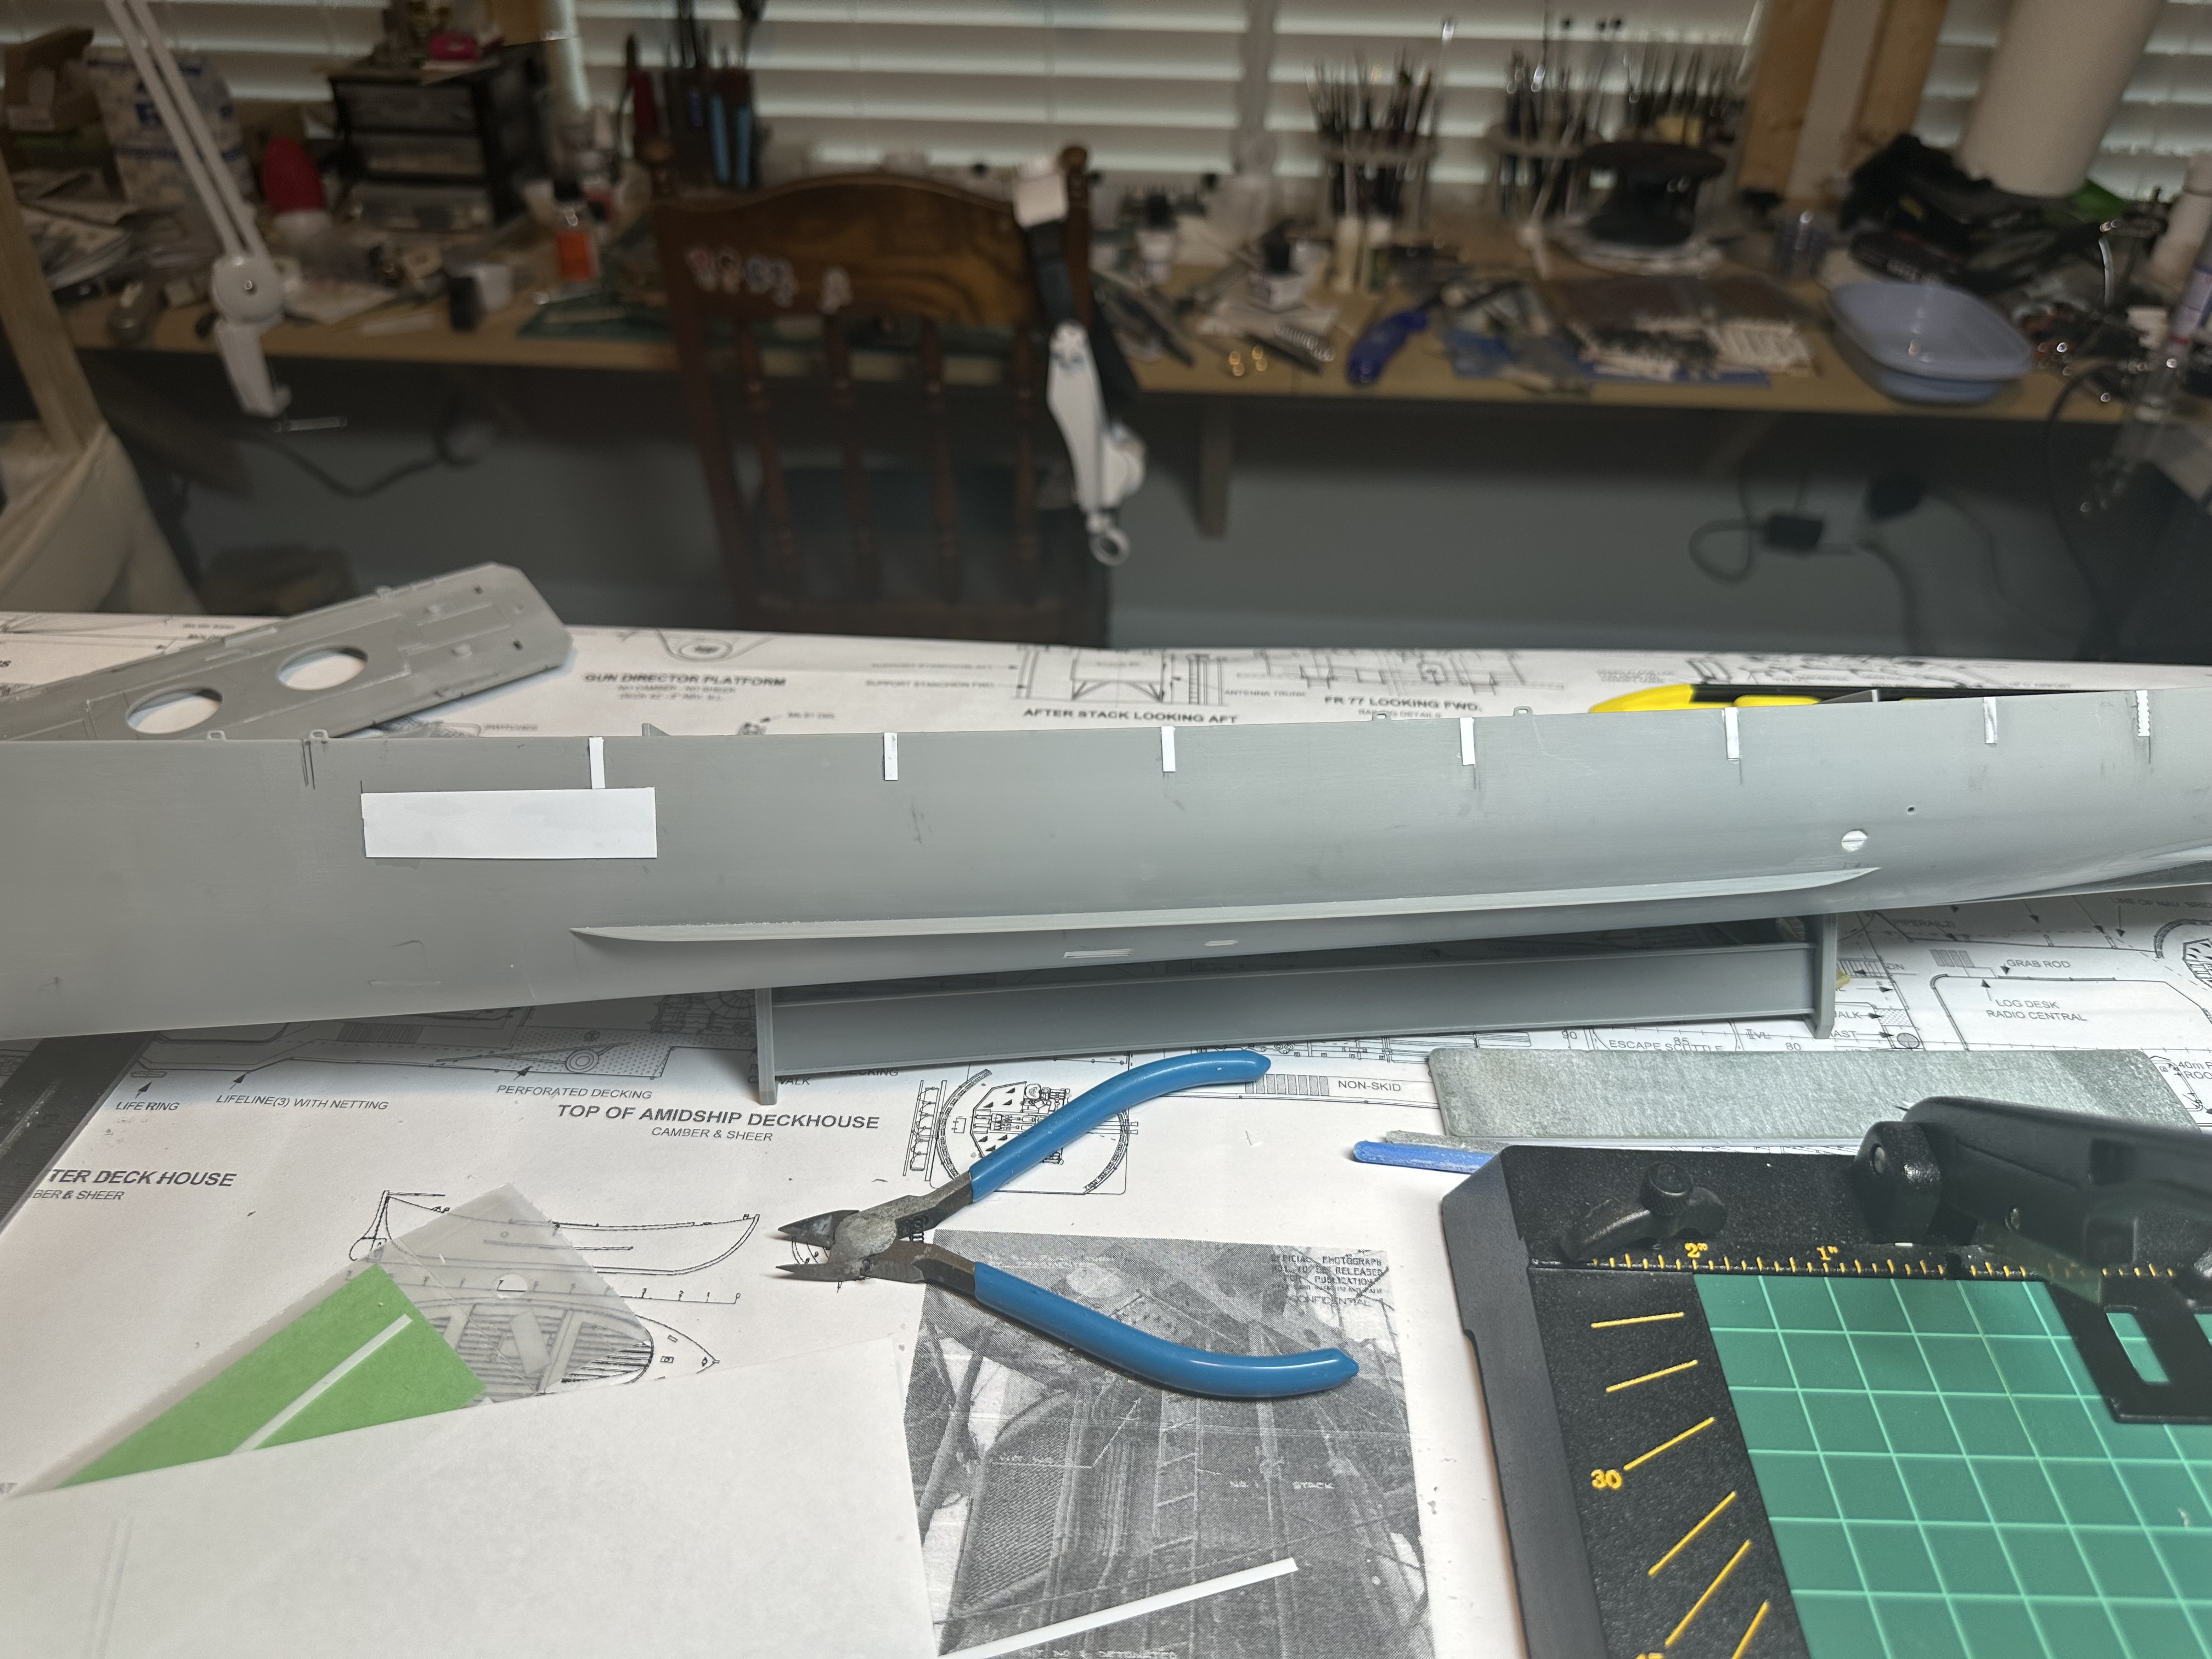
With that in mind here is an update - I have been focused primarily on the hull - which after conducting more research i have concluded that Revell did not do too good a job - I know shocker. So i added the intake vents and will add more of the bilge pumps later.

Here are the intake vents

and what the hull looked like before I got to sanding it

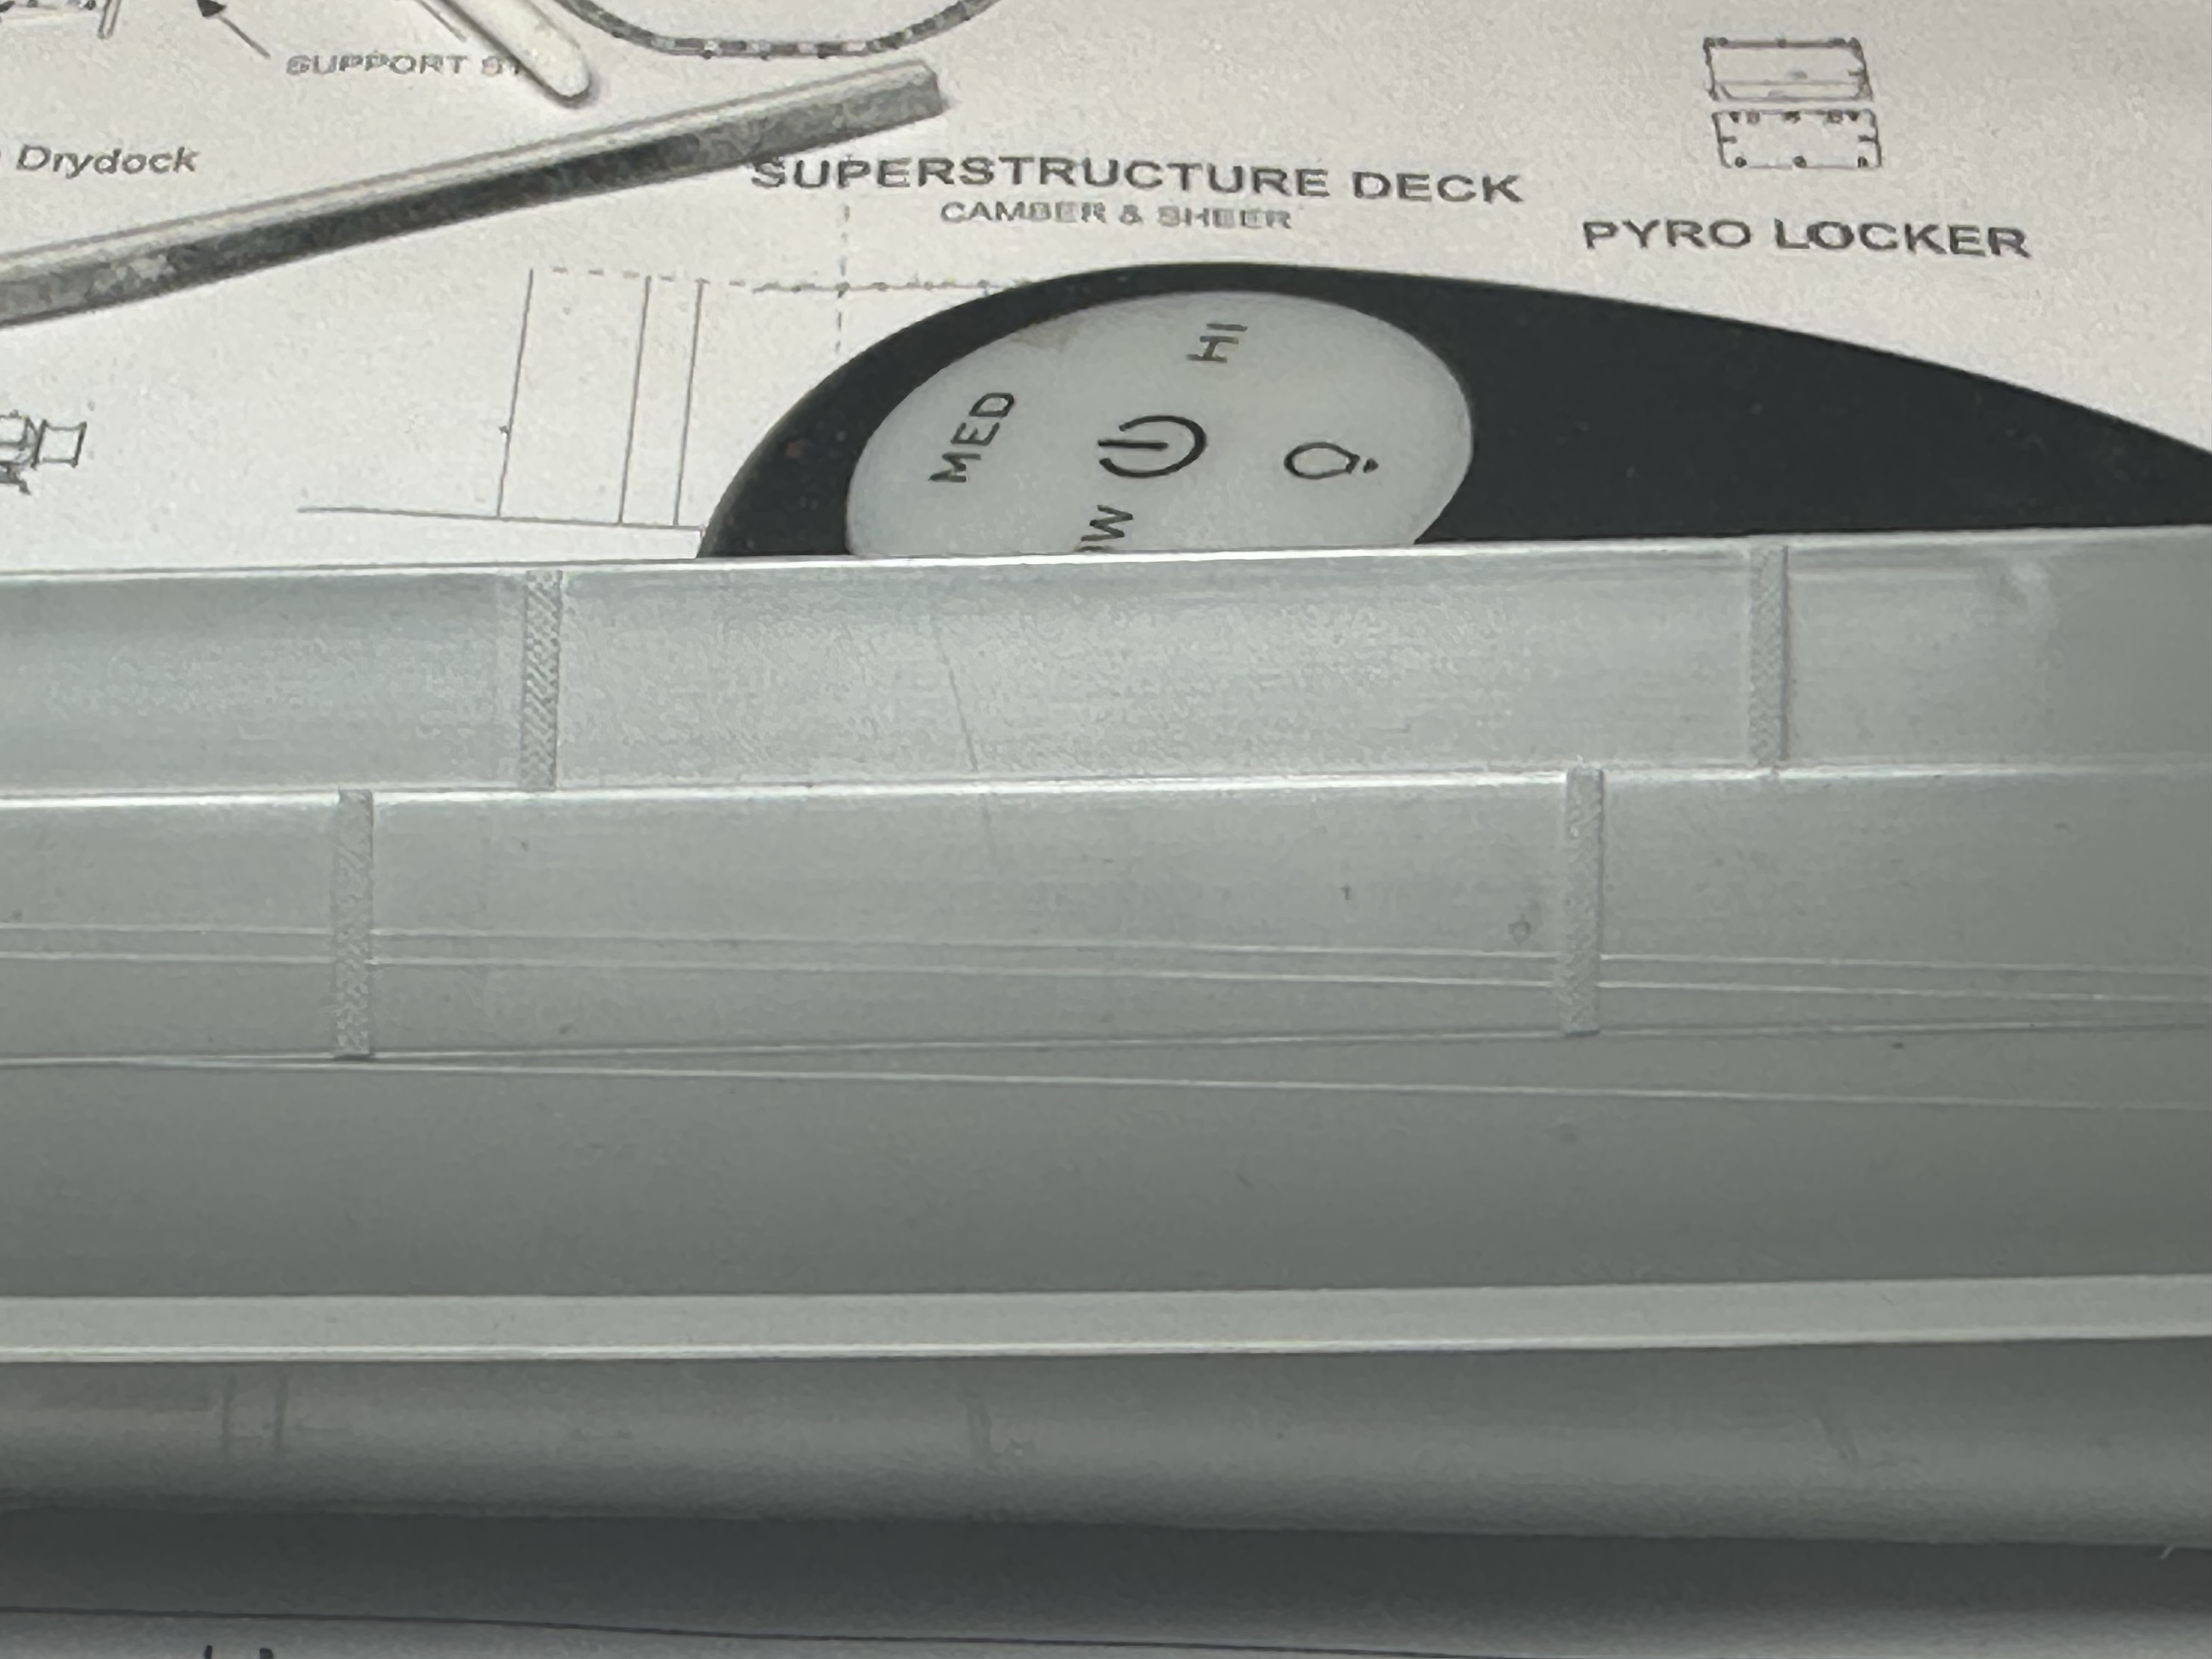
So, as to my own demise, I sanded down the entire hull and have replaced the armor belt with strip styrene and am in the process of adding Archer Decal N-scale double rivets - which I ran out of an am waiting on a new order to continue.

So, first off, the Archer rivets, while very cool to add as detail are not user friendly - they do not adhere to the plastic too well and if you use too much decal setting solution the individual rivets come off the decal backing - so I have come to the conclusion that I need to measure out all of the strips I need, prepare the hull and spend an entire session on placing all of the rivets so that when done I can apply a layer of clear coat to secure the decals -

sounds like a plan that has not been tested yet but will be shortly -

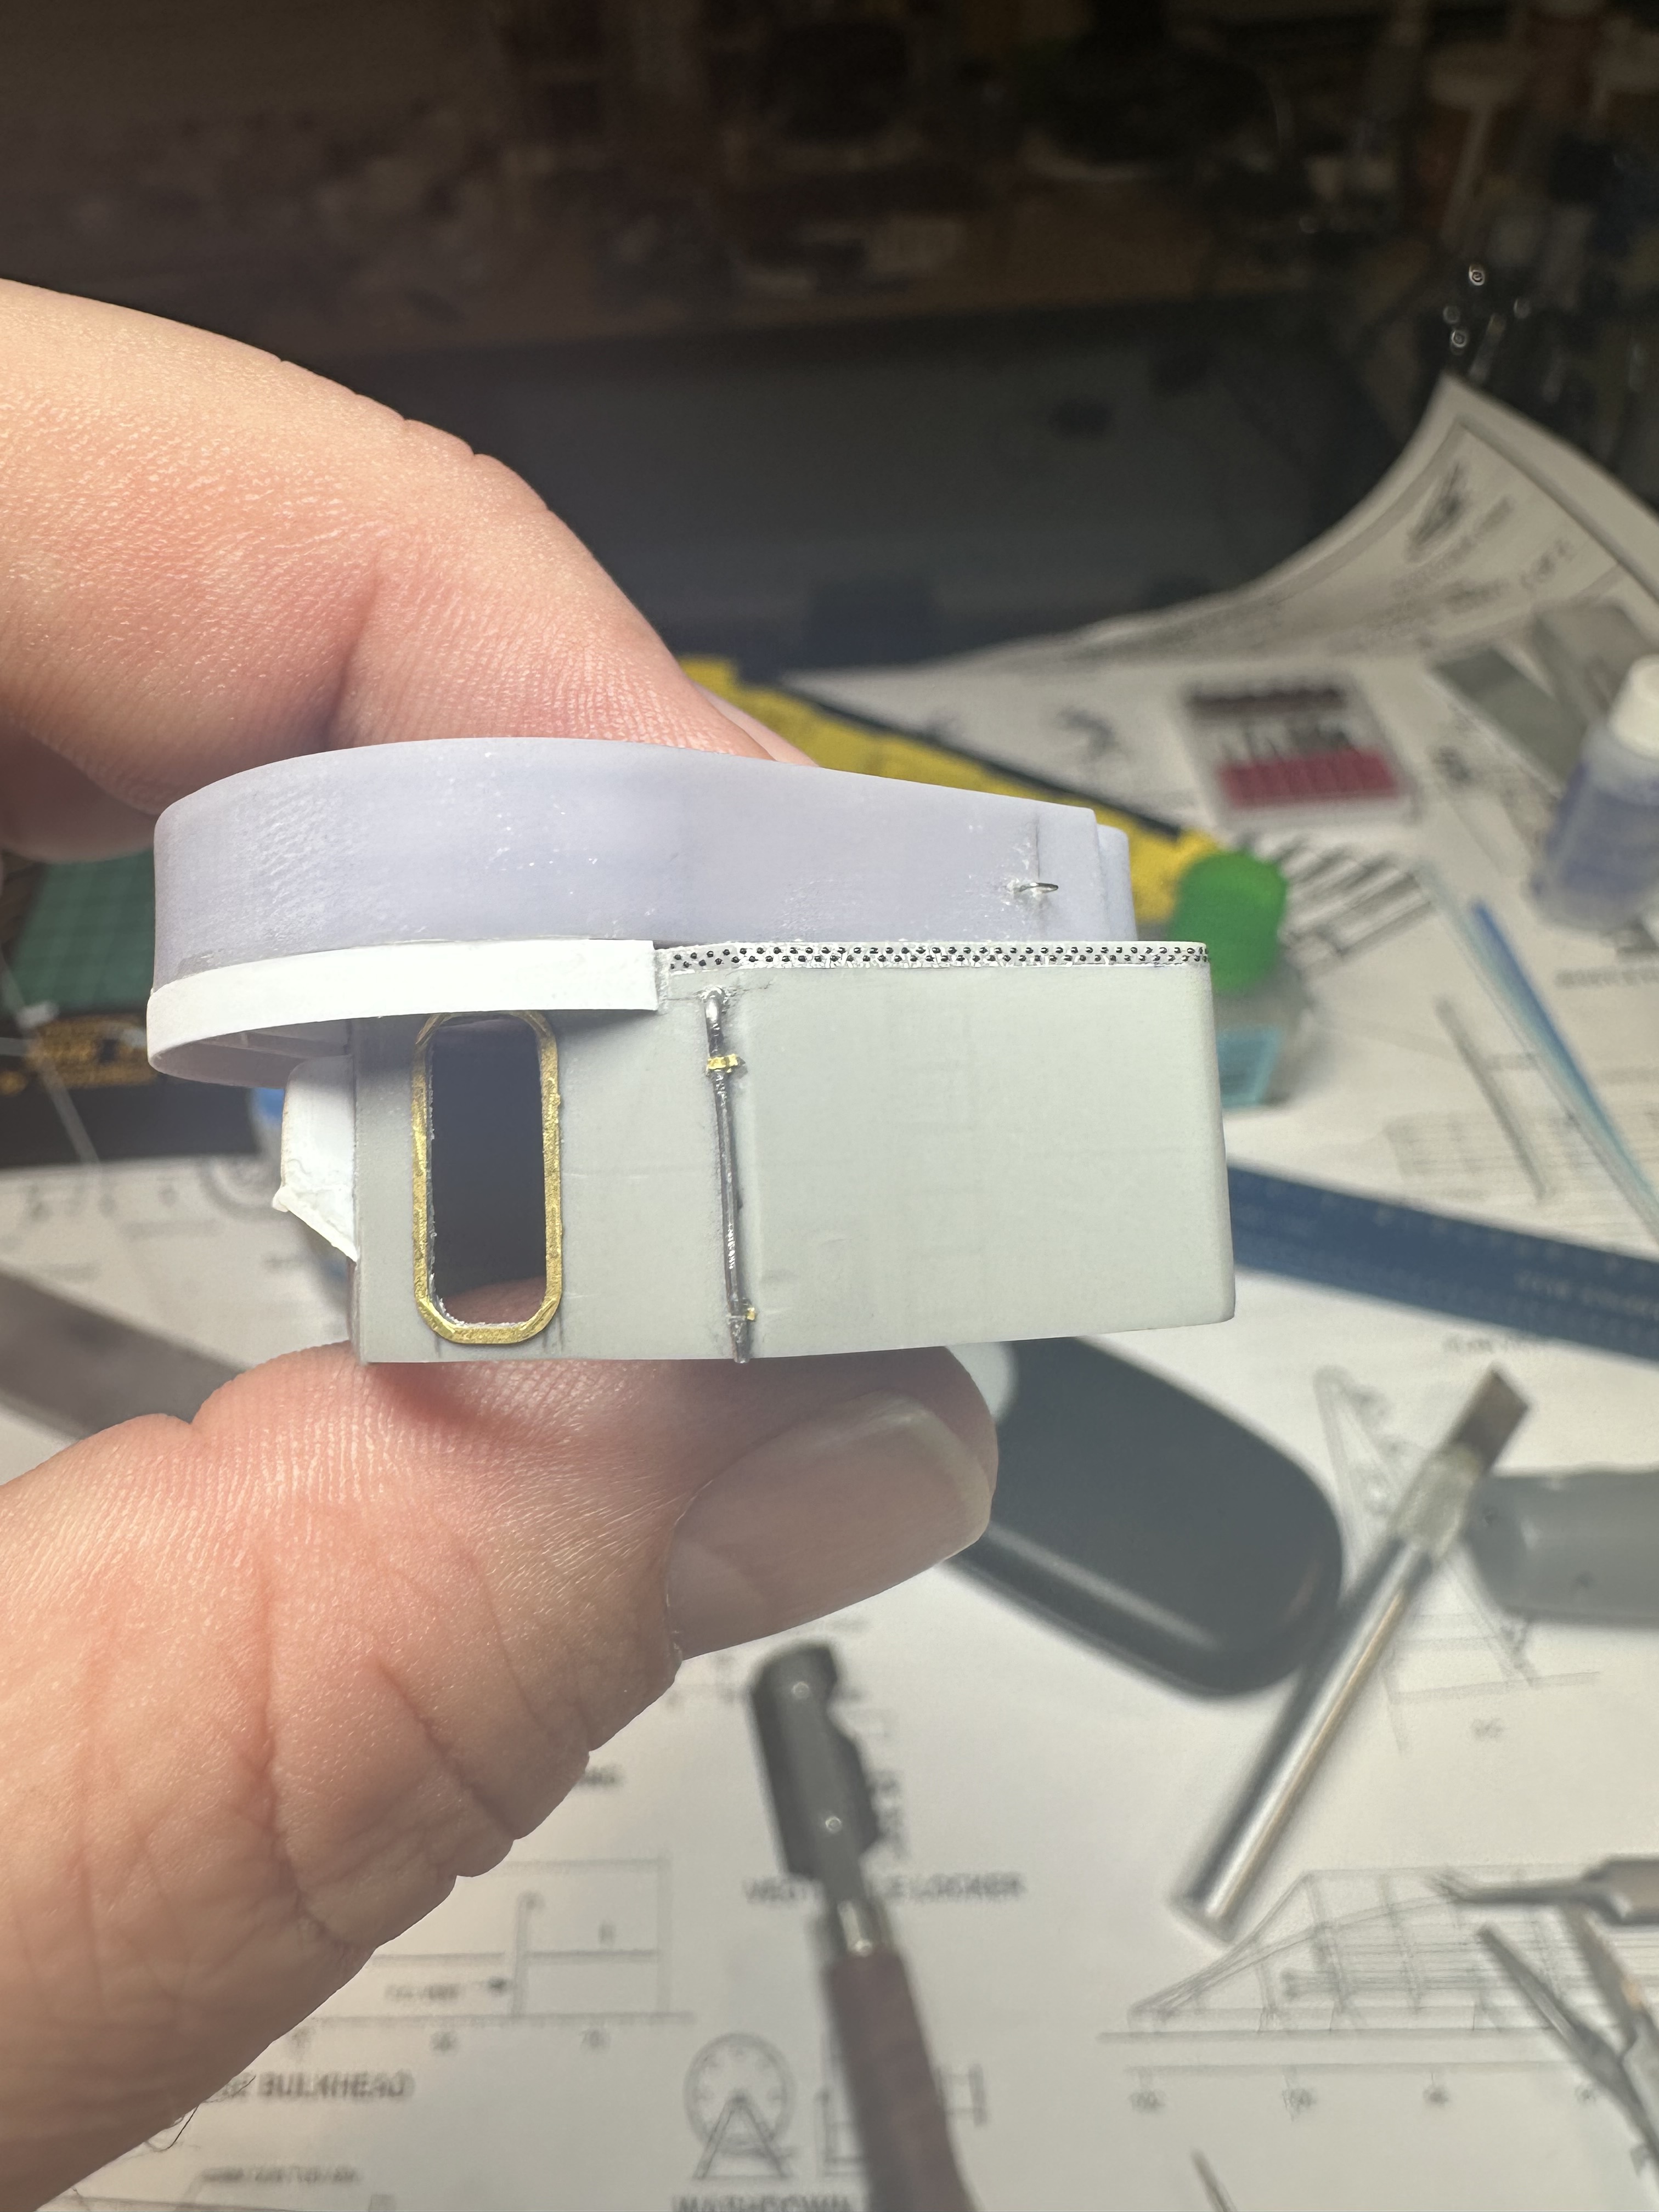
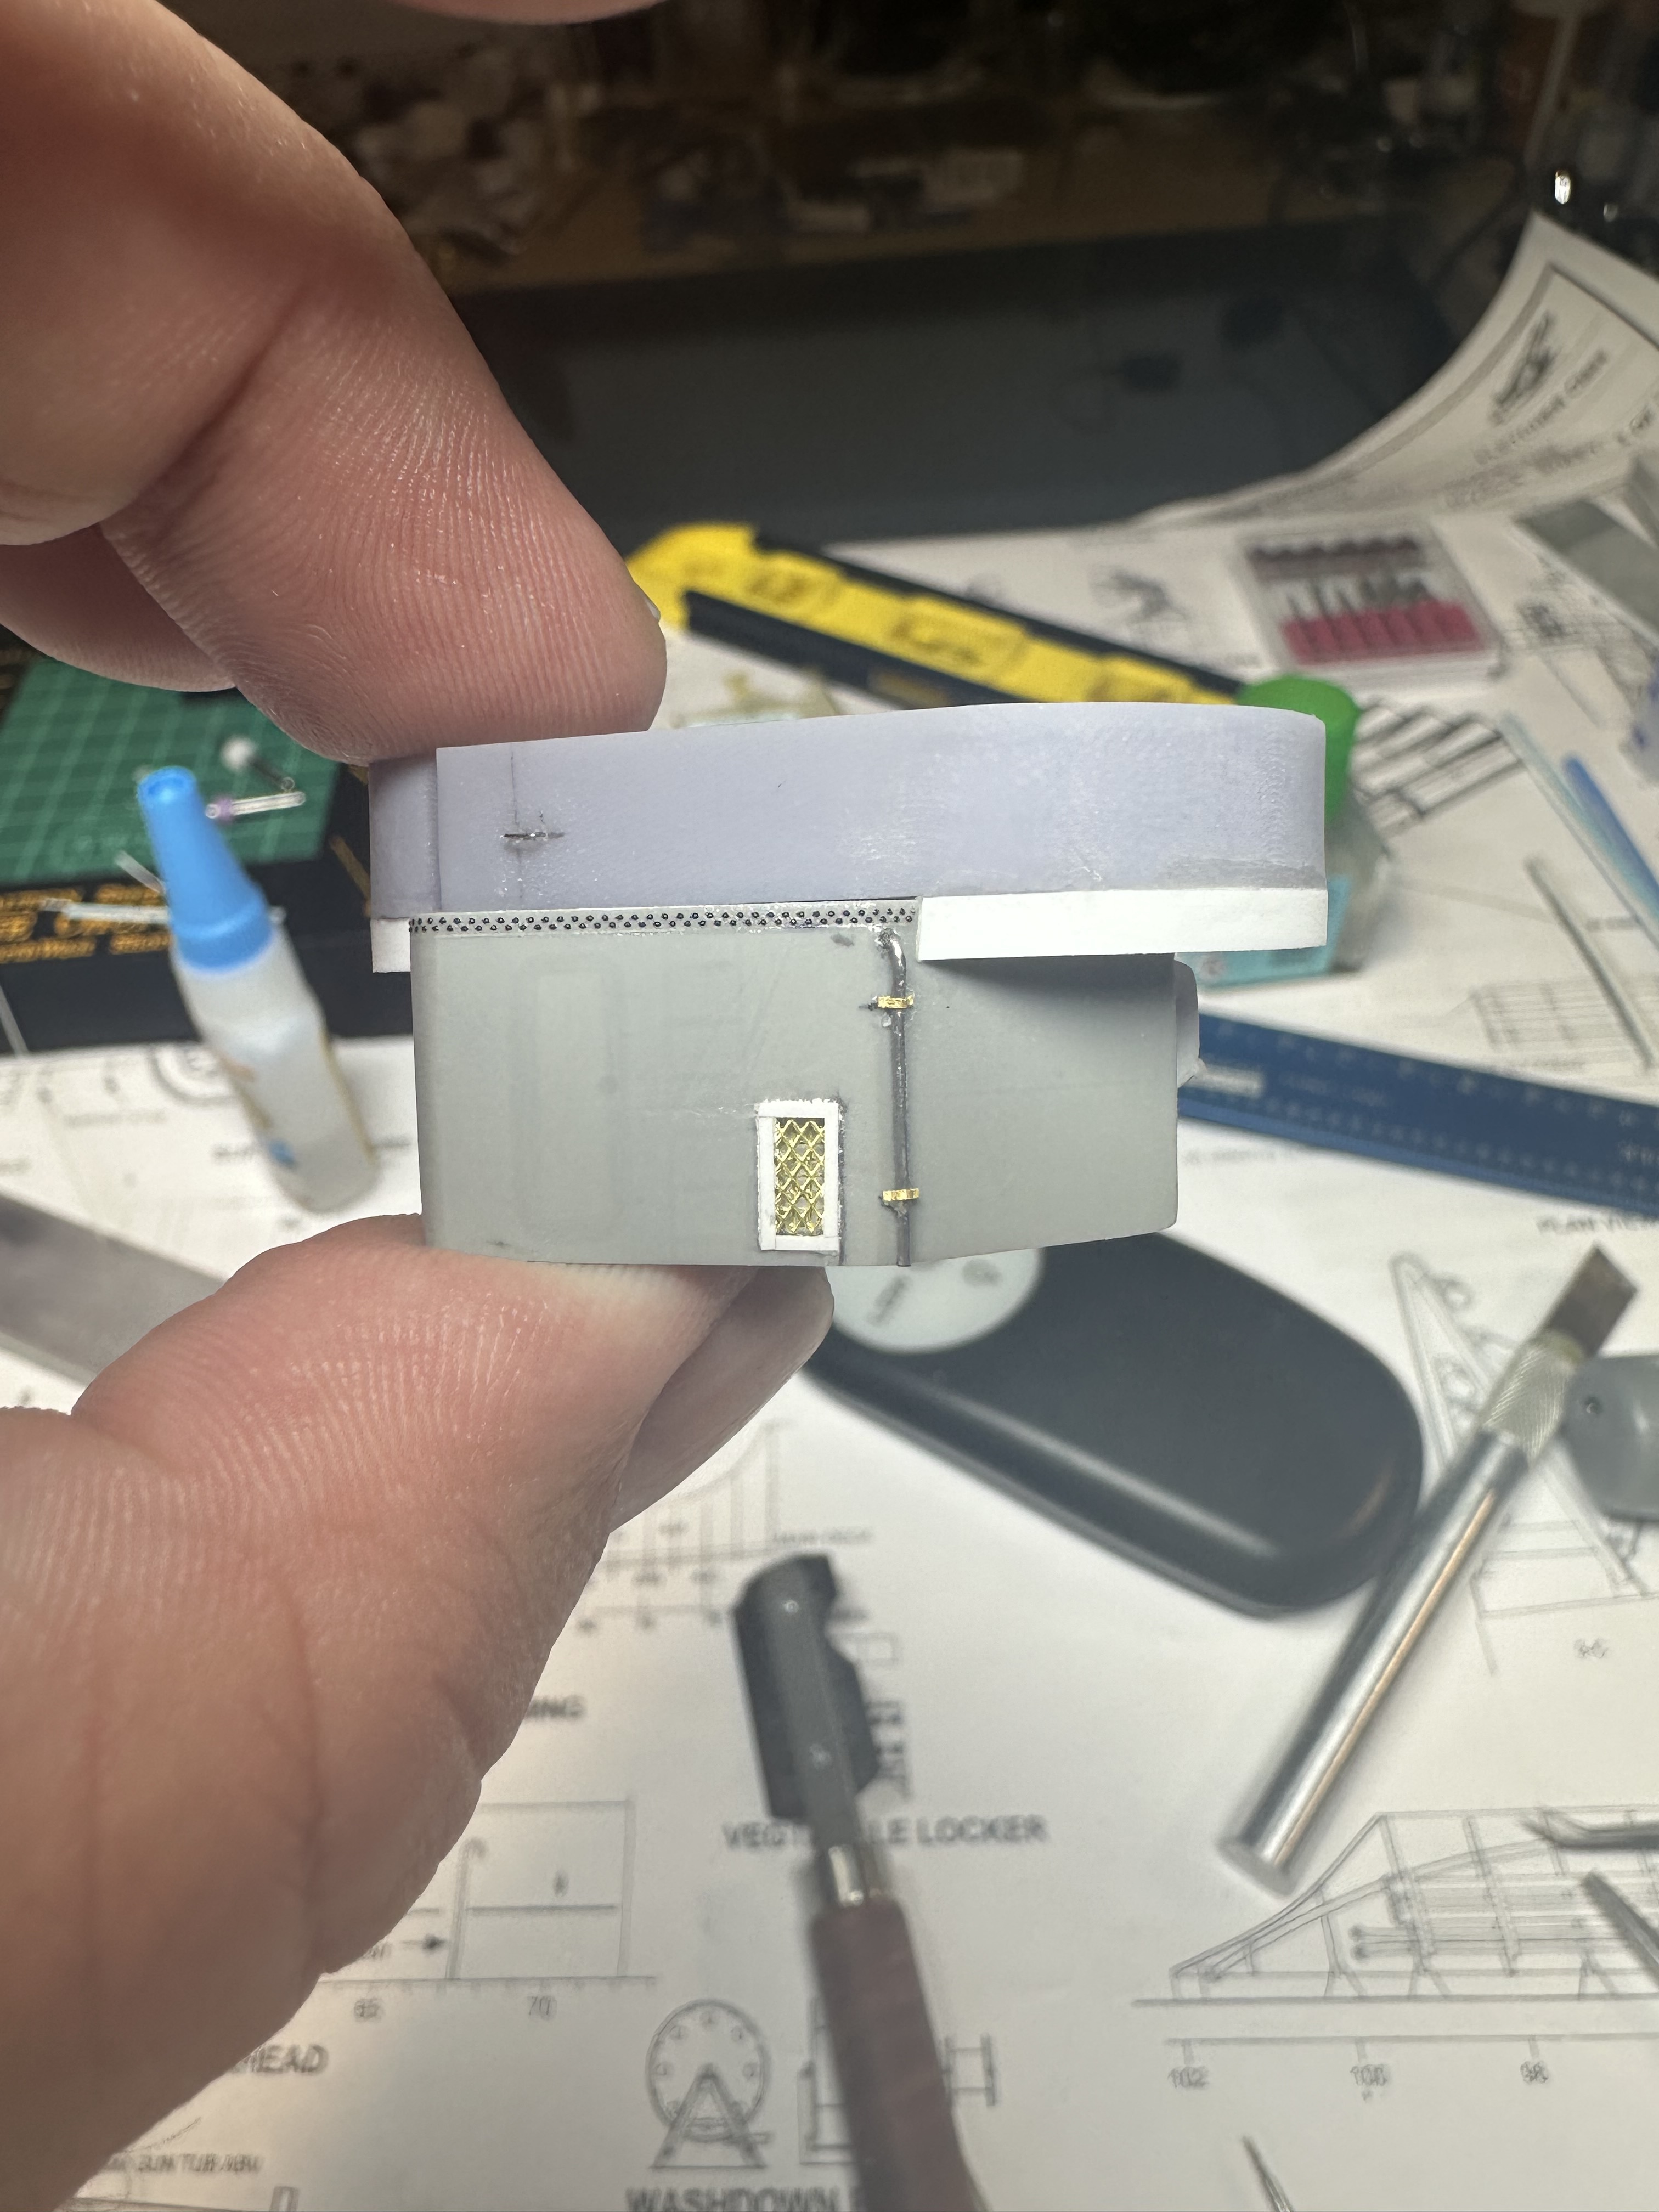
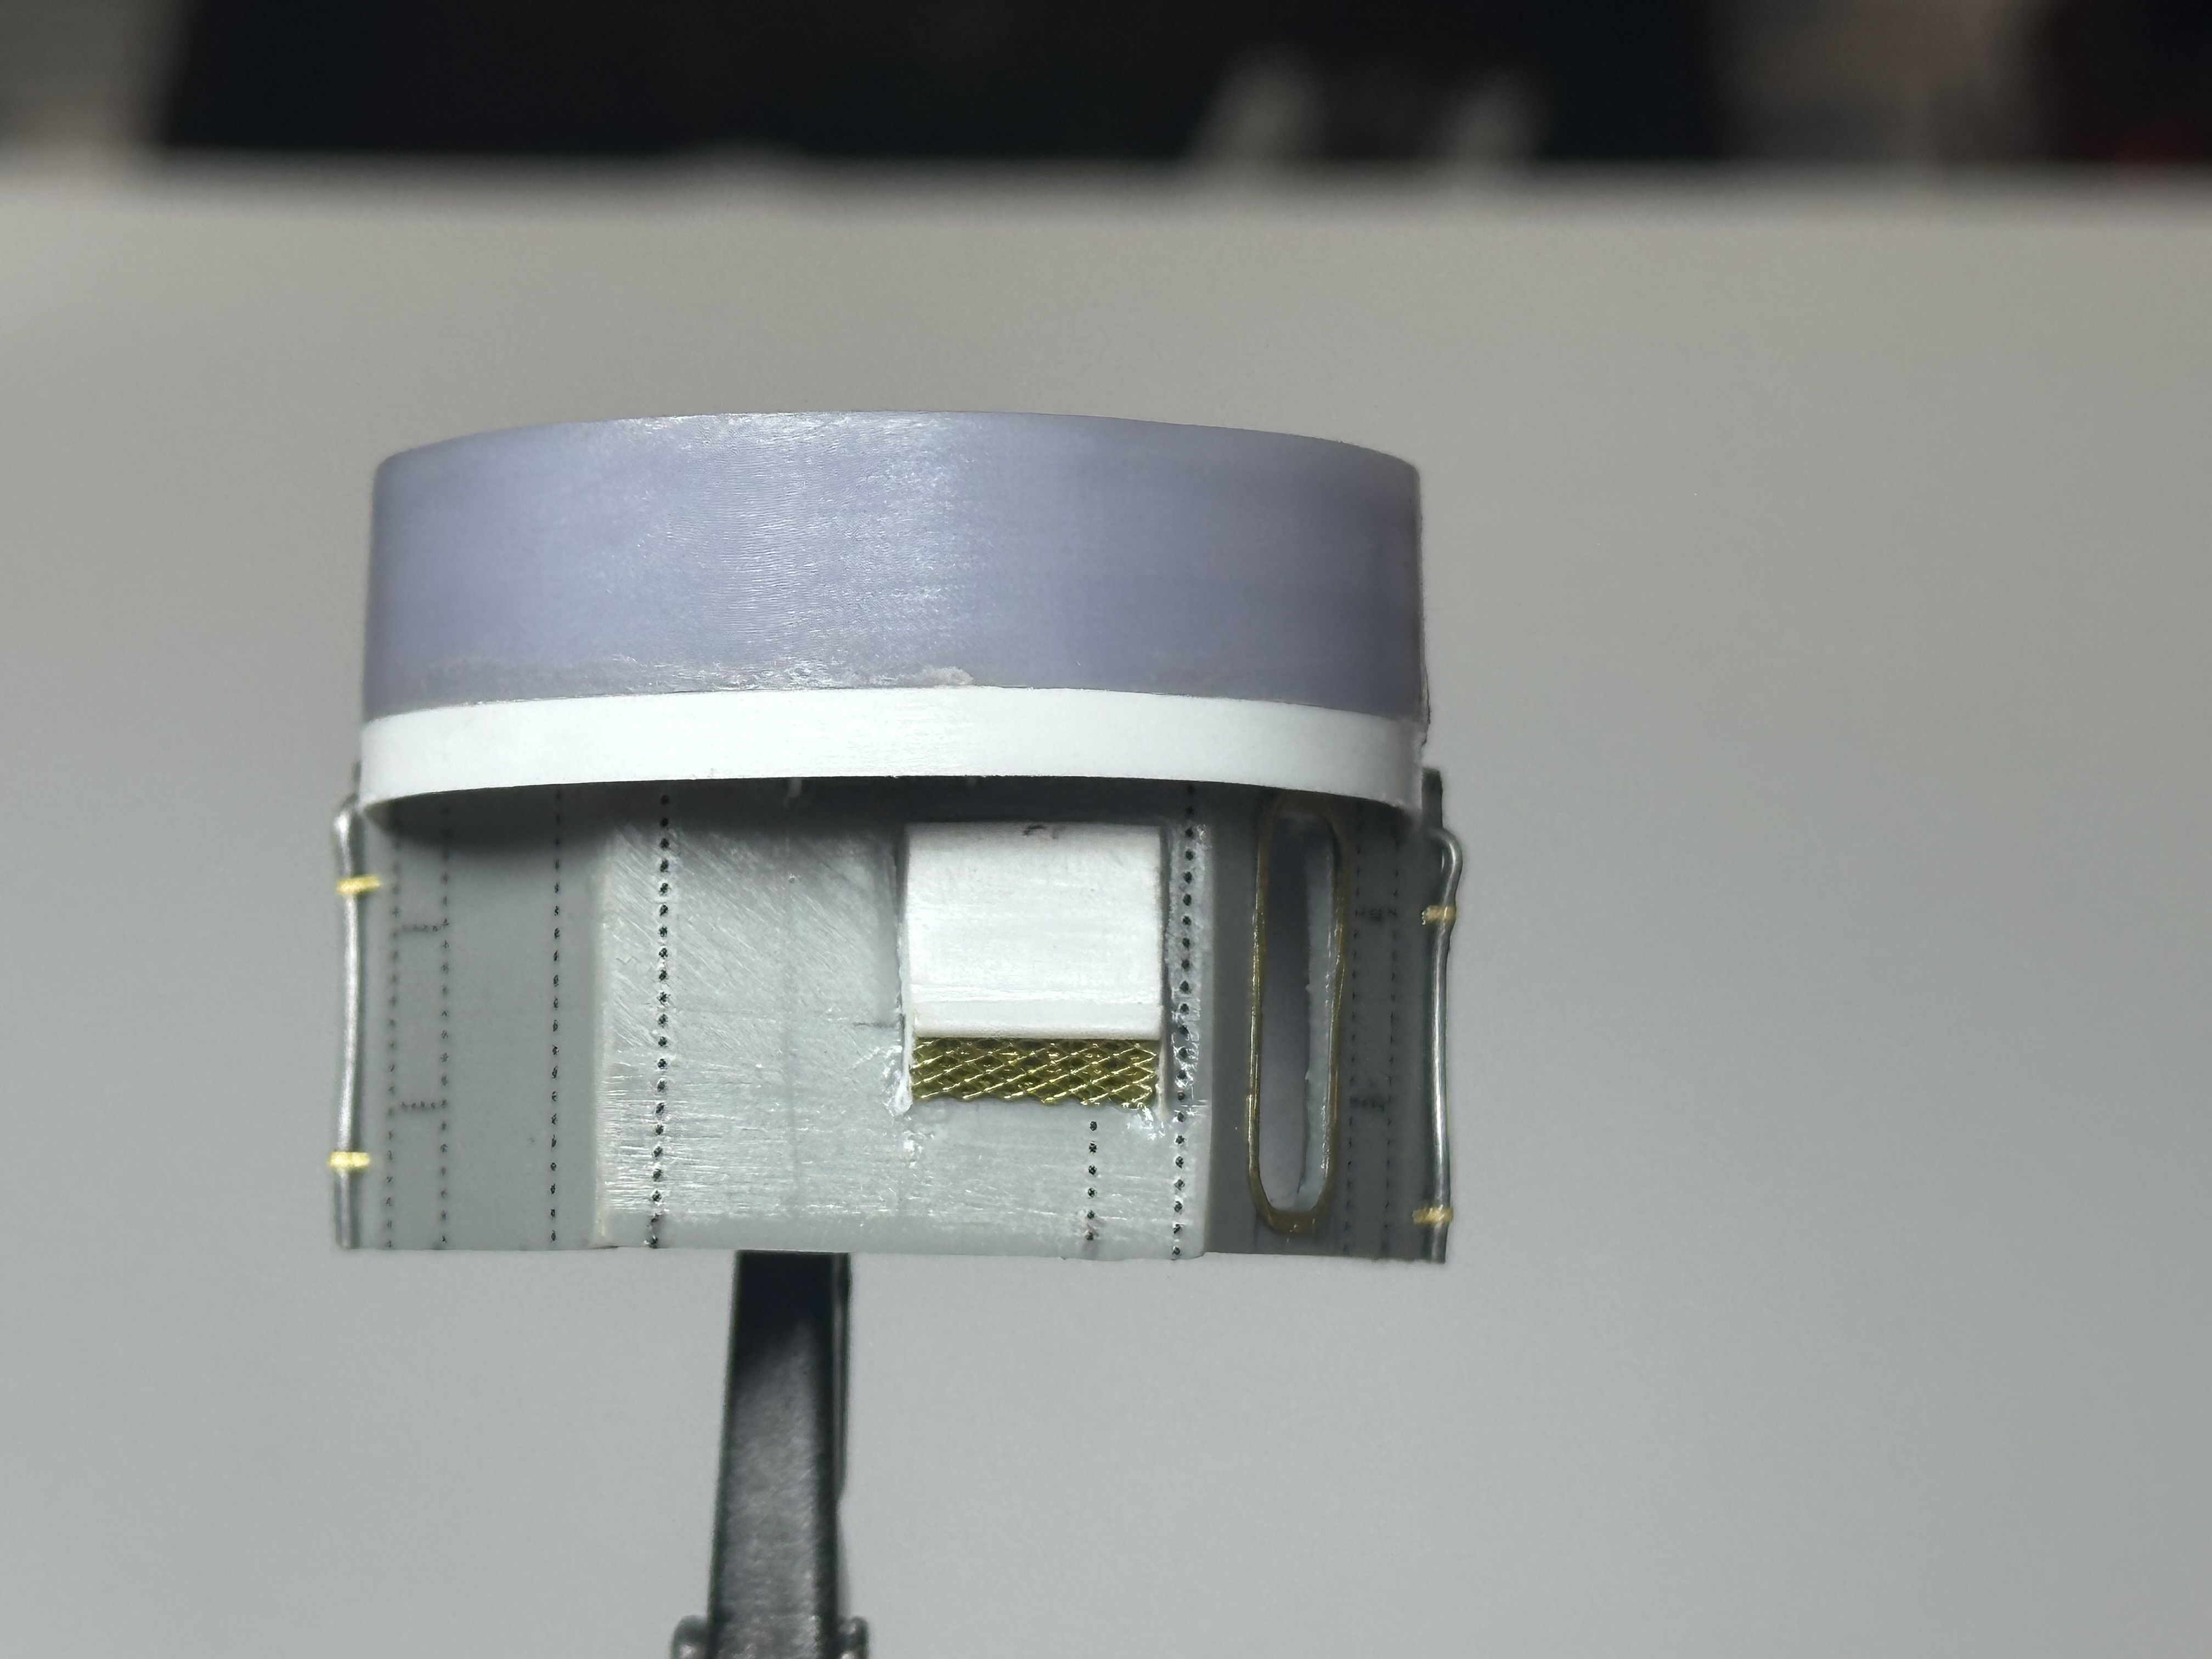
so since I am in between rows of double rivets, I decided to move on to one of the smaller structures, more precisely the aft superstructure or at least a small portion being the 40mm gun housing.

As with the hull, i sanded down all of the detail, added the missing detail such as the vents and piping

for the vents I used evergreen plastic for the housing and used SS Scales diamond screen for the venting. The piping I used .22in soldering wire due to the flexibility and secured using Five Star 1/350 Rivet strip - think it looks pretty good as a pipe bracket.

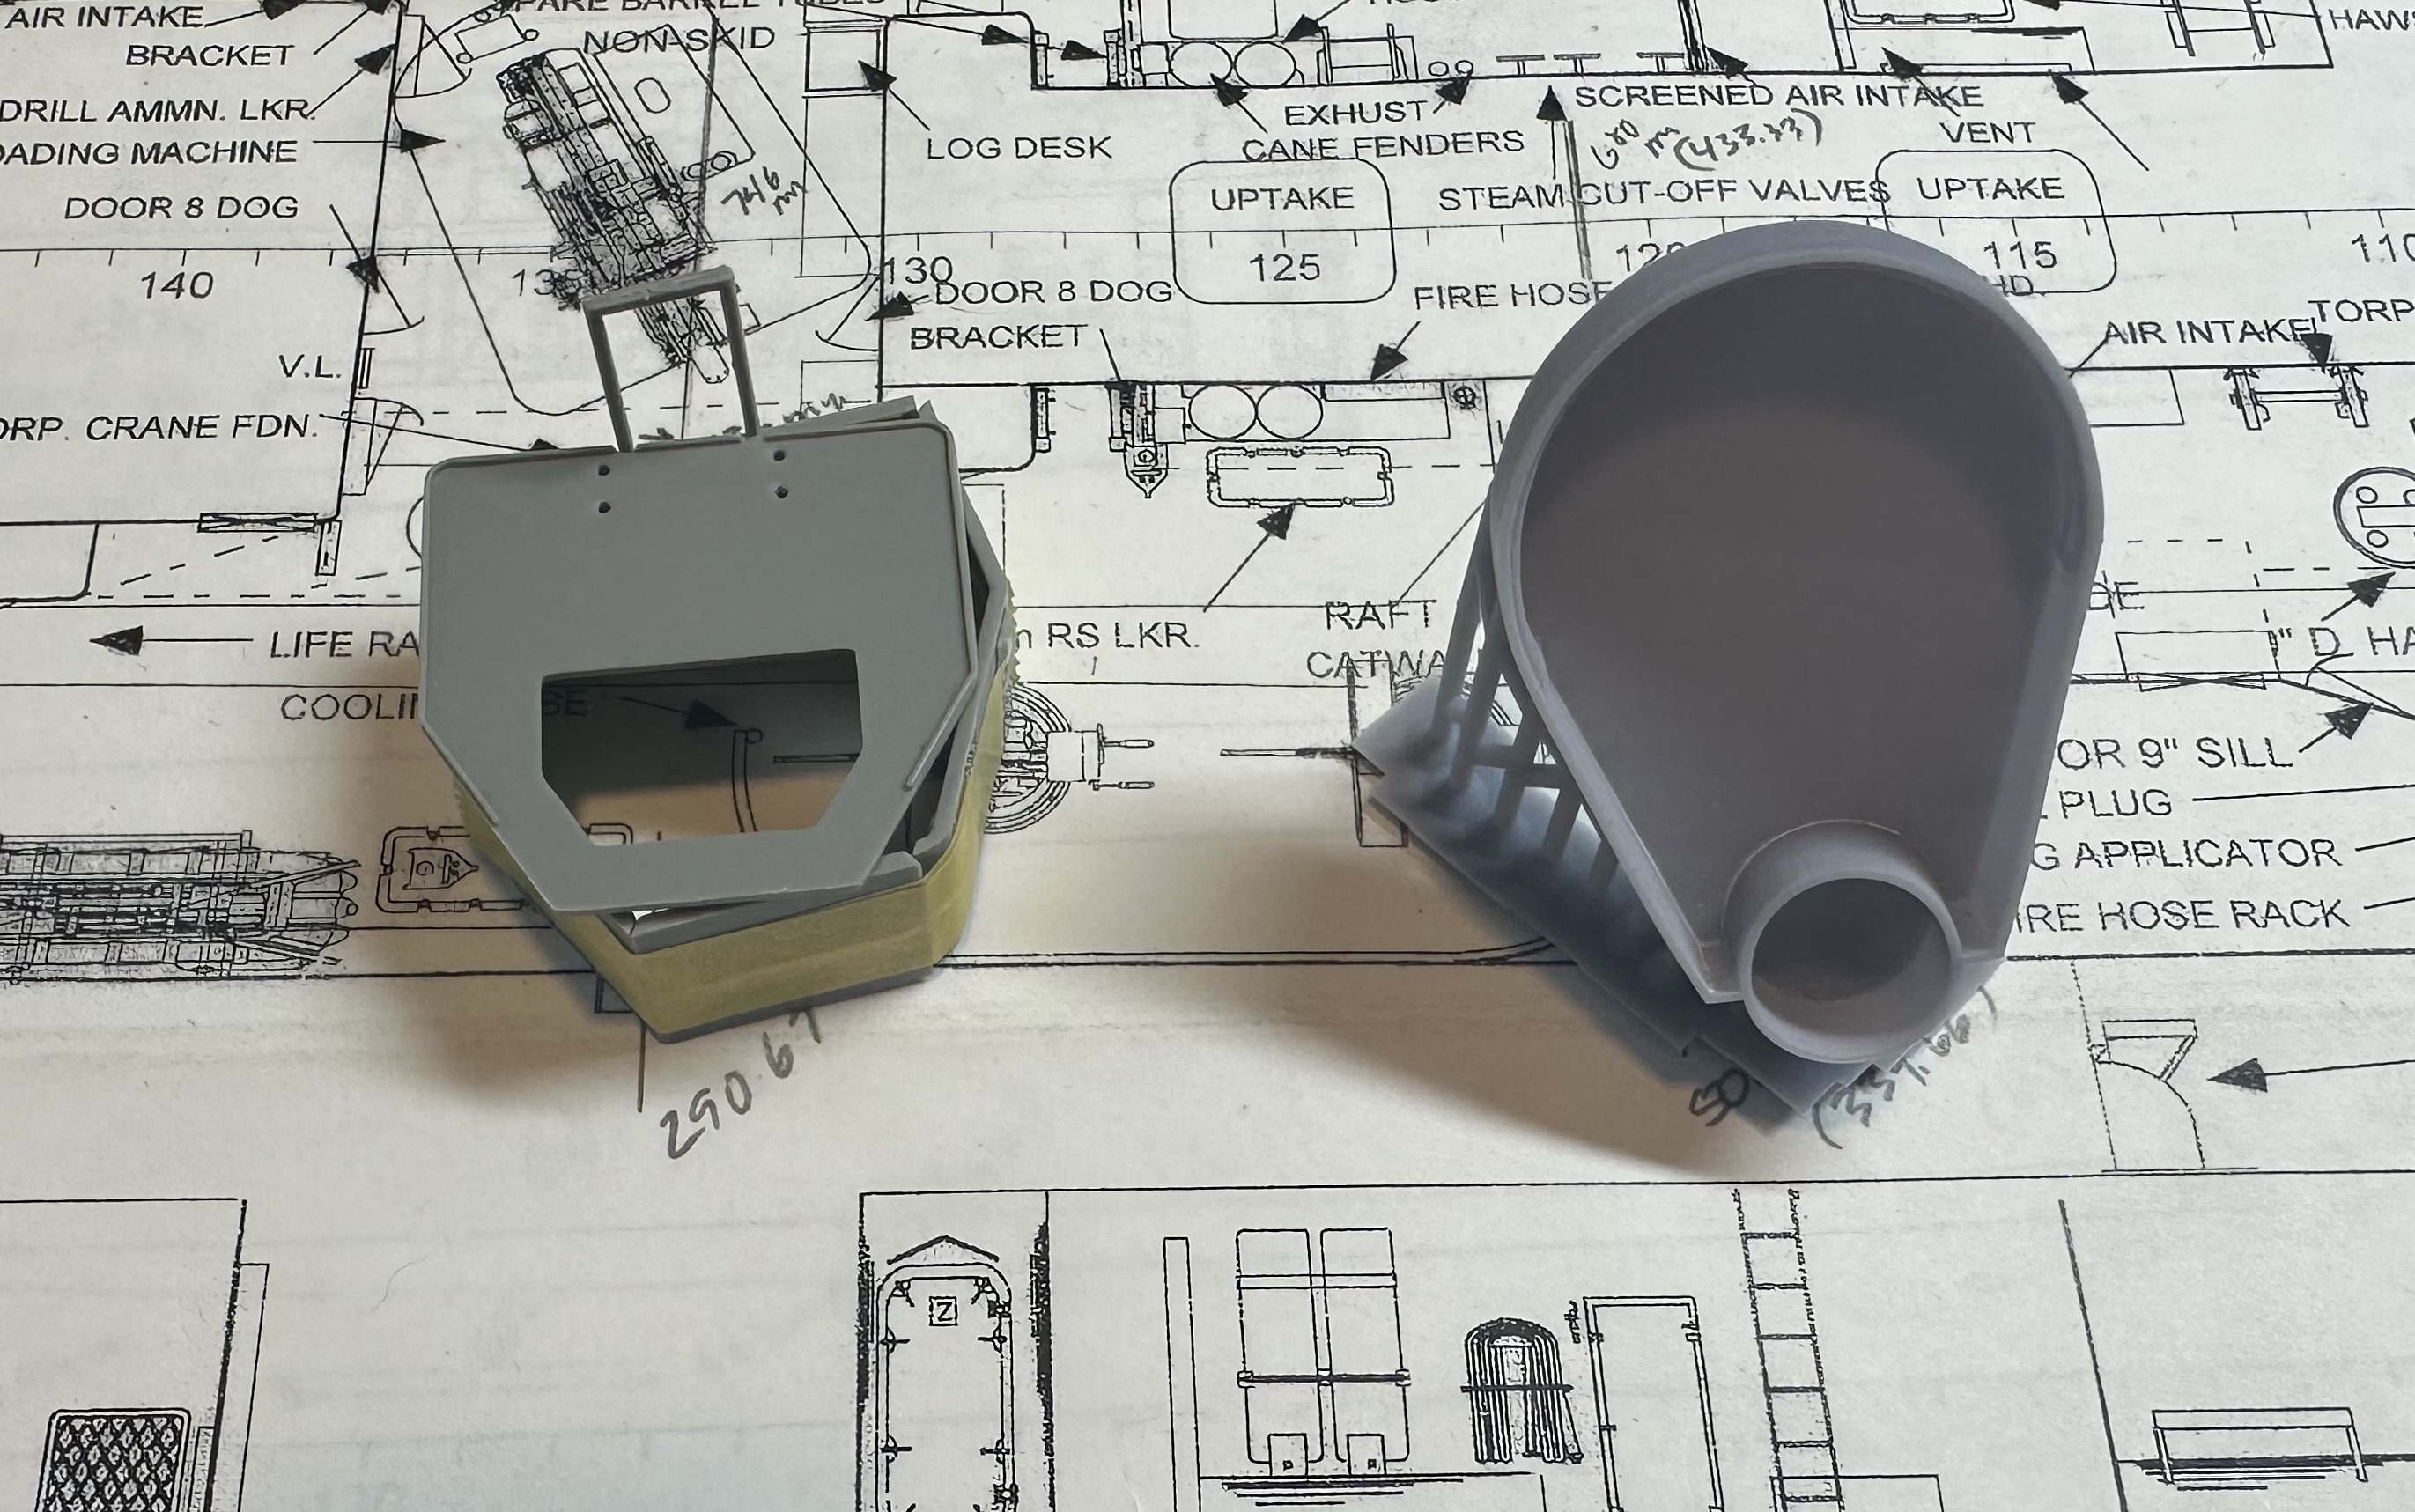
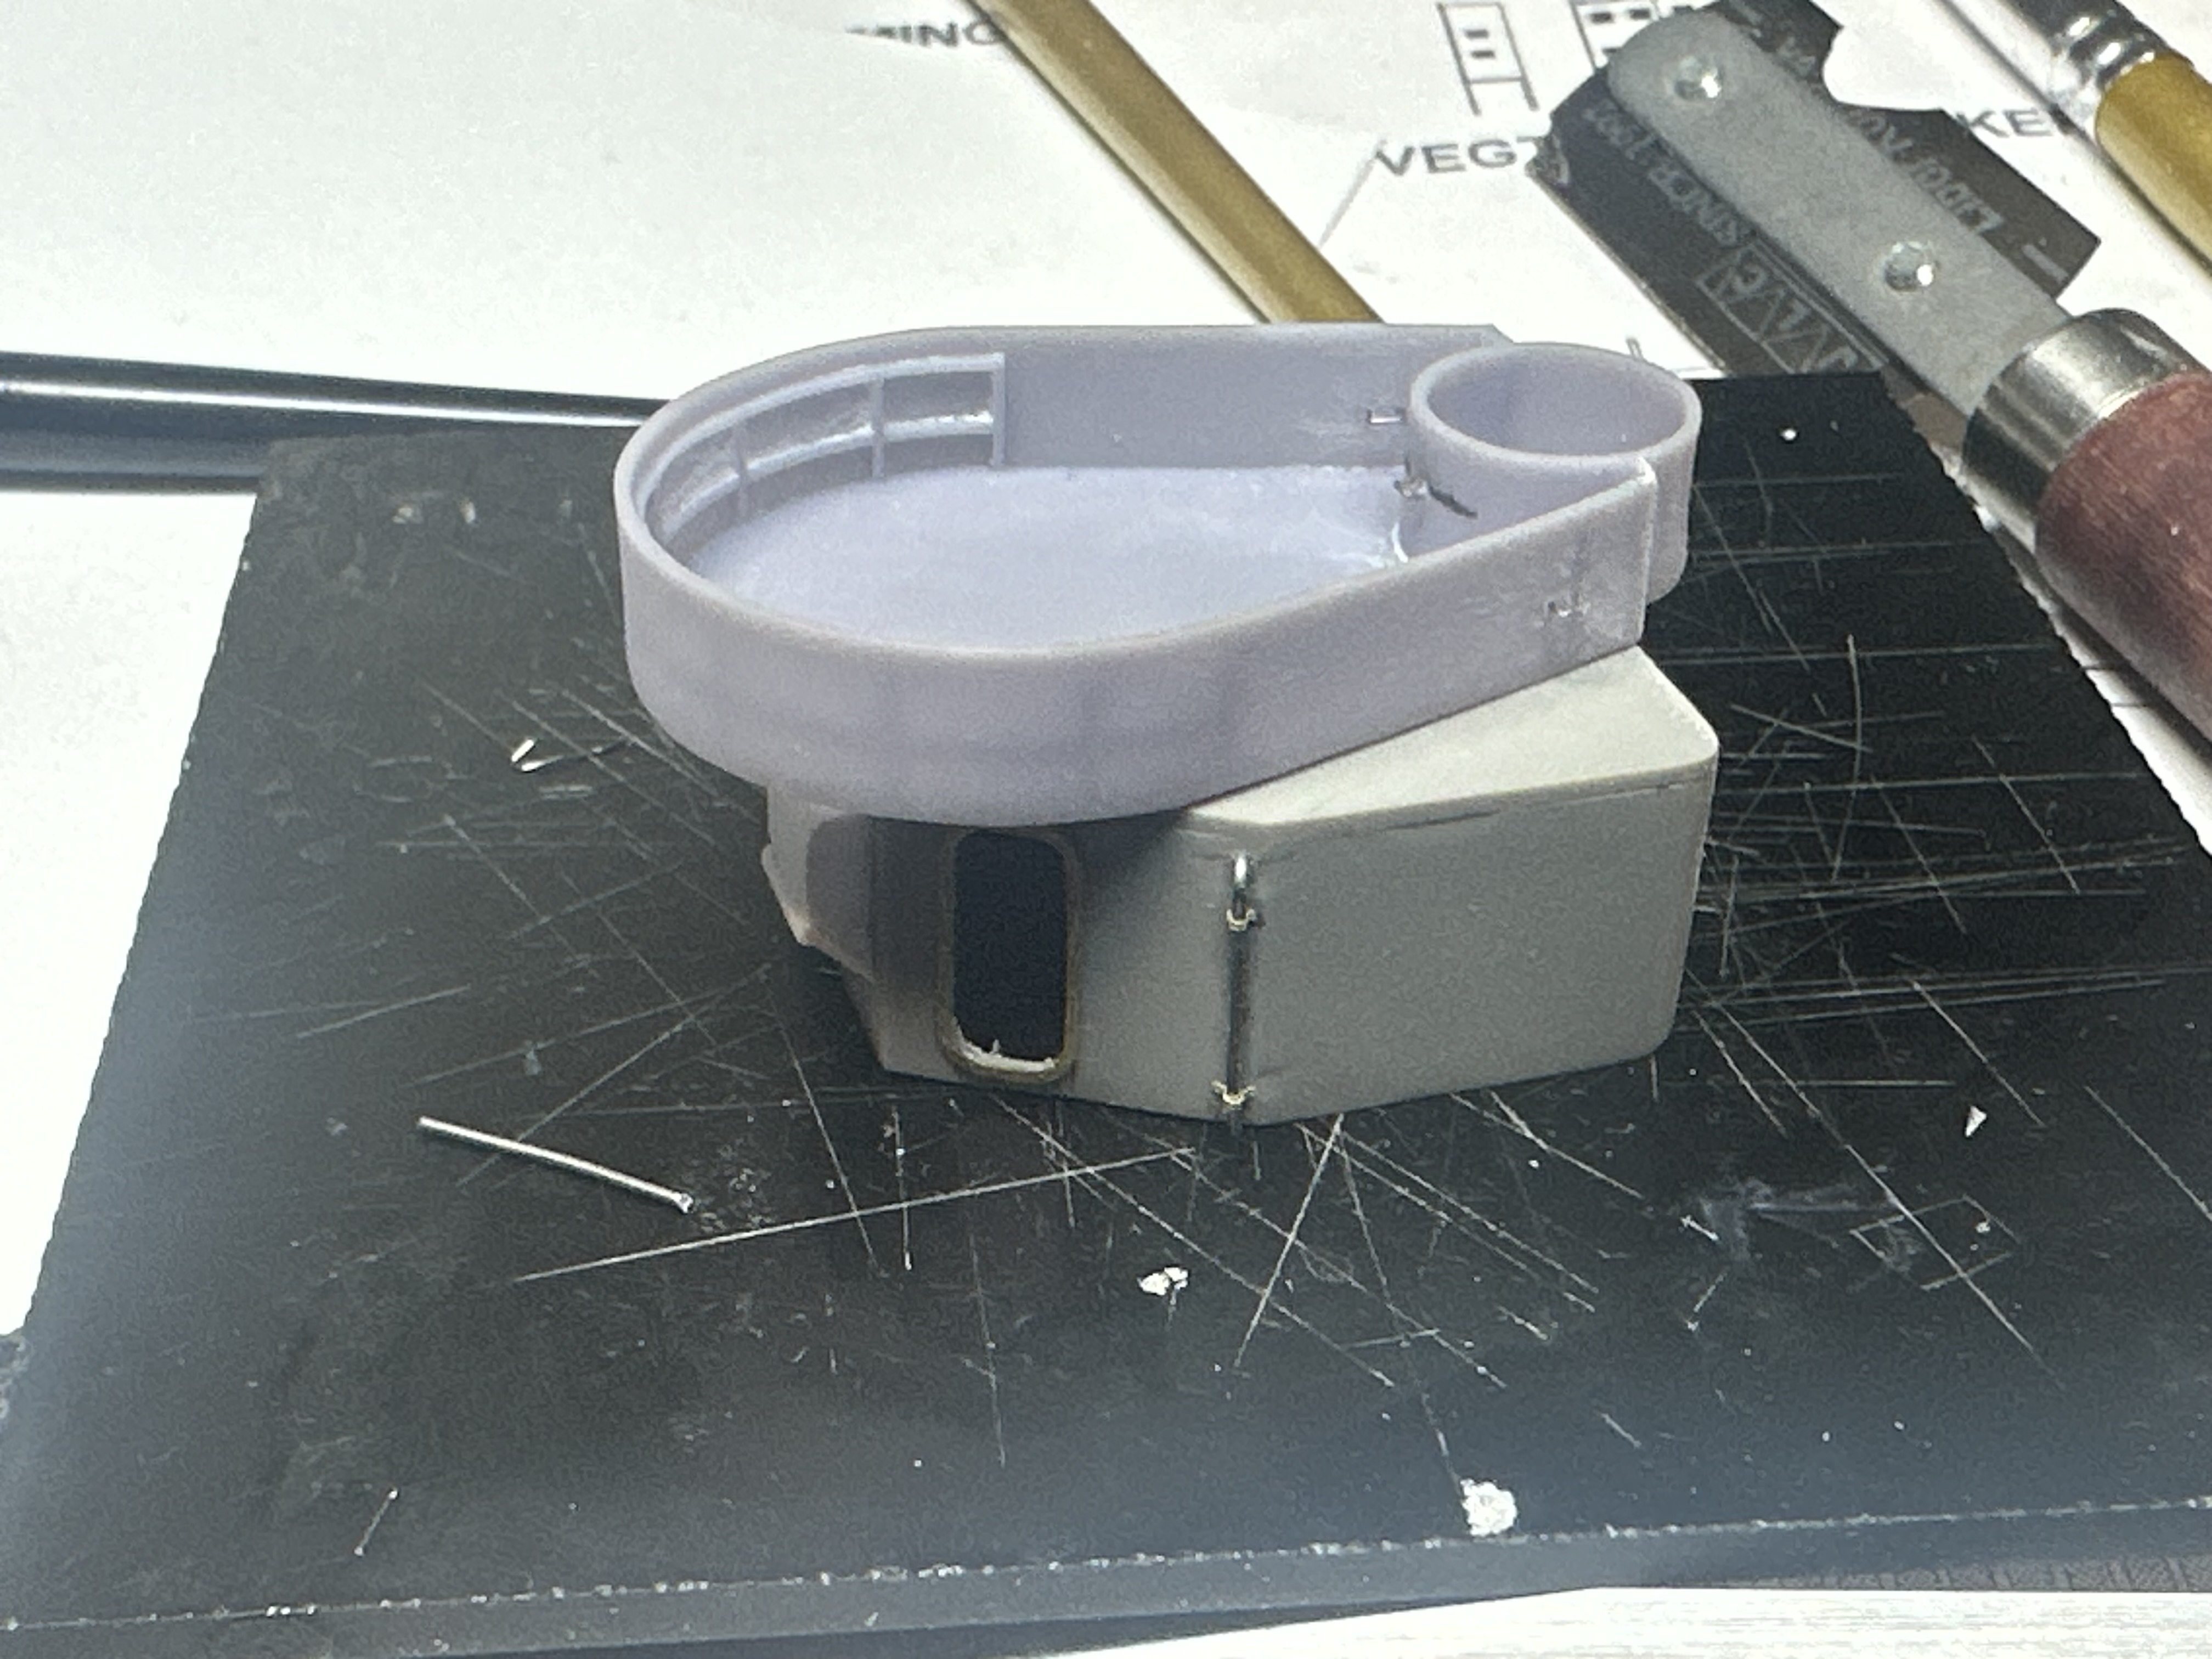
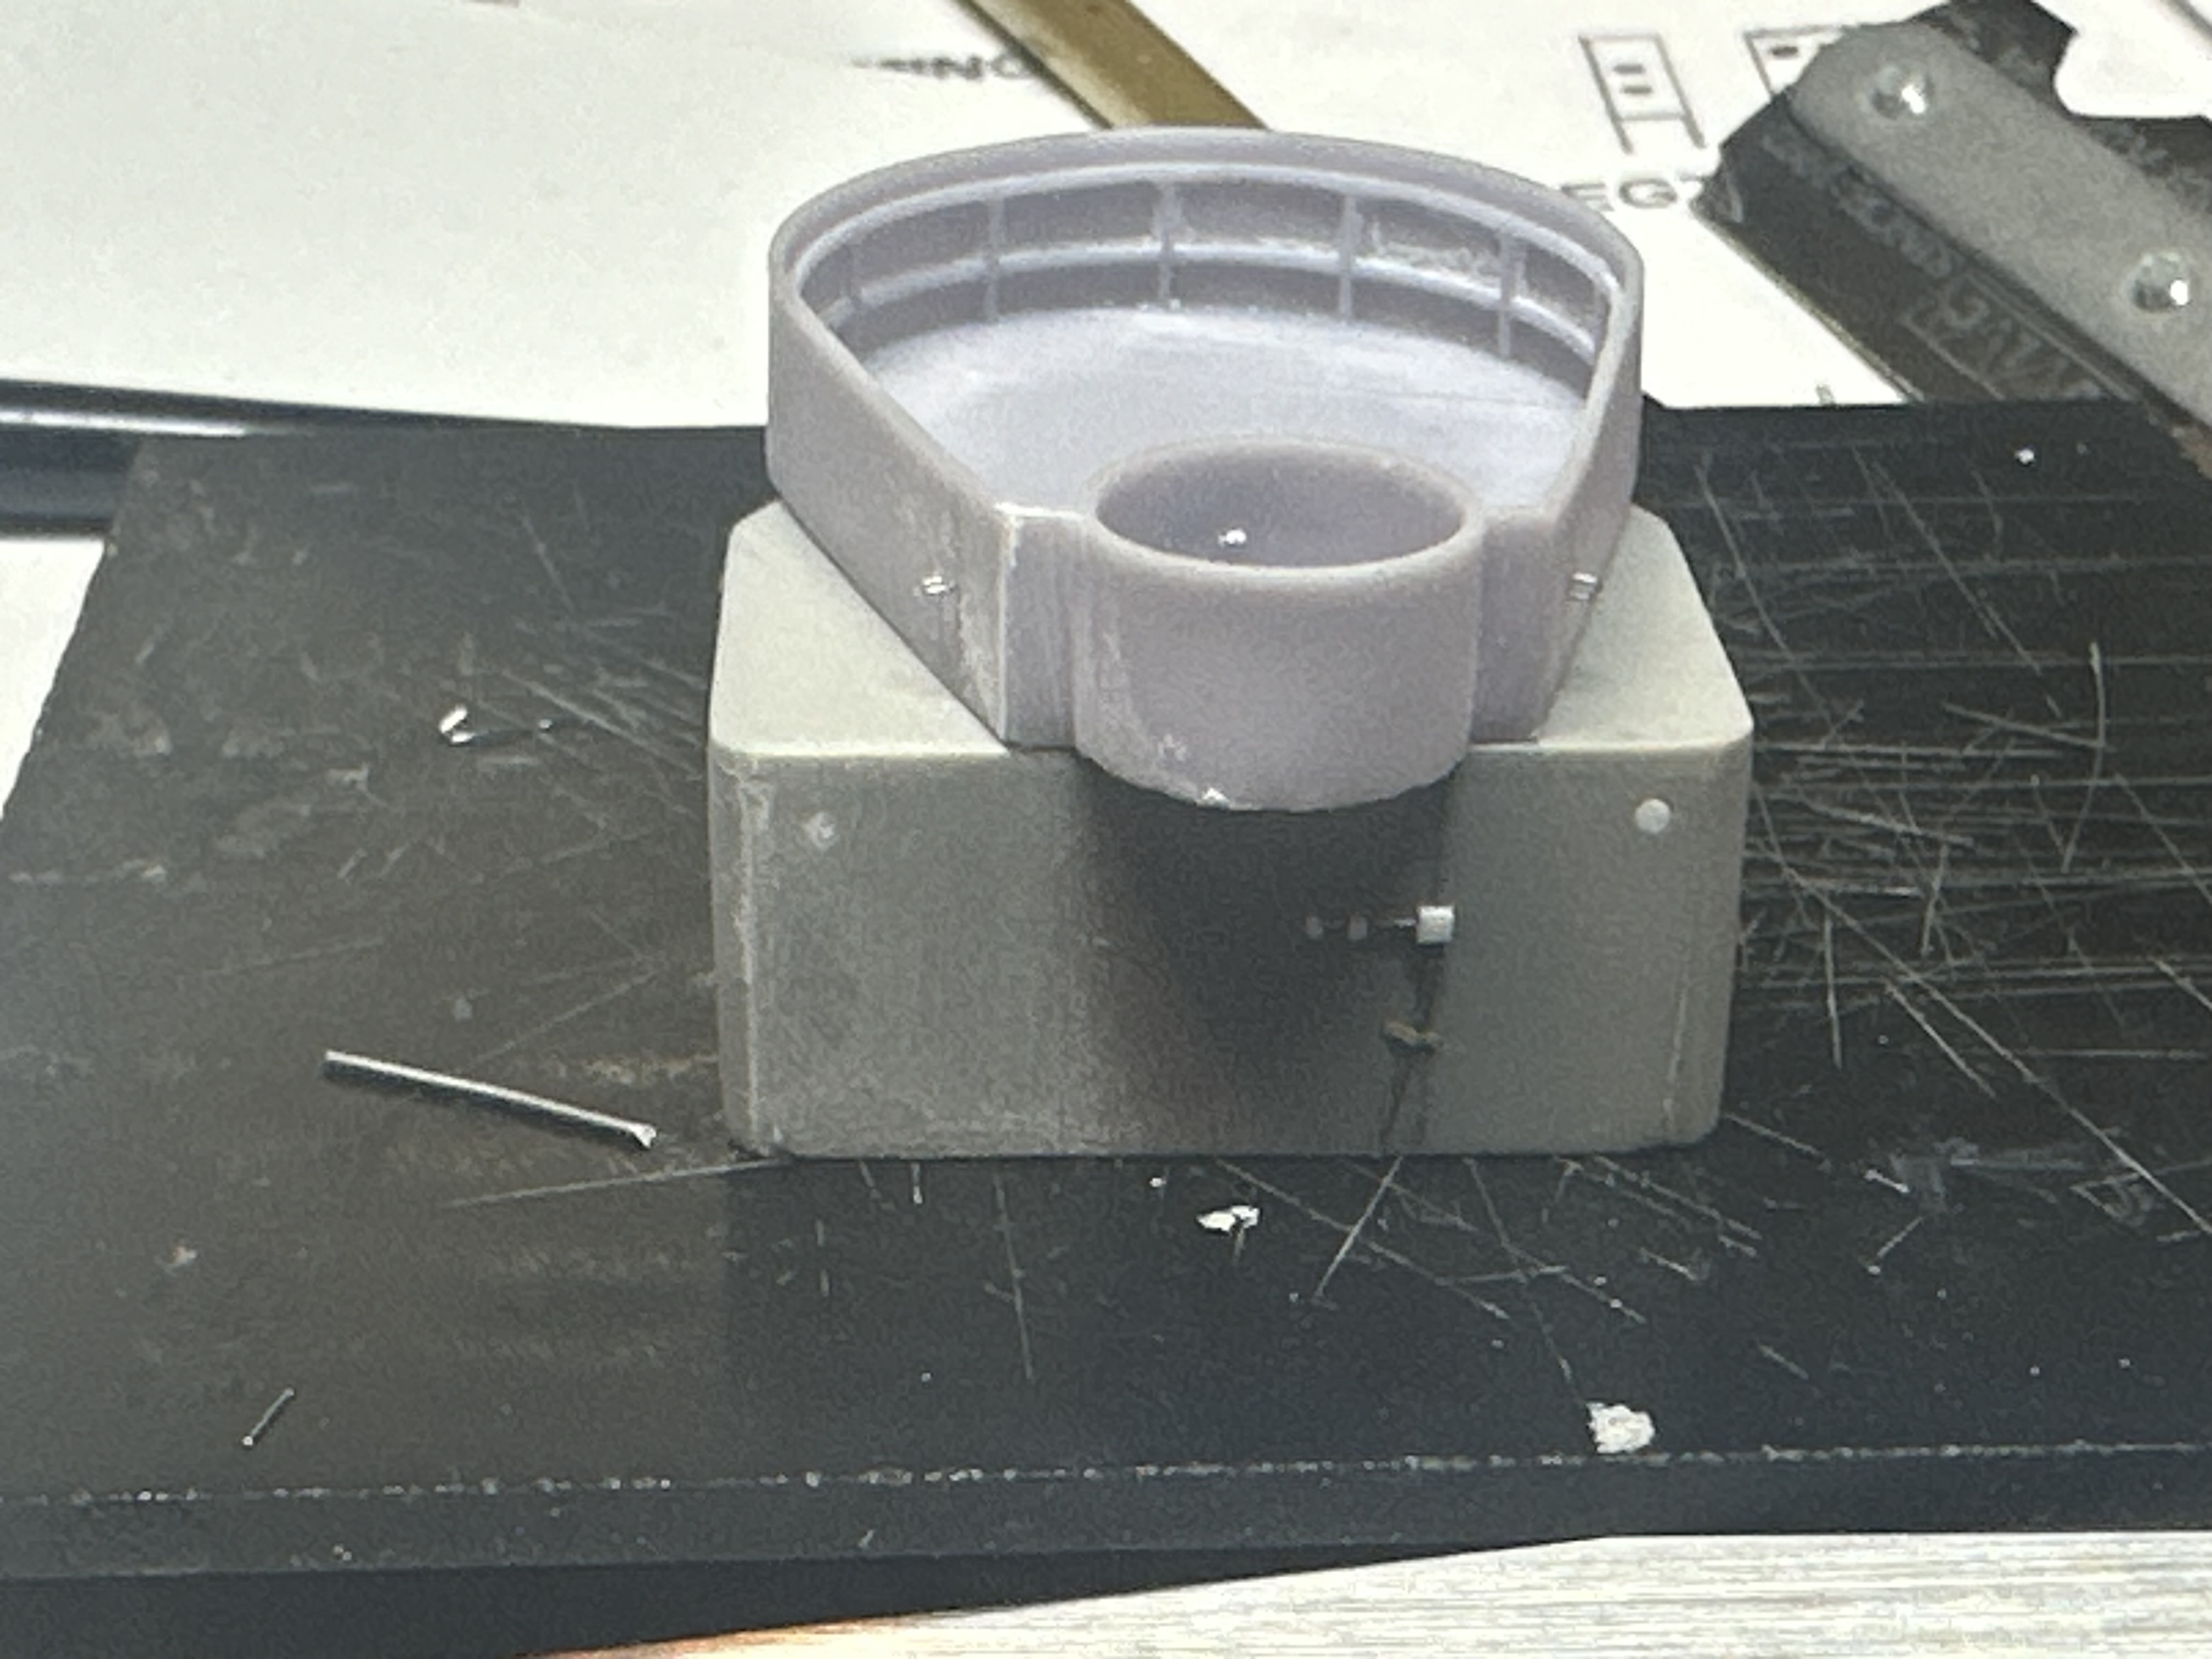
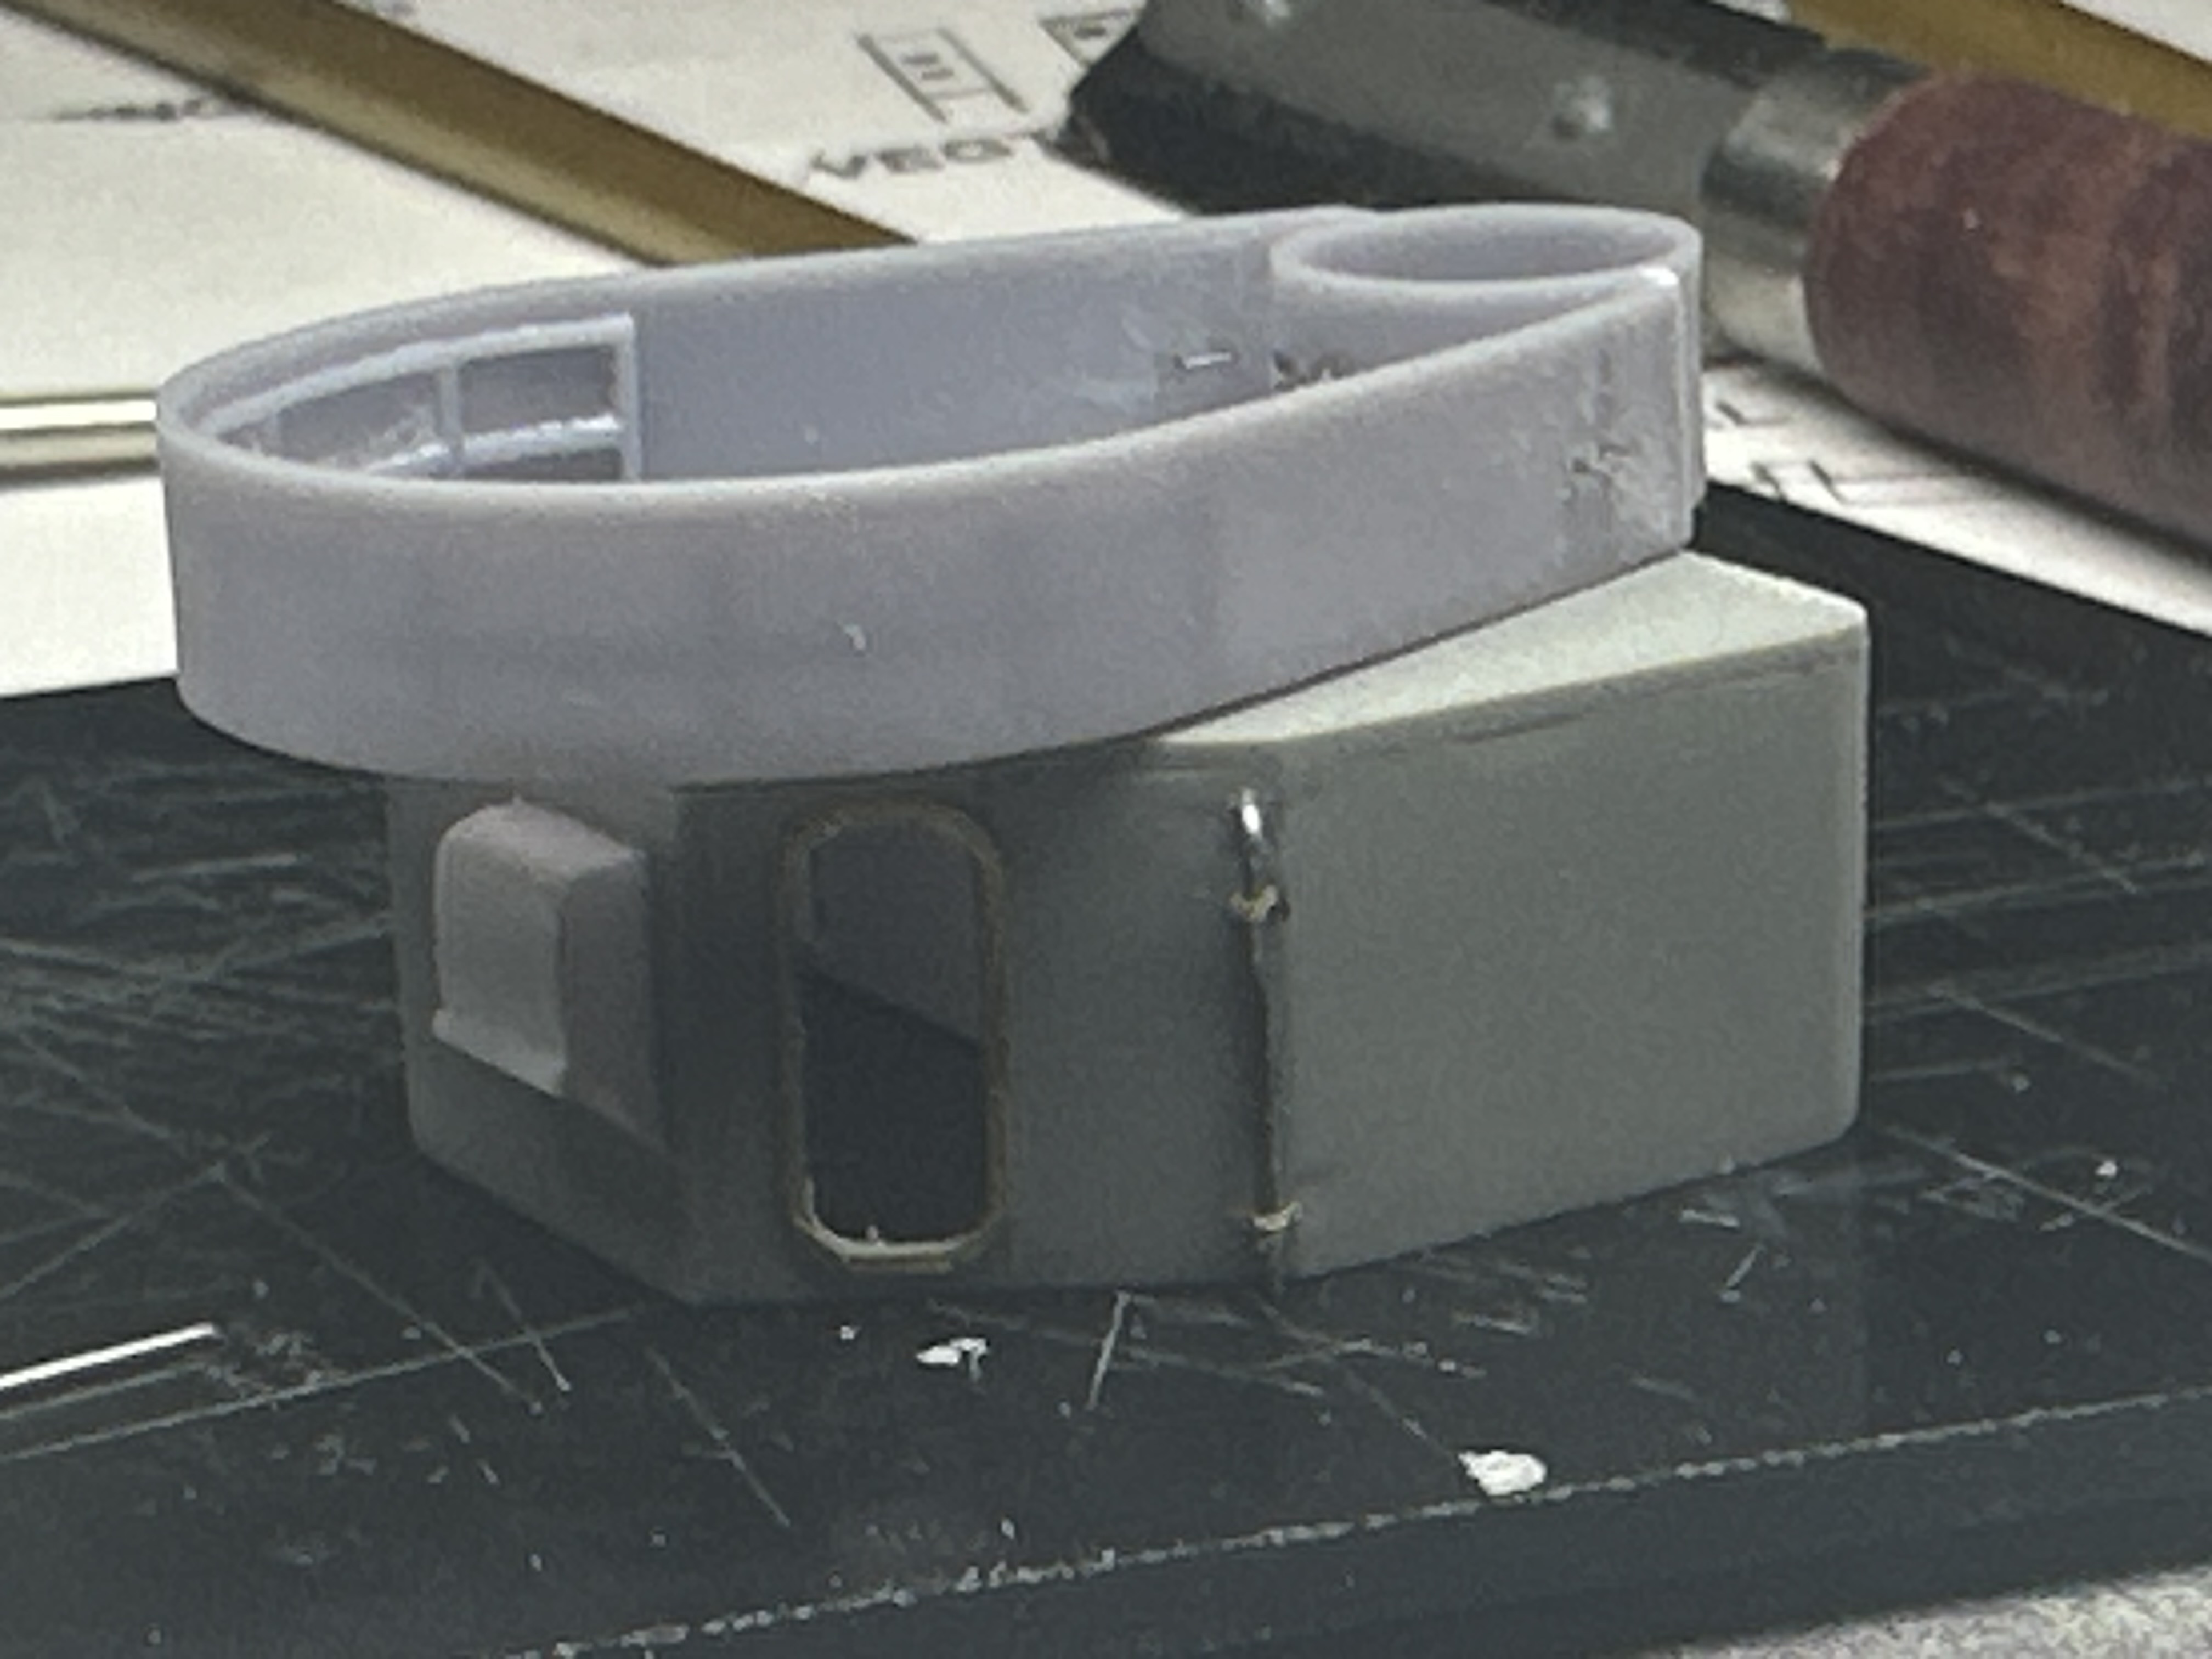
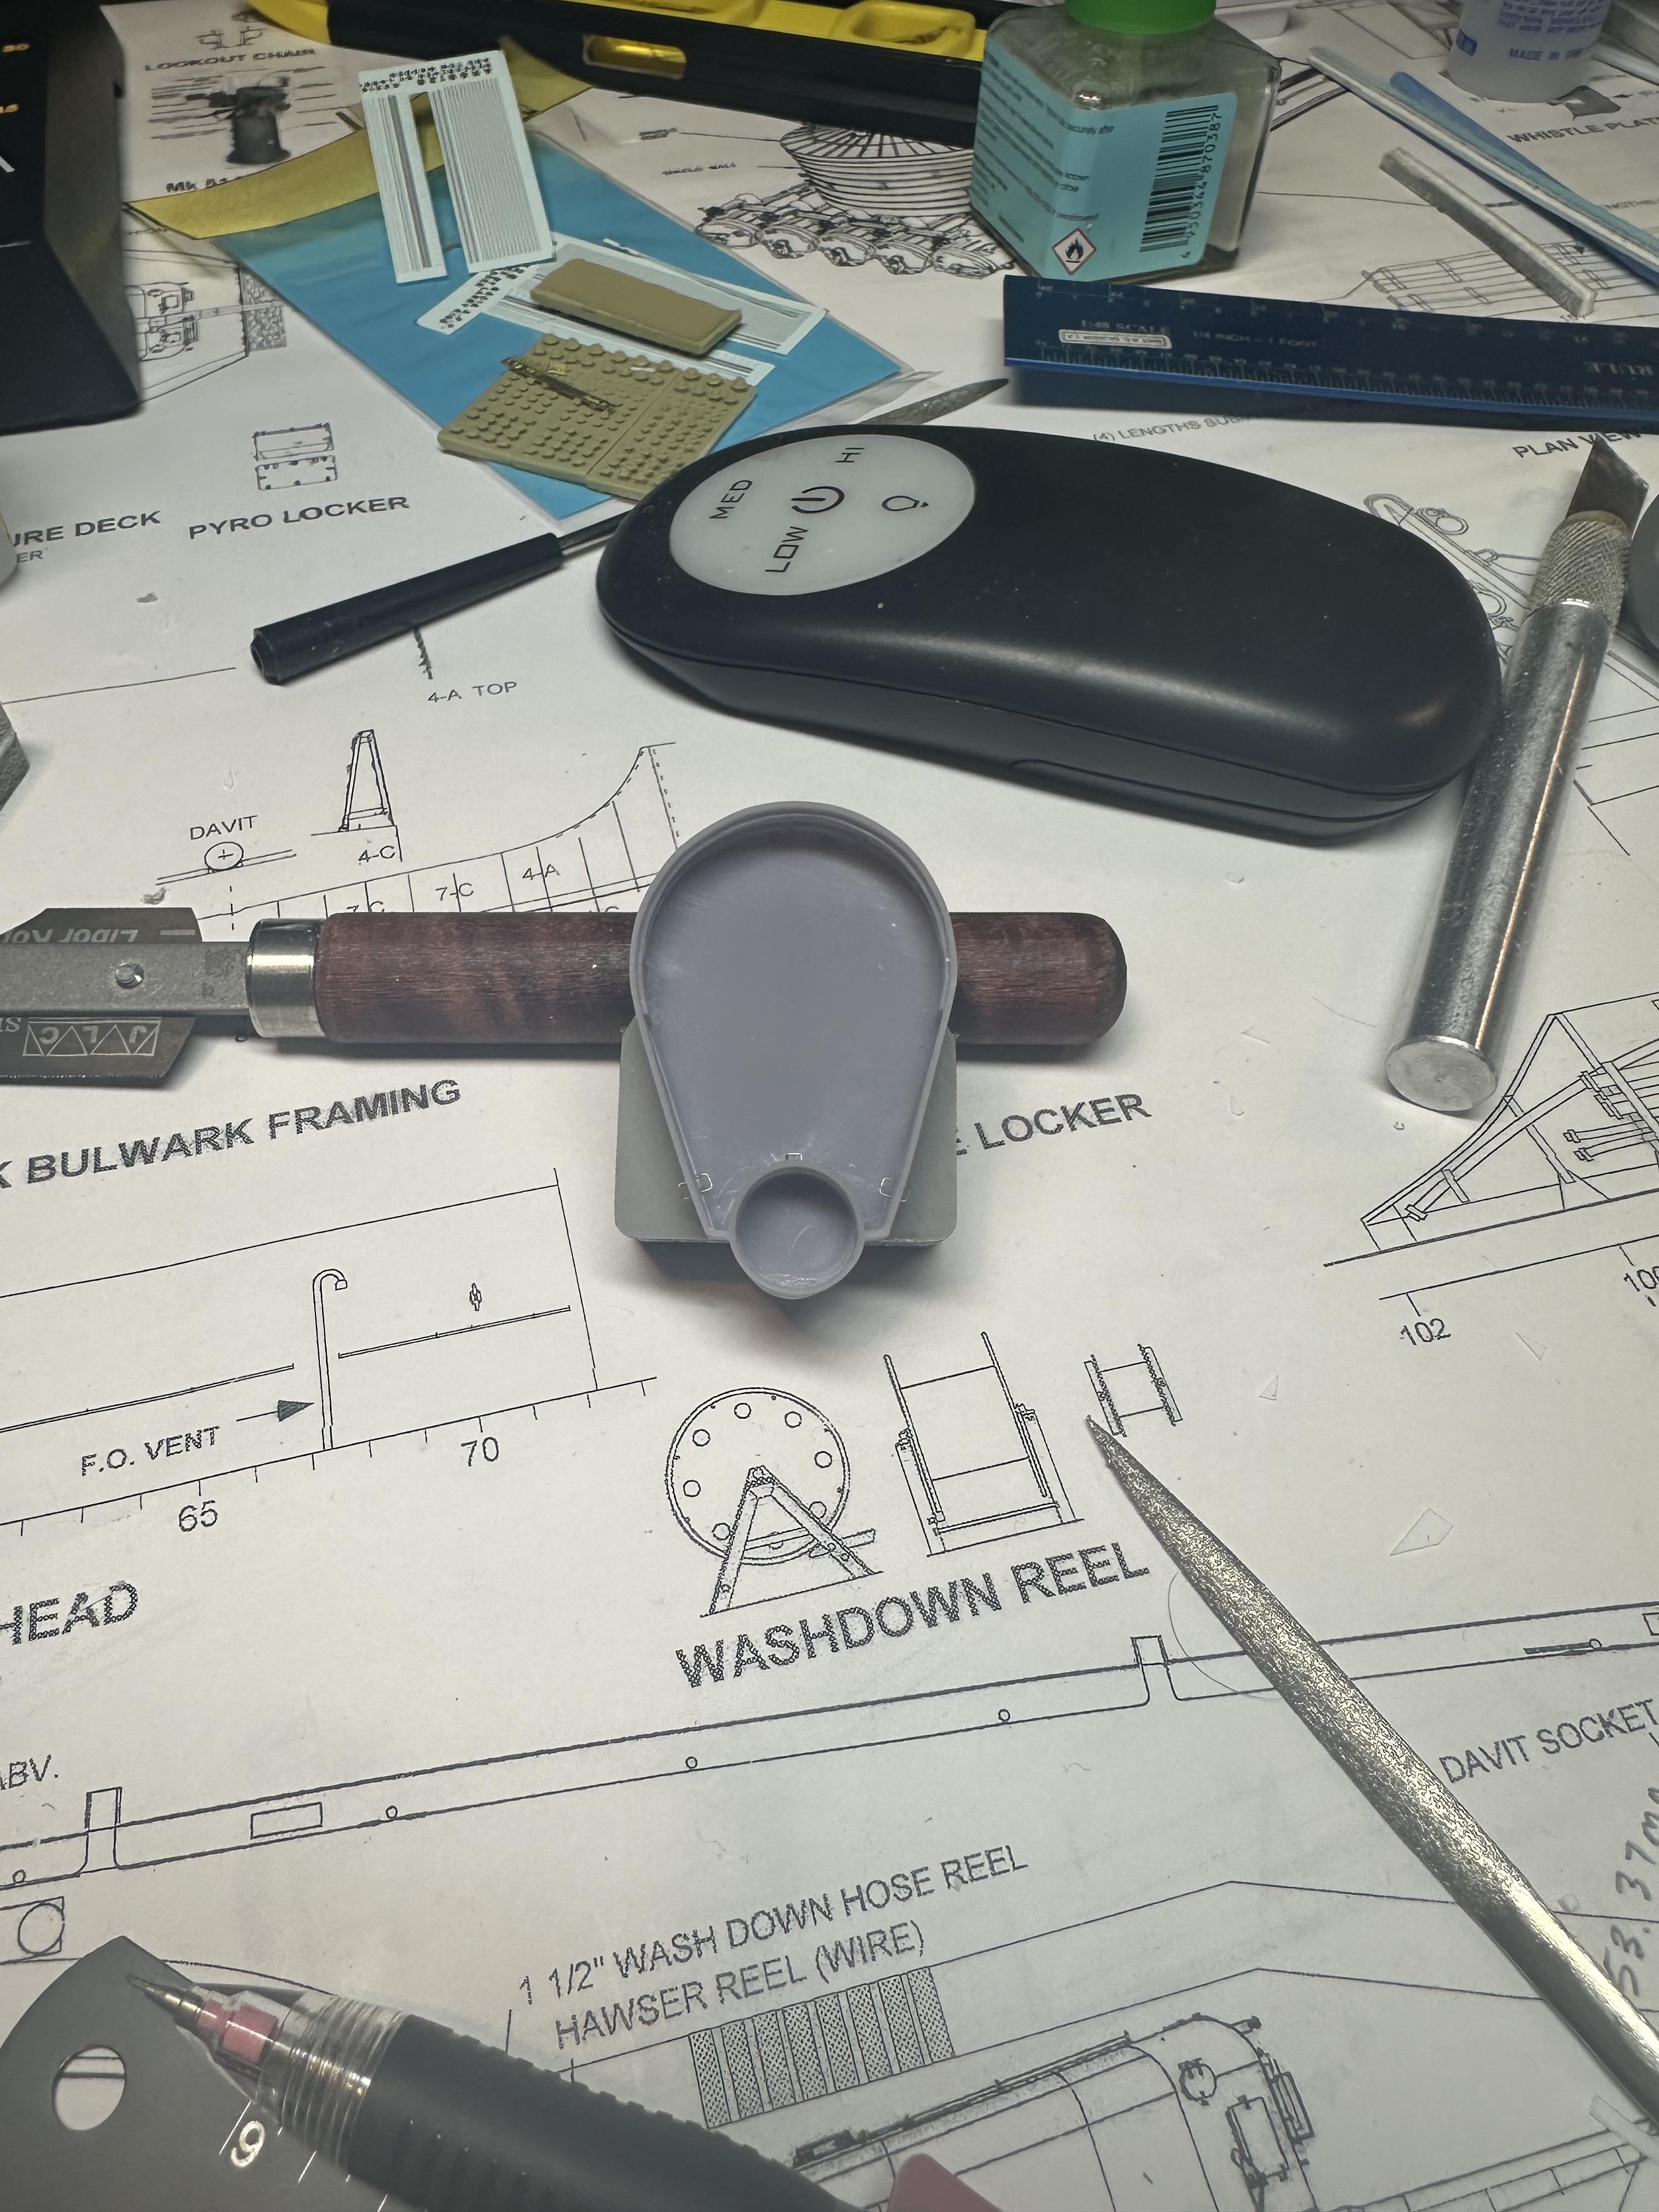
After that I finally added the 40mm tear shaped gun tub - it is a 3d printed from Distefan - was warped and required a clamp to hold it in place - and then after the super glue was dried i realized it is off a slight bit to the left - :rage: -

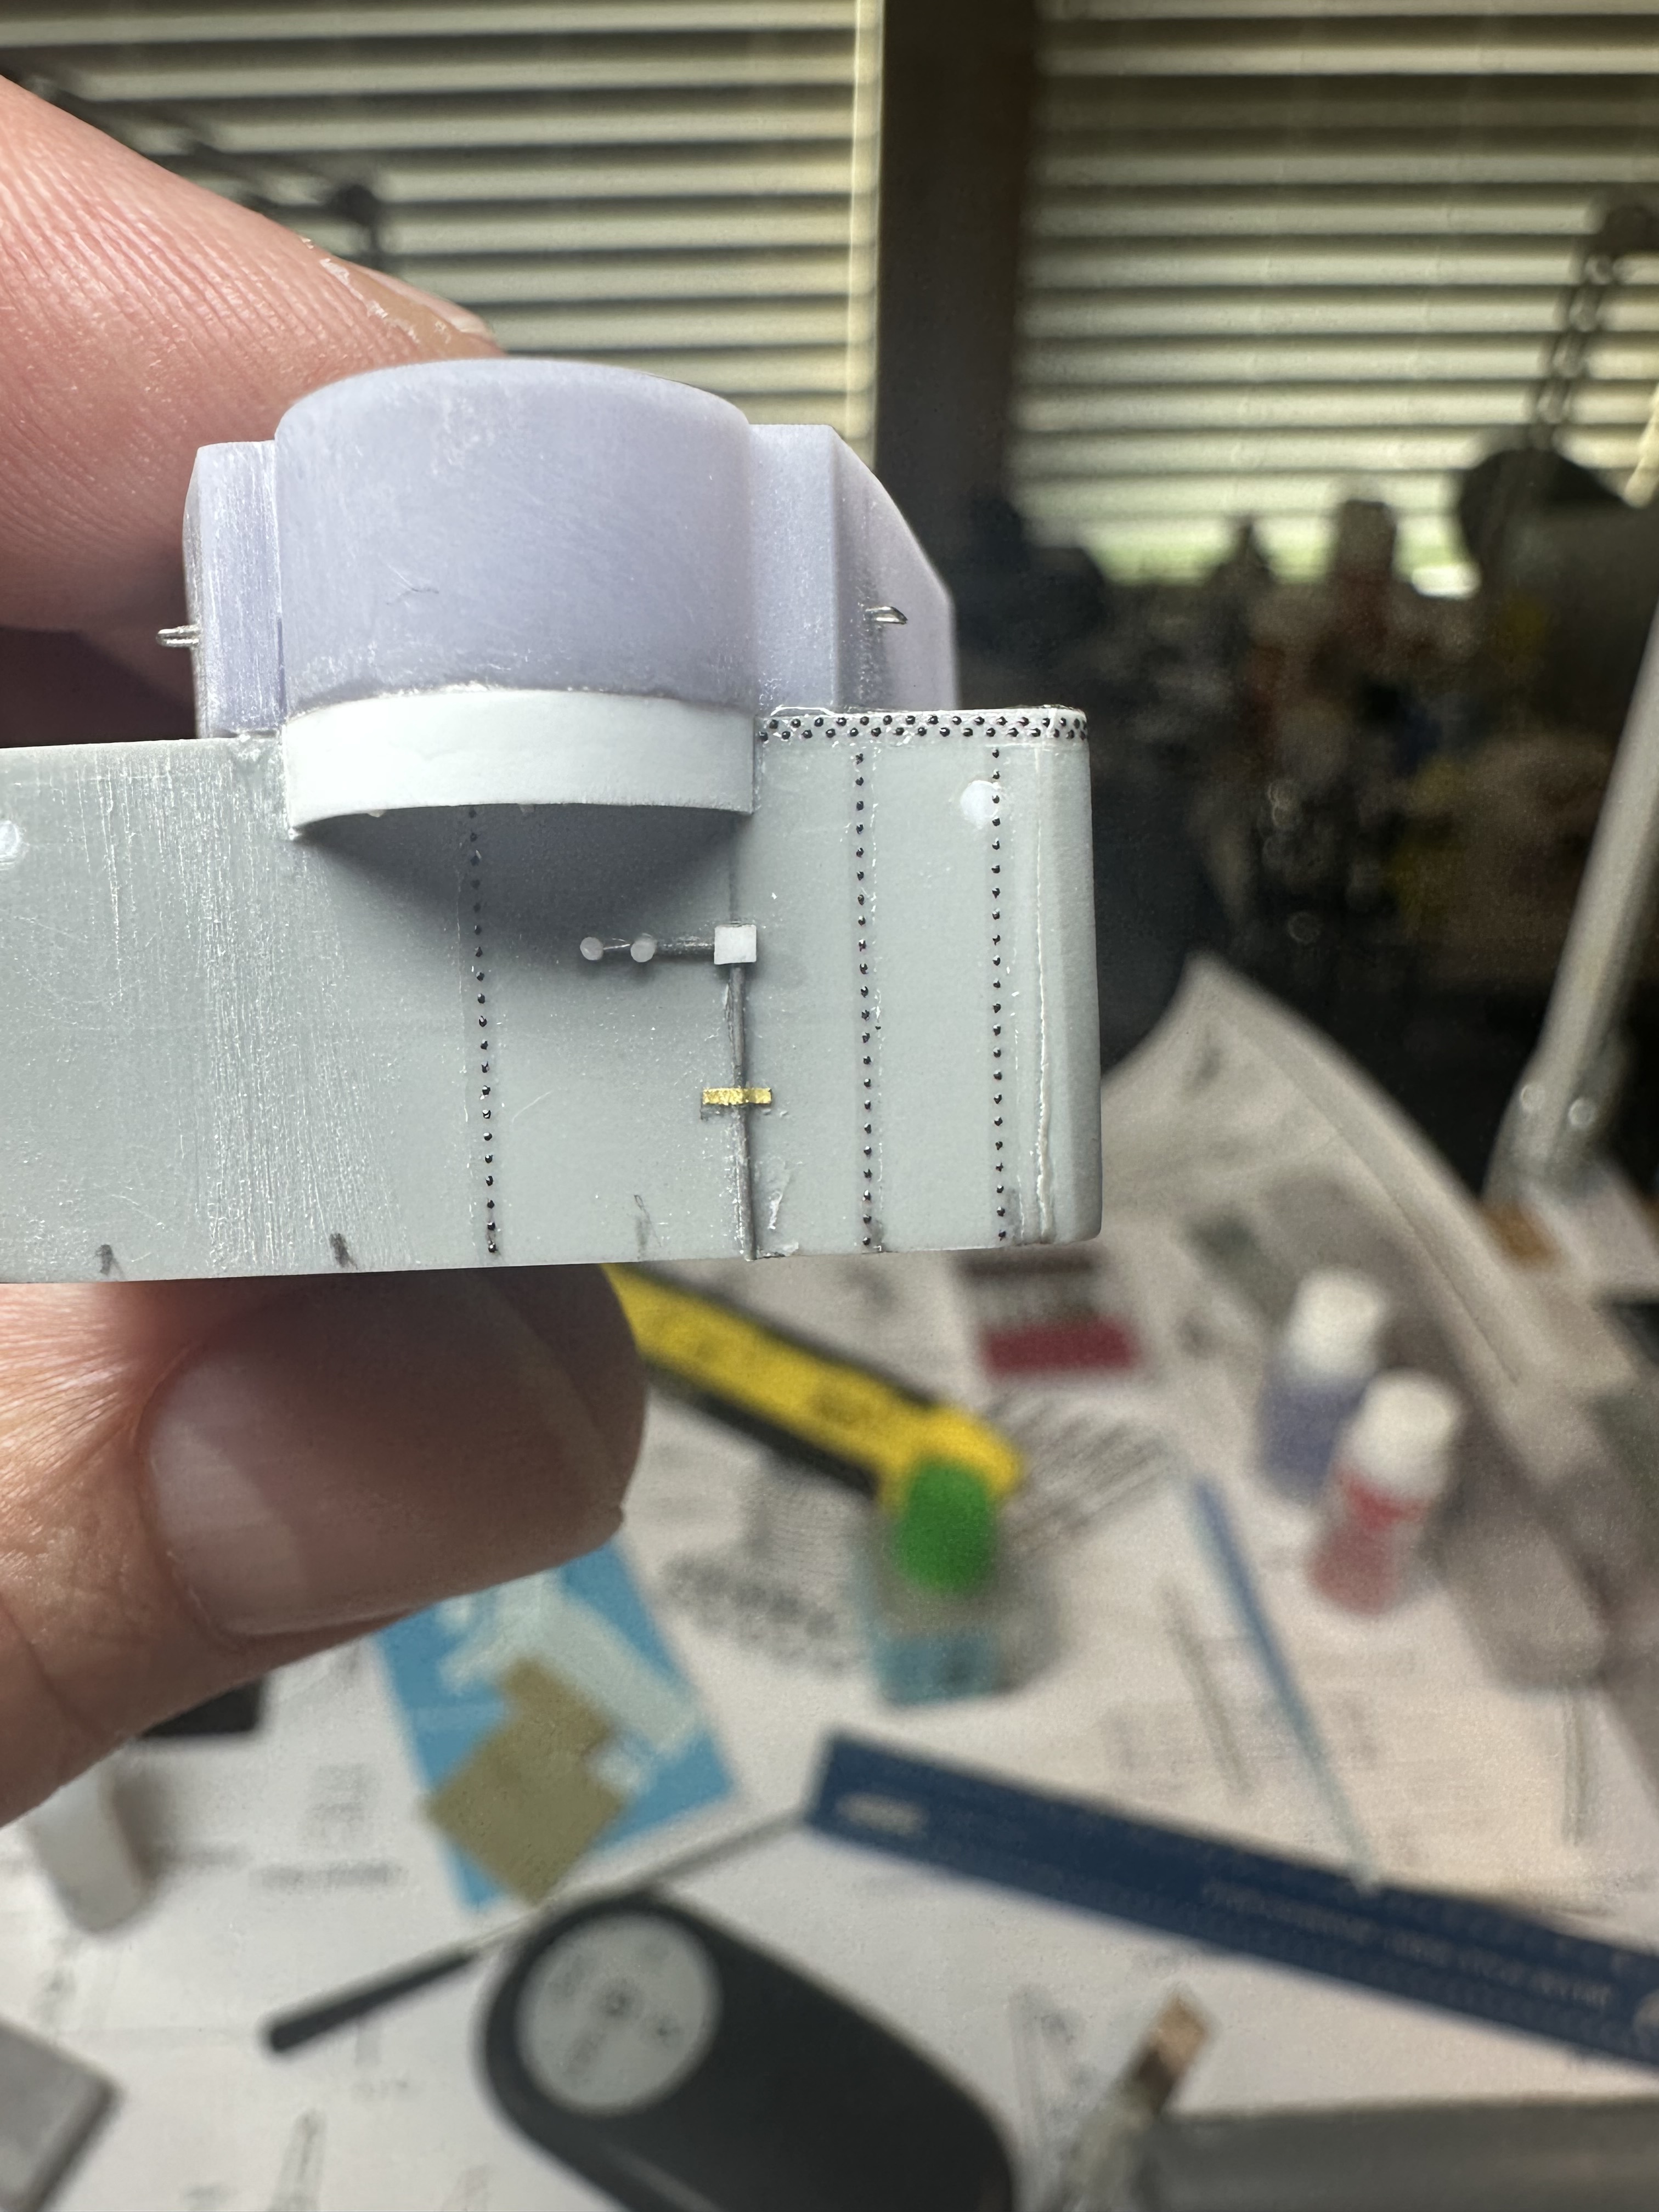
now that i am past that part, i then added the support structures using evergreen plastic and then added the rivets to the rear of the housing.

The next steps will be adding the rest of the rivets before finally adding the grab rail - still need to figure that out but i have a slight bit of time.

anyway, that is the update for now - if I don’t receive the archer rivets before I finish the aft structure then I will move on the the aft superstructure that the 40mm gun housing sits on

in any event, i am taking each section as a individual kit - really hoping to finish the hull though so i can move on to the deck - but time will tell

thanks for stopping in

David

4 Likes

Hey all

Finally finished laying the rivets for the aft 40mm gun tub

Now to wait for the PE to arrive so I can tackle the grab rail

But here she is for now with a light coat of clear coat to secure the rivets

Oh and I secured a 3rd 144 Fletcher but might shift my plan to using the Premium kit to build the O’Bannon

6 Likes

Hey all,

Still working details for the hull and have finally received the Archer rivet decals

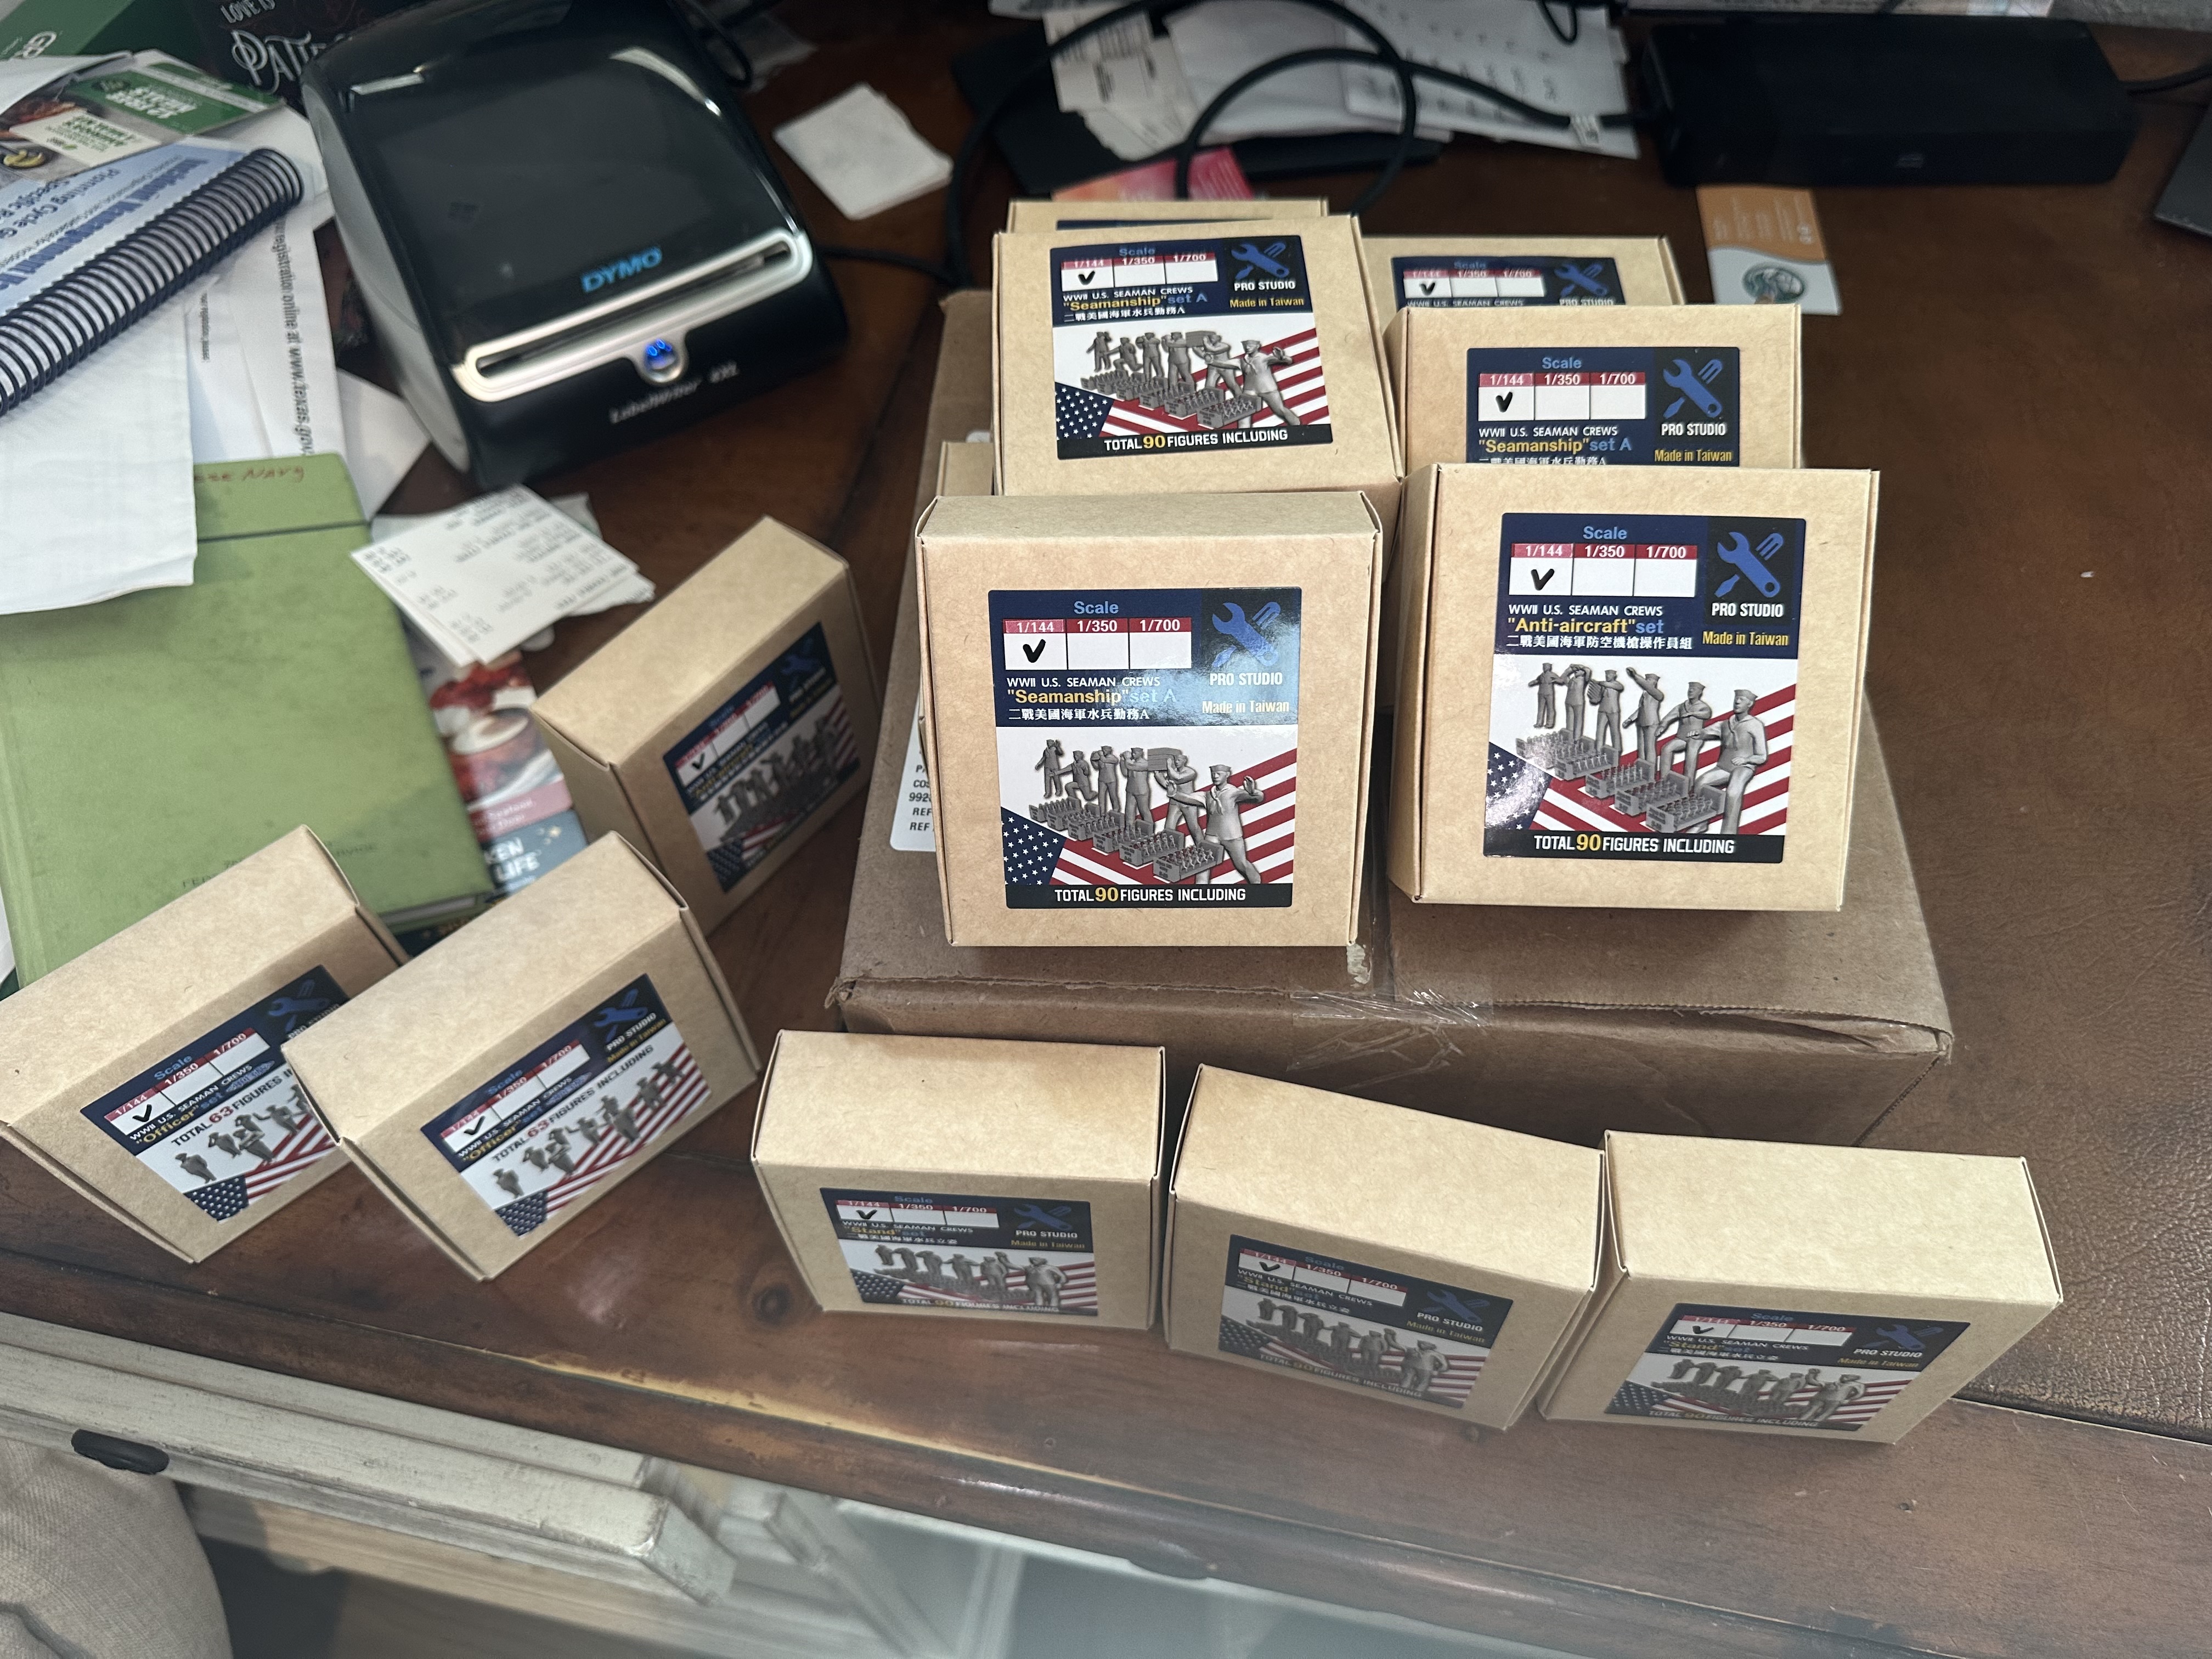
Also, the ships company has arrived from ProStudios!!

Looking forward to when I’ll start placing them

7 Likes