A lot of bustin’ ass and problem solving on this one. Hope you like it.

See you at AMPS.
Thanks for looking.
Sincerely,
Mark
A lot of bustin’ ass and problem solving on this one. Hope you like it.
See you at AMPS.
Thanks for looking.
Sincerely,
Mark
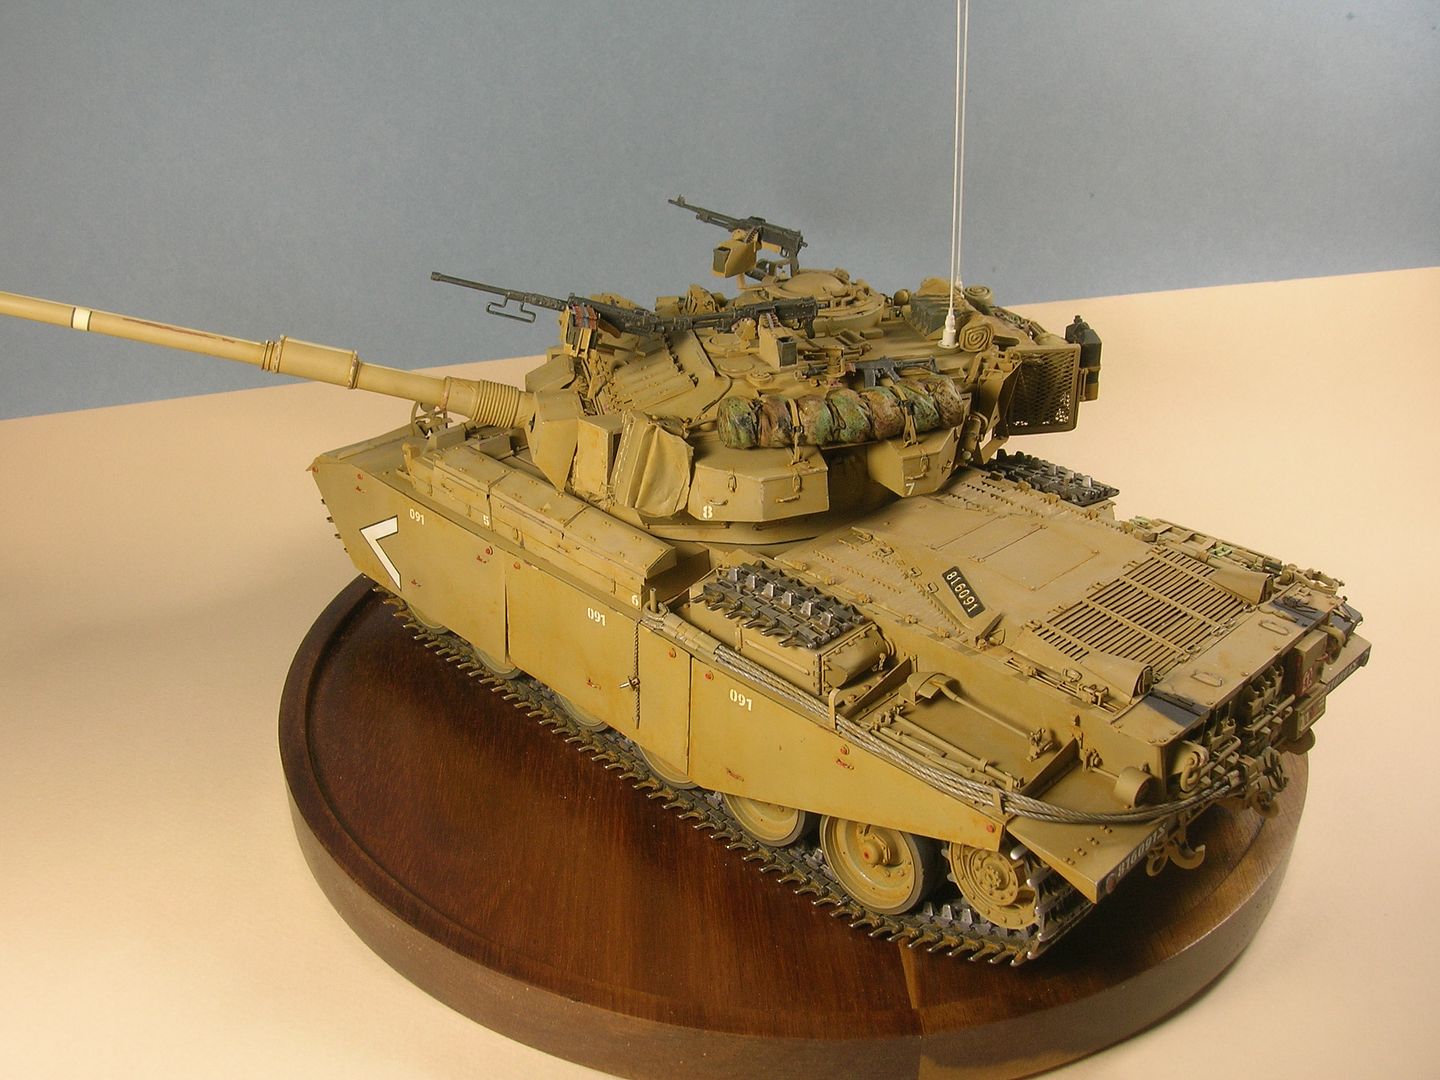
It looks pretty nice. How about an explanation on what you did to build it? I am assuming it is the Tamiya 1/25 Centurian Mk III?
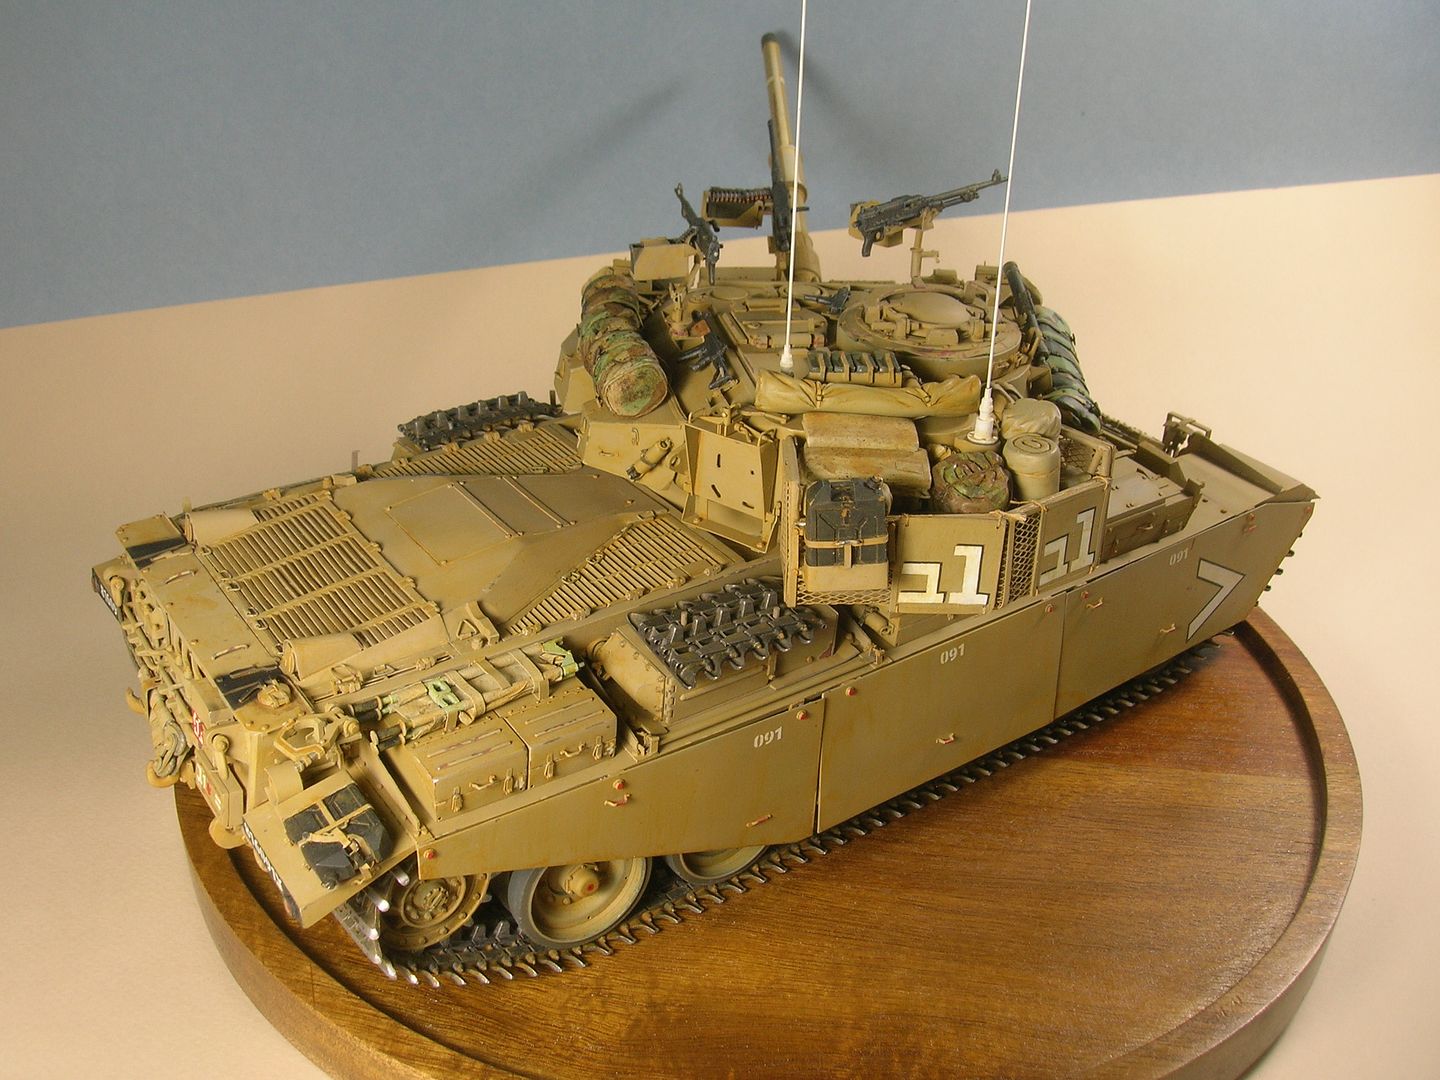
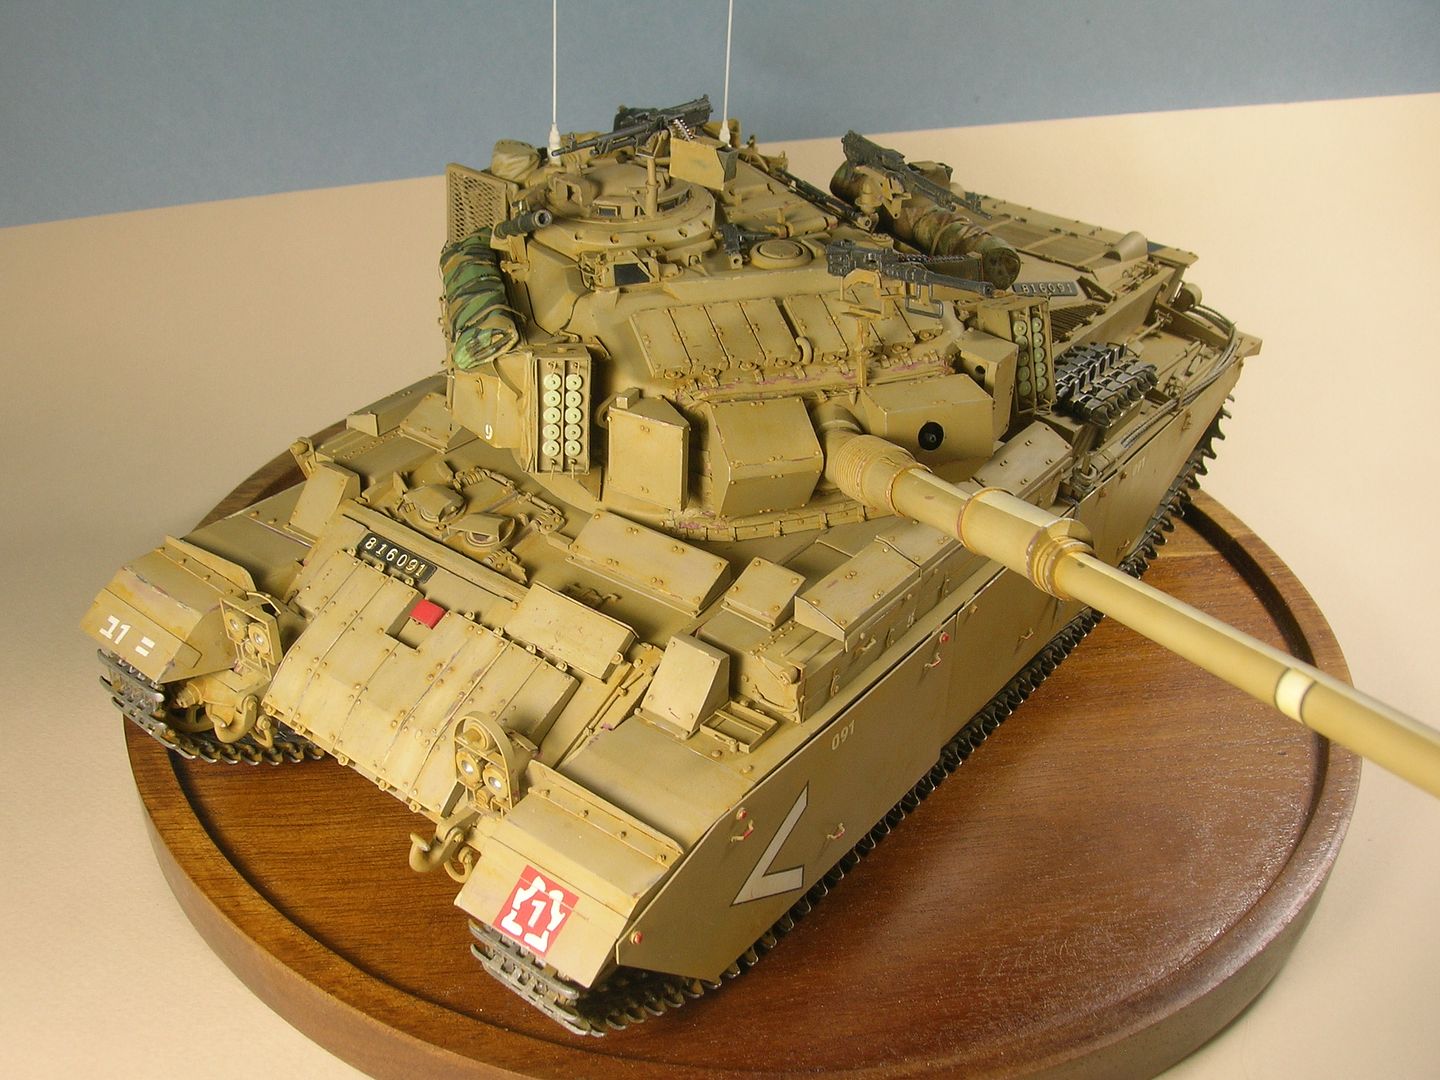
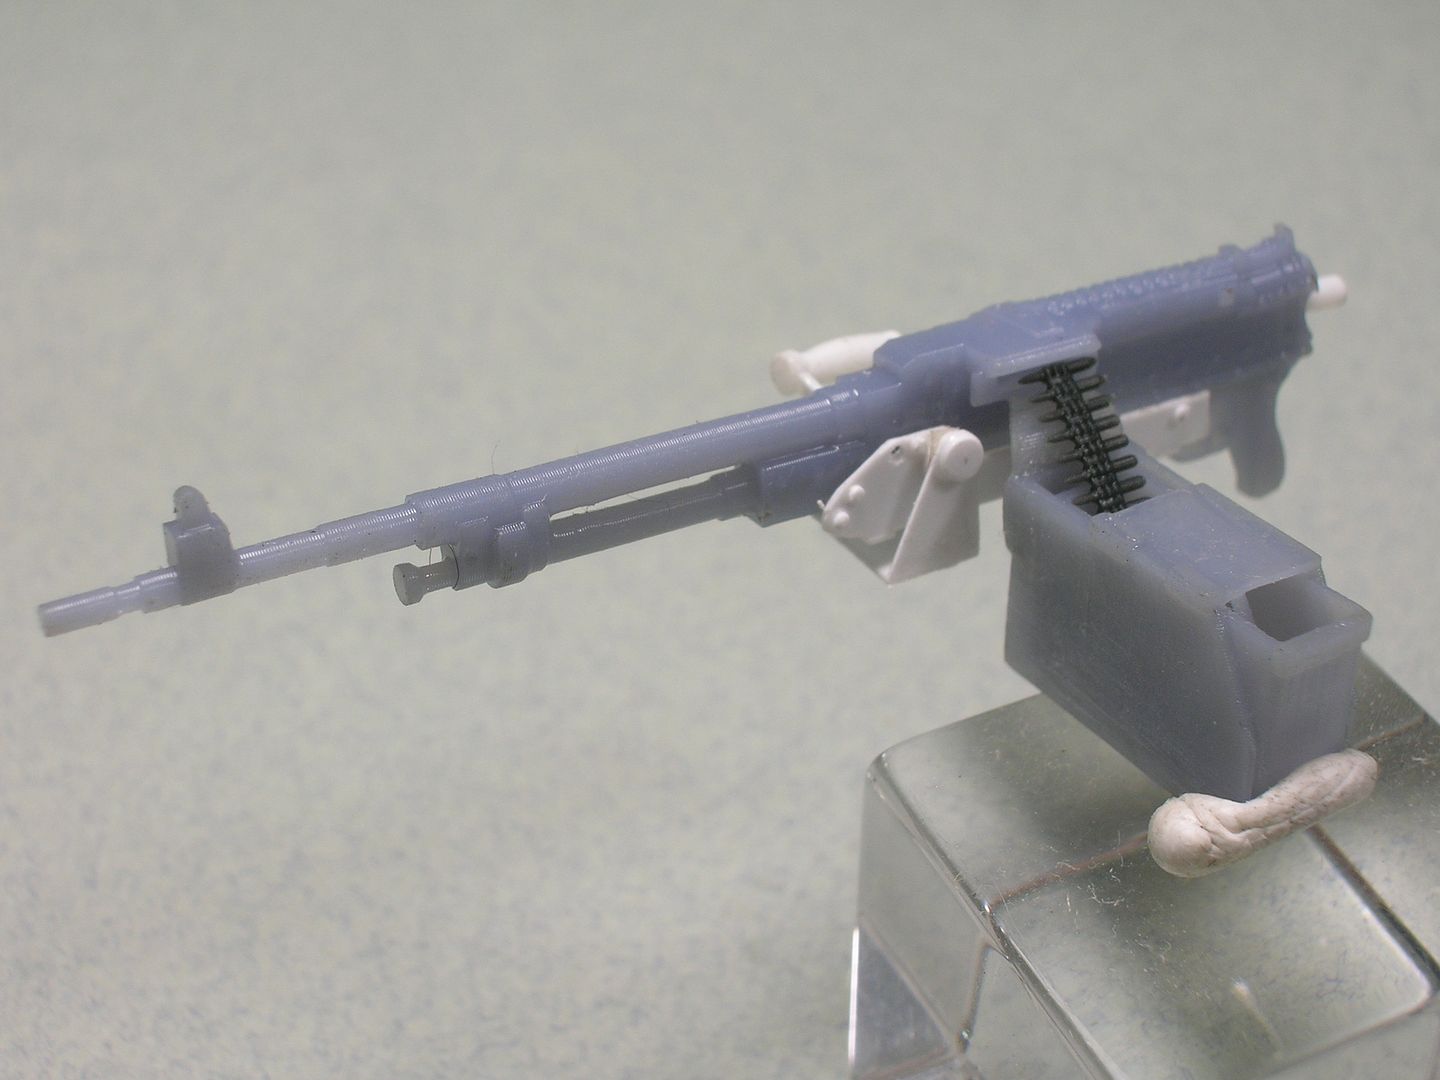
It is the Tamiya kit. After market: Friul tracks, Blue Jacket ‘U’ shackles, Verlinden stowage, GasPatch 7.62 & .50 cal. ammo, Internet 3D file for Uzi and Galil. Decal numbers were trimmed before placement. All markings from home made stencils. Drew and printed the main gun, FN Mag, antenna base, FN Mag ammo carrier, and mortar. Everything else was scratch built.
If you would like to see in-progress photos please let me know.
Thank you.
Sincerely,
Mark
Well, it’s more than pretty nice. And I certainly would appreciate more photos. So was it the defunct Mouse House engine deck or did you scratch build it? Ha, I just reread you scratch built everything else. Fantastic job!
Looks fantastic to me Mark. I’d love to see some in progress pics.
The model looks excellent.
Cheers,
Ralph
I too would like to see in-progress pics. Your finished model looks great.
That is a lot of hard work!!! Excellent!
Fantastic build!
Would love to see pictures of the model before it was painted.
I’m impressed … a total beauty…
Thank you, Gentlemen.
I started this build a long time ago, maybe 30, 35 years. Worked on it for about 5 years then stopped. I picked it back up May of 2023 after having built airplanes until 2022.
Molded and cast various size nuts and bolts until I bought a hex nut punch set.
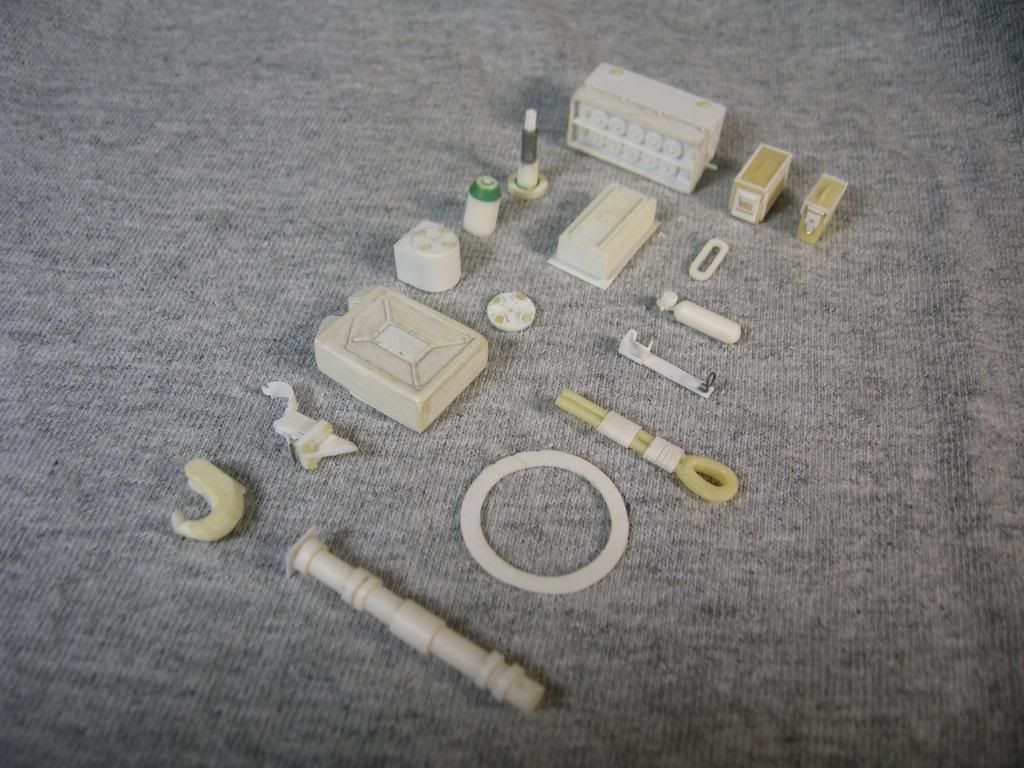
Masters for Smoke Discharger, Water Can, Ammo Boxes, Ring is Running Gear Spacer, Tow Hook, First Aid Box. Other items are scratch built parts.
Headlight Guards. Headlights, Tail Lights, & Turn Signals were molded and cast from Hasegawa 1/24 scale Jeep. Modified kit Emergency Fire Extinguisher Handle.
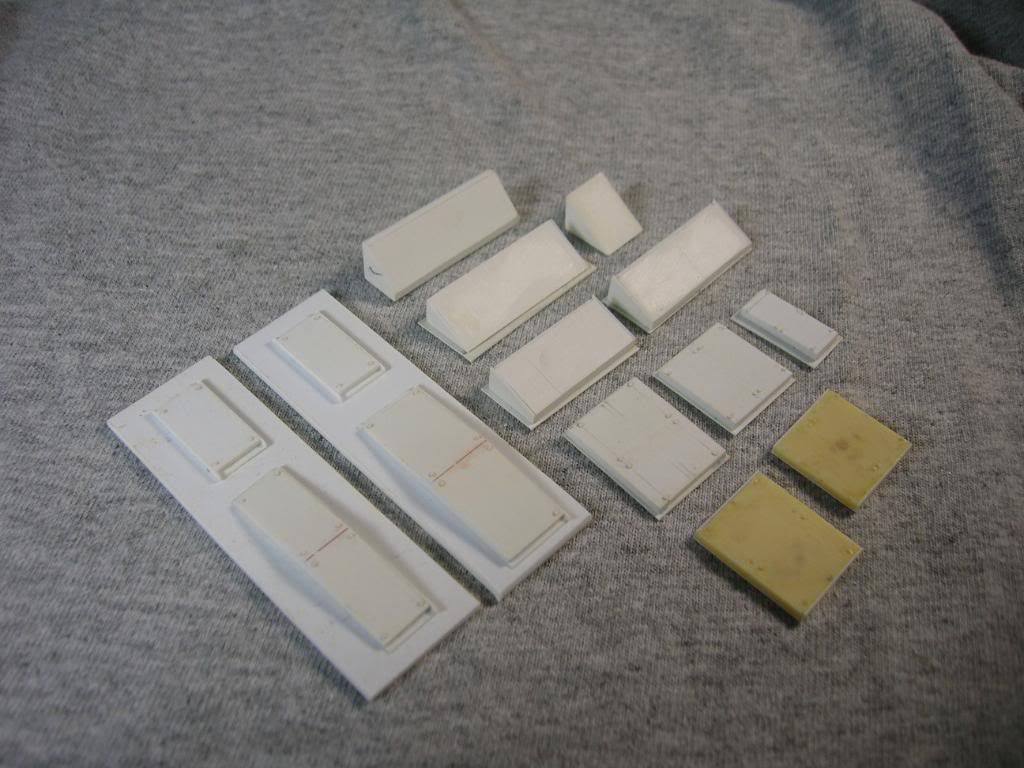
Earlier efforts at the Blazer Armor.
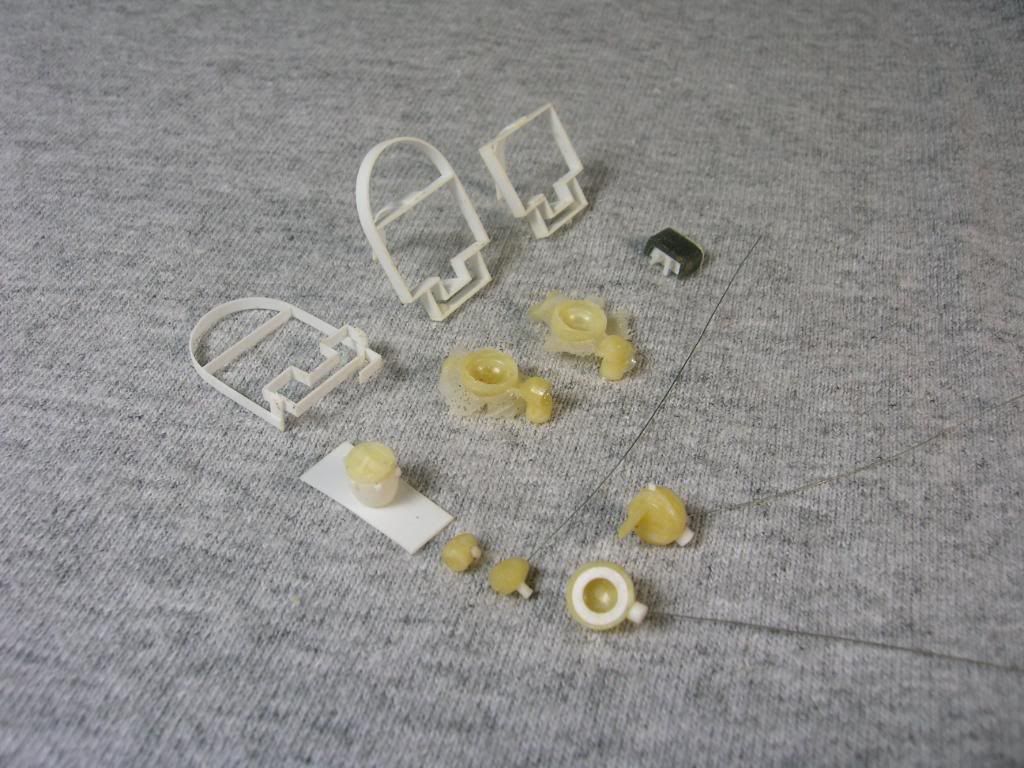
Commanders Cupola.
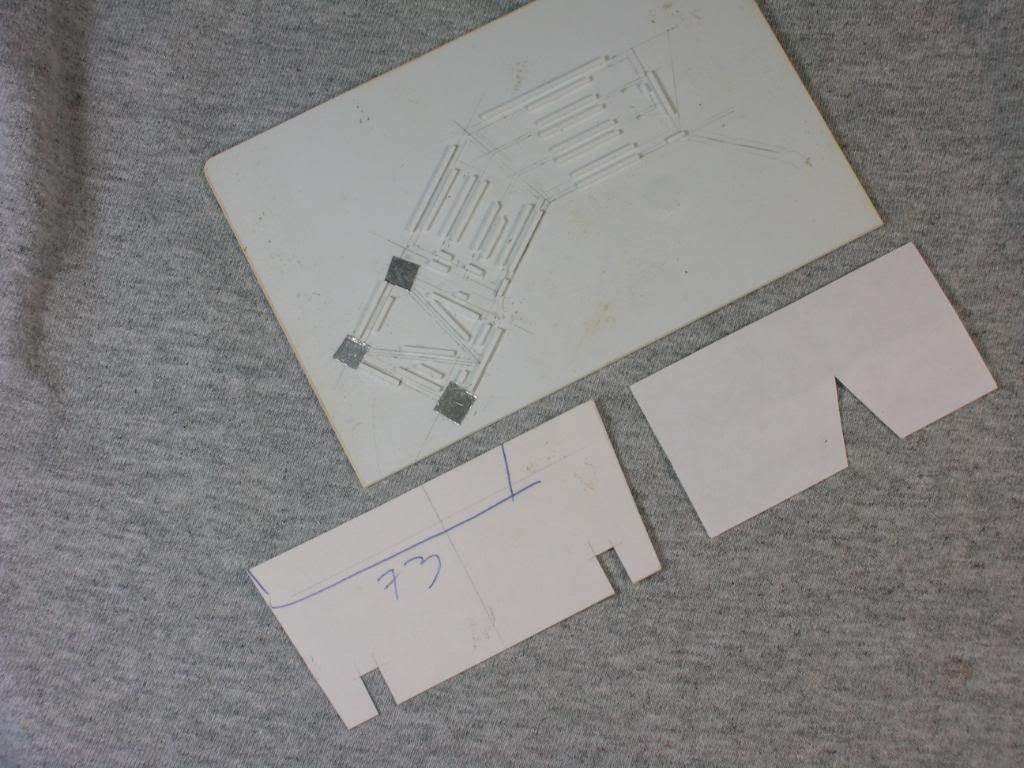
Jig for Bustle. Left; stencil for Glacis Armor; right stencil for bustle screen.
Master for Armored Air Filter.
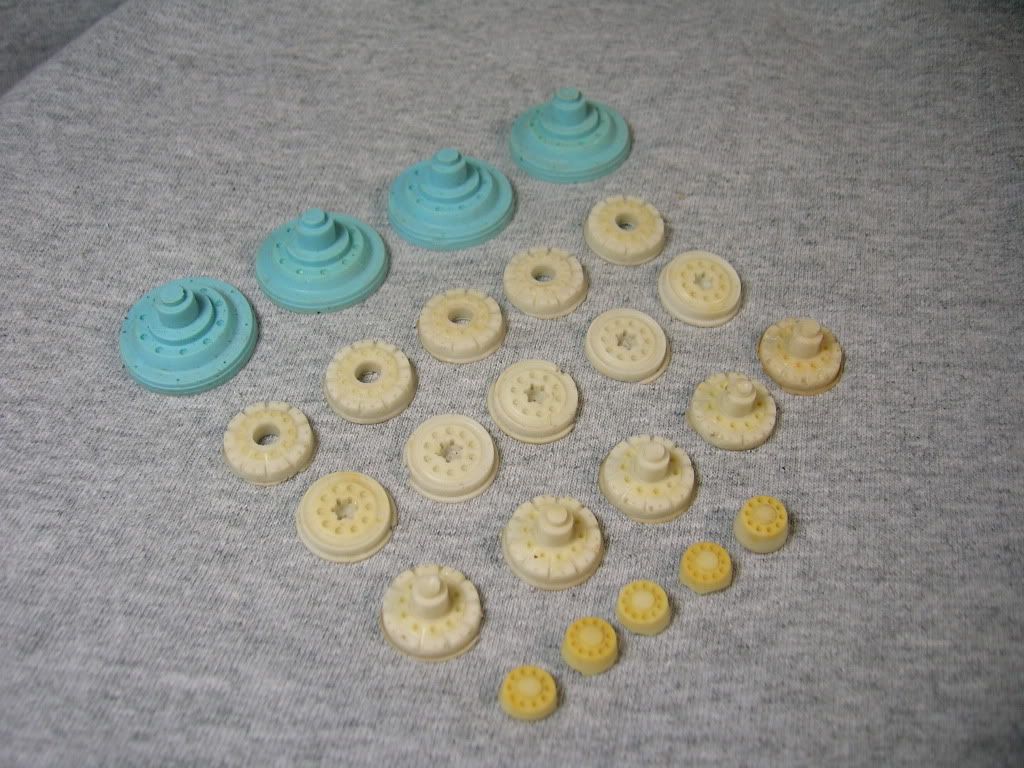
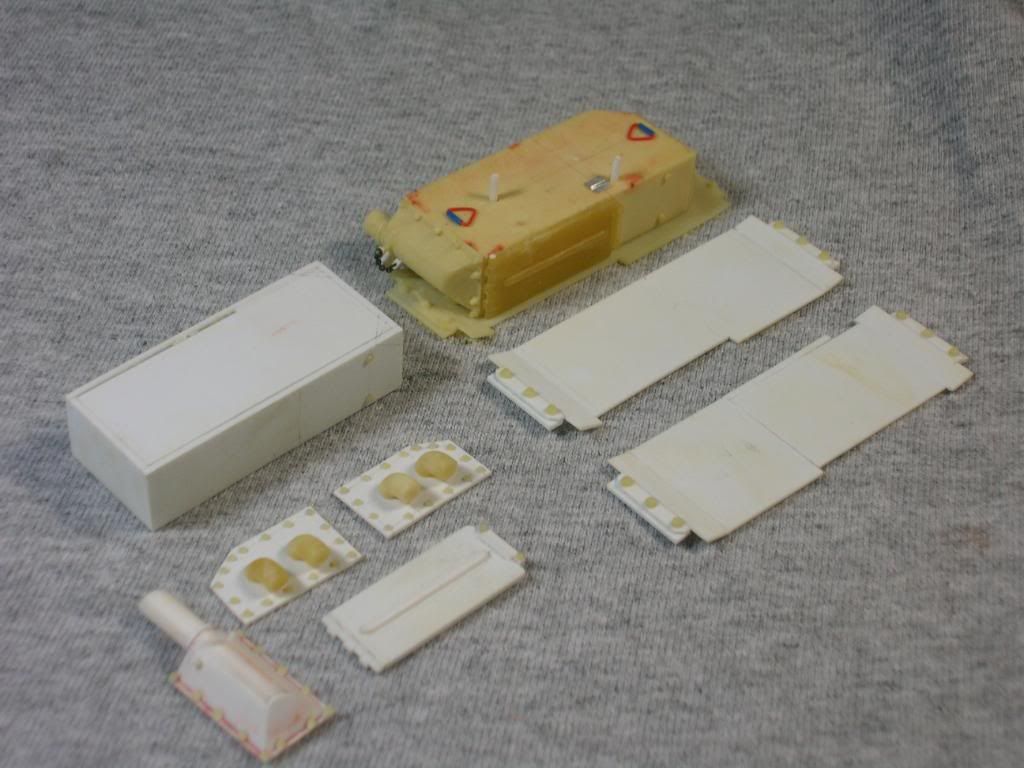
Rear Deck. Molded and cast Fuel Caps.
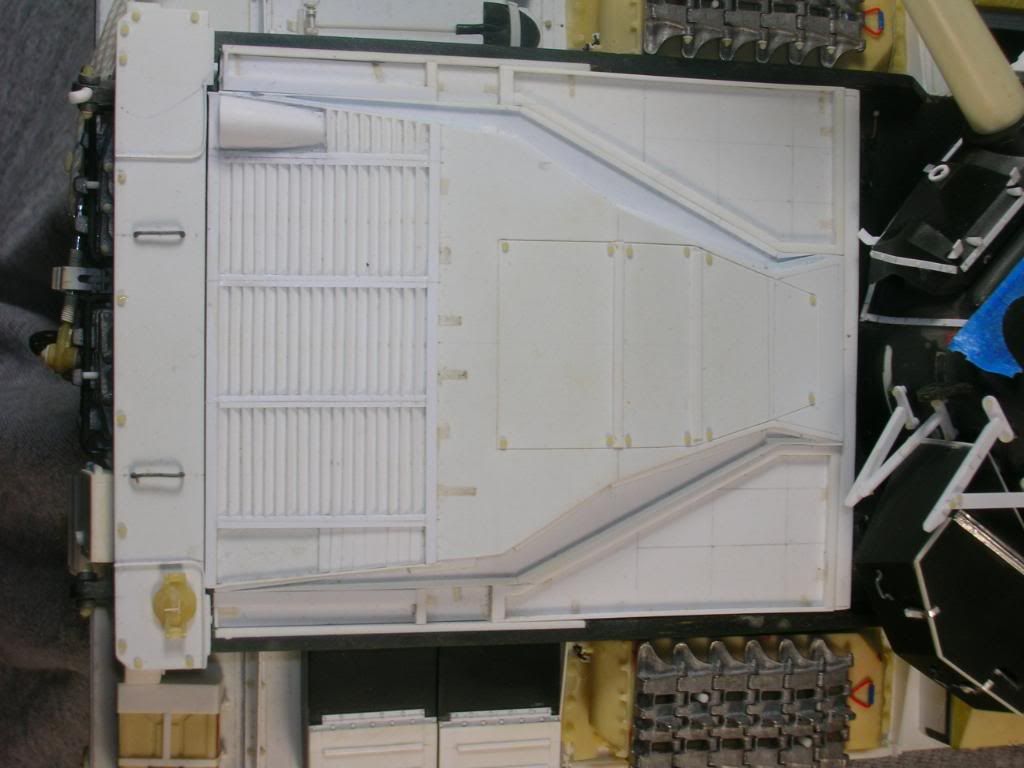
Rear Deck Layout.
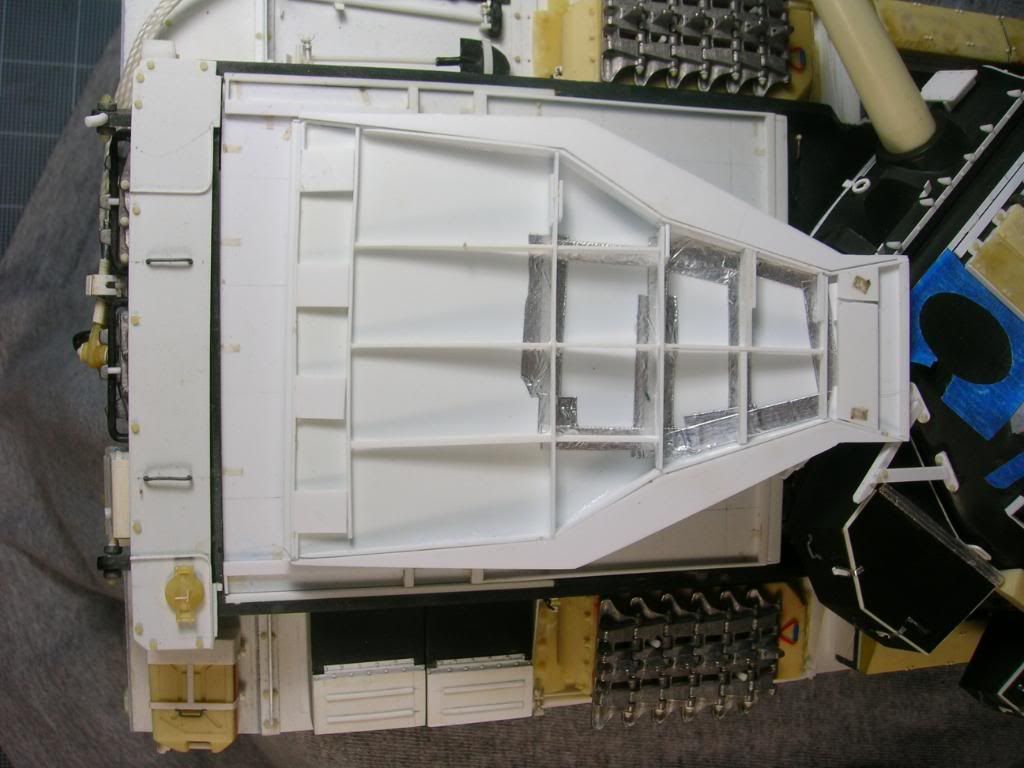
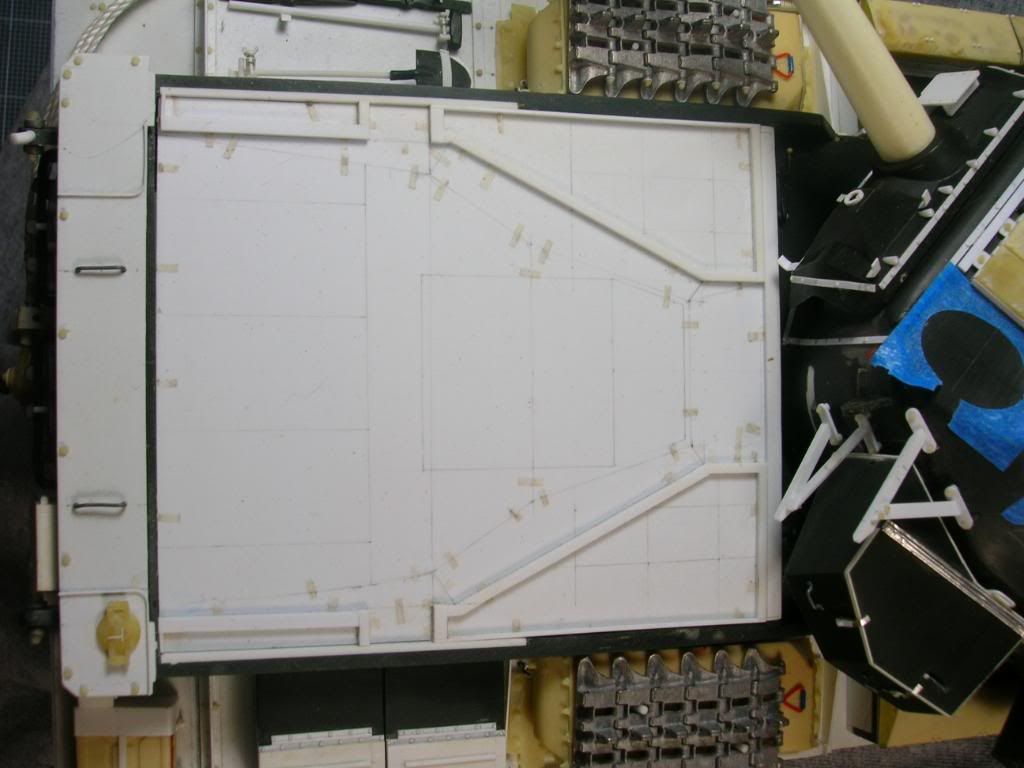
Rear Deck Framing.
The next group of pictures represent what I did before I stopped.
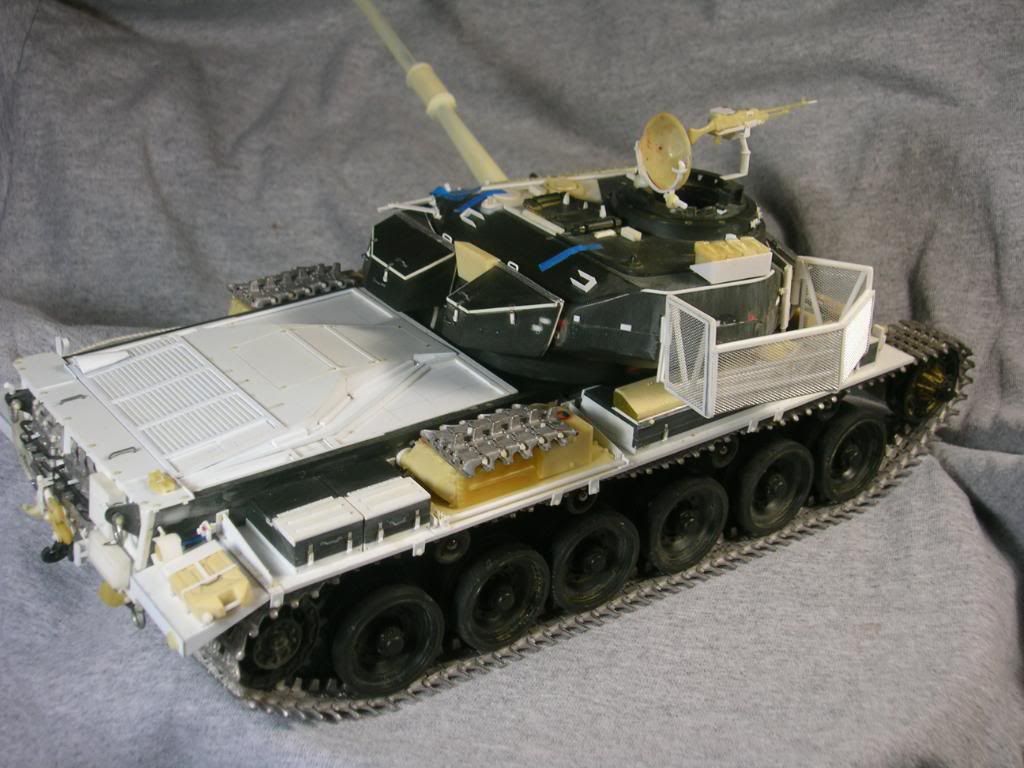

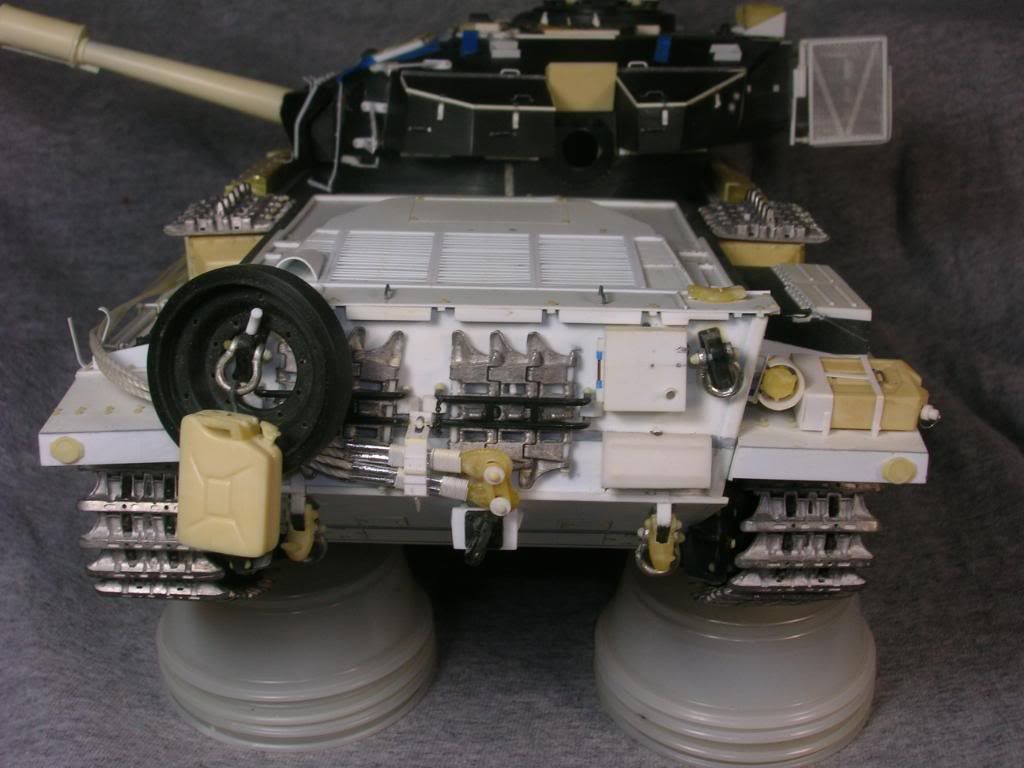
What I’ve done since May of 2023.
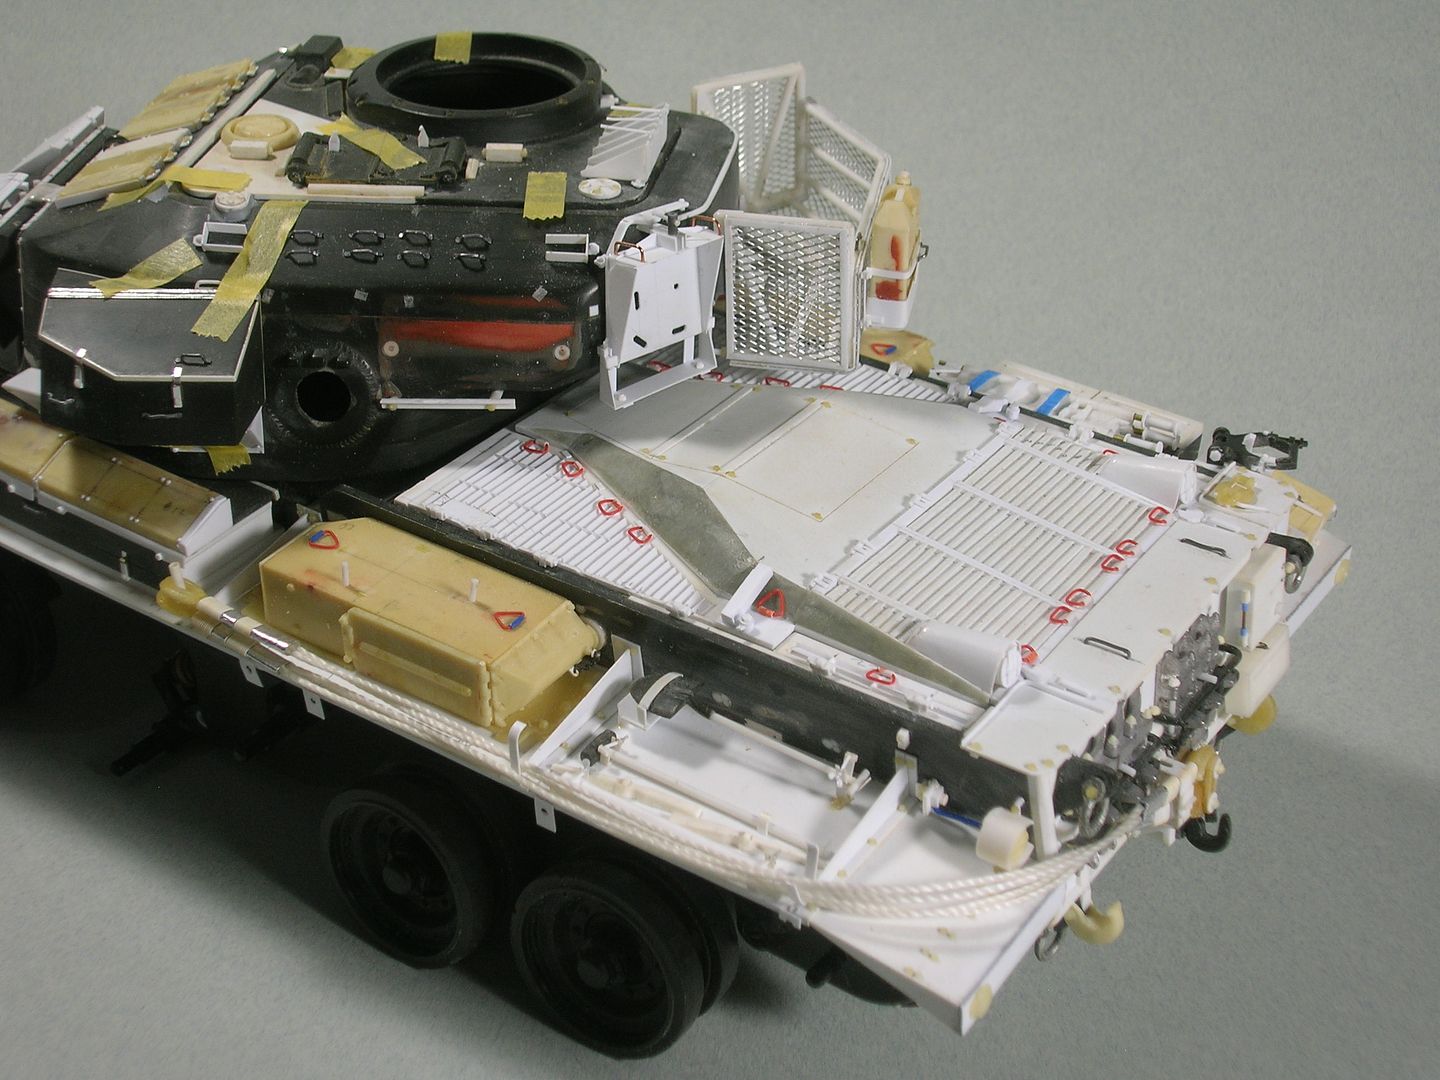
Rebuilt Bustle, because it broke. Built Mantlet and below Stowage Box Blazer.
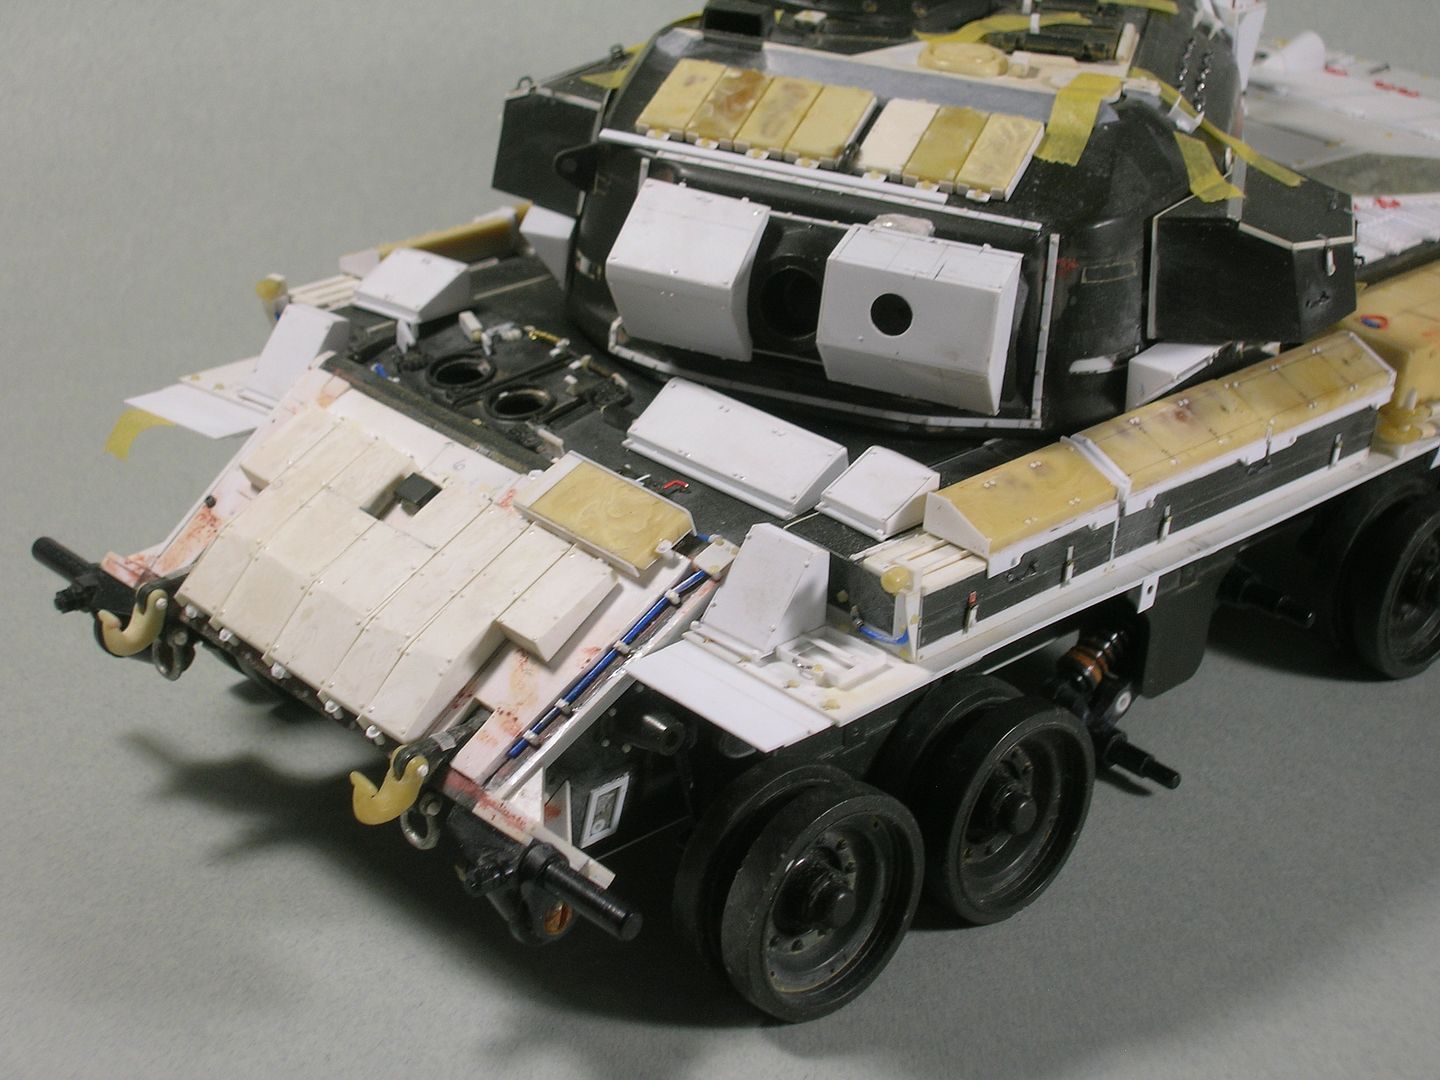
Rebuilt Glacis, Hull, and Fender Blazer.
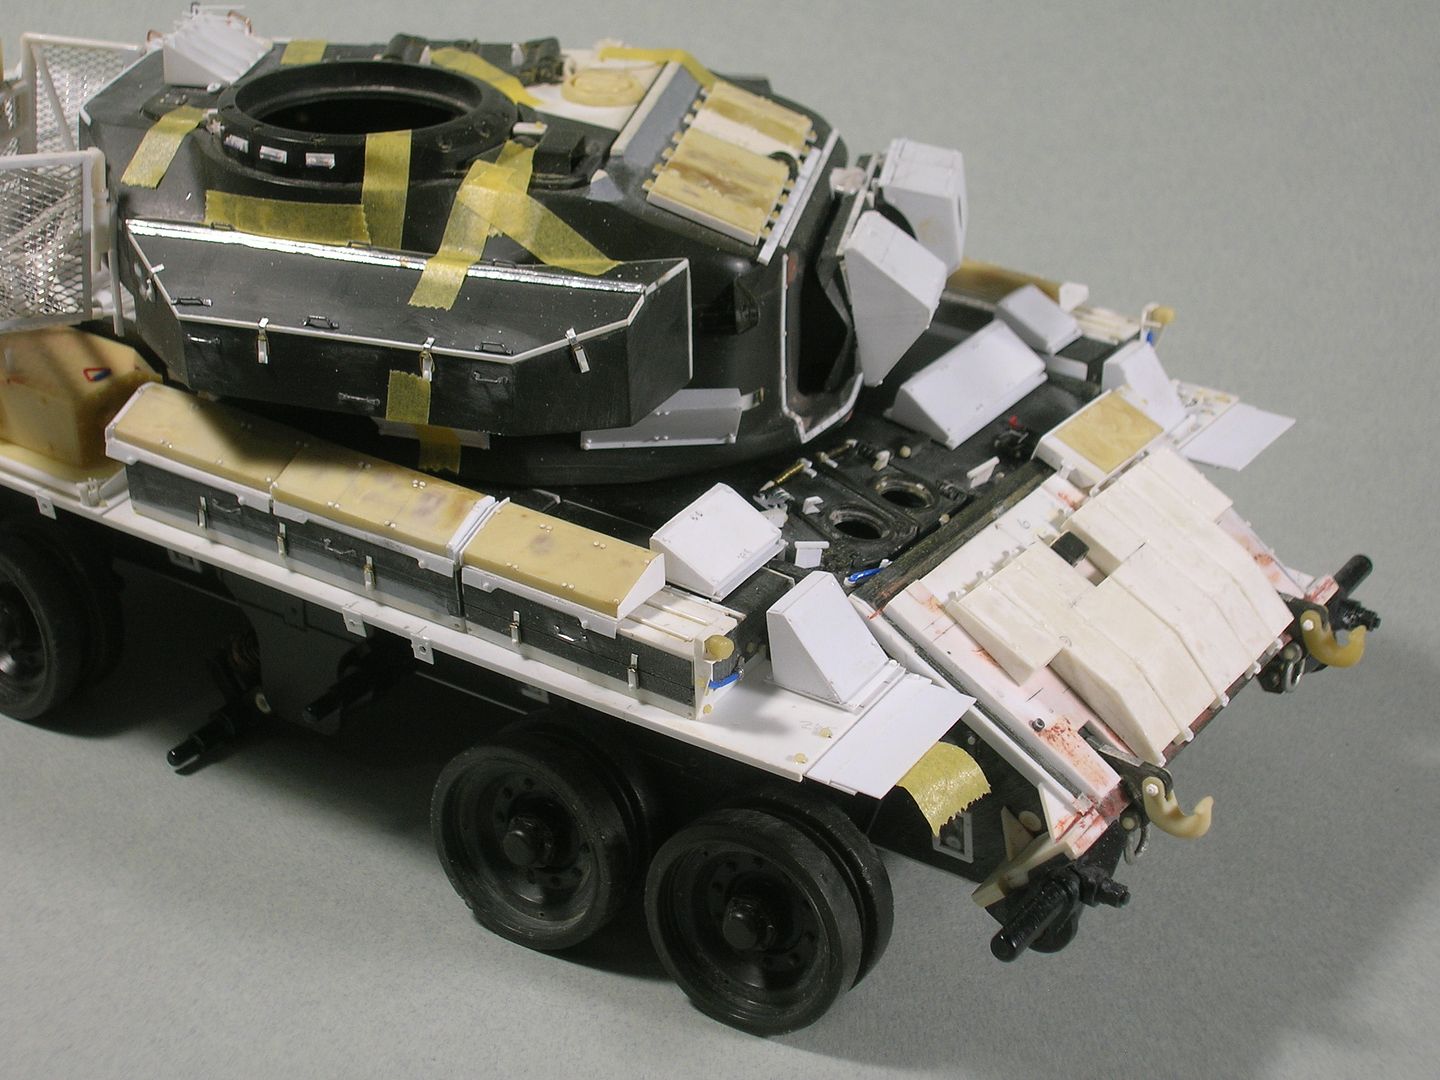
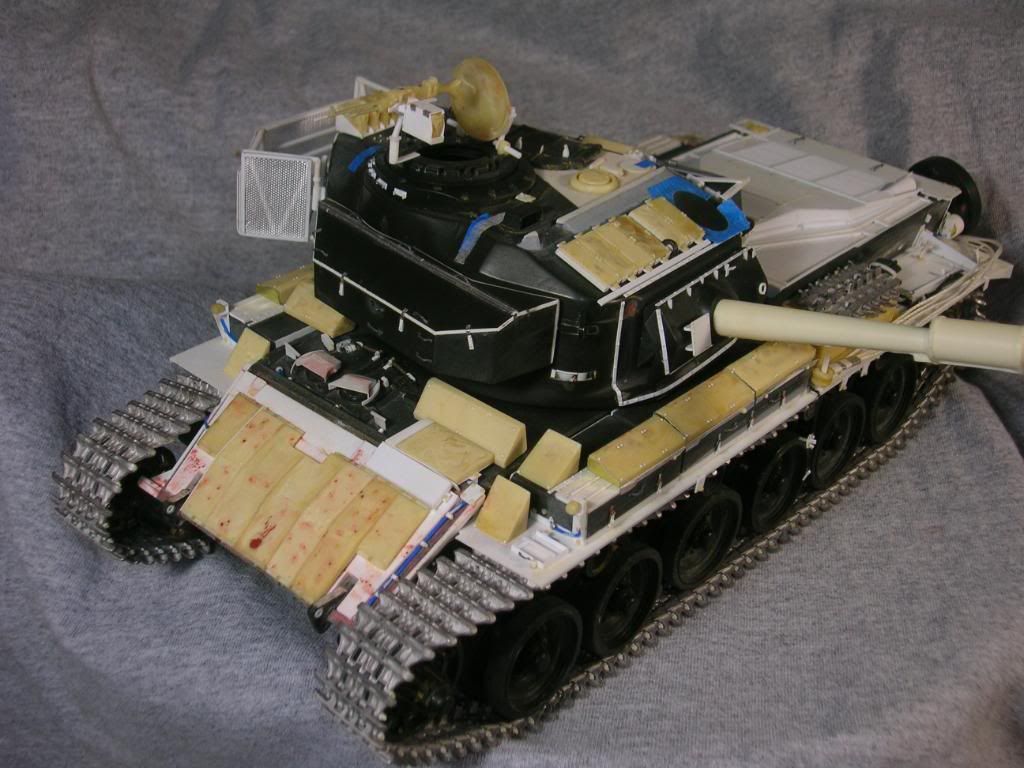
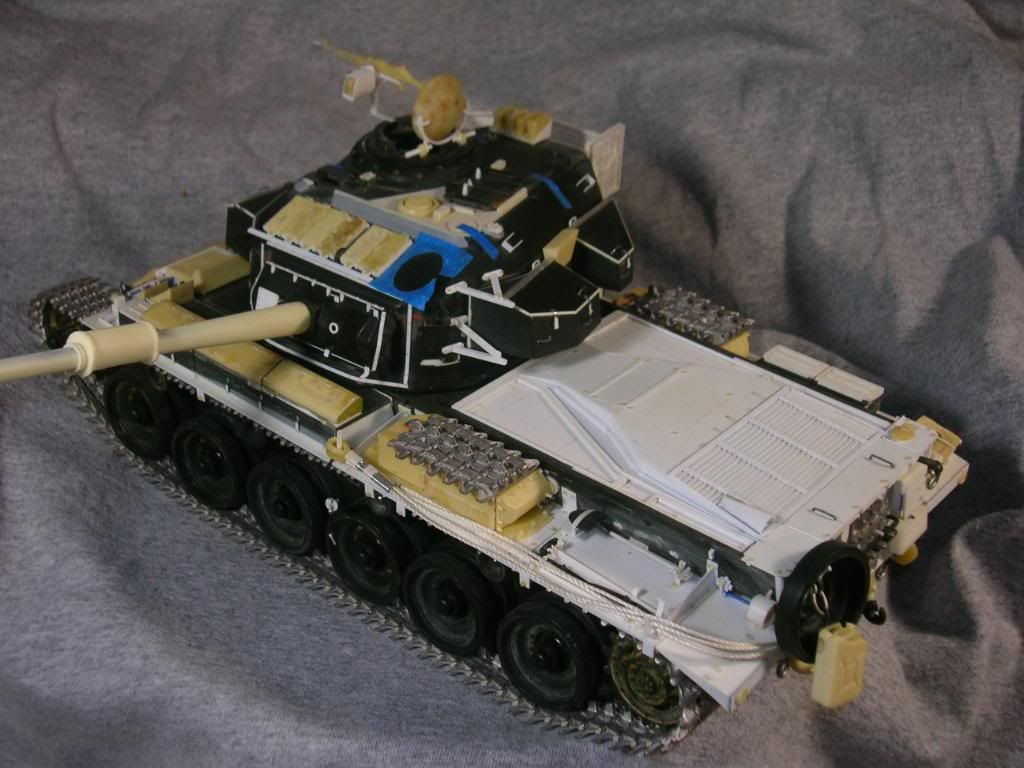
Other side.
Built Mantlet Mounted Search Light Stowage Bracket, Stretcher, completed Rear Deck Grill work, details Gun Travel Lock,
Other side.
Thanks for looking.
Sincerely,
Mark
Simply amazing Mark. Thanks for sharing!
Fantastic looking tank, and the progress pictures show how much work you put in to it, absolutely fantastic!
Thank you, my Brothers. I found a few more photos.
Aluminum foil Mantlet Dust Cover.
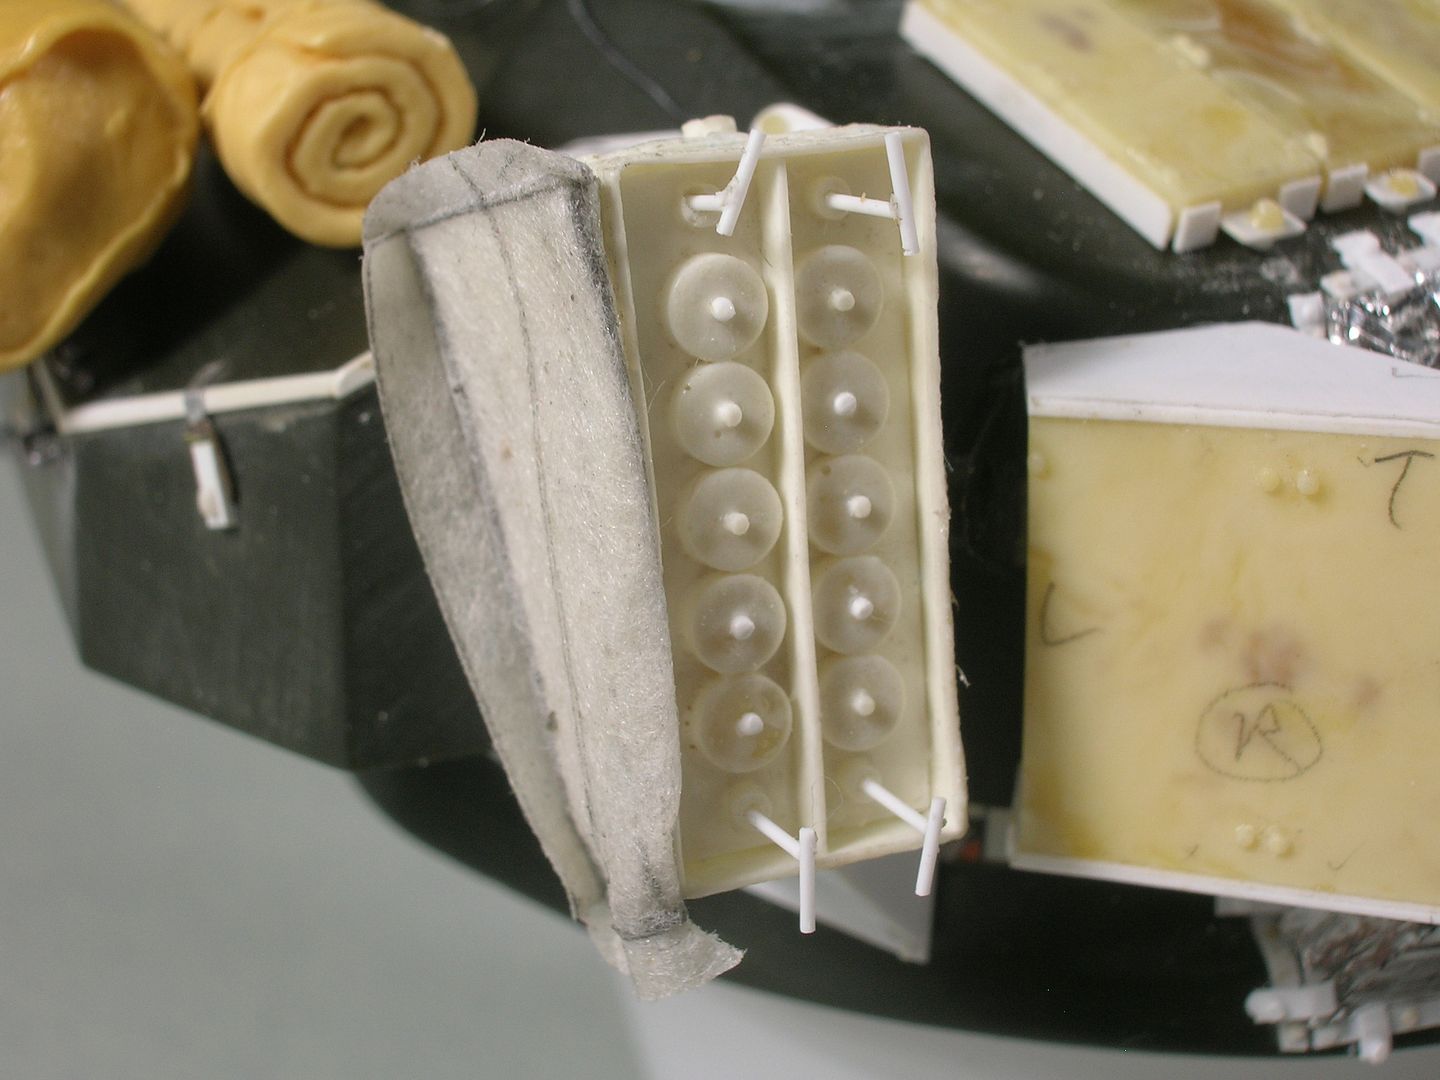
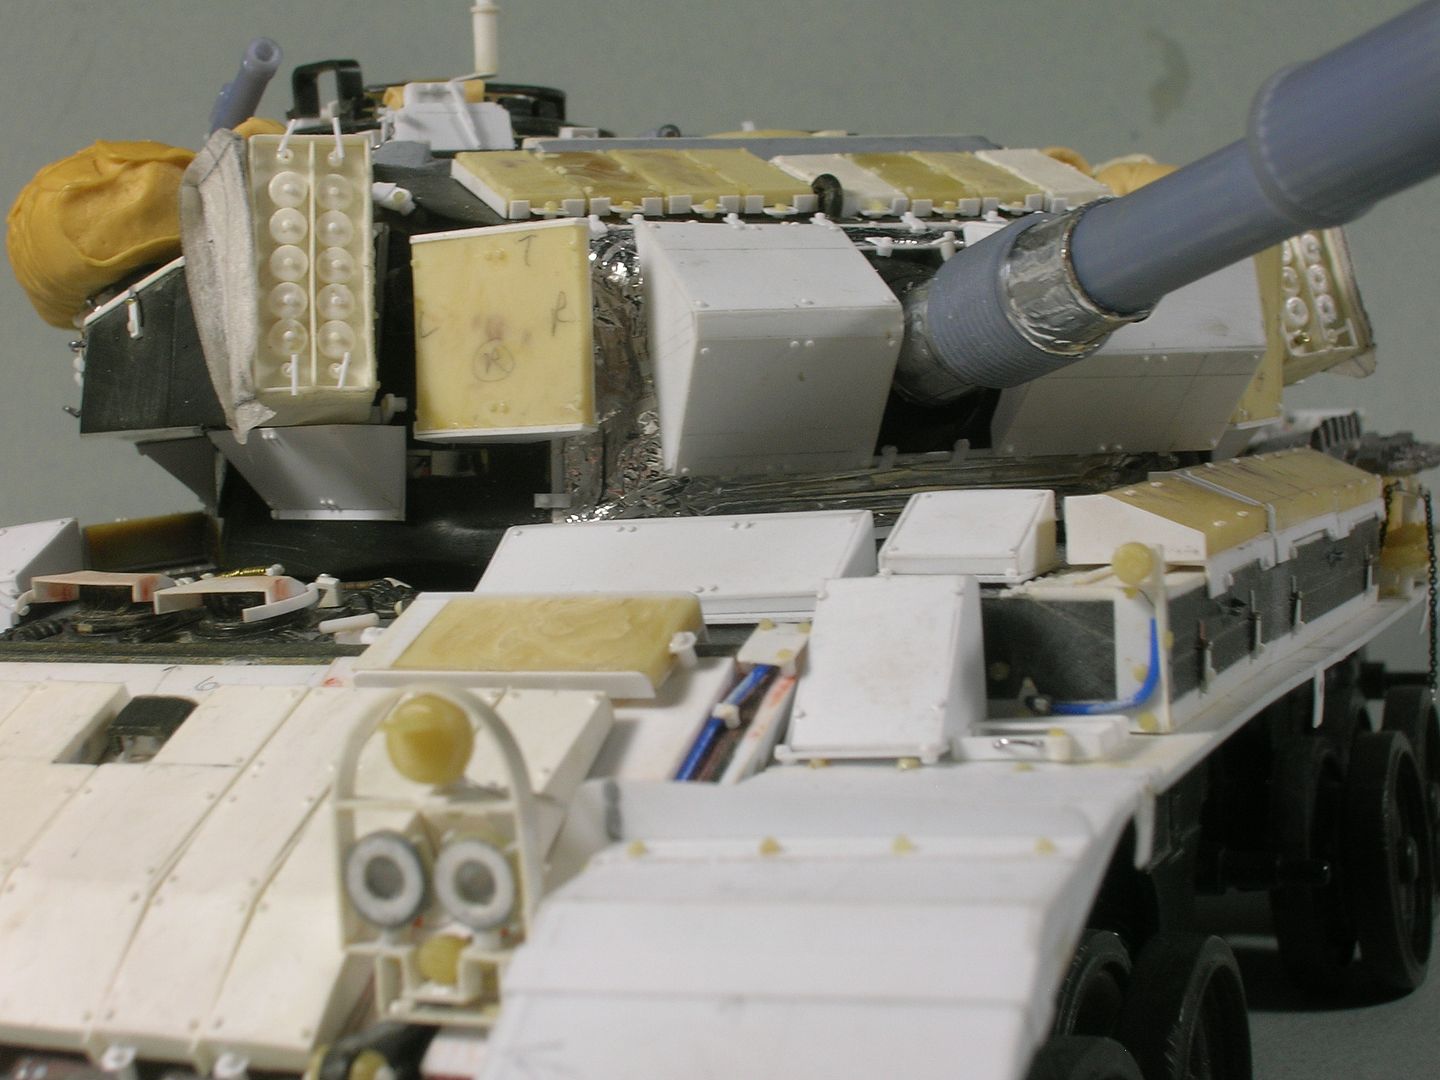
Smoke Discharger with Cover. Changed the Cover from textured ‘fabric’ tape, as seen here, to smooth blue painters tape. Right side Turret Cheek Blazer with notations.
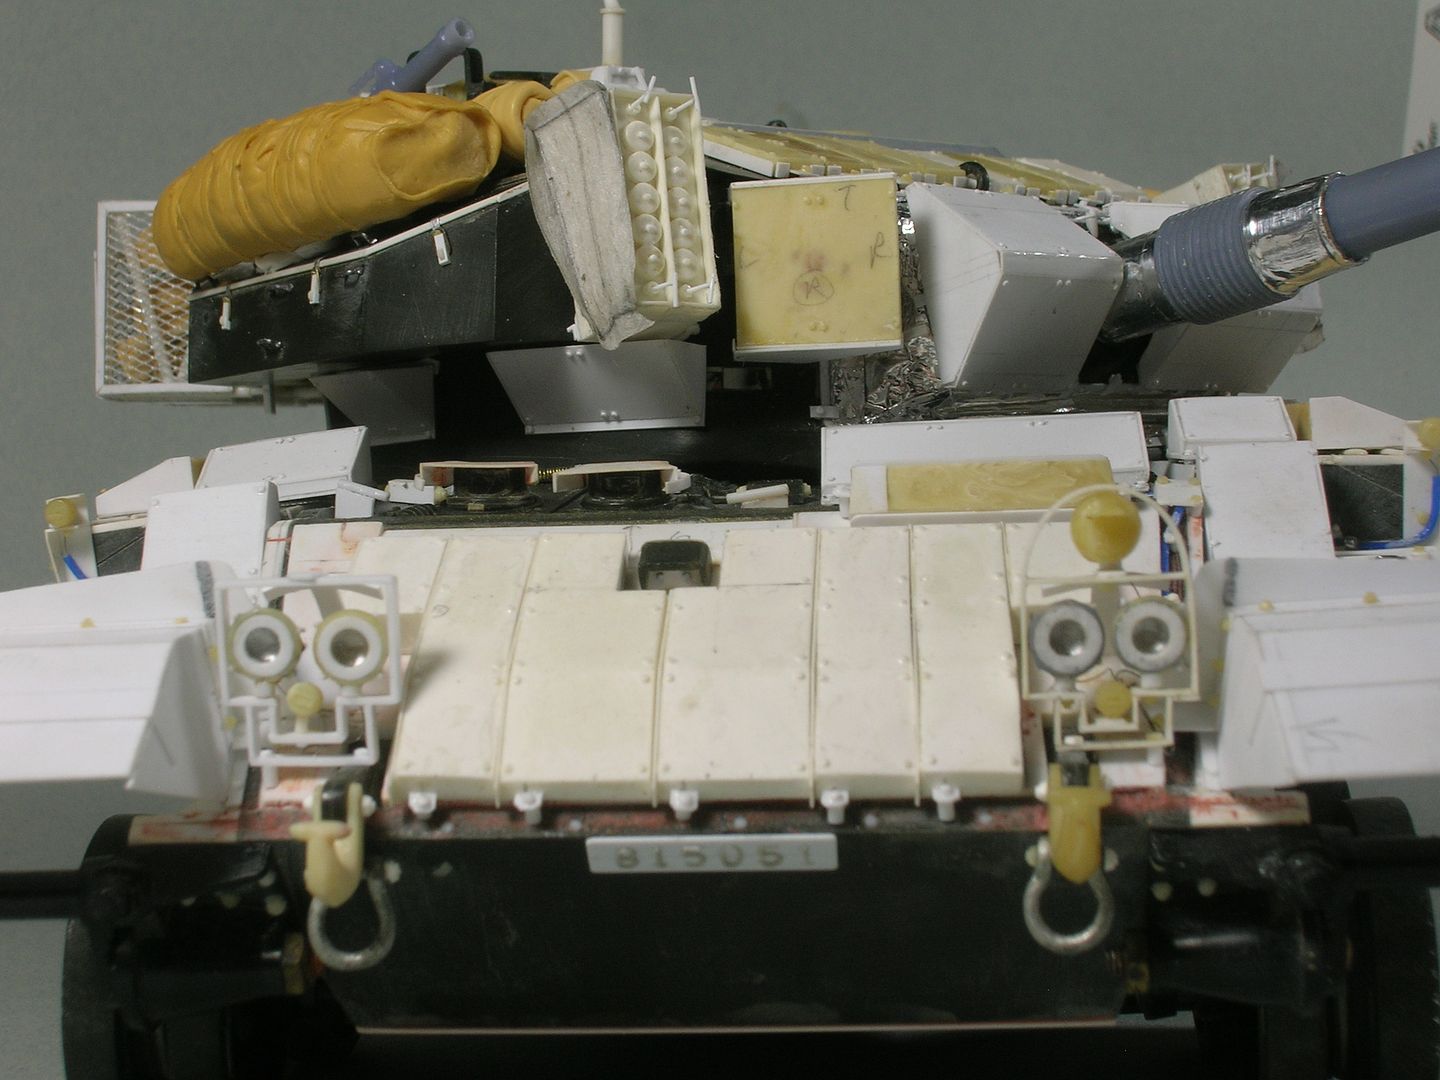
Vehicle Registration Numbers are individually applied. They are sanded down Part Number Identifiers found on sprues.
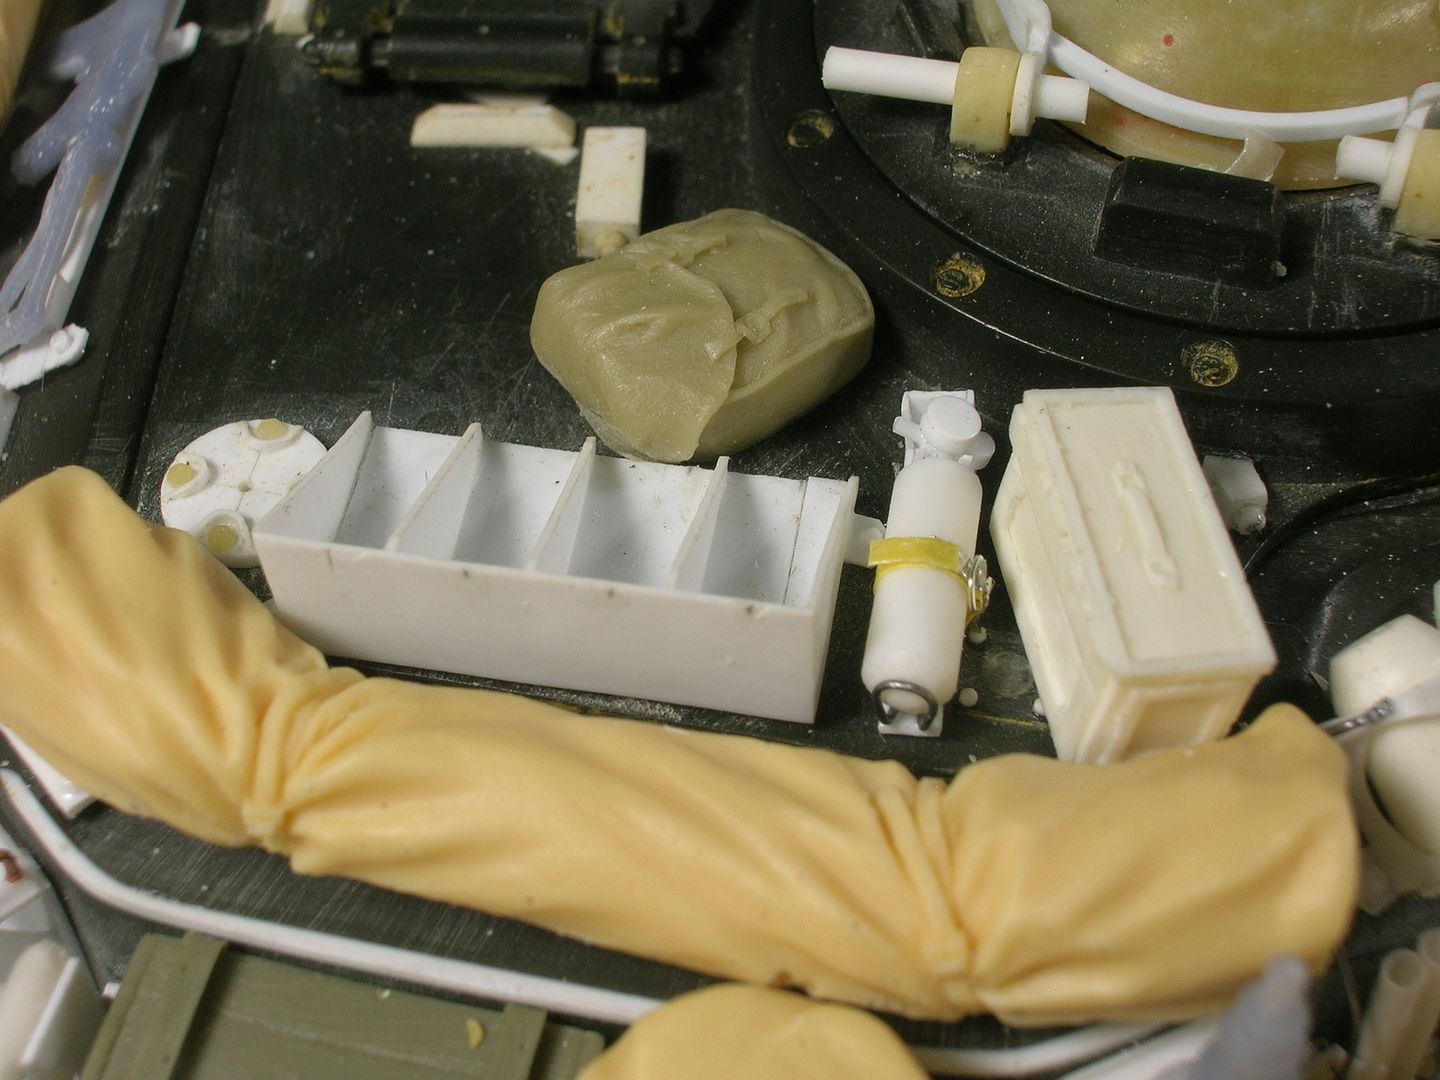
7.62mm Ammo Box Holder, Fire Extinguisher, and Antenna Base, which I ended up not using.
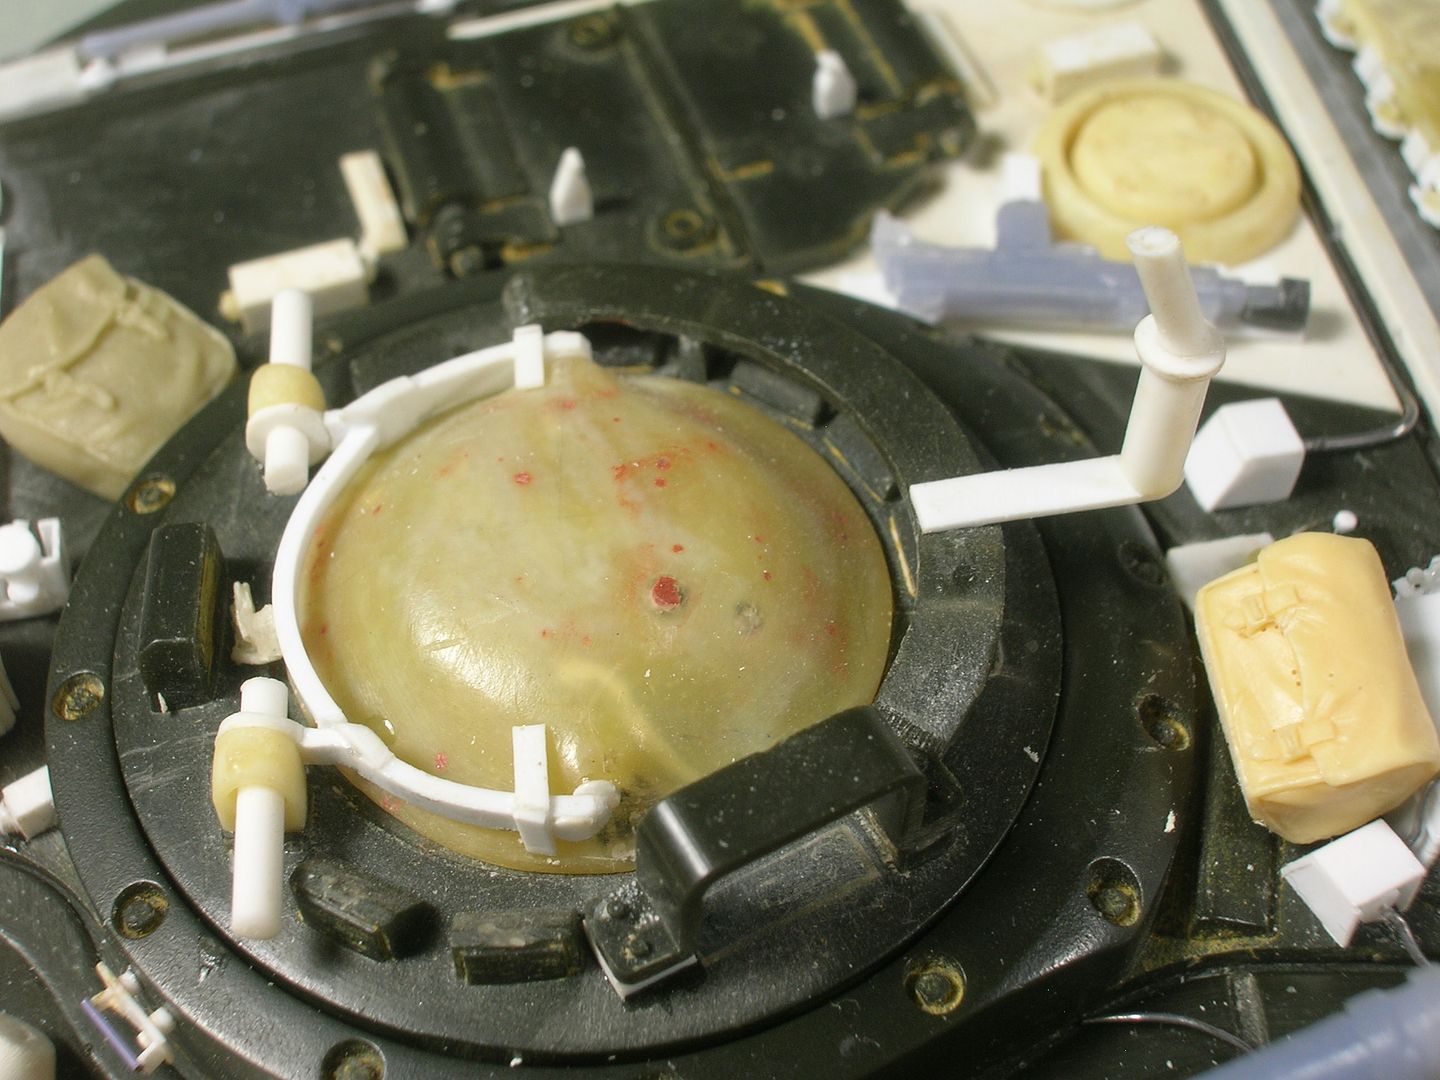
Commanders Cupola. Corner right is the Electrical Housing and cable for the left Smoke Discharger. Opposite side of the bagette is for the E.H. and cable for the left side Discharger.
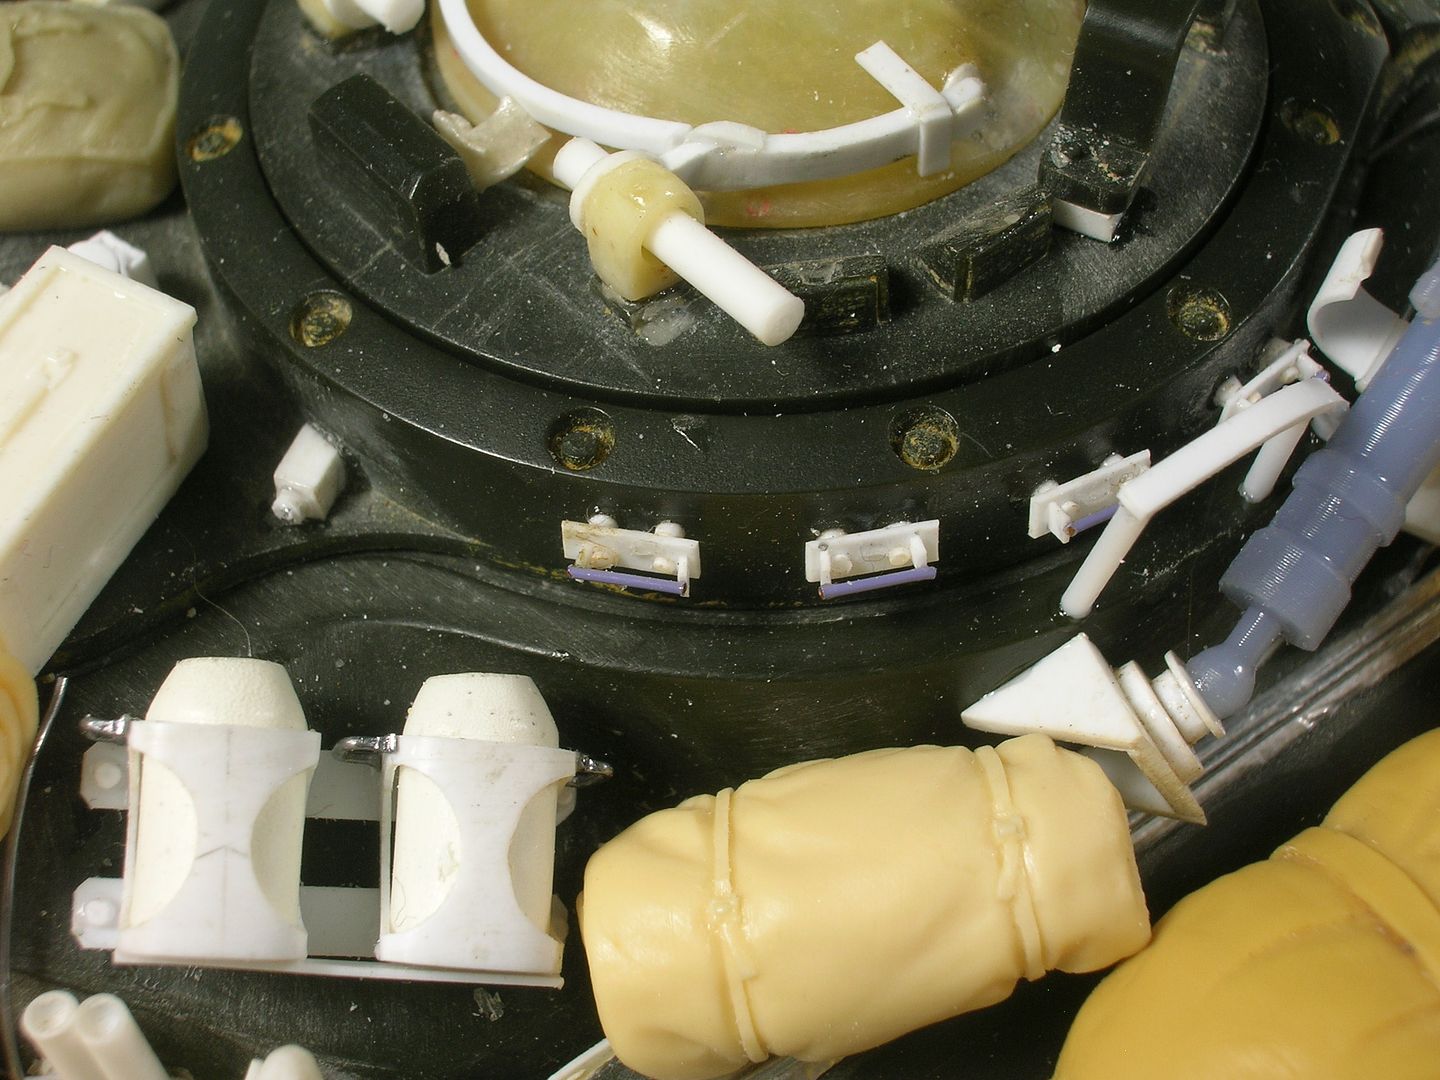
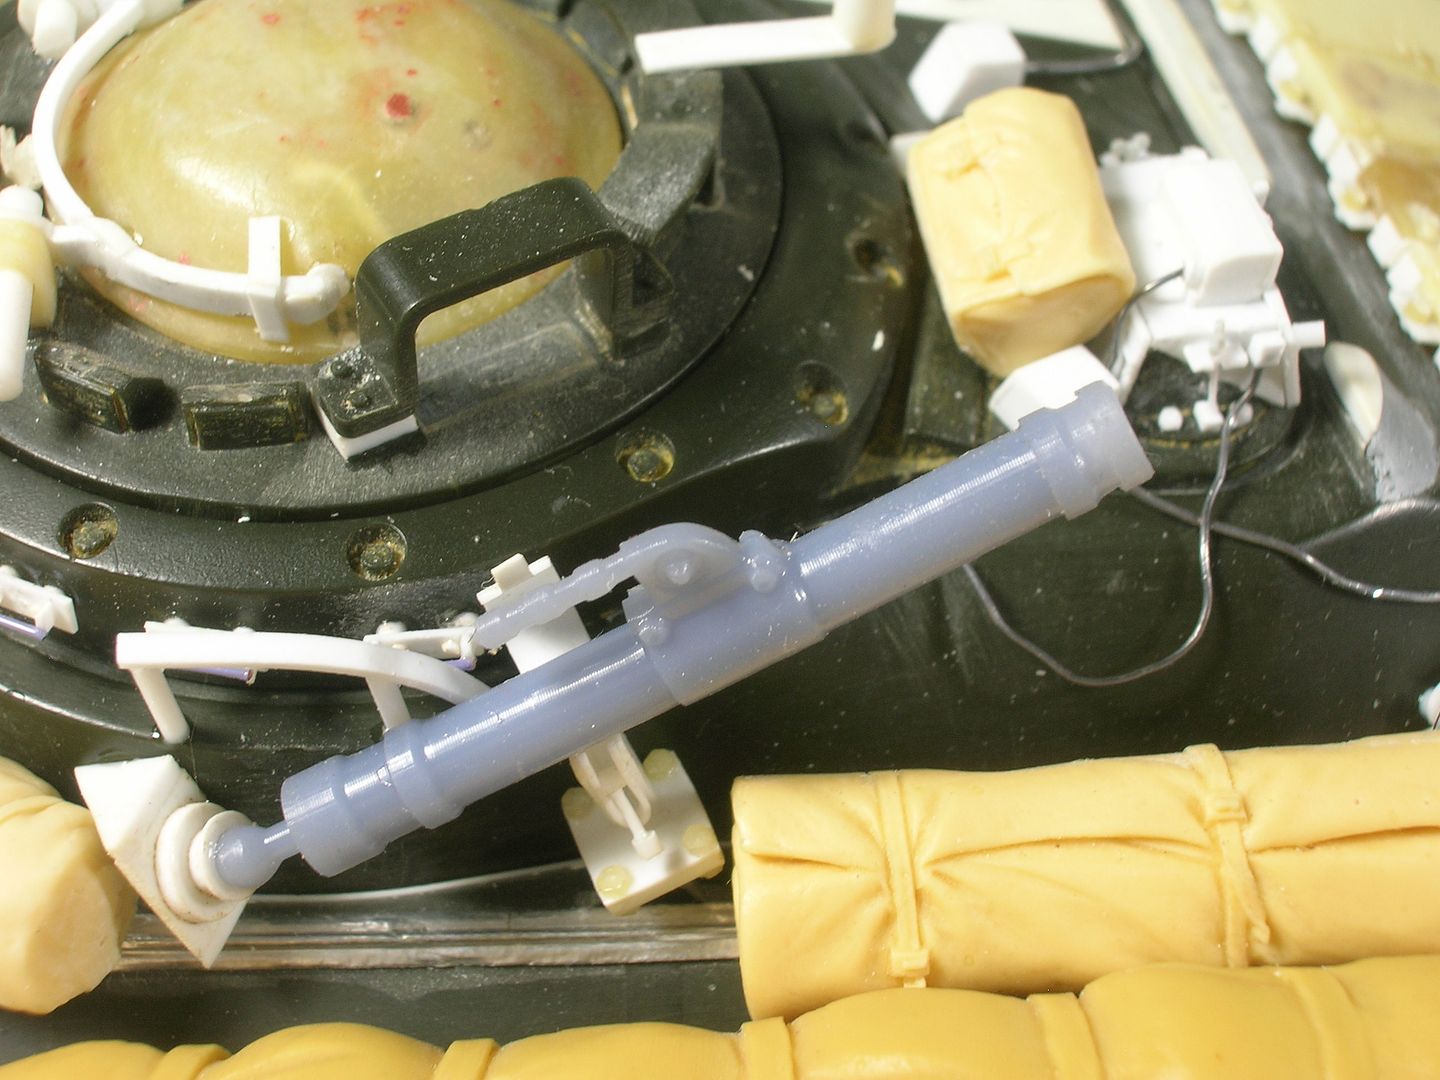
Smoke Signaling Grenade and Housing., above on Cupola Base is Electrical Housing for Bustle Antenna. Next with purple wire are 4 Unknown details, then Mortar Base and Mortar Guide. Grey is 3D drawn and printed Mortar.
Other Discharger with Left Side Turret Cheek Blazer with notations.
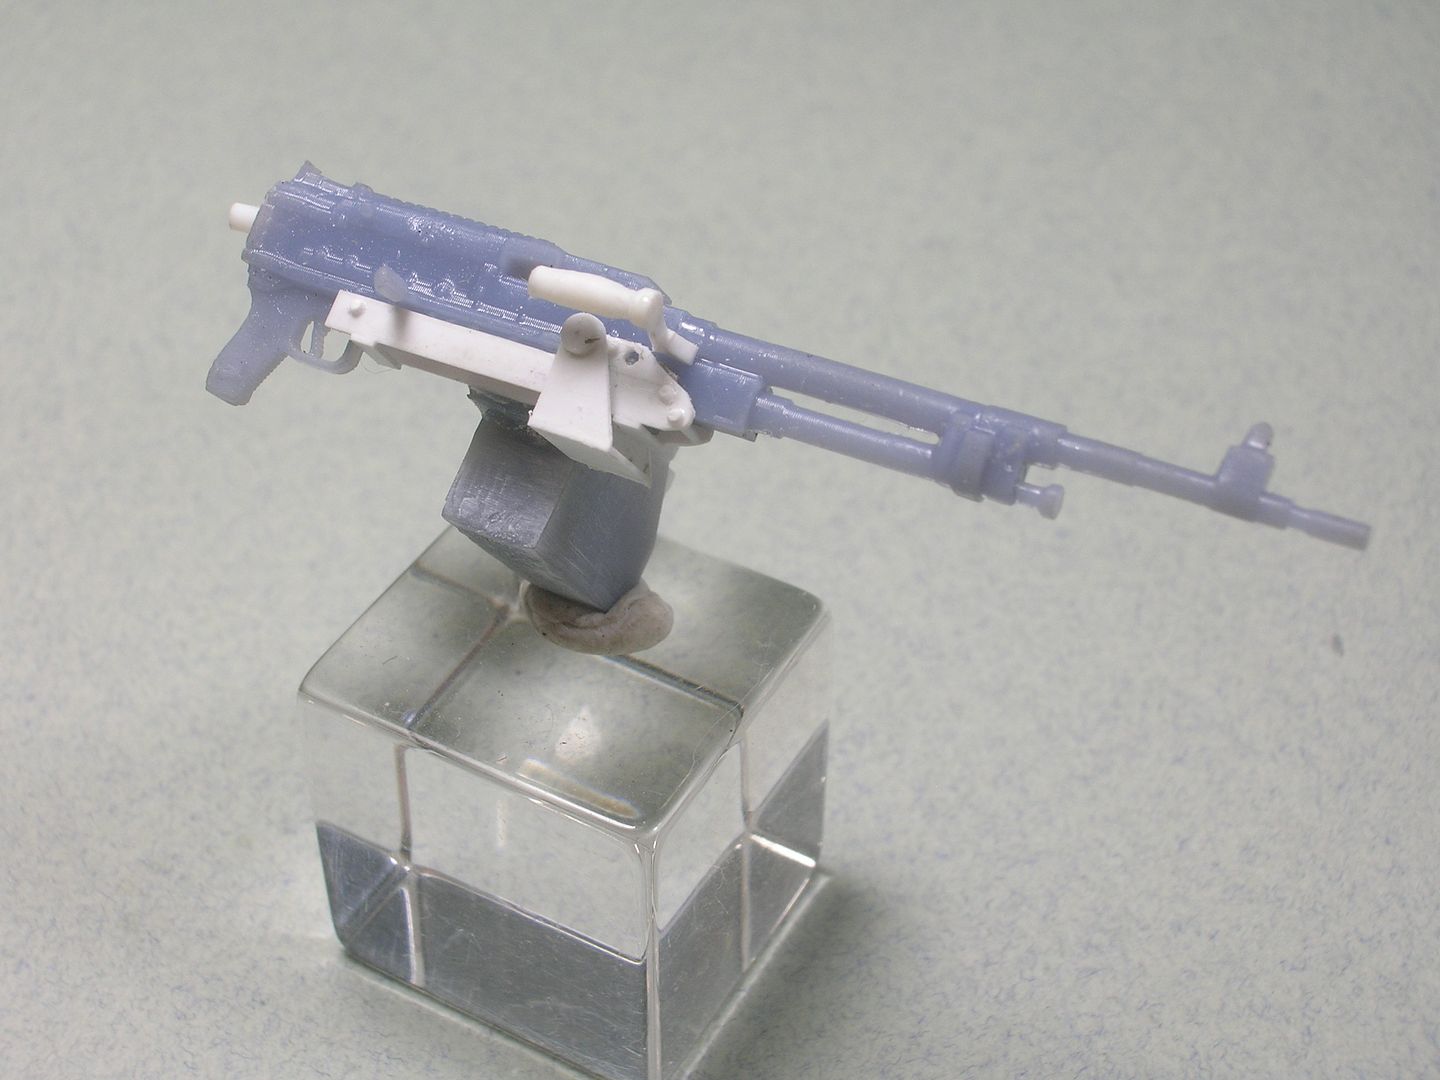
Mortar.
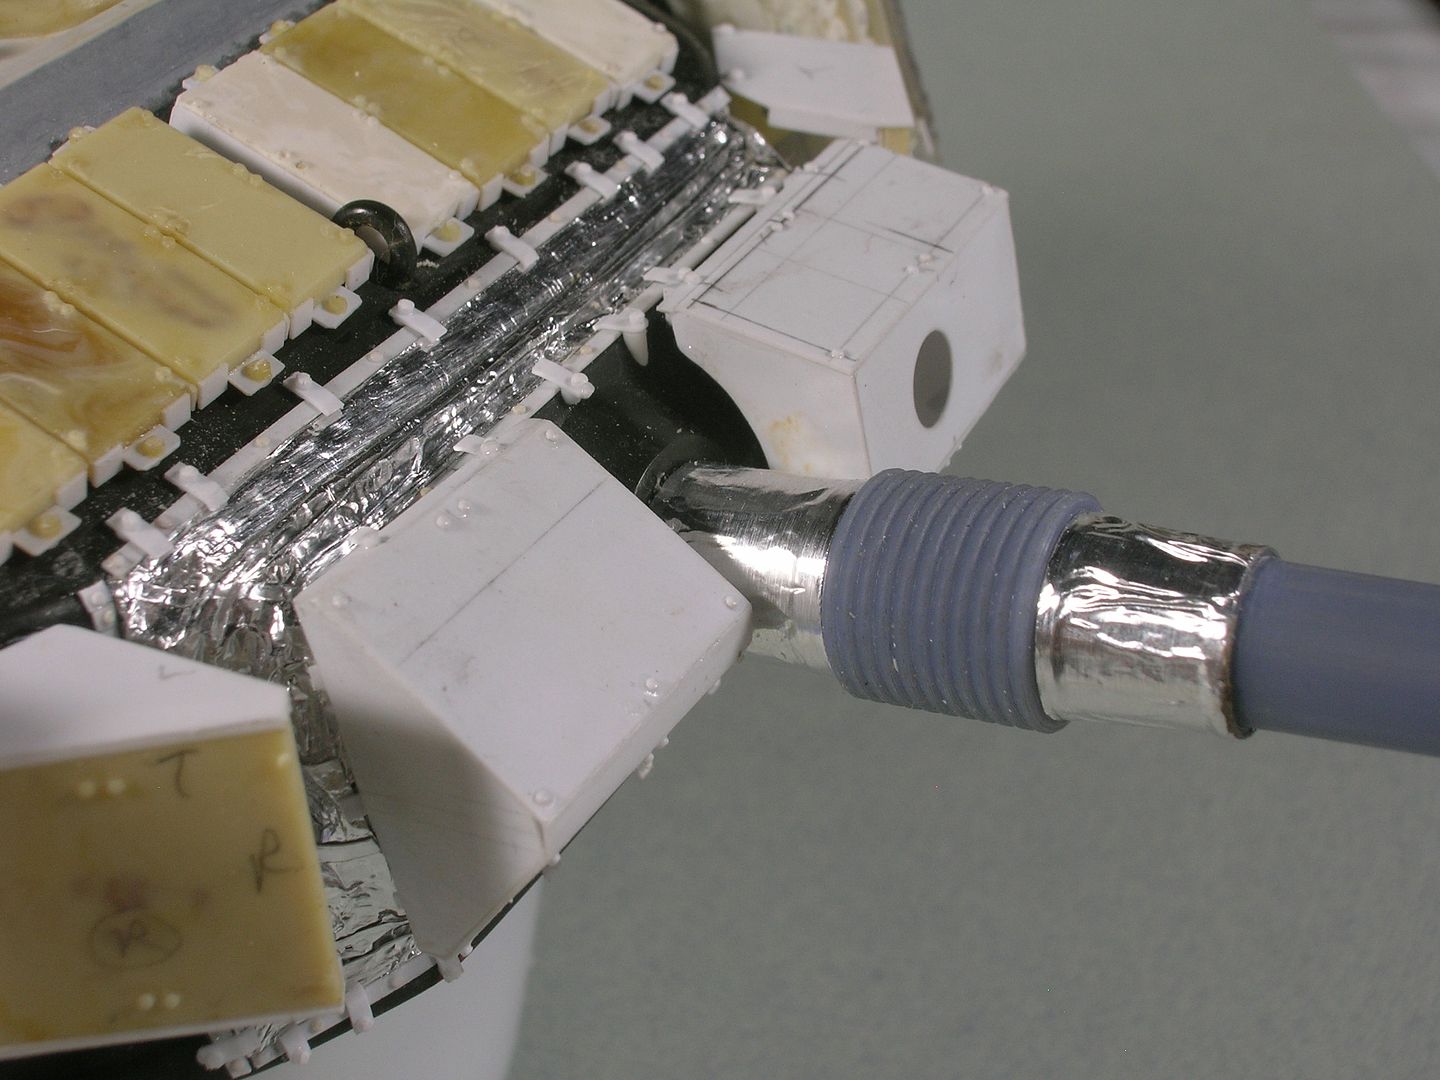
Mantlet Dust Cover Retaining Clips and Bar, aluminum foil Mantlet Dust Cover, Mantlet Blazer, 3D drawn and printed Main Gun. Above Mantlet is the forward Turret Blazer.

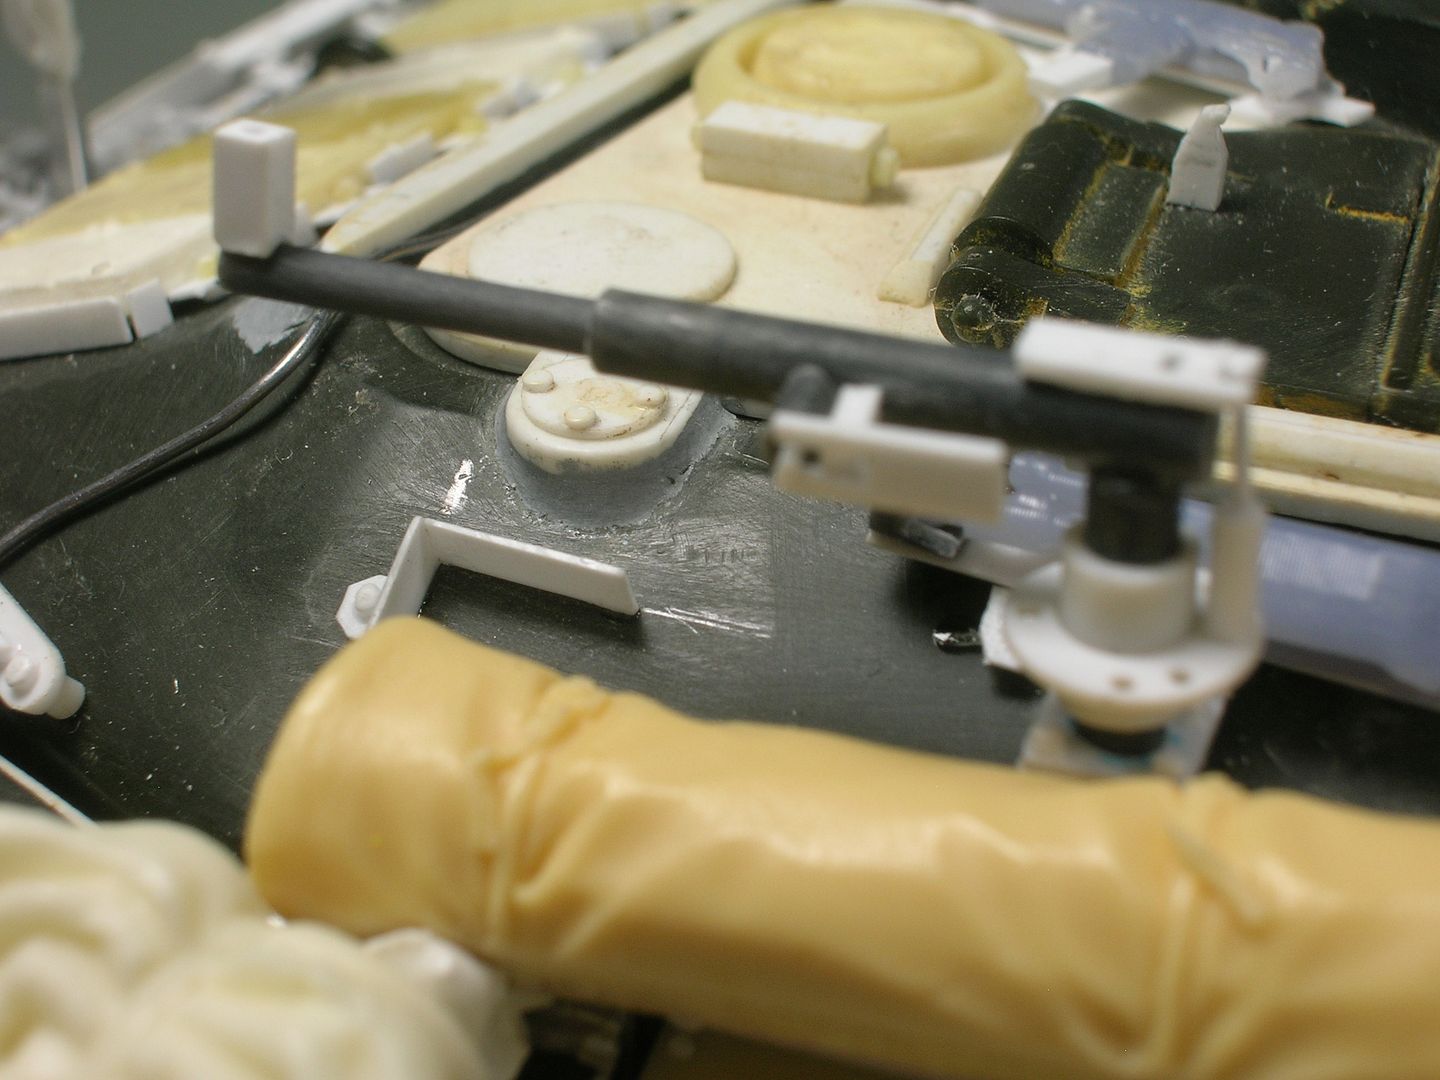
Galil is from an Internet file. Disc is patch for removed loaders periscope, Hatch Stand-Off details , Hatch Splash Guard, another Antenna Mount, Galil setting on Personal Weapon Base, below that, with the circle, is location for loader Swivel Mount.
Commanders Optics Housing with Window Wiper. Grey is Turret Slash Shield. Cabling goes to left Smoke Discharger.
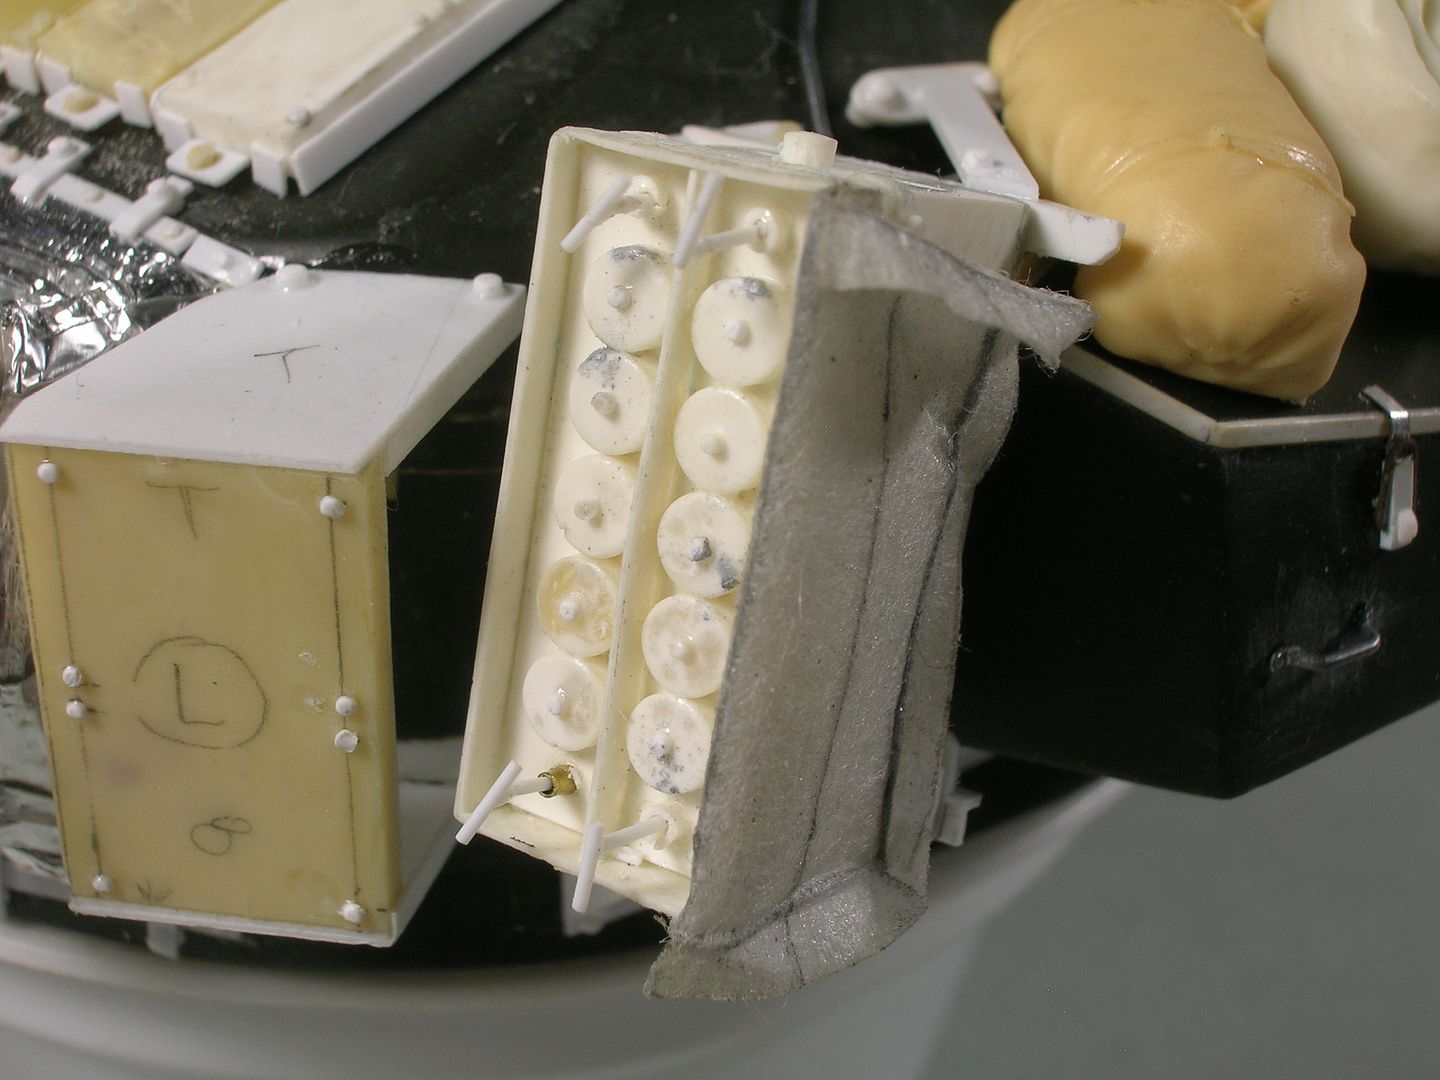
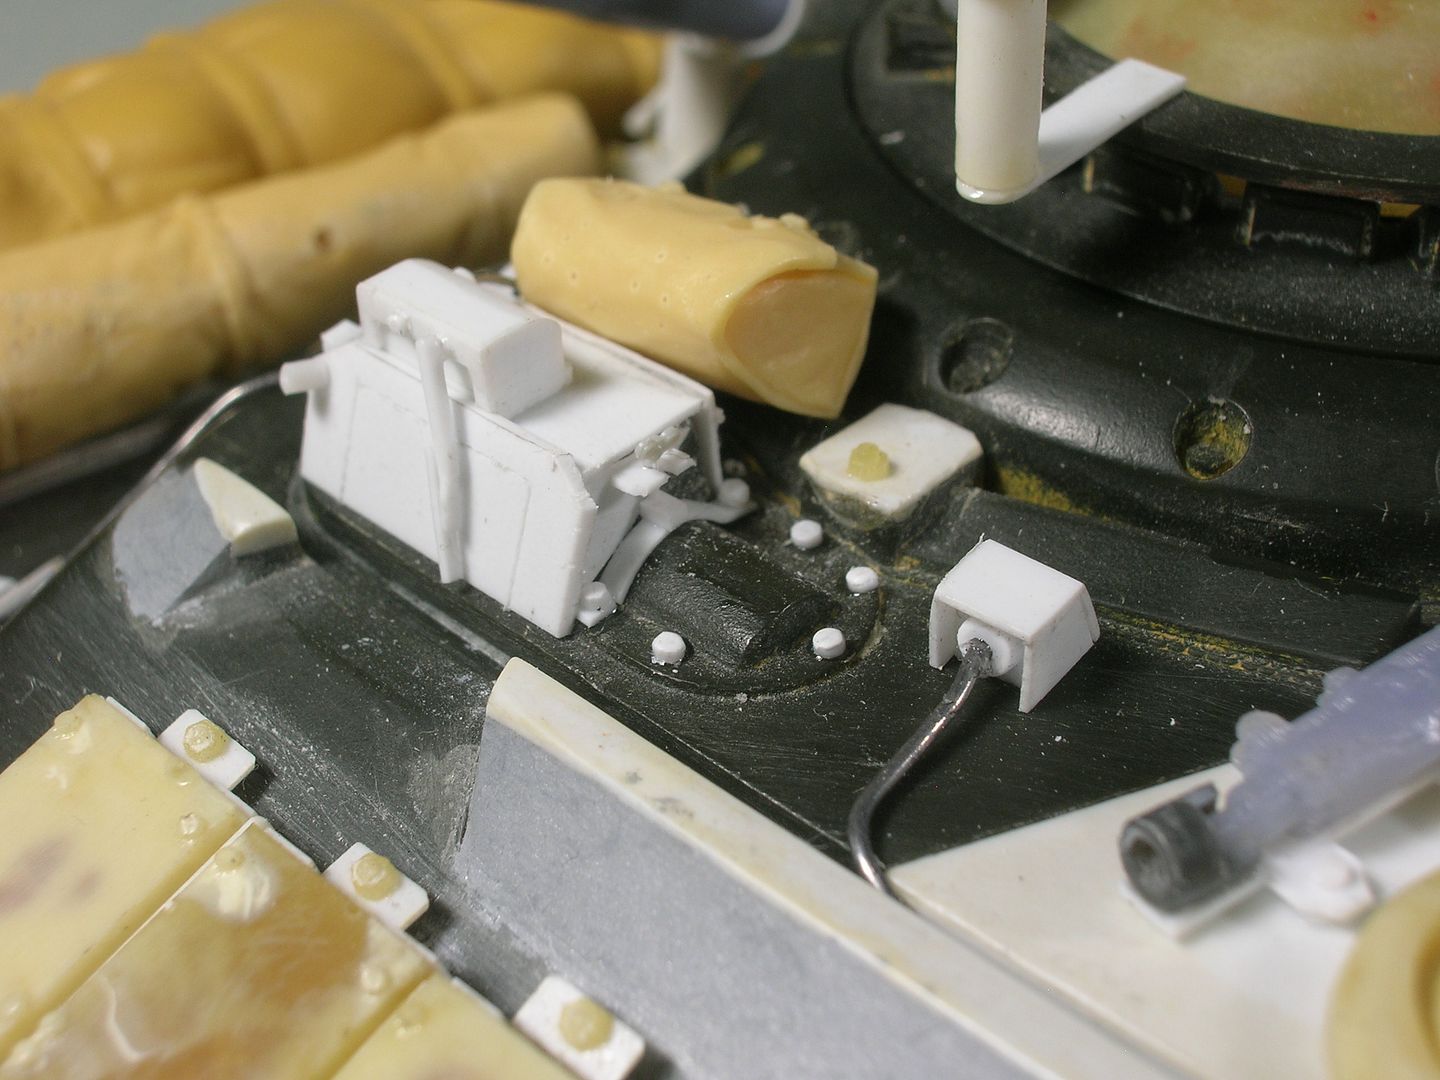
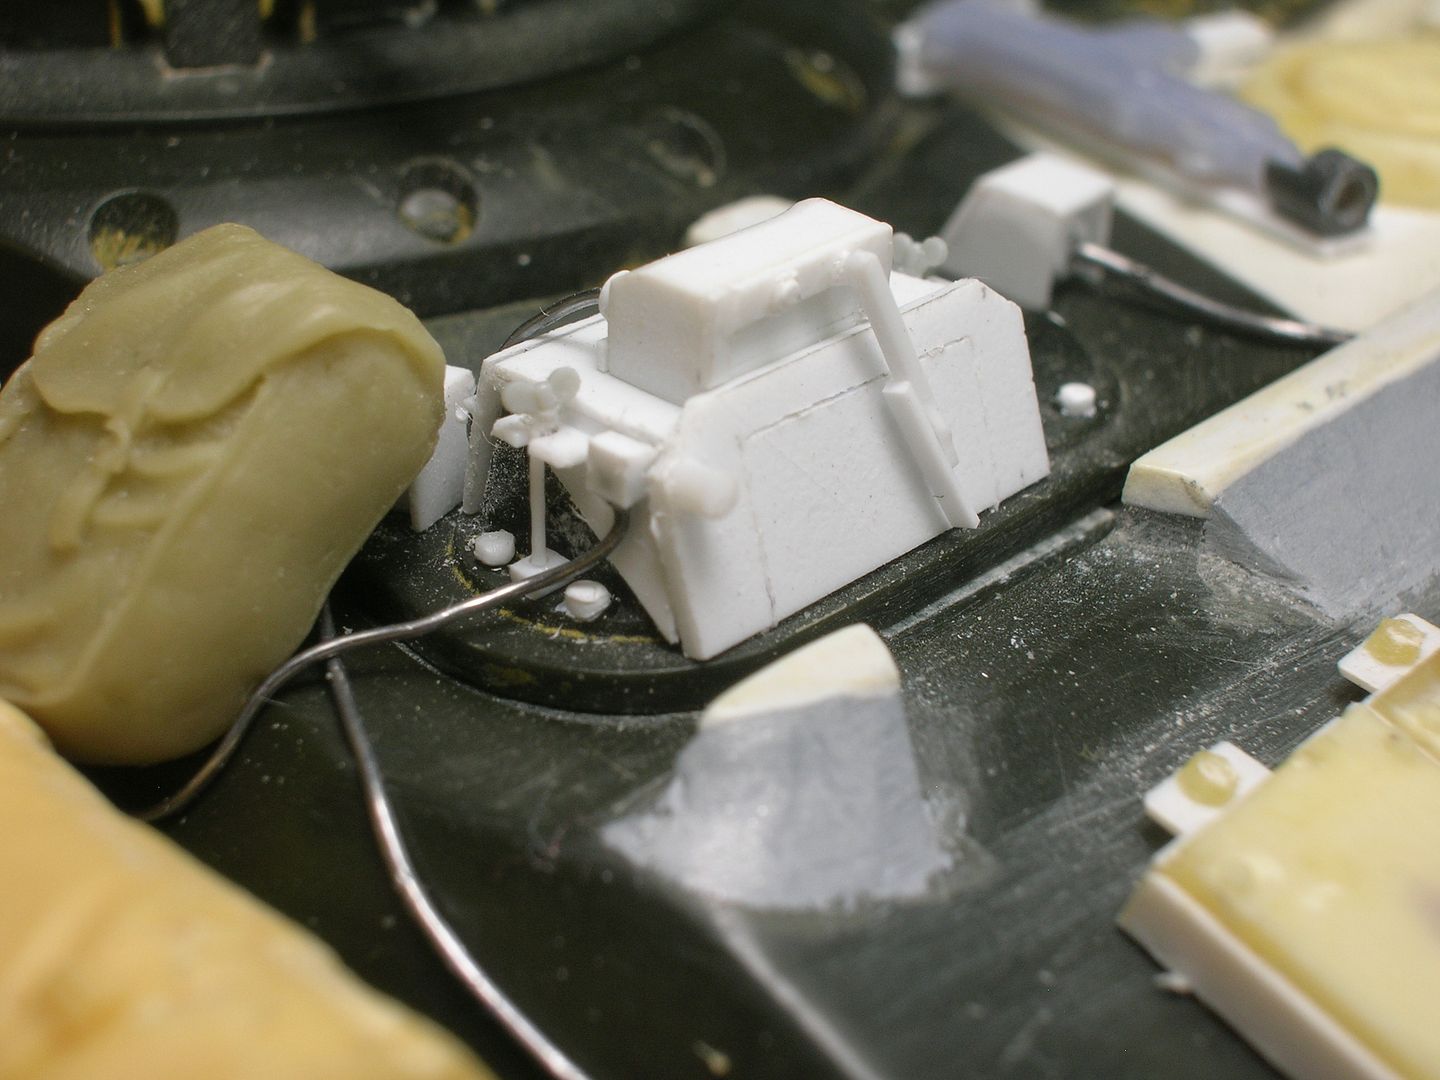
3D drawn and printer FN MAG and Ammo Box Holder with open Ammo Box inside. GasPatch Models 1/24 .30 Cal. Ammo, scratched Base.
Other side.

Backside of Commanders Optics Housing. Grandt Line Wingnuts.
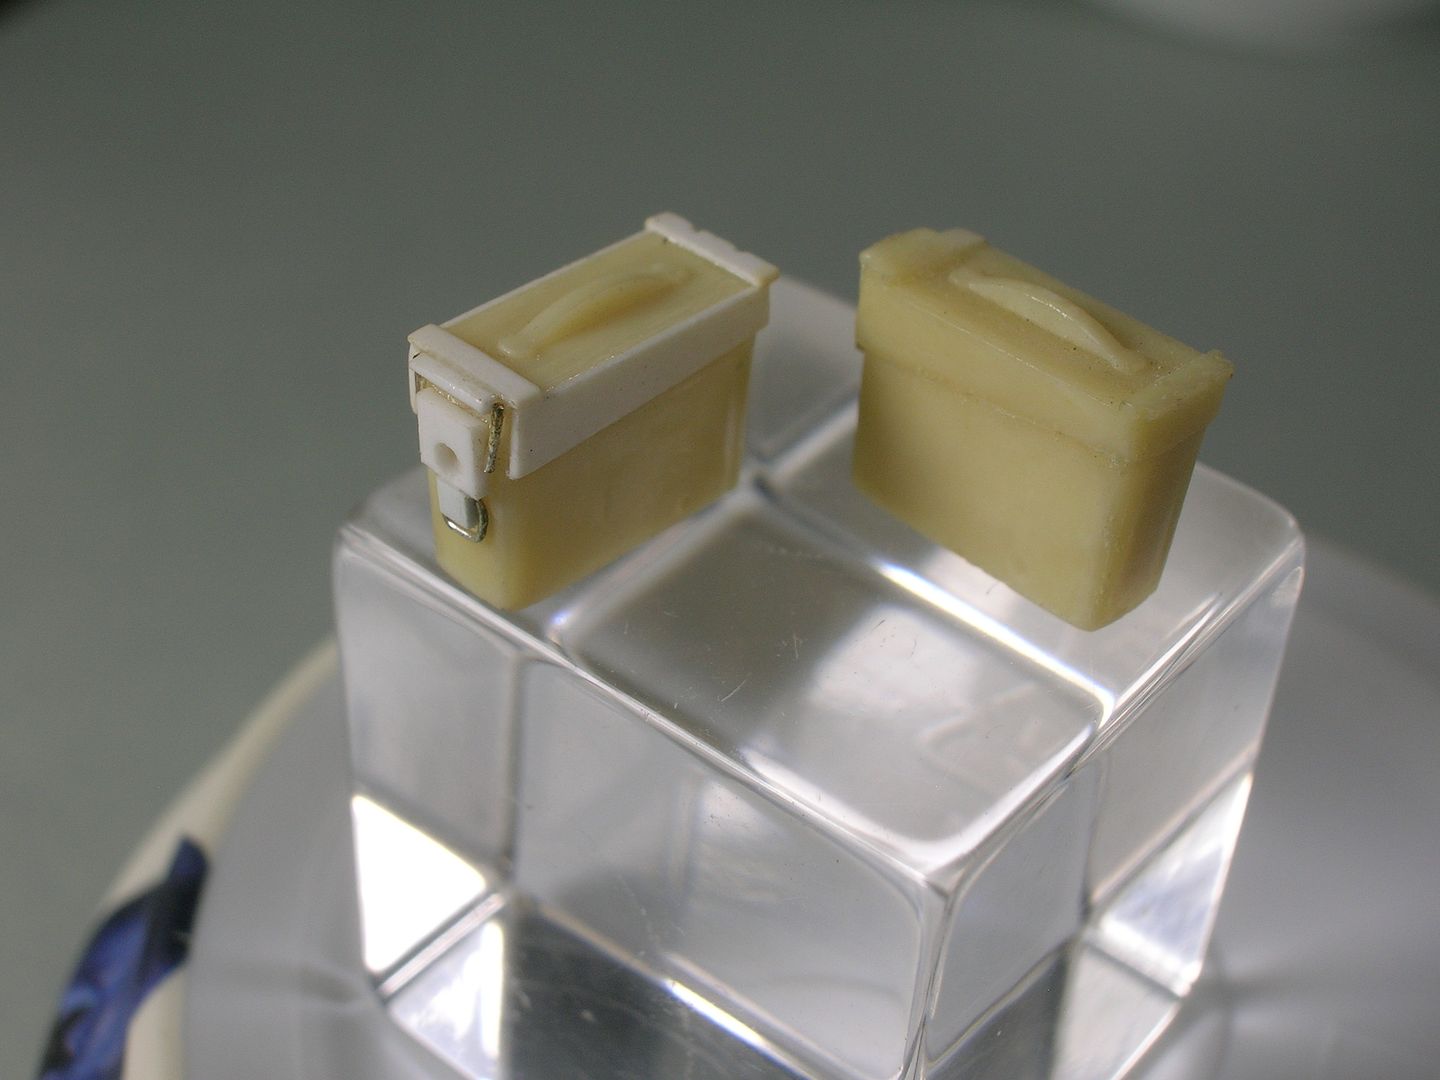
.50 Ammo Box detailed. Ended up not using these.
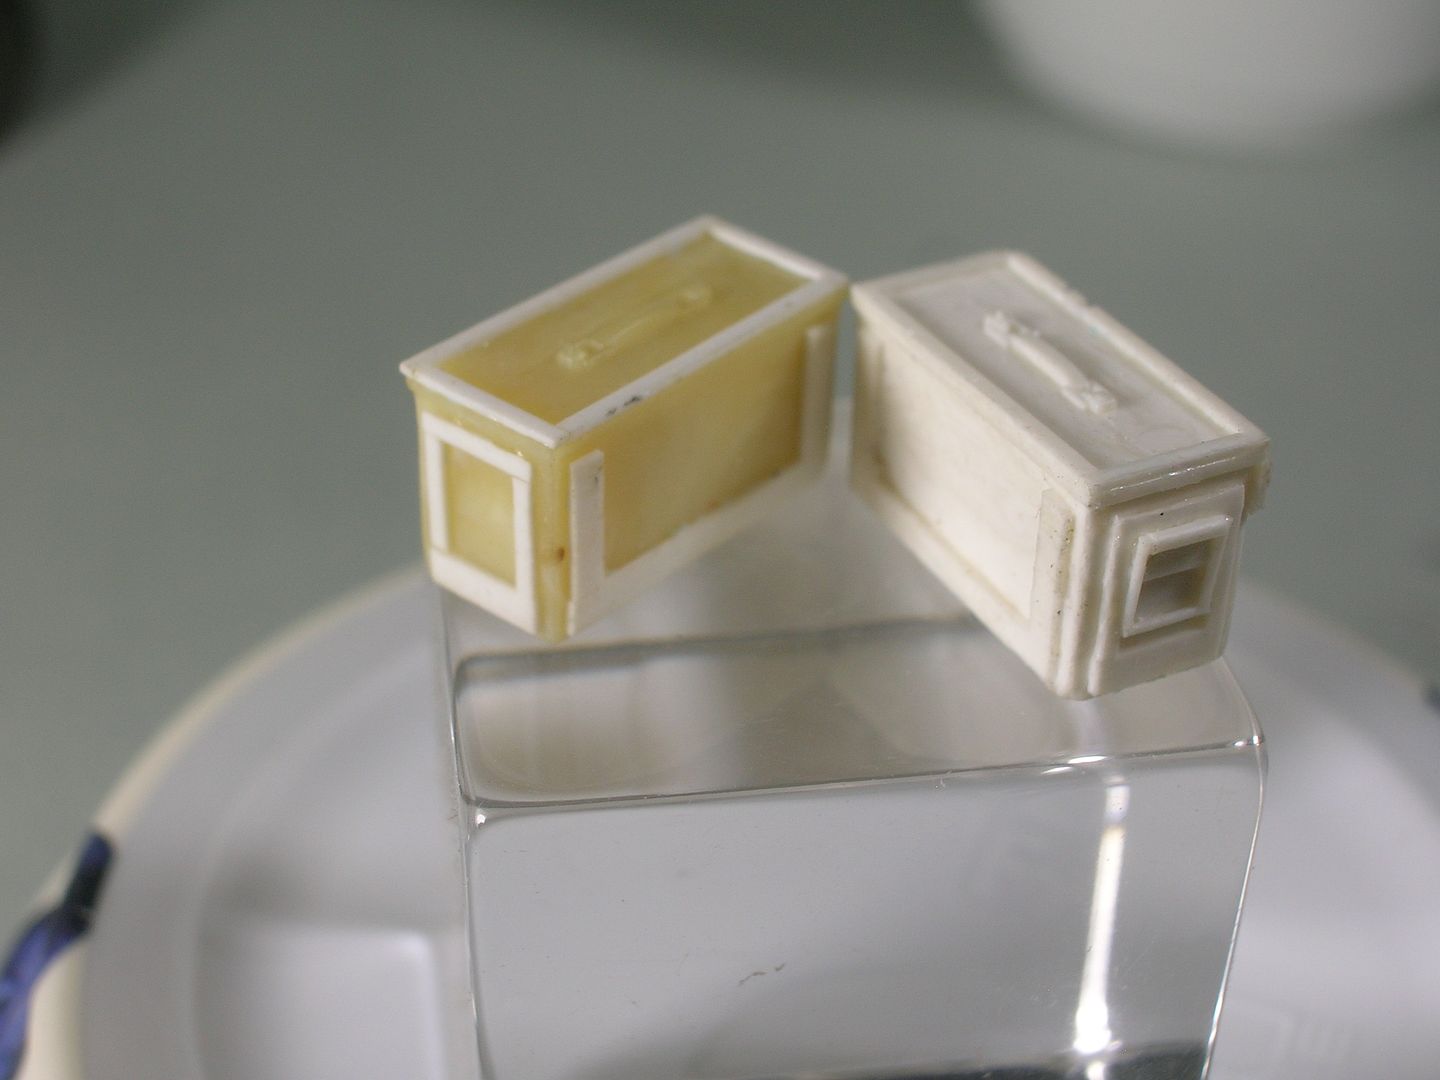
.30 Cal. Boxes. Used 4 of these.

Main Gun Dust Cover.

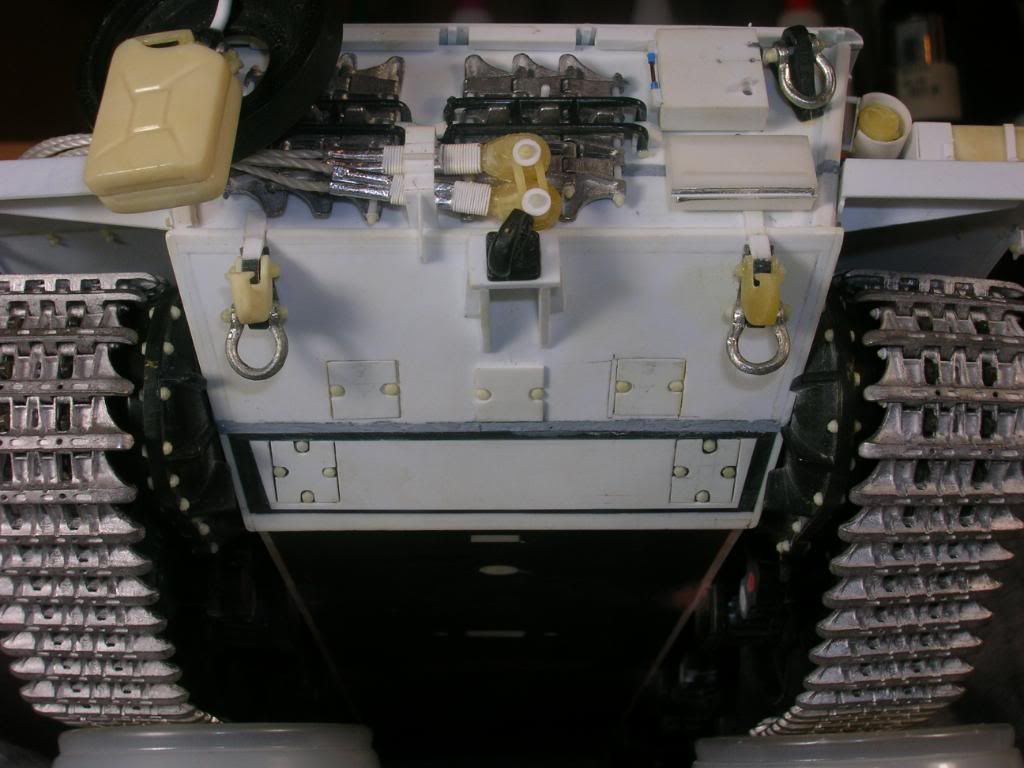
Right Rear Corner Detail. All Fuel Caps have Hebrew Letter ‘Dalet’ on them. Handle locks down the Exhaust Grill.

Mantlet Mounted Search Light Storage Mounting Bracket, Fire Extinguisher, Part of Bustle. Missing copper handle was noticed too. It’s since been applied.
Been there, done that.
Loader’s Swivel Mount.
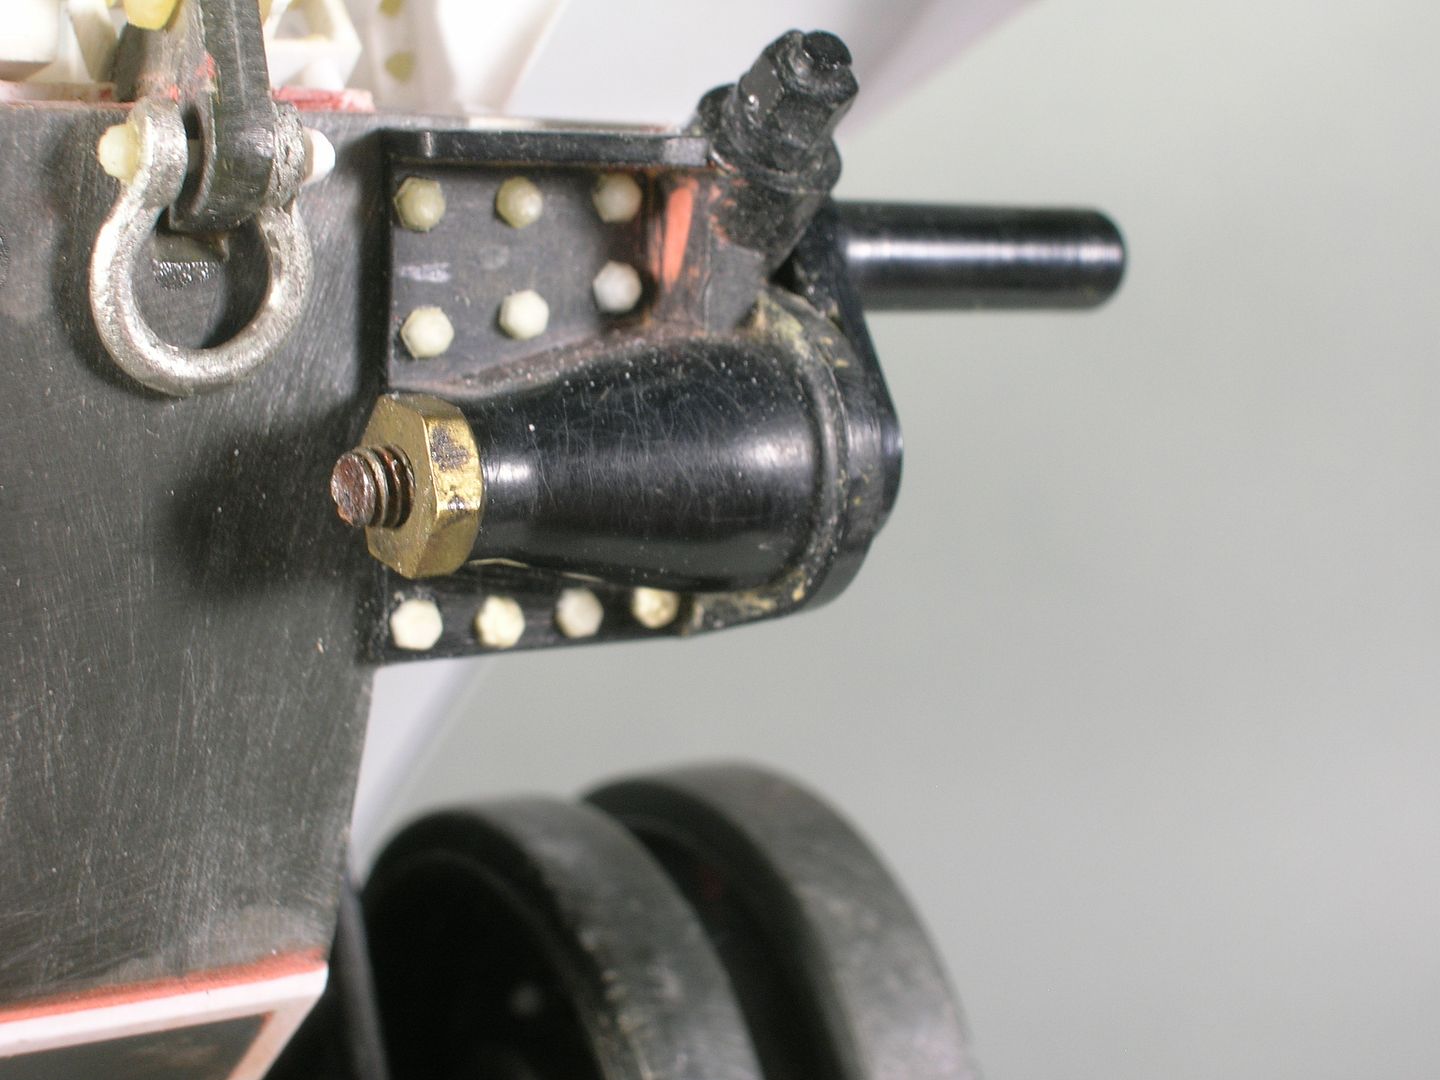
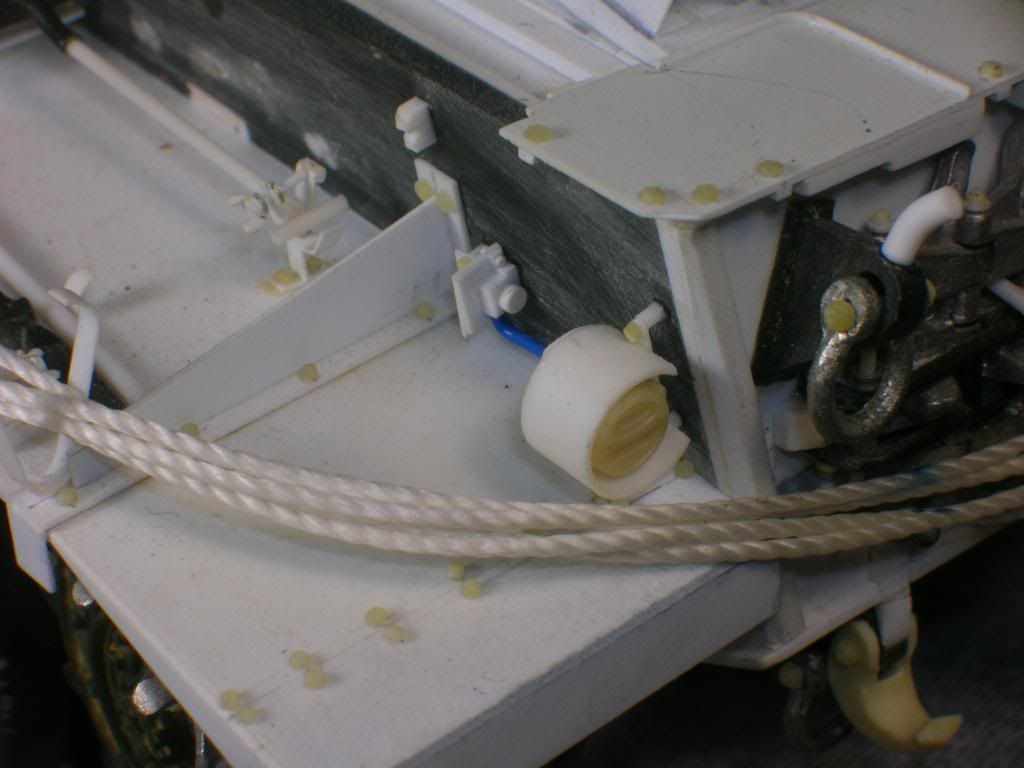
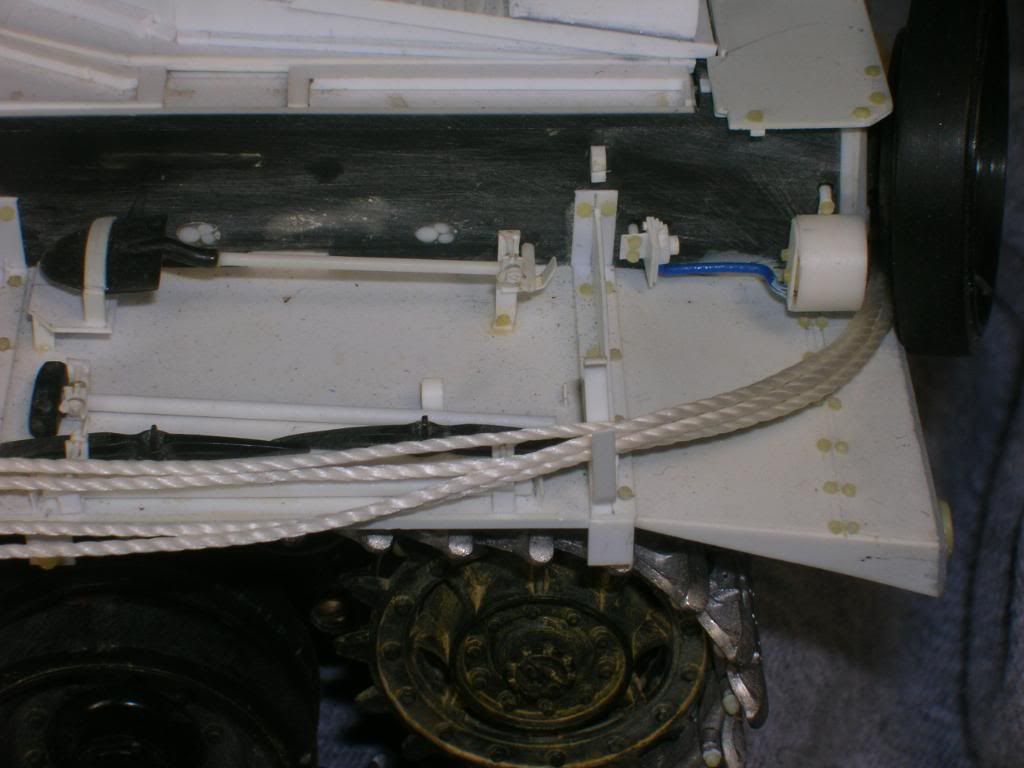
Idler Wheel Adjusting Bolt Fasteners.
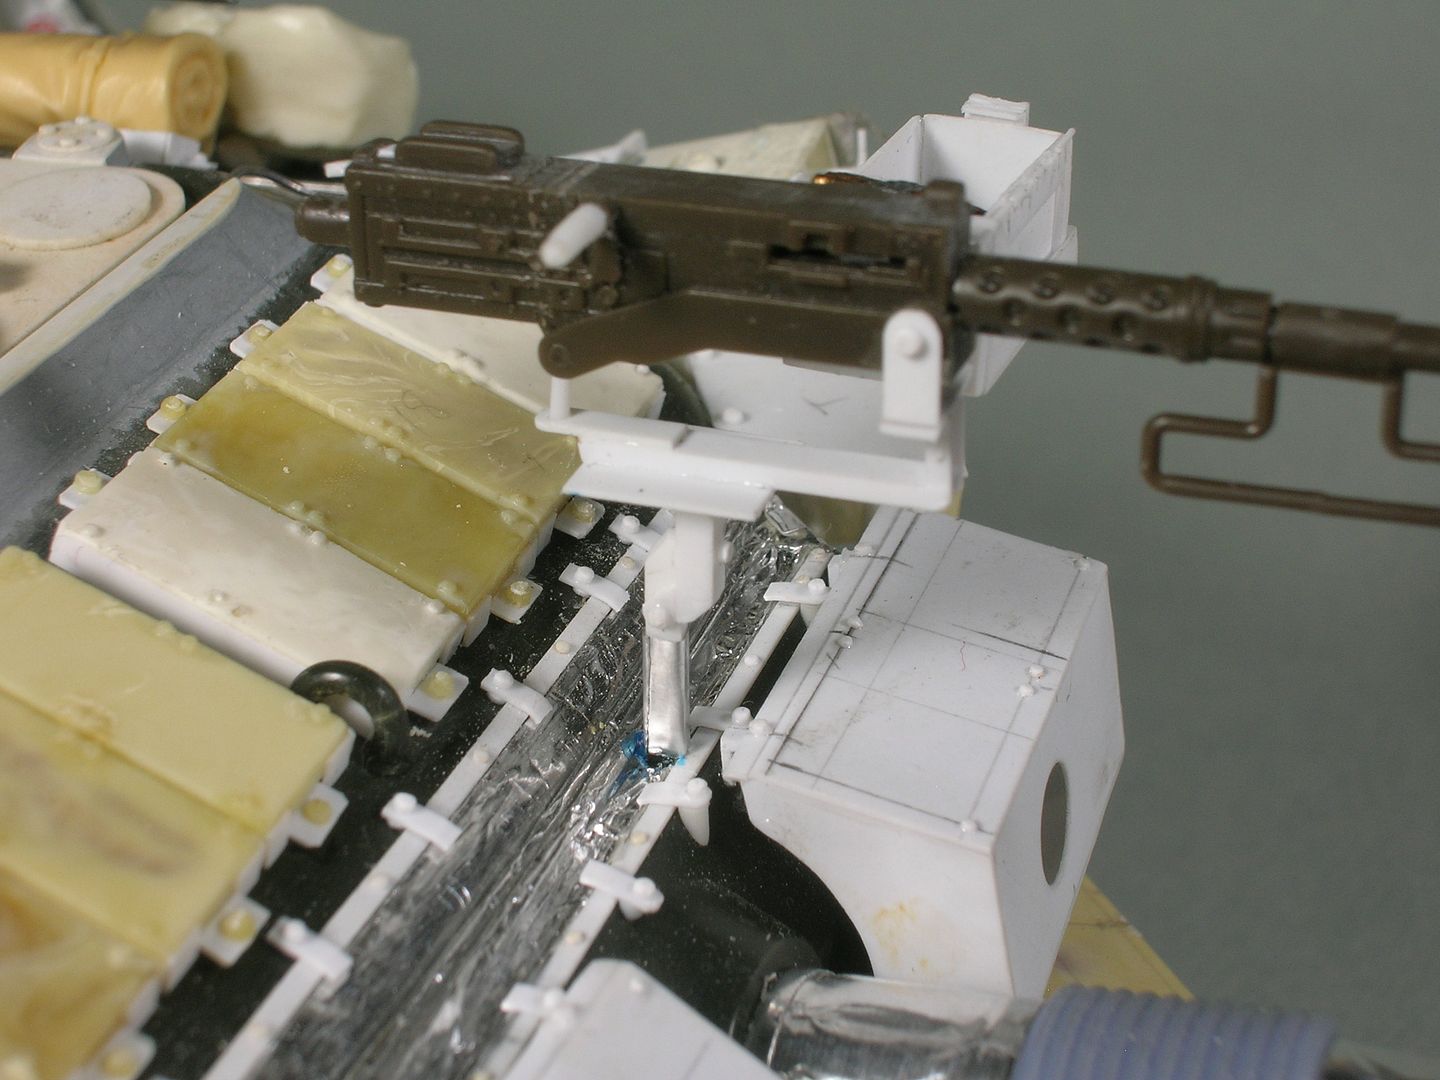
Hasegawa 1/24 Jeep .50 Cal. Gun, scratched Base and .50 Ammo Holder and Ammo Box.
That’s all. As if it weren’t enough. Thanks for looking.
Sincerely,
Mark
I have a question regarding the ERA tile setup on the front of the turret and the periscope in front of the loader’s hatch. Why did you choose the specific setup you installed?
That’s a beauty, congratulations on finishing it after all these years !
Mark, Truely Outstanding Work!
Thank you for sharing the unpainted pictures
They made my morning, seeing the exquisite crafting that went into building the model
A+++
Superb work Mark. Mind - blowing detailing. I look forward to seeing this in person at AMPS.
Thank you, everyone.
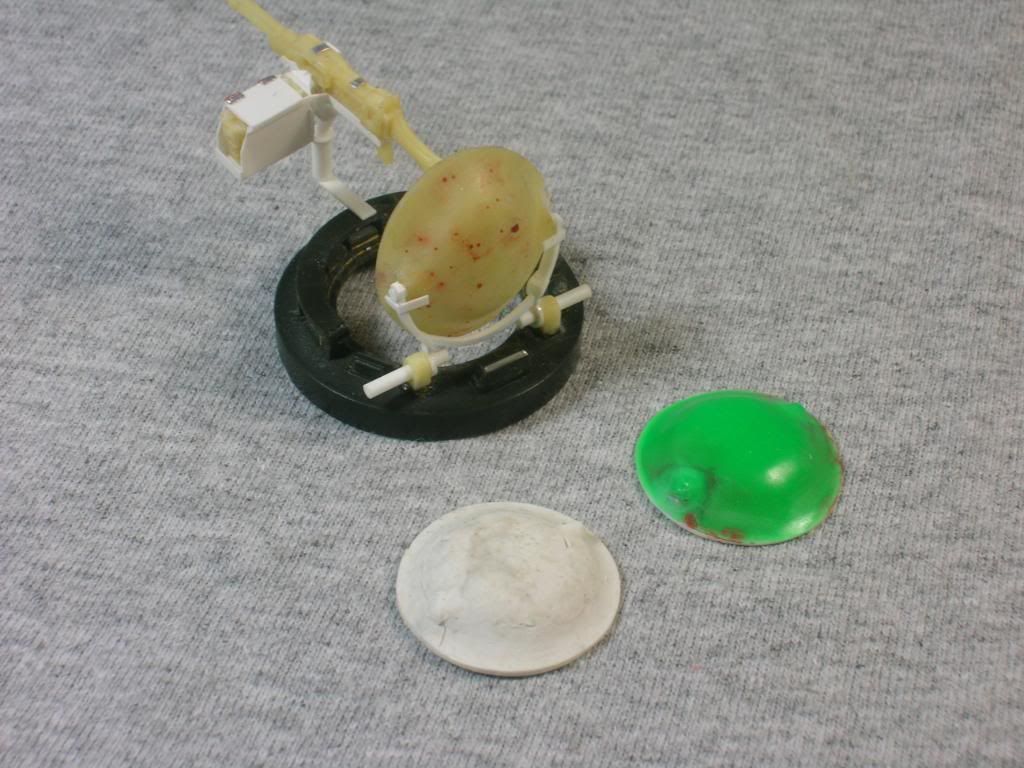
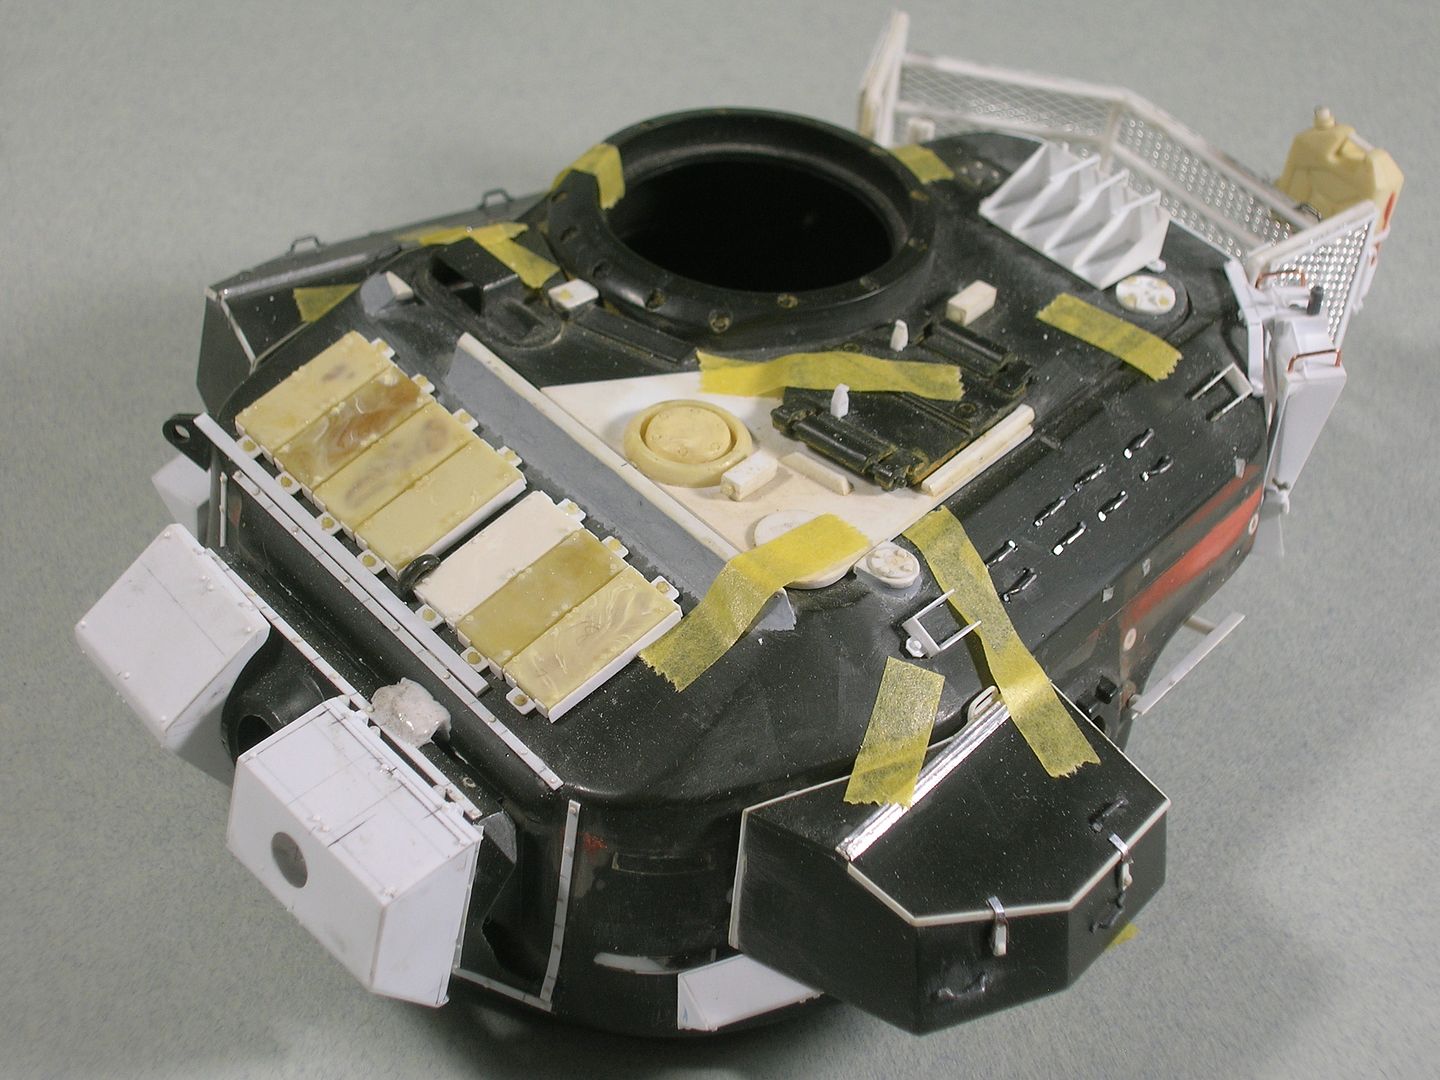
GT, Initially I was going to put the loaders periscope on the slope. You can see in earlier photos above I marked off the periscope location with a cut out oval in blue tape. This required me to block off the periscope location that came with the kit, thus the round disc.
I ended up not building the slope mounted periscope and guard shield because photos I shot at Latrun (Israeli Armor Museum) supported this configuration.
Sincerely,
Mark
Ah, ok. I have been trying to figure out which tank had which periscope and I hoped you had more info. Thanks. ![]()