This build maybe old to some, new to others, I was looking for feedback, not to stroke my ego, but real assessment(s), from fellow builders.
I know i have posted pictures before, if that is a NO NO, sorry
I am also now trying to figure out a spot for my new panzergrenadier/Jager

7 Likes
Hi Whitney, I think your Pz III L is an incredible accomplishment ![]() . Major respect to taking on such a formidable task and completing it to a very high standard.
. Major respect to taking on such a formidable task and completing it to a very high standard.
I do have a couple of questions.
No criticism is intended or implied, I’m just unfamiliar with seeing that style of turret skirt in my various Pz III references. Is there a reference picture for that style of skirt that can be provided? Specifically the notch.
Markings? The absence of insignia is puzzling. Your thoughts would be appreciated.
No insult taken. I always appreciate constructive criticism.
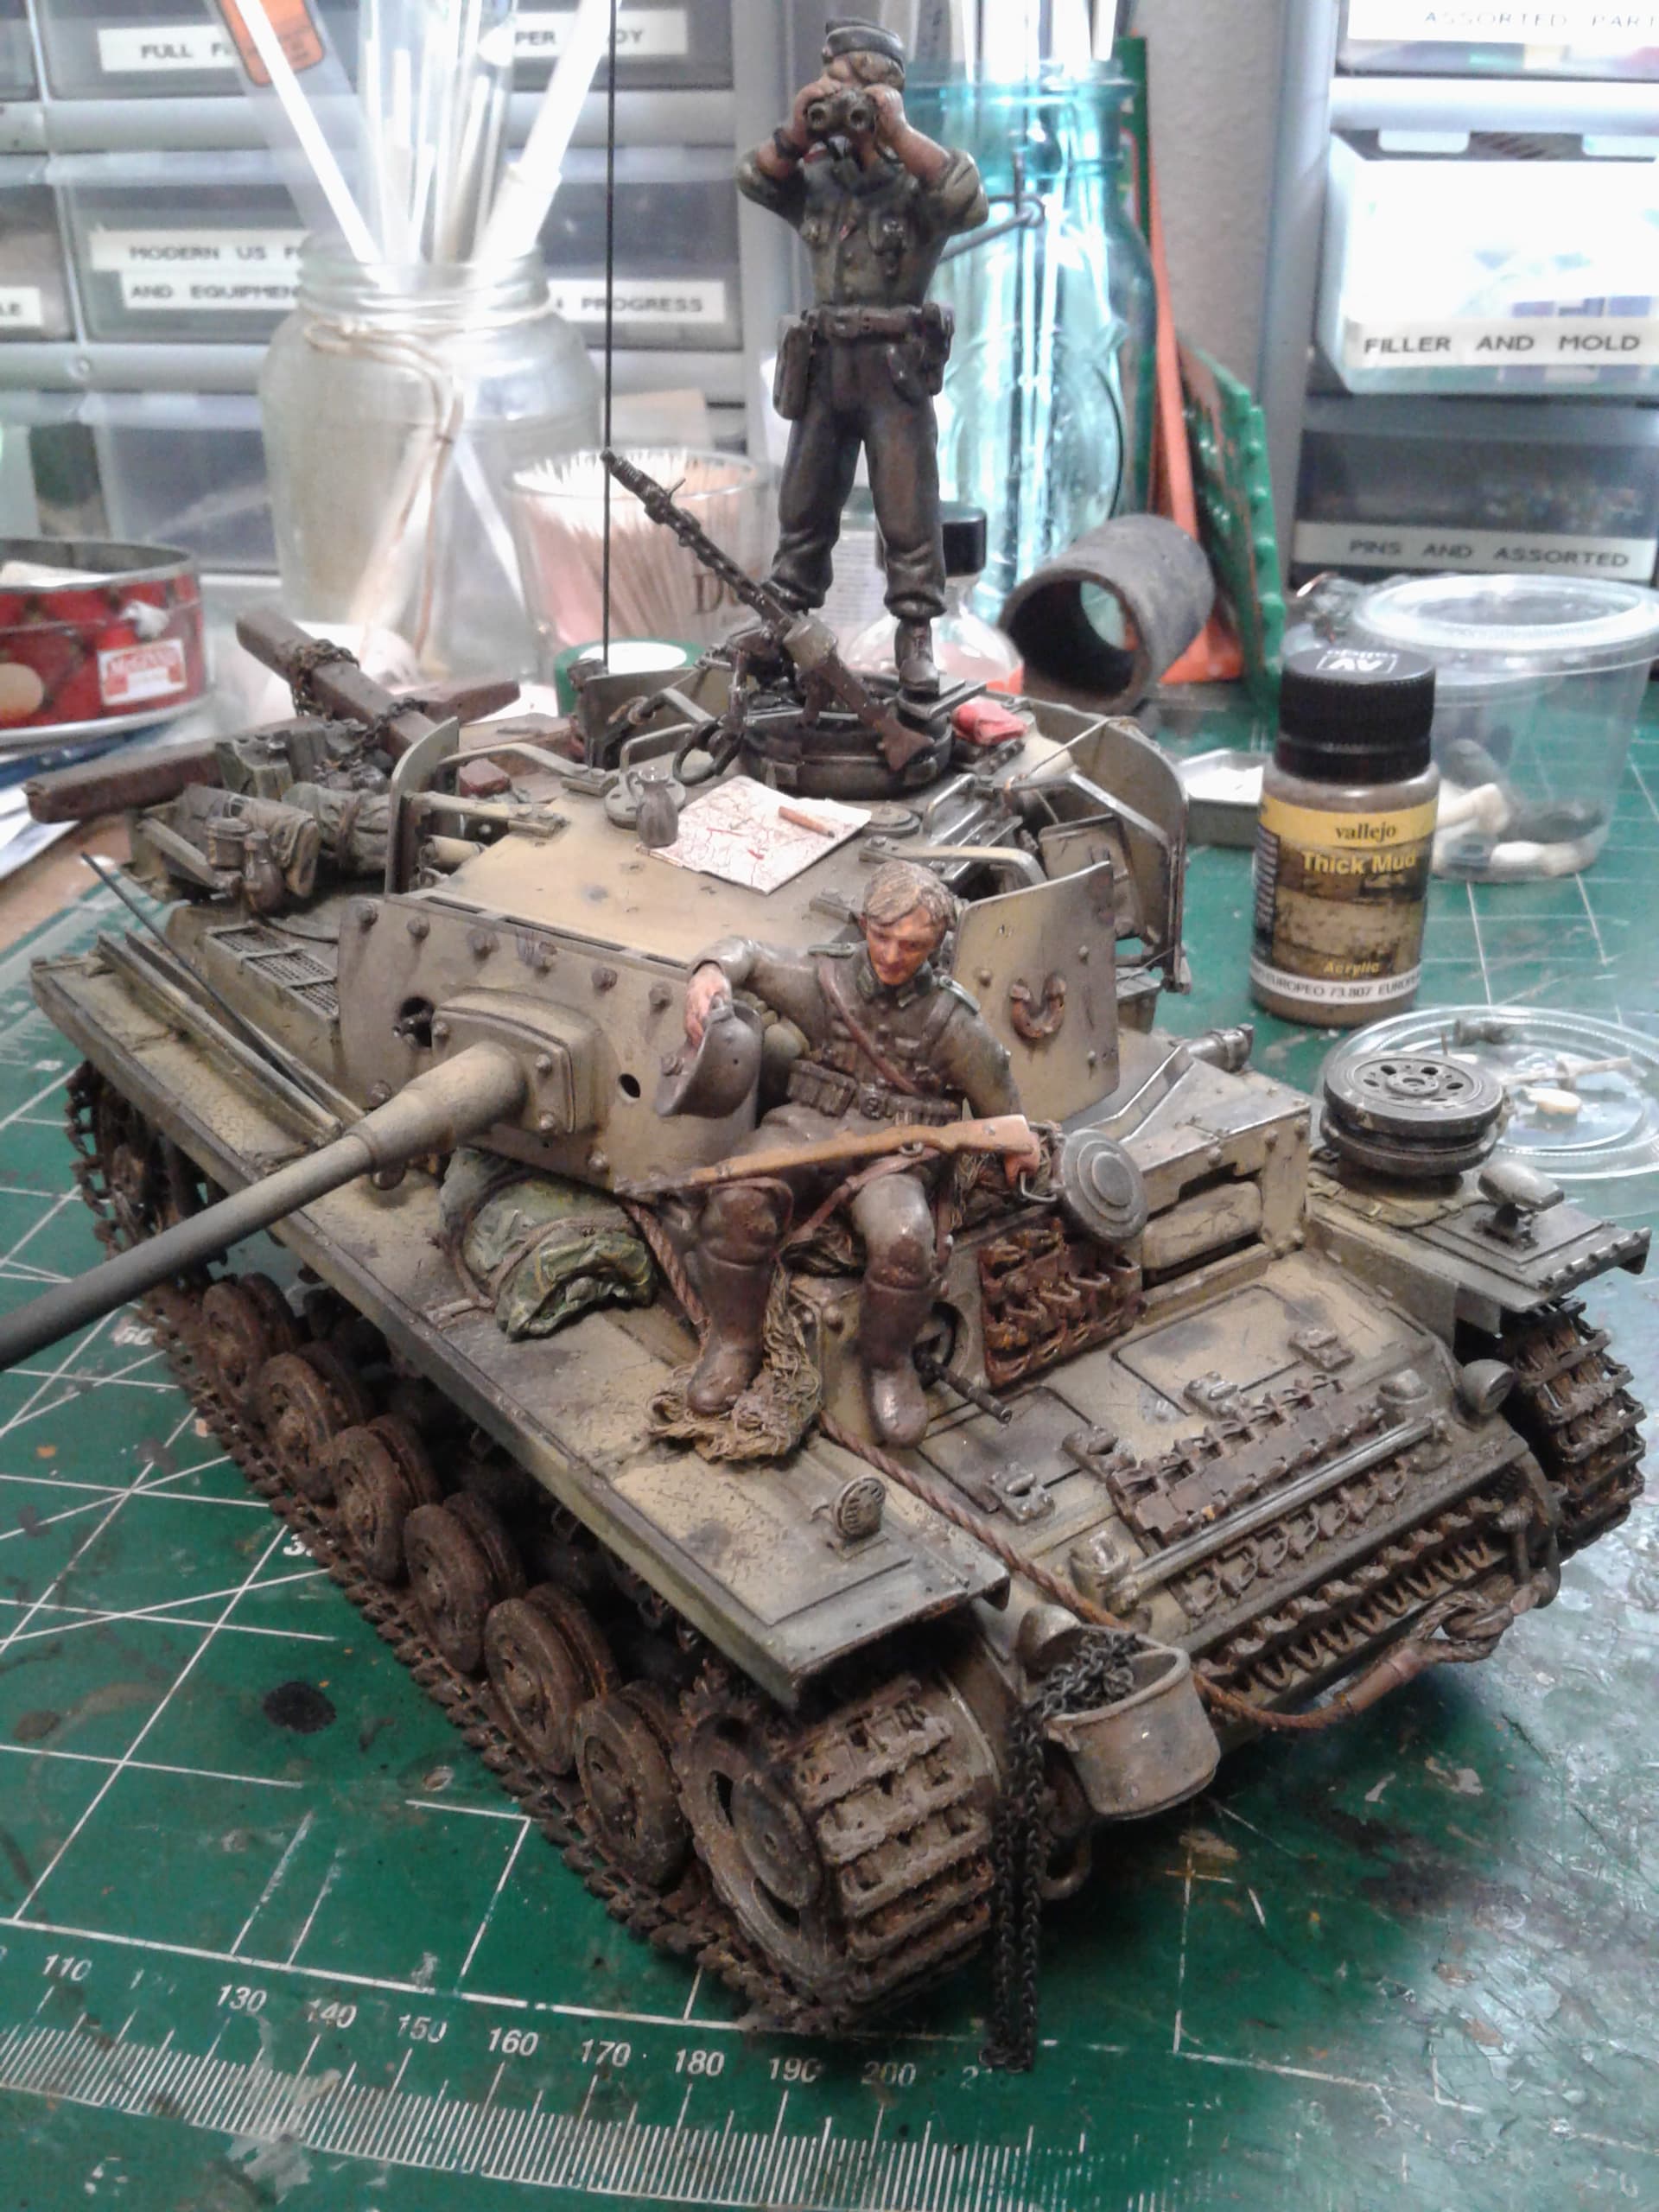
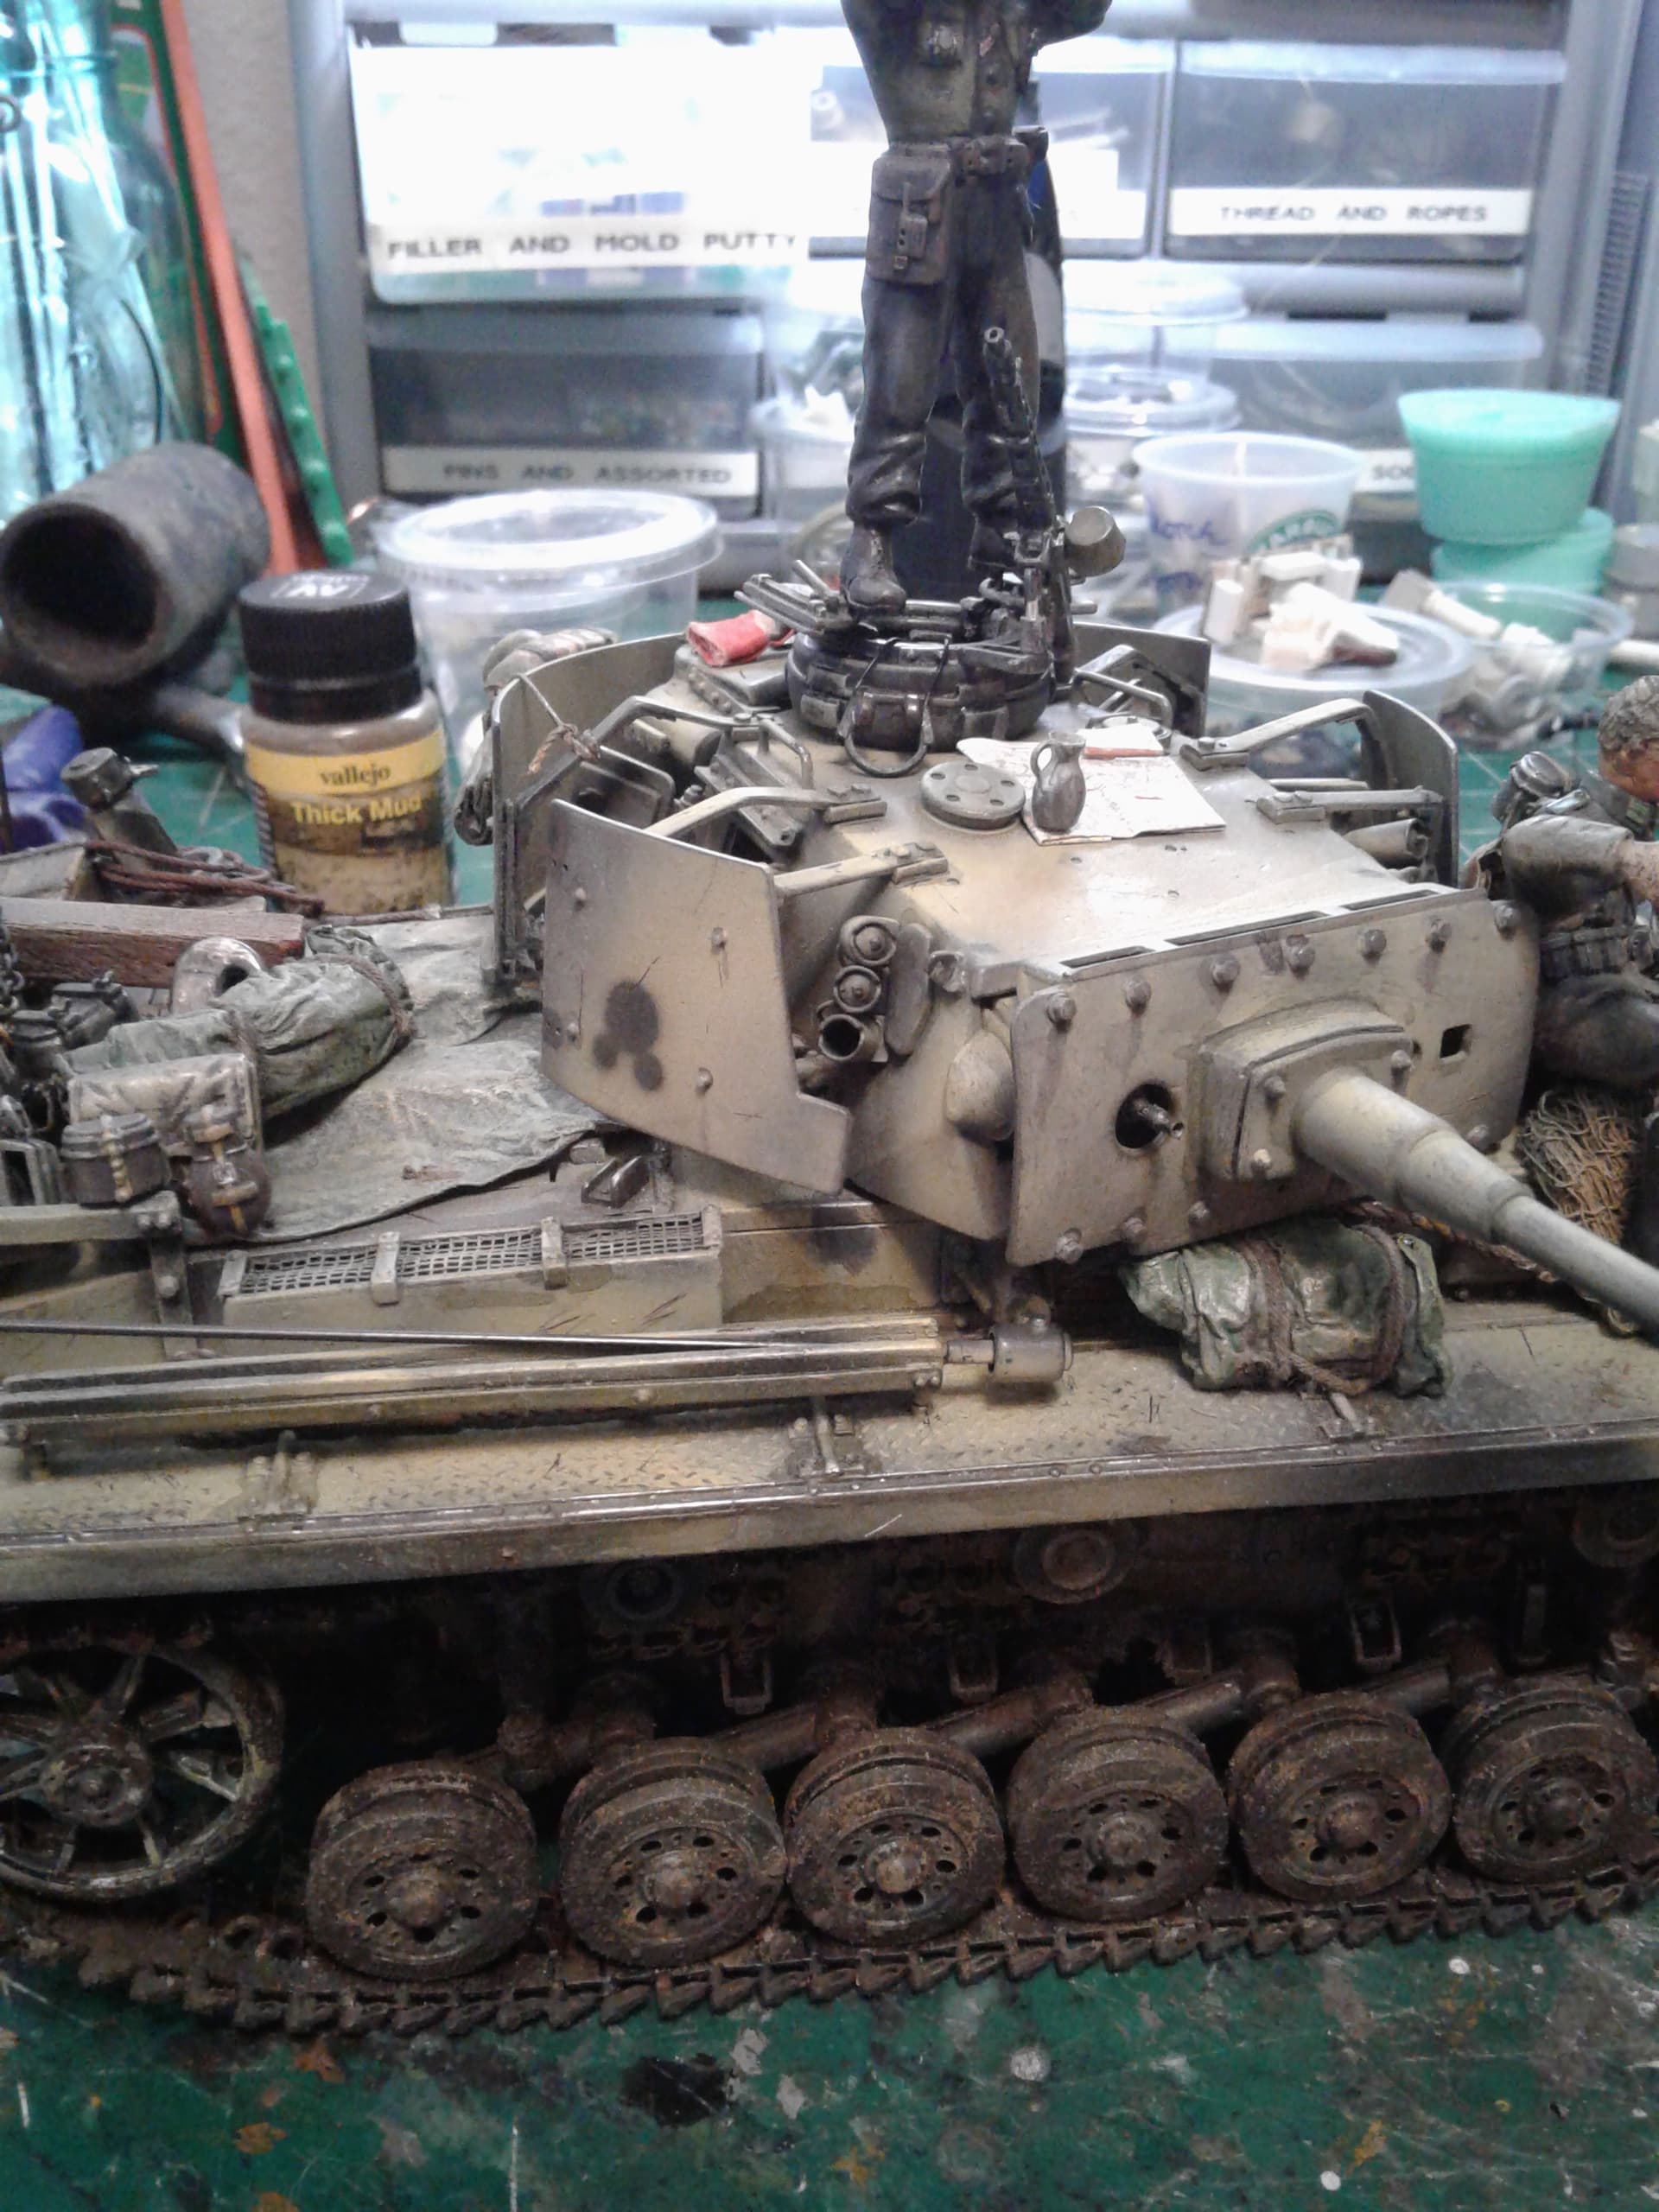
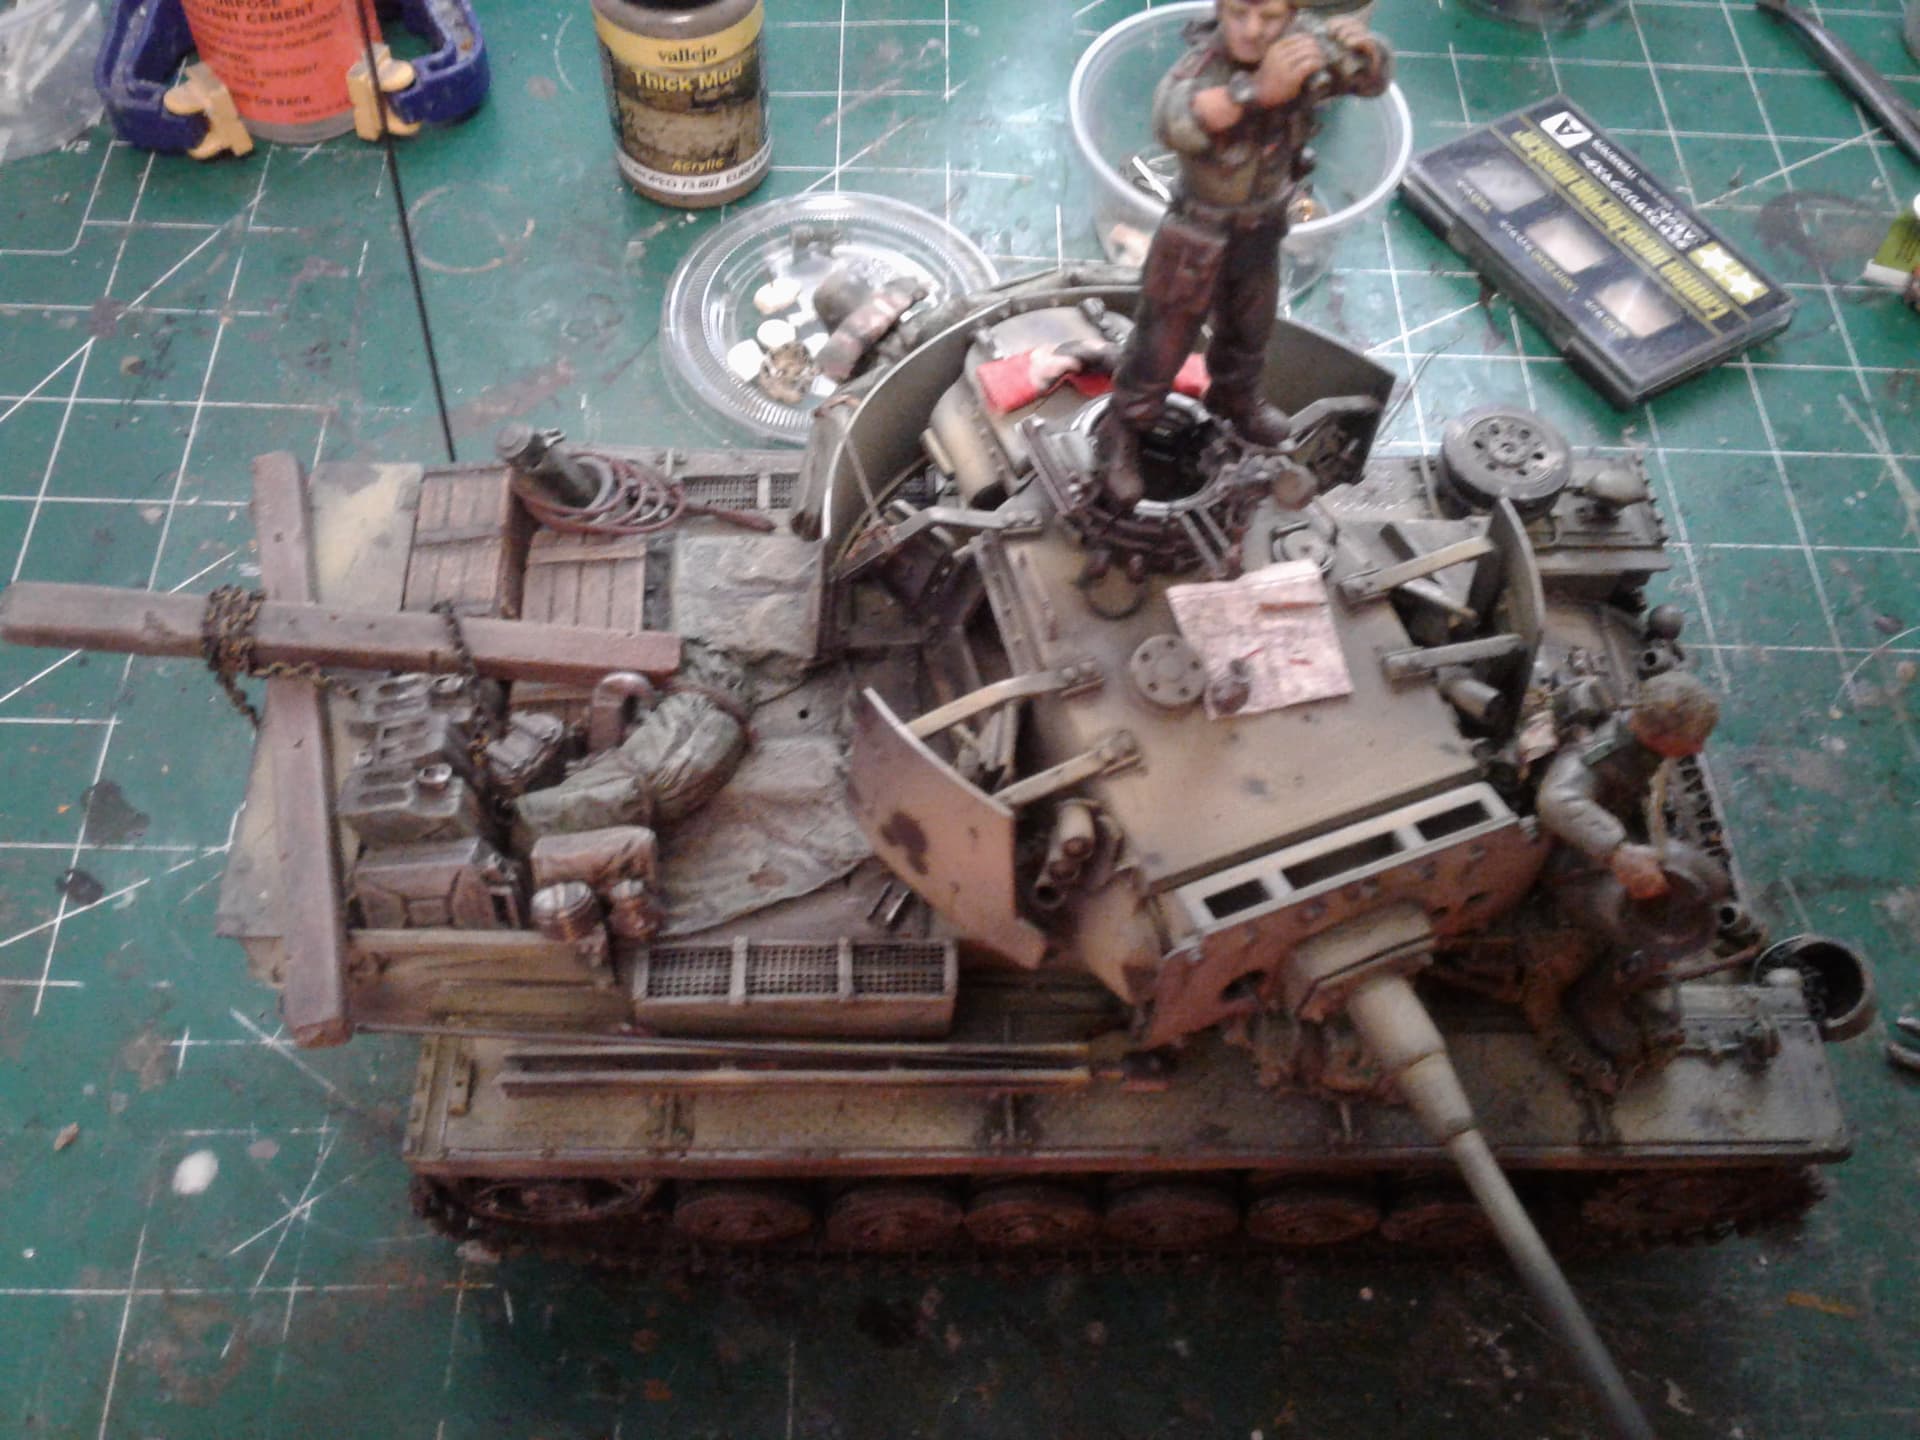
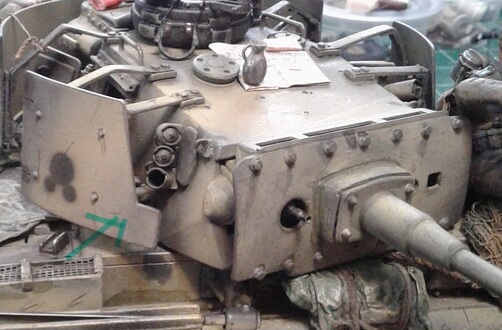
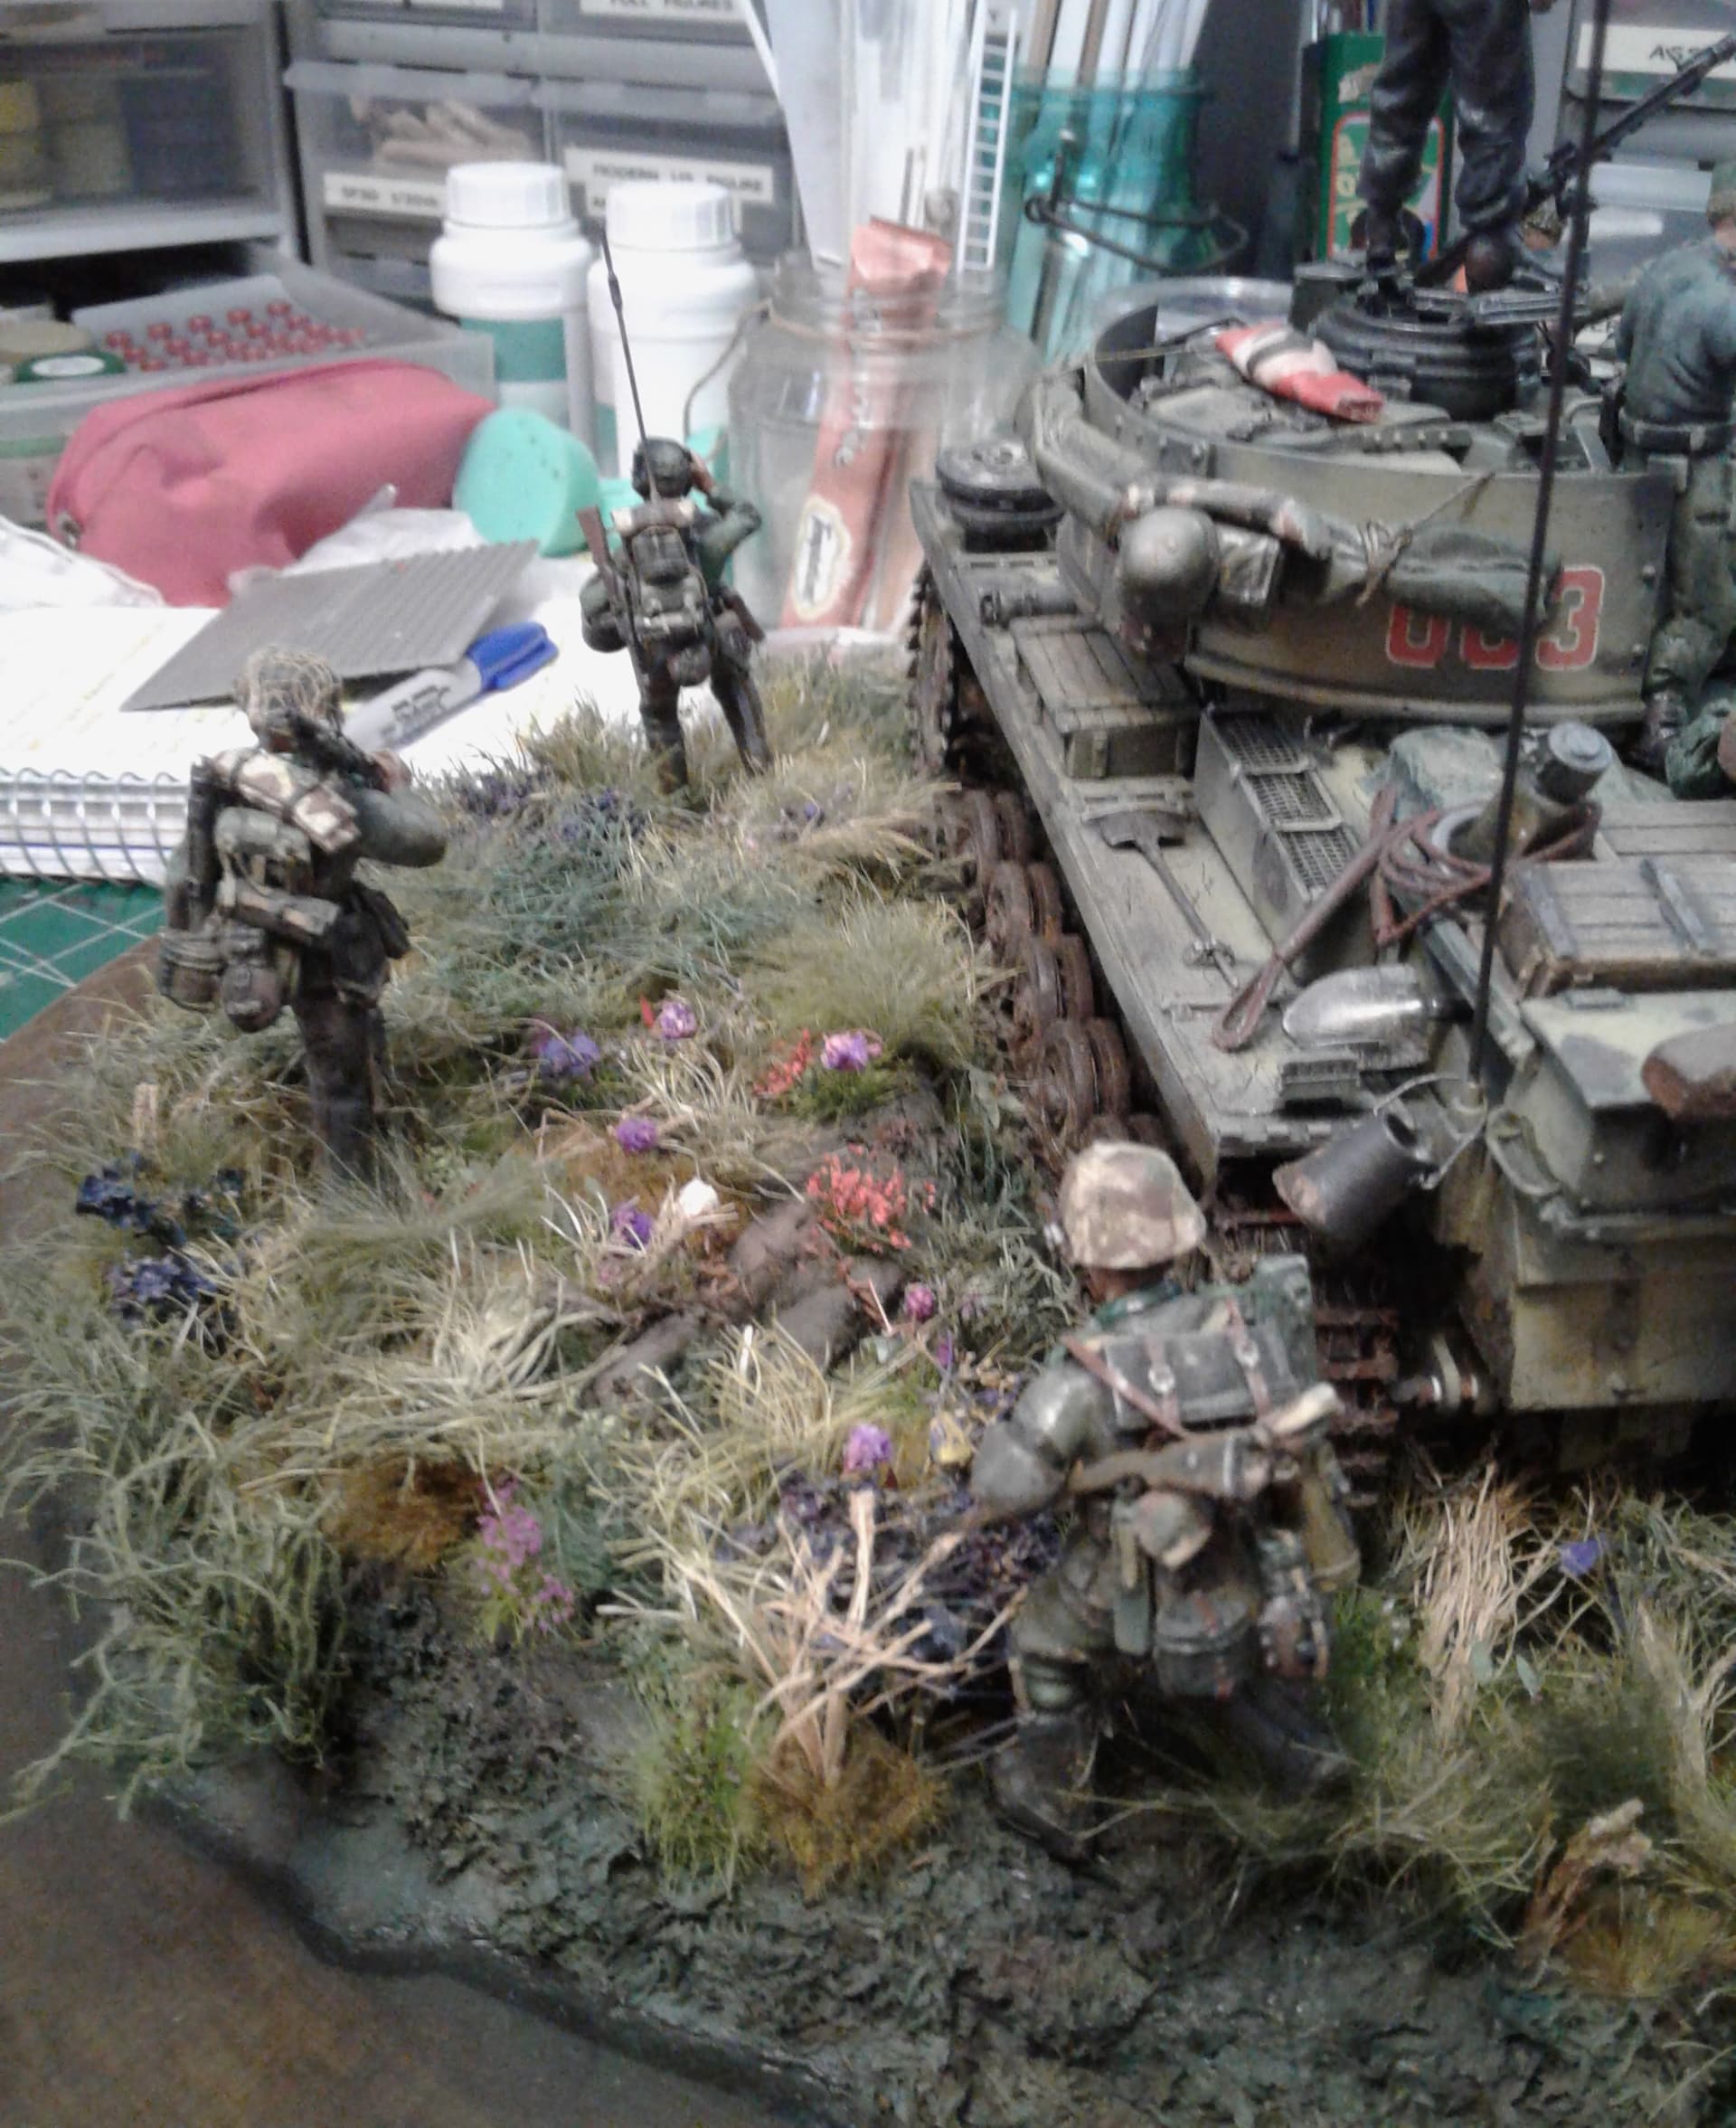
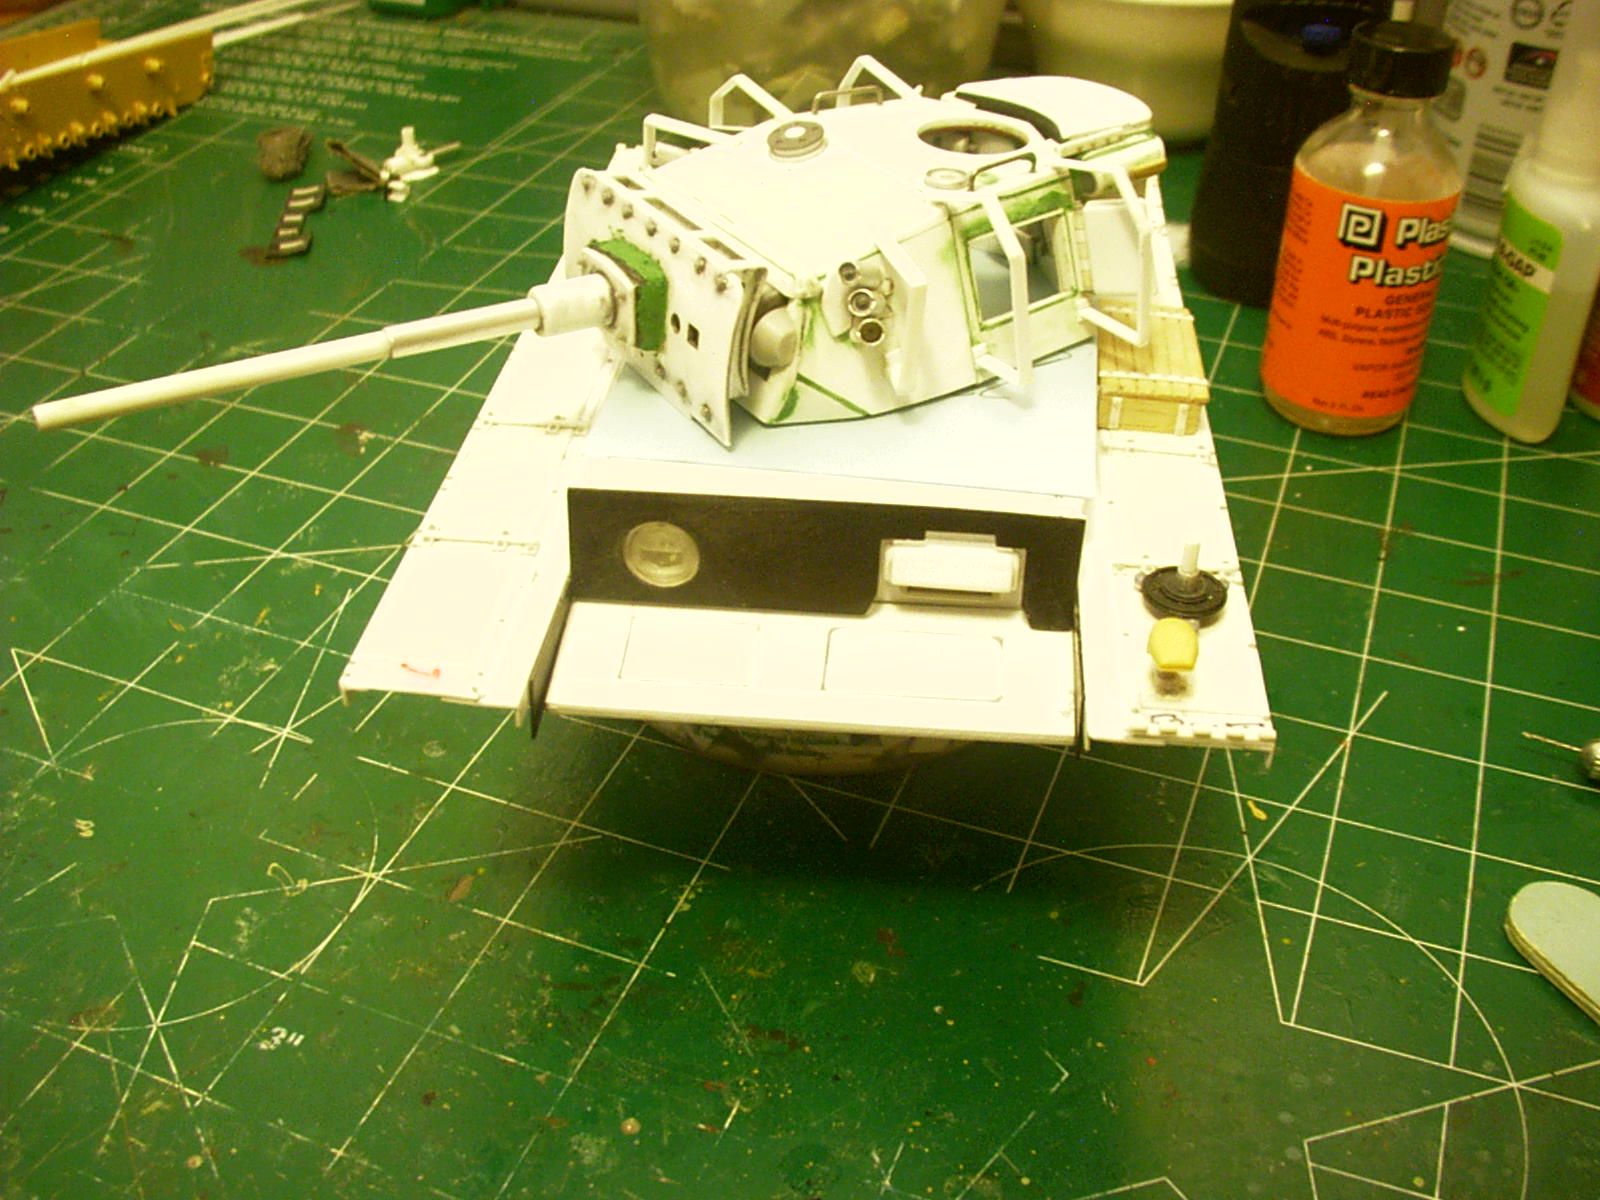
Let’s start with your question about the skirts. From all the research I have done and amassed, the schurtzen, were retro fitted to all existing variants still in the field. This for my vehicle outfitting and getting ready for the Kursk operation, would have been done in and around the Kharkov region. German forces had a number of field workshops and repair depots in this area. Again, mostly preparing for Zittadelle. And if one was to really dig into this unique facet of the retro fitting, you find more often than not, only the turret skirts were fitted out. Now staying with this, I took some “liberty’s” with this, because my Ausf L still has the smoke dischargers. And I wanted to kind of accentuate them, so thus my unique front turret skirts. As you well know, the German Army was really given to any field conversions the crew could perform.
Now, as to the markings, my Ausf “L” does have the 19th panzer division assigned to Kempf’s Army Detachments’ temporary Kursk/Zitadelle markings.
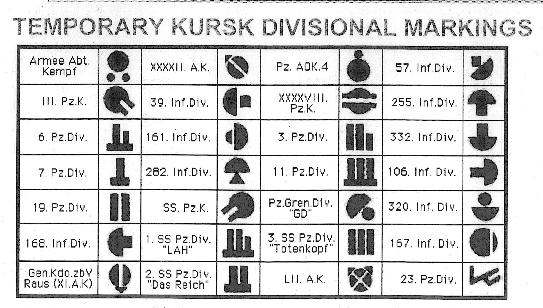
And truth be told, after screwing them up, and having to redo the whole thing, I bet I totally forgot to put the 19th’s specific markings back on…
1 Like
And there are markings underneath the tarp hung on the rear turret skirts, as well as some on the rear toolbox. I kind of went on a theme of less is better, since units within a division RARELY fought as a whole. Meaning the panzer regiments got detailed for such actions, as the PZ grenadiers, artillery would find themselves detached elsewhere. And since my vehicle is the regimental liaison officer to the Armee Detachment, i thought the vehicles marking were correct. But as always I could be wrong. I harken back to my old mentor Shep, his Red Army Sniper diorama always befuddled me for some reason. One day LONG ago, (obviously well before his passing), I asked him about it, and after his famous “just one beer” response, he told me that YES in fact the Dio was supposed to be set in Stalingrad, BUT how can that be, it has a Ausf “D” 251… Well like me he screwed the pooch and never really talked about the faux pax, unless prompted.
Hope all of this makes sense. And with scratch-building, well you are working from nothing, so I sometimes cut a corner or two. The Ausl “L” dio is still one of my favorite builds
Whitney
1 Like
Outstanding build for sure and most impressive ![]() . Quite the accomplishment A+++
. Quite the accomplishment A+++
I appreciate the detailed background on the vehicle. Placement in said time period and location definitely makes sense. As for the field work shops they certainly made many near one off tweaks to various vehicles like the headlights & front fenders on the early North Africa 501 Tiger’s ![]()
![]() etc so the turret skirts seem reasonable with that in mind.
etc so the turret skirts seem reasonable with that in mind.
Regarding the Pz III’s build process, I have a couple additional questions. Interested in the thought process & logic.
Where did you start?
Hull, wheels, turret?
It’s nice to see the often over shadowed Pz III get some attention at this level. In my opinion, overall it was one of the best tanks in the world at the start of WW2, likely the best design overall.
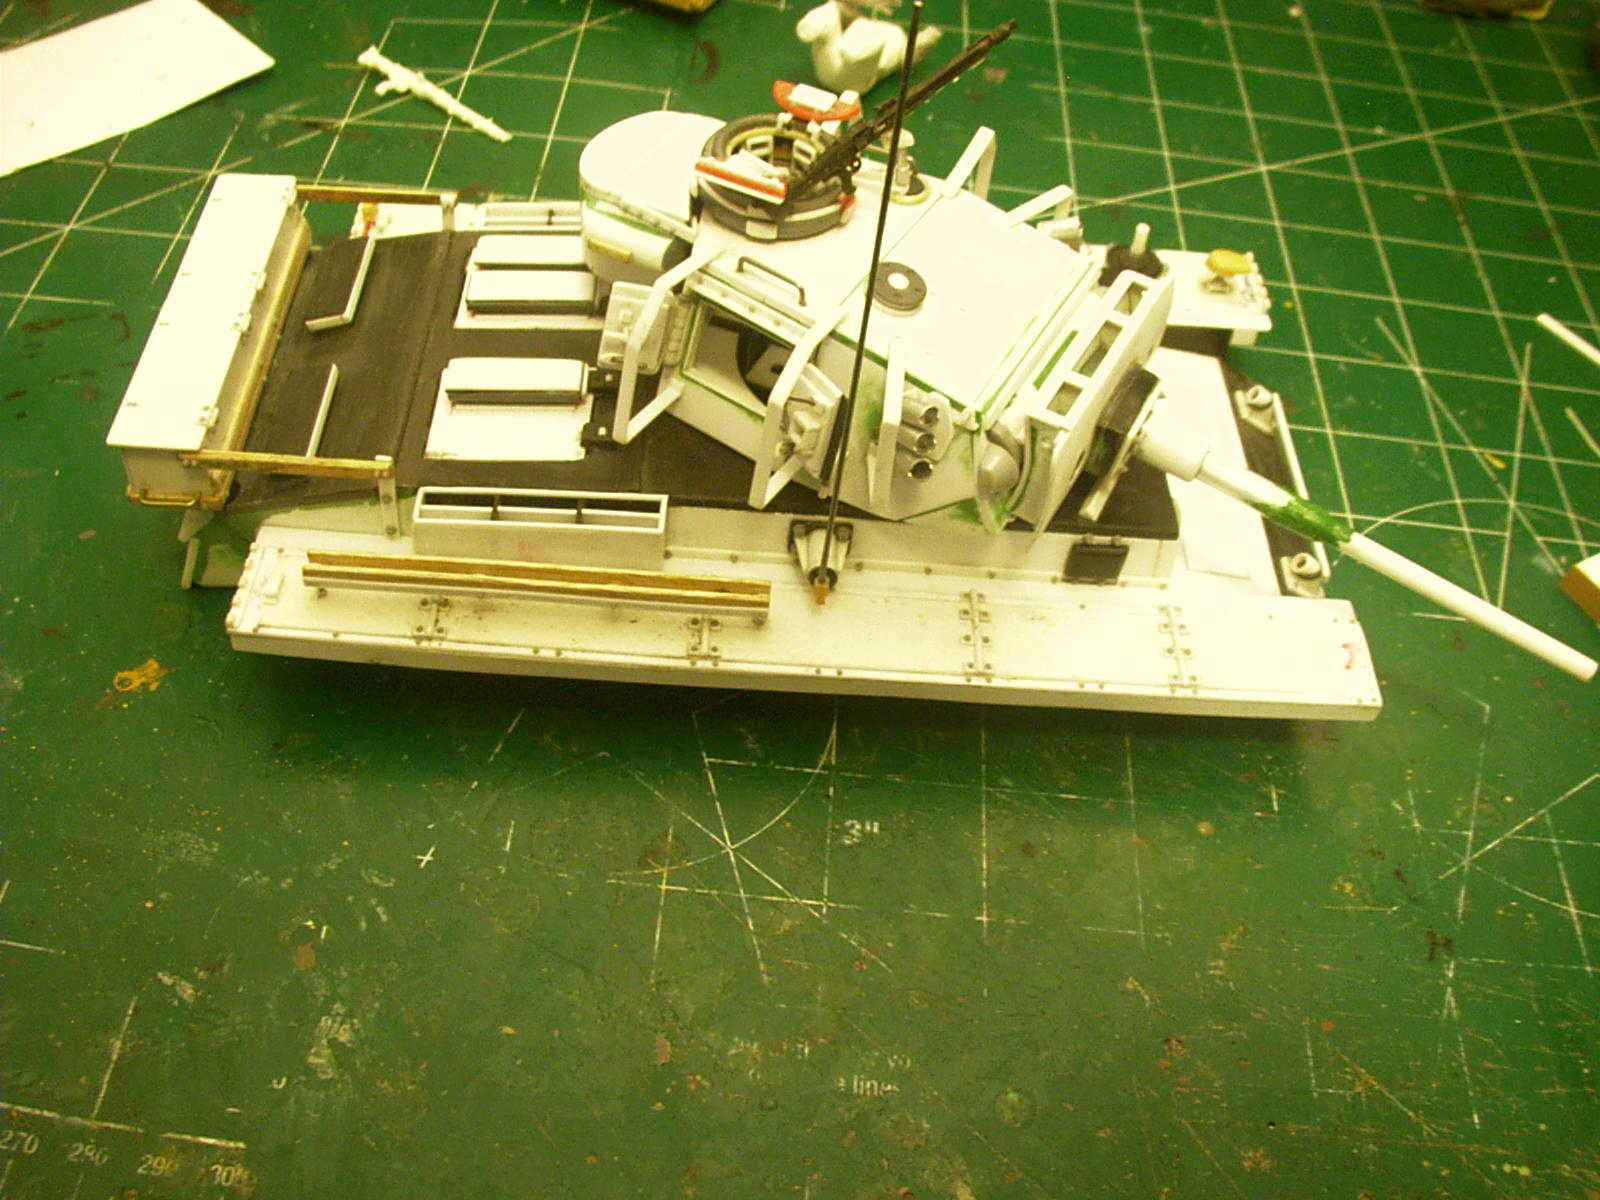
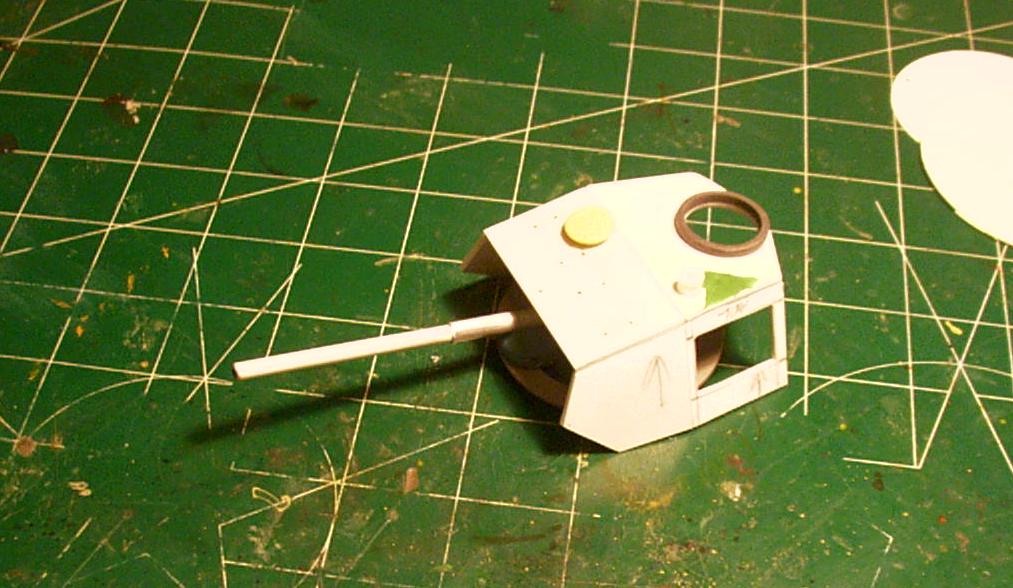
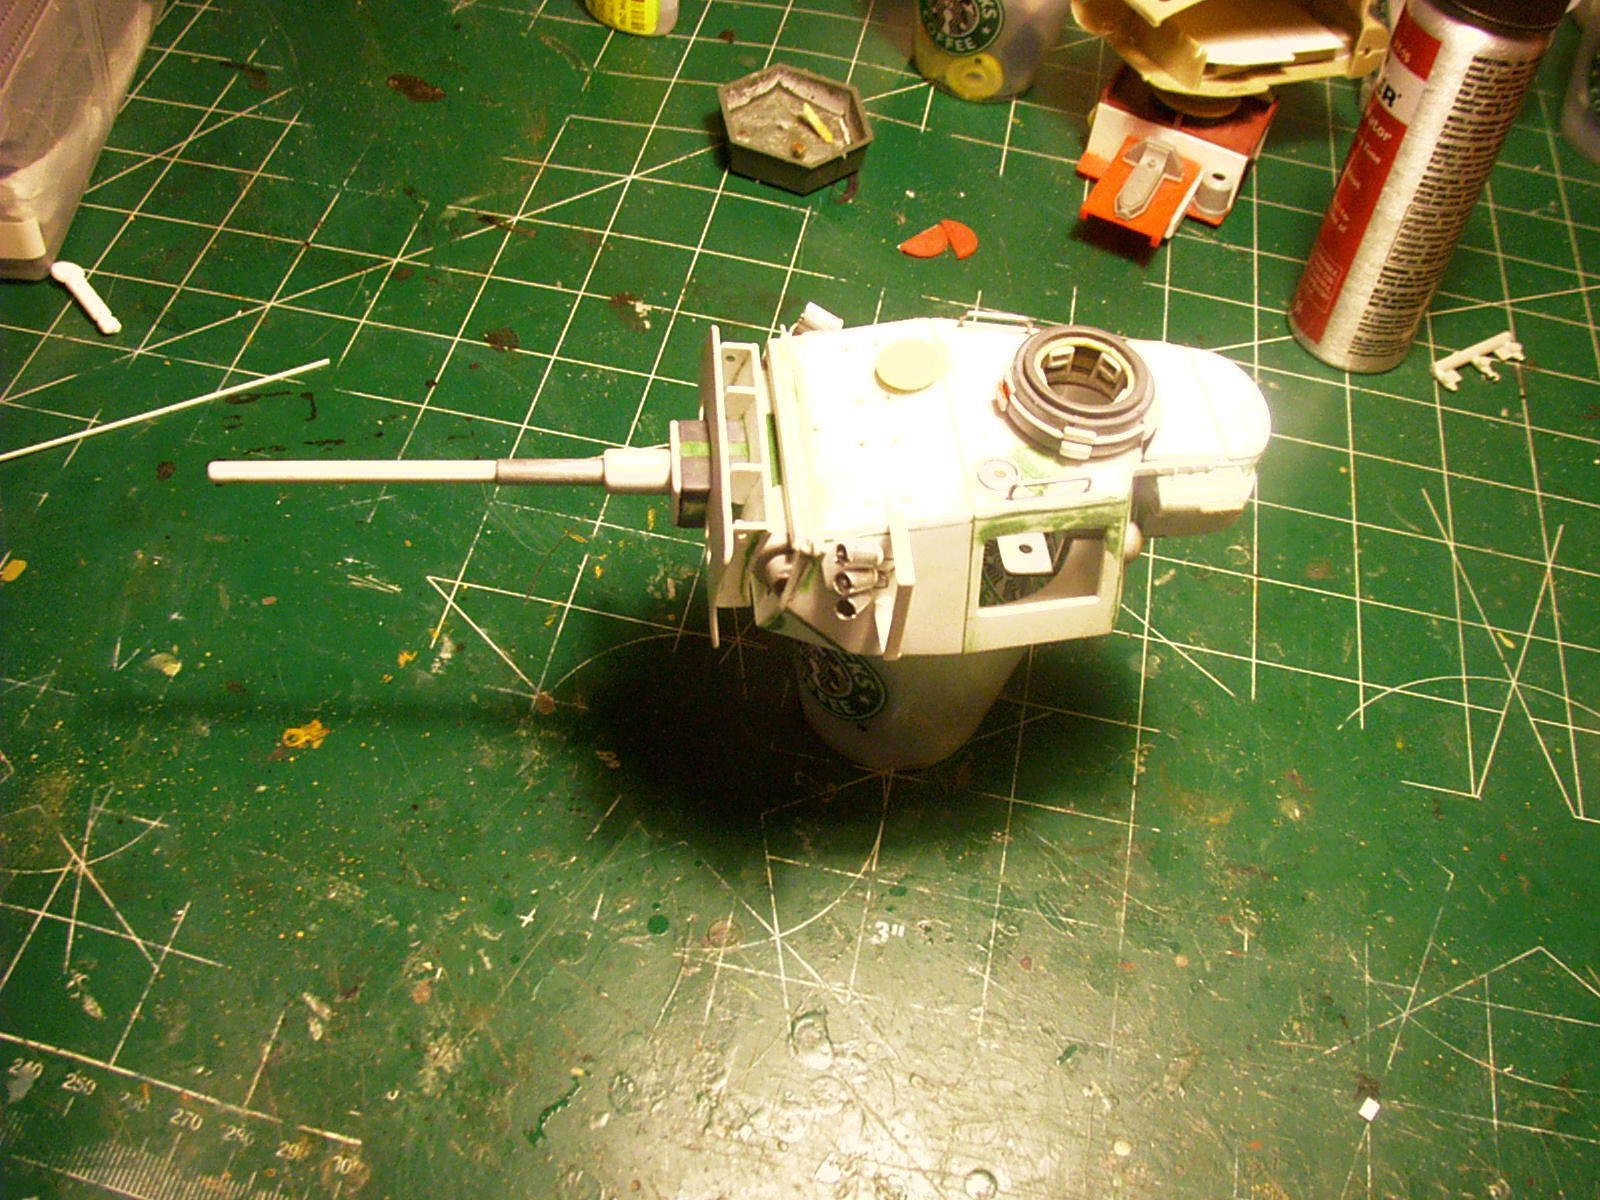
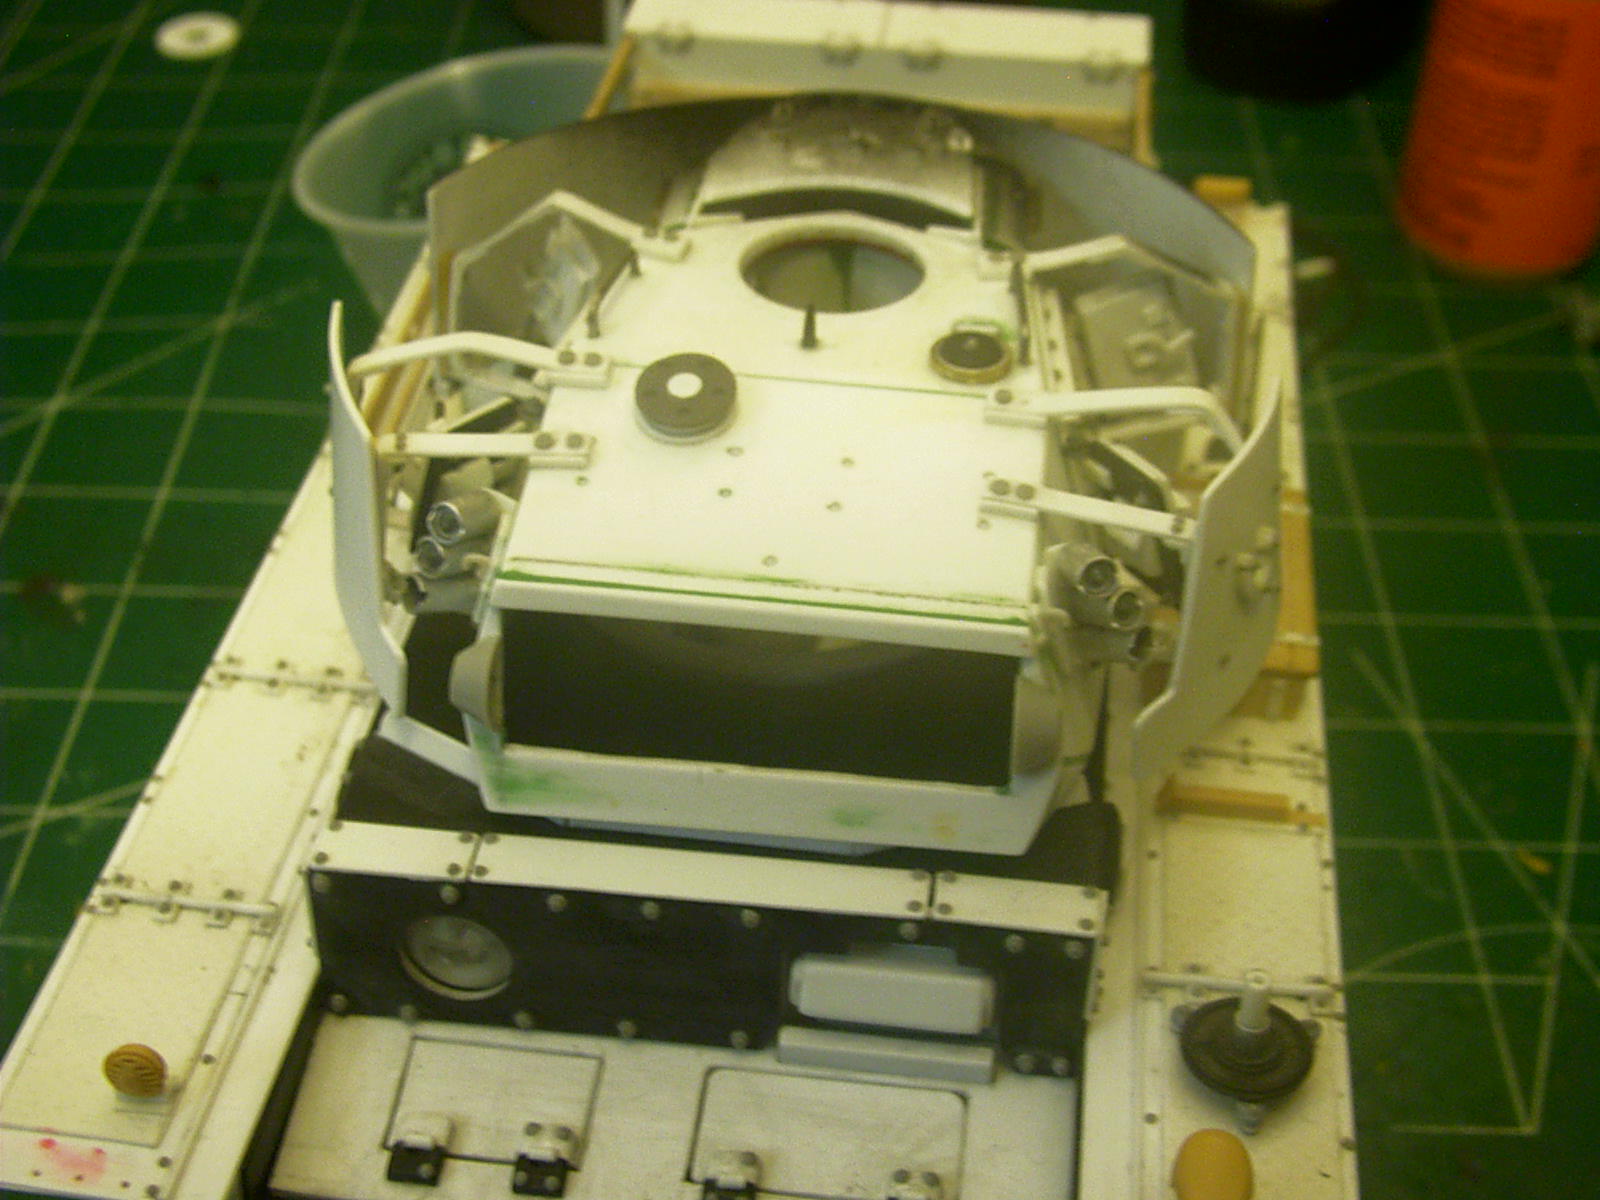
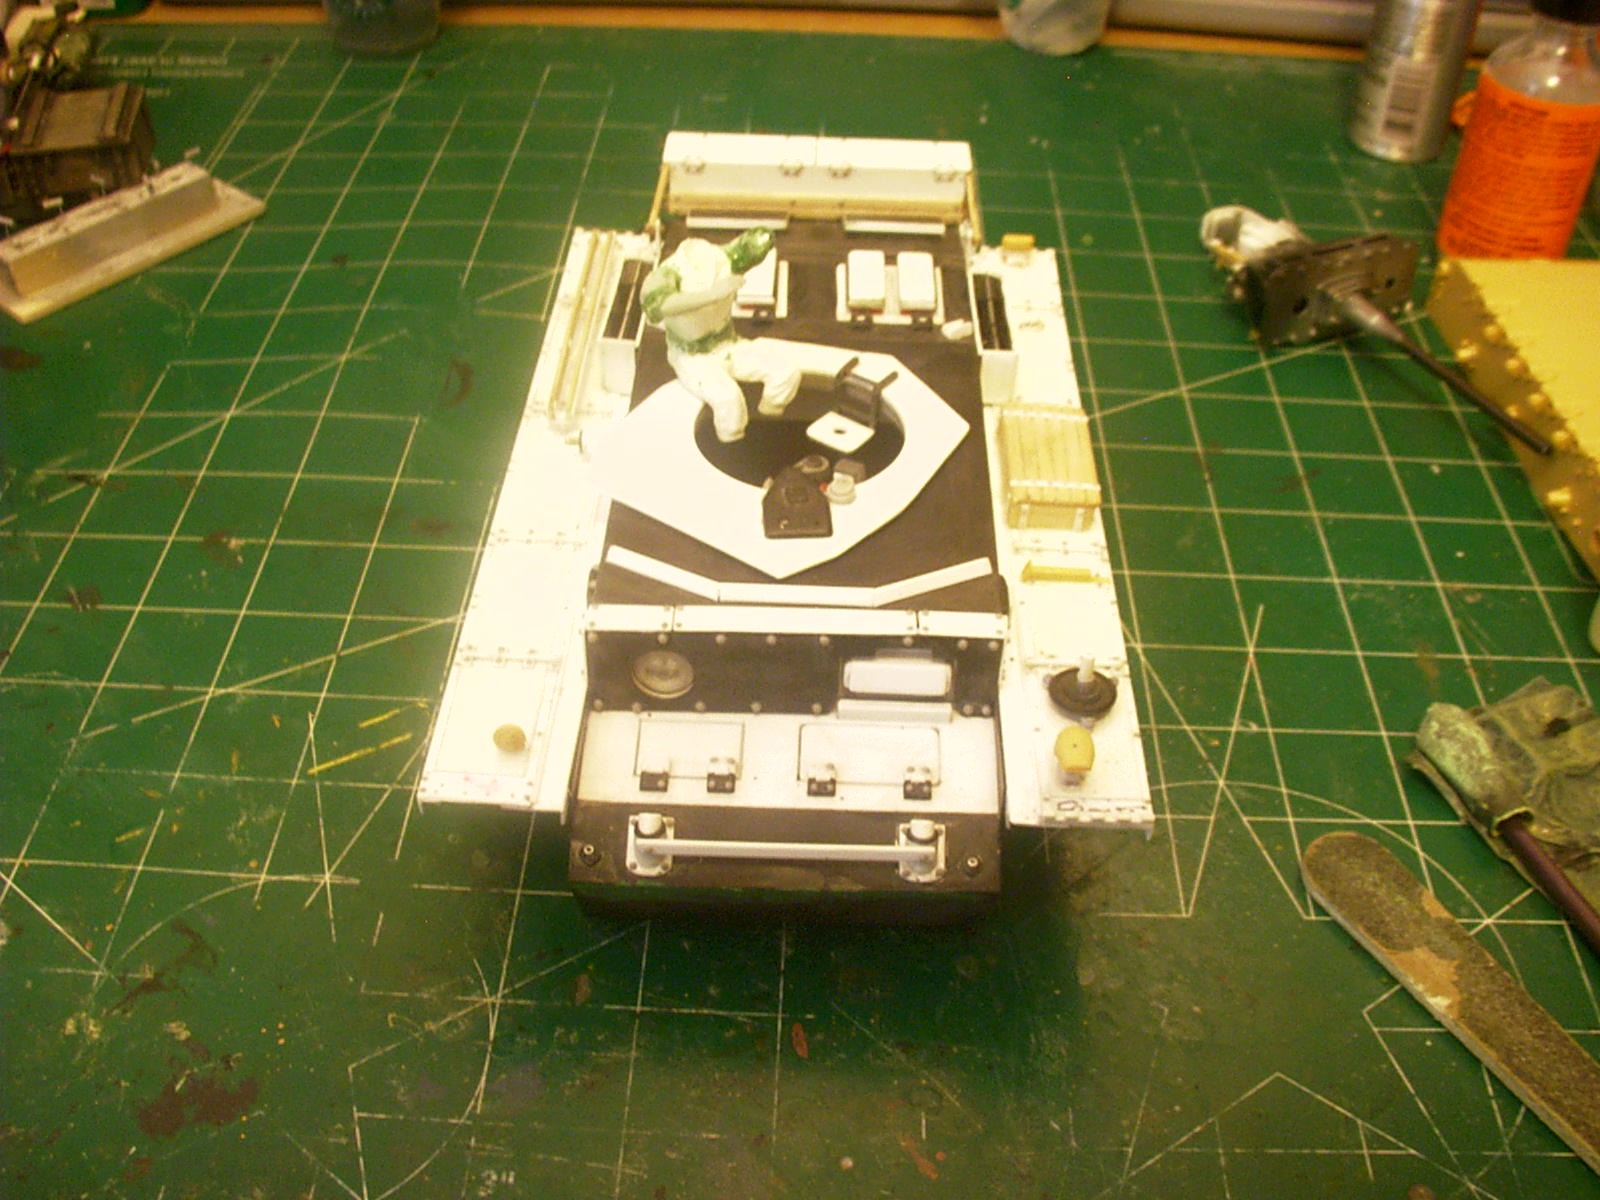
Boy, that question is really a toughie. For me, I pick a subject. Then I start to collect reference materials, then I dive in. In the Ausf “L”'s case I started with the fenders:


1 Like
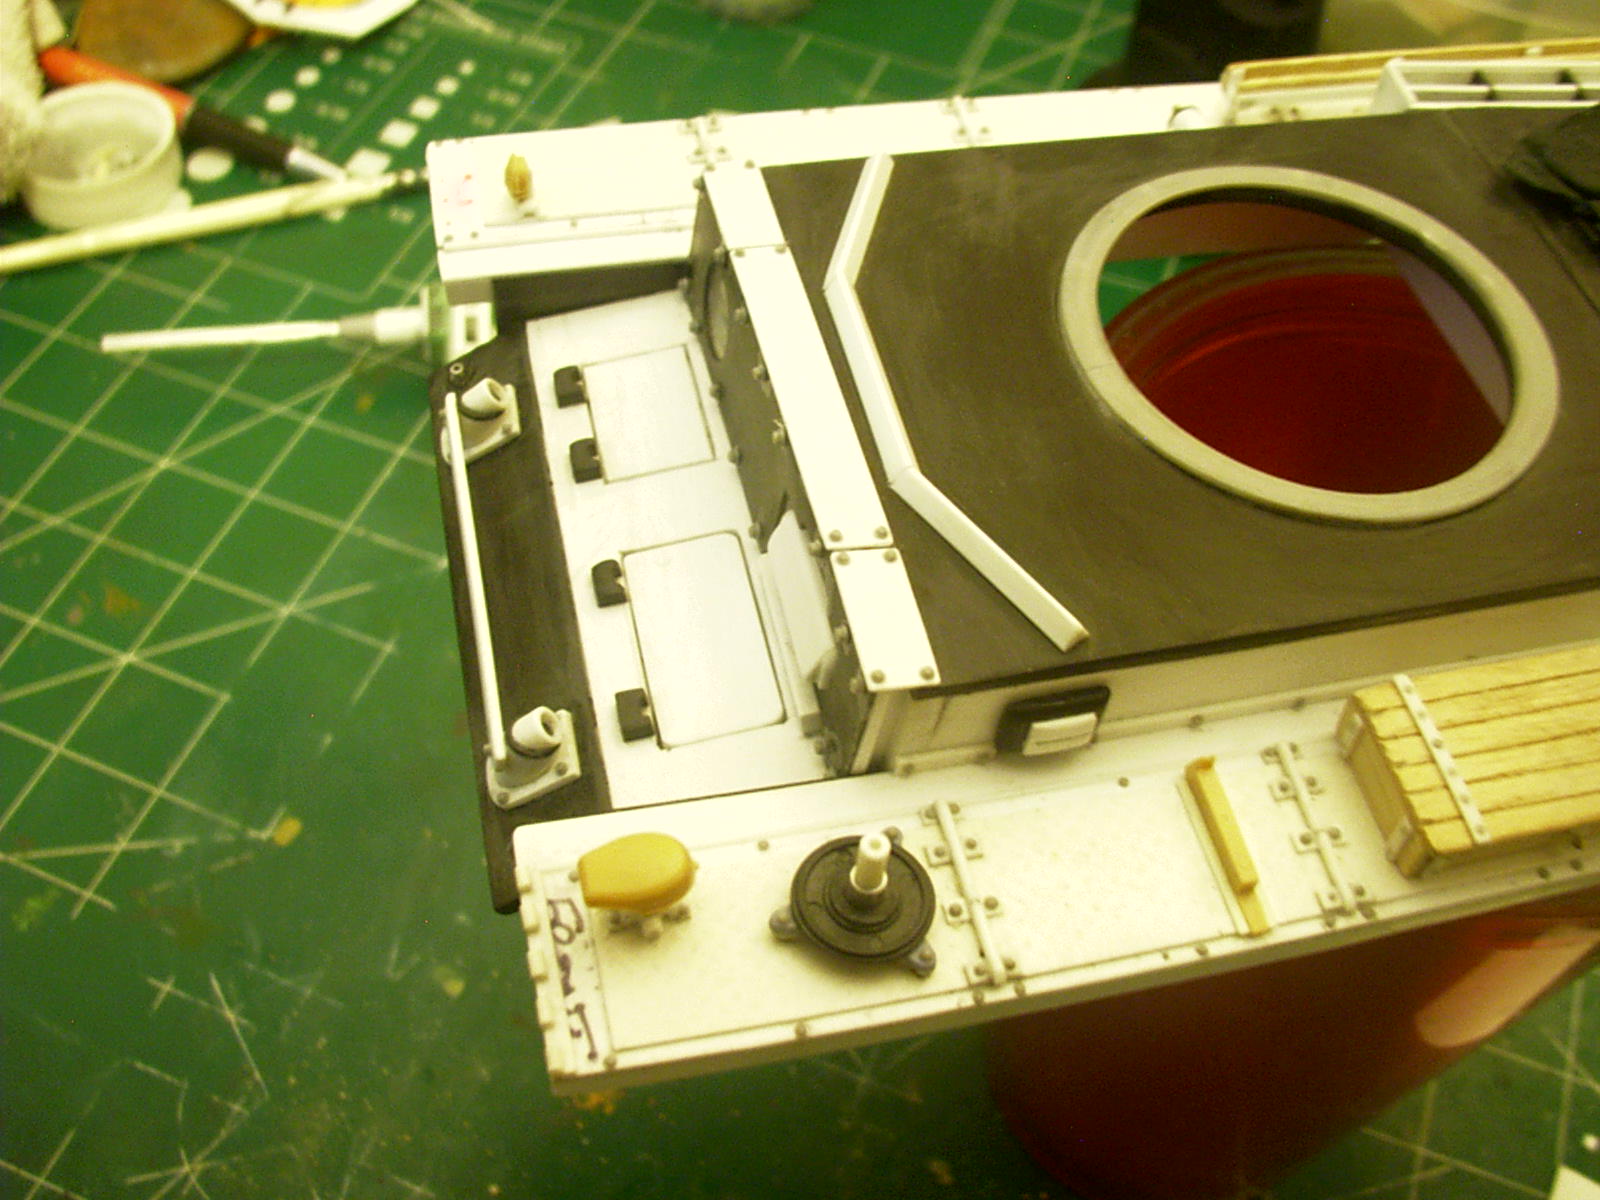
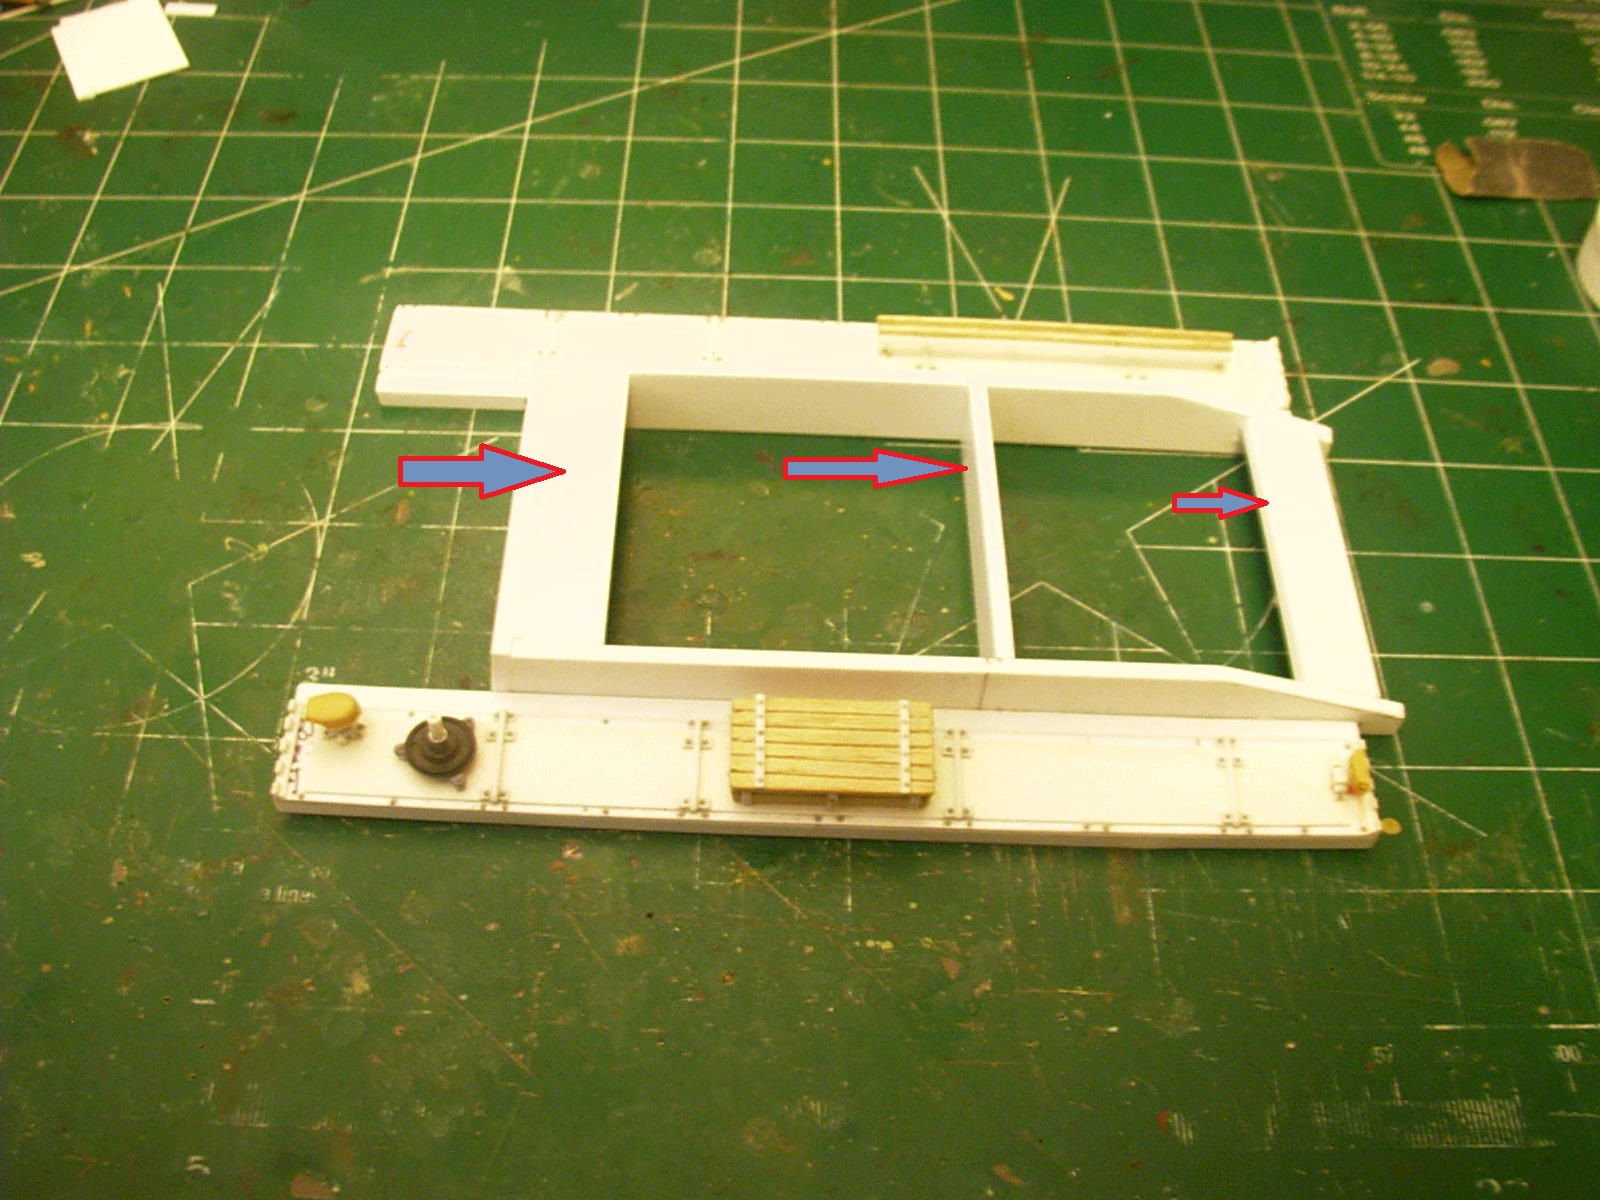
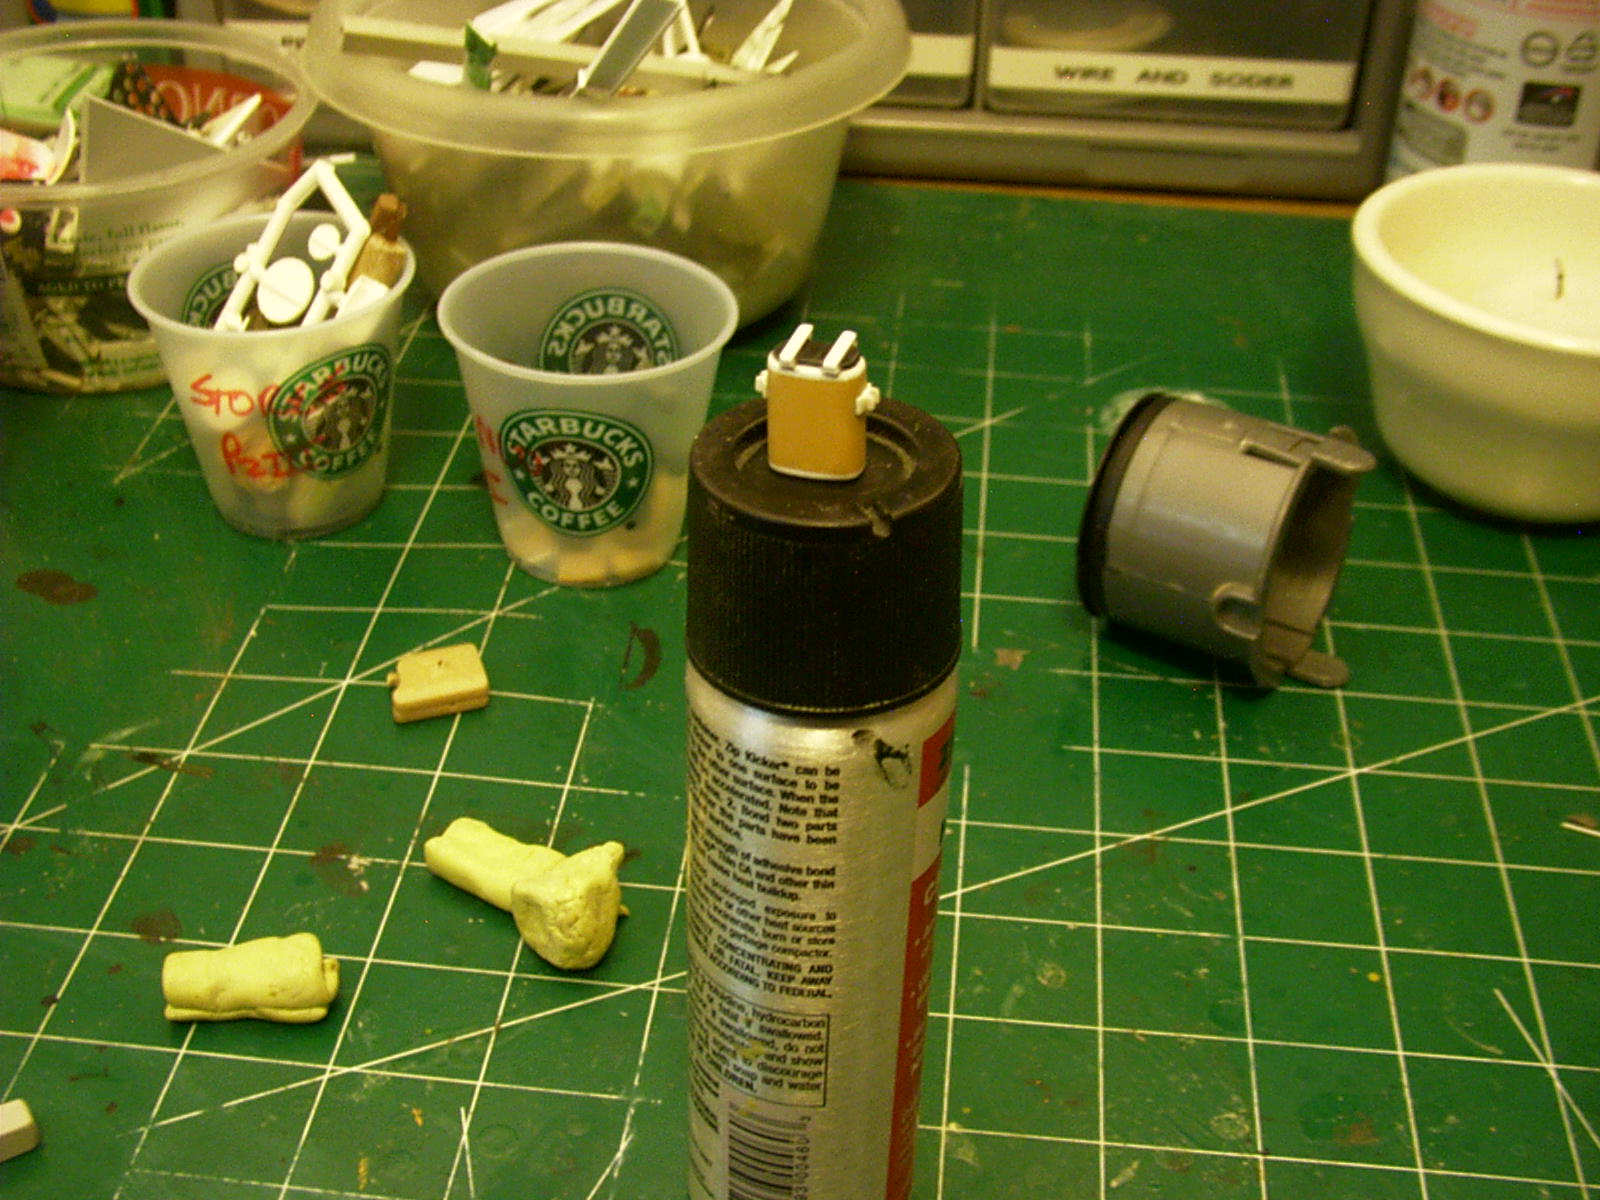
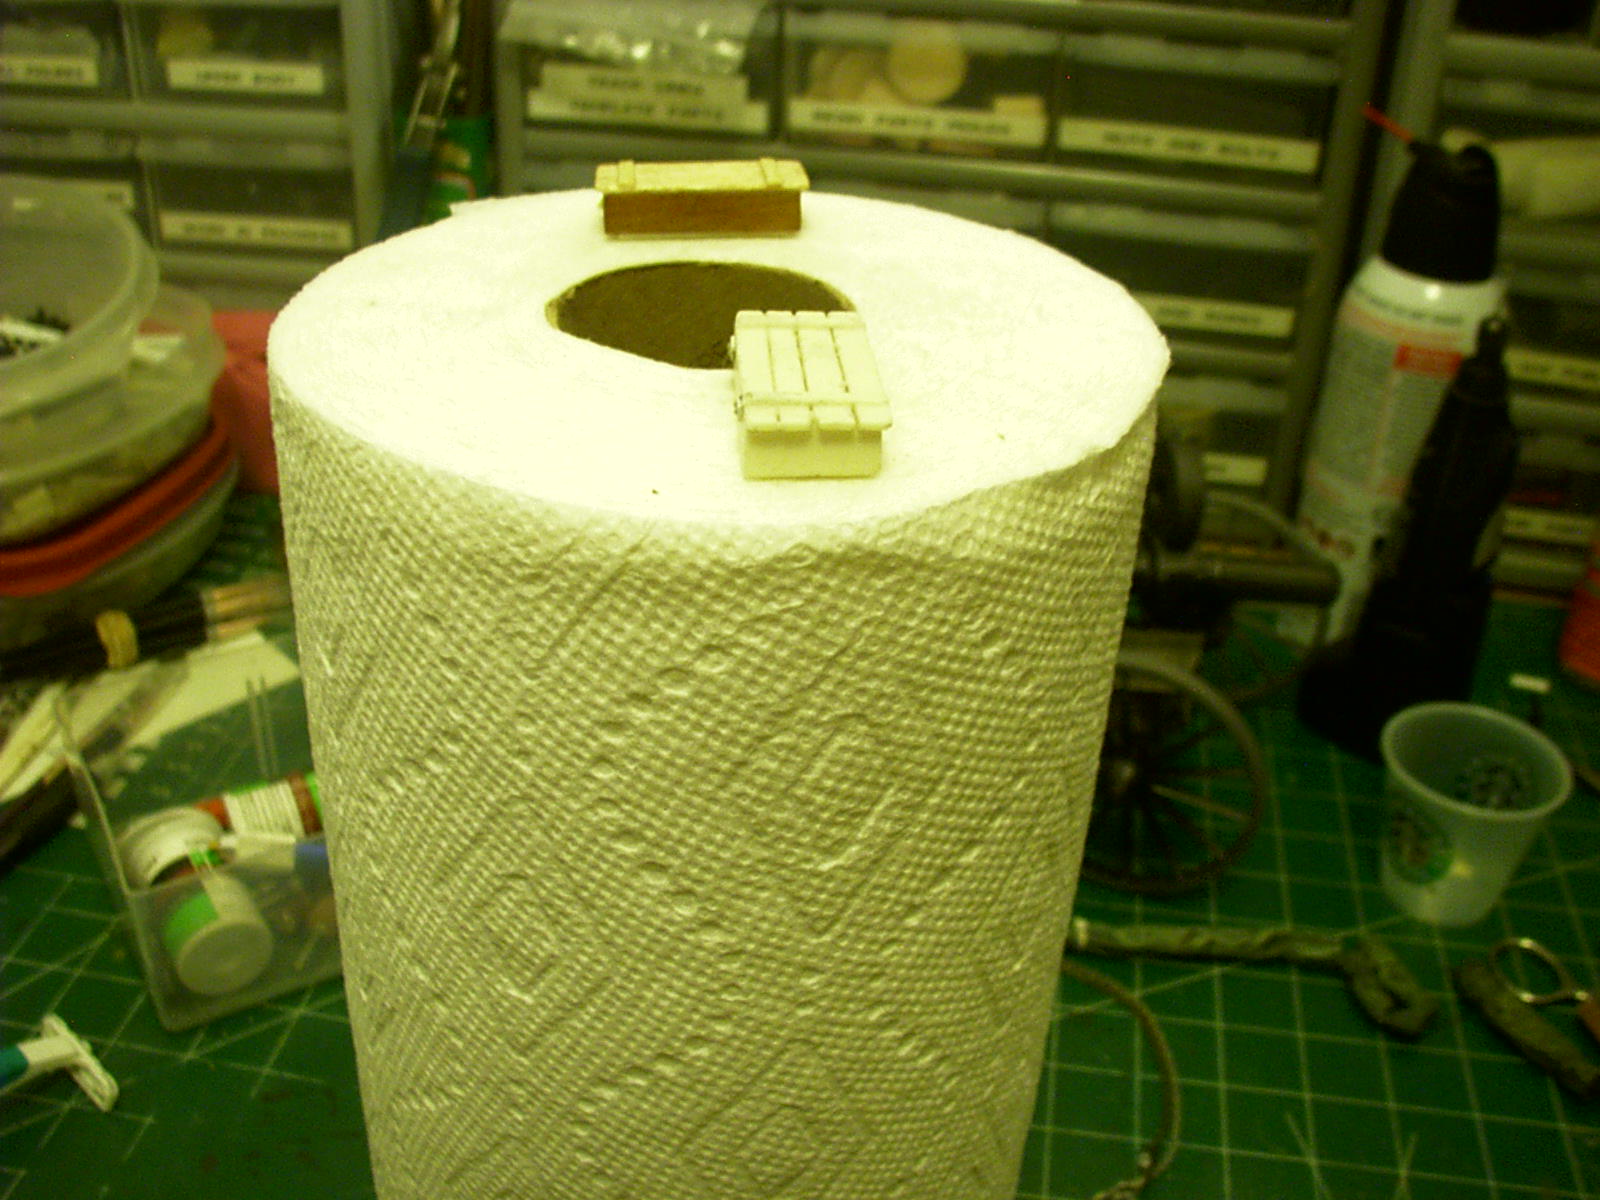
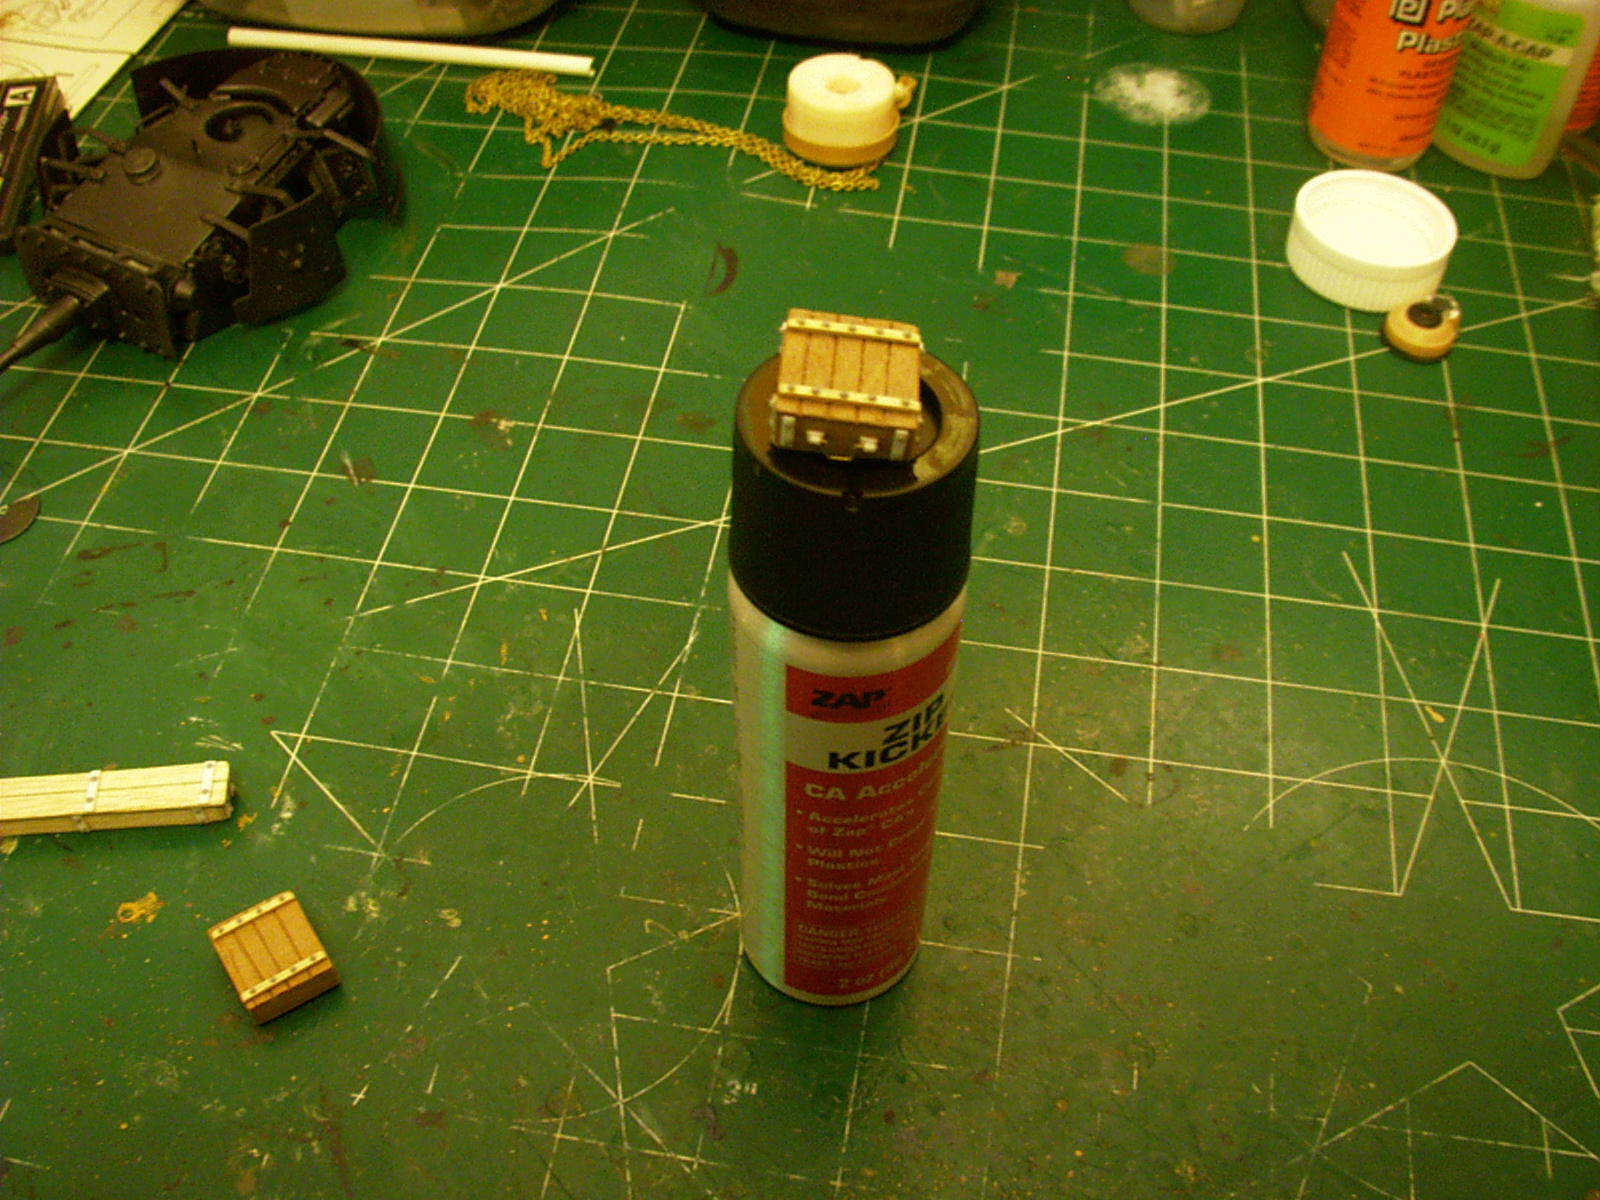
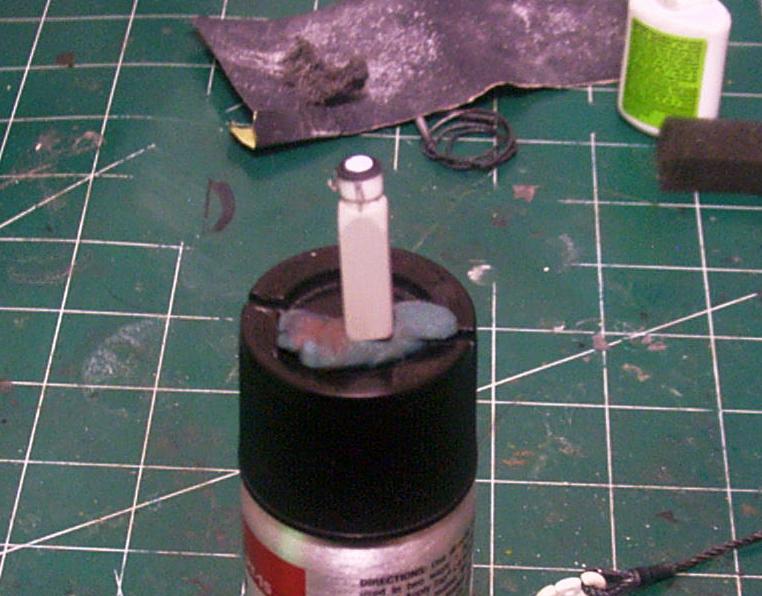
For me, I choose a subject. Then set about gathering reference materials. In this case I amassed 10 or 12 books just on the Pz. III. Then I just dive in. From there, I always seem to find a point where I just get hooked. In this case it was the fenders, Each fender has over 200 little detail parts/pieces. Once they took shape I just was hooked and set about creating. OH there were loads of “fowl ups” and “do overs”. But that is the fun for me. 1/25th there is limited accessories, so you sit down and create. For example the hot food ration containers or wooden boxes.
1 Like
Thank you, that’s helpful.
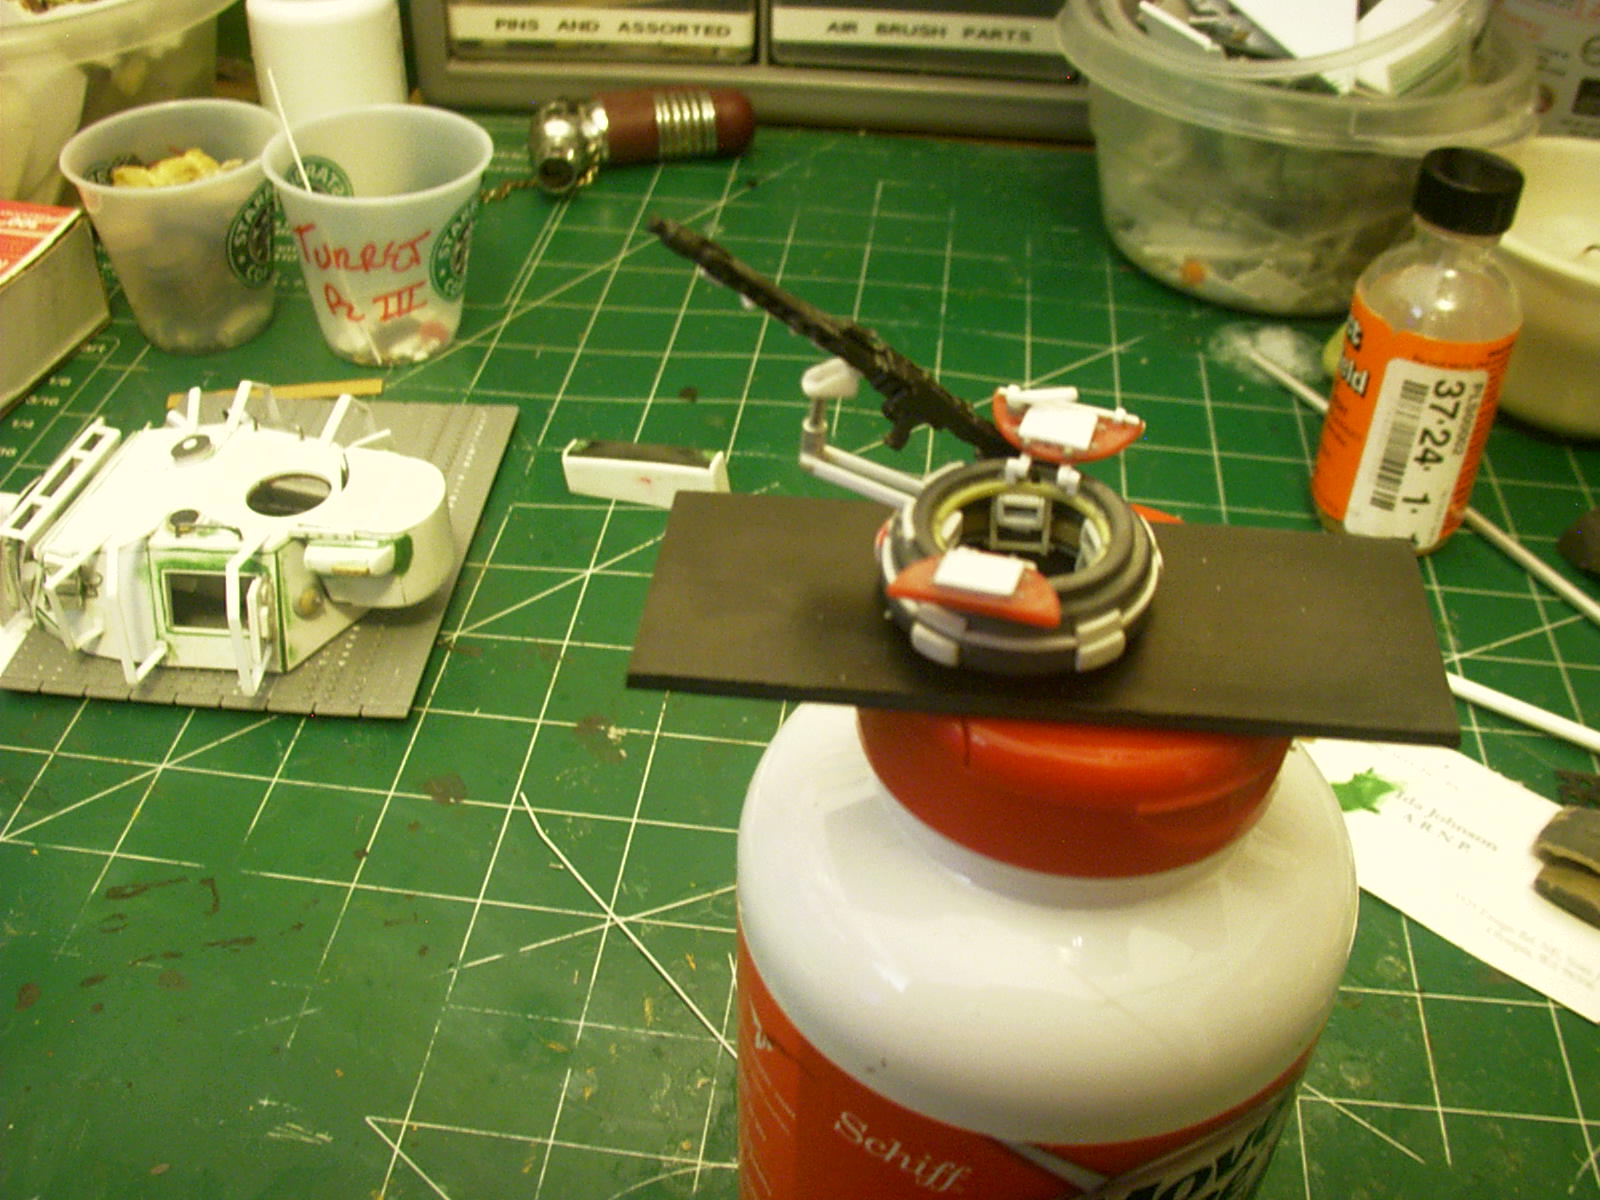
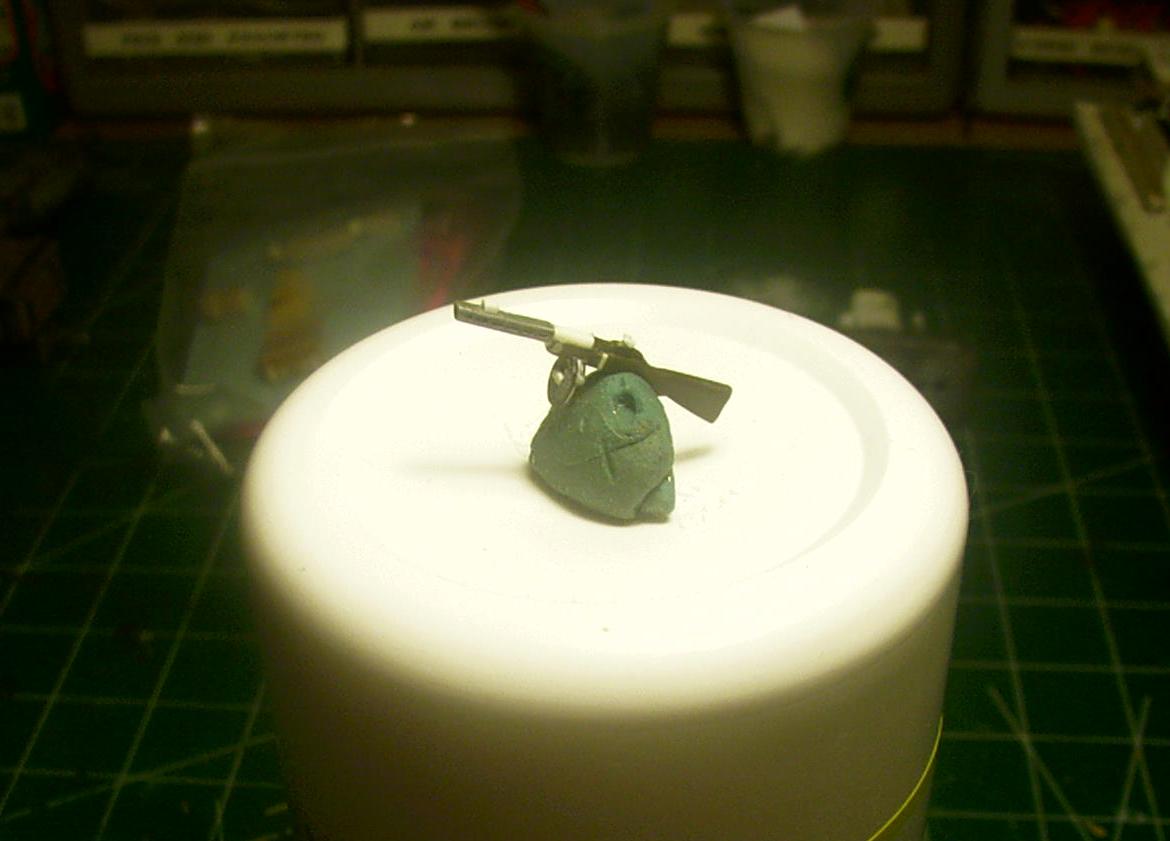
In 25th scale, I can see how you were able to fabricate items like the boxes etc but how did you approach the MG34?
That looks like an absolutely daunting task.
The MG 42 is actually from Preiser. a long OOP set of German Infantry weapons.
And with almost every accessory, I just did my best to replicate. Not an exact science but a lot of fun.
I’ve always believed that there is no perfect build, (well except for that B-17 over on Areo Scale), so I sometimes had to settle for what I could do or had. I guess I just picked what I could and couldn’t do. This build is about 85% totally scratch, unlike my Ferdinand which was 99%.


1 Like