thanks for that, that’s a really handy link.
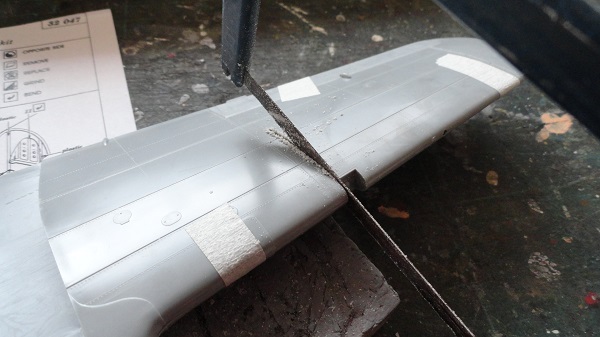
the coping saw, coping well with the wing removal.
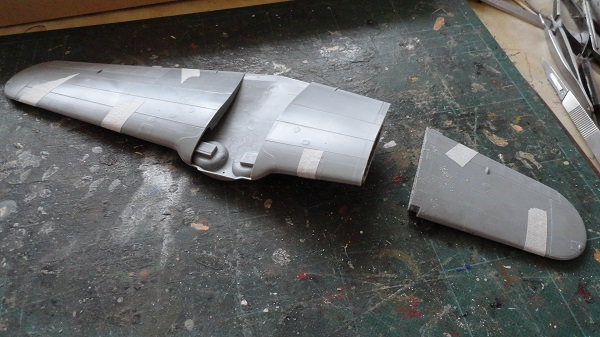
neatly severed.
thanks for that, that’s a really handy link.
the coping saw, coping well with the wing removal.
neatly severed.
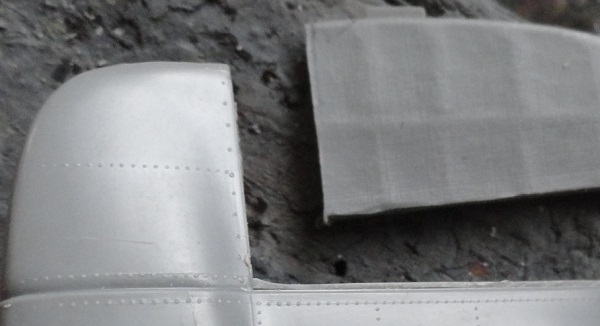
using a dremol to thin the wing from inside.
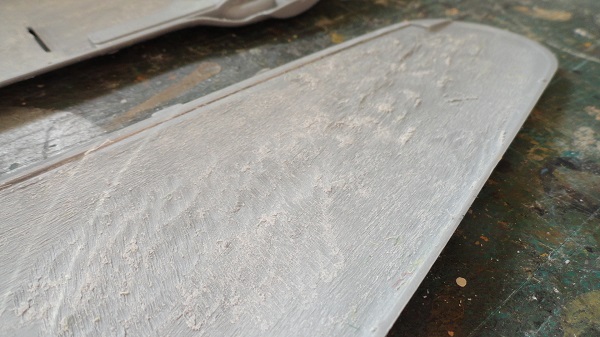
constantly checking that the area lets light through, and that I’m not going to fast and breaking through.
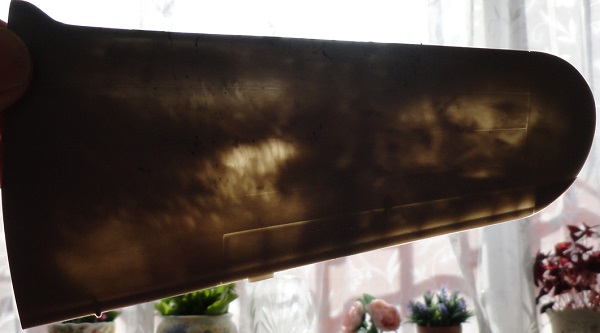
with the wing thinned in the places I want, it looks like this.
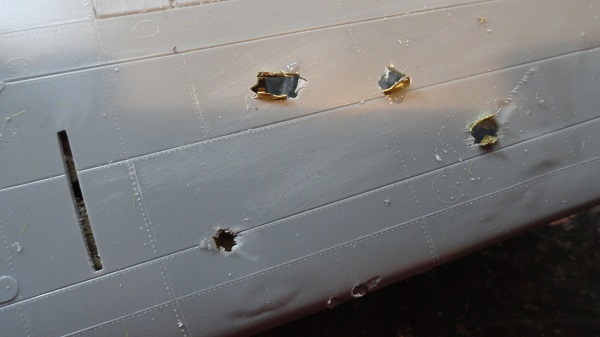
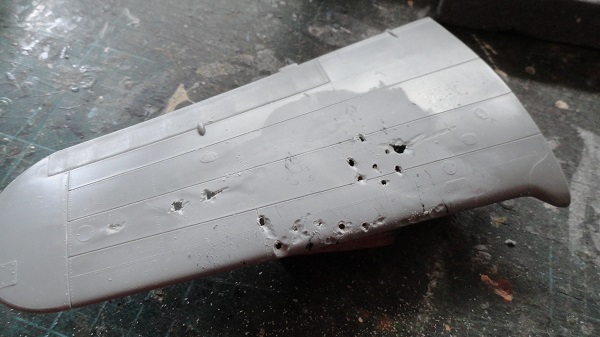
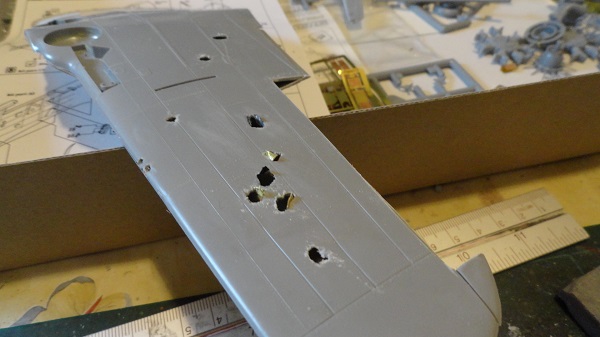
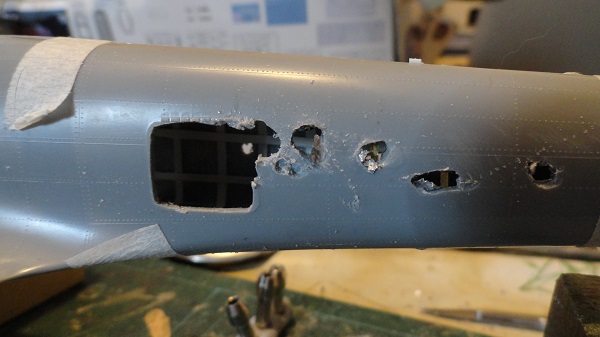
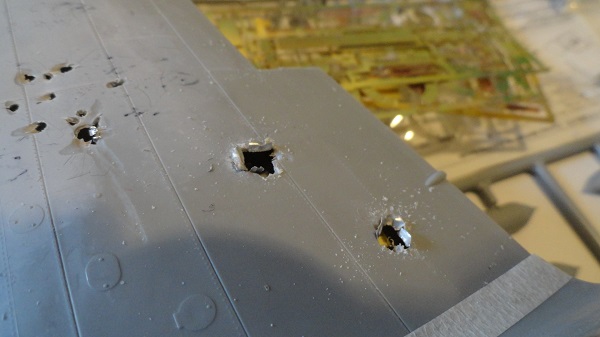
using a variety of burrs and drill bits to try to get random shrapnel damage, much more to do here.
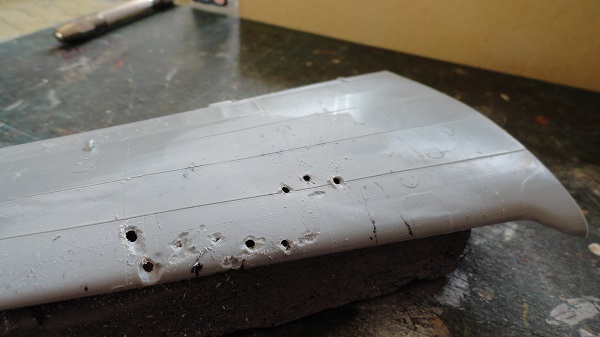
using fragments of PE frame for the underside to show where the metal bends outward as the fragment passes through.
the Rudder needs rebuilding, so it can be damaged, so off it comes at this early stage.
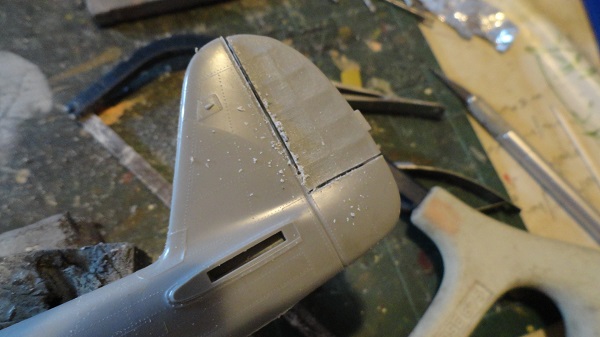
cut off, cutting inboard of the rudder so the fin remains the same length.
the solid plastic rubber to be rebuilt, so I can damage it.

Looking really good so far!
What will you be rebuilding the rudder out of?
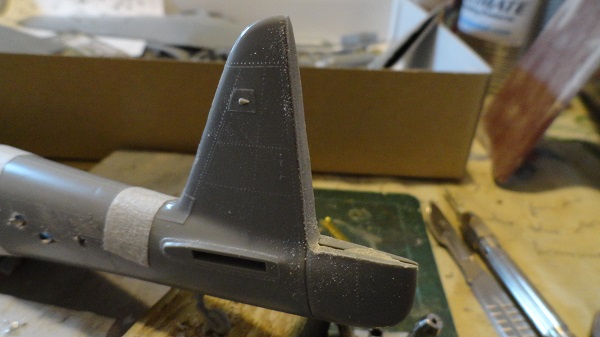
I’m making the frame from PE brass frame and plasticard, the covering will be tissue paper soaked in PVA wood glue diluted in water. A bit like making one of those balsa gliders we all made as kids.
the wings and fuselage temporarily assembled just to see the damage. Distribution and intensity.
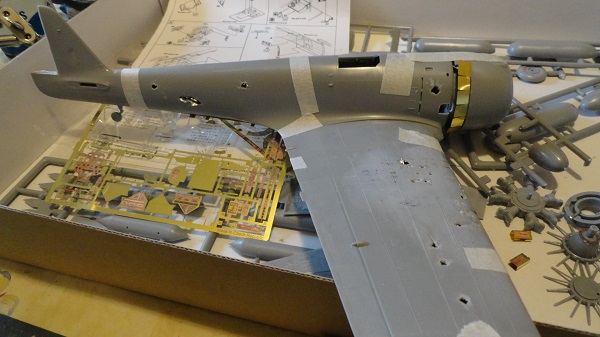
the three on the wing upper are too even and the underside does not have enough damage.
Your doing a really good job on the damage! They actually look like there blowing through metal.
with this particular aircraft the rudder was full length but only the upper part was frame covered with canvas, the lower half was metal skinned. So it’s just the upper I have to rebuild so I can destroy it.
the control surfaces on the damaged port wing will have to be cut off and shredded like the rudder, the damage resulting from all the shrapnel and bullets entering the wing through the leading edge.
more work on the under surface of the starboard wing, including the removal of the Aileron, this needs remaking so it can be shredded.
Awesome top notch fast work!
Really enjoying this.
So far I’m LOVING this project! Great battle damage, I will be watching this with interest!

Thanks for the interest guys.
I’m just checking the extent of the flak exit damage on the port side mid fuselage where it has carried away the access door, I’m happy with that, I can separate the two halves of the fuselage to clean up the door frame and add the detail.
some base colours on the engine parts.
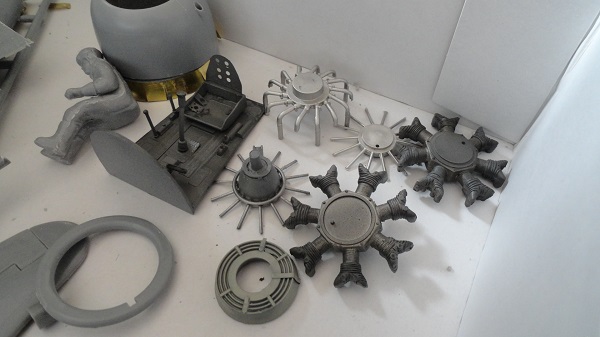
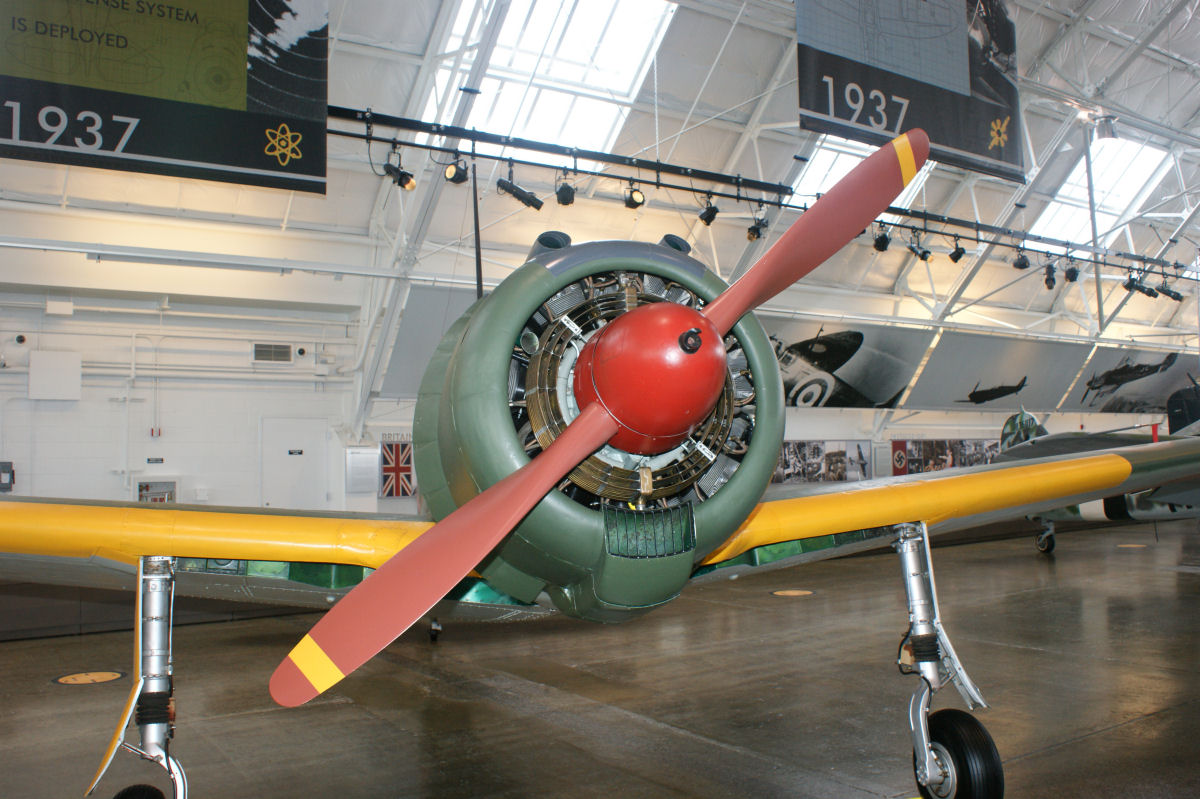
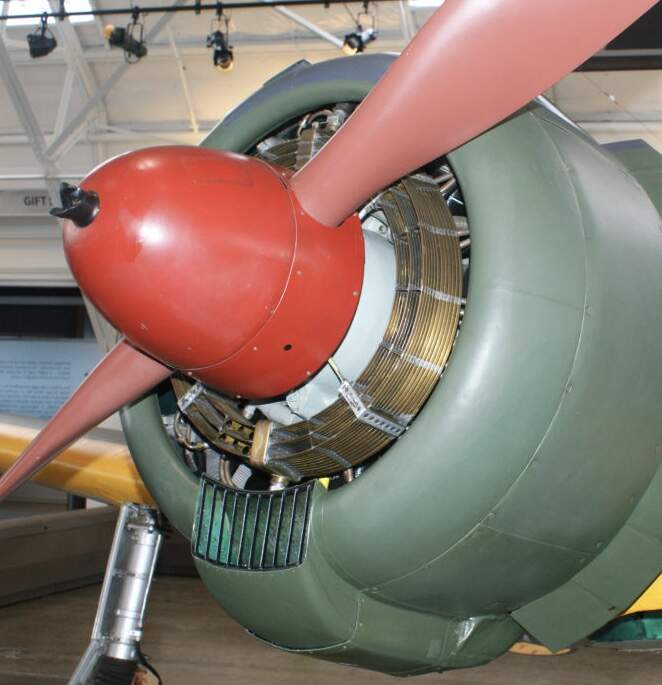
Looking good Grouser ! Here is a shot that may be of some help with engine colors , in particular the annular oil cooler. This is the type 1 Hayabusa in the Flying Heritage Collection . I believe it is the only one with an operating original Nakajima
engine .
is that the RAF Hendon Museum? just outside London?
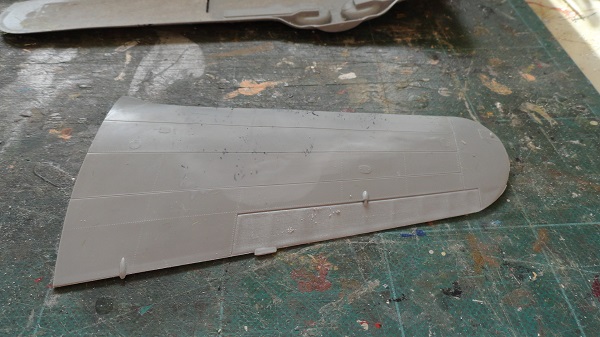
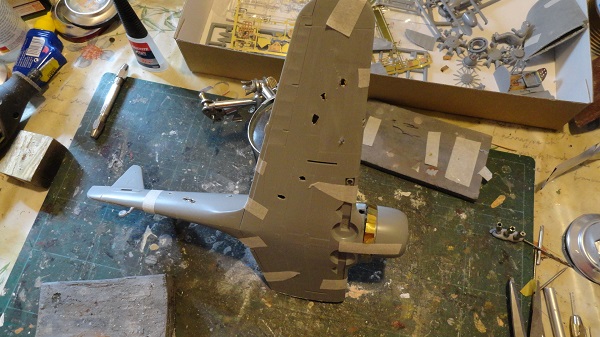
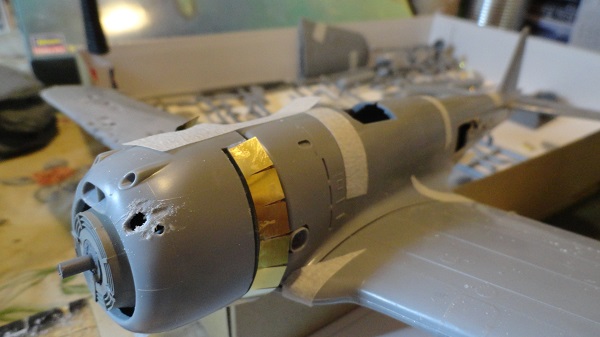
test fit with tape, not much glued together at this stage, just a look and see, where I am.
there are two new jagged holes in the starboard wing upper close to the wing root
Not RAF Museum - Flight Heritage Museum in Everett , Washington State USA .
Late Paul Allen ( of MicroSoft IIRC ) Collection .
Always love these kinds of builds but never brave enough to take to a kit with a Dremel 
Watching this great build with interest