thank you, just the effect I was striving for.
A bit of trivia:
My wife’s grandfather (Richard Day) was the Art Director for this film. It was his last film. All the memorabilia, artwork was lost in the wildfires in Oregon last September.
Cheers,
C.
1 Like
what a shame C, a loss to both the movie industry heritage and Military history. I hope Richard day survived the fire.
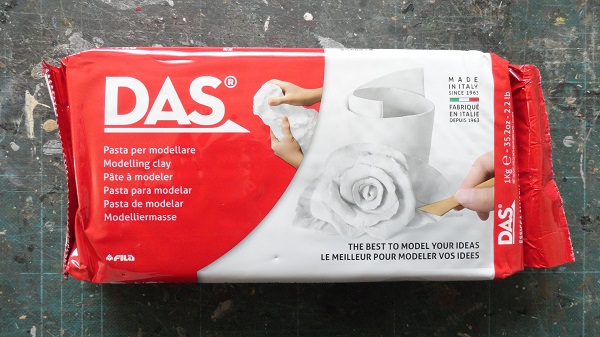
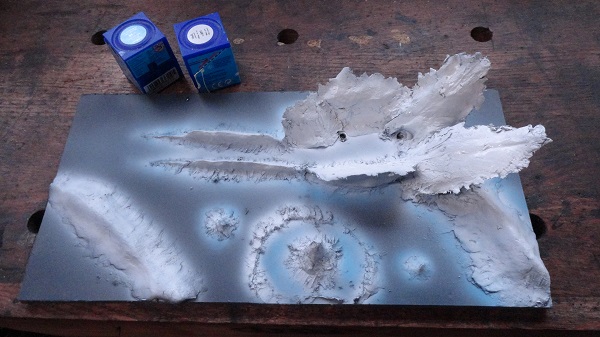
I’m using this modelling clay to work the waves and exploding water.
initial stages of molding the shapes, you can tell I didn’t study Sculpting at St Martin’s College.

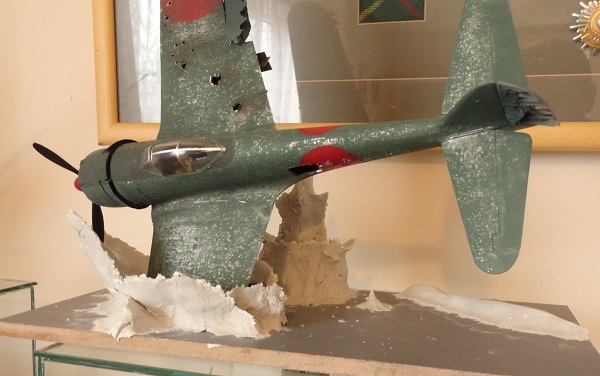
the plane can be lifted out and replaced as it’s not glued in yet
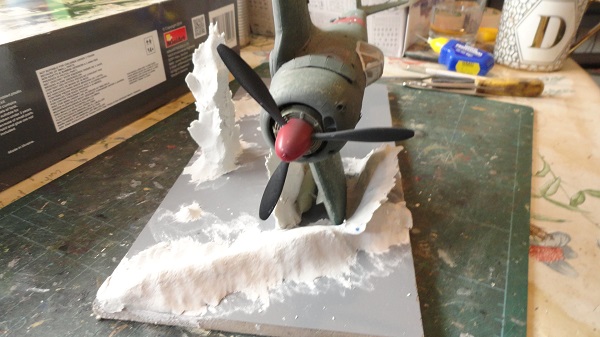
the shell hit is too narrow at the base, needs more clay to build it up, I’m tempted to allow the early stages to dry and solidify to act as a base for further building up so they don’t wilt under their own weight
WW2 - Kamikaze Attacks [Real Footage] - YouTube
I’m watching this, never gets old, to study the shapes of the shell splashes and the splashes made by aircraft hitting the water
3 Likes
I watched the video and can see exactly what inspired your scene. … Can’t imagine how that must’ve been for pilots and ships’ crews’ alike! Great job so far in capturing this poignant moment in history.
—mike
Thanks. He passed away in the 70’s but all his artwork was at my wife’s Mothers home in Ashland. Thankfully no one was lost at the house, only the house and contents.
C.
1 Like
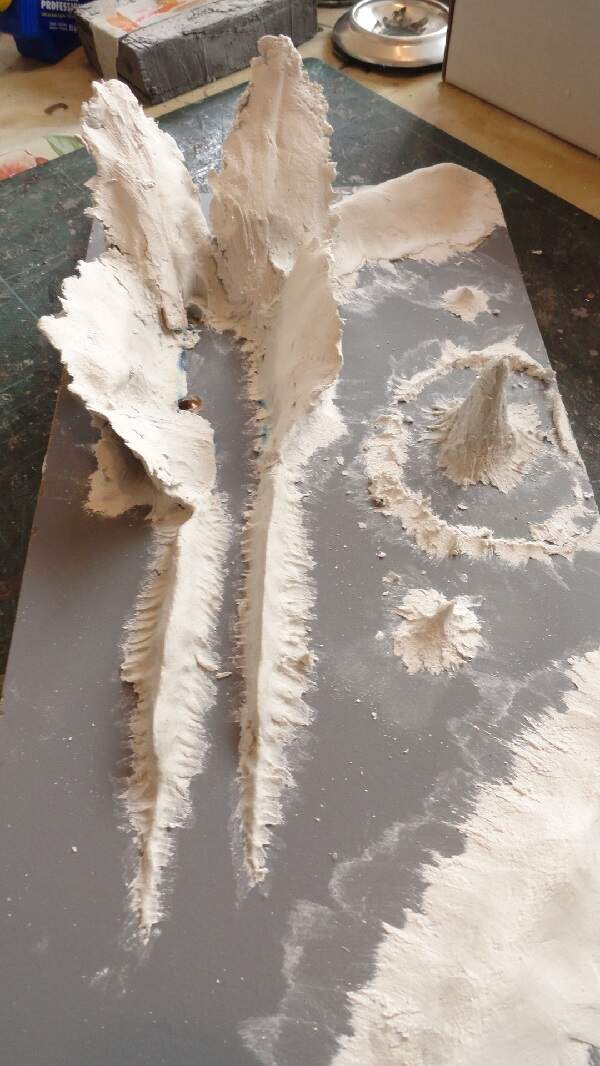
I want to add a splash shooting forward, so I’ve strengthened it with a toothpick,
with the second stage of clay added I’ll leave it to harden off overnight before blending it all together with more clay tomorrow.
6 Likes
Very impressive Grouser ! I am anxious to see more !
1 Like
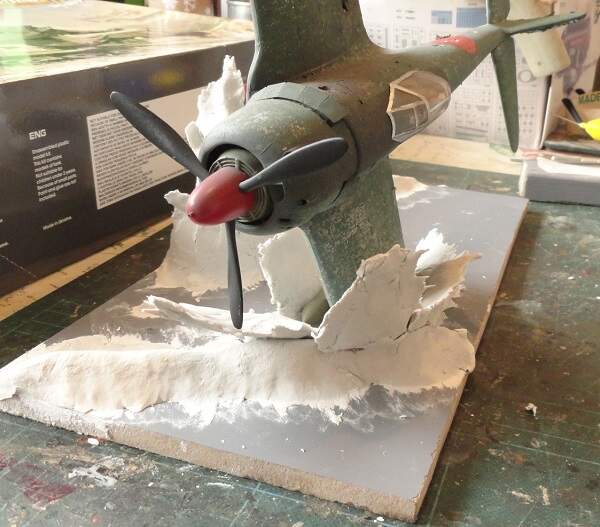
second day of sculpting the clay, reinforcing the fragile outstretched areas, the big geyser has gone, replaced by a smaller, in proportion with the diorama,splash coming to the end of it’s energy, with a pair of raised lines showing where the wing has cut through the water, give this a couple of days to harden off before I coat it with paint and Aqua magic, and try to make it look less like clay and more like water frozen in time.
5 Likes
Looking awesome!
Its gonna look spectacular with paint.
1 Like
I second this!! Can’t wait to see it painted up
Cheers,
C.
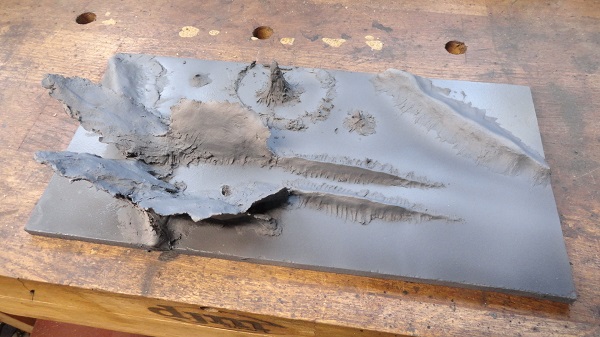
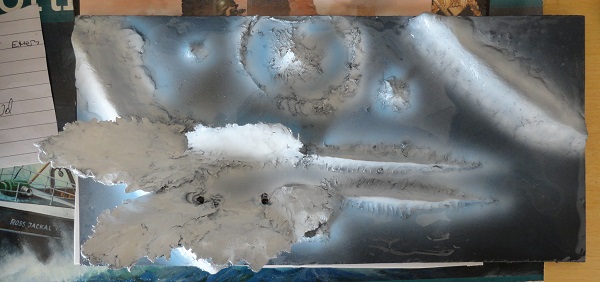
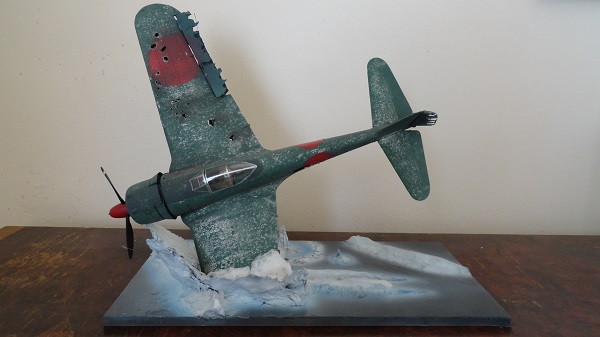
using two tones of ocean blue, darker for the deep ocean areas, lighter blue for the areas of disturbed water.
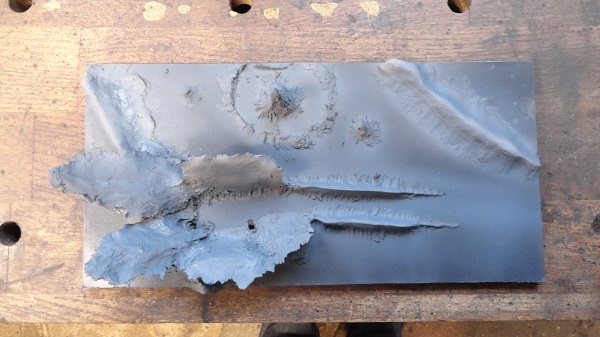
letting the coats dry between applications. Next is the whites of the foam and spray, then the liquid effect.
4 Likes
Me thinks this will look really good. The color of the water already looks very realistic. Will look awesome with water effects
1 Like
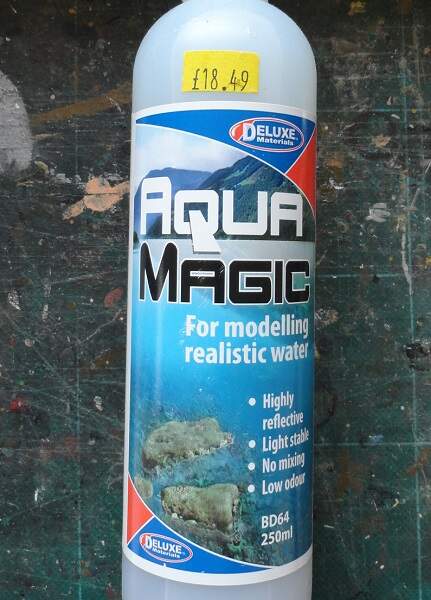
the aqua magic comes out of the bottle very fluid, I hope to create ripples as it goes off.
4 Likes
Awesome looking work on all aspects so far!! I will be very interested to see how the water out of the can works.
Your idea for making the splashes out of air dry clay is a very interesting trick too.
Cheers
Mike
1 Like
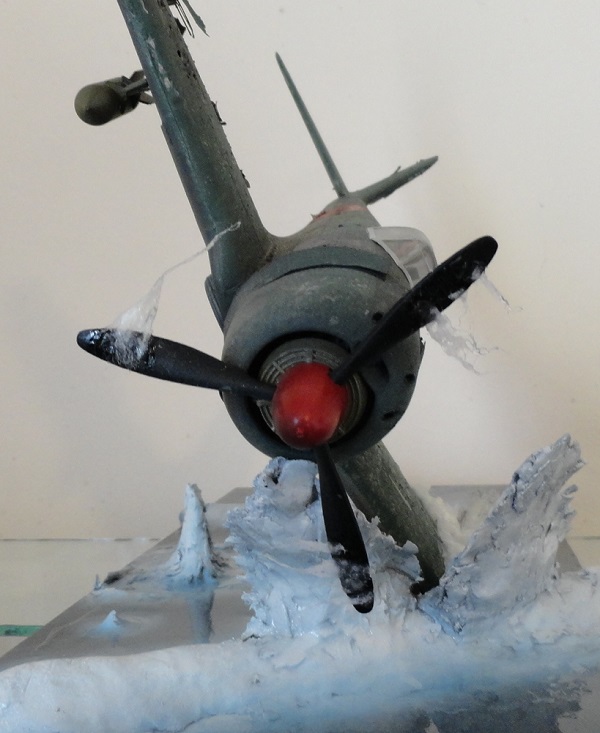
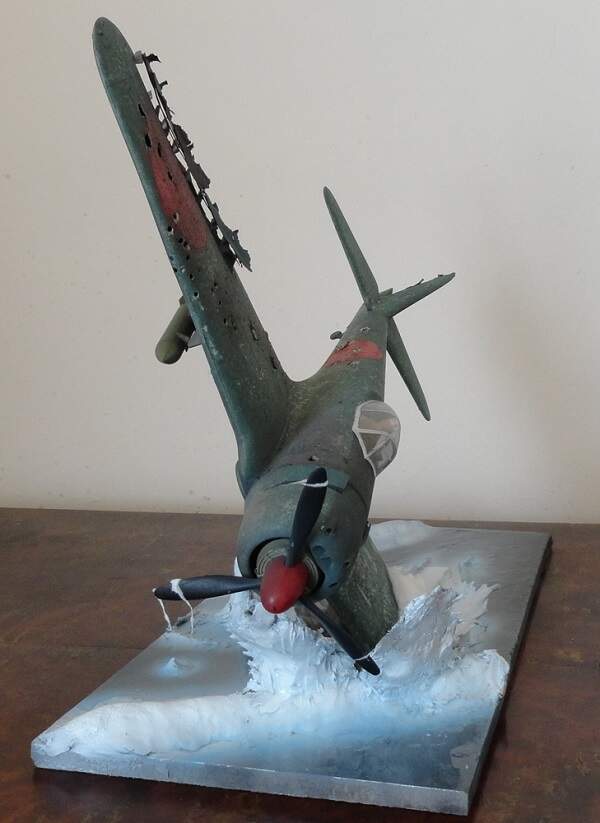
next stage, the glue has set the wing stub in place now so there’s no going back, it’s now in it’s final position.
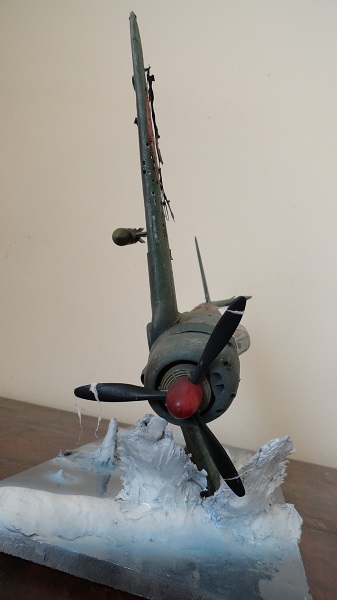
using cotton wool soaked in pva glue to replicate the boiling turbulance at the point of entry.
experimenting with soaked cotton wool making water spraying off the blade edges, more work needed there.
3 Likes
That splash-down looks incredible! You’ve got the perfect angle dynamics of the port wing getting yanked into the water. … Looks like a real struggle going on!
If I may note two minor observations:
• Possibly consider turning the rudder in the opposite direction to depict the pilot fighting the stick?
• The water dripping off of the prop seems incorrect for the prop’s counter-clockwise rotation.
—mike
1 Like
Thanks JSI, some very intuitive aeronautical insight there, I’ve looked at the scoop of the blades and realized the drips are in the wrong part of the blade and sweeping off in the wrong direction. I’m impressed with the technique enough to expand on it and make more, in the right way this time, something that adds dynamic is worth doing correctly.
2 Likes