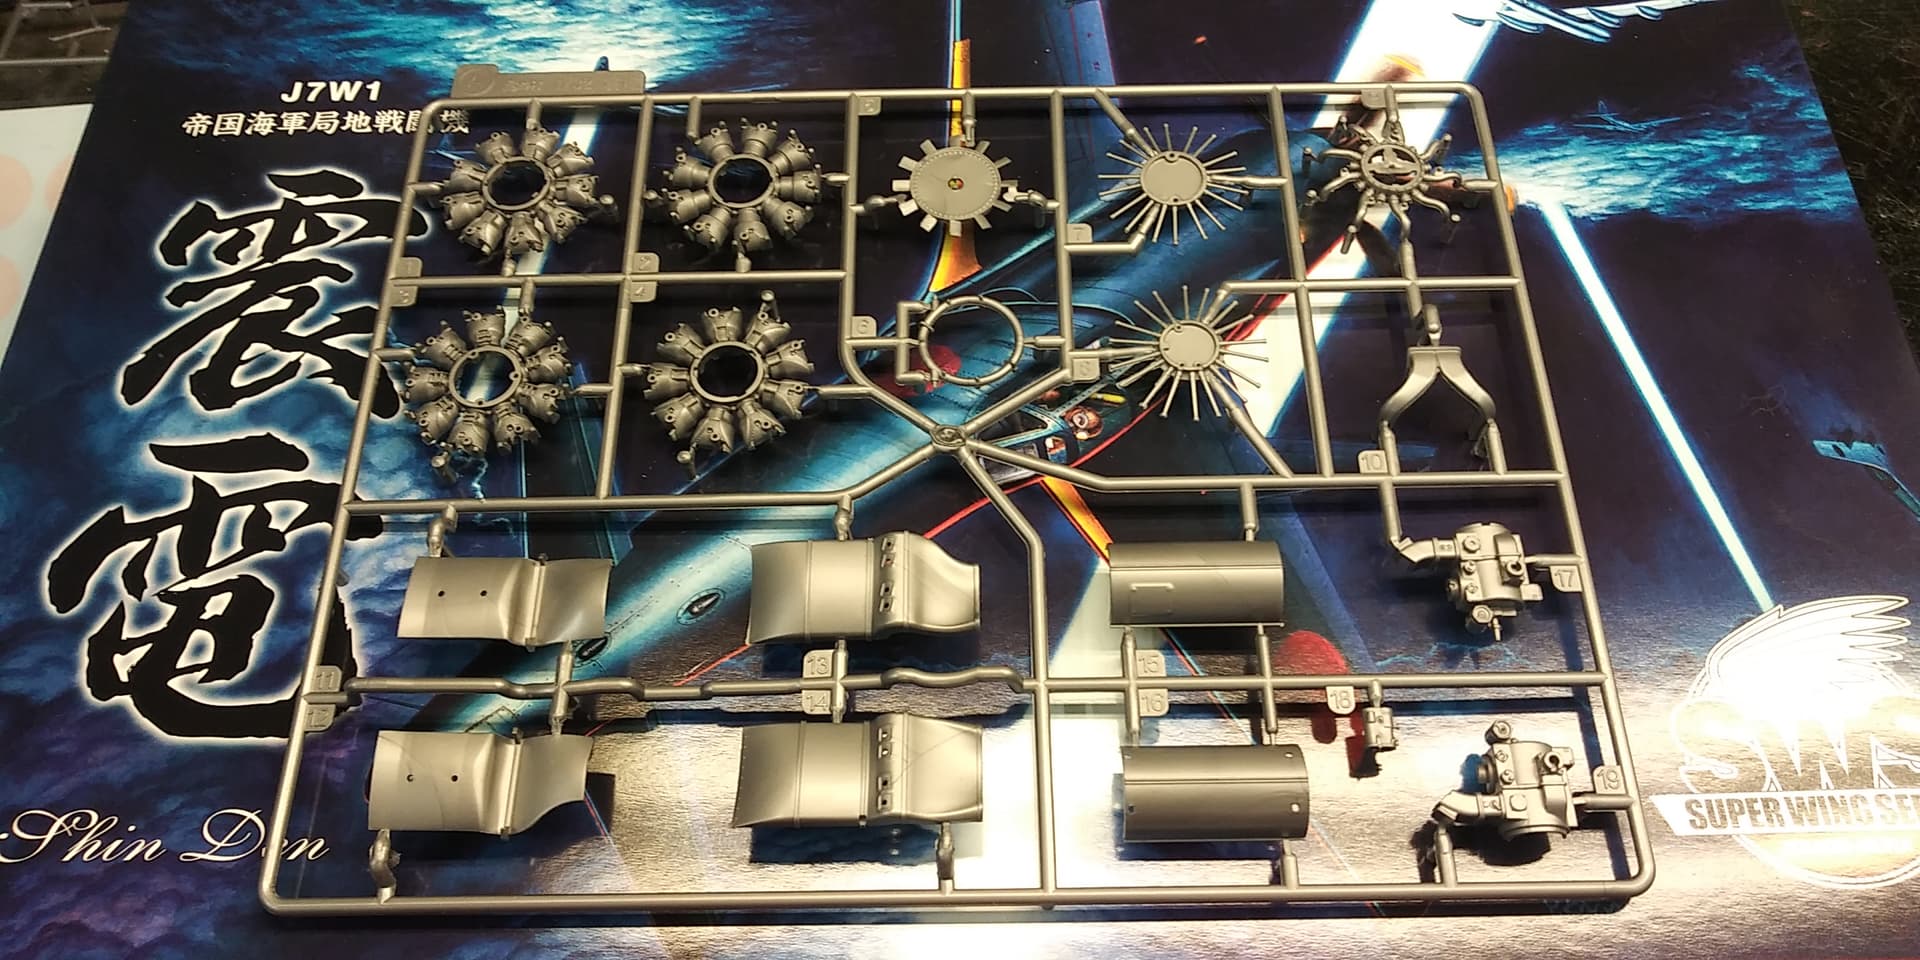
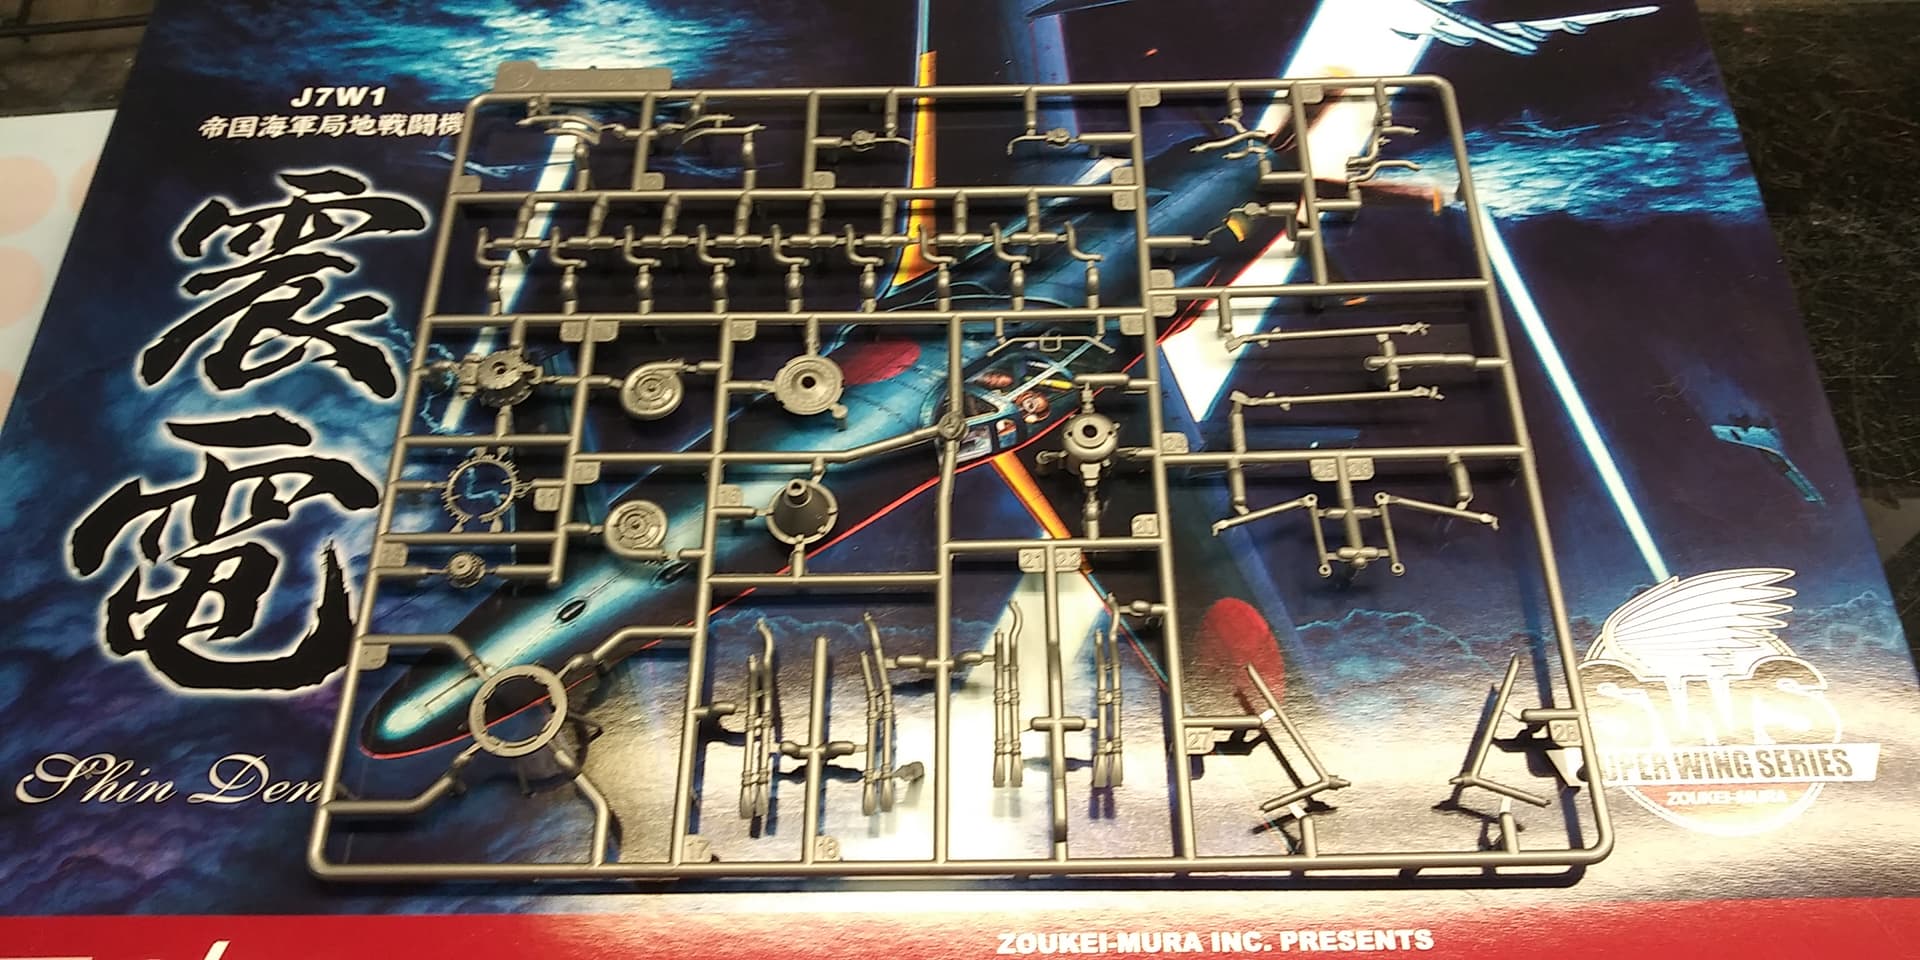
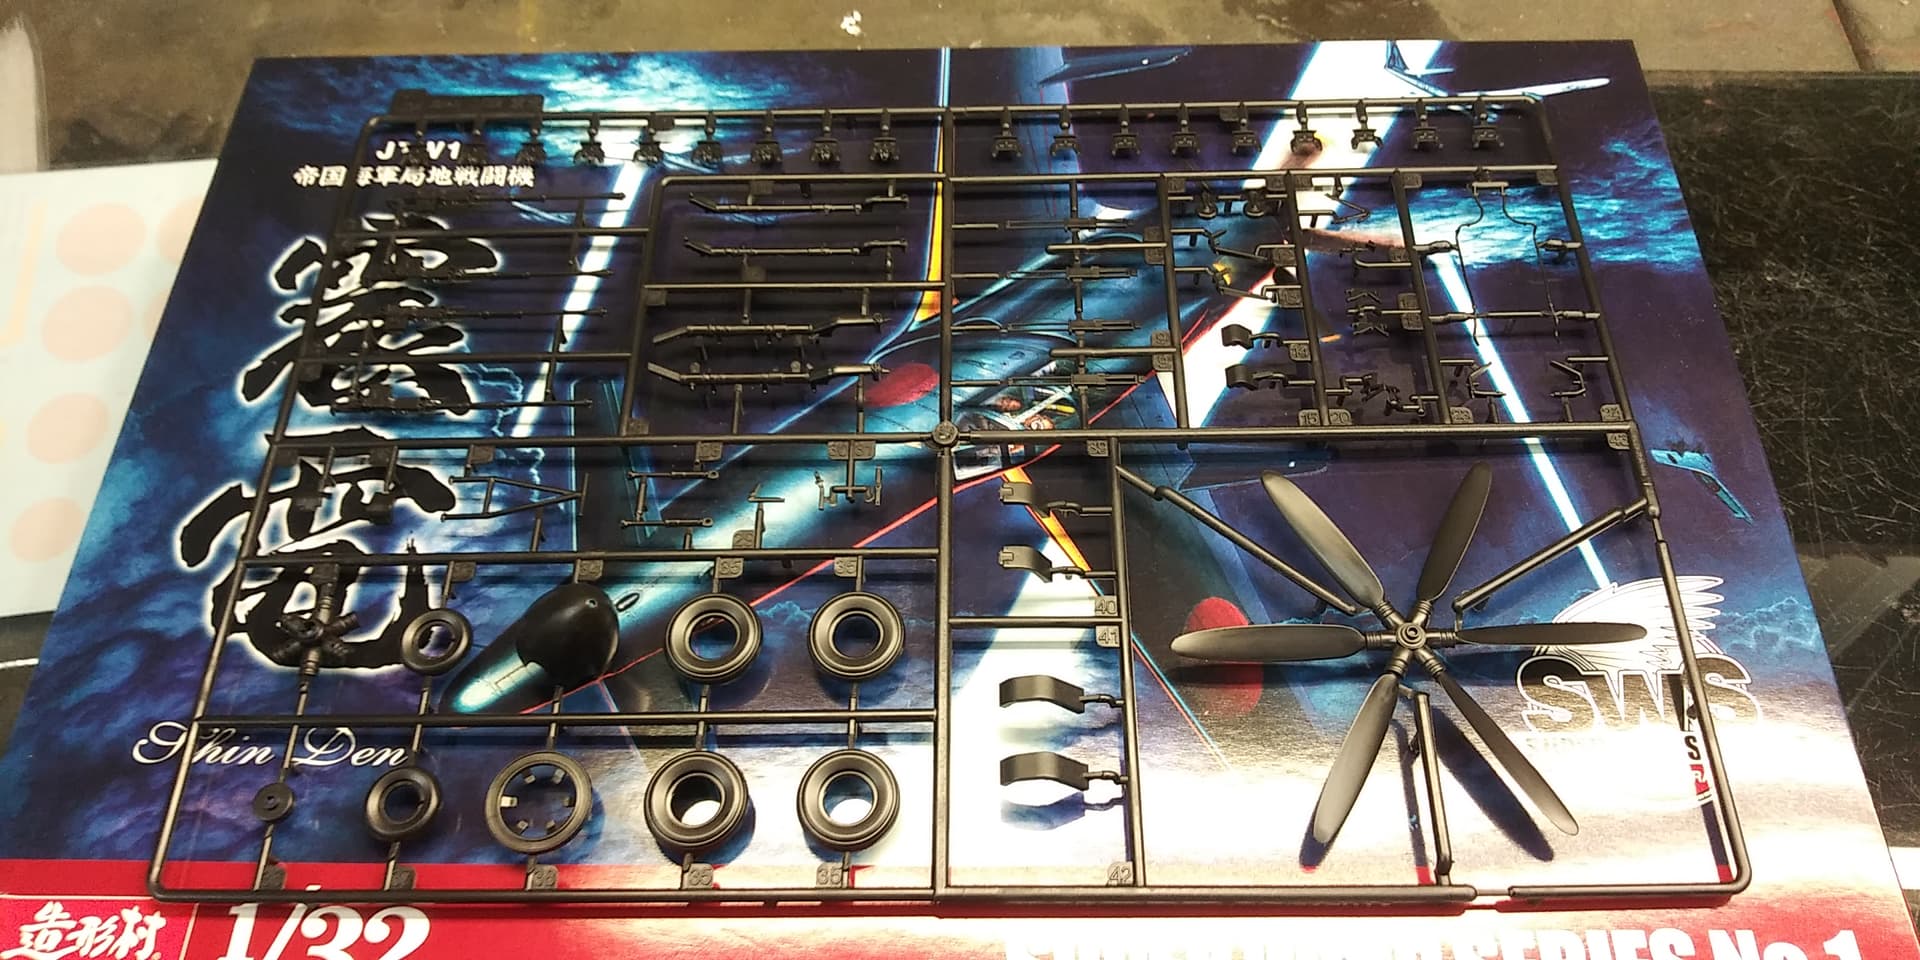
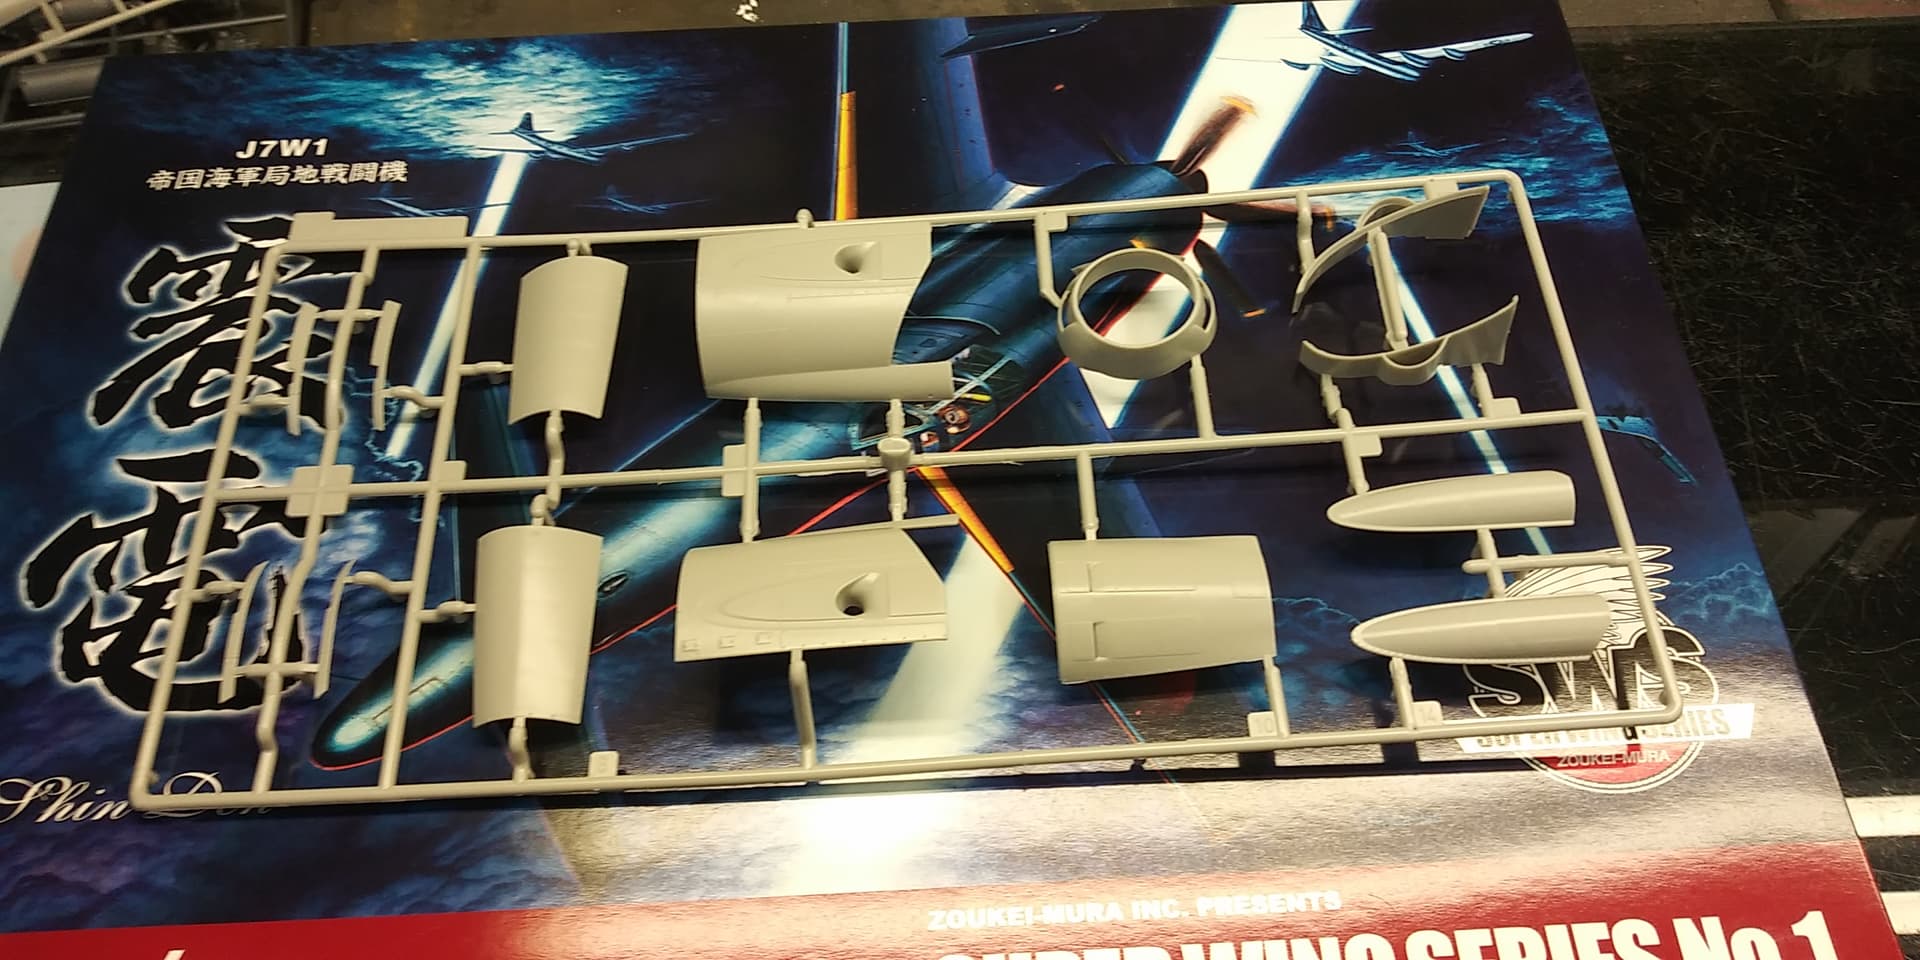
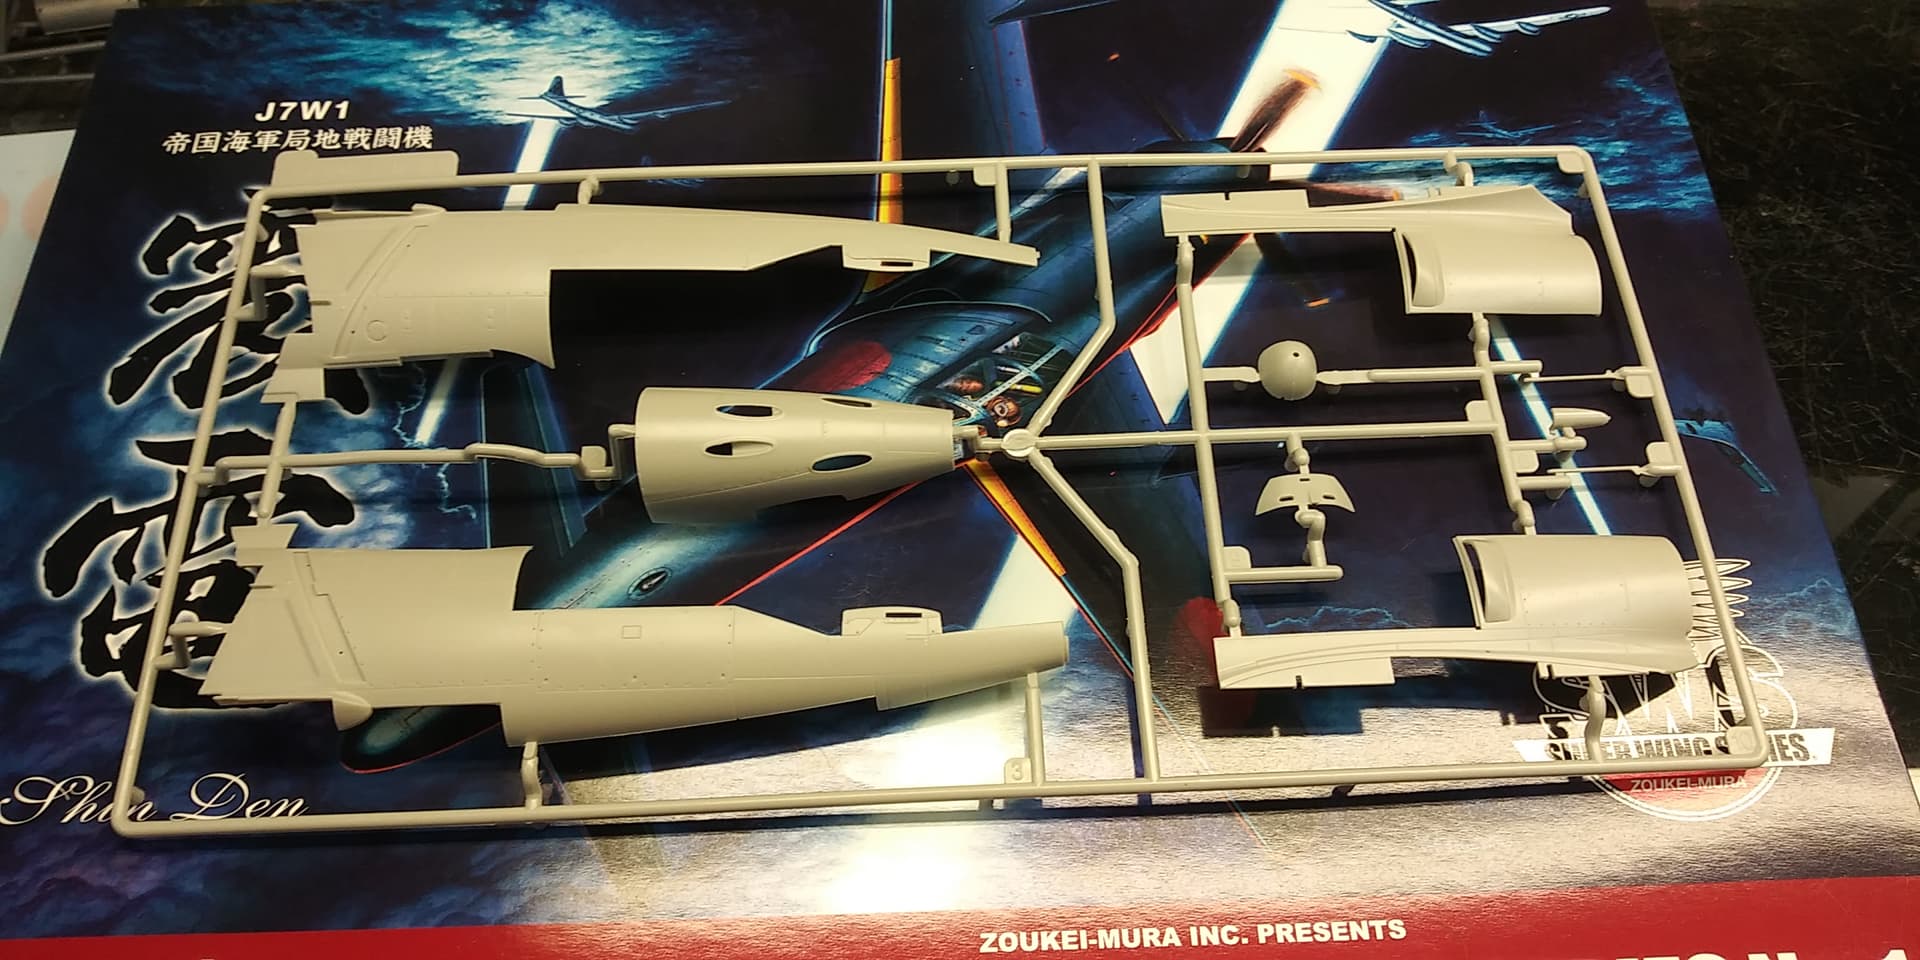
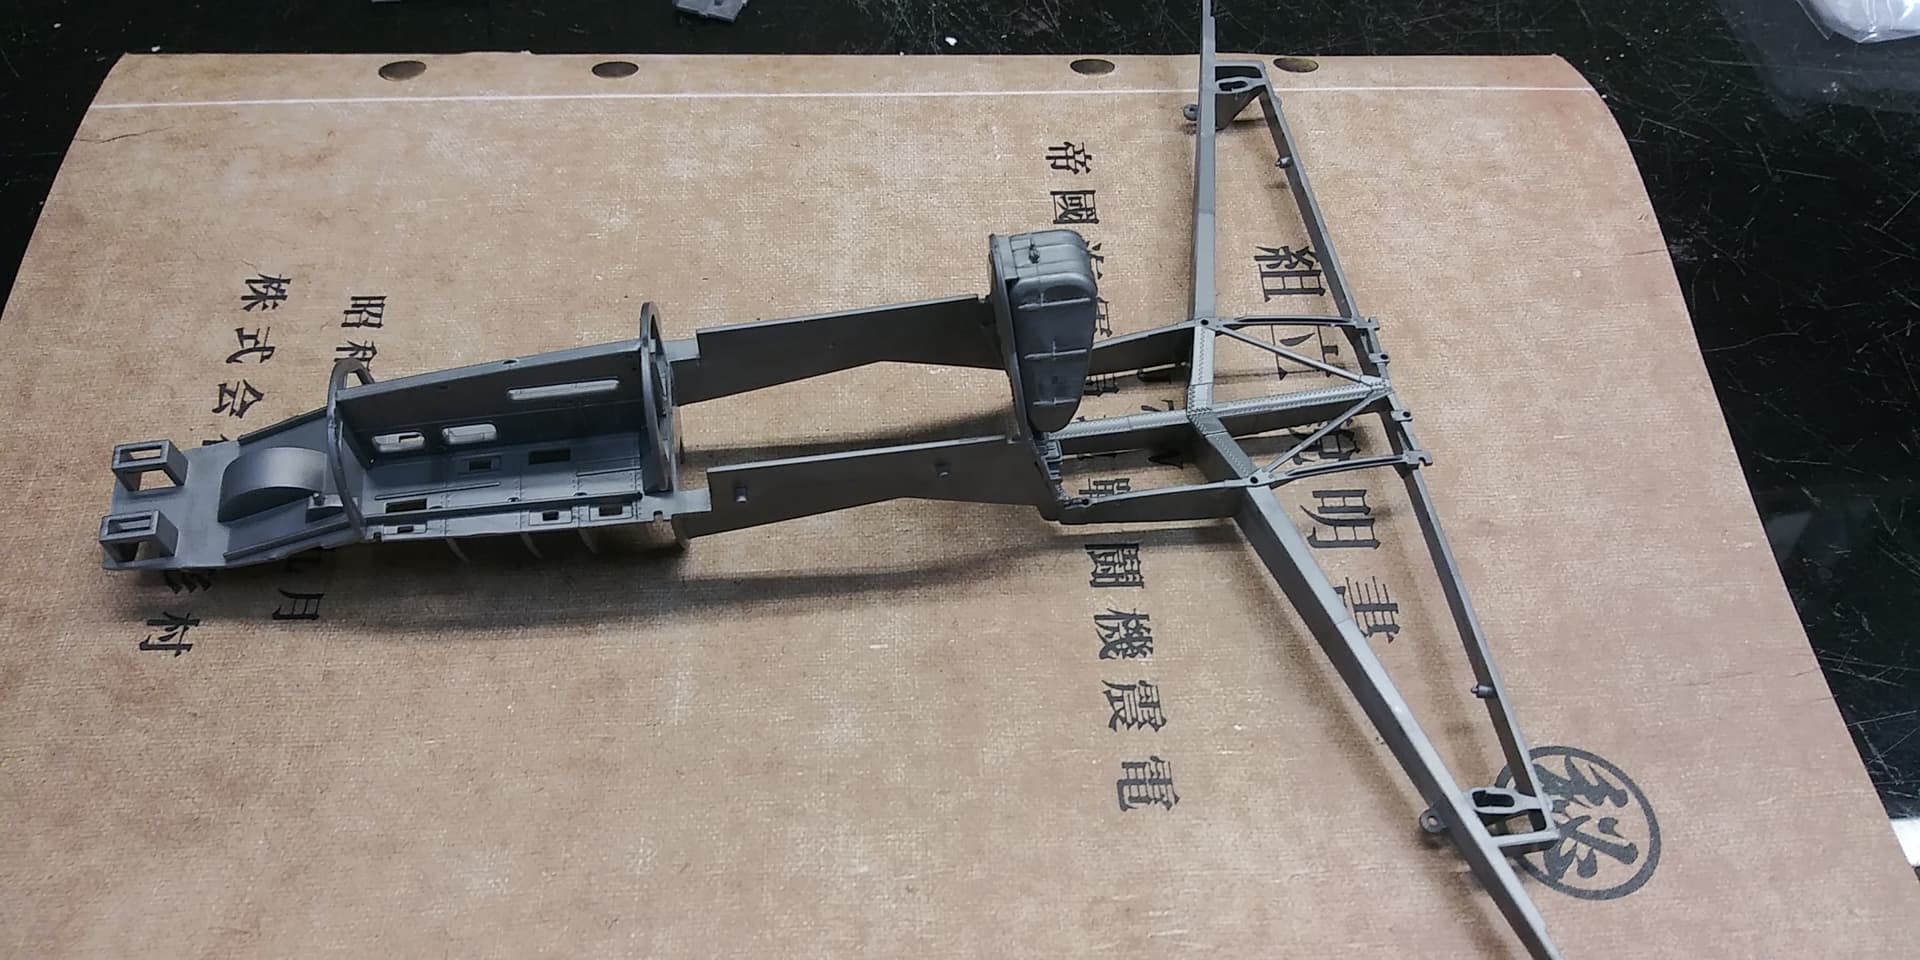
Since it has been quite a while since I have added anything of worth on here I thought it was time to contribute once more and document this build from start to finish. It was a land-based aircraft produced in 1945 with a crew of one. Only two airframes were ever produced. It had a maximum speed of 405 knots cruising speed of 240 knots a ceiling of 1200 m. Being a pusher Style single-engine land-based fighter made this a little revolutionary for its time. The airframe never saw combat but it did see 3
test flights which were on August 3rd August 6th and August 8th of 1945
8 Likes
Yay! Welcome back Chris! That’s a very cool bird, I’ve no doubt you’re going to do something special to it.
1 Like
I’m going to watch your build as I missed out on this bird when then came out but did pick up the 1/48 version when that was released. I do also have the Hasegawa kit of the proposed jet version but that is a mix of old raised panel line mixed with new tool recessed parts for the new jet bits.
ZM did do a lot of conversion bits for the 1/32 kit including the jet engined conversion.
Well progress has been a bit slow.
Went down the research rabbit hole for a bit.
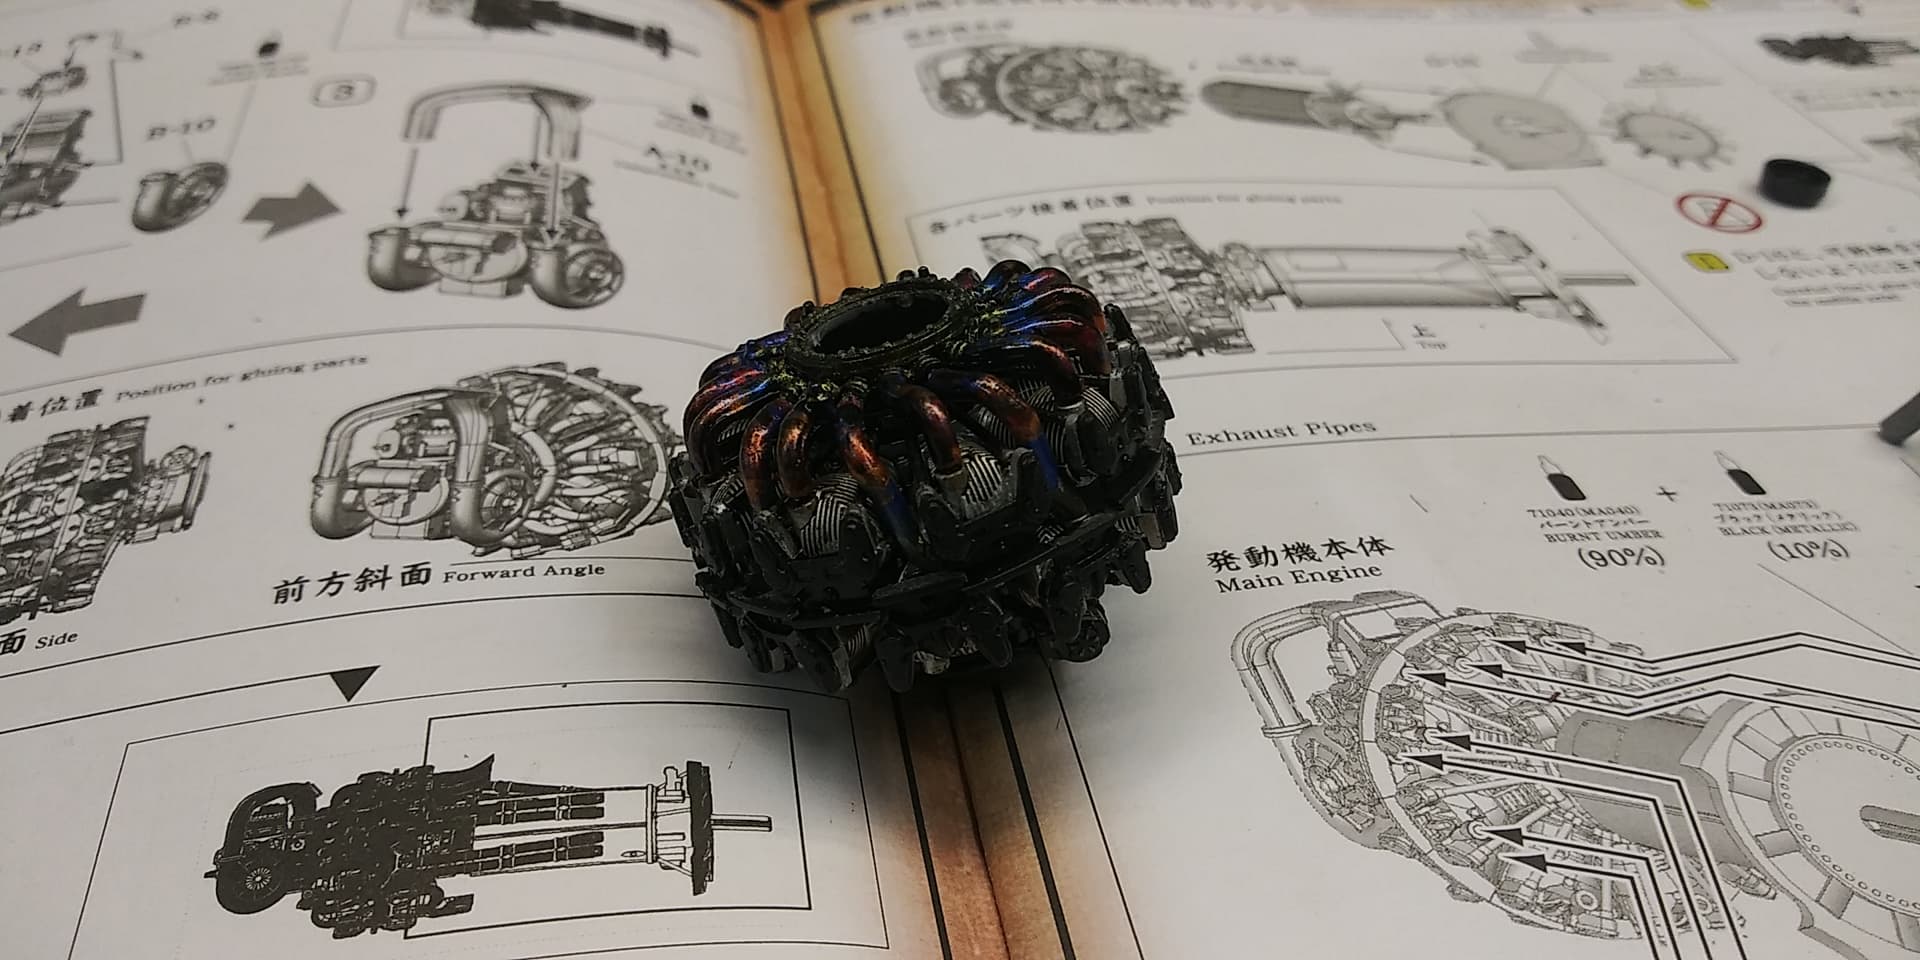
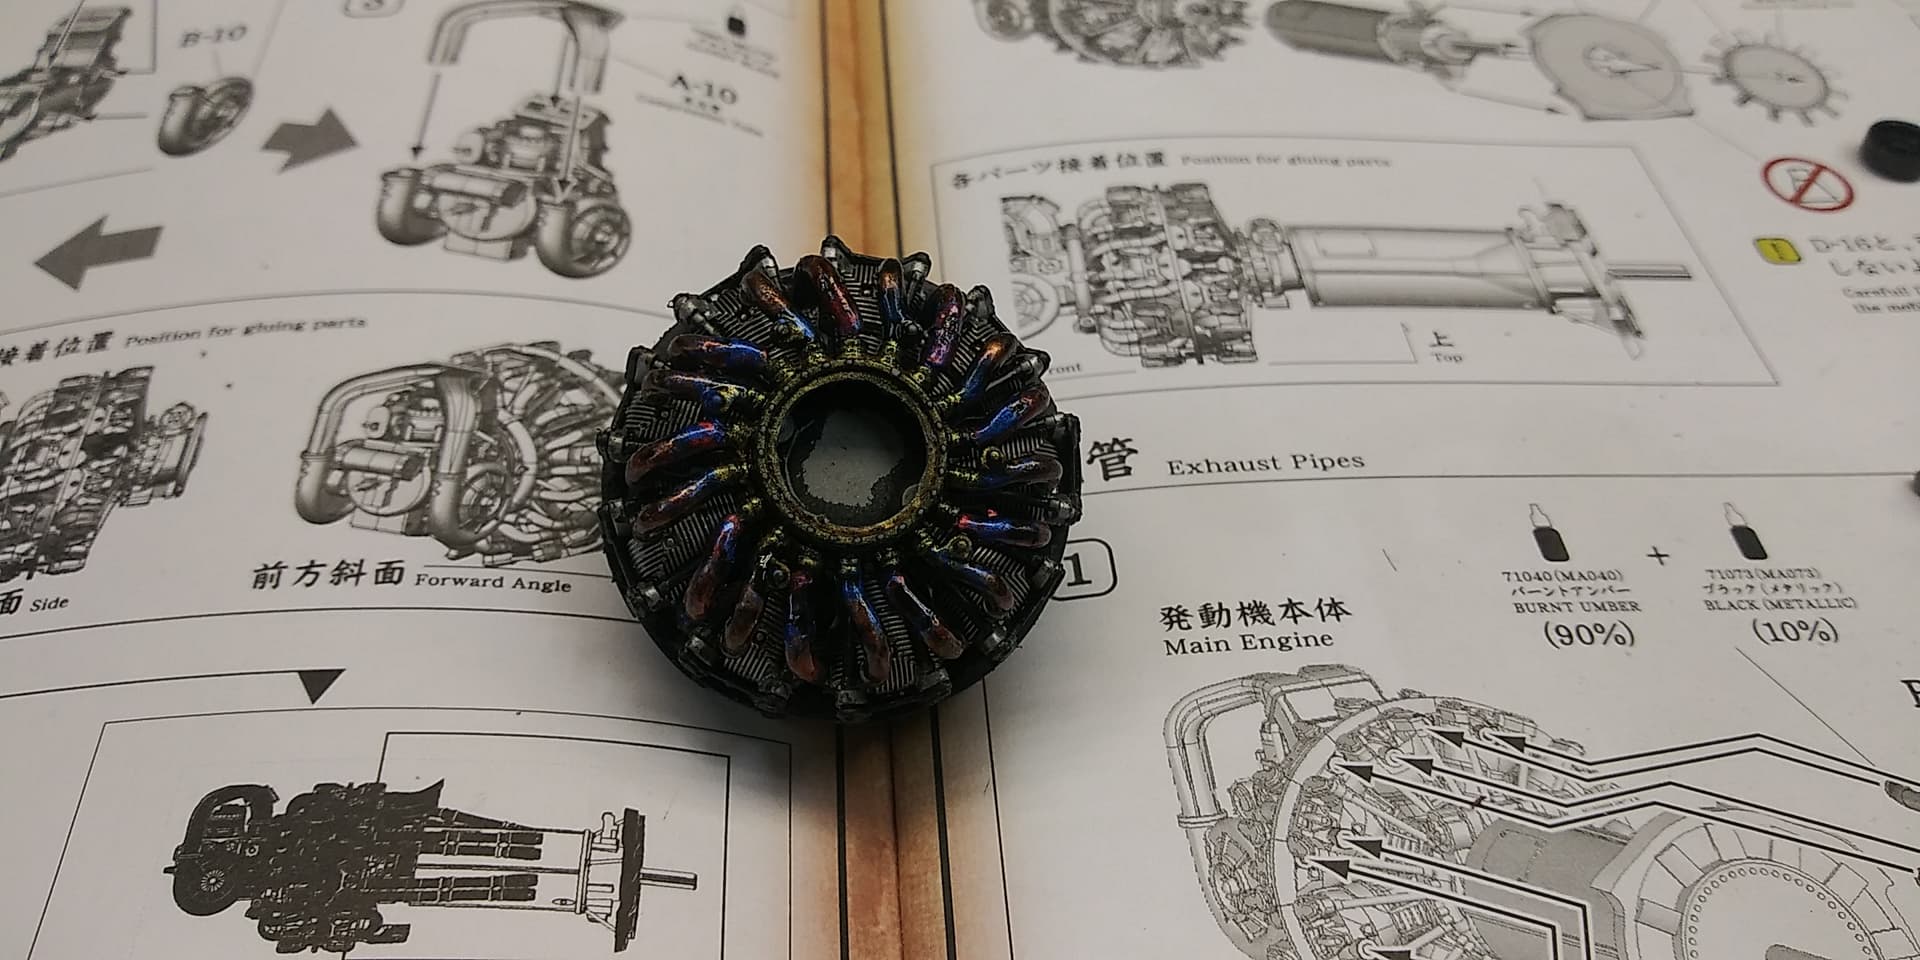
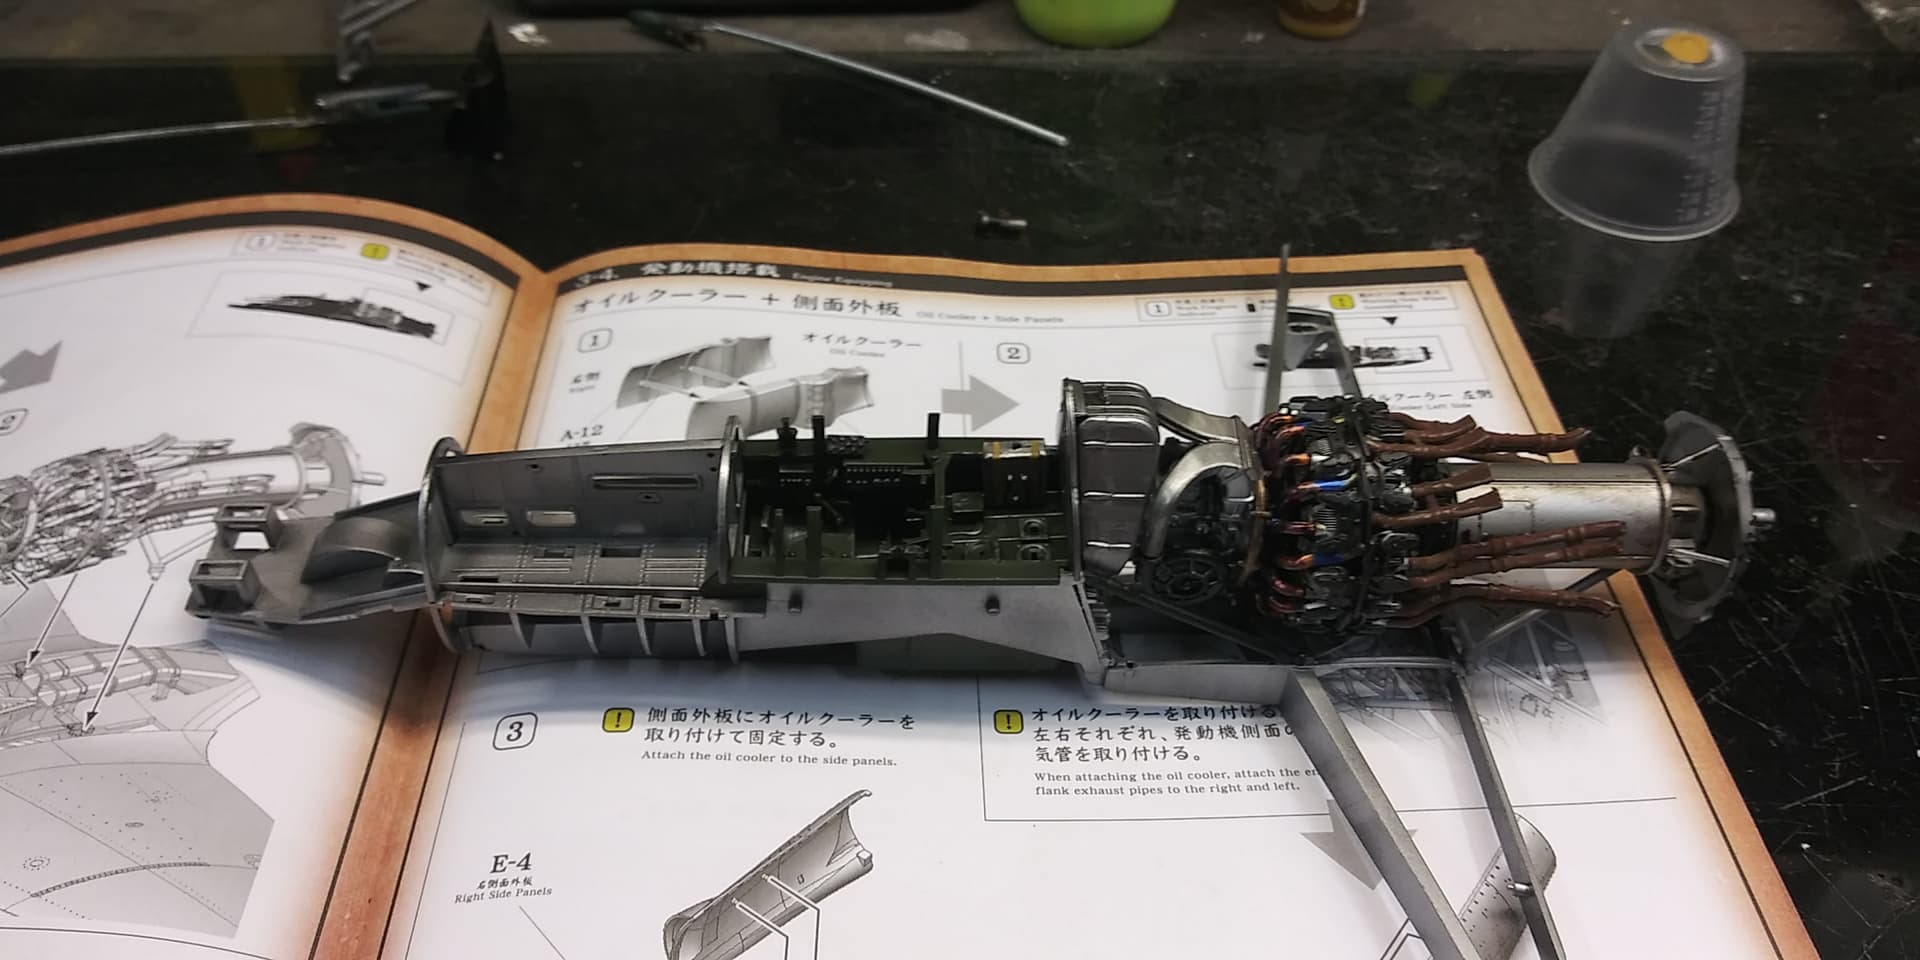
So far the engineering is amazing. At this stage I would build another but go about it in a different way. The engine is very detailed but could use a little extra dressing up. The only real way is to start that process before any of the parts ever go together.
I have done a little heat staining on the manifold and have more work to do on the engine
5 Likes
The second most dangerous part of this hobby after CA glue.
2 Likes
Now that right there is a work of art!!
1 Like
Good to have you back Chris. Very unique build here. … the manifold colours look superb, how were they achieved ?
Yes CA can be a force for good or evil
@DennisatAutoloader thanks Bro.
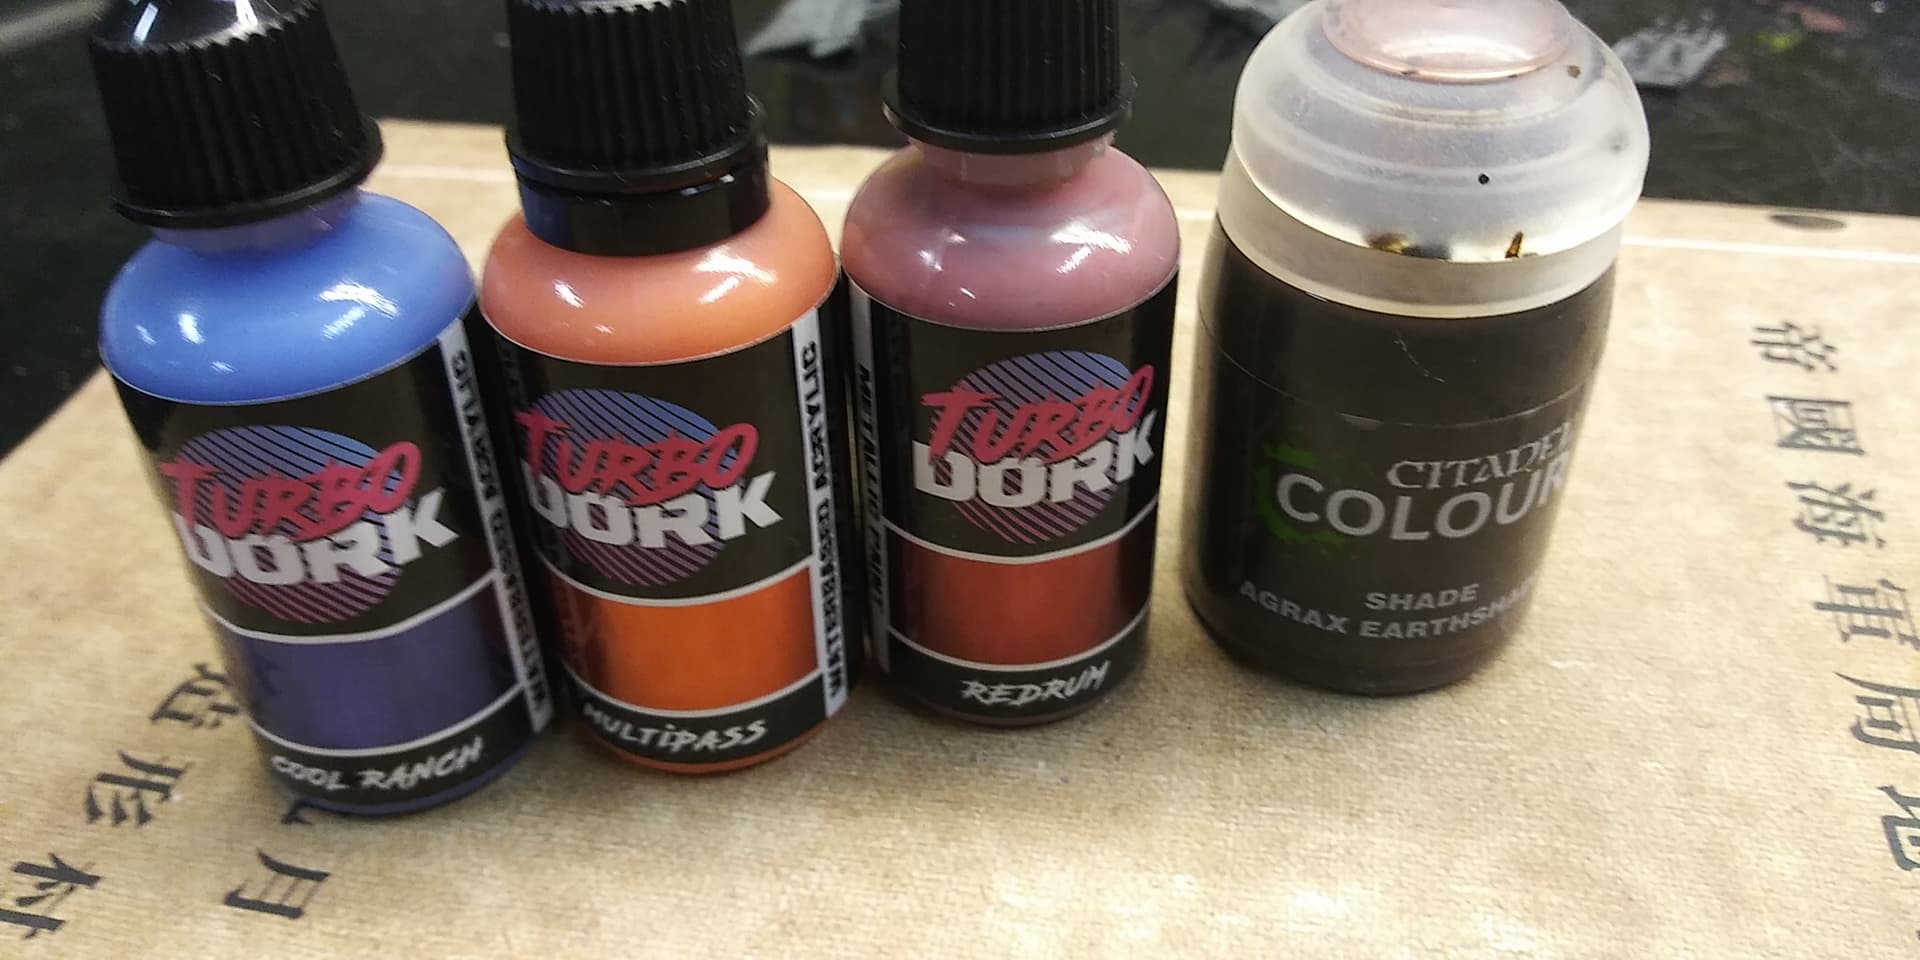
@Canmedic . to get the heat stained look I used turbo dork paint over a black base.
I applied the blue first with a brush followed by a small band of orange and then some red all of this was blended by applying agrax earthshade wash ov
er it
2 Likes
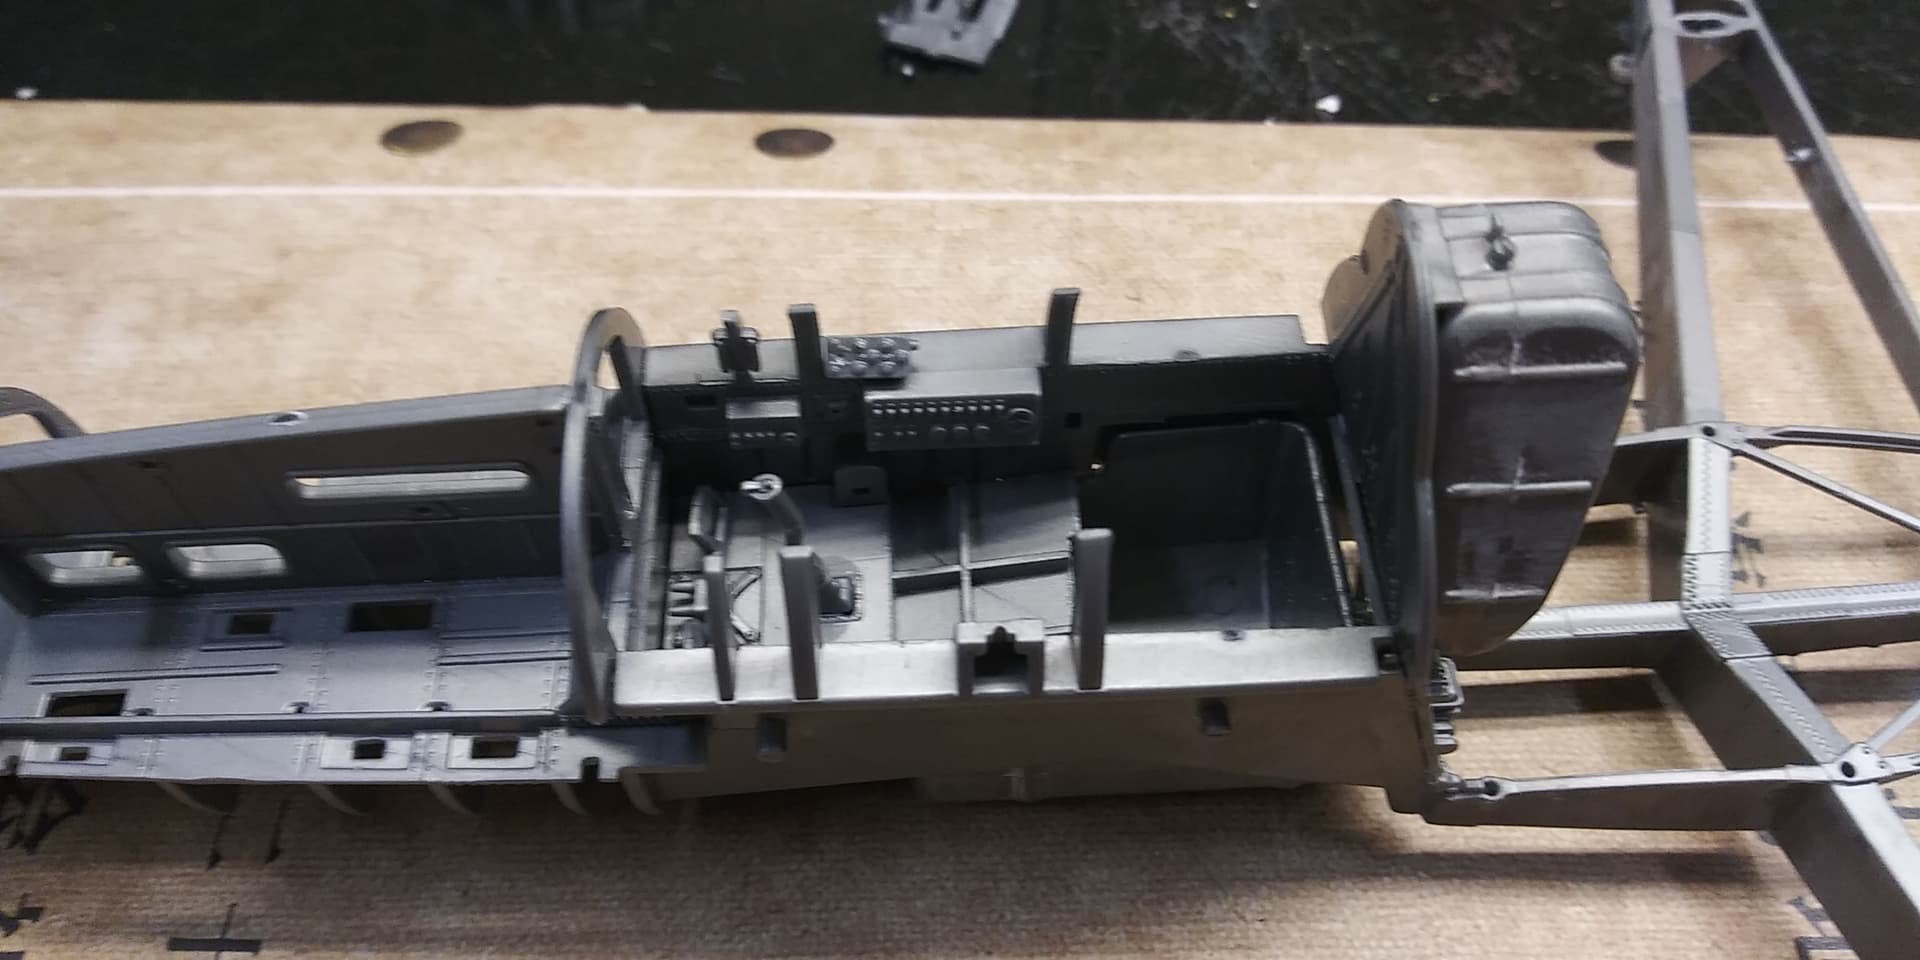
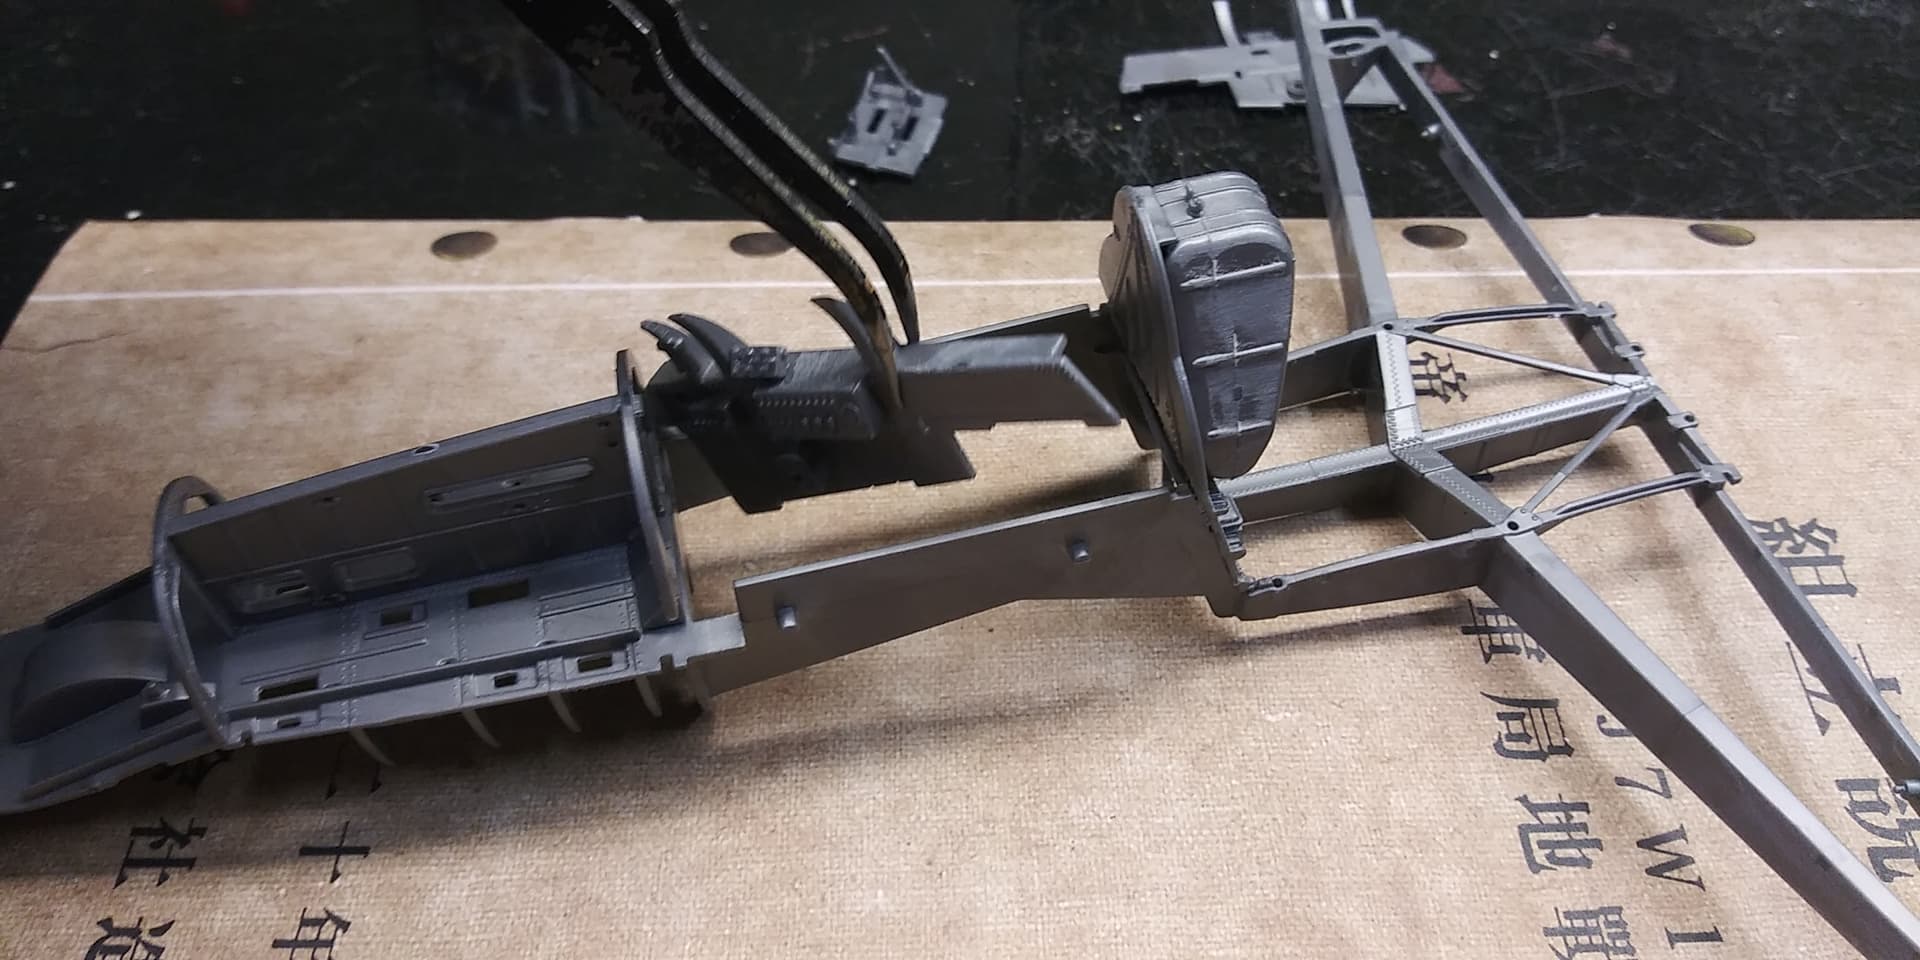
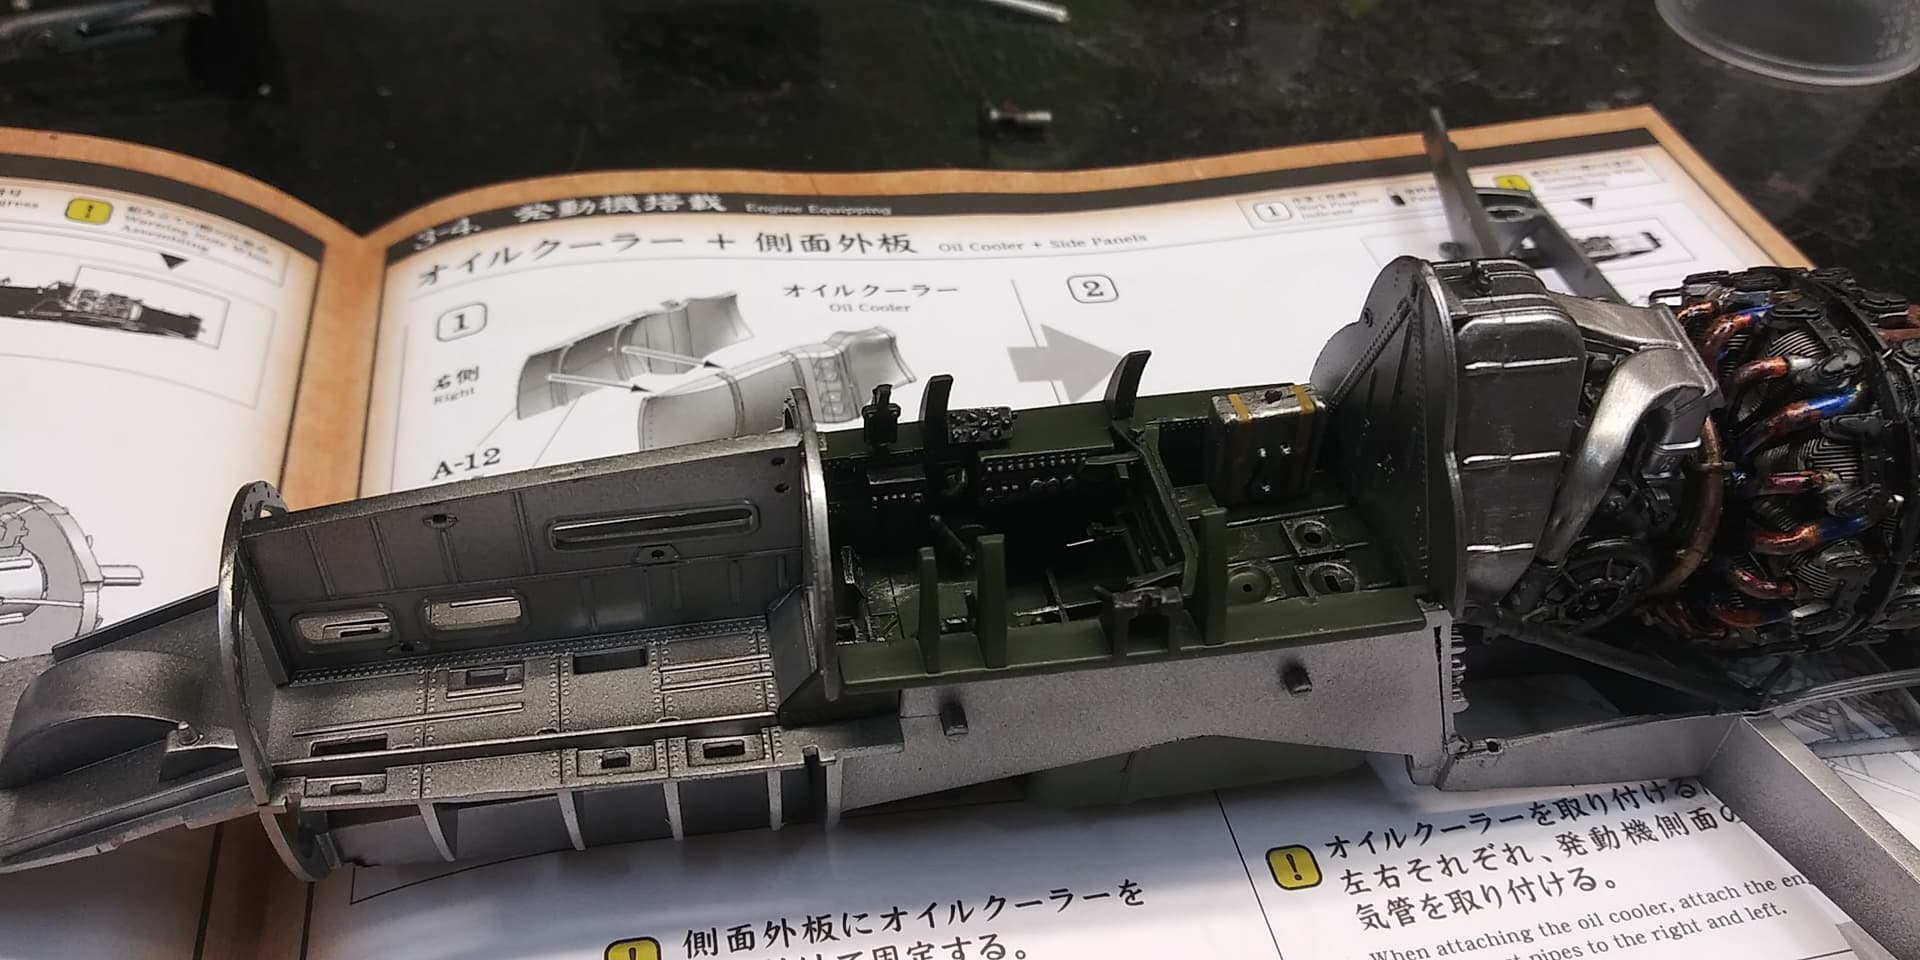
When doing the cockpit , ignore the instructions . Since the cockpit will be pre painted the best way to add it is to insert the side walls from the top on a angle as seen in the pics . Once both are in then the floor and tub can be slid into place from the bottom
3 Likes
Chris that heat staining looks great! Is any of it going to be even remotely visible?