More amazing work. This is an astounding level of attention to detail. Keep it coming!
2 Likes
Just a couple of status update pics on this build… Only seats left to do and then all “internal” bits will be done. I’ll glue in the canopy, mask off the open bits, and then we can move on to adding the final external bits before priming and painting the Czech camo can begin.


12 Likes
wow you can really see how much attention you have paid to all the detailing on this model
3 Likes
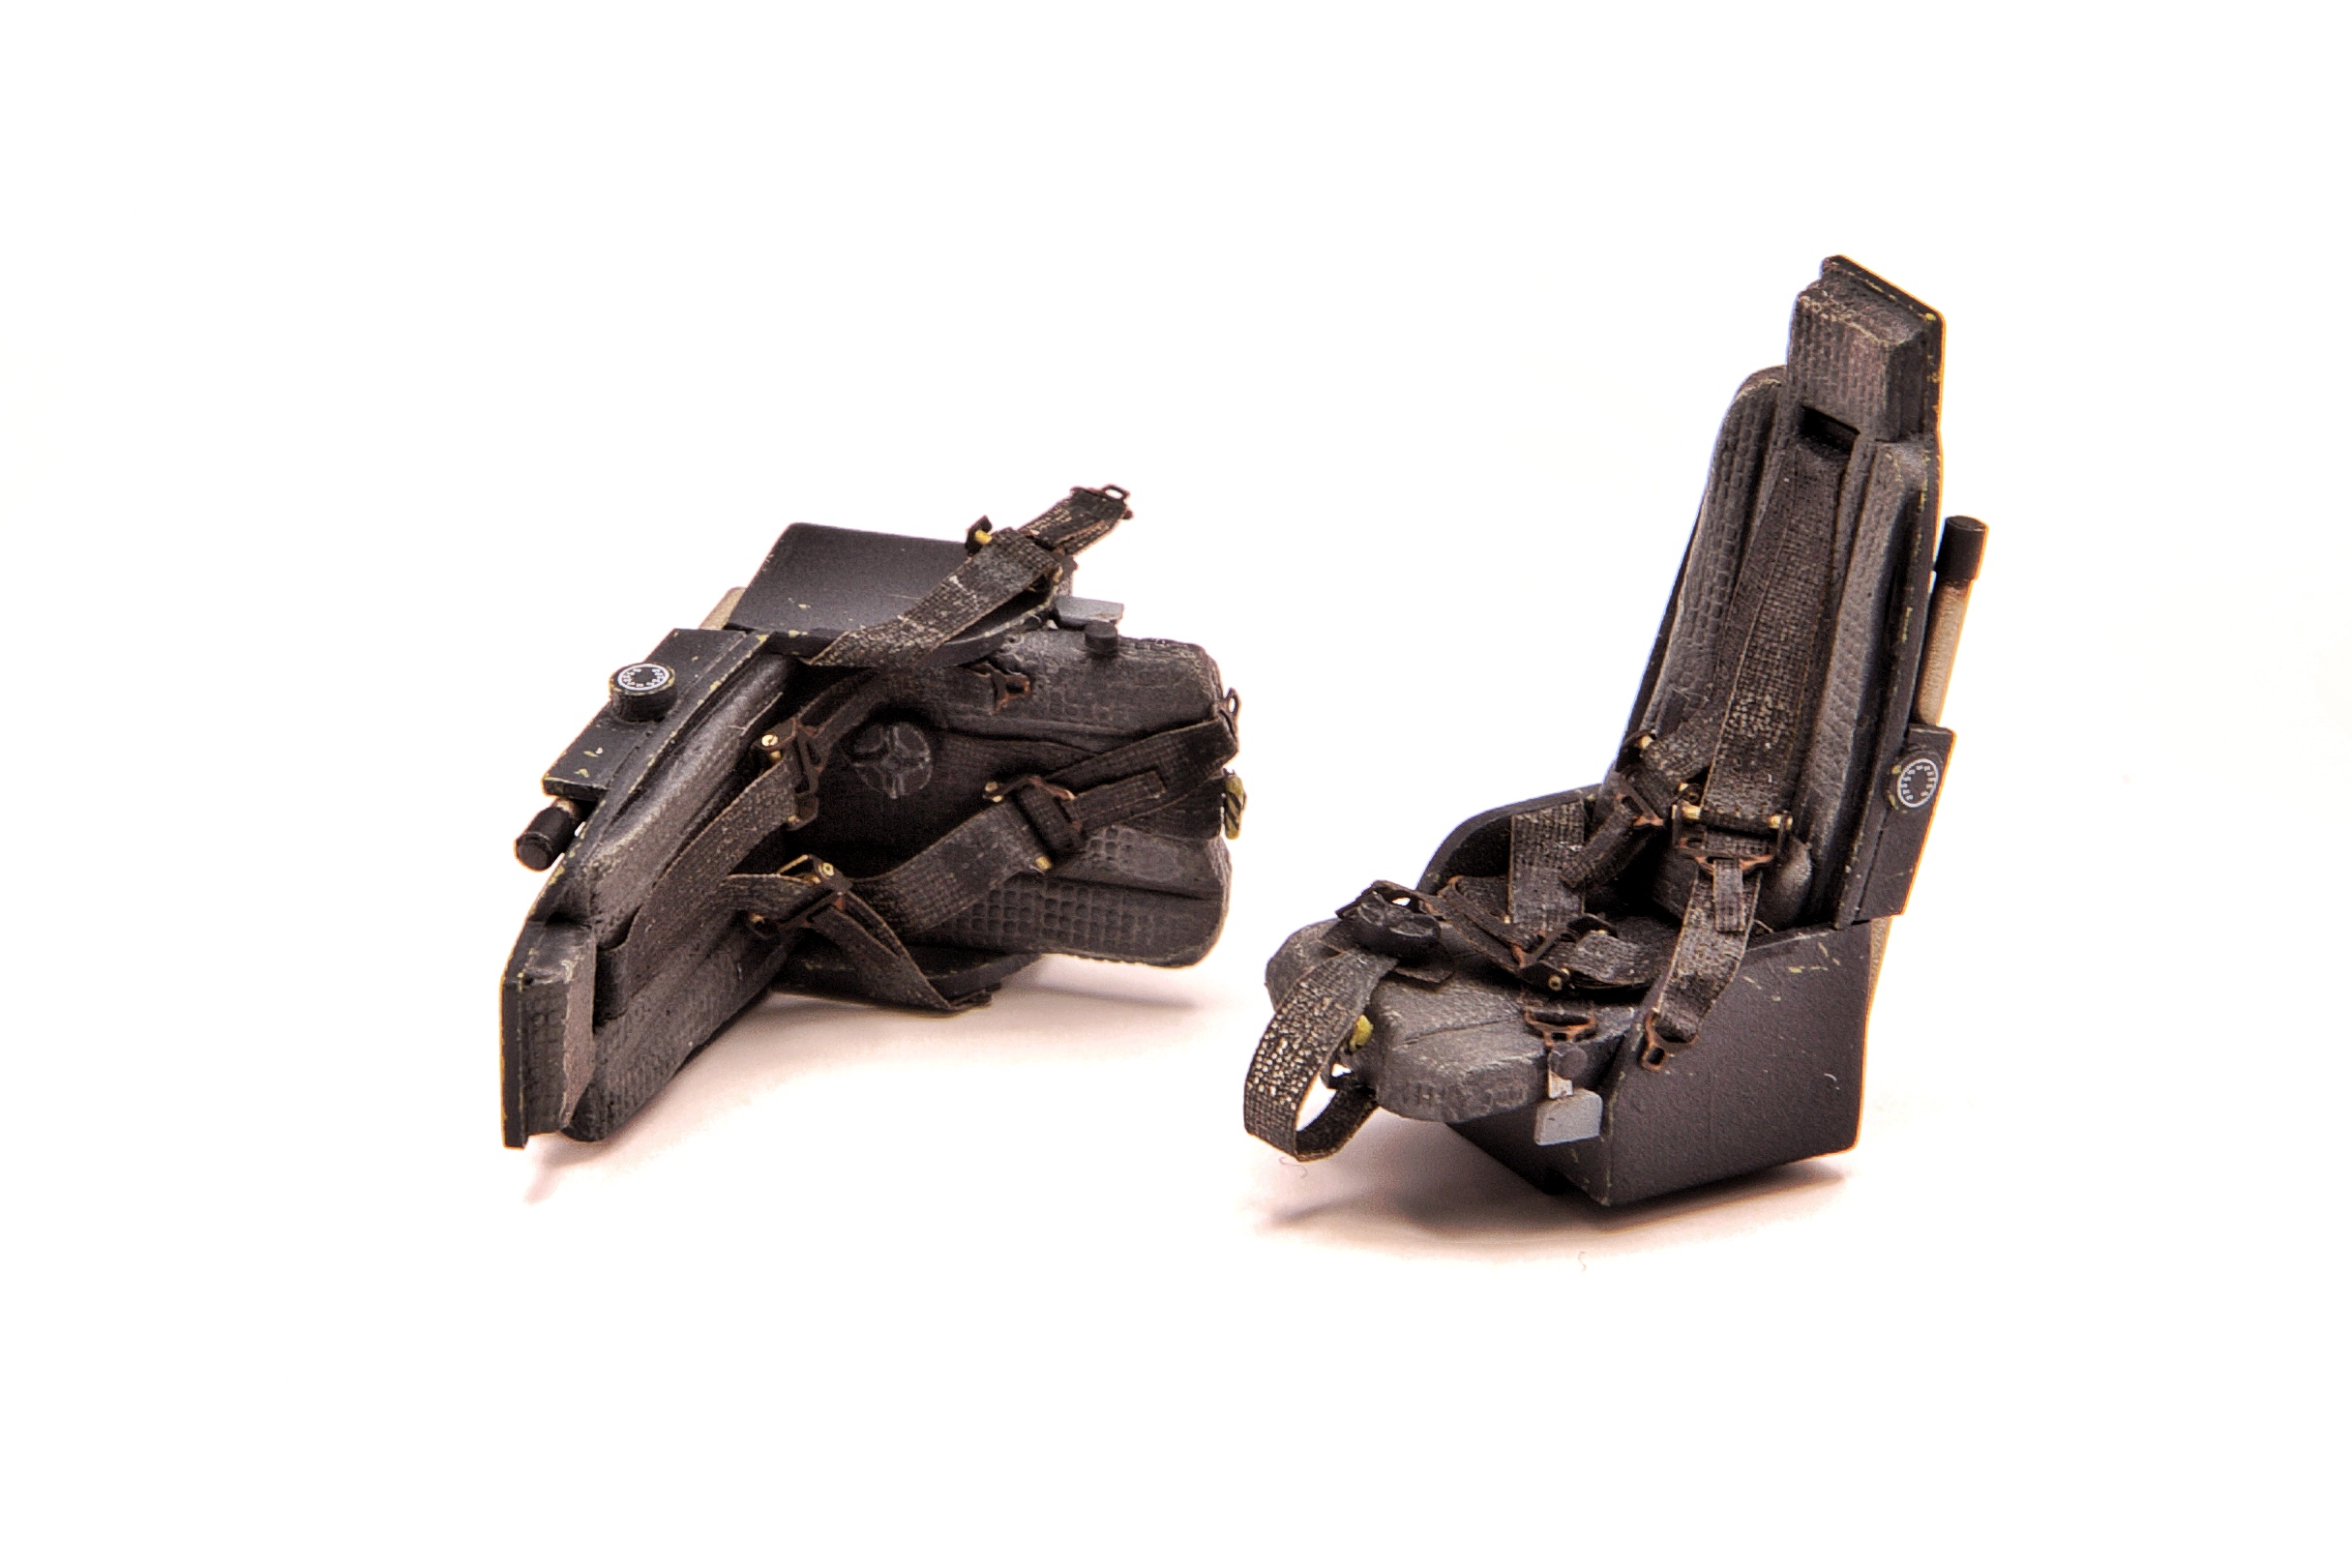


After a bit of a hiatus working on the AH-1G, I stopped procrastinating on modifying the Zulu’s very, very barebones seats.
this meant using putty to sculpt some more realistic cushioning and the lumbar backrest, adding crash-absorbing tubing, control levers on the left side, canopy break levers, and the belts. Now this is all done and seats are fitted, so the canopy can finally get glued on.
9 Likes
Looks great. Nice job on the seats.
2 Likes
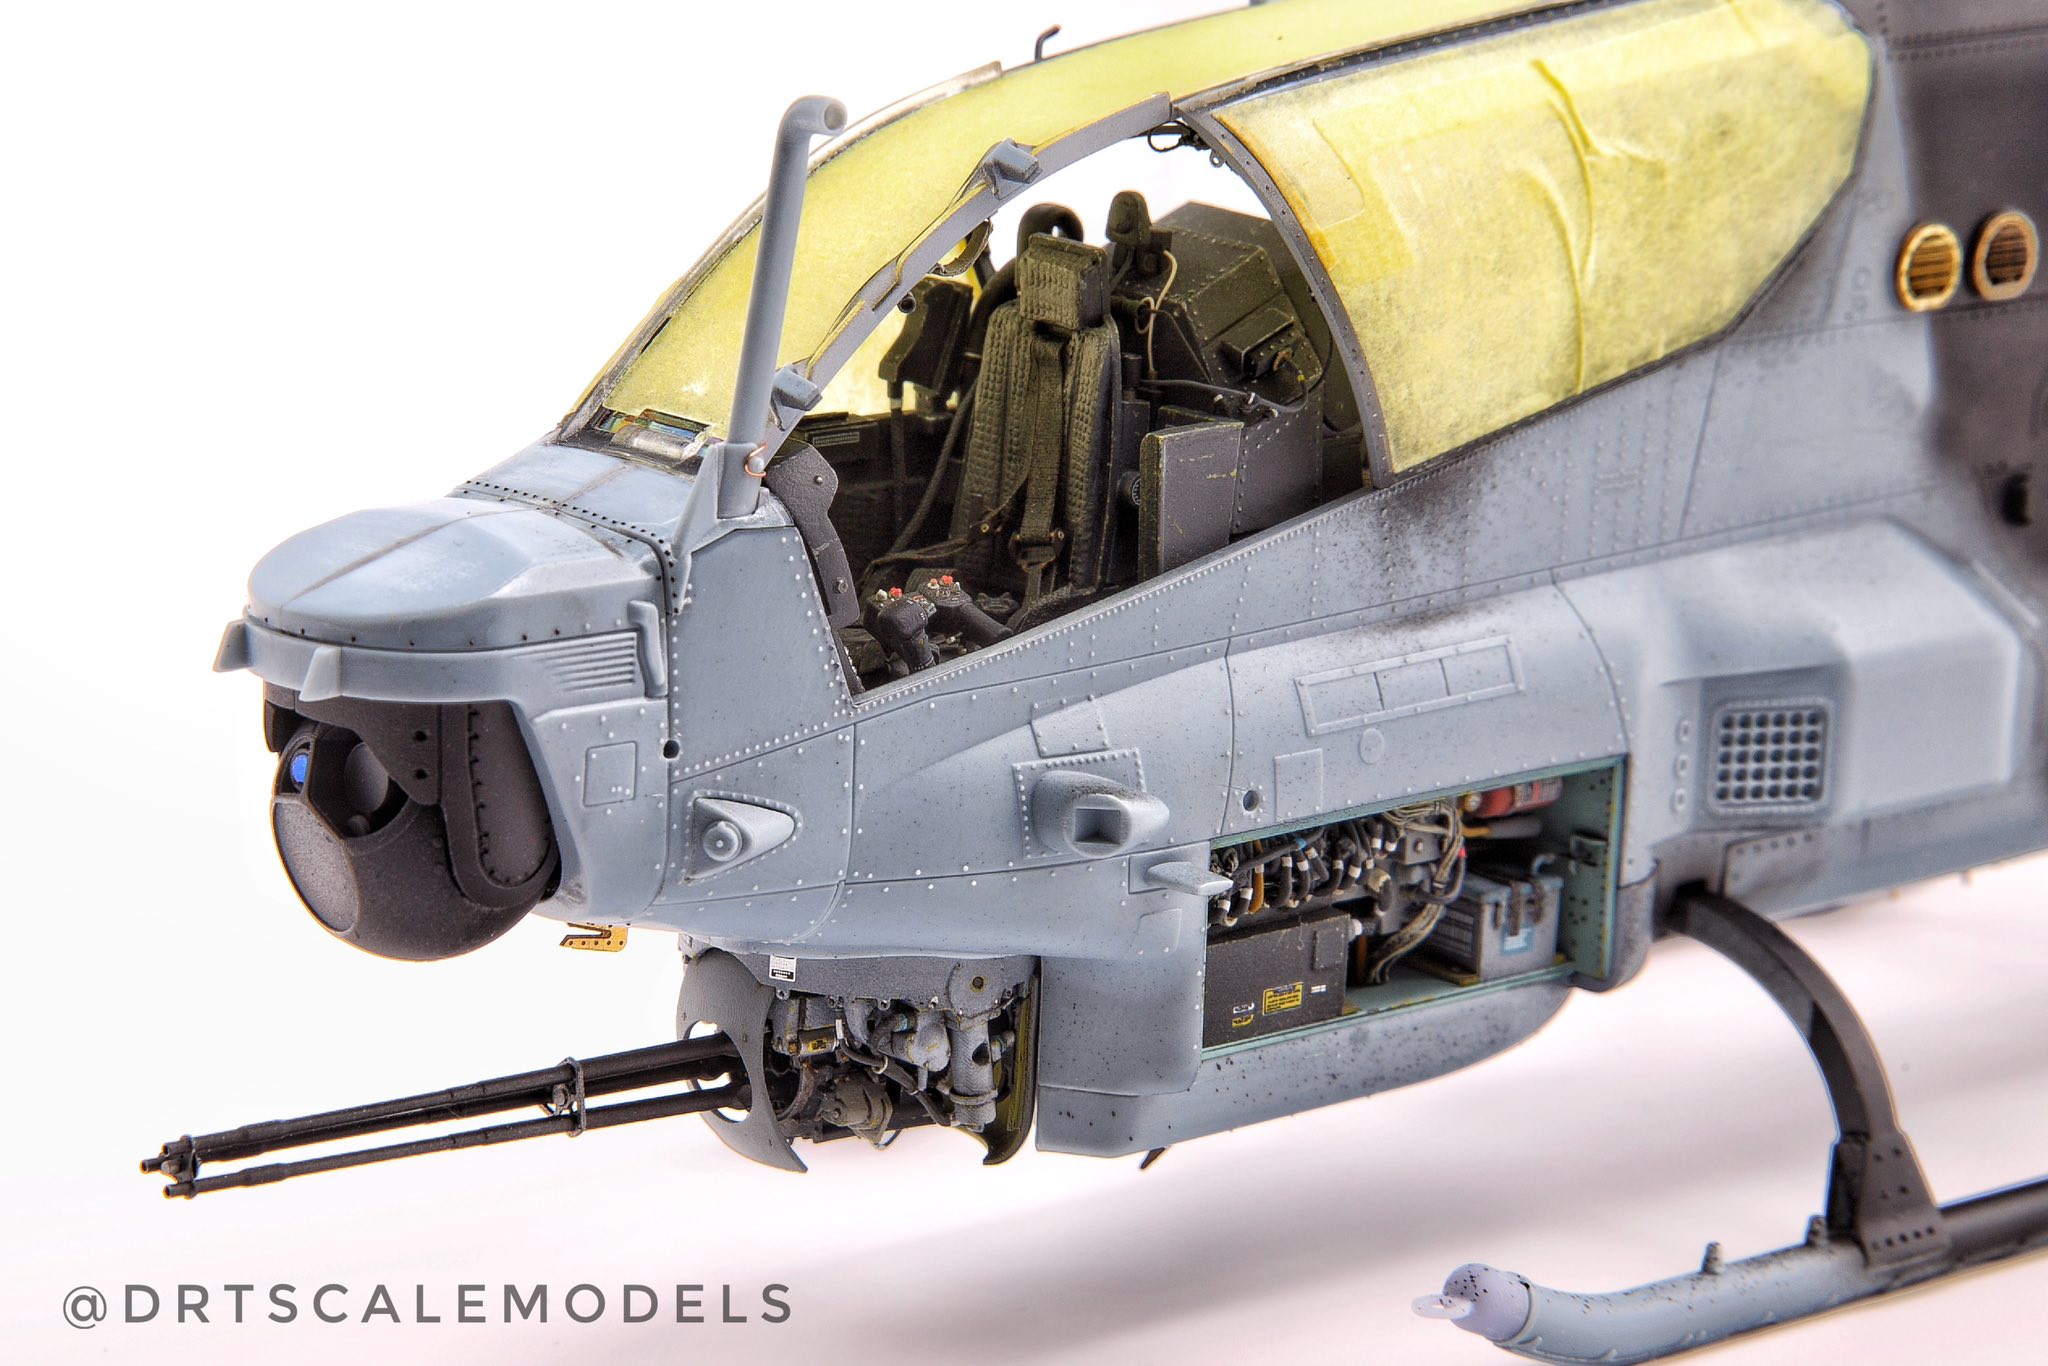
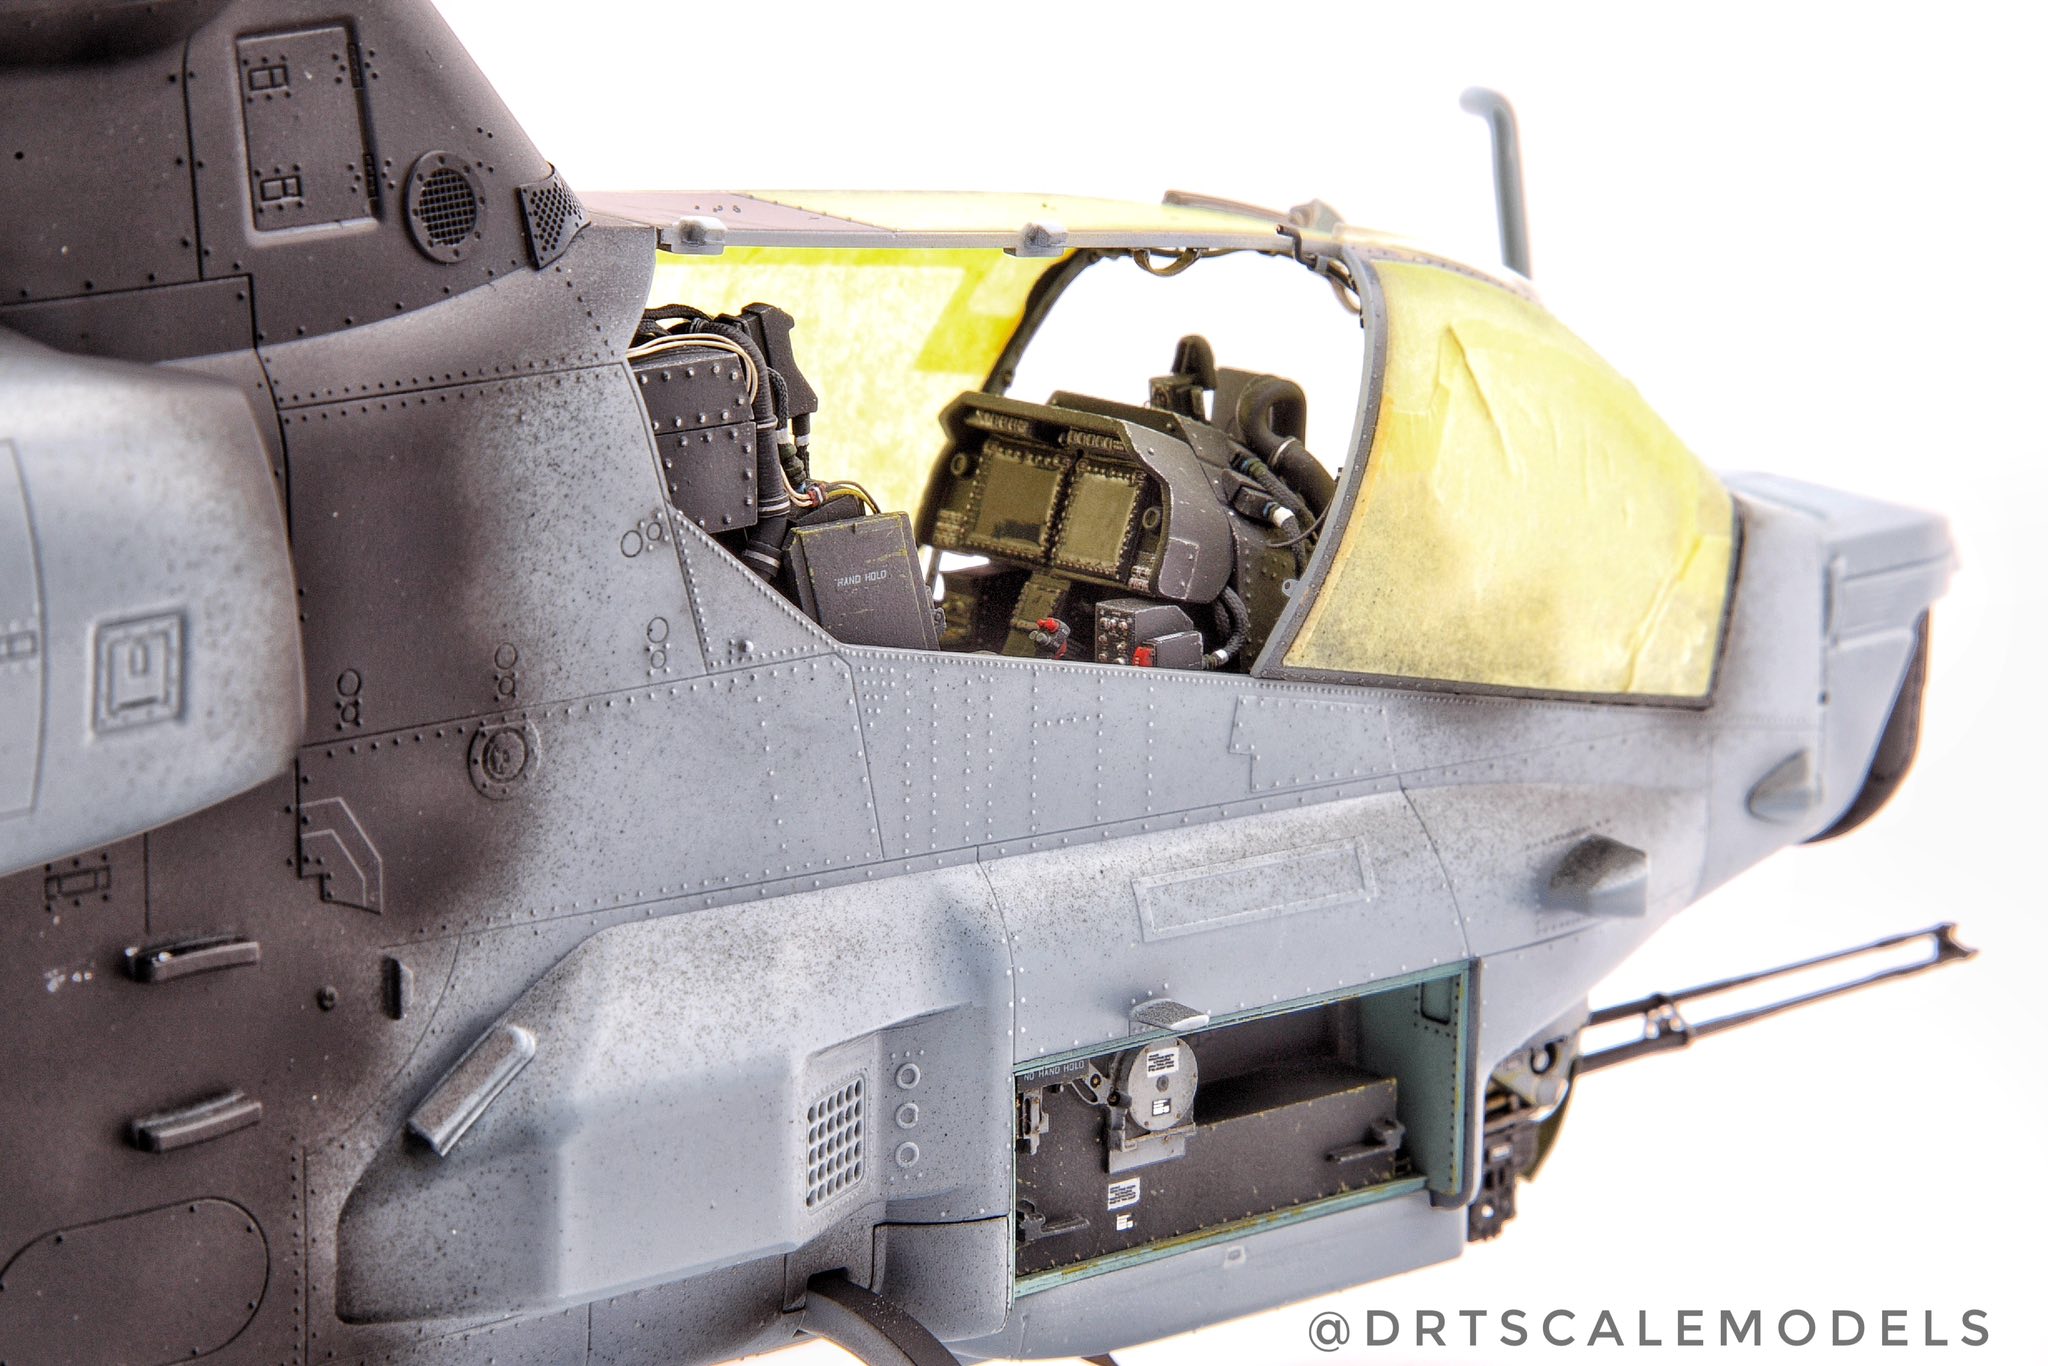
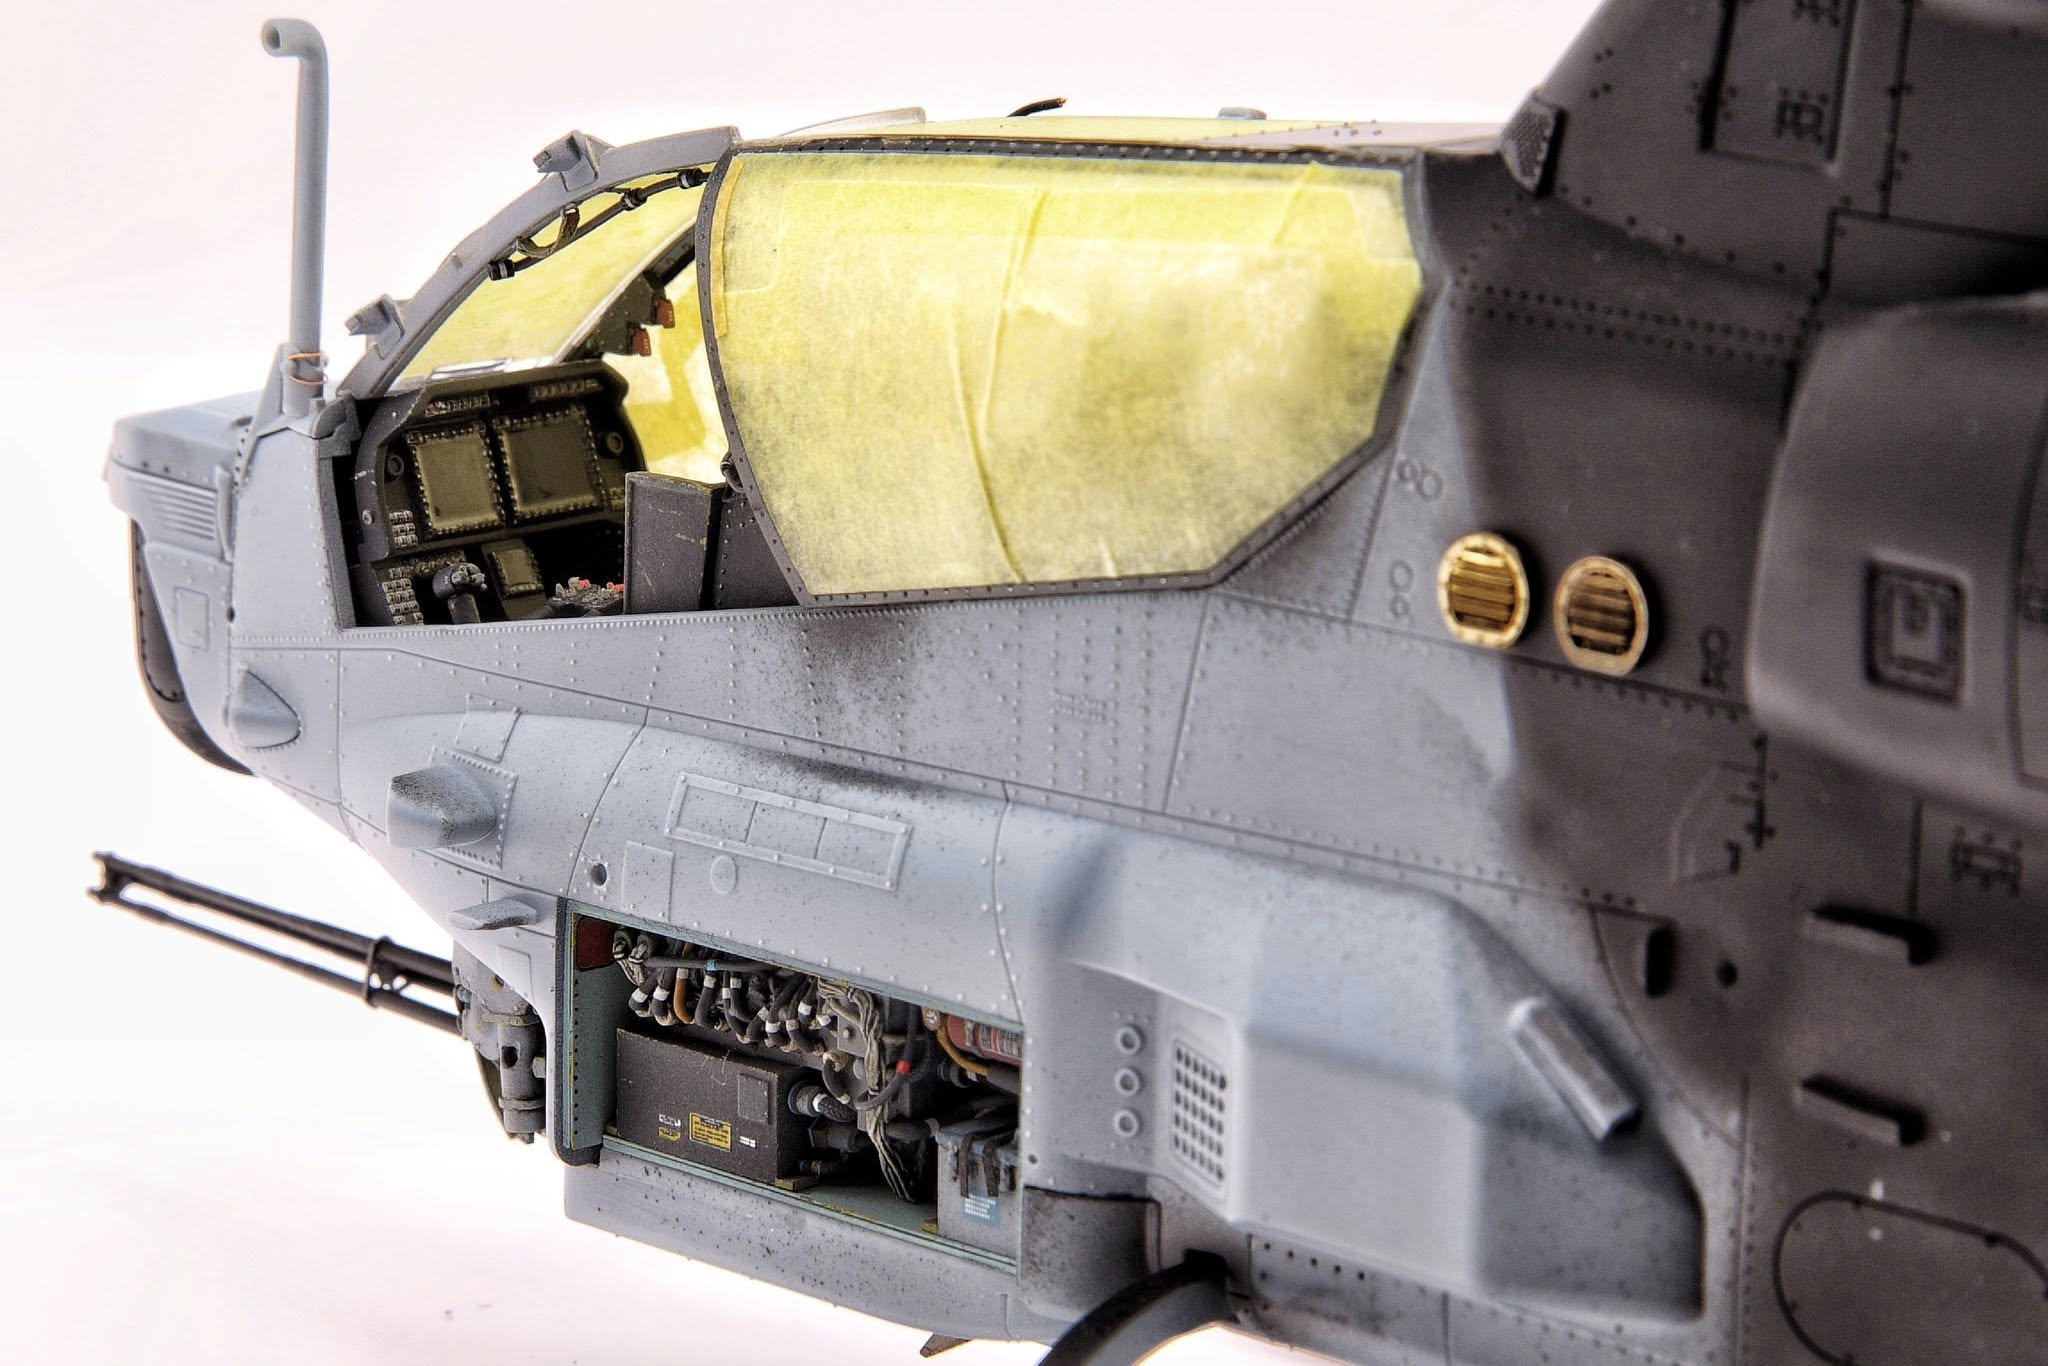
Major milestone for the 1/35 AH-1Z this weekend. All interior parts completed and finally glued up the canopy!

11 Likes
looking good, please keep the updates coming
1 Like

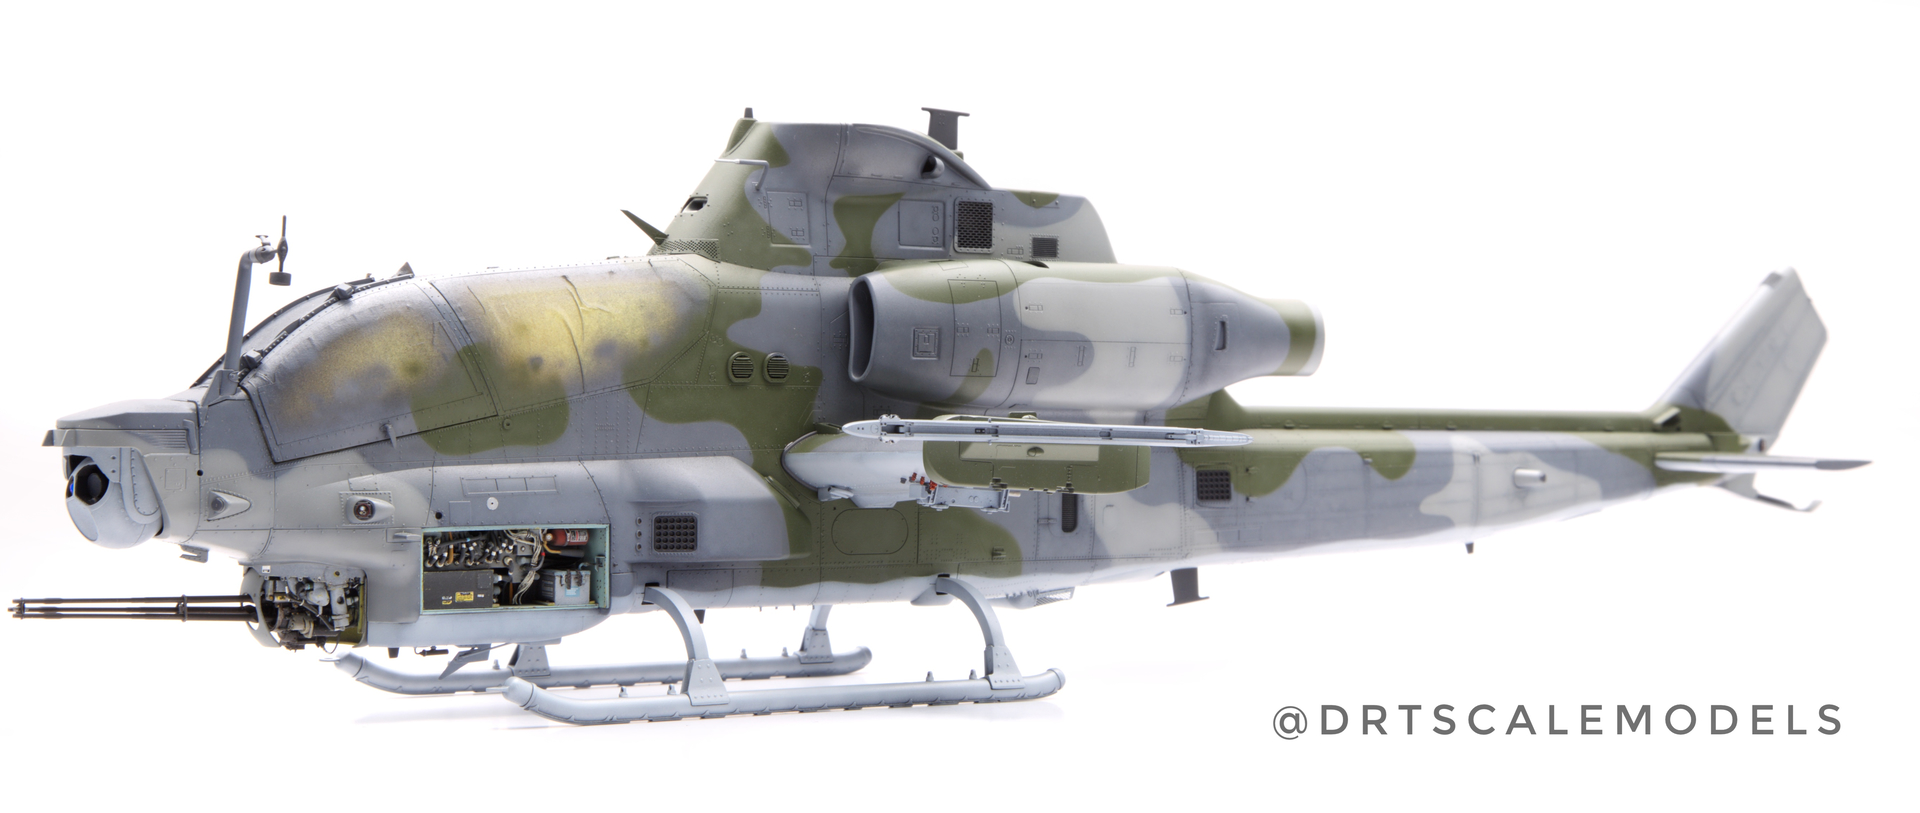
Wow. Respect.
1 Like
that looks amazing. I can’t wait to see the finished project
1 Like
Thanks chaps!
Progress was a bit slow recently, but decals are applied and washes are now in progress. separately the armament load is also done.
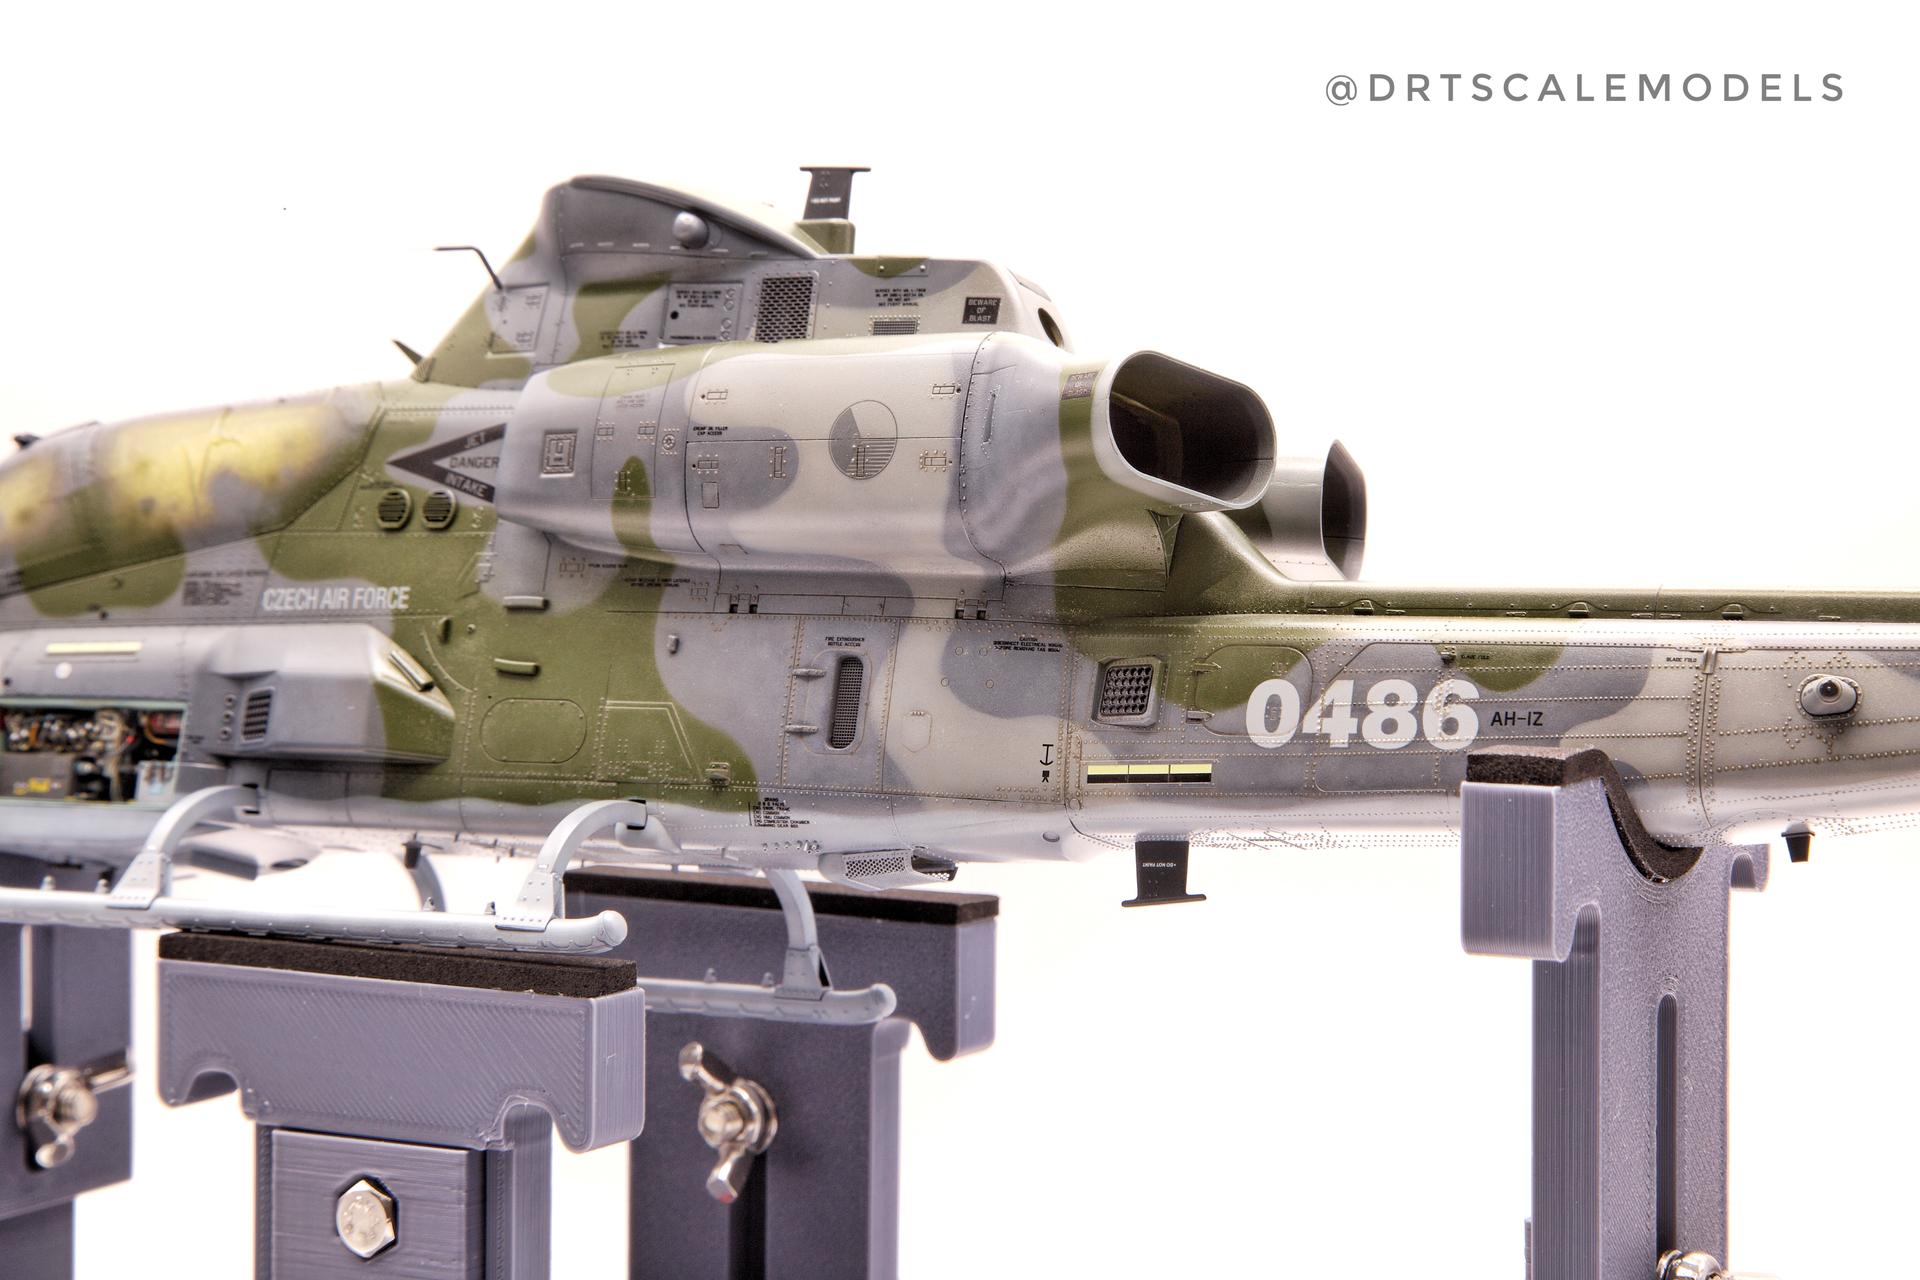
8 Likes
Excellebt camo.
1 Like
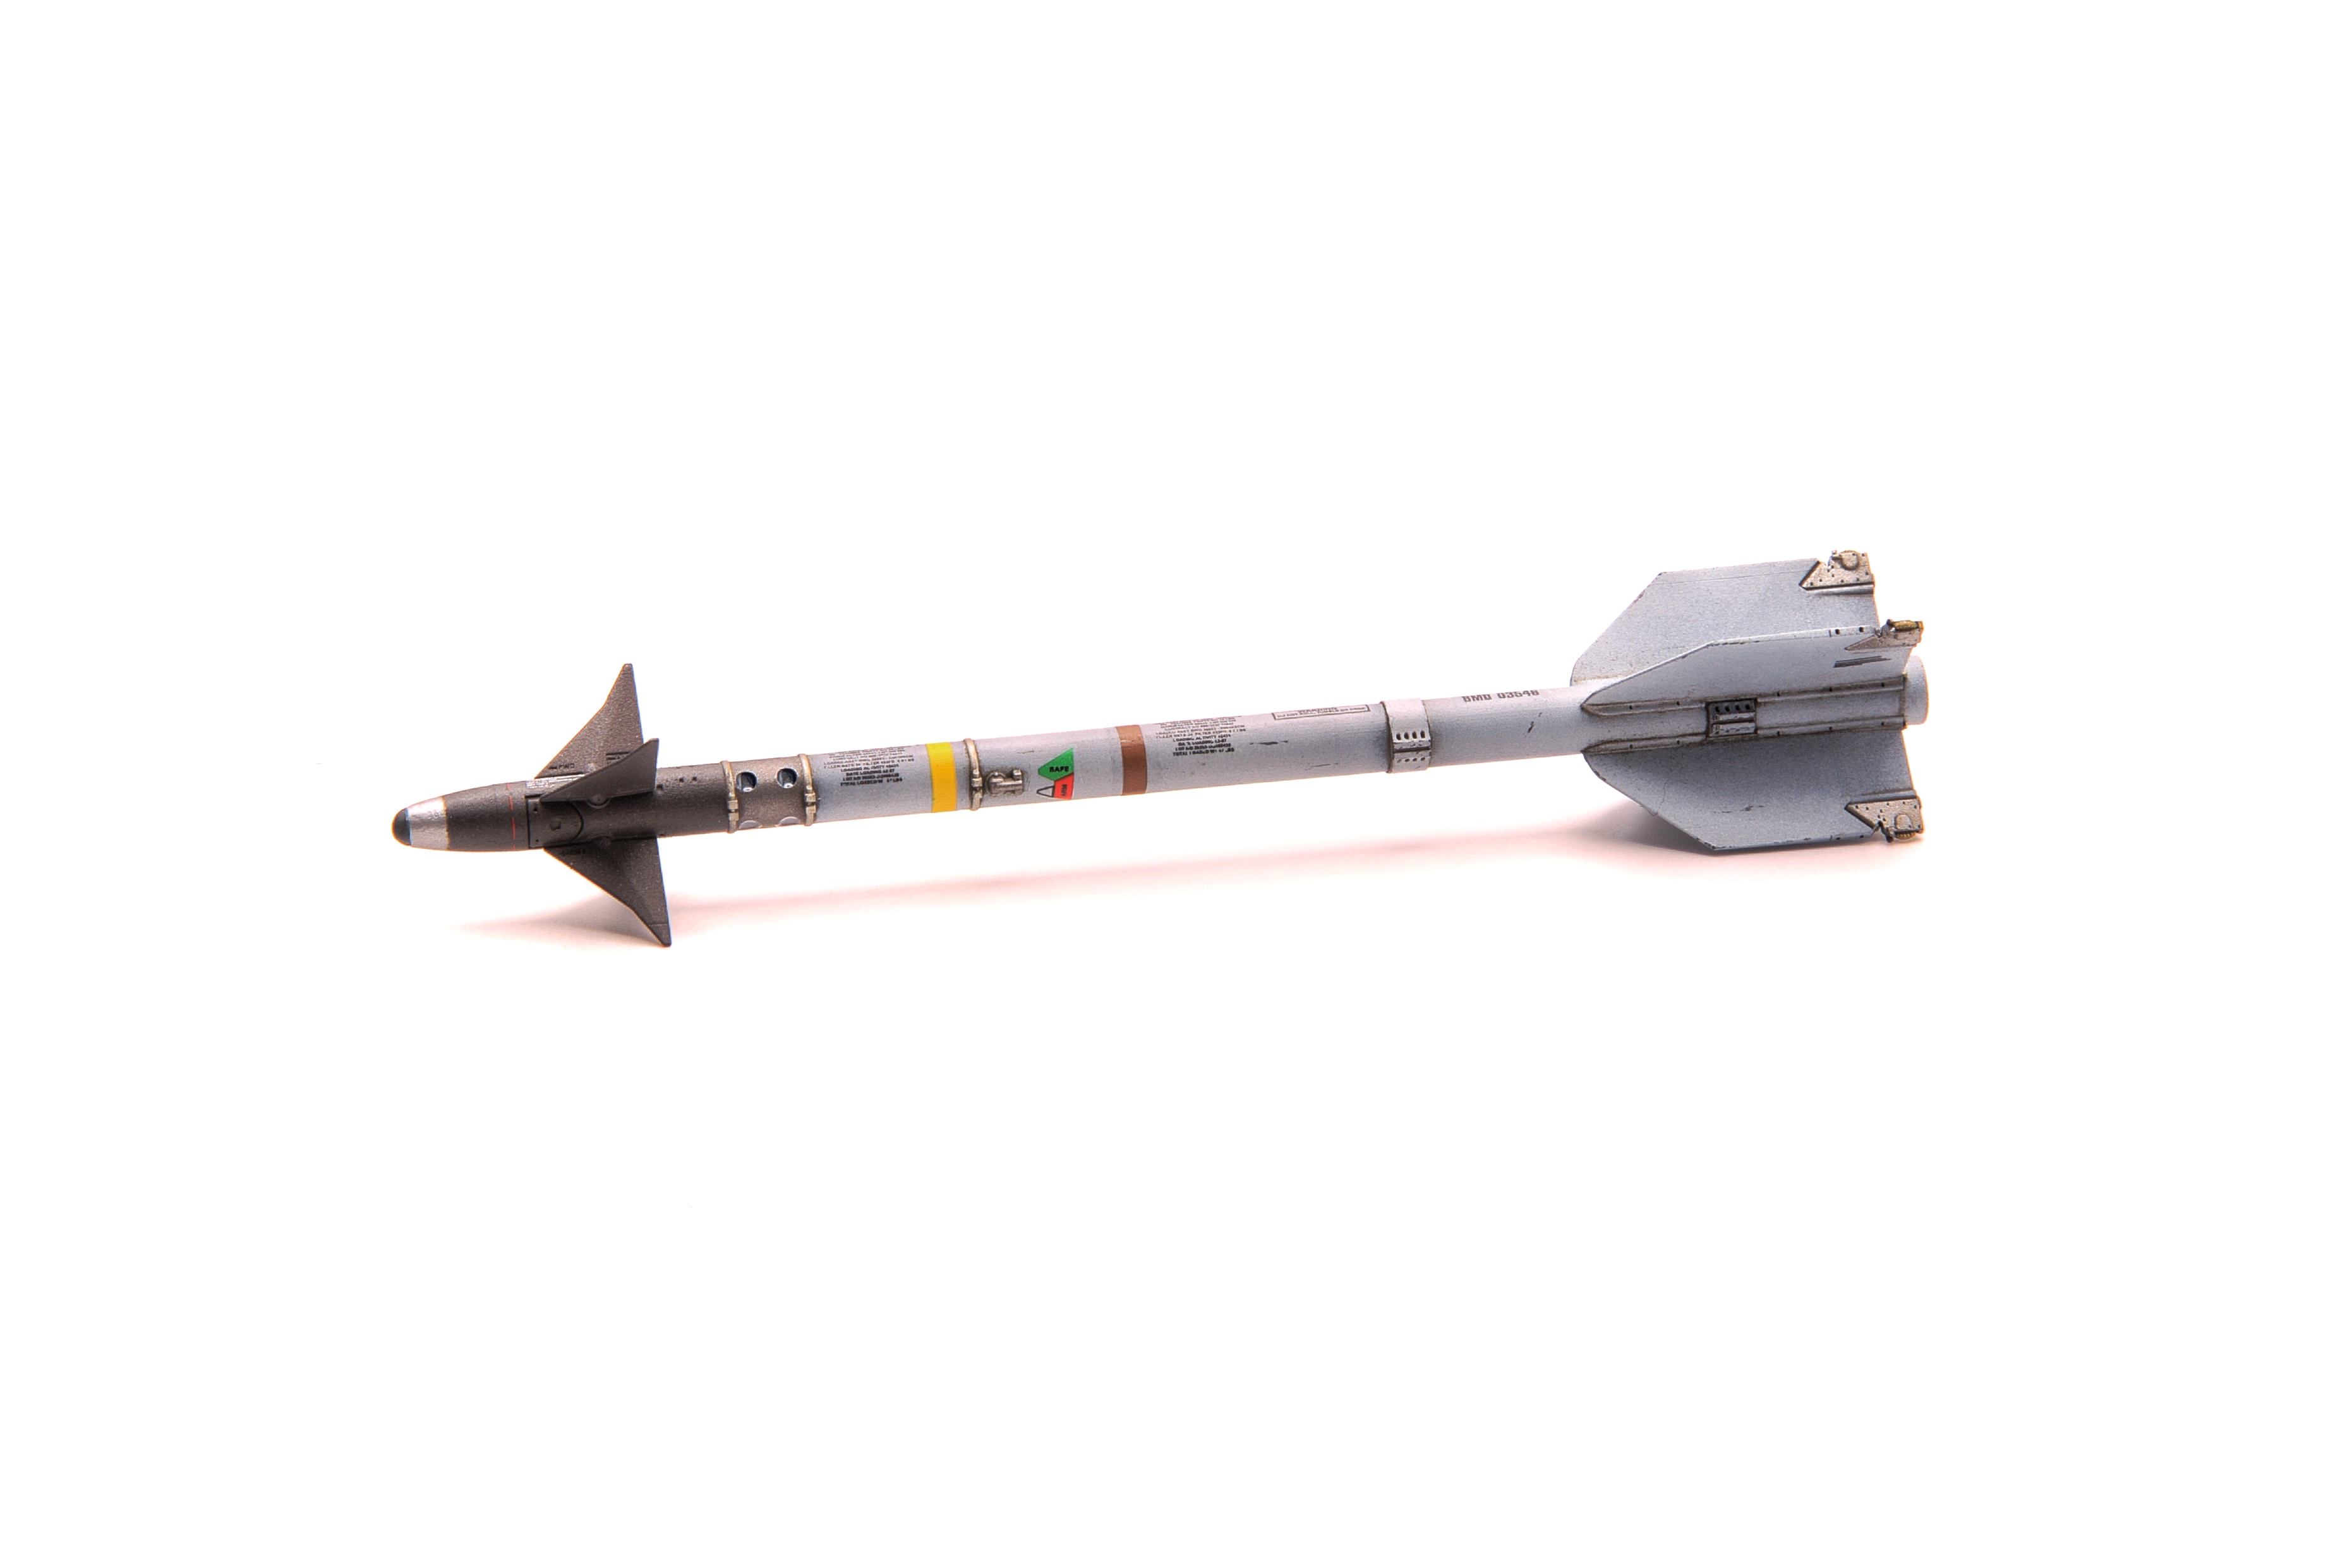
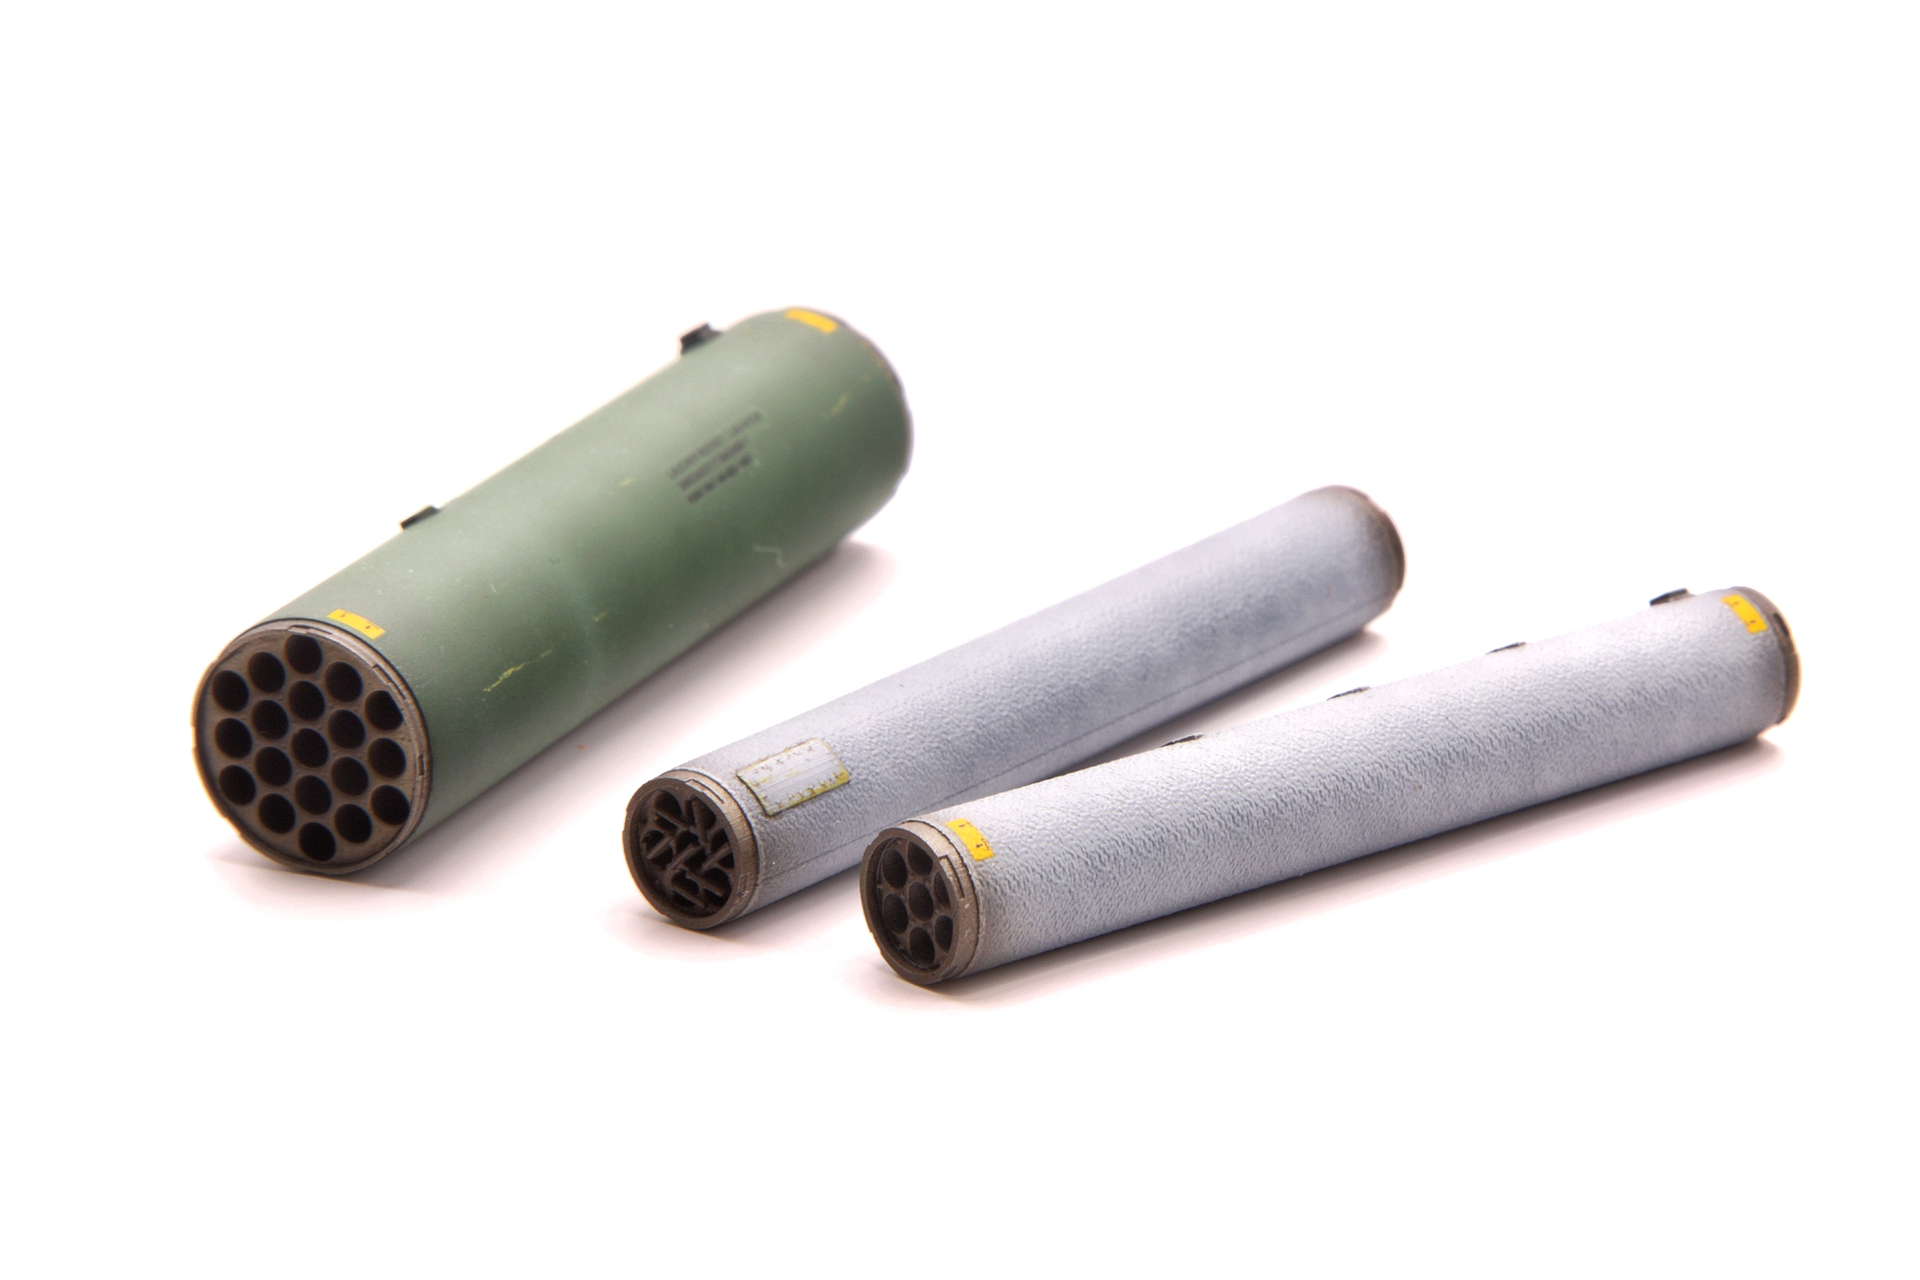
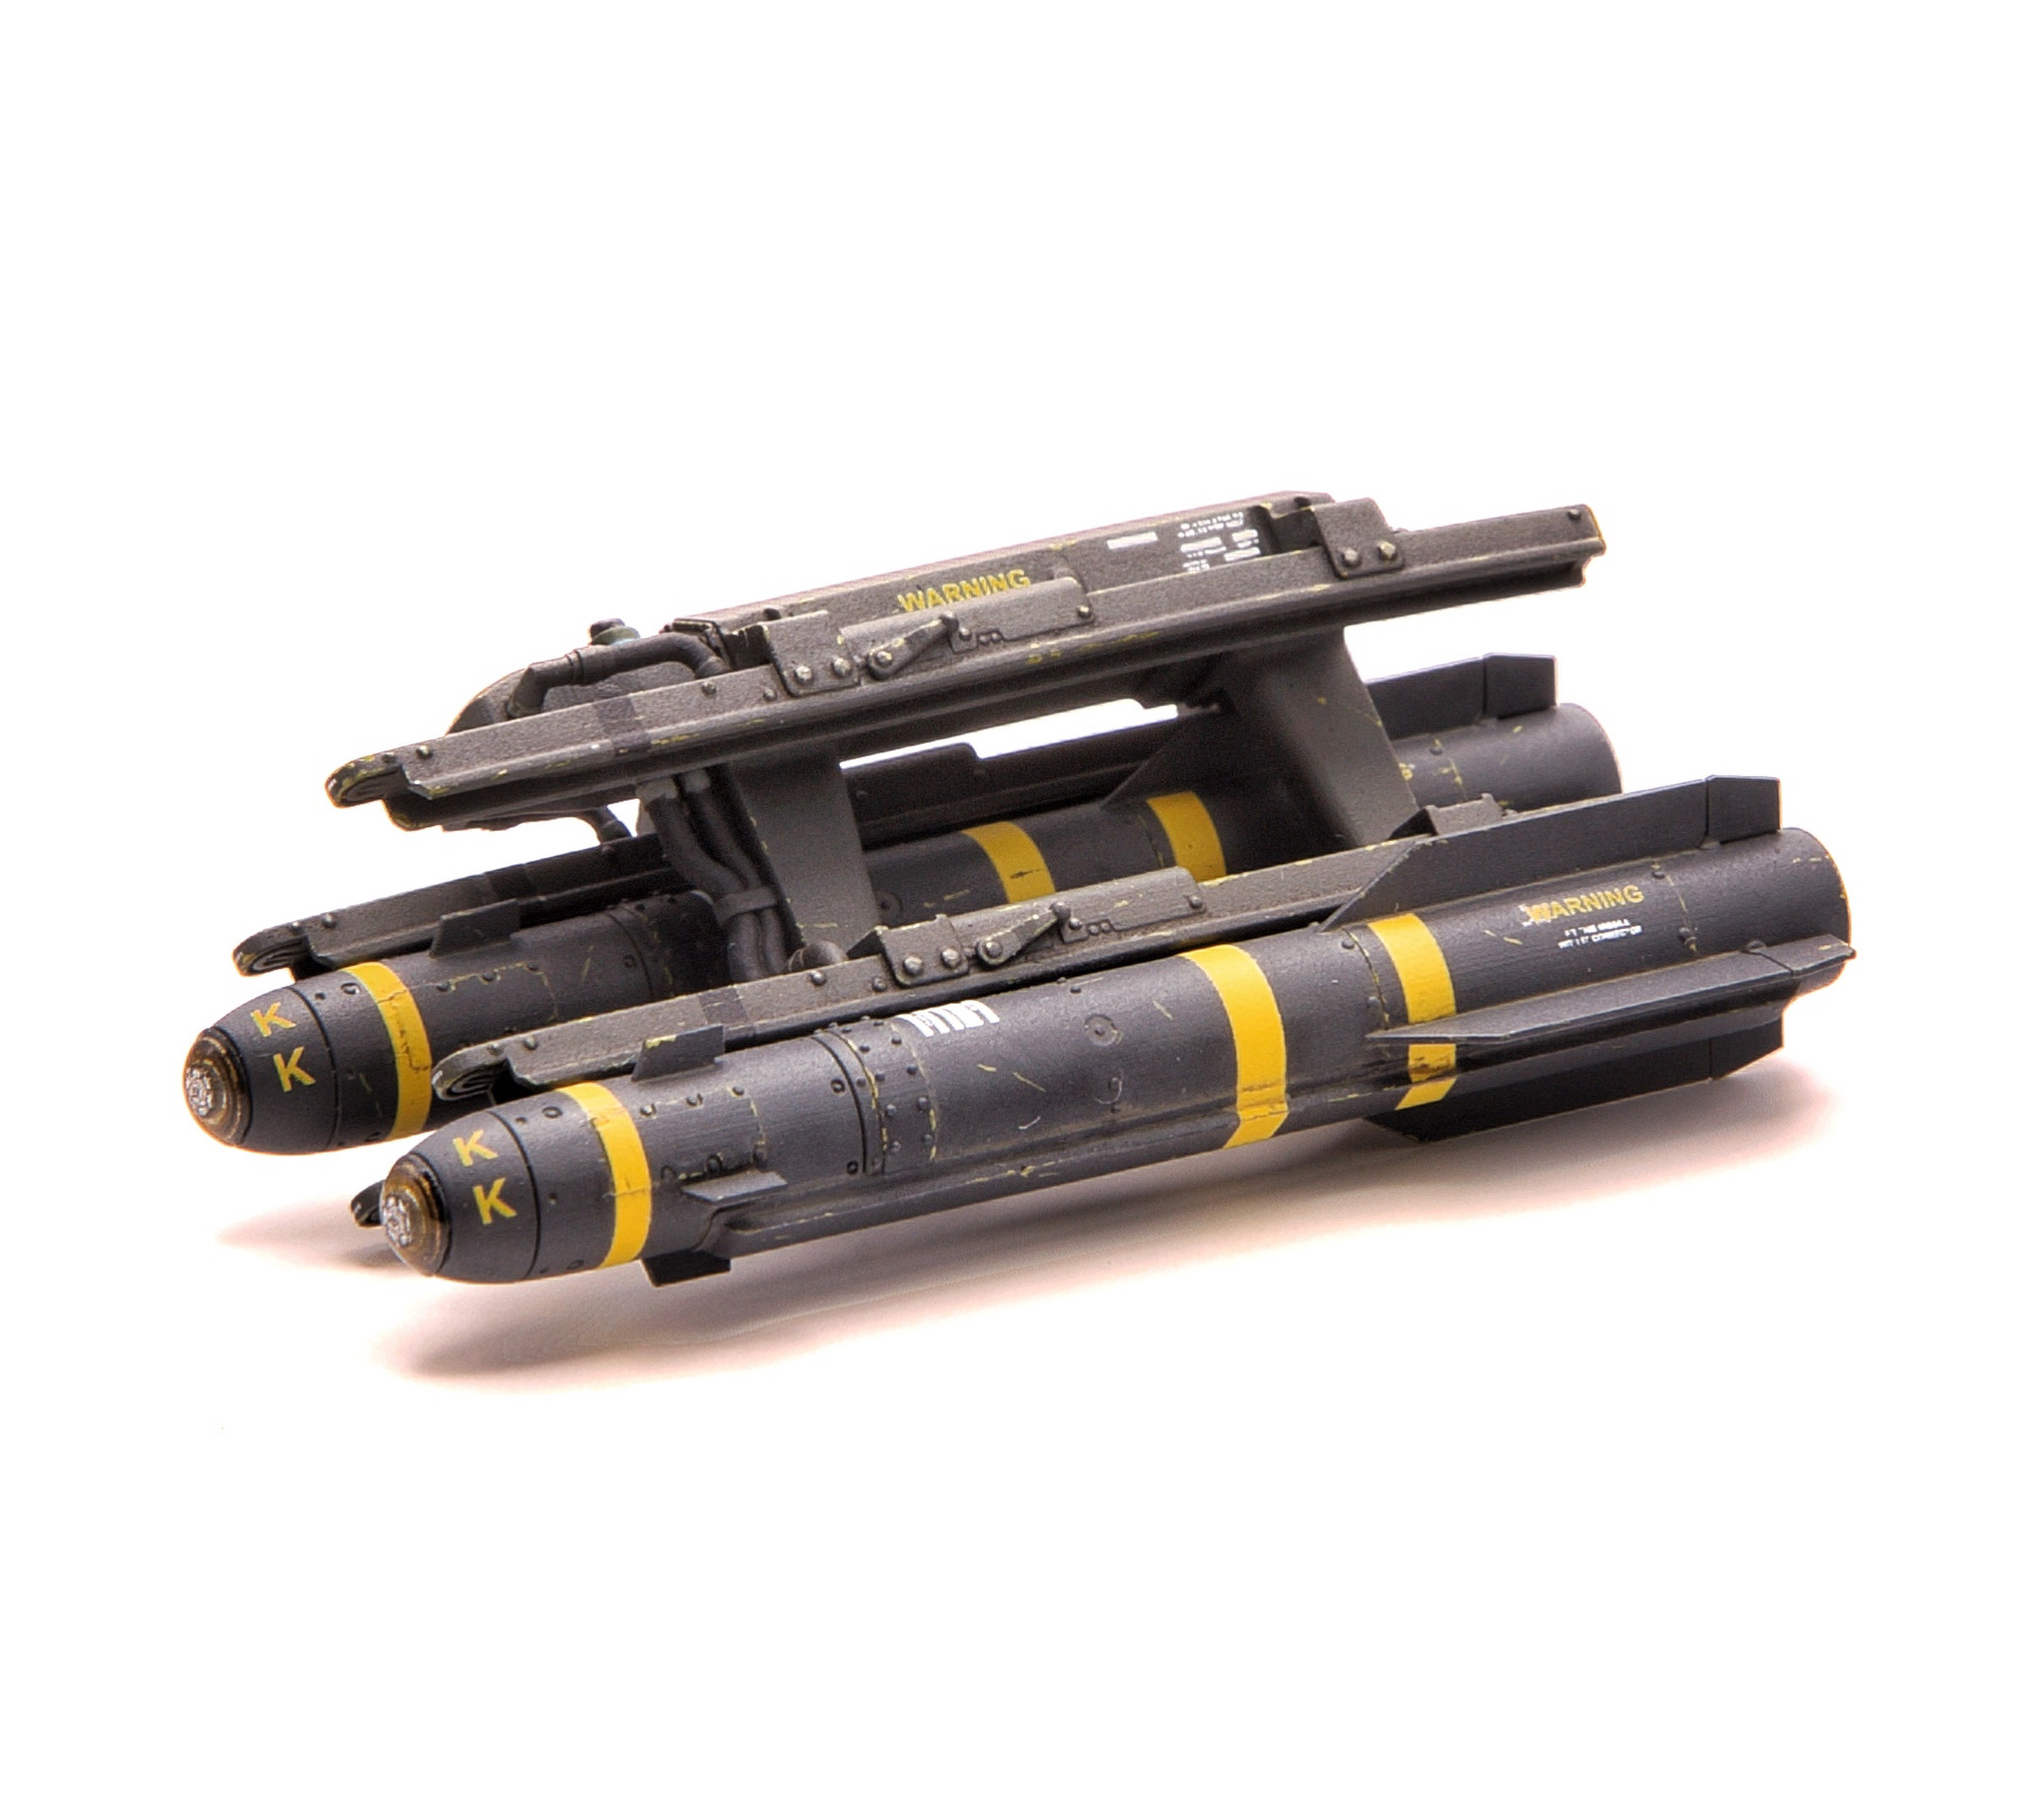
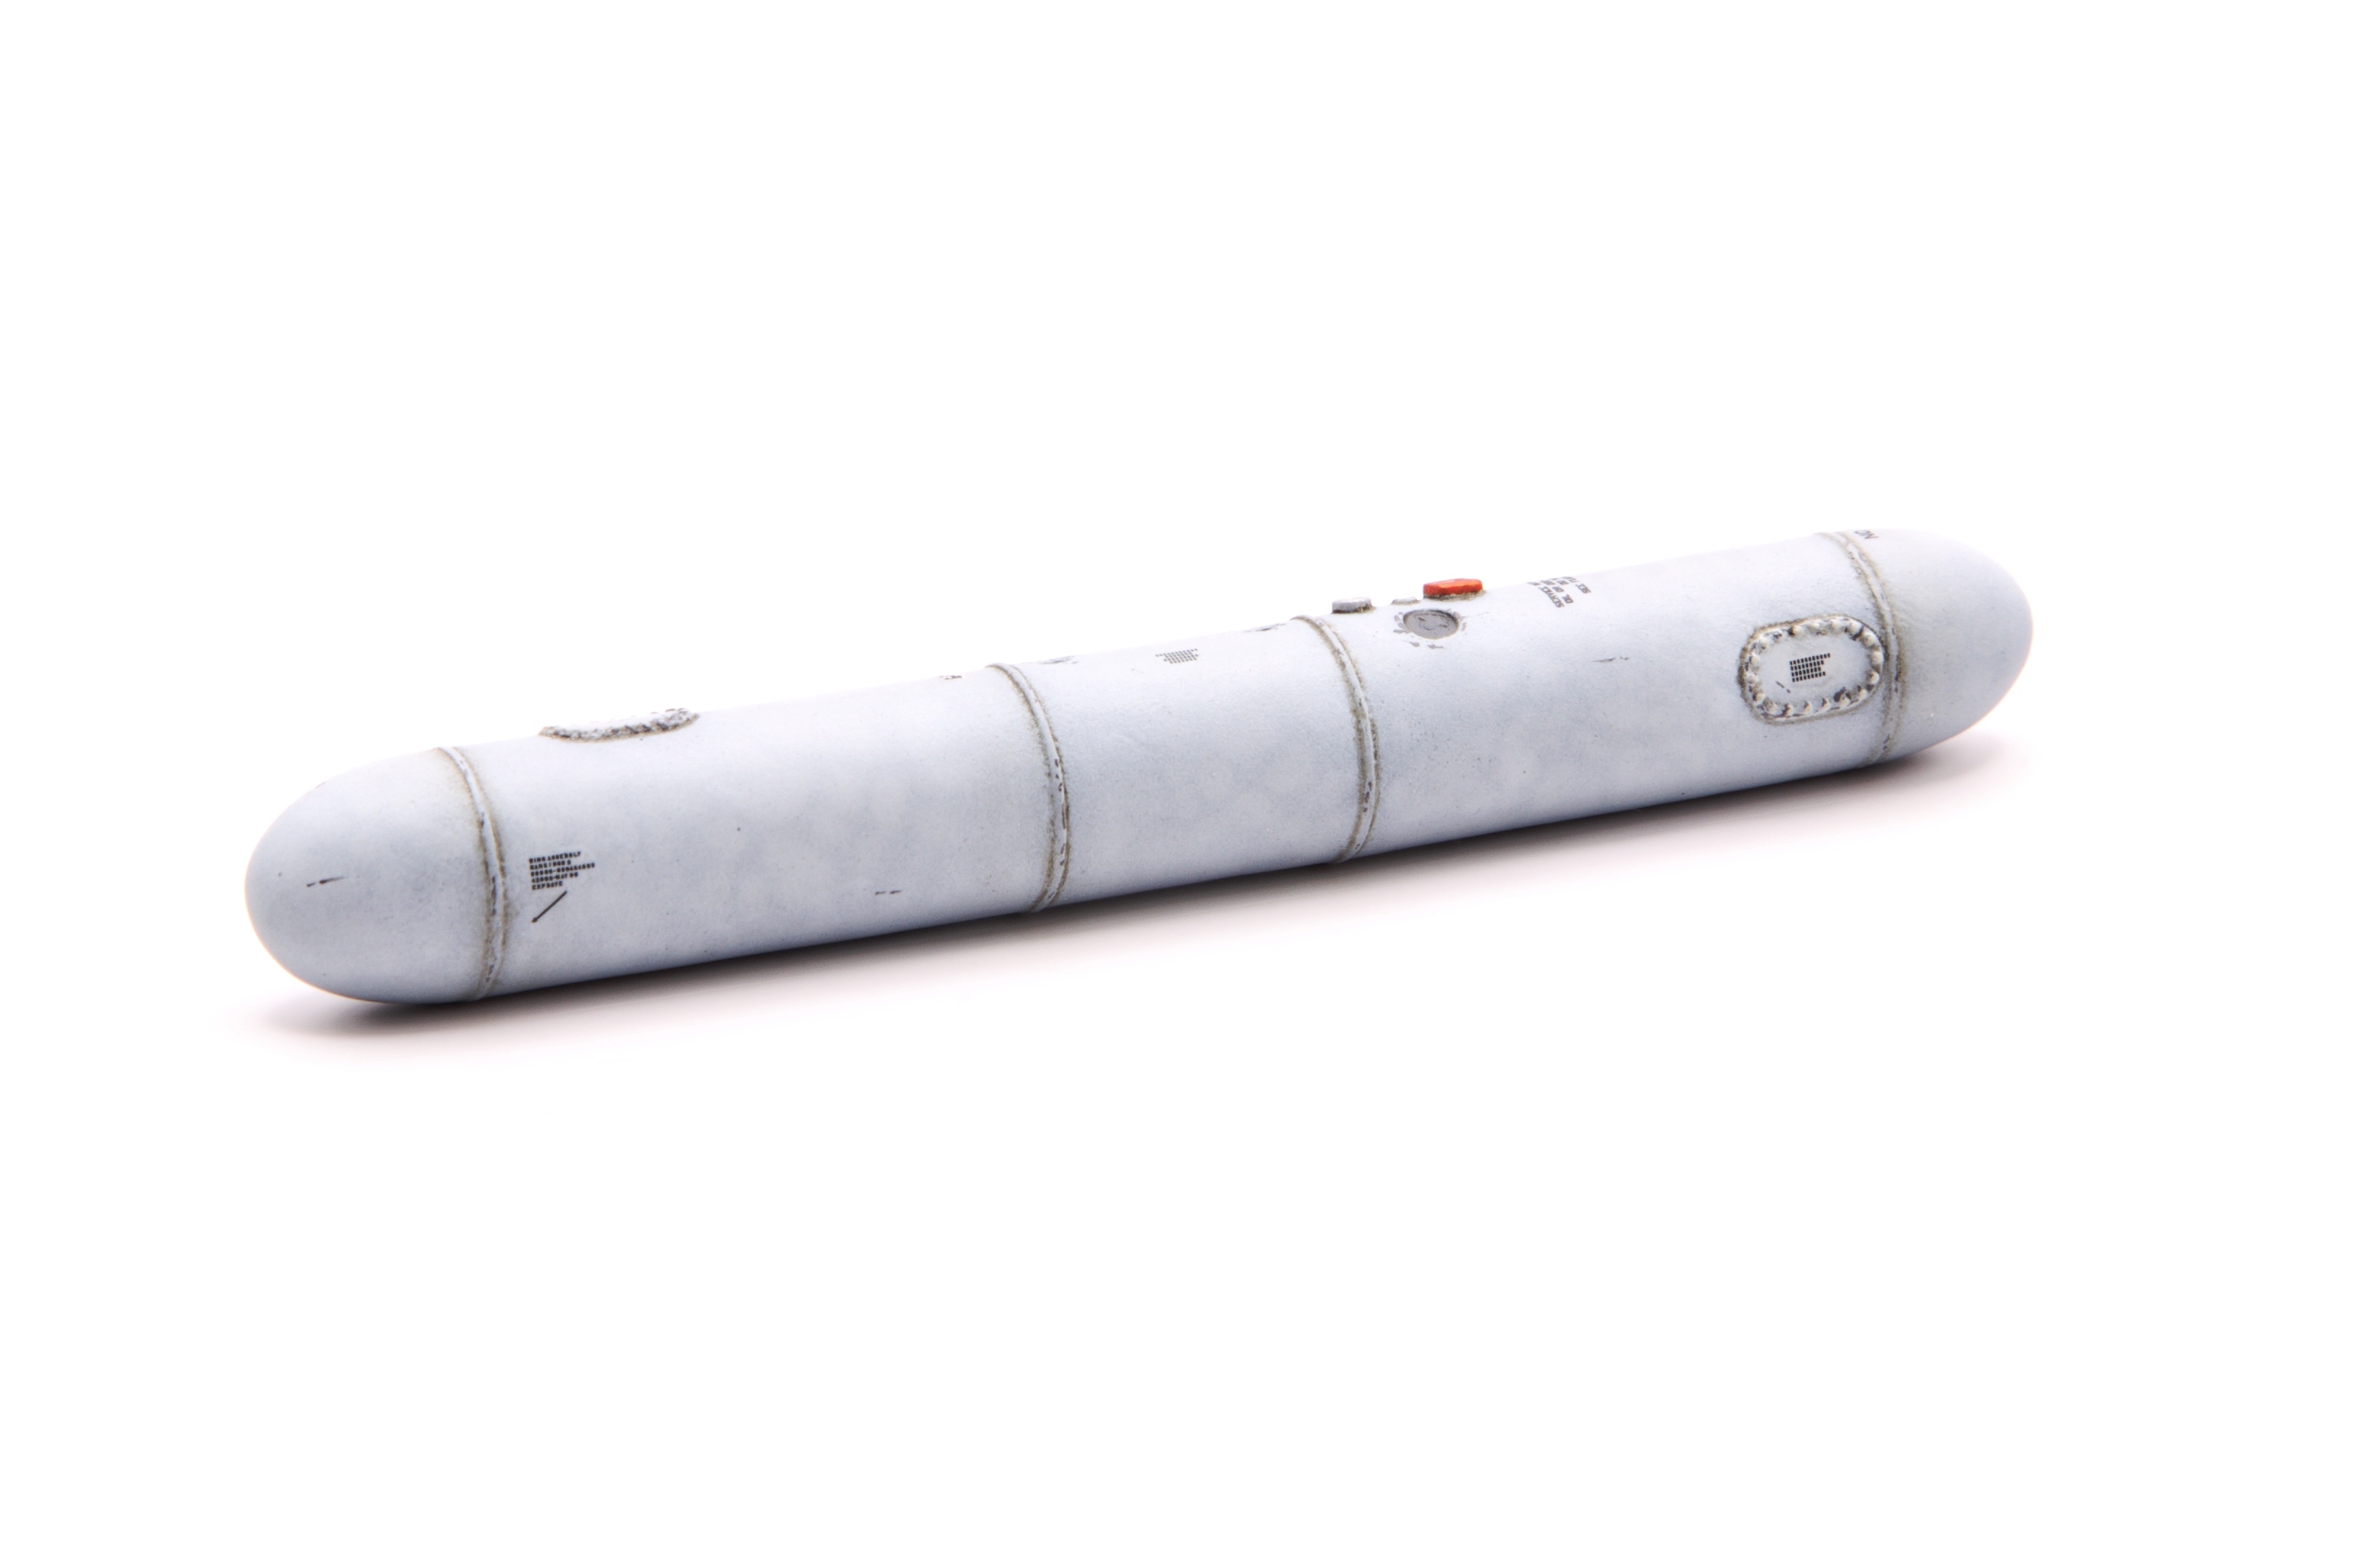
Armament is all done minus a final bit of oils/enamels to create grease/grime stains. I usually do that at the very end to unify things once they are all mounted up etc.
Excellent 3D printed parts from Flying Leathernecks (7-shot pods & LAU-7), Werners Wings (fuel tank), Reskit (Hellfire assembly & AIM-9M), and Black Ops Models (19-shot pod)
6 Likes
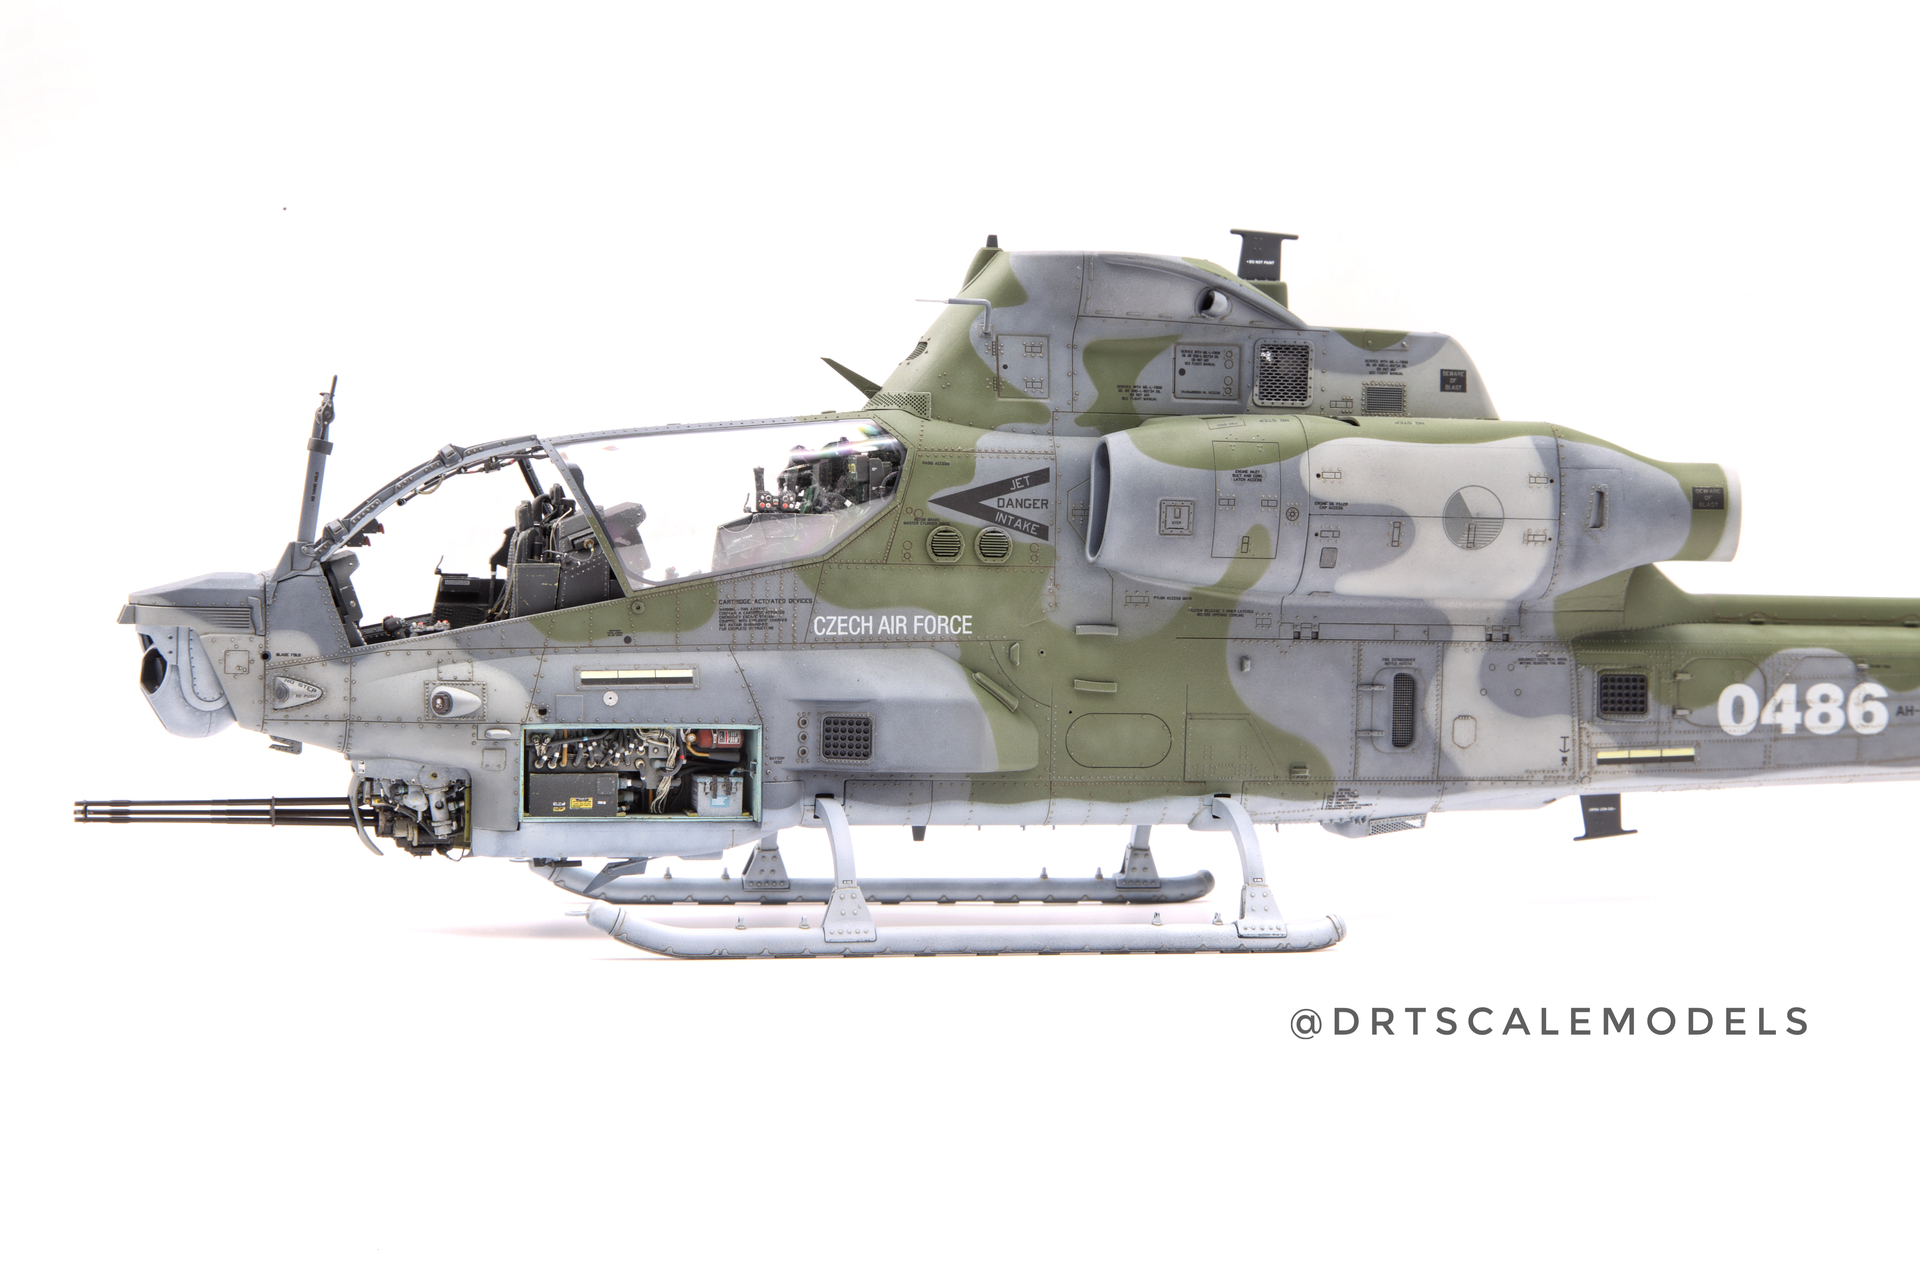
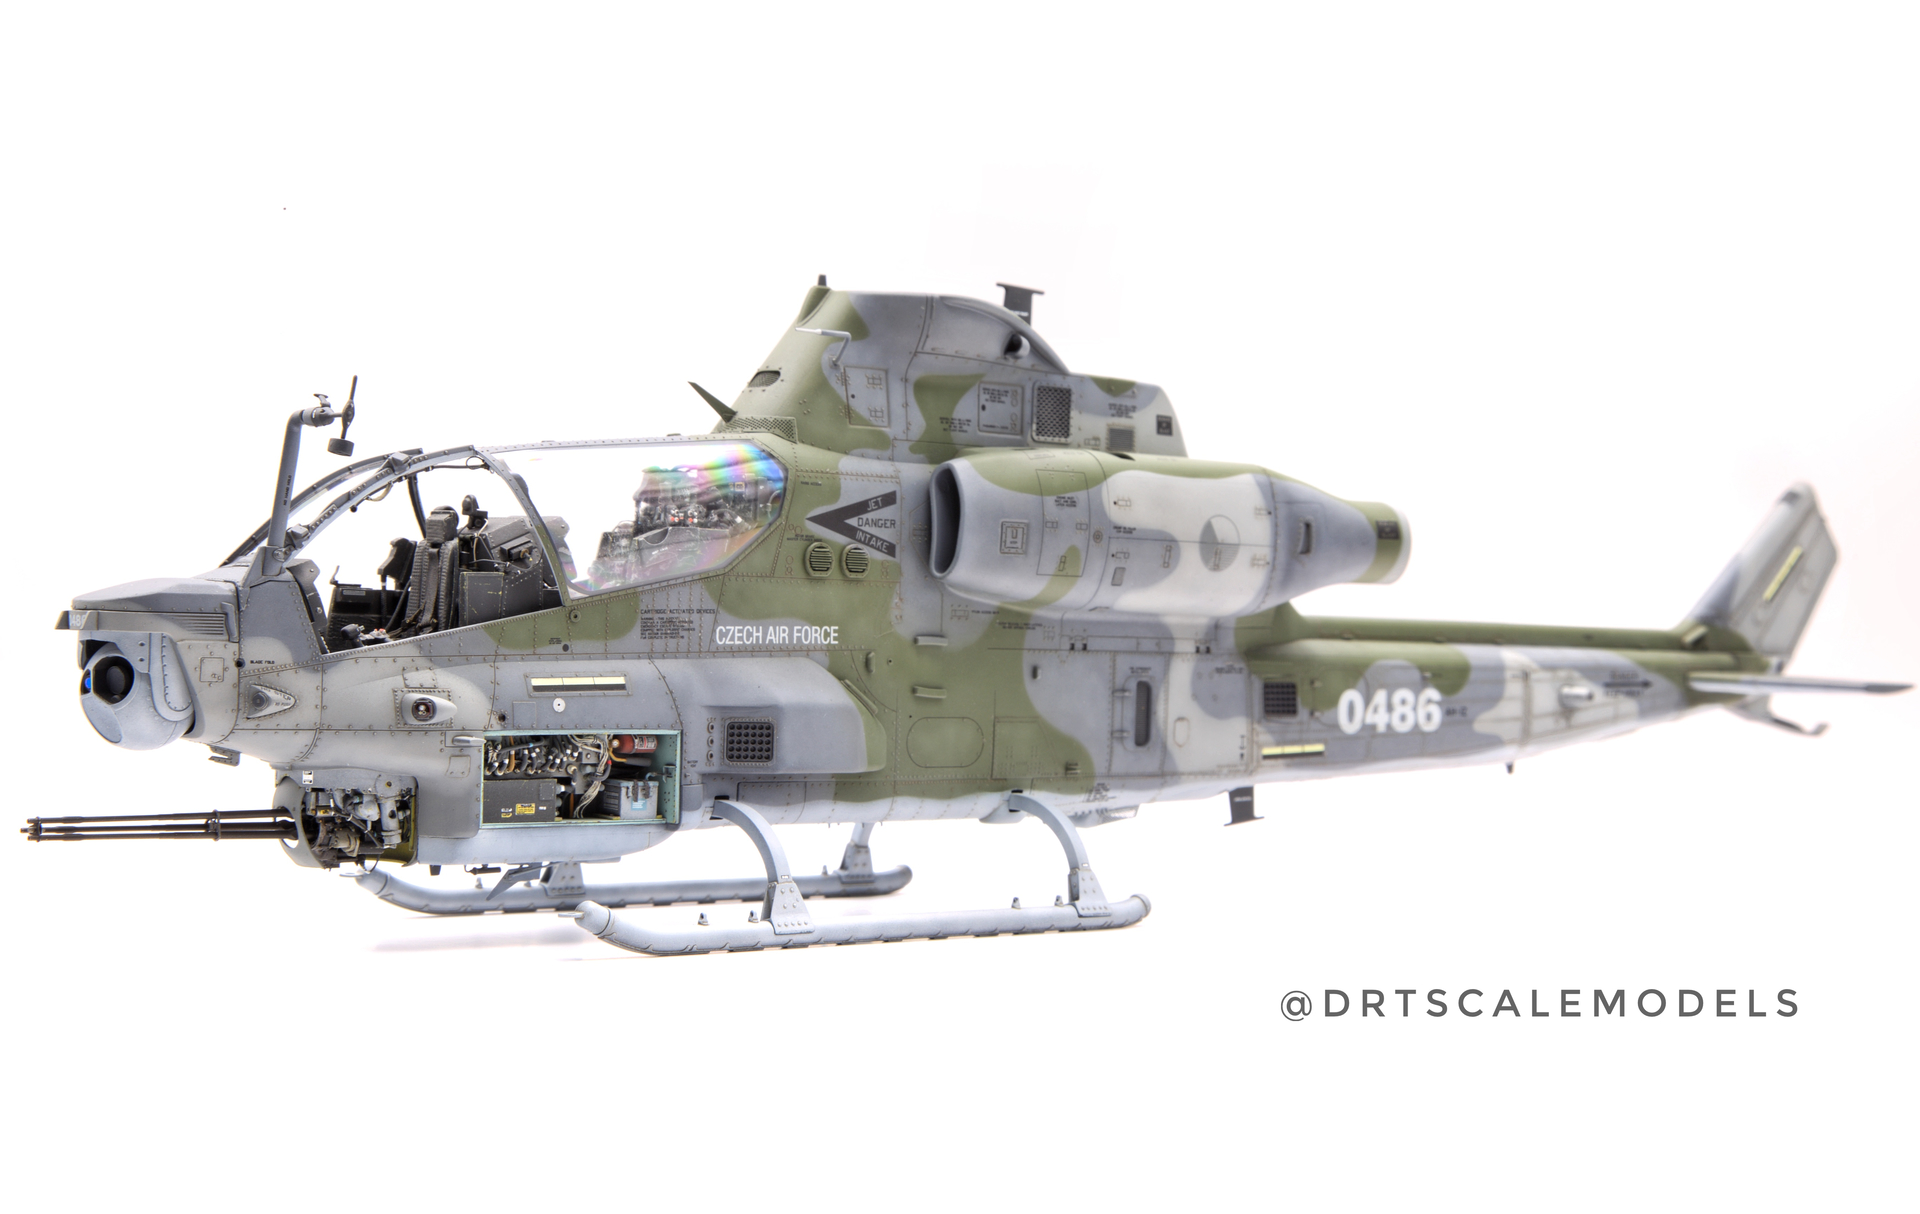
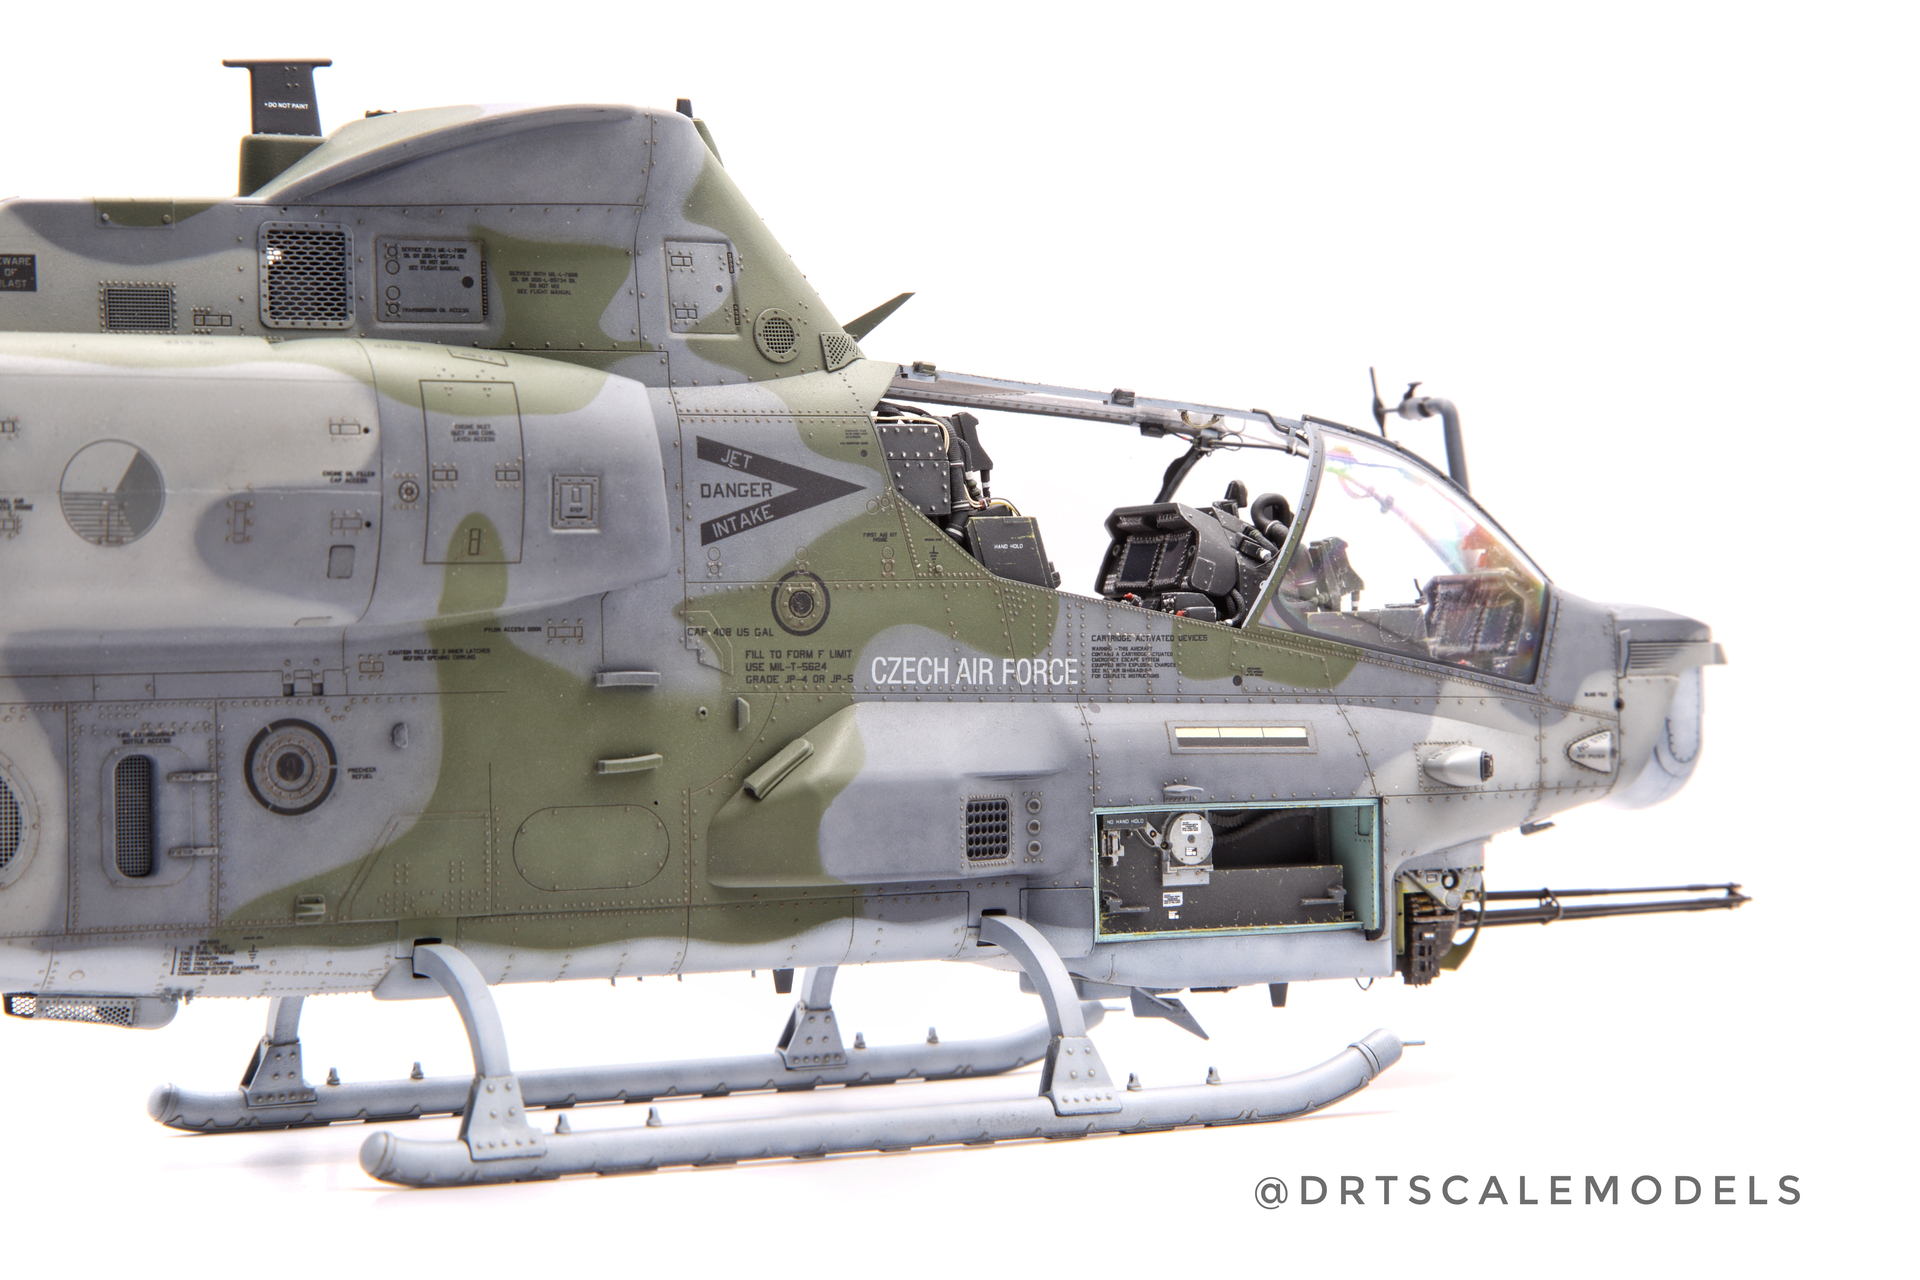
Big day in Zululand - the canopy masks are off! Doing the washes was very tedious work as my gloss coat was not great on one side - so cleanup was very time consuming.

10 Likes
Very nice. It came out looking great. I really like the three-color camo.
2 Likes
That is a beautiful model. It just shines.
1 Like
Thanks gents! I was quite worried that the colours seemed off vs. reference pics, but once the matte coat has come on it’s looking alright to me. The Czech really nailed it with the scheme I must say. Trying to do “interesting” versions of the available camo schemes as part of my builds, e.g. when I get to the AH-64 I’m looking at the beautiful Qatari colours.
2 Likes
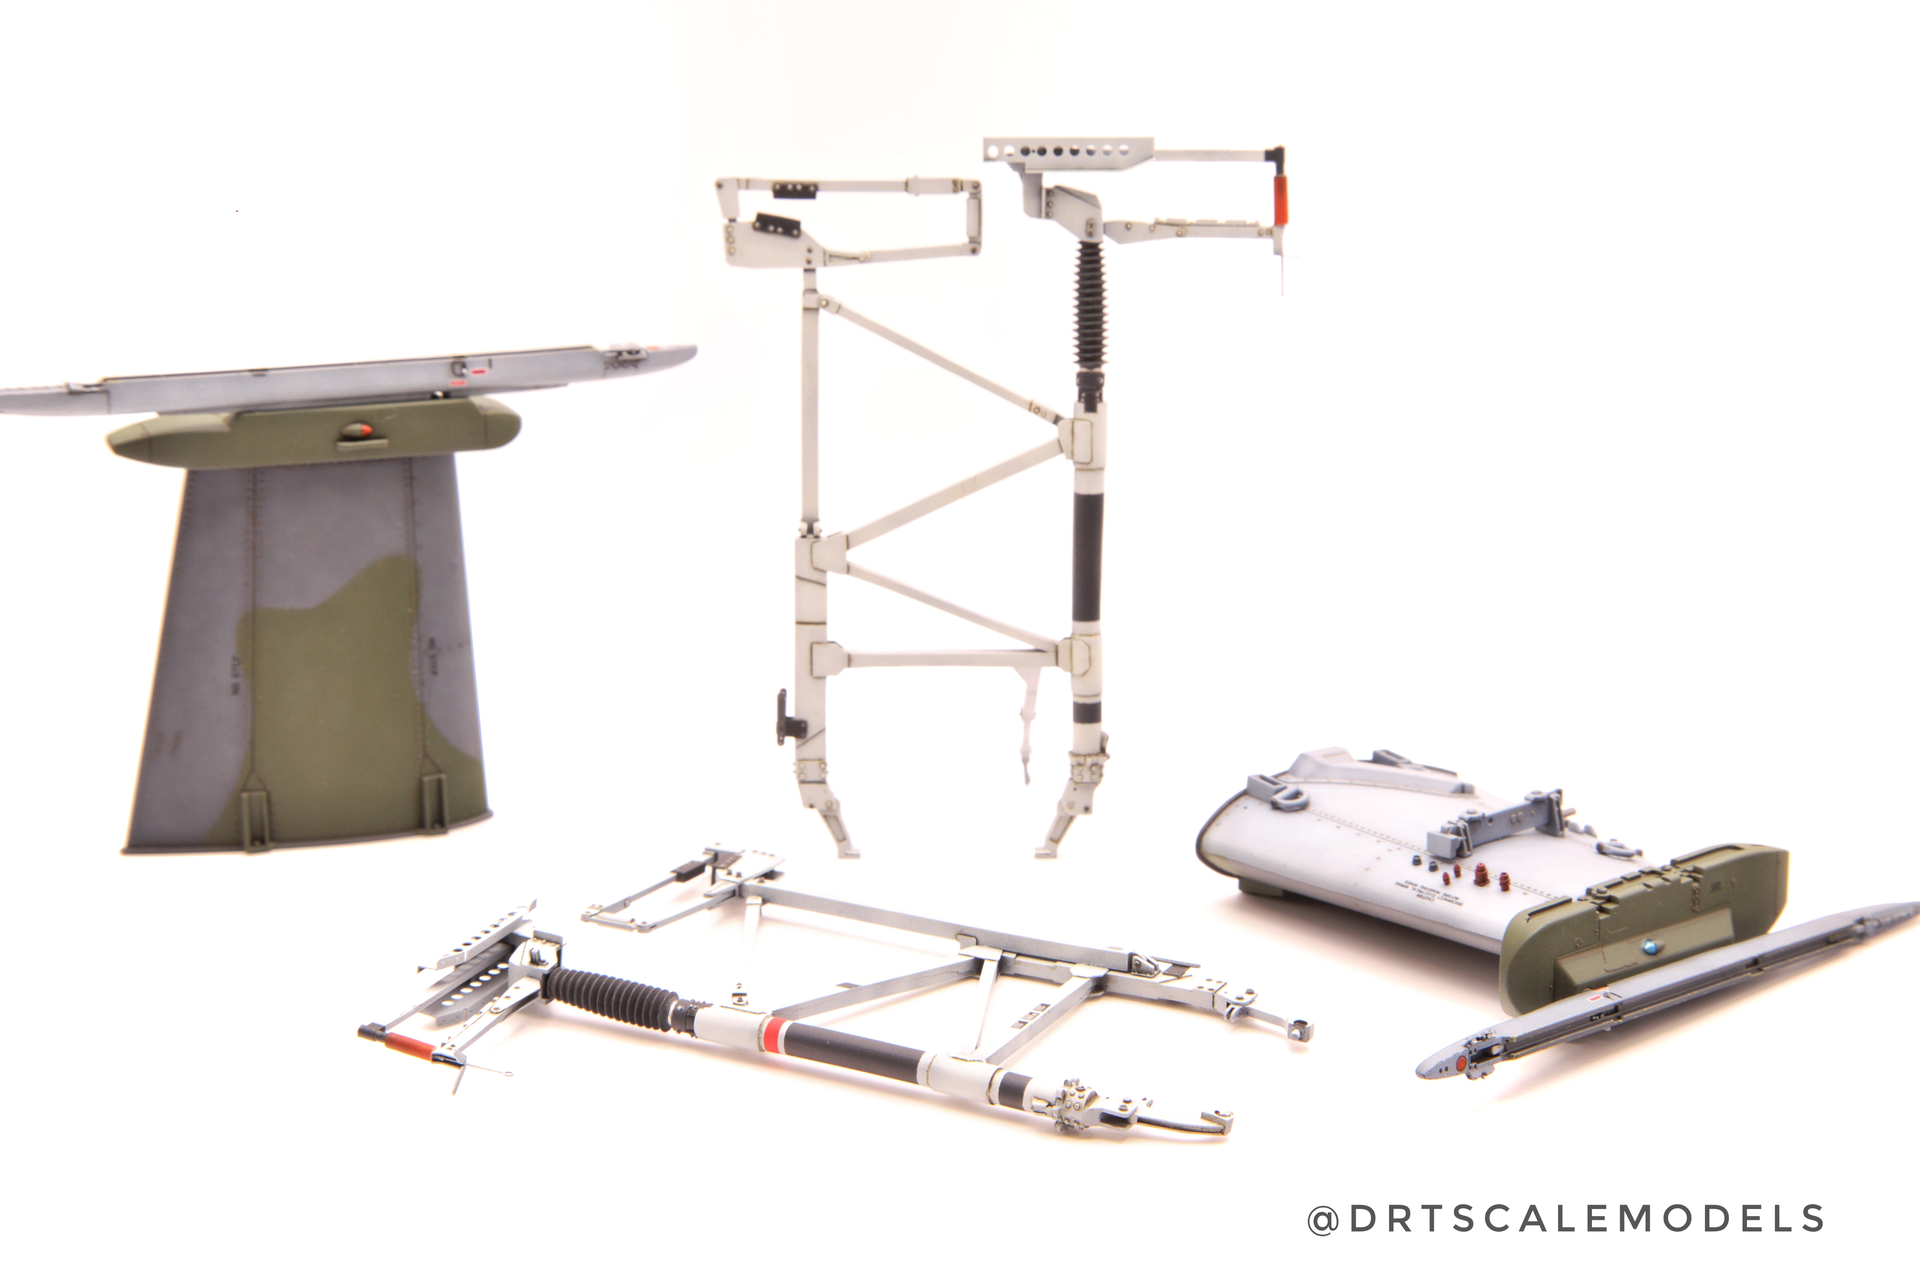
Finished up the blade fold rack (minus chipping and weathering) and the wings. Also added 3D printed electrical connectors (painted anodised red) under the wing. Still some details to add here, like the tie-down ring retention clamps, sway bars, etc.
6 Likes
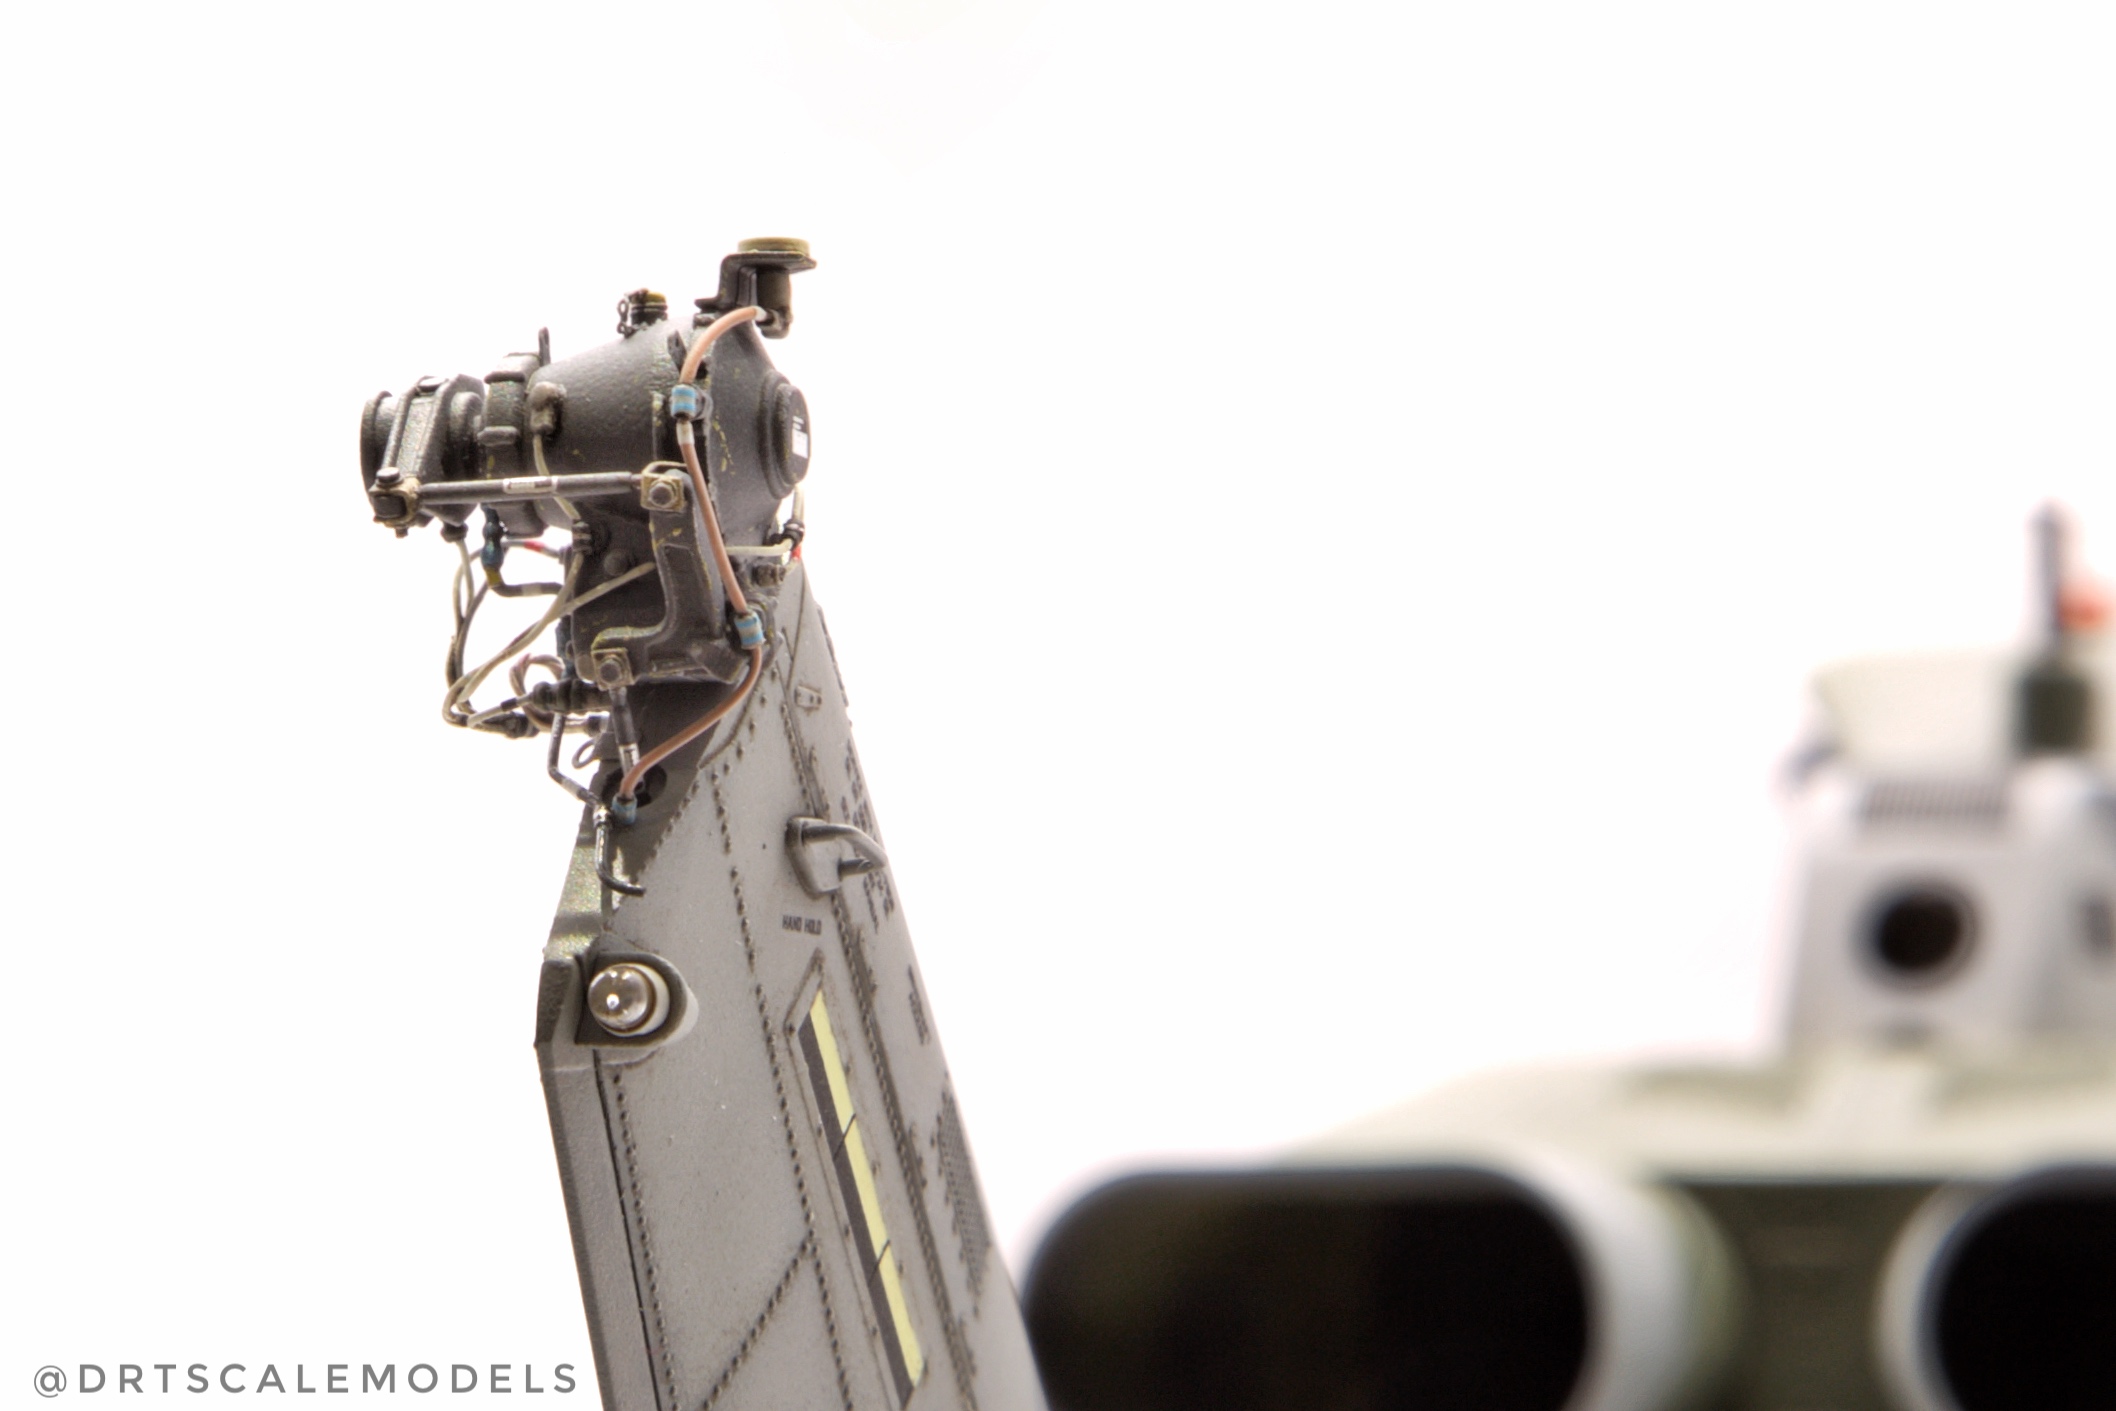
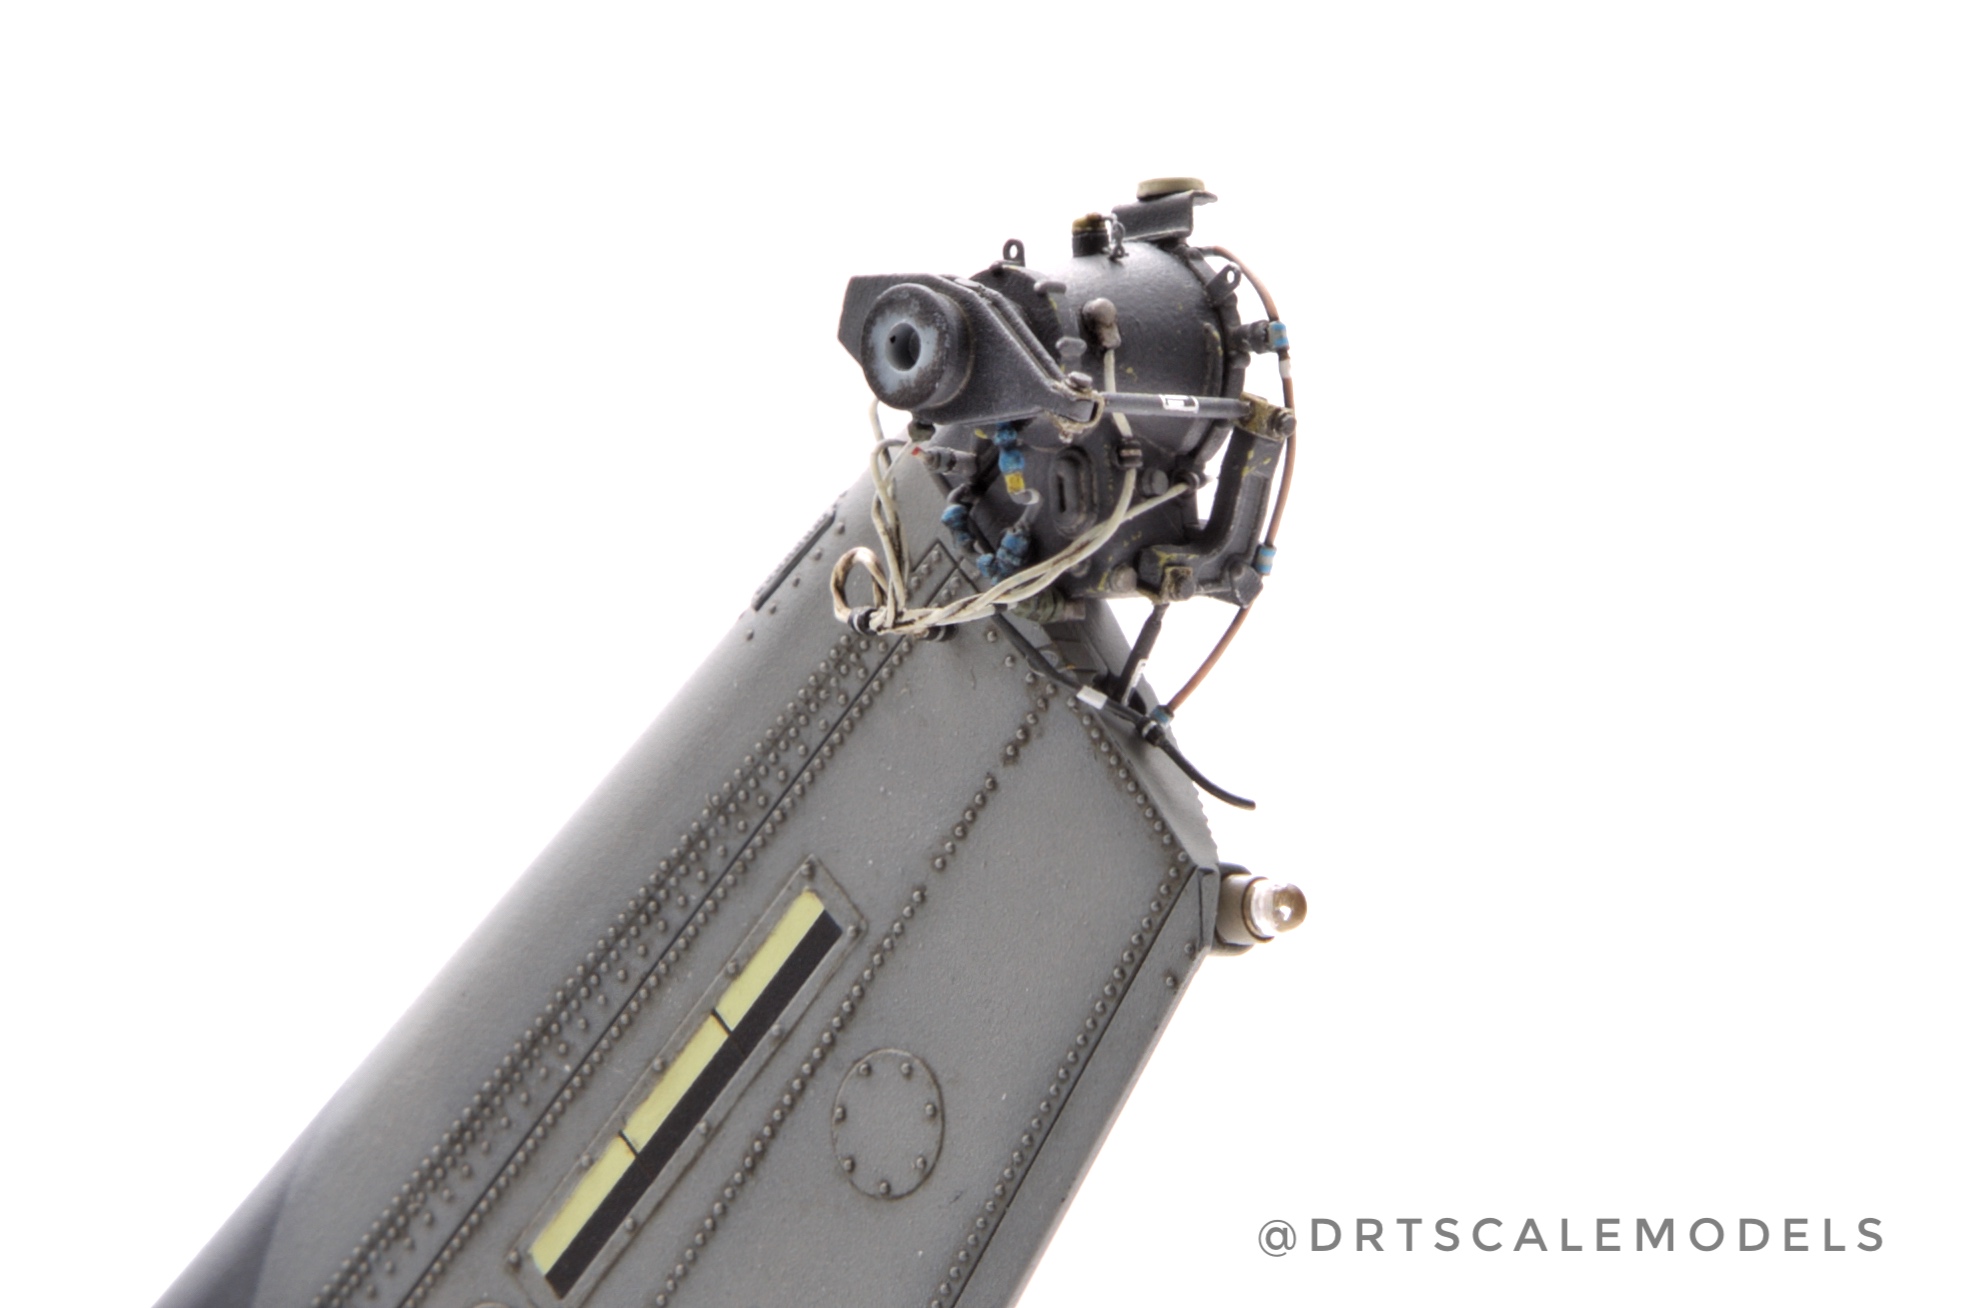
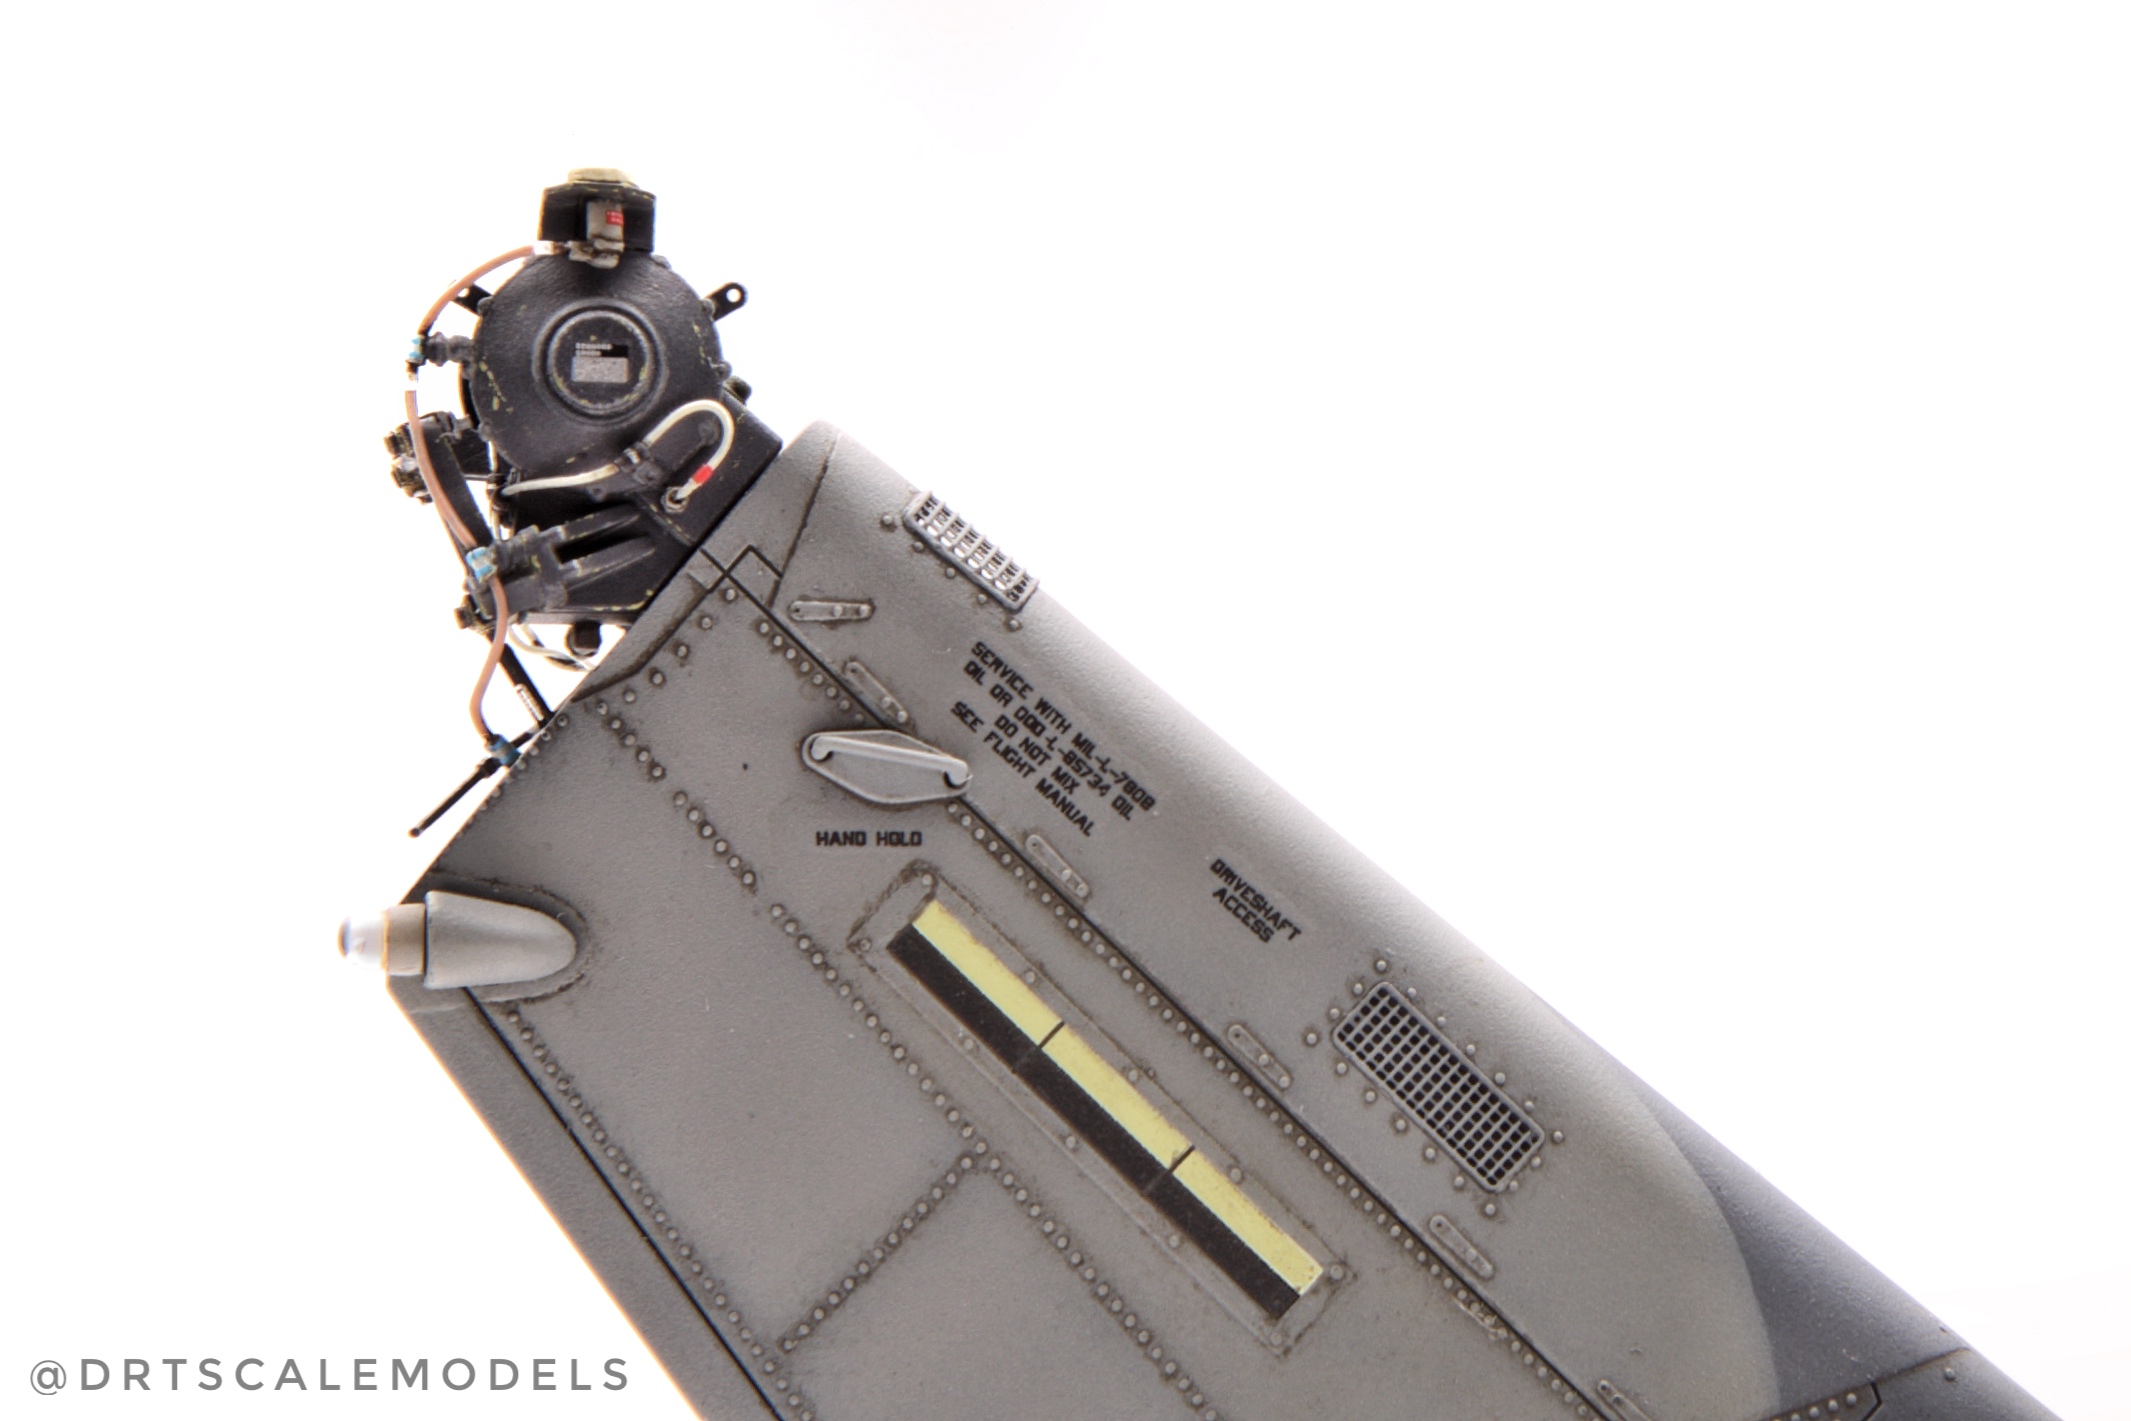
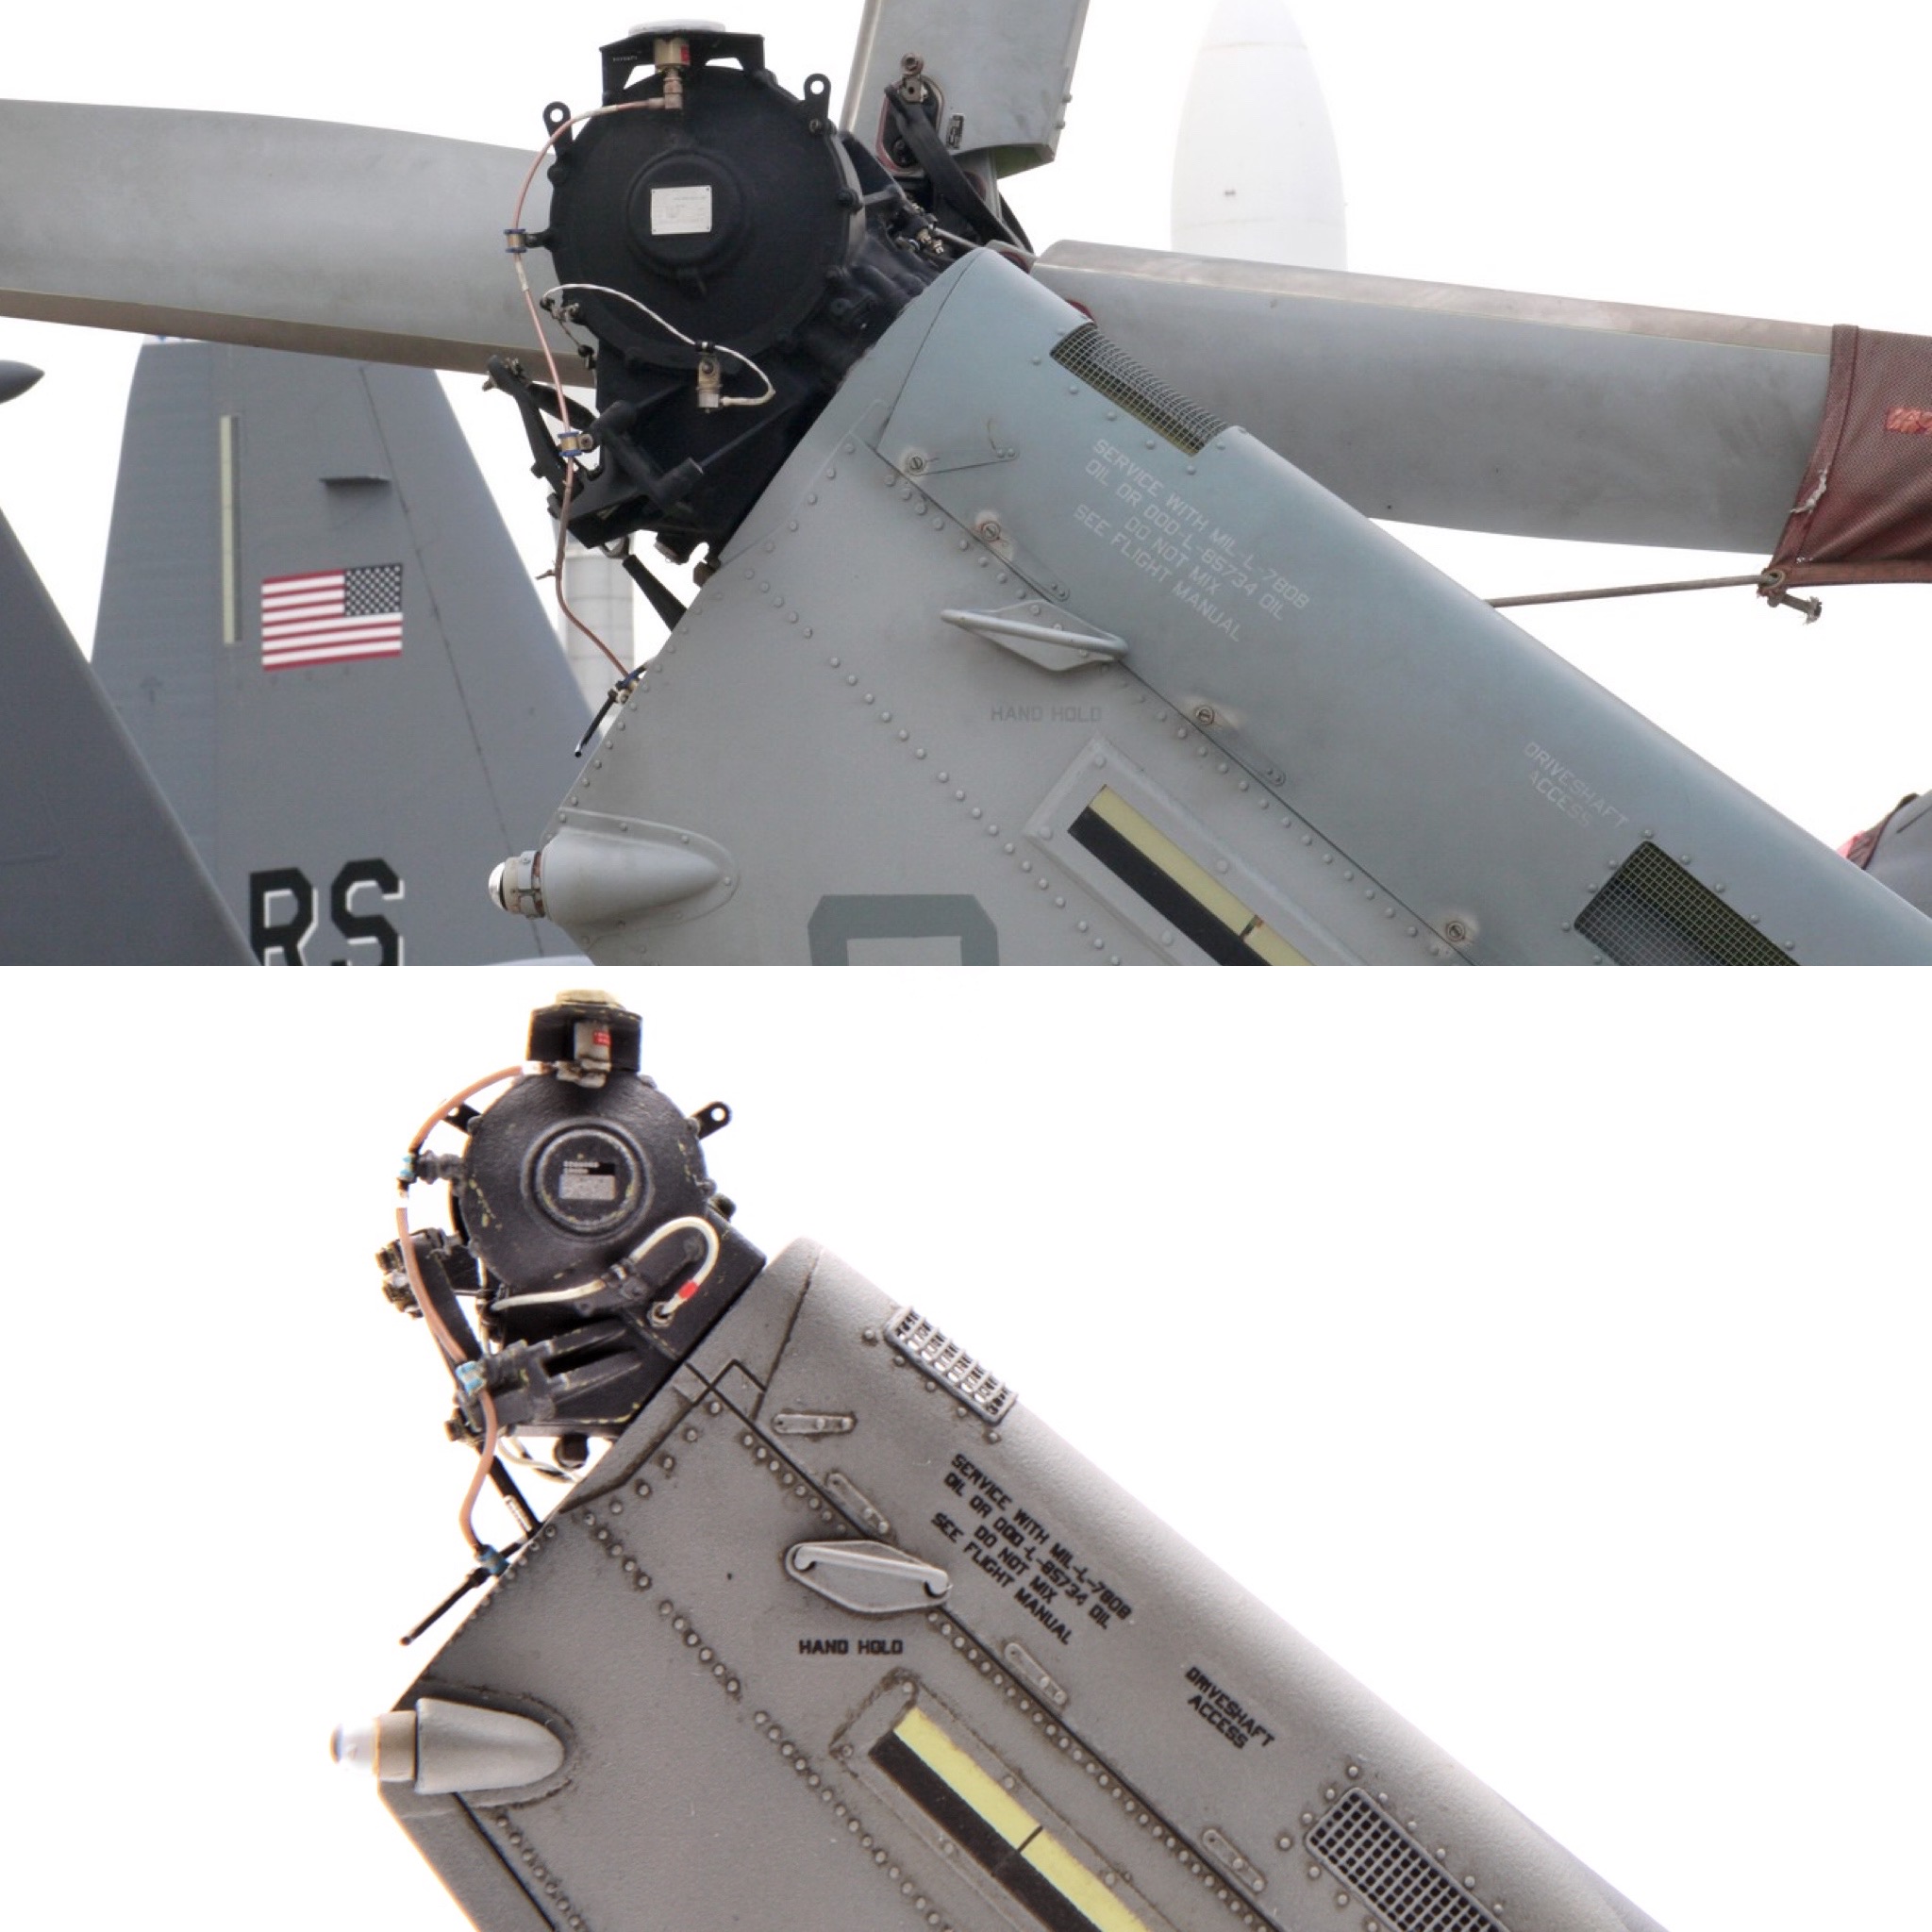
Got the tail rotor gearbox scratched up and installed. All wires, drain tubes, connectors, oil top up cap, are added on. I also replaced the pushrods that come out from the top of the tail to control the tail rotor pitch, with hollow brass tubing (0.3mm rod inside a 0.5mm outer diameter tube). Very happy with how it all turned out!
8 Likes
Stunning !
1 Like