1/35 and 1/32 tires help

I have the Takom 1/35 Japanese SUV and the Meng Toyota pick up kits.


I want to put bigger off road tires on them. Would anyone know if the Tamiya 1/32 snap kit tires would fit on either of the Takom or Meng kits? Would they be too big? I don’t have the Tamiya kits yet so would like to know before I purchase them if they would fit or not.


I bought one of those kits for the body once, not the tires. They are way too big. I’d suggest possibly going with HMMWV tires, either the old rubber ones by Tamiya, or a resin wheel/tire combo.

3 Likes

Thanks! The body does look good but no interior. I was thinking maybe switching the Tamiya body onto the Takom kit but not sure it would fit.

Only one way to know.

I don’t have the Tamiya kit. I did find one for a decent price on Ebay but haven’t bought it.

As @18bravo mentioned, using a set of HMMWV tires might do the trick - I’ve used them with pretty good luck on a Chevy and Ford:

You’ll need to do some adapting at the spindle and change the wheel hub to get front locking hubs, or if you decide to show a full floating (3/4 or 1 ton rear) axle. I’ve since changed out the hubs on the Chevy. This should work pretty well on the Toyota’s too, That said, to fit a scale 37" tire on to a Toyota, you’ll probably need to either enlarge the fender openings, or add a lift kit. I added a lift to the trucks shown above.

Cheers
Nick

4 Likes

They both look great! How did you do the lift kit on the Chevy? They fit on the Ford with no mods to the suspension?

1 Like

@twong, thanks. As for the lift kits and fitting the tires, neither was all that straight forward, but, as it turns out, I’m a bit of a 4x4 nut, so likely overworked the process to get what I wanted.

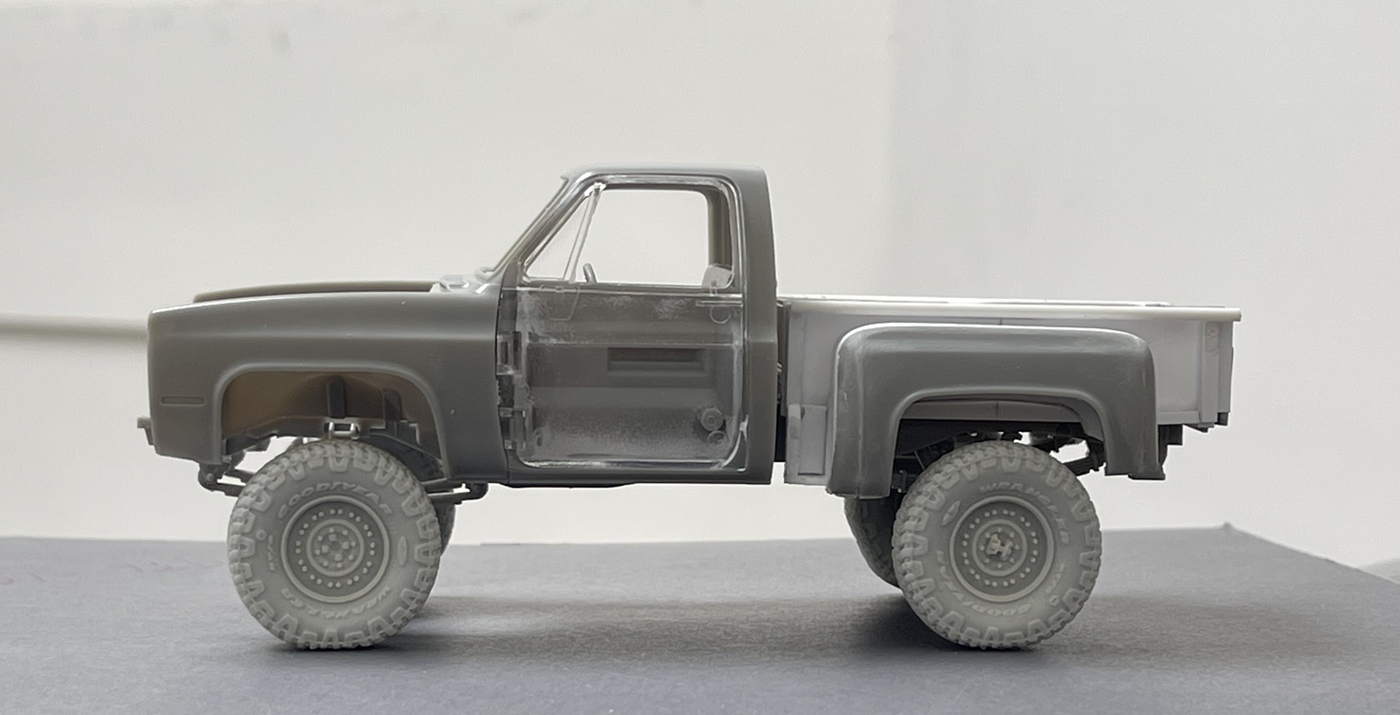
First up, the Chevy:

I did a lot of work on the Chevy, so I figured why not do the same on the suspension?

For the chassis and body, it was shortened about 14 scale inches to allow for the scratch built step side bed, so plenty going on.

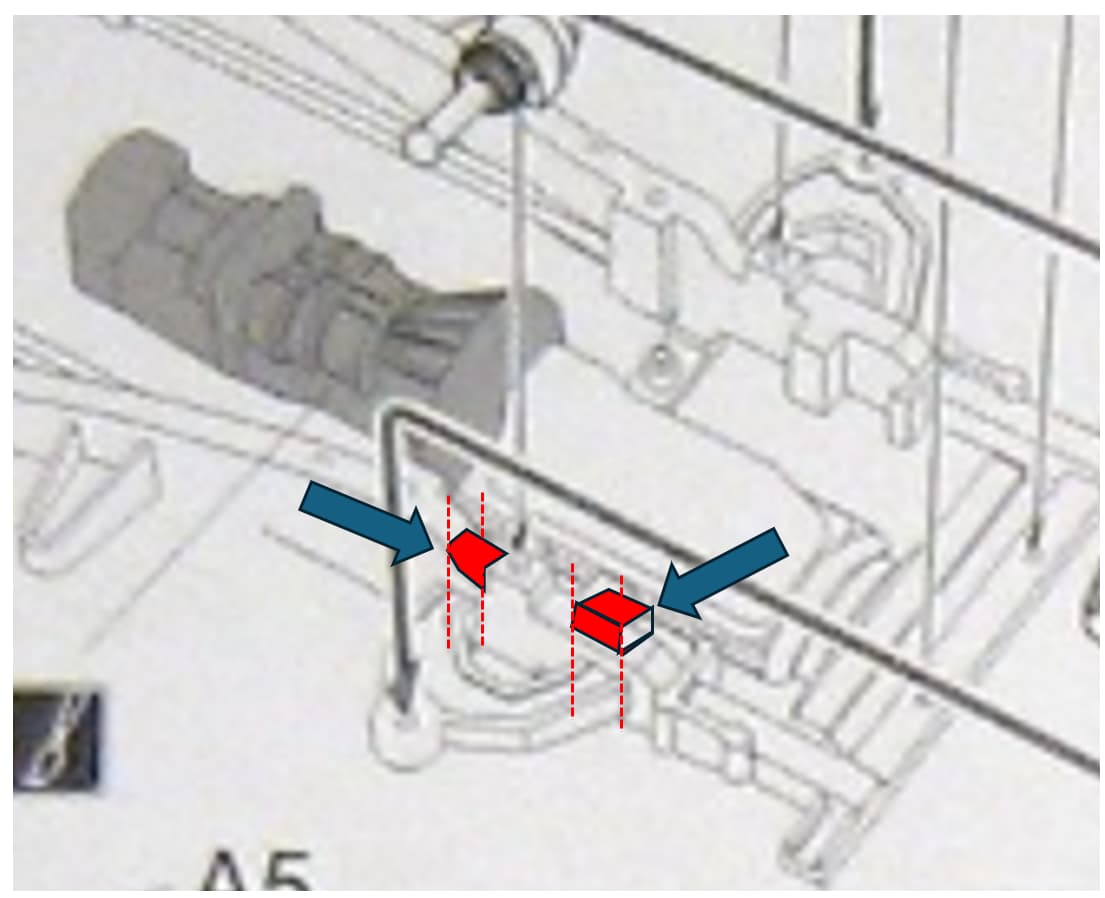
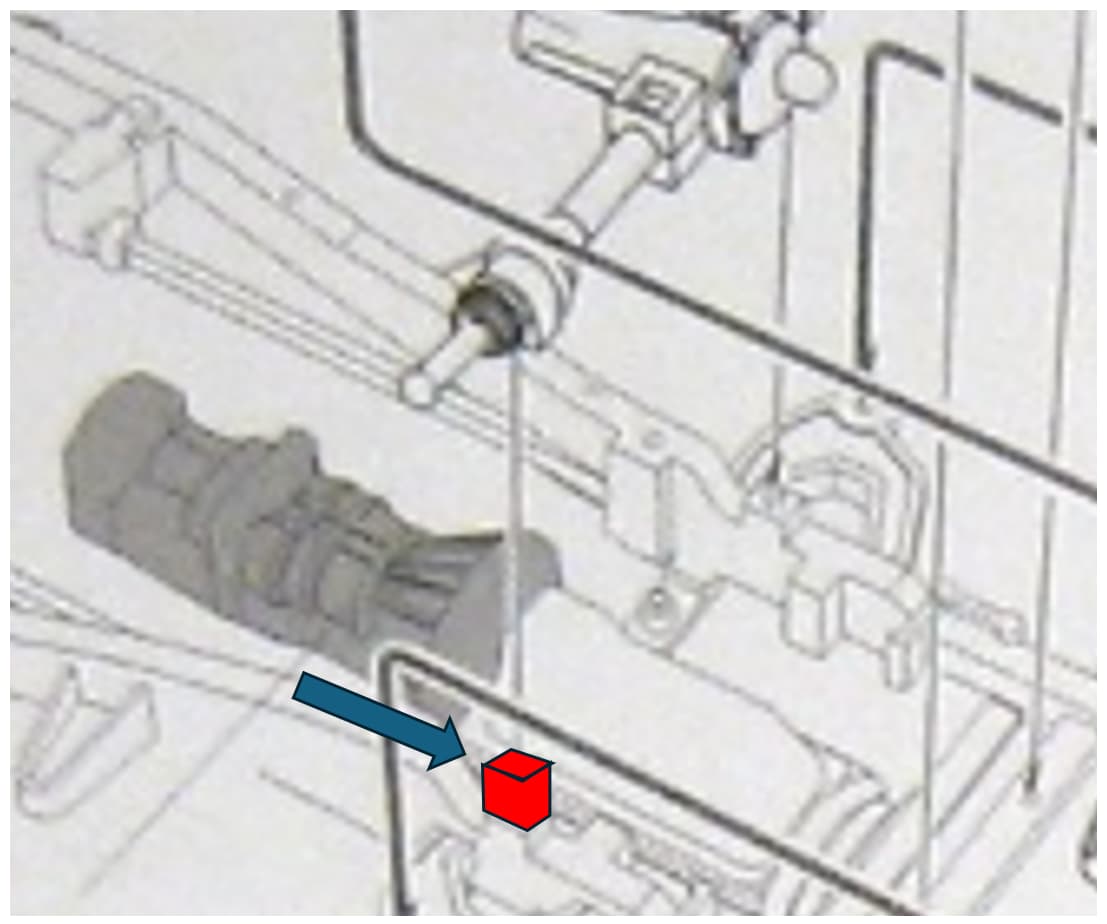
In the rear, I added spacer blocks, but cut them at a slight angle, to clock the differential to slope upward, in order to keep the driveline at a respectable angle toward the transfer case. The block in the rear goes between the leaf pack and axle, where the blue arrow on the left is pointing.

The front was a bit more complicated, as using blocks for the front lift is structurally unsound (in real life, the shear associated with steering when moving can result in the blocks popping out - not a good situation). To resolve this, I cut the kit’s front and rear shackles apart so that they could be rotated and relocated (described below) to also re-clock the differential, as shown by the two blue arrows pointing downward.

The lift itself came from re-arching the front springs. In the kit, they sag ( a lot like the real truck), but for a properly lifted front axle on springs, they are replaced with positive arch sets, like the rear. In English this means bending the leaf springs upward. This also means they get shorter. In real life this is not a problem because the replacement springs are longer, so they fit. I was not in the mood to make new leaf packs, so instead relocated the aforementioned shackles on the frame, moving both closer together keeping in mind the axle center line relative to the fender opening.

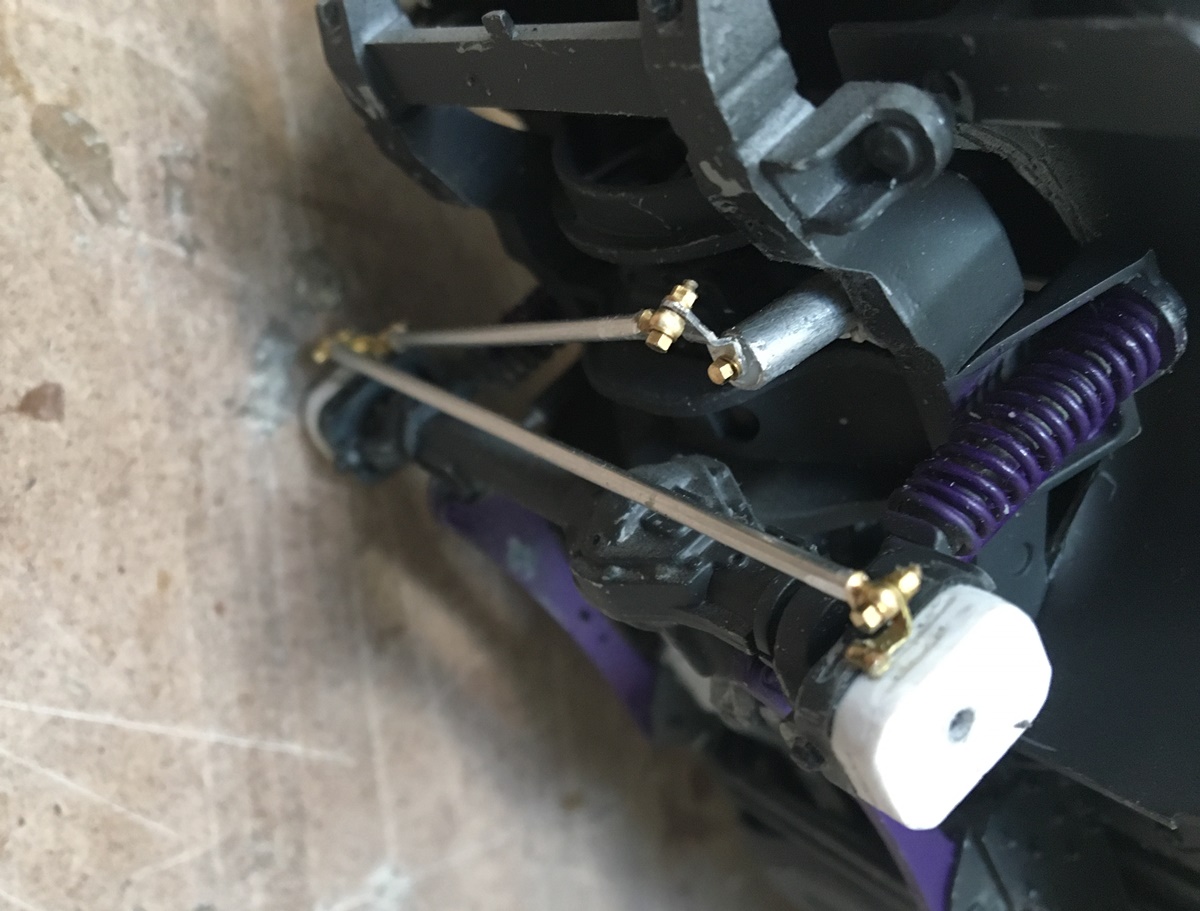
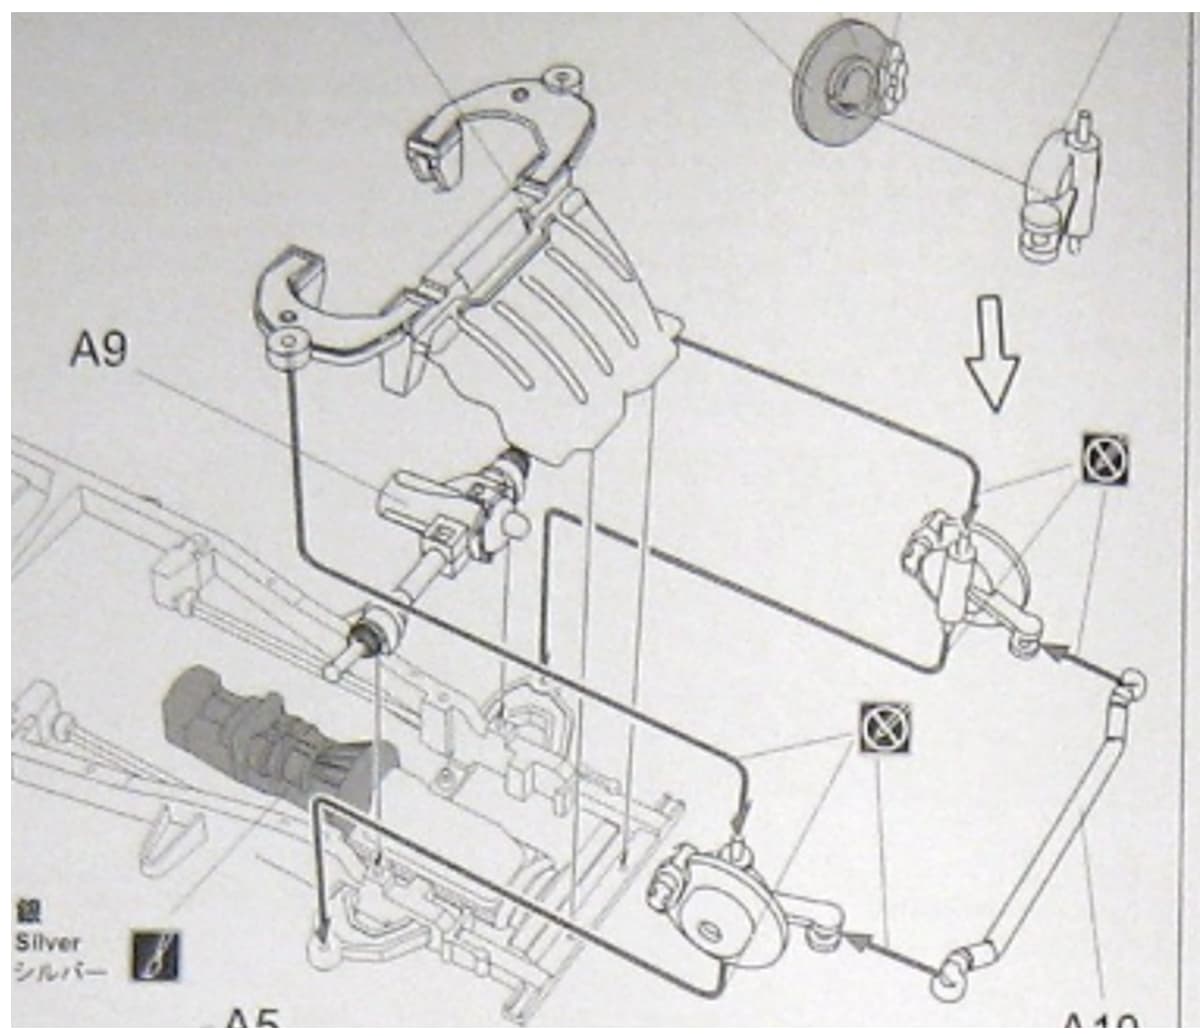
The kit allows for posable but not moveable steering - that is, you can set it left, right or centered, and as I wanted to leave it adjustable when done, I made up some relatively fussy upper and lower ball joint assemblies - in brief, horseshoes of styrene that serve as retainers for the ball joint pins provided in the kit, as shown in the picture on the right. This is not as hard per se as it sounds, but it is pretty tricky, as you want to firmly attach the horseshoe, but not get any glue on the ball joint pin.

Then, as I’ve destroyed many a drag link in my day, well, I set it up to have styrene, alu tube and thin steer rod heim joints, so it remains moveable and strong. What a treat! :grinning_face_with_smiling_eyes: :sweat_smile:

Should you not want to embark on this path, you could likely get away with using front and rear blocks beween the axles and leaf springs! :grinning_face_with_smiling_eyes:

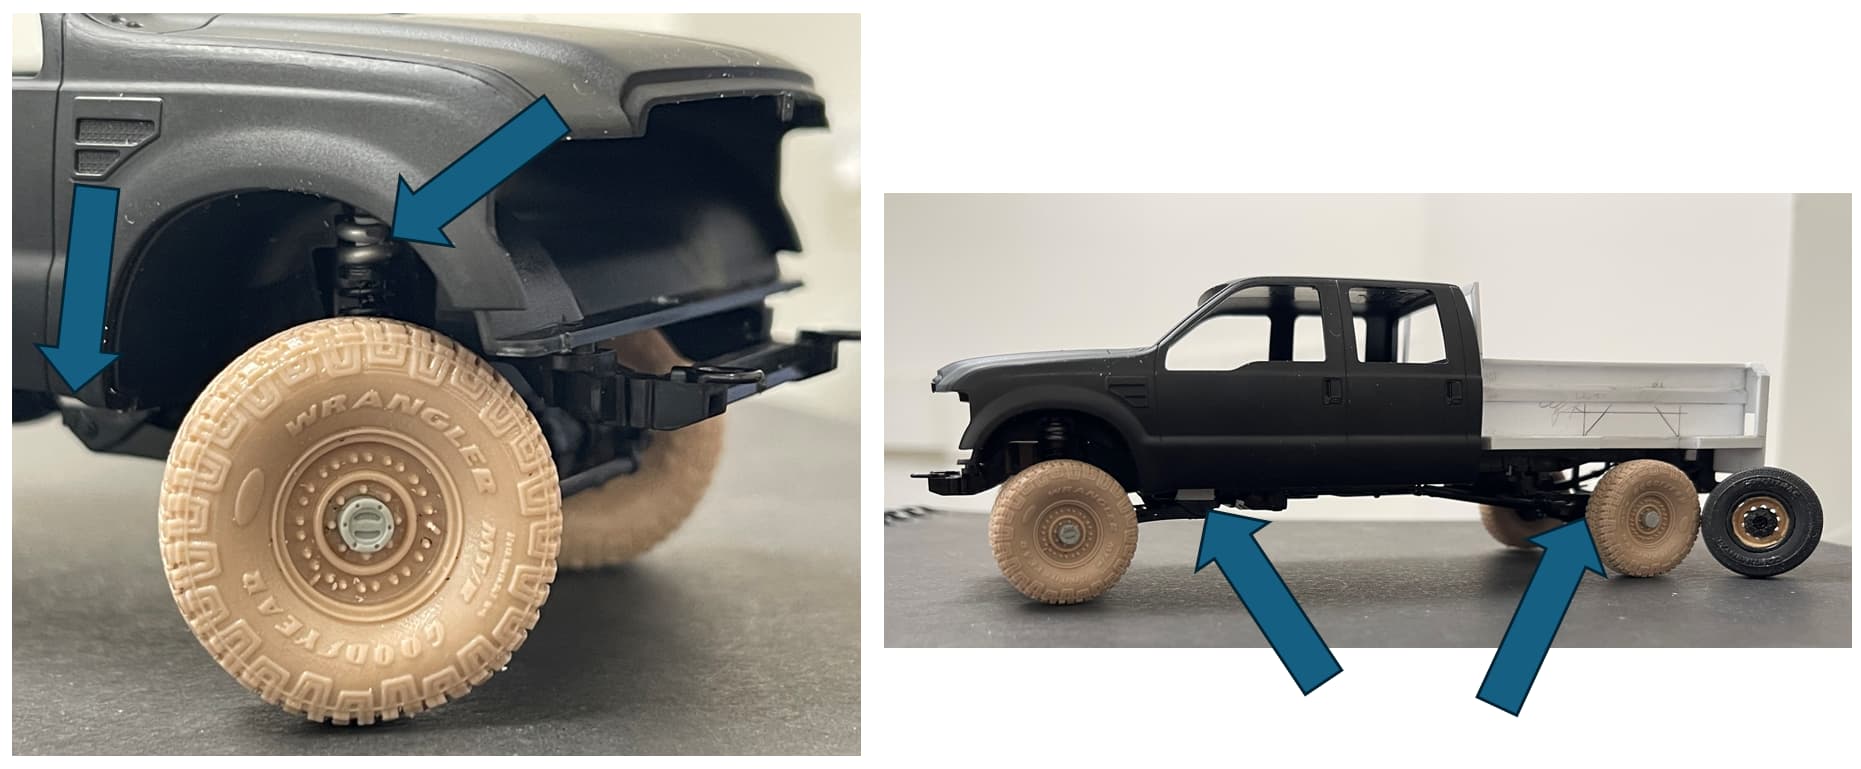
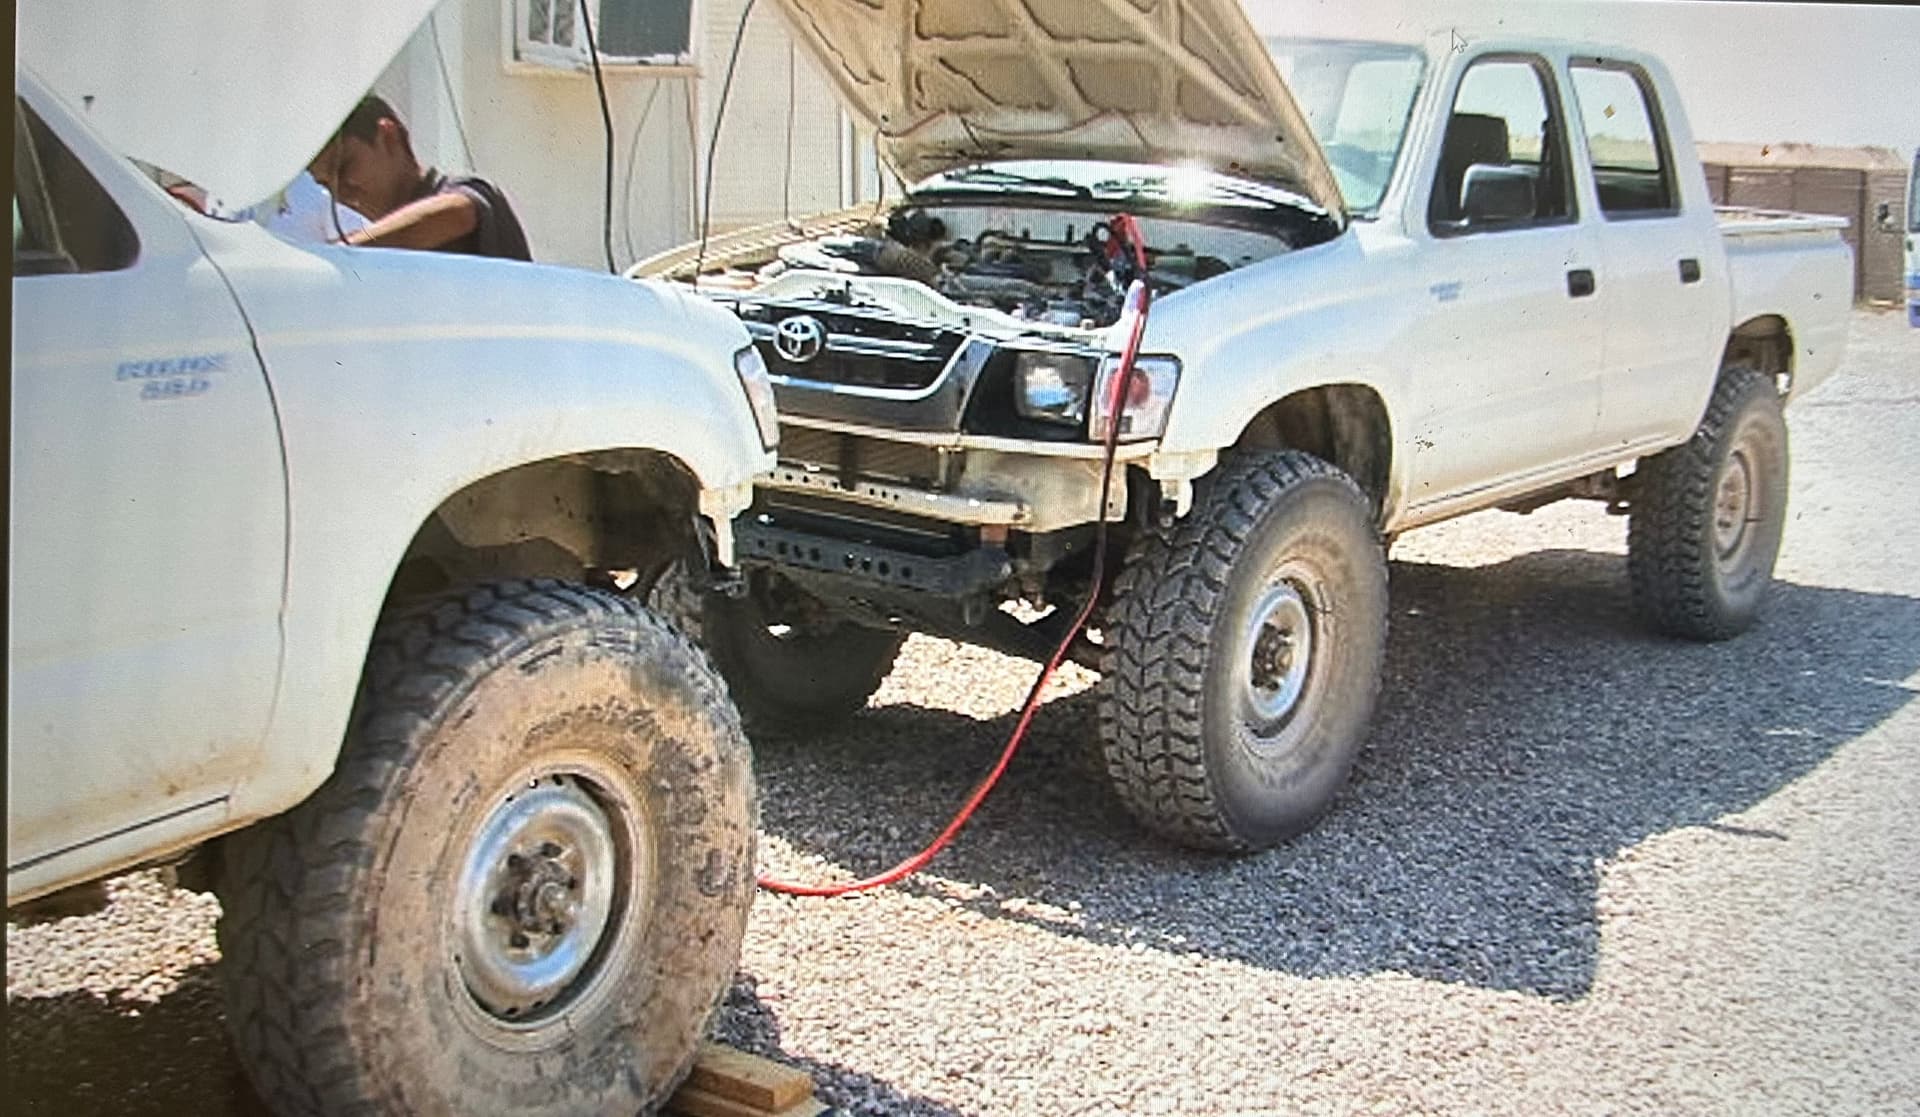
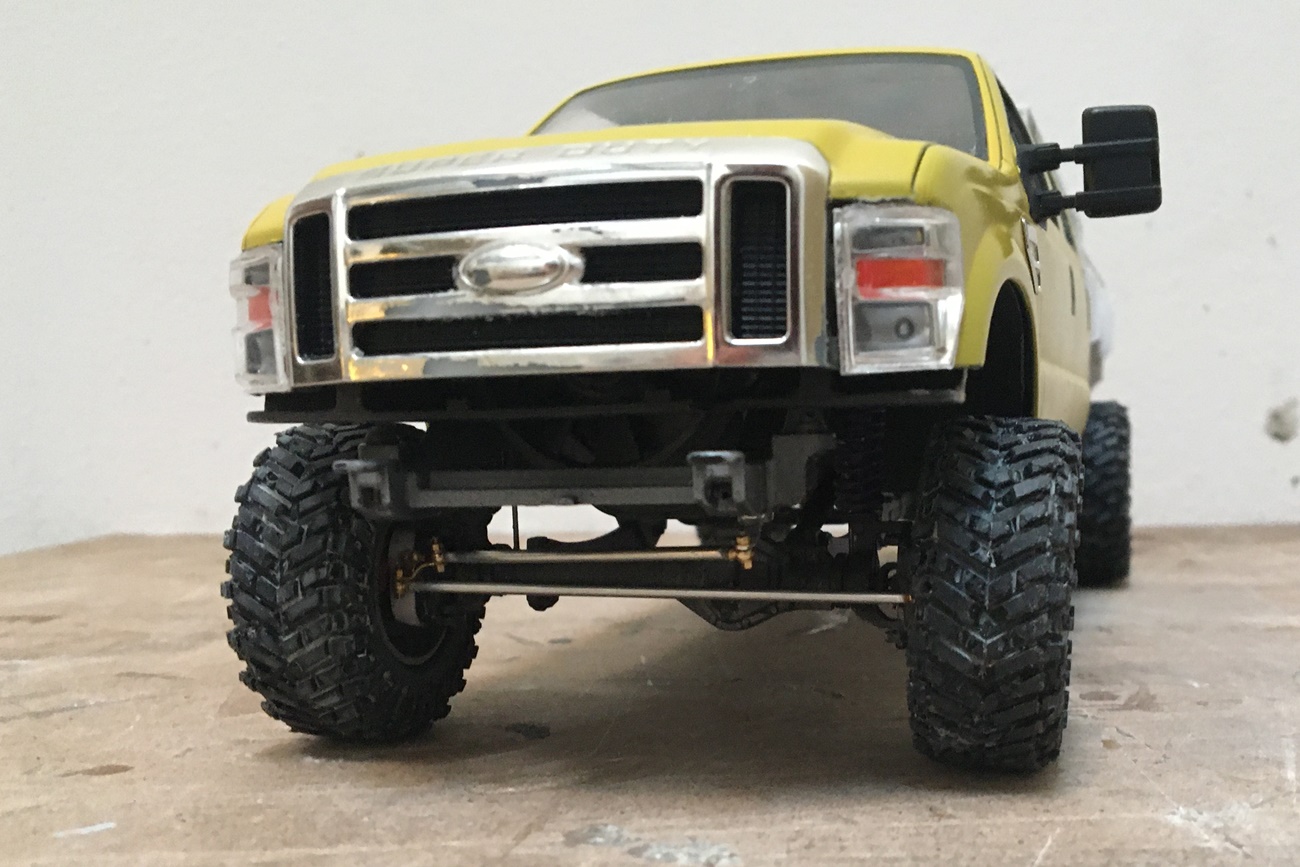
And the Ford, the 37" tires would be a very tight fit, but my guess is they might work - as always, dry fit first!

But, that’s not what I did, and instead gave it a legit lift so they’ll fit:

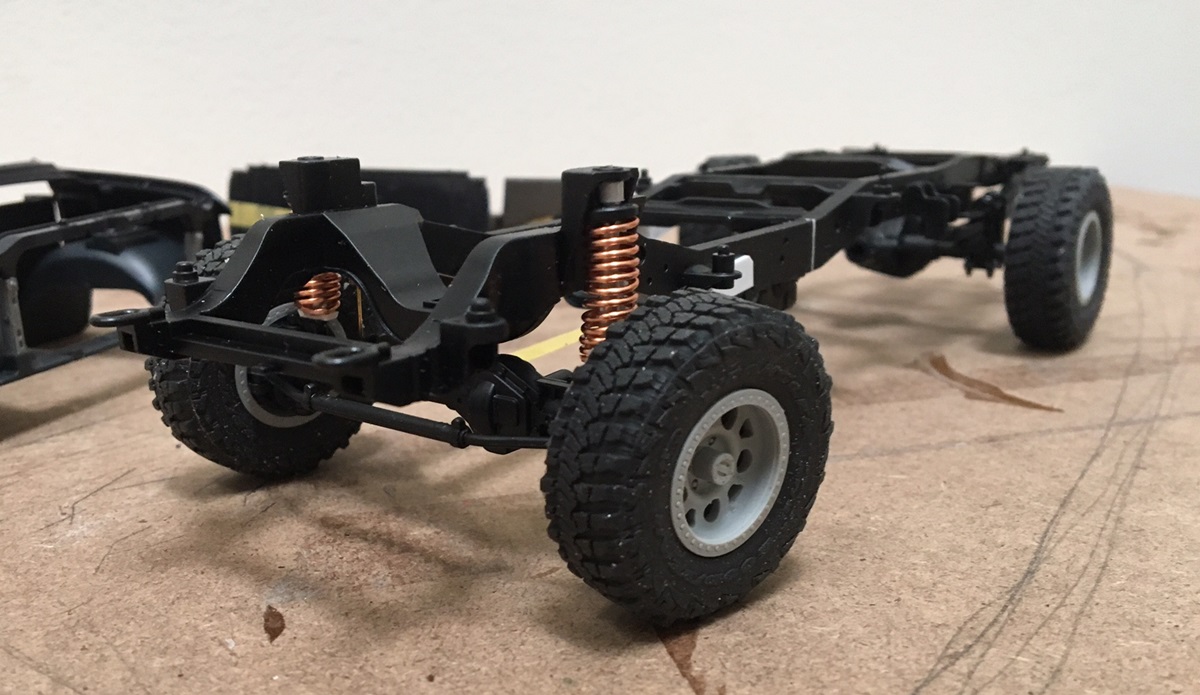
For the front, I extended the front coil spring and added a piece of styrene rod, which when combined, extend the kit provided spring parts, and the styrene adds stability and by providing a solid mounting point, and shown in the picture on the left, and called out by the arrow at the top of the coil.

By doing this you provide the lift, but this means the radius arms are too low, and you’ll get a bad angle and not much of a connecting point. To address this, I adapted the rear side of the radius arm bracket - and I’m sorry to not have a good picture of this, but below the arrow on the left side of the picture barely shows the white styrene used. You might get a better view looking at the pic on the right, and the arrow toward the front of the truck.

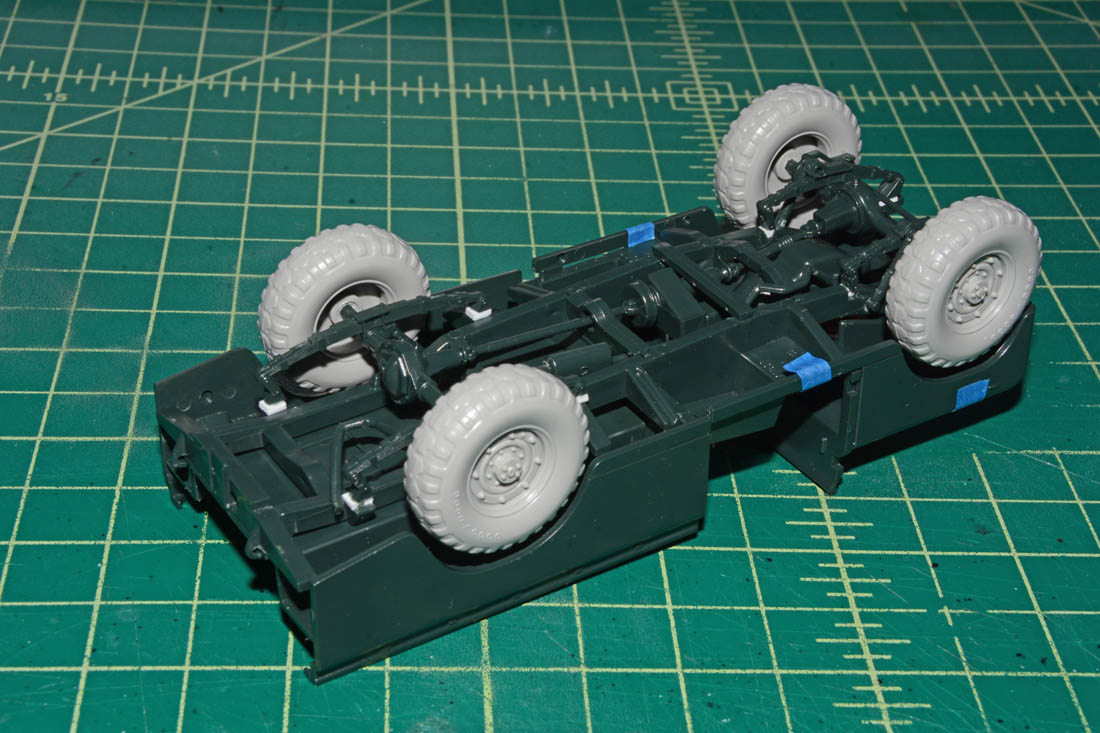
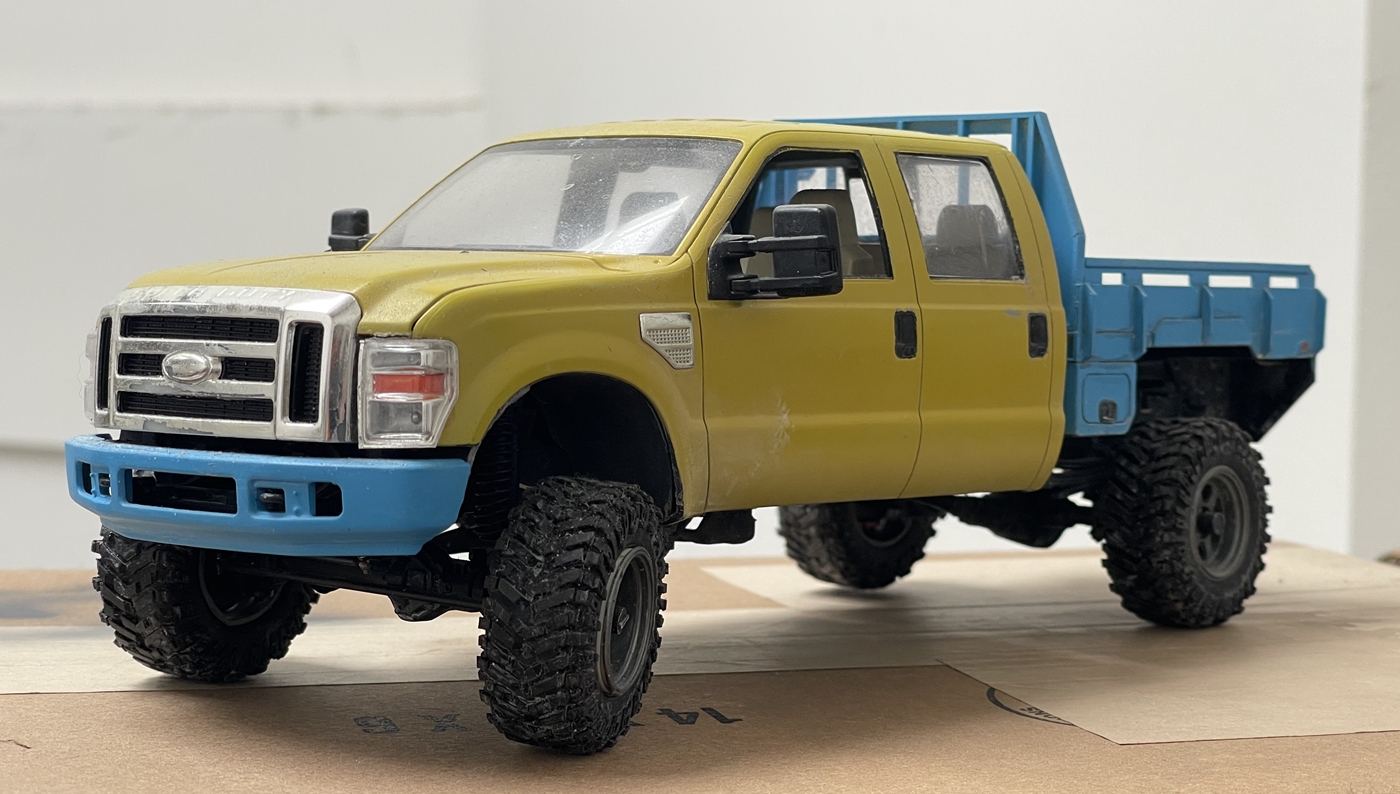
Finally, the rear only gets a lift block as described above, between the axle and leaf pack.

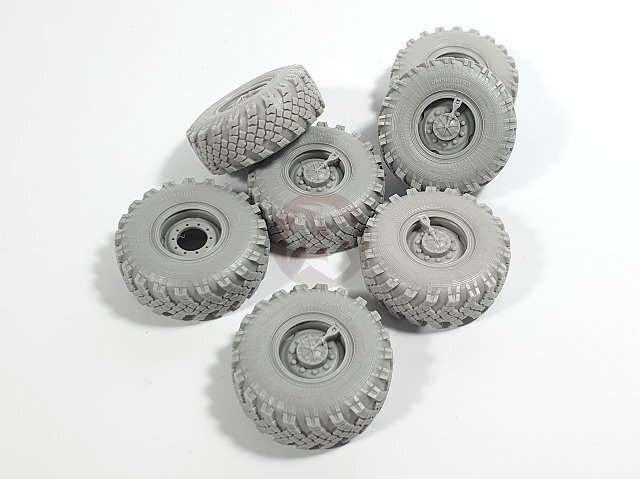
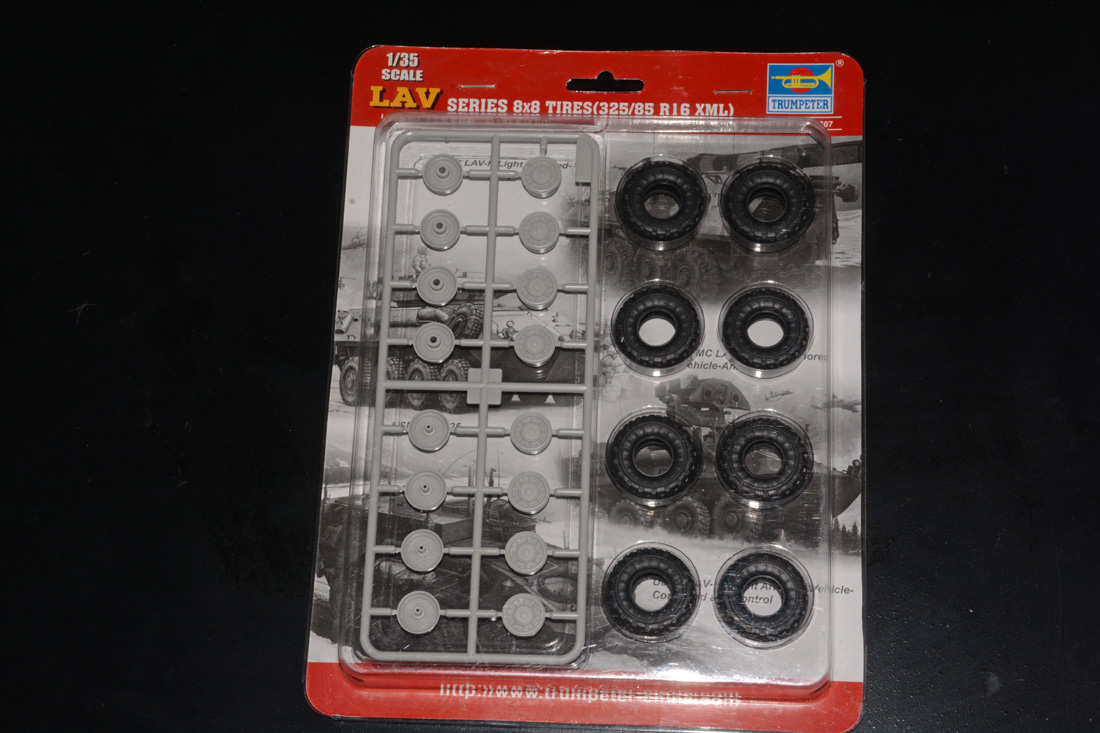
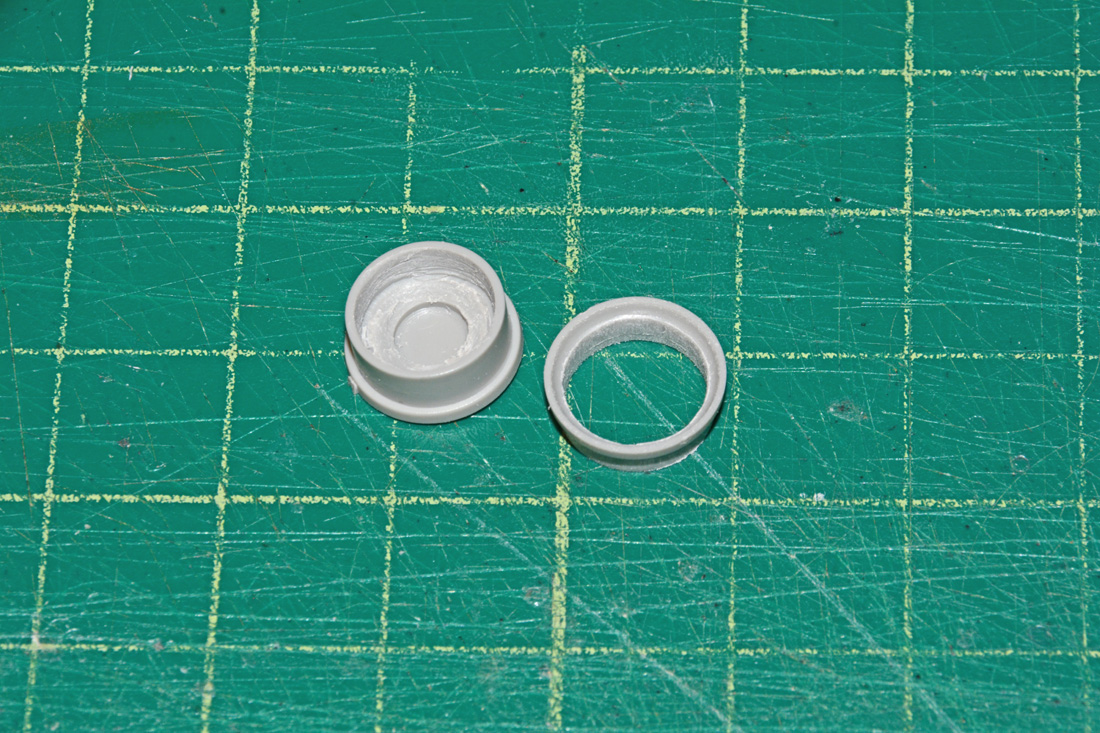
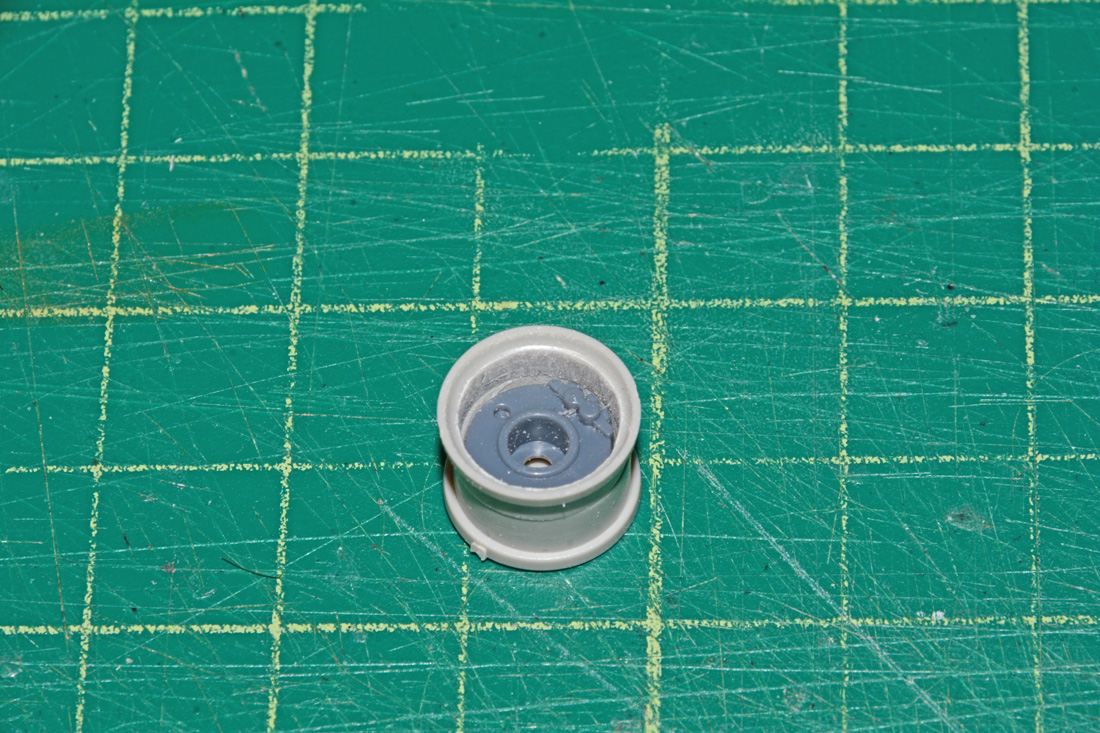
As you can see on the pic on the left I added locking front hubs, and on the rear a full floating hub. You can also see a comparison of the new tires and those from the kit - the new ones are much bigger. It looks like the kit provides a small factory tire, maybe 29"? This truck also got a loggers box, so a completely new bed.

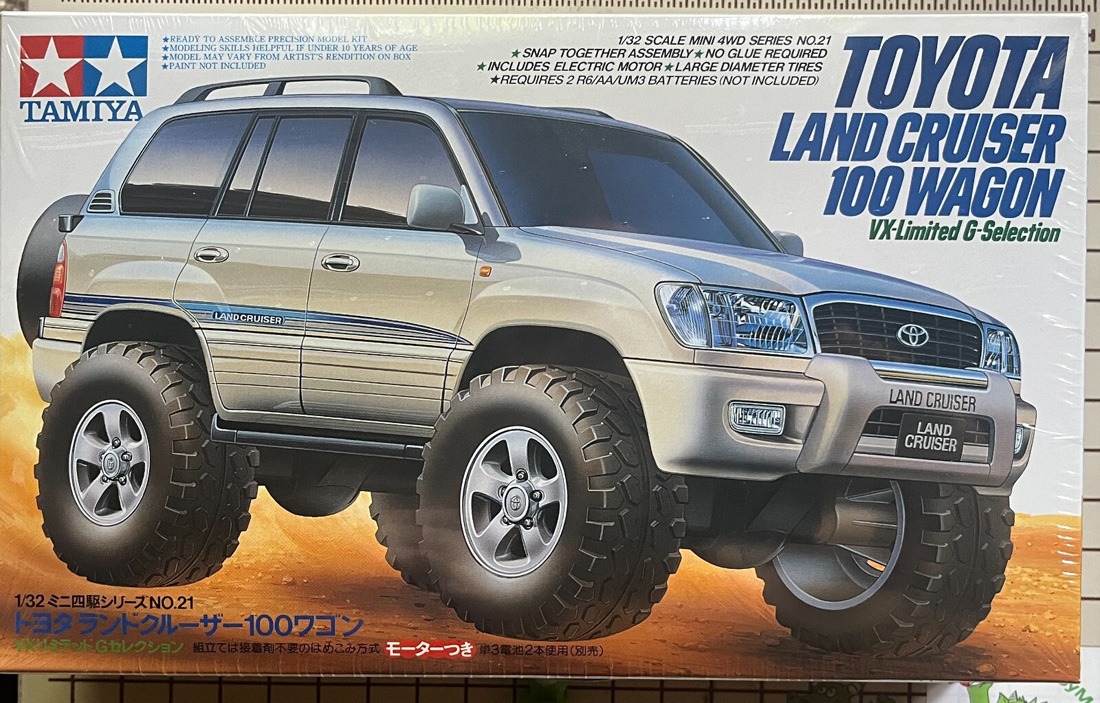
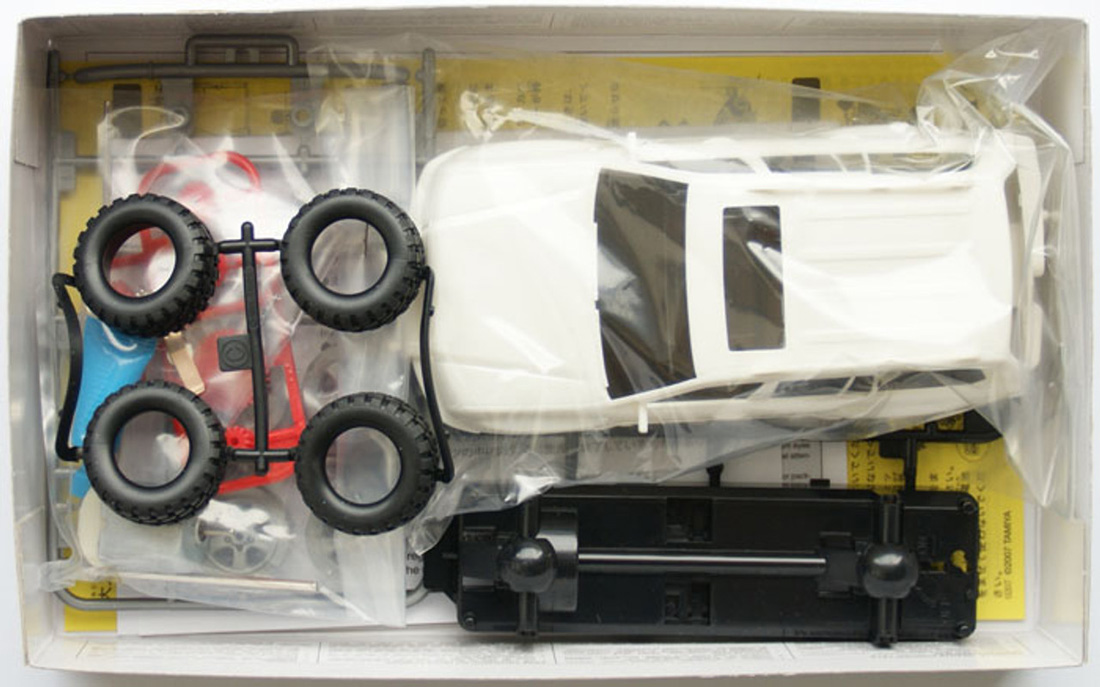
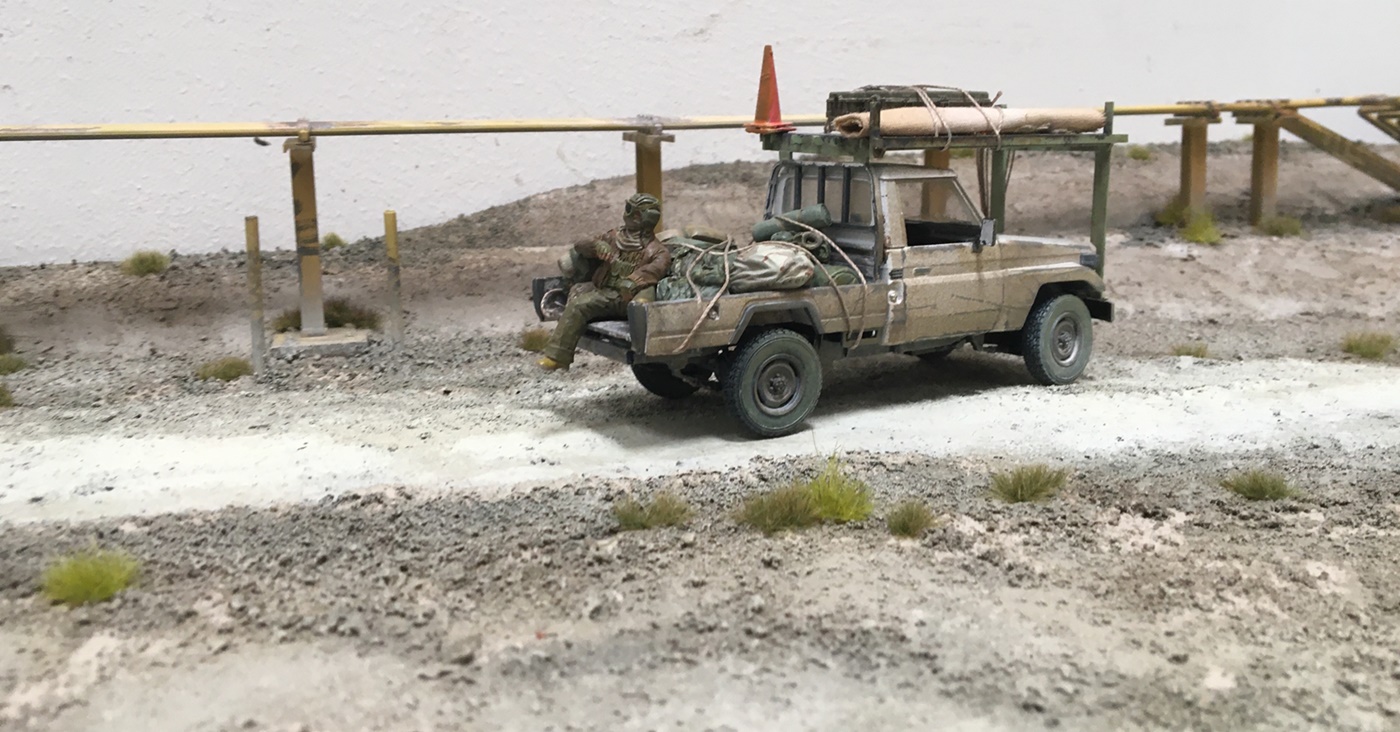
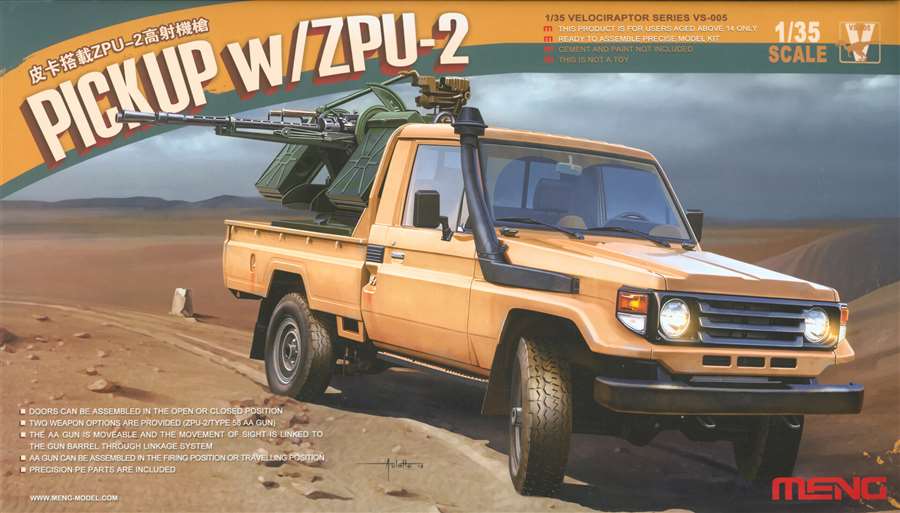
I’ve built a couple of the Toyotas too, and they also went together well - I think I added a minor lift to a land cruiser pickup, but as it’s such a small kit, did what I could to keep the conversion fairly straight forward, but did some cutting too:

In closing, both kits (AK and Meng (2)) are very good as is, and the process described is not needed - unless, you want to convert the truck to something with more off road capability or style differences, like the step side conversion, or if you’re a truck nut too! :grinning_face_with_smiling_eyes:

OK, hope some of this is of use! Looking forward to seeing your builds!

Cheers
Nick

6 Likes

Nick, thanks for the very detailed info on how you did the lift on your builds. Very useful. The Chevy has leaf springs but does the Ford have leaf springs? The Meng Toyota pickup has independent front and rear leaf. It will be a bit harder for the front but your detailed info will help. Making the longer suspension with longer plastic rods and coil springs shouldn’t bee too hard (I hope) using some copper wire.

I had added small blocks to my Italeri 1/35 Land Rover leaf springs to fit the Italeri fictional HMMWV wheels on it. It was still a tight fit as I didn’t make the blocks too big. Here it is with the Italeri fictional HMMWV wheels fitted after adding the blocks to the leaf springs. You can see the white plastic I used. It isn’t the most correct way but was the easiest and quickest.


This was the Land Rover that gave me the idea for adding the bigger tires.

I am making a what if African safari Land Rover that was captured by rebels and used as a technical. I added the Meng ZPU-1. It is still in progress. I suck at weathering so still practicing on it. I found a zebra pattern on Google and scaled it down then printed my own decals and painted the kit white. I clear coated the decals but the ink still crackled.


I am adding the Paracel African figures. The two front figures don’t fit the Land Rover so some adjusting is necessary.


For the Meng Toyota pickup, I wanted to attempt something like the Tonka Toyota Hilux below. Not in the Tonka colors and markings though but just have it somewhat lifted like the Tonka version. I know the Meng kit is a totally different model year but still wanted to have the lift look similar. Too bad there are no bigger aftermarket wheels/tires for those Meng pickup kits.

Another idea I had was to add bigger tires to the GAZ-66. I found this image on Google and thought it looked cool. I don’t actually want tires that wide though but something a little wider than the stock kit tires.

I was thinking using the Ural 4320 tires as they use the same size as the GAZ-66 but the Ural also uses wider ones. PanzerArt makes the wider ones and calls them Big Foot tires. I am hoping these are wider than the stock tires which they look like they are.

PanzerArt also makes tires for the S-400 Triumf but I can’t find the tire size of that vehicle and I don’t have the kit so no idea if the S-400 Triumf tires are too big or not for the GAZ-66. They do look a lot wider though so might be too wide for what I want to do.

5 Likes

Definitely lifted. But instead of enlarging the openings, just had the front bumper removed. I think those are OEM wheels too.


6 Likes

Great photos, thanks for sharing. I see they have the HMMWV tires on.

1 Like

@twong, So now I’ve been on a mission to find F-350 photos of the front end and lift kits - unhappily, I can’t find any more of the 1/35 version, but do have two of the 1/24 version. Each received a slightly different lift, but you’ll get the point:

This is the chassis of one version in 1/24 and you can clearly see the full coil springs in the front.

What you can’t see is that there’s an alu tube inside the coil mounted at the top and bottom to keep it in place, attached to the coil/shock tower and the front axle. The same works in 1/35, but you don’t need to make a whole new coil, and can instead add to the top portion. And, as mentioned before, the bracket for the radius arm drop is added to the frame (the white square behind the left front tire)

In the picture below:

You can see the coil spring and as this is 1/24, you can also see new steering parts.

Above, you can see the steering. The two truck also have different conditions in the rear:

This is an Irish Army Ranger truck, with only a modest lift front and rear, while this:

has a 6" front and rear lift. The process is the same, just more or less lift.

As for the independent front suspension on the Toyota, as I recall, it’s a bit of work, but not that hard, take a look, here’s one way to try it:

As this is not a solid axle, you need to lower the mounting points of the whole front end:

Cut the upper control arms off the frame, and move them lower, and reattach them to mounting blocks, then do the same for the CV/axle:

and finally for the whole lower assembly:

The trick is keeping in mind the distance you chose for the lift, or, the distance you choose to relocate the upper control arms and the other blocks will correspond to that length.

Sorry to go on and on! good luck with the project -

Cheers
Nick

6 Likes

Nick, thanks again for such a detailed guide. Greatly appreciated! Those are some terrific builds! You did a great job modifying all those suspensions.

There is no way I can do mine as good as yours but will try to do a half decent job if I can. There aren’t any bigger aftermarket wheels/tires for the Meng or Takom kits so will use the HMMWV wheels/tires if I can as you and 18Bravo suggested. I probably won’t bother trying to fit the HMMWV wheels/tires on the Takom SUV as I don’t want all my 4x4’s to have the exact same wheels/tires on them.

I also have this Meng Toyota pickup and will try to do the lift on this one too. I am not fitting the ZPU-2 to it though. I will be putting the ZPU-2 on a different truck. I will be adding a Live Resin Kord 12.7mm gun as seen in the second photo. The one in the second photo is a different model year doesn’t have a lift but I want to make mine a little different.


4 Likes