What an awesome diorama. The level of detail is a feast for the eyes.
2 Likes


Nice mix of uniform tones Jeremy ![]()
2 Likes
Working on 3 palm trees from small to large. The trunks I bought, which are from Reality in Scale and Joefix, are tu use and also as references to make my own in future. I’m using palms from Kamizukuri. These are the best ones I have used so far. Easy to paint and shape with better detains than other materials. Here are a few pics…

Just started first palm tree…

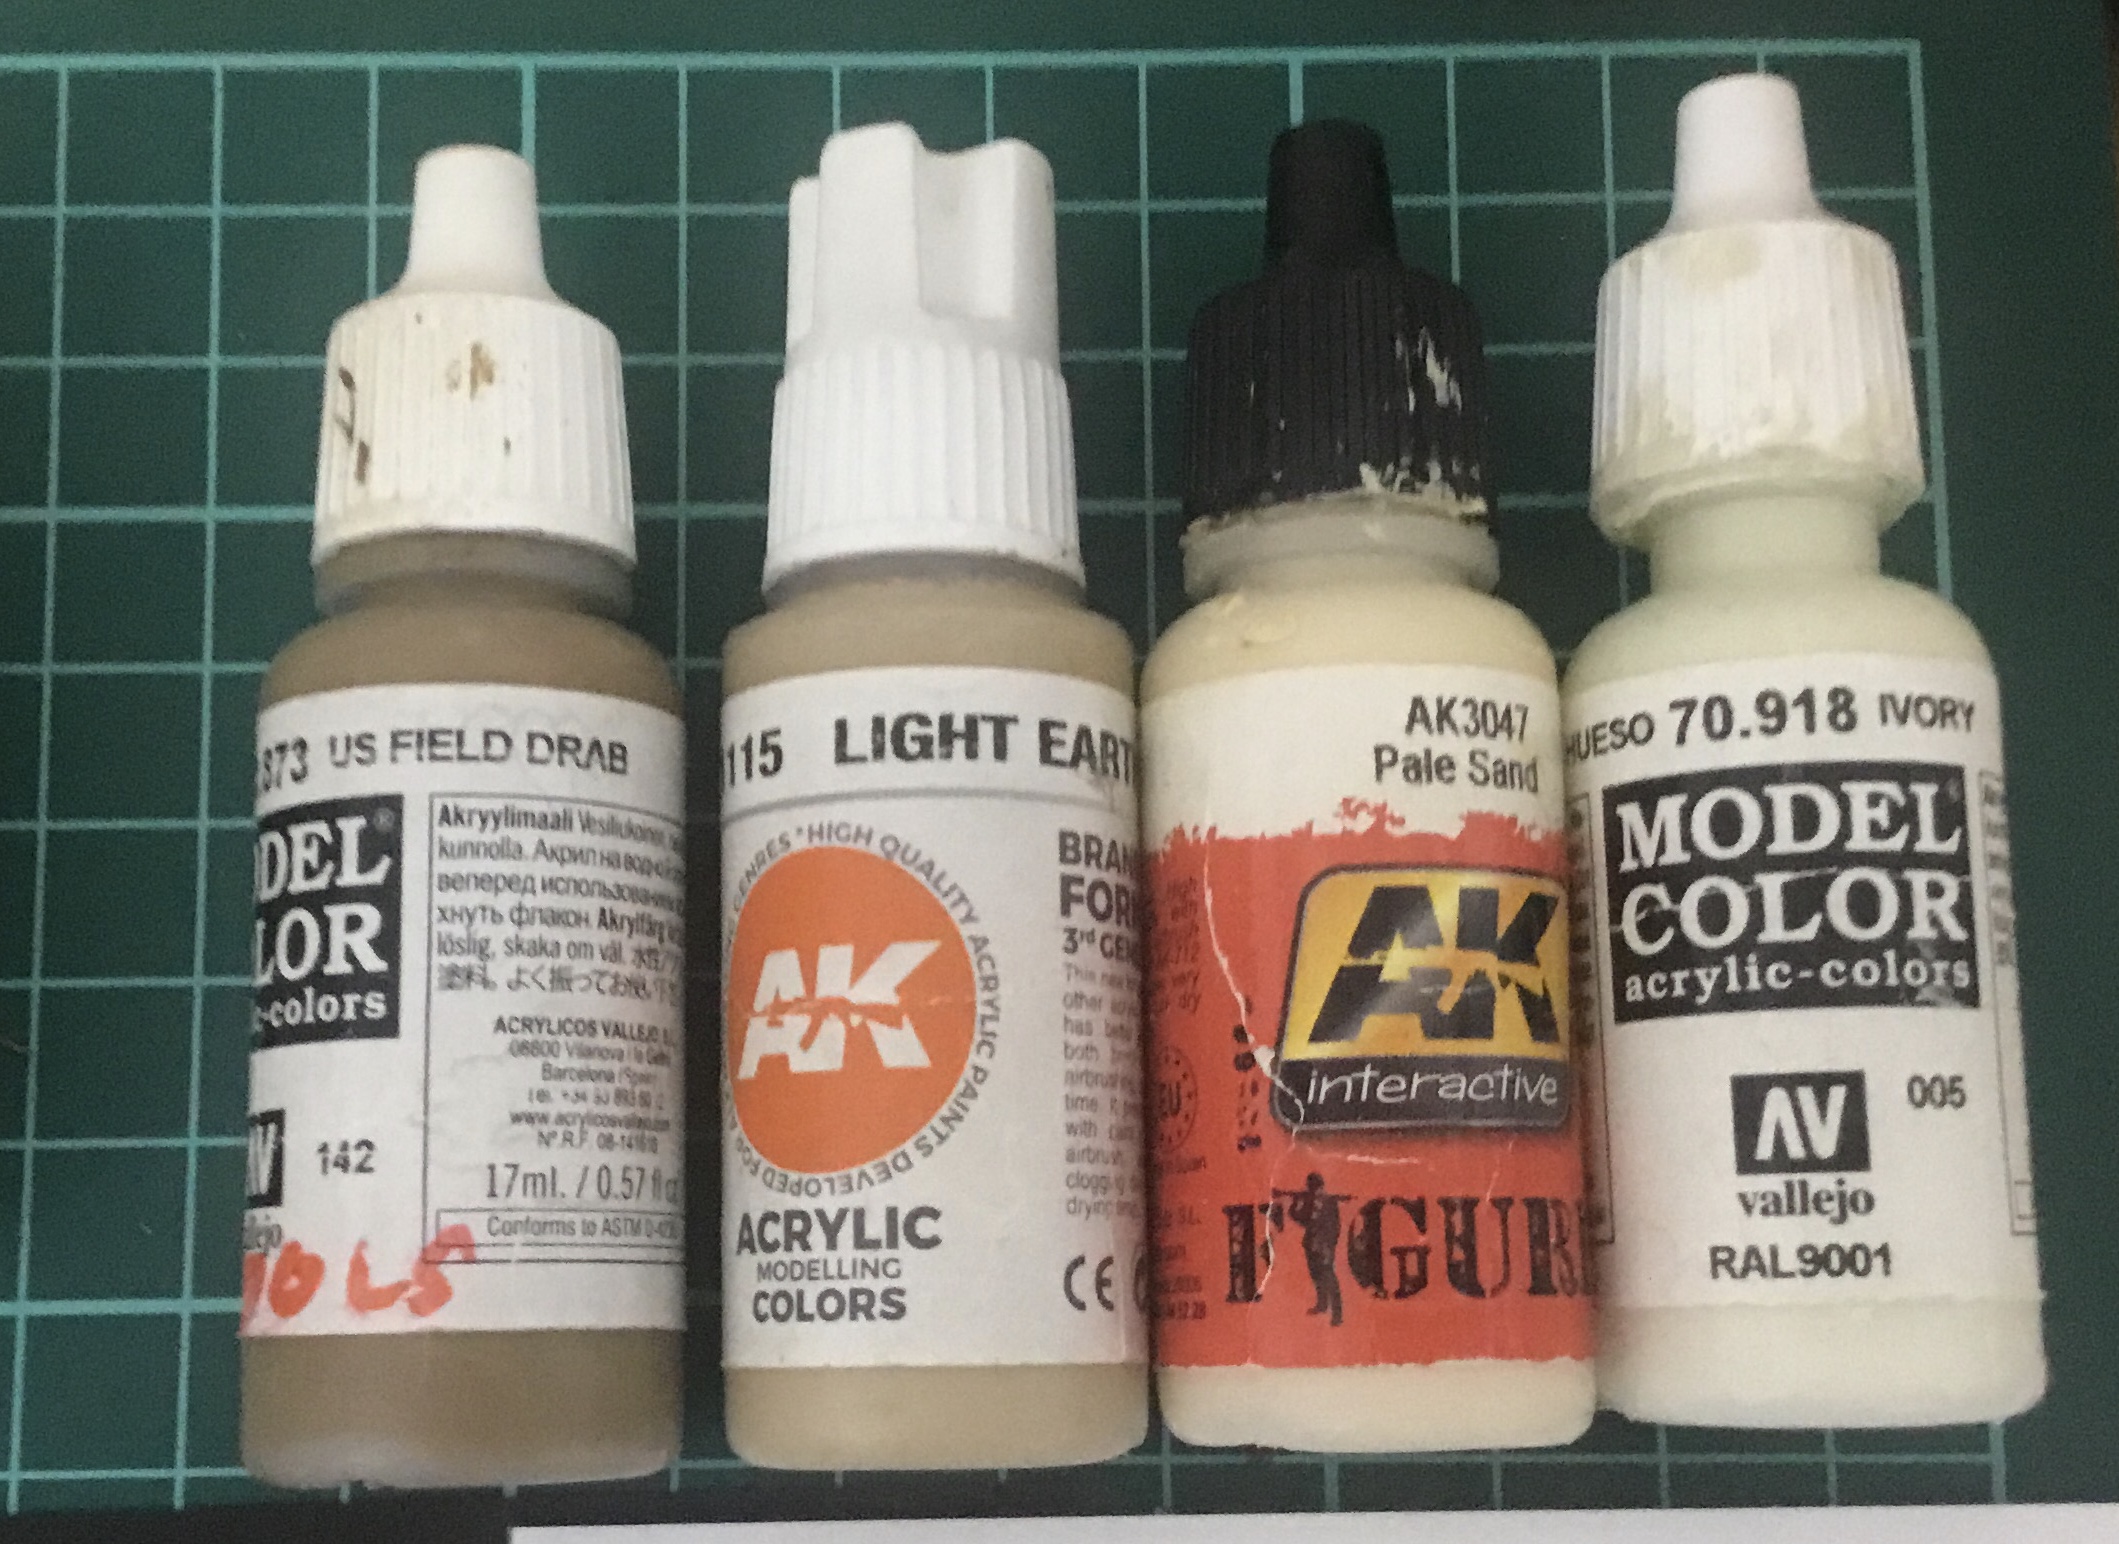
After reading Landscapes of War, I chose the following colors for live and dead palms. Brush painted. Sharing as it can be a bit difficult to choose colors.
Live

Dead
9 Likes
Nice! With fronds like that, who needs…anything else?
5 Likes
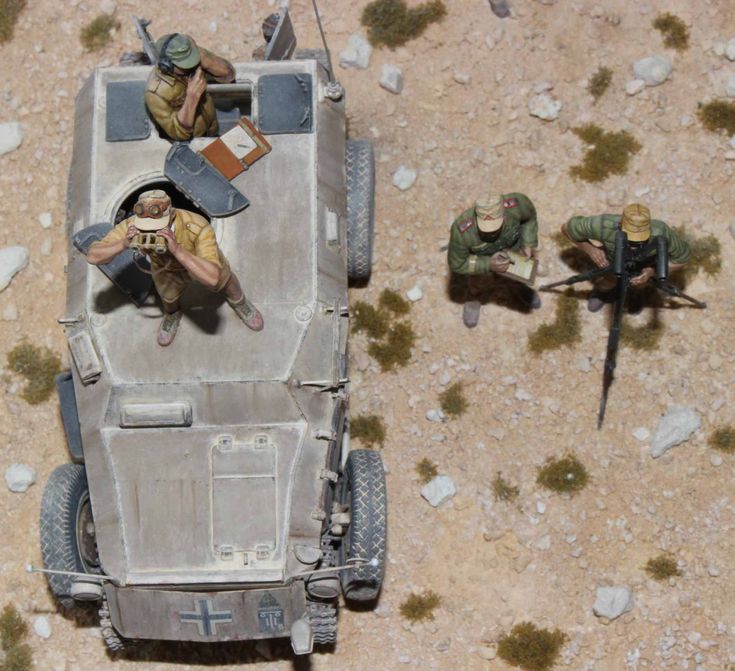
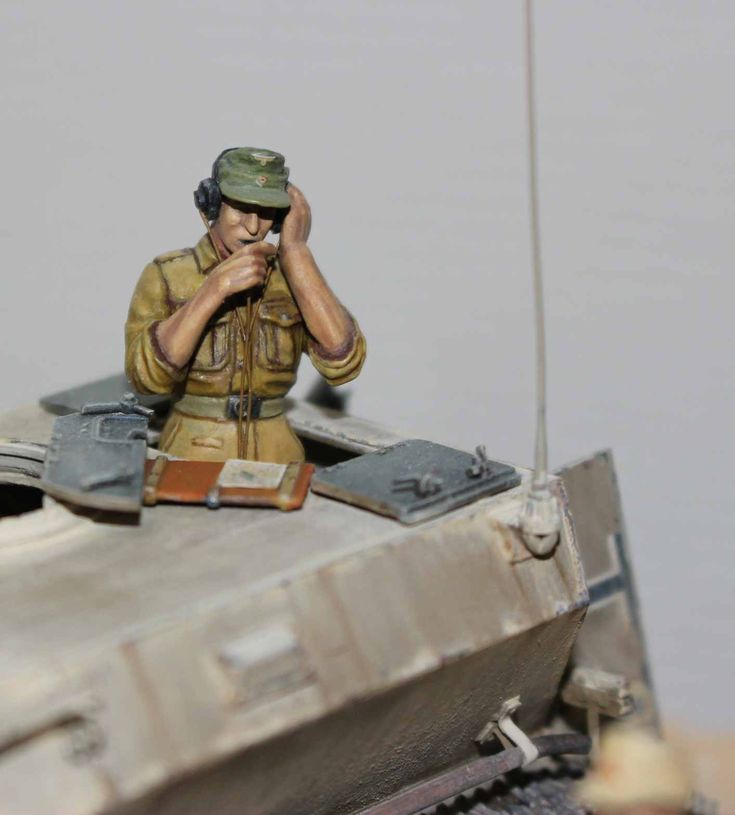
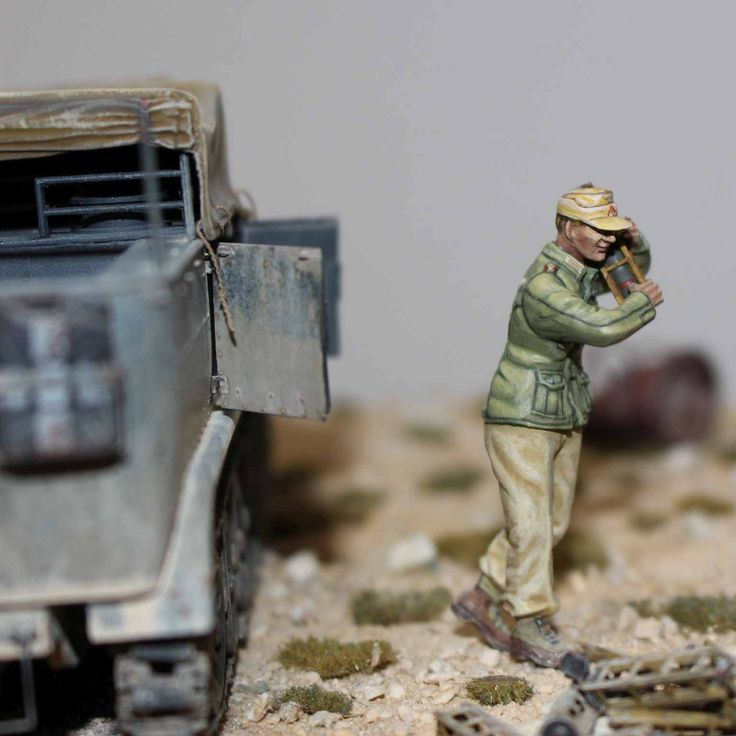
Just somewhat curious about the 2 figures each with binocular and periscope. When observing enemy’s movement in a distant range, is it usual that 2 officers have their eye with similar viewing device onto same point? IMO it may be better to make second officer (standing on the ground with periscope) a little askew to another direction different from the another one standing on the vehicle’s roof. I’m not too sure also, but it’s no problem at all. It’s up to you for the fun of your build.
Other than that, bookmarking your post for my learning about DAK is a must! Well done job and amazing scenery, especially the figures and groundworks, still looking forward for your next update!
Best regards from Indonesia,
Garry
2 Likes
Hi Garry,
Thanks for your comment and thoughts.
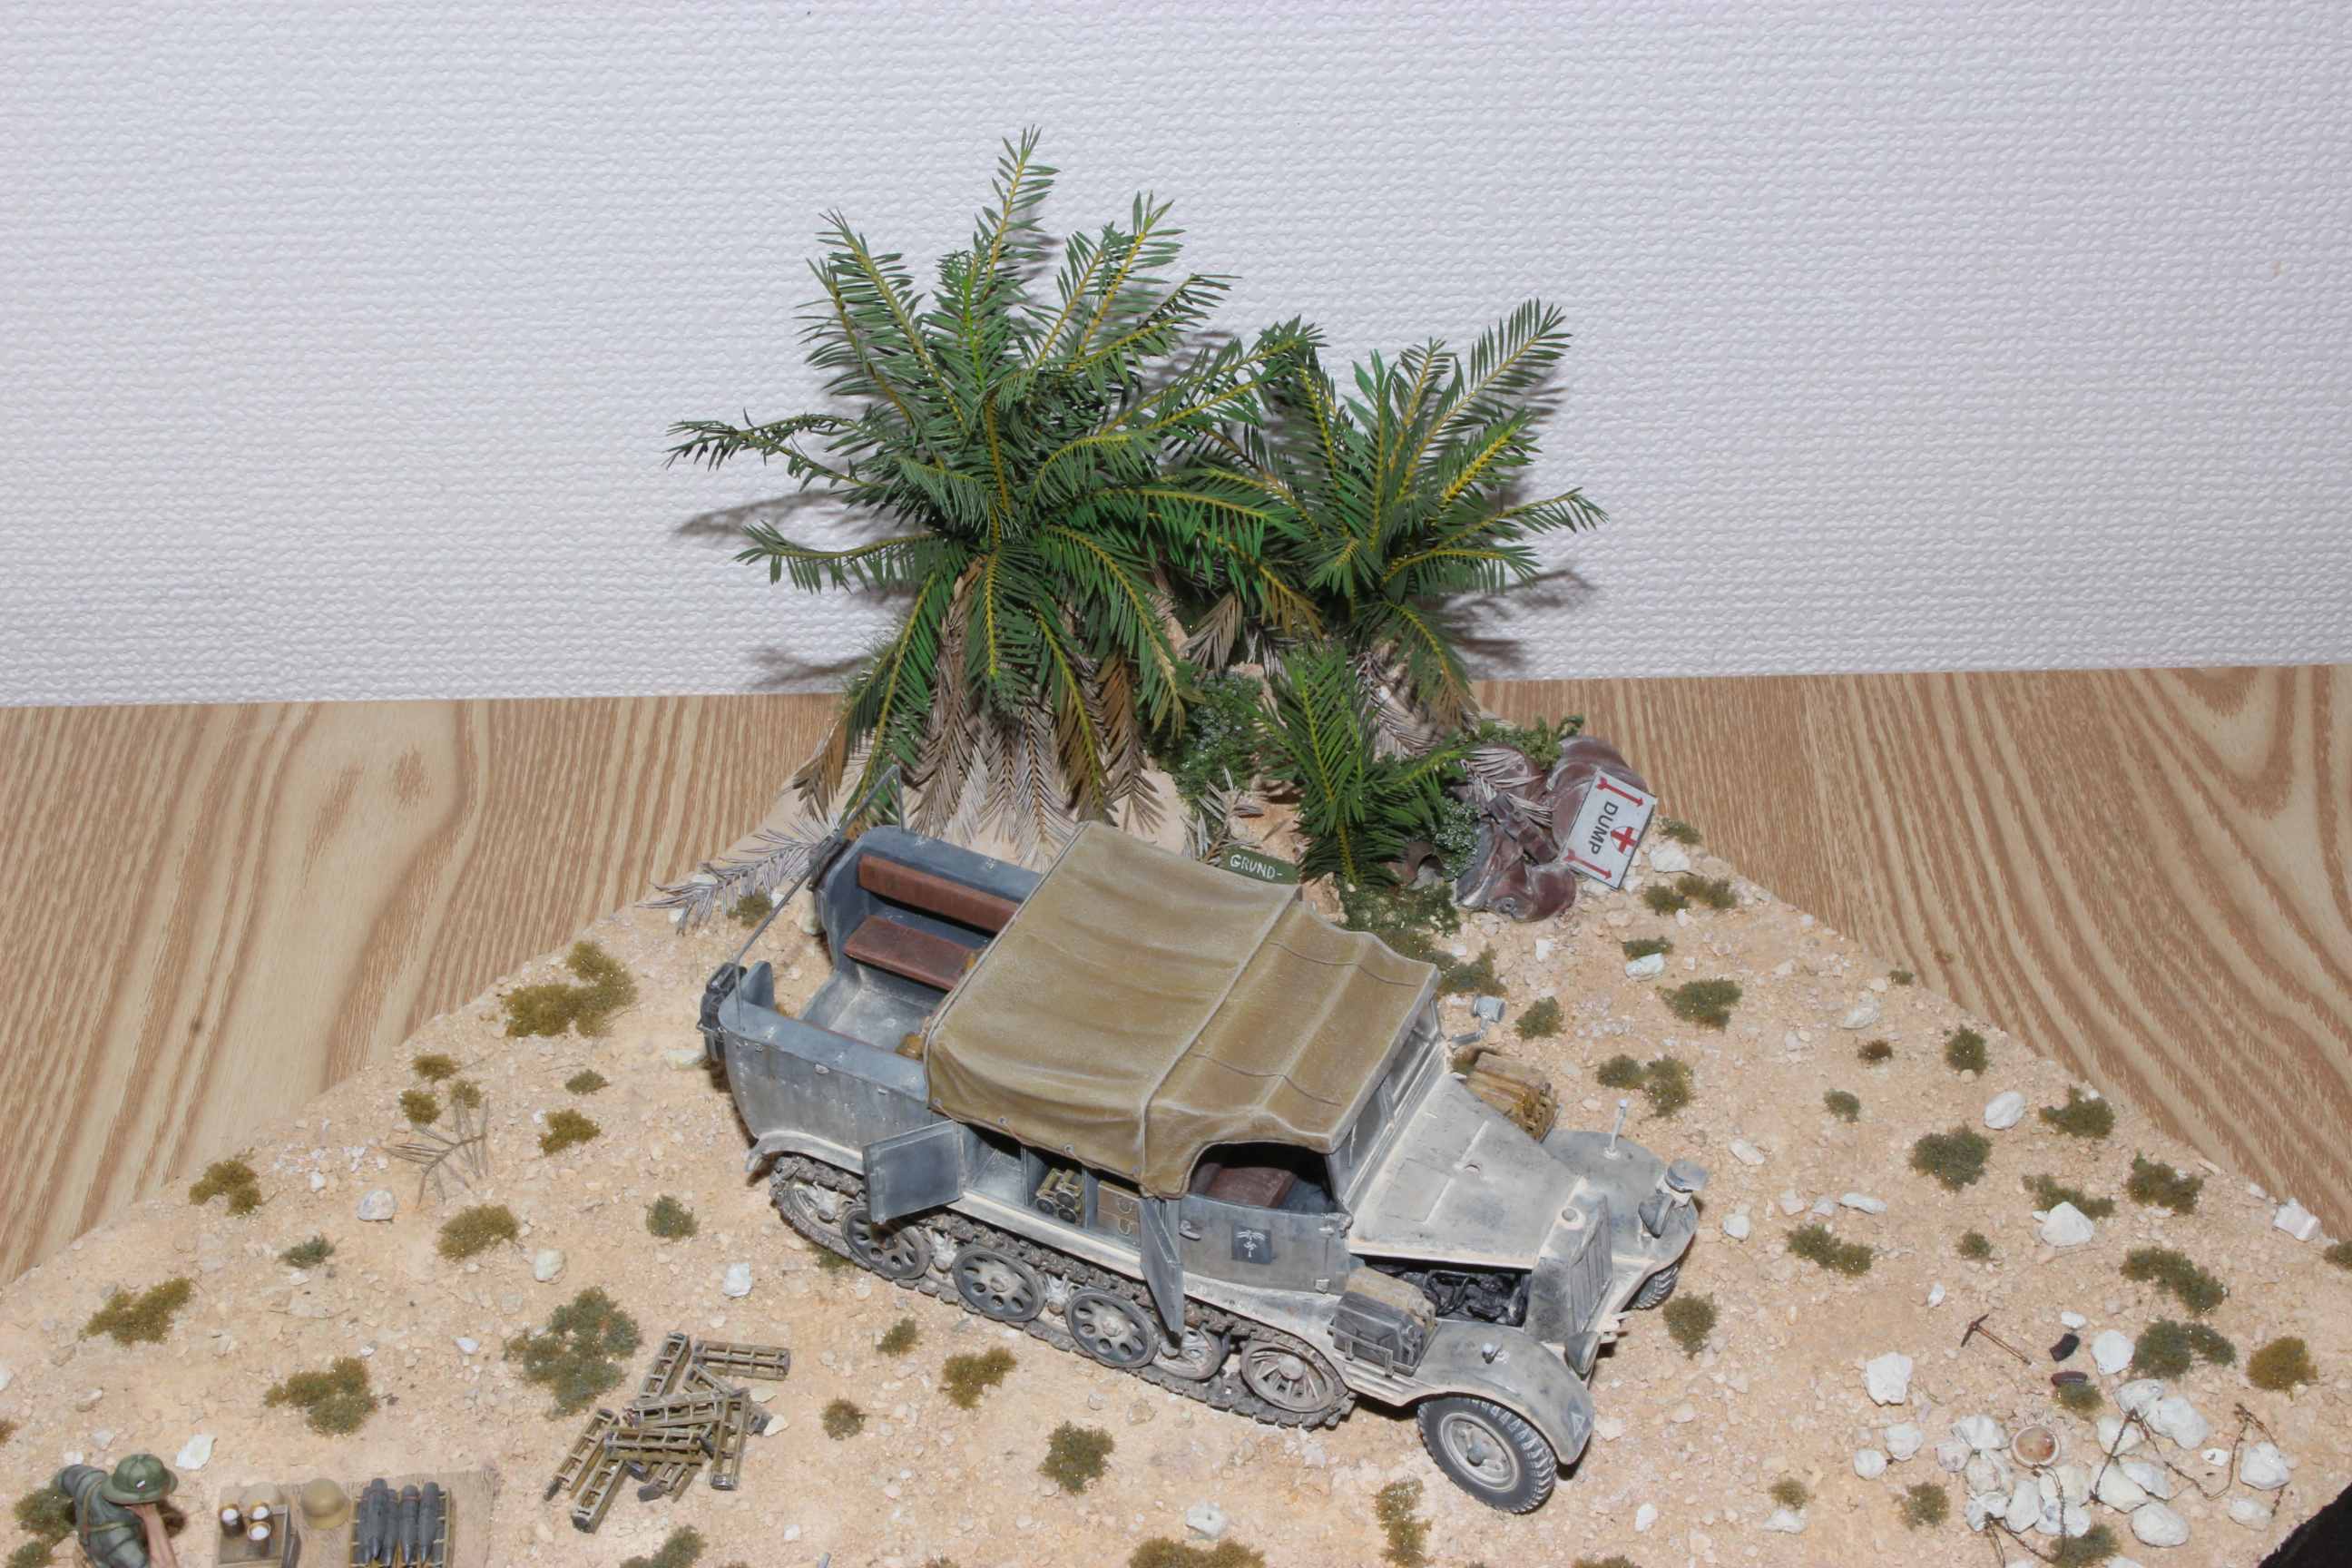
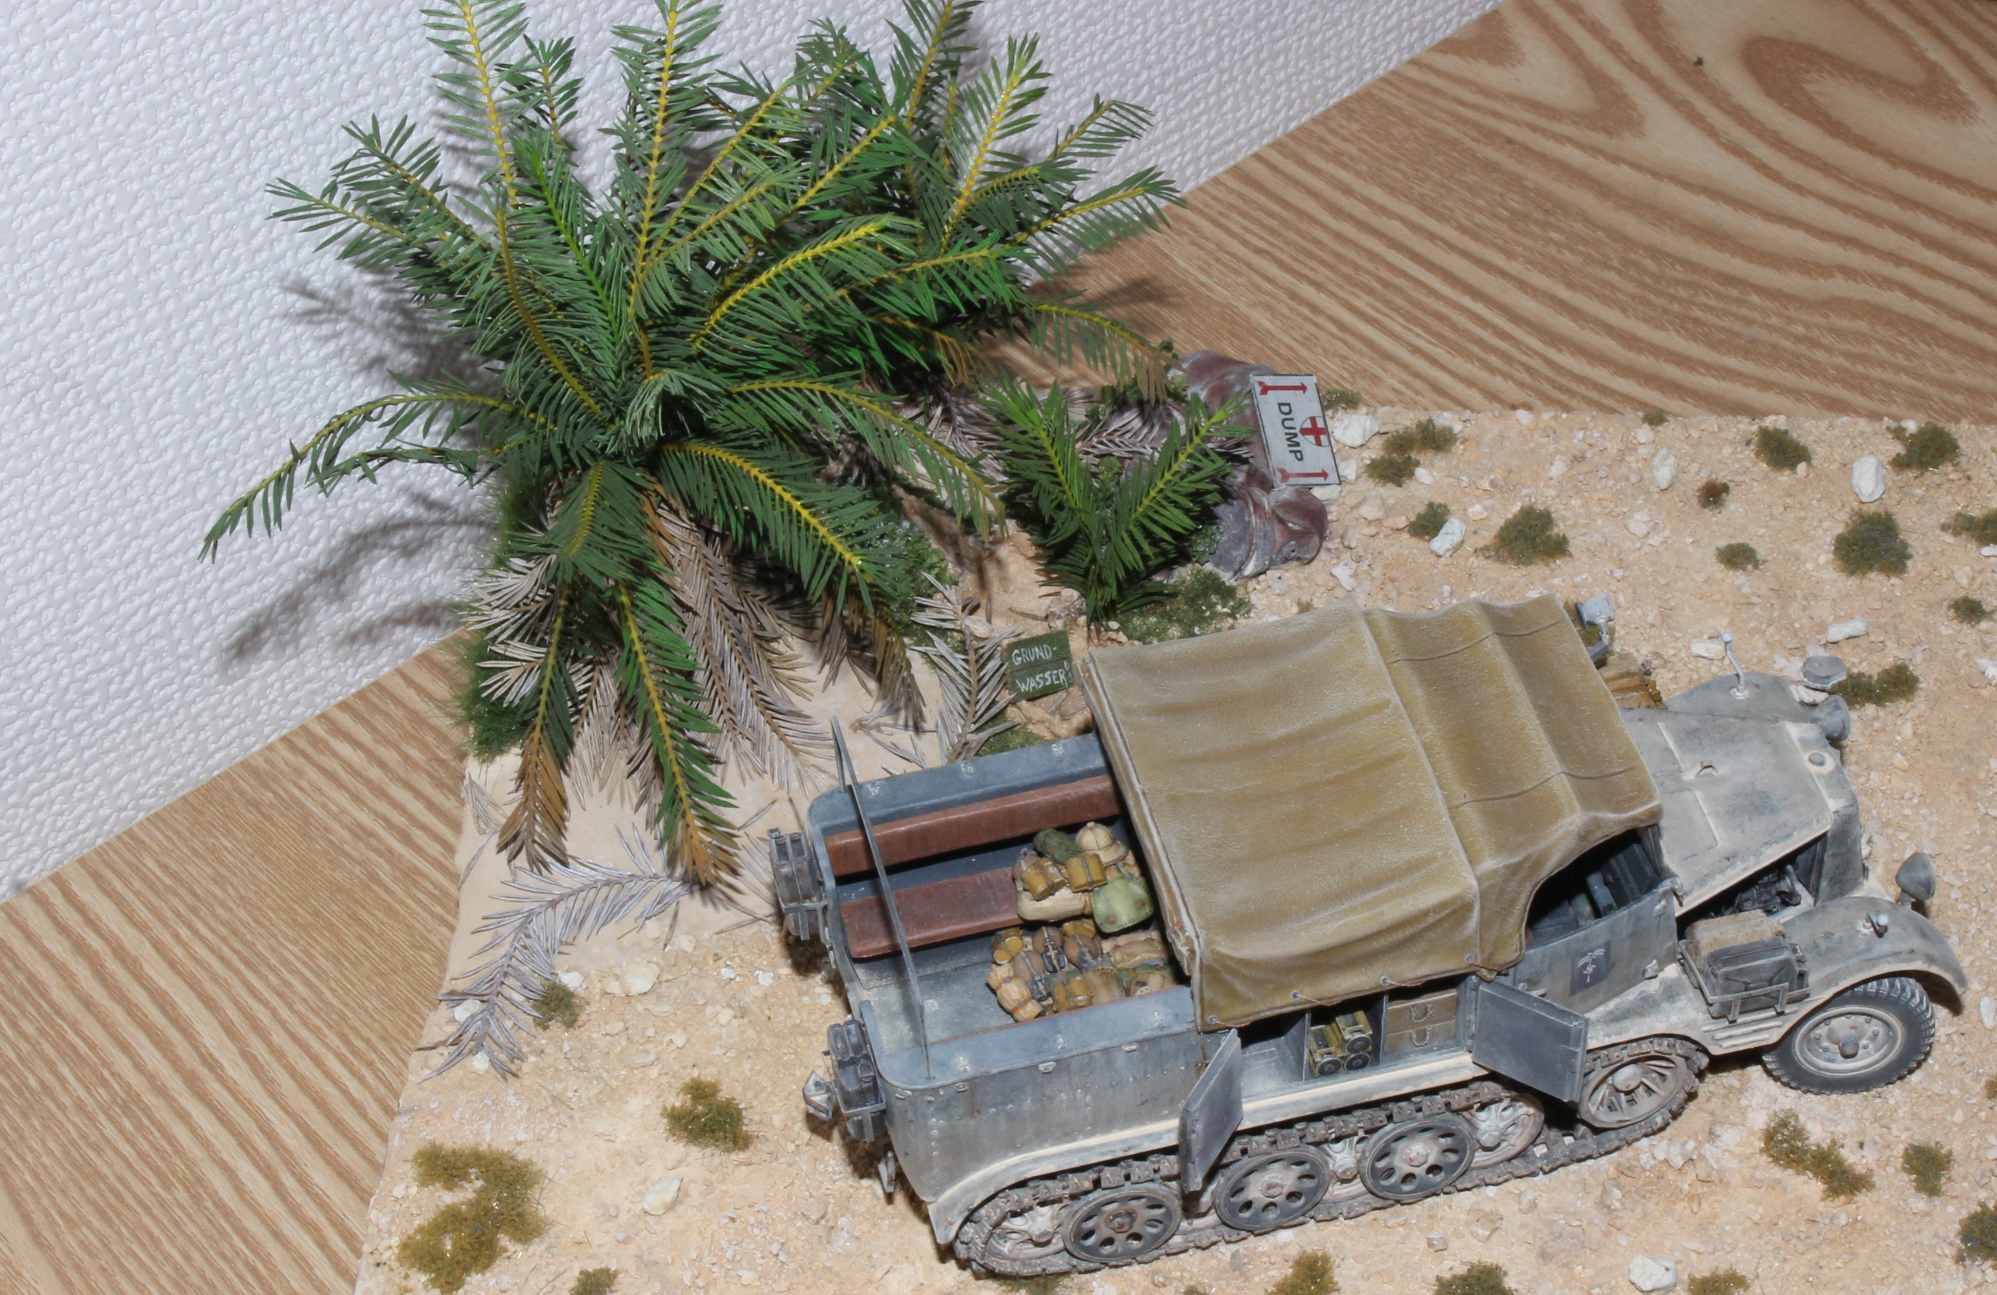
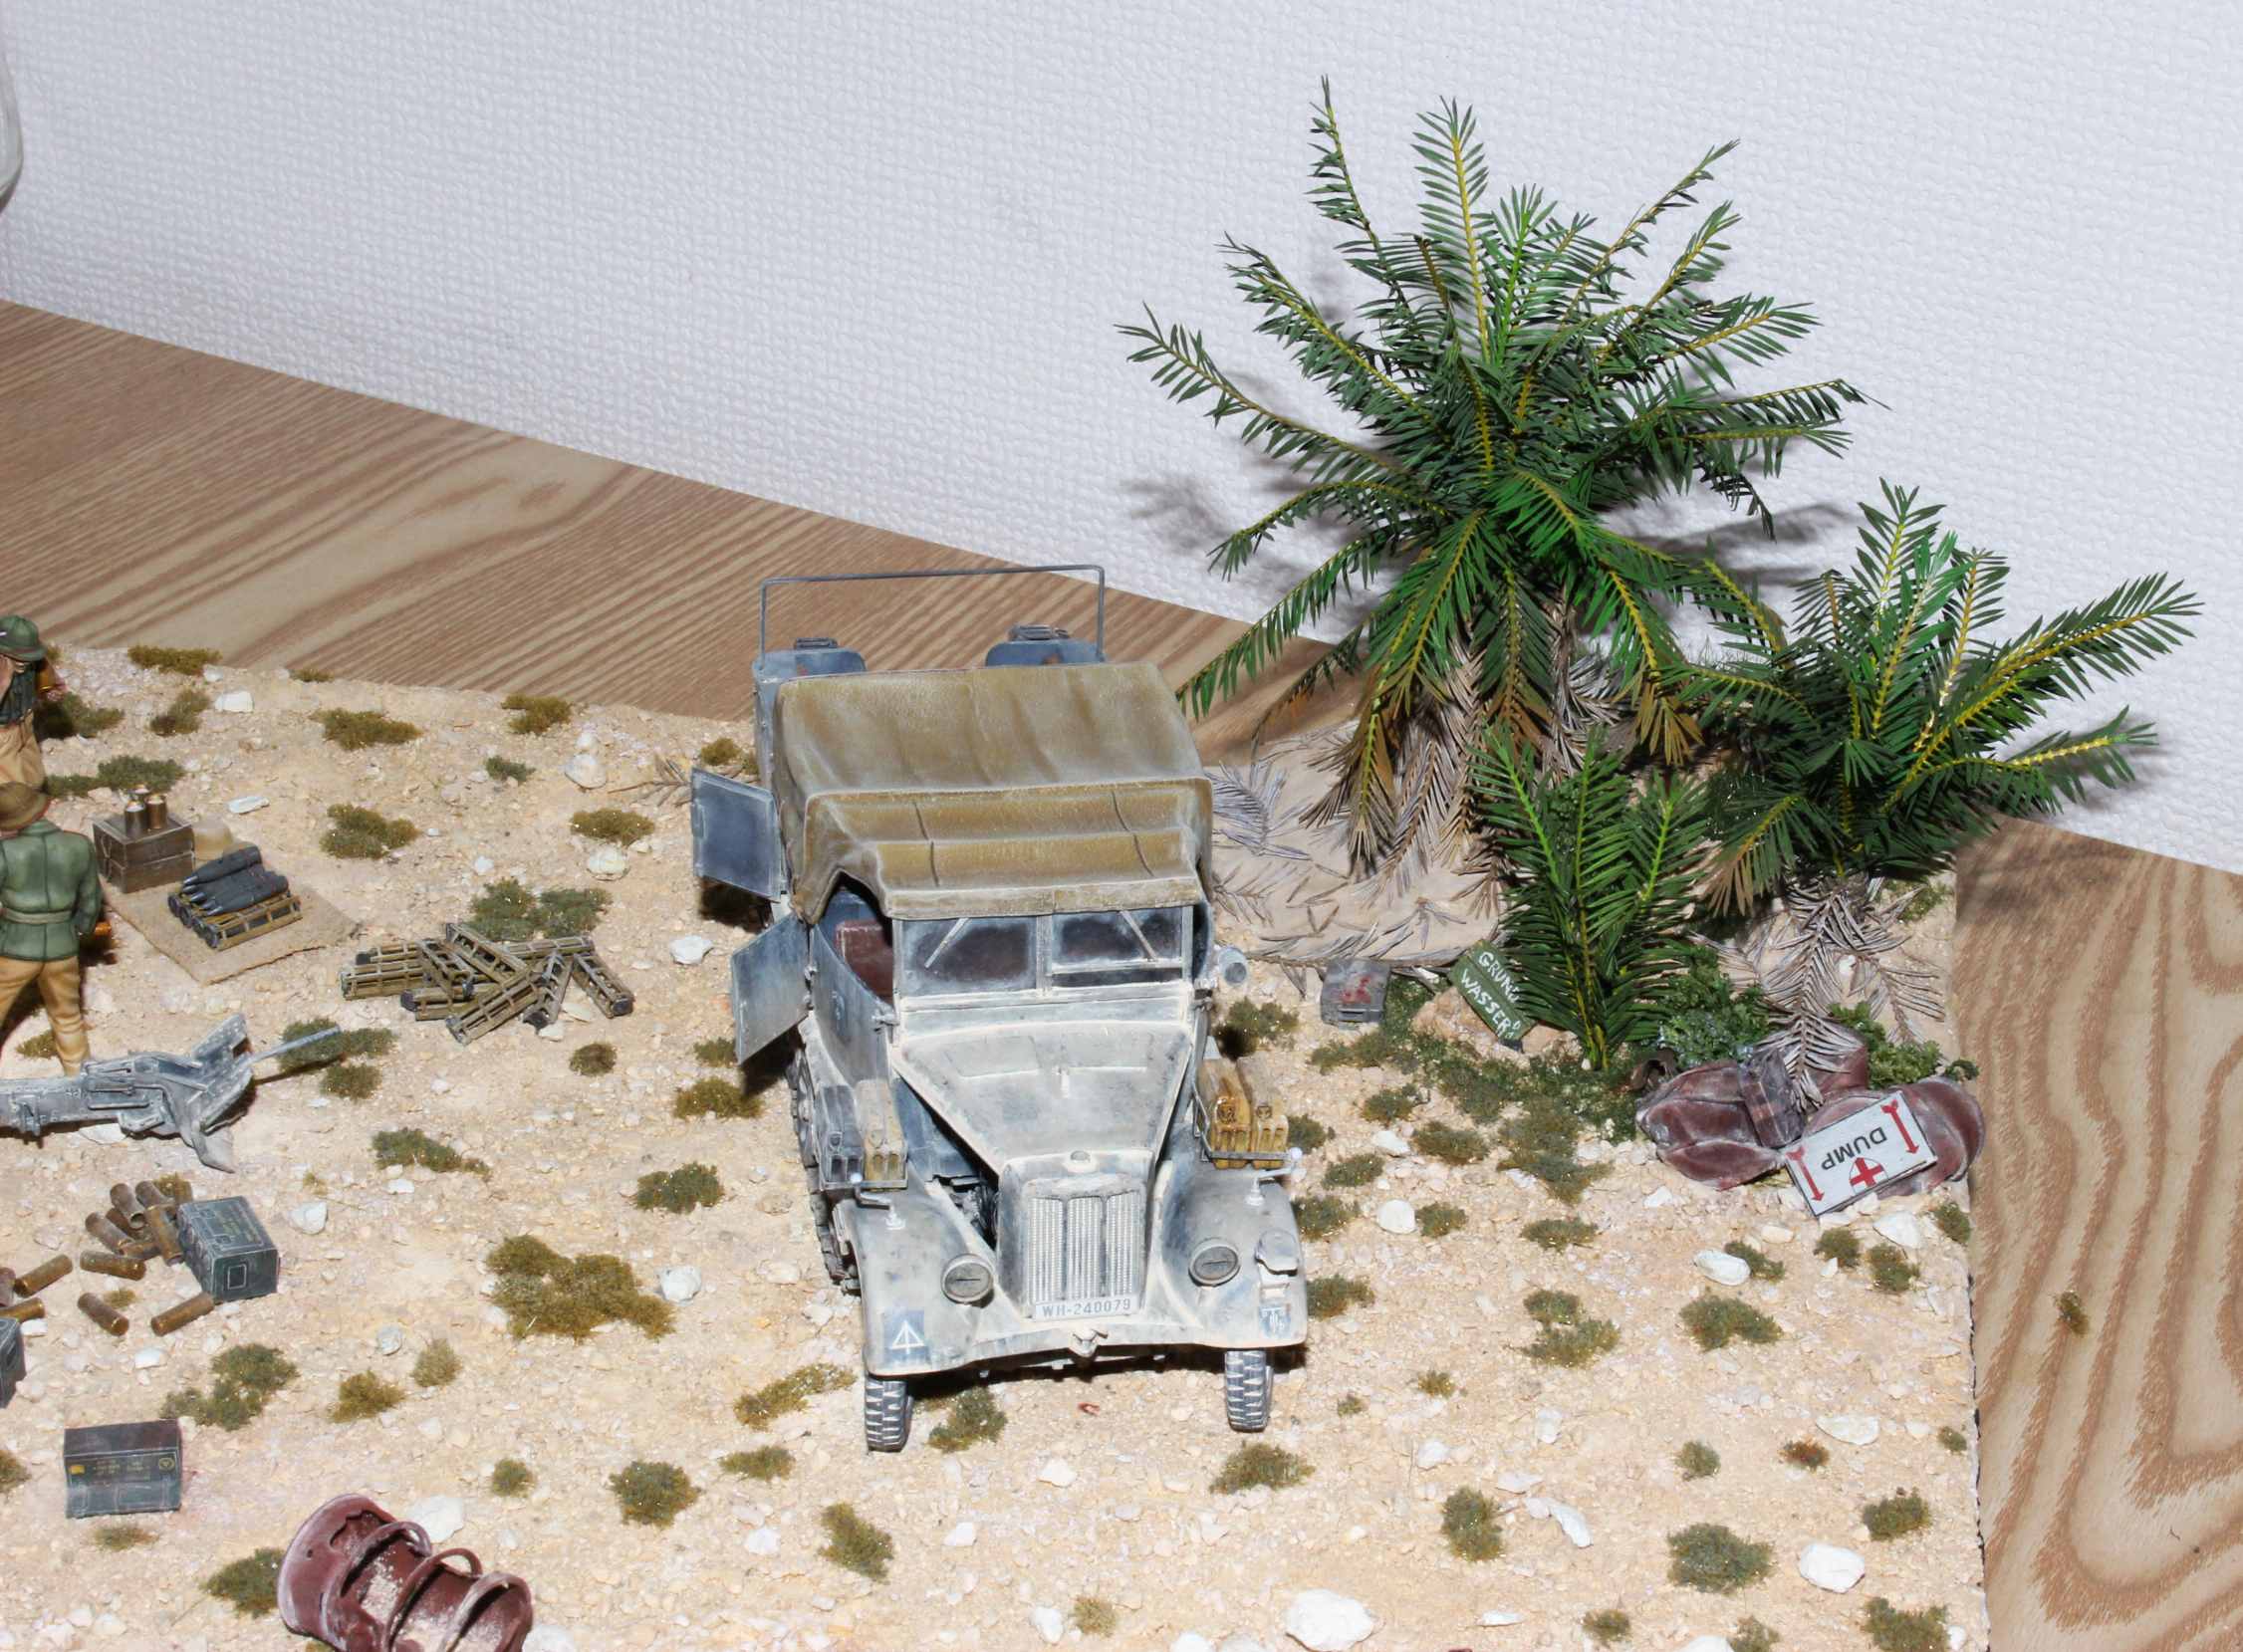
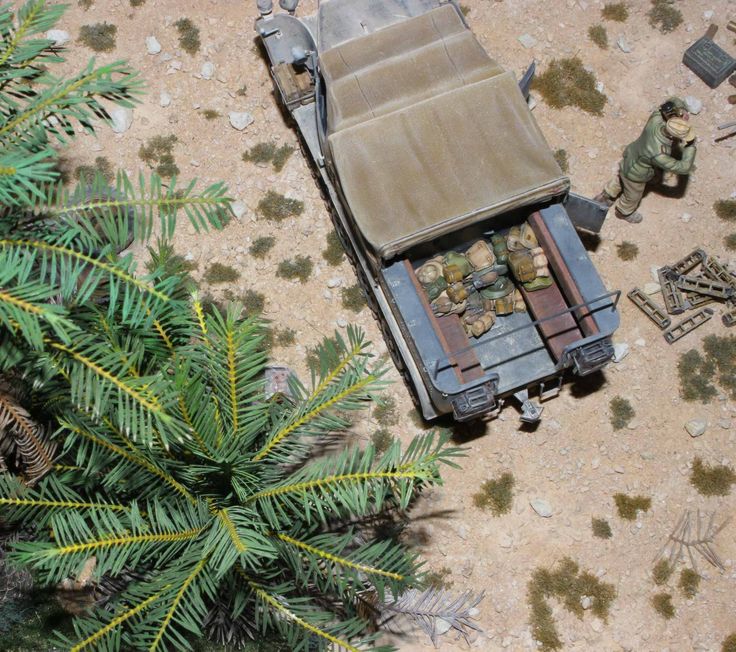
Actually, this diorama is about an artillery ranging scene and not about engaging the enemy (hence no helmets on, too).
The Sd.Kfz.254 crew are portrayed as observing fall of shot and recording, reporting and adjusting ranging accordingly from the associated gun position recently taken up. I haven’t added the ranging pole yet. The scene is too casual for an engagement as other elements I haven’t added yet will reflect.
5 Likes
The diorama looks impressive.
1 Like
Your reply affirms the real idea of the diorama build, keep moving ahead and don’t forget to post every single step of your brilliant touch, man.
Kind regards,
Garry
1 Like

12 Likes
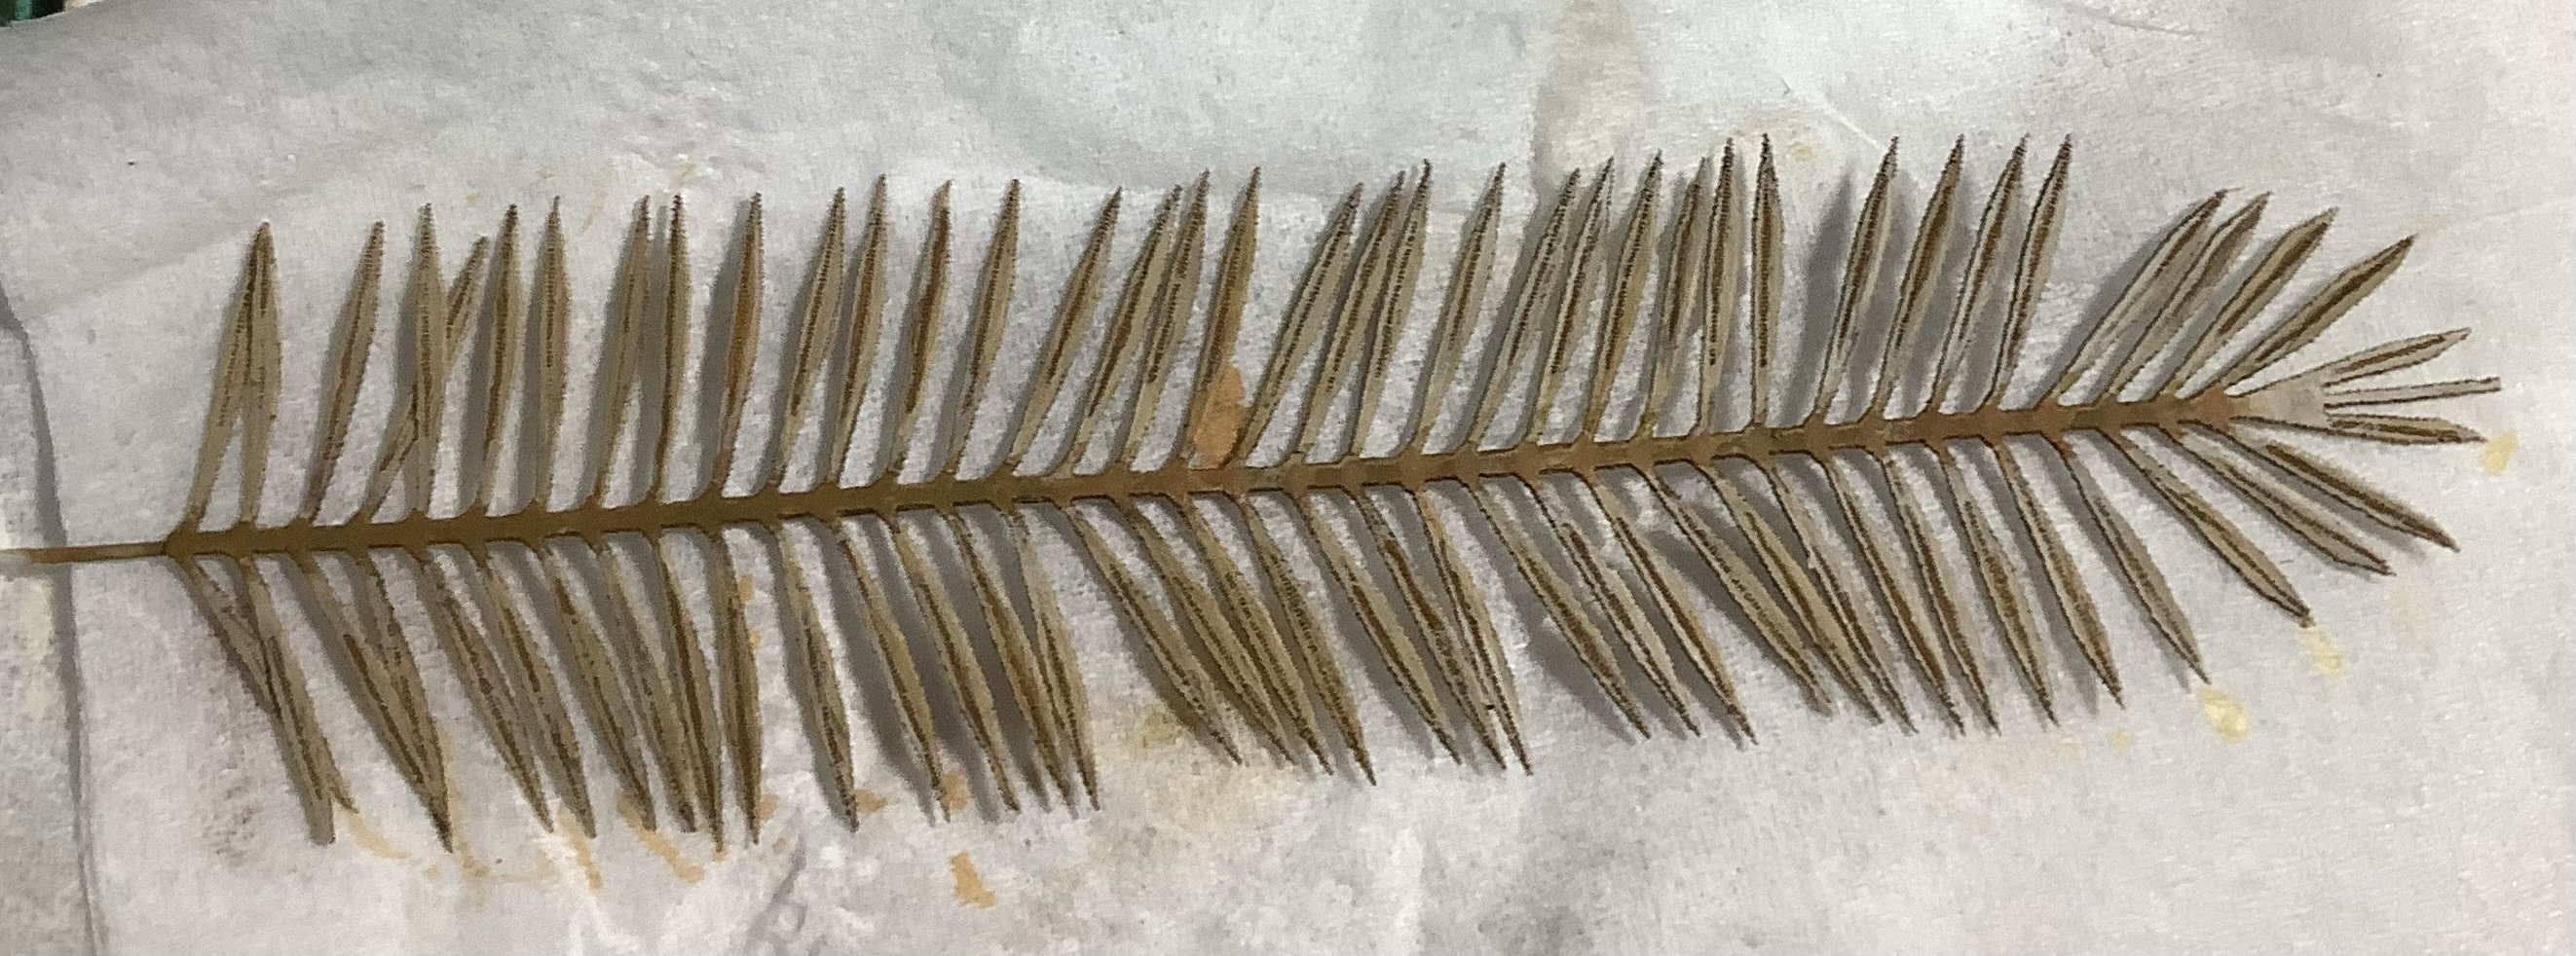
I just wanted to share for those interested in using Kamizukuri paper palm leaves or fronds how I painted them…
I painted them by hand, mainly because I felt I could control the process better and it also gives a random variation in the depth of colour of the the paper. The initial base colour for is a brown or darker green, depending on depicting the growth stage.
For older leaves, this is stage one. Best to do it on top of a tissue. I do the top while still attached. This darker colour is important as the leaves will then look more realistic when the lighter colors are added as each individual stem has a groove in it. See later. The acrylic paint is absorbed nicely without affecting the shape or being sodden.

I then cut them out and glue the wire stems provided to the rear with thinned PVA glue. Thinned brown paint is again applied to give variation.

This shows how the leaves appear when lighter paint is applied. The centre indent of each stem becomes apparent and gives a great effect. I’ve used rubberized leaves and photo etched and neither can match this detail level.
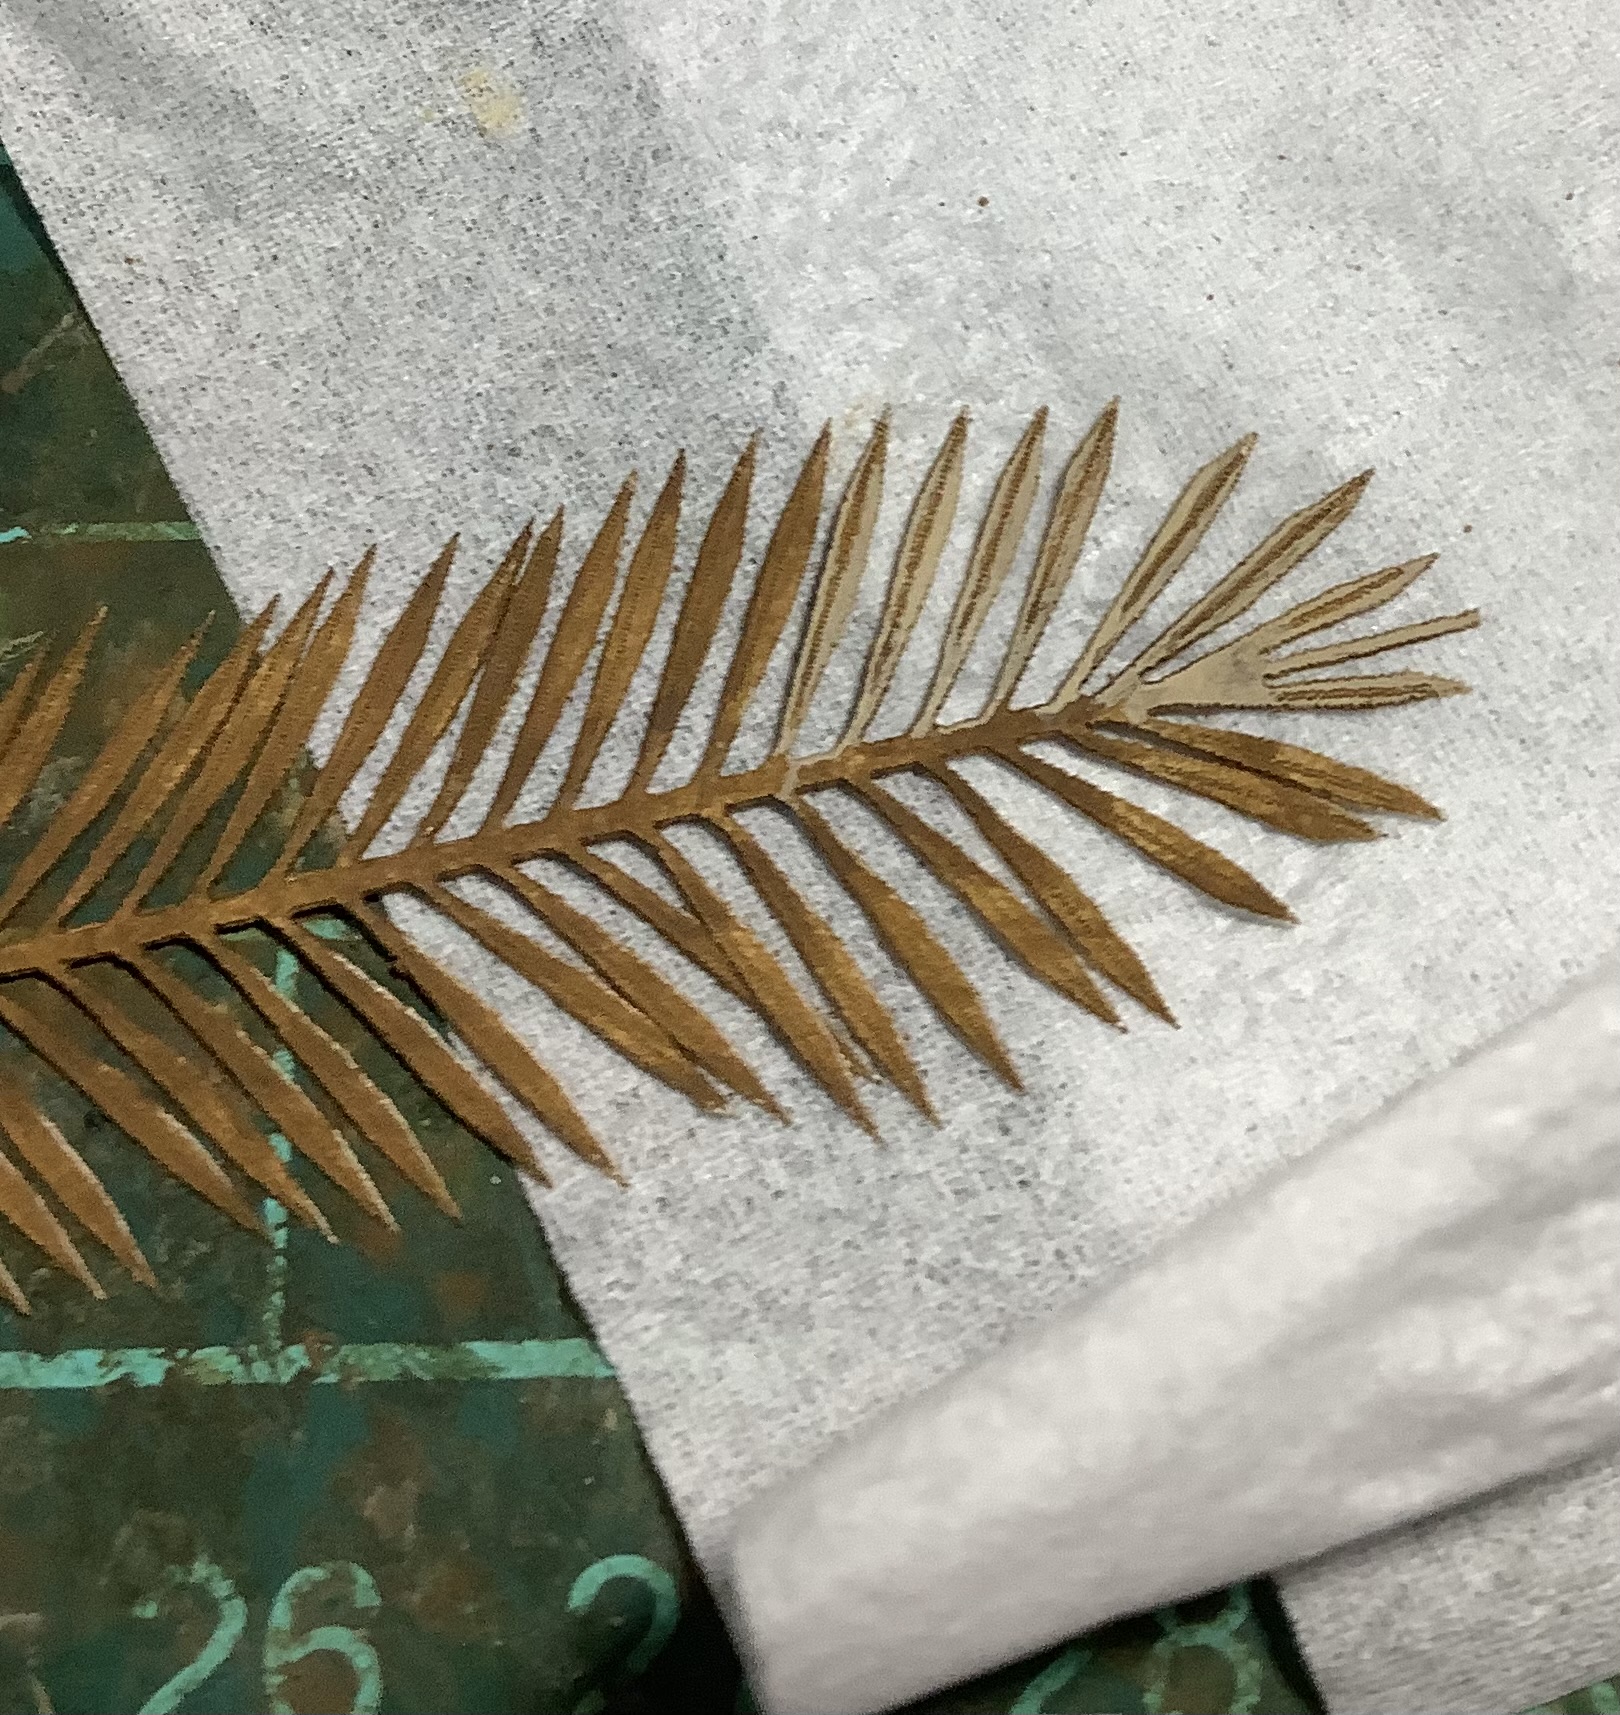
The rear is painted with thinned lighter colours for variation. The central part is a mix of brown/browny orange.

To get a more natural shape, I bend the individual stems over a brush handle. The paper is easy to manipulate to get a more natural, random look.


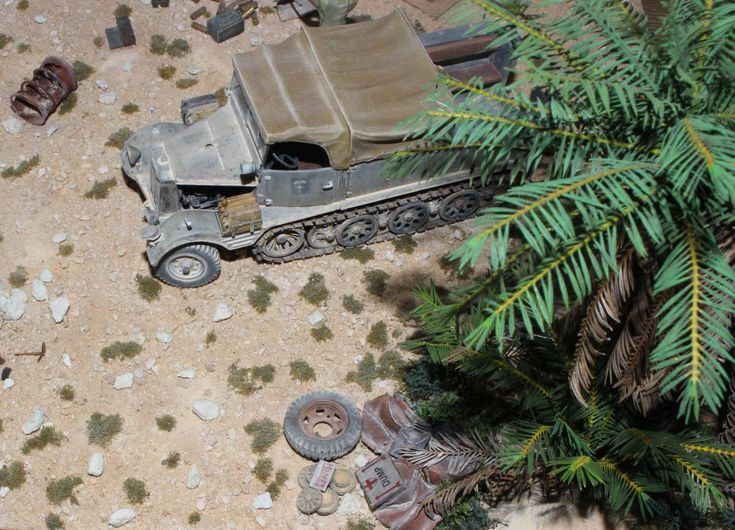
The other good thing about this product is you get 10 longer leaves, and 7 smaller ones. To get decent looking and more natural results, I’ve used 3 sets per larger tree. Plus leaves or parts of leaves on the ground. Hope that is useful for those doing a desert scene.
13 Likes
*They look really great, where did you get them? **
6 Likes
I got them in Japan but you can get them sent internationally from hobbylinkjapan or bnamodelworld.oe eBay.
4 Likes
BNA for me then…
![]()
2 Likes


Jeremy that’s brilliant! This is another one of those dioramas where the more you look and zoom in, the more neat details you see. The body positions of the gun crew and the two spotters are just excellent! Great work!
It’s a bloody big piece too! Have you got room to show it off properly?
Unsure though how you can improve this or add any finishing touch of 1%!
Thanks heaps for sharing!
5 Likes
Fantastic, really wondering what that last % is going to be…
3 Likes
Thanks very much! 60 cm x 30 cm, so yeah, big. Gotta use my stash up.
Thanks for looking at it.
3 Likes
Thank you. Ah, 1% is a jacket hanging on one of the artillery arms. Have to make it and first attempt broke.
4 Likes
Wow I’m impressed.
1 Like