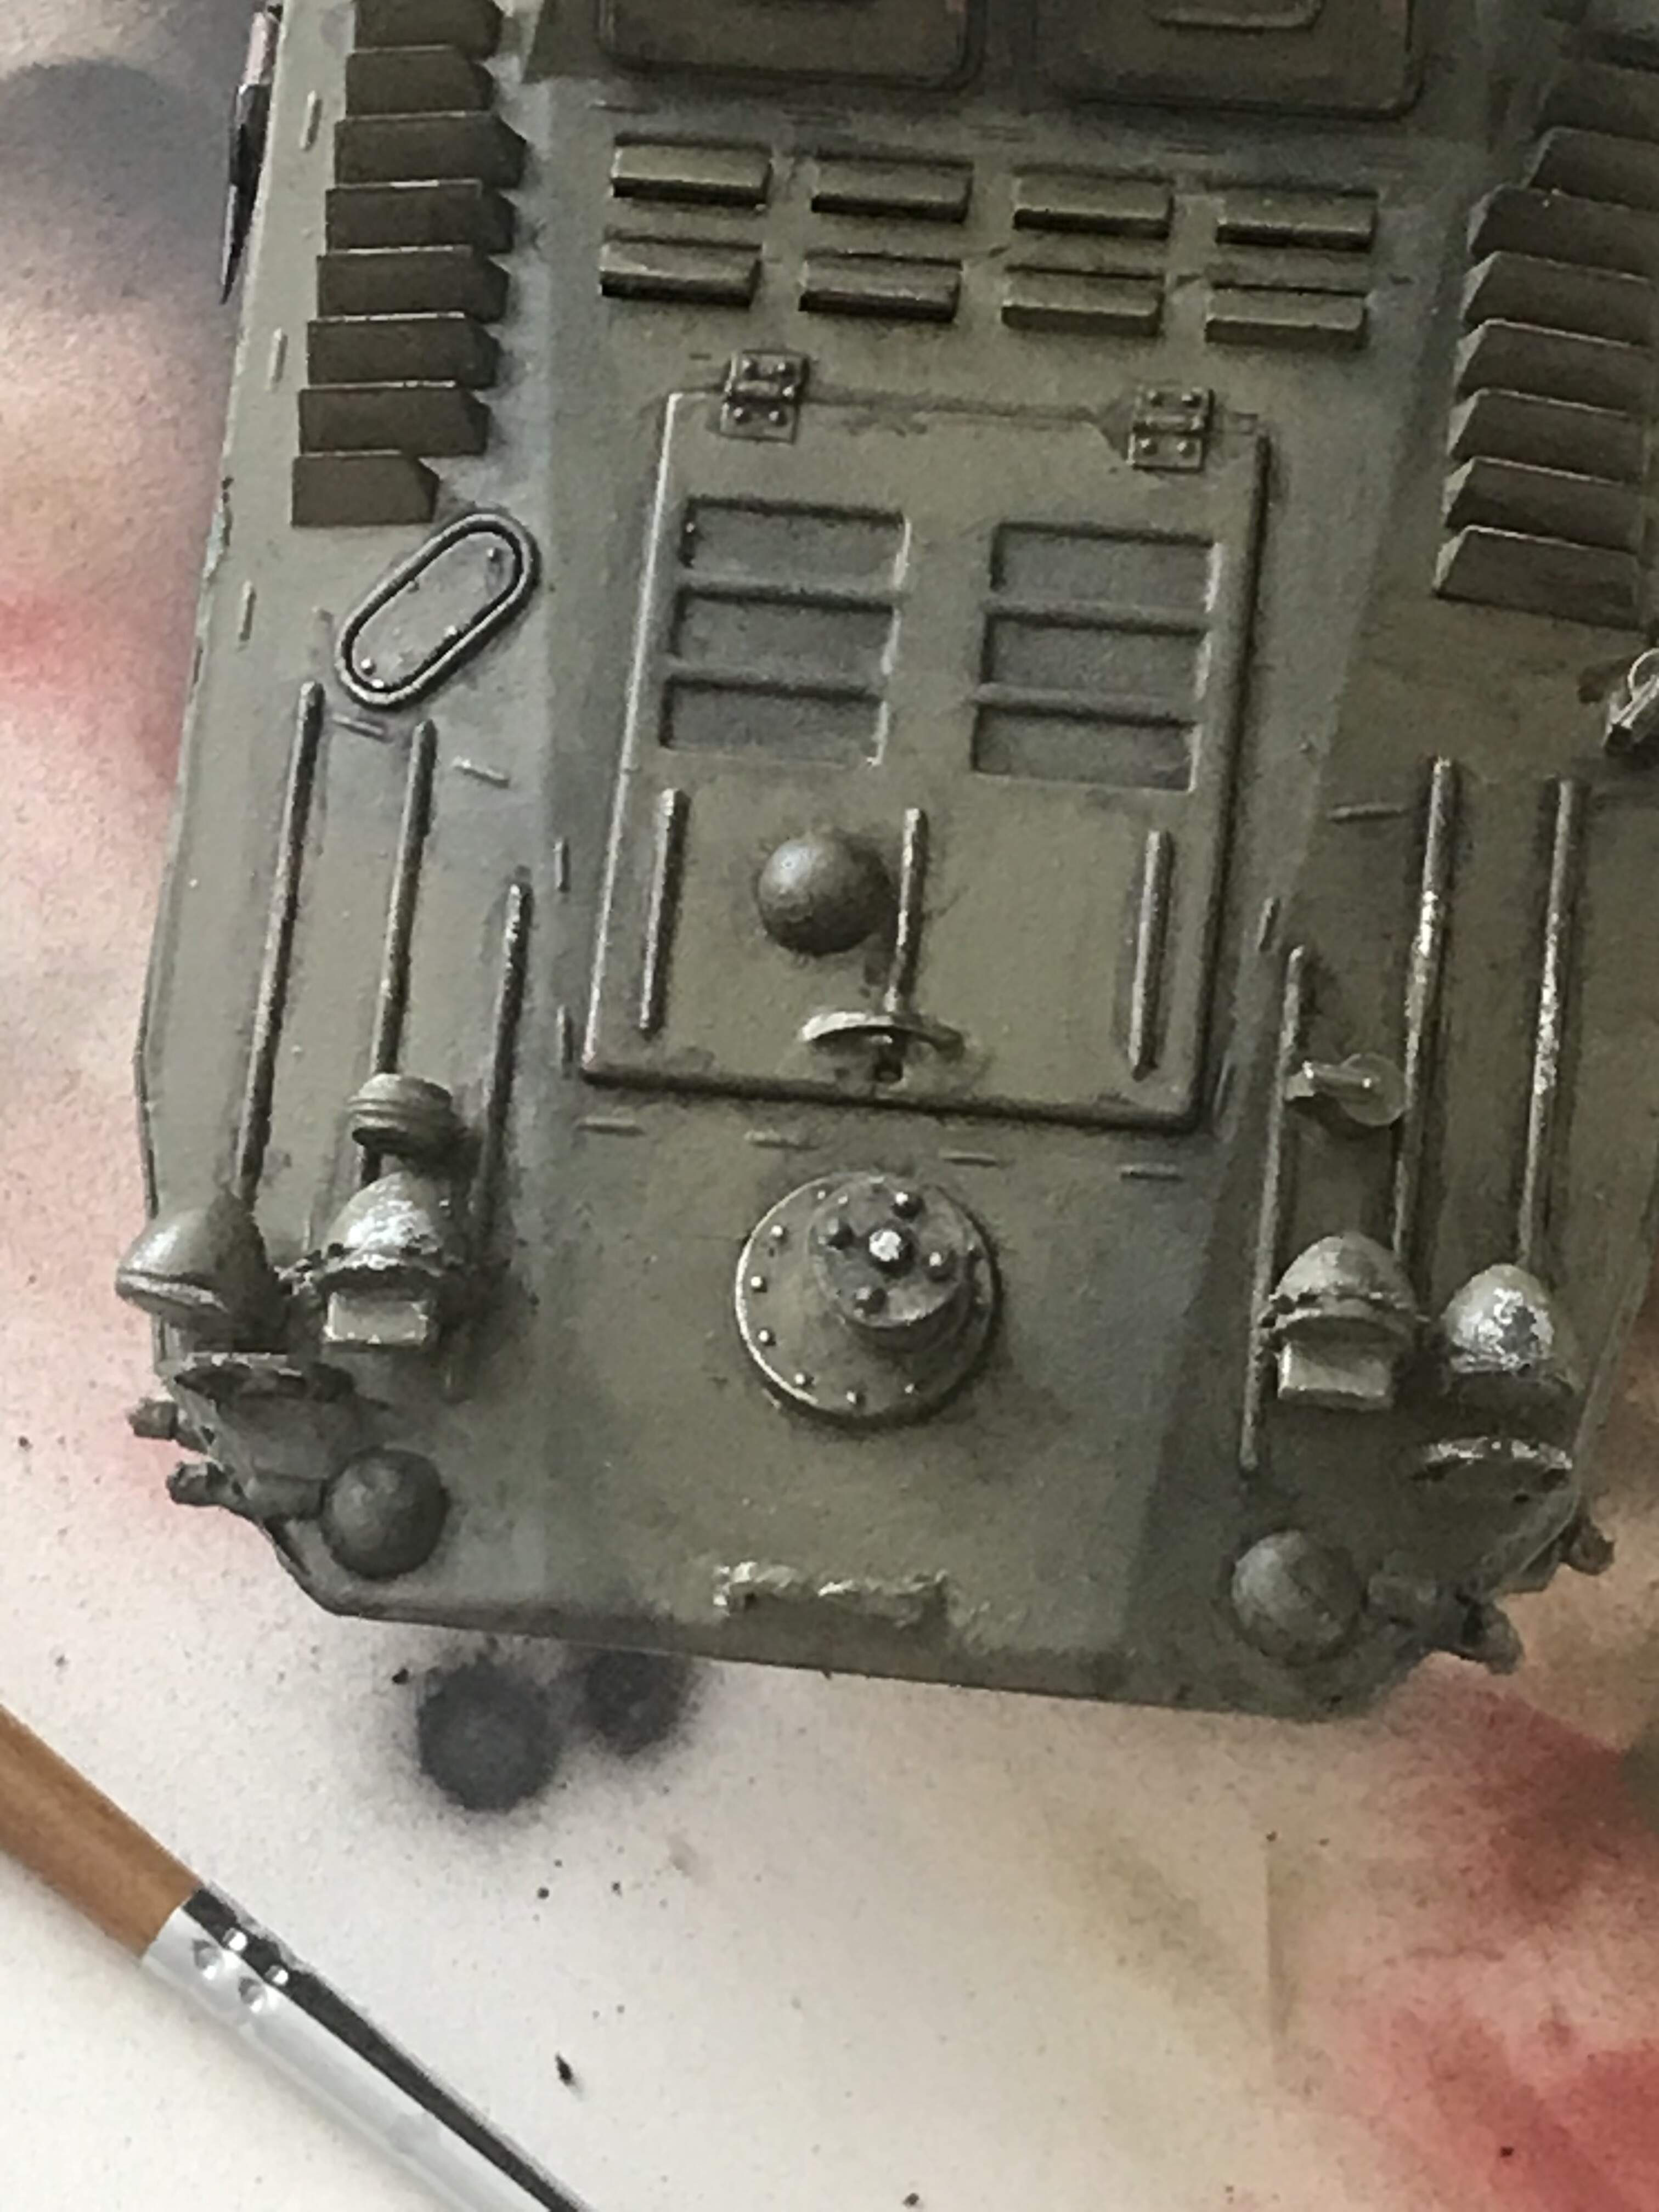
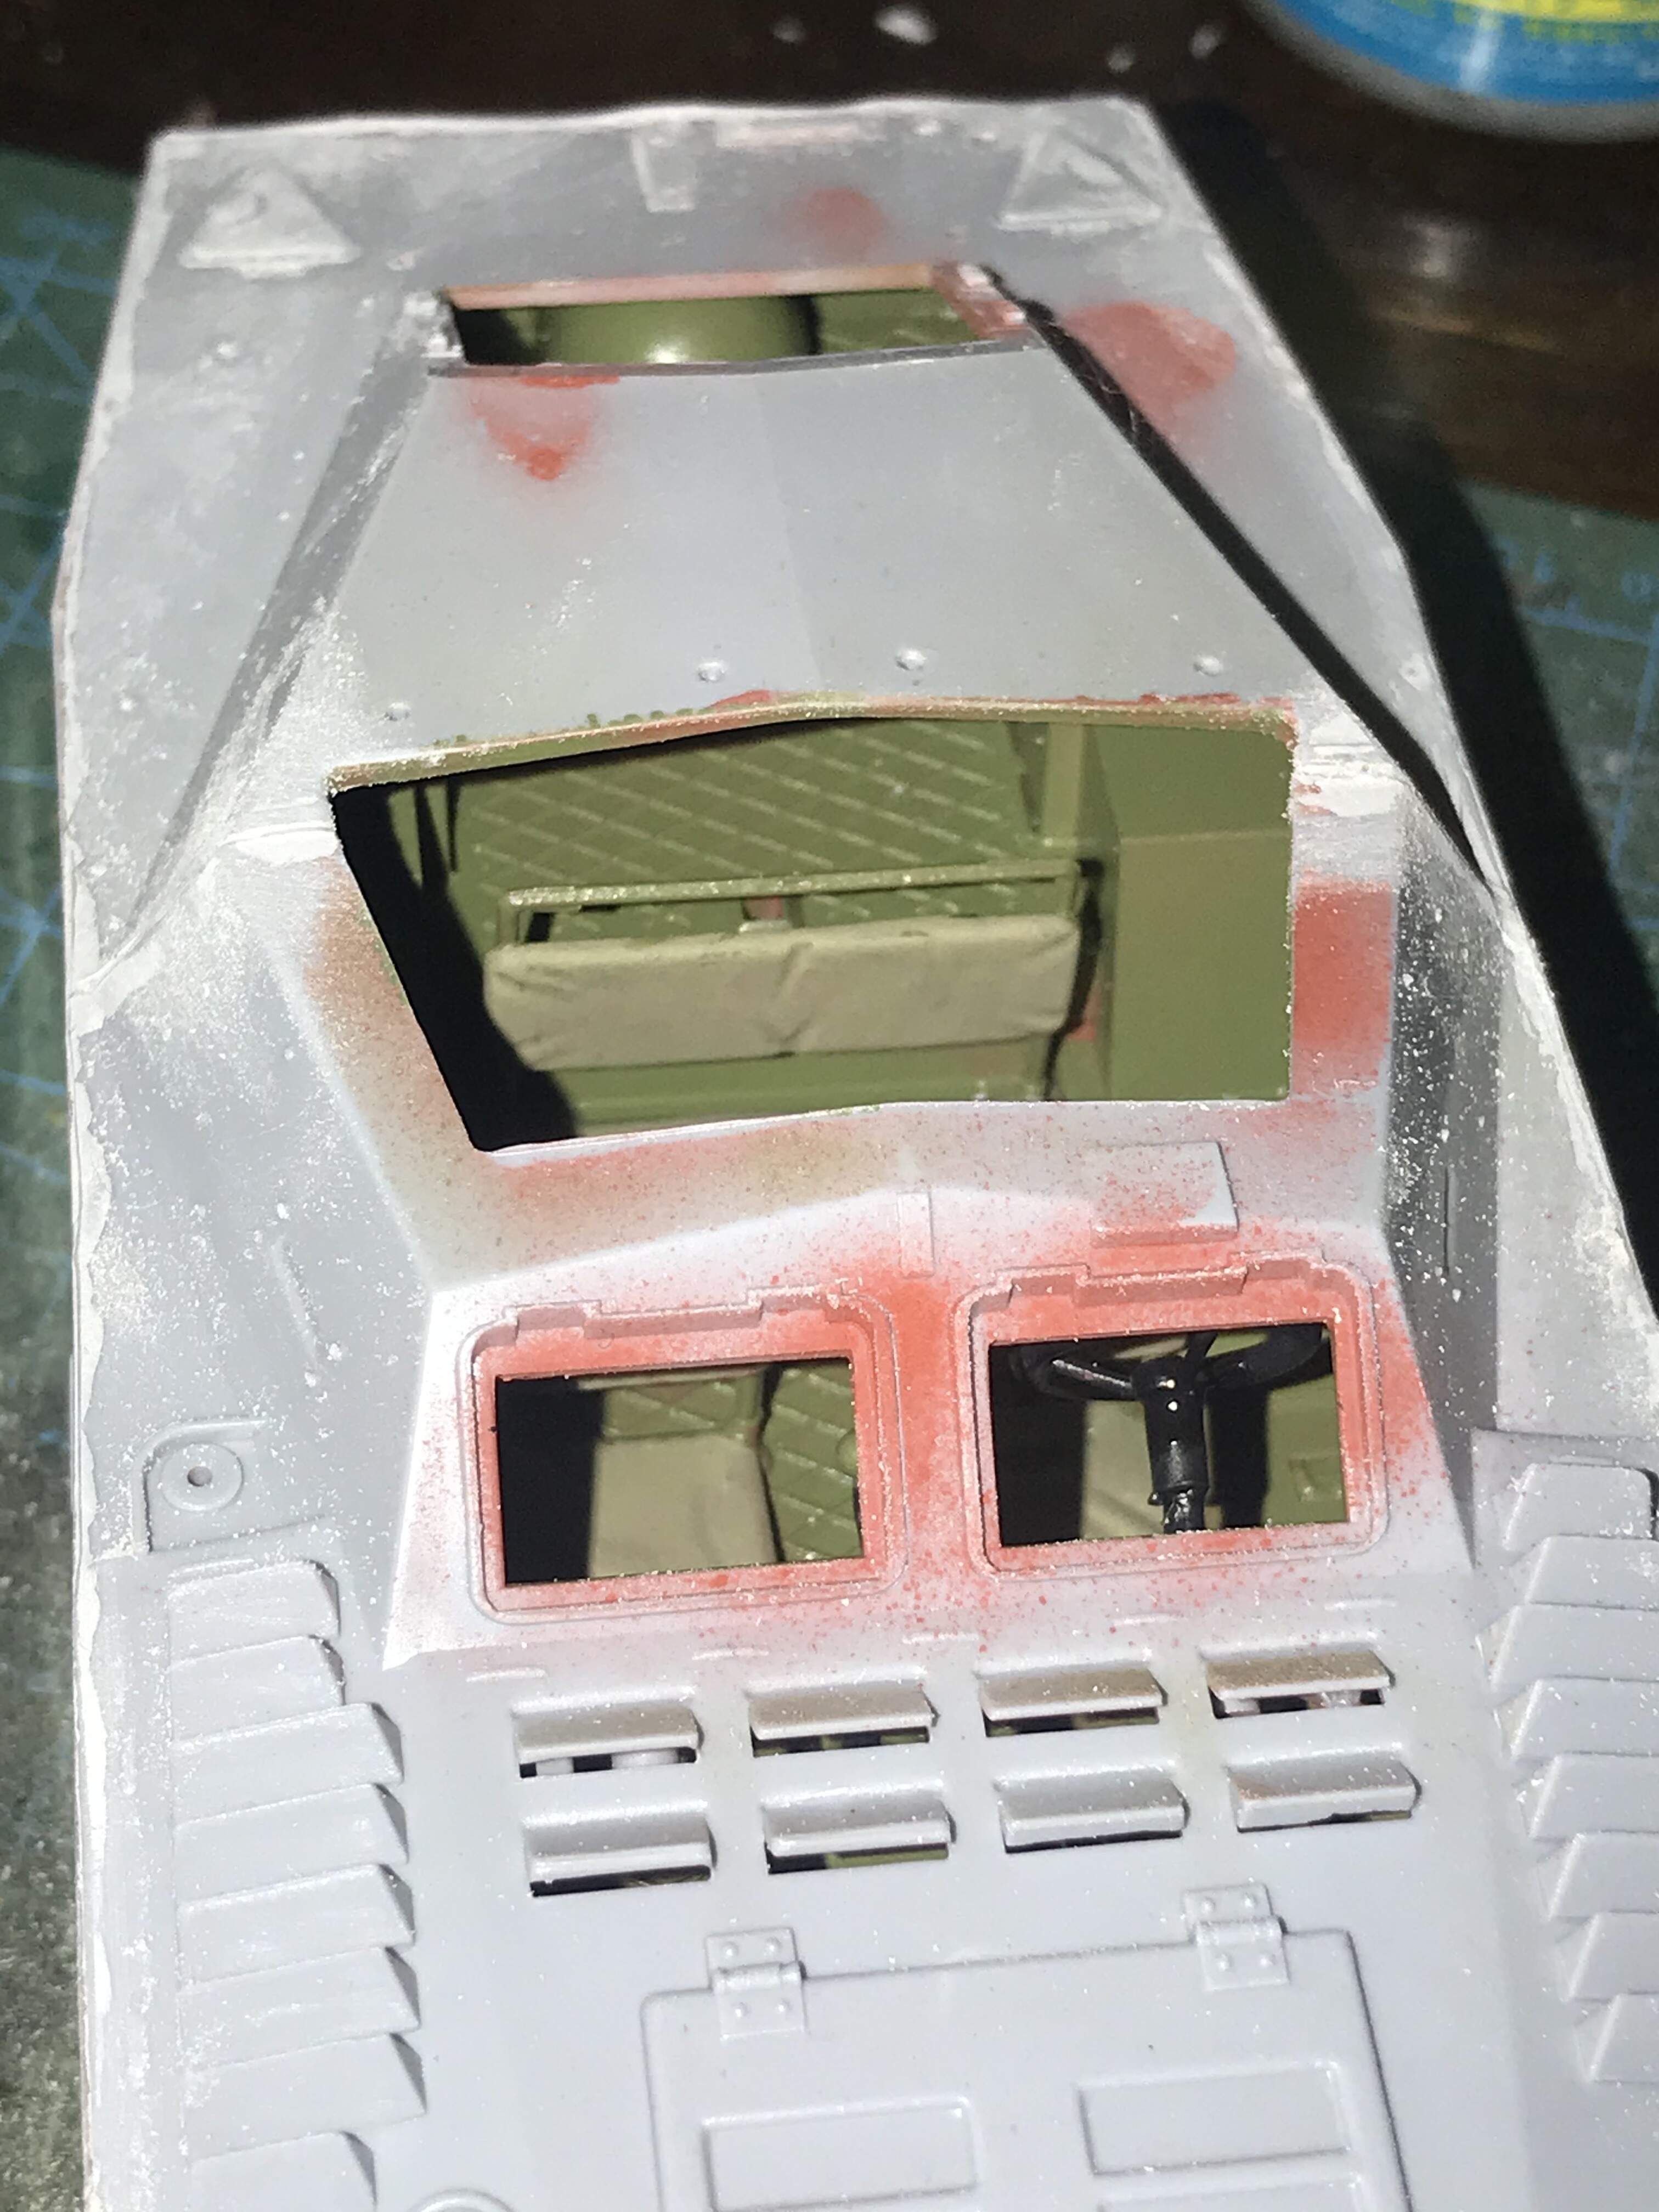
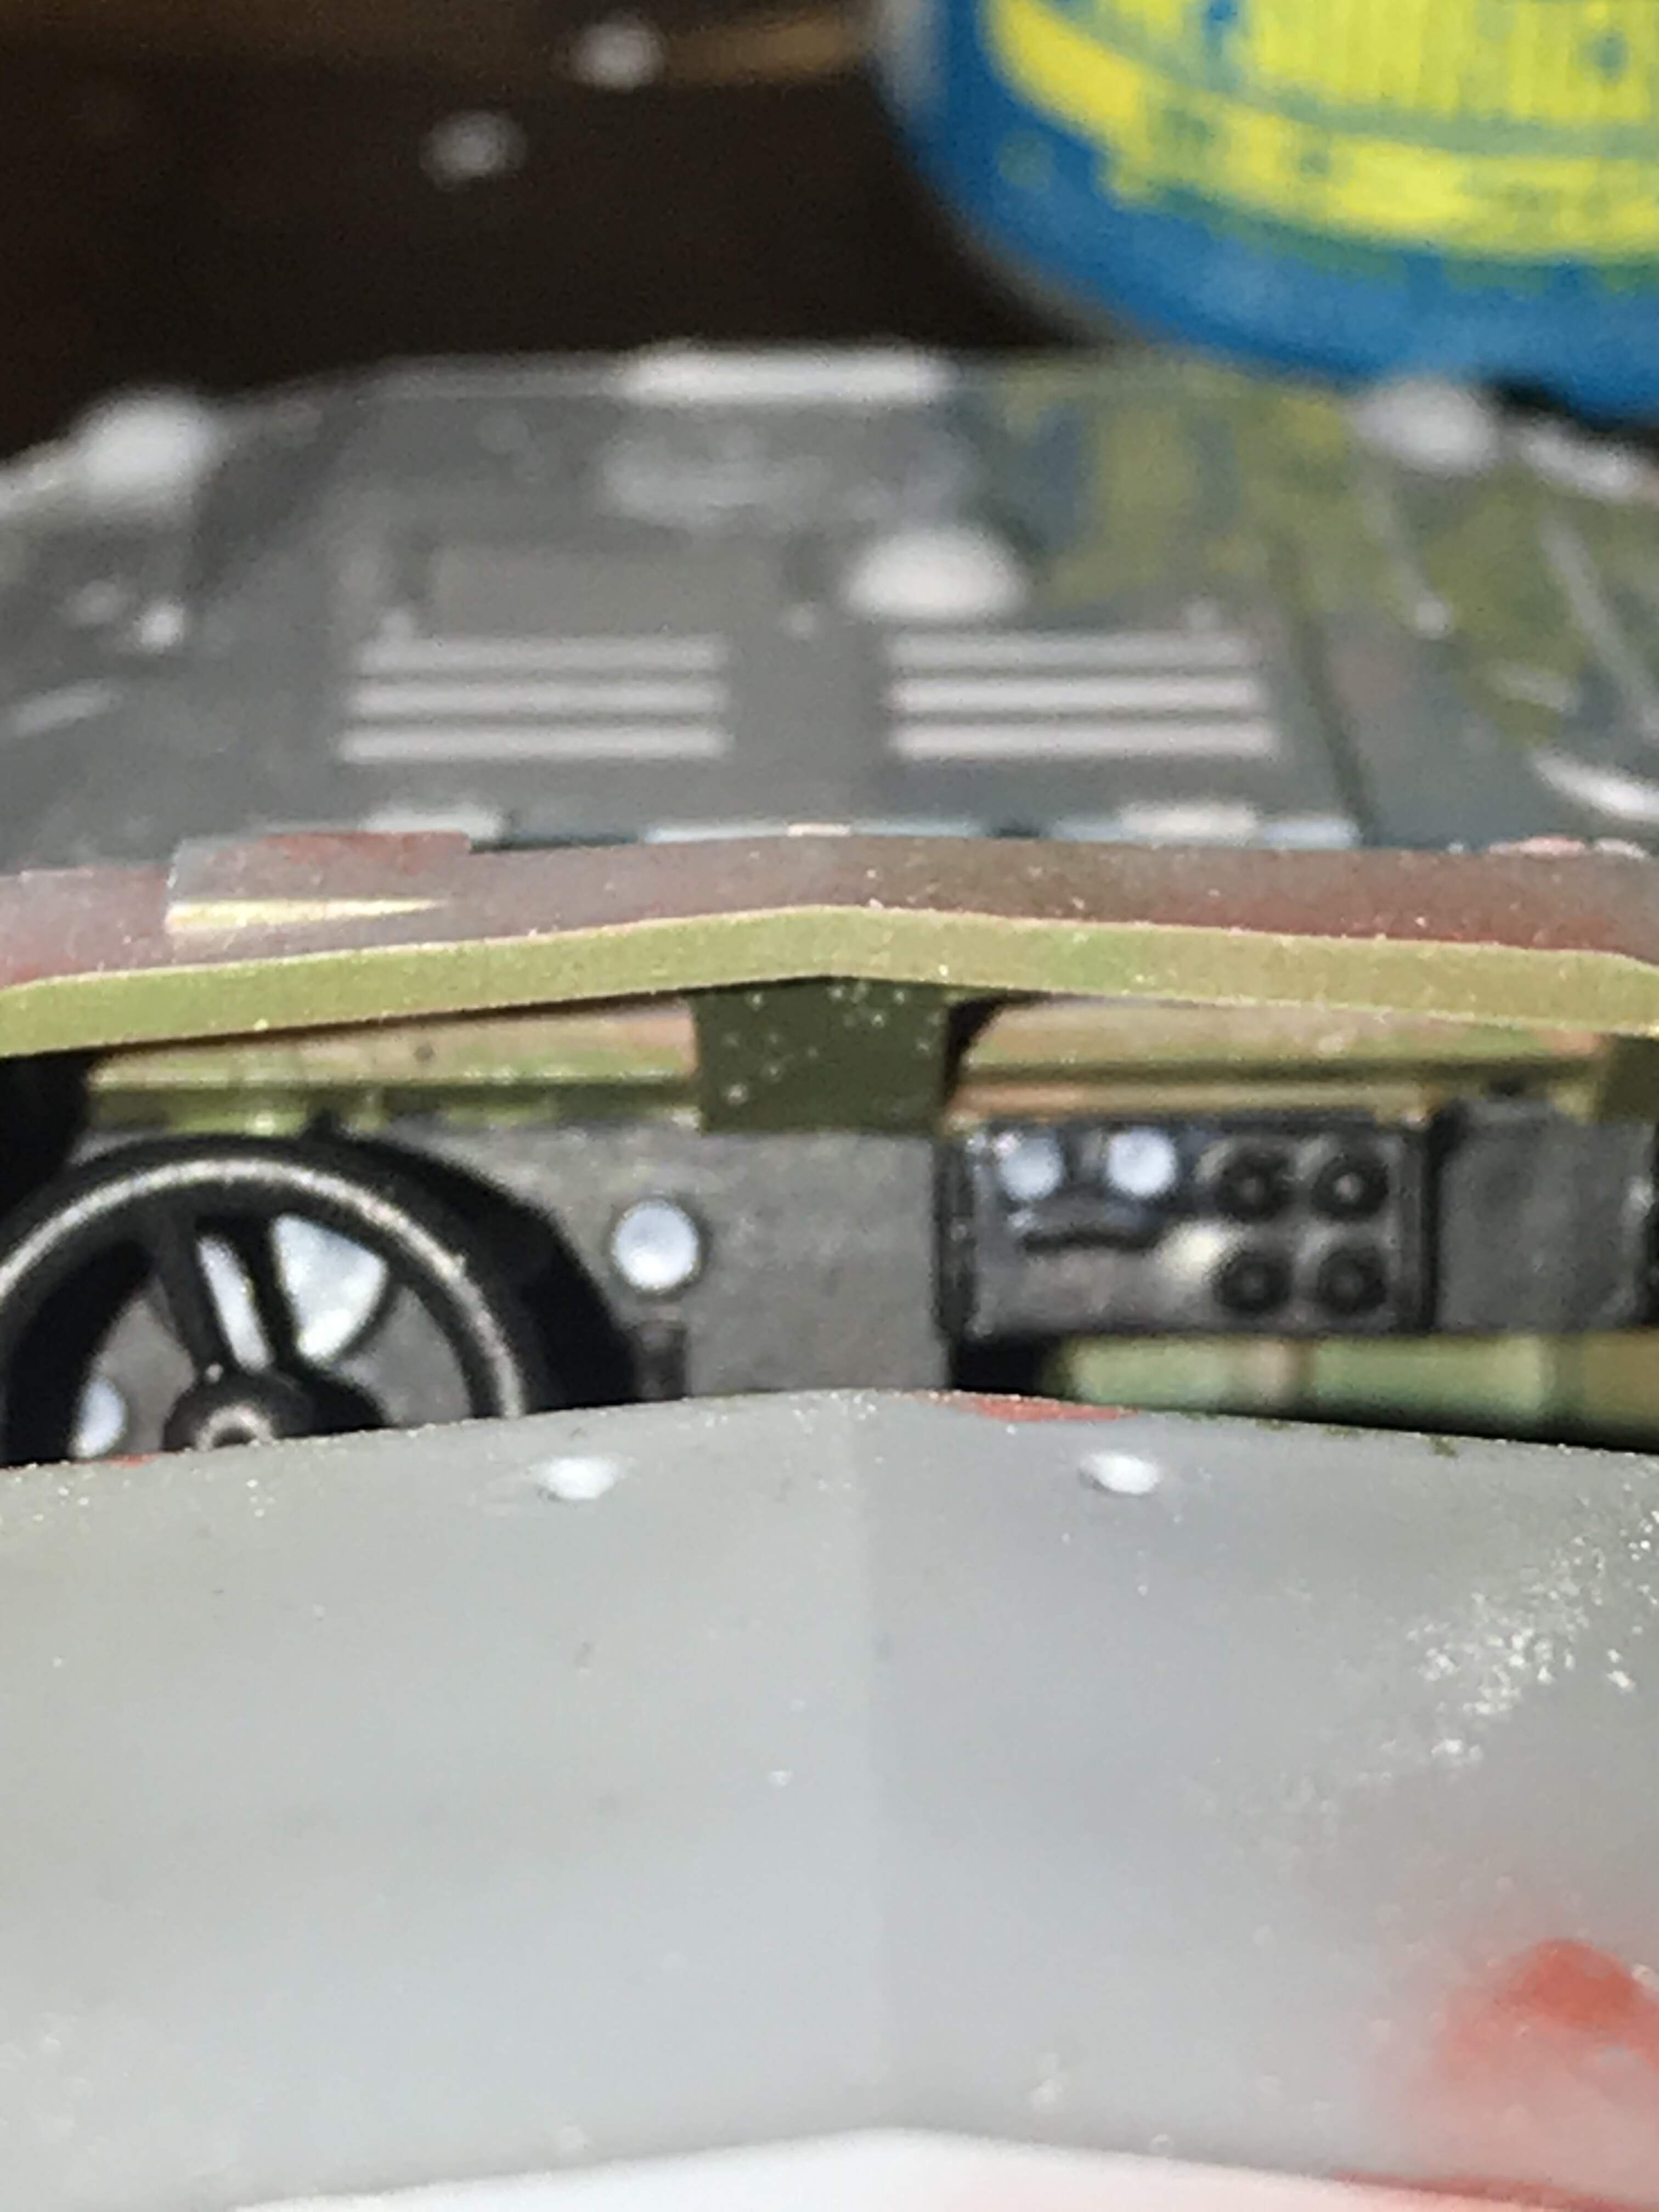
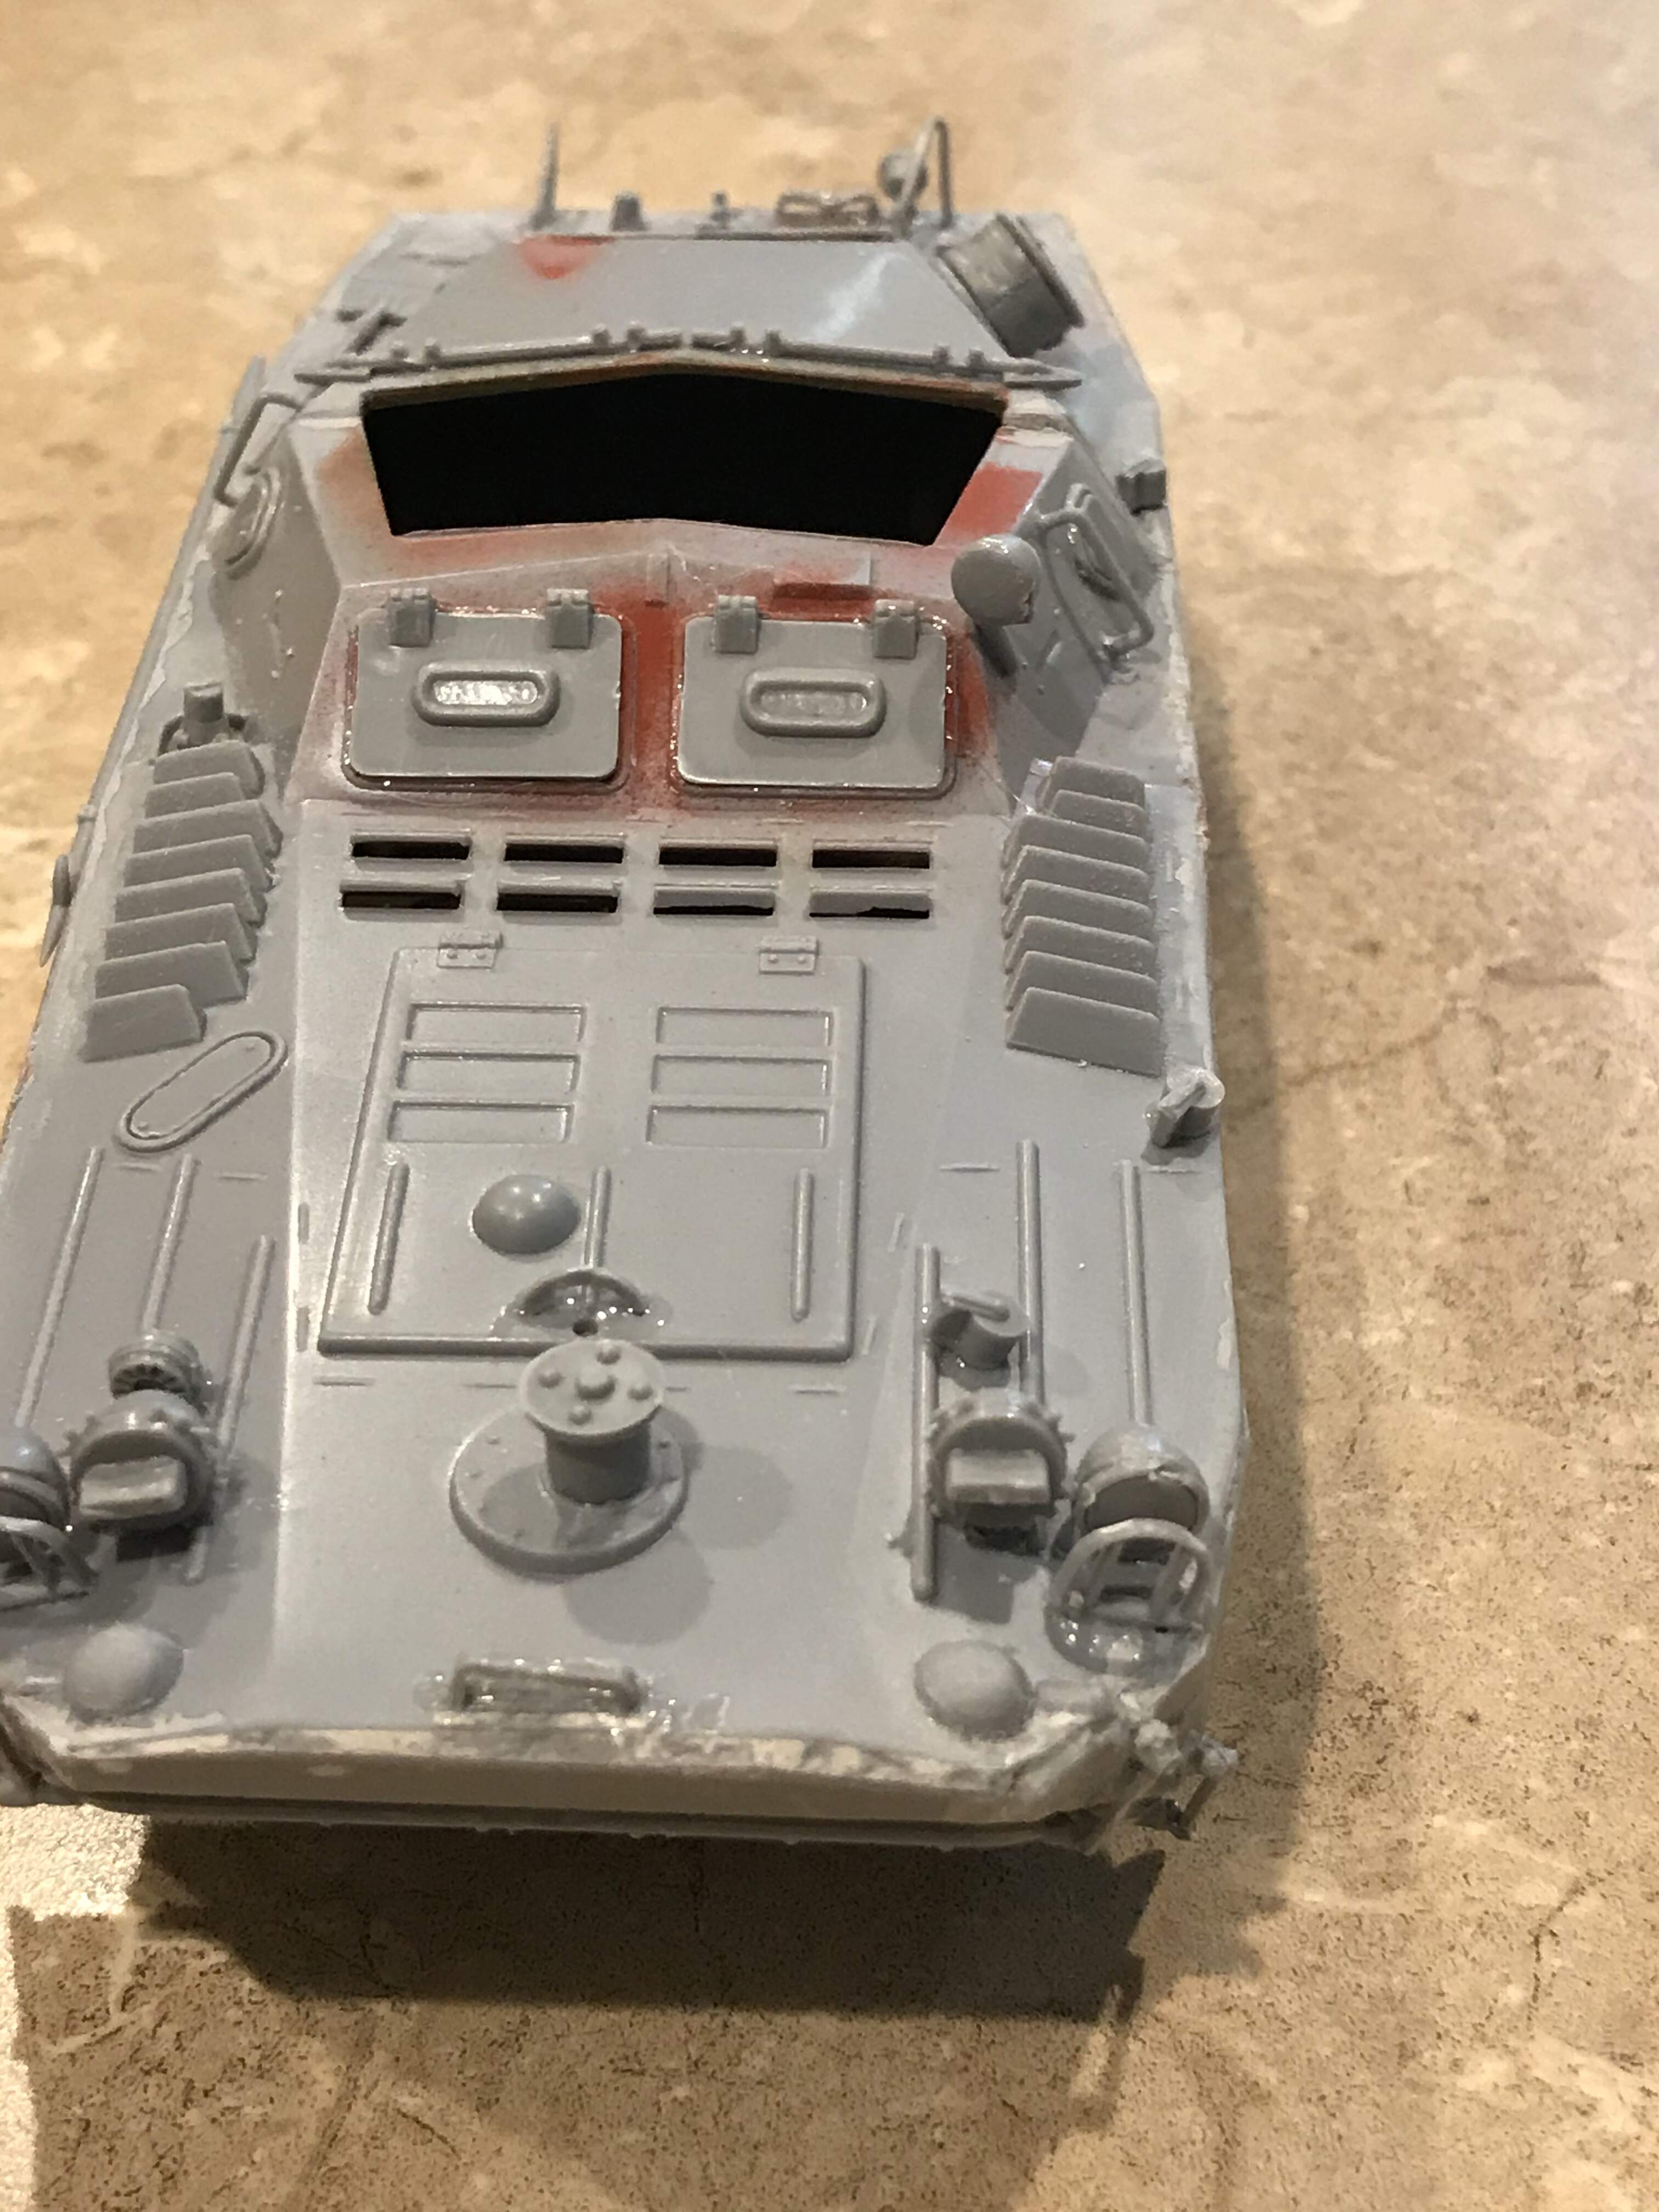
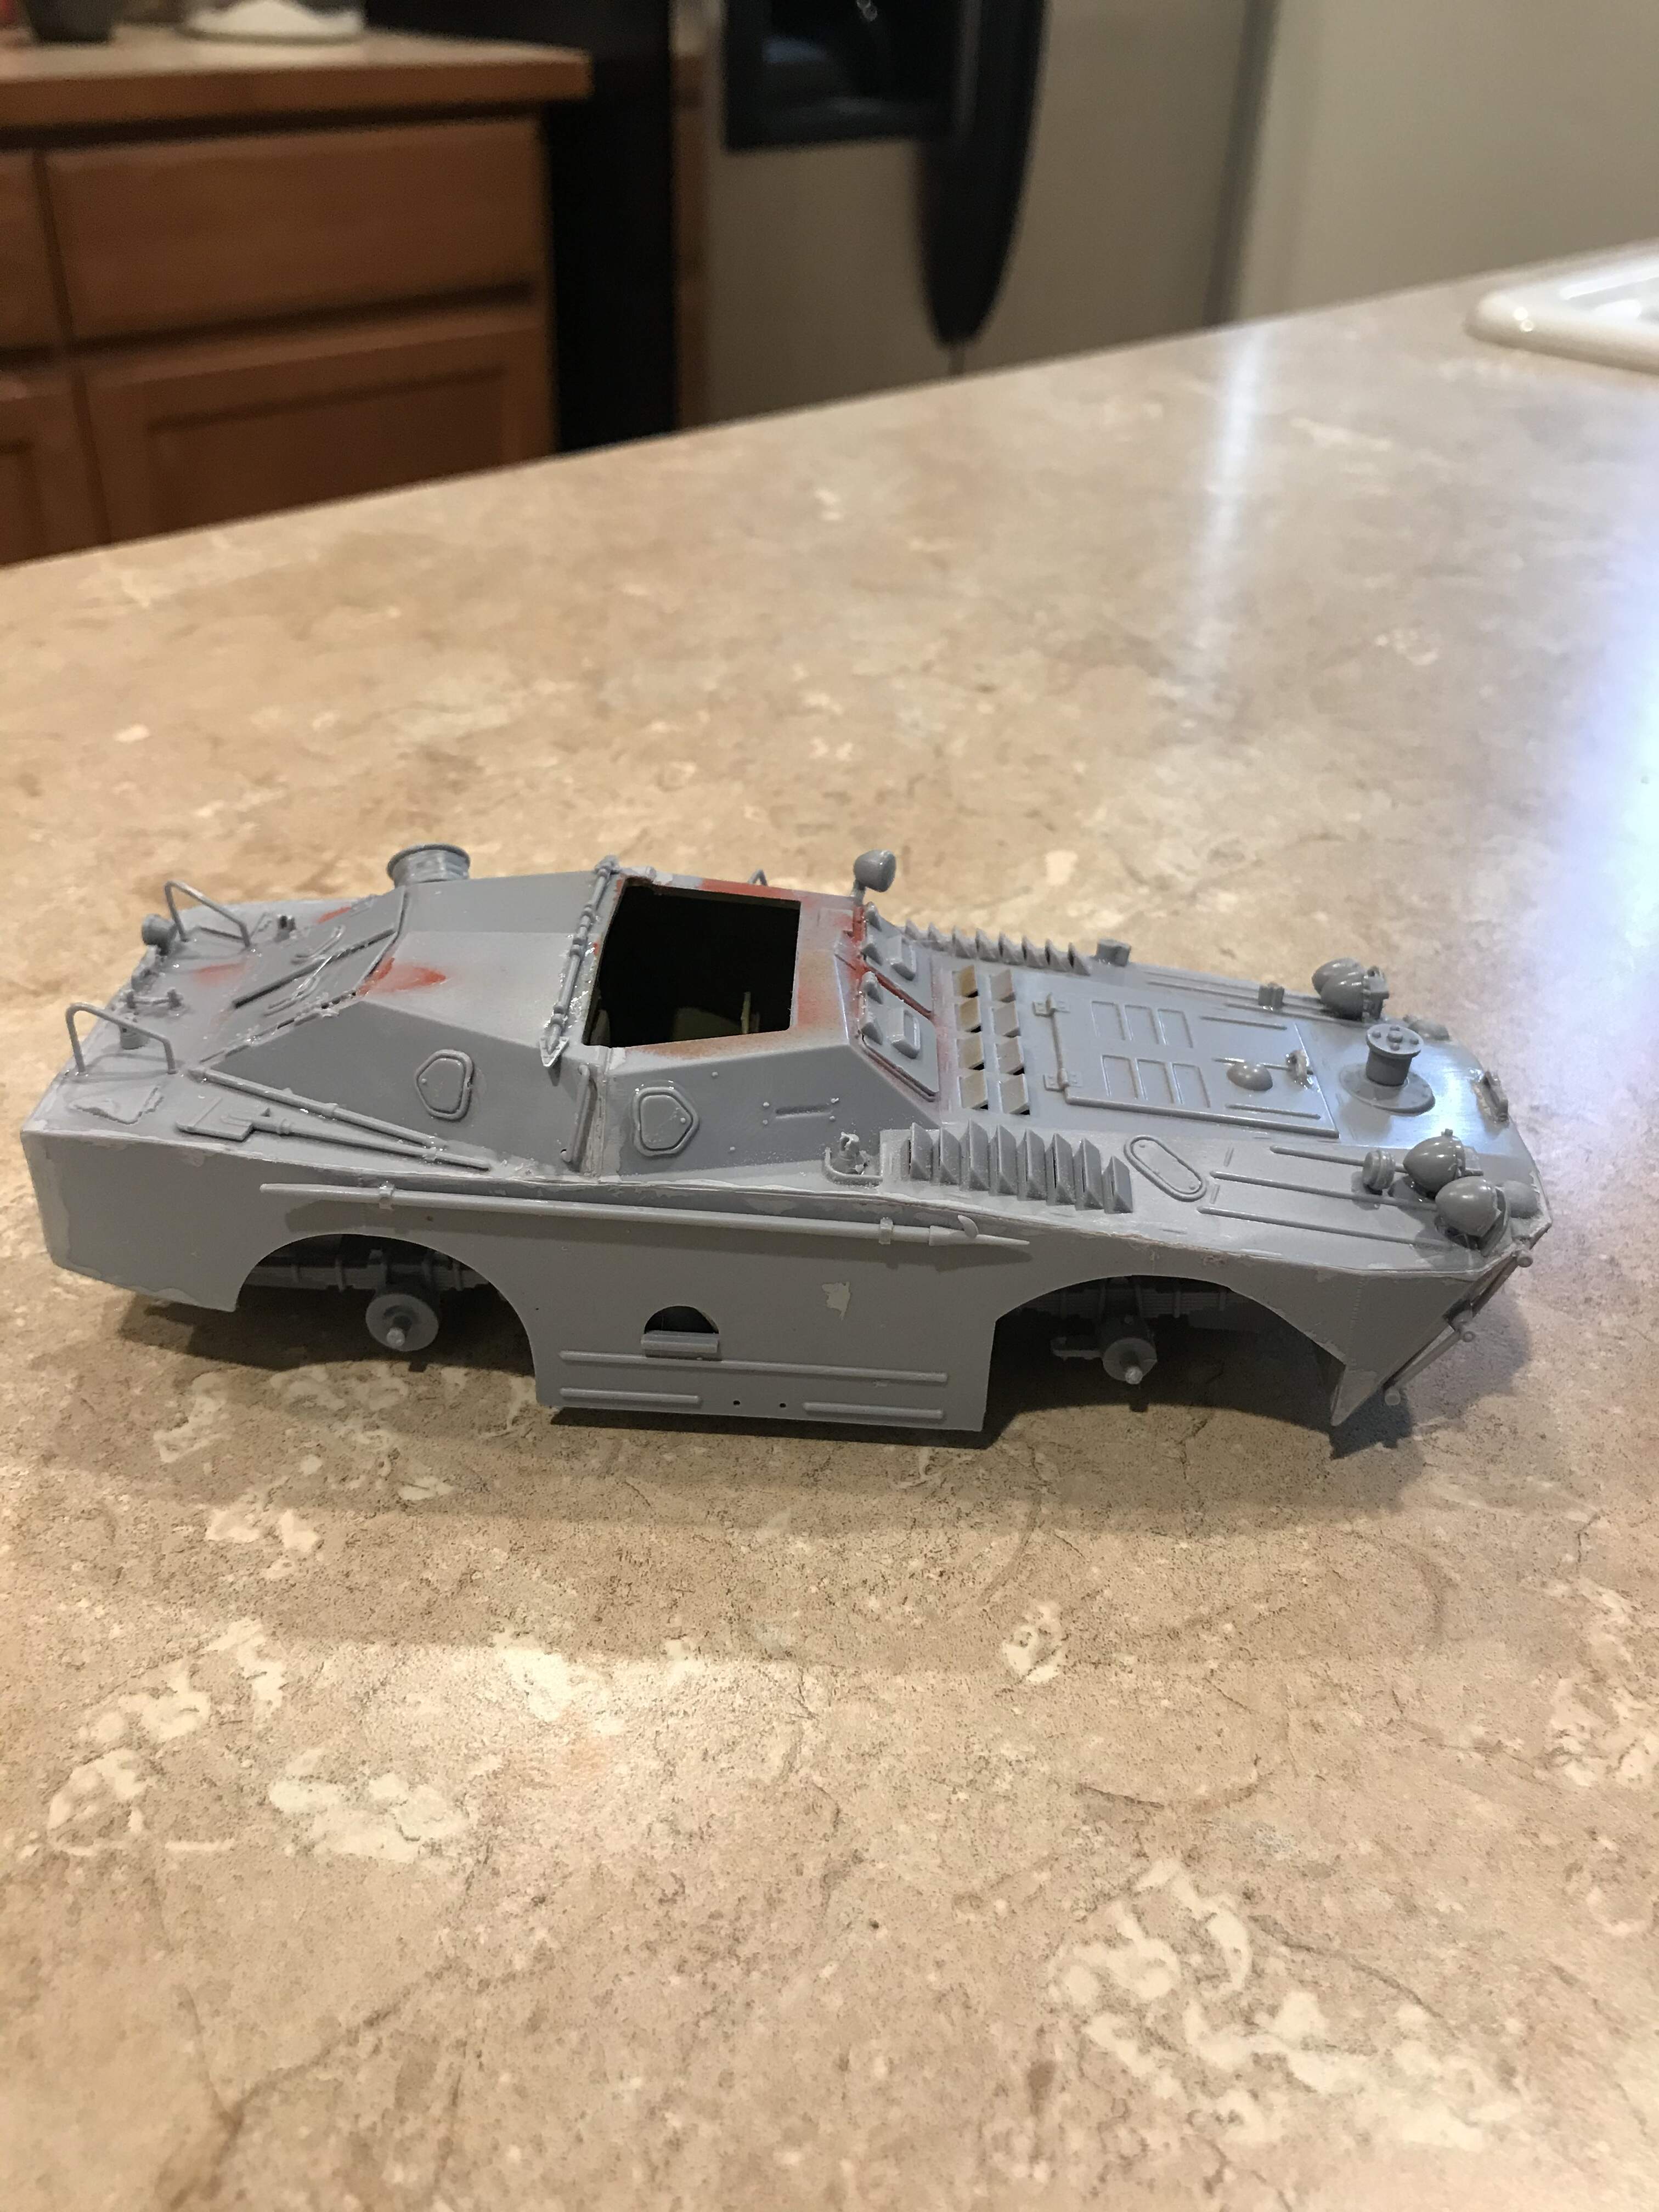
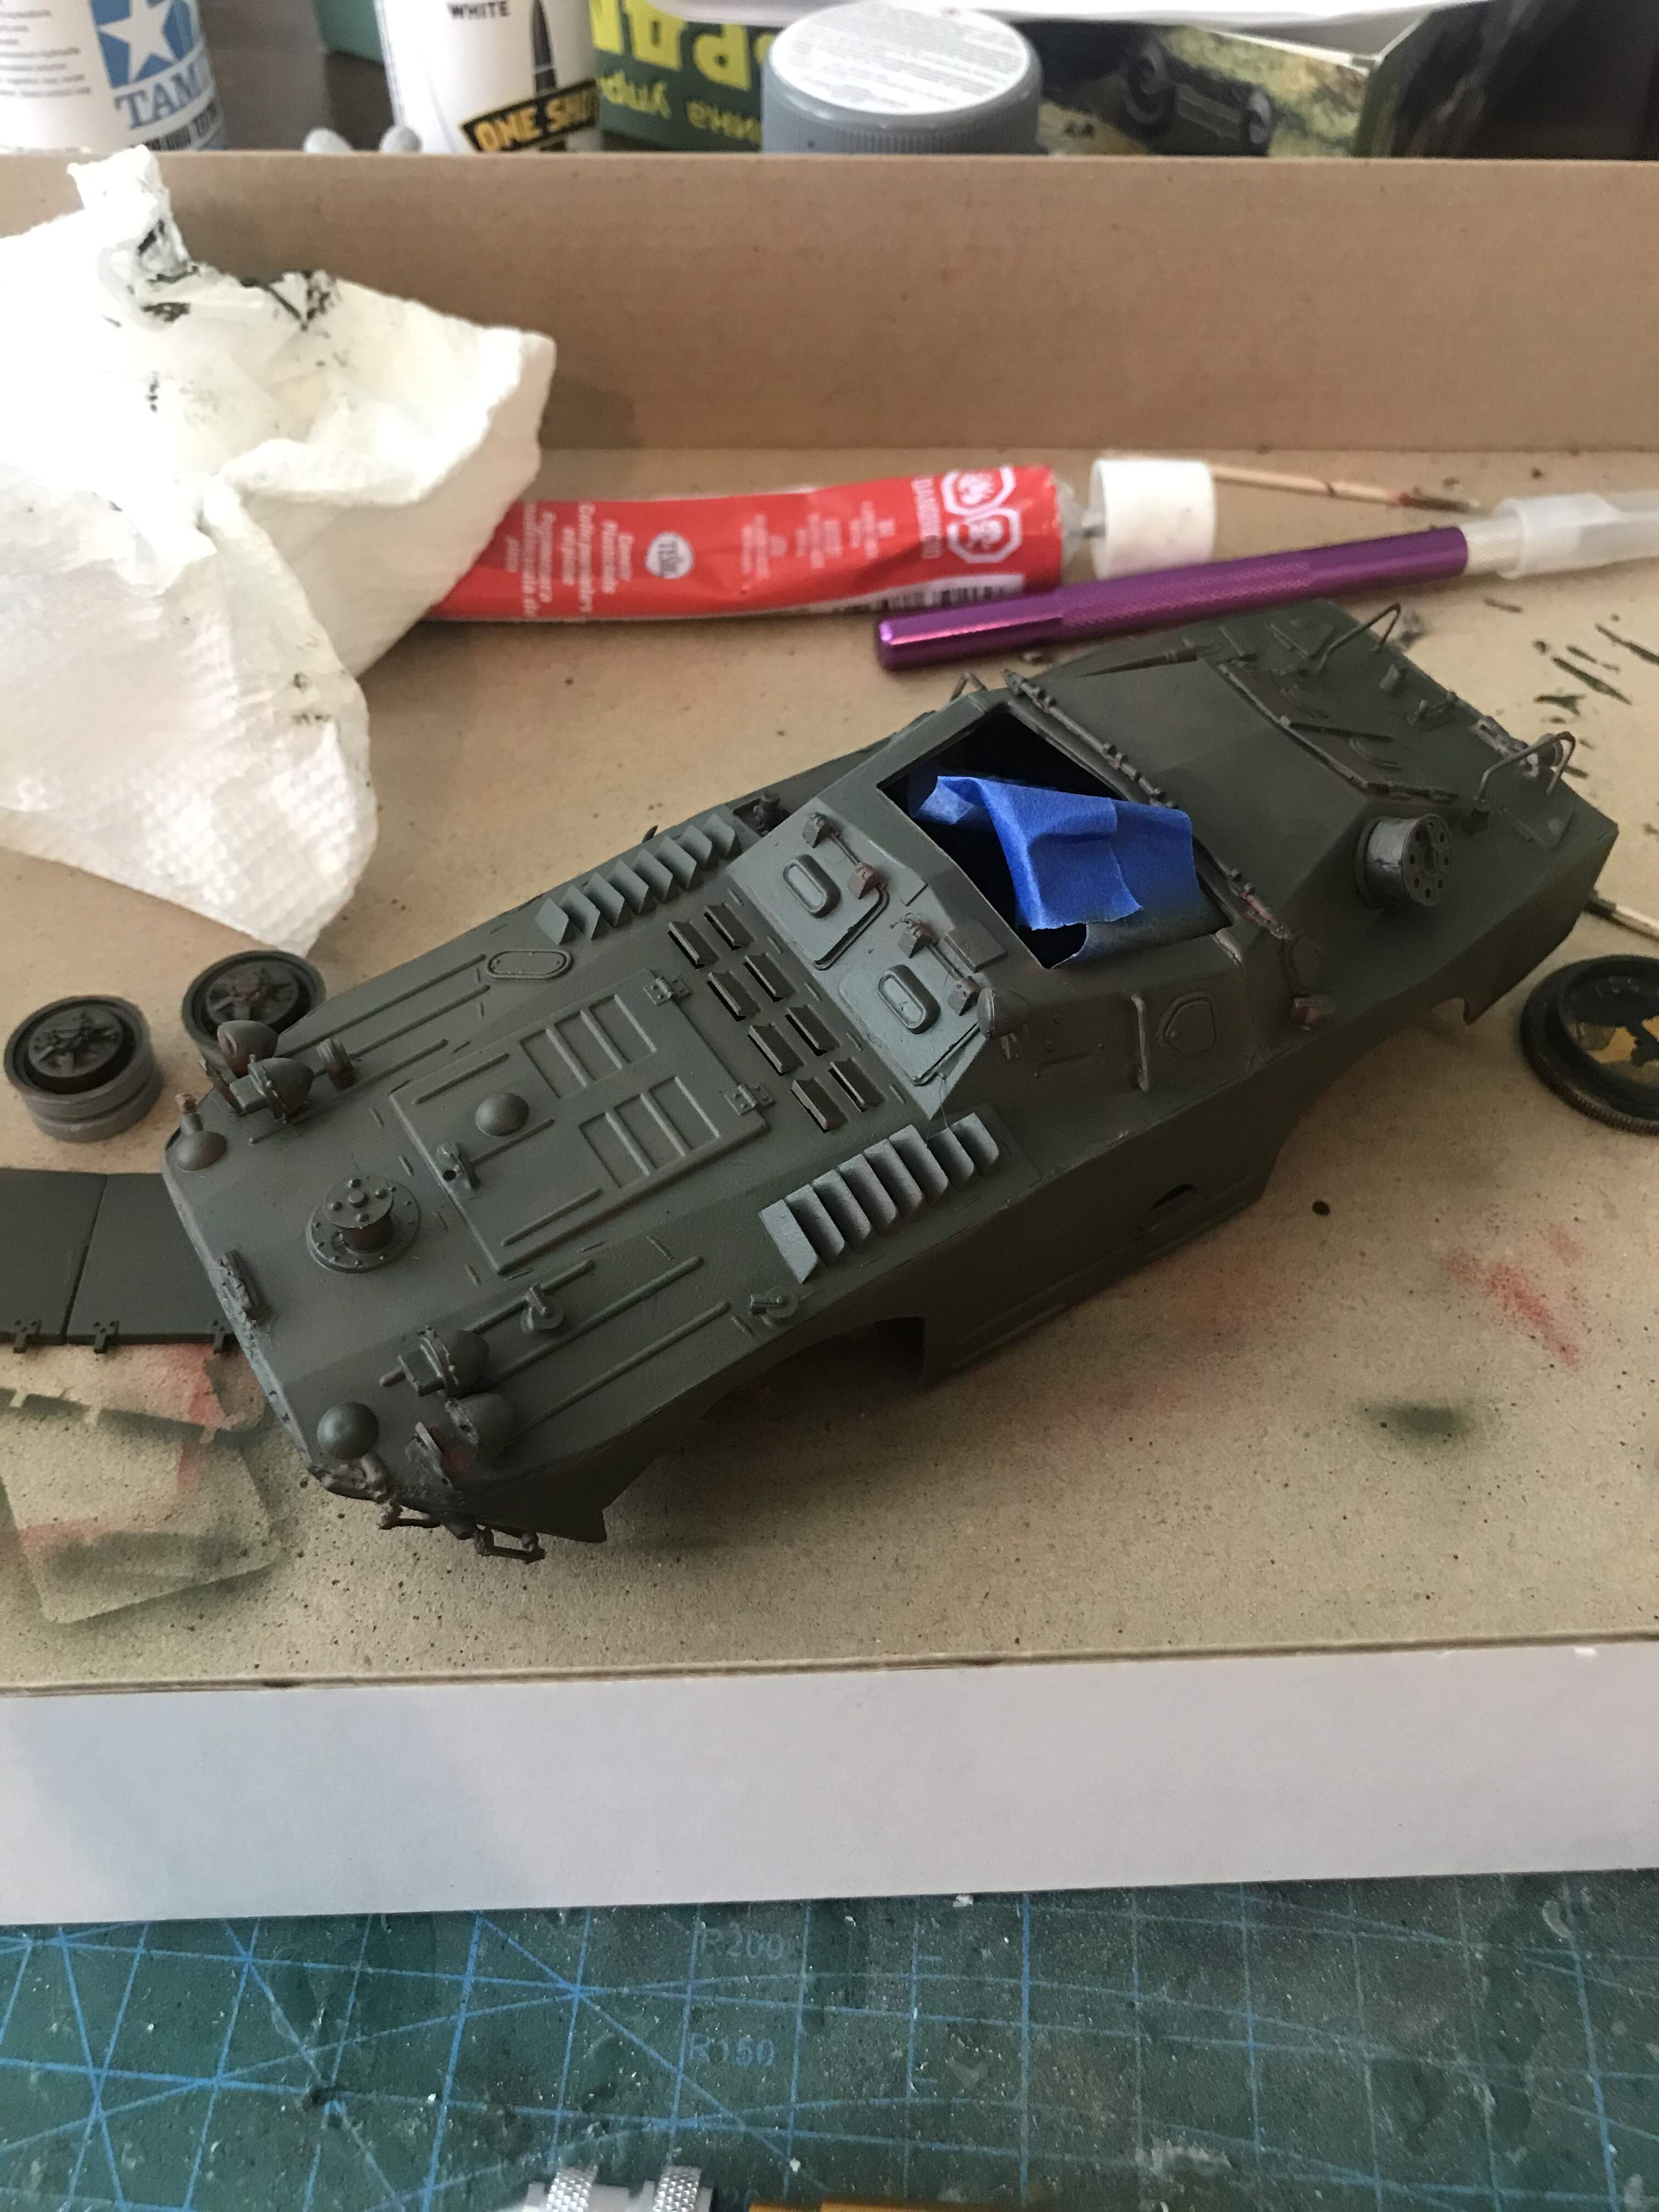
So after building my Tamiya T-62 i figured it would go along real nice with a Brdm-1U. I found this kit on eBay for $20 after shipping and handling and figured why not. Well i was in for a treat. I’ve finally attached the upper and lower hull and well i am getting a crash course in filling gaps and sanding. I’m not gonna lie, i am enjoying this build tho. I will say i was surprised that i got an interior with the kit and thought the detail isn’t awesome for an interior of a recon vehicle it was at least adequate.

I’ve never built an eastern express kit, mainly because of the horror stories about them.
Good luck
2 Likes
I’ve dealt with one prior but it was a T34/85 that i used to make a disabled vehicle… I think eastern express kits can do that job quite well. But yes the horror stories are somewhat true, i have sprue trees and parts with no numbers. I’m doing my best to match parts to drawings. It’s making me slow down and enjoy the thrill of this build. @Petro
1 Like
Gregory, in my opinion it’s a decent enough kit; there’s a couple of pics of mine in response to a Trumpeter version over on “What the Postman brought today” bit (I don’t know how to make a proper link - in any case, only if you’re interested(!) - you’ll have to do a fair bit of scrolling I’m afraid.
Good luck with this one - it should build up quite nicely.
@BootsDMS i agree it’s not a horrible kit at all. It’s just not a modern kit , it needs some love when it comes to parts having flash and extra bits of plastic mold on them. Besides that the fit isn’t horrible but it’s not awesome.
- went and looked at your build and that looks awesome. How much filling and sanding did you need to do, also what figure is that?
Sorry Gregory, I missed your enquiry; thanks for the compliments. I don’t recall too much filling/sanding at all, though I must admit I built it some time ago. It is however, one of my favourites as it was one of my first Warsaw Pact builds. The figure is a conversion - again, one of my first - from the German figure that comes with the somewhat old Tamiya Stug IV or their original Jagdpanzer IV. All I did was add Milliput to effect a camouflage coverall, which was easy enough but for my first figure conversion probably about as far as I could go back then, and add a Hornet Head.
I think I added hood drawcords from fusewire and that was that. The figure had its hands at different resting levels but that worked out just fine as I had only one hatch open so the hands corresponded nicely to the differing levels of the model’s roof.
I don’t think the kit came with a decent MG so whilst some modellers depict this vehicle with a 12.7mm, which is fair enough, I tracked down a 7.62 SGM from an Italeri Soviet Assault Troops kit which has just this weapon, albeit on a wheeled mount.
I managed to rig up a scratched mount though not especially well, and added an empty cases bag from Milliput. I also for some strange reason forgot to add windscreen wipers which I still haven’t remedied. I’ve added the following 3 x pics - not to crow but just to give the full picture (no pun intended) and as they’re close-ups some of my carelessness can be seen I’m afraid such as the less than smooth empties bag and the rather gormless-looking figure! I forgot to add that I placed a Driver figure inside, which I think came from the Dragon Soviet Tank crew set.


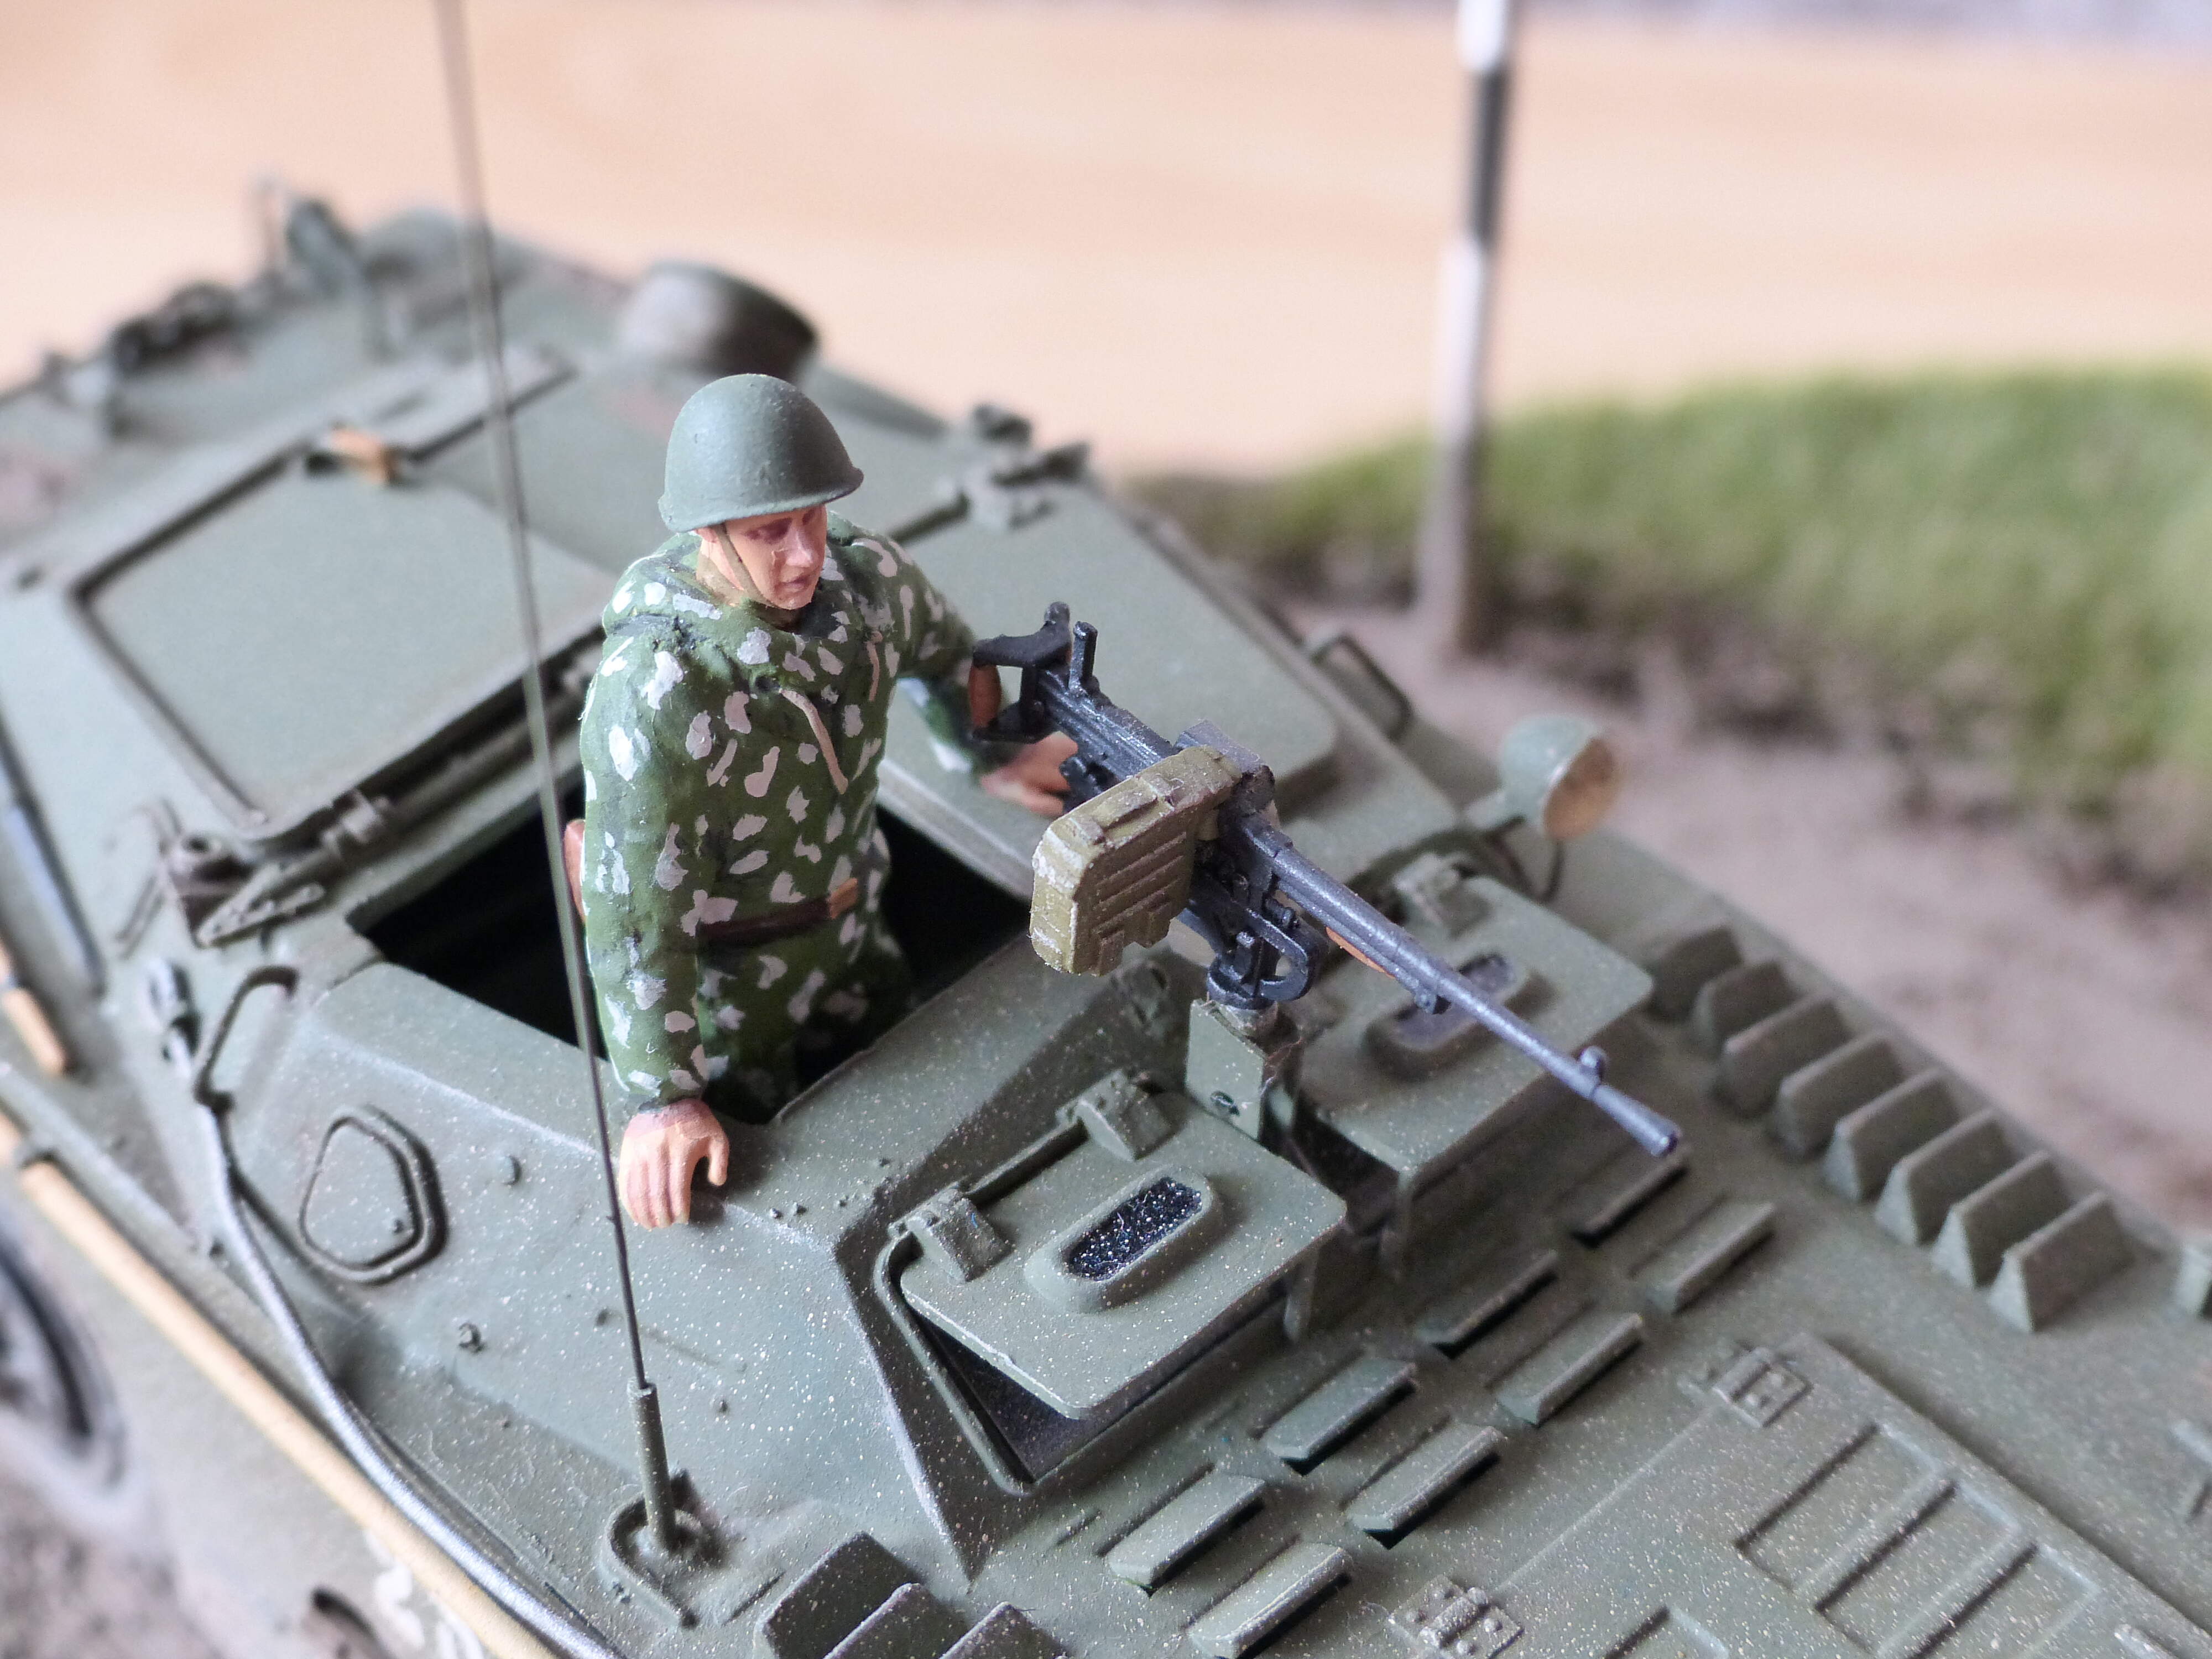
I’m also aware that my figure painting needs to improve but I don’t think I’ll ever get around to eyeballs. Anyway, I hope this helps if only to avoid someof the errors on mine - no wipers, poorly built MG mount, etc. However, I learned a lot and enjoyed it all.
1 Like
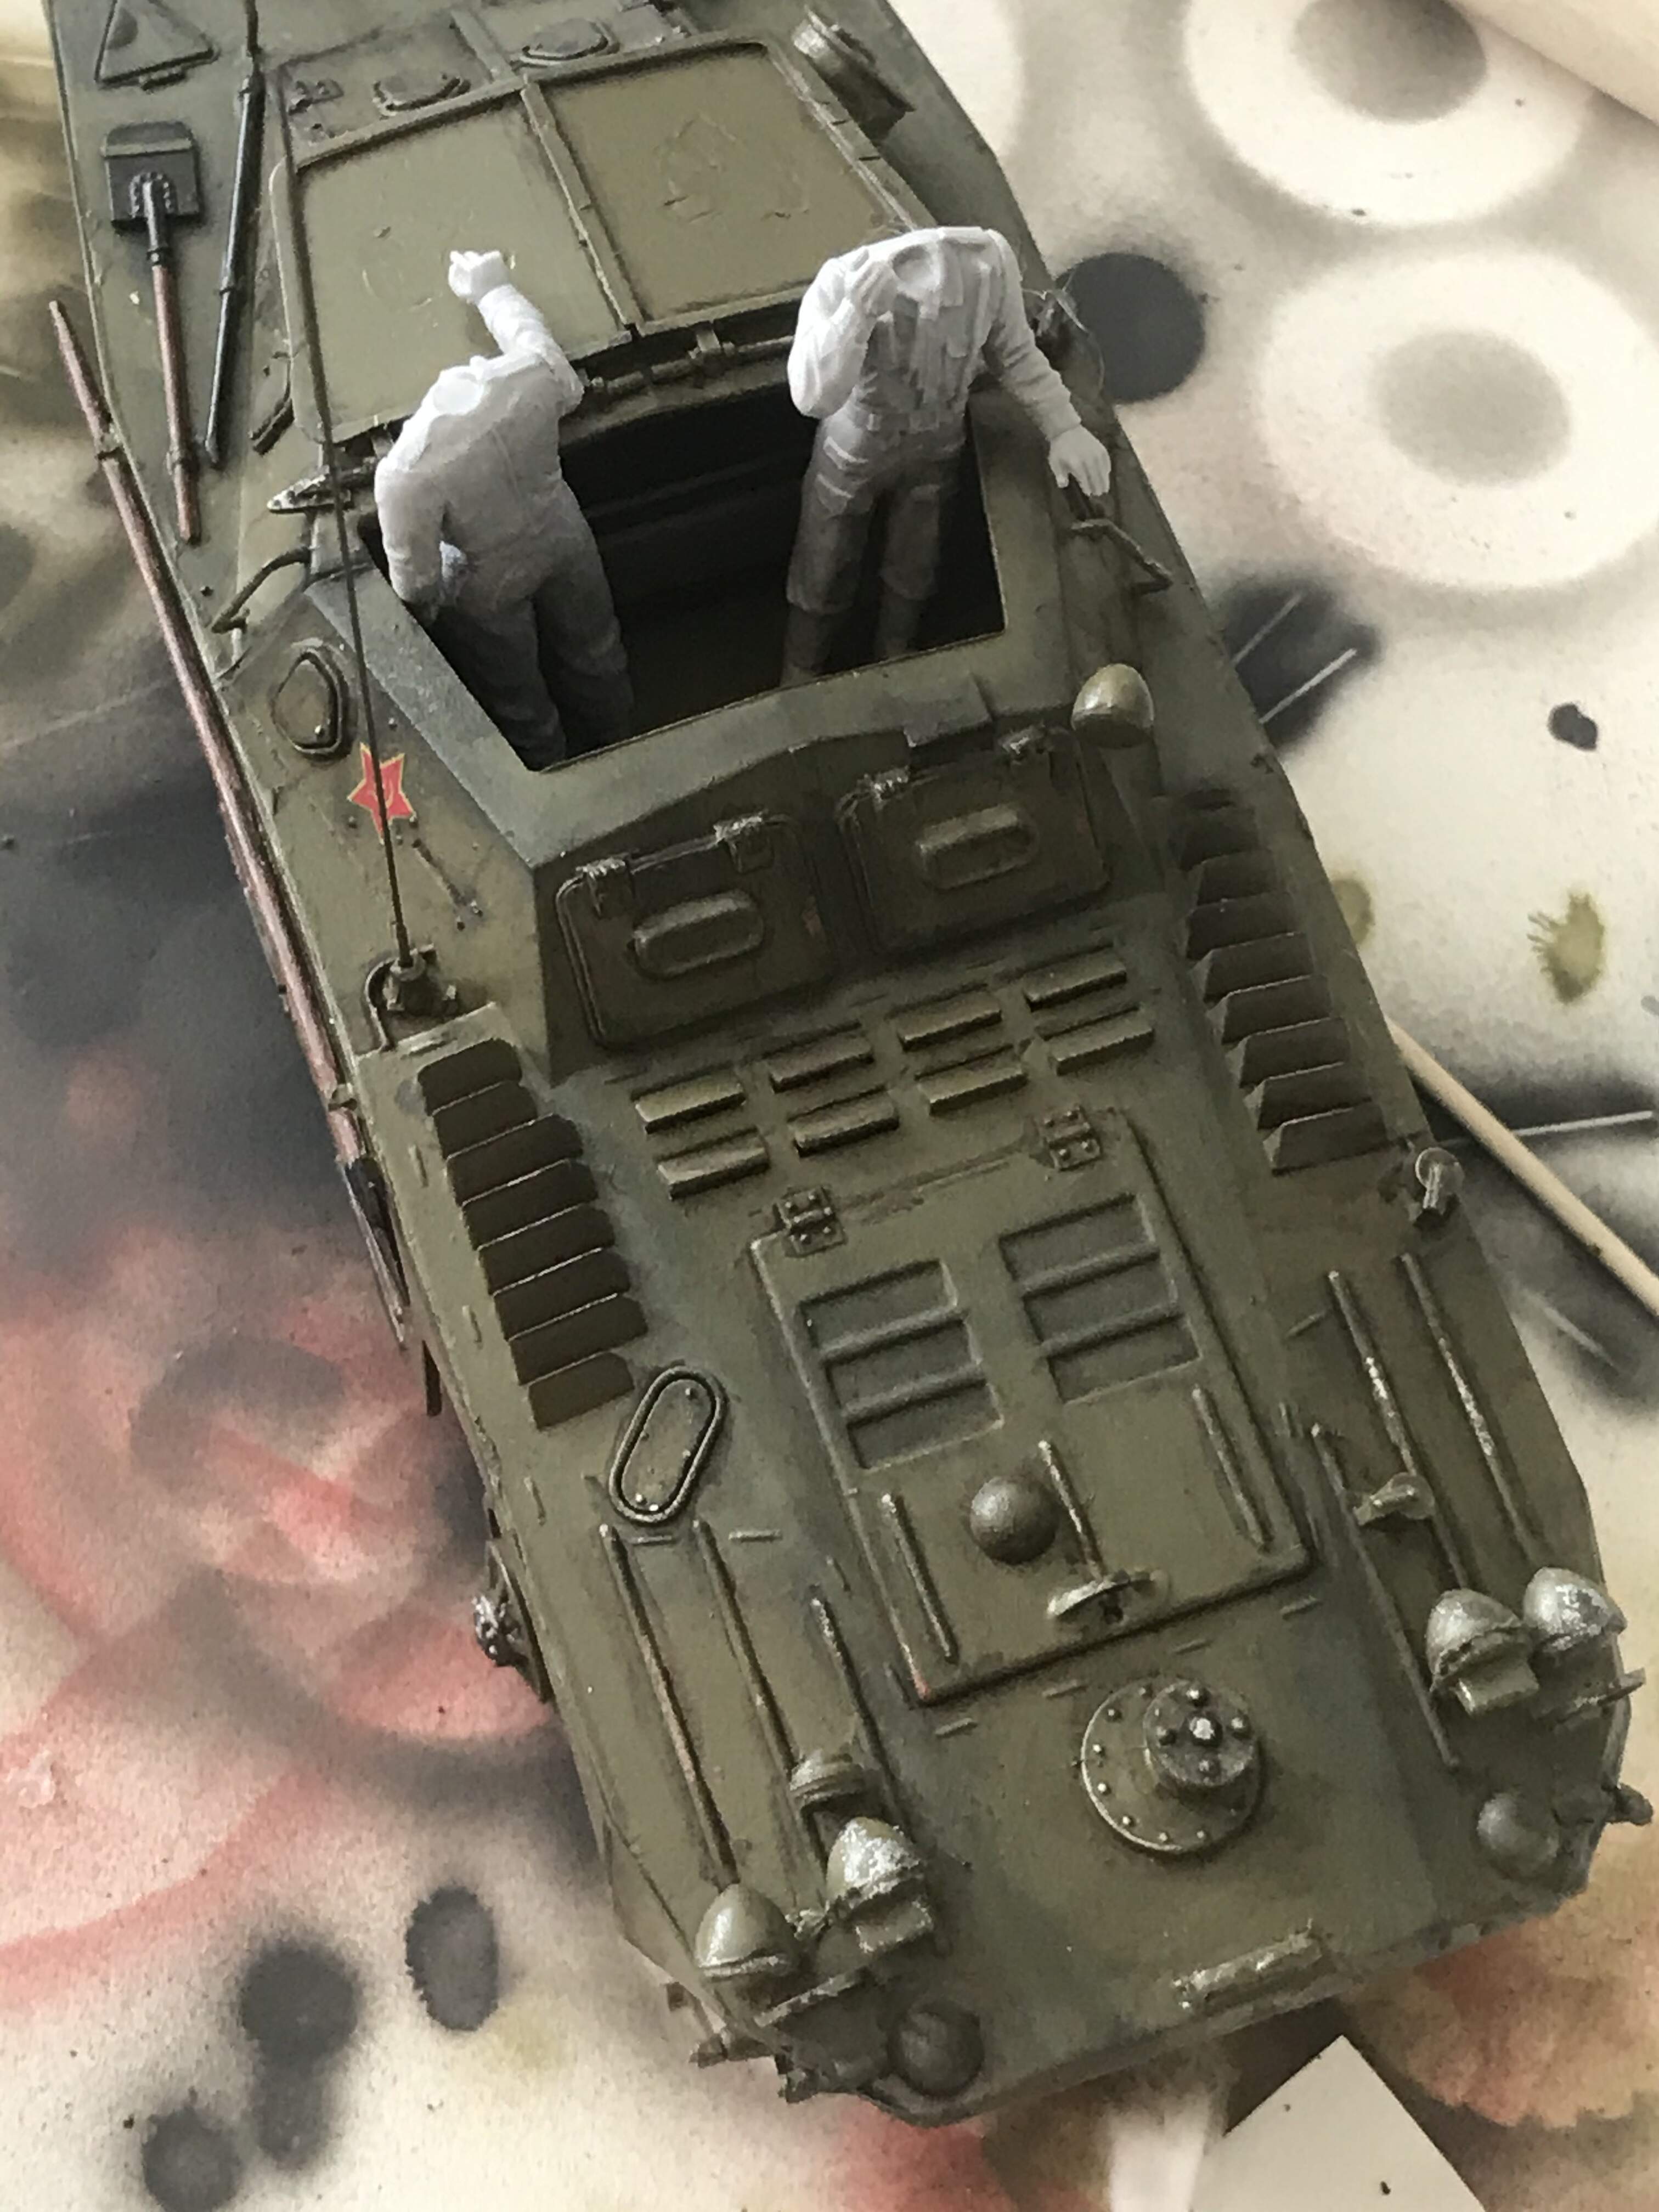
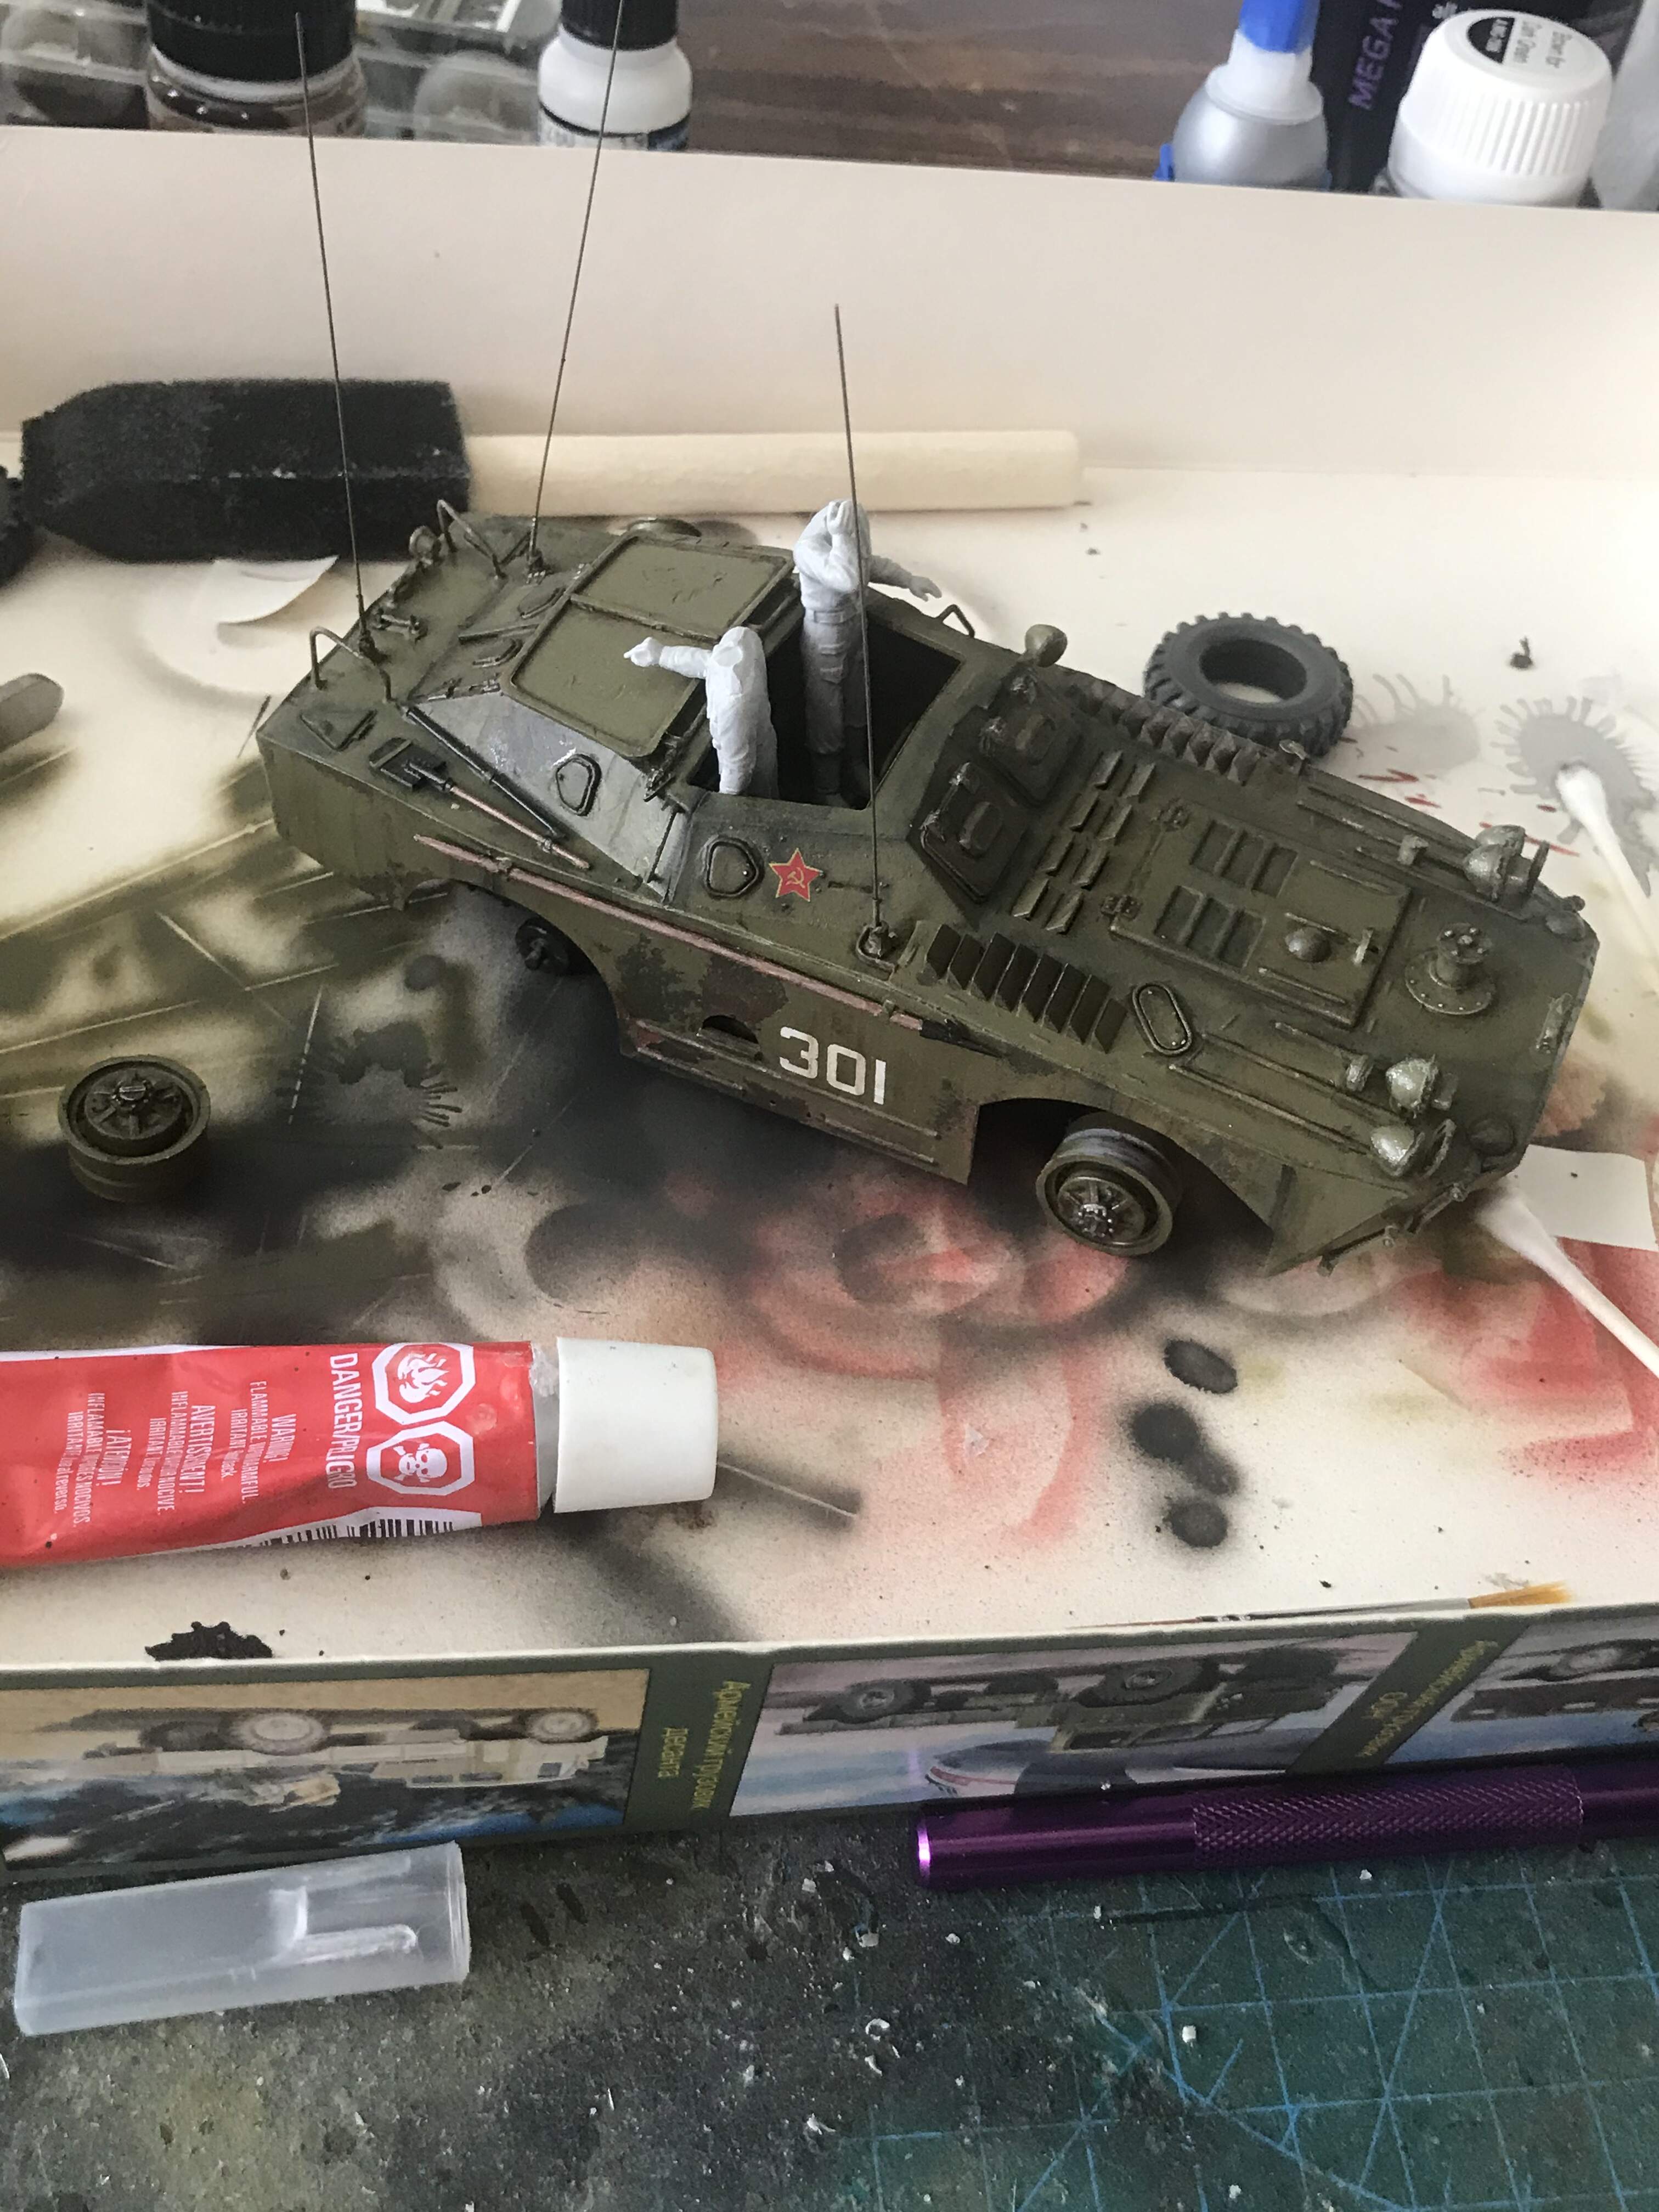
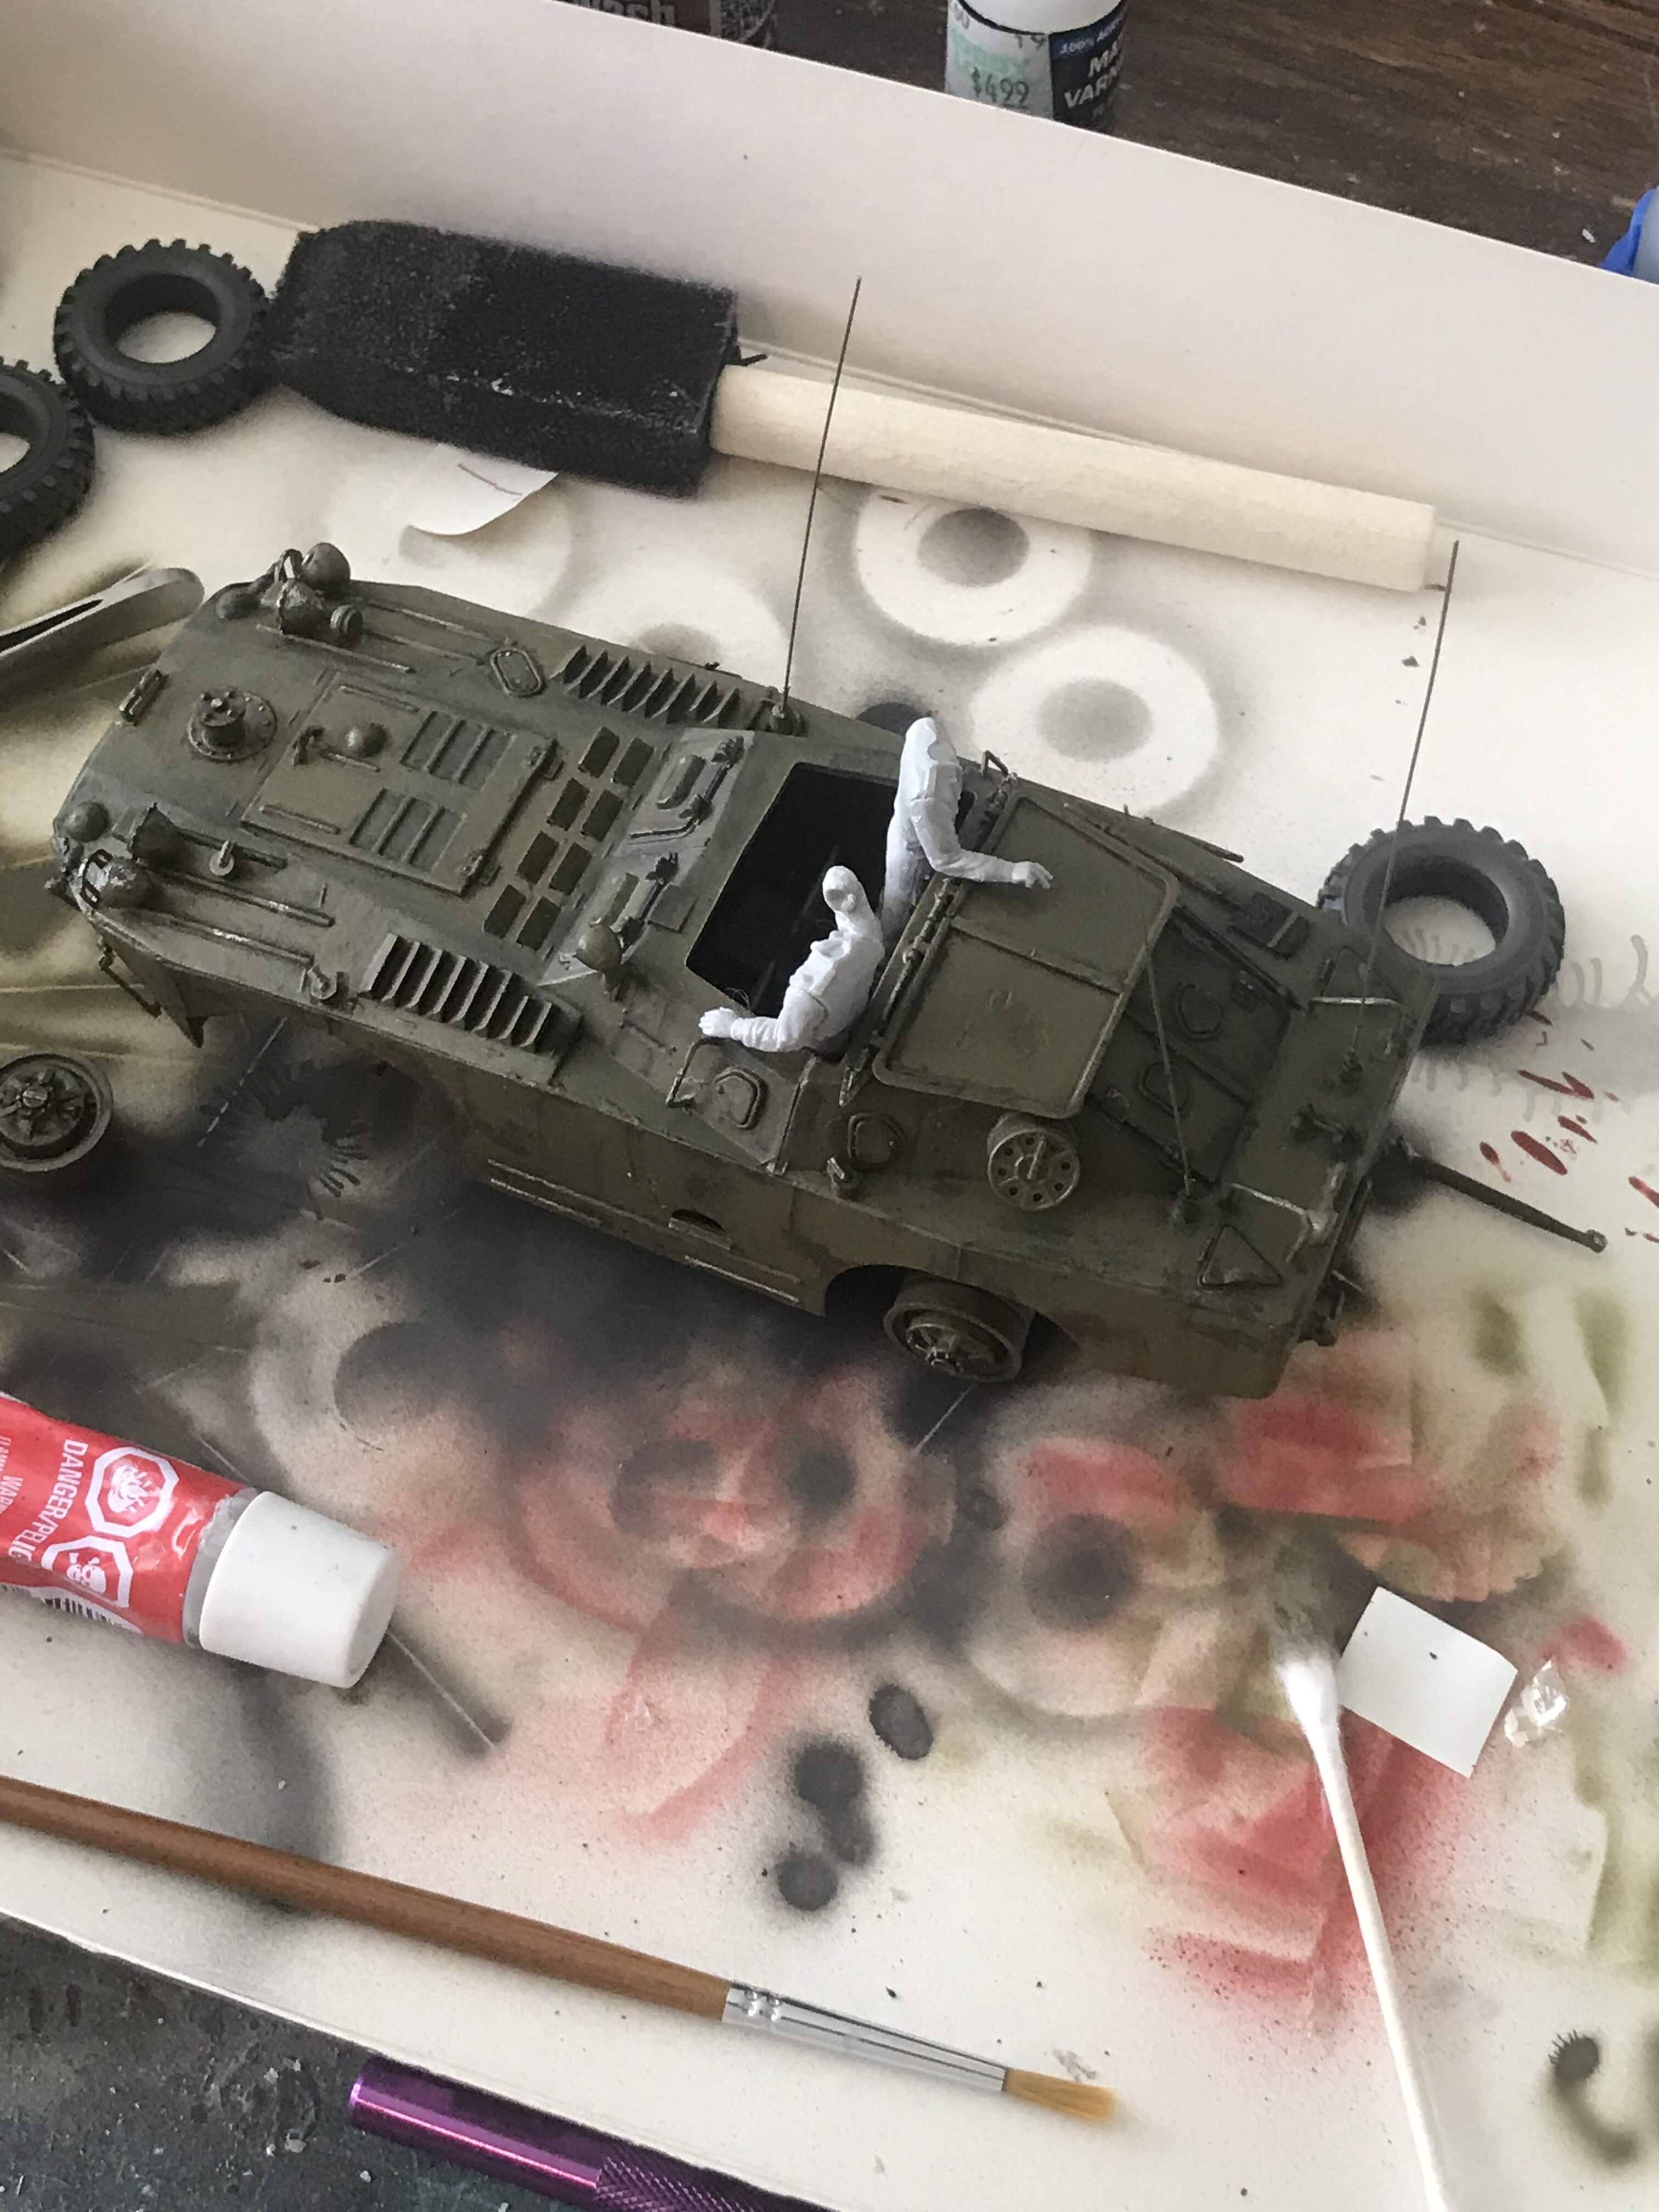
@BootsDMS this loos great. I like how you did the smock on the figure. Also the painting of him is magnificent. I’m not a great figure painter when it comes to shadowing on camo uniforms. I’m using some trumpeter 1/35 tank crew members for my build. My kit came with an assortment of parts that i ended up not using, including a pintle mount and a dshk handle. I just finished the build last night. Btw love the pictures, i was referencing your build when i finished mine last night!
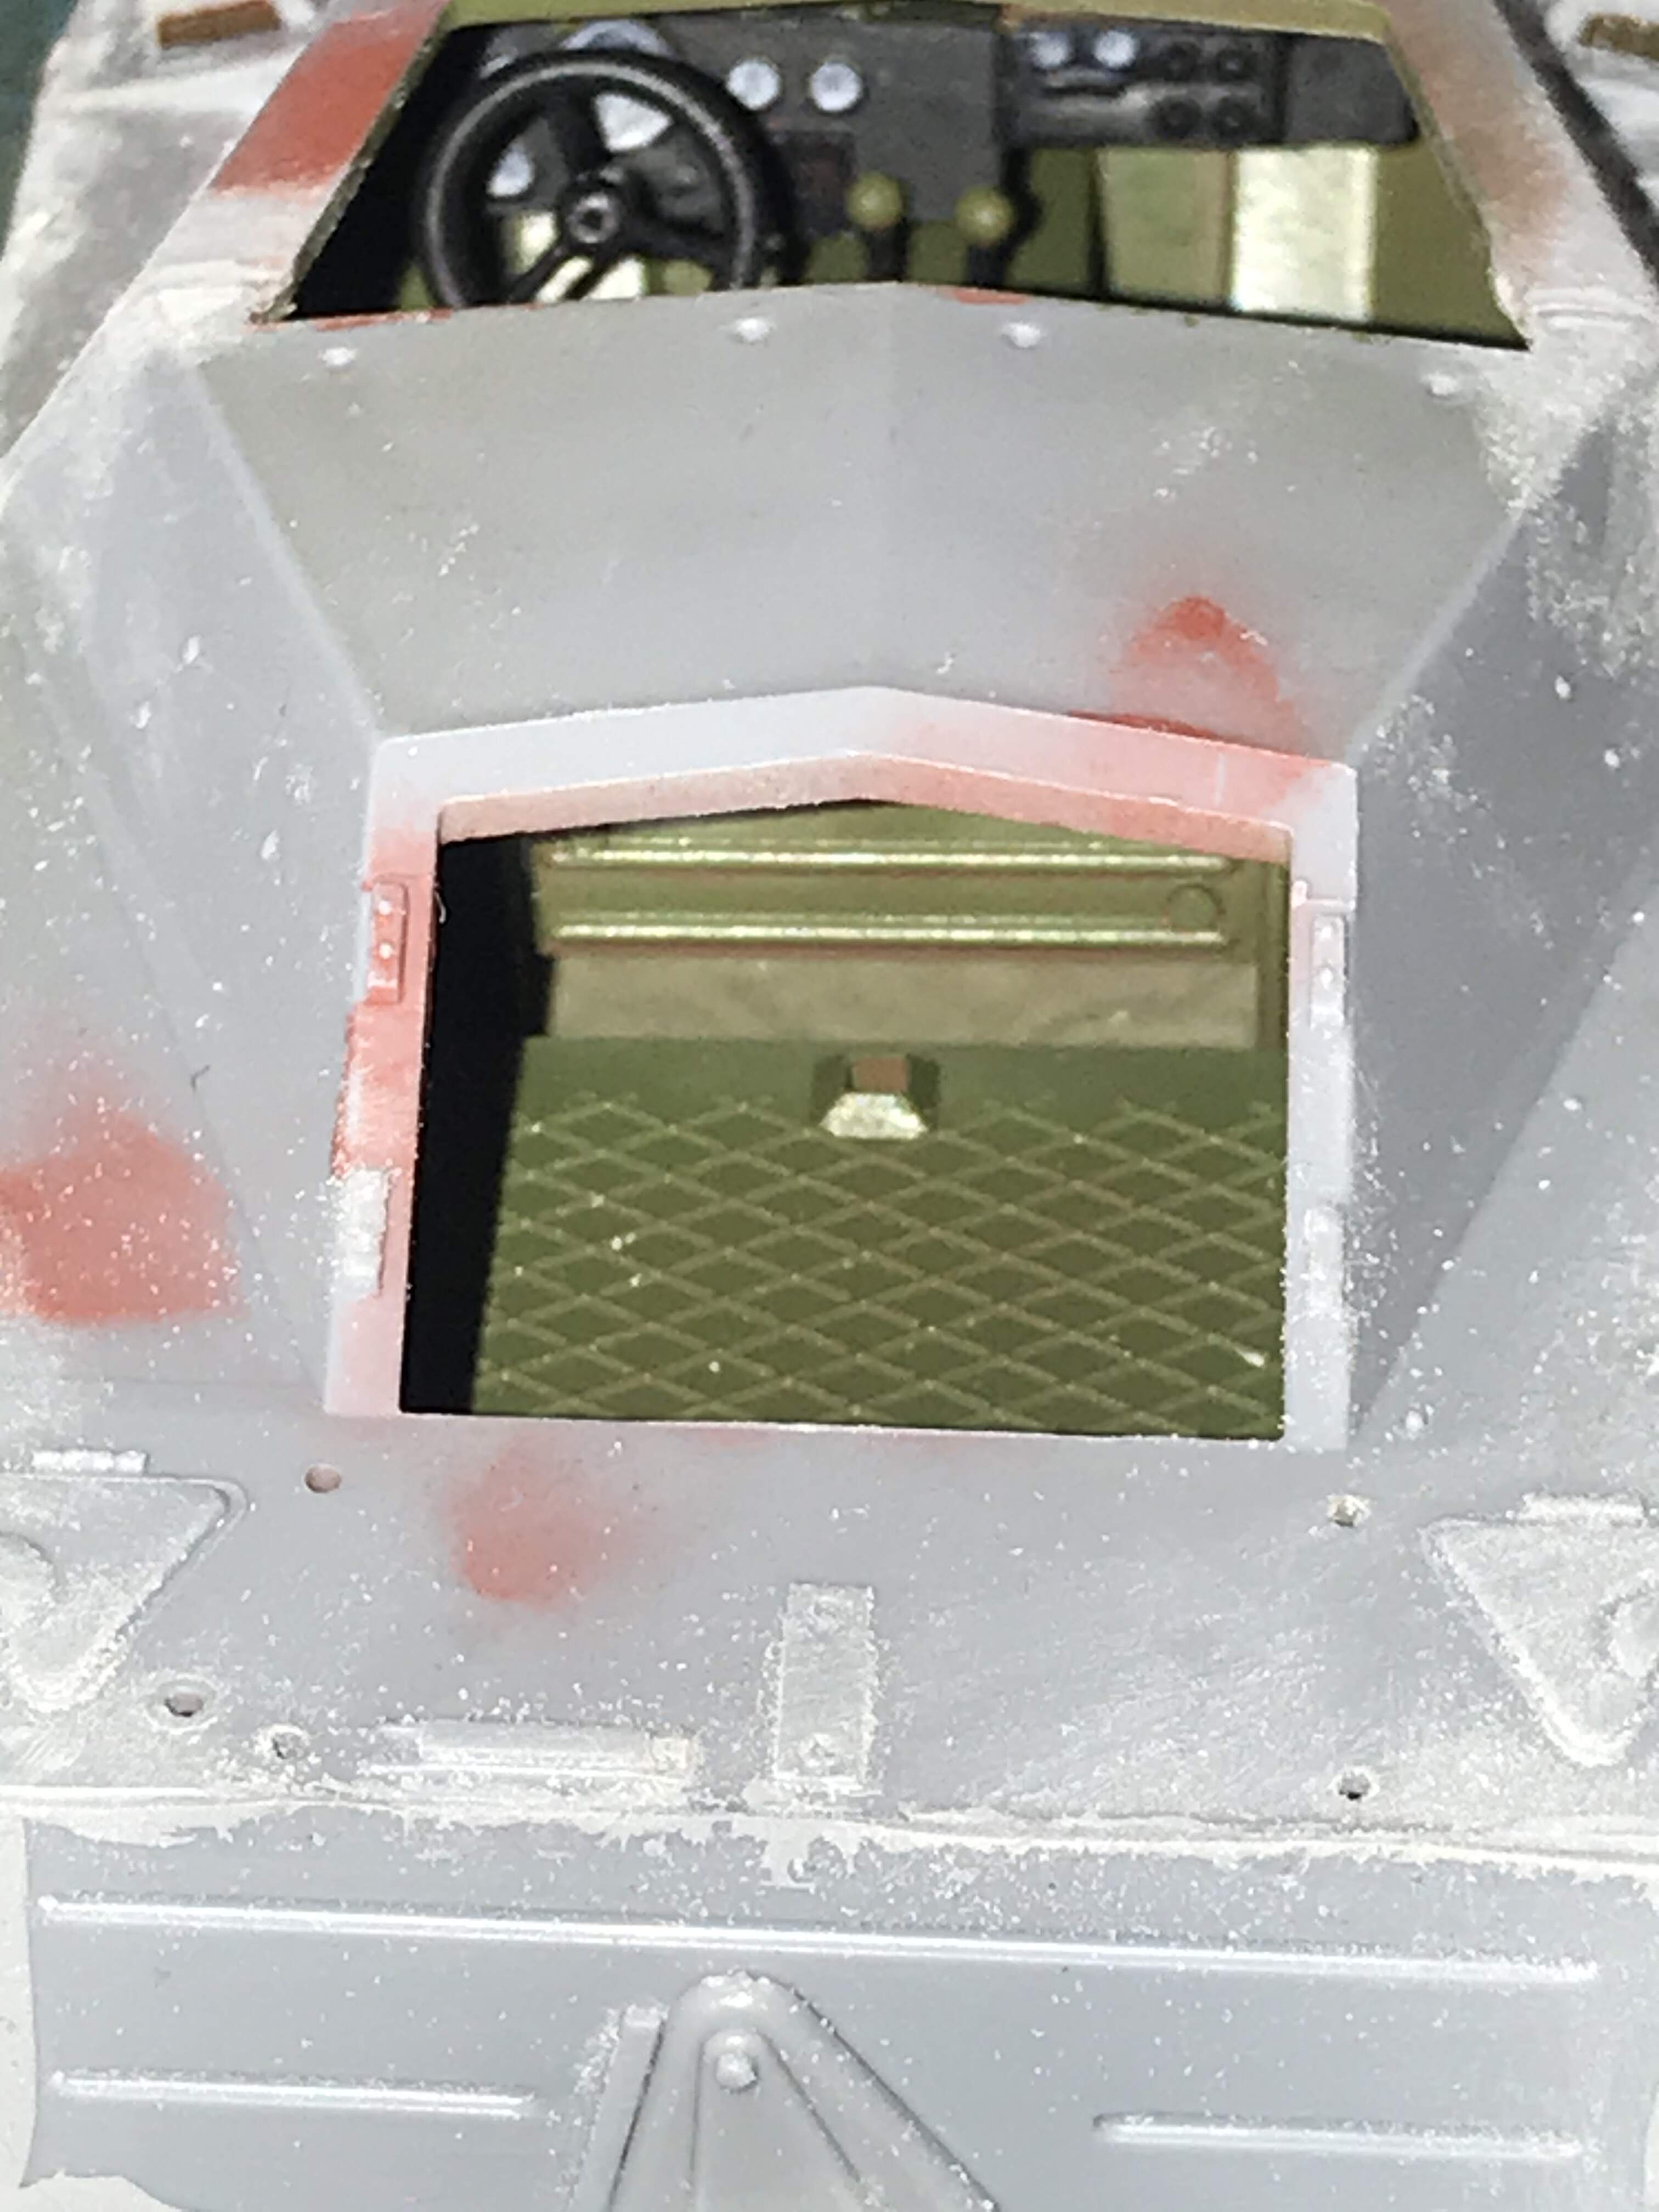
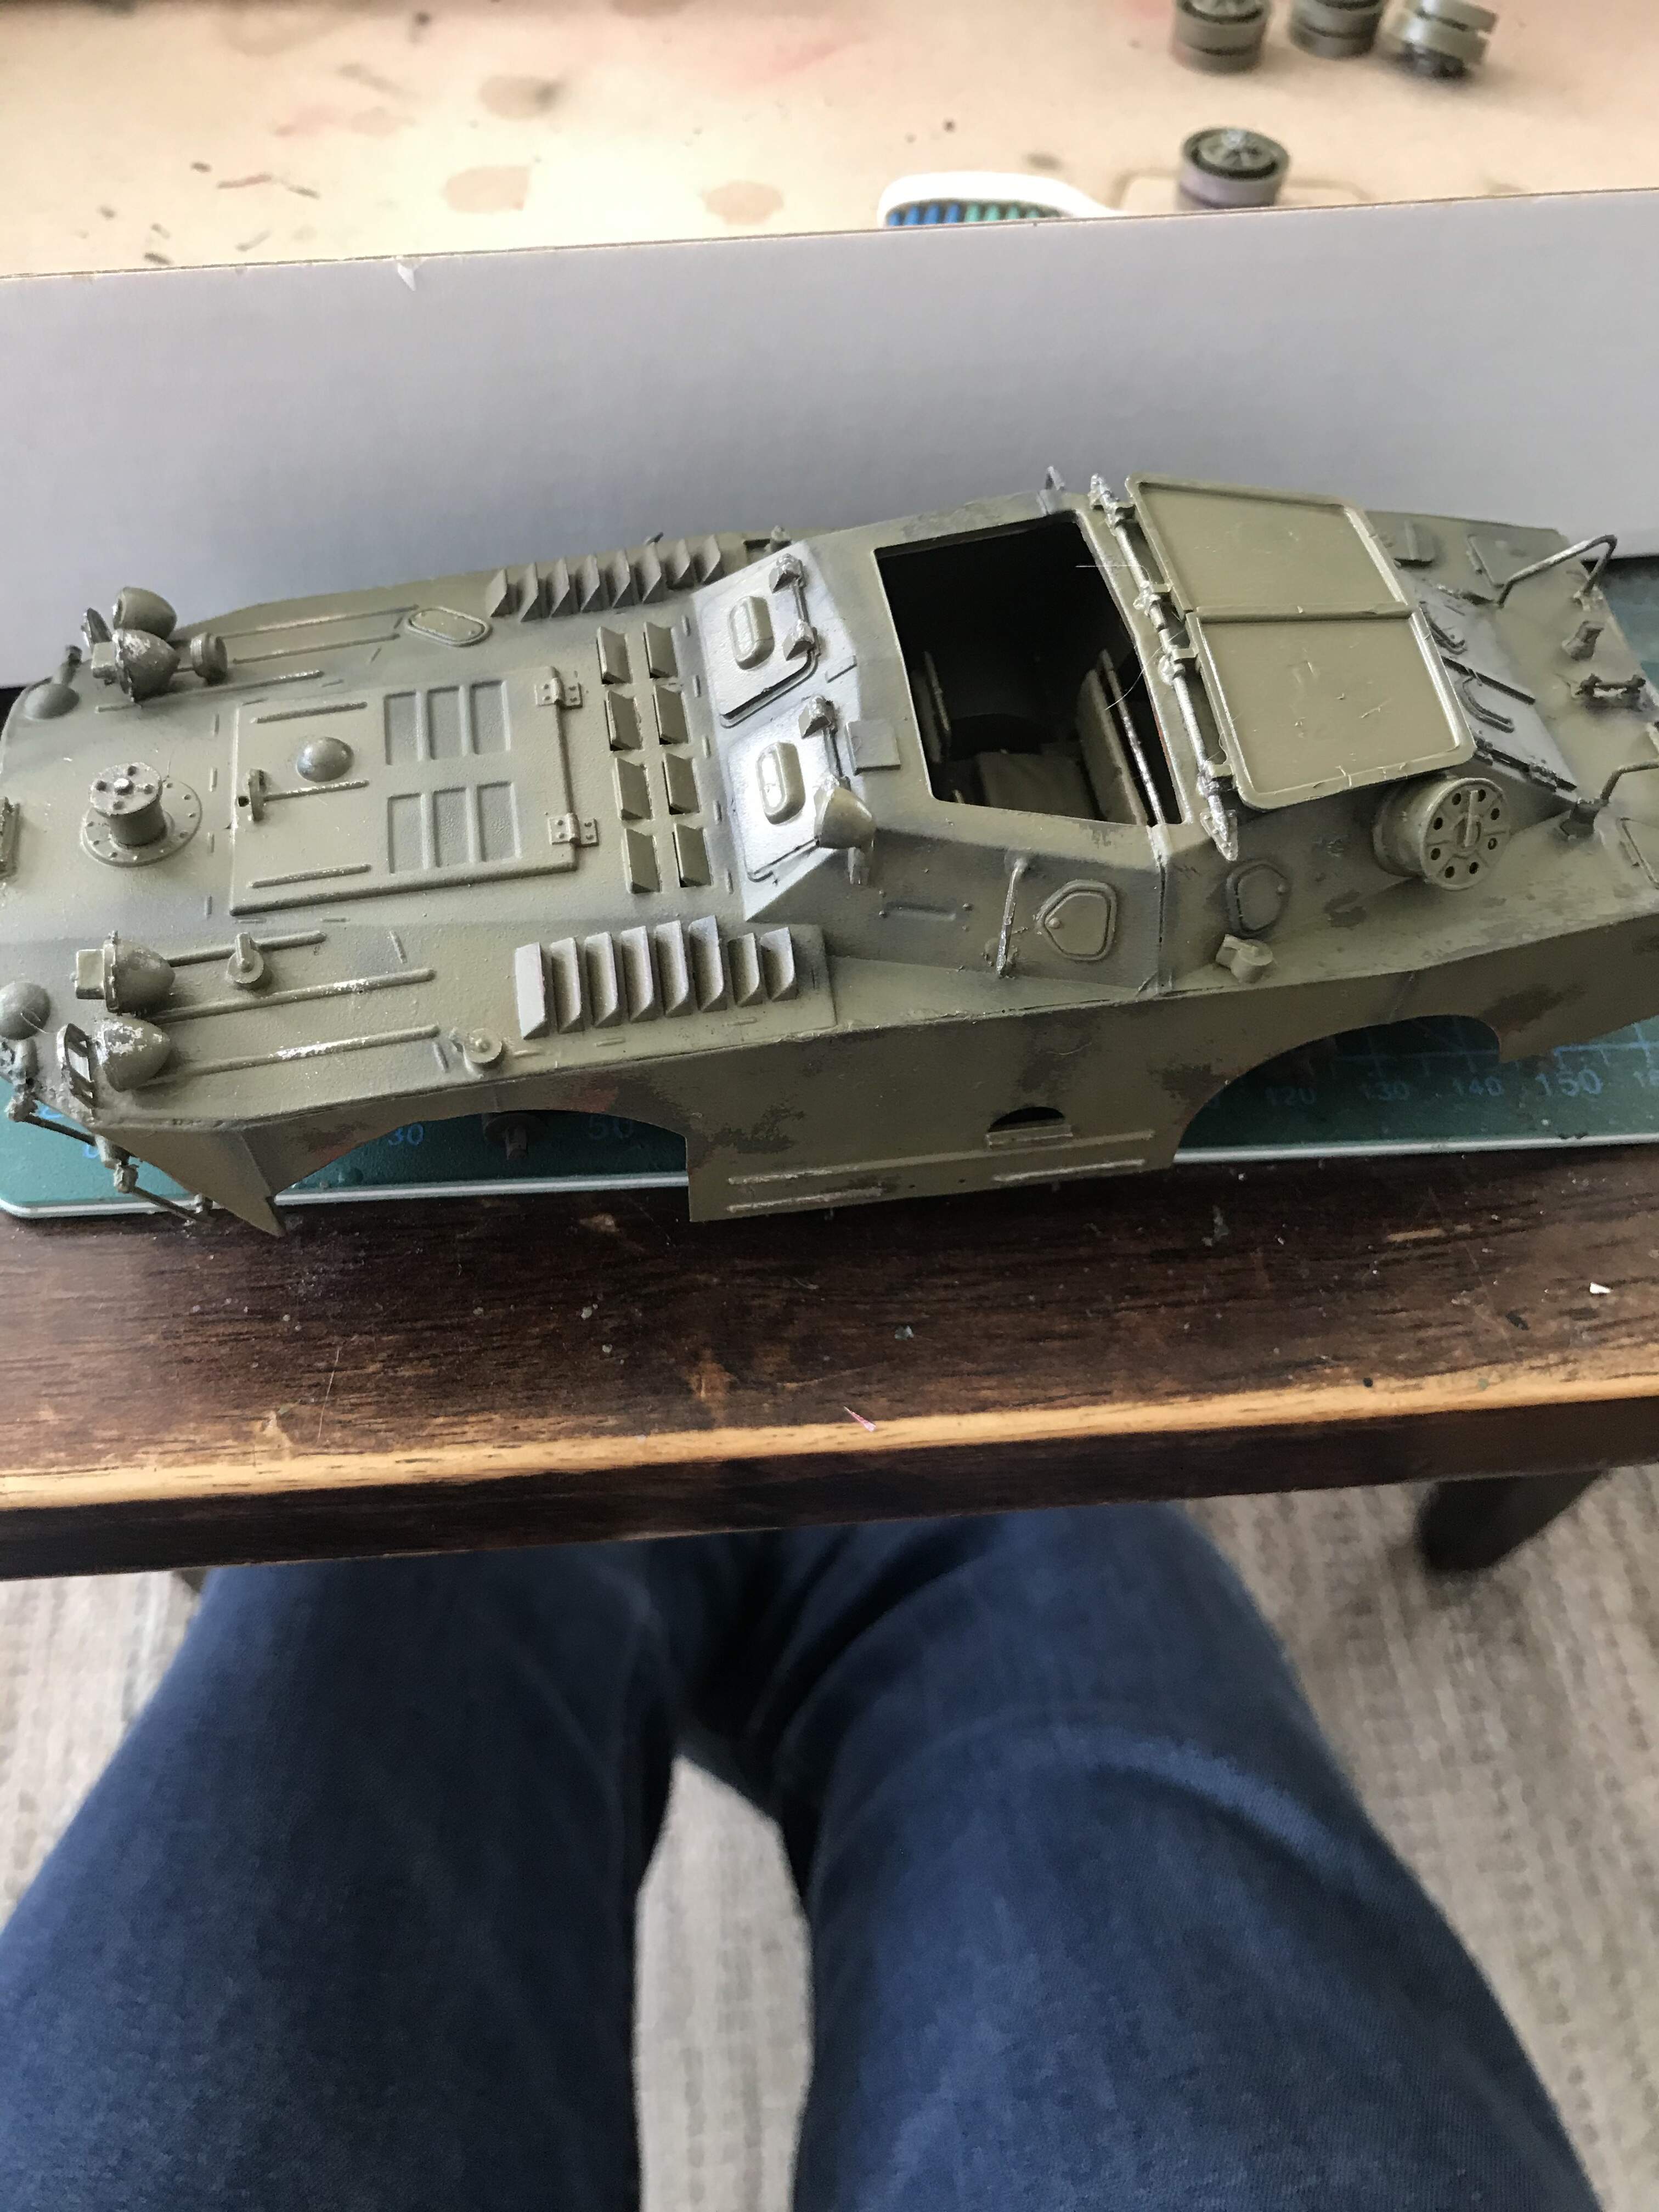
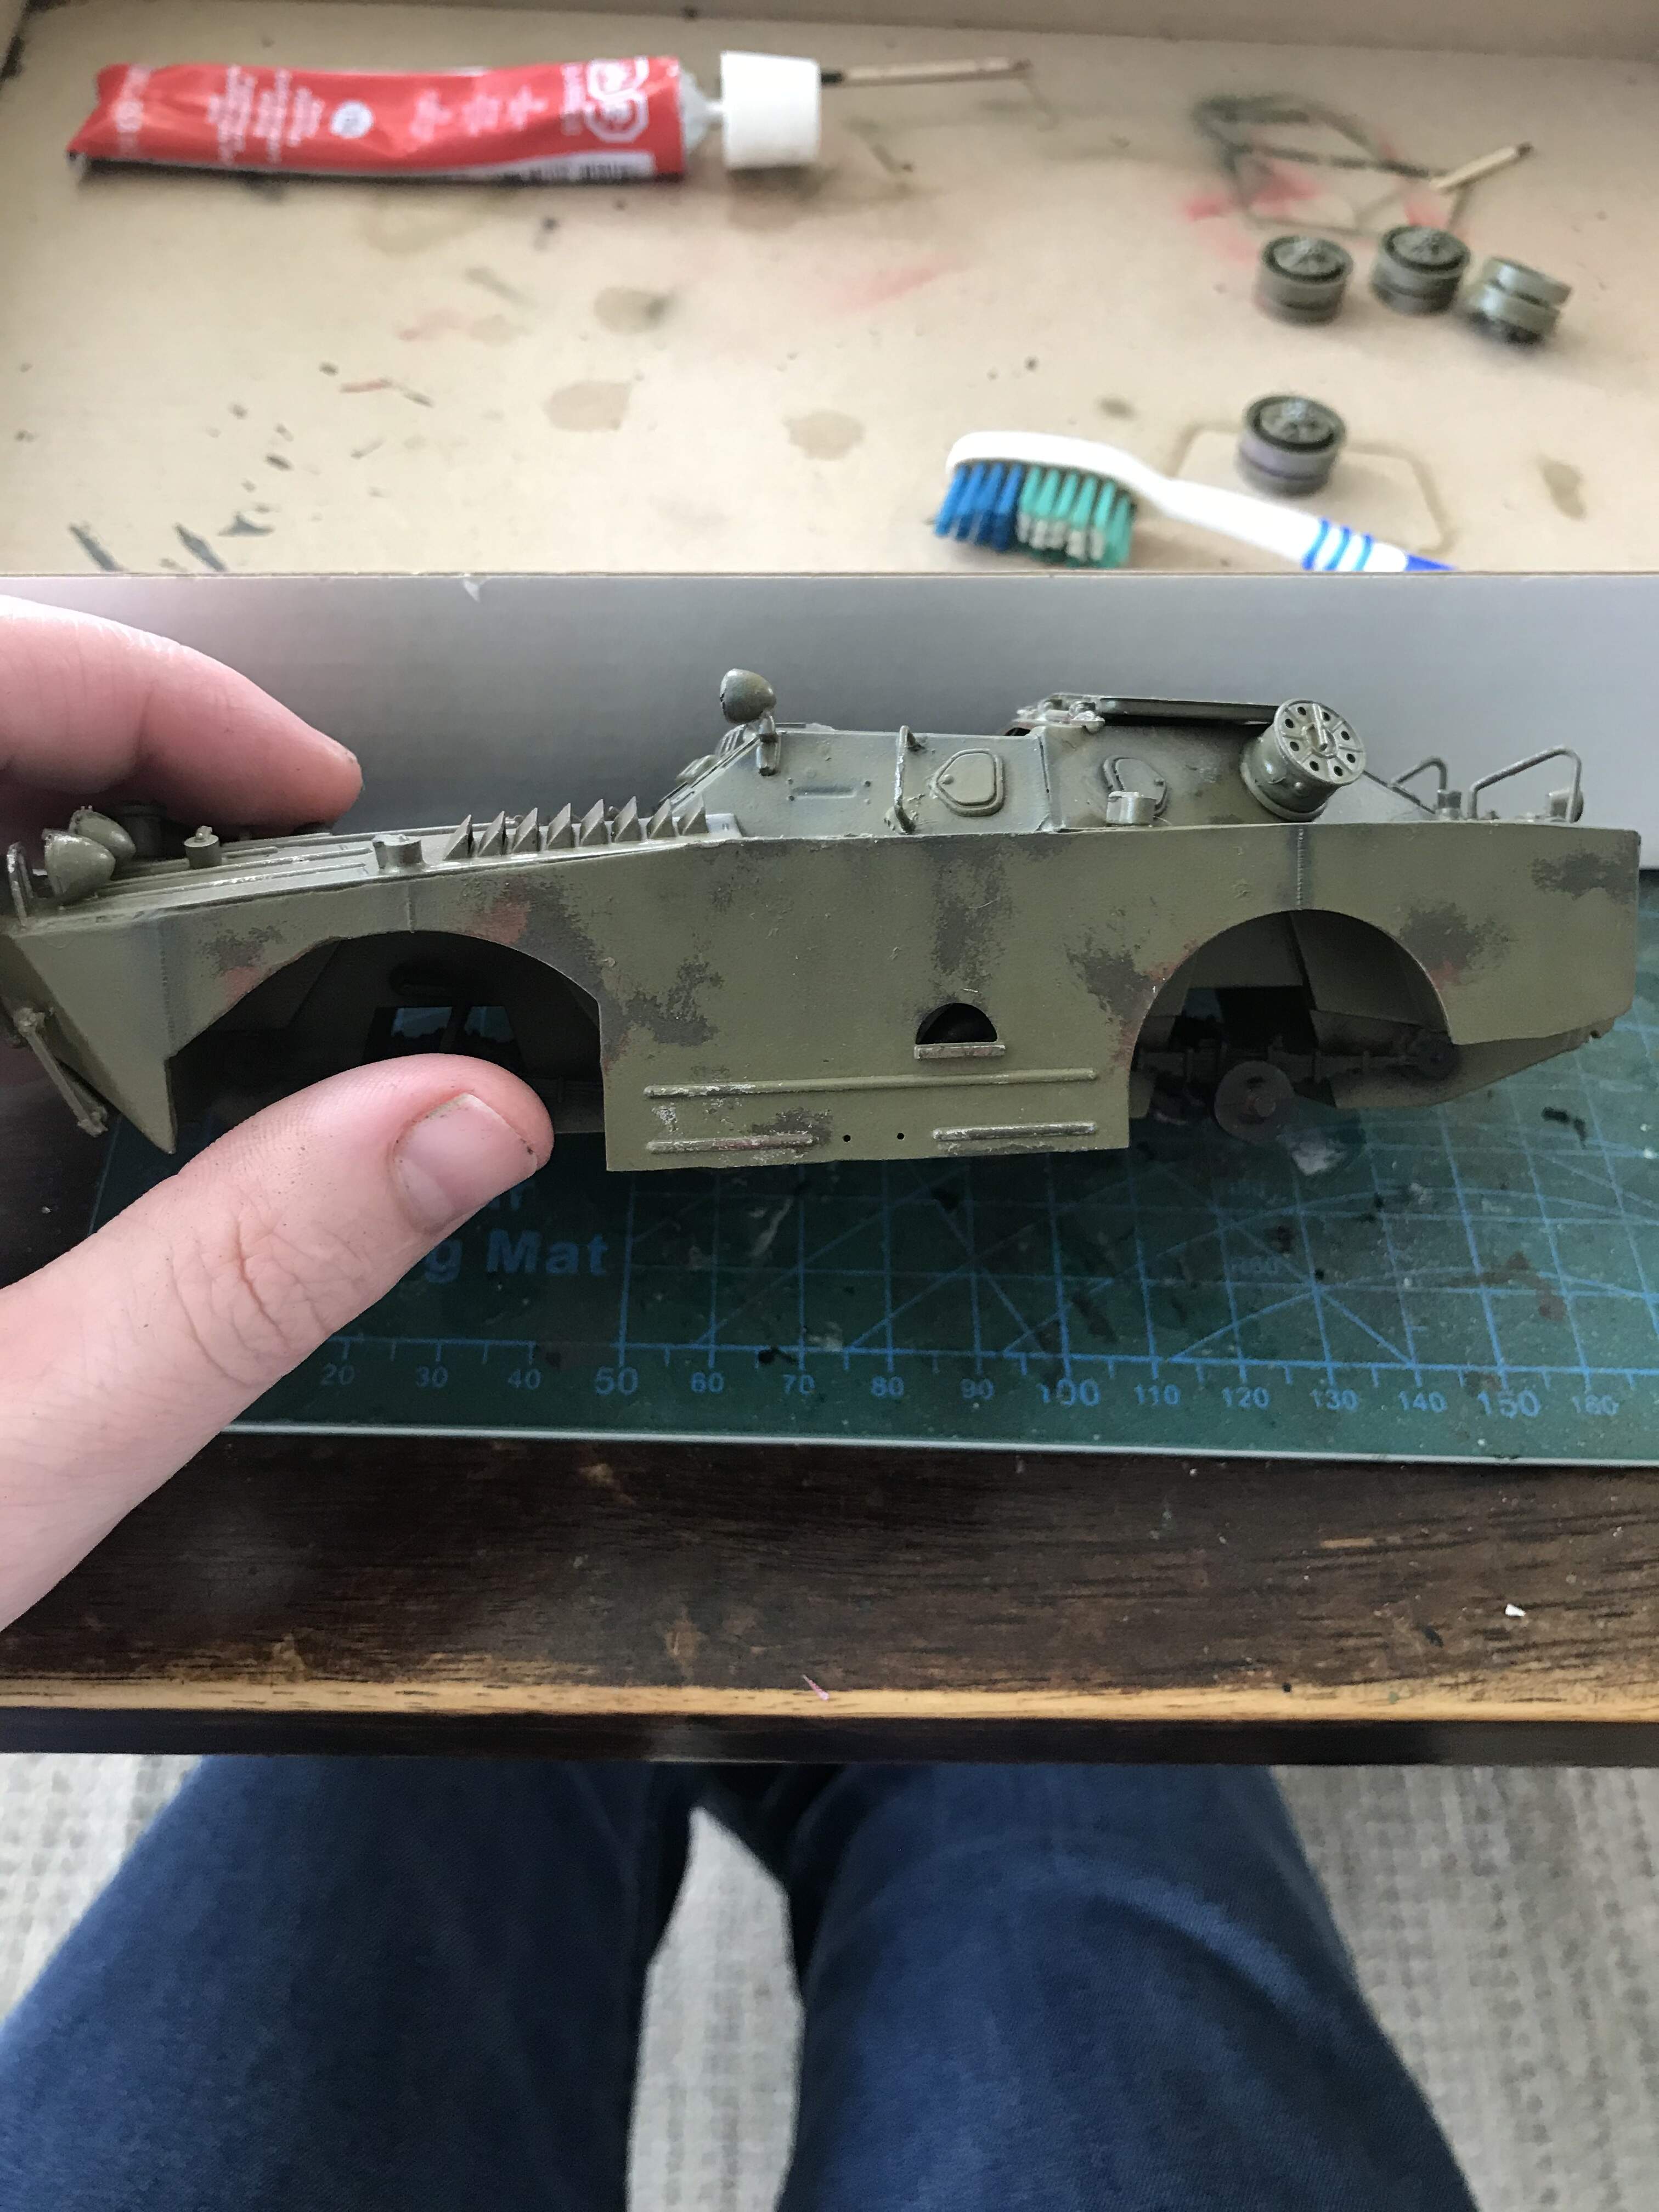
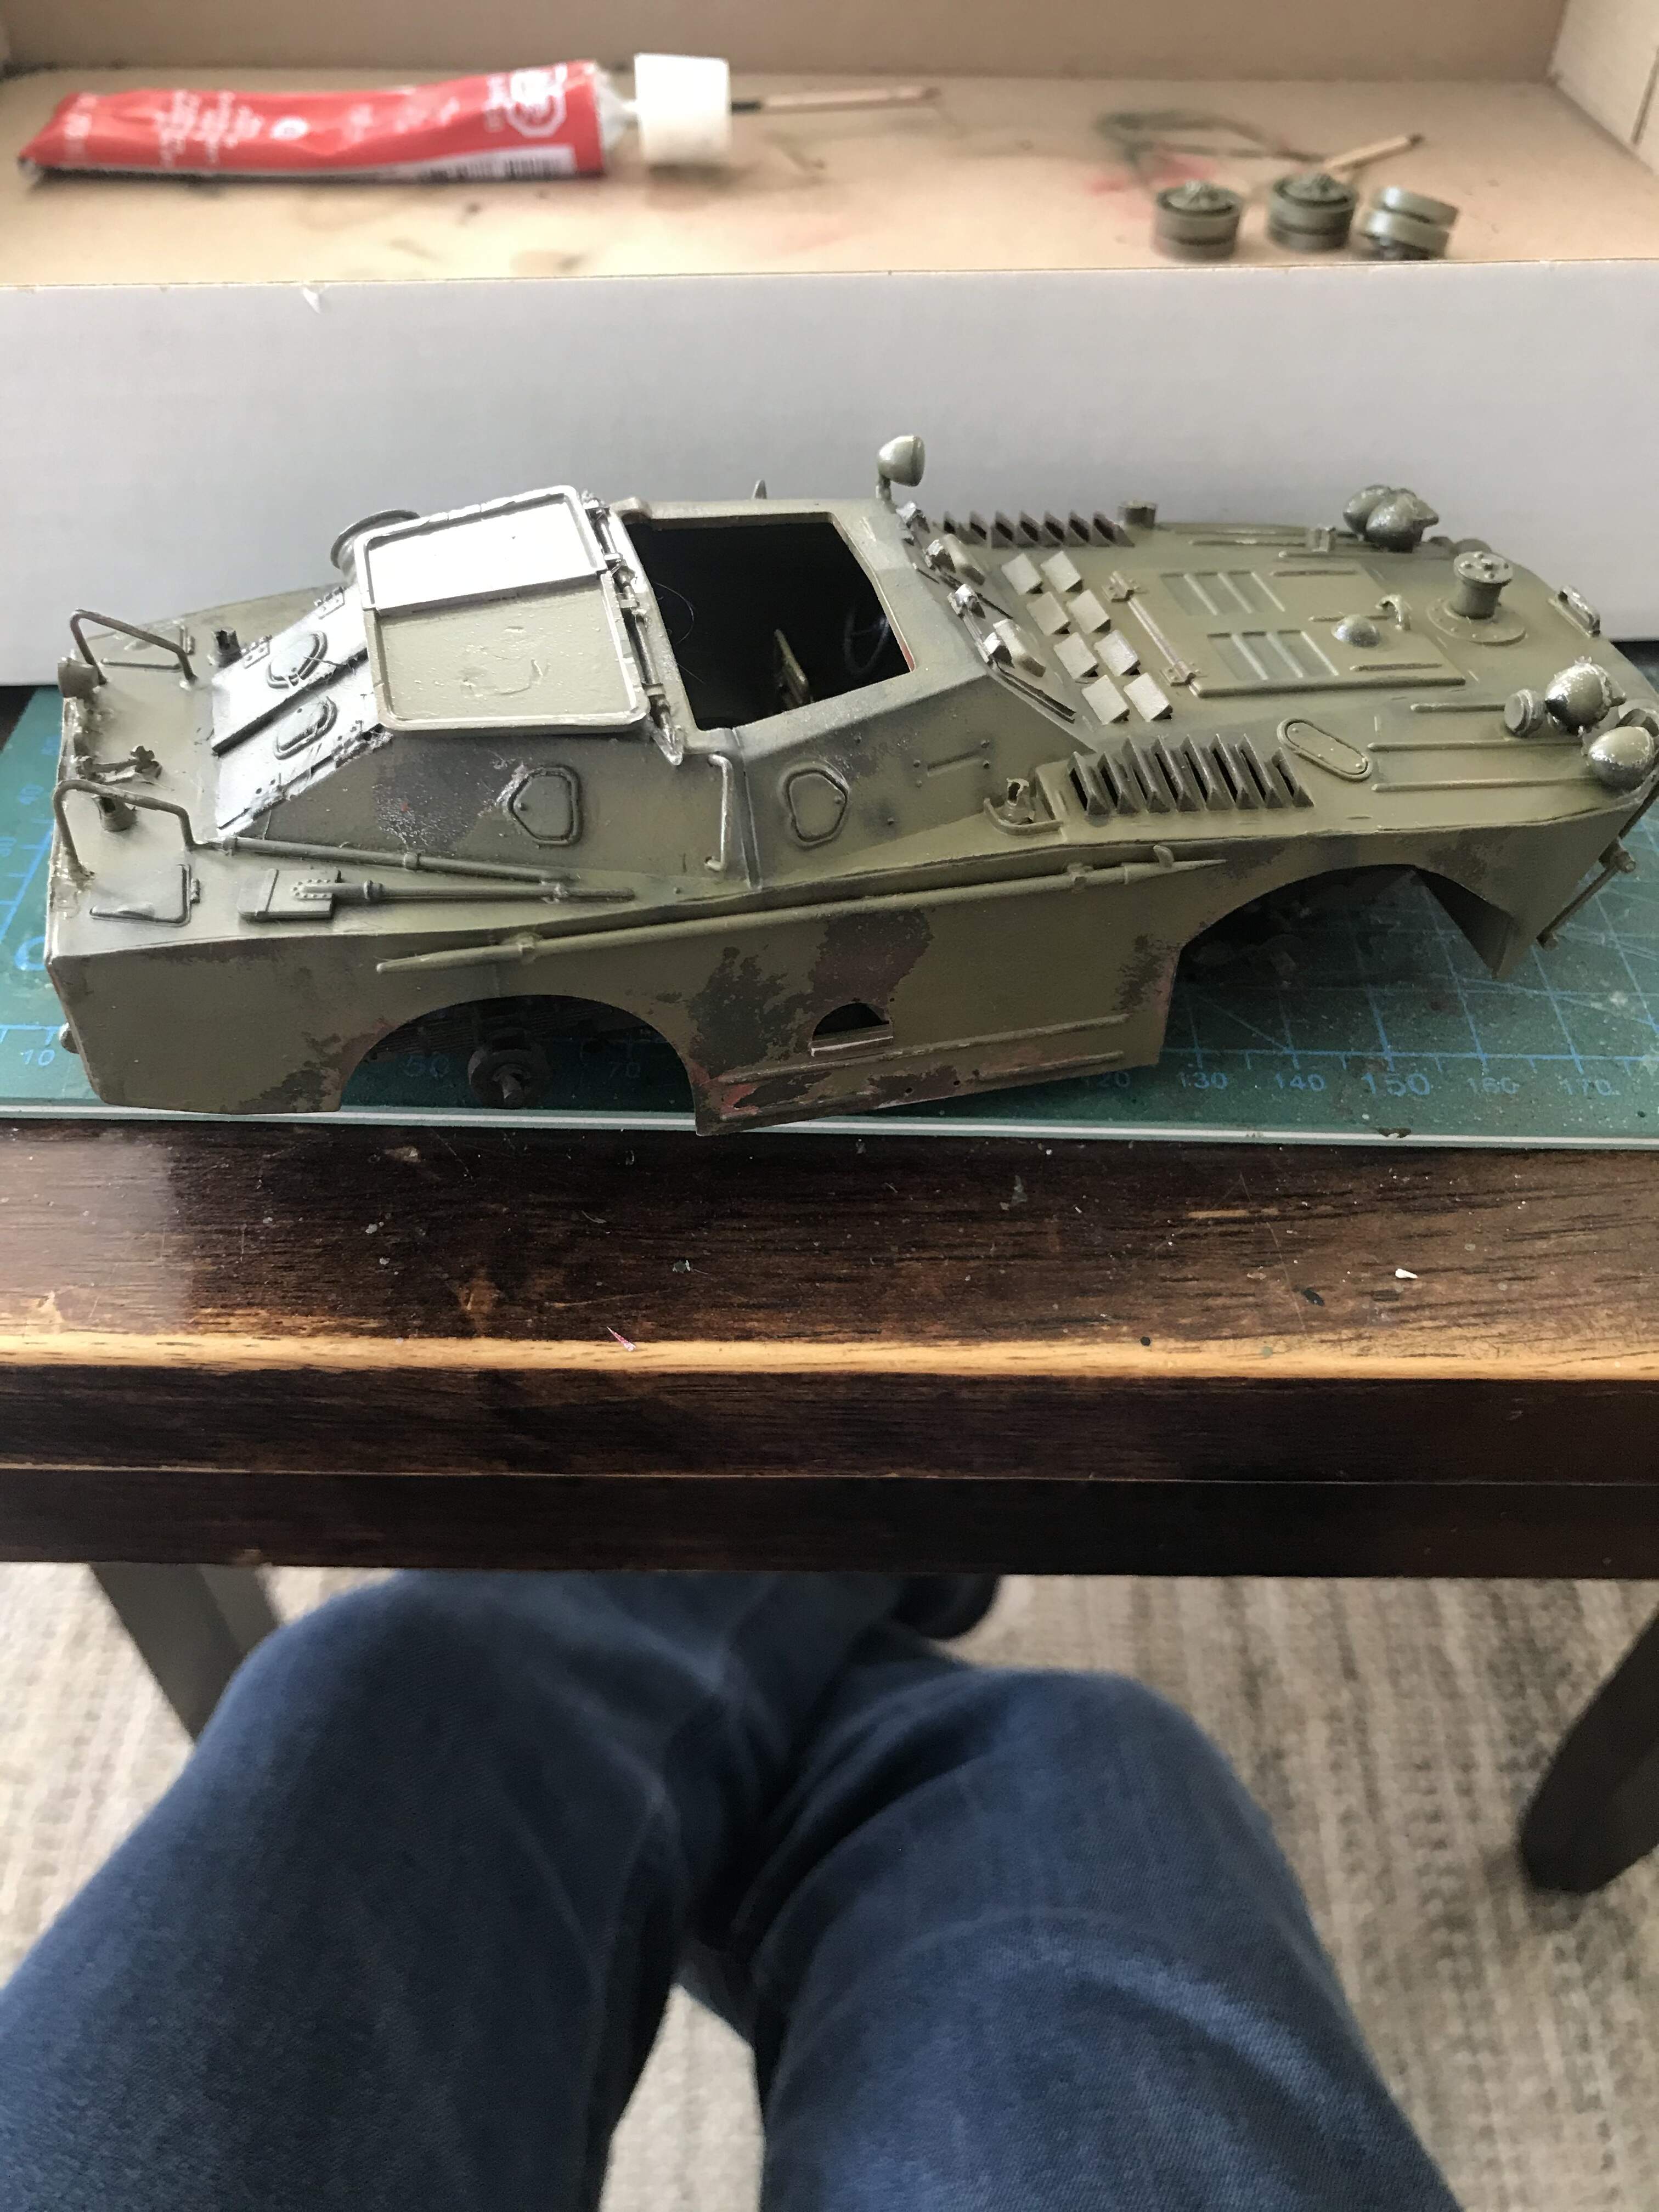
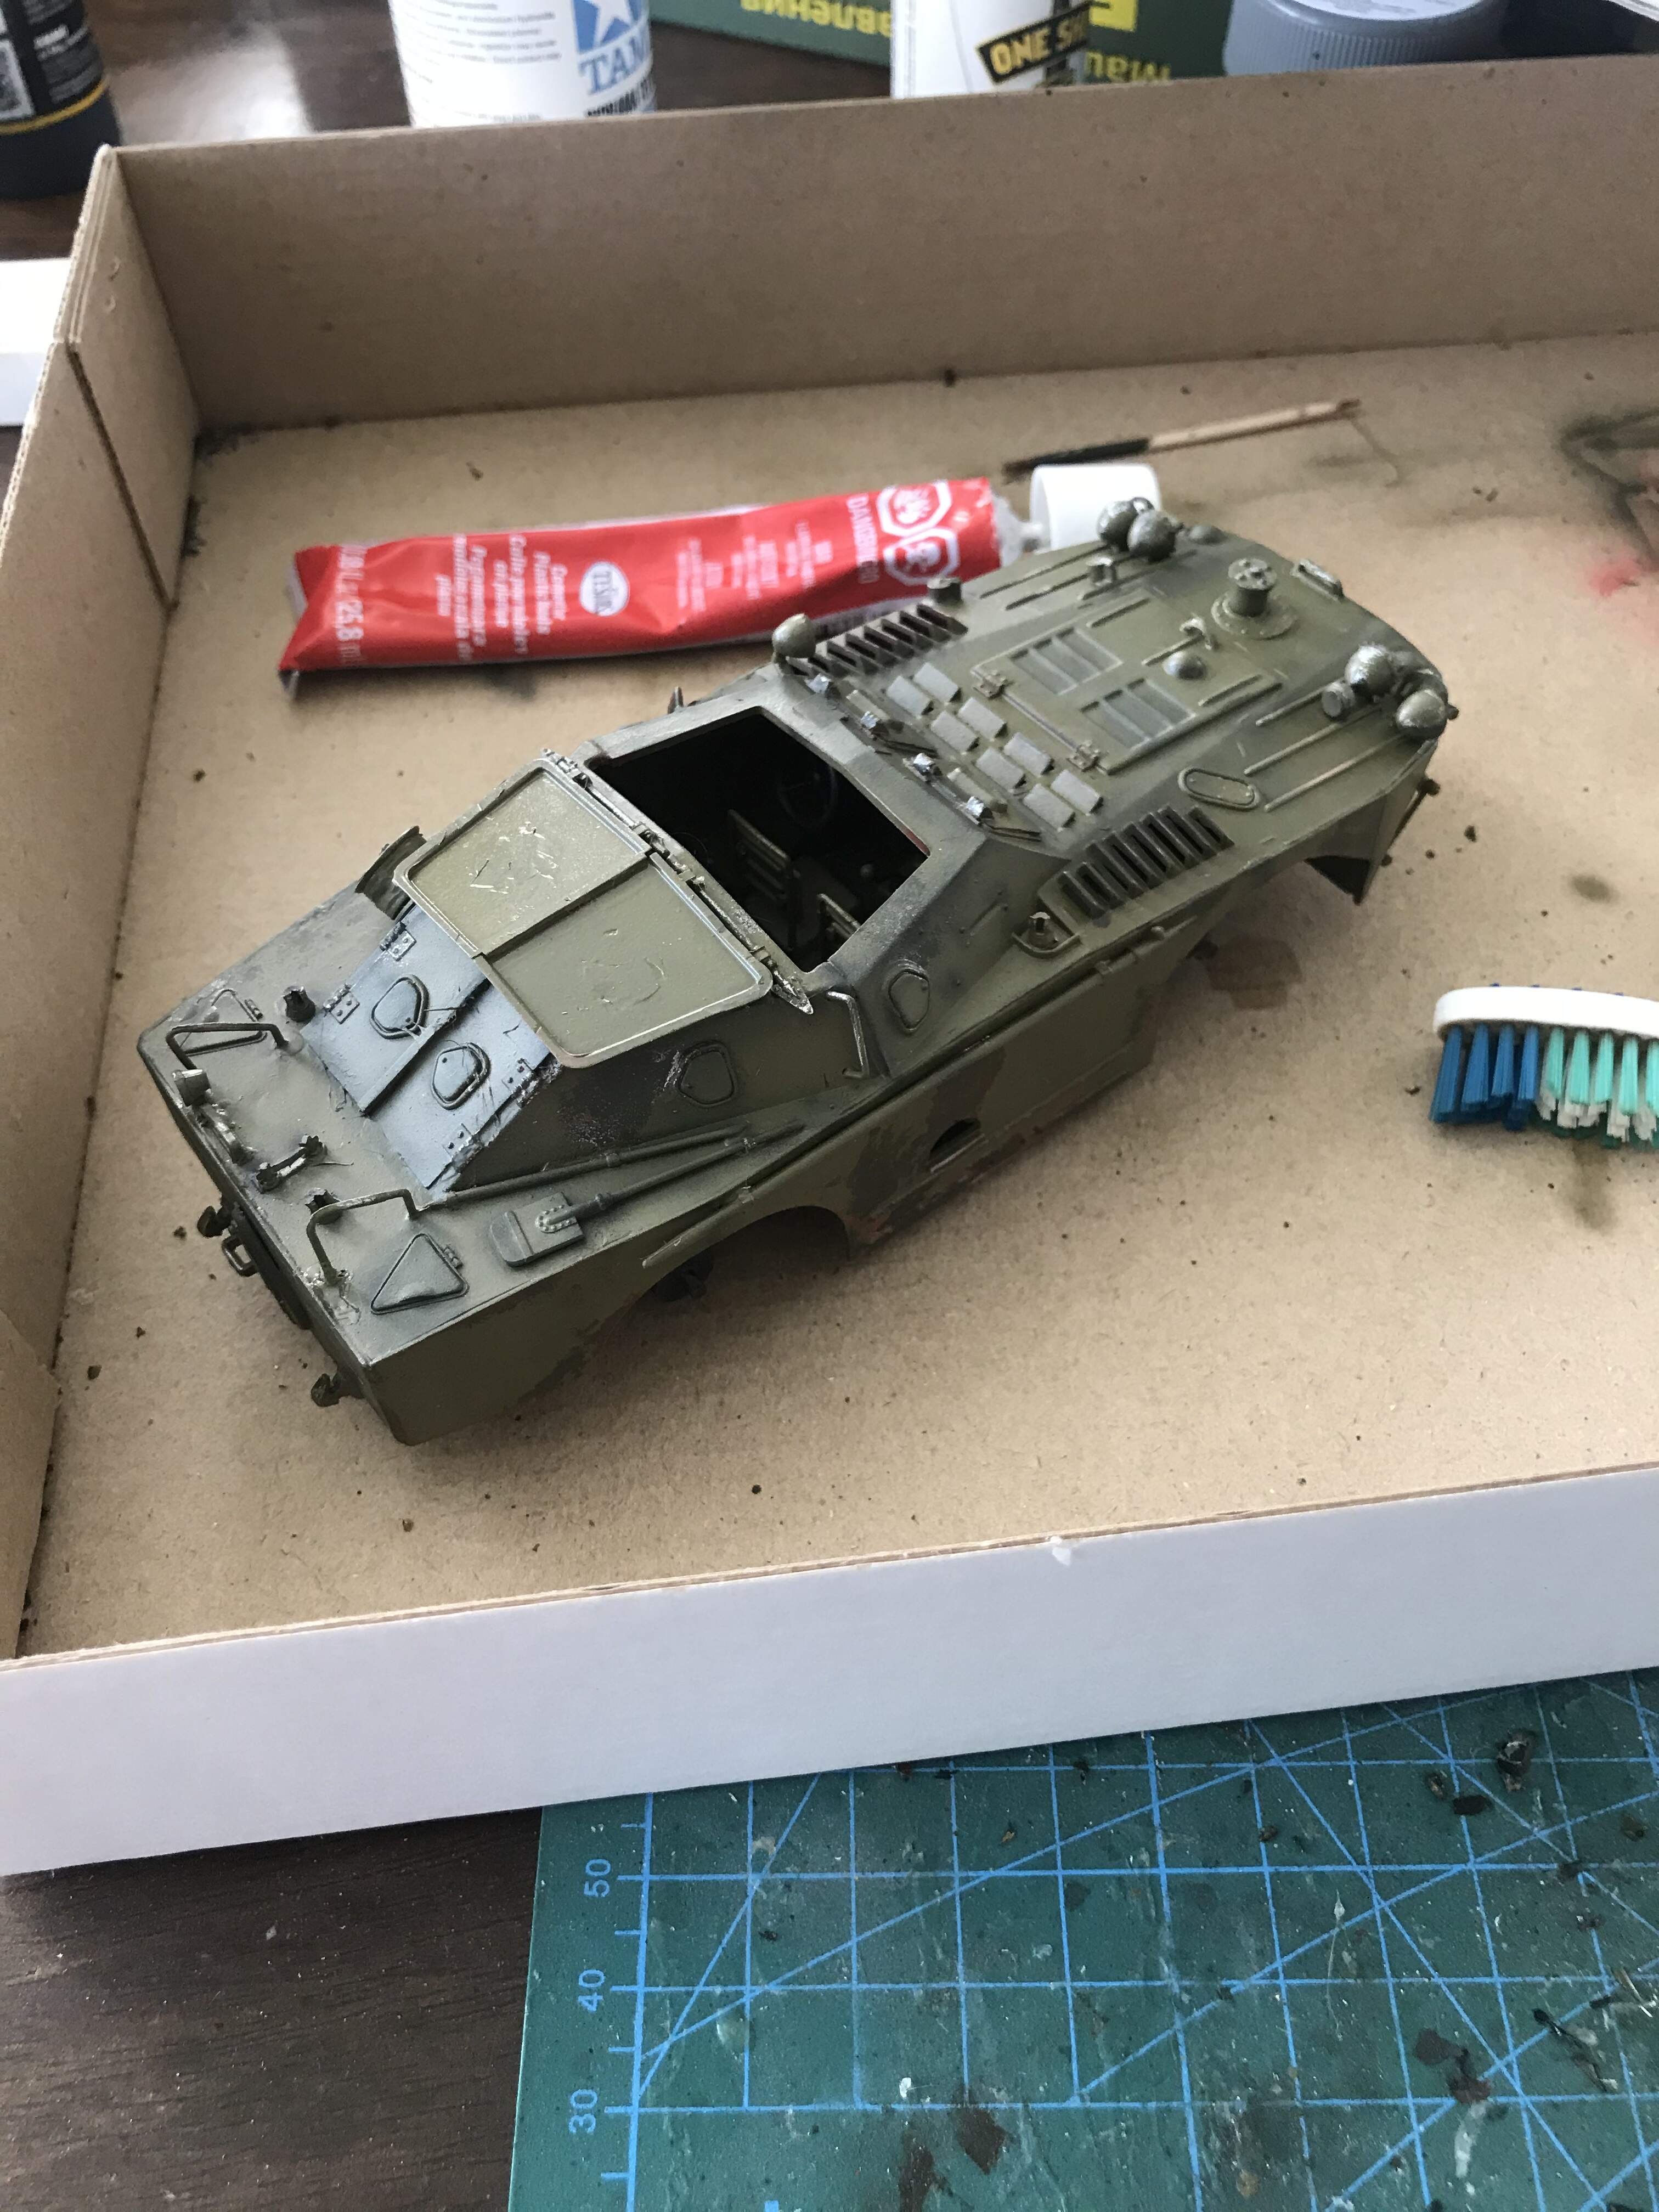
The picture set will show my filling and sanding issues, I’m hoping some paint and weathering fixes it on the final product. I had an awkward fit on a few pieces.
I take your point about the filling - come to think of it the hull front might have needed a bit of attention; I’m afraid I just can’t remember.
I think your model is coming on just fine; as a Command variant there’ll be a few extra antennae stations somewhere on it - I’m not sure where but I’m sure that’s all in hand. The figures you plan to use will bring it all alive. Thanks for the comments re my figure - I personally wouldn’t put it quite in the magnificent category(!) but I suppose I manage an effect. Mind you, Hornet Heads nearly paint themselves.
Anyway, all moving in the right direction; continue to enjoy it all!
@BootsDMS ive never used hornets heads before. Maybe i will in another build. When it comes to antennas i need three, I’m going to attempt to roll them as the instructions suggest to do. Wish me luck as I’ve never done that before. My second option is to use paper clips but those may be to thick.
I’m very keen for AFV models to have antennae; to me they just don’t look right without, though I understand that some modellers have storage-size constraints.
I use brass wire which at least provides a continuity of length and straightness; however, the downside is that subject to any misuse they’ll either bend or ping off. Carbon fibre would probably be the answer. I don’t think paper-clip wire would work even if you could get it straight.
@BootsDMS i may try brass wiring as well. I’m not totally sure yet I’m still in that stage of planning. But thank you for the suggestions, i honestly don’t want to spend $15 for an antenna from Russia off of eBay at the moment.
Coming along nicely Greg. Always like those BRDMs. As for the figure painting, just keep practicing. Trial and error will help you improve it’s just a matter of finding the type of paint and technique you are comfortable with.
@metalhead85 honestly i feel like my figure painting skills have improved drastically I’ve the past four months. I was never wetting my paints so the concept of blending wasn’t occurring in my painting. My figures became very heavy and unnatural looking. Best thing i ever did was learn how to make a reusable wet pallet. Thank you for the encouragement!
The brdm is an oddity to me, whenever we see it in CTC it’s almost used as if it’s an apc but it’s a recon vehicle/ comms platform depending on the enemy unit. I jokingly call it the poor mans apc.
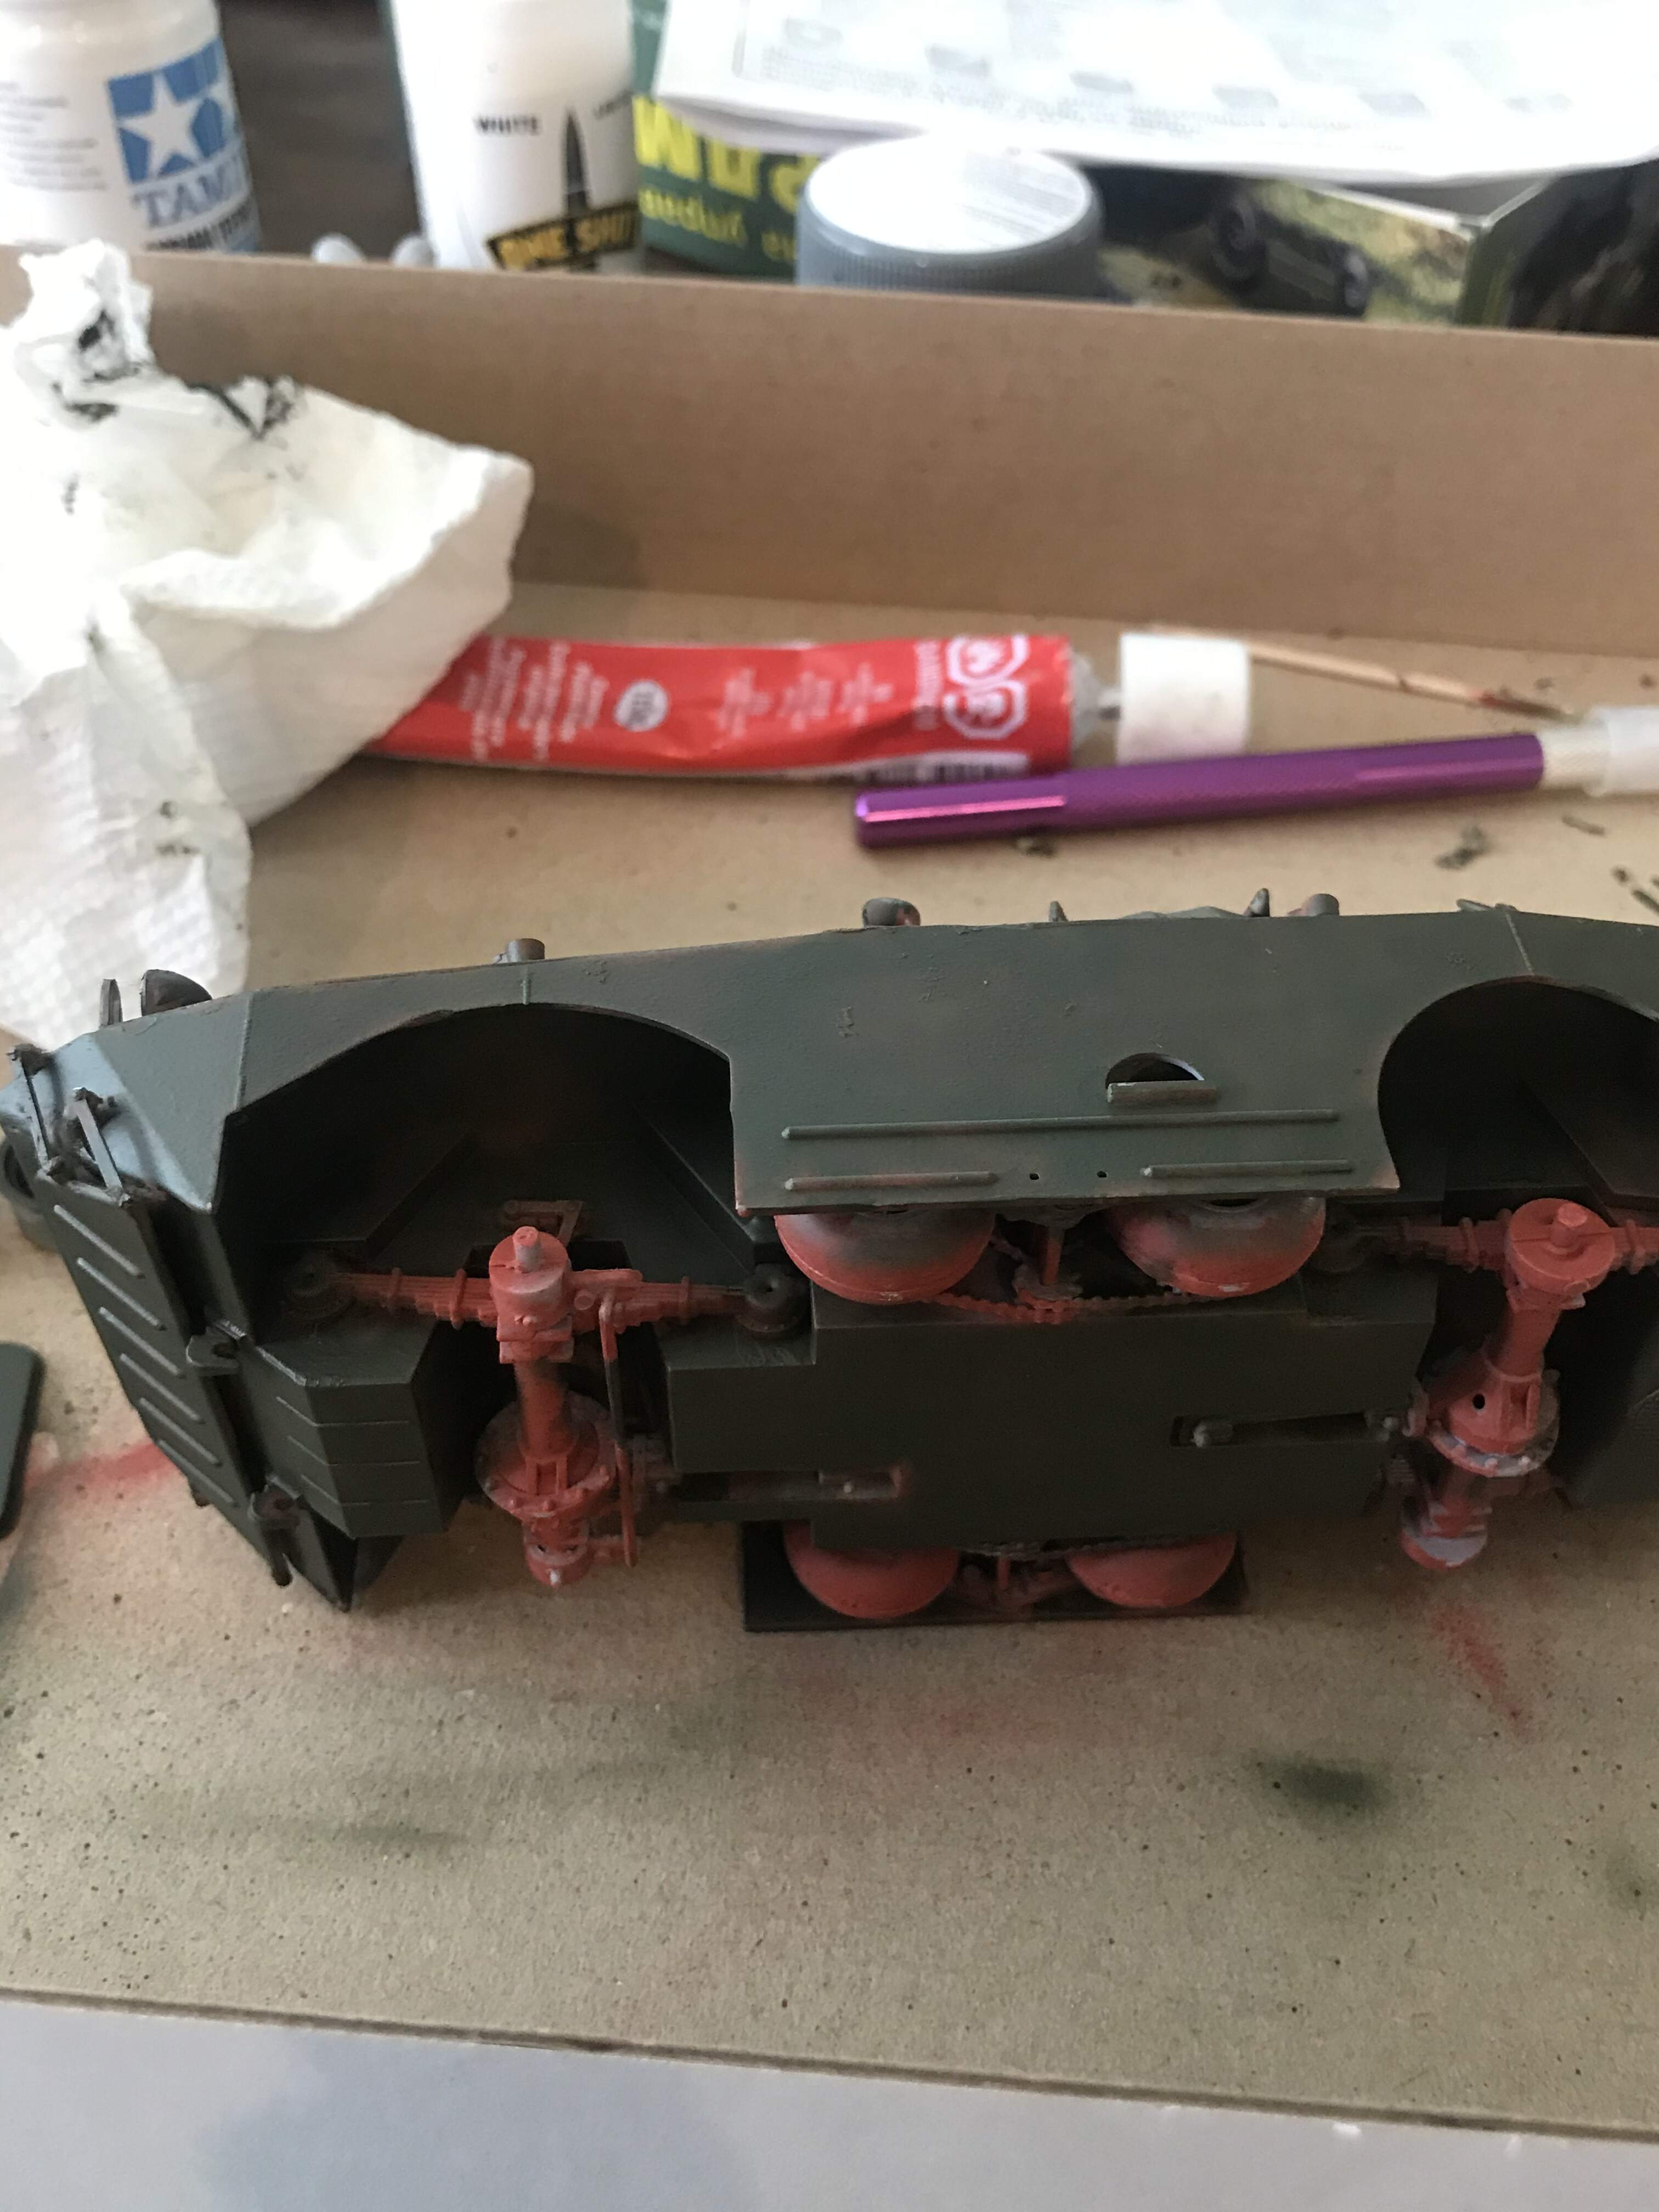
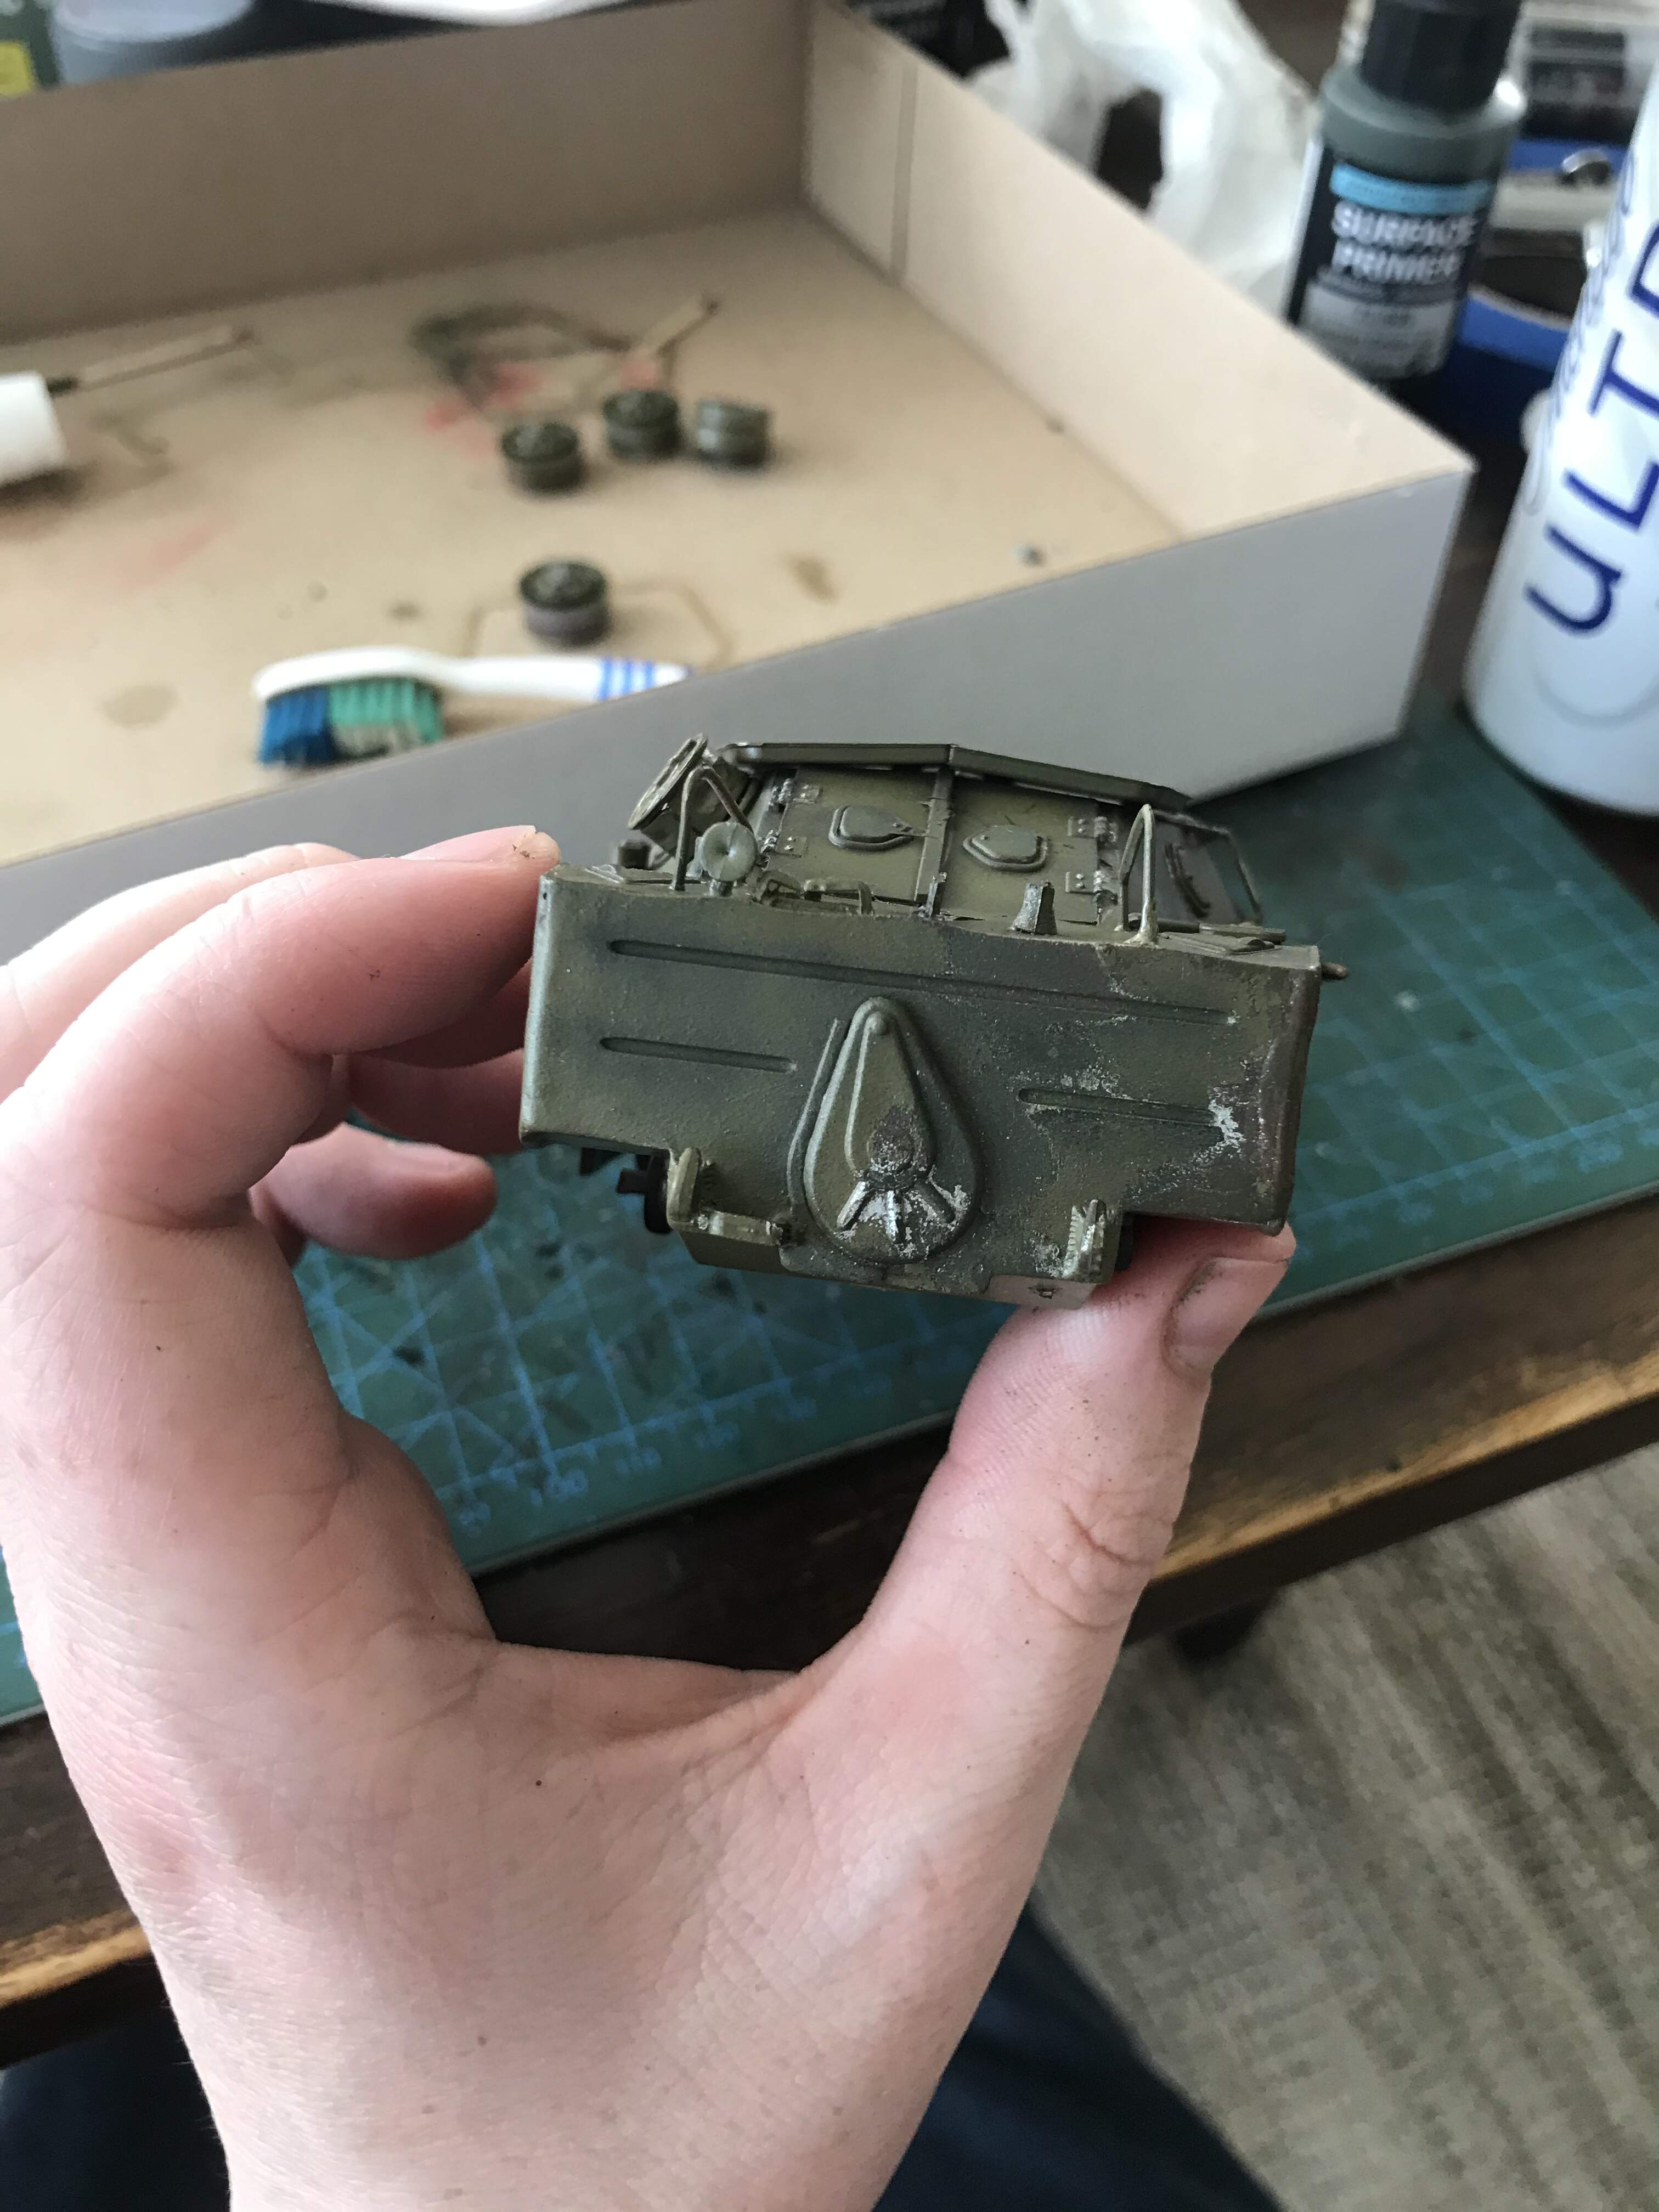
I did a red oxide primer as a base coat , it didn’t not come out perfect but that’s okay. I then covered it with a Vallejo Russian green, my plan is to spray this down with hair spray and possibly do some coats of red oxide on parts i want to chip. After that I’m going to to give it a lighter green coat of paint and begin chipping. I’m hoping for a variation in greens coming through.
1 Like
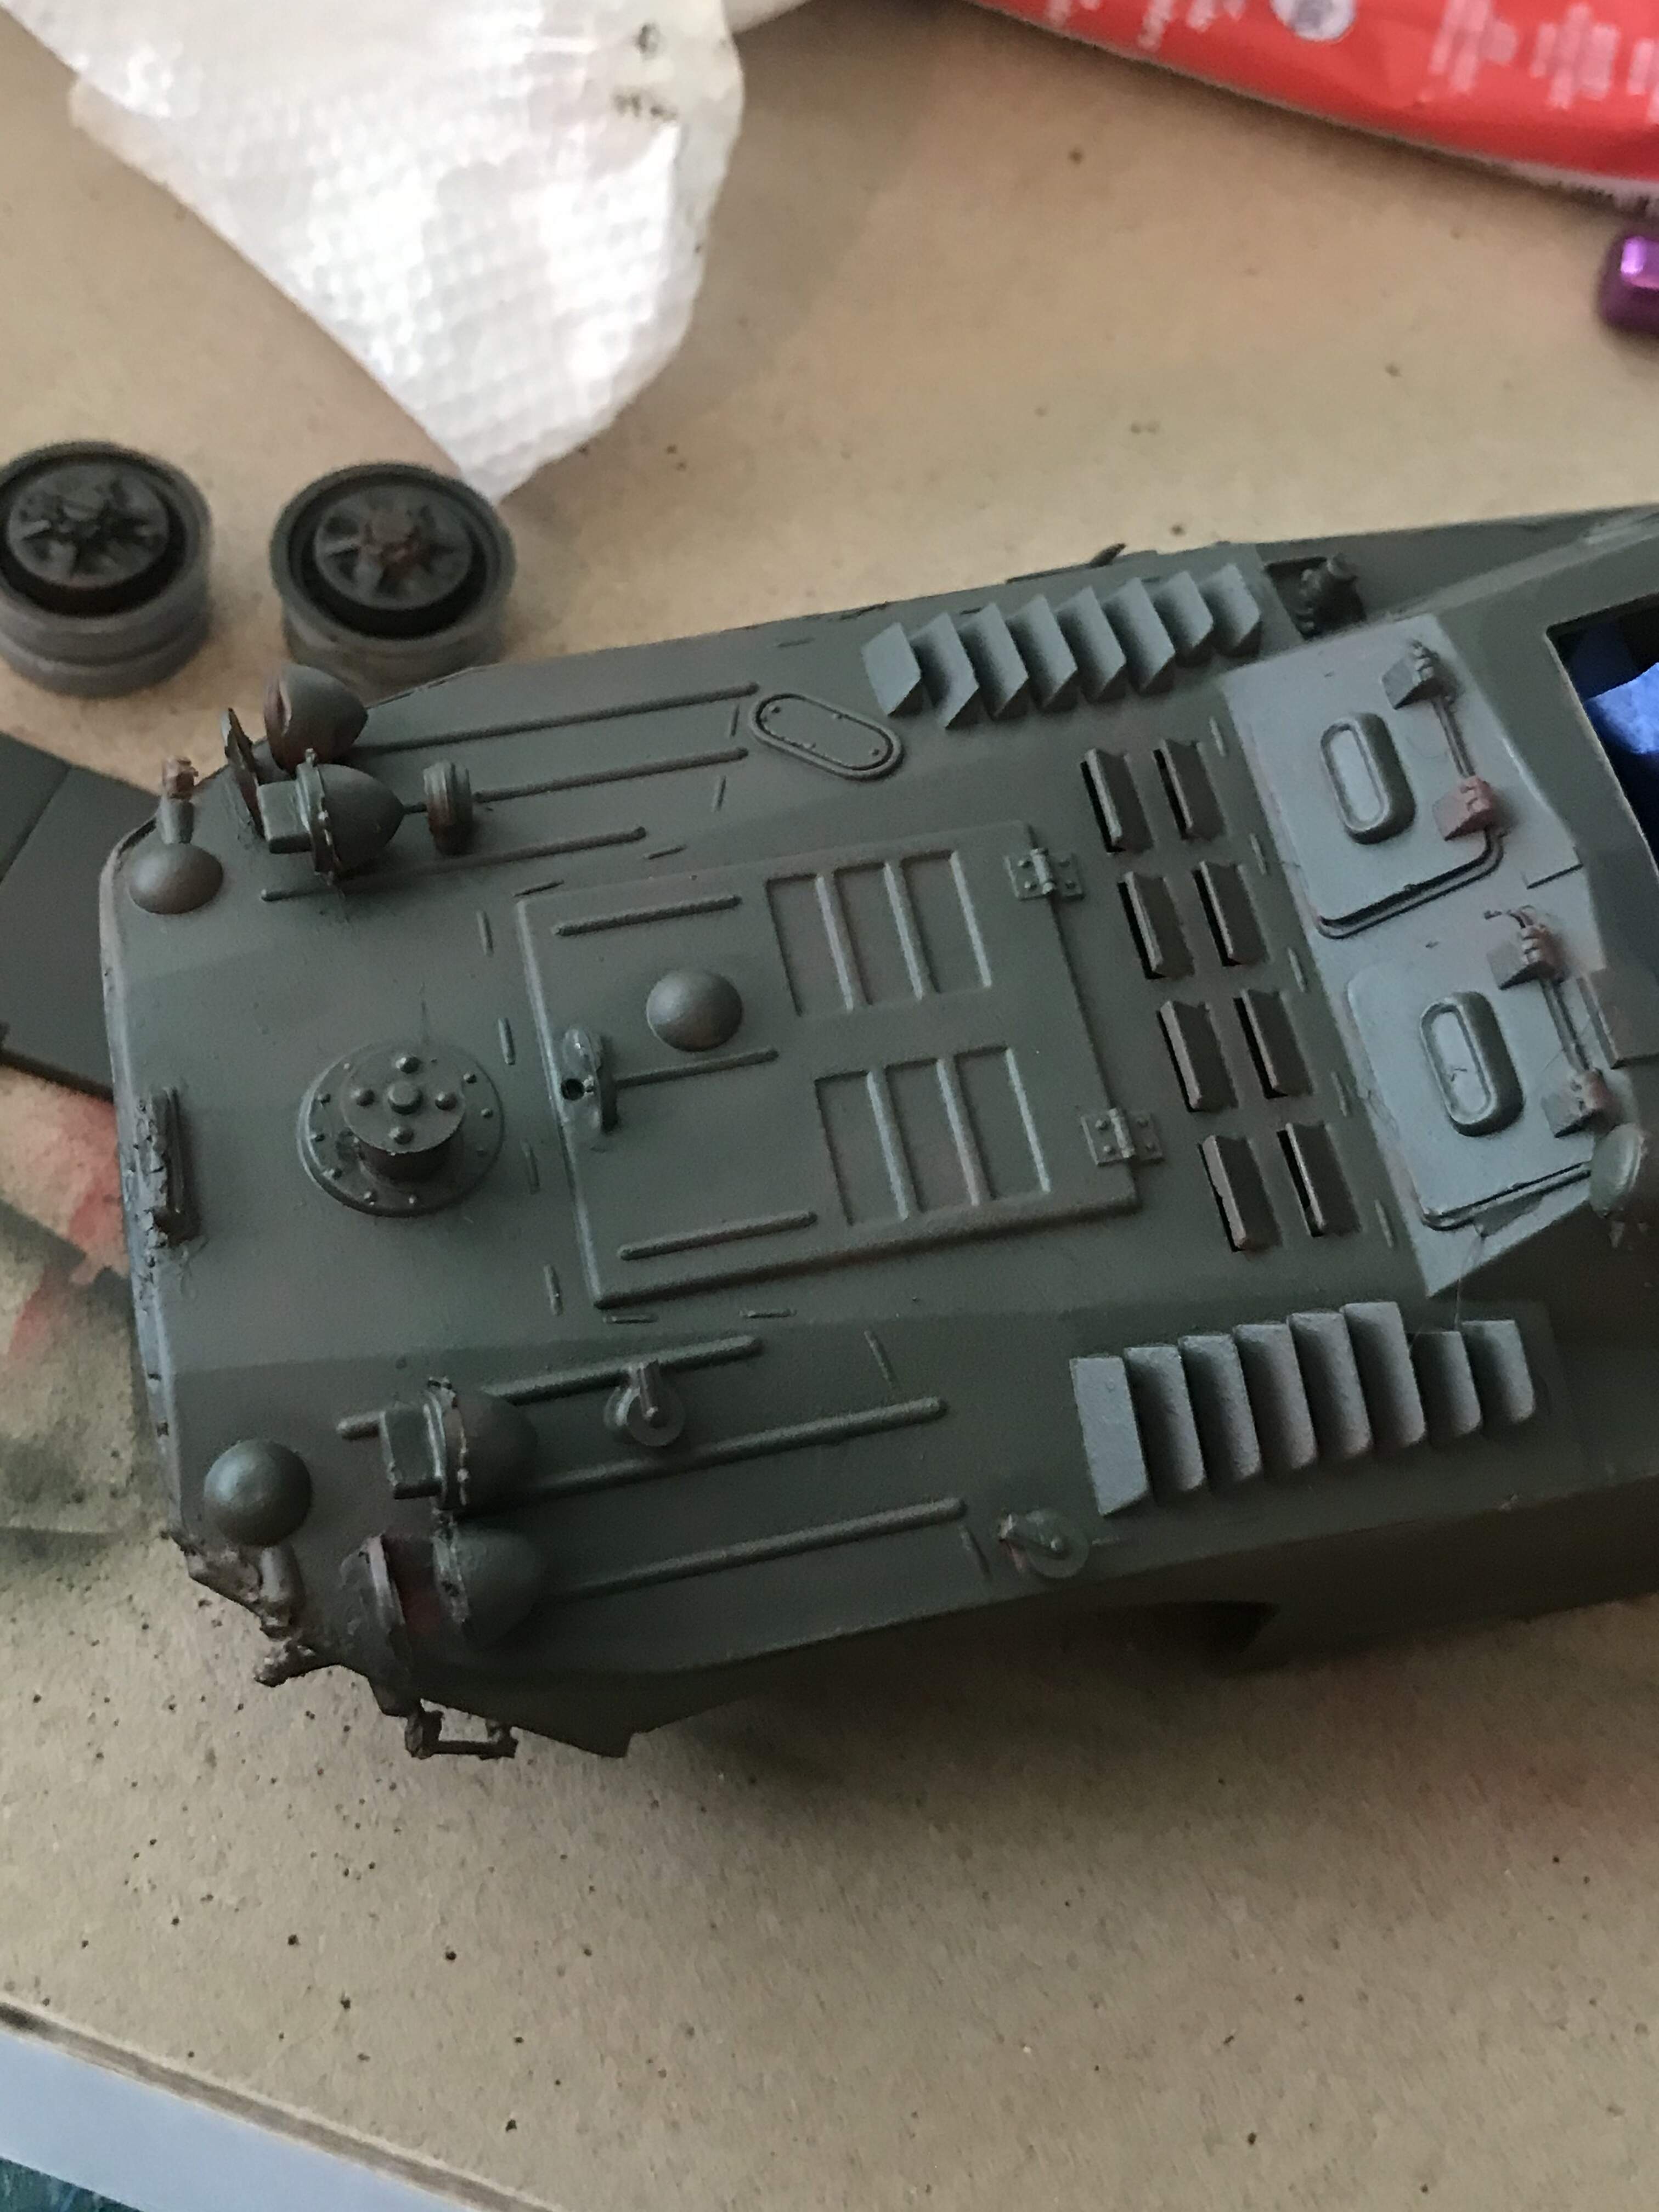
Here’s another painting update. I did a final coat of Zashchitniy zeleno from ammo Mig. I went back and did a chipping of parts of the brdm. I like how the chipping came out, but am curious as to y’all’s opinion on it? Next up is to do a filter and pin wash then to add the crew. After that diorama time!

1 Like