Finally i have some time for the hobby again,
It has been a while since my last topic.
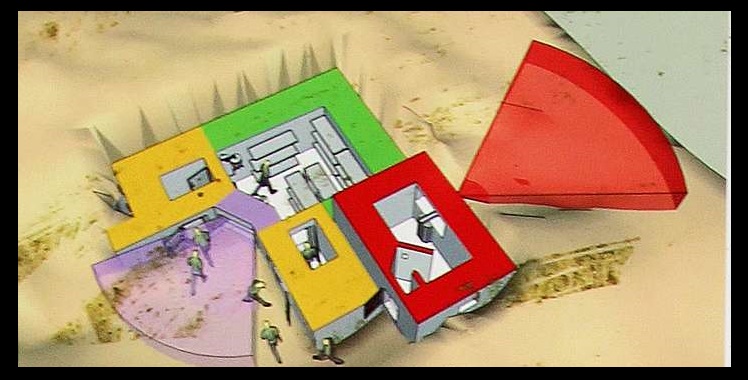
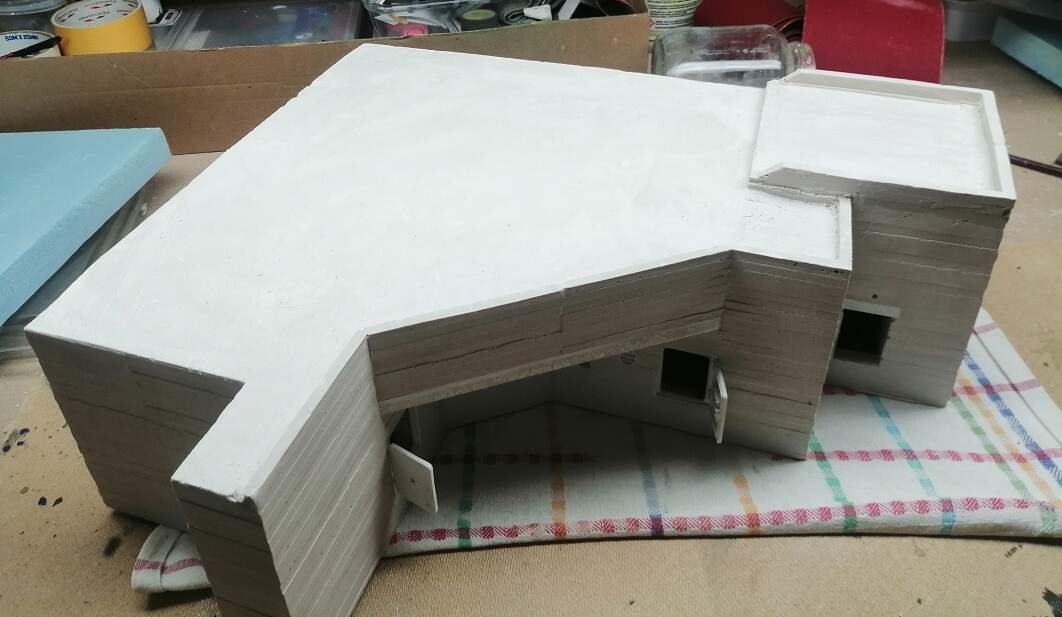
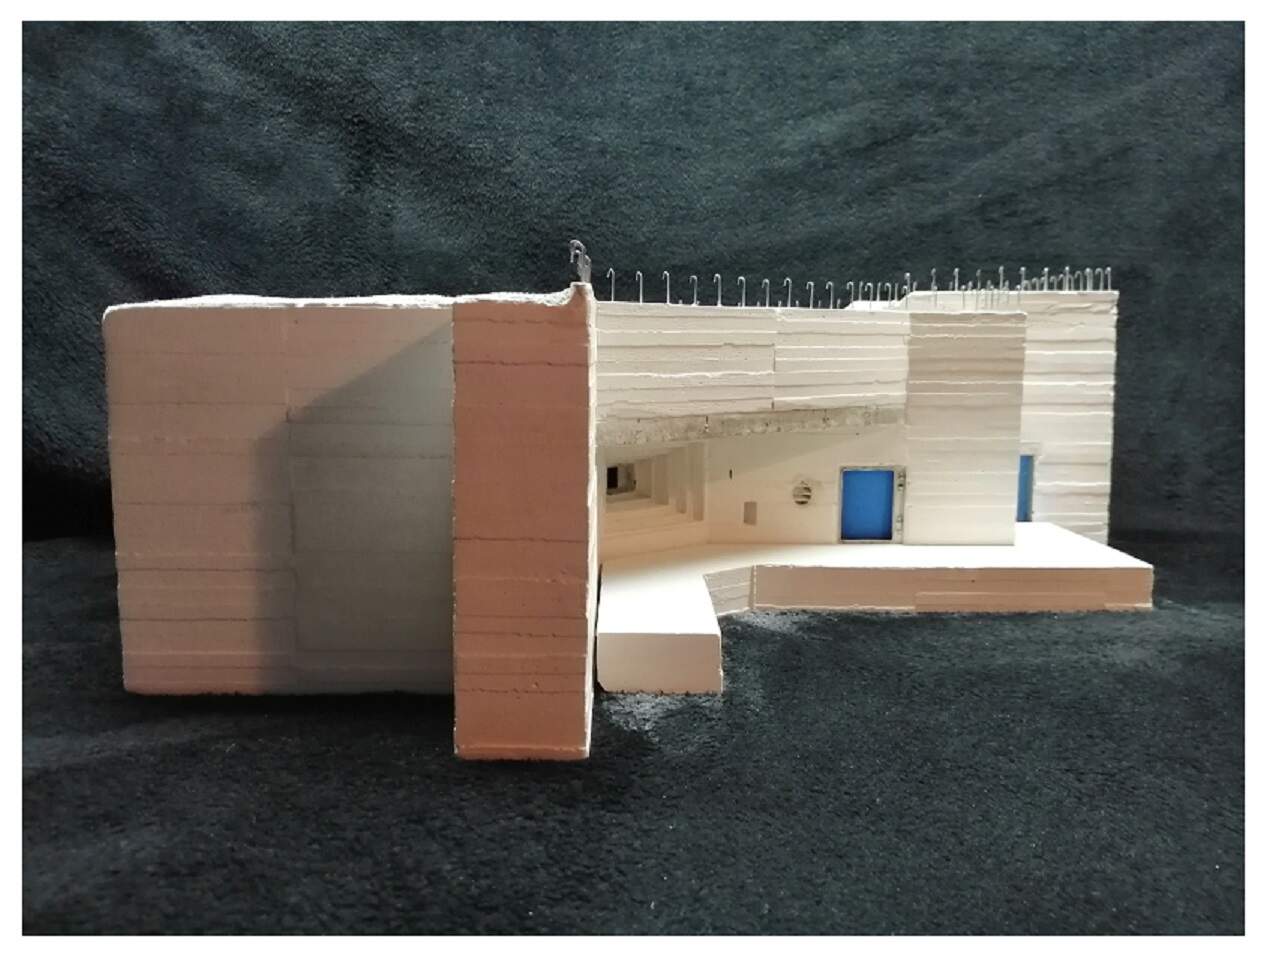
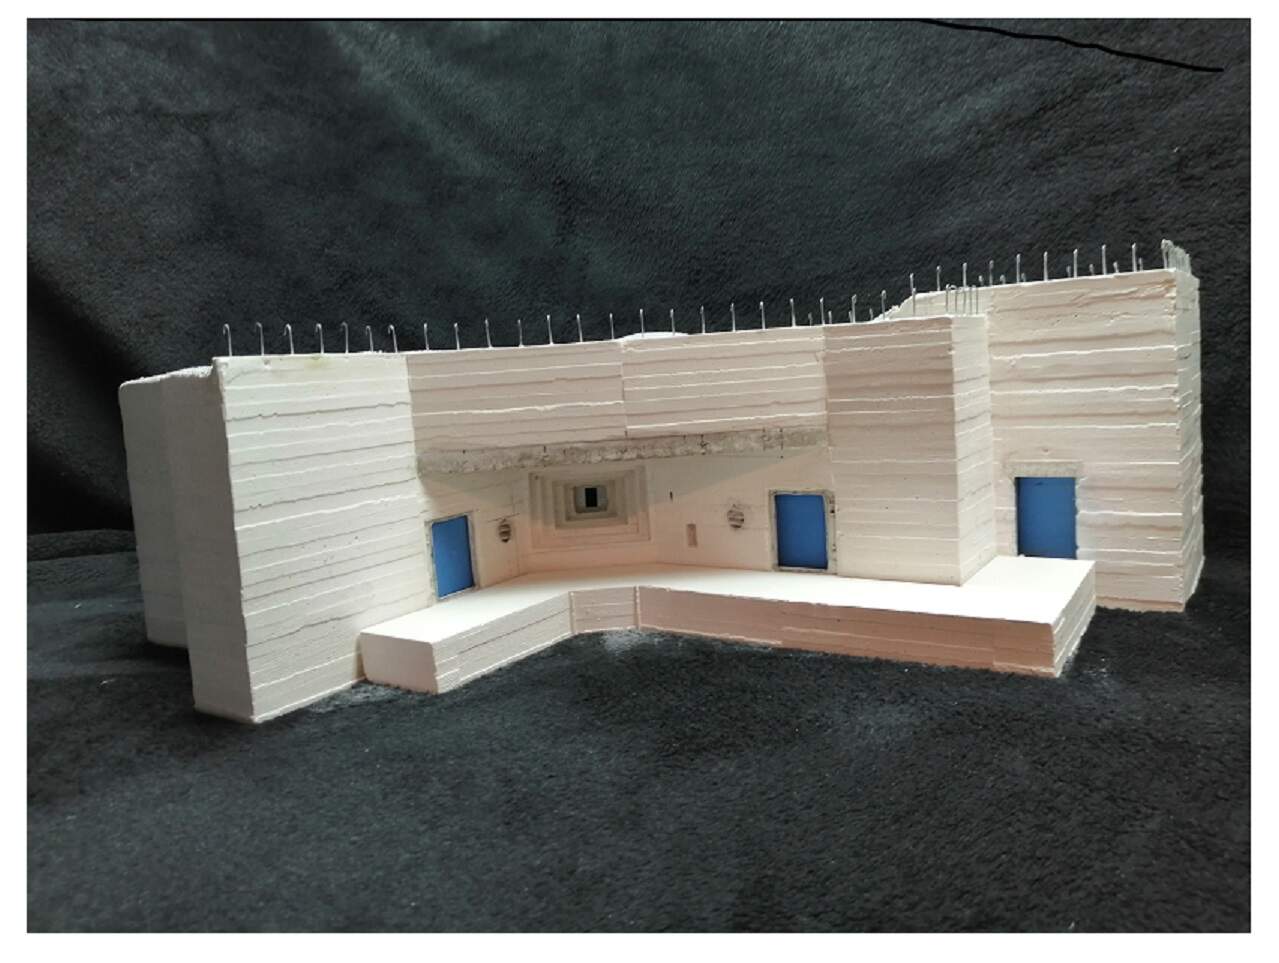
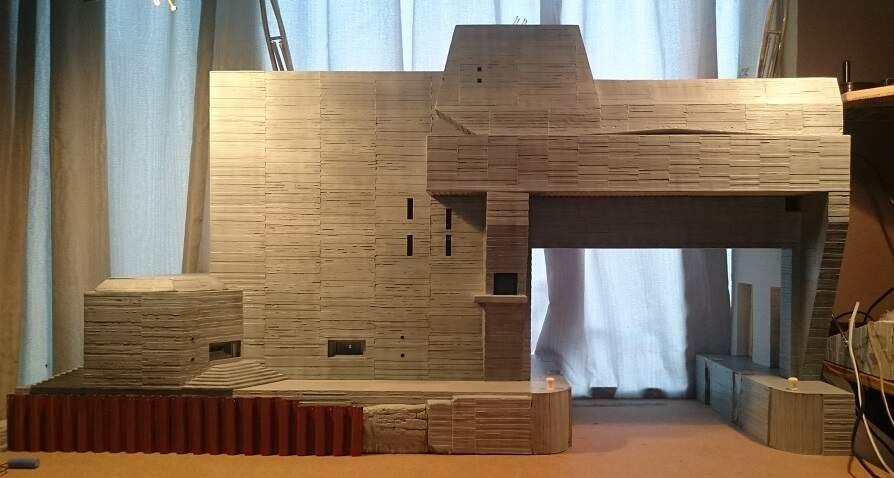
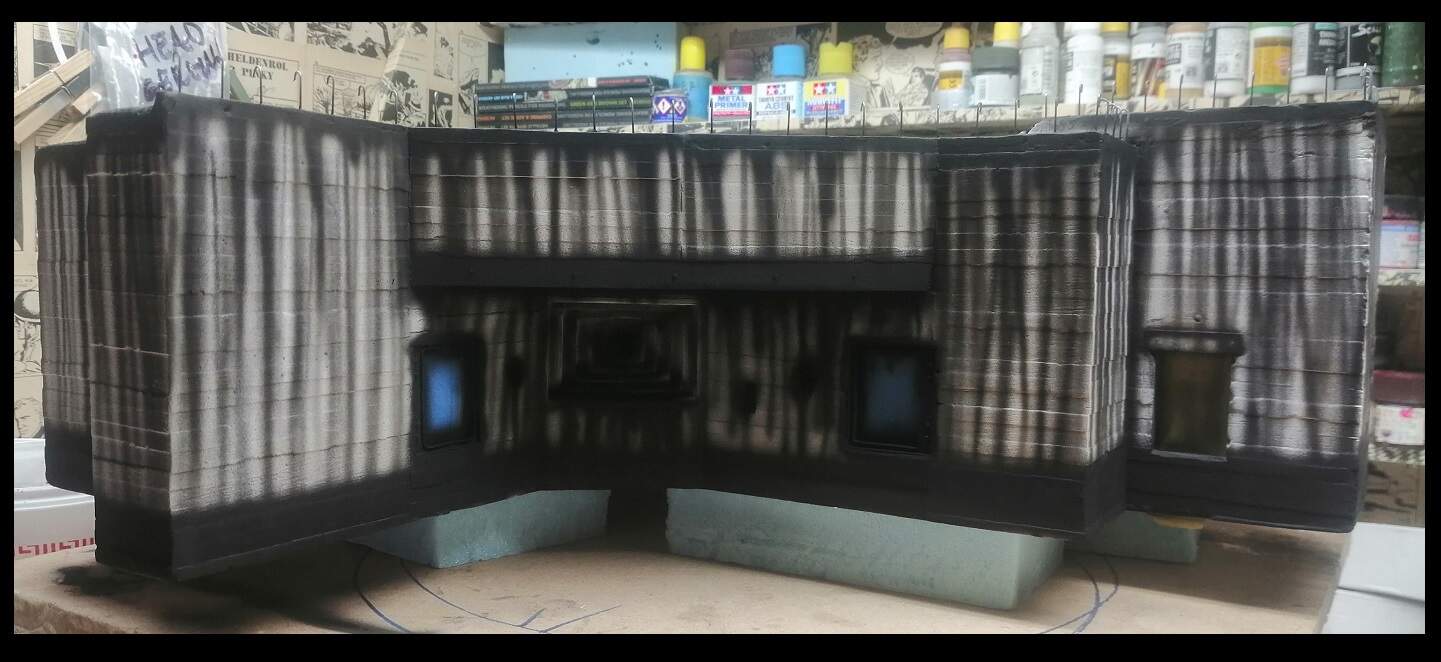
This time i building a R10 gruppenstand mit kampfraum = shelter with a fighting room.
As seen on the Westwall , for some the Siegfried line (allied name for it)
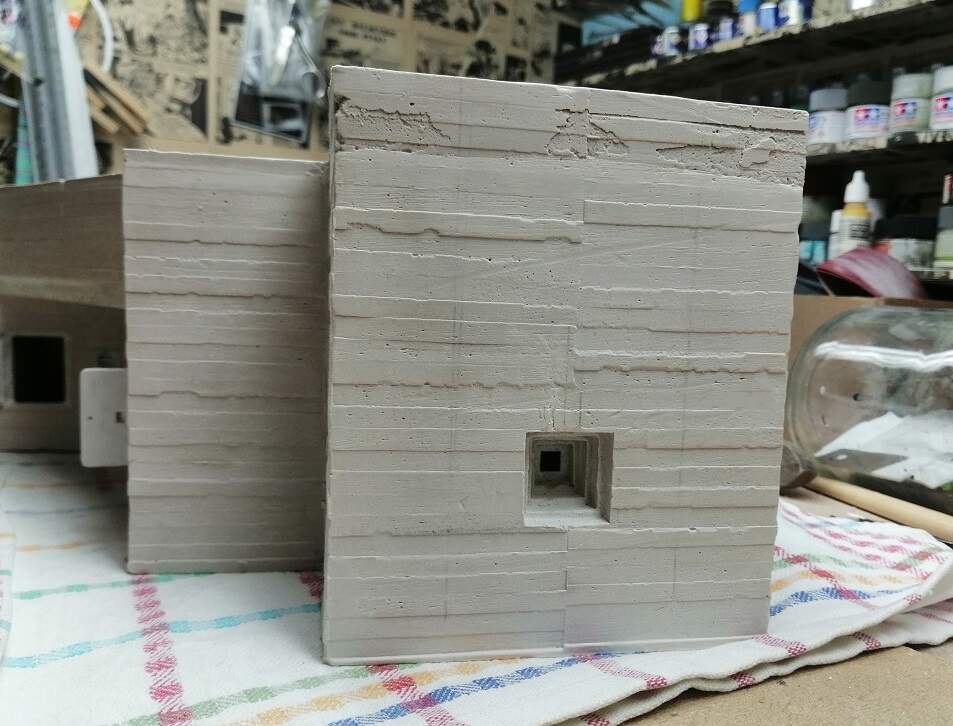
It has been freed from it formwork and is drying out .
I wil paint ,weather and add batle damage to it .
Look up my older topics to find out how i do bunker style .
Here a few quick pictures ,soon i wil post more .
17 Likes
For the first time I dried my plaster creations it in the oven ,
on a really low setting off 25 °Celsius / 77 °Fahrenheit for 3 hours, it had to dry out 7kg of plaster and came out real nice and dry ,
It wil suck up the Tamiya acrylic paint real good !
8 Likes
you could try to “paint” it with deluted white glue (start with an invisible corner first to test. This could make your plaster bothy stronger and less sucking for expensive paint
but it surely is very well made
1 Like
I did use PVA wood glue in the past,
But this is a realy good pouring plaster for statues It verry hard when dry .
I buy Tamiya paint in Poland way cheaper (including postage ) than it is sold here in the Netherlands …Maybe because Japan is closer to Poland ?
That looks really nice Piet, the texture of the concrete looks great. You may have mentioned it before, but how do your get that finish ? I have a tried to do concrete and only been moderately happy with it - yours looks totally realistic …
1 Like
John,
I get 3 different plastic sheet 0,25 0,5 and 0.75 mm , I scrape them with a Tamiya razor saw or you can use a haksaw to get the wood grain… and finish it with a steel wire brush, thats how i get my wood grain in the planks.
For 1/35 …i cut my planks in 4mm/5mm strips to keep it random… 
2 Likes
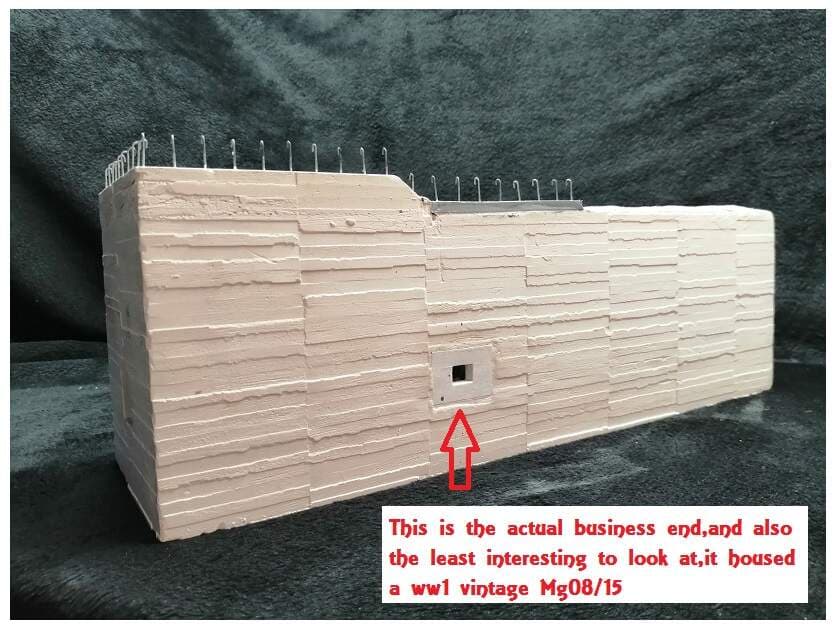
That’s it?! All that concrete, all those men, all that time and effort, for one tiny opening and an Mg08/15?
What a waste! (not your model, that looks pretty good)
Ken
1 Like
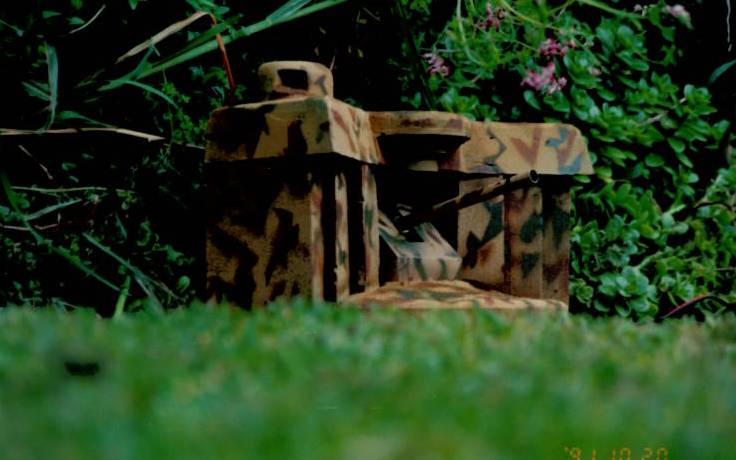
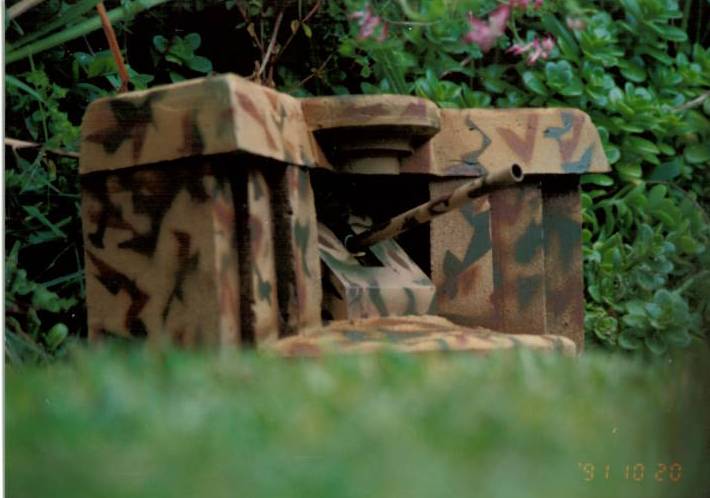
Really nice. I dabbled in that back in the 80’s, but no where near your standard.
Also used plaster but used wire mesh (1 cm) to reinforce the plaster. Didn’t have actual plans back then so not based on any particular bunker. Guns could be fired, using Double Happy fire crackers
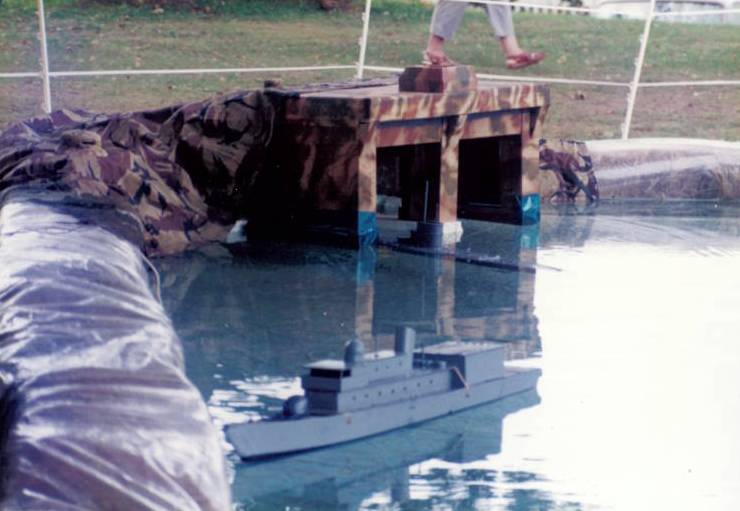
Also built a U Pen - out of cardboard - as a prop for our RC ship displays
Mal
3 Likes
Very nice work. And huge! I added (inexpensive) acrylic craft paint to my plaster mix, when I did something similar, but my bunker was much smaller.
1 Like
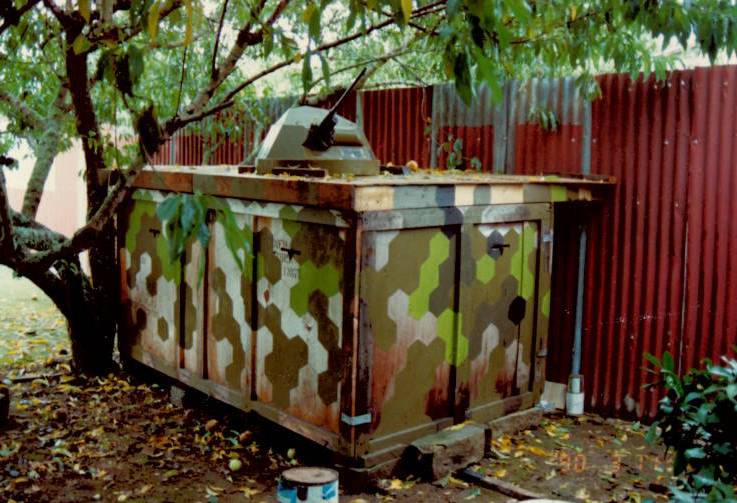
Thanks. Not that huge, though I did build a bigger one for my uncles kids
Mal
6 Likes
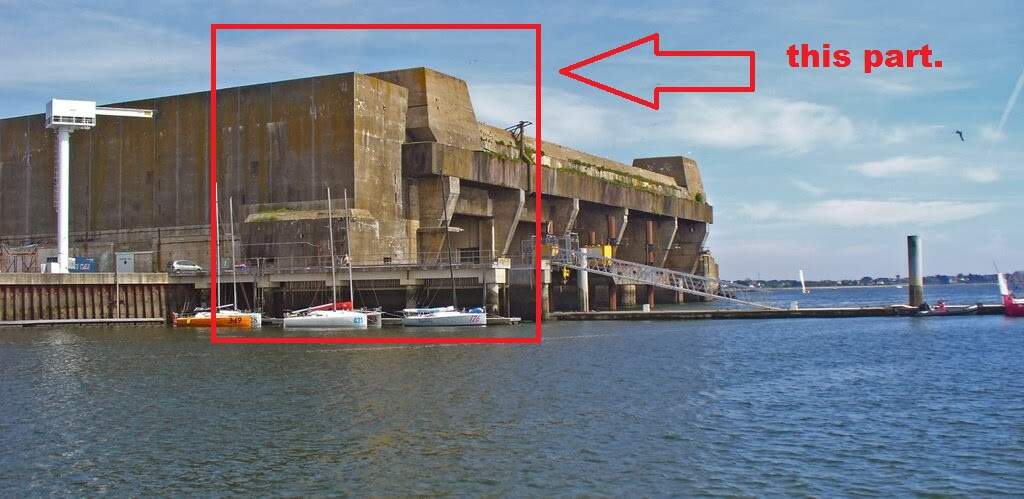
I recognize the U-Boot-Bunker as the Scorff bunker in Lorient France
Ps
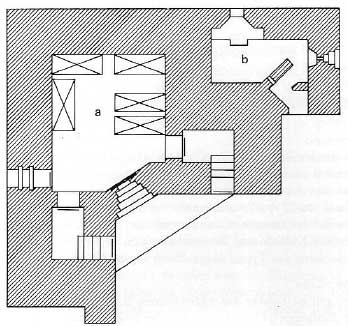
I have build the left entrance of the Keroman III bunker (also in Lorient) in the past, also 1/35 scale .
5 Likes
Thats it , or any other mostly obsolete Mg of foreign manufacture ,if your lucky an Mg34 …and if you real lucky a Mg42 
That section of the sub pen looks pretty superb — very very impressive — again !!
1 Like
Pre streaks with black ,
The bunkers main colour (parts that are not covered with earth) will be green
(with some oker and brown blotches /stripes ? )
The parts that are covered with earth wil be black (Tar)
4 Likes
Most impressive! A++
It almost looks like one of those modern avant-garde concrete spec houses the uber rich seem to flock too.
1 Like
Wow. That’s very cool. A bit different too. Looking forward to the the rest of the build/paint. Are you adding figures?
1 Like
Quote:
Are you adding figures?
You never know with me.