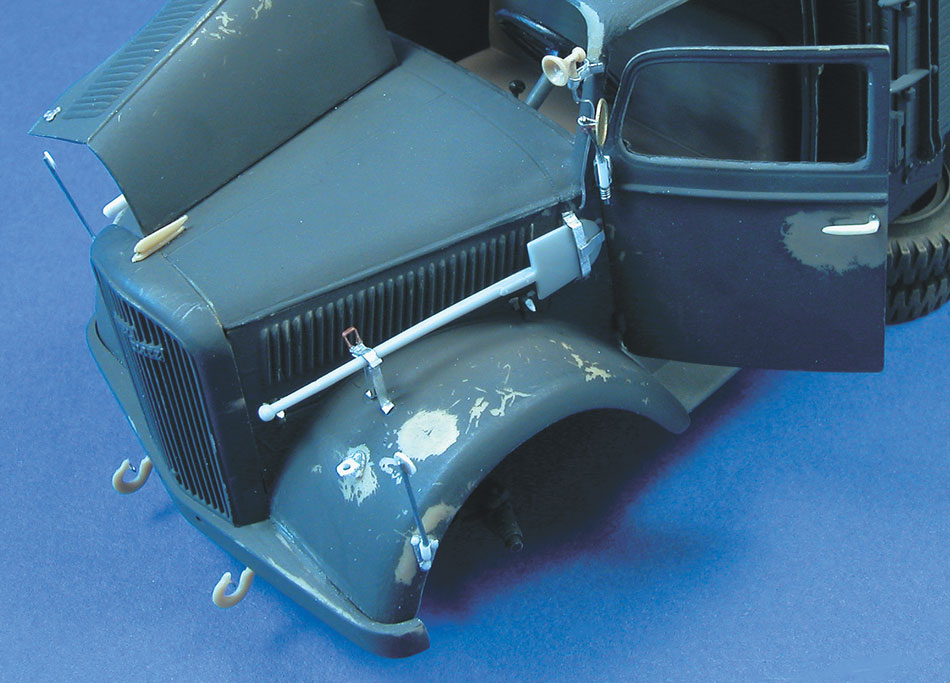
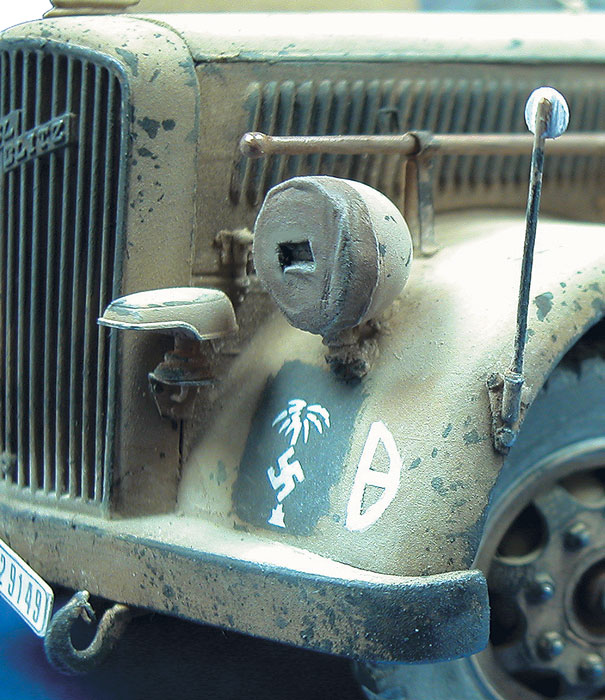
The tools and their supports will benefit from being replaced or improved. I regularly use for the aluminum sheet fastenings and for the wooden handles round profiled Evergreen rounds. The base of the Notek lighthouse is also replaced, I collected it from my surplus box. the door handles are cut from resin part scraps.


12 Likes
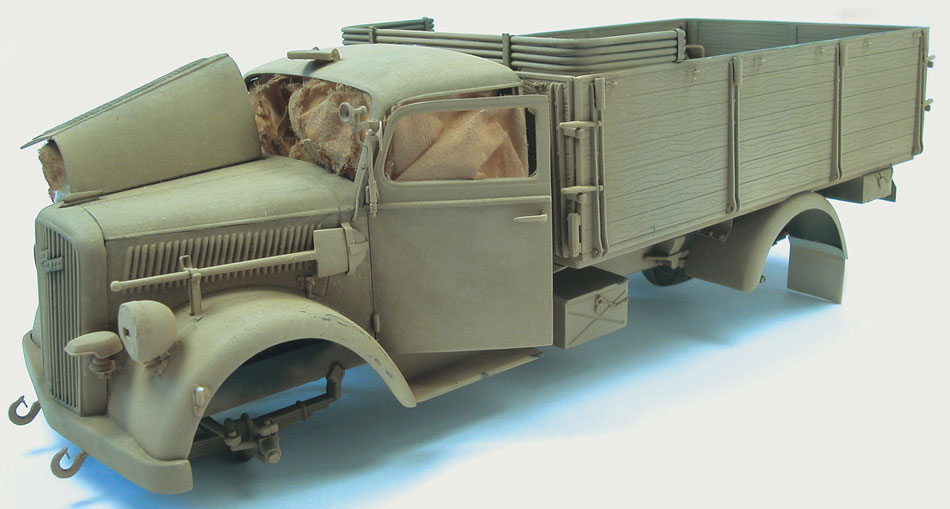
After the dark gray, original color, it is necessary to quickly blend the vehicles into the tones of the North African desert. It is a sand yellow color that is naturally adopted and which will be applied with more or less rigor and nuances on all the vehicles used by the expeditionary force… The Deutsche Afrikakorps.
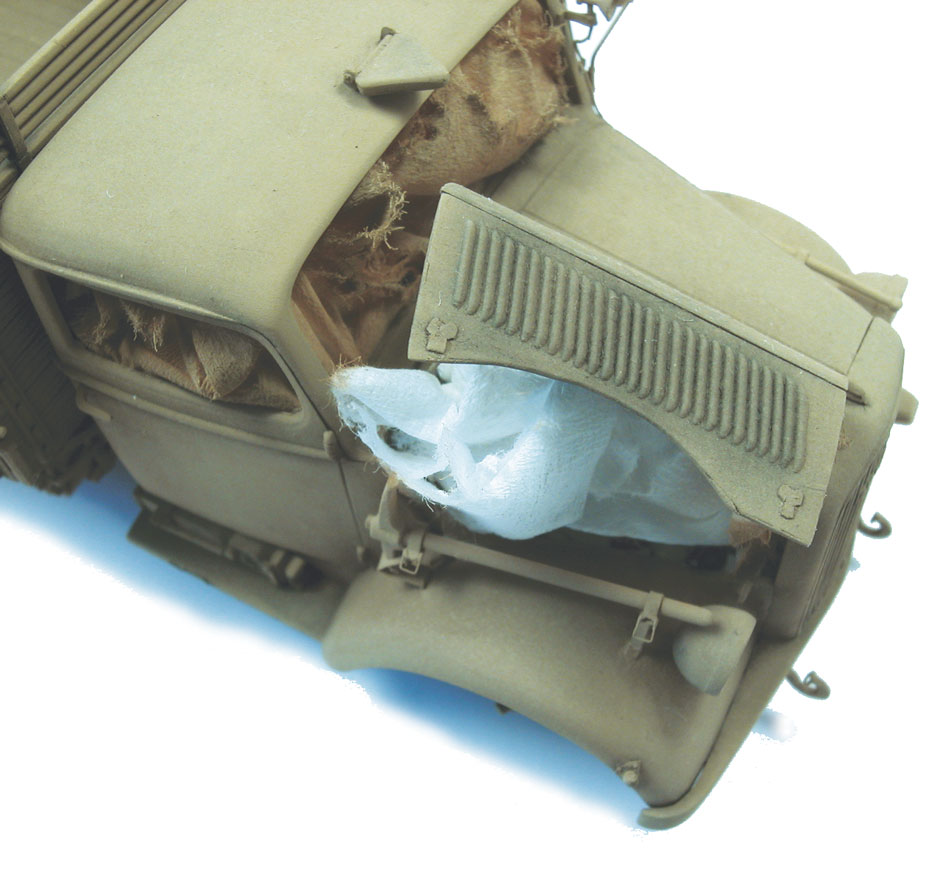
The dark grey base shade Humbrol 67 is covered with a first application of Humbrol 93 sand. I then lightened it with H103 Humbrol matte cream. (this shade, less used than 93, is still present in the color chart) well diluted color with White spirit. Paper tissues protect the interior of the cabin.
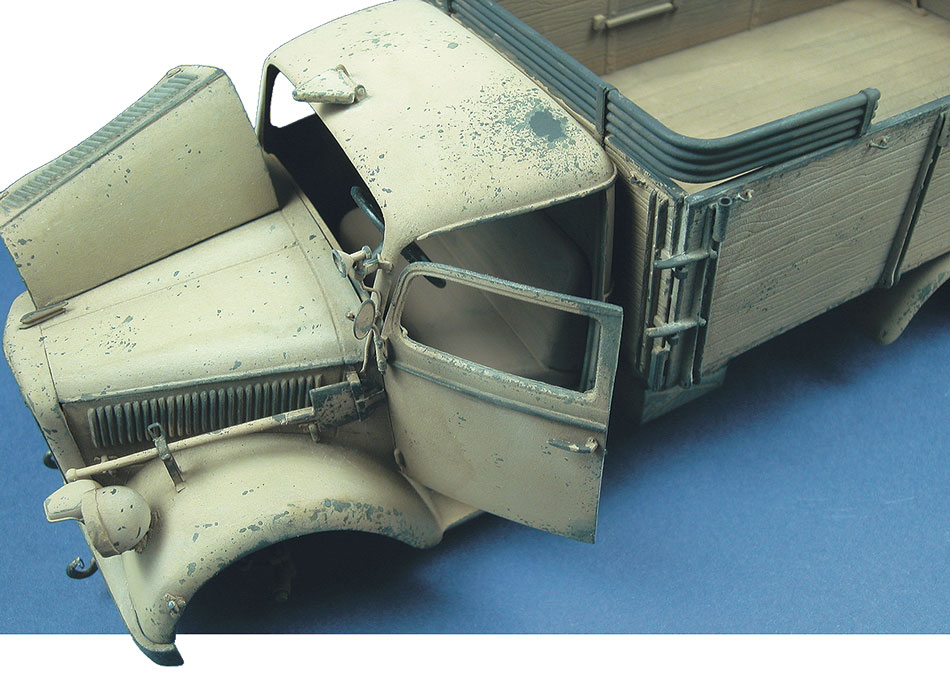
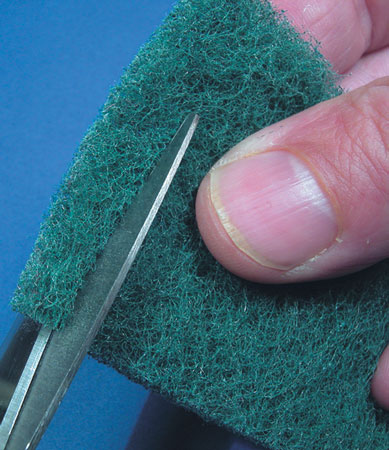
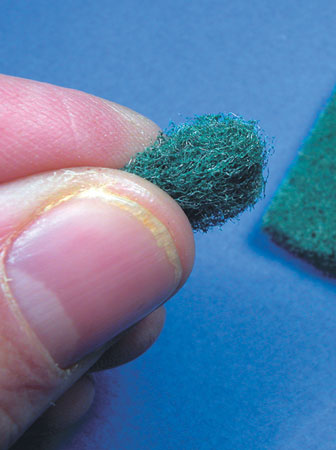
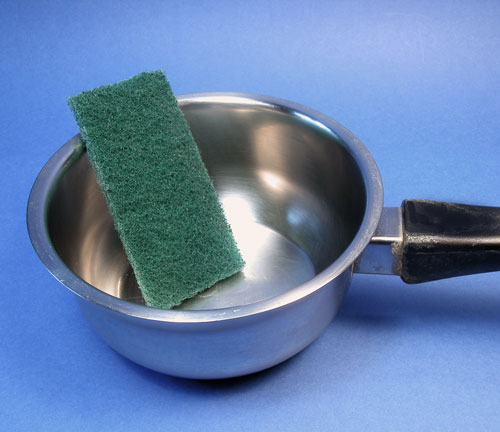
I do not practice the pre-shading technique. But a simple wash with a mixture of Black Oxide from Rembrandt and Humbrol 29 earth. Faced with the intense heat in the desert, the repeated sandstorms, the projections of stones by the wheels of the vehicles, the frequent passages of crews on the machines, the sand-colored paint easily fades, the original color reappears making this ephemeral camouflage less effective. I reproduced this with the base color using a hard bristle brush (undiluted paint) and portions of scothbrite used to rub the pans.. Regularly changed these small stamps cut from a larger piece they are soaked in undiluted paint and applied to the desired parts.
10 Likes
Excellent effects.
2 Likes
Thank you.
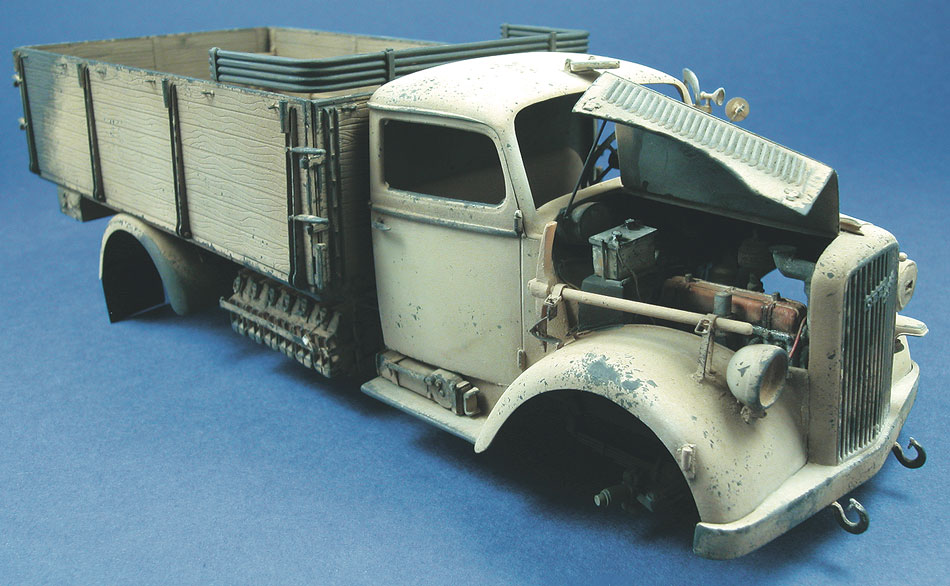
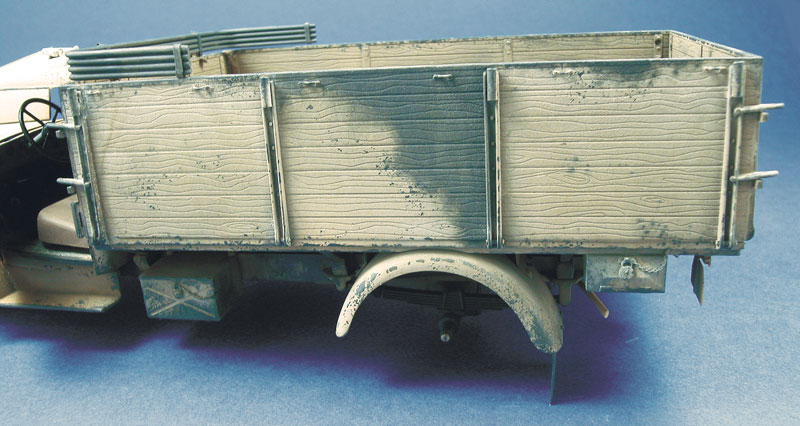
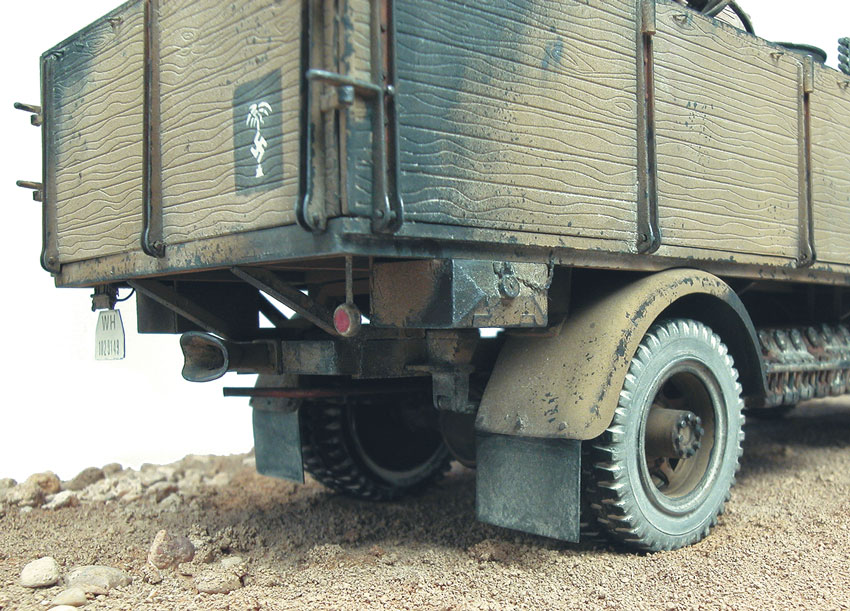
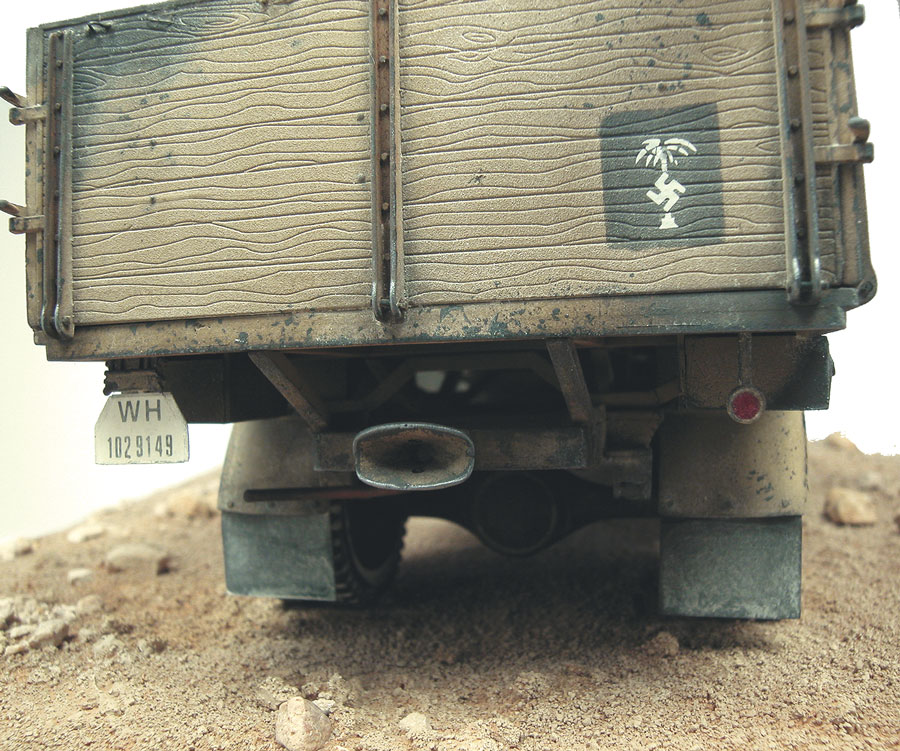
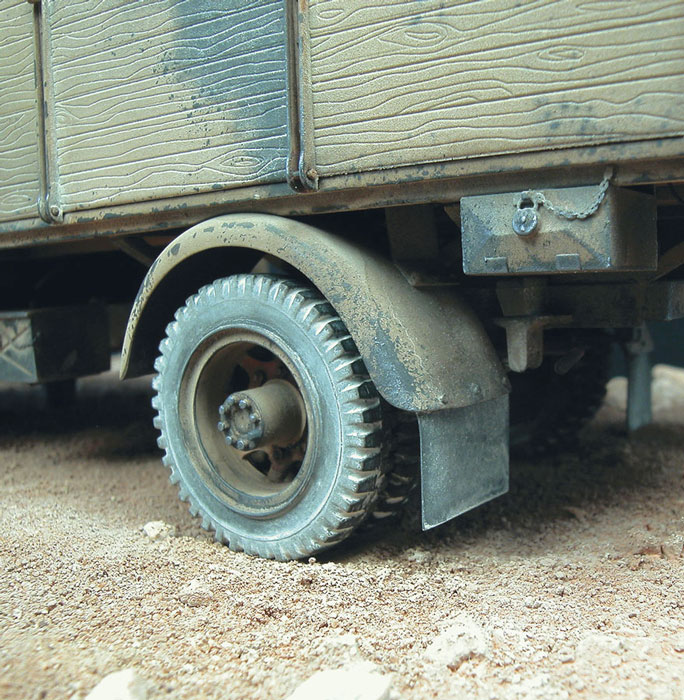
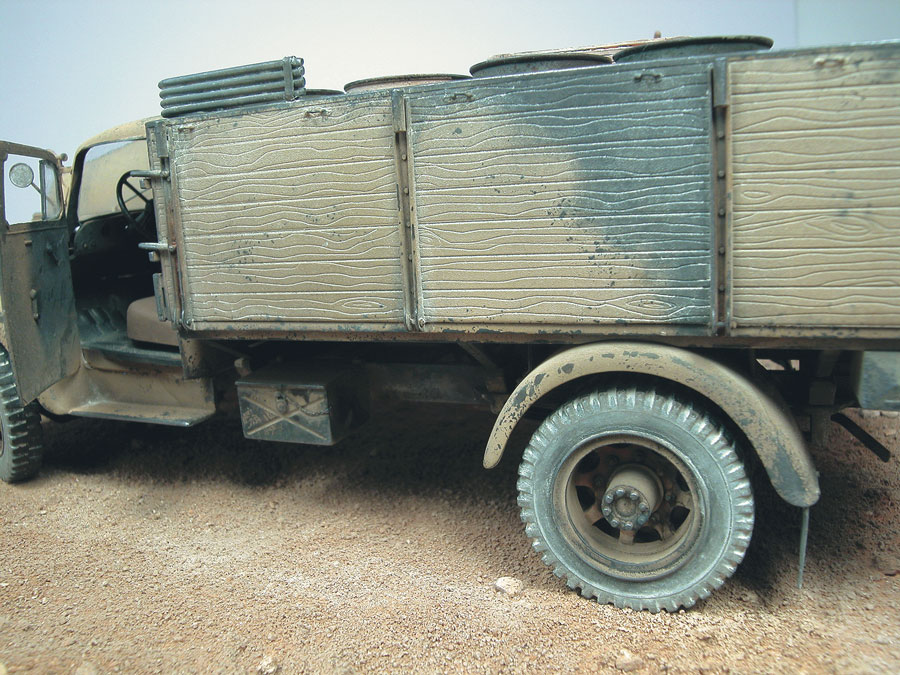
The North African climate puts a strain on equipment, long journeys sometimes up to 1500 km to supply the front deteriorate vehicles. As much for mechanics as for bodywork. To reproduce its wear effects, I use the base shade applied with a brush pure or slightly diluted on certain parts. We obtain honorable results like here on the rear body.
14 Likes
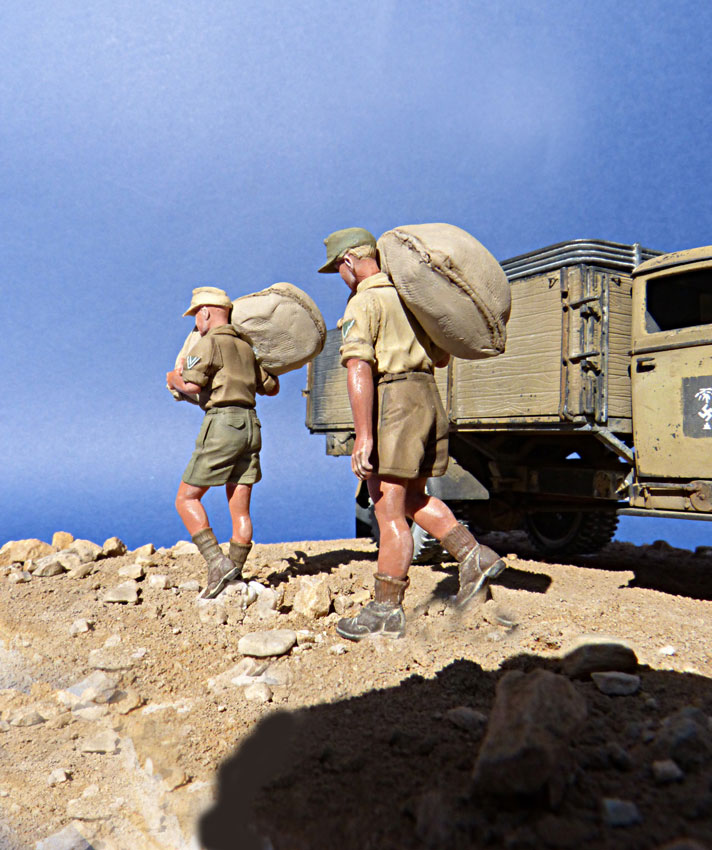
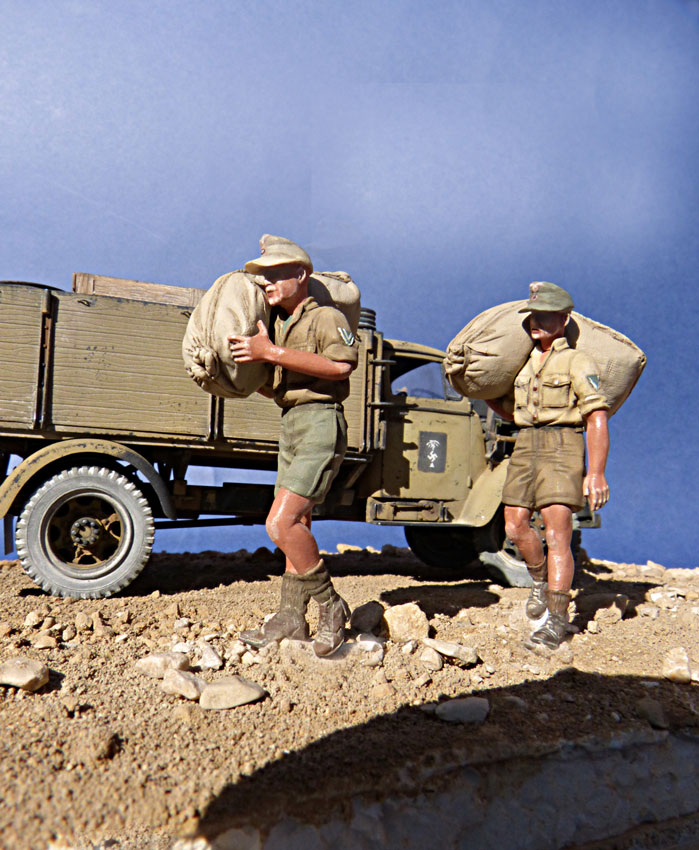
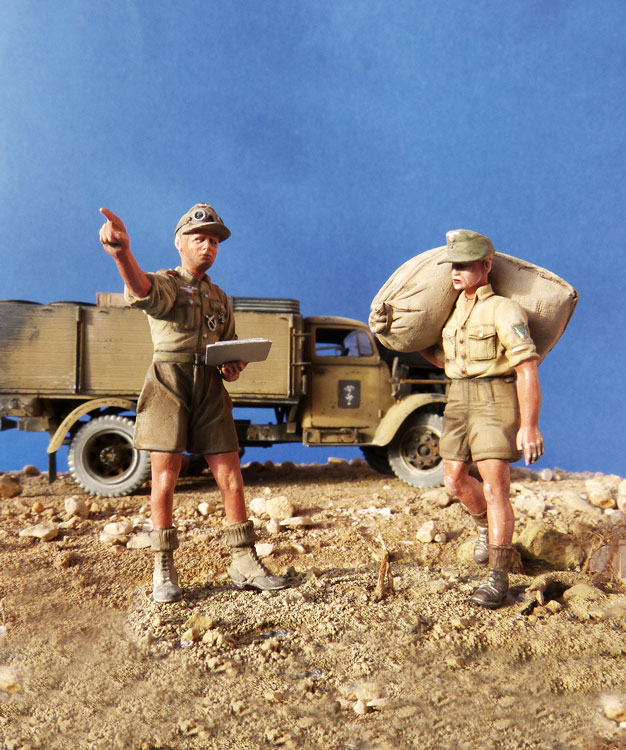
We will imagine that after a very tiring long distance, a night drive to avoid the British hunt, the refueling finally arrives. Nourritue, fuel, water, various materials… the essential to continue the fight. The bodies sweat … the heat is overwhelming…
14 Likes
I wonder if legs sweat the same way that faces and arms do? Maybe it’s the coarser hair on the legs. I also wonder about sweat marks on the shirts, waistband, collars and hats? I’m not sure how to paint that.
2 Likes
It is looking very, very good!
For sweat I’d caution against doing too much on clothes. In the hot, dry desert a lot of clothing dries quite quickly so you won’t see many wet areas on uniforms as such. Maybe a little bit of a darker wash on the upper back of the shirt or the upper chest part of the shirt. DAK uniforms were light and would dry in the sun before looking saturated in sweat. Also to remember there wasn’t much water so profuse sweating is hard without drinking lots of water.
Showing sweat on skin could be as a light sheen but also to note the light dust would stick to any sweat and give troops an overall light dusty look.
2 Likes
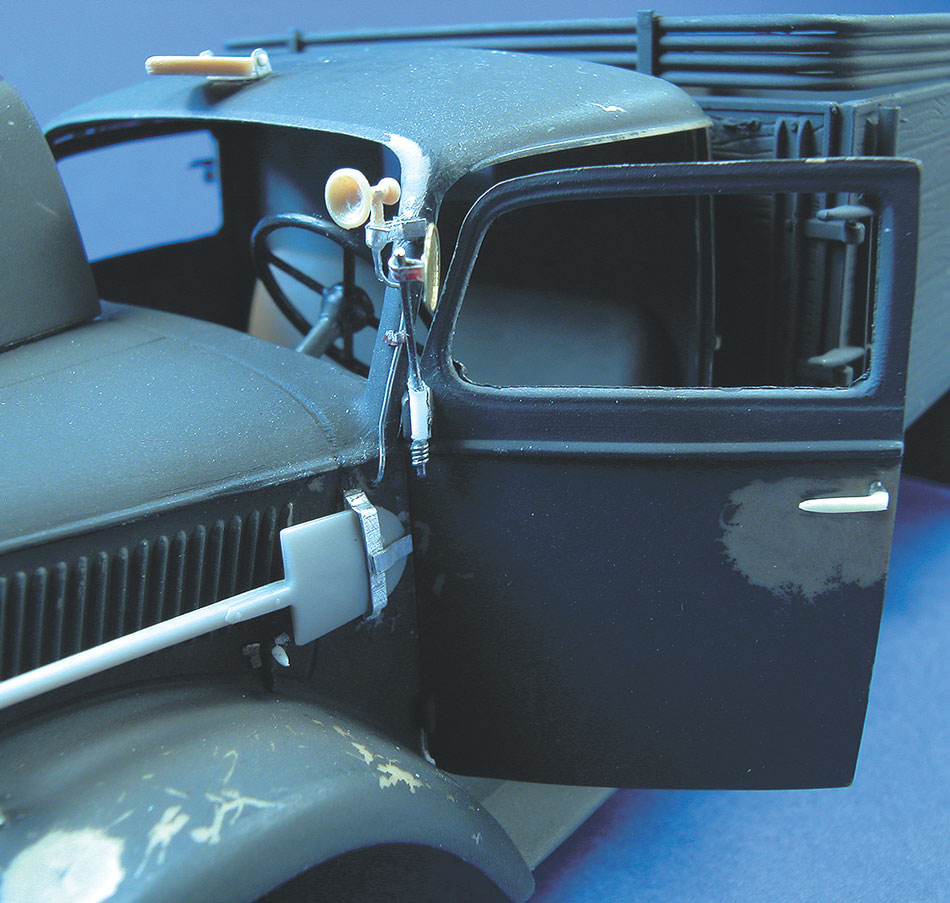
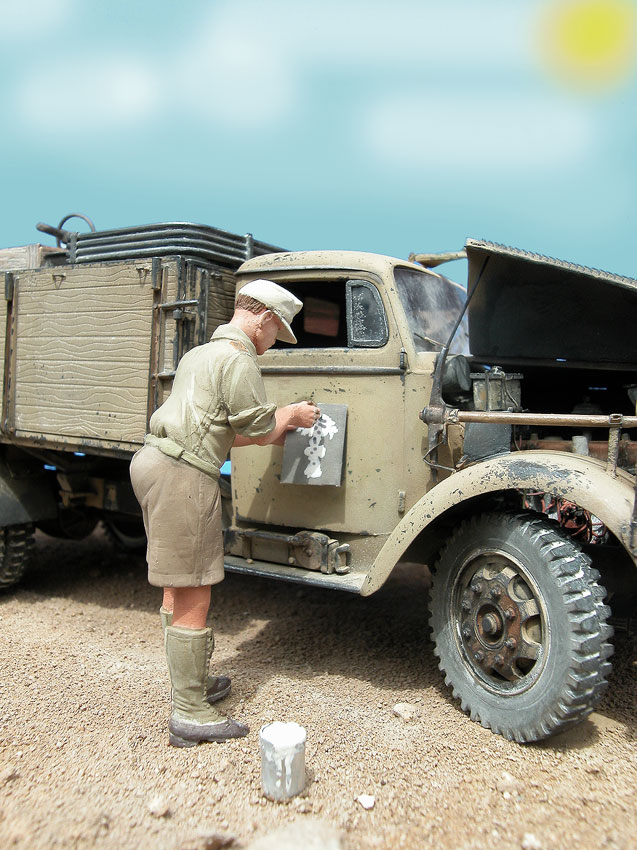
One could even imagine that one of the crew members of this Opel Blitz using a stencil is painting on one of the doors the palm tree emblem of the AFRIKAKORPS…
10 Likes
I was thinking about the ‘sweat thing’ today and I think that humidity plays a big part in whether or not the sweat dries quickly, and as the author pointed out, these are hot dry conditions which probably dries any sweat really quickly. Just my 2c.
2 Likes
8 Likes
Sweat does dry very quickly, especially when it’s hitting 40+C.
For sweat in the desert environment and especially since they would wear their uniforms more than one day before laundry white salt stains would be present. More or less dark stains under arms, along chest collar area and along spine, with very light white surrounding/ circling the area.
4 Likes

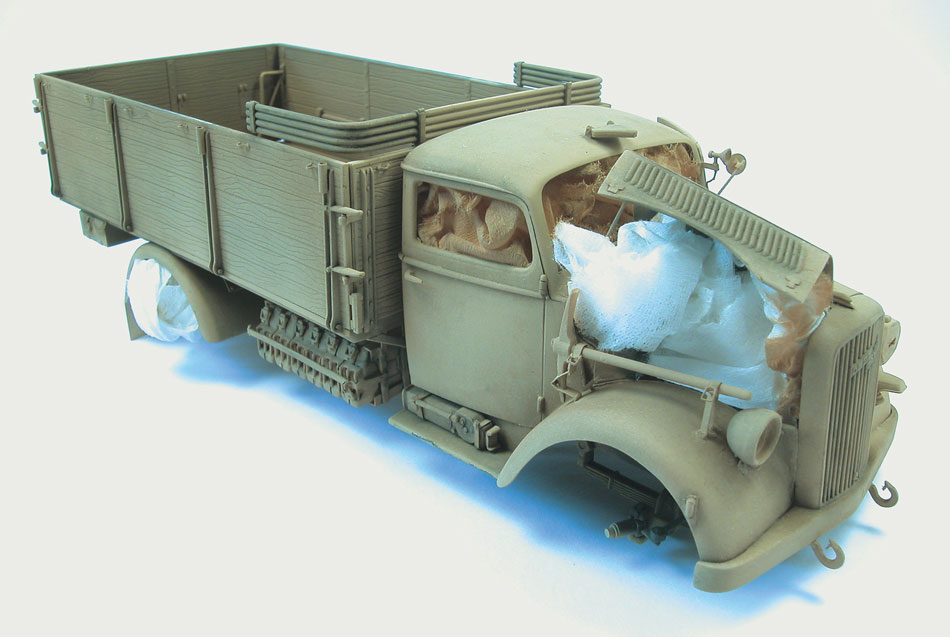
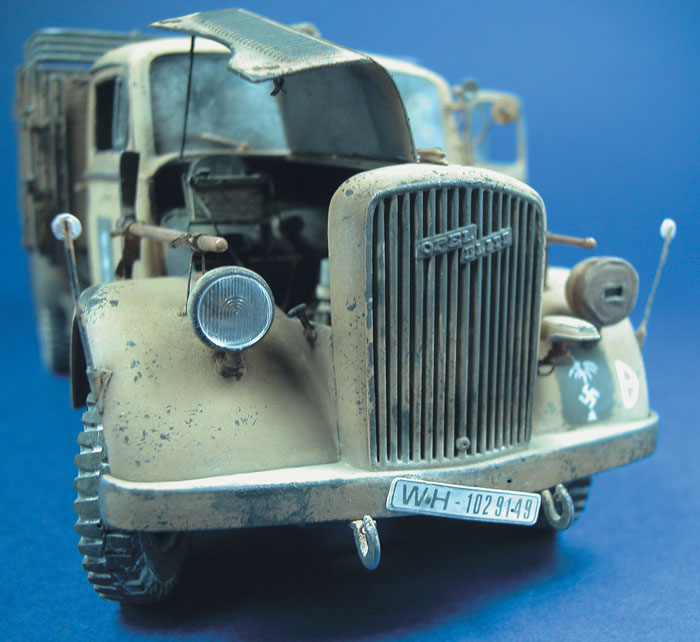
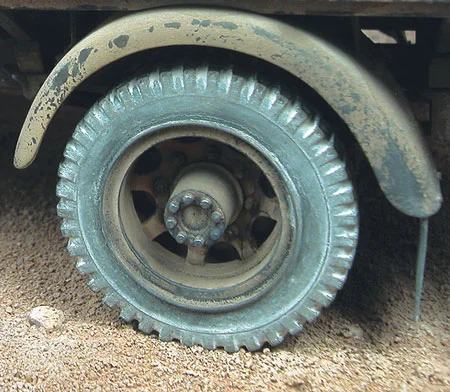
These few photos present the damage caused by a hostile environment for vehicles and men…
To improve the appearance of the Italeri kit, many parts have been improved or completely redone.


15 Likes
Superb, superb, superb. Normally I’d say it’s showing too much wear for a truck that might only be a couple of years old, but a few sandstorms would doubtless make it look like you’ve done.
3 Likes
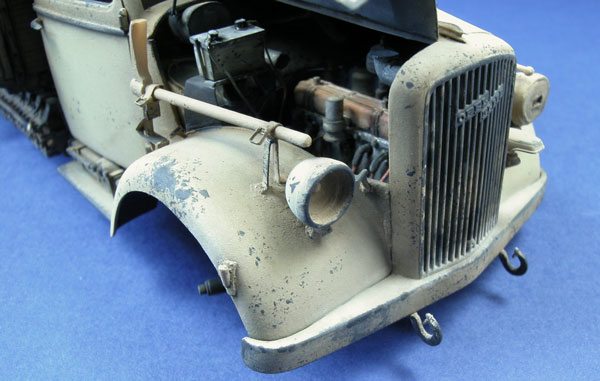
The long convoy journeys for refueling, the numerous round trips, the numerous stones projected on impassable roads, an abrasive sand that infiltrates everywhere, a paint applied on site and not in the factory therefore less resistant, quickly show the wear of paint on this type of vehicles
3 Likes
Really nice job on this old old kit. I also like building the oldies but goodies. I find it is more of a challenge. Plus I love the old Tamiya kits for instance because they have way less tiny parts!
J
3 Likes
Thank you. Like you, I like old kits; they do not have to be ashamed of current productions…
2 Likes
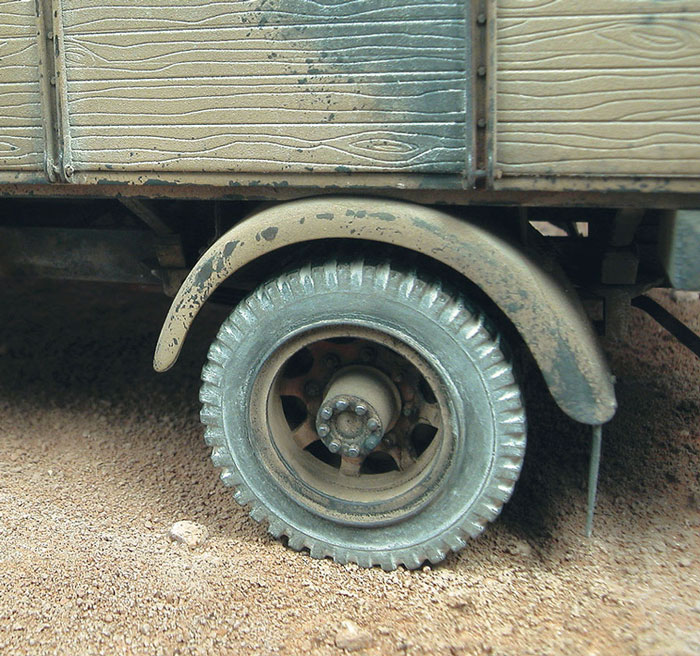
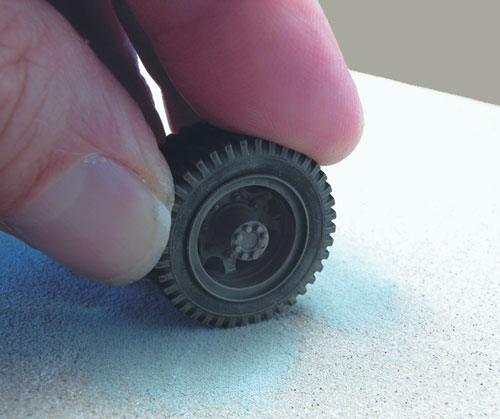
For the rims and tires, I decided not to use those present in the kit. A very bad experience with a Horch Kfz.15 from the same manufacturer having dissuaded me. After a few years I discovered the rims “eaten” by the rubber of the tires!!! A chemical reaction between the rubber and the injected plastic. Damage unfortunately irreversible… To avoid this misadventure, I chose to equip my Blitz with resin wheels. Today disappeared my choice had been made on the French brand PSP. They have never moved since. To represent a slightly under-inflated tire, I sanded the part in contact with the ground on a sheet of medium-grain sandpaper. Don’t forget to place the tire valve. At this point, they are not yet installed.
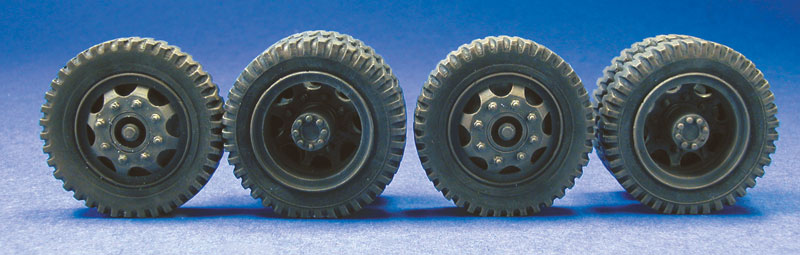
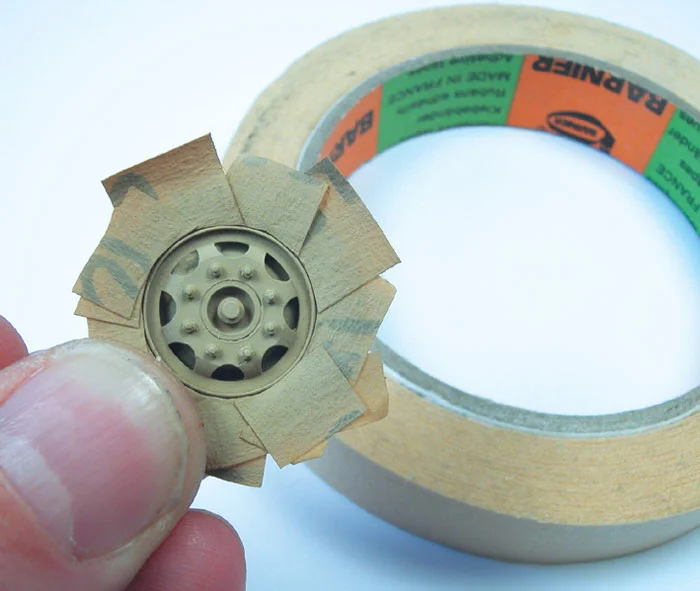
9 Likes
Yes indeed there are past threads about the Italeri vinyl tyres that eat kits - my Blitz kit was likely manufactured in the mid-90’s, the plastic hubs are now morphing into blobs.
2 Likes
Oh darn.. The resin resists much better…
1 Like