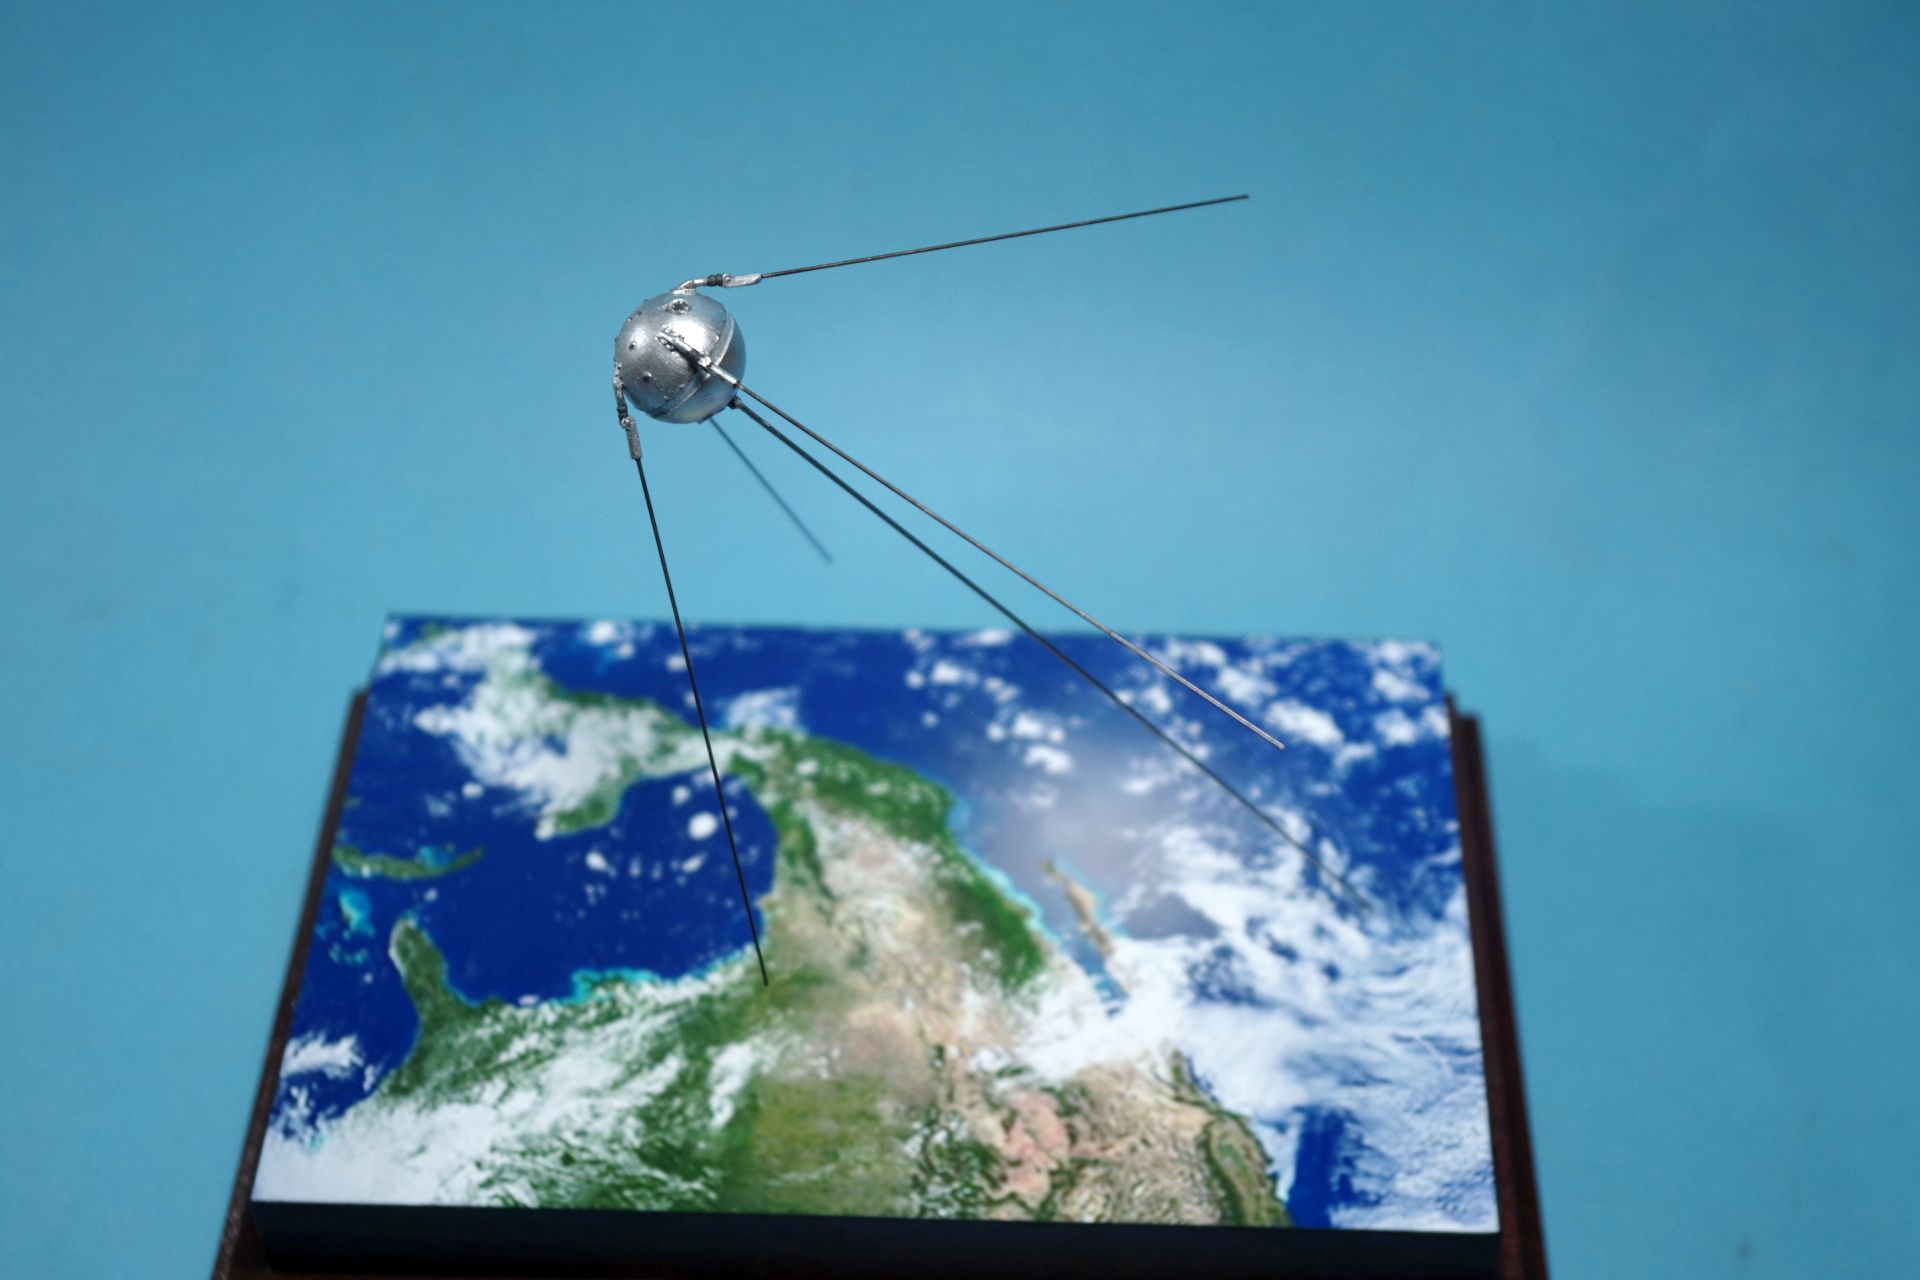
My thought was that this simple spacecraft would be an ideal starting point to get used to this kind of models and 3D printed stuff. Err, not so much. There are fine printing lines that interfere with the painting of metallic surfaces. I should have sanded the whole surface first, but I realised the problem only after I had added the antennas! Now it looks a bit like fingerprints on the paint, but these are the 3D printing lines only. Well, I’ve learned something about 3D printed kits now.
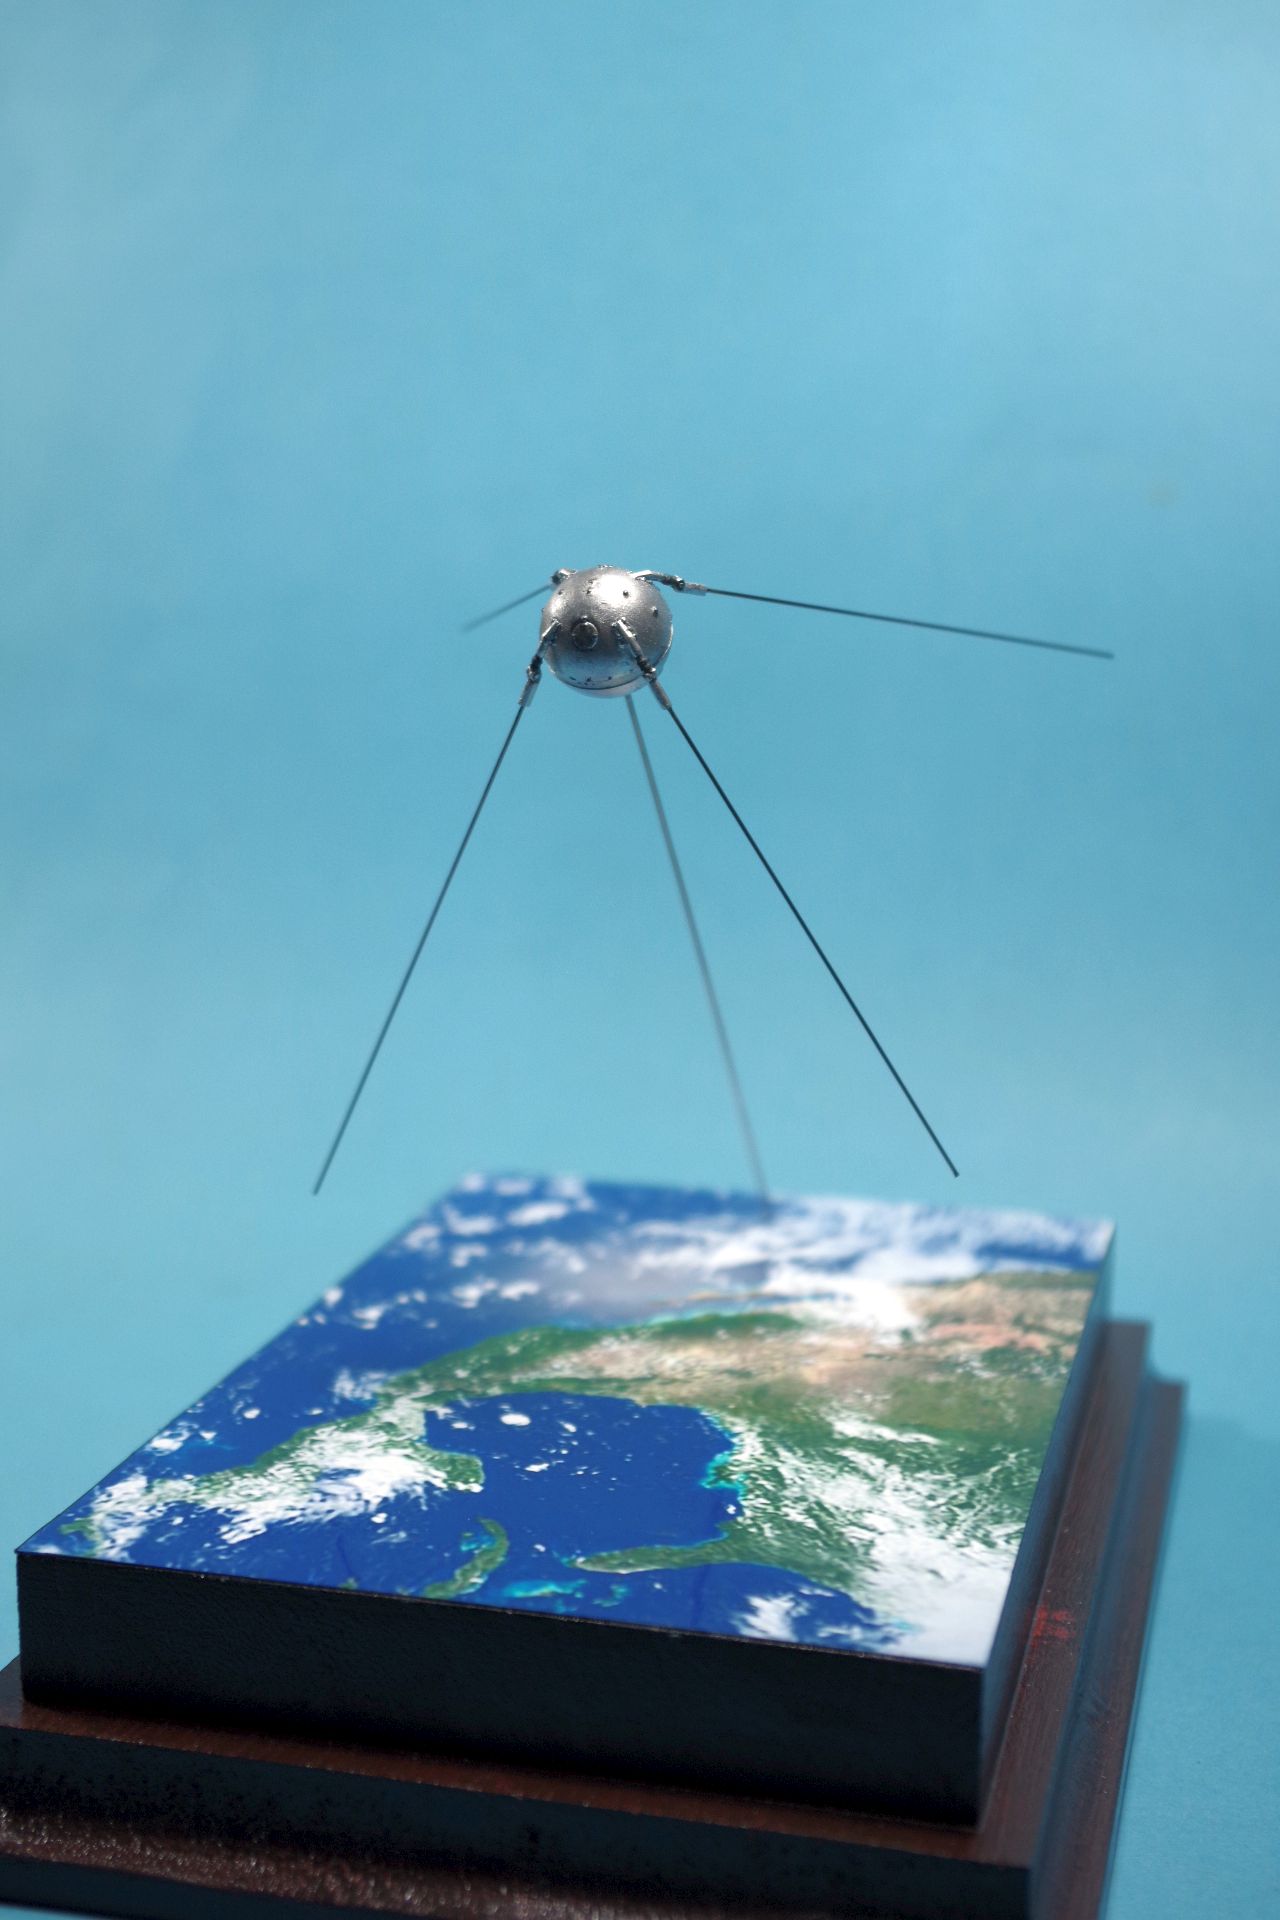
Things that worked well: Used carbon fibres for the antennas. They are strong, lightweight an flexible. The right stuff for these flimsy antenna mounts.
Also learned how to print large color photos on my printer!
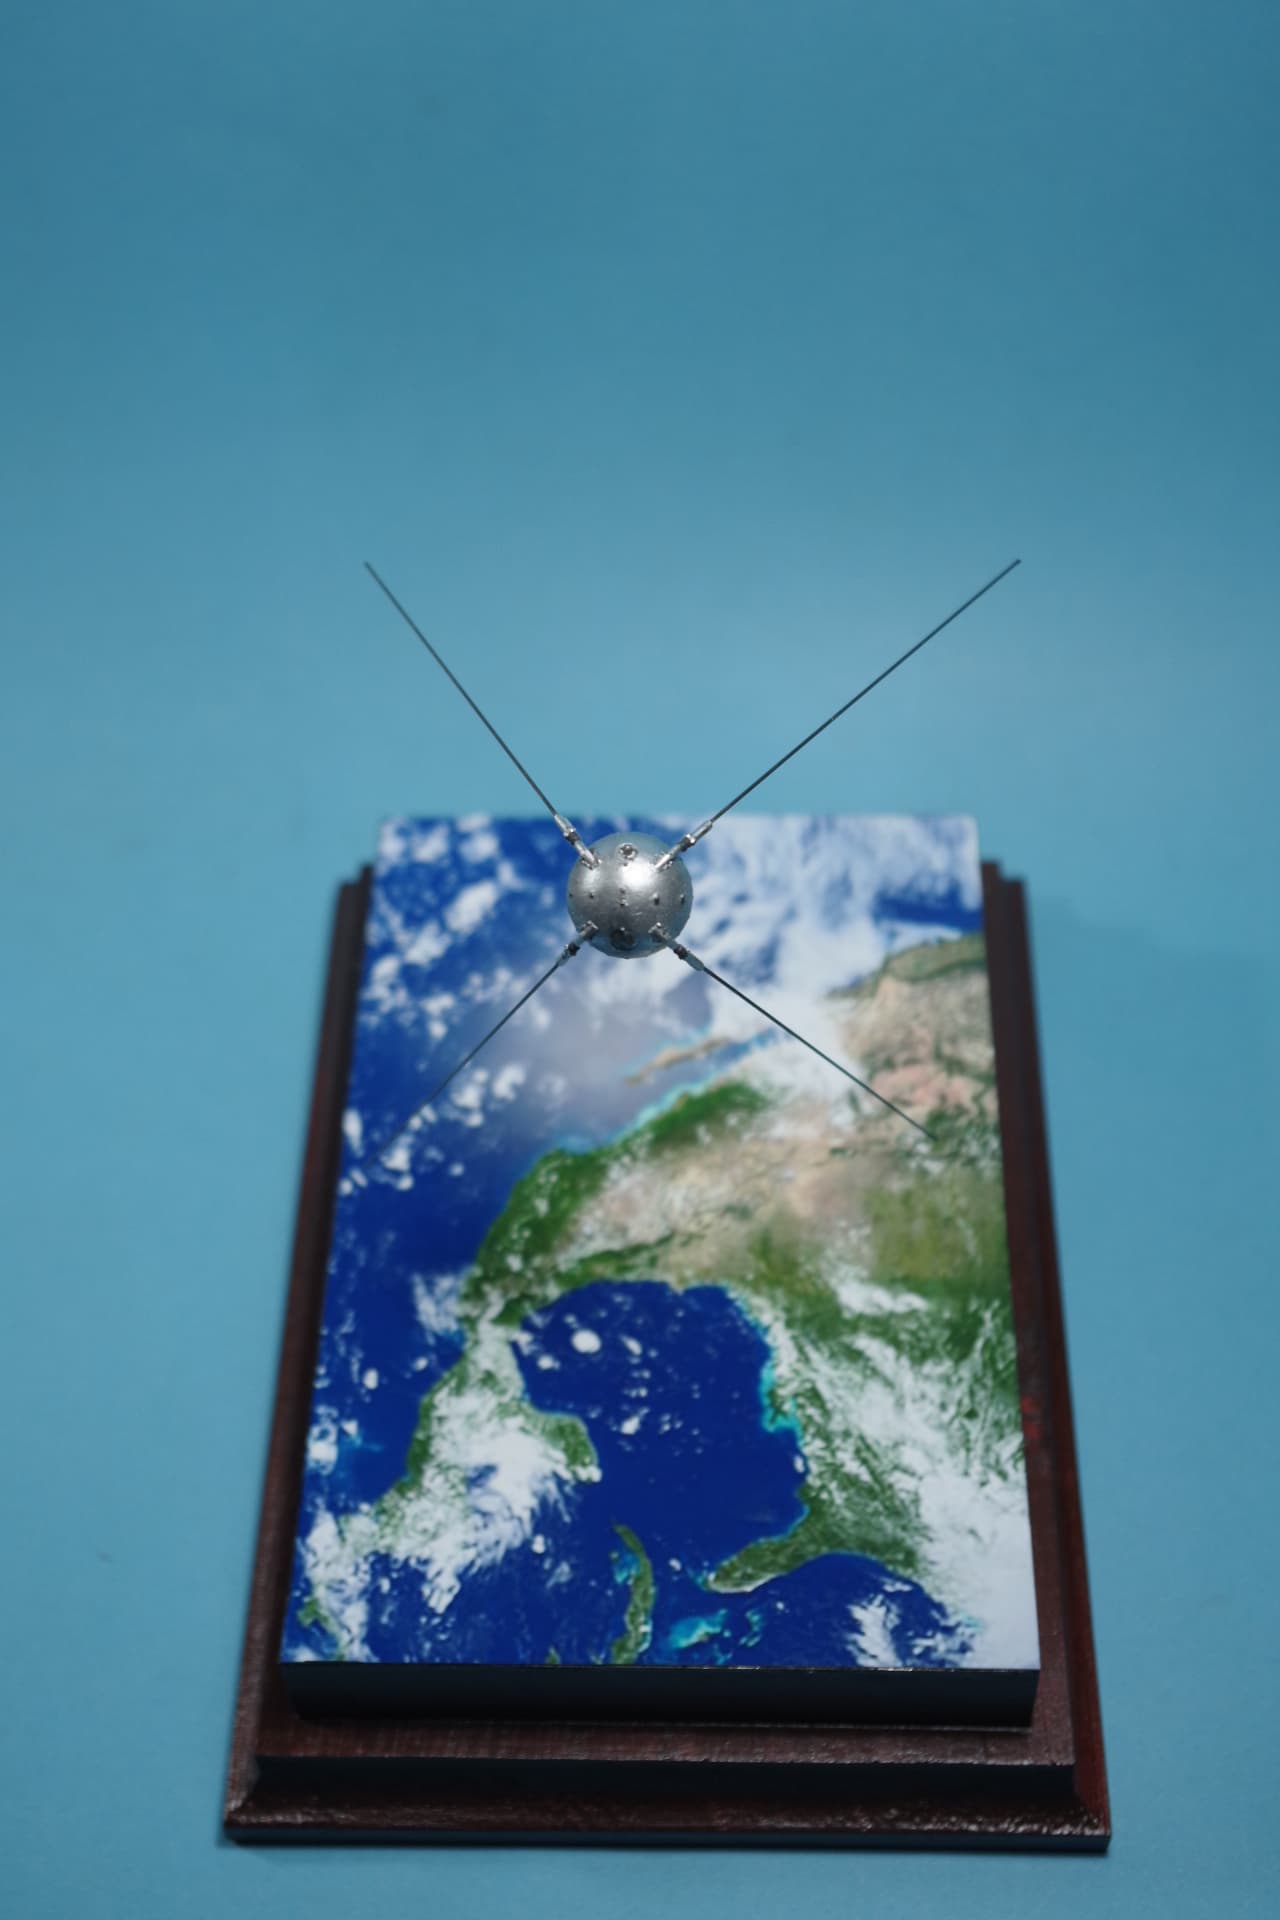
Yes, this is a photograph, printed on glossy photopaper, the edges painted black with a felt-tip pen, then glued with white glue onto the base. No varnish needed.
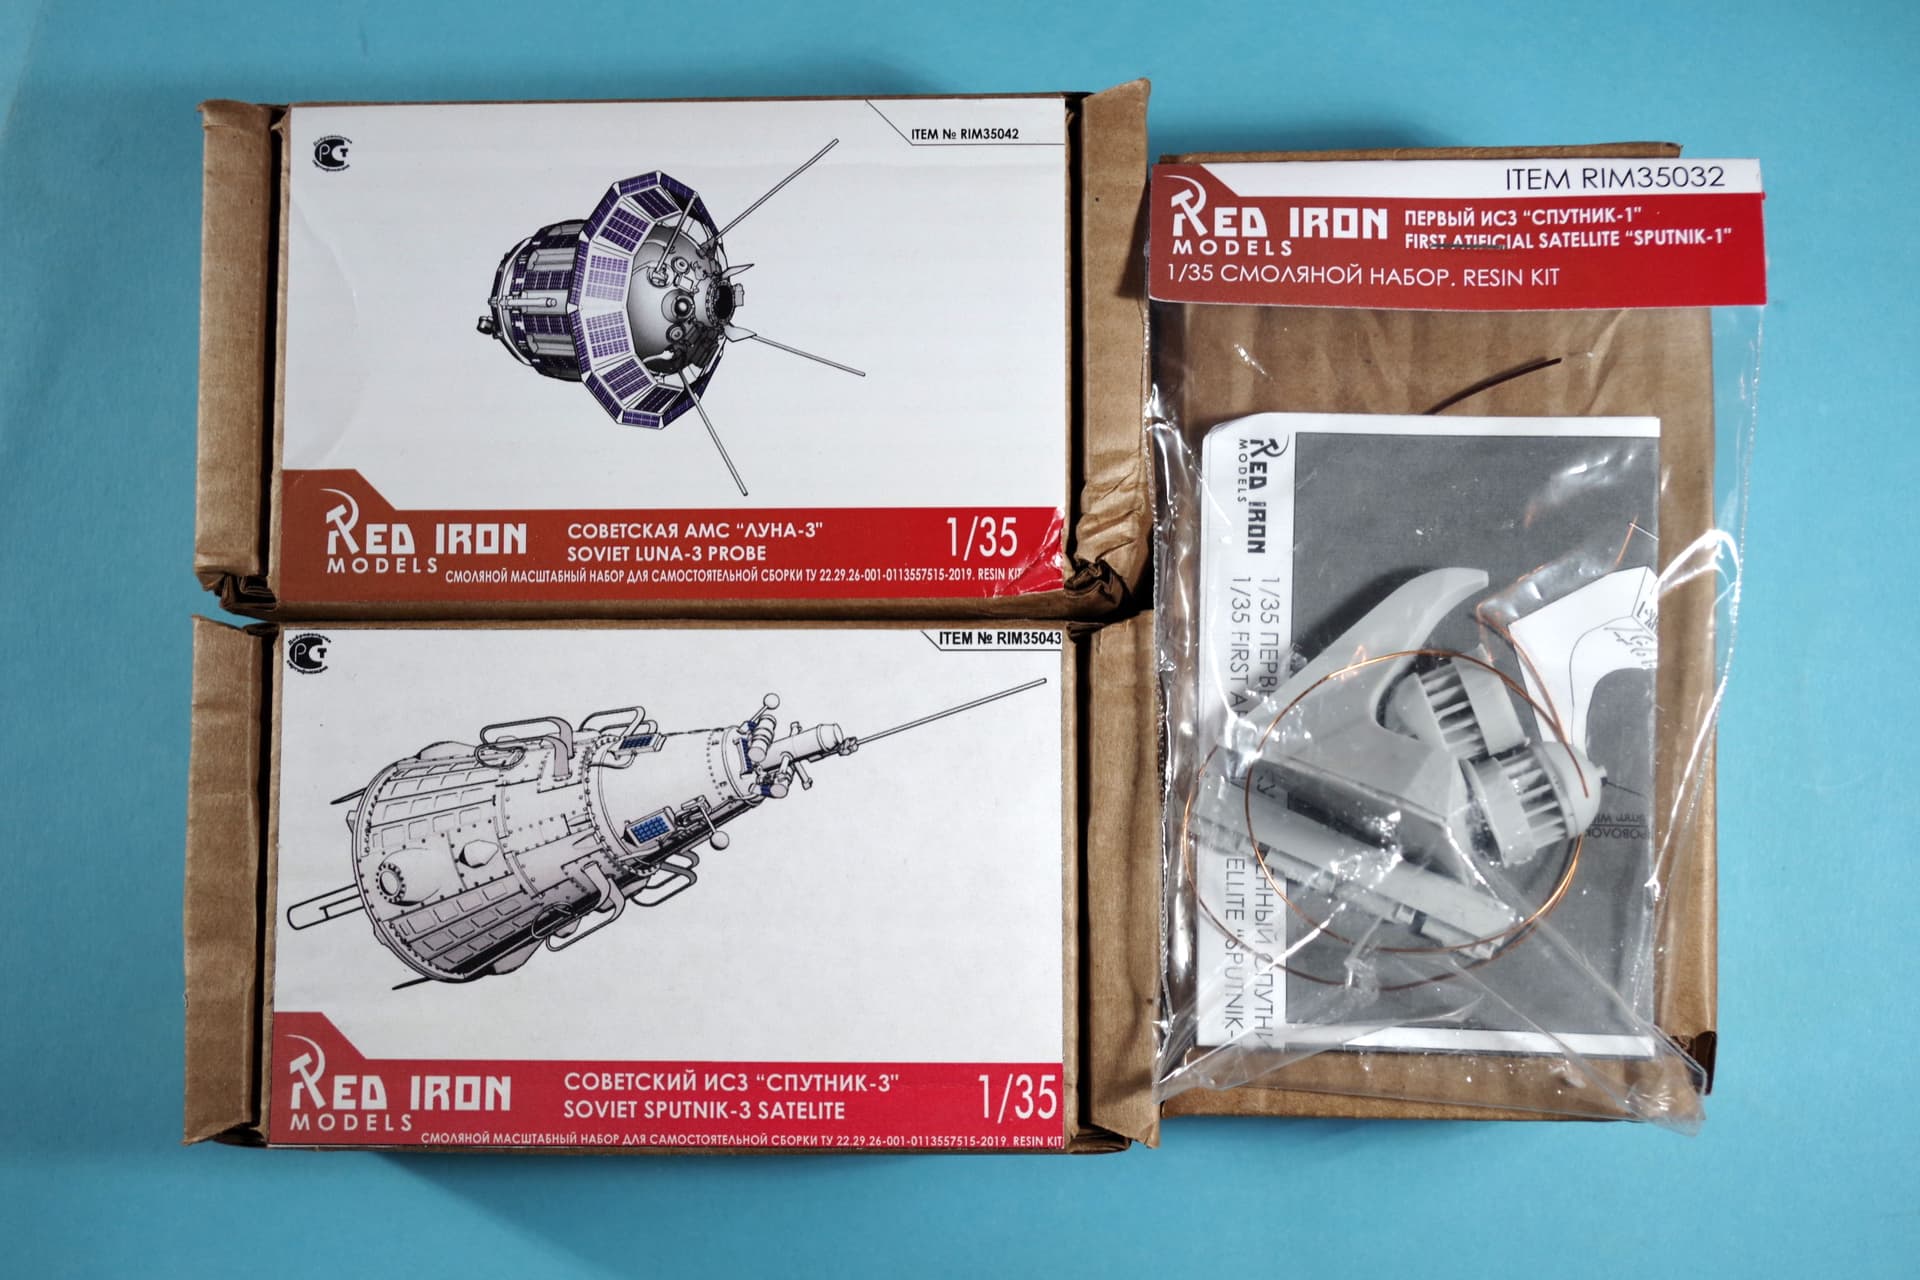
at the moment I am not inclined to build ne of the manned spacecrafts. On my list are the two other satellites shown above. I also want to aqquire the Lunochod rover when re-issued. In the stash ist Hasegawas Muses-C kit too.
Yes, the Red Iron spacecraft kits are fully 3D printed, with added photoetched parts and mayby some wire as required. The 3D resin of these kits is easy to handle. The large parts (ship bodies f.e.) are printed onto a large stub somewhat resembling the reknown pour plug of a resin kit. A rasor saw is higly recommended to cut this off! Otherwise it is easy to remove the print “legs”. Fit is good too. So if you are able to smooth out the printing lines at the surfaces these kits are highly recommended!


")

