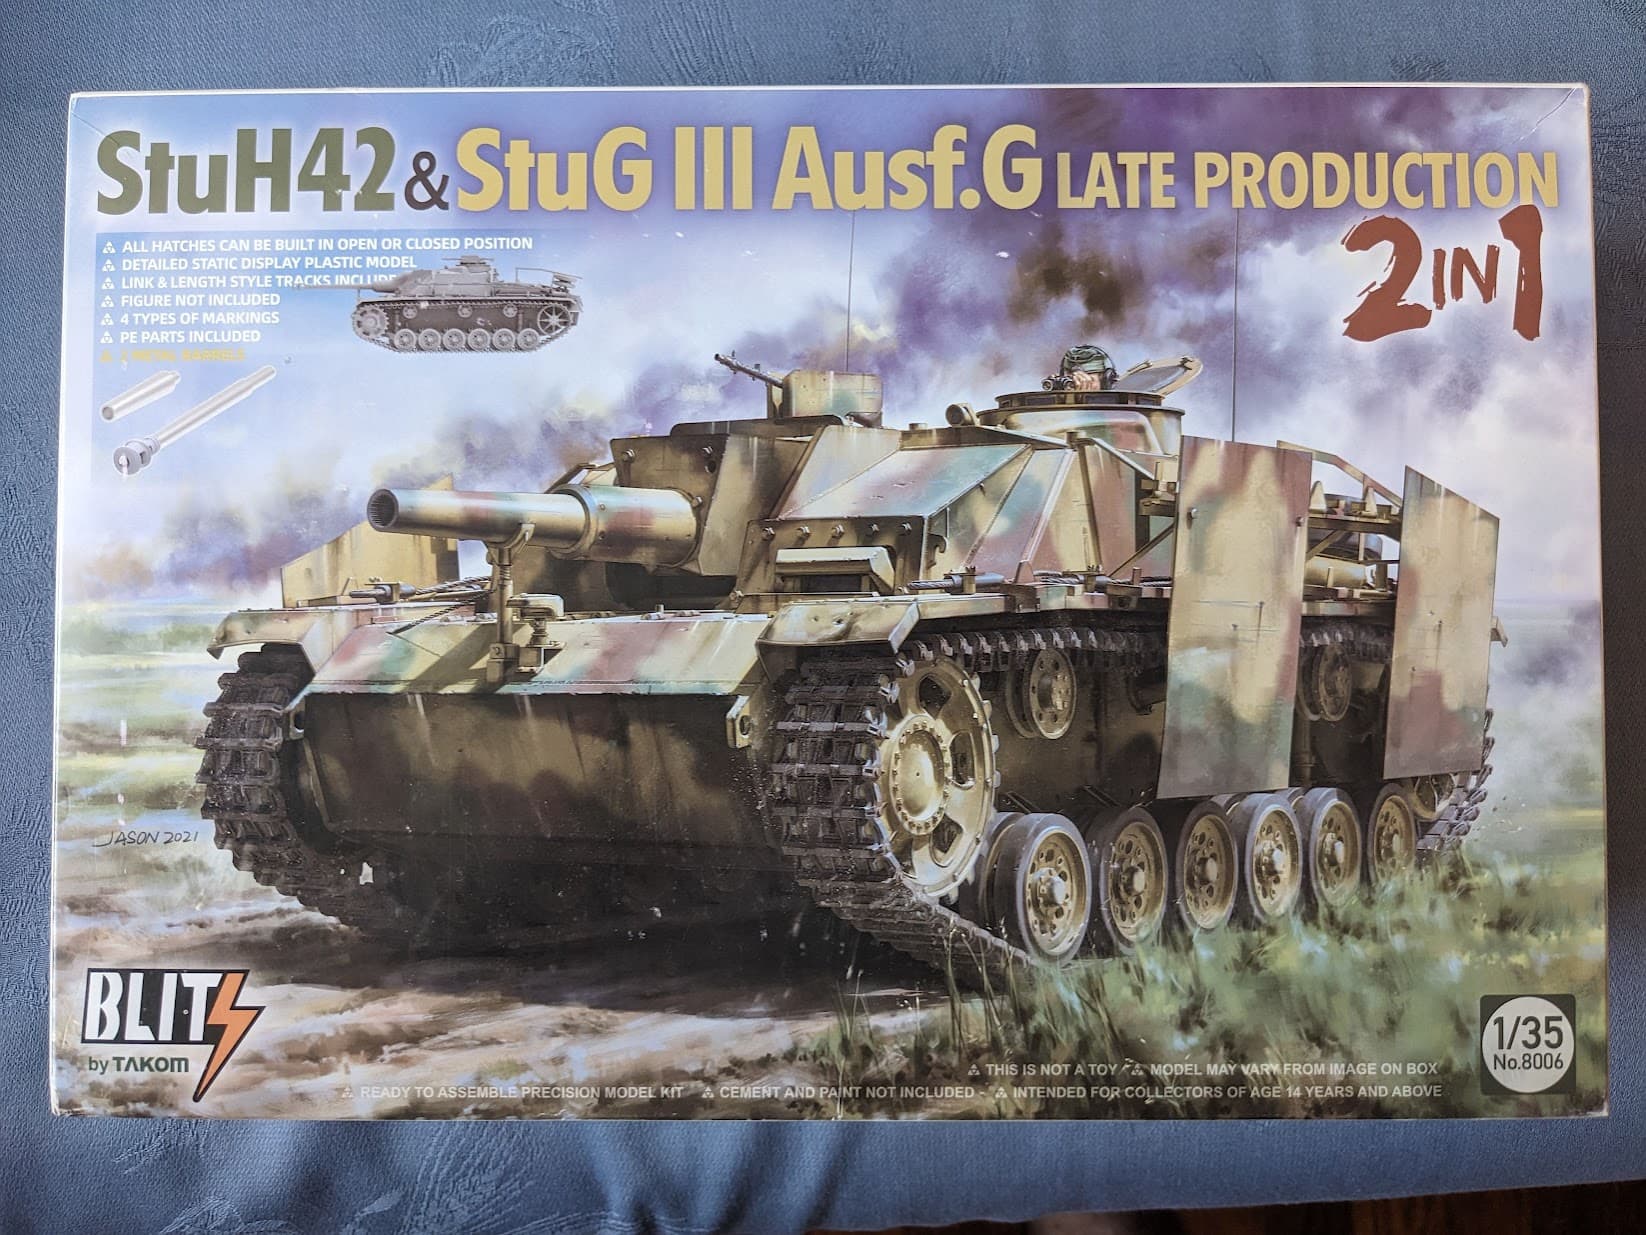
Here I will catalog the construction and painting of this kit. I will be making the StuG III G by Alkett circa mid 1944. I will also be using one or two figures from the MiniArt German tankers (France 1944) kit. I have already started on the project, and am at the point of working on the tracks. I hope this topic will allow me and everyone else that visits an opportunity to learn and offer help!
I am using the book STUG III Sturmgeschütz III Ausführung A to G (Sdkfz. 142) Enthusiasts’ Manual by Haynes as my primary reference for this build. It contains lots of useful information about the vehicle, development, and use. Lots of photos are also available
I have decided to go with the included tracks, but would like to make them removable for painting. Which is the best way to do that without gluing them to the wheels?
3 Likes
Looking forward to how this one turns out. You’d better watch out while assembling the road wheels, they are a bit of a paint to get correct. The two sides of the road wheels each have little bars that the real road wheels do, but they don’t fit together very well at all. You should probably trim a bit off them so they don’t touch at all the get a better fit. That’s the only real problem with the Takom Panzer IIIs I’ve noticed.
As for link and length tracks, the easiest way I’ve found to work with them is to glue them together off the model, usually in sections, until I have the whole track run around the suspension, but leaving the last links unglued so I can pull the tracks off the suspension as a single piece.
2 Likes
Thank you! I have already gotten the road wheels done, and have done my best to get them to stick together with good alignment. I’ll take another look at them tomorrow to see if the bond went well. I’ll try out your method for the tracks. I am using Tamiya Extra Thin, so how much cement should I use when assembling the tracks off of the model?
1 Like
Well, for the Panzer III/IV tracks, I tend to try to have just enough glue on the glue brush that I can see the glue wick along the seam. Don’t soak the join in the glue, but don’t have the brush too dry either so that you would only get a small amount of glue in one side of the track run. You’ll probably have to experiment a little.
2 Likes
Then do I leave the tracks wrapped around the road wheels until the glue dries?
1 Like
Understood, thank you. I will tack the wheels in place with some school glue and proceed with your method.
1 Like
To assemble glue together indy link or link and length tracks i use slower glue. I use the Testors in the black bottle with the silver metal dispenser tube or Revell Contacta Pro in the similar bottle. This way i can apply the glue in two little dabs, then add the track piece. I can finish the whole run before the glue is dry. Then I wrap the track around the wheels and allow it to dry overnight in shape.
1 Like
Unfortunately, I only have Extra-thin, school glue, and CA glue, so I’ll work in sections, I guess.
1 Like
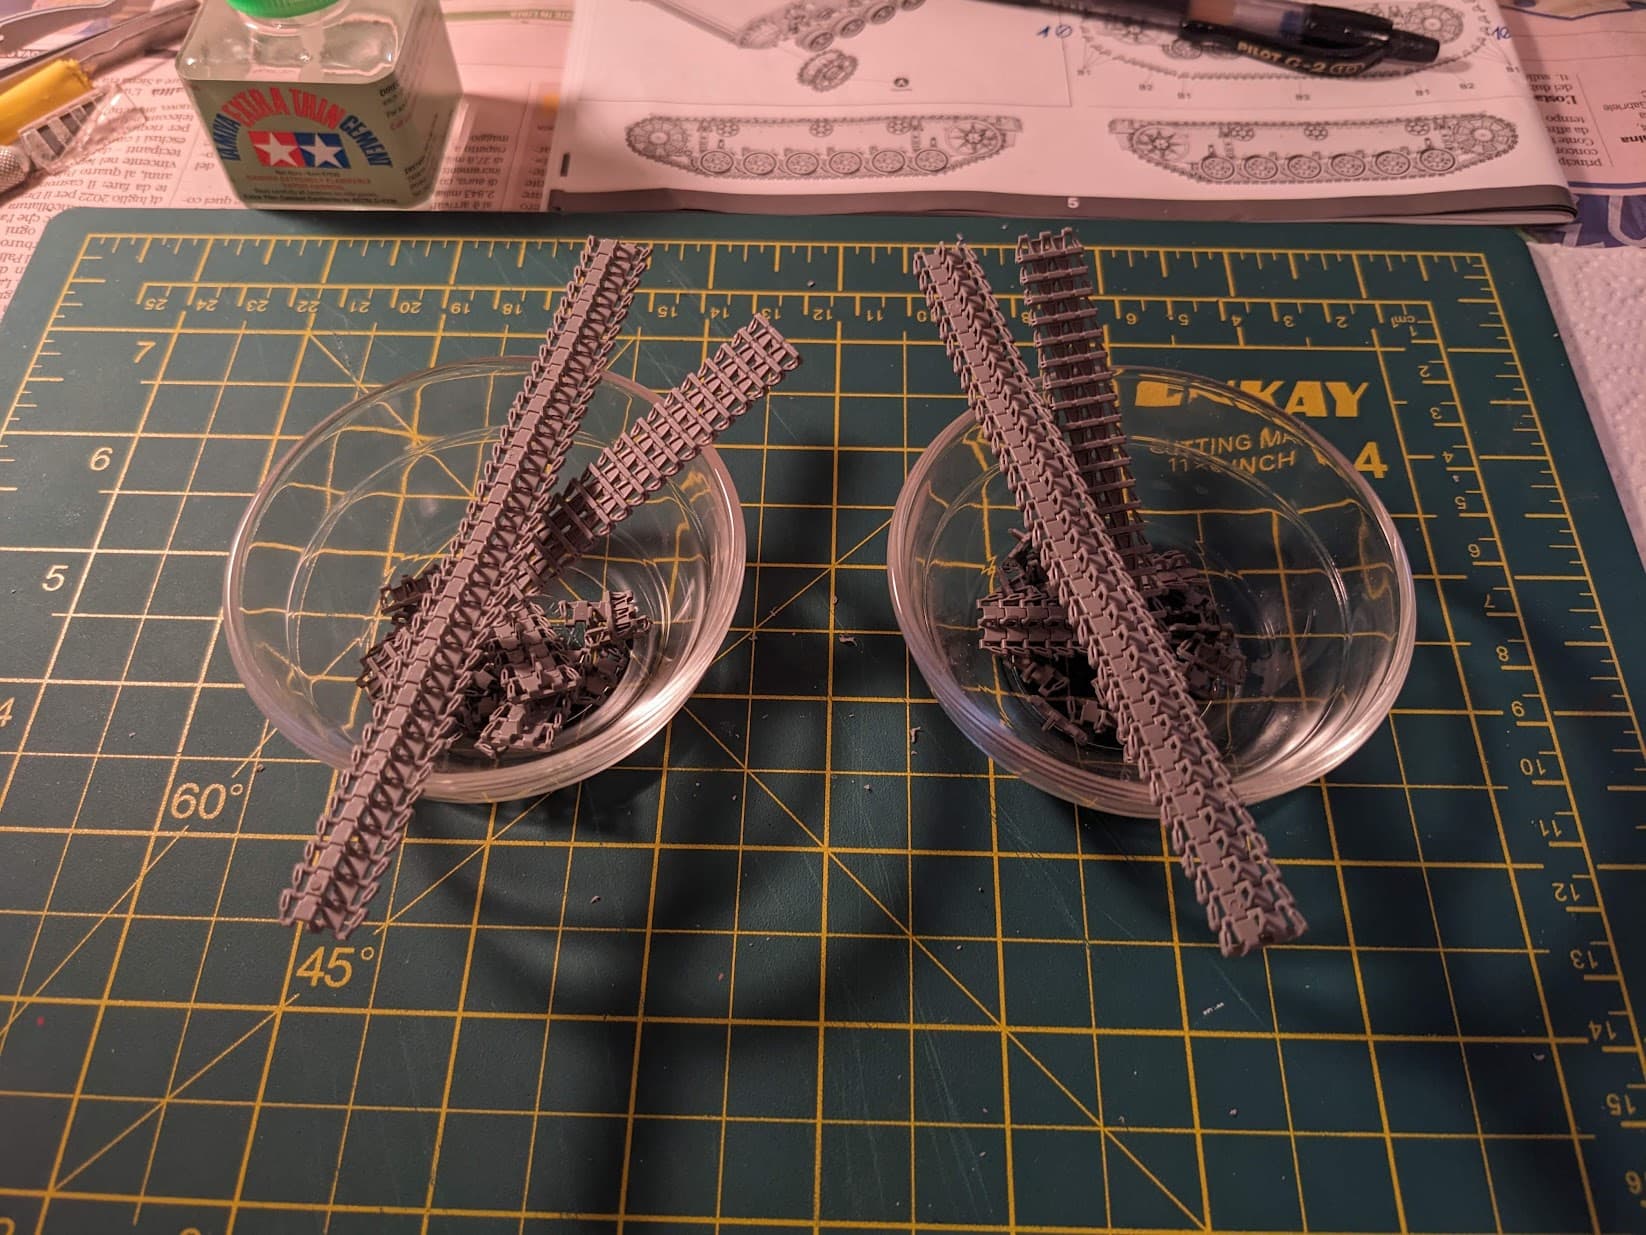
\I have assembled the first set of tracks. I hope that they set in place without sticking to the road wheels. I’ll check on them later.
1 Like
It worked! It seems that there is enough working time to glue the whole track together and then wrap it around the wheels.
2 Likes
You sound surprised. You think we’d give out bad advice around here?
2 Likes
I was surprised because I expected the tracks to set quickly and there to be a problem of the tracks solidifying before I could wrap them properly around the wheels. Instead, the process wasn’t as fast as I thought, so I was actually able to do it. I trust most of the advice I receive here, and my surprise came because I didn’t really know what to expect.
1 Like
You know I’m just kidding with you, right?
Fine then. >:( I’ll leave! You’ll NEVER get me as a customer again!!!
(\s)
1 Like