As Bob Ross didn’t say, every Stryker needs a friend, so gotta give him a friend.
……… and here it comes: the Trumpeter M1135 Stryker NBC RV!!!
This one should accompany my recently built M1133 Medical Evacuation Vehicle ( http://www.armorama.com/modules.php?op=modload&name=SquawkBox&file=index&req=viewtopic&topic_id=283111&page=1 ) in a possible diorama.
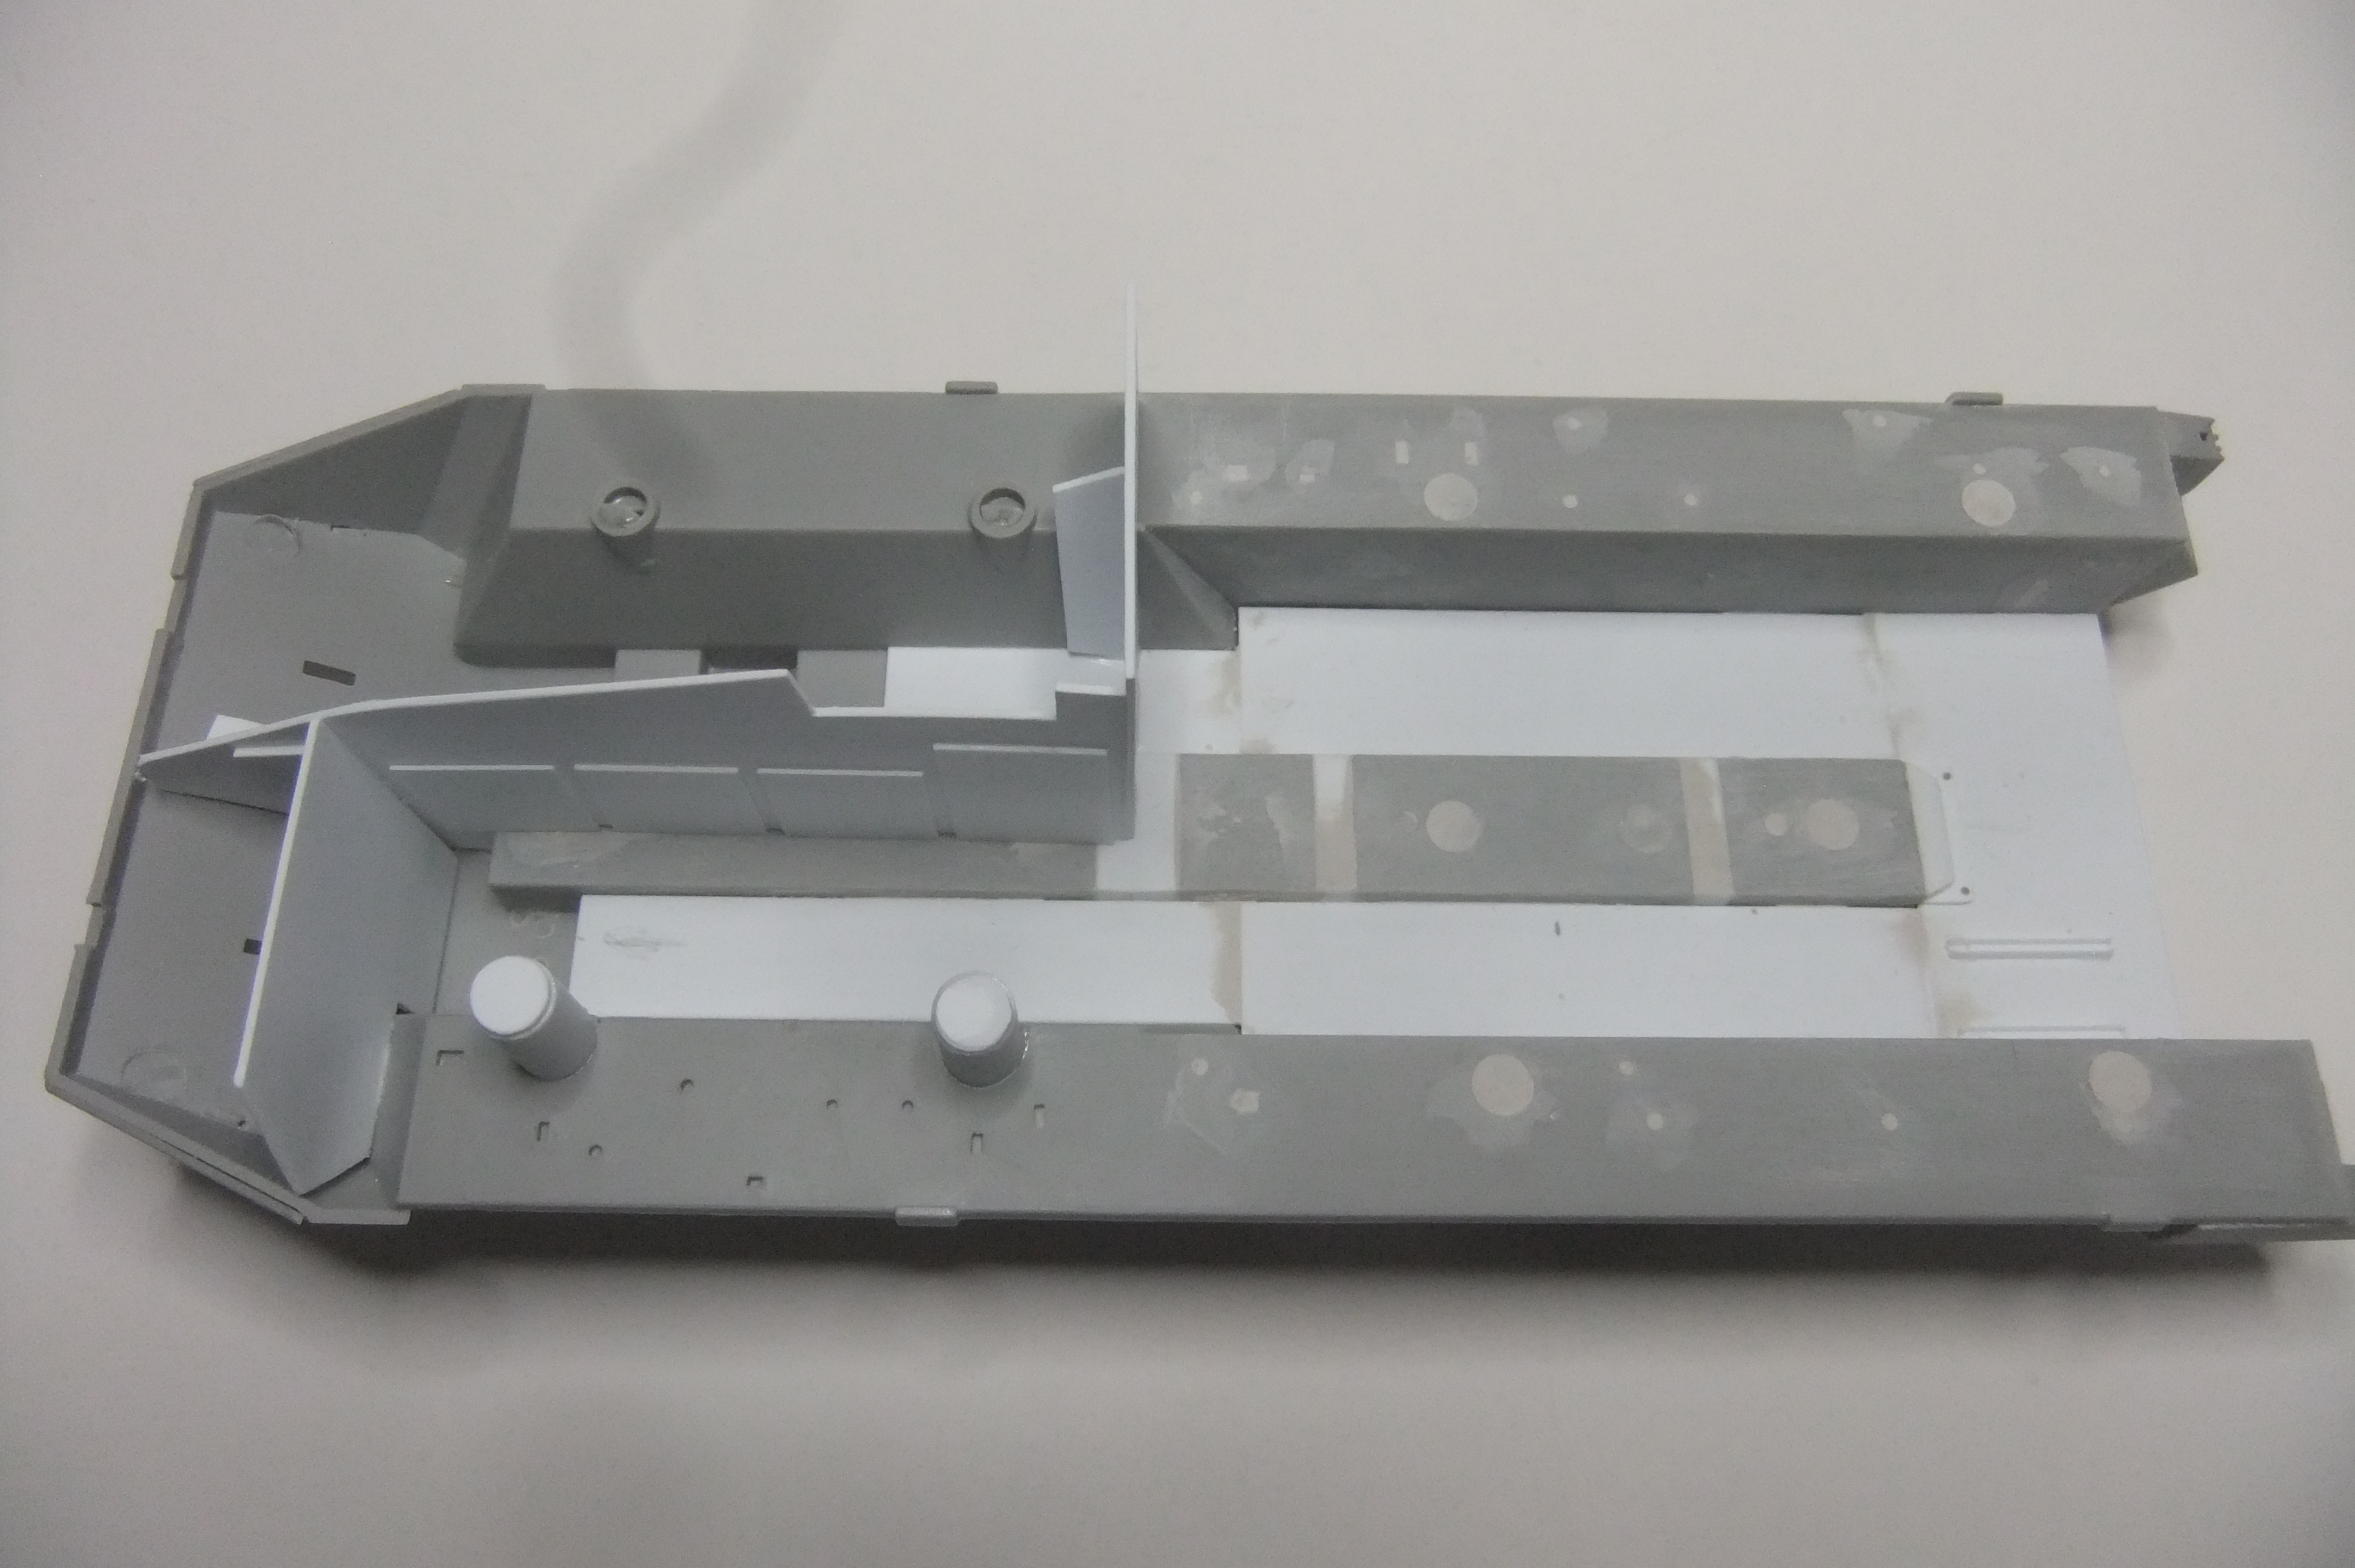
As usual, I started with the running gear and once more steered the two front axes.
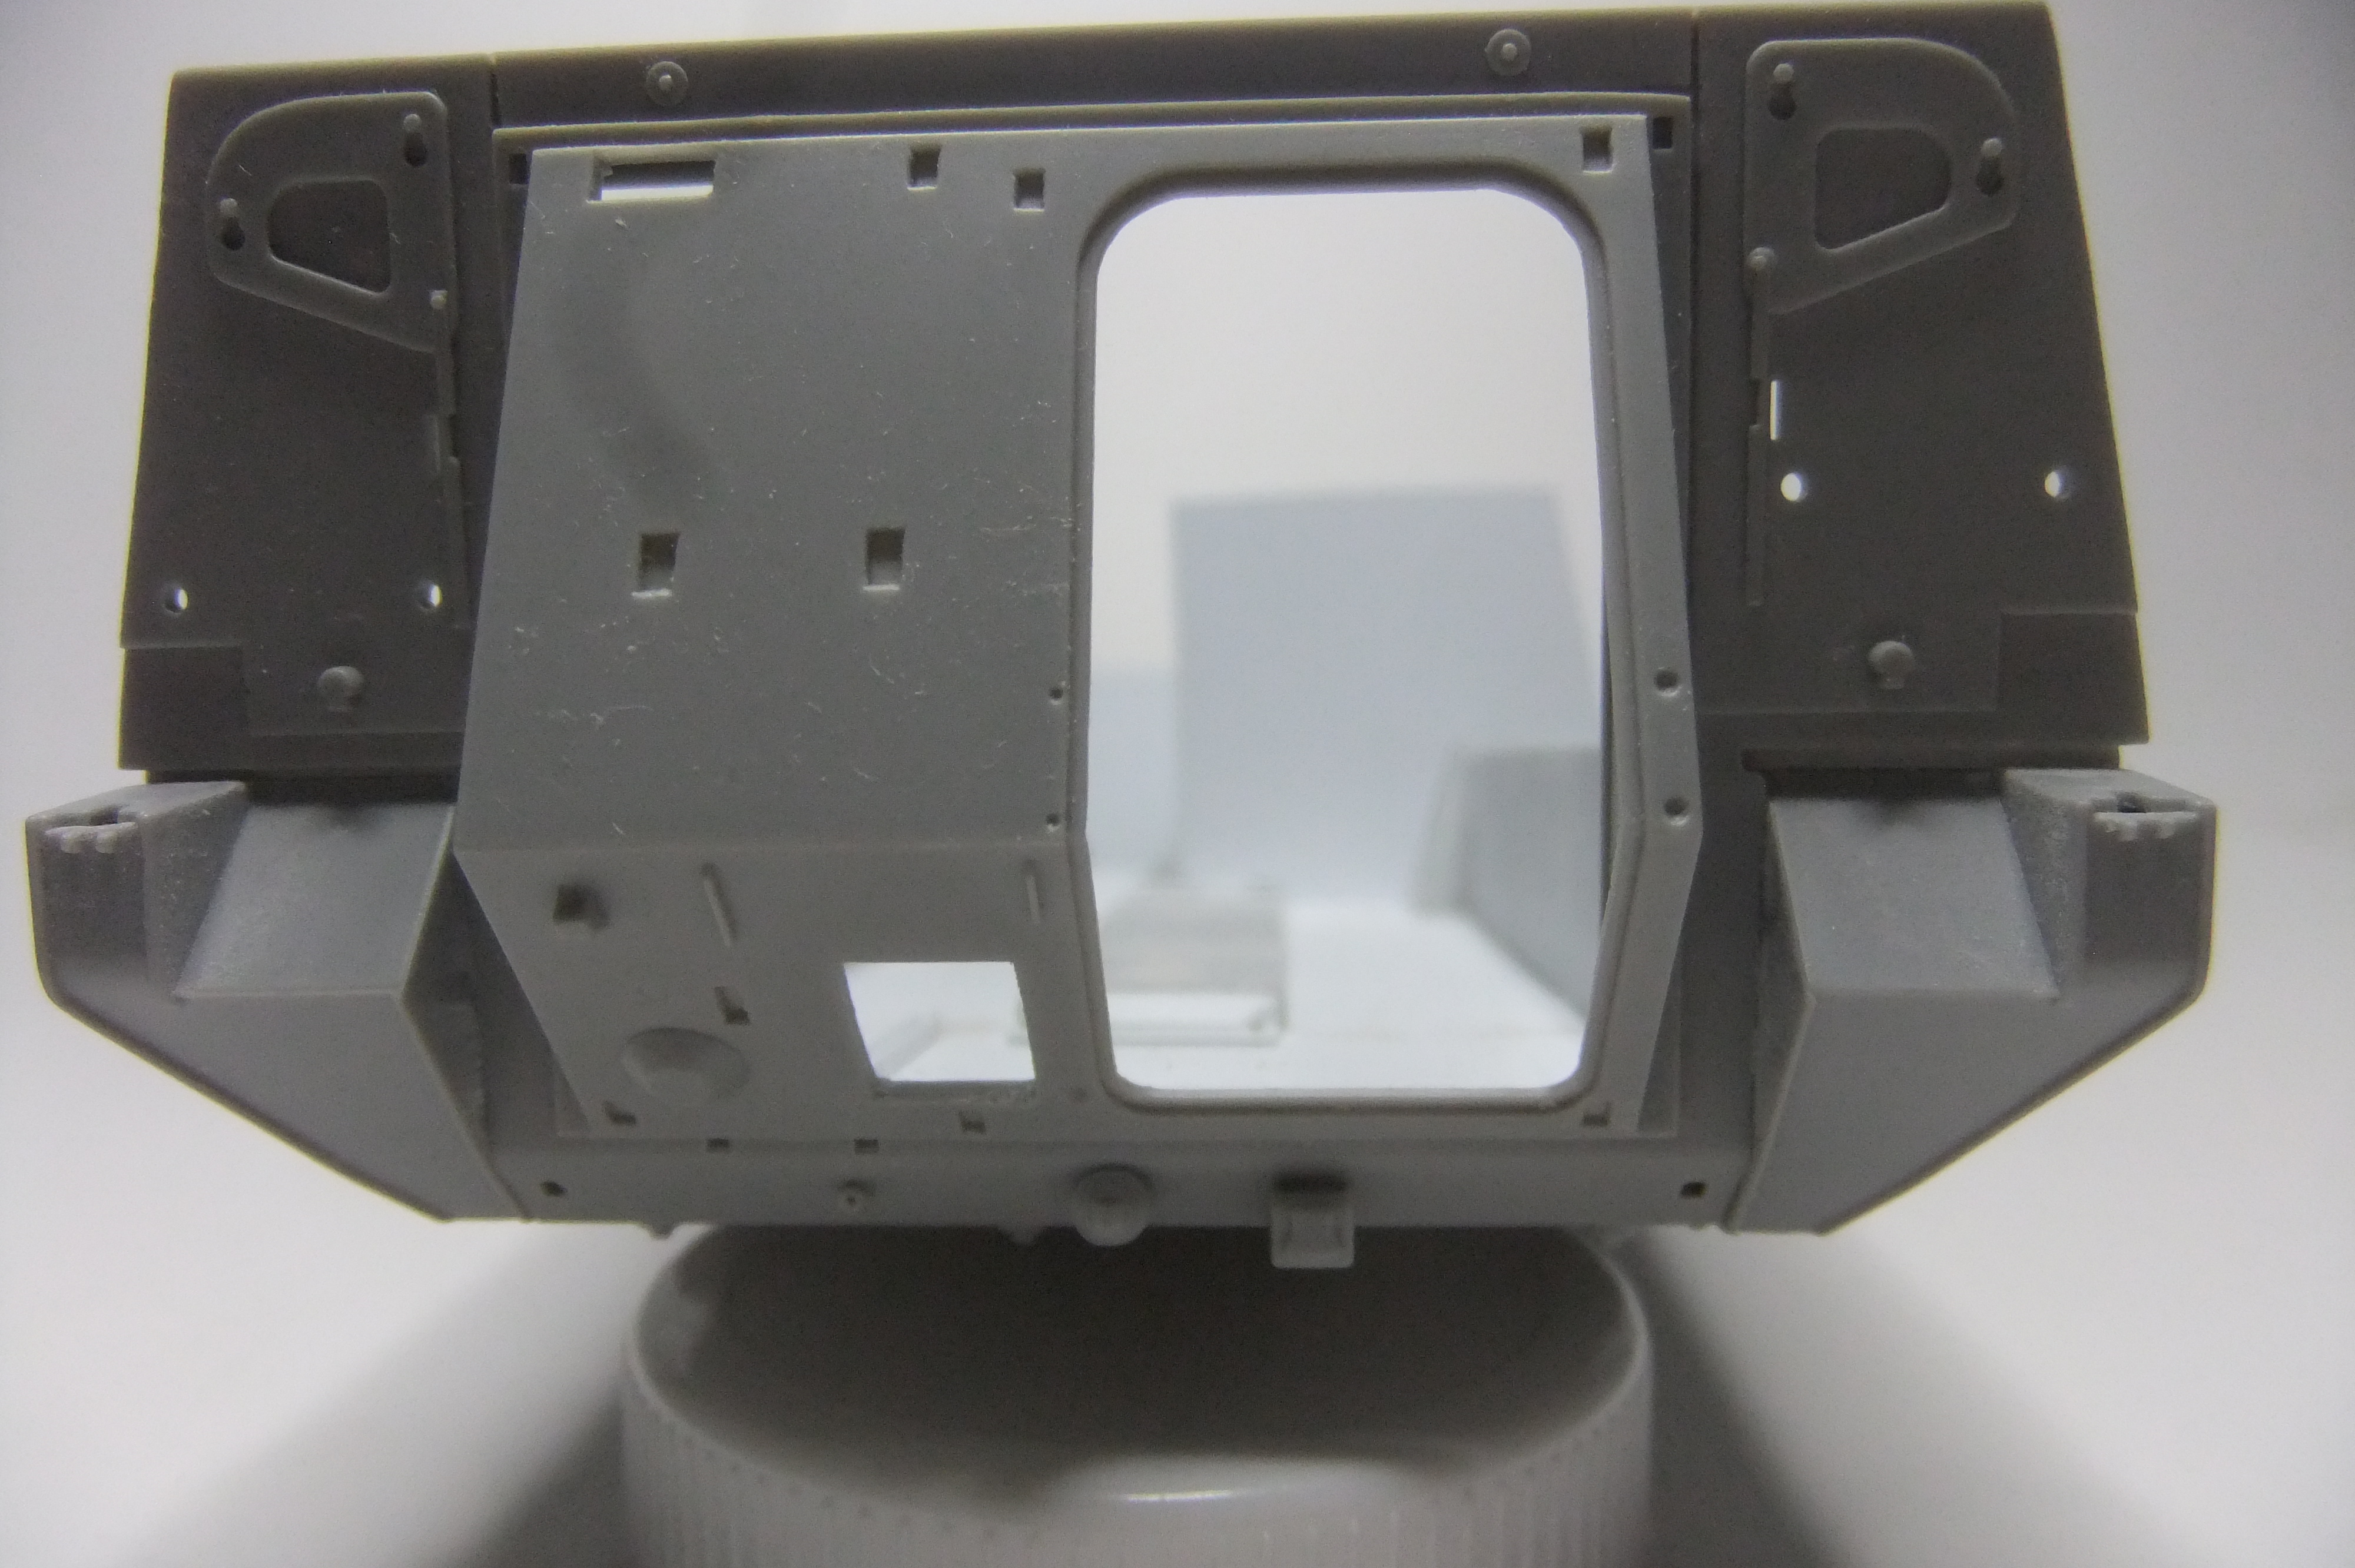
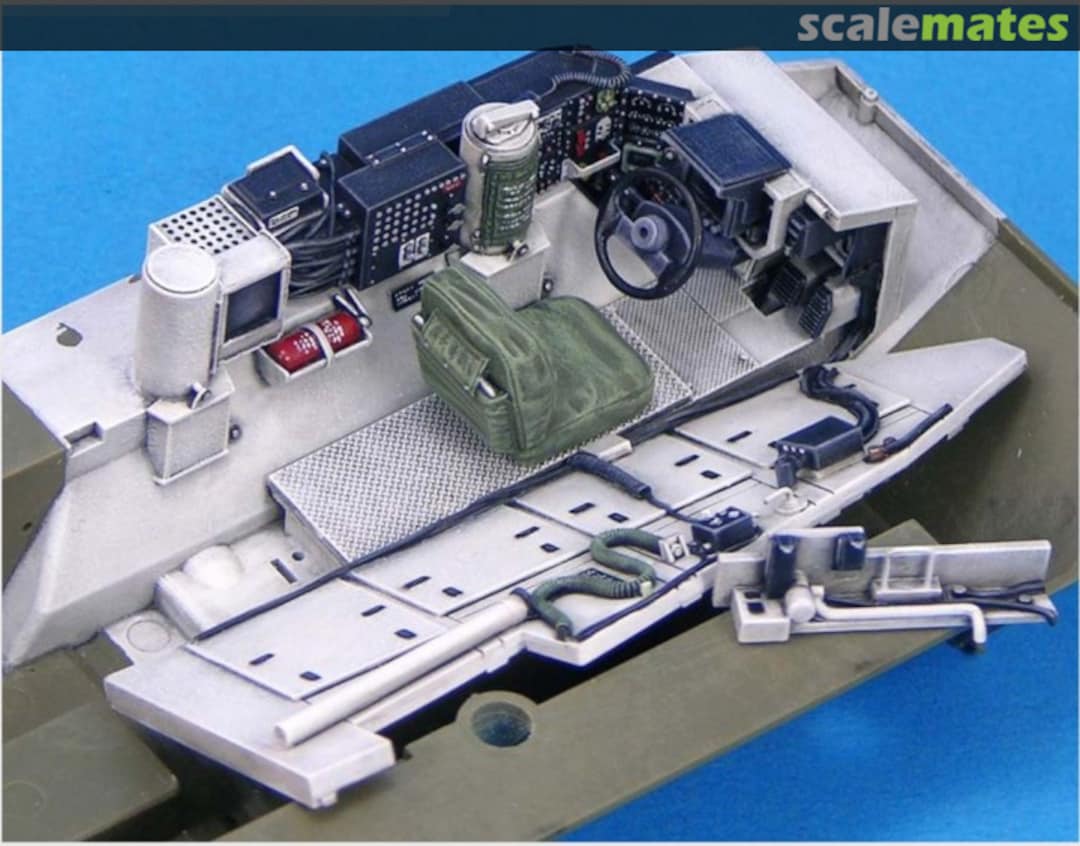
As I intend to show this Stryker with open hatches, interior parts will be necessary. Therefore I will use parts of the Trumpeter M1129 Stryker Mortar kit. And, of course, I will have to make some parts on my own.
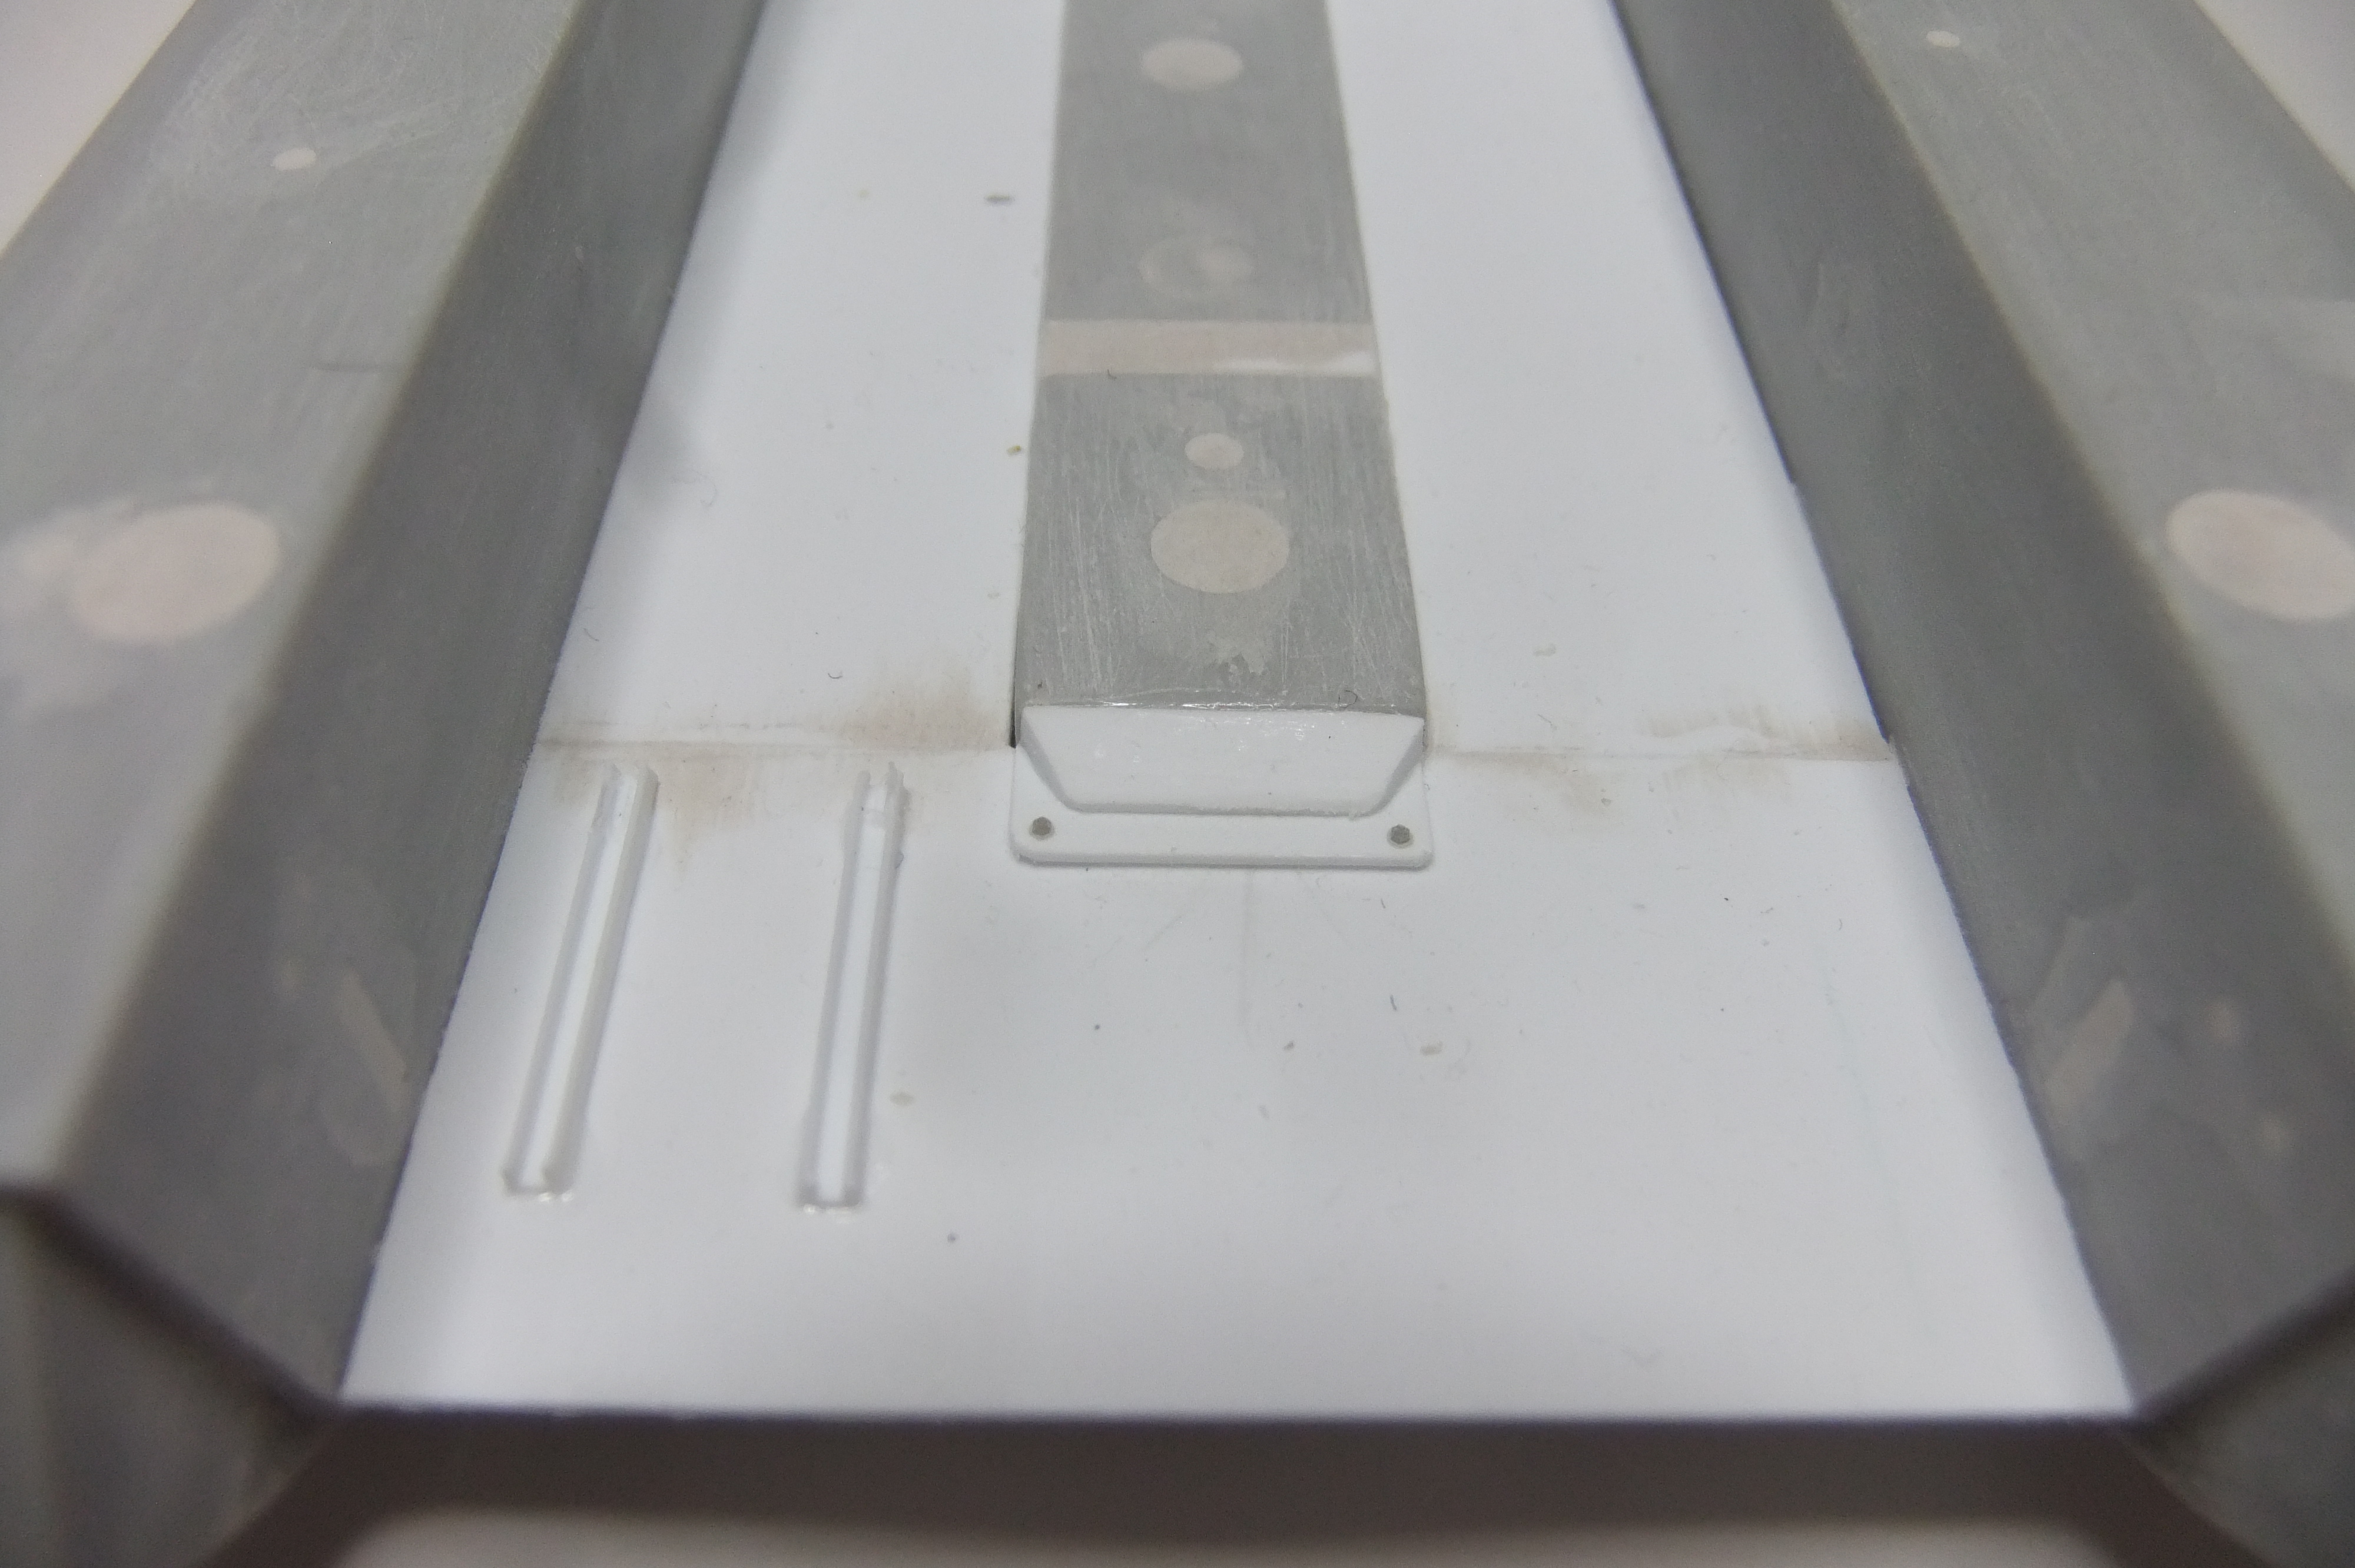
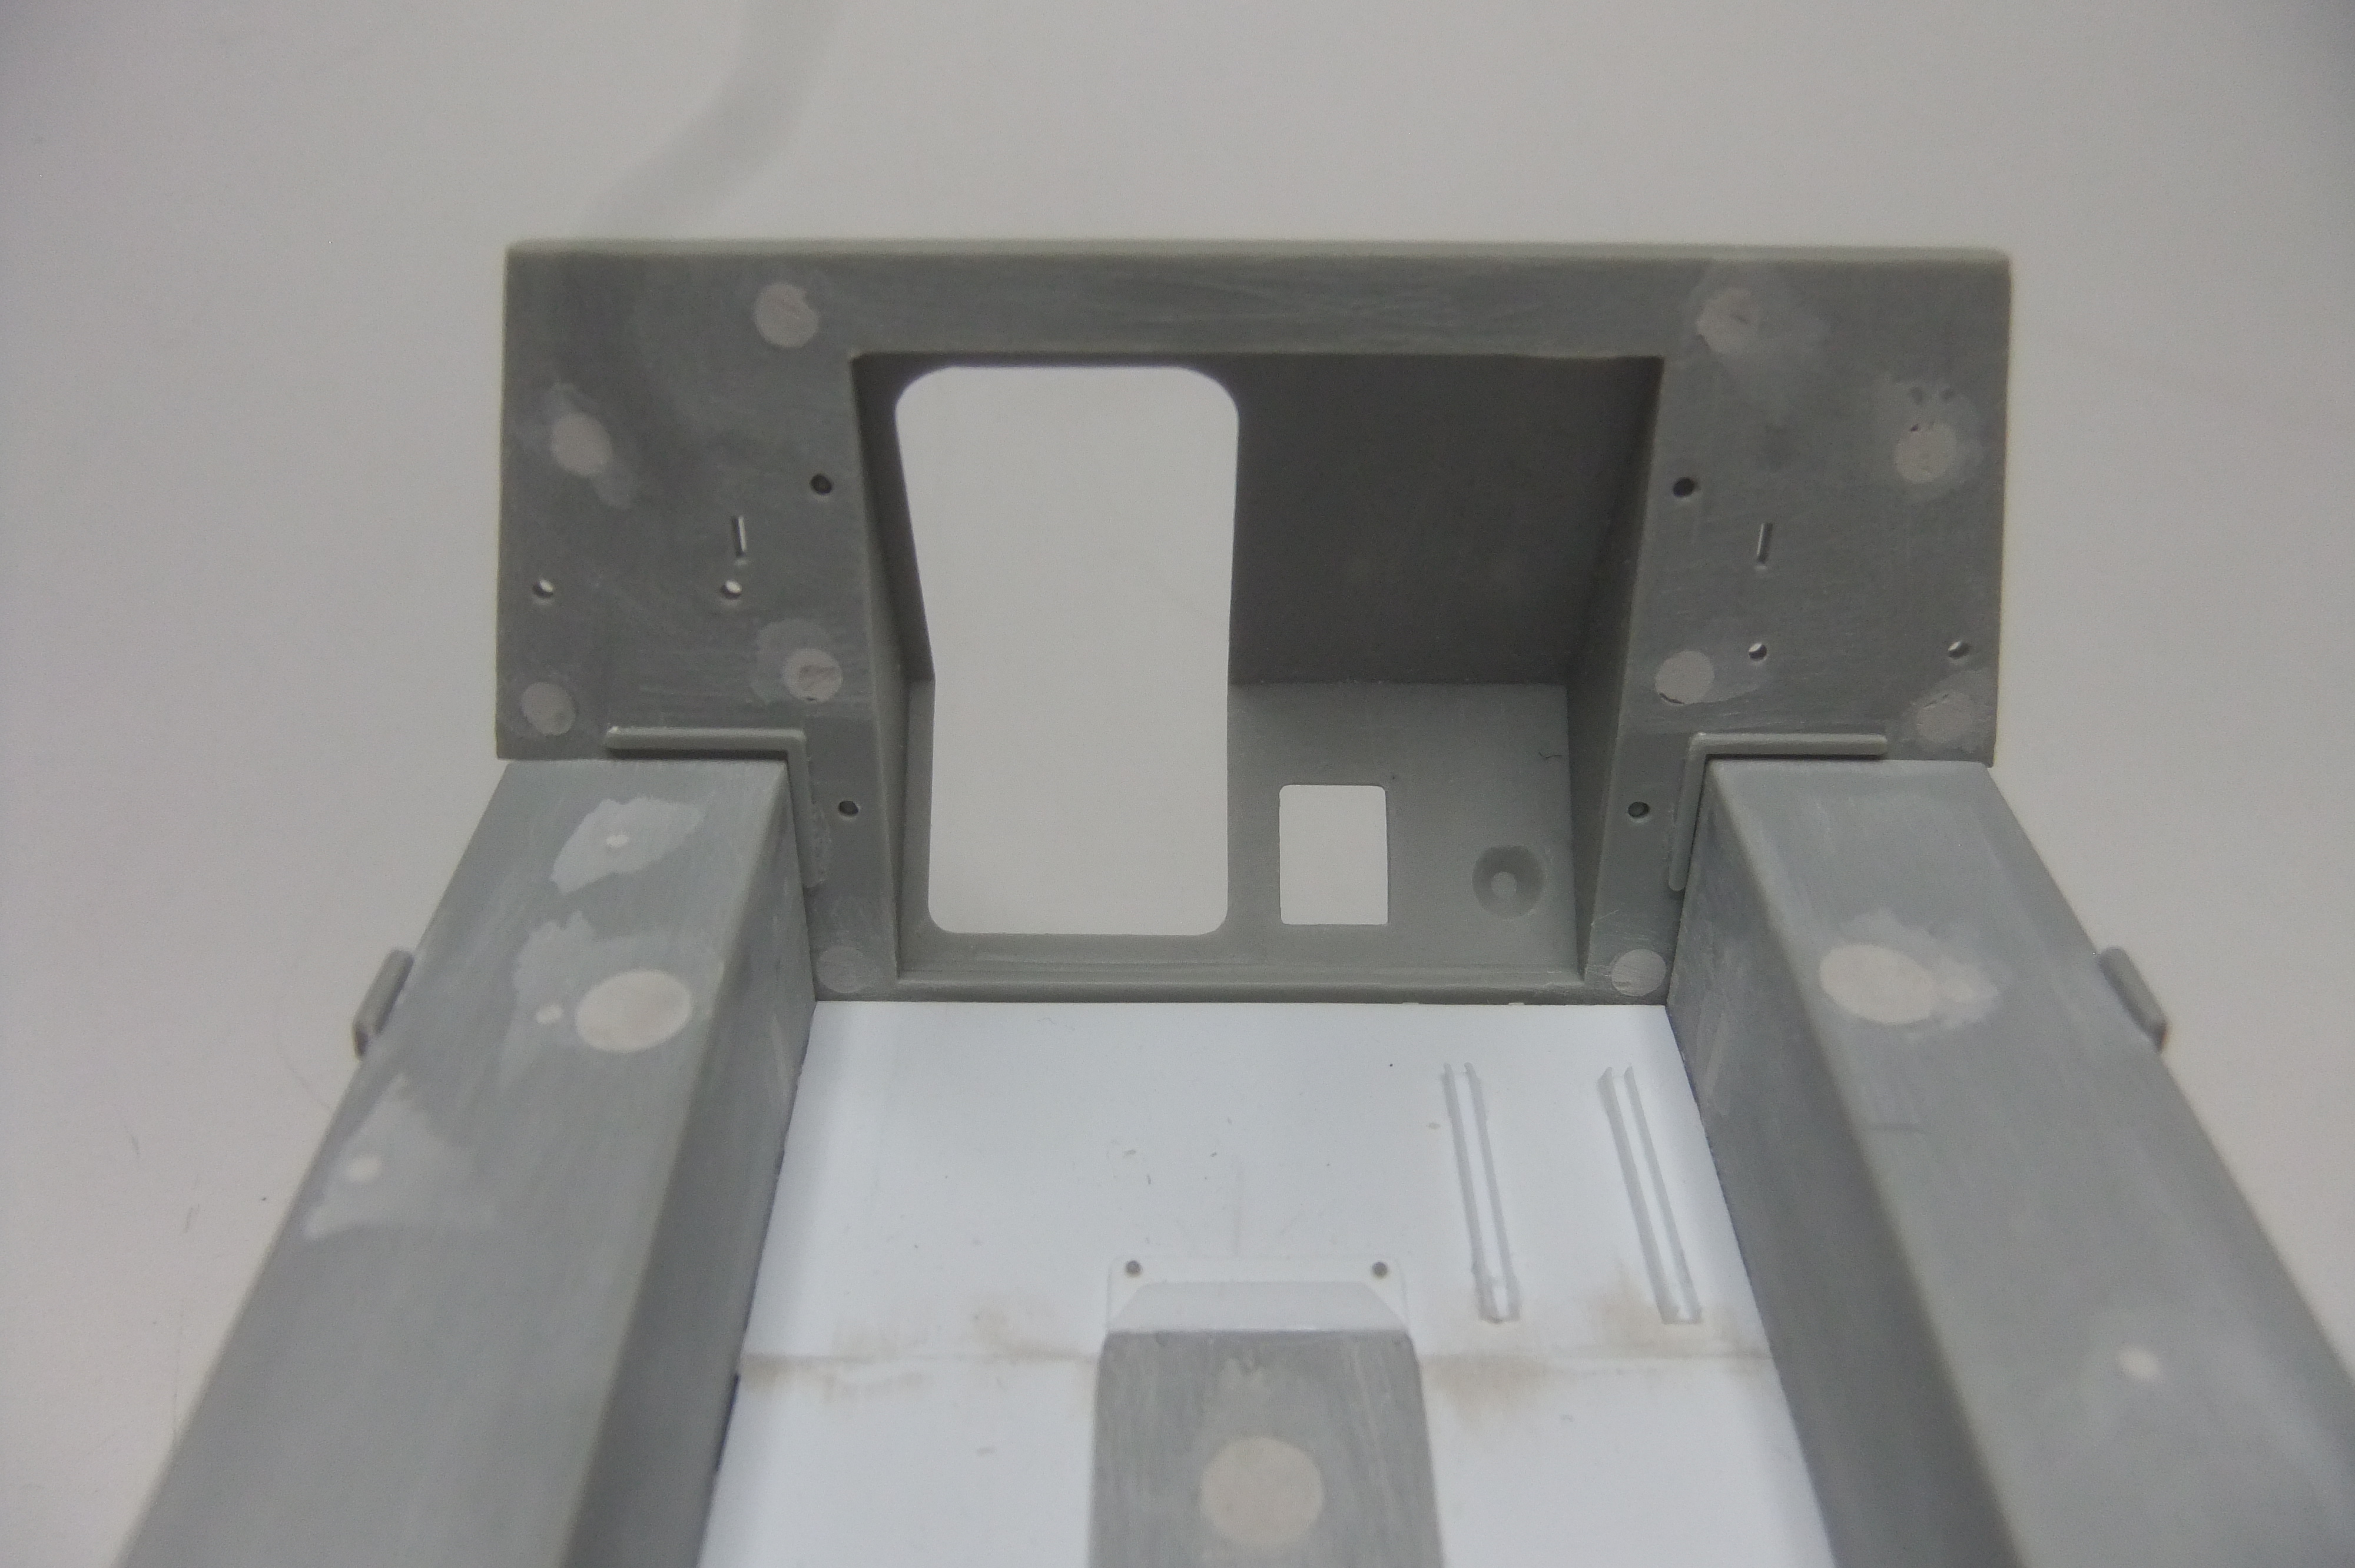
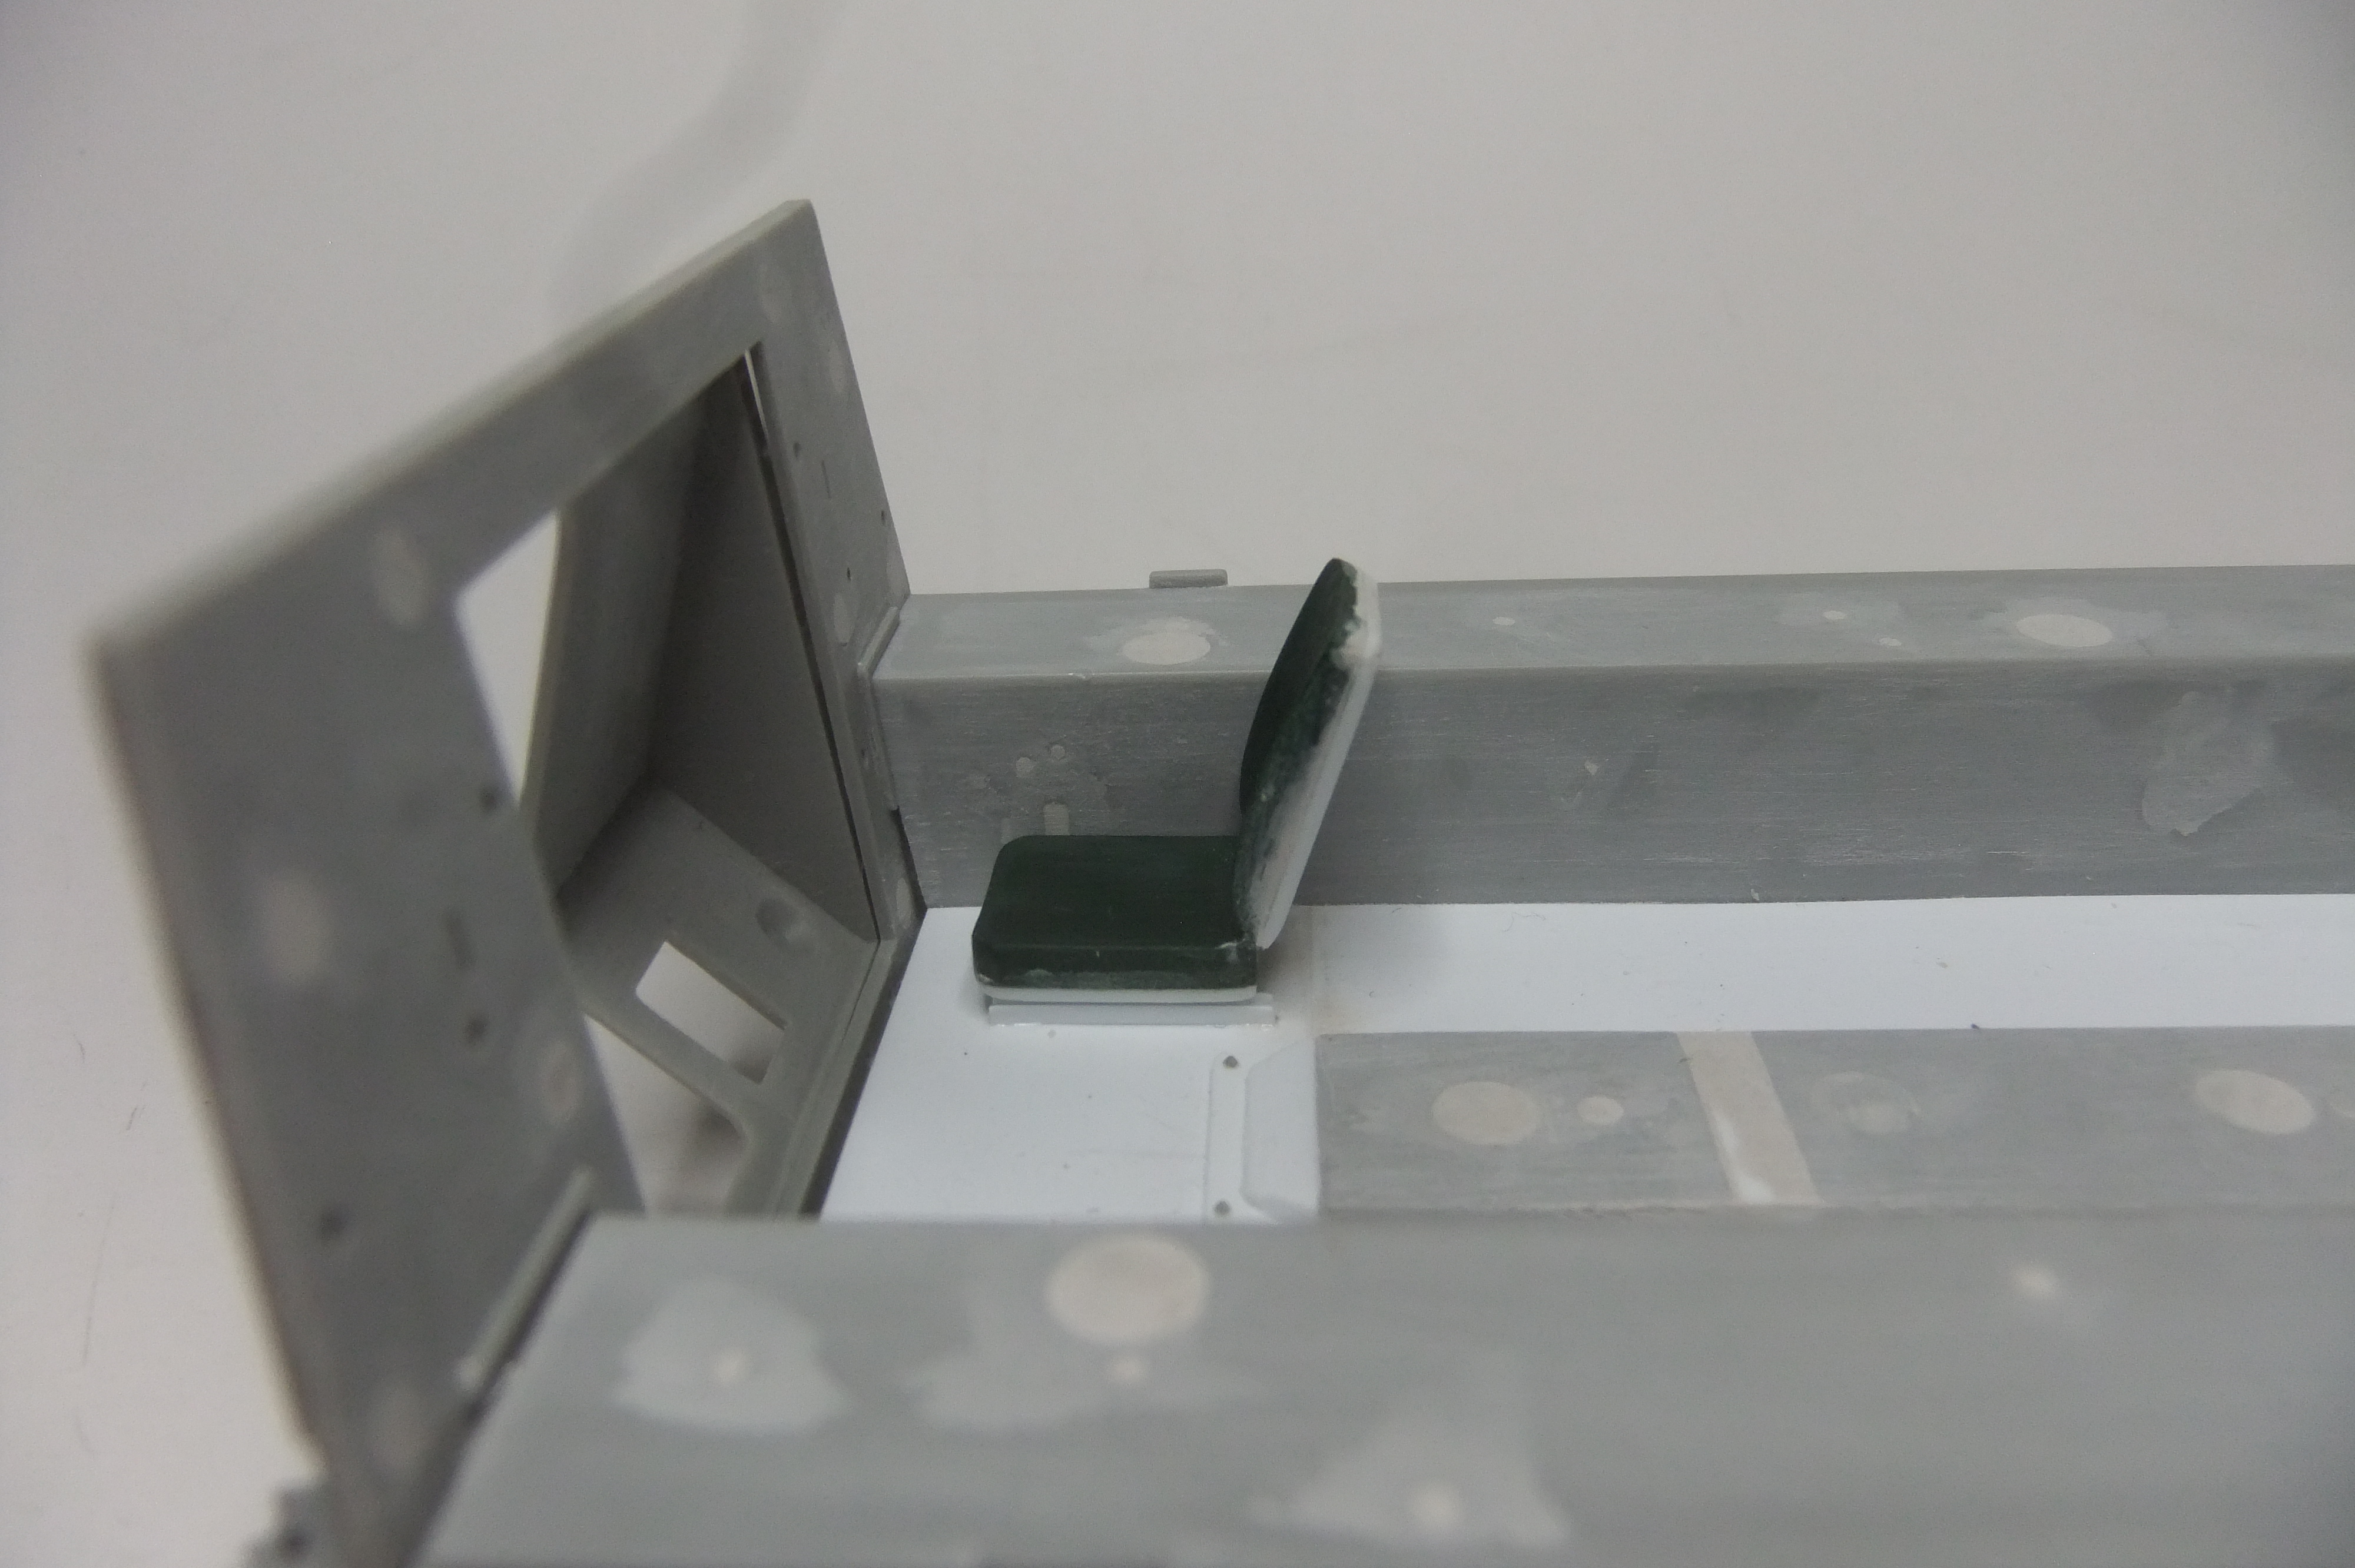
This time I paid some attention to the vehicle’s floor. I wanted to bring it to the same height as the open two-part access door. I did so by gluing sheet panels on the structure of the kit’s floor.
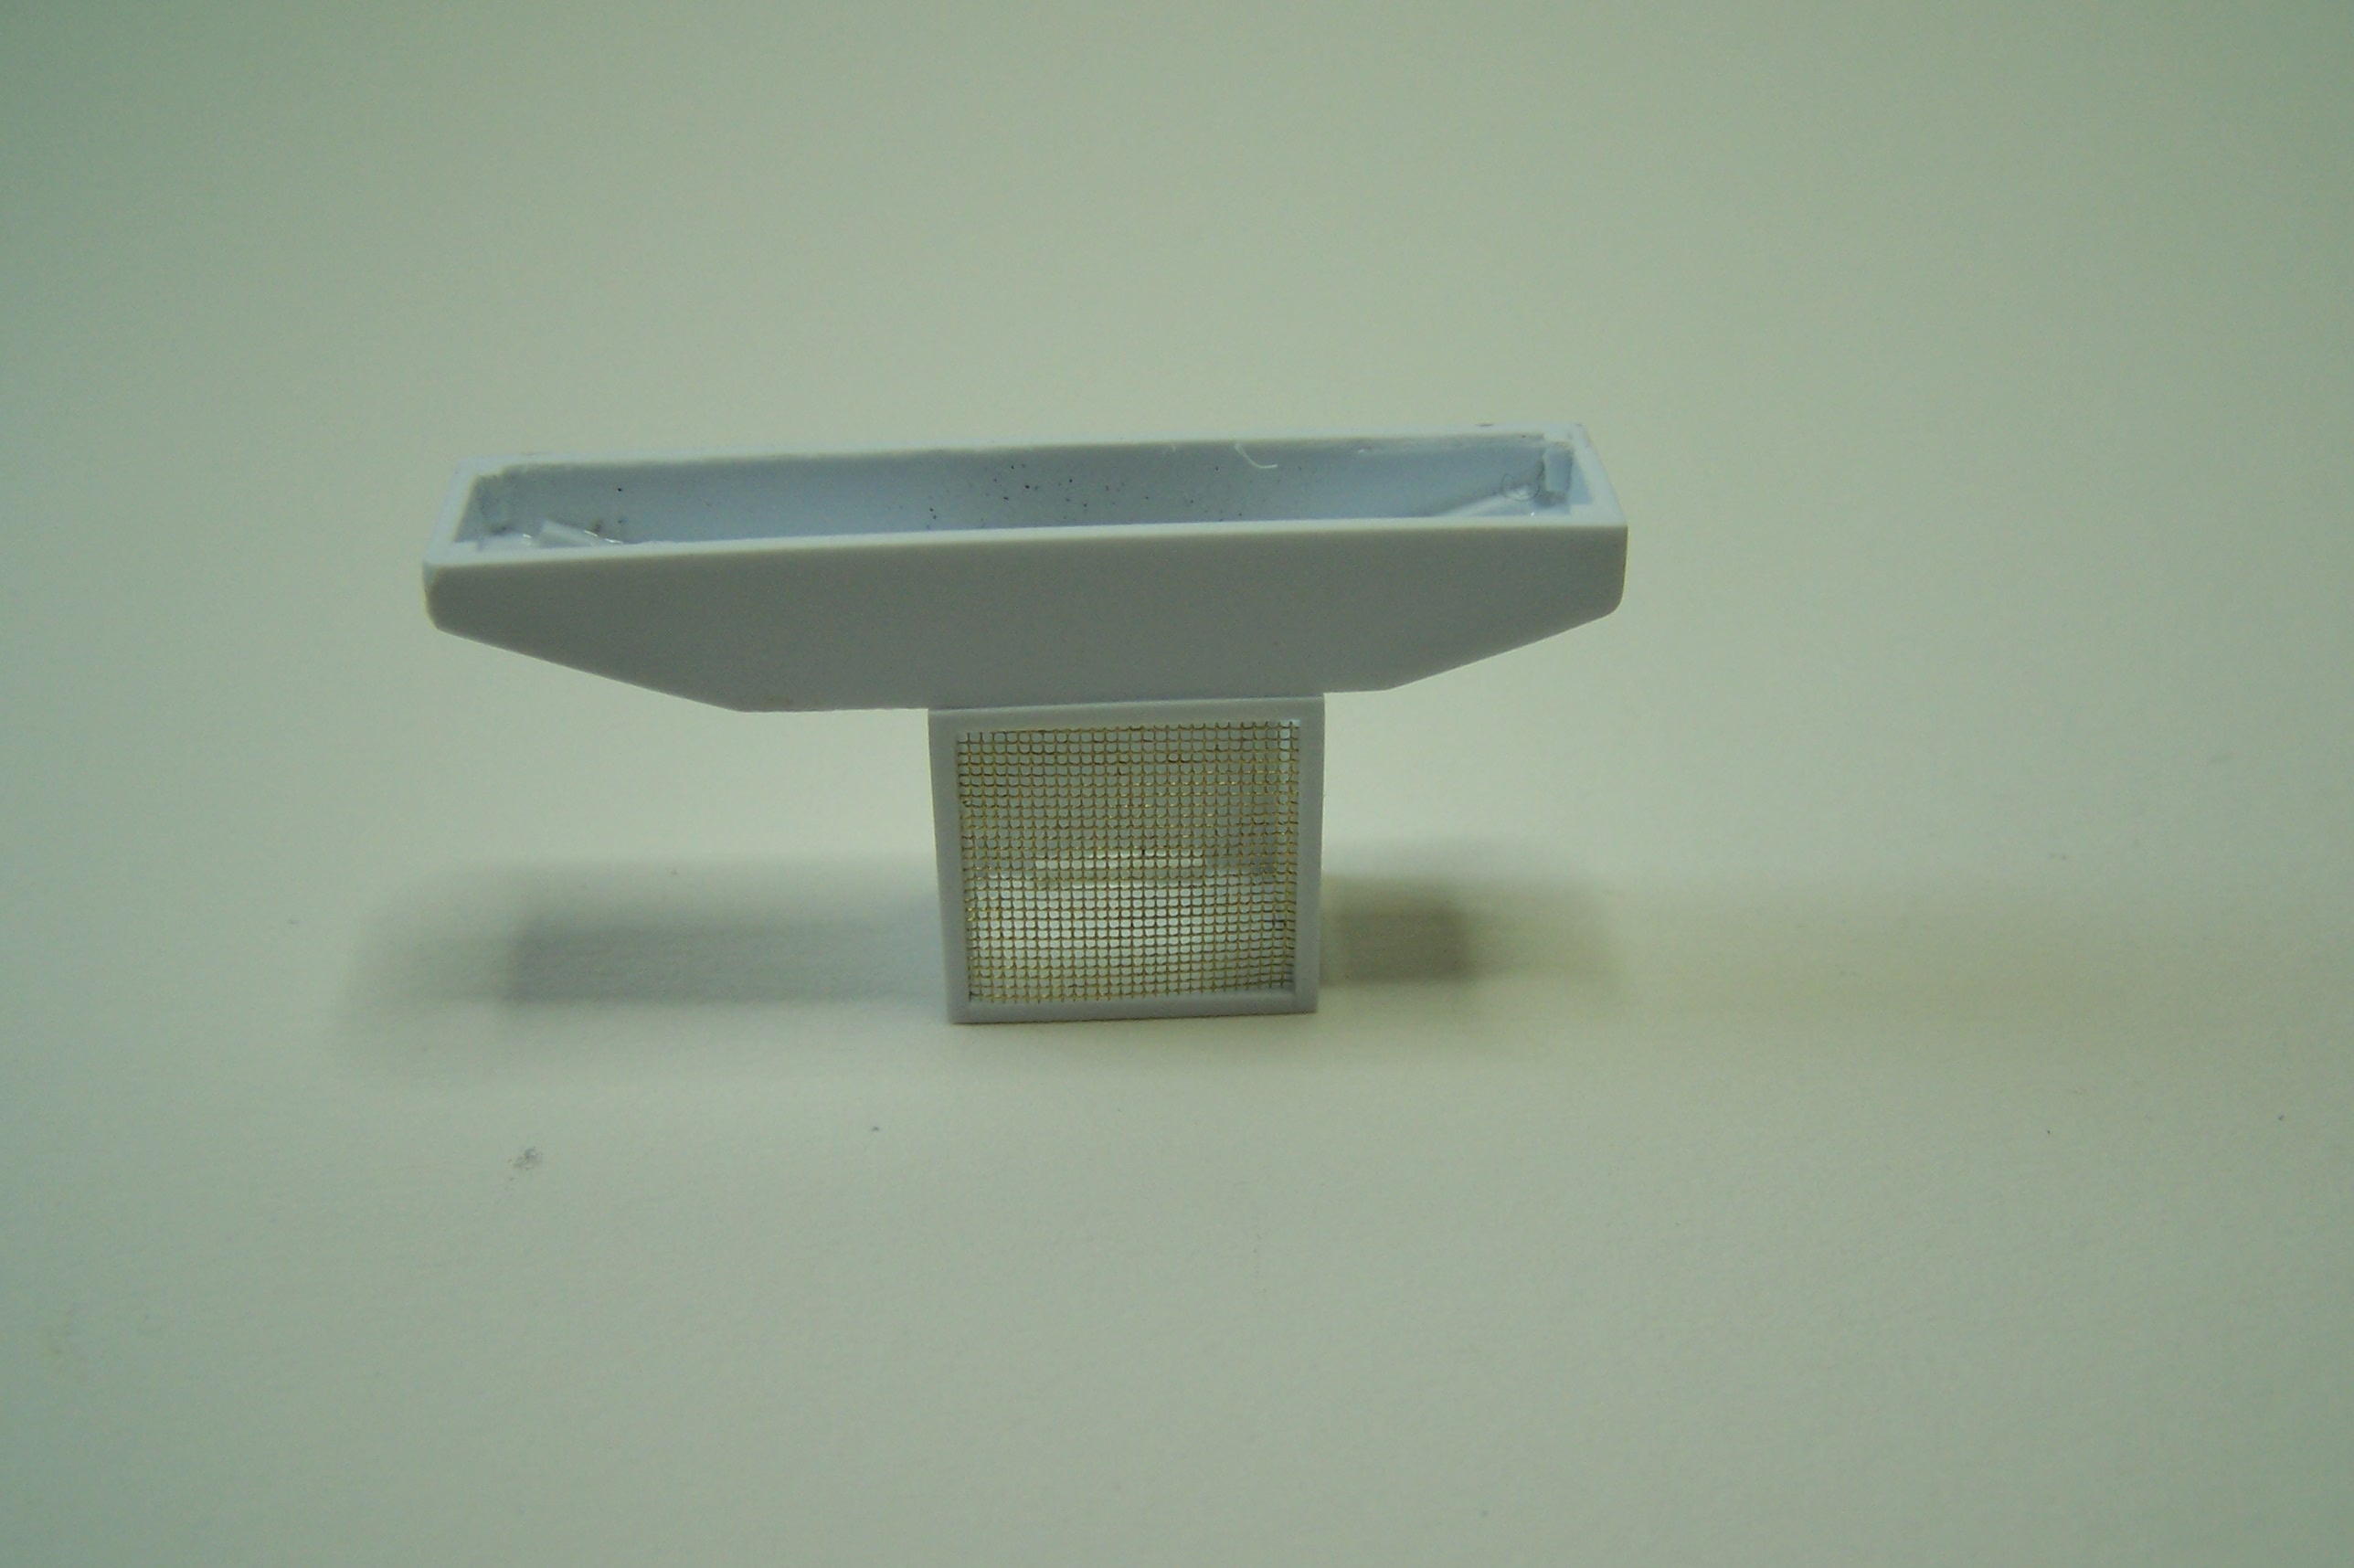
I also opened the window at the rear NBC module.
The first interior part I built was the rear chair. It has been a leftover from REVELL’s Wolf, jet a little bit padded.
So much for today.
Next on program: the Joint Biological Point Detection System.
Peter
1 Like
The Joint Biological Point Detection System!
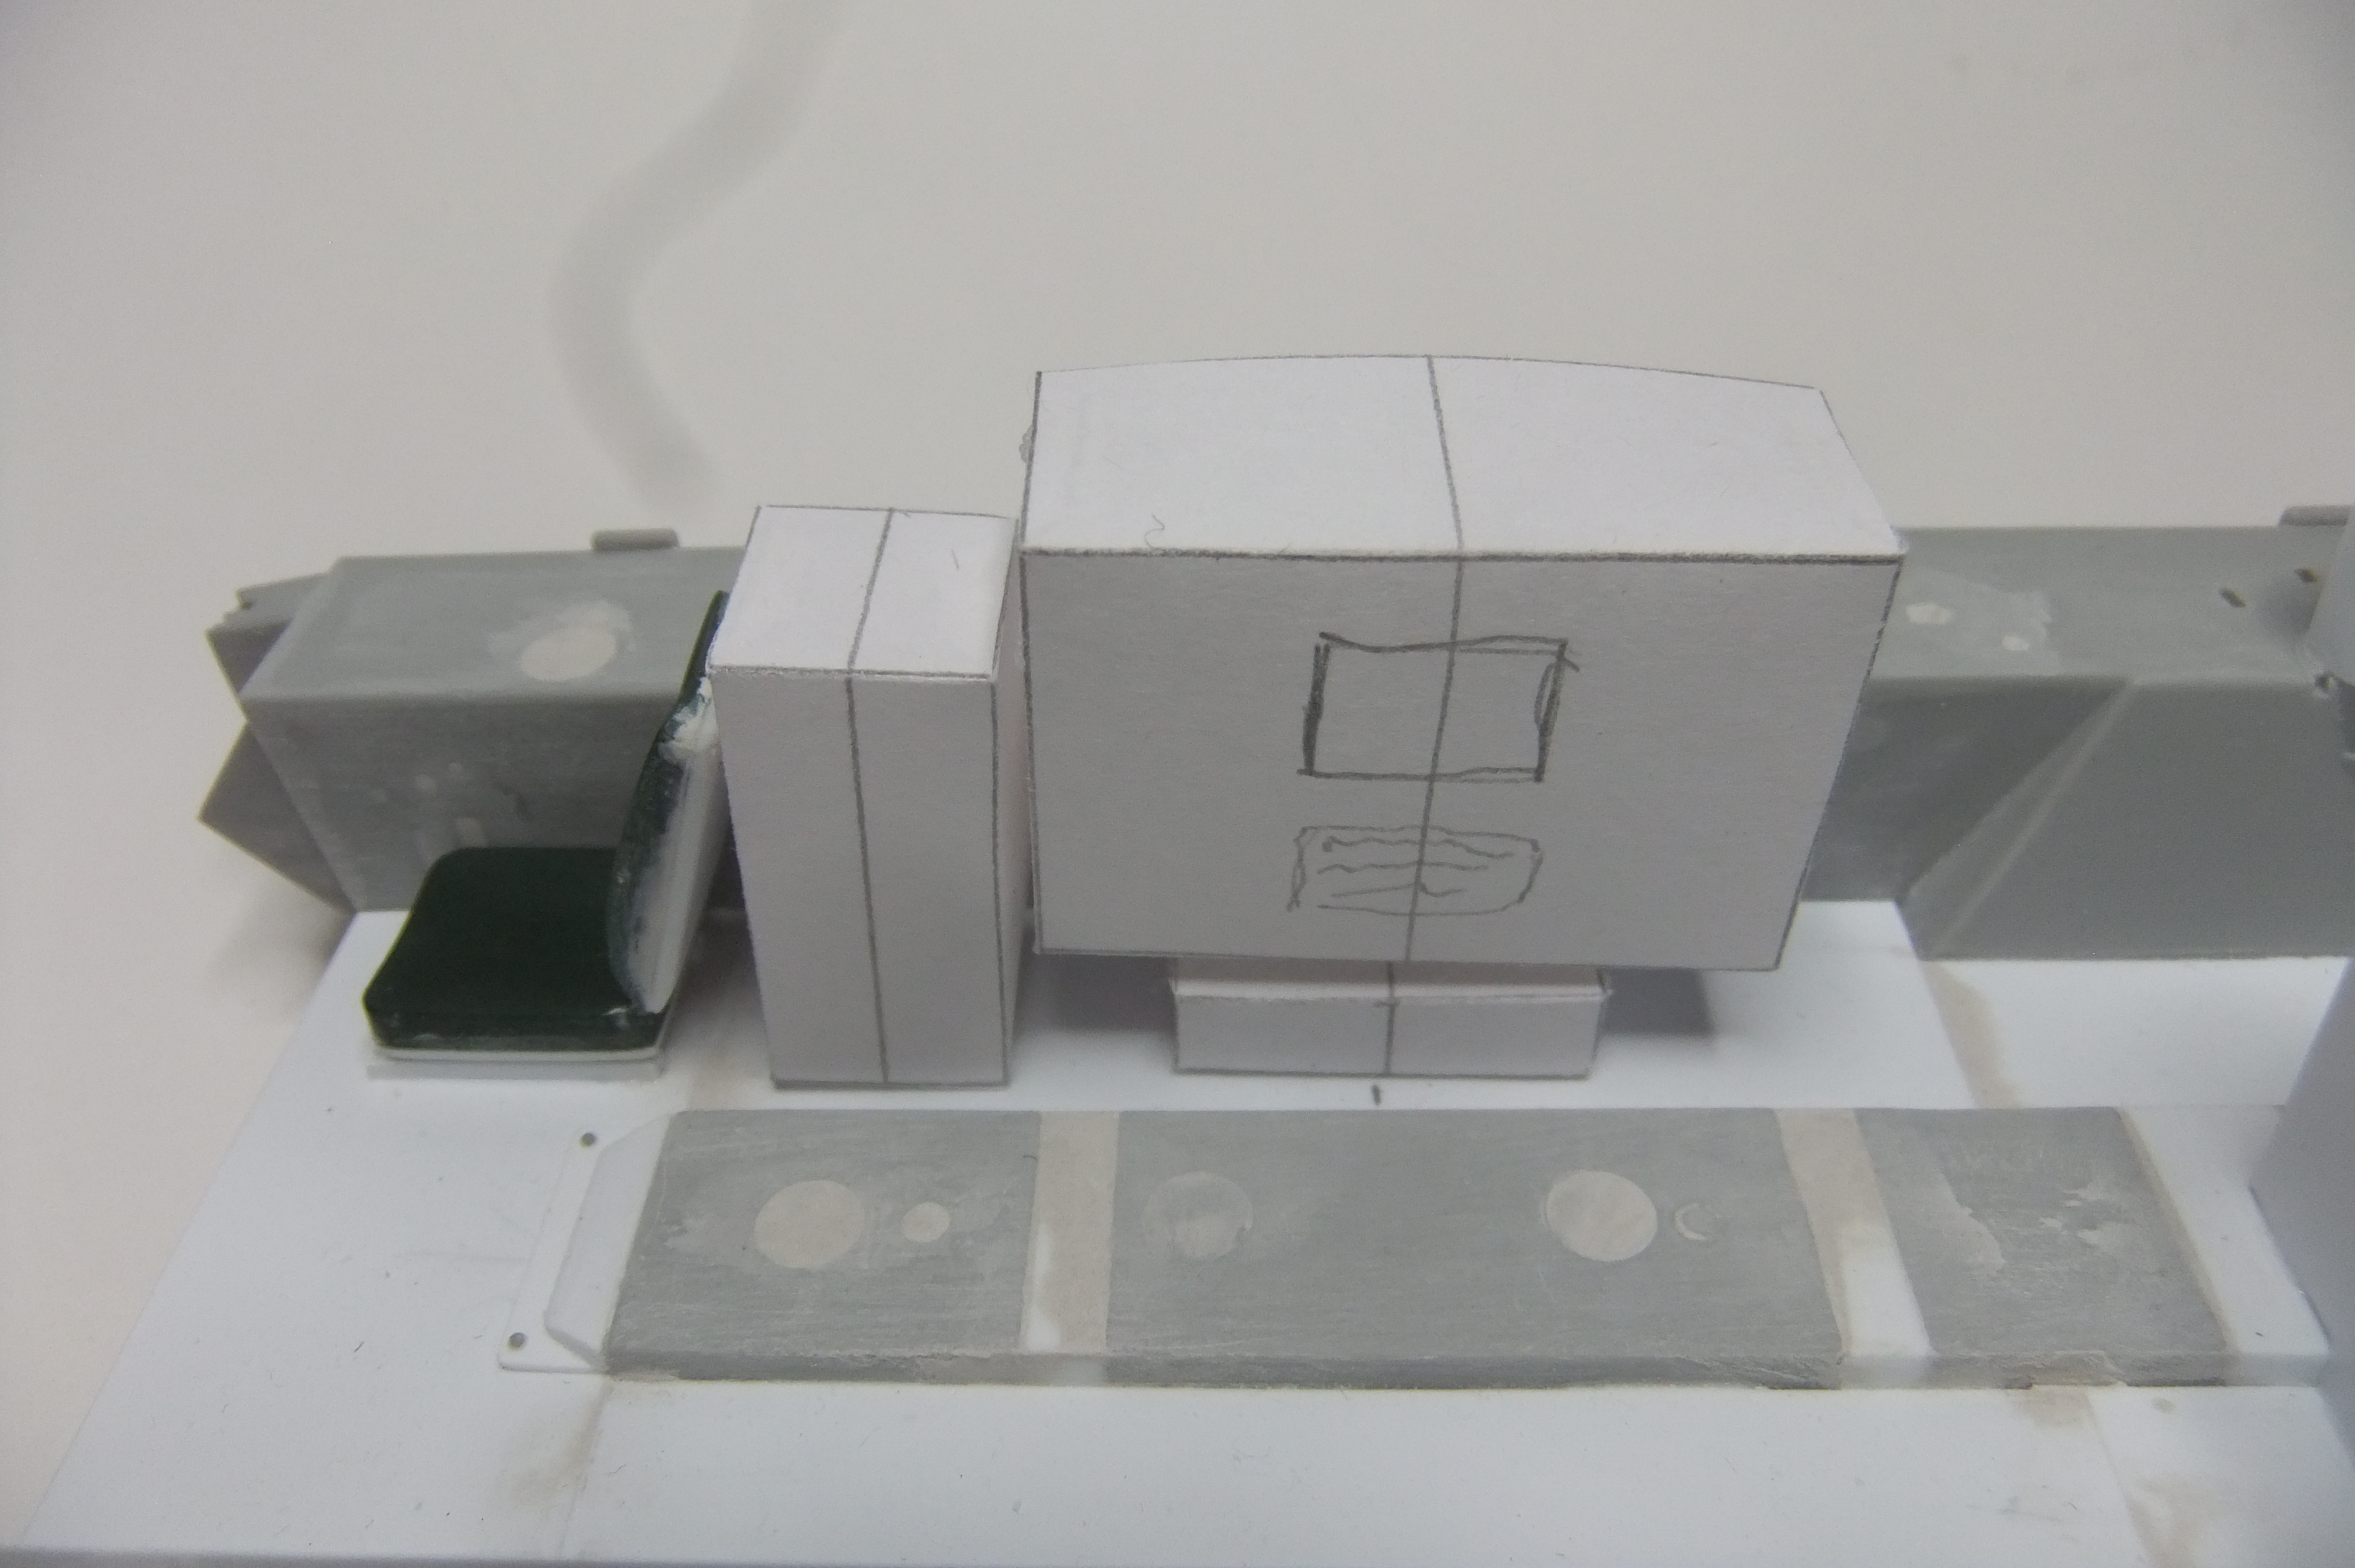
I used pictures from Ralph Zwilling’s fantastic internet side: Tank-Masters.de, in order to build the interior of the M1135 NBC RV, as references.
The following two pictures by tank-masters.de, show the Joint Biological Point Detection System in the inside of a M1135 Stryker vehicle:
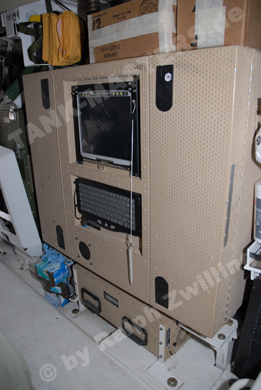
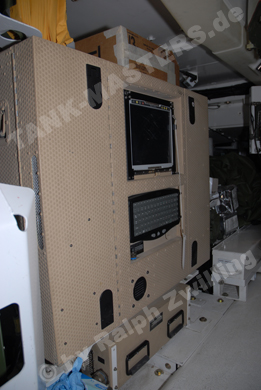
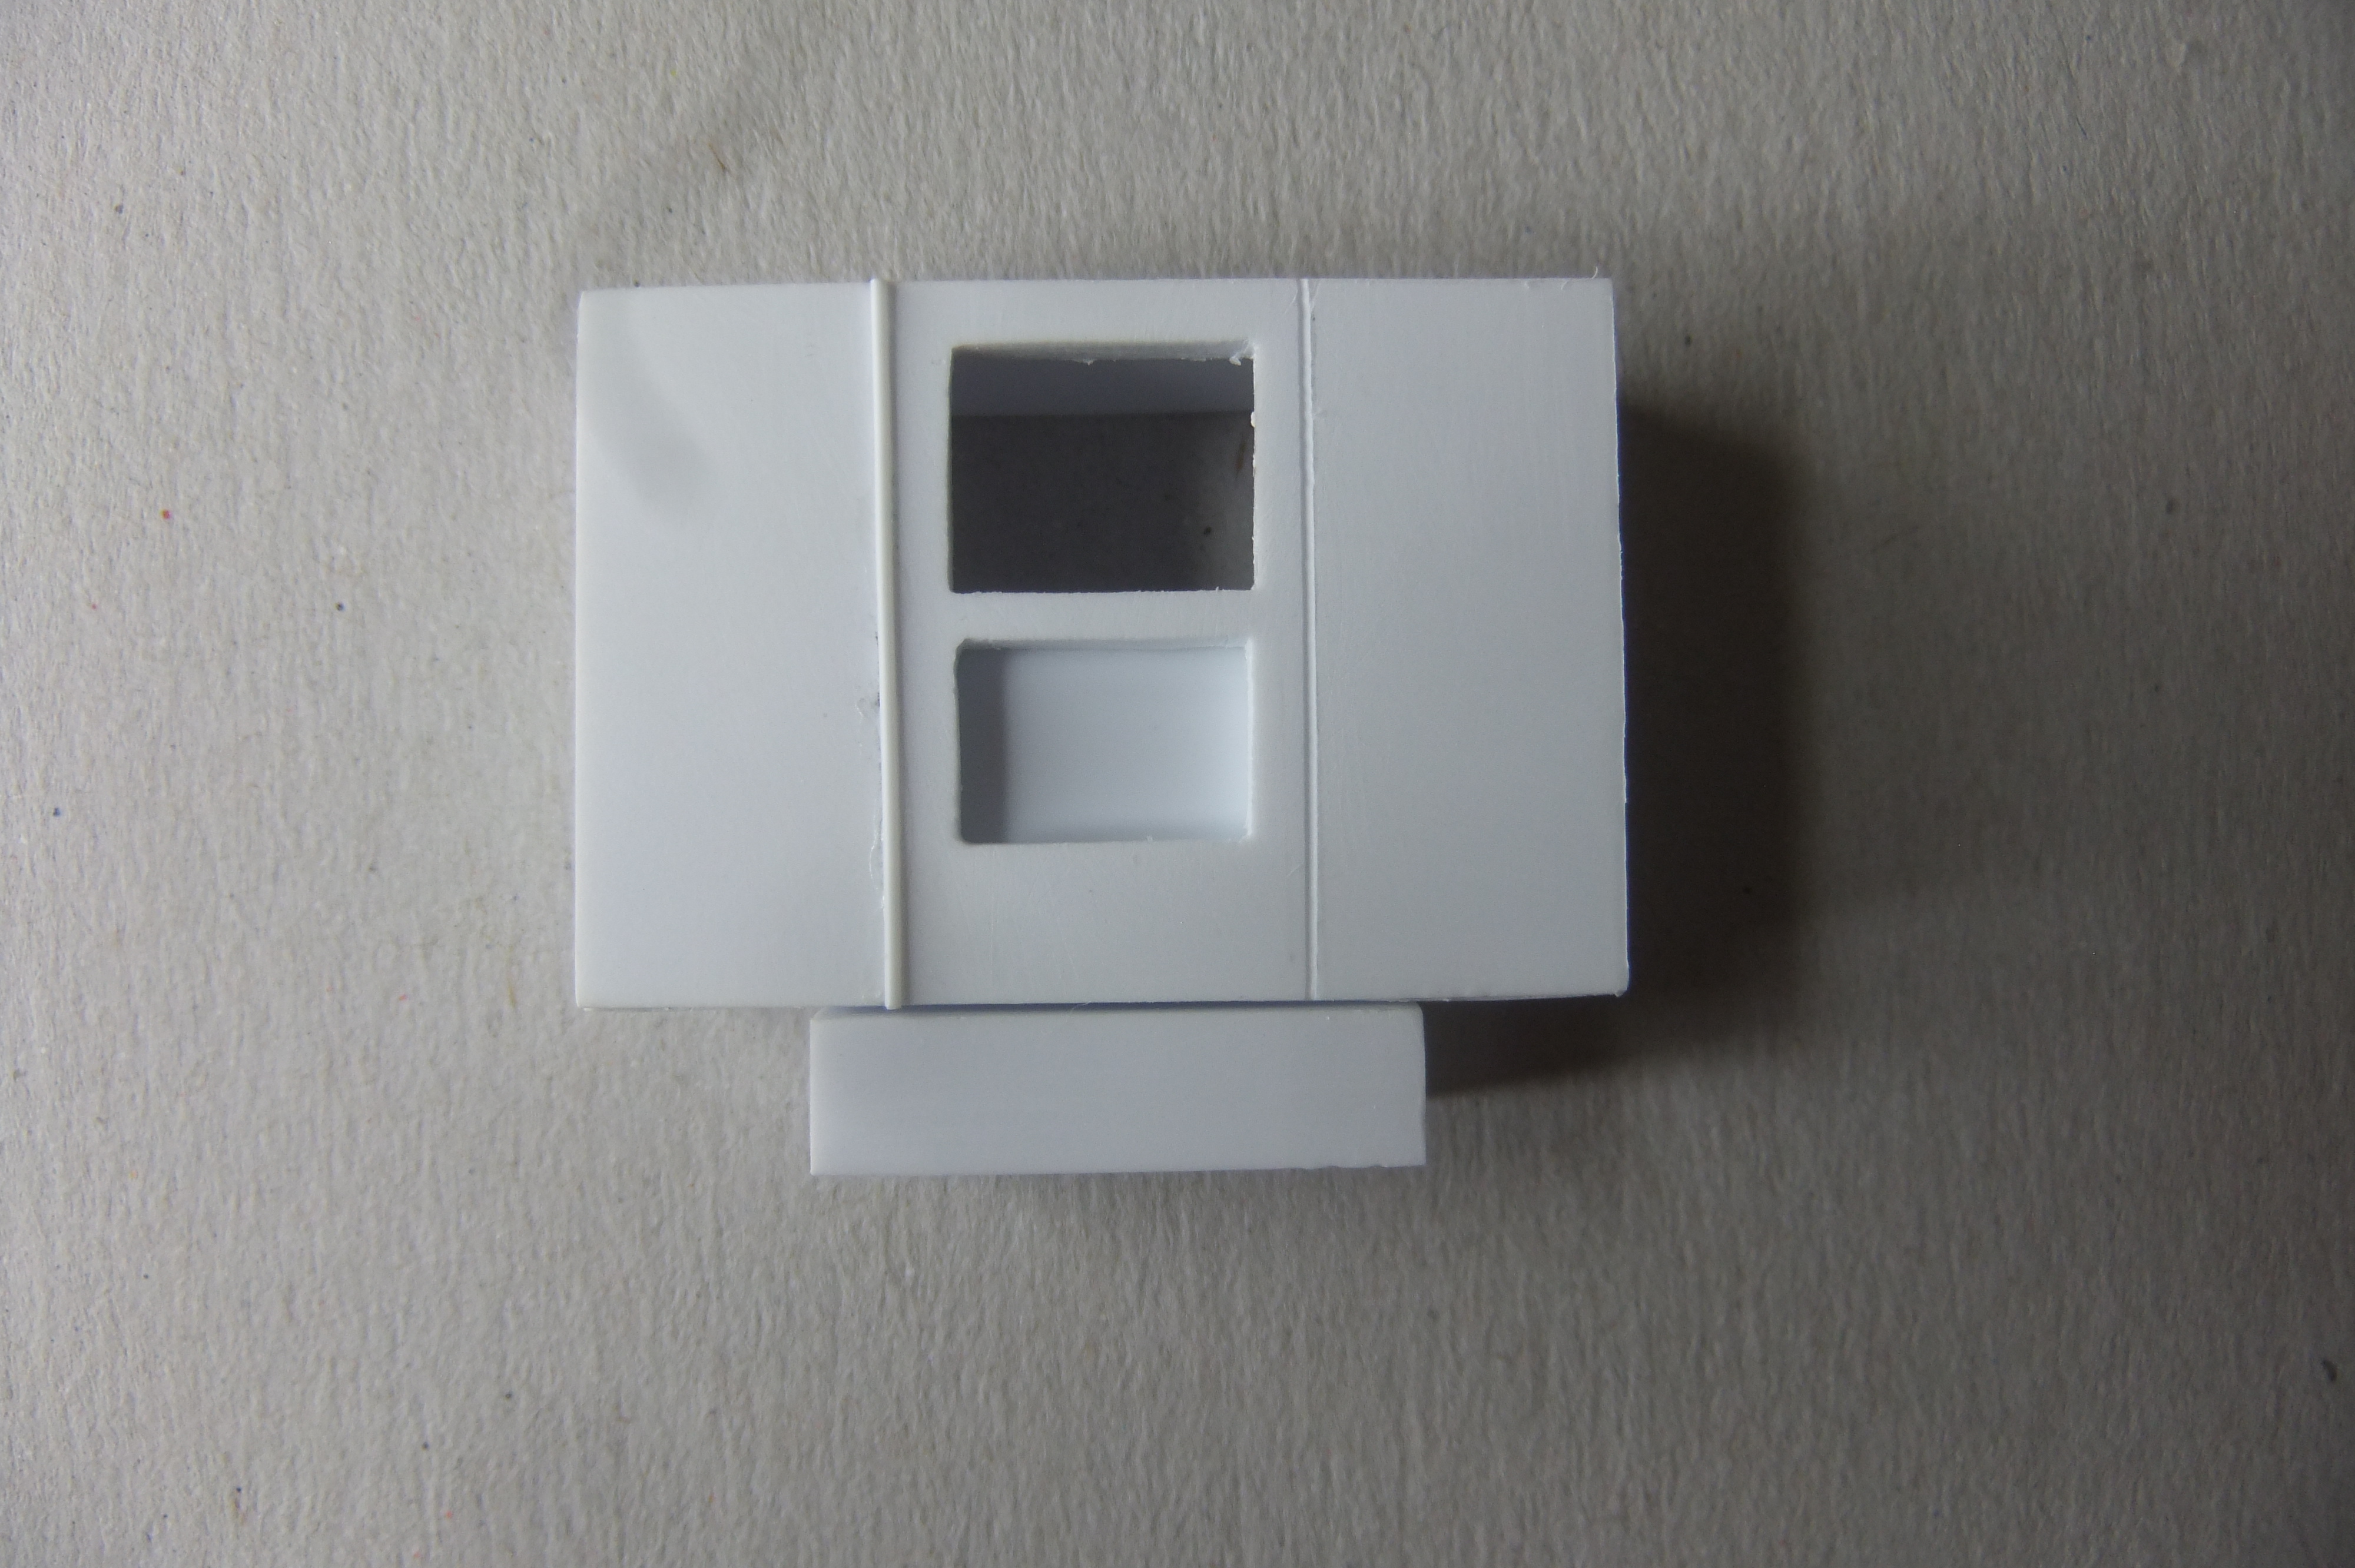
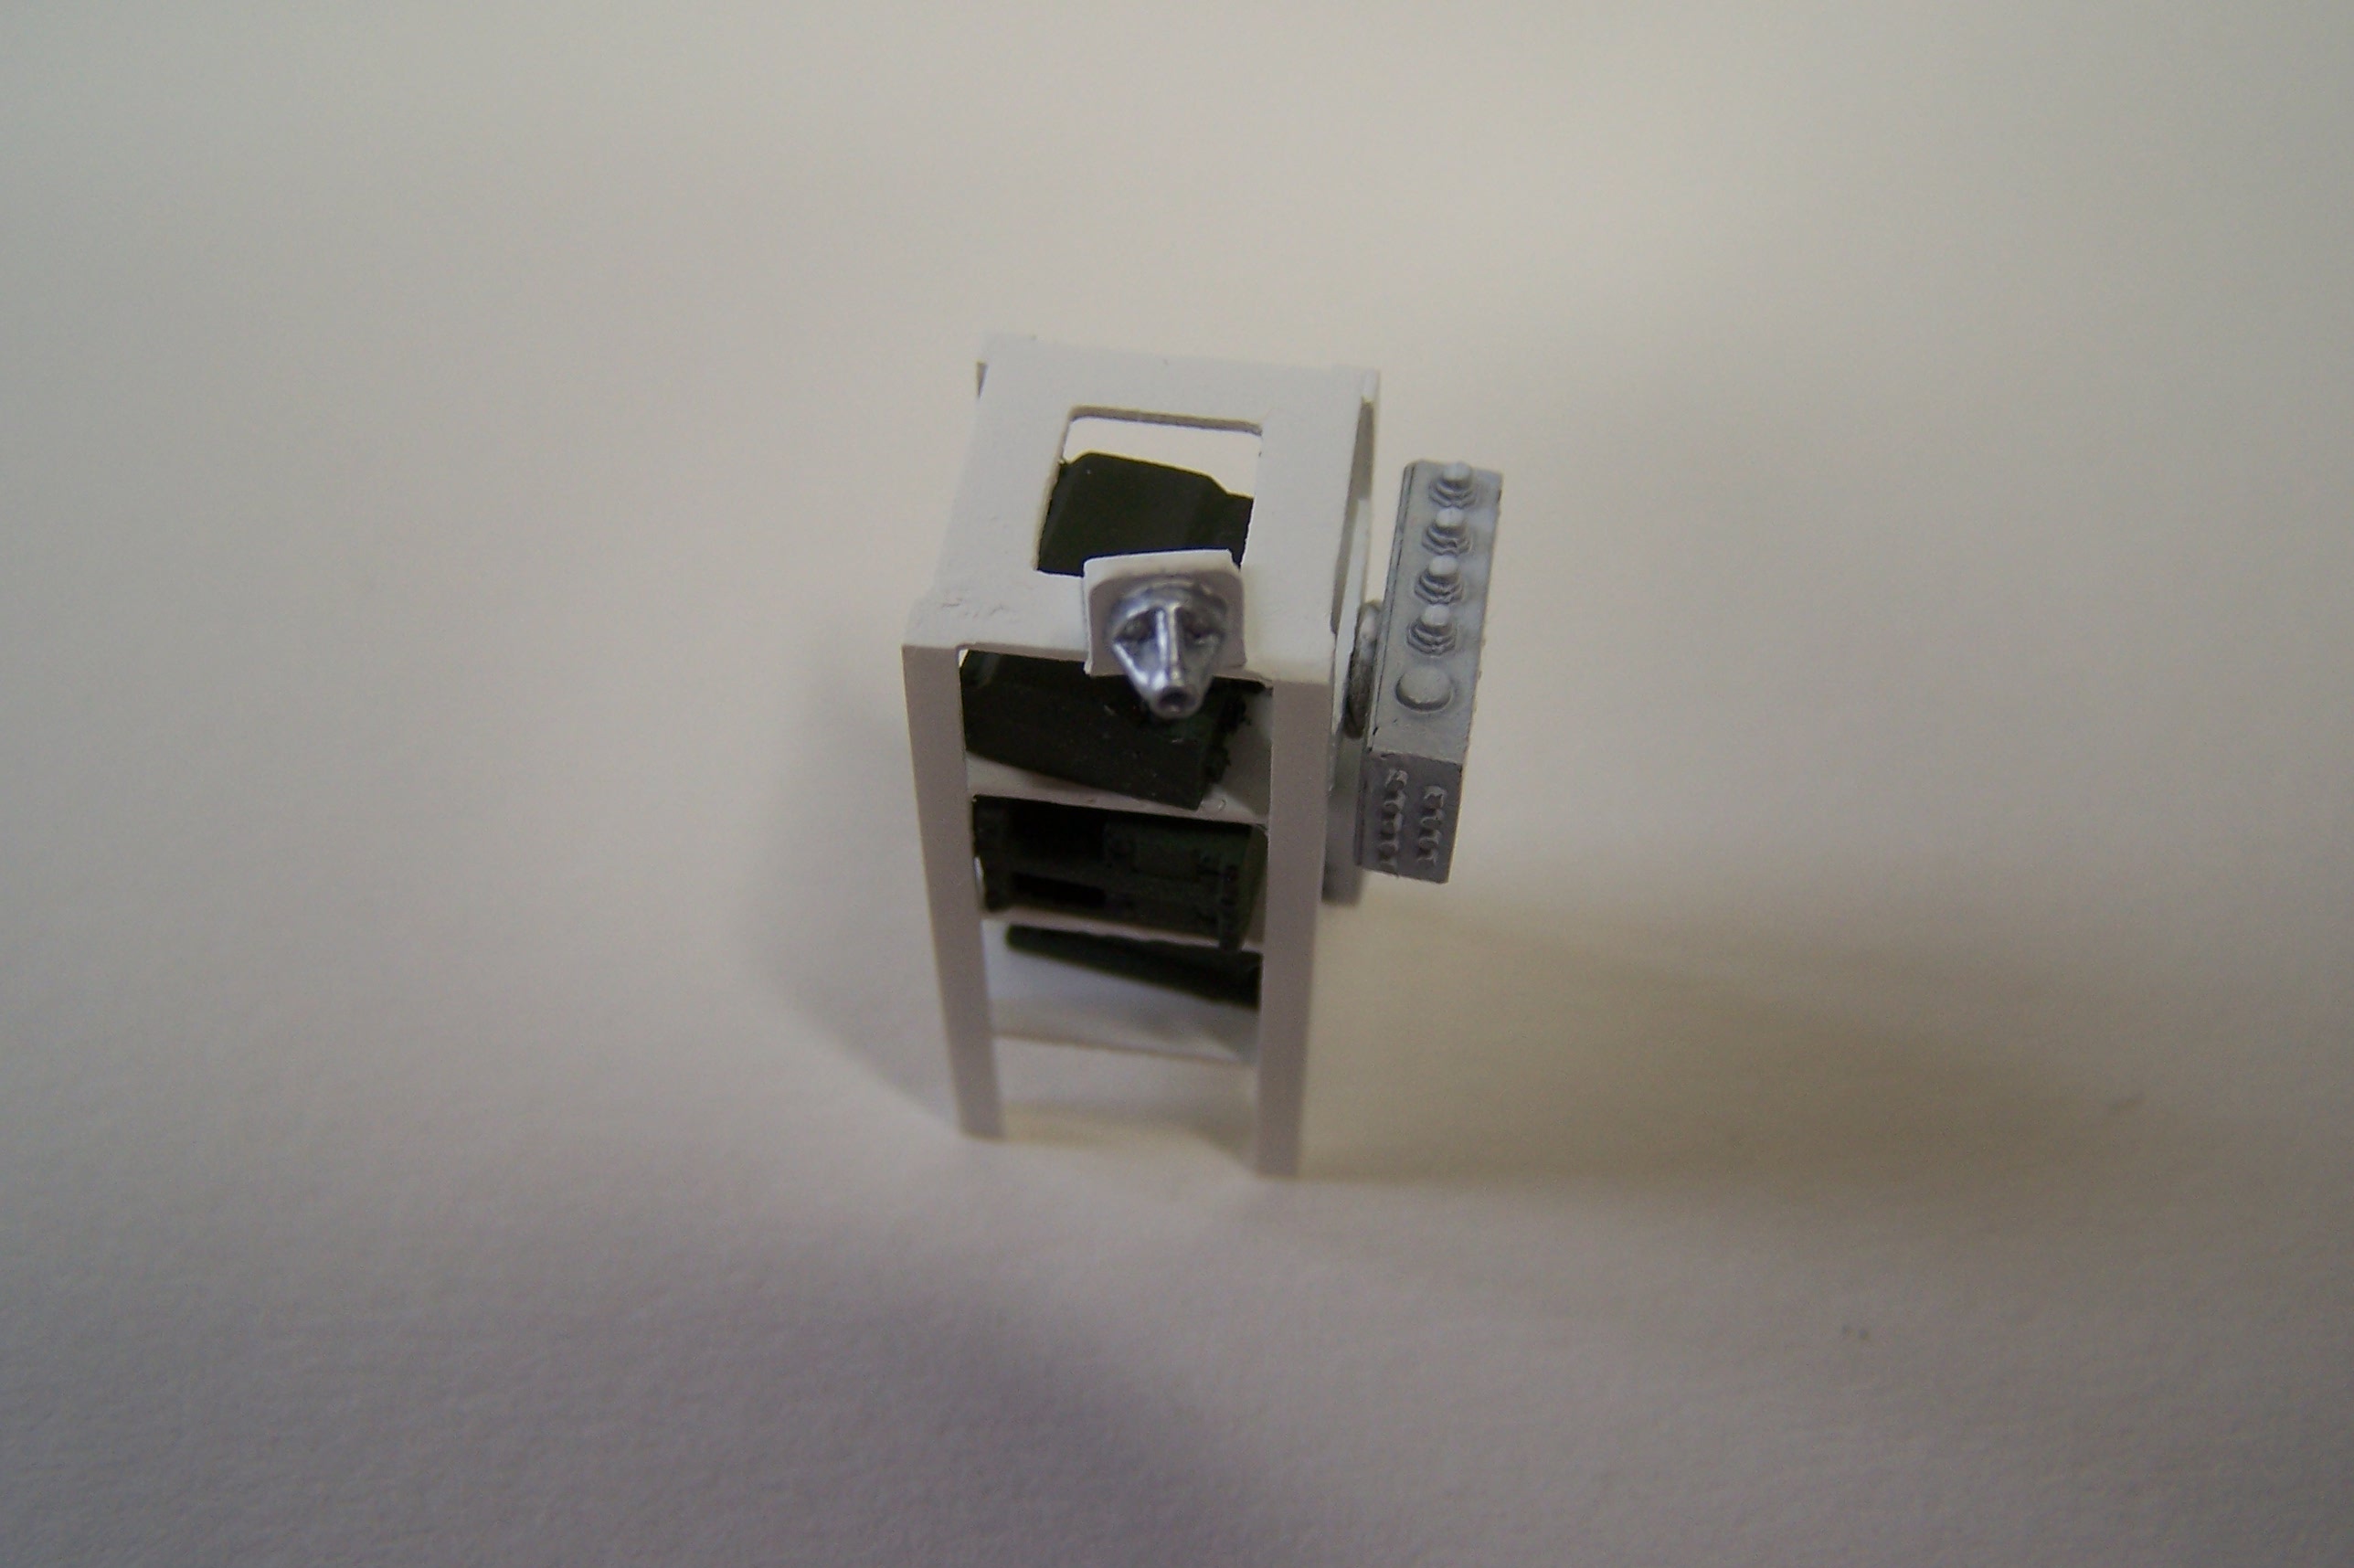
As I didn’t have the dimensions, I used these photos to first build a paper model of the Joint Biological Point Detection System and the Mass Spectrometer behind it.
Using this as rule model I started constructing with plastic cards.
More to come soon.
Peter
1 Like
Impressive project. A friend of mine did the same for the French VAB equivalent. Good luck with the interior.
Olivier
Thank you, guy’s!!
Well, and here comes the rest of the 20 characters
following along! Looking forward to this build!
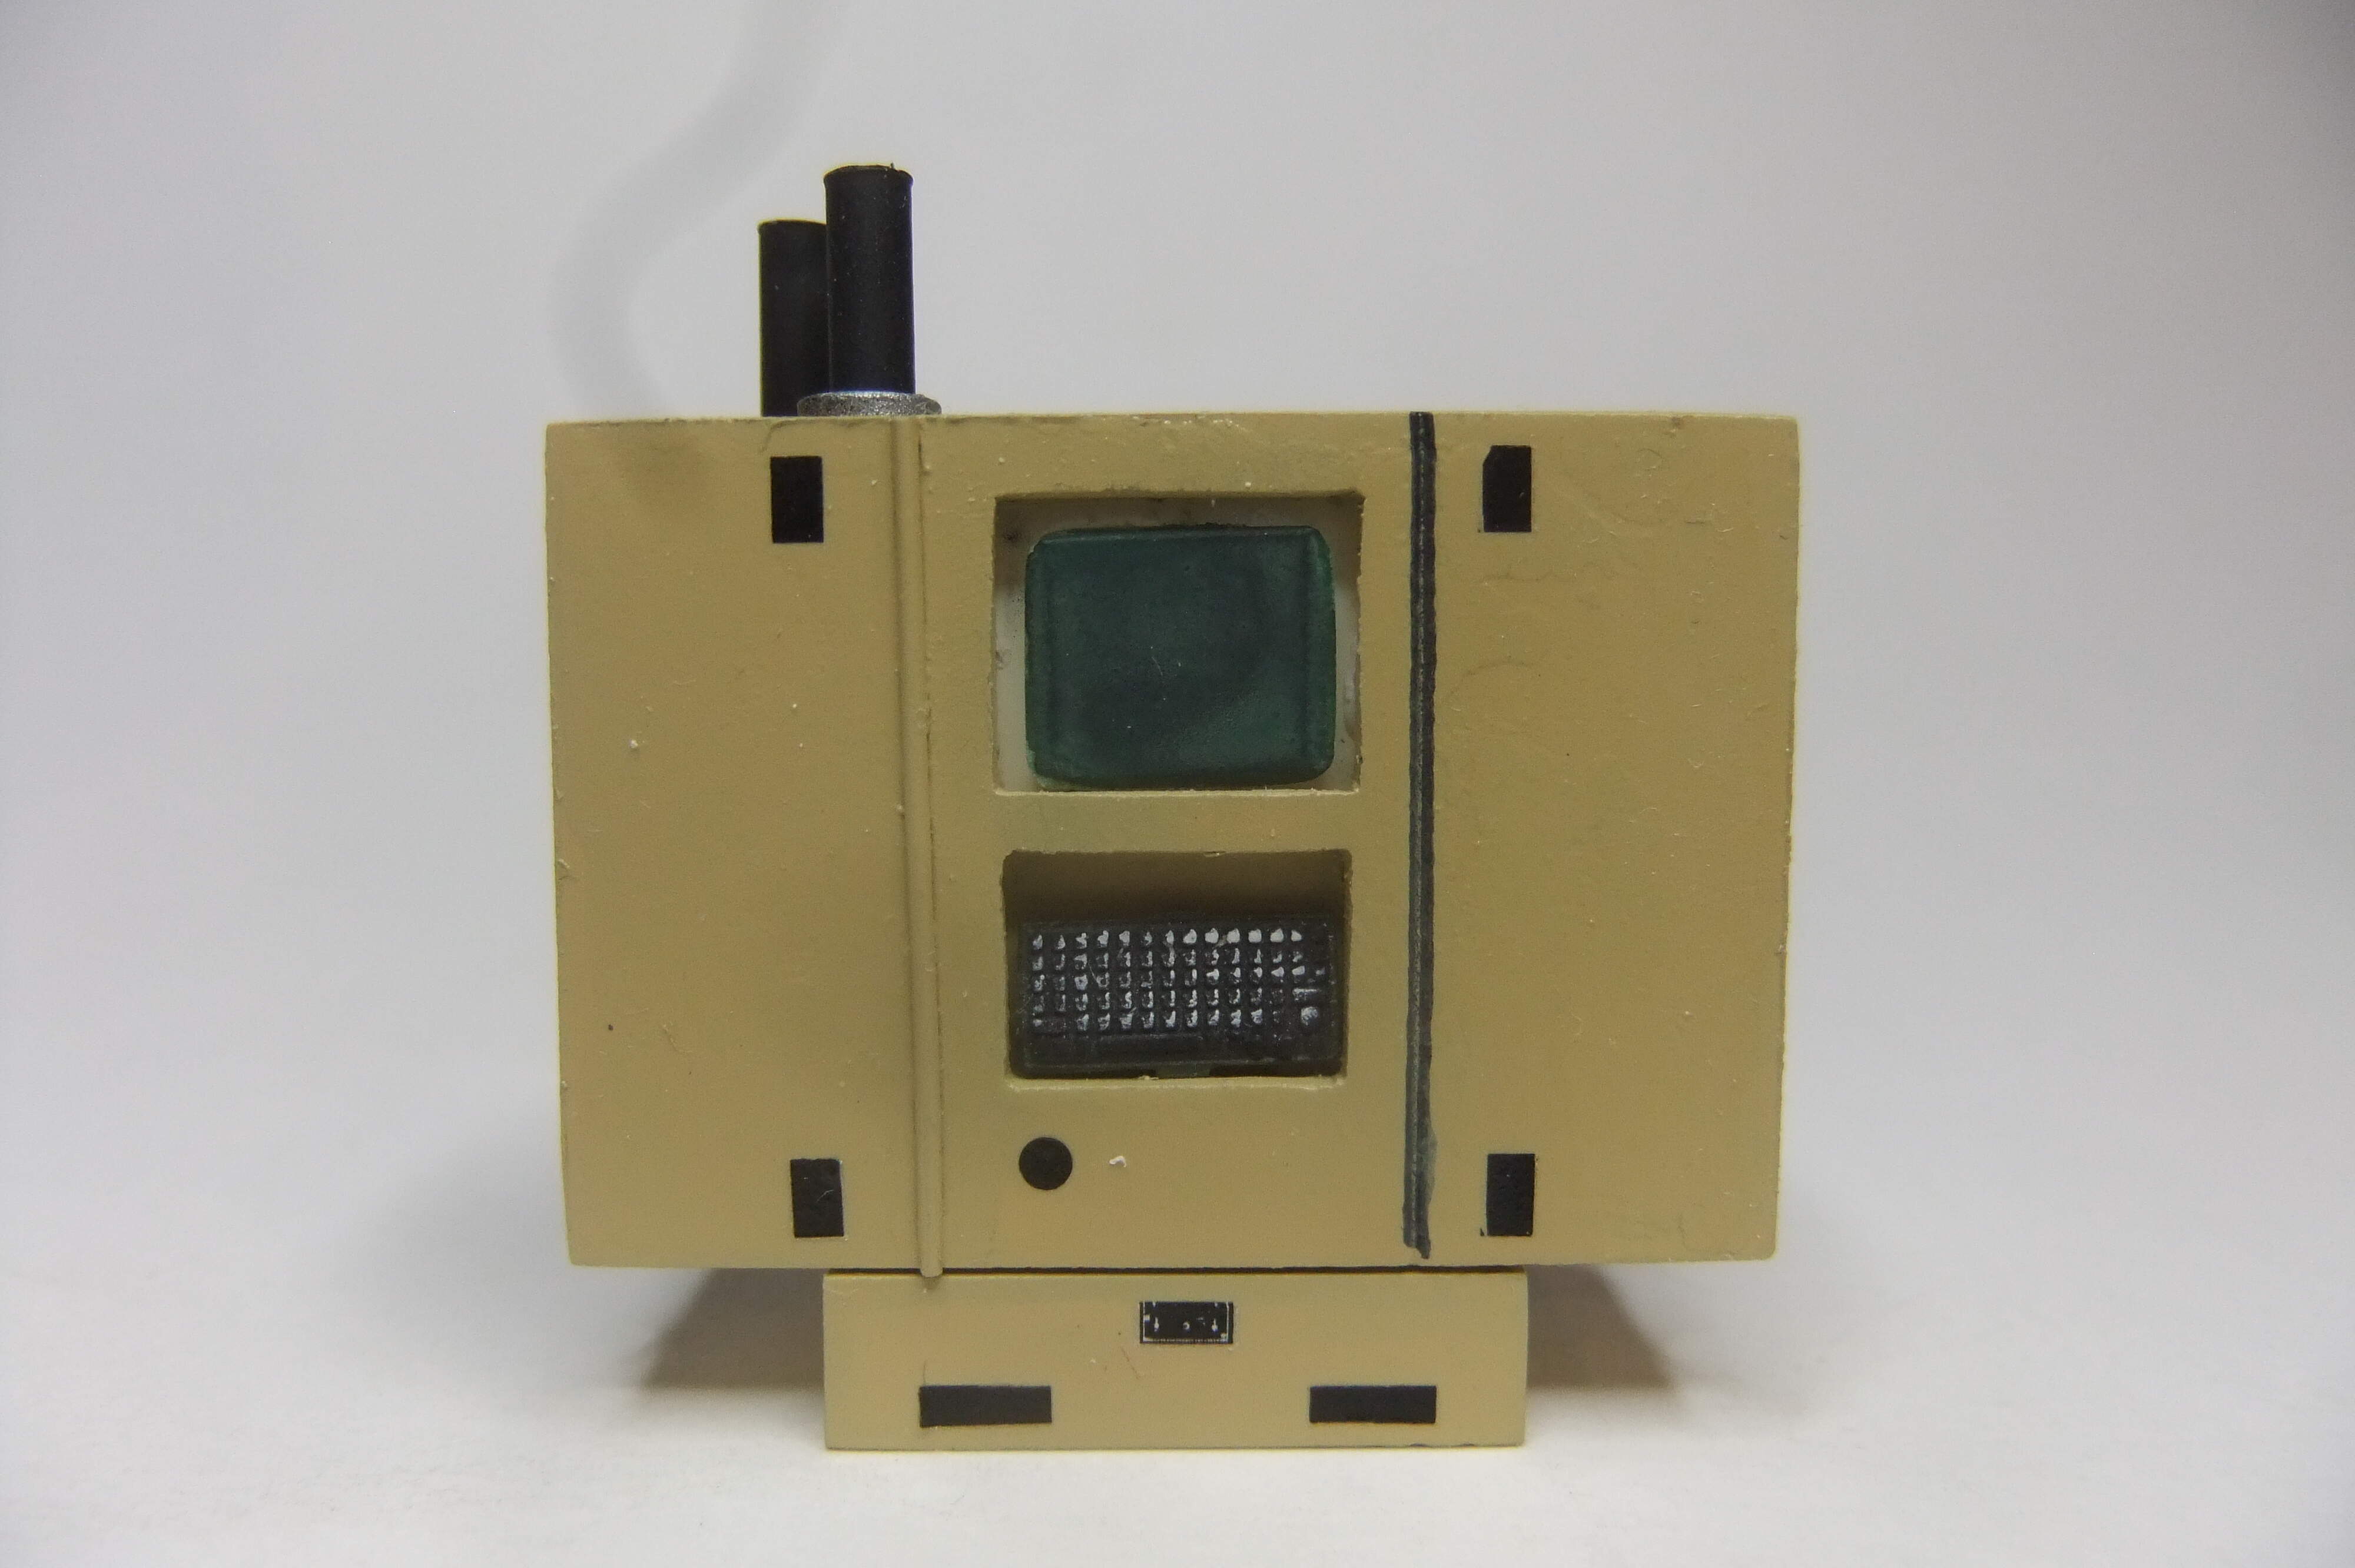
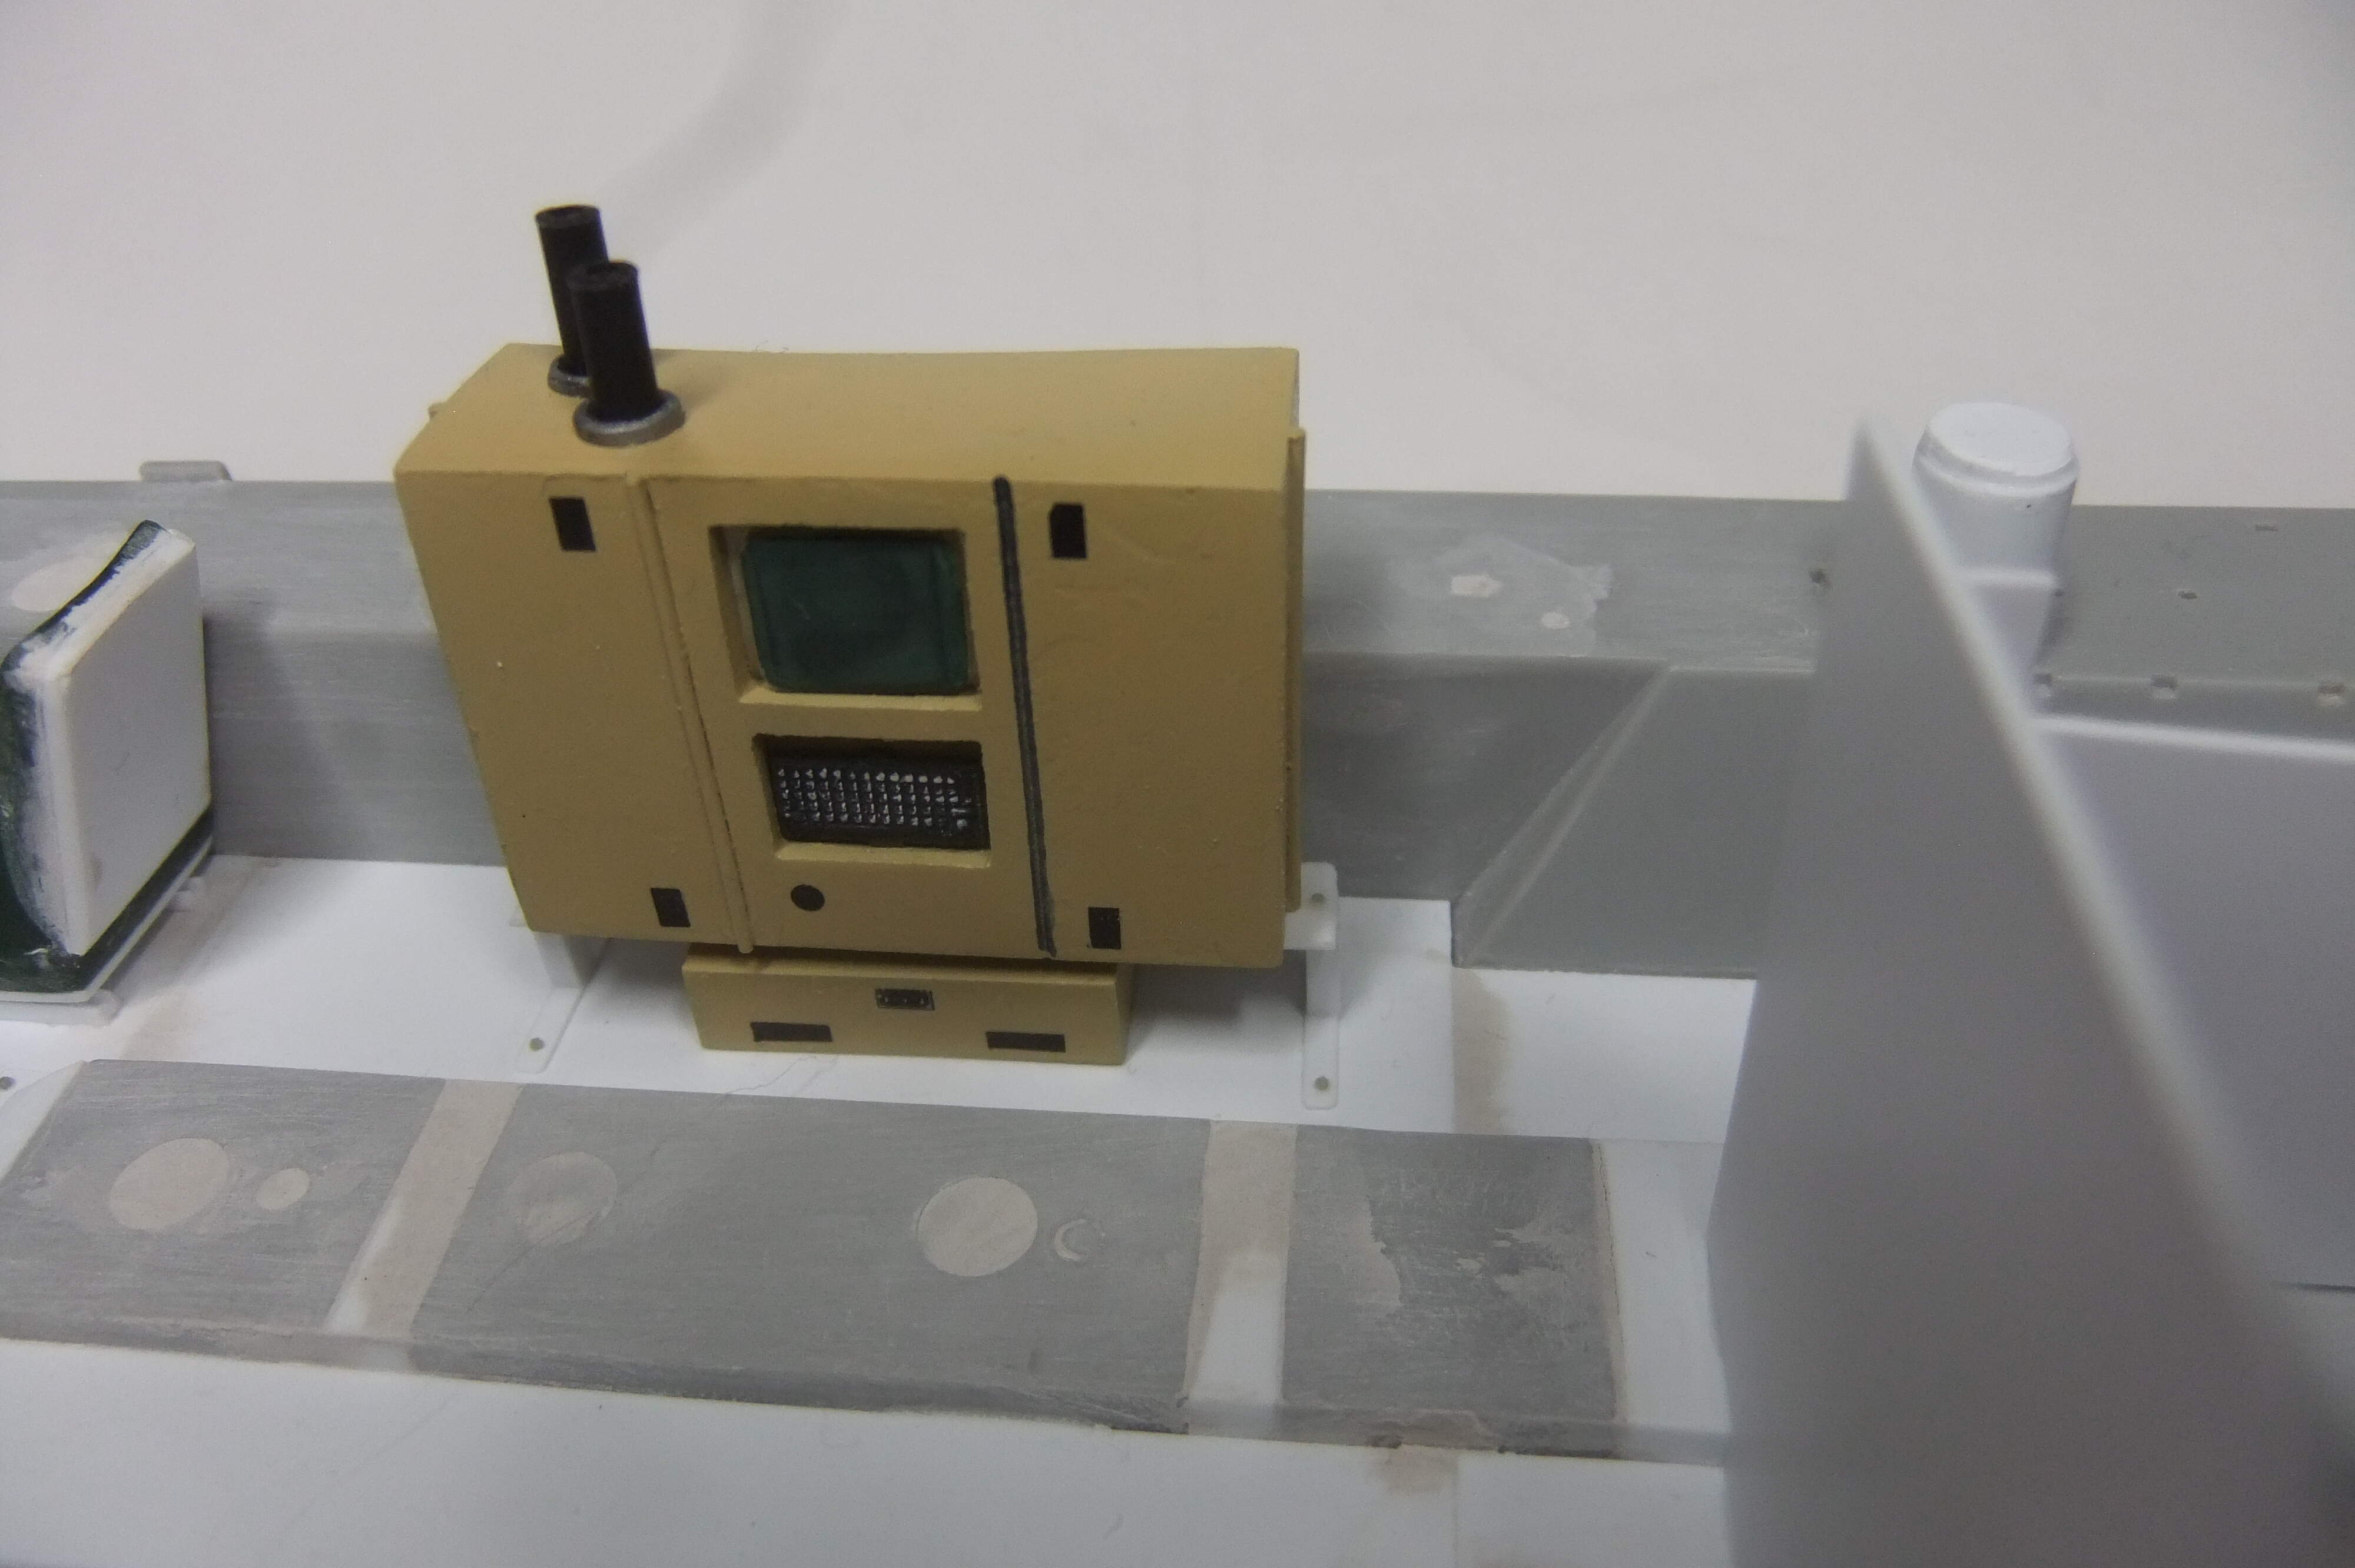
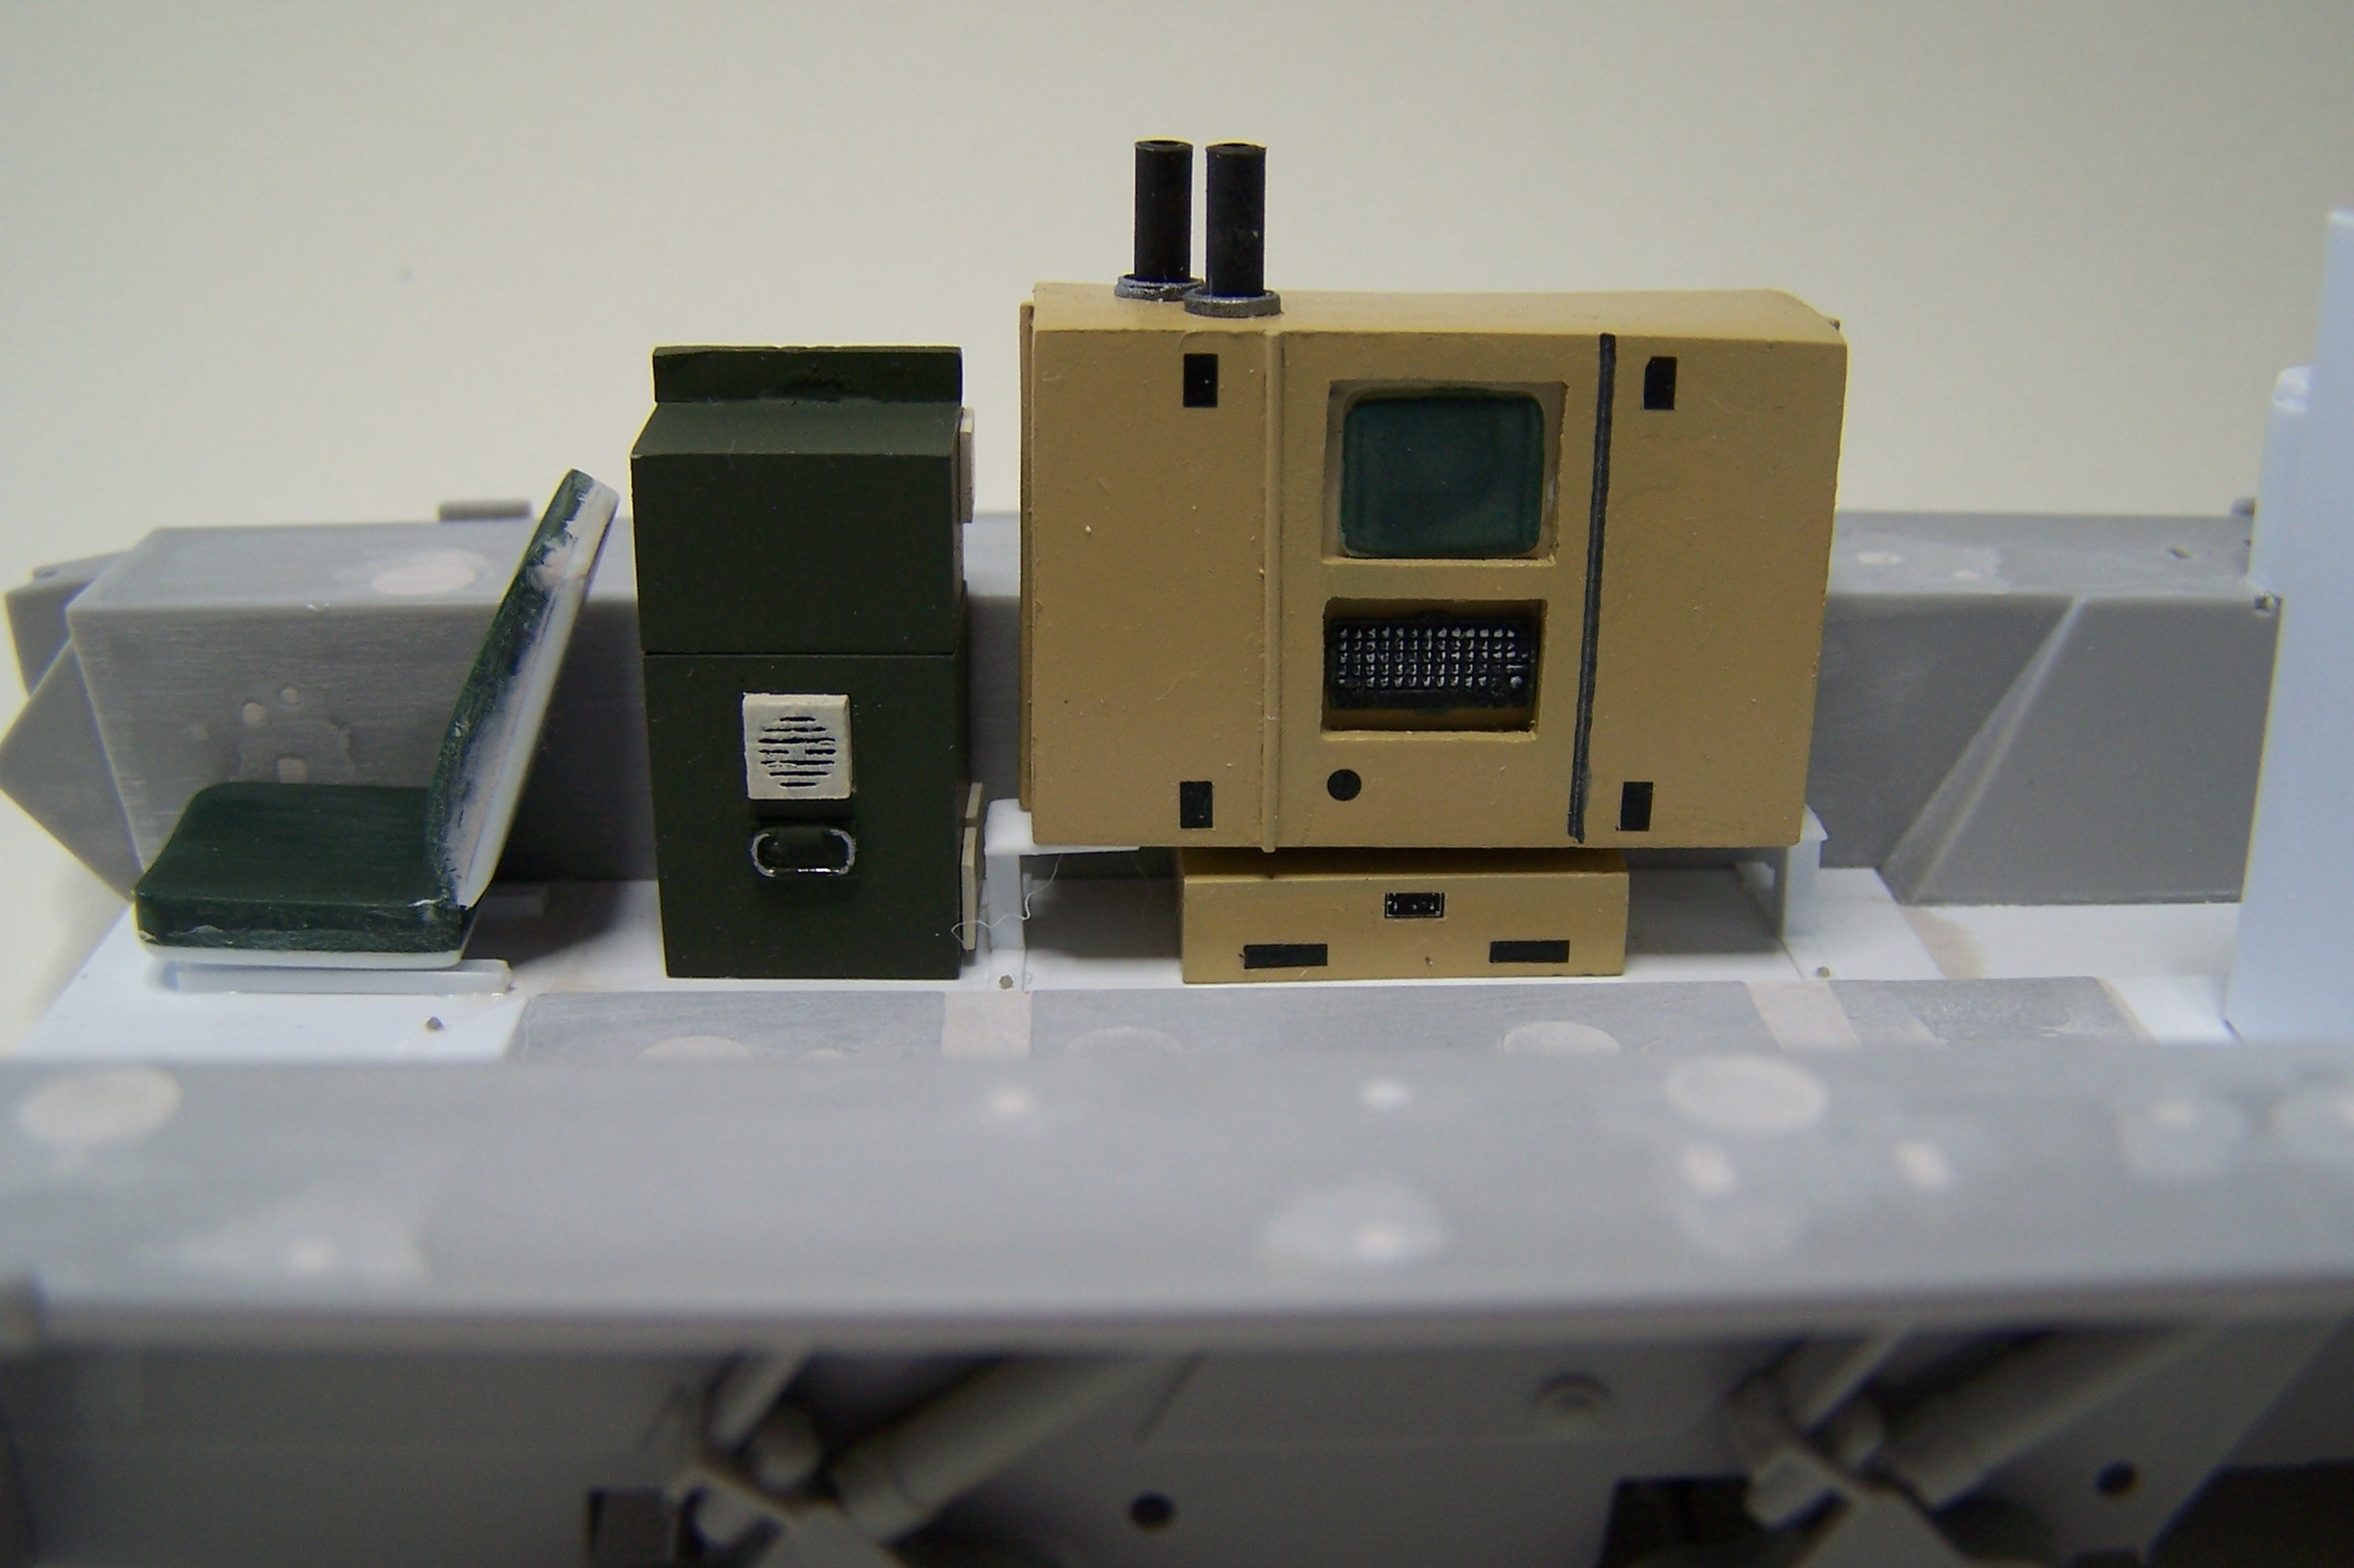
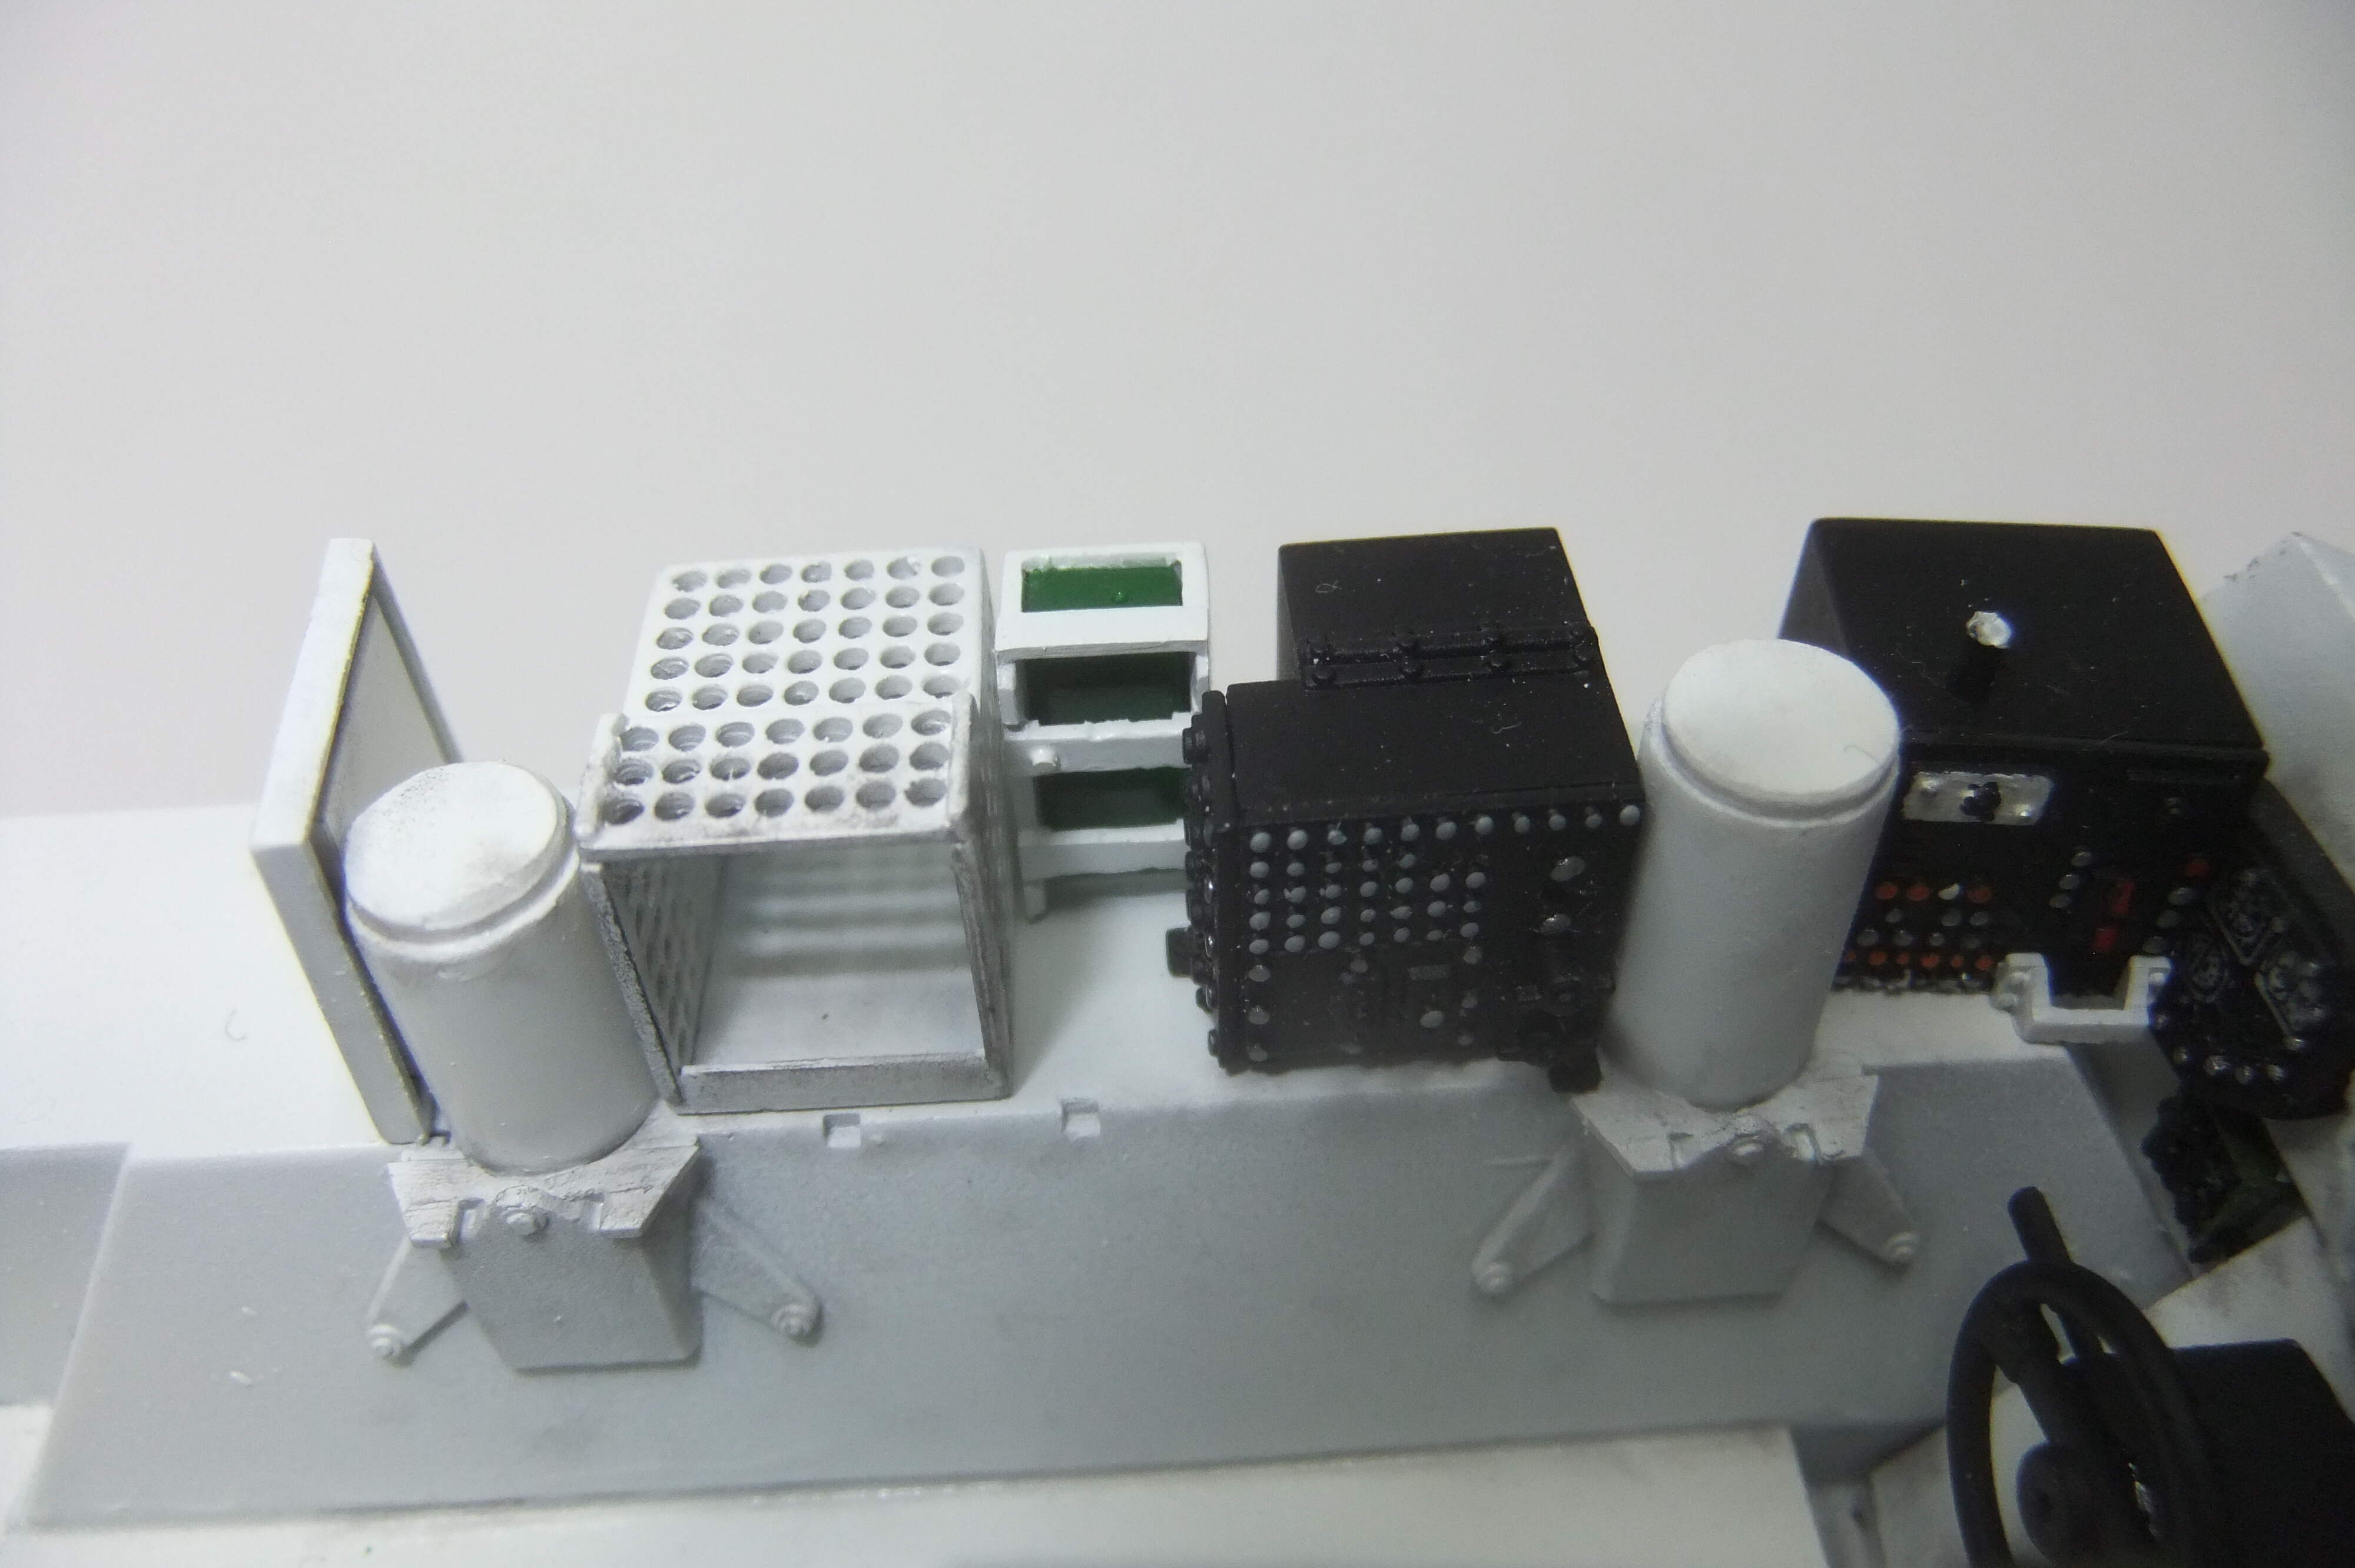
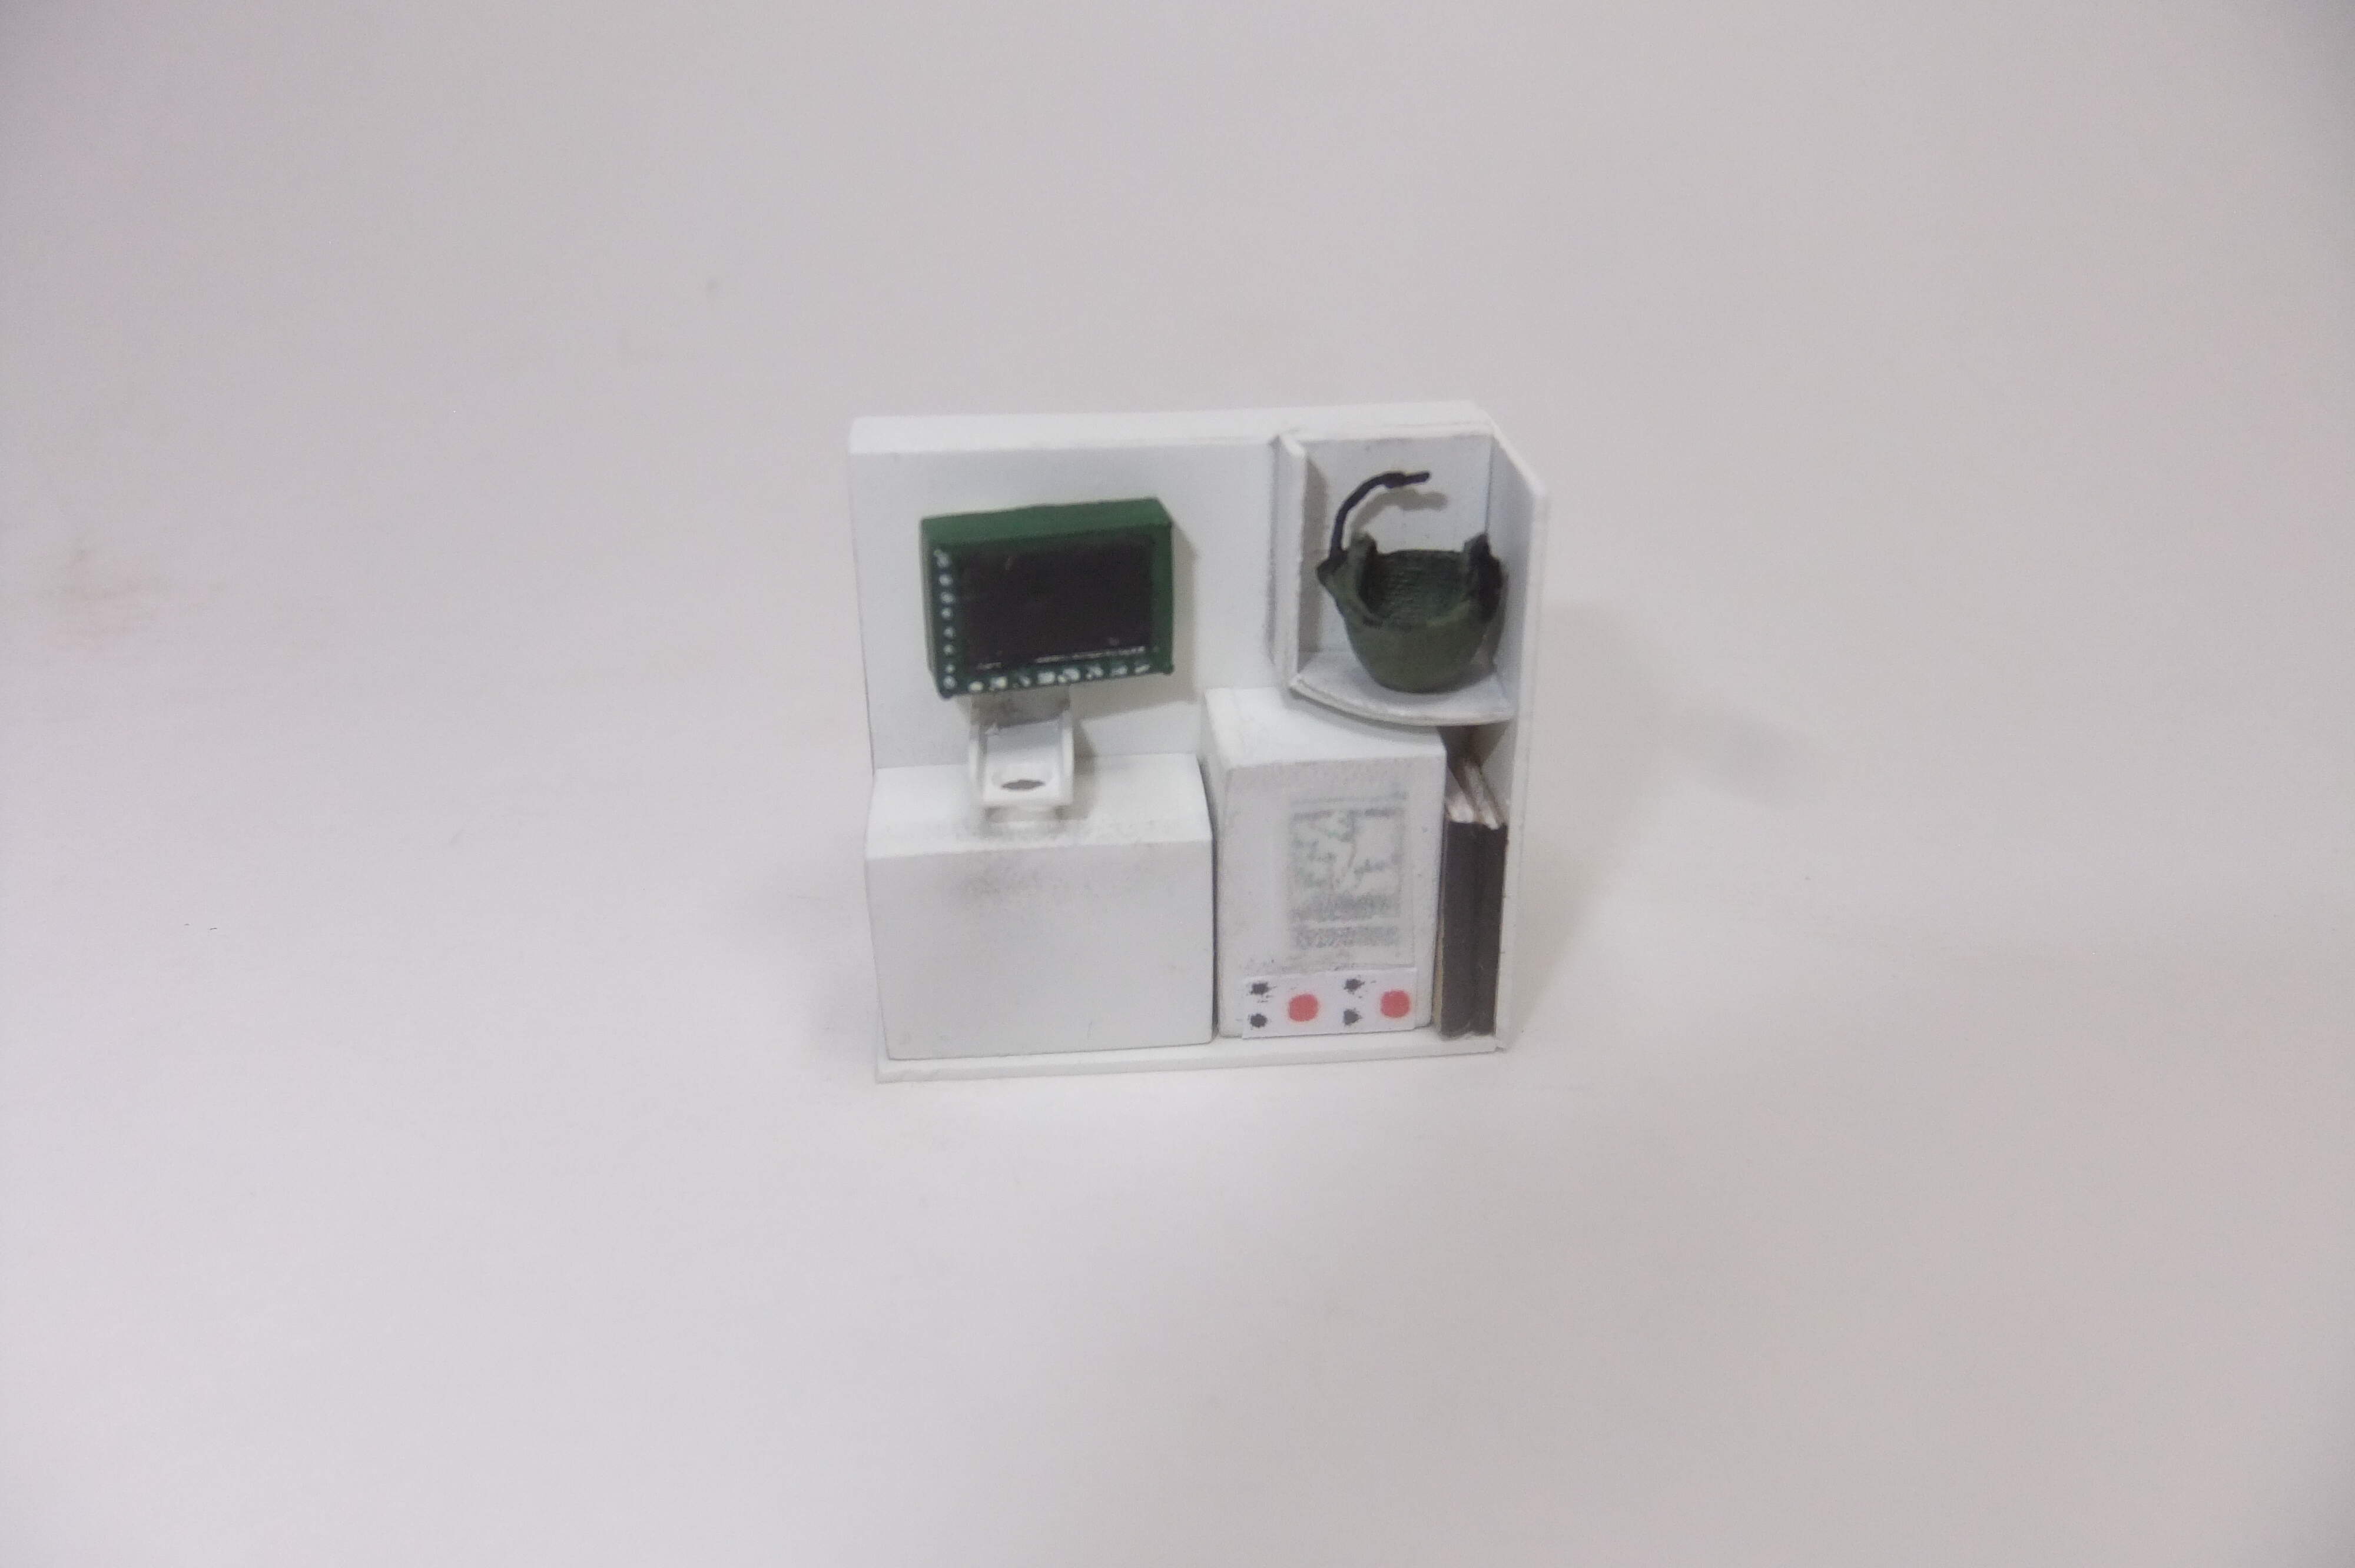
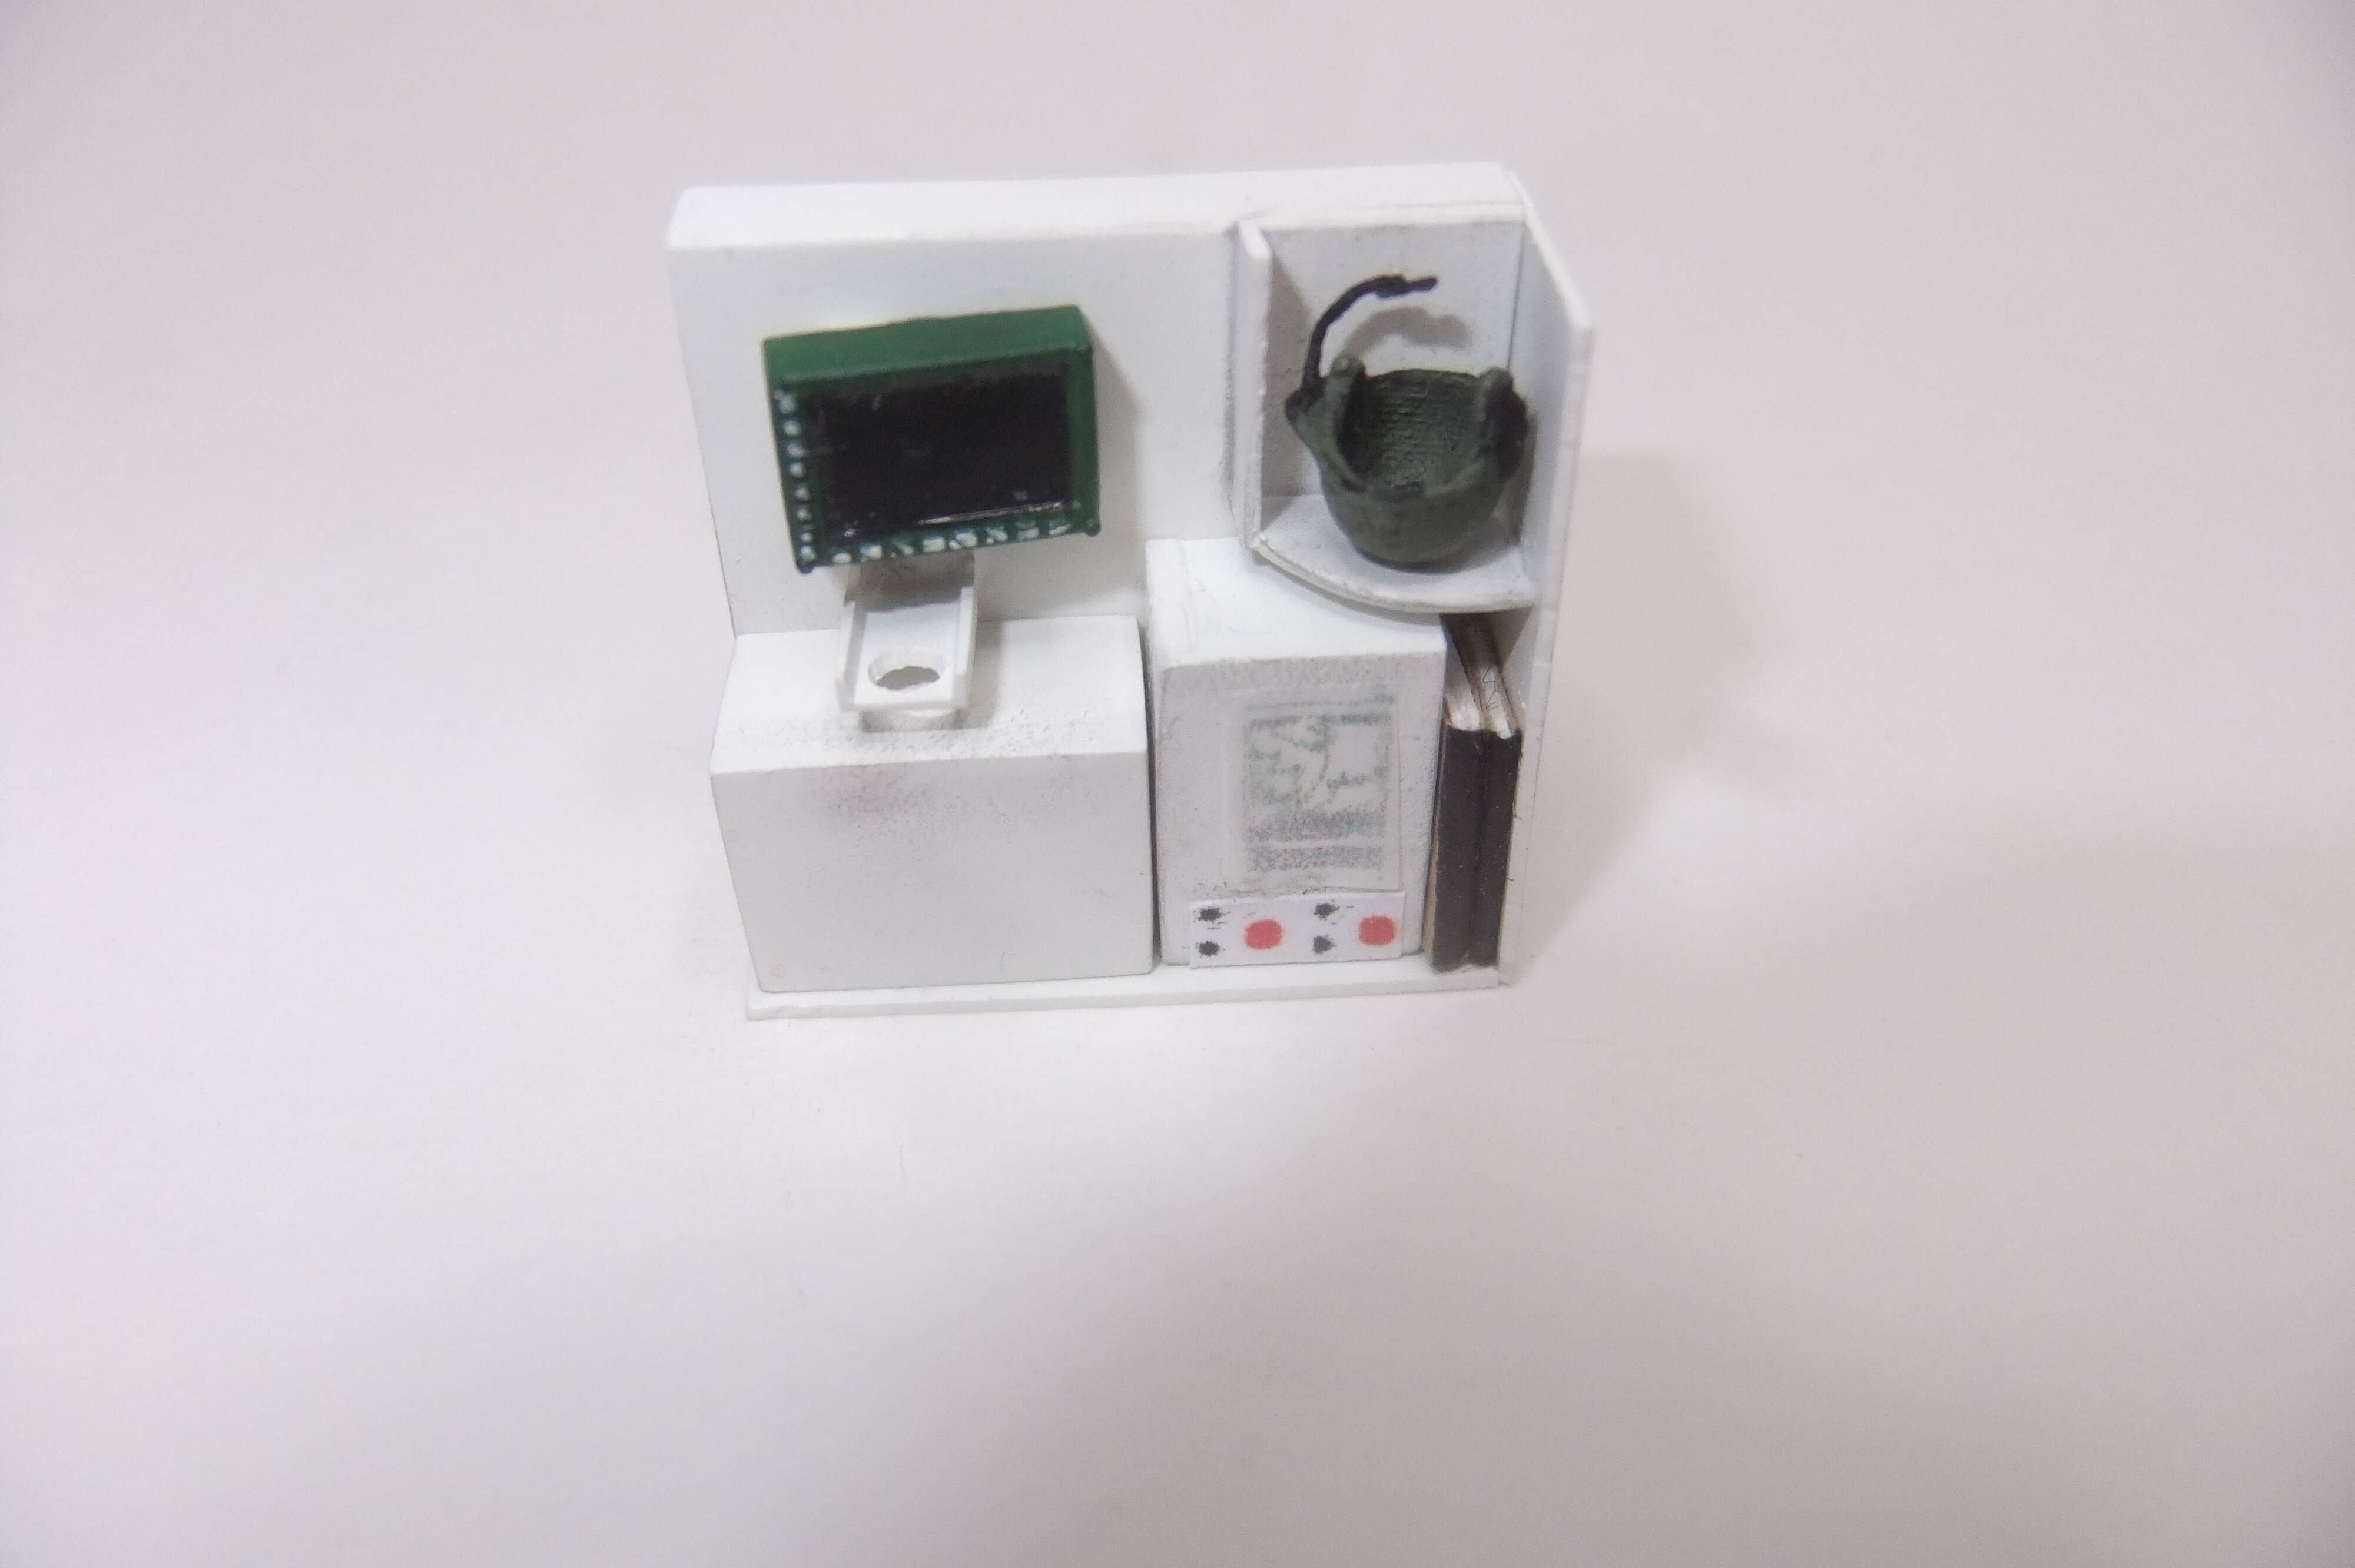
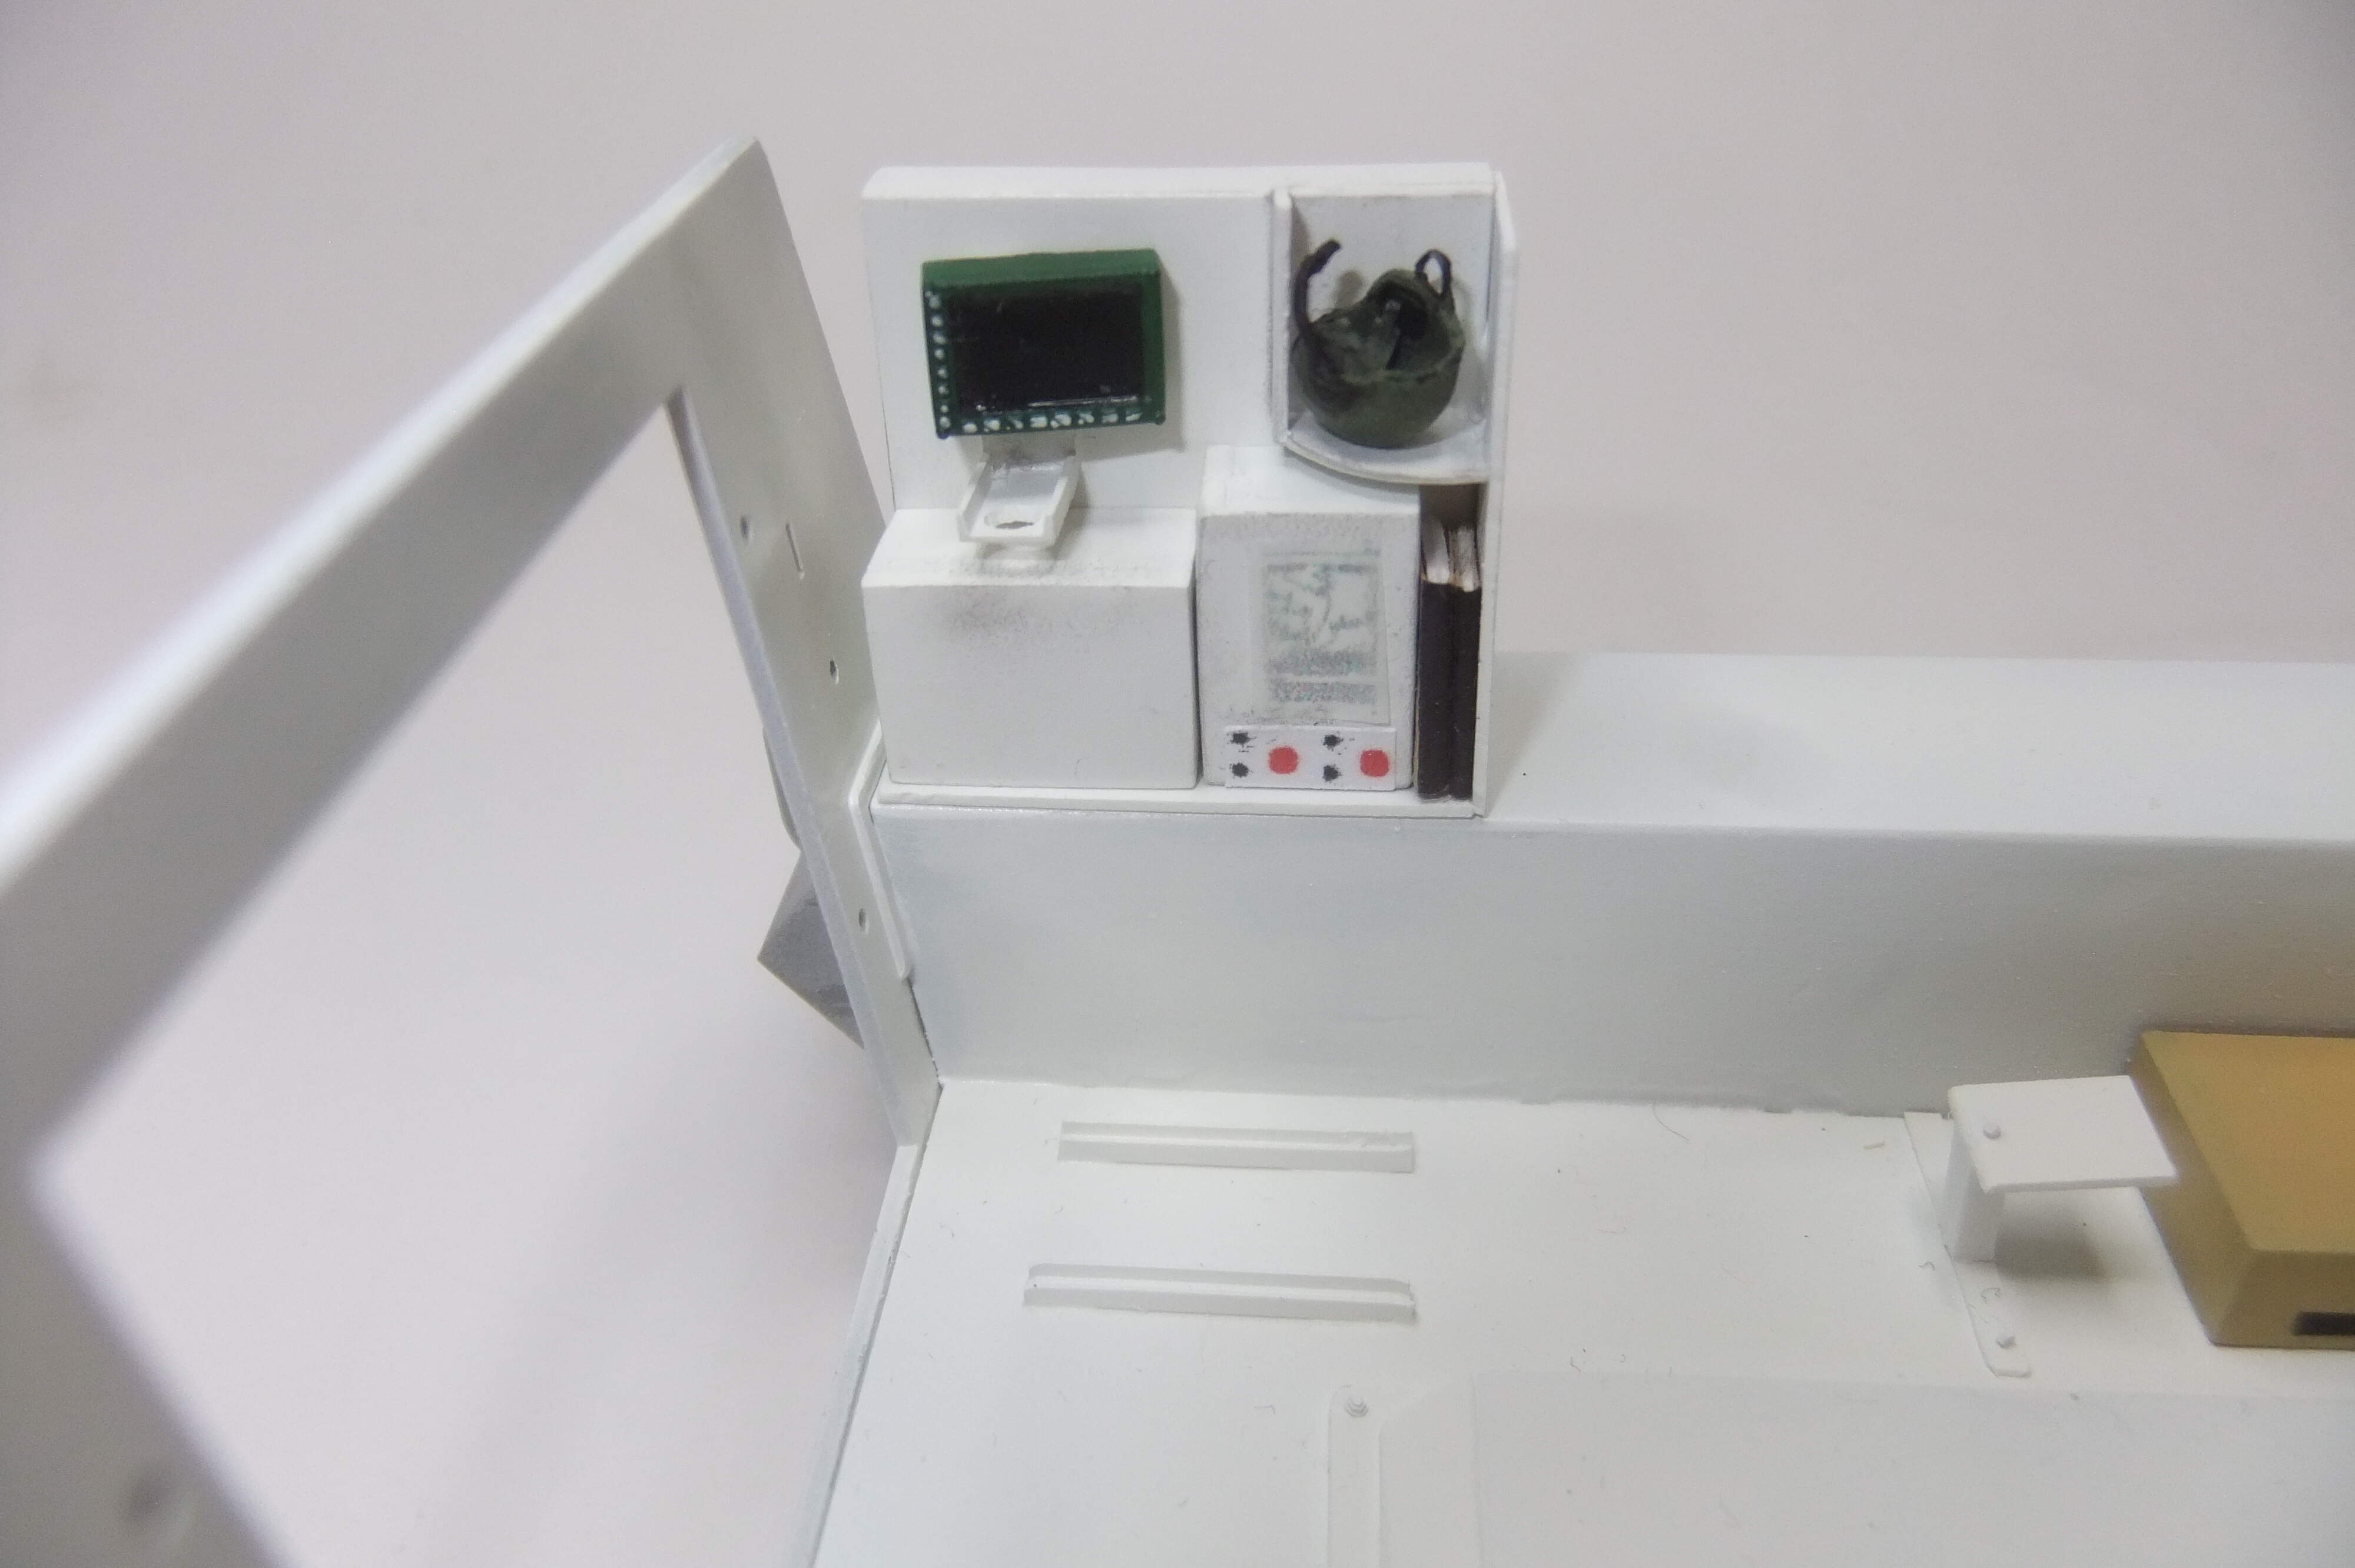
During the last few days I finished the Joint Biological Point Detection System:
Color was applied; the black parts are cut outs from old decals; the keyboard is from the Trumpeter M1129 Mortar kit.
And this is where it will be located.
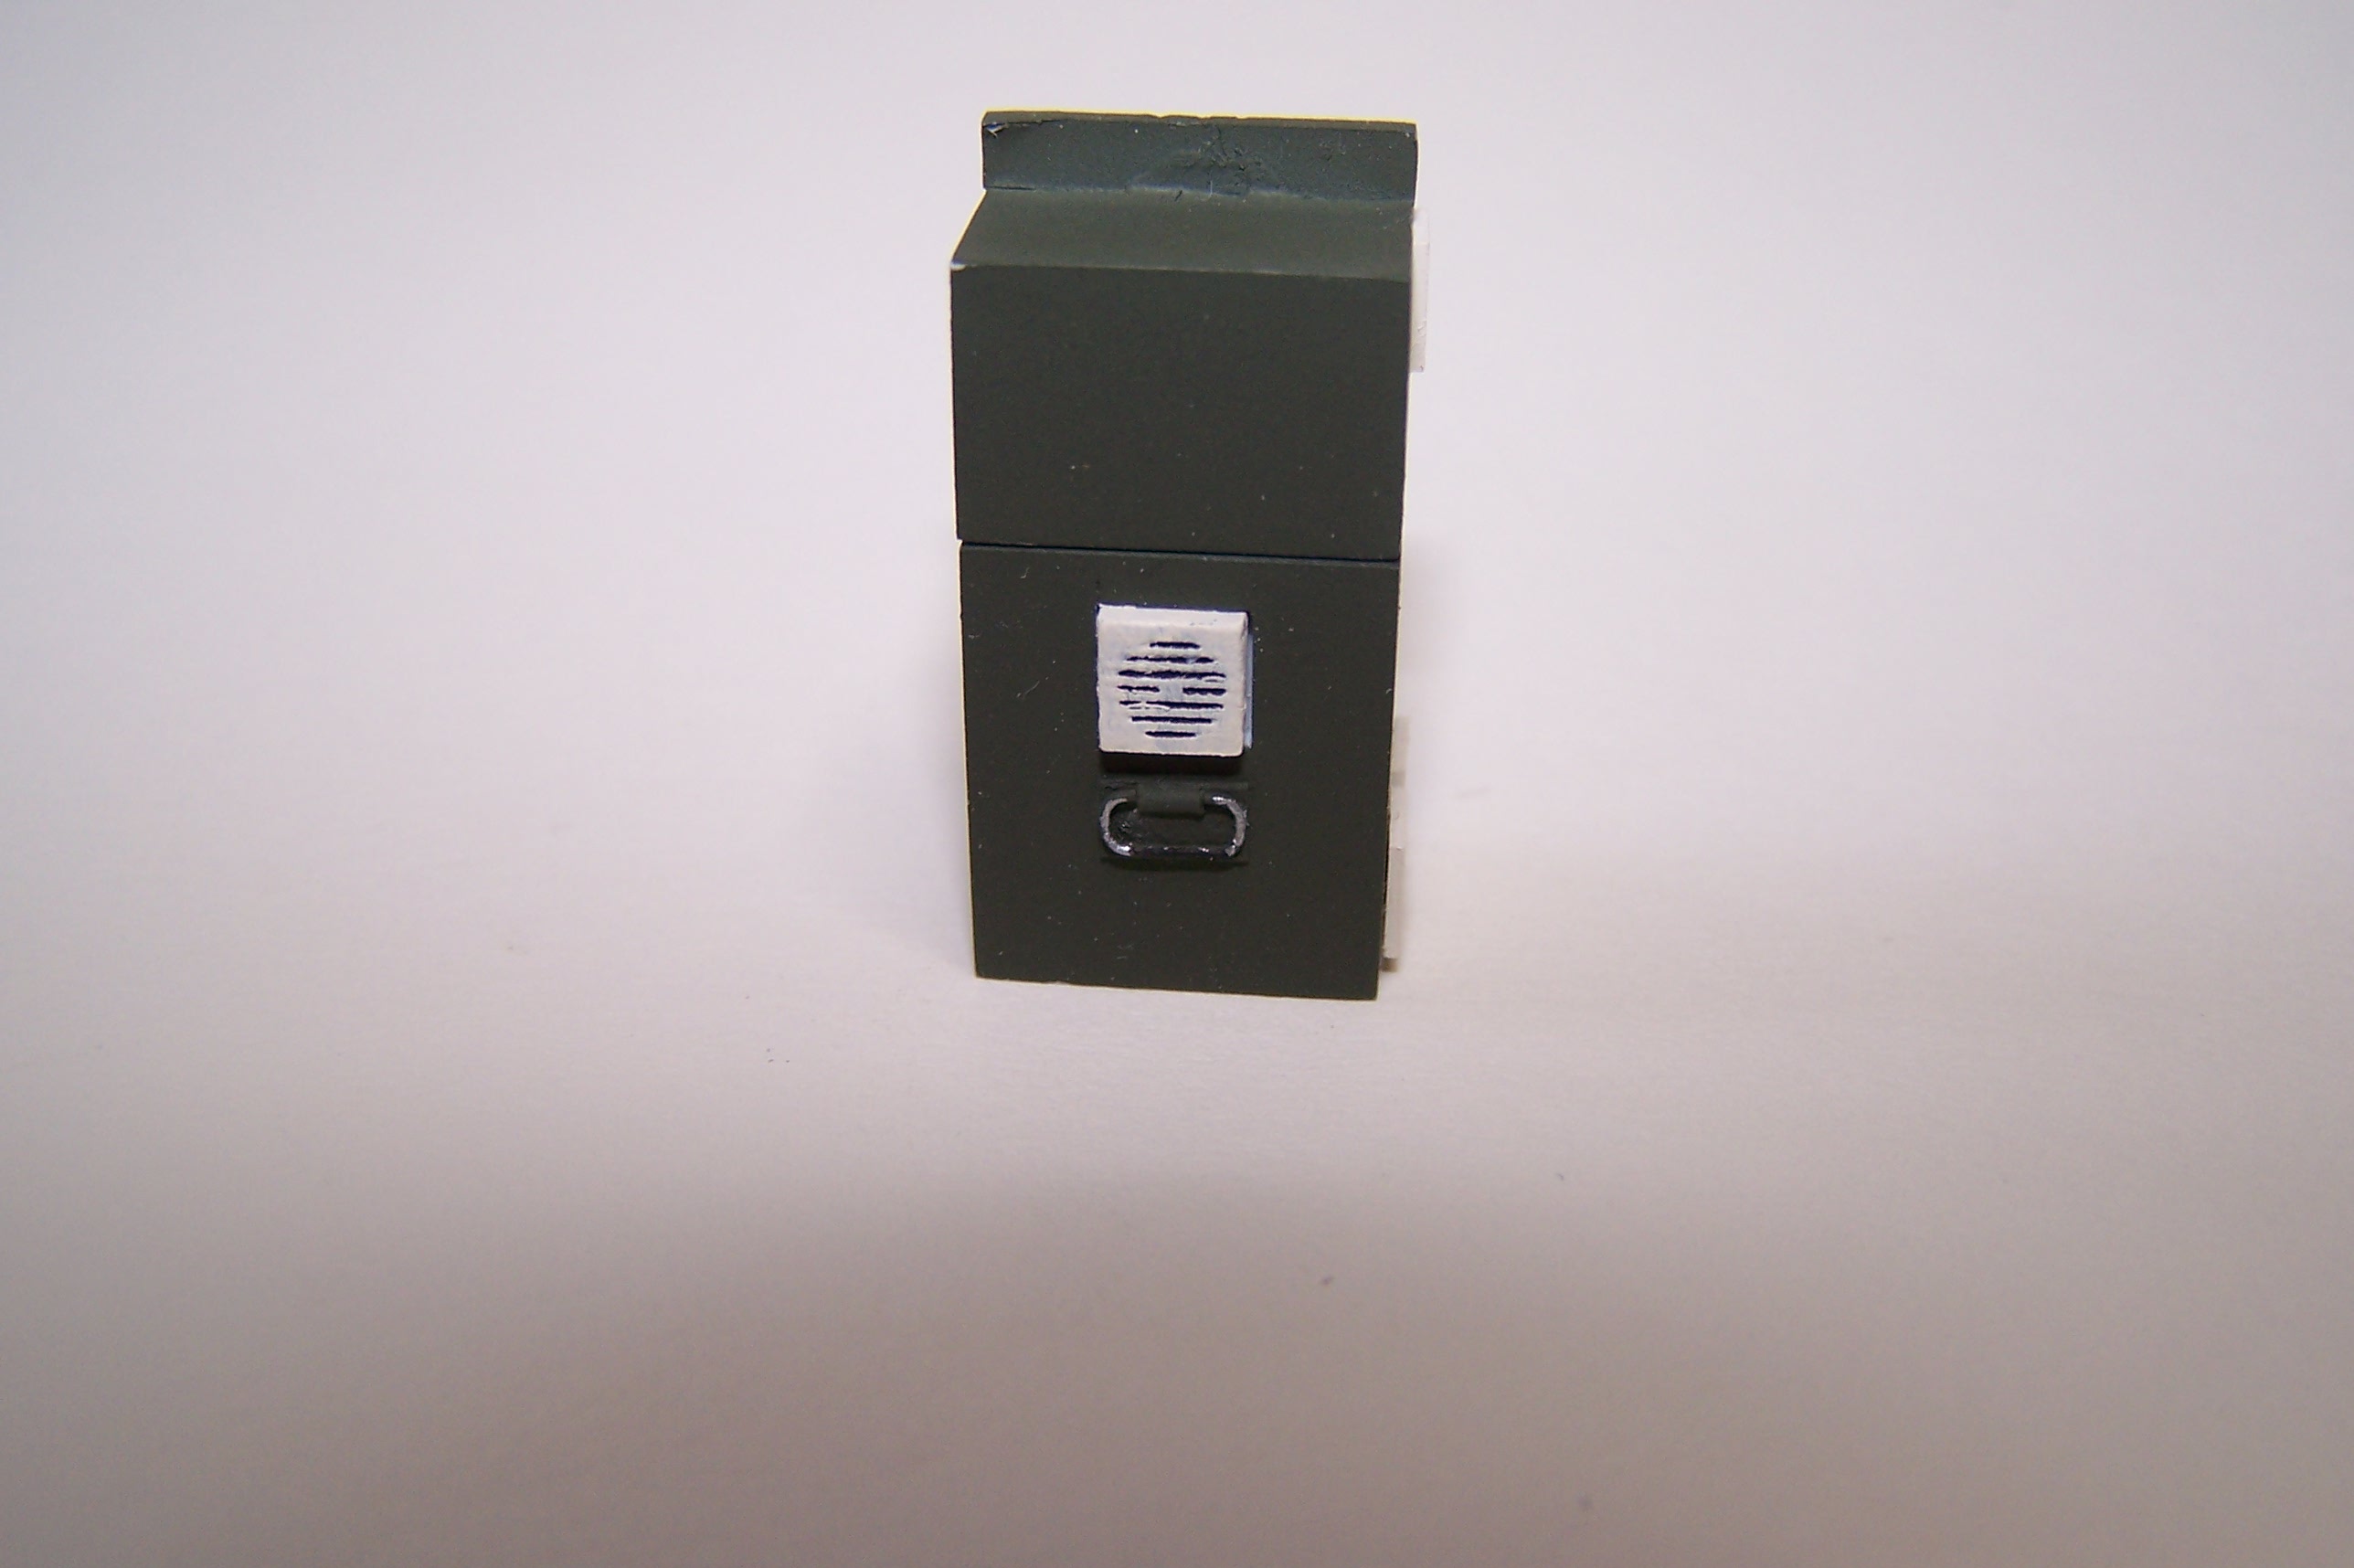
Furthermore I was working on the Chemical Biological Mass Spectrometer…….
not jet finished but hopefully on a good way.
Peter
2 Likes
During the last weeks I slowly worked on the Stryker NBC RV.
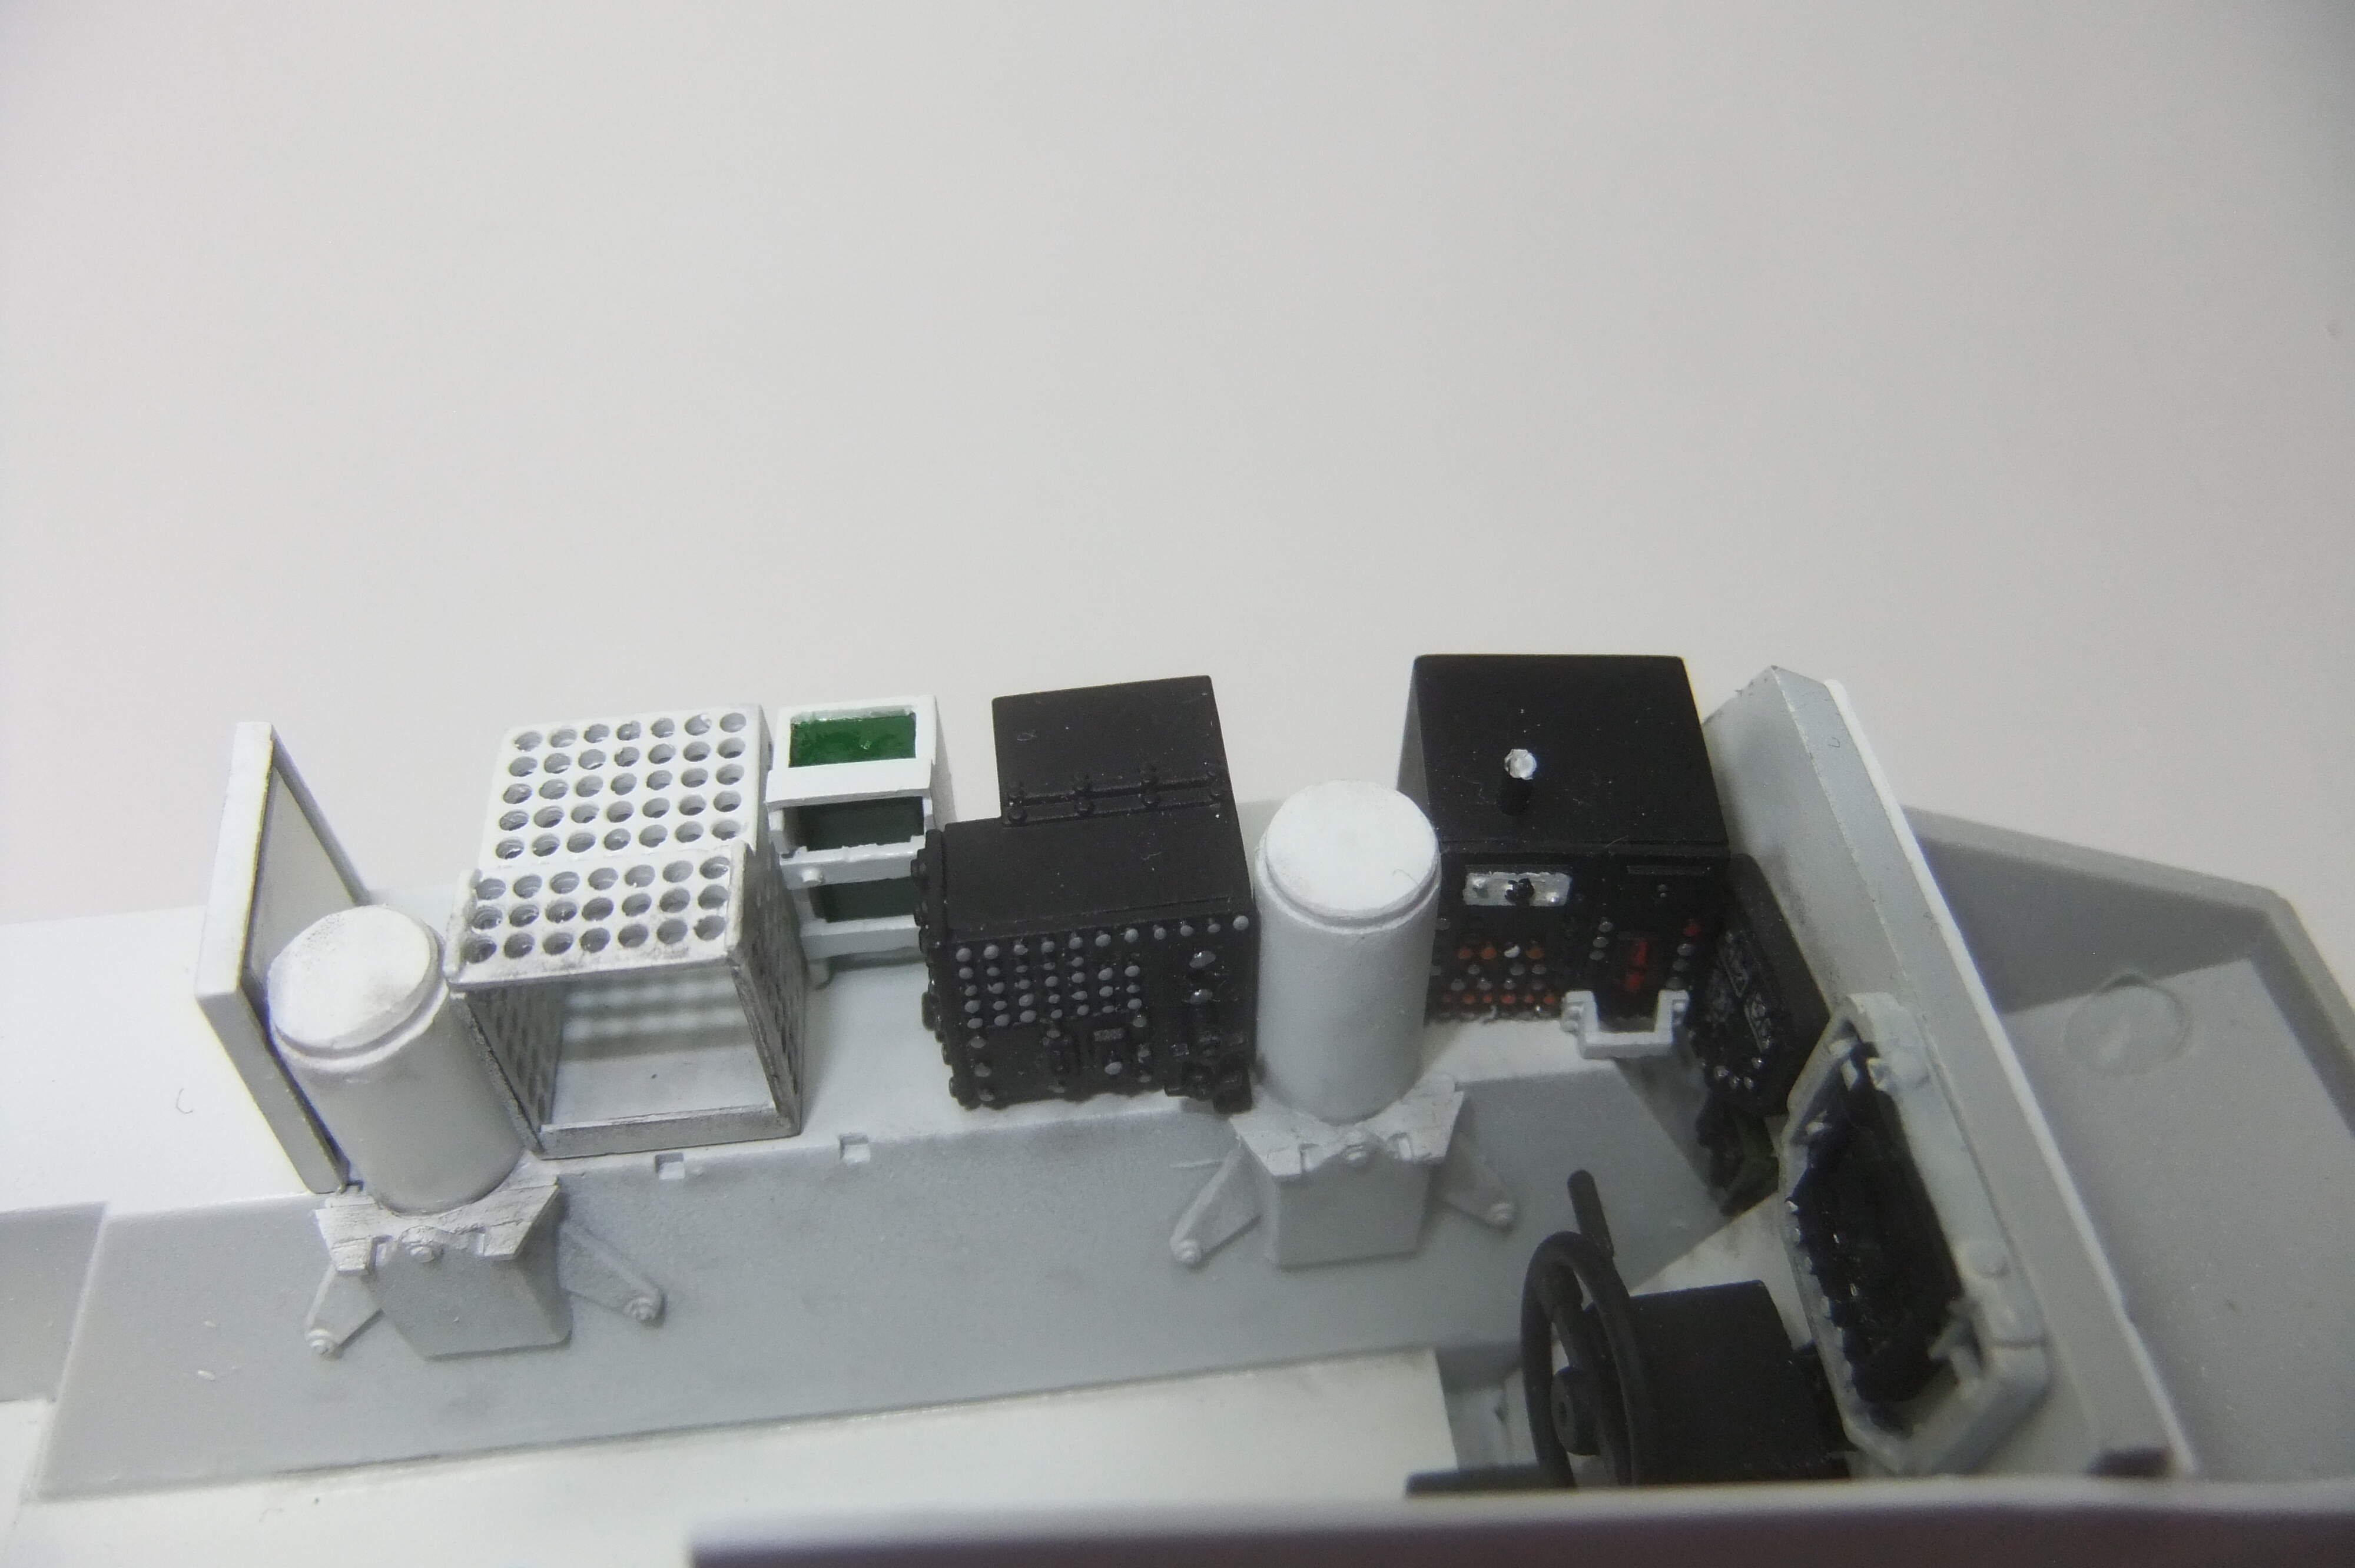
I finished the cabinet of the Chemical Biological Mass Spectrometer.
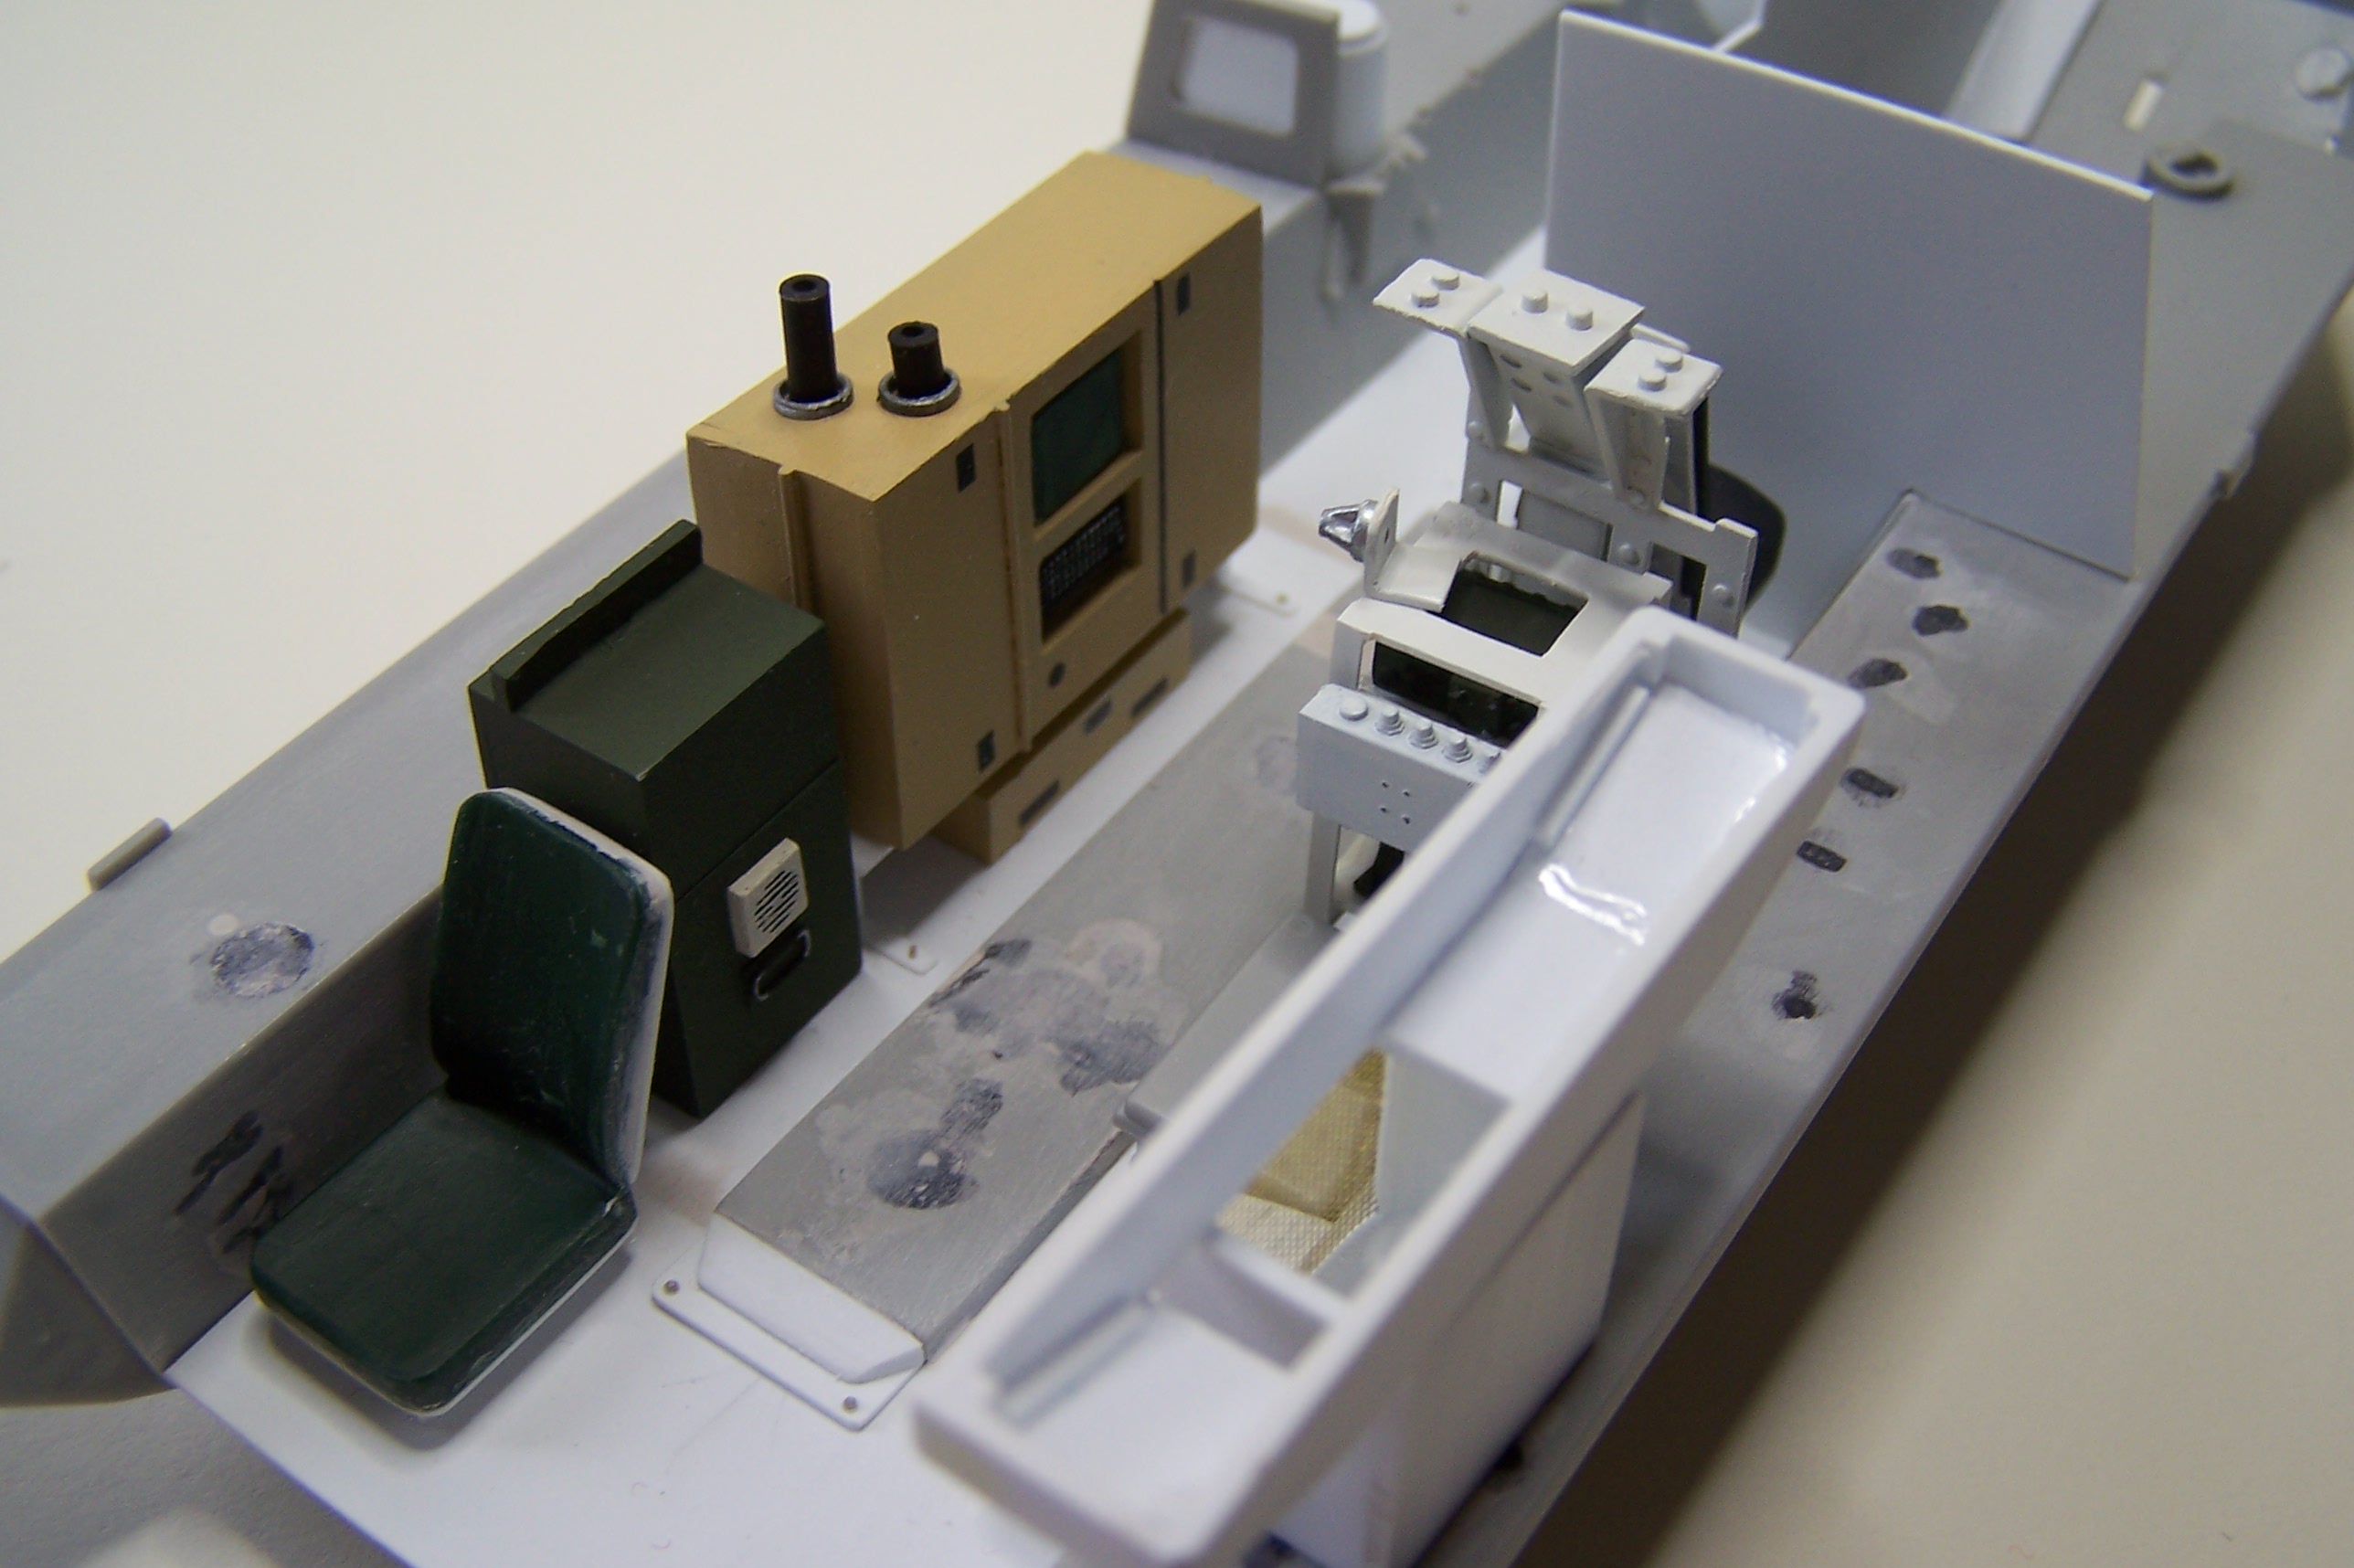
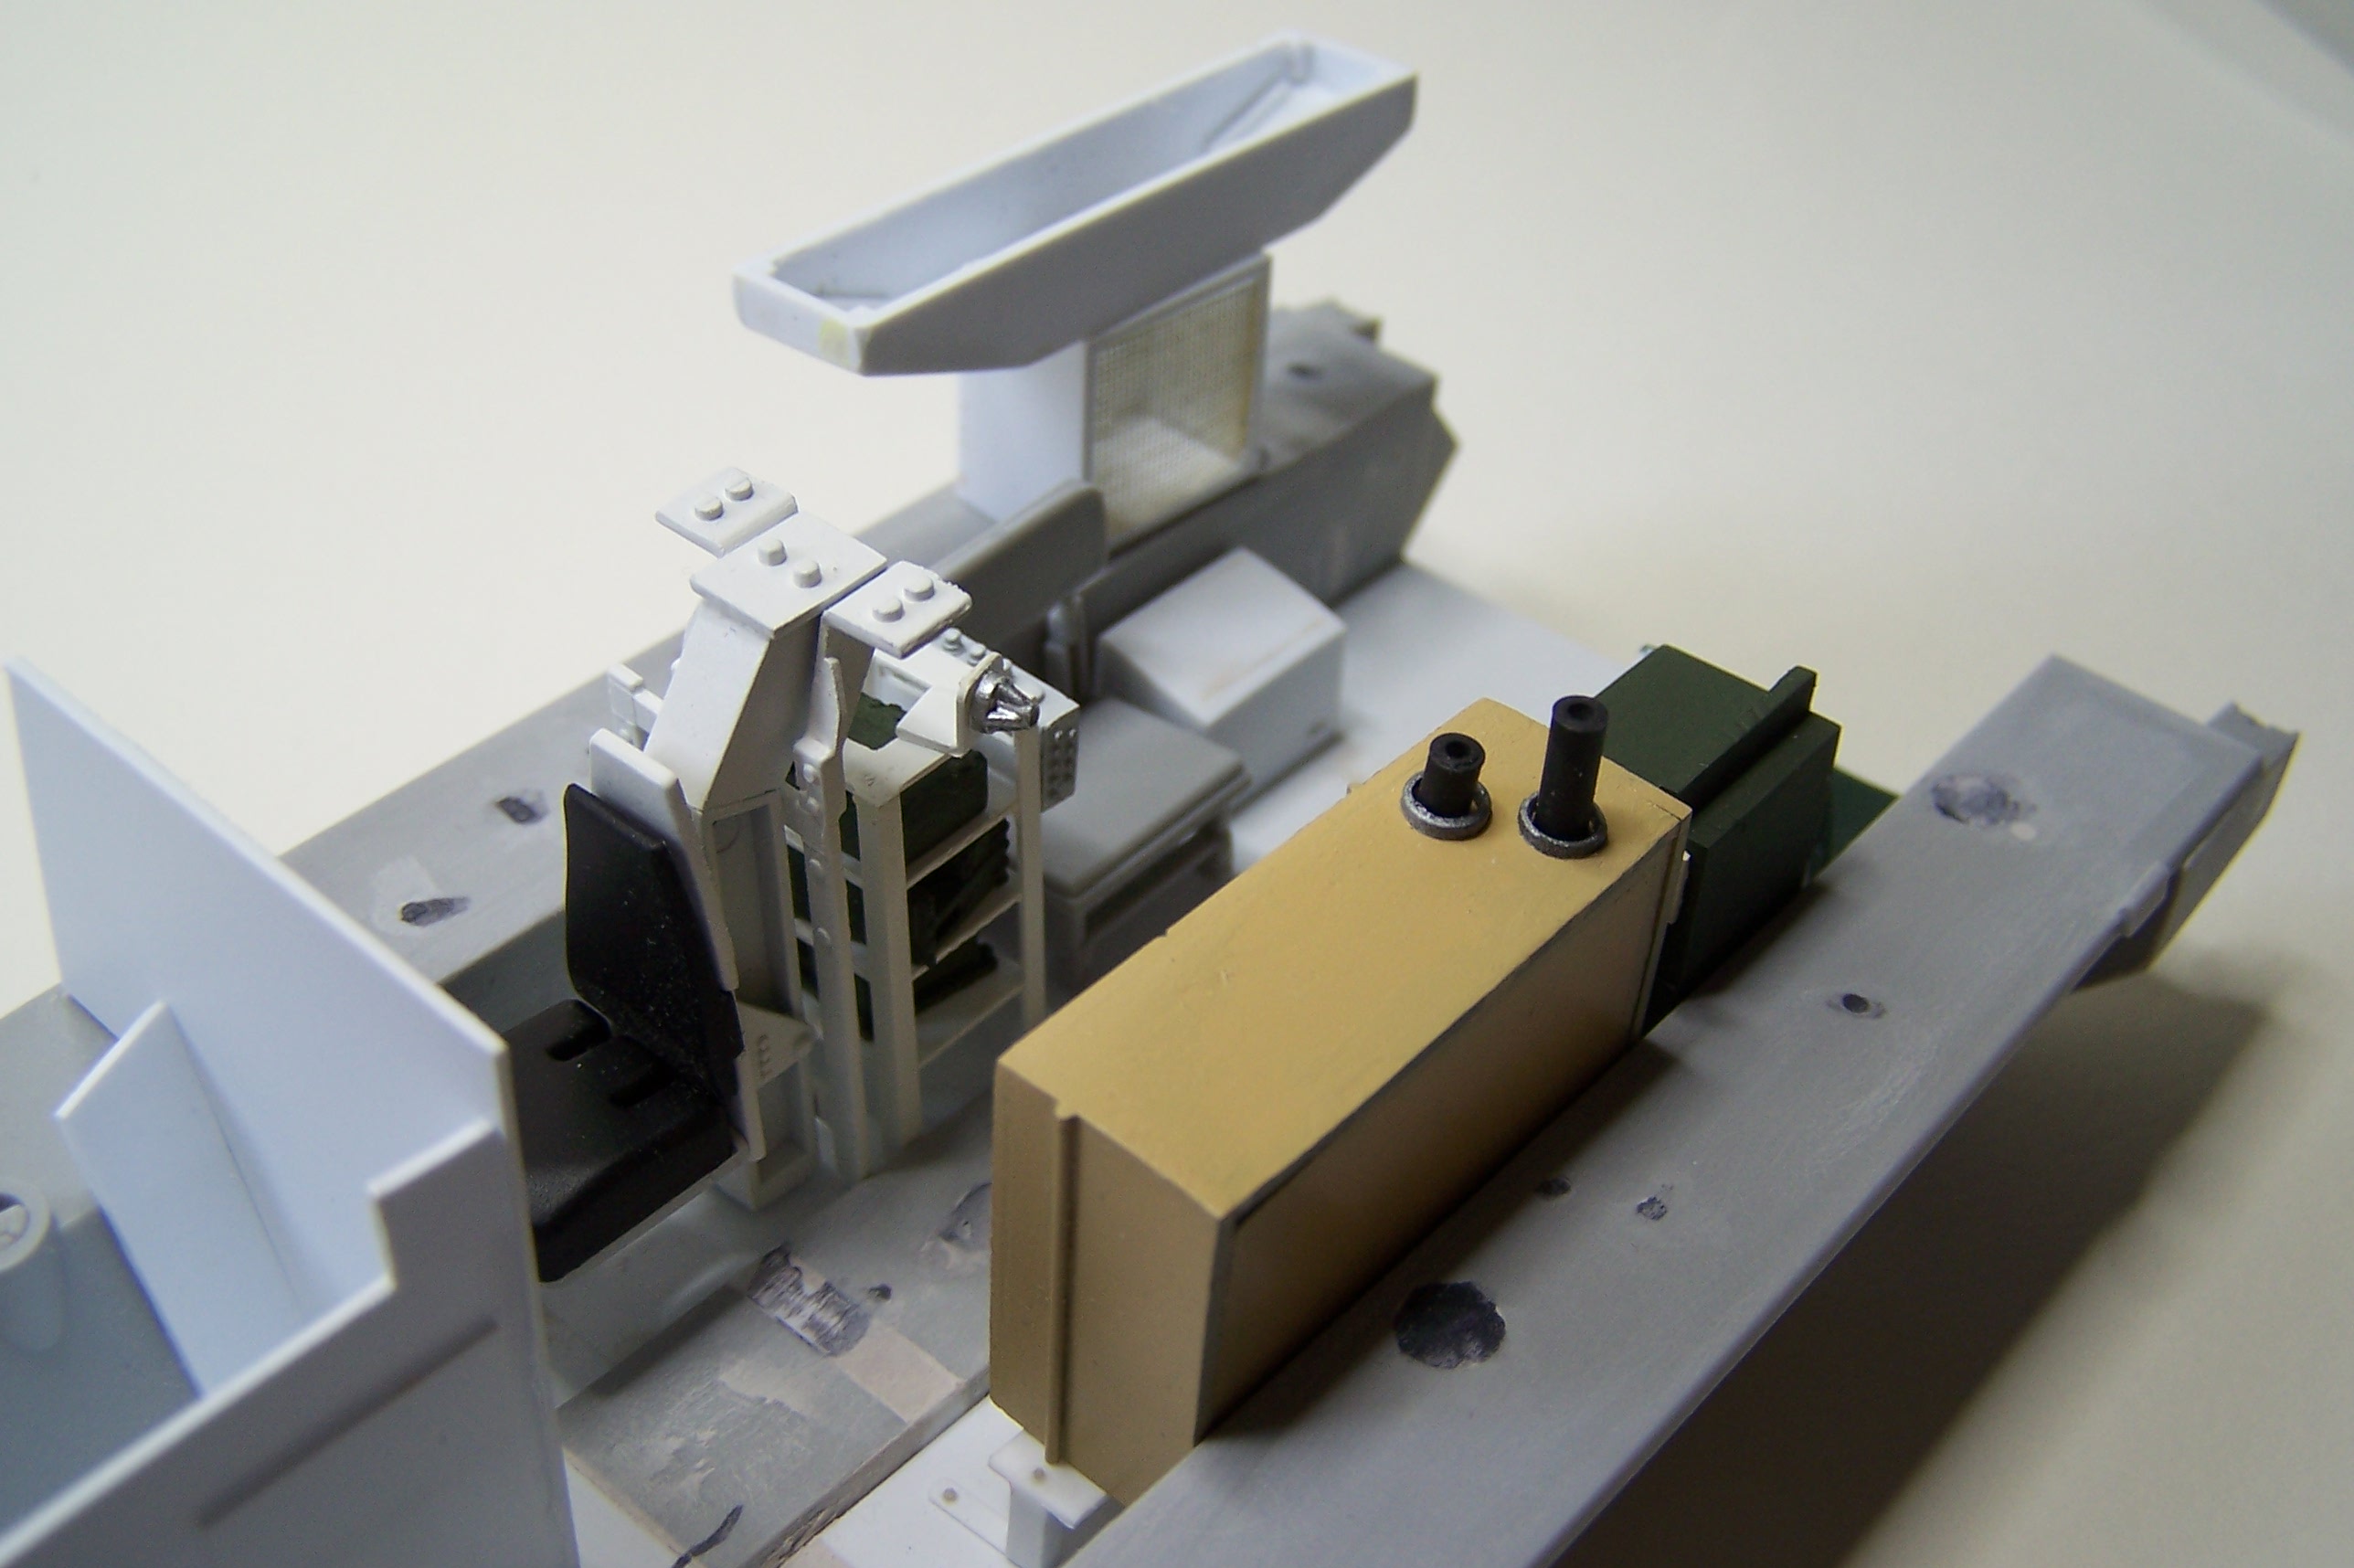
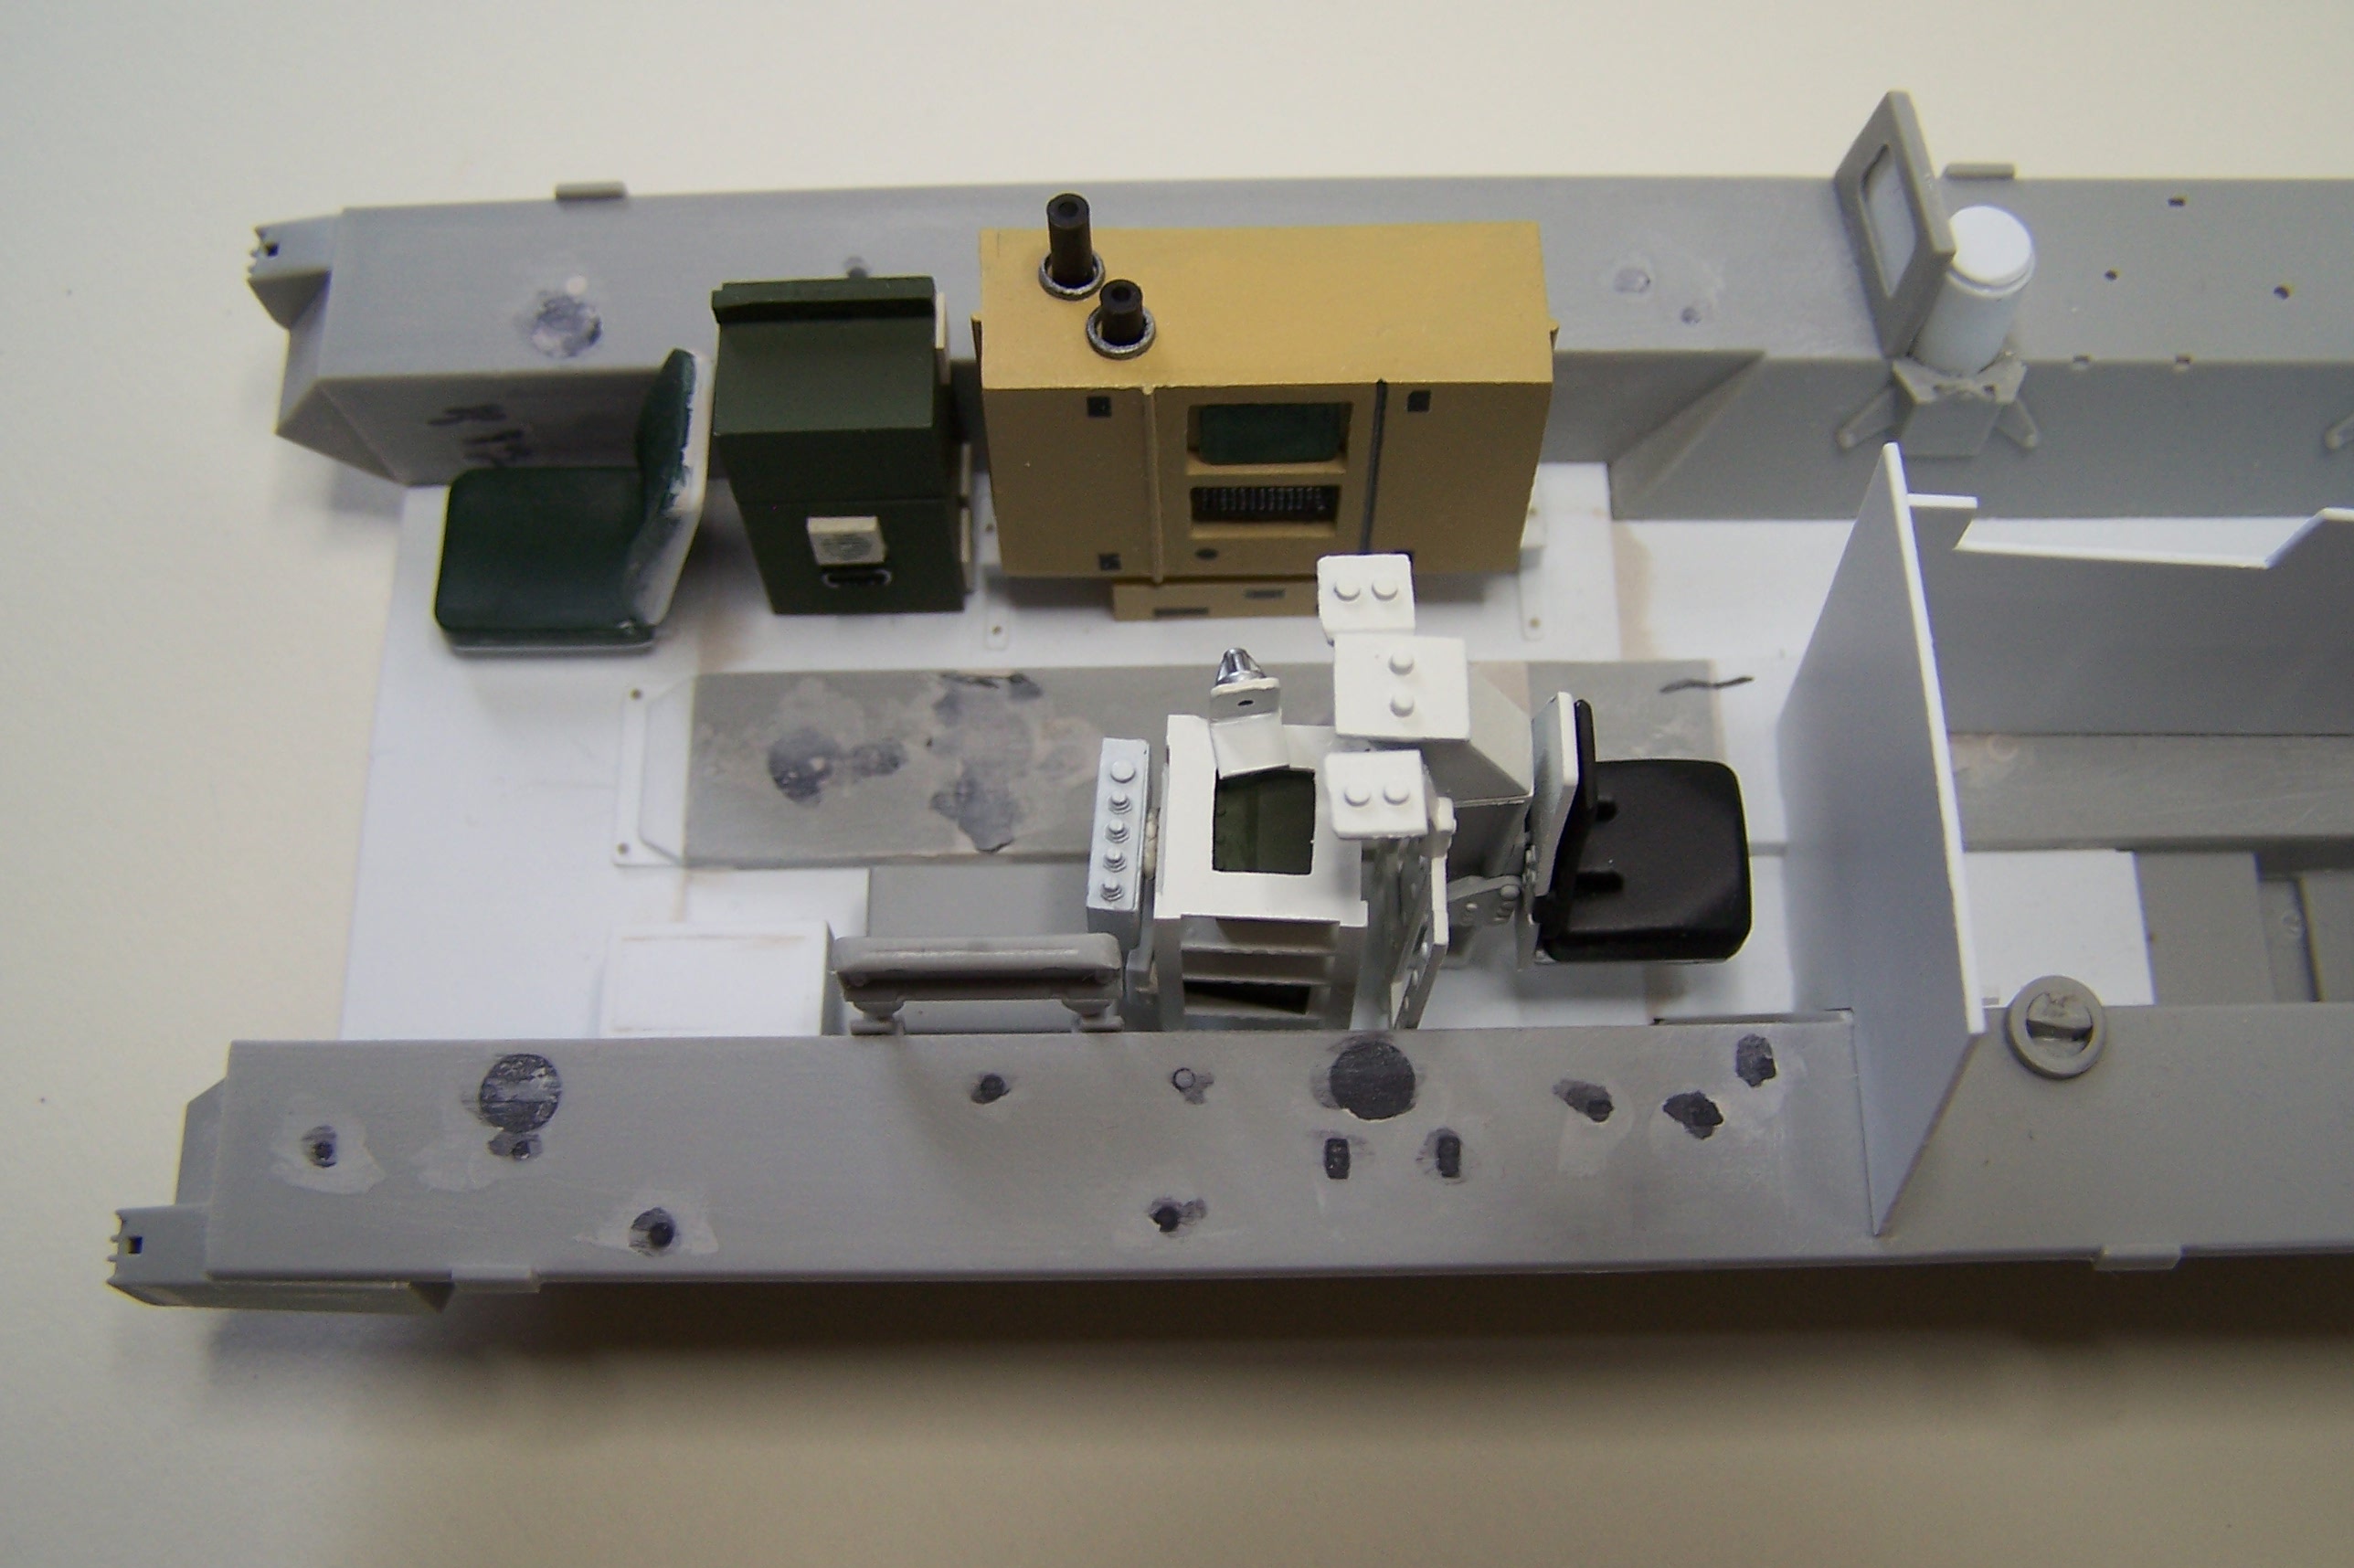
I also started working on the right side of the vehicle’s interior.
And I built the rack right behind the commander’s seat. This rack carries the communication equipment of the vehicle. I tried to display the following items, from top down:
A AN/VSQ-2 (V) 1 Enhanced Positioning Location Reporting System, a twin rack with two Advanced SINCGARS Improvement Program Radios and the FBCB2 CPU beneath.
According to my references, I placed the communication power distribution unit on the right upper side of the rack.
For all of this I basically used parts from the Trumpeters Stryker Mortar kit.
The Item on top of the rack is part of the fire suppression system and will be connected to one of the bottles of the system.
Continuing on the right side, I refurbished the chair from Trumpeter’s Stryker Mortar kit and made it fit on the place behind the rack.
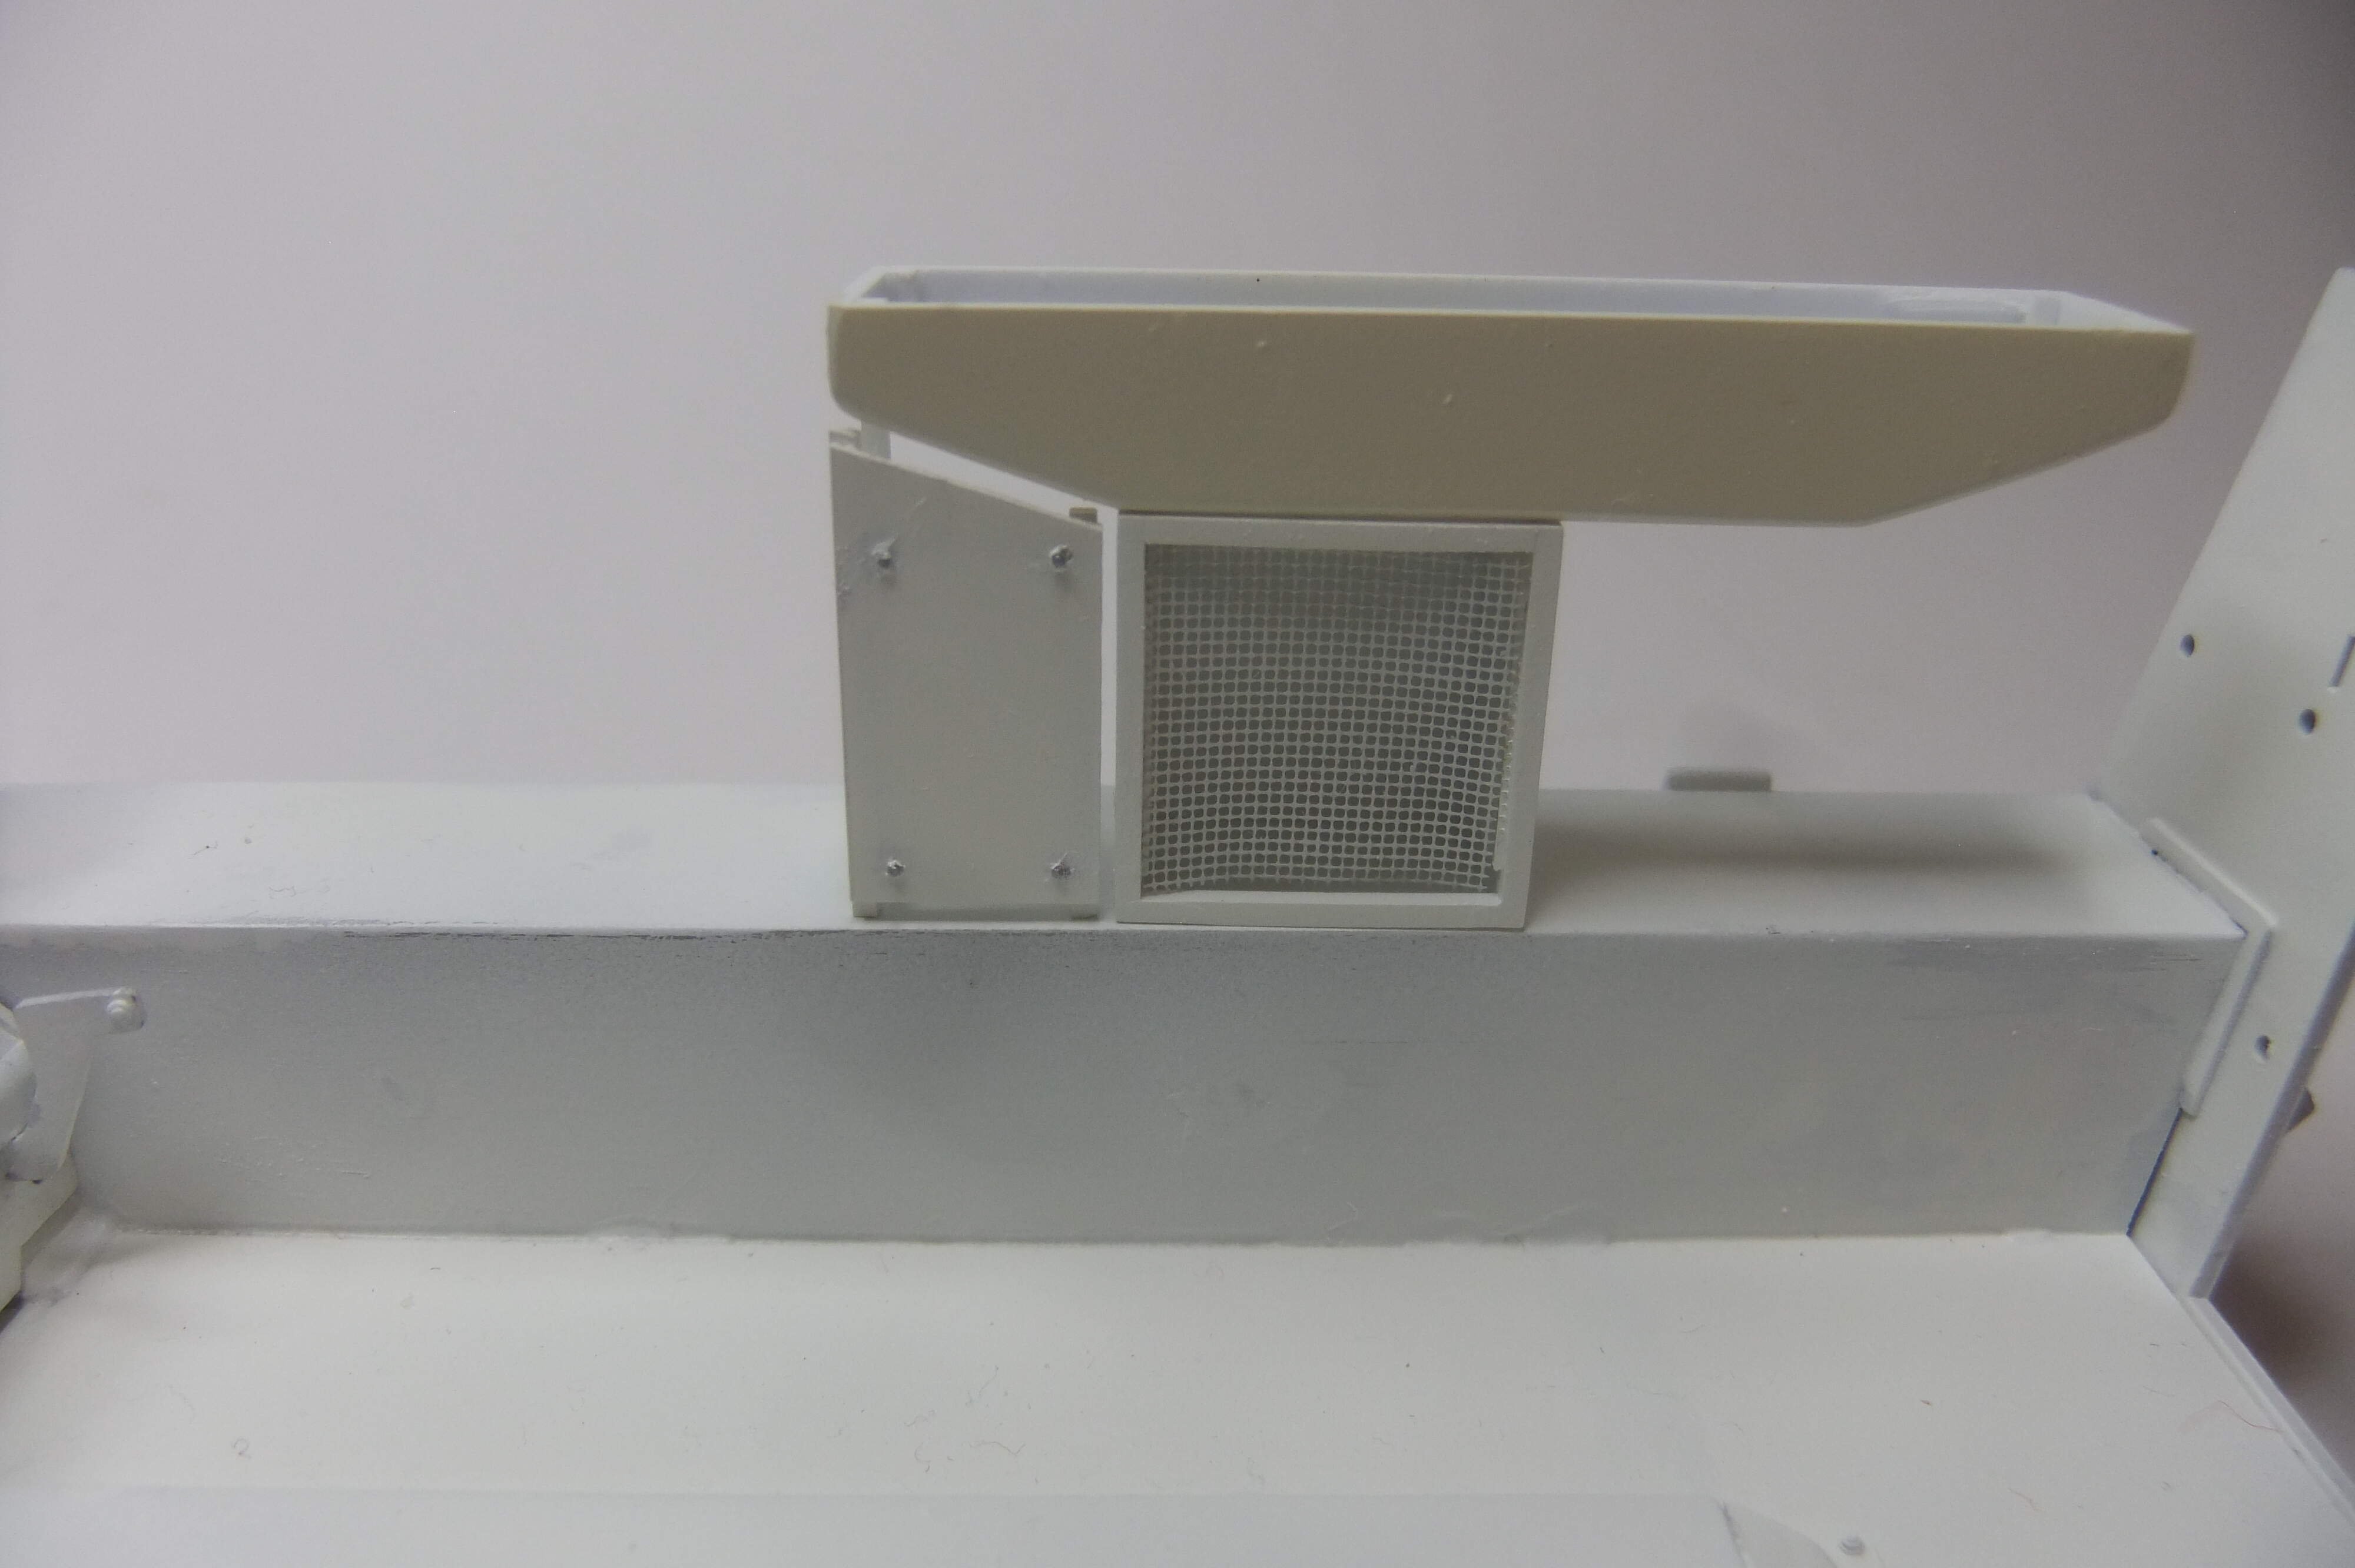
Behind this chair the overpressure system is located, connected to a grating on the outside of the vehicle’s roof. So for now I have built the major interior parts of the overpressure system.
Next, I have to accomplish the overpressure system. The printer, which you can see on the following pictures, is also yet under construction.
Peter
4 Likes
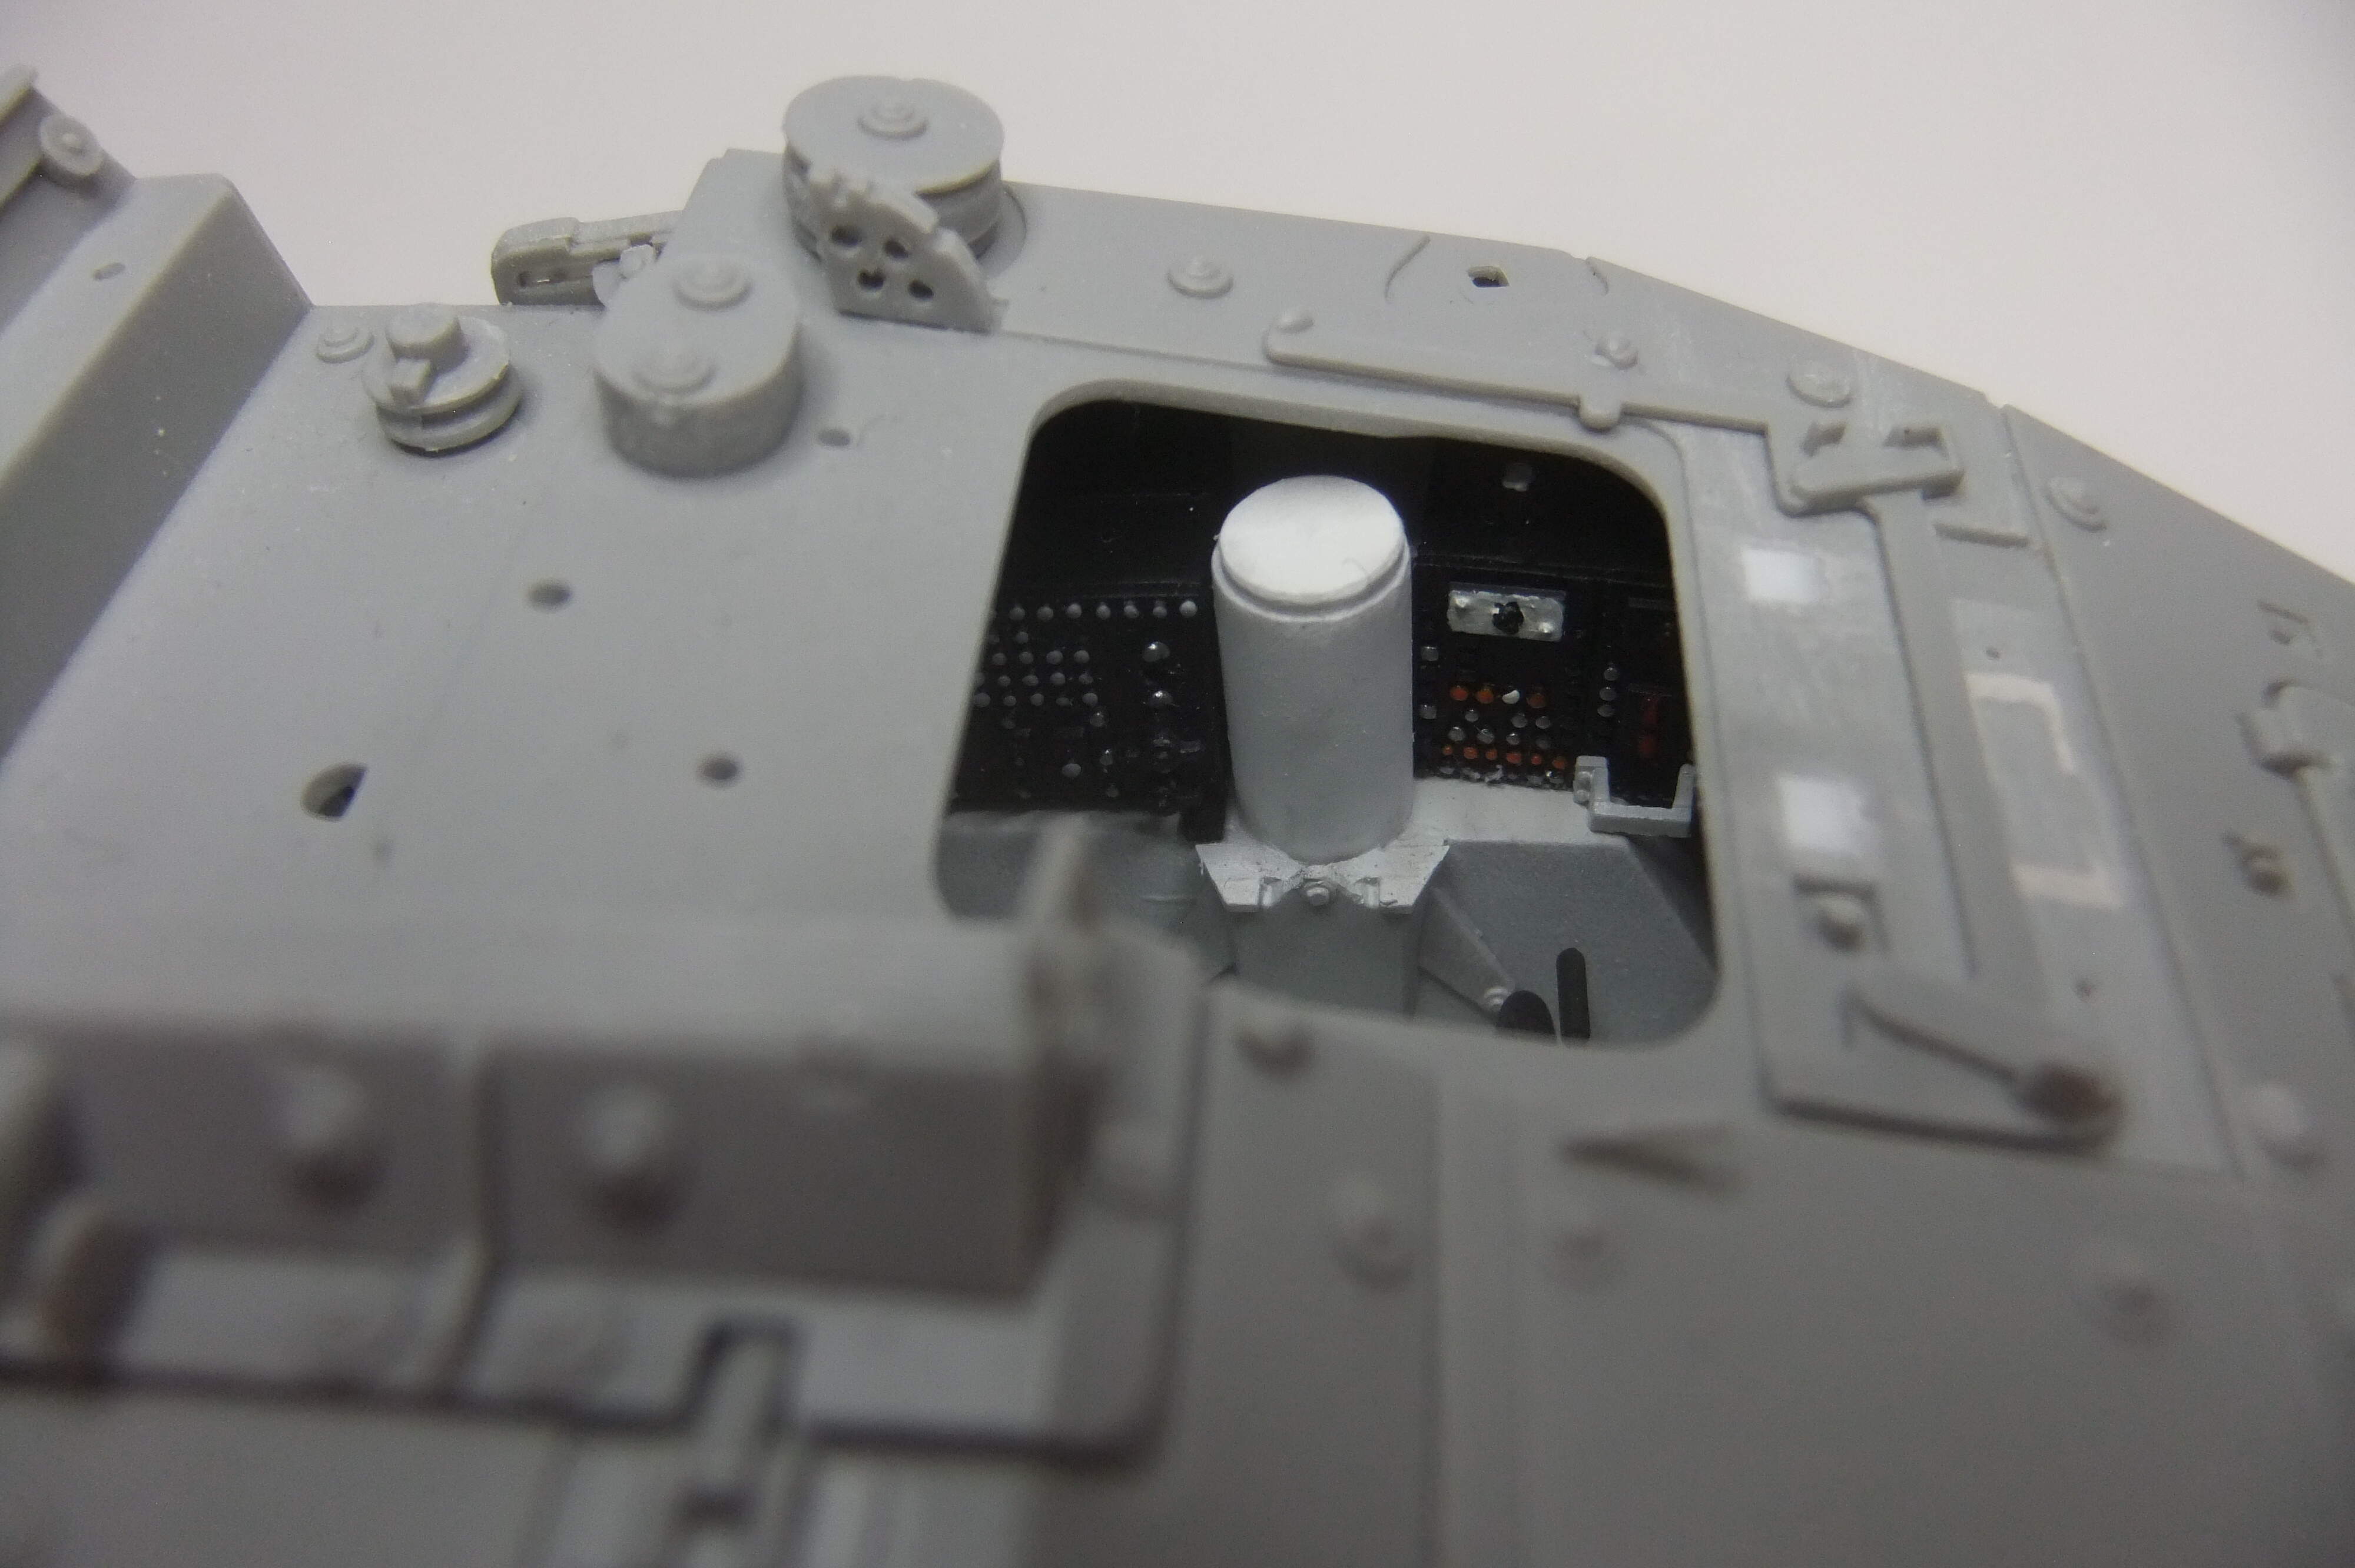
During the last weeks I added white paint to the inside of the vehicle’s bottom. Then I started working on the driver’s compartment. Basically I used the parts from the Trumpeter M1129 Mortar kit.
These parts are great! They fit perfectly and after carefully painting, they look like they should.
And of course, very little is visible, after the lid is on.
Peter
Just found this. Nice work.
Thanks a lot!
Great you like it!
Peter
The interior is looking good so far.
Since you used the driver’s area from the Mortar Carrier, Legend makes a resin set to replace it.
Stryker Driver’s Compartment Set, Legend Productions No. LF1225
Hi Geno,
you are right, the Legend set is great!
The parts I used were “leftovers”.
About two years ago I took a Trumpeter M1129 mortar kit for painting exercises and even more I wanted to find out if I was able to build exact racks for the mortar shells.
So this is how it went, thank you nevertheless …….
Peter
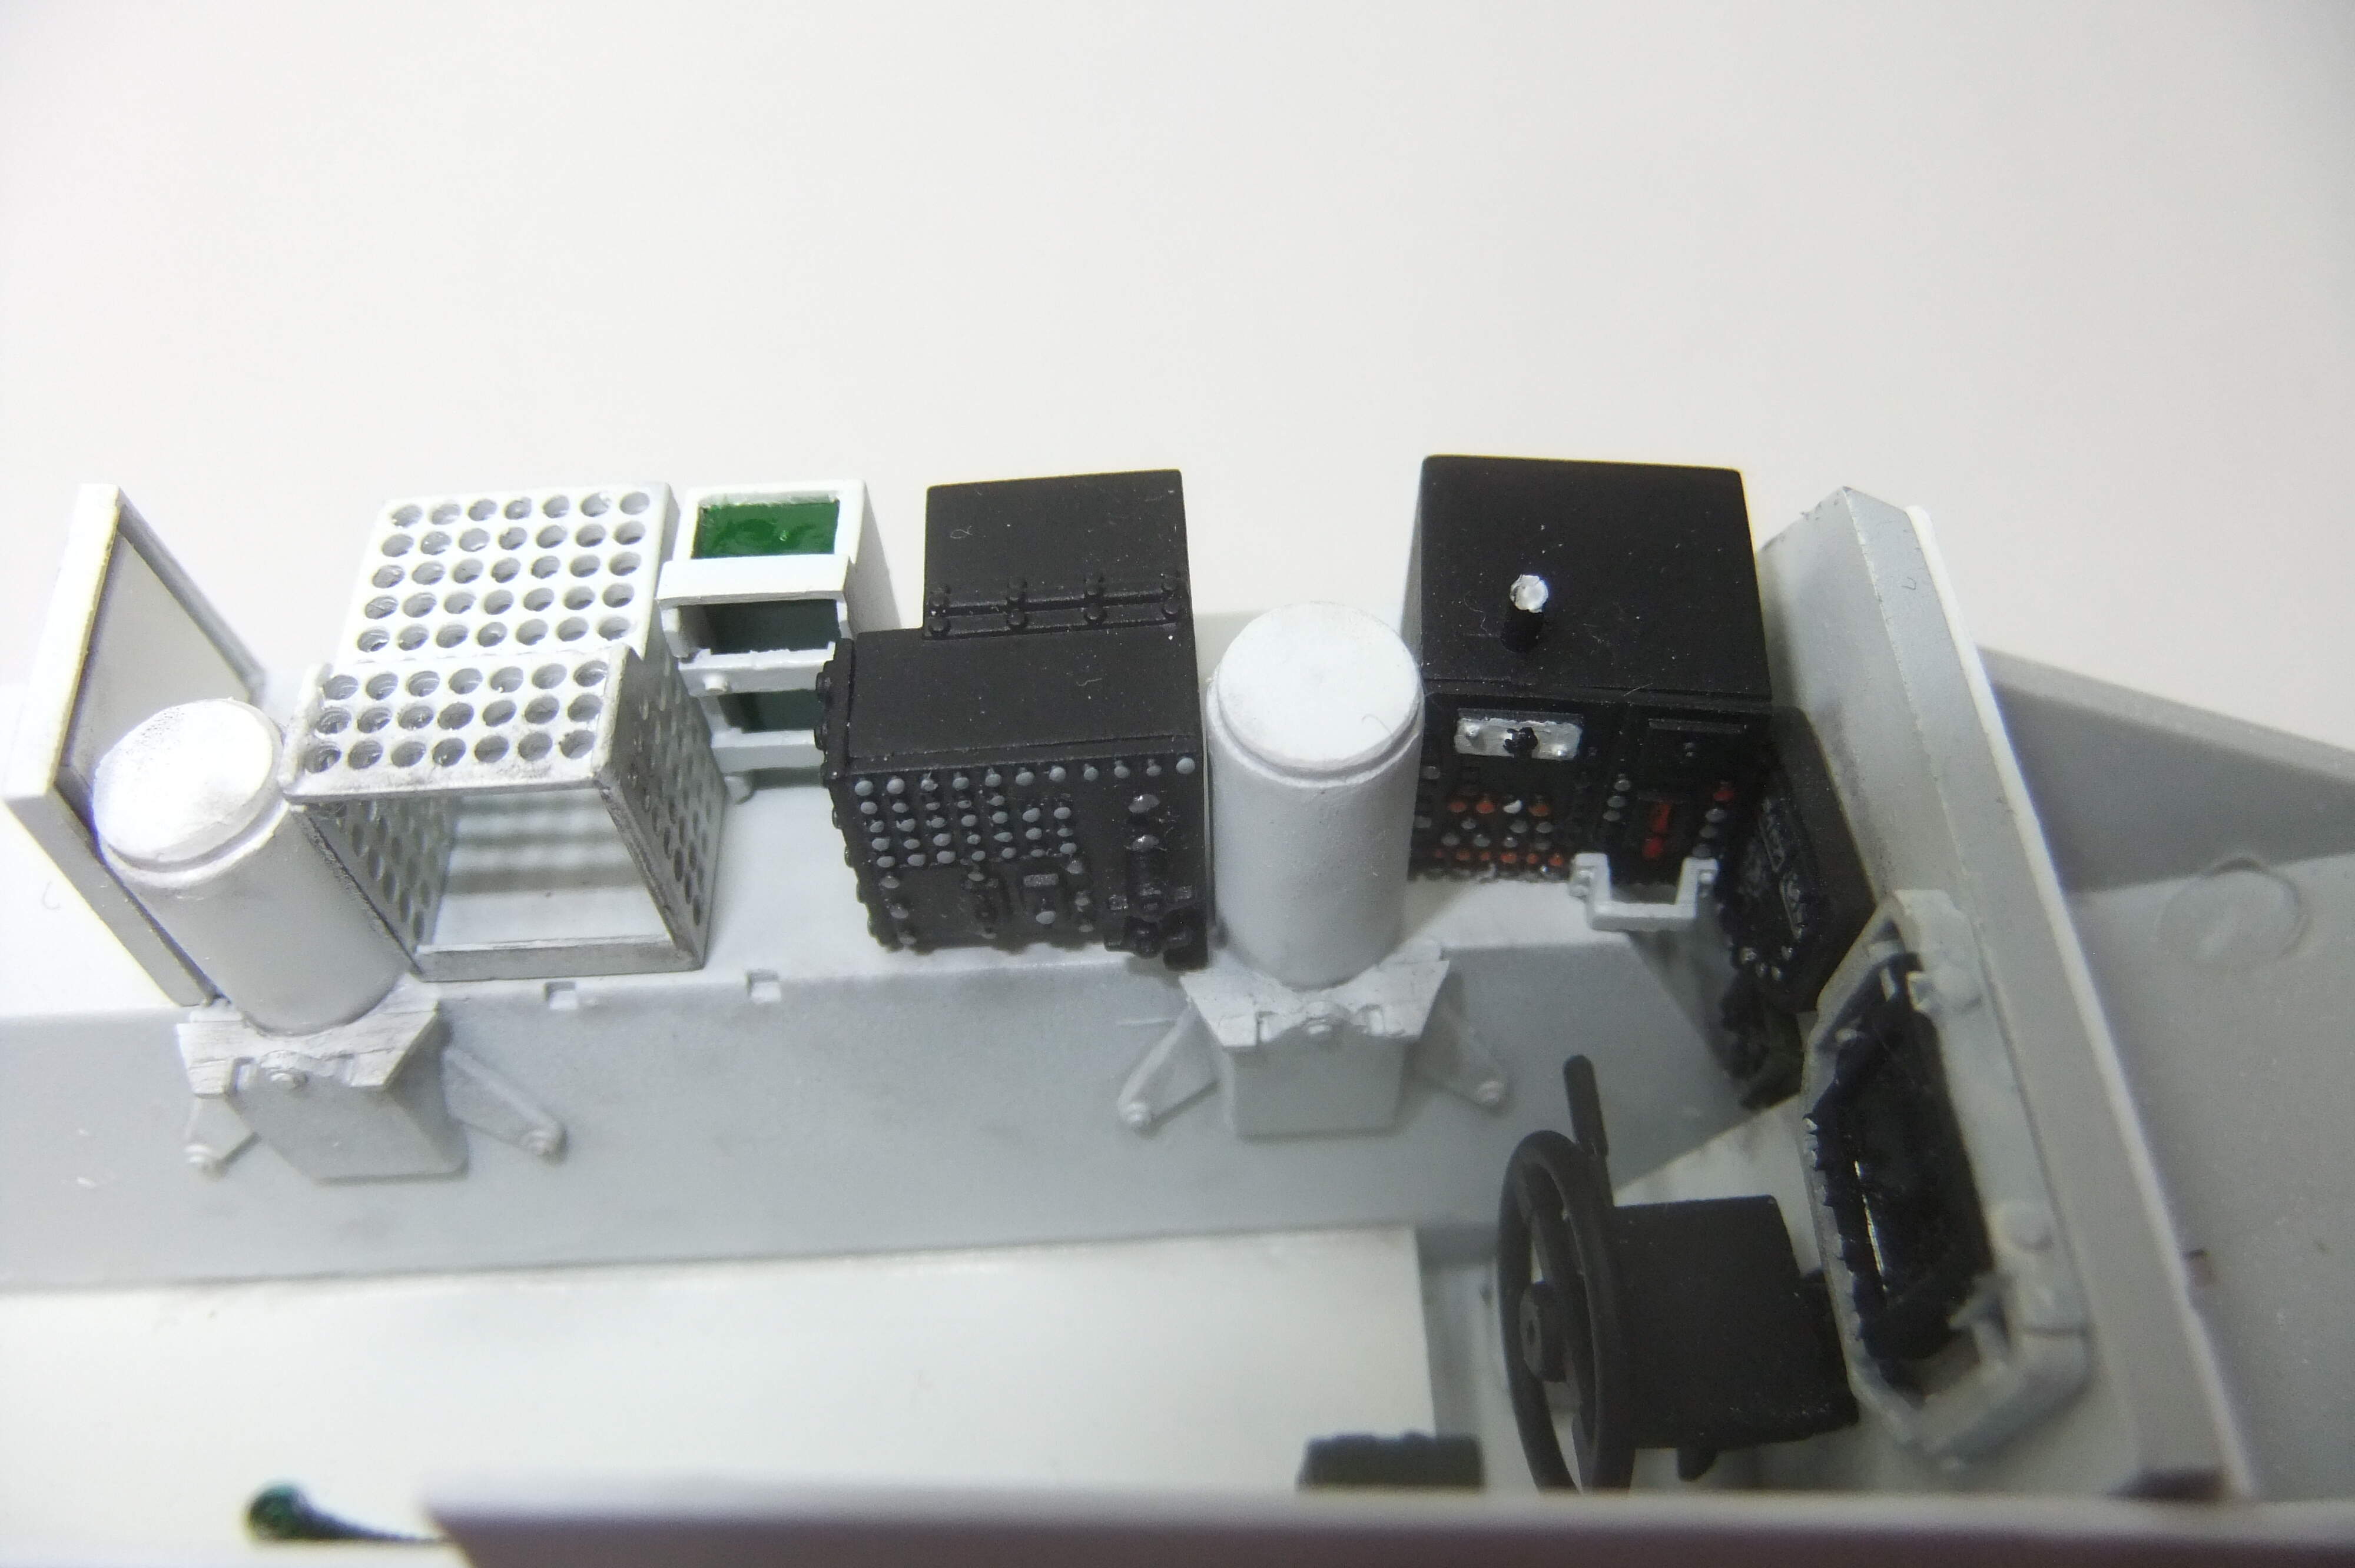
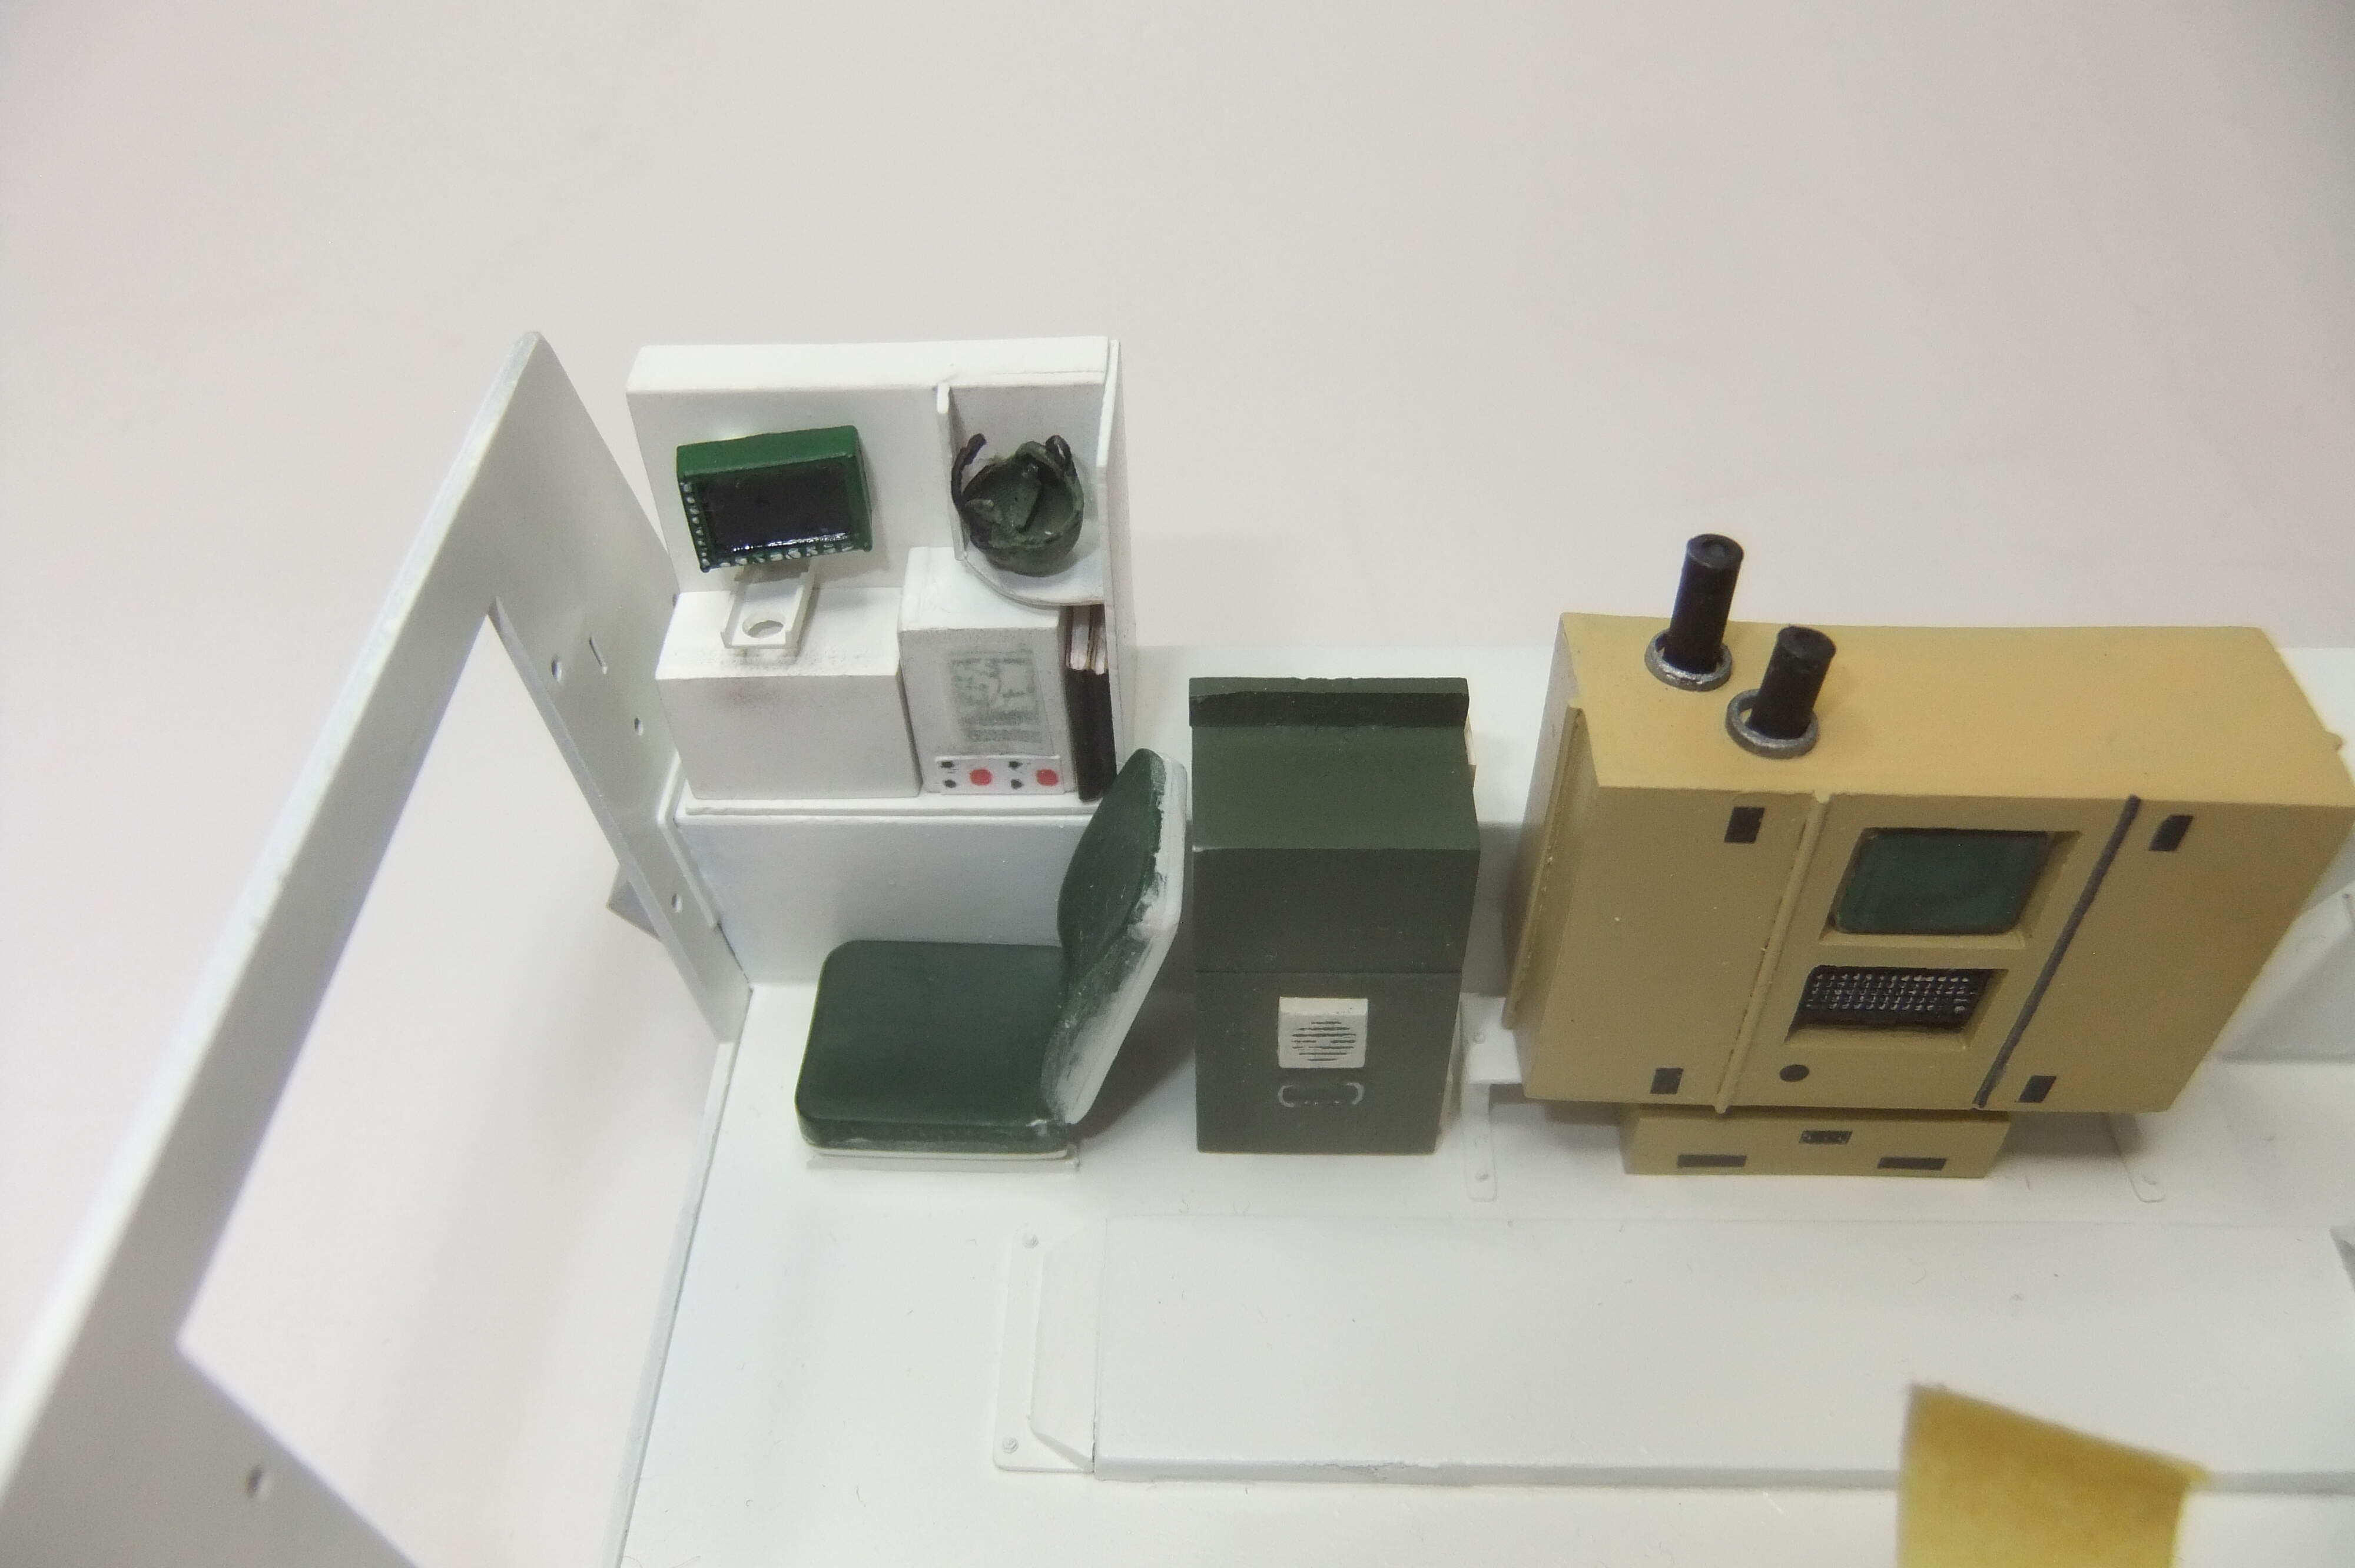
During the last days I mainly worked on a rack, which is located at the rear left end of the vehicle, right next to the rear seat.
Again I used pictures from tank-master.de for role-model means.
Here everything is set on place.
On the other side (literally) I finished the visible parts of the overpressure system by painting the different parts and setting them as well on place.
Peter
3 Likes
Wow, this is beautiful work you are doing on this Stryker. I don’t think I have the skills to create full interior myself. I have been wanting to purchase the resin interior I see on eBay but I don’t know it’s worth the high price. Keep up the good work!
WOW nice work on the interrior. I will follow your blog!
Hello Mike, hello Stephane,
what friendly and encouraging feedbacks – thank you both very much!!!
Peter
1 Like
No Peter, thank you for wonderful work. Sure is showing me new skills/tricks I can learn simply by watching your build. So, keep on truckin’ . 
I don’t know how I lost this thread, I just read through it, and this is really incredible scratchbuilding work! Your attention to detail is amazing. The painting is very detailed and so accurate. The whole job is just outstanding. It looks like you’re building the Batcave inside of there! Really great job Peter!